
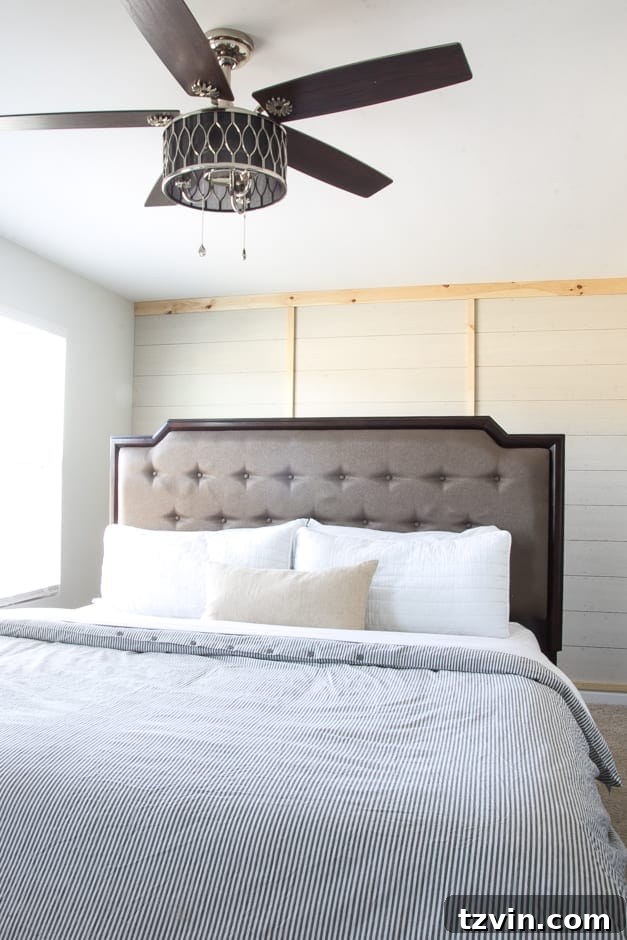
Transforming Your Master Bedroom: DIY Planked Board and Batten Accent Wall (Part 1)
In life, as in home renovation, change is often a beautiful, albeit sometimes challenging, journey. As we step into a new season, many of us find ourselves motivated to embrace healthier habits, whether it’s lacing up running shoes more often or making mindful food choices. Surprisingly, this dedication to personal growth isn’t far removed from the world of do-it-yourself (DIY) home projects. Undertaking a DIY endeavor, much like committing to a fitness routine, demands effort and perseverance. Yet, the reward – a tangible transformation and the immense satisfaction of creation – makes every ounce of effort profoundly worthwhile.
This past period has been a testament to that principle for us. We’ve been channeling our newfound energy into revitalizing our master bedroom, embarking on a DIY journey that promised significant change. What started as ambitious design plans a few months ago has finally blossomed into active construction, showcasing how a commitment to change can truly reshape your living space.
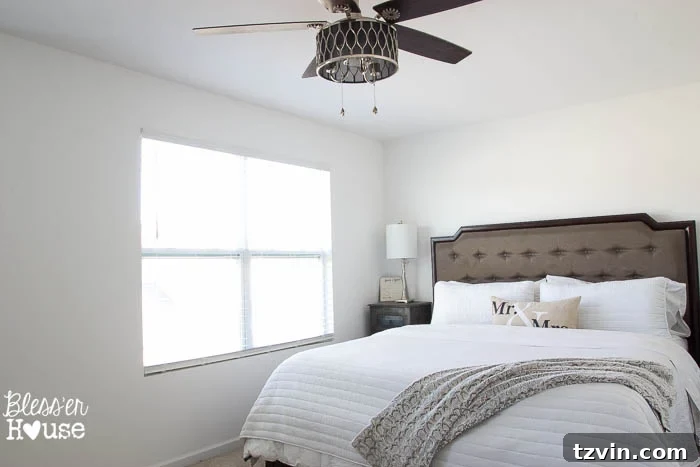
From Dream to Design: Our Master Bedroom’s Architectural Transformation
Our journey to a refreshed master bedroom began with a comprehensive design plan, a vision that simmered for months before we officially rolled up our sleeves. The heart of this transformation was always intended to be a striking accent wall, a feature that would infuse the space with character and a unique architectural interest. We knew we wanted something beyond a simple painted wall; something that added texture, depth, and a bespoke feel to our sanctuary.
Initially, we explored several popular accent wall styles, each with its own charm. The classic DIY shiplap, a farmhouse favorite, offered a rustic yet clean aesthetic with its horizontal planks. Its timeless appeal is undeniable, and it’s a go-to for many DIY enthusiasts seeking to add country-chic flair.
Then there was the sophisticated charm of classic floor-to-ceiling board and batten. This style provides a vertical emphasis, creating an illusion of height and adding a refined, traditional elegance to any room. It’s a powerful statement piece that instantly elevates the look and feel of a space.
Another contender was the structured appeal of a board and batten grid. This design creates a series of captivating squares or rectangles, offering a more contemporary and geometric pattern that can be incredibly eye-catching and add architectural depth. Each of these options had its merits, and it took a while to settle on the perfect fit for our master bedroom.
Ultimately, our inspiration coalesced after discovering a stunning project from Jenna Sue Design. This design struck a perfect balance, allowing us to combine elements from several styles we admired: the planked texture of shiplap, the vertical lines of traditional board and batten, and a subtle nod to the structured feel of a grid. This hybrid approach promised to deliver a truly unique and personalized accent wall behind our bed, making it the focal point of our master bedroom.
Essential Tools & Materials for Your DIY Accent Wall
Before diving into any DIY project, gathering the right tools and materials is paramount. For this planked board and batten accent wall, careful selection ensures both efficiency and a professional finish. Here’s what you’ll need to transform your bedroom wall:
- 3- 1/8″ Primed Hardwood Plywood: This forms the base planks of your wall. Primed plywood saves you a step in the painting process. We cut these into 8″ wide strips using a table saw, which is essential for achieving straight, consistent cuts, giving your planks a factory-made look.
- 1- 1″x4″x12″ Pine Board: This will serve as the top trim piece, essentially a simple crown molding, providing a clean finish and capping off your design.
- 4- 1″x2″x8″ Pine Boards: These boards are crucial for creating the vertical battens and the base trim, giving the wall its distinctive board and batten structure.
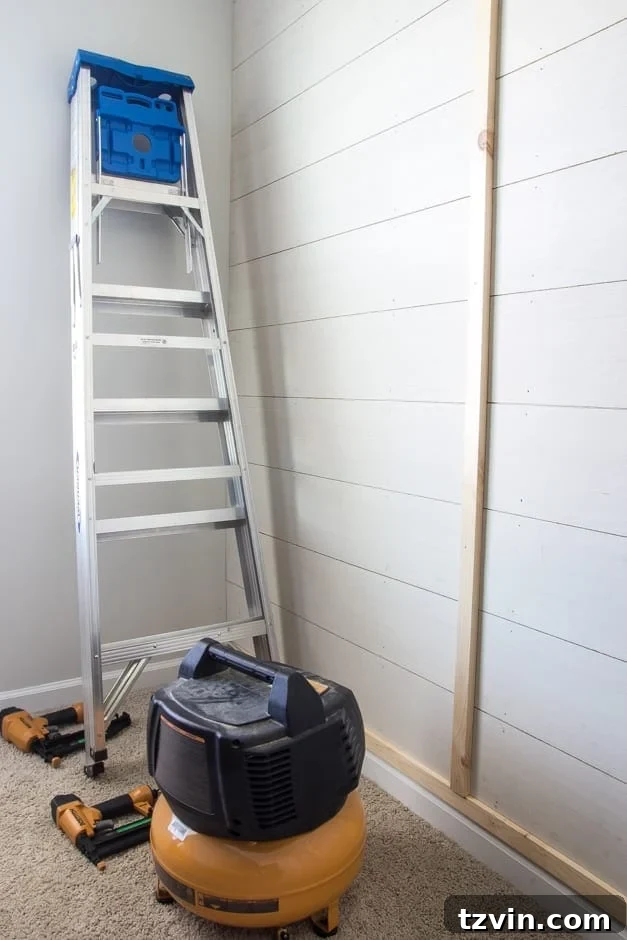
- Pneumatic Nail Gun and Compressor: For quick, secure, and precise fastening of boards to the wall. We relied on this particular model, which makes the nailing process significantly faster and less strenuous than manual hammering.
- 2″ Finishing Nails: These nails are ideal for securing the plywood planks and pine boards without leaving large, unsightly holes, ensuring a smooth surface ready for finishing.
- Jigsaw: Indispensable for cutting around irregular shapes, such as electrical outlets, ensuring a snug and professional fit for your planks.
- Stud Finder: A critical safety tool for locating wall studs, ensuring that your planks and battens are securely fastened to structural elements, preventing future sagging or detachment.
- Level: Absolute must-have for ensuring all your boards are perfectly straight and plumb, which is key to a polished and professional looking accent wall.
- Quarters or Spacers of Your Choosing: These small items are vital for maintaining consistent gaps between your planks, contributing to a uniform and aesthetically pleasing finish.
Step-by-Step Guide: Installing Your Planked Board and Batten Accent Wall
Preparation is Key: Marking Studs and Planning Your Layout
Every successful DIY project starts with meticulous preparation. Before we even thought about cutting wood, our first and most important step was to accurately locate all the studs within the accent wall. Using our reliable stud finder, we carefully marked each stud. This critical step ensures that every piece of wood we attach will be securely anchored, preventing any future instability or movement. Knowing where your studs are is fundamental for structural integrity and a lasting finish. Without proper anchoring, even the most beautiful wall treatment can become problematic over time.
Building the Foundation: Top Trim and Personalized Touches
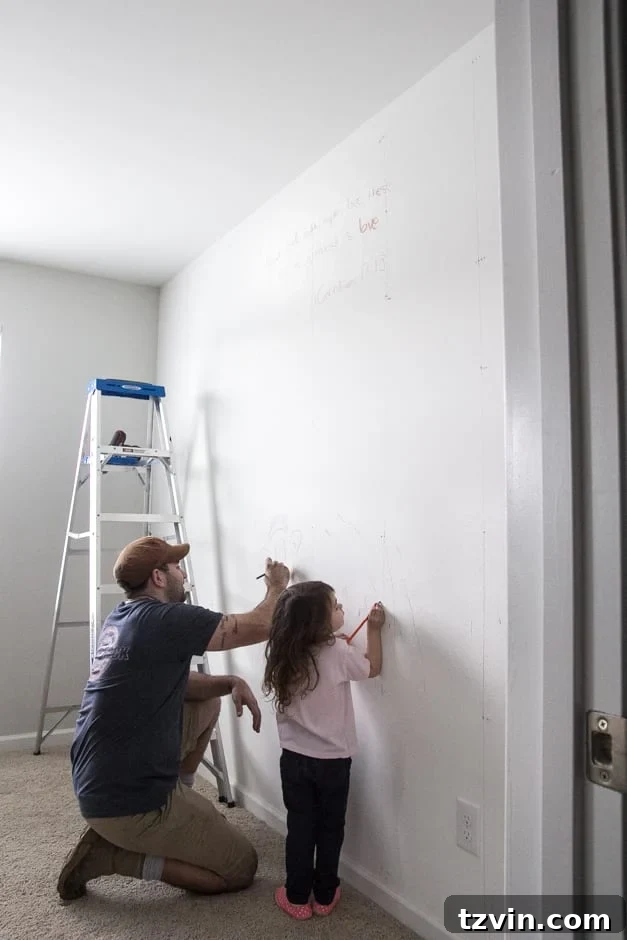
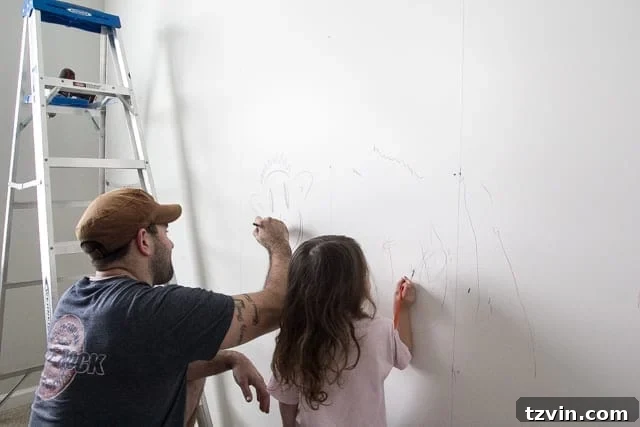
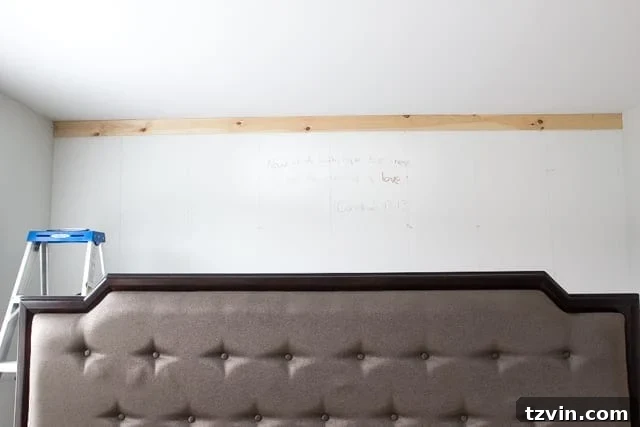
With the studs marked, we began the installation by nailing the 1x4x12 pine board at the very top of the wall. This horizontal piece serves as the anchor and the beginning of what will eventually become our simple yet elegant crown molding. It sets the upper boundary for our planked design and provides a clean, finished edge. But before Robert, my enthusiastic carpenter, got too carried away with the construction, he took a moment to add a deeply personal touch. Right above where our bed would rest, he wrote 1 Corinthians 13:13 on the bare wall. It was a beautiful, heartfelt gesture, a quiet blessing for our space that will forever be hidden beneath the finished wall, a reminder of love and faith in our home.
Crafting the Planks: Precision Cuts and Spacers
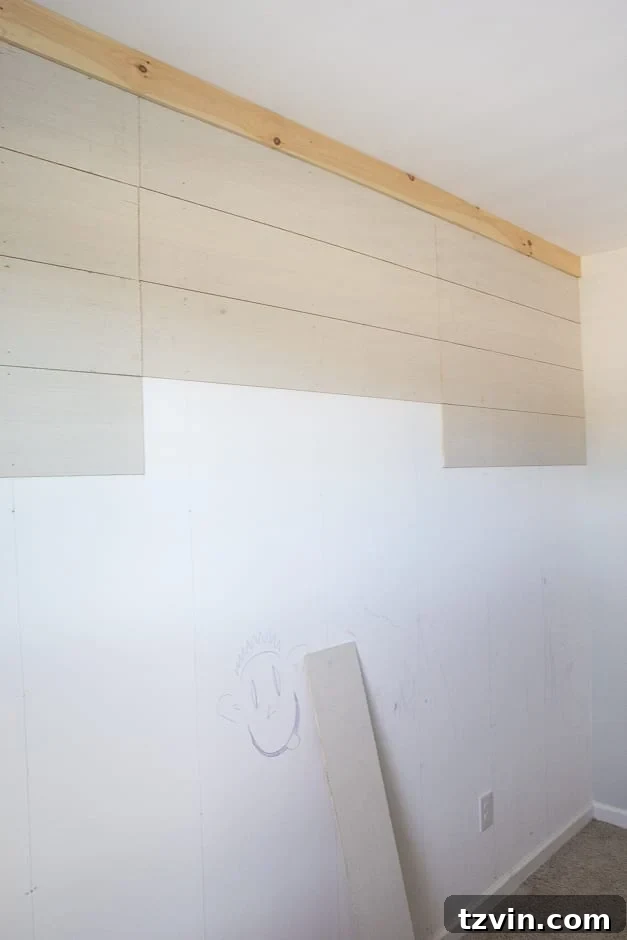
Next, we moved on to installing the plywood planks that would form the unique textured base of our accent wall. To ensure a balanced and visually appealing layout, we mentally sectioned the wall into thirds. This allowed us to calculate the precise length for each plywood strip, cut from our 1/8″ primed hardwood plywood. Consistency is key here; using a table saw for these cuts ensured uniformity. As we nailed each plank to the wall with our pneumatic nail gun, we utilized ordinary quarters as spacers. These small but mighty tools ensured perfectly even gaps between each plank, which is crucial for achieving that characteristic planked look and preparing the wall for the batten strips. A slight imperfection in the initial plank placement wasn’t a concern, as we knew the vertical battens would later conceal the seams, making the final result flawless.
Navigating Obstacles: Working Around Outlets
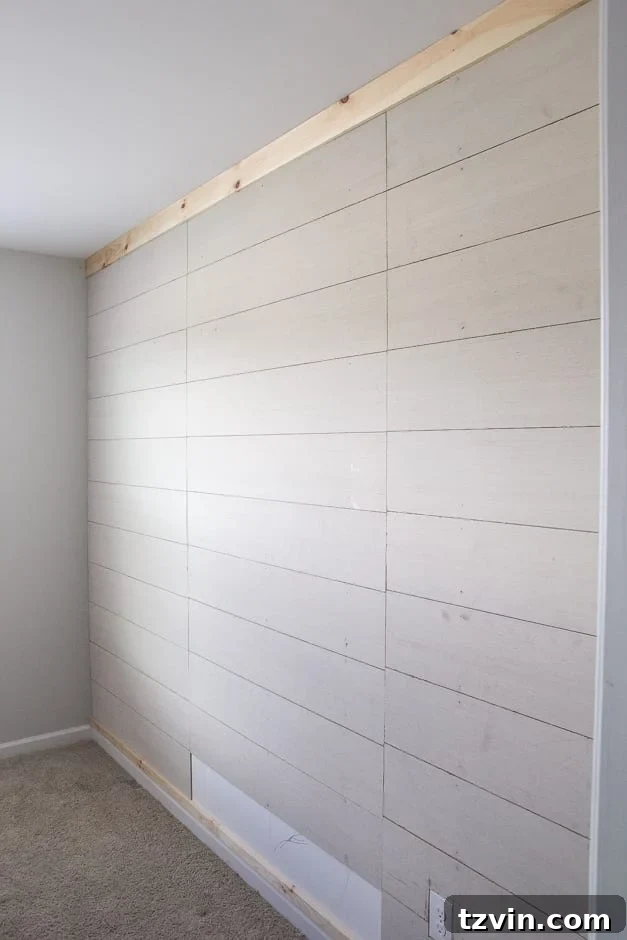
Walls rarely offer a completely blank canvas, and ours was no exception, featuring a standard electrical outlet. To ensure a seamless and professional finish, we meticulously measured the dimensions and location of the outlet. Then, using our jigsaw, we carefully cut out the corresponding space on the relevant plywood plank. This step requires precision and patience to avoid any gaps or misalignments, ensuring the outlet remains fully functional and easily accessible within the new wall treatment. Always remember to prioritize safety when working near electrical components, and double-check your measurements before making any cuts.
Grounding the Design: Installing the Base Boards
Once all the vertical planks were securely in place, attention shifted to the base of the wall. We installed 1×2 pine boards horizontally along the bottom, creating a clean and sturdy base. This piece acts as a foundational trim, much like baseboards, providing a polished transition from the accent wall to the floor and completing the lower edge of the design.
Adding the Batten: Defining the Vertical Lines
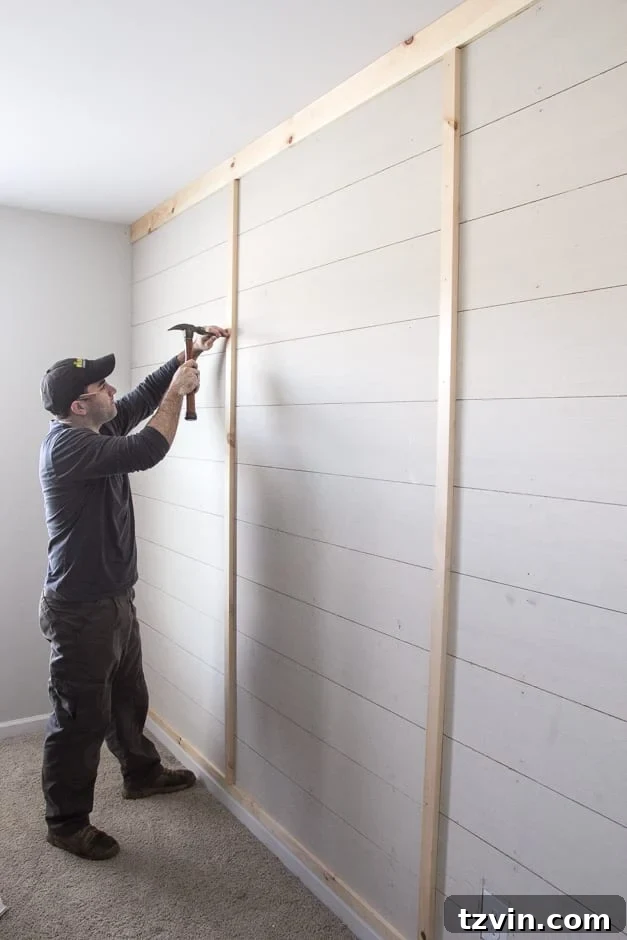
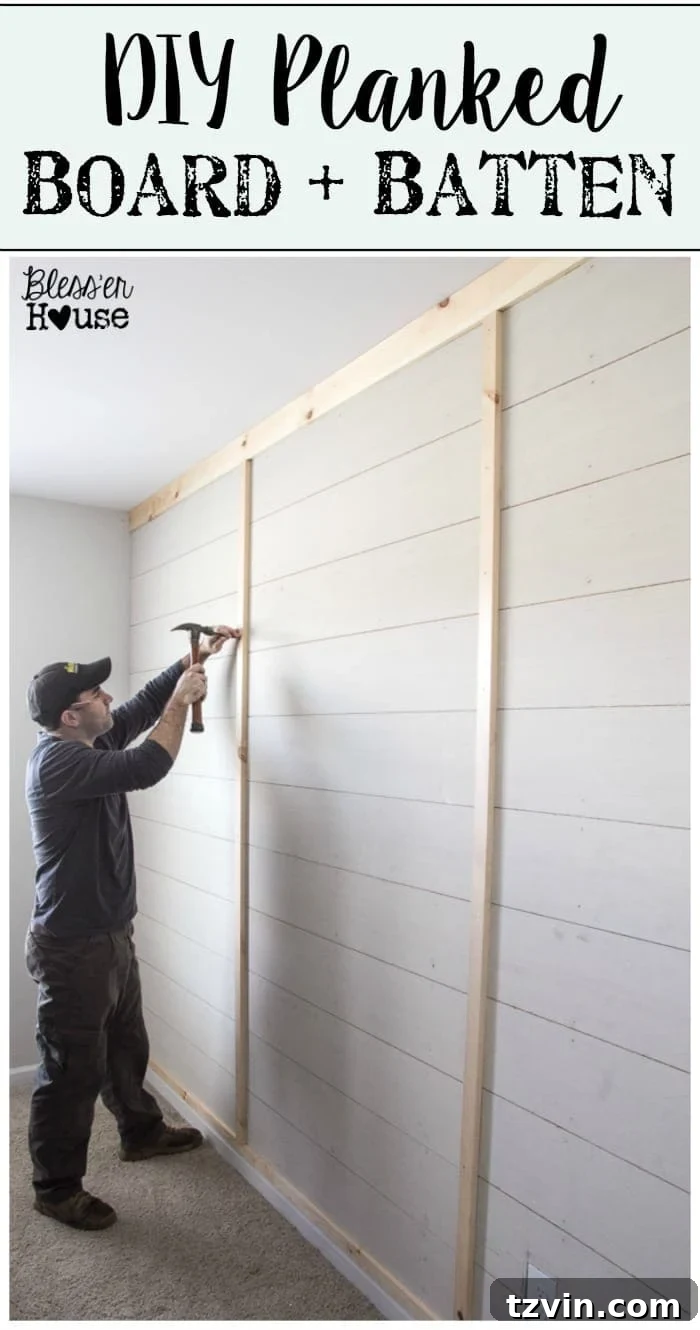
With the planks and base in position, it was time to add the “batten” part of our board and batten design. This involved placing two more 1×2 pine boards vertically on top of the plank seams. Using a reliable level was absolutely critical at this stage to ensure each vertical batten was perfectly plumb and straight. These battens are what give the wall its characteristic grid-like appearance and added dimension. While we primarily used the nail gun for efficiency, Robert, embracing his traditional woodworking spirit, even grabbed a good old-fashioned hammer for some of the final adjustments. There’s something undeniably satisfying about the solid thud of a hammer securing a board, reminding us of the timeless craftsmanship behind such projects.
The Unveiling of Progress: An Accent Wall Takes Shape
Even in its unfinished state, the transformation is remarkable! We now proudly have a fully constructed accent wall, complete with its unique planked board and batten design. While it’s not entirely ready for its grand reveal – it still needs that crucial coat of paint and some finishing touches – the architectural interest and texture it brings to the room are already palpable. This week, my focus shifts to the final steps, primarily the painting, which will truly bring this vision to life. The anticipation of seeing the complete, painted wall is immense, and I can already envision this room truly coming into its own, reflecting the modern rustic charm we’ve been dreaming of.
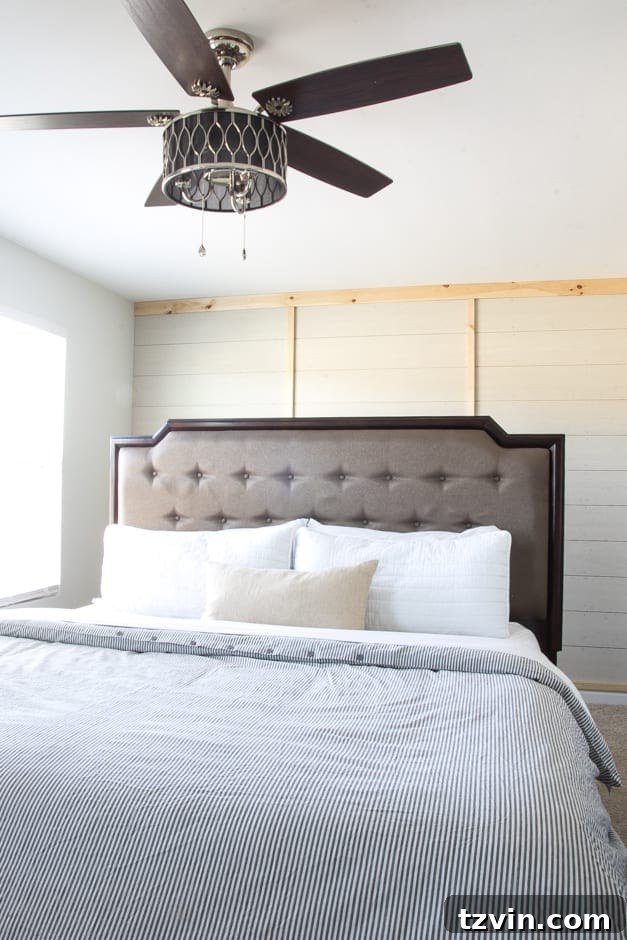
I’m already seeing this room come to life in a way I could only imagine before, and I can’t WAIT to tackle more of it. There’s a synergy in seeing each piece fall into place, building momentum for the rest of the bedroom’s transformation.
The Realities of Renovation: Embracing the “Beautiful Pain”
Remember that sentiment, “change is a beautiful pain”? Well, embarking on a major home improvement project like this master bedroom accent wall truly embodies that phrase. While the end result promises to be stunning, the journey itself is often a chaotic, albeit rewarding, mess. Currently, our bedroom resembles a storage unit more than a serene sleeping space. Navigating my way around all the crammed furniture at the foot of our bed in the dark every night has certainly added an interesting, albeit challenging, dimension to our daily routine.
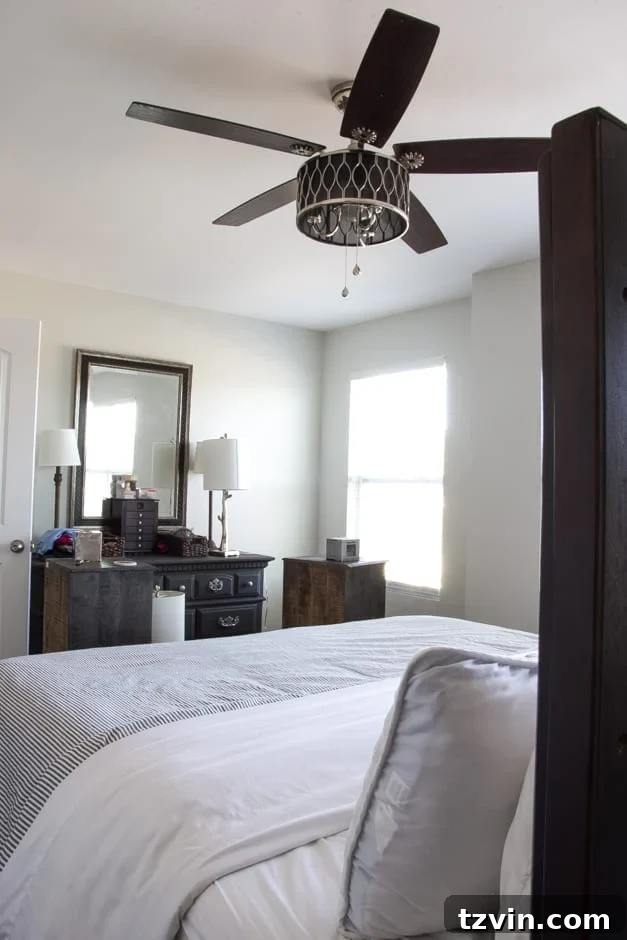
It’s a phenomenon many DIYers will recognize: when one big project kicks off, the tidiness of the rest of the house somehow seems to go completely overboard. Our home often descends into a delightful pandemonium, with tools scattered, dust lingering, and everyday items temporarily displaced. It’s an unavoidable side effect of creation. Yet, through all the disruption and the temporary discomfort, there’s an underlying belief that it will all be worth it. It’s a similar mantra to what Jillian Michaels keeps shouting at me from the TV during my 30-Day Shred workouts every morning – push through the pain for the incredible results. And just like with fitness, the satisfaction of a beautifully transformed space will undoubtedly outweigh the fleeting inconvenience.
Explore More Master Bedroom Transformations
This accent wall is just one piece of our larger master bedroom makeover puzzle. If you’re inspired to transform your own space, be sure to explore the other projects that are bringing our vision to life. Each step contributes to creating a cohesive and stunning retreat. You can dive deeper into all the makeovers and projects that went into our master bedroom here:
- Master Bedroom Design Plan: Uncover the initial vision and comprehensive plan for our modern rustic oasis.
- How to Get Designer Paint Colors on the Cheap: Learn smart tips for achieving high-end paint looks without breaking the bank.
- DIY Planked Board and Batten Focal Wall: (Stay tuned for the full reveal of this project!)
- Quick and Easy Dresser Makeover: Discover how a simple refresh can revitalize old furniture.
- 3 Tricks to Upgrade Plain Windows: Enhance your windows with clever and inexpensive improvements.
- Choosing the Perfect Blue Vintage Rug: Find out how to select the ideal rug to anchor your room’s design.
- DIY Metal Industrial Initial Sign: Add a personalized, industrial touch to your bedroom decor.
Your Next DIY Adventure Awaits!
We hope this first part of our DIY planked board and batten accent wall project has inspired you to consider embarking on your own home transformations. If you’re feeling ready to tackle this project yourself, or simply want to save it for future inspiration, be sure to pin it! We love sharing our journey and empowering others to create the homes of their dreams. Are you as excited as we are to see the final stages of this room take shape? Or perhaps you’re also kicking your own self into high gear, embracing a new workout routine, and finding parallel joys in personal and home improvement?

Follow us for more inspiring DIY projects, home makeovers, and decor tips:
Facebook | Pinterest | Instagram | Twitter | Google+