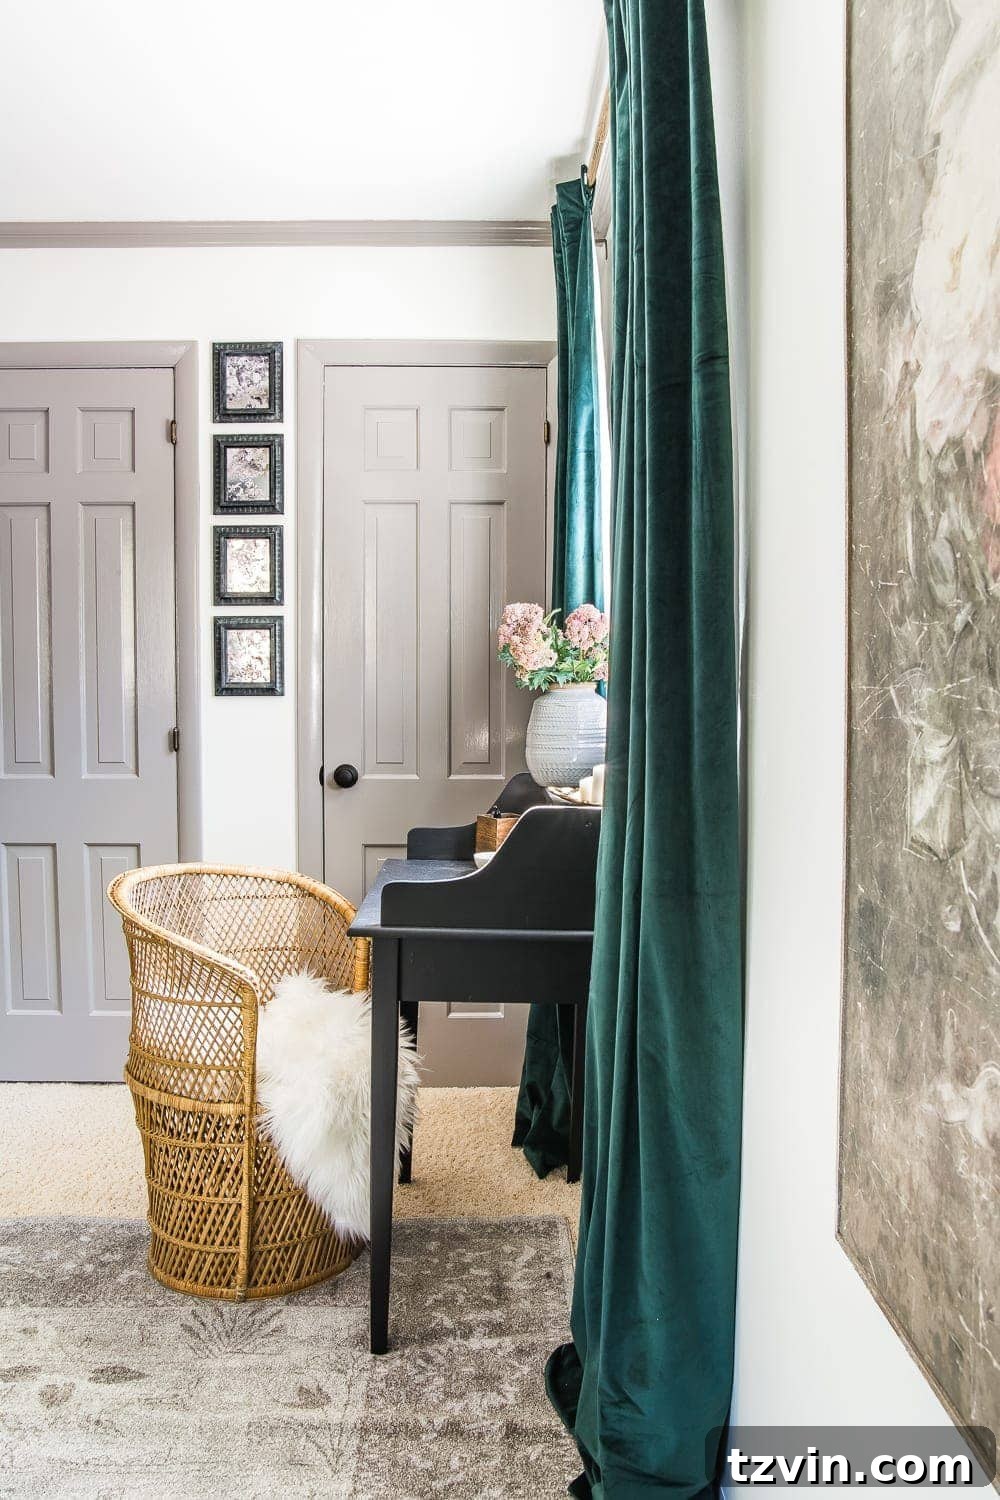
How to Make Stunning DIY Antique Mirrors from Old Picture Frames (Quick, Easy & Mess-Free!)
Have you ever admired the timeless charm and sophisticated elegance of an antique mirror, only to be deterred by the hefty price tag? What if you could infuse your home with that same coveted vintage appeal using humble items found at your local thrift store? In this comprehensive guide, we’ll reveal a brilliant, mess-free method to transform ordinary, pre-loved picture frames into captivating antique mirrors that appear to have been discovered in a European estate, yet are incredibly budget-friendly. Get ready to embark on a creative journey that’s not only deeply satisfying but also remarkably quick!
The Irresistible Allure of Antique Mirrors: Why Choose DIY?
Antique mirrors possess an unparalleled ability to add character, depth, and a touch of historical grandeur to any living space. Their aged patina, subtle imperfections, and reflective qualities tell a story, making them powerful focal points in interior design schemes. They can brighten a dark corner, make a small room feel larger, and introduce a layer of texture and visual interest that modern mirrors often lack. However, authentic antique mirrors can be prohibitively expensive, and finding the perfect size, style, or specific level of distressing can be a daunting, often fruitless, task. This is precisely where the magic of DIY comes into play. By embracing the art of upcycling old picture frames, you not only save a significant amount of money but also gain the unique opportunity to customize the look to perfectly complement your existing home decor, making it truly one-of-a-kind.
Our innovative method focuses on simplicity and efficiency, thoughtfully sidestepping the often-messy and complicated traditional techniques that involve harsh chemical treatments or specialized, hard-to-apply spray paints. We’ve discovered a game-changing secret: antique mirror film. This revolutionary product allows you to achieve that coveted aged silver, mercury glass, or subtly distressed mirror effect with minimal effort and, perhaps best of all, absolutely no cleanup headaches. Imagine creating a bespoke piece of vintage-inspired art that looks professionally crafted in under an hour – with this guide, it’s not just possible, it’s remarkably easy!
The Thrill of the Hunt: Finding Your Perfect Frames
My passion for repurposing old picture frames knows no bounds. They are truly one of the most versatile, abundant, and cost-effective finds at thrift stores, flea markets, garage sales, and antique malls. Each frame comes with its own history and immense potential, patiently waiting for a new lease on life. A few weeks ago, my husband Robert and I were enjoying a delightful “date day” at an antique mall – yes, I am incredibly fortunate to have a partner who genuinely shares my love for sifting through vintage treasures! – when we stumbled upon a magnificent set of four picture frames. Their unique details, sturdy construction, and charming imperfections immediately sparked inspiration for this very project.
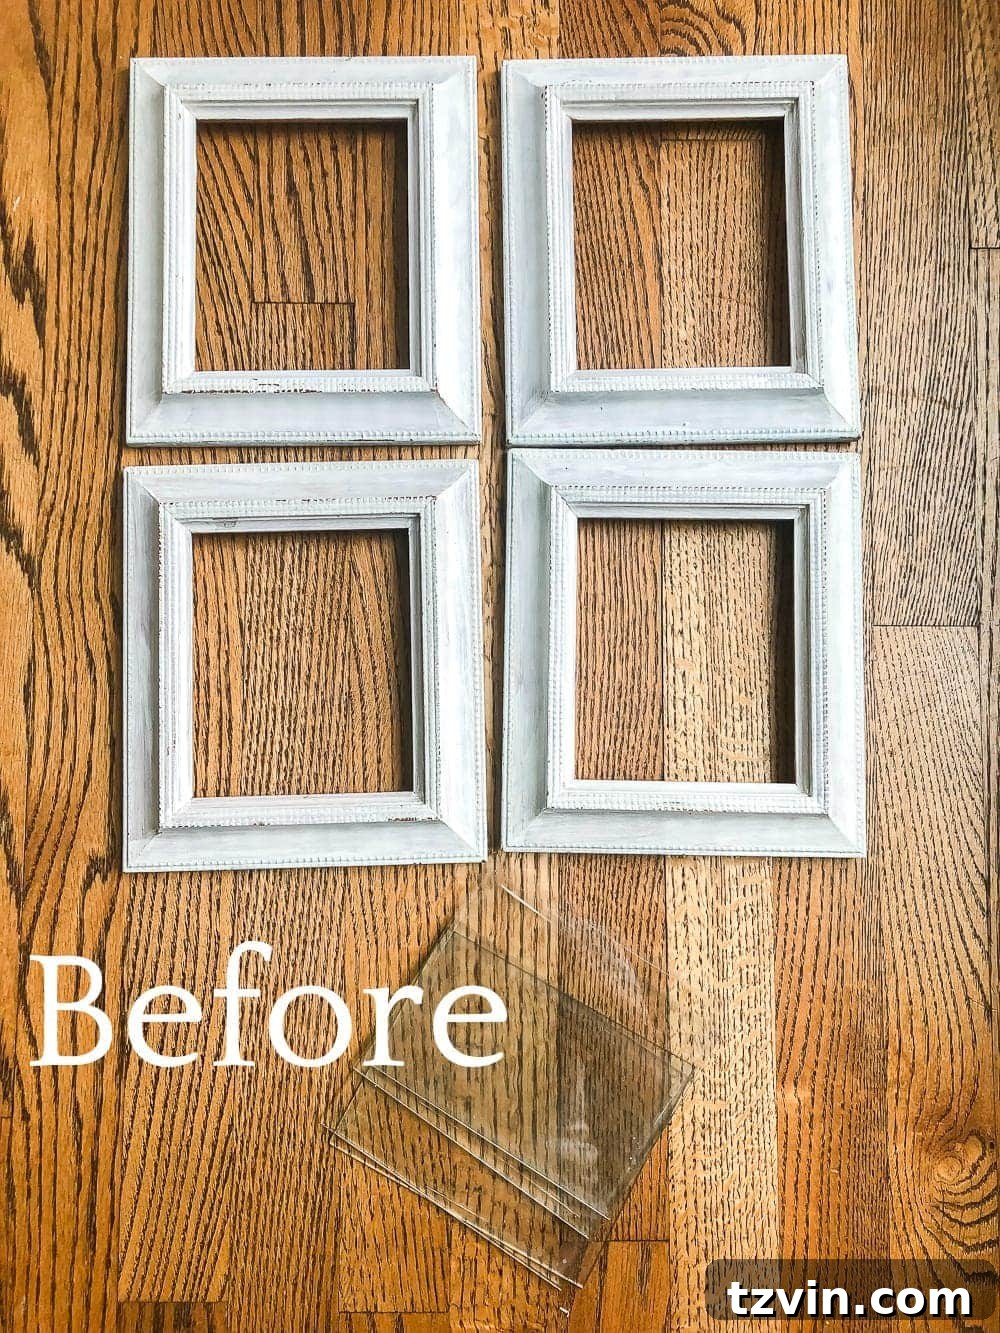
When you’re embarking on your own frame hunt, keep an eye out for frames with interesting textures, intricate carvings, or distinctive shapes. Don’t be deterred by existing paint colors that you dislike or minor scuffs and scratches; these imperfections often add character or can be effortlessly transformed with a fresh coat of paint. Remember, the primary goal is to find frames with good structural integrity and, crucially, a flat glass panel that can be easily removed and then securely reinserted. These types of frames are the ideal canvases for our antique mirror transformation, brilliantly proving the adage that one person’s “trash” is truly another’s “treasure.”

The Game-Changer: Antique Mirror Film vs. Messy Traditional Methods
While I’ve thoroughly enjoyed creating antique mirrors using traditional, albeit considerably messier, techniques in the past, discovering antique mirror film was nothing short of a true revelation. My very first encounter with this brilliant material occurred during a pantry cabinet makeover where we jazzed up some IKEA HEMNES units. The film instantly delivered that desired aged, reflective look without any of the fuss, unpleasant fumes, or extensive drying times typically associated with spray paints or chemical distressing methods.
For this particular project, I immediately recognized that the film would be the perfect, most efficient solution for quickly adding some decorative antique mirrors to our guest bedroom. The traditional approach can often involve several meticulous layers of spray paint, carefully misting with water and vinegar, and even using bleach, which typically necessitates working outdoors, wearing protective gear, and requires a significant amount of patience as each layer dries. With the antique mirror film, the process is streamlined to simply cutting, lightly spraying with water, and then applying. I kid you not, this entire project, from preparing the frames to hanging the finished mirrors, took me no more than 30 minutes tops. It’s the ultimate DIY for anyone looking to achieve a high-impact decor upgrade with minimal time, effort, and zero post-project cleanup.
Your Essential DIY Toolkit: Supplies for Stunning Antique Mirrors
Before diving headfirst into the creative transformation process, let’s ensure we have all the necessary tools and materials gathered. The good news is that many of these items you might already have conveniently on hand, further contributing to the project’s incredibly low cost.
Please note: Some affiliate links are provided below for your convenience. Full disclosure regarding affiliate partnerships can be found here.
Supplies You’ll Need:
- Picture Frames: These are your “trash to treasure” starting points! Opt for frames with sturdy construction and, importantly, a flat glass panel that can be easily removed and reinserted.
- Paint of Your Choice: I am a huge, enthusiastic fan of Fusion Mineral Paint for its exceptional coverage, durability, and beautiful matte finish. However, any good quality acrylic, chalk paint, or even a specialized spray paint suitable for wood will work. Select colors that perfectly complement an antique aesthetic, such as rich dark tones, shimmering metallics, or muted, earthy shades.
- Medium-Sized Craft Brush: Essential for applying paint evenly and for executing nuanced dry brushing techniques to create depth and texture.
- Antique Mirror Film Samples: This truly is the star of our show! Sample sizes are often perfectly suited for smaller frames (like 5″x7″ or 8″x10″) and are incredibly affordable, making this project an absolute steal.
- Spray Bottle with Water: Absolutely essential for applying the film smoothly and effectively removing any trapped air bubbles. A simple spray bottle filled with plain tap water is all you’ll require.
- A Credit Card or Squeegee: To efficiently and effectively smooth out the film, pushing away any excess water and air trapped underneath. A plastic squeegee specifically designed for window film application works exceptionally well, but a sturdy, old credit card serves as a fantastic and readily available substitute.
- Soft, Lint-Free Cloth: Crucial for thoroughly cleaning the glass panels and for wiping away any excess water during the film application process.
- Cutting Mat and Craft Knife/Scissors: Necessary for achieving precise cuts of the mirror film if your frame glass is not a standard size that matches the film samples.
Step-by-Step Guide: How to Transform Your Old Frames into Elegant Antique Mirrors
Let’s dive into the wonderfully simple steps that will guide you through transforming your humble thrift store finds into exquisite, elegant antique mirrors. Remember, a little precision and a touch of patience (though not much is actually needed here!) will yield the most professional and beautiful results.
Step 1: Preparing and Painting Your Frames for an Authentic Aged Look
The initial and crucial step involves giving your picture frames a beautiful, authentically aged finish that will perfectly complement the antique mirror effect. Begin by very carefully removing the glass panels from all your picture frames. Set the glass aside in a safe place where it won’t get scratched or broken. Next, thoroughly clean the frames themselves to remove any accumulated dust, grime, or lingering residues. If the frames have an existing glossy finish, a light sanding with fine-grit sandpaper might be beneficial to help your new paint adhere better, but often a good clean is entirely sufficient, especially when using paints like mineral or chalk paint.
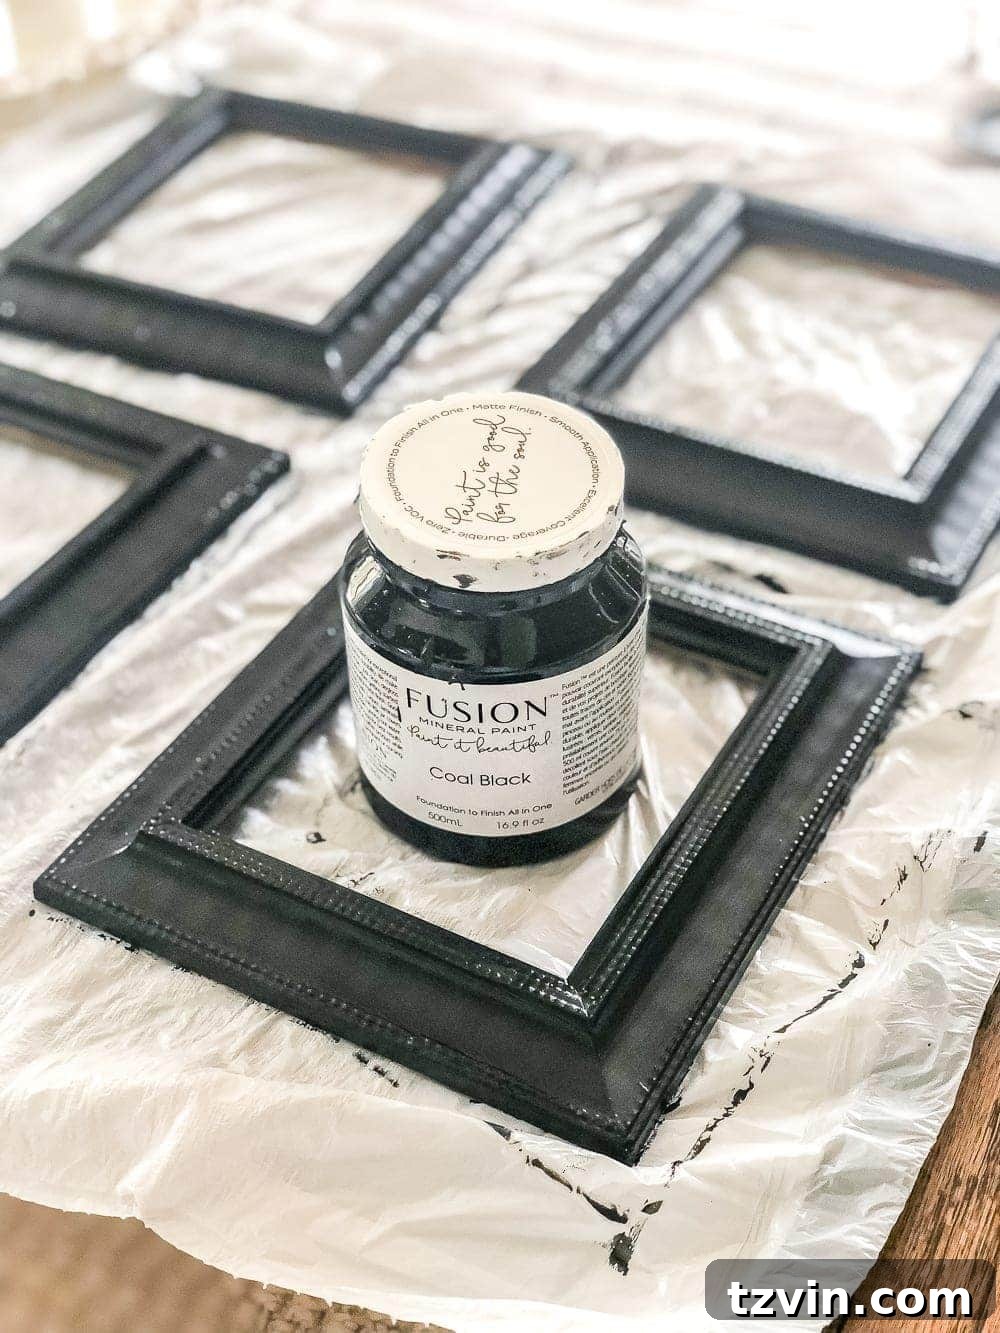
I desired my frames to possess a deeper, more dramatic and sophisticated look than their original pristine white. Therefore, I started by applying a solid, even base coat of Fusion Mineral Paint in a rich “Coal Black” shade. This dark foundation acts as a wonderful contrast, providing exceptional depth and intensity for the subsequent layers of paint. Ensure you achieve thorough, even coverage across all surfaces of the frame and allow the paint to dry completely according to the manufacturer’s specific instructions. Mineral paints are known for their quick-drying properties, which significantly helps to speed up the overall project timeline.
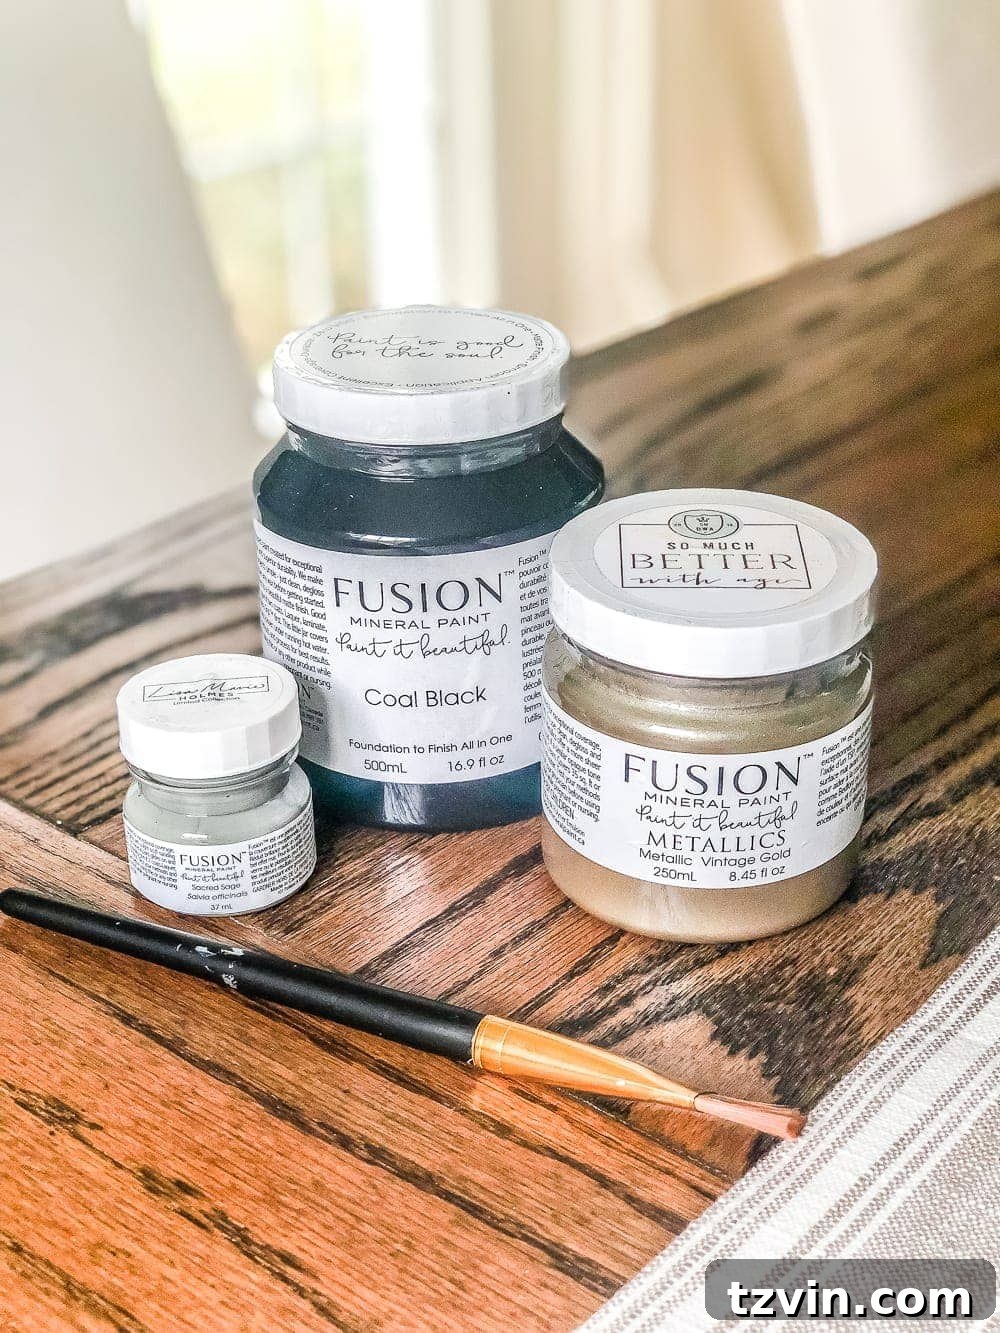
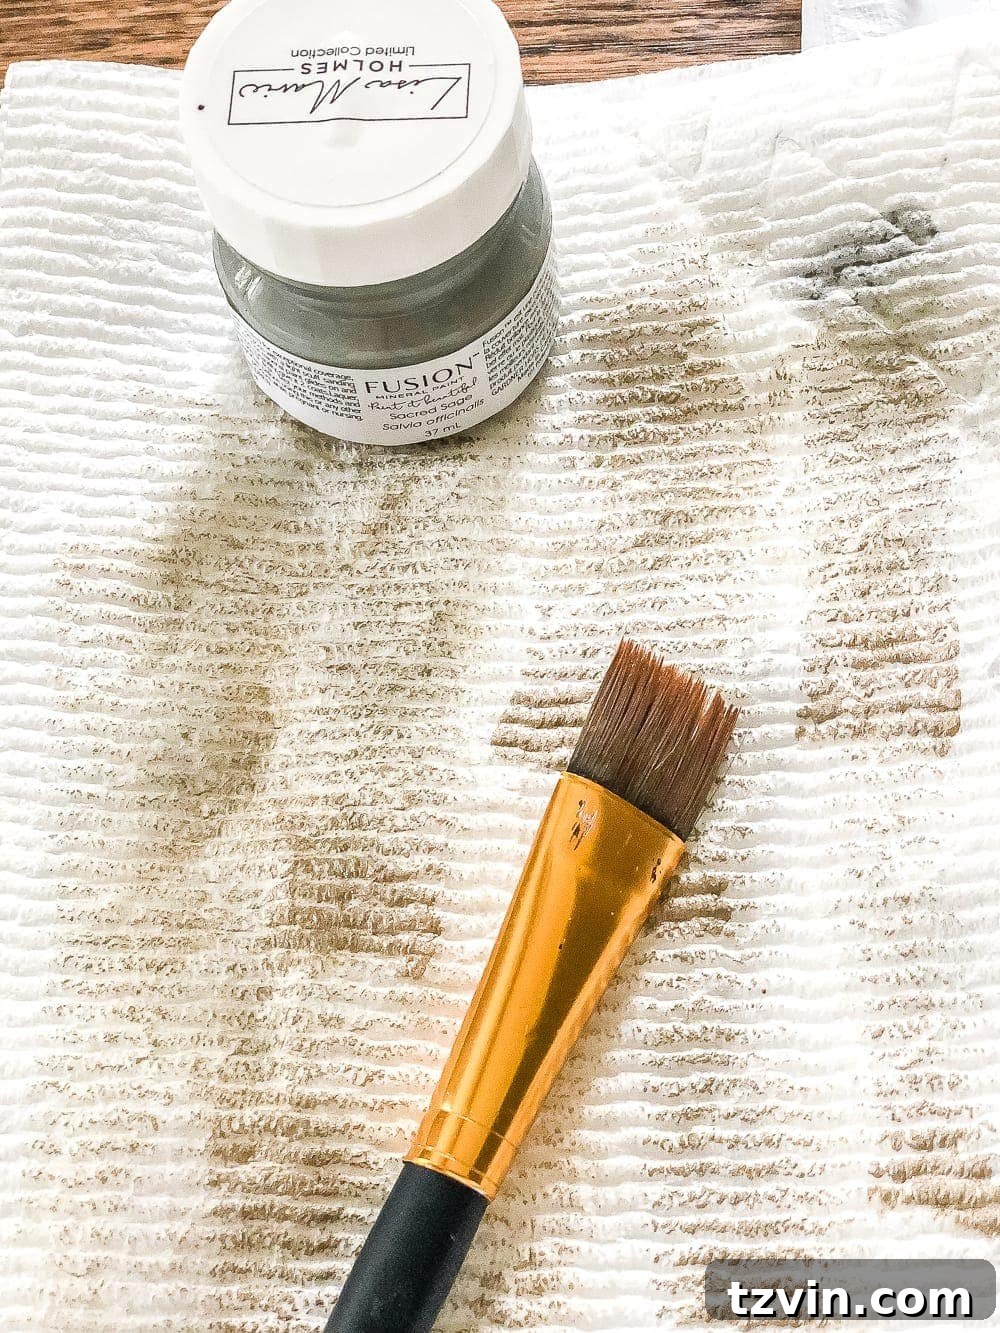
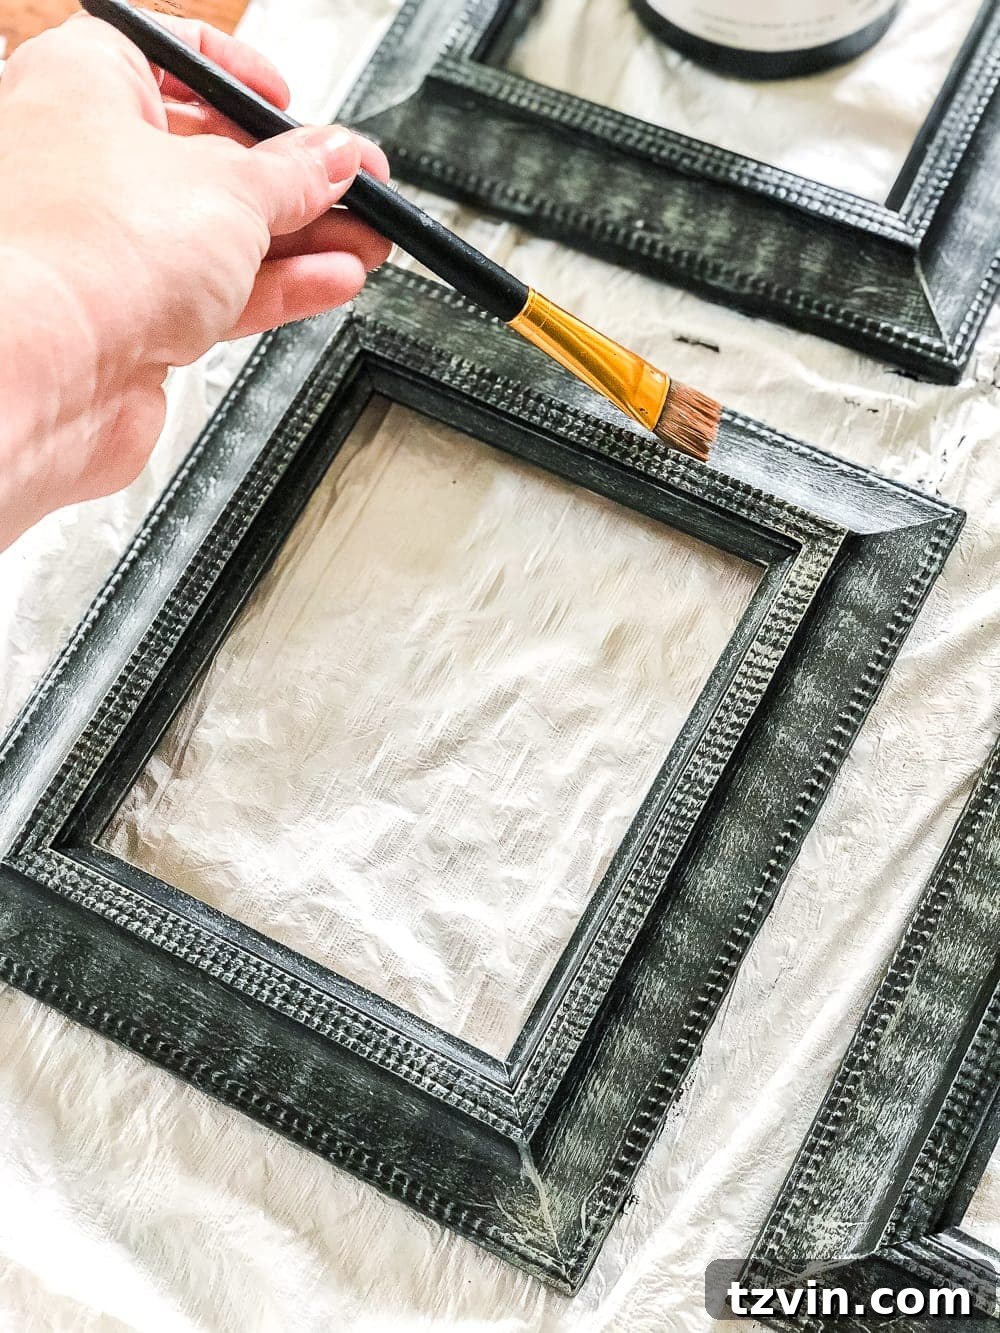
Once the initial black base coat was completely dry to the touch, I proceeded to add intricate dimension and an even more authentic antique feel. Utilizing a specialized dry brushing technique, I lightly applied Fusion Mineral Paint in “Metallic Vintage Gold” and then subtly blended in touches of “Sacred Sage.” The dry brushing method involves dipping your craft brush very lightly into the paint and then offloading most of the paint onto a paper towel or scrap piece of cardboard before gently applying it to the frame. This nuanced technique is incredibly effective for highlighting the frame’s intricate details, raised motifs, and decorative carvings, creating a beautifully weathered, multi-tonal effect that truly mimics the appearance of naturally aged metallic finishes. Focus your dry brushing efforts on the raised areas, edges, and corners to significantly enhance the overall vintage appeal. Allow these delicate layers to dry completely before moving on to the next step.
Step 2: Mastering the Application of Antique Mirror Film to Your Glass
Now, we arrive at the truly transformative and exciting part of the project: turning plain, ordinary glass into a beautifully aged, reflective antique mirror. For this particular project, I cleverly utilized 5″x7″ antique mirror film samples, which were an incredible bargain at only 45 cents each – a testament to just how remarkably affordable this DIY endeavor can be! If your frames require a different size, you can purchase larger rolls of the film and cut it to size using a craft knife and cutting mat, ensuring precise edges.
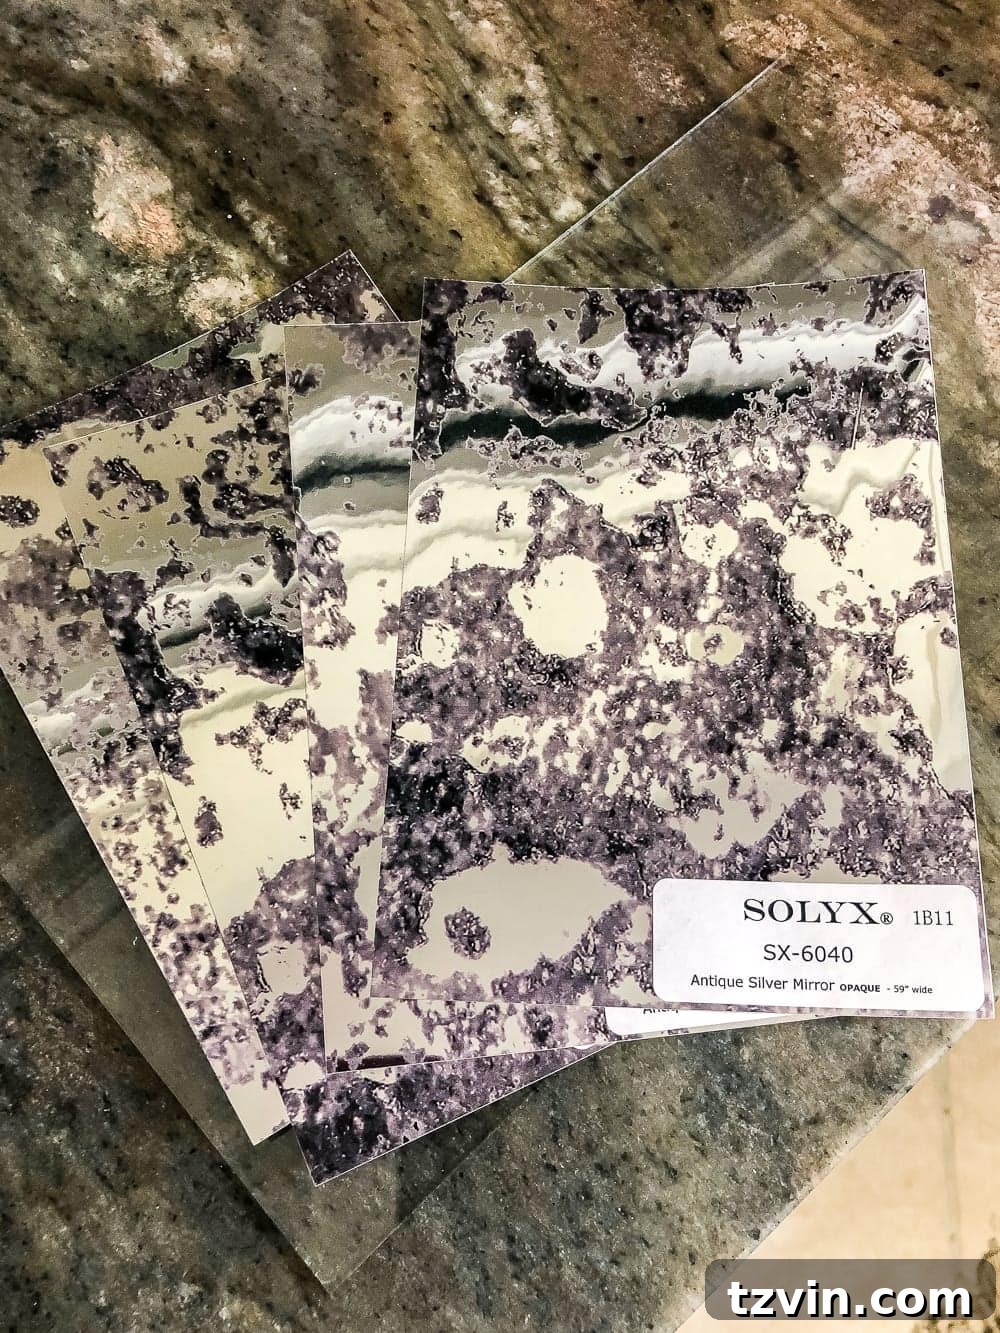
Before beginning the film application, it is absolutely crucial to ensure your glass panels are perfectly clean, sparkling, and completely free of any smudges, fingerprints, or dust particles. Any imperfections on the glass will, unfortunately, show through the film once applied. Carefully peel the protective backing off the antique mirror film. This action usually reveals a slightly adhesive side. Using your spray bottle, generously mist both sides of the glass panel and the adhesive side of the film with plain tap water. The water plays a vital role here; it acts as a “slip solution,” which allows you to easily position the film and, crucially, facilitates the effective removal of any trapped air bubbles.
Carefully place the wet, adhesive side of the film onto the equally wet surface of the glass. The presence of the water will allow you to gently slide and reposition the film until it is perfectly aligned with all the edges of the glass panel. Once optimally positioned, retrieve your credit card or squeegee. Starting from the center of the film and working your way outwards towards the edges, gently but firmly push out all the water and any trapped air bubbles from beneath the film. Apply steady, consistent pressure, slightly overlapping your strokes to ensure every area is thoroughly smoothed. You will visibly see the water and air being meticulously pushed out from under the film. Immediately wipe away any excess water that accumulates around the edges with your soft, lint-free cloth.
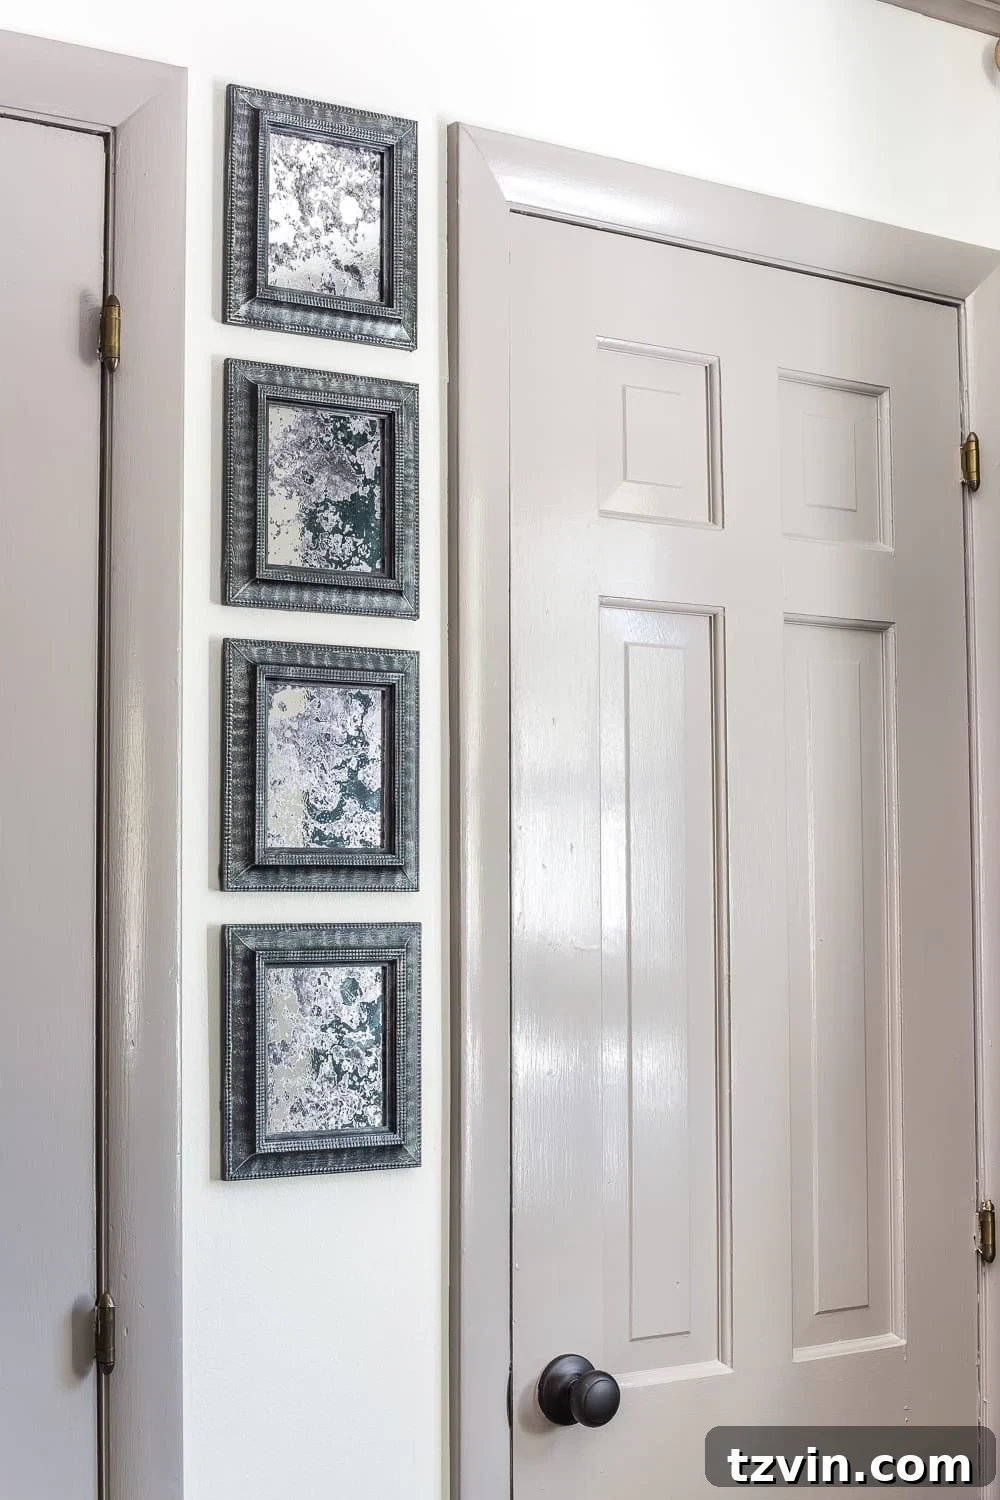
Allow the film-covered glass panels to dry completely. This crucial drying period might take a few hours, or even overnight, as all the water trapped between the film and the glass needs sufficient time to evaporate for the film to fully adhere and cure properly. It’s important to resist the urge to touch or try to re-position the film once you’ve successfully squeegeed it into place, as this could create imperfections.
Step 3: Assembling Your Antique Mirrors and Artfully Styling Your Space
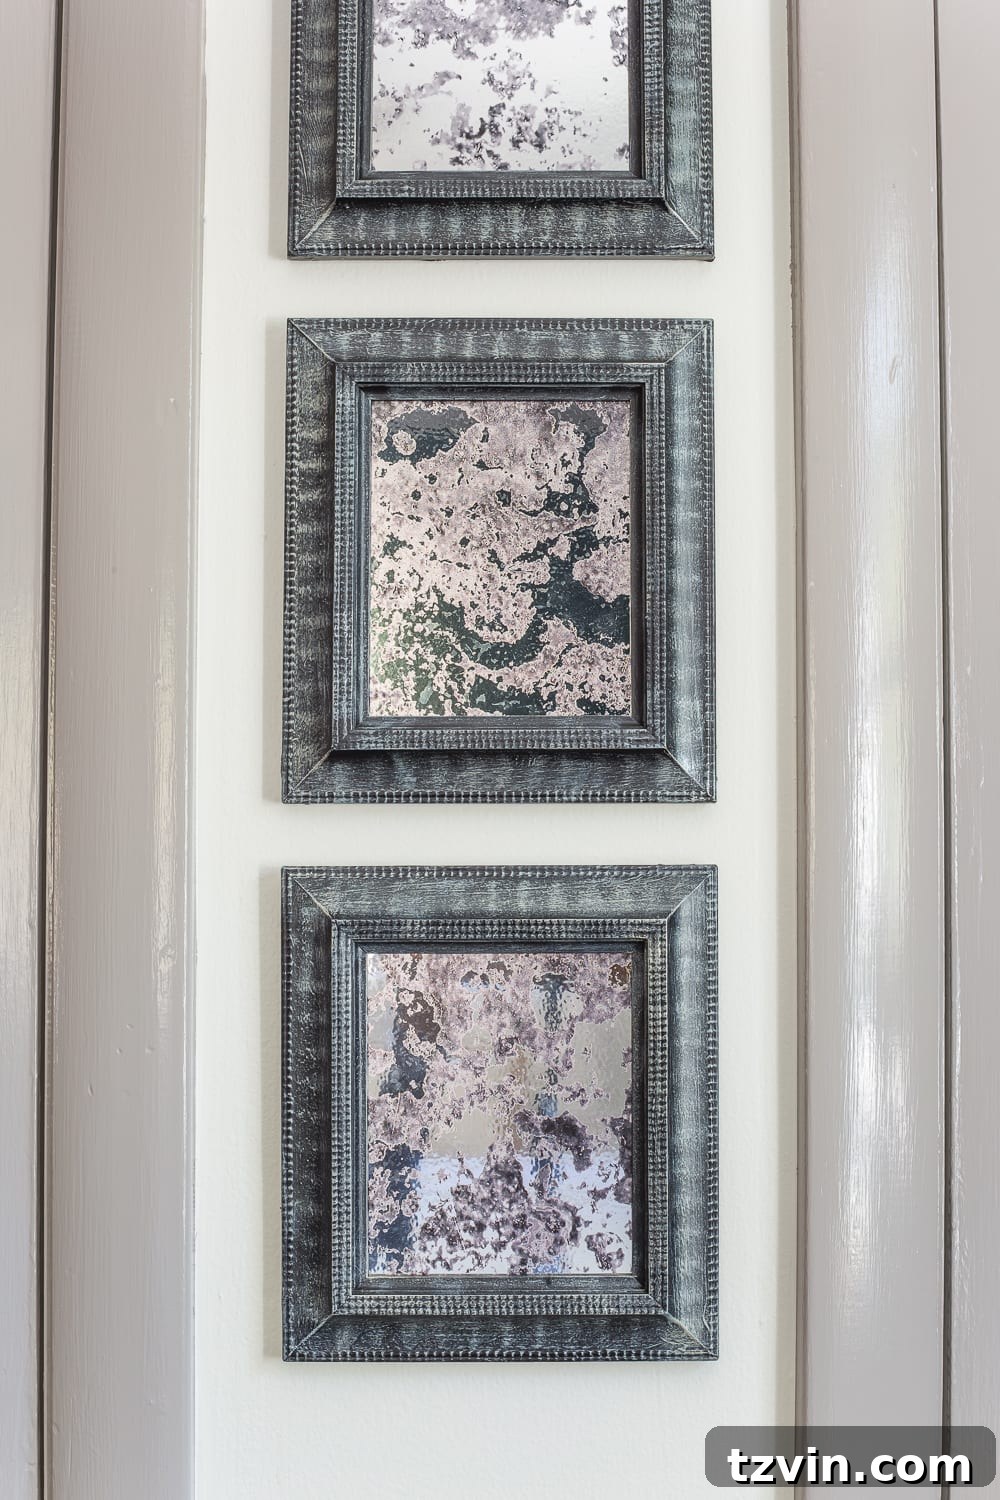
Once both your beautifully painted frames and the antique mirror film-covered glass panels are thoroughly dry and ready, it’s time for the immensely satisfying final assembly! Carefully reinsert the newly mirrored glass back into your picture frames. Ensure they are seated correctly and then secure them firmly in place using the original backing clips, flexible points, or brads, exactly as you would with a regular photograph or piece of art. Take a moment to admire your handiwork – the transformation is truly remarkable!
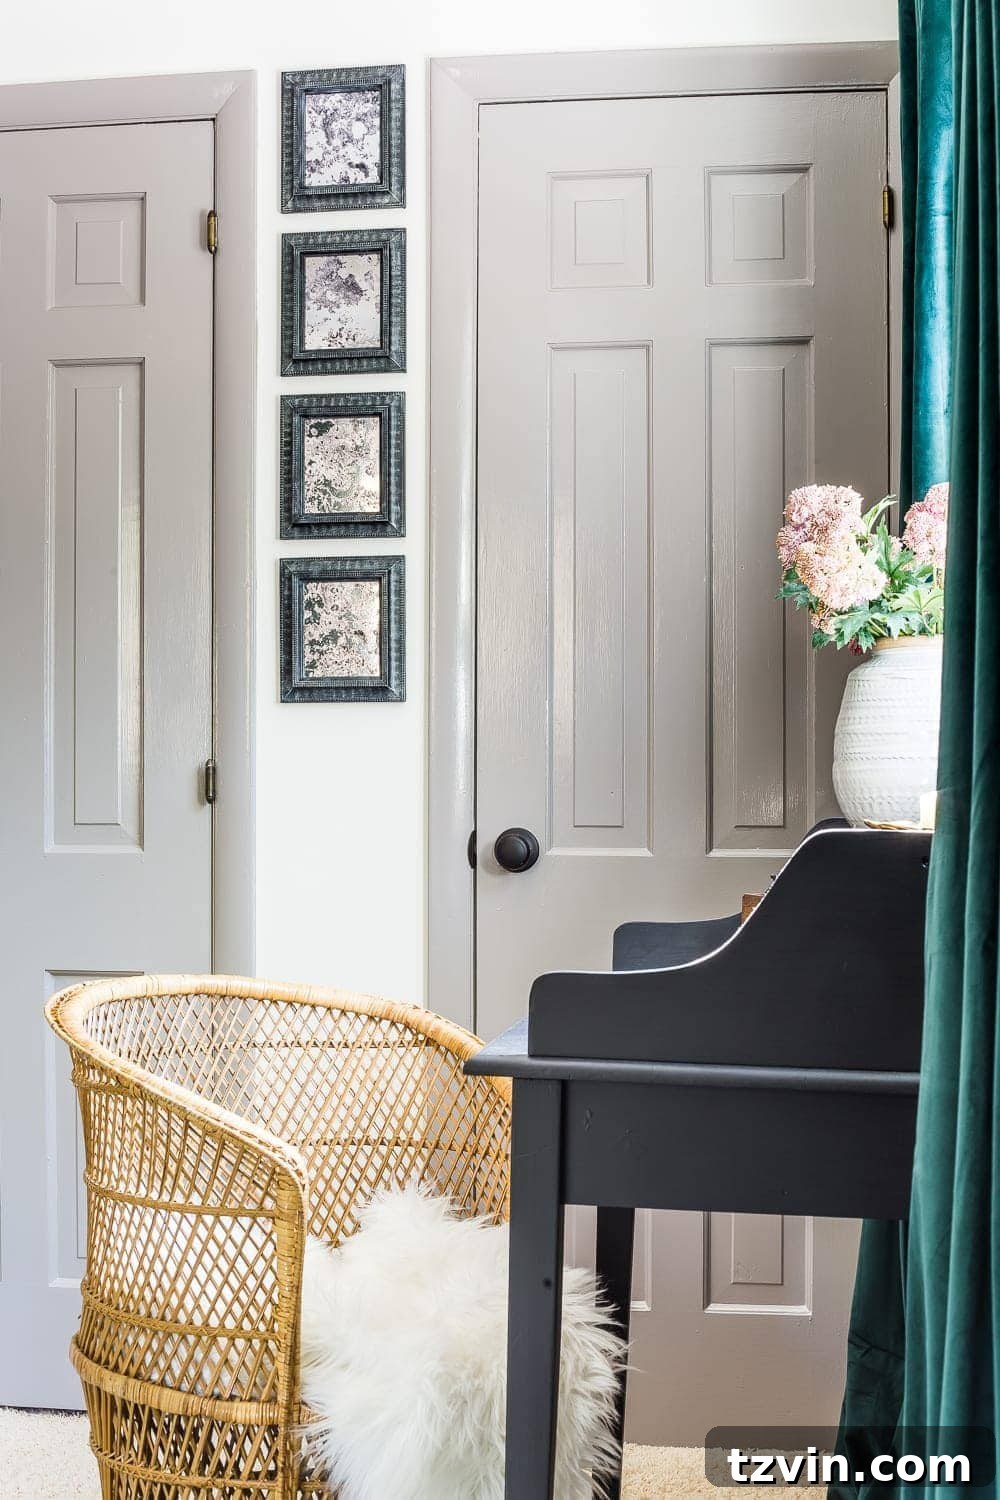
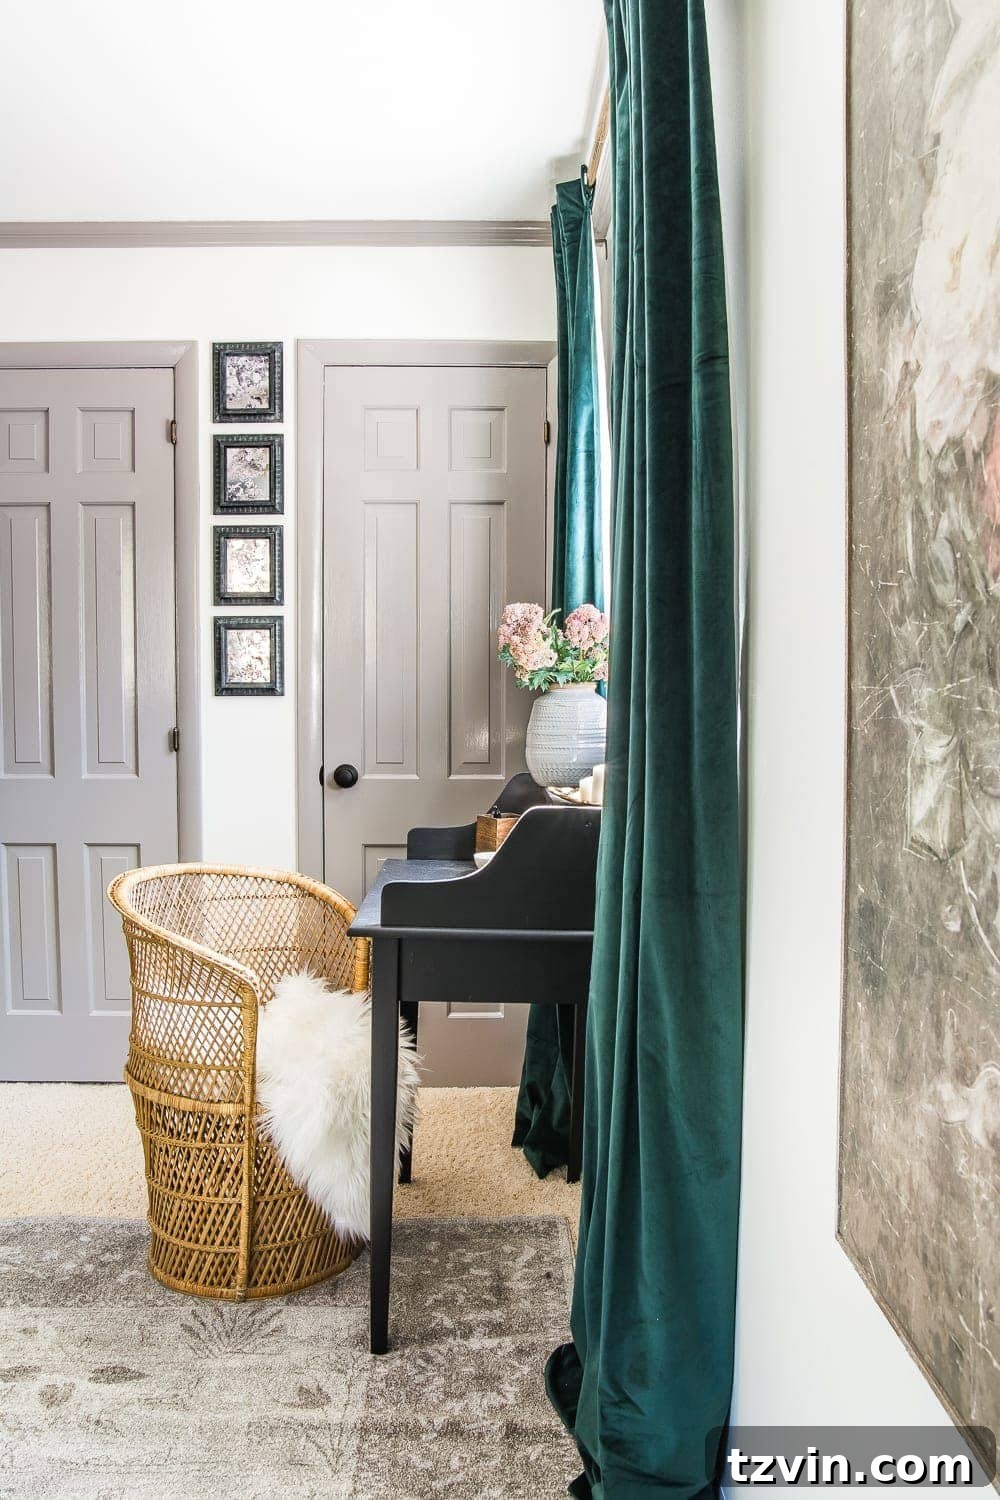
And just like that, you’ve created stunning, custom antique mirrors! I chose to elegantly hang our newly transformed pieces between two closets in our guest bedroom, where they instantly added a touch of sophisticated vintage charm and a sense of expanded space. The inherent beauty of these DIY antique mirrors lies not only in their captivating aesthetic appeal but also in their incredible versatility. They can be artfully arranged in a curated gallery wall, used as standalone decorative pieces atop a mantelpiece or console table, or seamlessly integrated into a larger vignette to create visual interest. Since I already had the necessary paint on hand from previous projects, the total cost for this entire transformation was less than $2 – an absolutely unbeatable value for such a significant and impactful decor upgrade!
Beyond the Project: Embracing the Transformative “Trash to Treasure” Philosophy
This project is much more than simply making pretty mirrors; it’s a profound testament to the power of upcycling and the “Trash to Treasure” philosophy that I deeply cherish and advocate for. Giving forgotten or discarded items a beautiful new purpose is not only an incredibly sustainable practice but also immensely rewarding on a personal level. It empowers us to create unique, personalized decor pieces that tell a story, often for a mere fraction of the cost of purchasing brand-new items. The sheer satisfaction of transforming something old, overlooked, or seemingly useless into a beautiful, highly functional, and cherished piece for your home is truly an unmatched feeling of accomplishment.
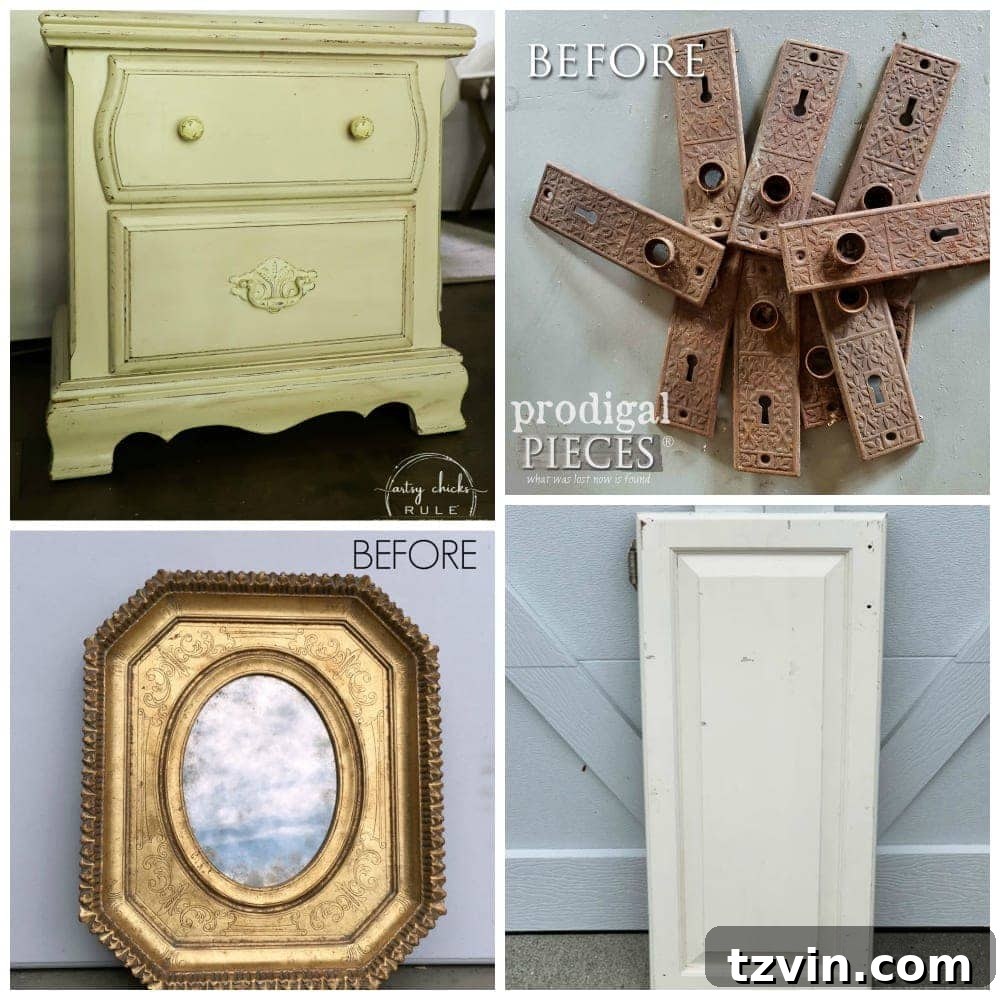
I am constantly inspired by the boundless creativity and ingenuity of fellow DIY enthusiasts who wholeheartedly embrace this ethos. This particular antique mirror project was a proud installment of our monthly “Trash to Treasure Transformation Tuesday” series, where talented bloggers from around the web share their latest and most inspiring upcycling triumphs. It’s always exciting and educational to see how different people ingeniously reimagine and revitalize old objects, breathing new life into them. You can explore even more fantastic transformations from my incredibly talented blogger friends who participated this month:
(Clockwise from top left):
- Artsy Chicks Rule
- Prodigal Pieces
- Confessions of a Serial DIYer
- Girl in the Garage
For an even deeper dive into thrifty and inspiring ideas, you can explore a veritable treasure trove of past T2T Tuesday makeovers right here on my blog.
Conclusion: Your Next Easy & Elegant Home Project Awaits!
Creating your very own DIY antique mirrors from old picture frames is a remarkably simple, incredibly quick, and extraordinarily cost-effective way to infuse a touch of timeless vintage elegance into your home. With the revolutionary convenience and effectiveness of antique mirror film, you can achieve professional-looking results without any of the traditional mess, fuss, or complicated techniques. This project beautifully demonstrates just how effortlessly you can elevate your home decor on a budget, all while savoring the immense satisfaction that comes from a successful handmade transformation.
So, the next time you find yourself browsing the aisles of a thrift store, keep a keen eye out for those forgotten and overlooked picture frames. With just a little paint, some clever antique mirror film, and perhaps 30 minutes of your time, you are just moments away from adding bespoke, timeless charm and sophisticated reflection to any room in your home. Happy DIYing – your stunning new antique mirrors are waiting to be created!