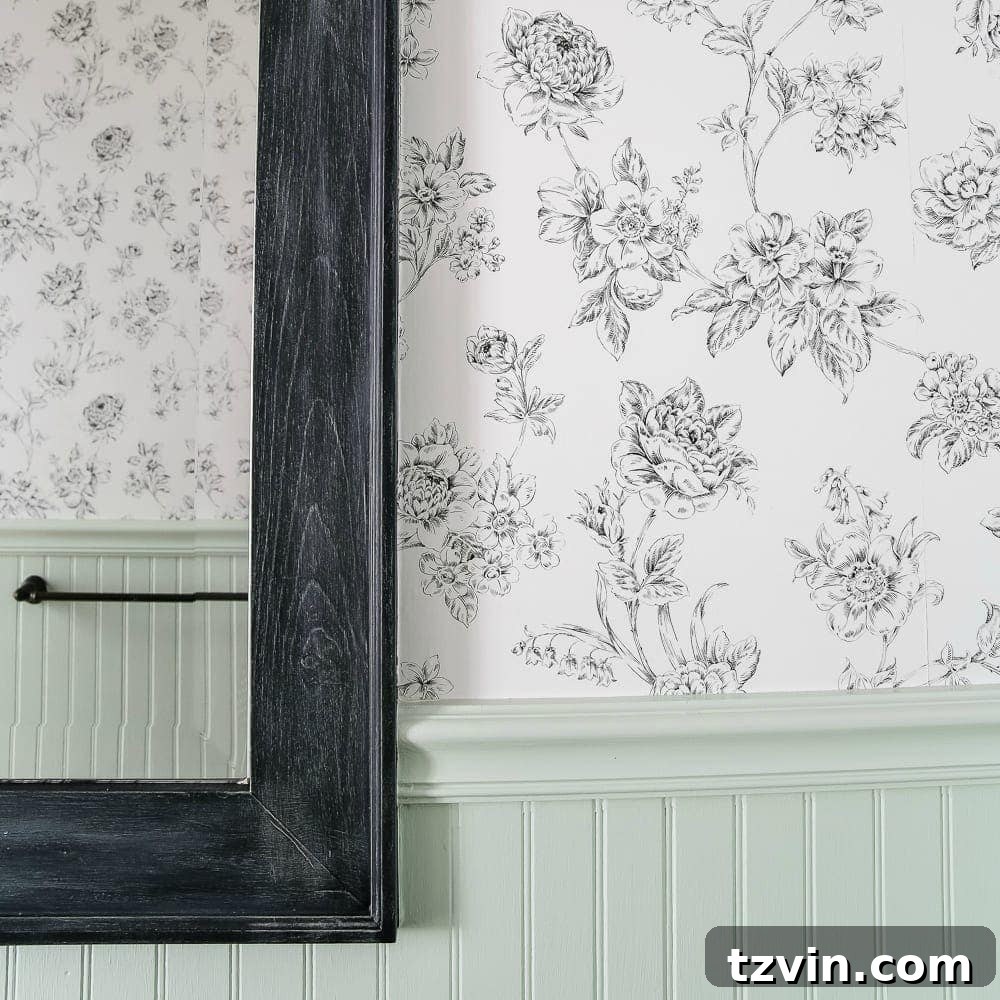
There’s a special kind of bond forged in the crucible of home improvement projects, especially when that project involves a task as legendary (and sometimes feared) as hanging wallpaper. I recently learned that you truly have a good mama when she’s willing to tackle such an endeavor right alongside you, patiently guiding every step.
This experience taught me two invaluable lessons: firstly, the unwavering support of family can make any challenge feel conquerable. And secondly, those daunting home improvement projects that loom so large in our minds are often far less terrifying in reality than we build them up to be.
For years, the whispered warning echoed in my ears: “If you want to test your marriage, try hanging wallpaper together.” This seemingly innocent piece of advice painted a vivid picture of marital strife and exasperation, turning the very thought of wallpapering into a forbidden, marriage-threatening word.
My husband, Robert, and I have navigated numerous DIY adventures with remarkable harmony. We can effortlessly install custom built-ins while cheerfully humming along to our favorite tunes, and we’ve mastered trimming out windows without a single cross word. Yet, the infamous “wallpaper challenge” conjured images of catastrophic arguments, perhaps culminating in one of us being found mummified in floral patterns and unceremoniously stashed in a closet. Such was the power of that particular DIY myth.
Thankfully, we may never have to test that theory ourselves. With Robert immersed in a particularly demanding week at the office, my wonderful mother stepped in to lend her expertise. Having grown up watching her skillfully transform spaces with wallpaper, I seized the opportunity to beg her to share her time-honored techniques. It turned out to be one of the most rewarding decisions!
And you know what? It was surprisingly enjoyable! While perhaps not the kind of “fun” that involves tropical beaches and umbrella drinks, it definitely ranked high on the “let’s conquer this complex 10,000-piece jigsaw puzzle together” scale. It was work, certainly, but undeniably worth the effort. Plus, any excuse to spend quality time with my mom is always a welcome one (no pun intended, of course!).
If you, like I was, are a complete novice when it comes to the art of wallpapering, you’re in the right place. I’m thrilled to share the invaluable tips and tricks I picked up during our recent project. (Please forgive the less-than-perfect photography ahead; the lighting in our powder room presented a bit of a challenge. Nevertheless, the visuals should still provide clarity for each step.)
The Ultimate Beginner’s Guide to Hanging Wallpaper Like a Pro
(Eager to see the stunning final transformation of our powder room? Click here for the complete “after” reveal and tour!)
Why Choose Wallpaper for Your Next Home Project?
Wallpaper has made an incredible comeback in interior design, and for good reason. Beyond simply adding color, wallpaper introduces depth, texture, and an undeniable personality to any room. It can transform a bland space into a vibrant focal point, create a cozy ambiance, or even mimic the look of more expensive materials like brick or wood paneling. For those looking to infuse a unique character and sophisticated touch into their homes, wallpaper offers unparalleled versatility and impact. It’s a powerful tool for self-expression, allowing you to create a truly bespoke environment that reflects your individual style.
Essential Supplies for a Seamless Wallpaper Installation
Supplies You’ll Need: (Some affiliate links are provided below for your convenience, helping you find the right tools for the job.)
- Wallpaper size (or wallpaper primer): This crucial step prepares your walls, allowing for easier repositioning of the paper and better adhesion. Don’t skip it!
- Wallpaper of your choice: We opted for this beautiful black and white floral pre-pasted vinyl wallpaper, which simplified the application process.
- Trough or extra-large paint tray: Essential for wetting pre-pasted wallpaper. Ensure it’s large enough to comfortably submerge your cut strips.
- Plumb bob or laser level: For drawing perfectly vertical lines, guaranteeing your first strip is straight – a critical foundation for the entire project.
- Pencil: For marking cutting lines, plumb lines, and pattern matches.
- Wallpaper paste and paste brush: If your chosen wallpaper isn’t pre-pasted, a high-quality paste and brush are indispensable for proper adhesion.
- Tape measure: For accurate measurements of wall height and wallpaper strips.
- Scissors: For initial cuts and trimming around obstacles.
- L square tool (optional but highly recommended): Helps ensure perfectly straight cuts on your wallpaper strips.
- Sponge: For wiping away excess paste and cleaning tools.
- Clean, damp rags: Keep these handy for quick clean-ups and smoothing.
- Paper hanging brush or plastic smoother: Crucial for pressing out air bubbles and ensuring a smooth, even surface.
- Metal edge (or straightedge): Provides a clean guide for trimming wallpaper precisely along edges.
- Utility knife and plenty of sharp blades: A sharp blade is paramount for clean cuts and preventing tears. Change blades frequently!
- Seam roller: Used to flatten and secure the seams between wallpaper panels, creating a professional finish.
- Sturdy ladder or step stool: Safety first! Ensure you can comfortably reach the top of your walls.
- A friend willing to help out: While some steps can be done solo, a second pair of hands makes the process significantly easier and more enjoyable.
- Long work table (a must!): Provides ample space for measuring, cutting, and pasting your wallpaper strips.
Your Step-by-Step Guide to Flawless Wallpaper Application
1. Prepare Your Walls Thoroughly: Before you even think about unrolling your first strip, ensure your walls are immaculate. This means they should be perfectly smooth, clean, and dry. If your walls are currently painted a dark color and you plan to use a light or white wallpaper, it’s essential to paint them first with a white paint or a dedicated wallpaper primer. This prevents any dark colors from showing through, as not all wallpapers are completely opaque.
2. Address Imperfections: Any existing nail holes, cracks, or uneven patches should be filled with spackle and then sanded perfectly smooth. Old wallpaper must be completely removed to ensure proper adhesion and a smooth finish for your new paper. A perfectly prepared surface is the secret to a professional-looking result.
3. Apply Wallpaper Size or Primer: The night before you plan to hang your wallpaper, apply a coat of wallpaper size or a specialized wallpaper primer to your walls. This step is absolutely KEY. Wallpaper size creates a slick surface that allows you crucial “wiggle room” to reposition and slide your wallpaper into place. This flexibility is invaluable when you need to perfectly match patterns and align strips, especially for beginners. It also helps the wallpaper adhere better and makes future removal easier.
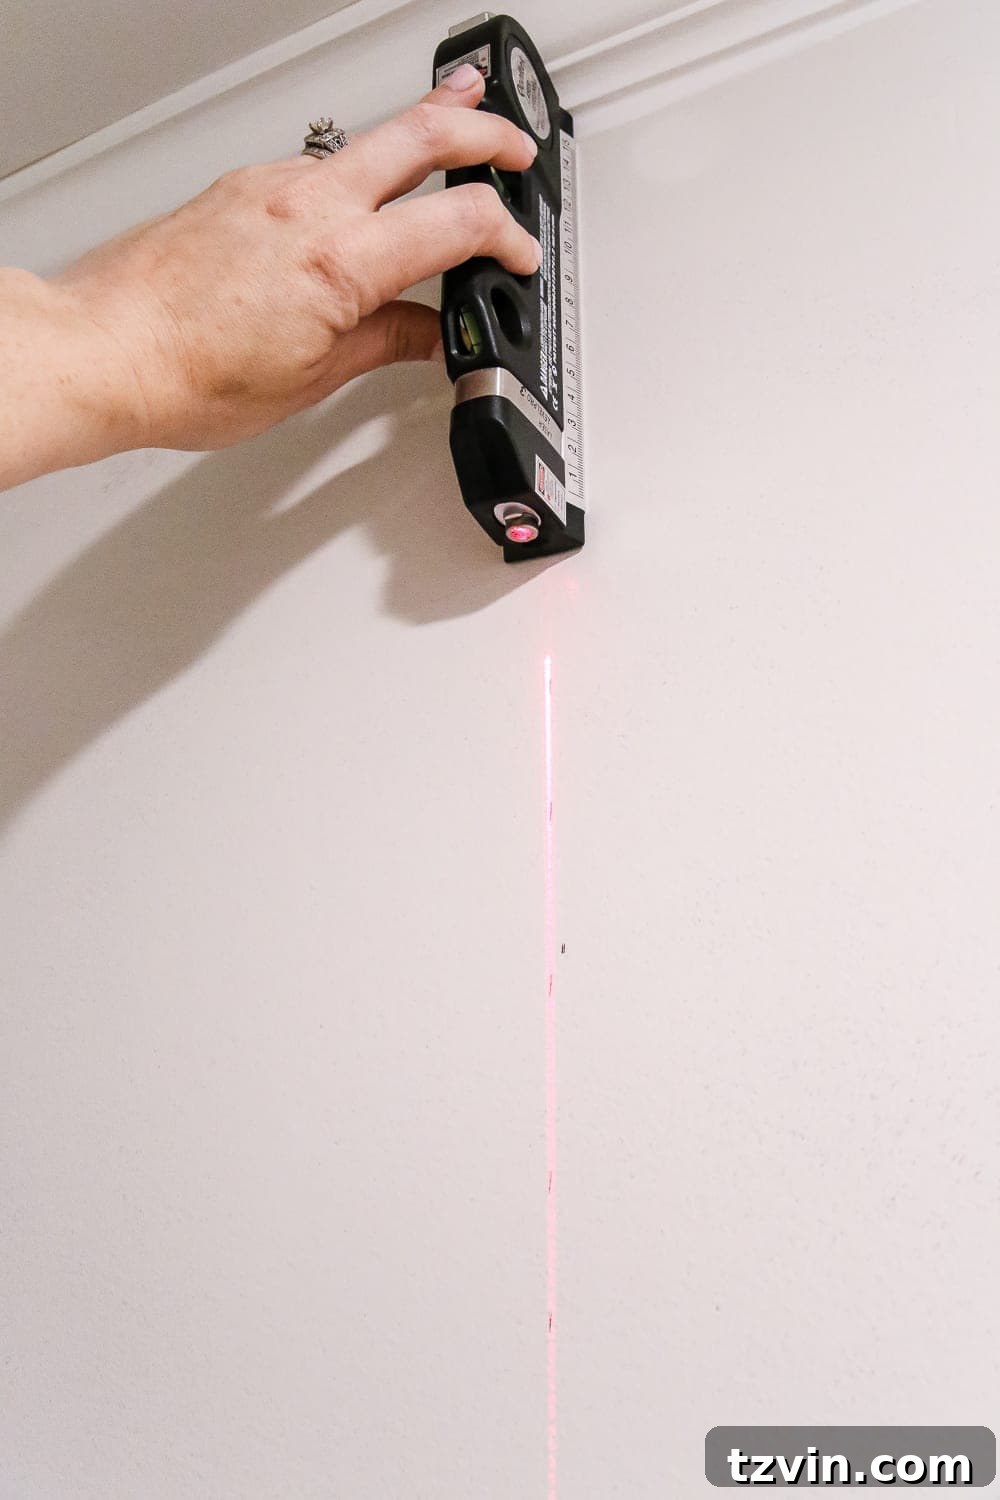
4. Determine Your Starting Point: Do not start in a corner, as corners are rarely perfectly square and can lead to immediate frustration. Instead, choose a flat, prominent wall. Ideally, this first wall should be free of obstacles like light switches, windows, or doorways. Starting on a straightforward section allows you to get comfortable with the hanging process before tackling more complex areas. Once you’ve chosen your wall, use a plumb bob (hanging it from the ceiling down to the floor) or a laser level to mark a perfectly straight, vertical line with a pencil. This line will be your guide for hanging the very first strip, ensuring it’s plumb and sets the standard for all subsequent panels.
5. Measure Your First Strip: Using a tape measure, carefully determine the height of your wall from ceiling to baseboard. To this measurement, add an extra 4 inches. This overhang provides enough slack for precise trimming at both the top and bottom, ensuring a clean edge even if your ceiling or floor isn’t perfectly level.
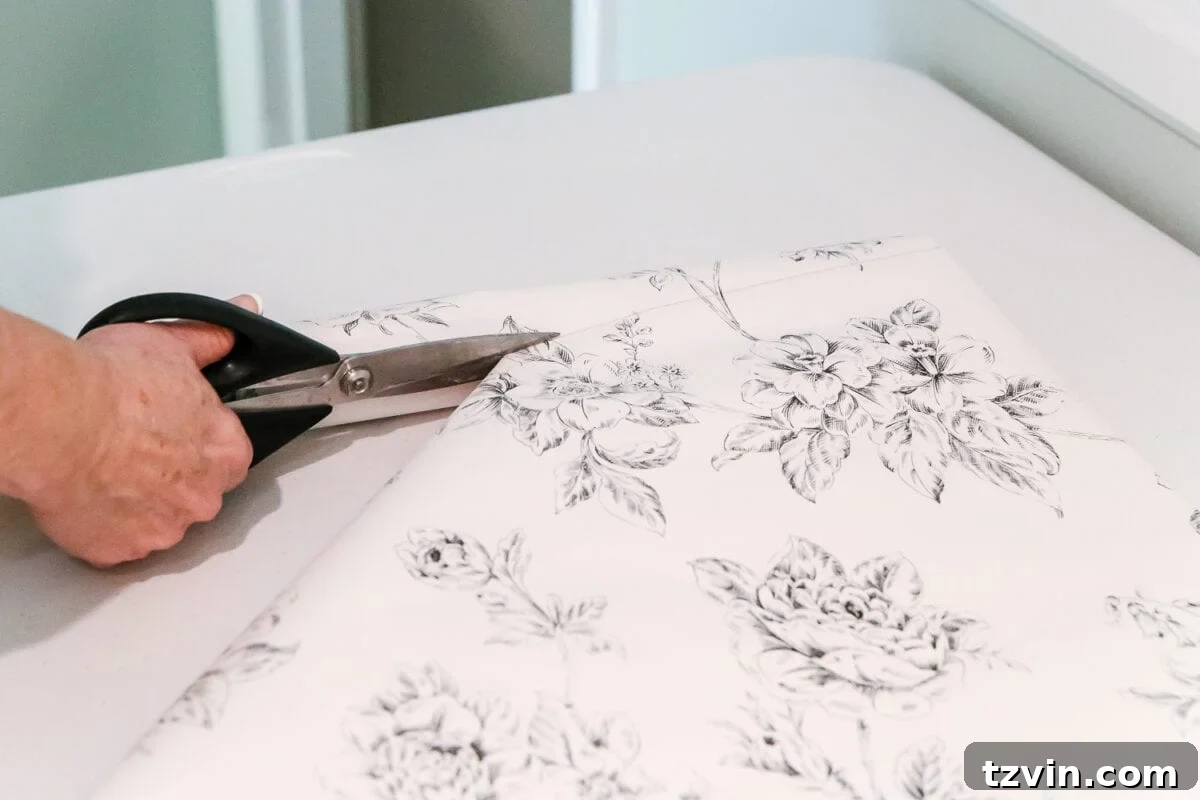
6. Plan Your Pattern & Cut: Unroll your wallpaper onto your long work table. Decide where you want the top of your wallpaper pattern to begin on the wall. Align the top of your measured strip with this desired starting point. Using an L square tool and your pencil, mark a perfectly straight line across the wallpaper at the length determined in Step 5. If your wallpaper has a repeating pattern, now is also the time to consider how your next strip will align to ensure a continuous design. Often, you’ll need to account for a “pattern repeat” which might mean cutting off excess to match perfectly with the previous strip.
7. Execute the Cut: With a sharp pair of scissors or your utility knife and metal edge, carefully cut your wallpaper precisely along the line you just marked. Remember, a clean, straight cut here will make hanging much easier.
8. Activate the Paste (Pre-pasted or Applied):
- For Pre-Pasted Wallpaper: Carefully roll your cut strip so the backing faces outwards. Submerge the rolled paper into your water-filled trough. Slowly unroll it under the water, ensuring every inch of the backing is thoroughly wet. Alternatively, if using a large, flat paint tray, you can lay the paper flat, face down, and submerge it to wet the backing.
- For Non-Pasted Wallpaper: Lay your wallpaper strip backing-side-up on your clean work table. Using your paste brush or a roller, apply an even, generous layer of wallpaper paste across the entire backing surface. Ensure complete coverage right up to the edges.
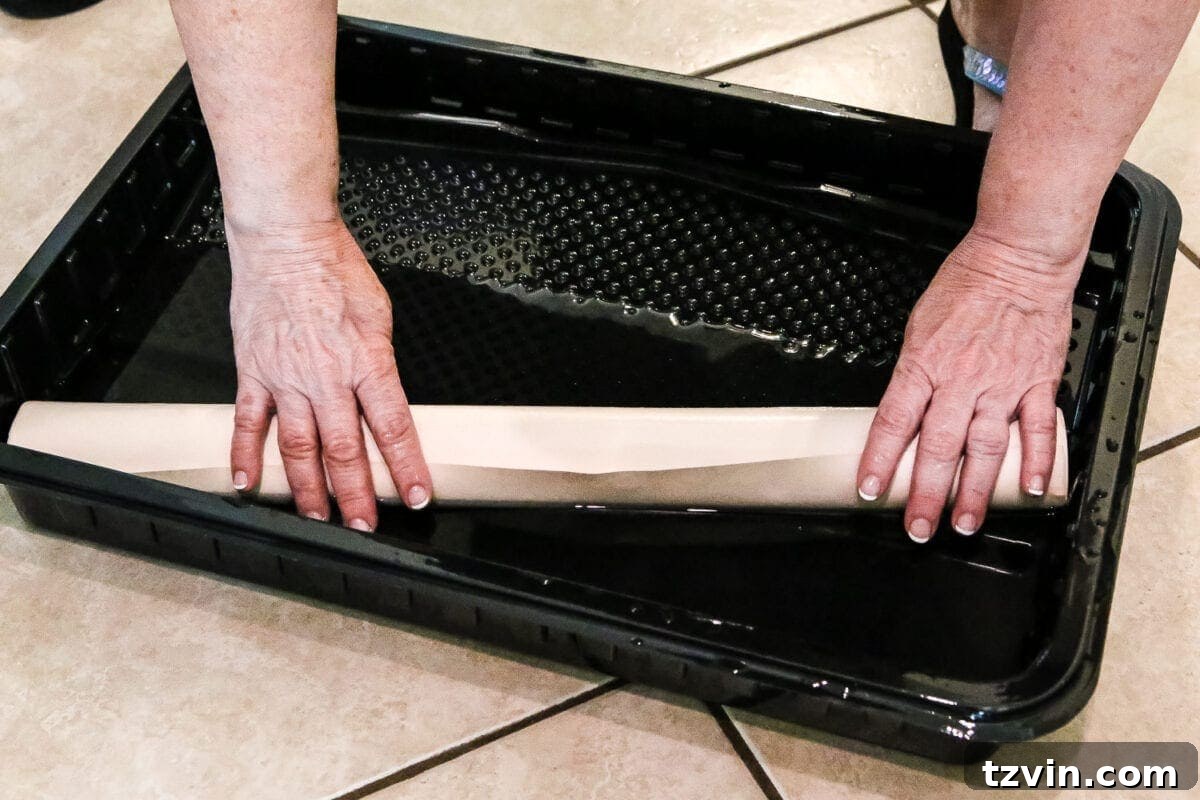
9. “Book” the Paper for Optimal Adhesion: Once wet or pasted, gently fold the paper from both ends onto itself, backing-to-backing, without creasing it. This technique is known as “booking the paper.” The goal is to allow the paste to activate evenly and to relax the paper, making it more pliable and easier to handle. Let the booked paper sit for 2-3 minutes. This “resting” time is crucial for the paste to achieve its full tackiness. While it rests, clean your work table thoroughly with a damp sponge and dry it with rags, preparing for your next panel. This prevents any stray paste from adhering to the front of your next strip.
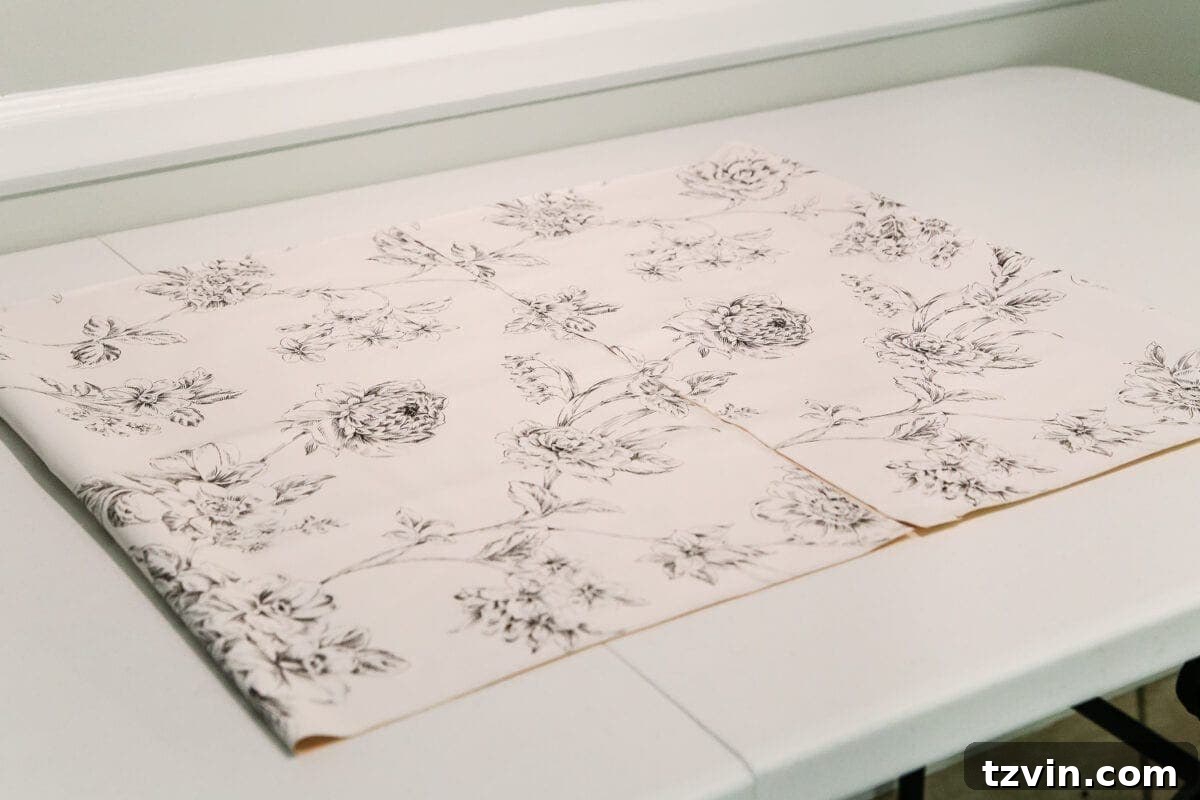
10. Position the First Panel (Two-Person Job Highly Recommended): This is where having a helping hand truly shines. Carefully unfold your booked wallpaper, holding it from the top. Position the top edge of the paper at your desired starting point on the wall, allowing for the 2-inch overhang you accounted for at the ceiling.
11. Align with Your Plumb Line: Gently press the edge of the wallpaper against your marked plumb line, working from top to bottom. Use the line as your unwavering guide to ensure the strip hangs perfectly straight. The wallpaper size applied earlier will allow you to carefully slide and adjust the paper as needed.
12. Smooth Out Bubbles and Excess Paste: Once the strip is aligned, use your paper hanging brush or plastic smoother to firmly press the wallpaper against the wall. Work from the center outwards, pushing any trapped air bubbles or excess paste towards the edges. Wipe away any oozing paste immediately with a clean, damp sponge or rag. This smoothing process might take a few minutes, but patience here ensures a flawless, bubble-free finish.
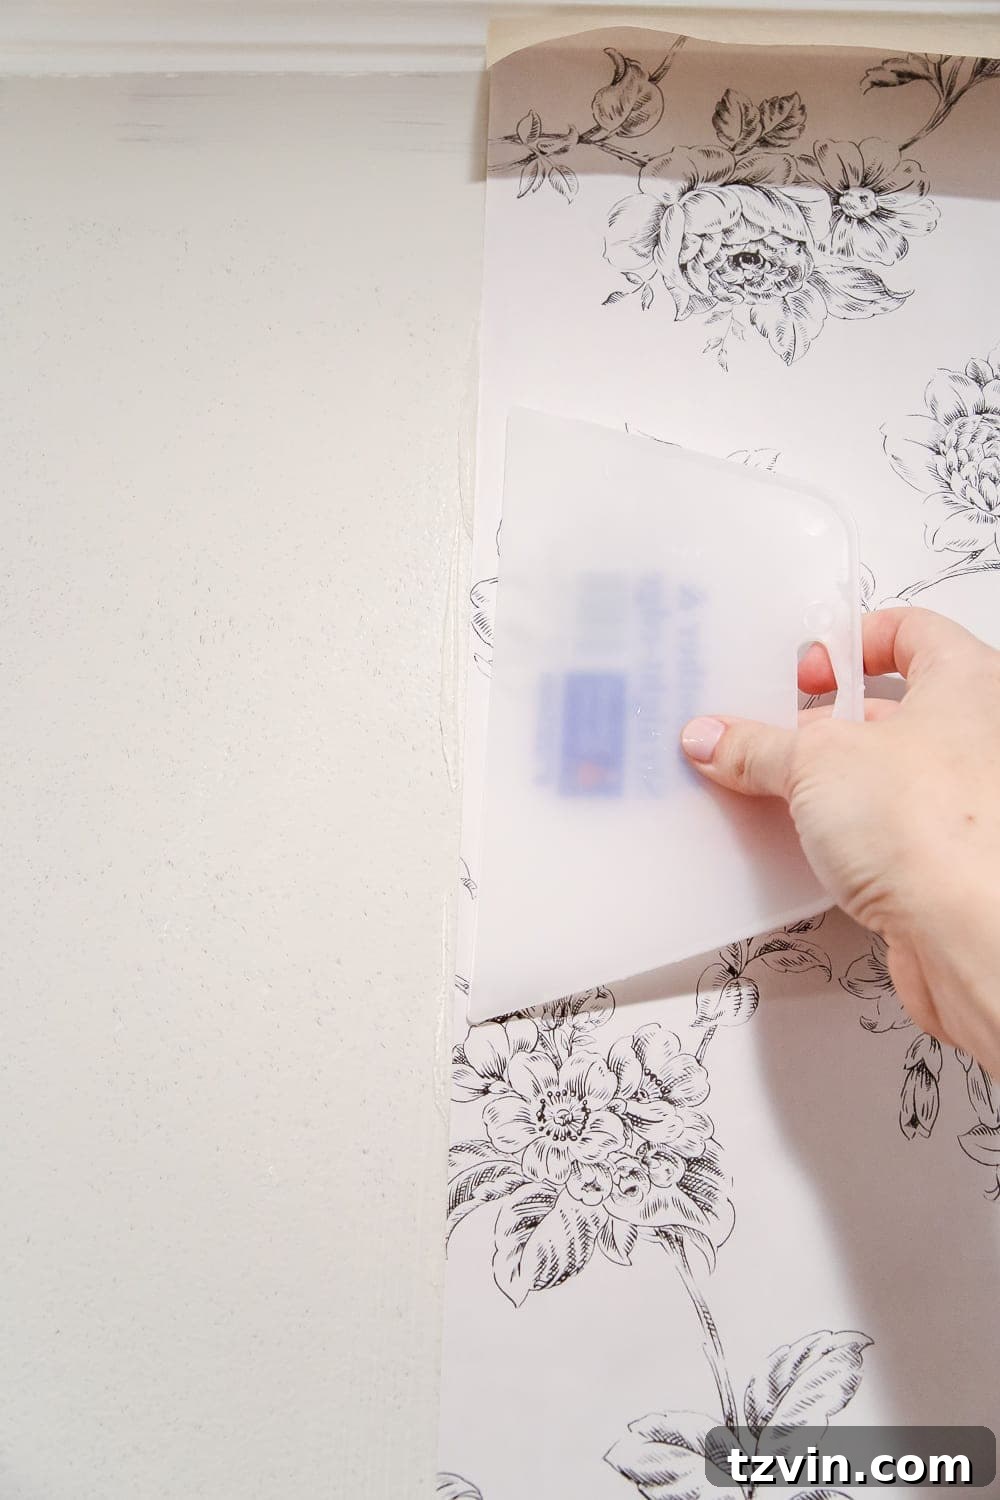
13. Trim the Excess: With the panel firmly smoothed, use your metal edge tool to press the wallpaper tightly into the seam where the wall meets the ceiling and the baseboard. Then, carefully cut away the excess paper using a very sharp utility knife blade. Always use a fresh blade for each cut to prevent tearing and achieve the cleanest lines. This step should be done with precision for a professional edge.
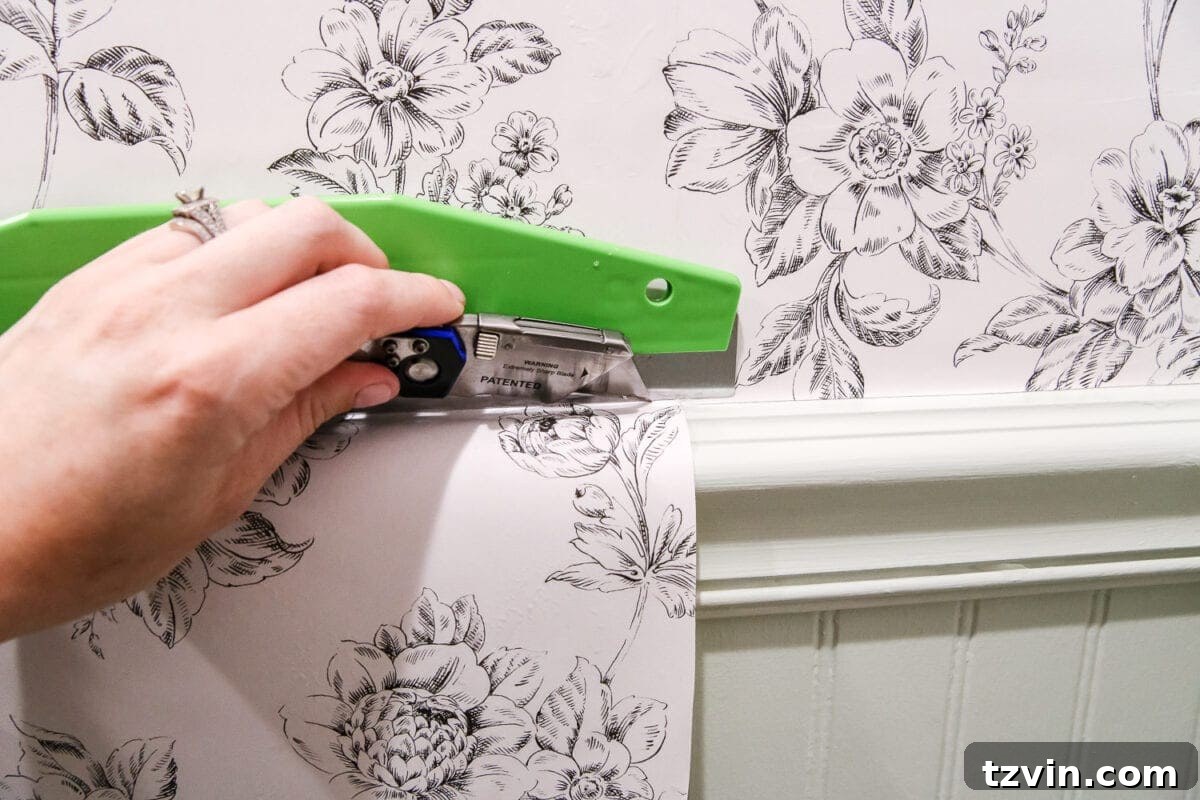
14. Prepare Subsequent Panels with Pattern Matching: For every panel after the first, repeat the measuring, cutting, and pasting process. However, a critical addition now is pattern matching. Unroll your paper and align it with the previously hung strip to find where the pattern seamlessly continues. This often means you’ll need to cut off a portion of the top of the roll to match the design, resulting in some paper waste. Don’t worry, this is normal and necessary for a professional look. Always cut one panel at a time to ensure accurate matching.
15. Hang and Align the Next Panel: Hang the next prepared panel immediately adjacent to the first, ensuring the edges meet perfectly without overlapping. The wallpaper size applied earlier will be your best friend here, allowing you to gently slide the paper around on the wall until the patterns align flawlessly. Take your time to achieve a near-invisible seam.
16. Seal the Seams: After smoothing and trimming your second panel (and all subsequent panels), use your seam roller to gently press down along all the seams where two panels meet. This helps to flatten the edges and ensures a secure bond, making the seams less visible and preventing them from lifting over time.
17. Navigate Obstacles and Corners: When you encounter light switches, outlets, windows, or corners, keep your sharp scissors handy. For outlets/switches, turn off the power, remove the cover plate, and cut a small “X” over the opening. Then trim carefully around the perimeter, leaving a small overlap to be covered by the plate. For corners, wrap the paper around the corner by about 1/2 inch, then start your next strip slightly overlapped (about 1/8 inch) from the corner, using a plumb line for that strip. Trim away the overlap for a clean, straight corner. For windows and doors, trim the paper roughly, then press it into the trim edge with your metal edge and cut precisely with your utility knife.
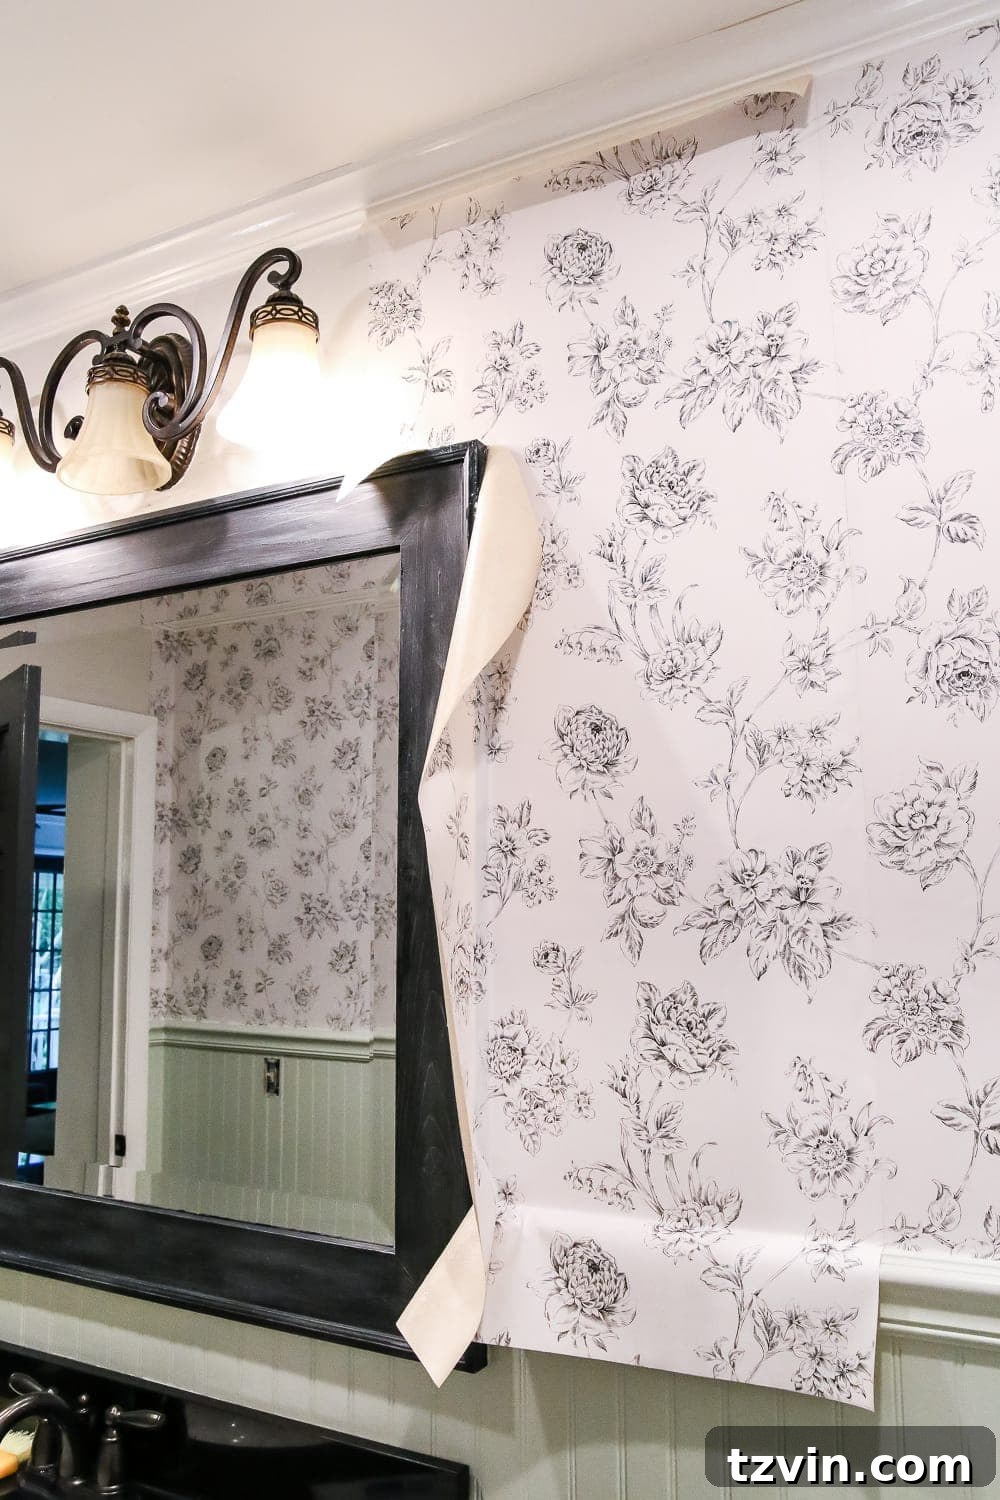
18. Monitor for Air Bubbles: As the paste begins to dry, keep a vigilant eye on all previously hung panels for any emerging air bubbles. These can appear as the paper dries and relaxes. If you spot any, gently smooth them out with your paper hanging brush or plastic smoother, working from the center of the bubble towards its nearest edge. For stubborn bubbles, you can carefully use a sharp pin to prick a tiny hole and then press out the trapped air. Wipe away any expelled paste immediately.
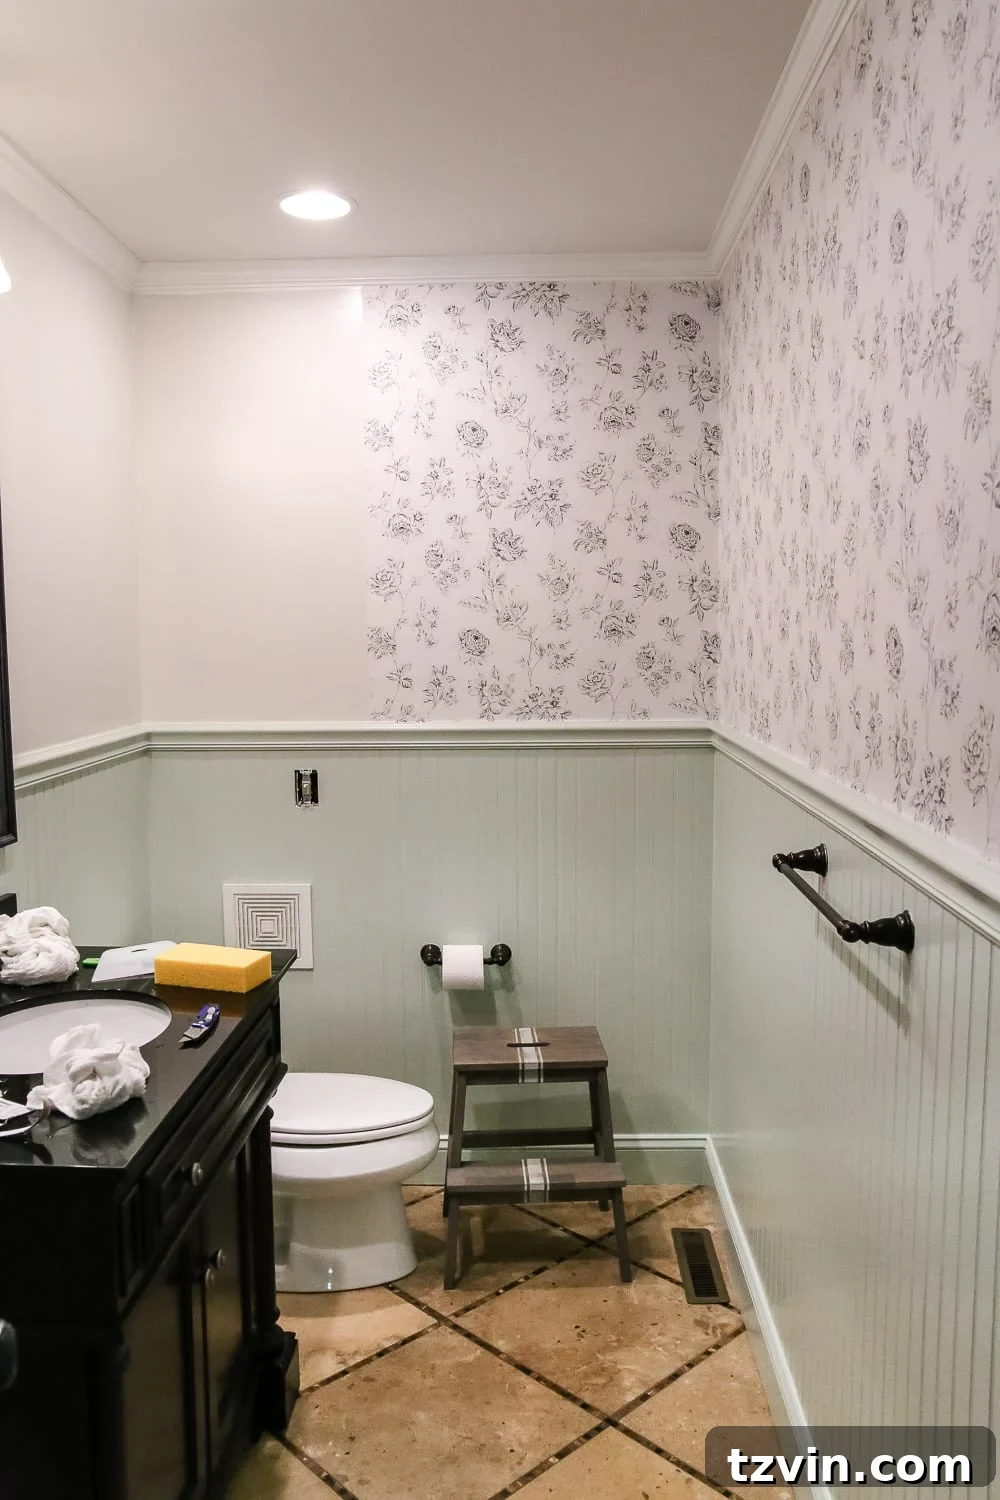
The Rewarding Outcome and Future Visions
While the entire process took us nearly a full day, the results were absolutely beautiful and incredibly rewarding! Beyond the aesthetic transformation, I gained a new skill and confidence. Perhaps Robert and I will attempt it again someday without my mom’s expert guidance, now that we’re better equipped to handle the perceived pressure.
The widely-held belief that wallpapering is a nightmare project is, in my experience, a significant exaggeration. It’s not nearly as dreadful as some people make it seem. With the right preparation, tools, and a little patience (and maybe a good mom!), it’s a perfectly achievable DIY.
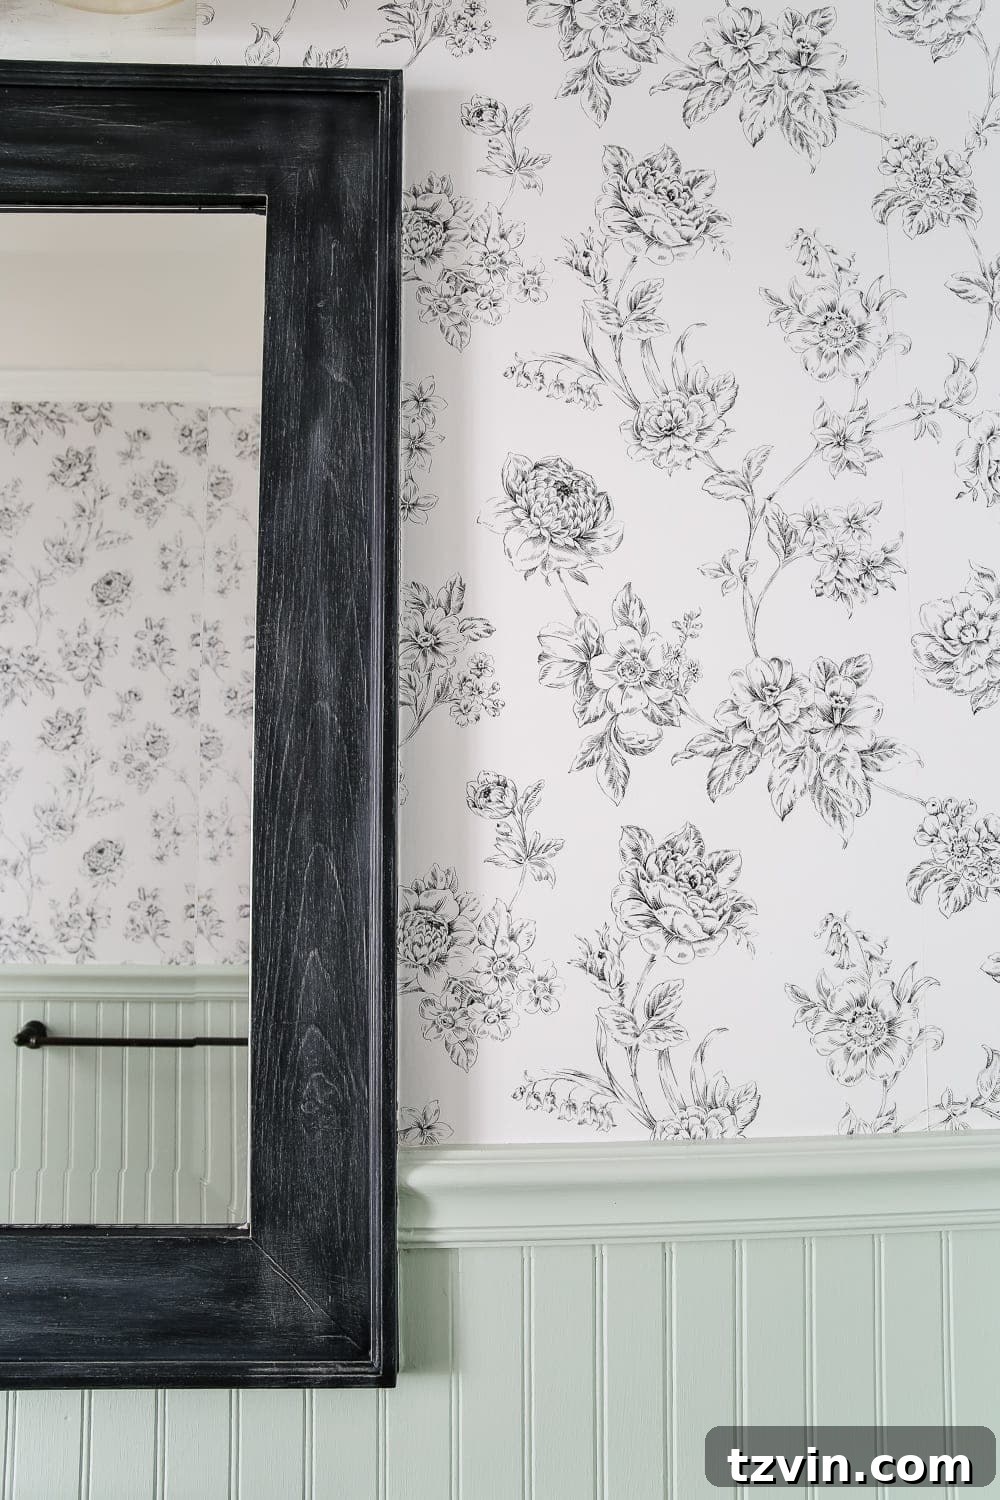
This wallpaper installation has truly brought the vision for this space to life. If you’ve been following our journey, you’ll know that the floor in these photos is totally different now! I am absolutely buzzing with excitement to see how it transforms once the new hexagon tile is finally installed. (I recently shared some of my favorite tile selections, which you can check out if you’re looking for inspiration!)
Pretty soon, all the heavy lifting and challenging tasks will be behind us, and we can dive into the truly fun part: tweaking the delightful details and bringing in all the decorative elements to complete this stylish powder room makeover.
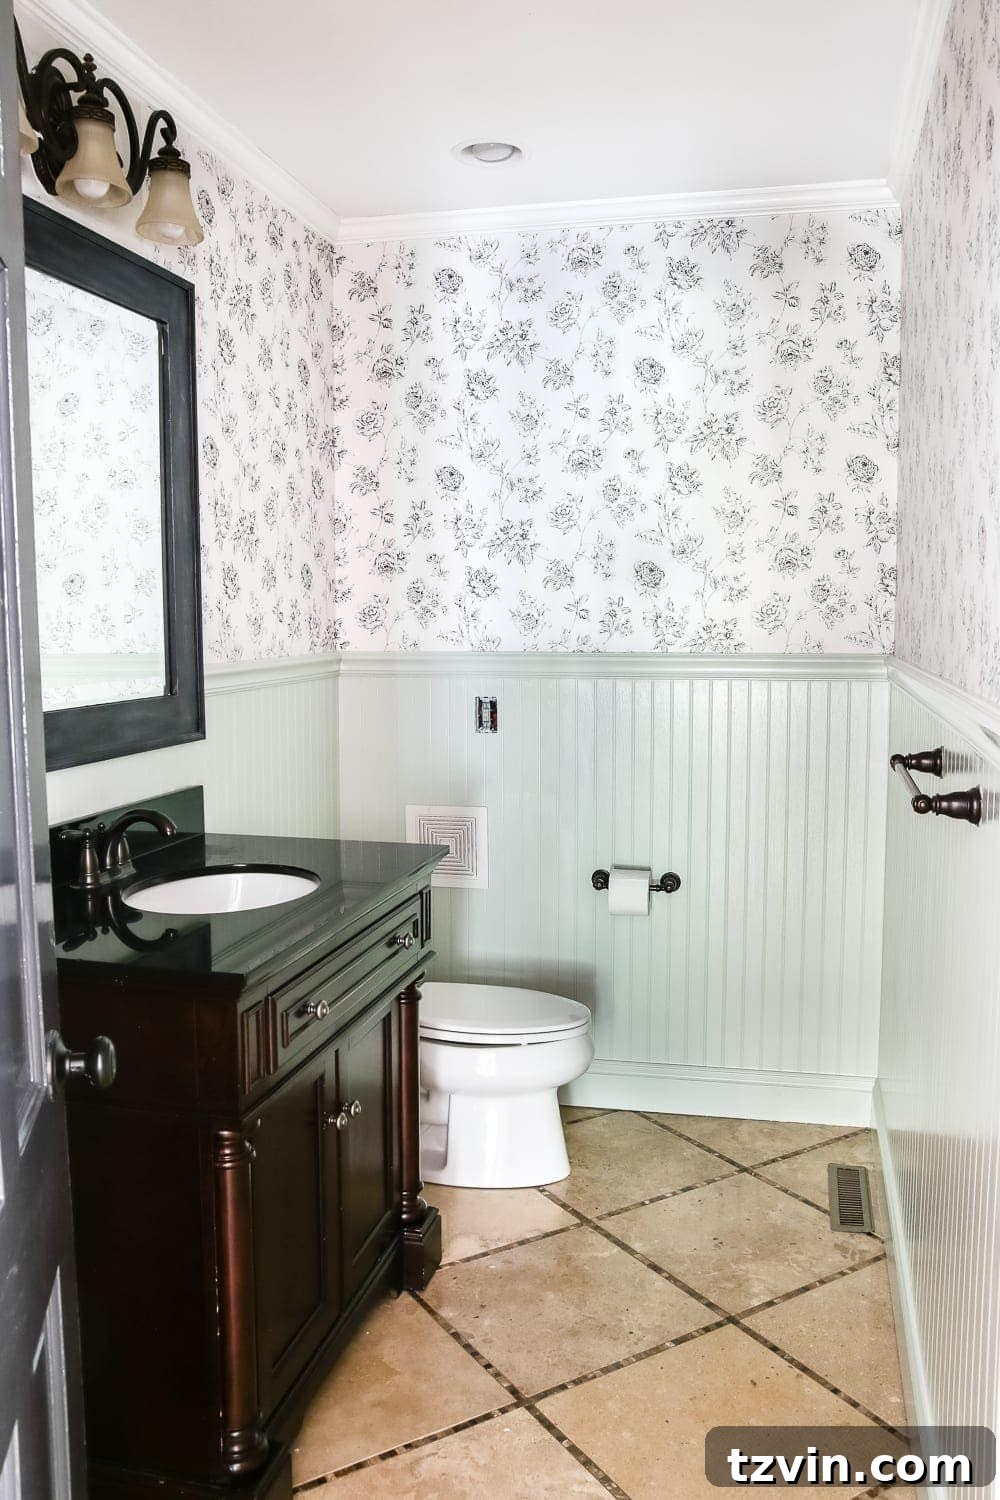
Share Your Wallpaper Wisdom!
Have you ever ventured into the world of wallpapering? Do you have any brilliant tricks of the trade or unique insights you’ve discovered along the way? I’d love to hear your experiences in the comments below! Also, what are your thoughts on the vintage-meets-modern direction we’re taking with this powder room so far? I’m absolutely captivated by the idea of introducing some warm antique brass accents – swoon! – and can’t wait to see how it all comes together.
Our Powder Room Makeover To-Do List: Progress Report
Here’s a quick glance at where we currently stand with our powder room transformation:
Paint bead board(Benjamin Moore Hollingsworth Green) – Complete!Paint over orange wall– Complete!Paint mirror frame(tutorial on that coming soon) – Complete!Hang wallpaper– Big Check! This guide is proof!- Swap out light fixture
- Swap out towel bar / TP holder
Paint inside of door– Complete!Paint door trim and crown molding– Complete!- Install new sink faucet
- Gray wash vanity
Rip out tile floor– Complete!- Install hexagon tile floor
- Decorate! – The most exciting part!
P.S. If you’re feeling inspired to embark on your own wallpapering journey, don’t miss this post featuring 30 of my favorite budget-friendly modern farmhouse wallpaper designs: