
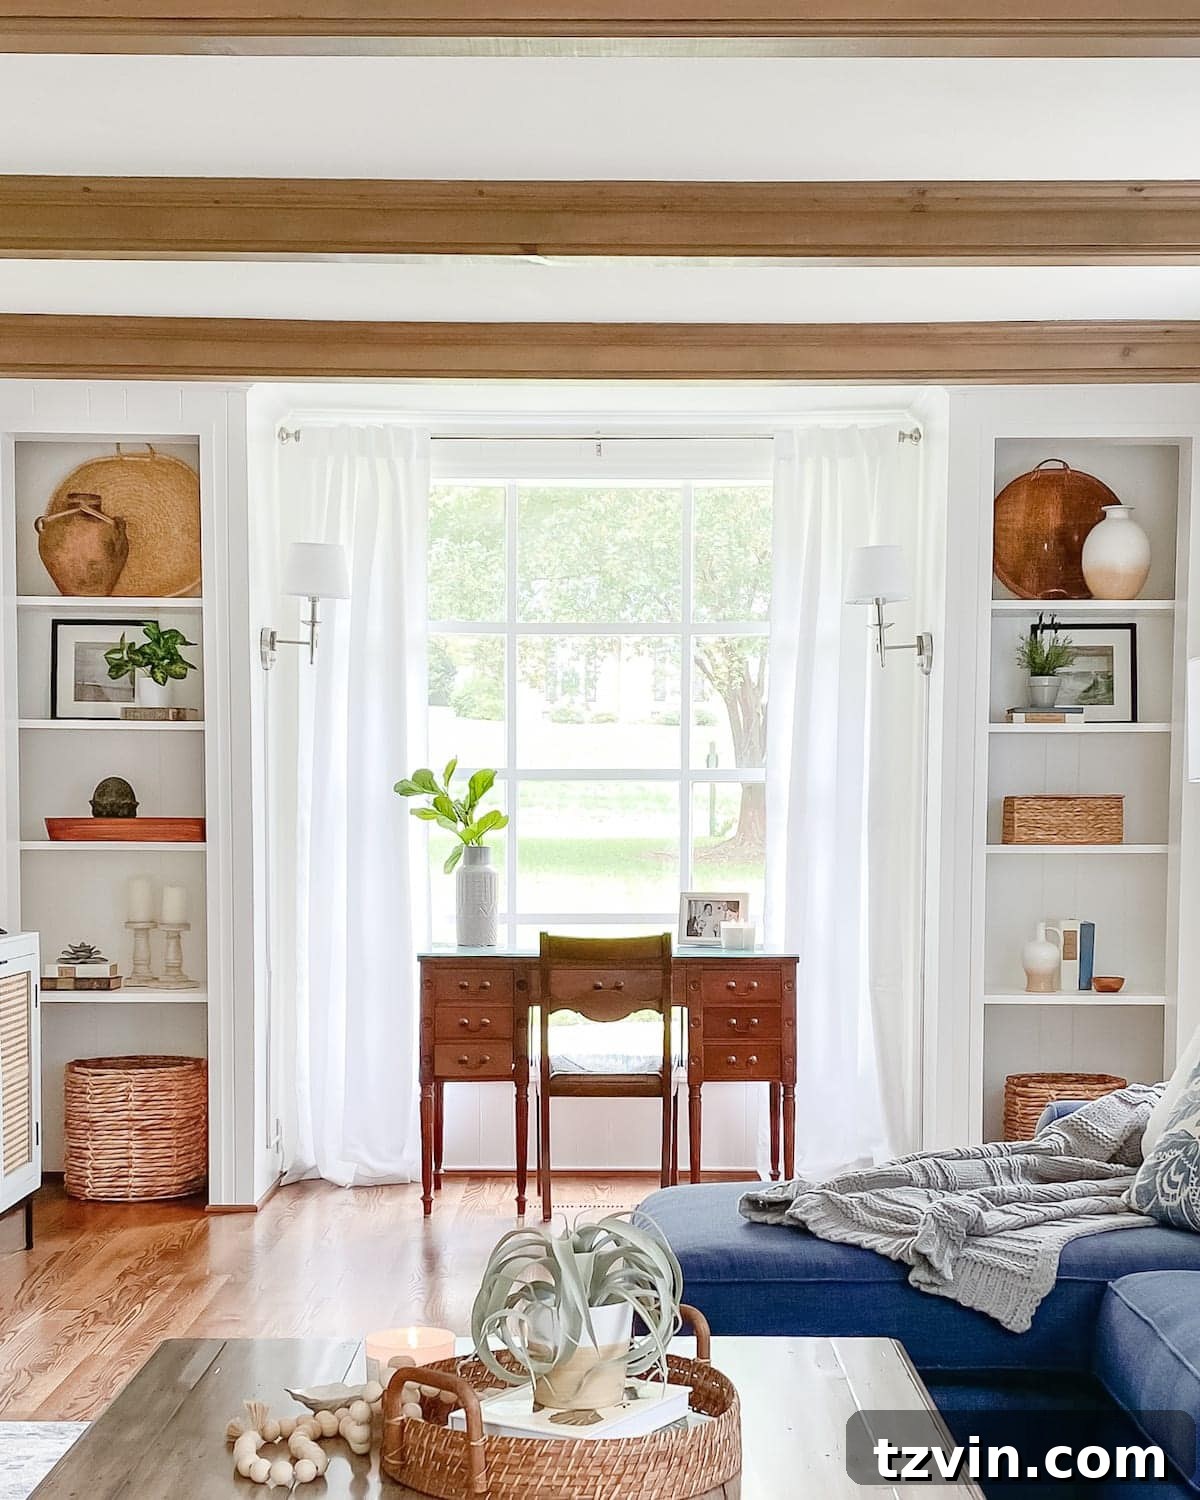
Transform Your Space: A Comprehensive DIY Guide to Converting Closets into Stunning Built-in Shelves and a Functional Living Room Office.
Embarking on a home renovation journey can be incredibly rewarding, especially when it involves turning underutilized spaces into functional and beautiful areas. Today, we’re thrilled to share the culmination of our latest endeavor, the McNay project – a labor of love that proves good things truly do take time. What started as a vision for improved storage and a dedicated workspace has blossomed into a breathtaking living room office, anchored by custom DIY built-in shelves that redefine both style and utility.
This isn’t your average quick makeover. Like many significant home improvements, this project required thoughtful planning, meticulous execution, and a touch of creative problem-solving. But the results, particularly our spectacular DIY built-in shelves, have made every moment worthwhile. We’re on the final stretch, and the transformation of the McNay’s living room office area is simply incredible!
UPDATE: Witness the complete modern coastal living room and office reveal for an even deeper dive into this stunning space.
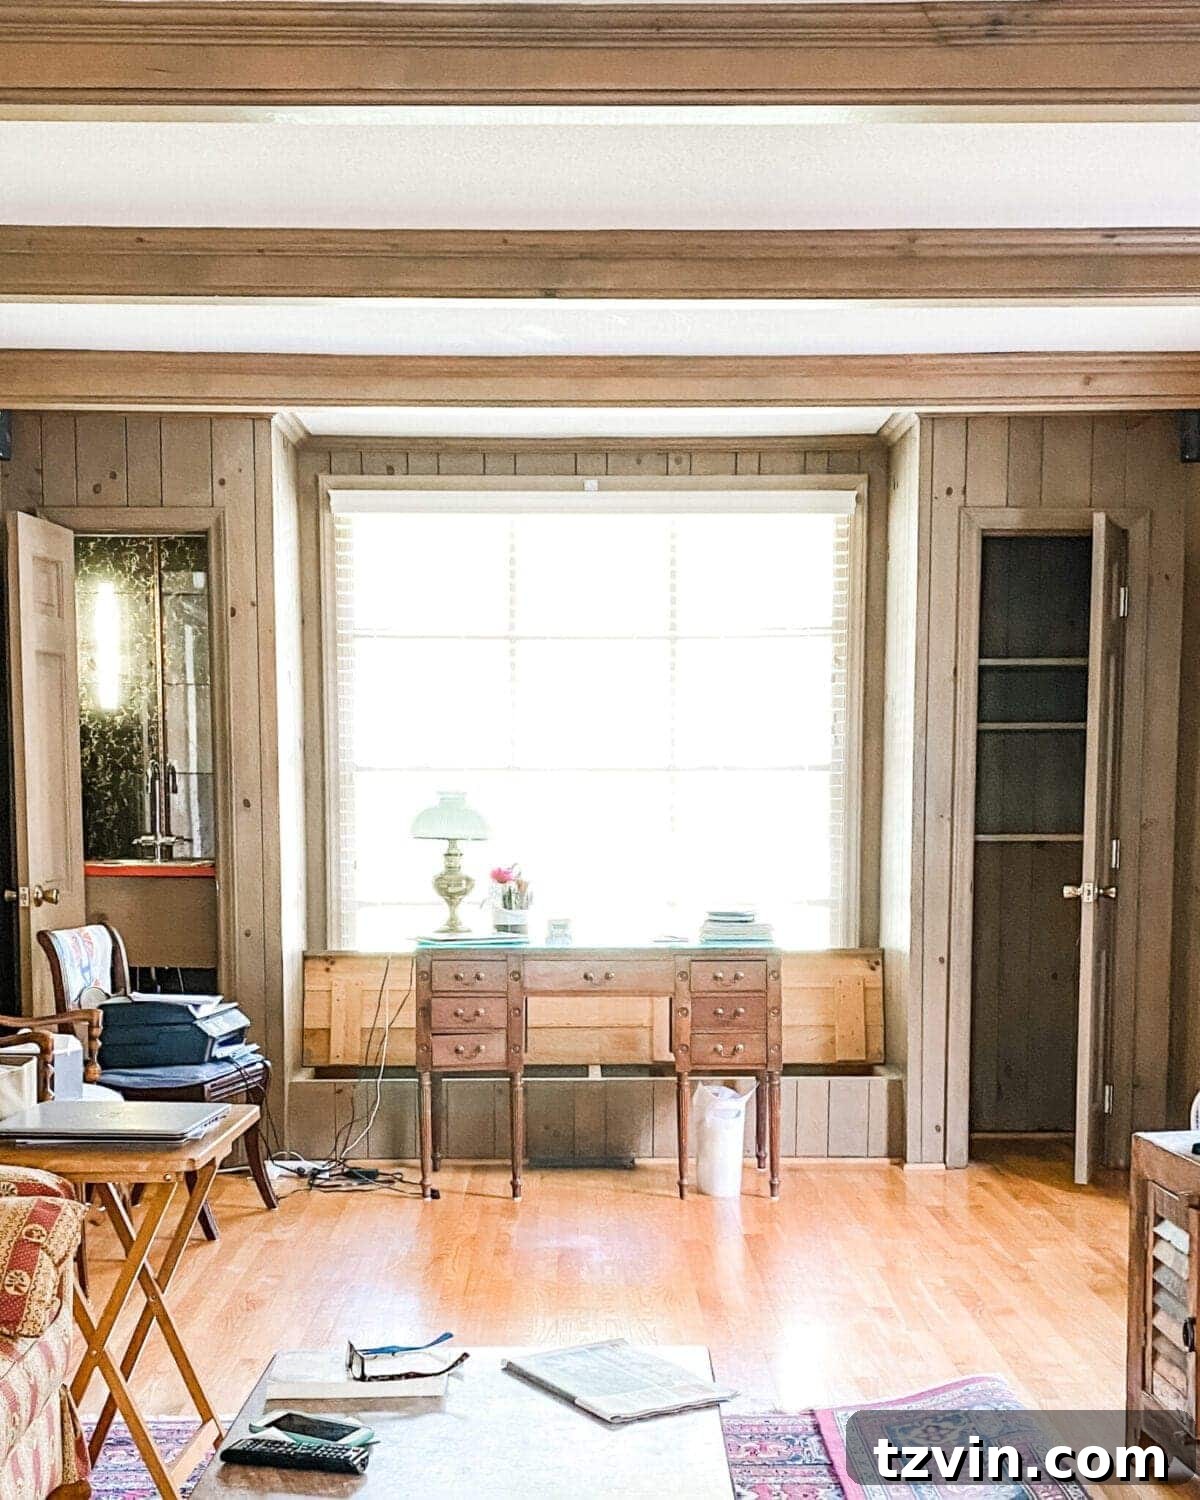
Before we immerse ourselves in the “after” spectacle, let’s take a moment to appreciate the humble beginnings. Feast your eyes on the “before” state of this space:
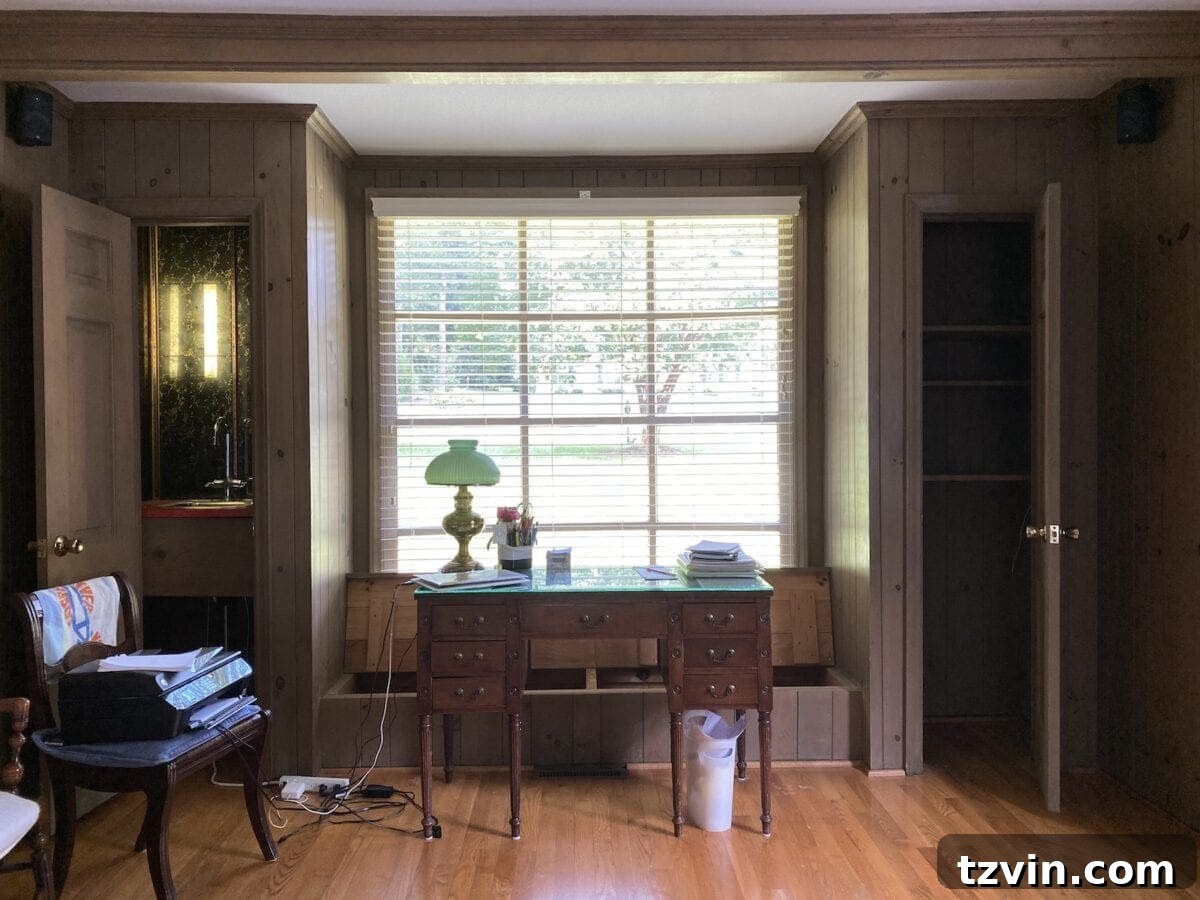
Seriously, can we just pause for a second to acknowledge that wonderfully retro 1960s wet bar tucked inside that left-side closet? It certainly had a certain “groovy, baby” charm, but it was far from functional for a contemporary home office. The entire area, with its dark wood paneling and enclosed, often cramped closets, desperately needed a modern refresh and a boost in practical storage.
And now, prepare to be amazed by the stunning “after” transformation!
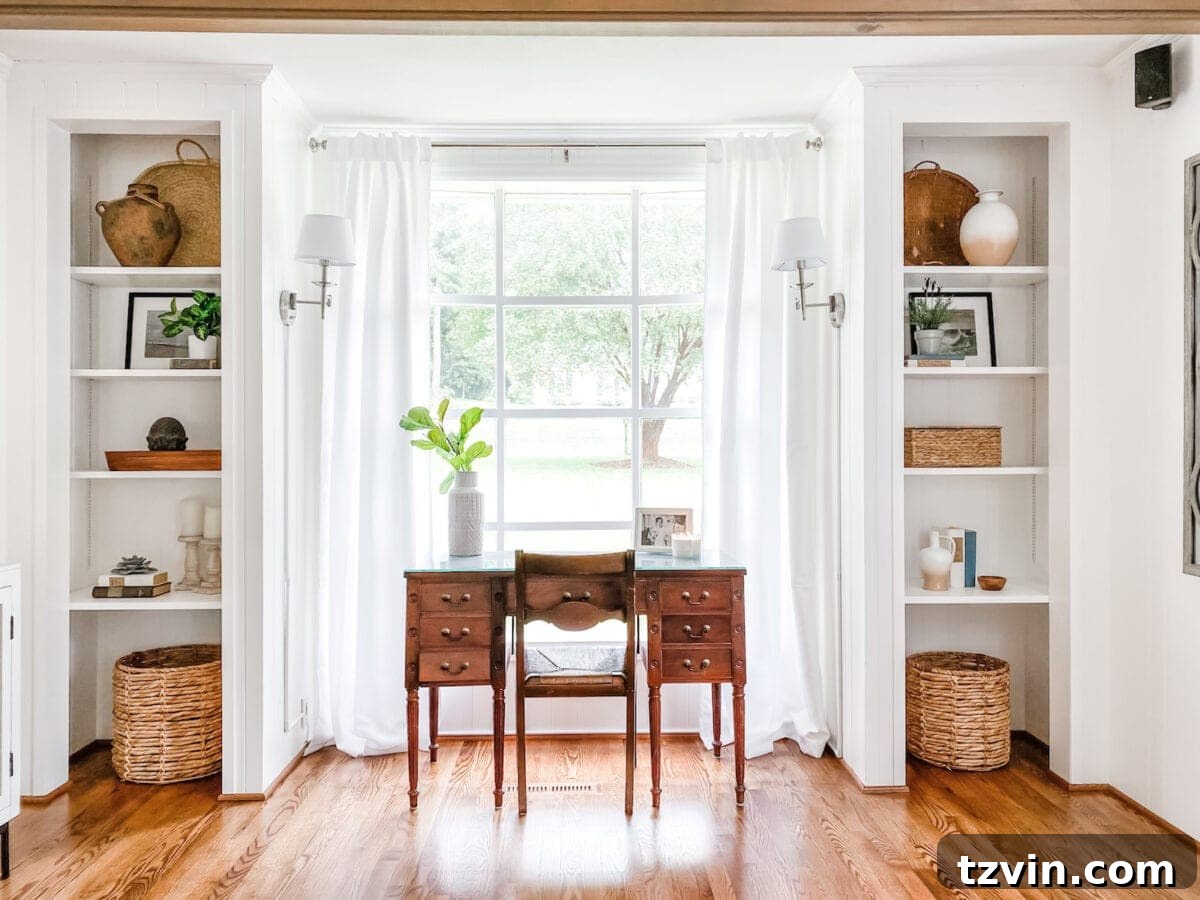
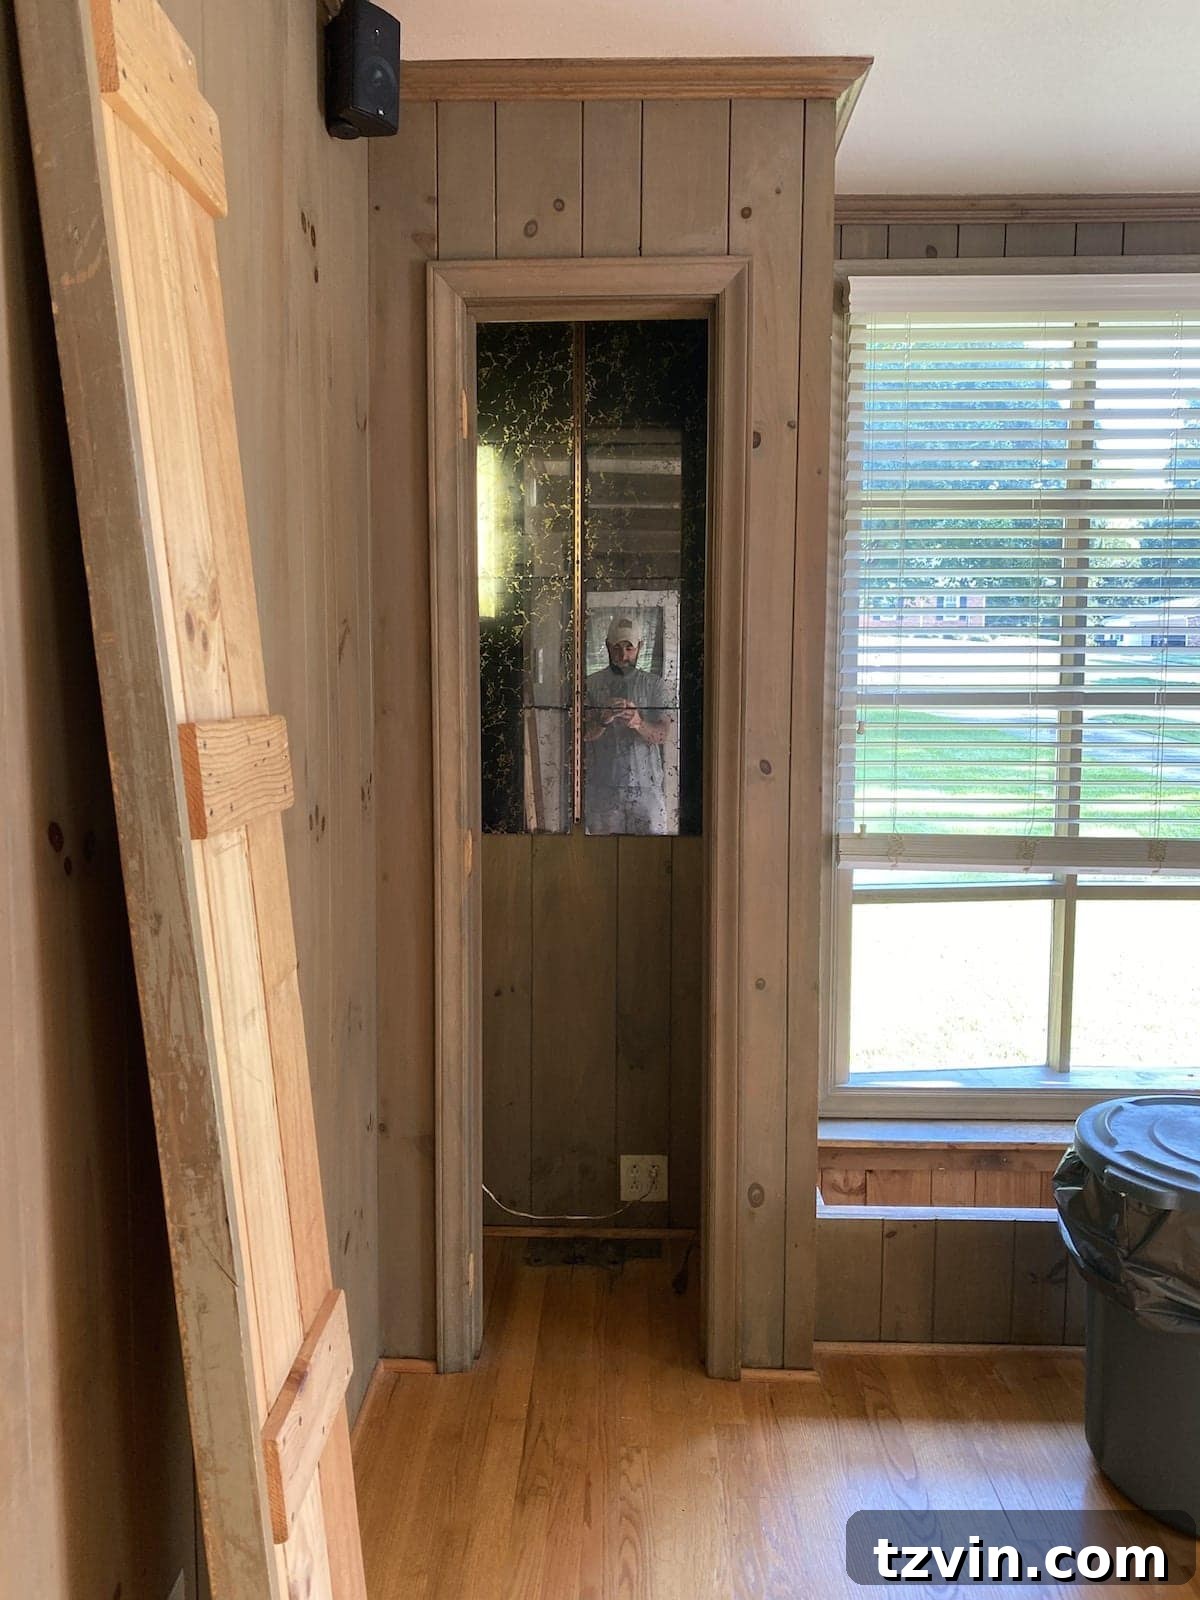
The original closets were, to put it mildly, less than ideal. They were small, oddly proportioned, and featured narrow doors that made accessing their interior a cumbersome task. King and Heather, the homeowners, initially expressed a desire to completely remove them and install new built-in shelving from scratch. However, a more strategic approach emerged during the planning phase: what if we could work with the existing closet structures, modifying them to create the desired built-in shelves?
This decision, while not entirely straightforward, promised to be more efficient than a full demolition and rebuild. While we’ve tackled building custom closets from scratch in our own home office, the irony isn’t lost on us that adapting existing structures can often save significant time and effort, even if it presents its own unique set of challenges. This method allowed us to achieve a custom look without the extensive work of starting entirely from bare studs, making the conversion of these closets into built-in shelves a more attainable and sustainable DIY project.
How to Convert Closets into Built-In Shelves: A Step-by-Step DIY Tutorial
Creating custom built-in shelves from existing closets is an excellent way to add character, storage, and value to your home. It’s a project that, while requiring attention to detail, is entirely achievable for the diligent DIYer. Follow this guide to transform your own underperforming closets into beautiful, functional built-in masterpieces.
(Please note: Some affiliate links are provided below. Full disclosure here.)
Essential Supplies for Your Closet Conversion Project
Having the right tools and materials on hand is crucial for a smooth and successful DIY project. Gather these items before you begin:
- Circular saw with a clean/fine cut wood saw blade: Essential for precise, straight cuts through existing framing and new lumber.
- Oscillating multi-tool: Invaluable for intricate cuts, especially in tight corners or for trimming flush.
- Cordless finishing nailer: Speeds up assembly and provides a clean finish with minimal visible fasteners.
- Mouse sander: Perfect for smoothing wood filler and preparing surfaces for paint, especially in smaller areas.
- Framing level: Crucial for ensuring all cuts and installations are perfectly straight and plumb.
- Pencil: For marking all measurements and cut lines.
- Tape measure: For accurate dimensions.
- 2″ finishing nails: For securing trim and framework.
- 3 – pre-primed 1″x6″x8′ boards (per closet): These will be used for the visible facing and trim, pre-primed saves painting time.
- 1 – 2″x4″x8′ (per closet): For creating the new header structure.
- 3/4″ MDF panel: The ideal material for durable, smooth, and paintable shelves.
- Wood filler: For concealing nail holes and imperfections.
- Putty knife: For applying wood filler smoothly.
- Caulk: To seal gaps and create seamless transitions between surfaces.
- Medium grit sanding pads: For preparing surfaces and smoothing filler.
- Shims: Essential for leveling and ensuring a tight fit.
- Hammer: For general demolition and adjustment.
- Pry bar: For careful removal of old trim and framing.
- Pilaster strips: Adjustable shelf supports for flexible shelving configurations.
- Saw guide (optional but highly recommended): Helps achieve perfectly straight cuts with a circular saw, especially for longer boards.
- Safety glasses and gloves: Always prioritize personal safety when working with tools.
The Transformation Steps: From Closet to Custom Shelf
This detailed guide will walk you through each phase of converting your existing closets into beautiful, integrated built-in shelves.
1. Demolition: Removing Old Doors and Trim
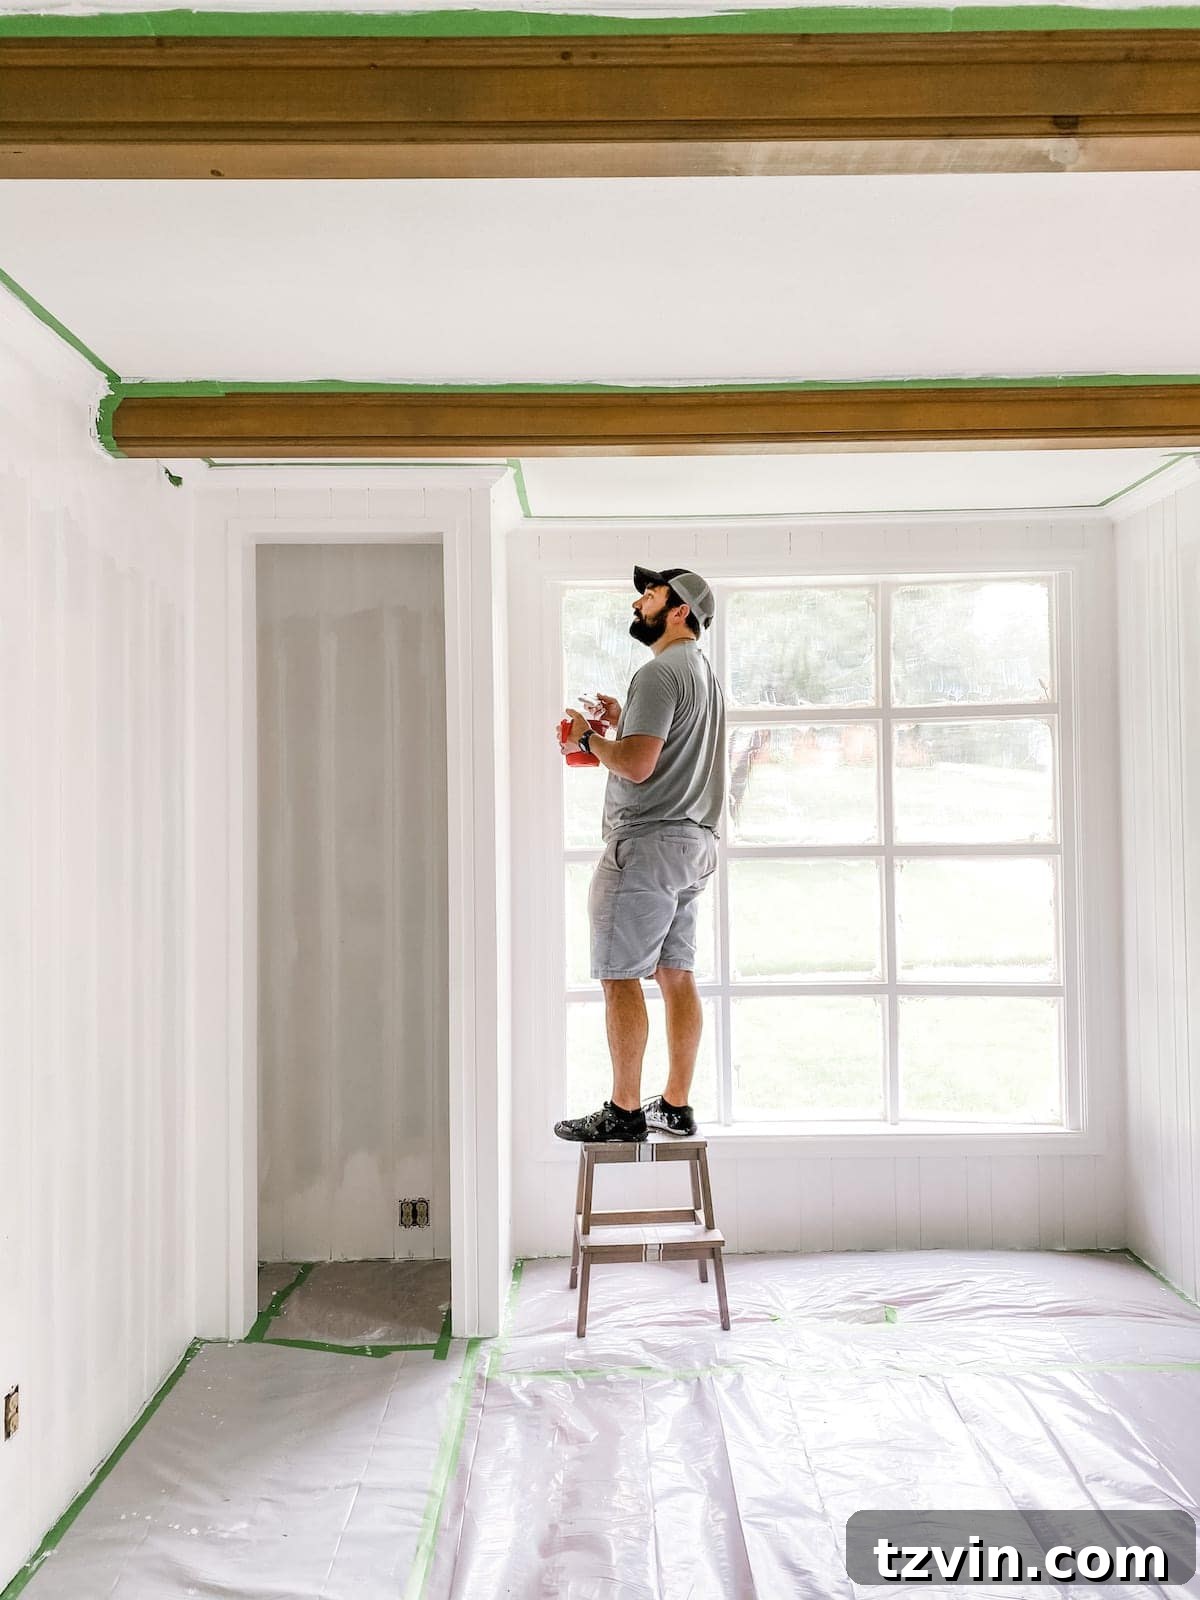
Begin by carefully removing the existing closet doors. Once the doors are off, use a hammer and a pry bar to gently (or not so gently, depending on how stubborn they are!) remove the old door frame and any surrounding trim. The goal here is to expose the rough opening of the closet cleanly. Take your time to avoid damaging the surrounding wall, as this will minimize patching later.
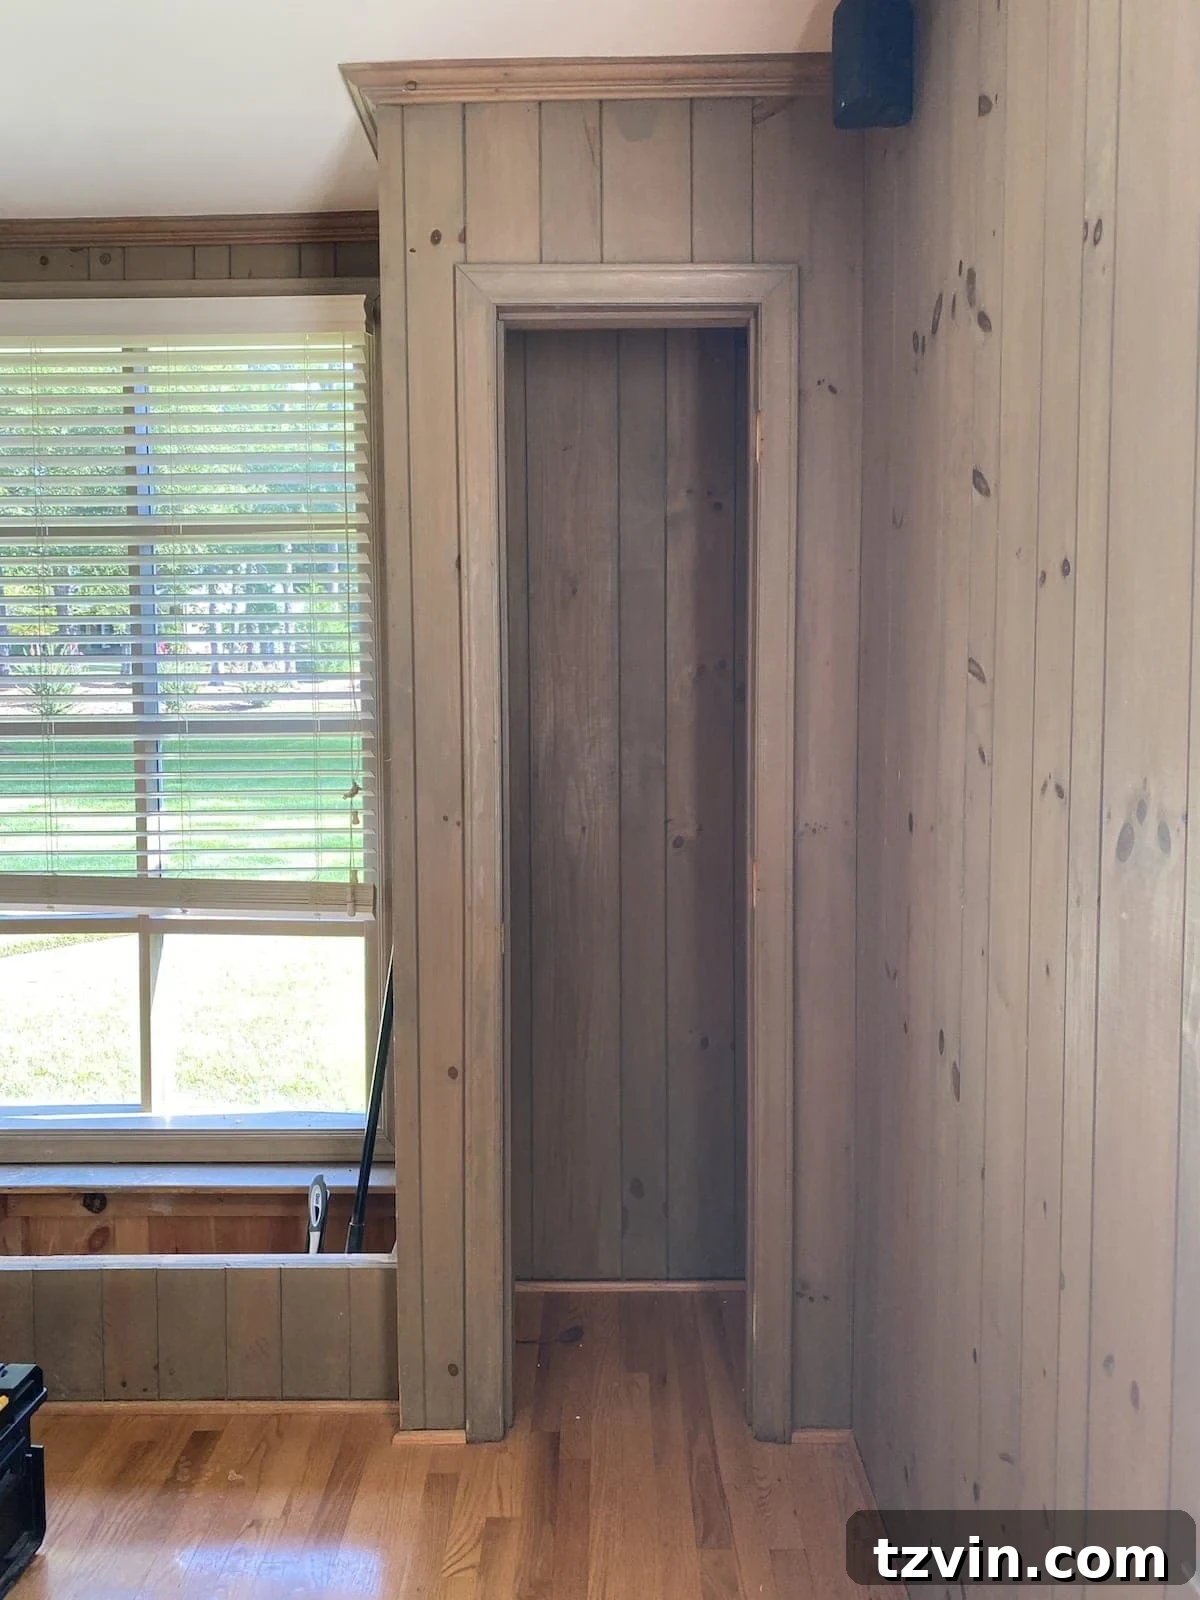
2. Planning the New Opening: Mark Your Dimensions
With the old trim gone, you’ll need to define the new, wider opening for your built-in shelves. Use a framing level and tape measure to carefully mark with a pencil where you want your new opening to extend. This is a critical step; measure twice, cut once! Ensure your lines are perfectly plumb and level for a professional finish.
3. Precise Cutting: Expanding the Opening
Using your circular saw, carefully cut along the pencil lines you just marked. For long, straight cuts, especially through existing studs or thick material, a saw guide can be incredibly helpful in ensuring accuracy and preventing jagged edges. Always wear appropriate safety gear when operating power tools.
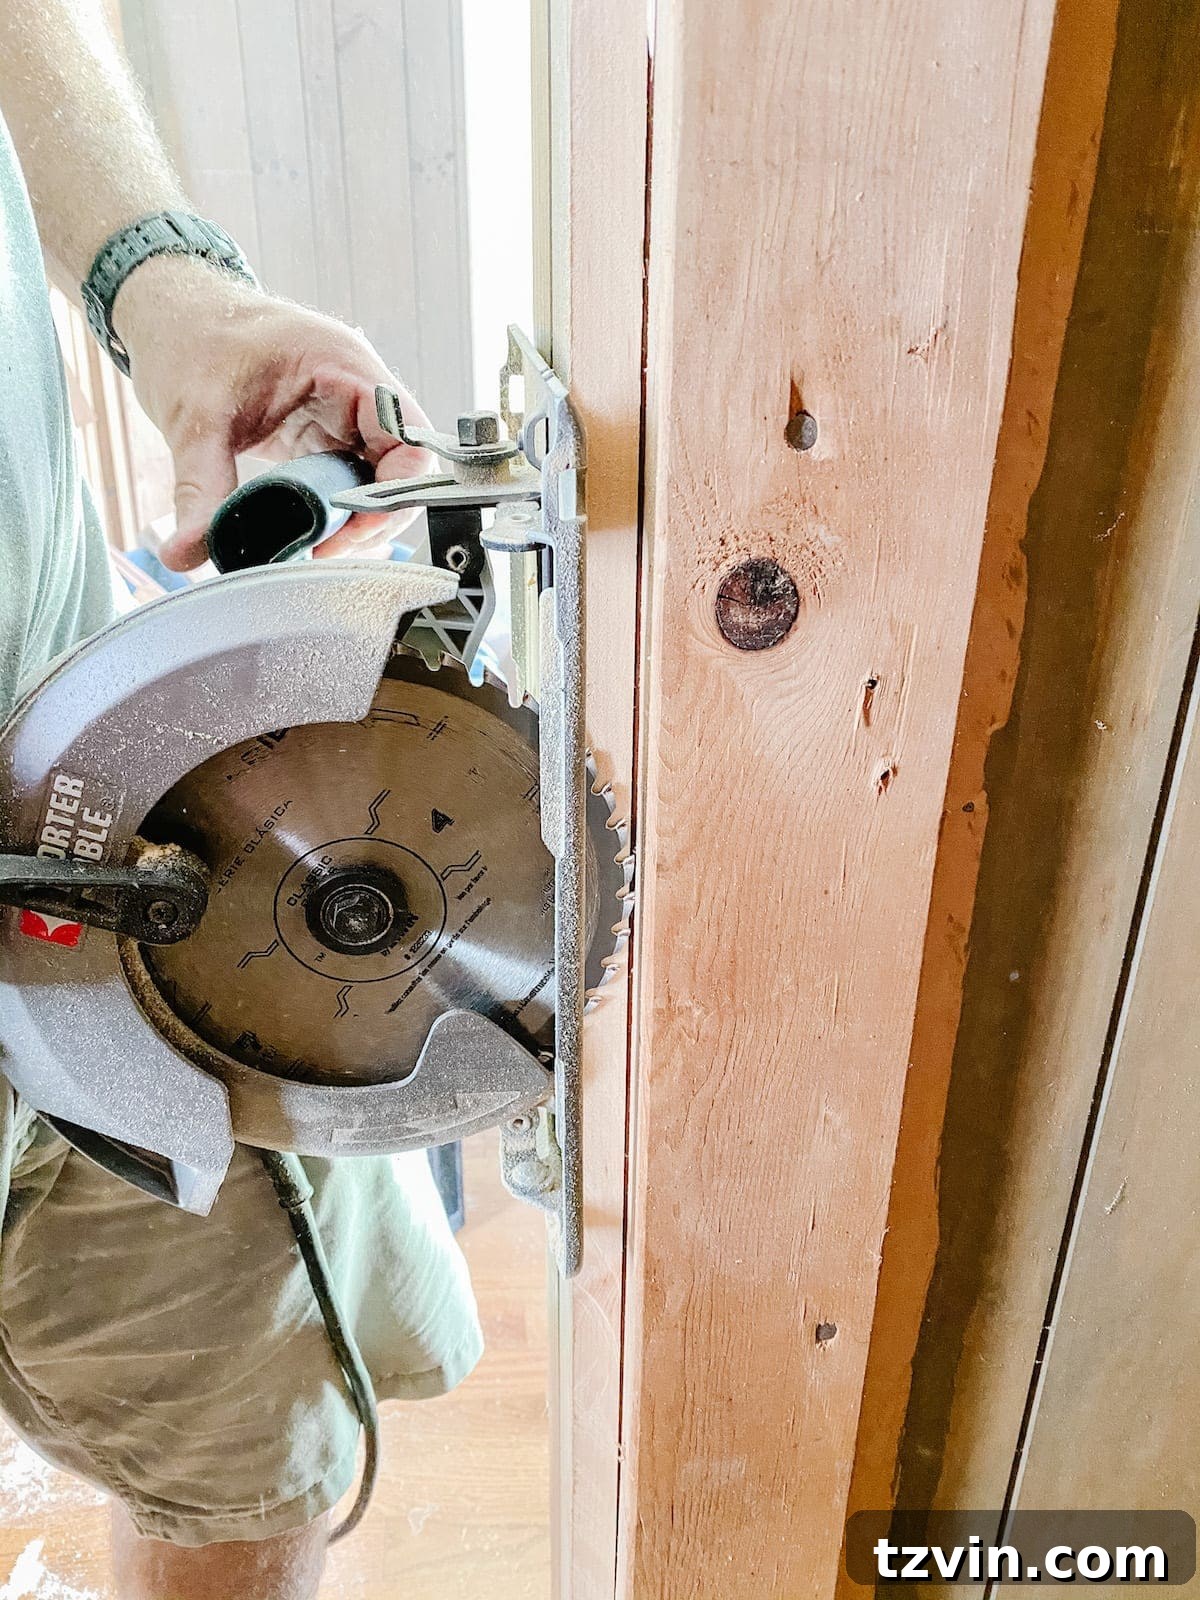
4. Refining the Edges with a Multi-Tool
Once the main cuts are made, you’ll likely have some rough edges or small pieces of wood remaining, particularly at the corners. This is where the oscillating multi-tool shines. Use it to carefully cut away any excess wood pieces at the corners and edges, ensuring a perfectly clean and flush opening. This attention to detail will make your framing steps much easier and result in a superior finish.

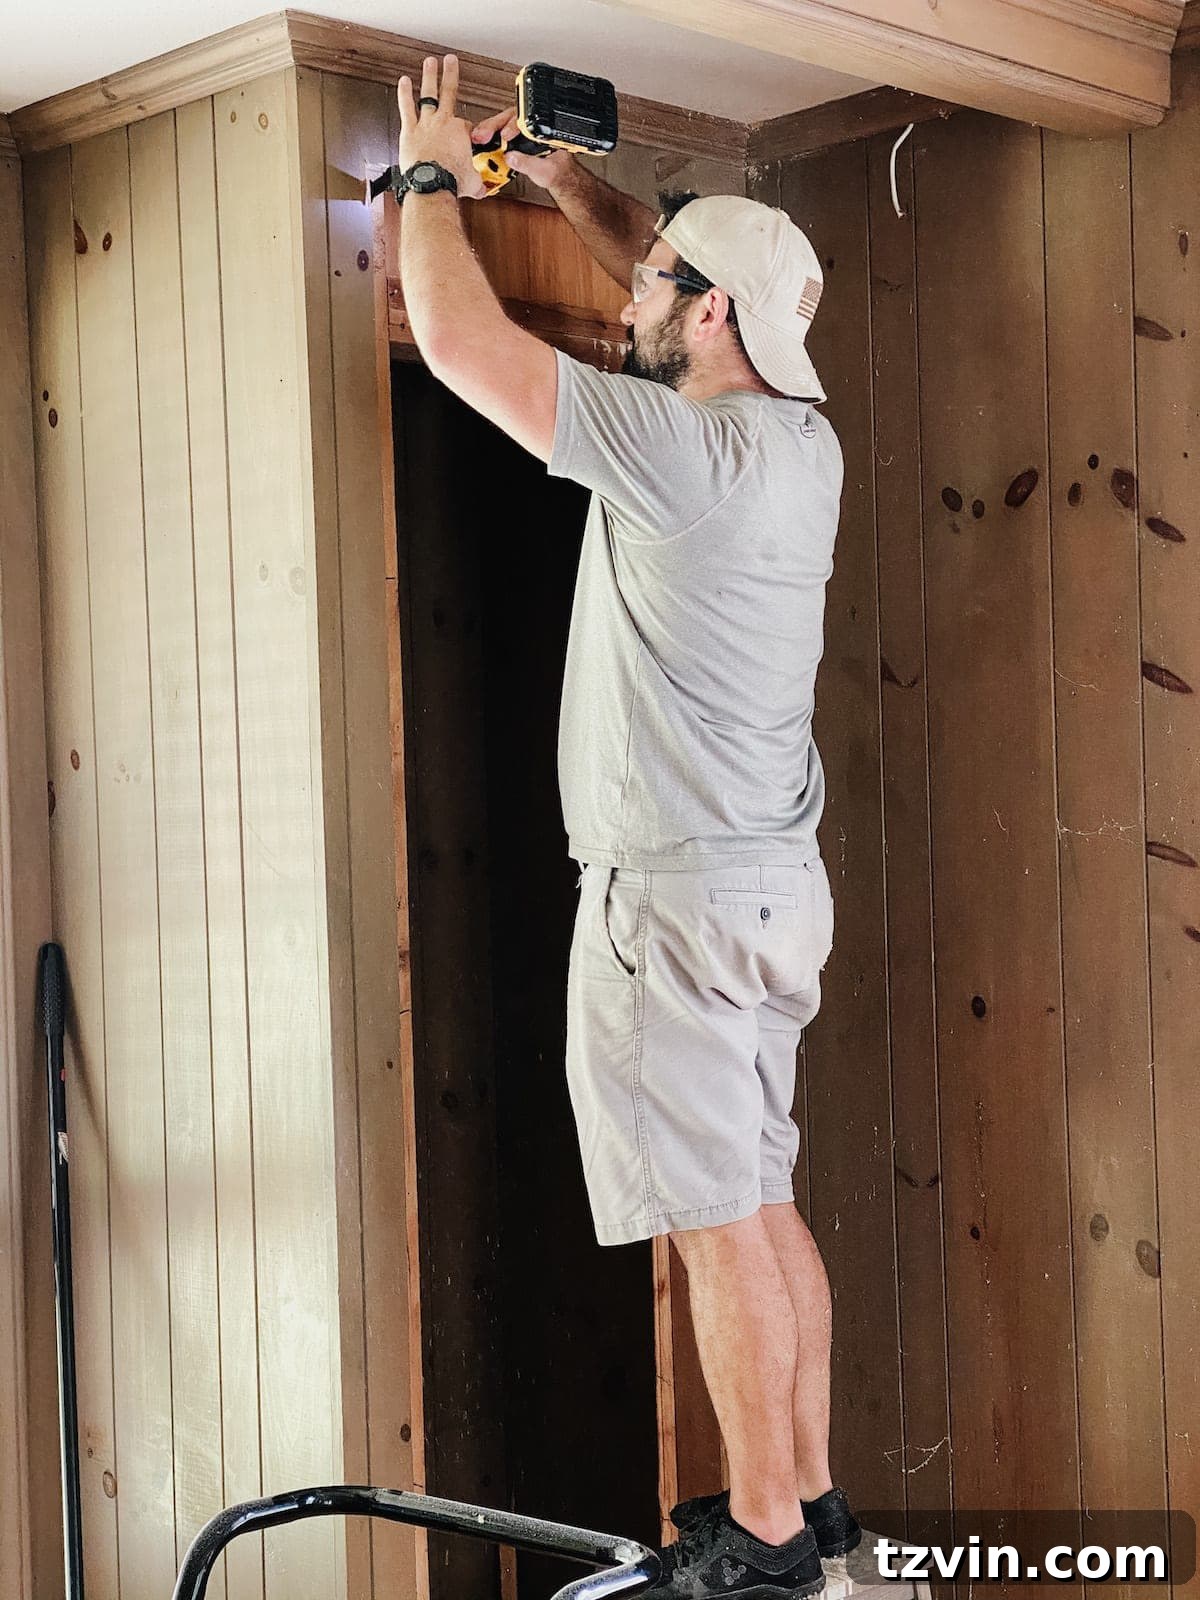
5. & 6. Installing the New Header Frame
Measure the exact width of your new closet opening. Cut a 2×4 board to this precise length using your circular saw (a saw guide is particularly useful here). This 2×4 will serve as your new header, providing structural support for the top of the opening. Place the 2×4 flush at the top of the opening, ensuring it is perfectly level, and nail it securely into place using your finishing nailer. Shims can be used if needed to achieve a perfectly level installation.
7. Adding a Finishing Top Board
Repeat the previous step using a 1×6 board. Cut it to the same length as your 2×4 header. This 1×6 will be nailed directly beneath or over the 2×4, depending on your preferred depth, creating the finished top trim piece for your built-in opening. Its pre-primed surface will save you significant time during the painting phase.
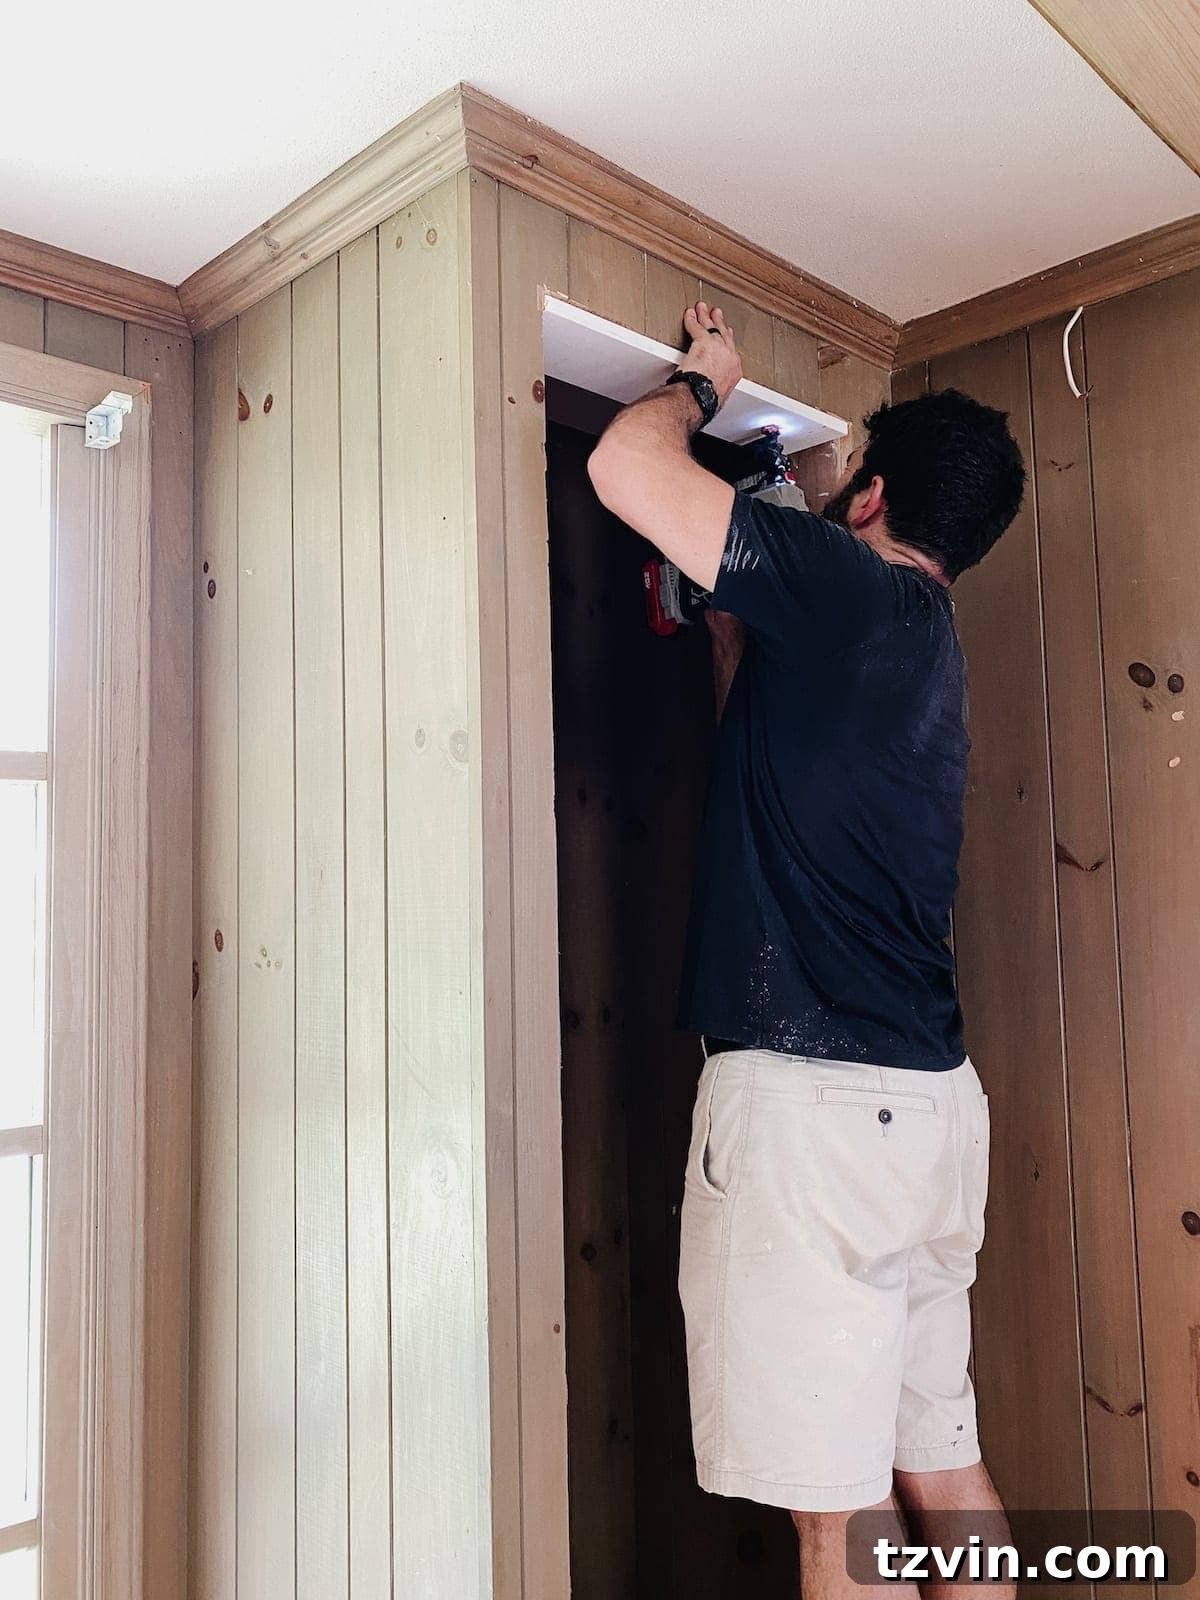
8. & 9. Framing the Sides of the Opening
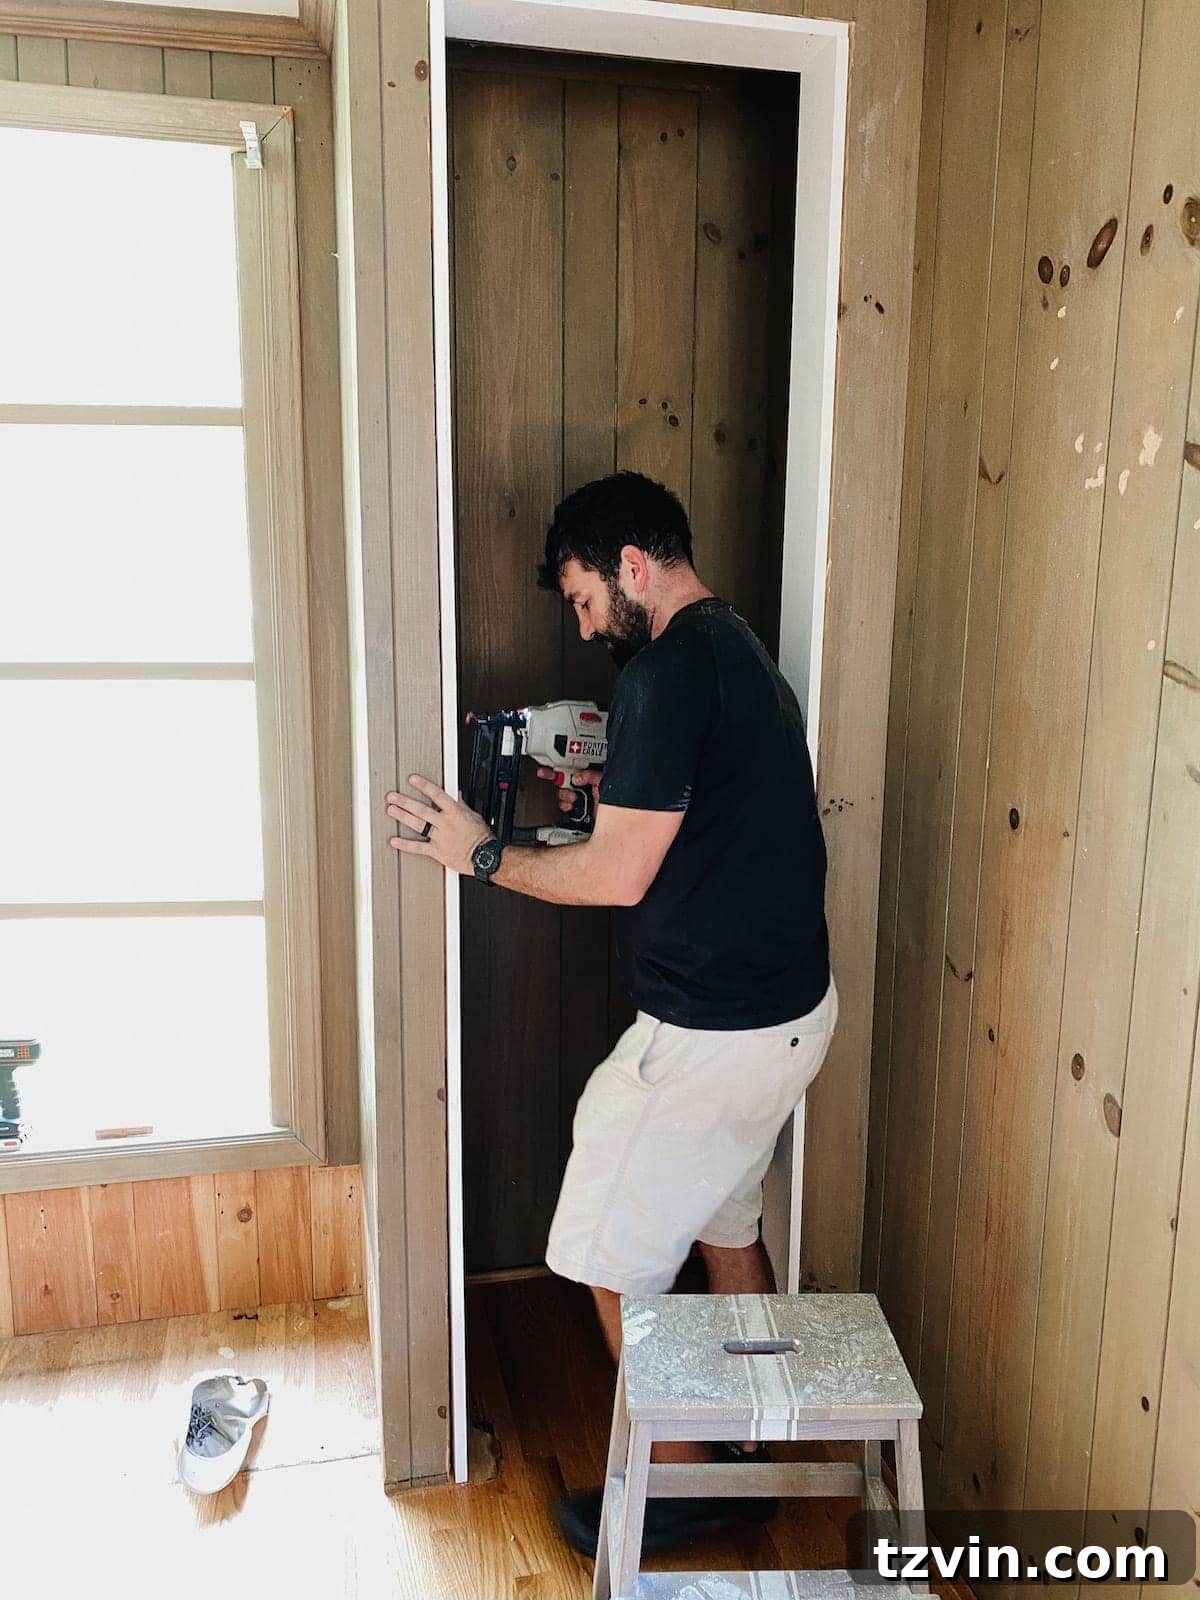
Next, measure the vertical dimensions of the new closet opening, from the floor to the underside of your newly installed header. Cut two 1×6 boards to these lengths. These boards will form the side frames of your built-in unit. Carefully position each 1×6 board flush against the side of the opening, ensuring they are plumb (perfectly vertical) with your level. Nail them securely into place using your finishing nailer and 2-inch finishing nails. This framing provides a clean, finished look and creates a solid structure for your shelves.
10. Finishing Touches: Caulk and Wood Filler
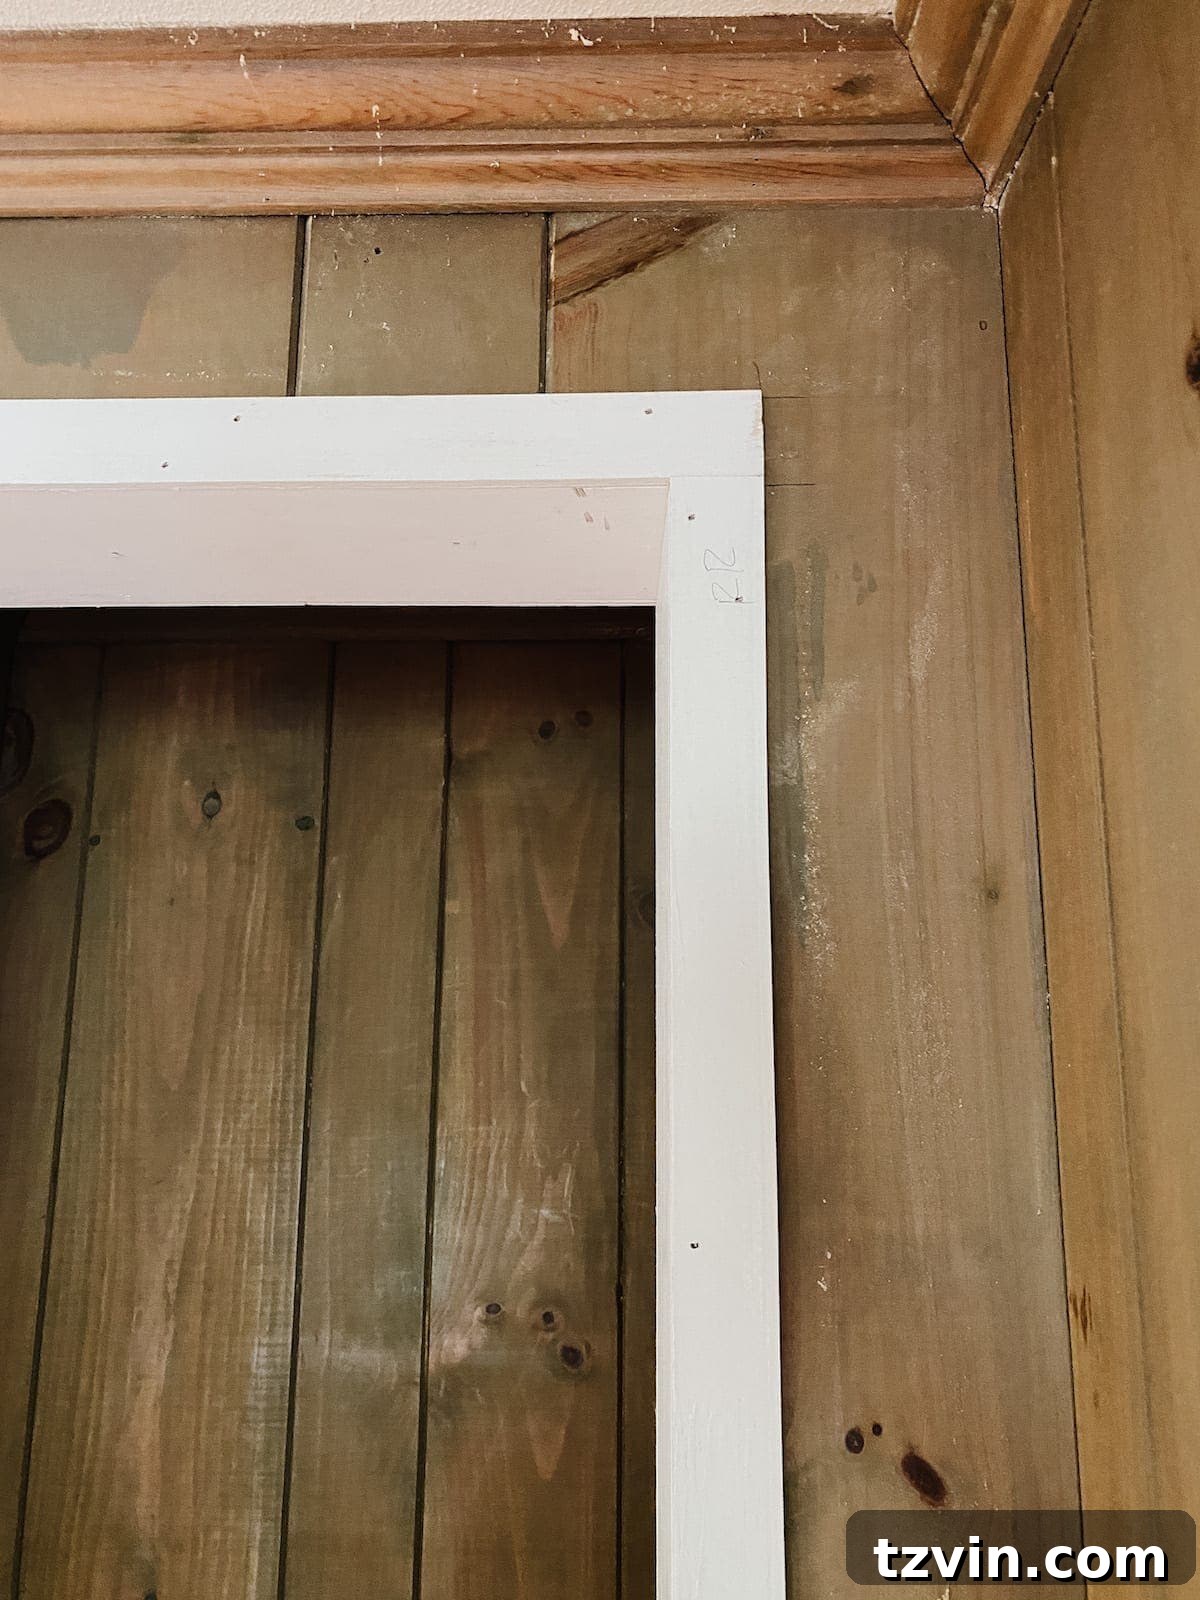
With your new frame in place, it’s time to achieve that seamless, custom look. Apply caulk along all edges and cracks where the new wood meets the existing wall or other wood pieces. This fills any gaps and creates a smooth transition. Next, use wood filler to meticulously fill all nail holes and any knots or imperfections in the wood. A putty knife will help you achieve a smooth application.
11. Sanding for a Flawless Finish
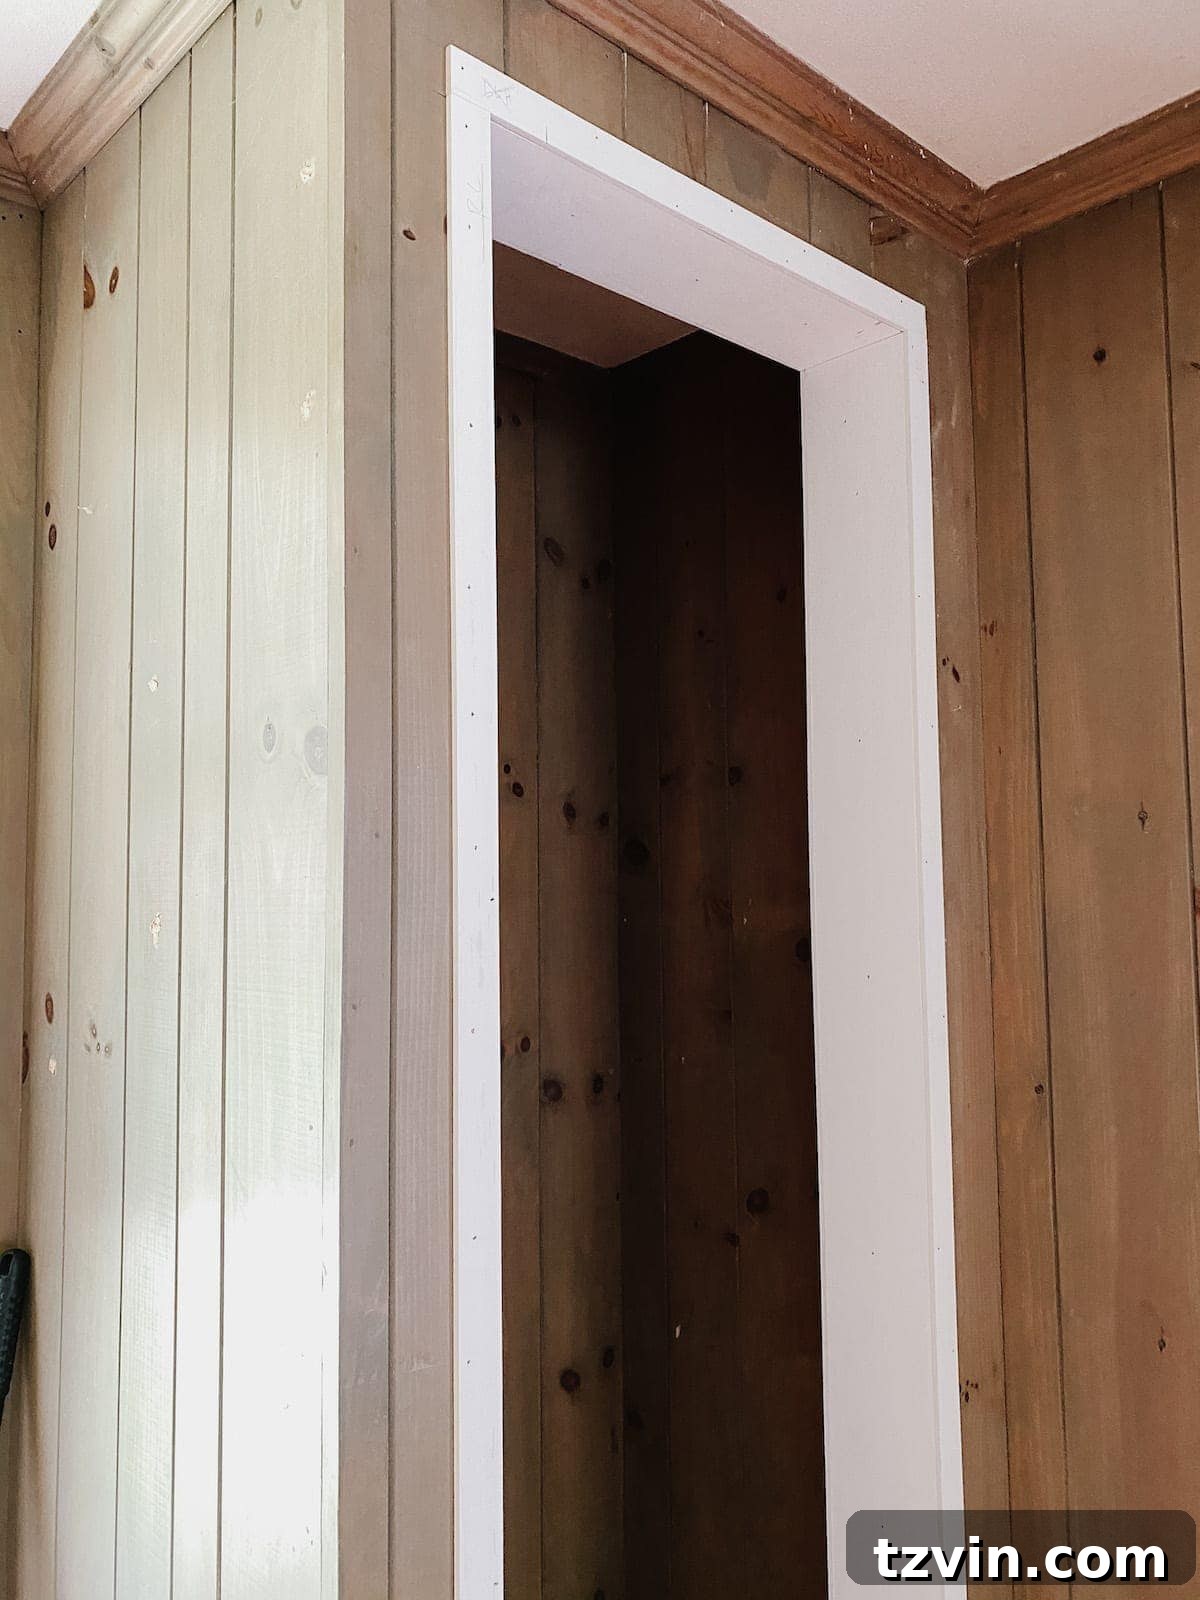
Once the wood filler is completely dry (check the product’s instructions for drying times), use your mouse sander with medium-grit sandpaper to sand all the filled areas and the entire new wood frame until smooth. This step is crucial for ensuring a professional-looking paint job. Pay attention to any rough spots and ensure the surface is perfectly even.
12. Priming and Painting Your New Built-ins
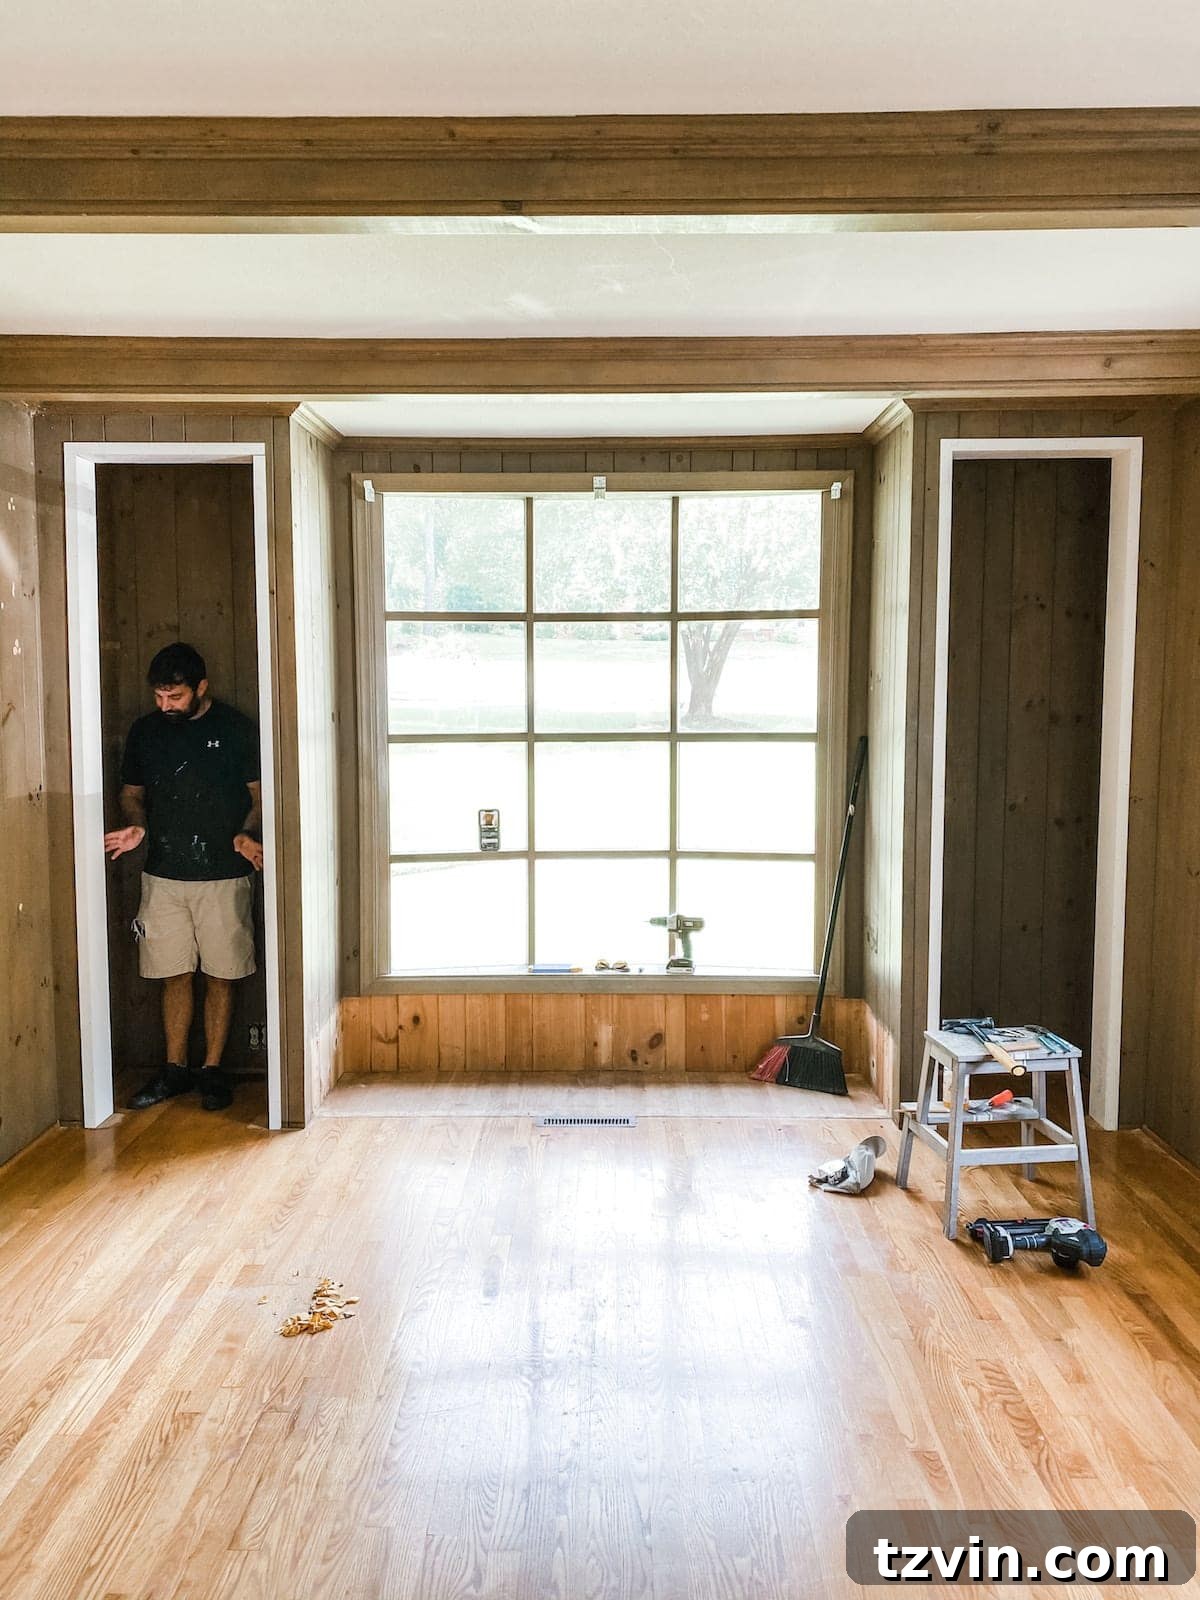
After sanding, wipe down all surfaces with a damp cloth to remove any dust. Since your 1×6 boards were pre-primed, you might only need one coat of primer on the wood filler spots and cut edges. However, a full coat of a high-quality primer will ensure excellent adhesion and a uniform finish. Once dry, apply two to three thin coats of your chosen paint. We opted for Behr Polar Bear in a satin finish, which offers a beautiful, subtle sheen that’s also durable and easy to clean. Allow adequate drying time between coats for best results.
13. Installing Adjustable Shelf Supports: Pilaster Strips
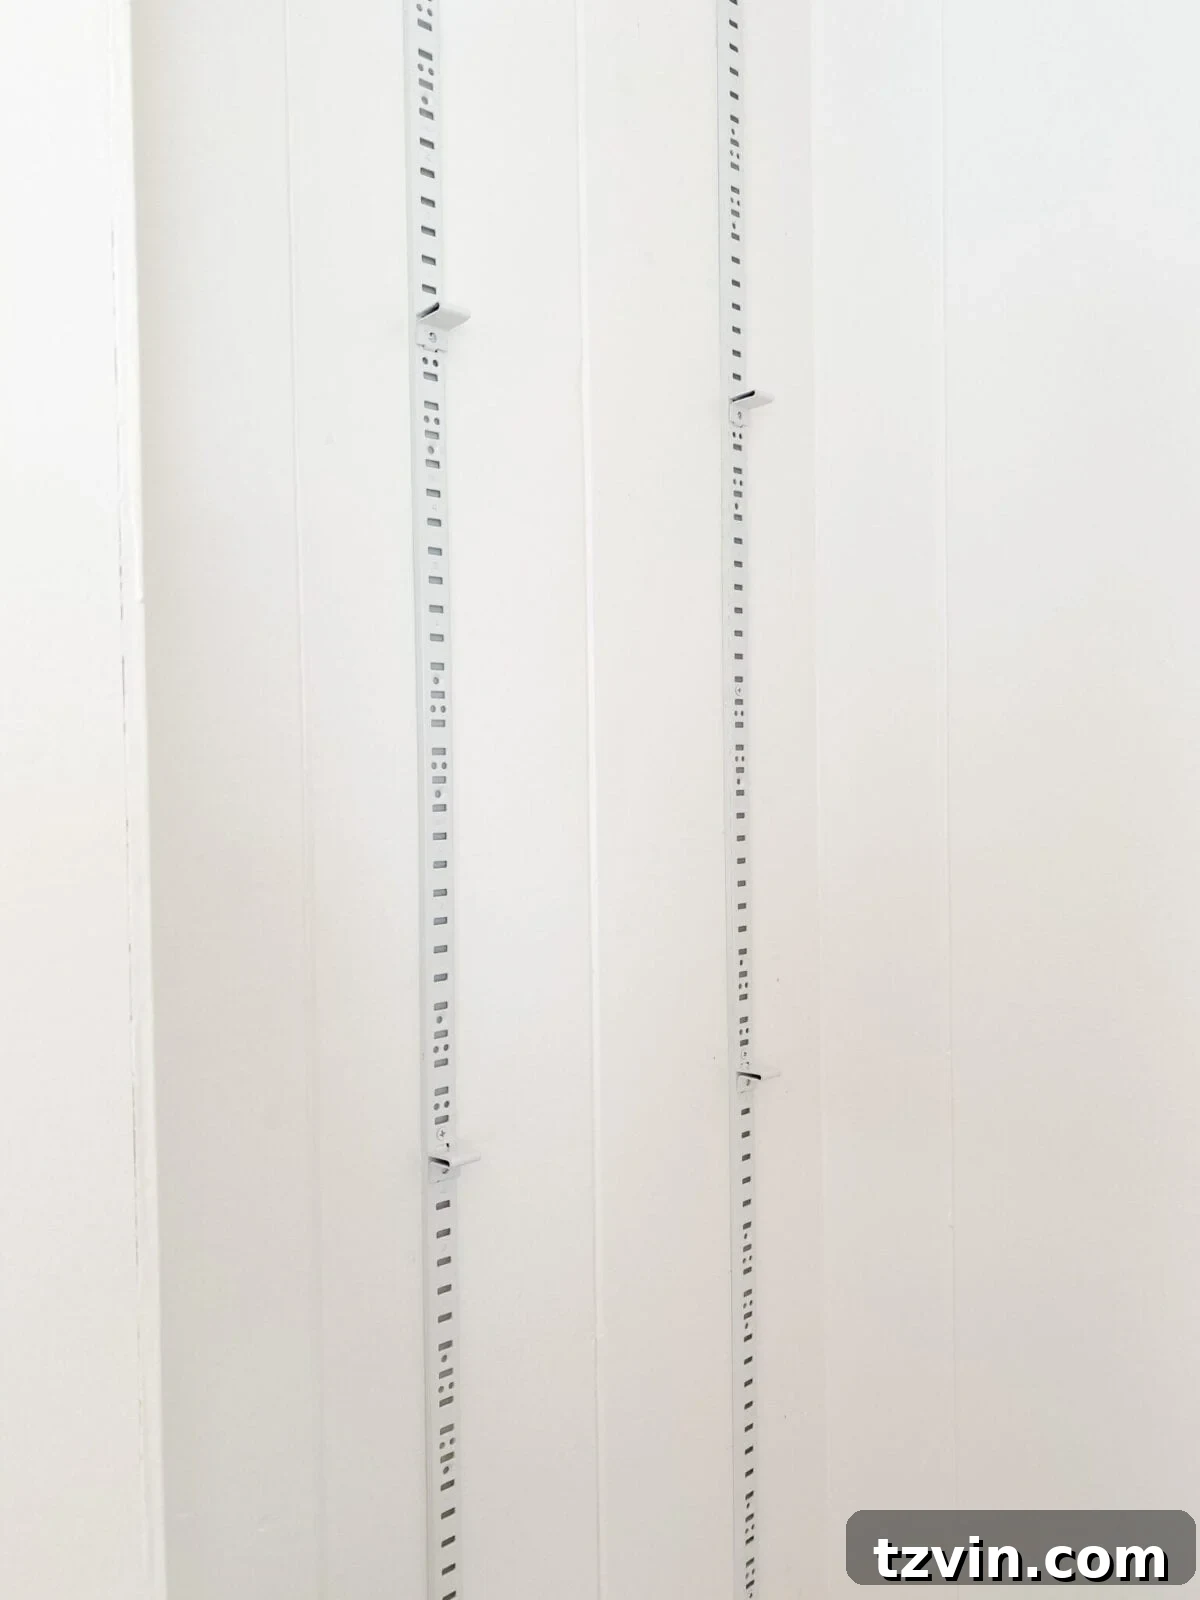
For maximum flexibility, we recommend installing pilaster strips. These metal strips have evenly spaced slots, allowing you to easily adjust the height of your shelves. Screw the pilaster strips securely to the sides of the closet walls, ensuring they are perfectly vertical and parallel to each other. Once installed, attach the corresponding brackets at your preferred heights for each shelf. This system is perfect for adapting to different display items or storage needs over time.
14. Cutting and Installing the MDF Shelves
Measure the exact dimensions of your closet’s interior, paying close attention to the depth and width for each shelf. Using your circular saw, cut out 3/4″ MDF panels to these precise measurements. MDF is an excellent choice for shelves due to its smooth surface, stability, and paintability. Once cut, position the MDF panels onto your newly installed brackets. You may choose to paint the shelves before or after installation, but typically painting them beforehand can lead to a cleaner finish, especially on the edges.
And now, for the most satisfying part of any DIY project: decorate and enjoy!
Styling Your New Built-in Shelves: Embracing Rustic Coastal Charm
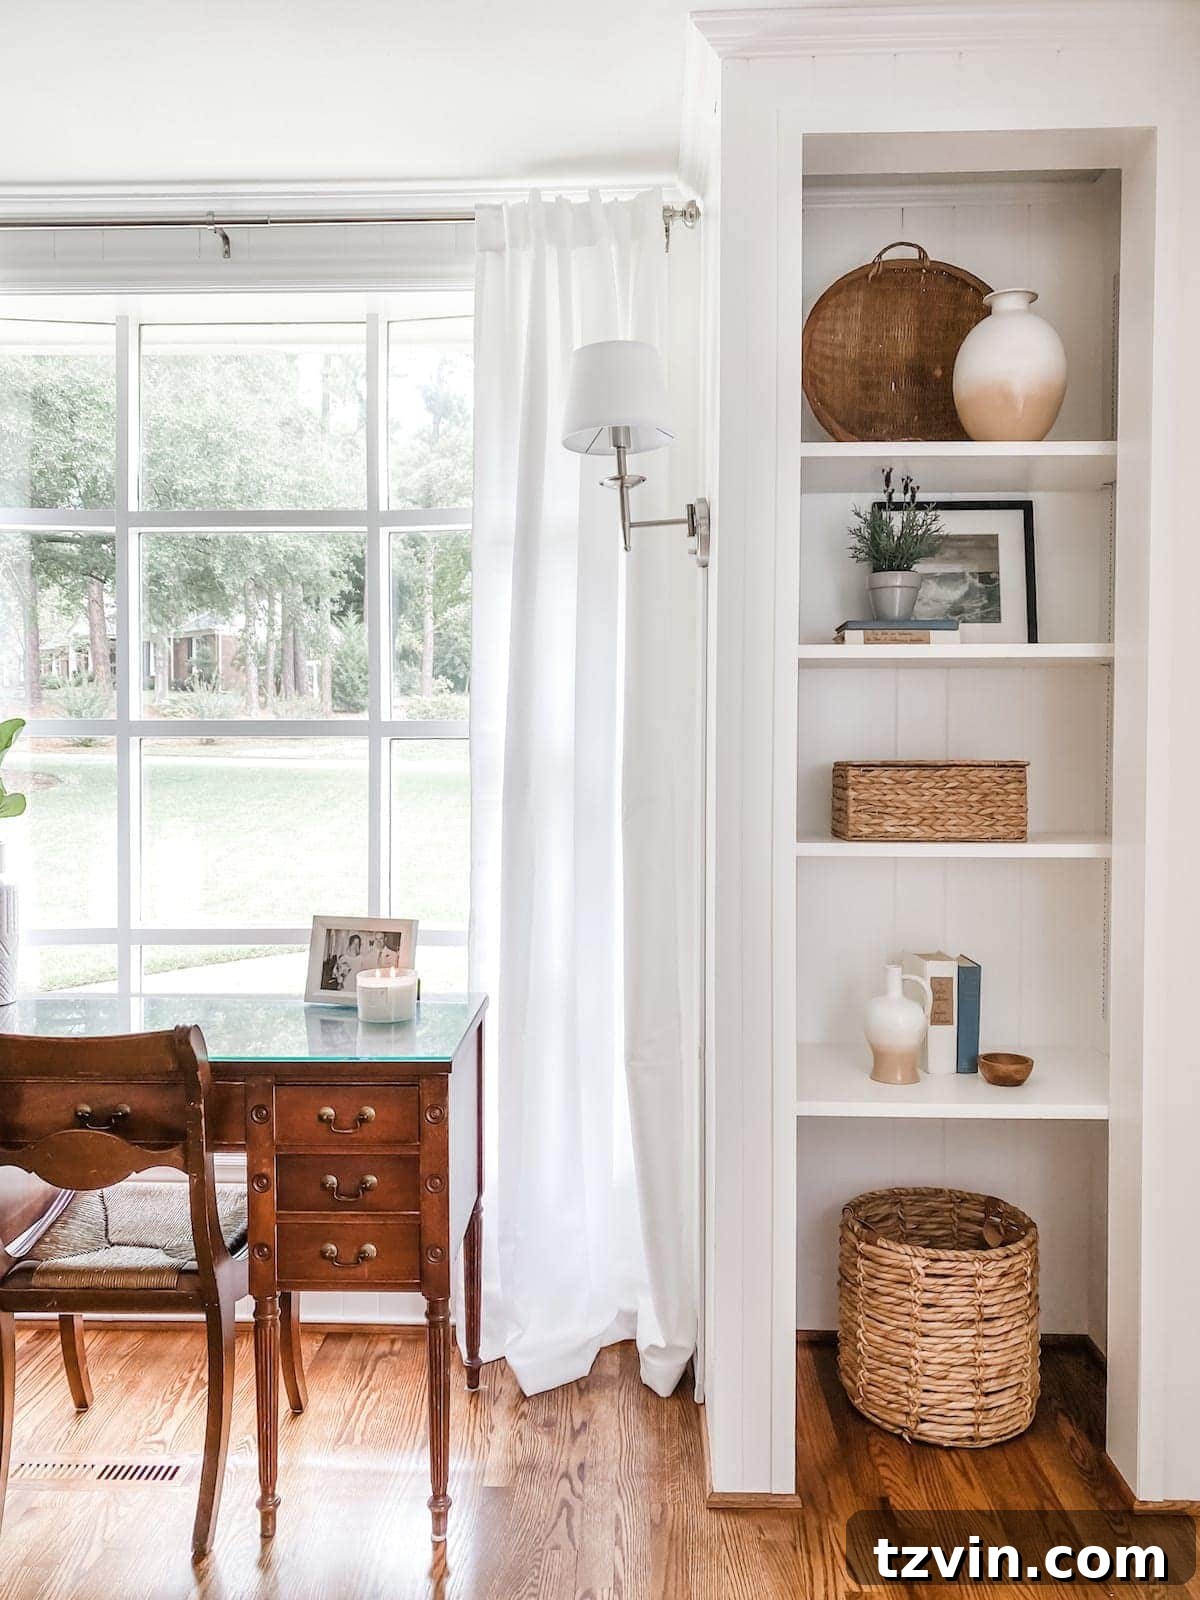
For the past month, we’ve had immense fun curating the perfect aesthetic for these new shelves. Our vision was a rustic, coastal feel – a look that’s both elegant and inviting. This involved countless trips to antique stores, where we unearthed unique treasures, and dedicated hours to painting items from our cherished thrifted stash. The beauty of open shelving lies in its ability to showcase personality and collected pieces.
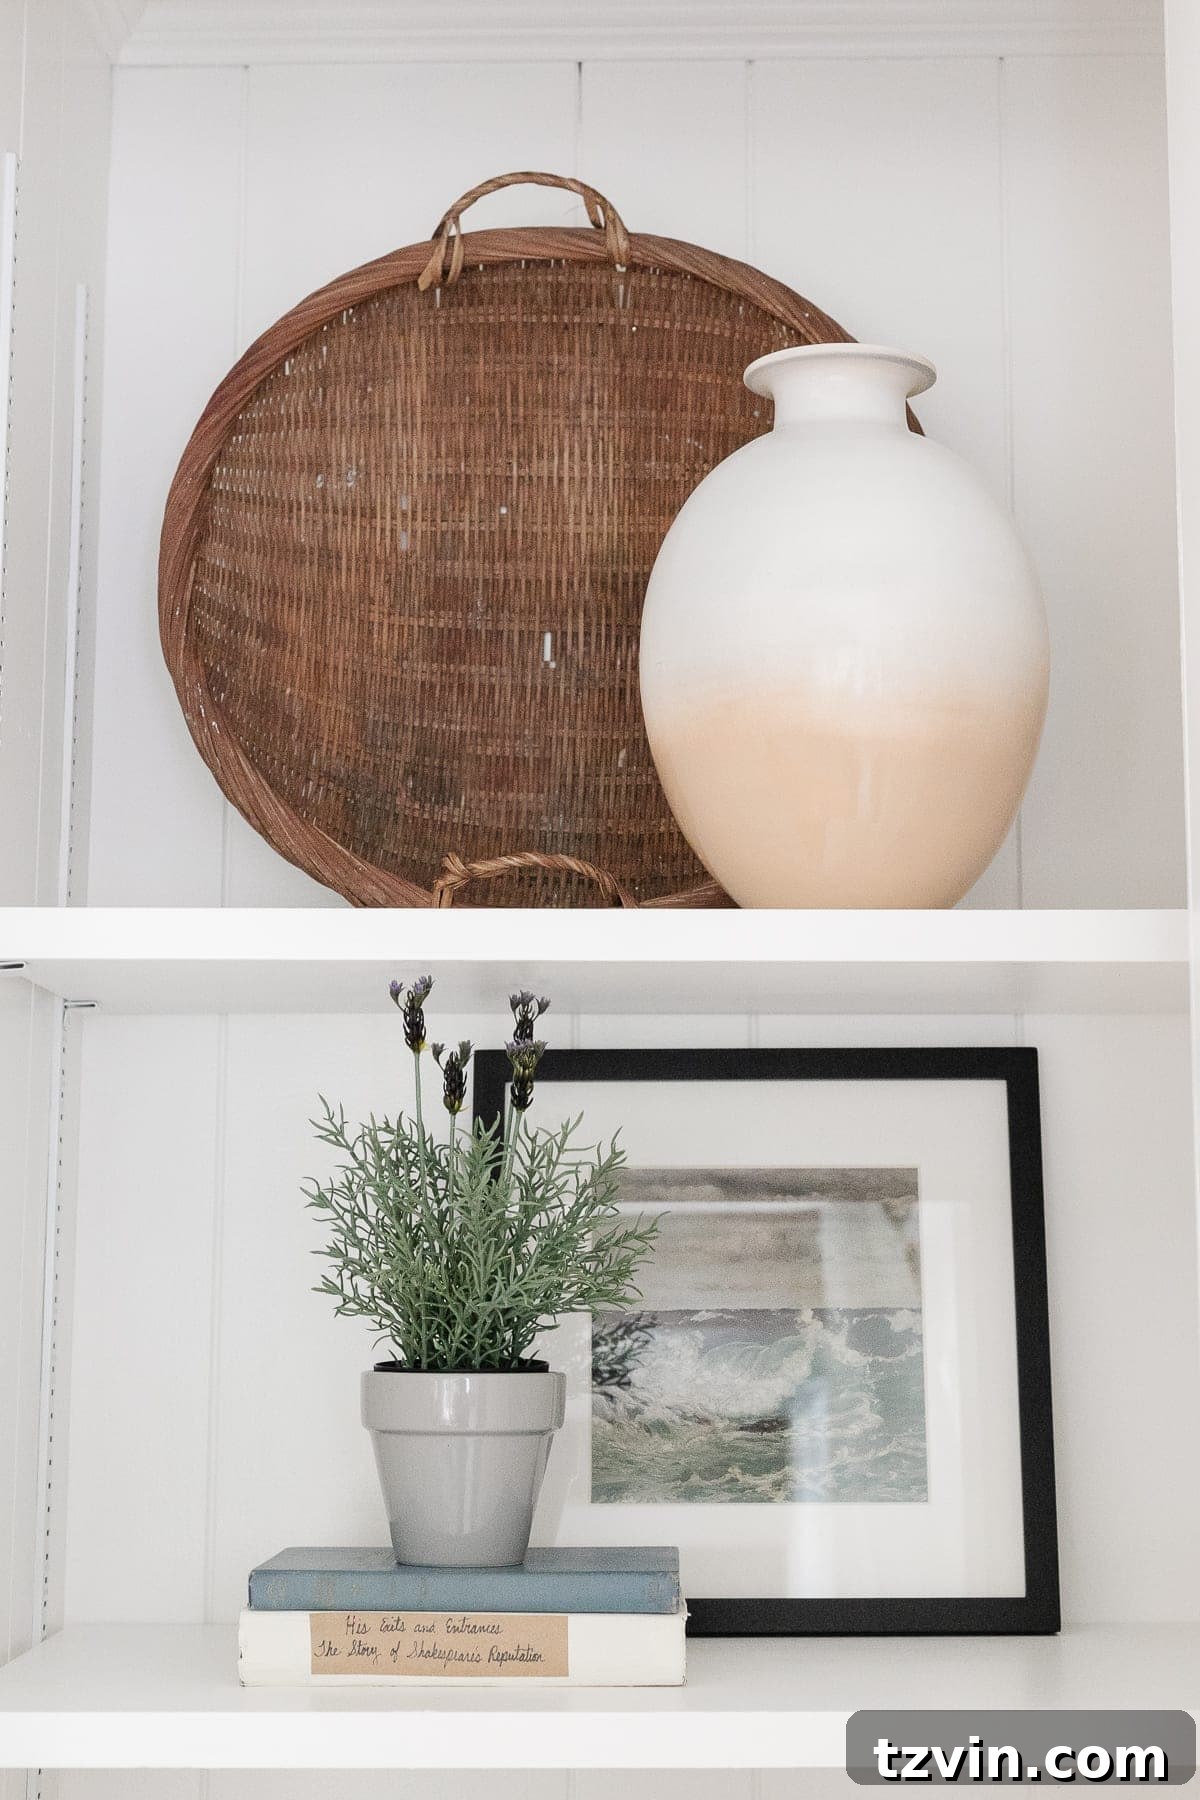
Finding charming pieces doesn’t have to break the bank. For example, these adorable vases were a steal at just $2 each! Mixing high and low, new and old, adds depth and character to your display.

Each item tells a story. That beautiful sweetgrass basket, discovered in a quaint antique store, evokes vivid memories of Charleston’s rich heritage. And the elegant urn positioned in front of it hails from the low country of South Carolina, adding another layer of regional charm to the display. When styling, think about varying heights, textures, and the negative space around objects to create visual interest without clutter.
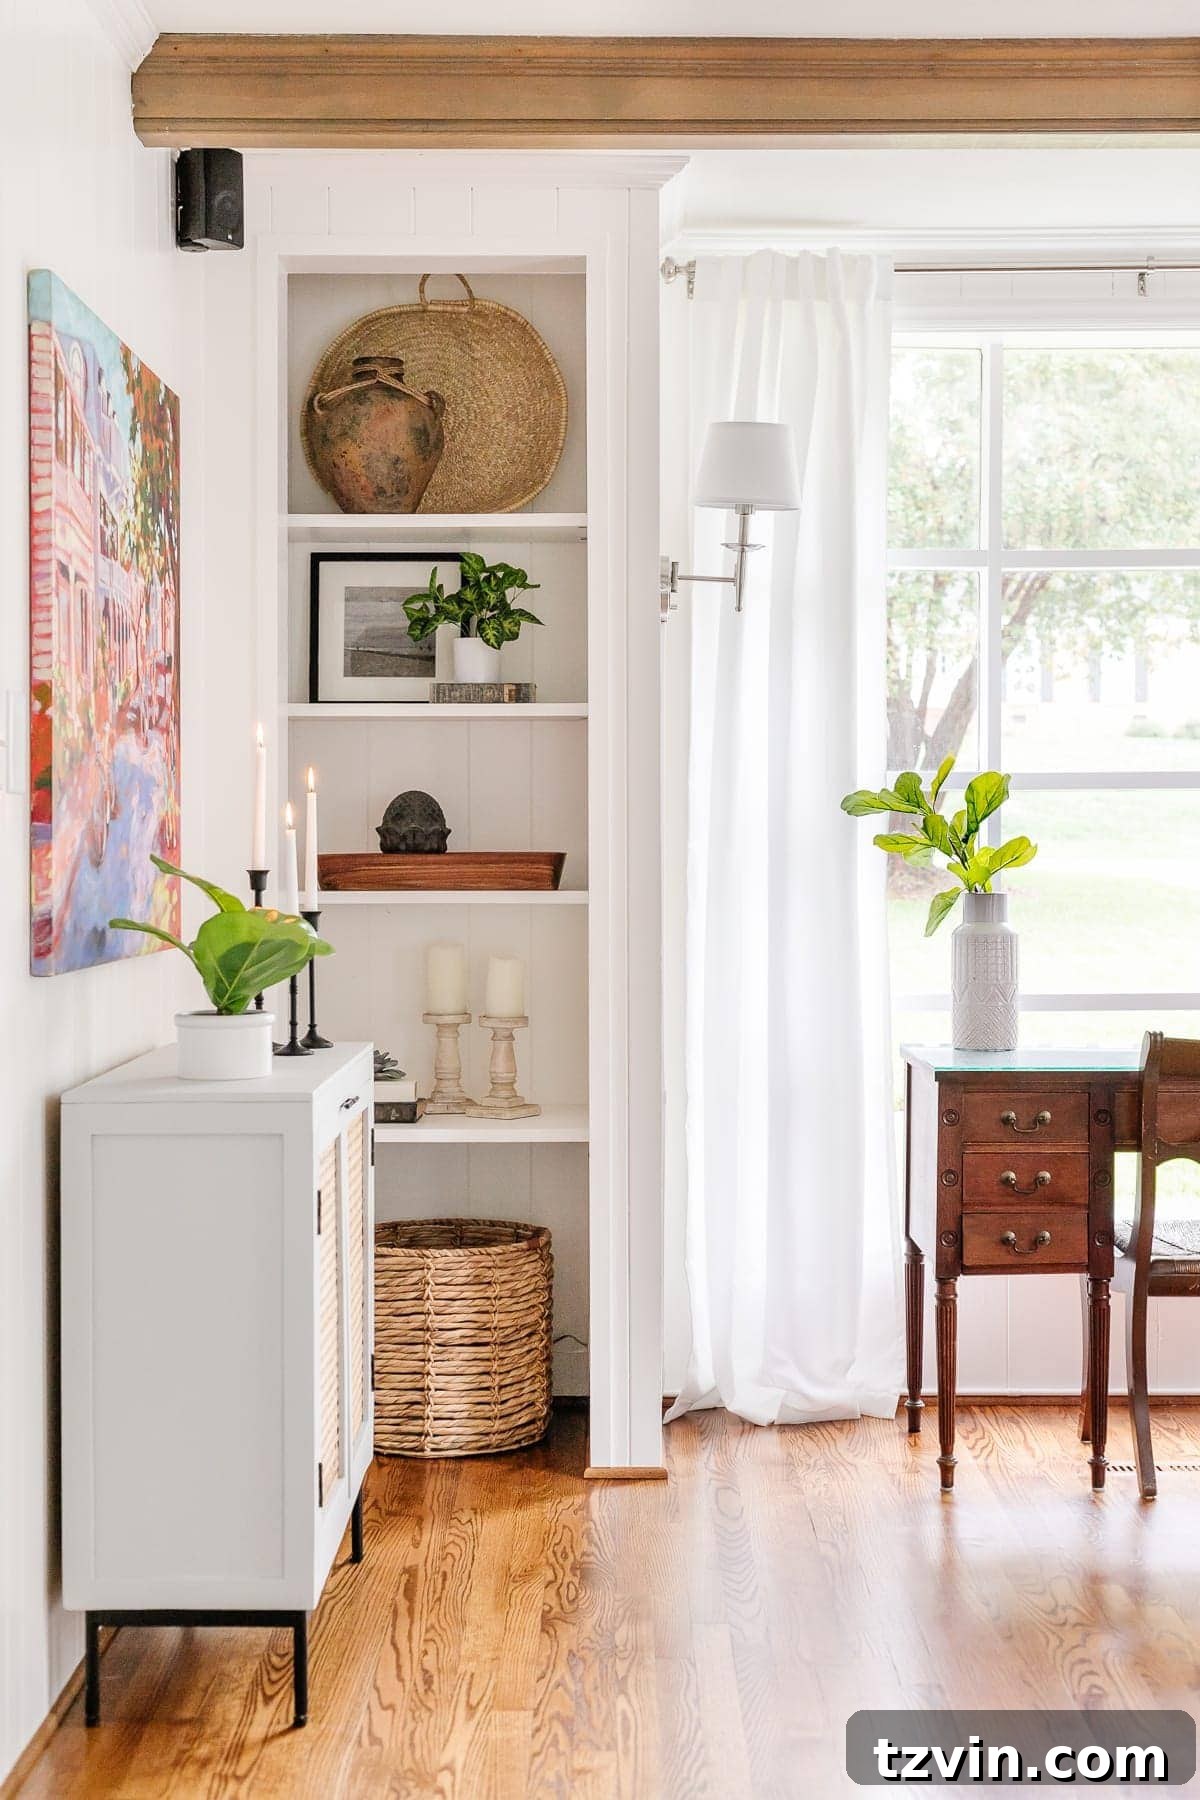
We absolutely cannot wait to reveal the entirety of this transformed space very soon, just as soon as a few final touches are complete. The anticipation is almost unbearable!
Just for a bit of extra fun, and because we simply can’t resist, here’s another look at the remarkable before-and-after of this side of the room. It truly highlights the incredible journey from dated to dazzling.
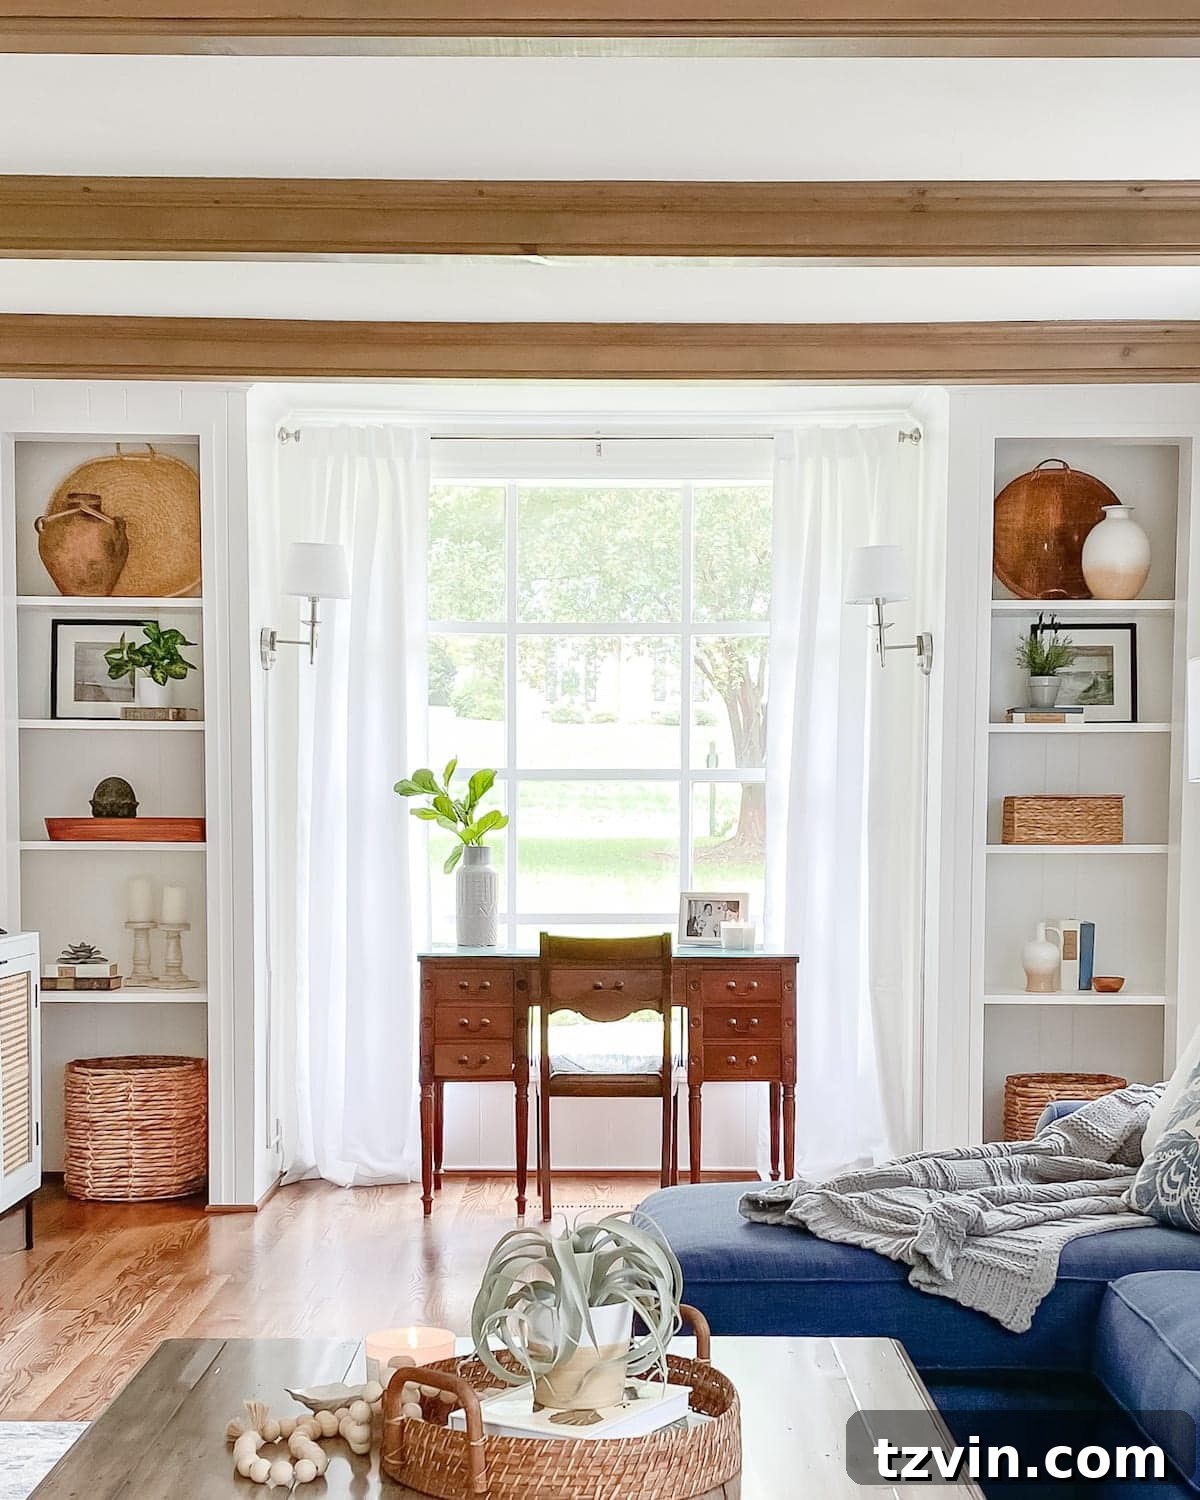
We simply couldn’t hold back from giving you this sneak peek – the suspense of the full reveal is absolutely killing us! We hope this detailed tutorial empowers you to tackle your own closet conversion project and create a space that’s both beautiful and perfectly suited to your needs. Happy DIYing!
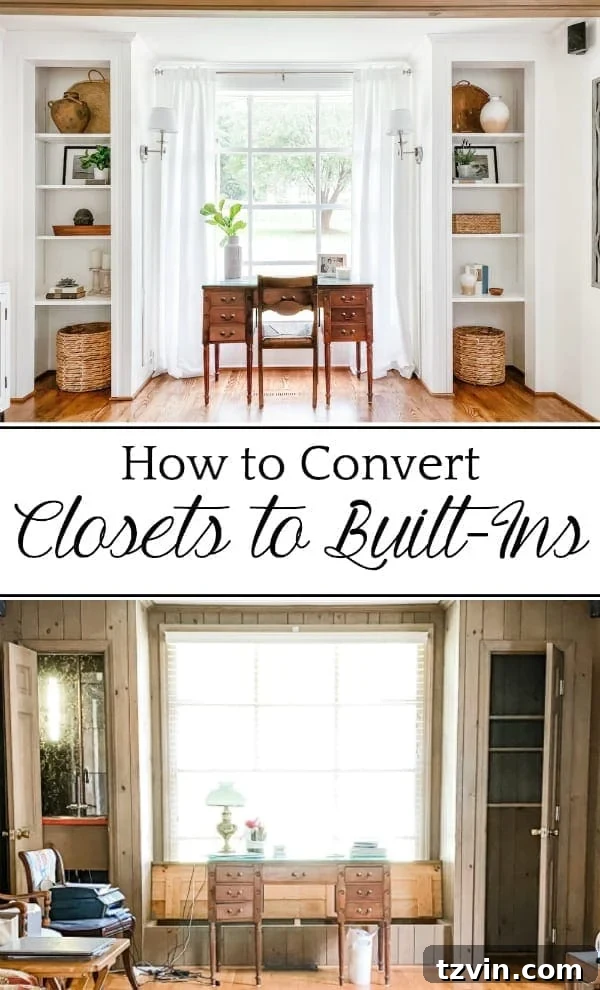
If you found this transformation inspiring and helpful, be sure to save this post for later reference by pinning it here:

Frequently Asked Questions About Built-In Shelves
What is the best way to utilize deep built-in shelves?
Deep built-in shelves offer fantastic versatility, but they can also become a black hole if not organized thoughtfully. The primary advantage of deep shelves is the ability to layer items, which adds visual interest and maximizes storage. Consider placing larger items, such as a stack of art books or decorative baskets, at the back, and then layering smaller decorative objects, framed photos, or plants in front. Labeled bins or stylish boxes are incredibly versatile for taking full advantage of the deeper storage capability, allowing you to hide clutter while maintaining easy access to contents. However, remember that less can often be more. You don’t have to fill every inch of space just because it’s there. Embrace negative space to allow your curated items to breathe and truly stand out.
How can I update or modernize my old built-in shelving units?
Older built-ins can often look dated due to specific architectural styles or finishes from their era. A simple update can completely revitalize their appearance. Start by carefully inspecting for any ornate molding, corbels, or other decorative details that might be dating the look. Removing these elements can instantly create a cleaner, more contemporary aesthetic. Next, a fresh coat of paint or stain is arguably the most impactful change you can make. Opt for modern, neutral colors like crisp whites, soft greys, or deep charcoals, or a rich wood stain. Changing the hardware on any cabinet doors or drawers can also make a significant difference. Consider adding some integrated lighting, such as LED strip lights or small puck lights, to illuminate your display and add ambiance. For a more substantial update without a full rebuild, consider replacing just the cabinet doors or drawer fronts with a more modern style, such as shaker, flat panel, or even glass inserts. These changes can dramatically transform the entire unit, bringing it firmly into the present day.
Are built-in shelves considered outdated in modern interior design?
Not at all! Built-in shelves are one of those enduring design elements that will likely never truly go out of style. They offer unparalleled functionality, custom storage, and architectural interest that freestanding furniture simply cannot match. They contribute significantly to a home’s aesthetic appeal, making a space feel more considered, bespoke, and high-end. While certain decorative details or finishes on older built-ins might appear dated, the concept of integrated shelving remains a timeless classic. As mentioned in the previous answer, there are numerous ways to tweak and update their look relatively easily, ensuring they remain relevant and stylish in any contemporary home. Built-ins continue to be a highly sought-after feature for homeowners looking to maximize space and enhance their home’s character.