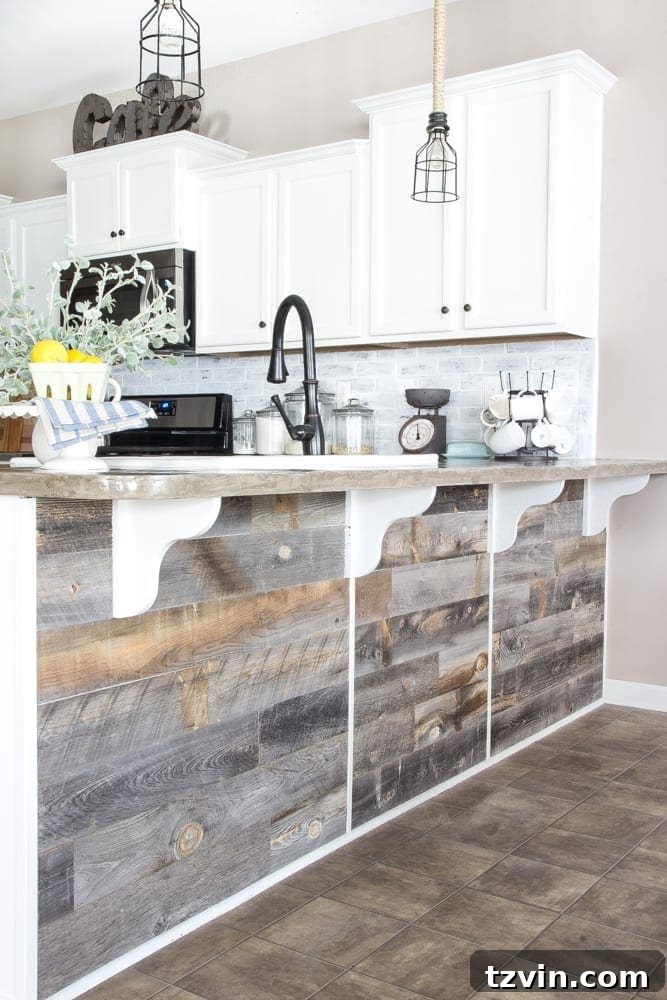
DIY Reclaimed Wood Bar Makeover: Easy Transformation with Stikwood
A huge thanks to Stikwood for providing the incredible reclaimed wood supplies that made this project a reality.
From a young age, I’ve harbored a deep affection for the raw, authentic beauty of old barns. I distinctly remember being an eight-year-old girl, utterly captivated by all things sparkly and pink. Yet, despite my glitter-infused world, there was an abandoned barn on a quiet backroad near my childhood home that always drew my gaze.
Each morning, as my mom drove me to elementary school, I’d stare out the window, picturing the barn in its prime. Before the roof began to sag and the encroaching weeds started their silent takeover, someone had poured their heart into building it. They had undoubtedly stepped back, admired their handiwork, and felt a profound sense of accomplishment. I once asked my mom if we could explore inside, only to be met with a look of utter disbelief and a cautionary tale of snakes and spiders. While the dream of exploring remained just that, my admiration for its rustic charm never faded.
Fast forward to today, and I’m thrilled to say I’ve finally brought a piece of that timeless barn aesthetic into our own home, falling in love with it all over again. Thankfully, this time, there was no need to brave any slithering or crawling creatures to achieve this beautiful reclaimed wood look. Our secret? Stikwood.
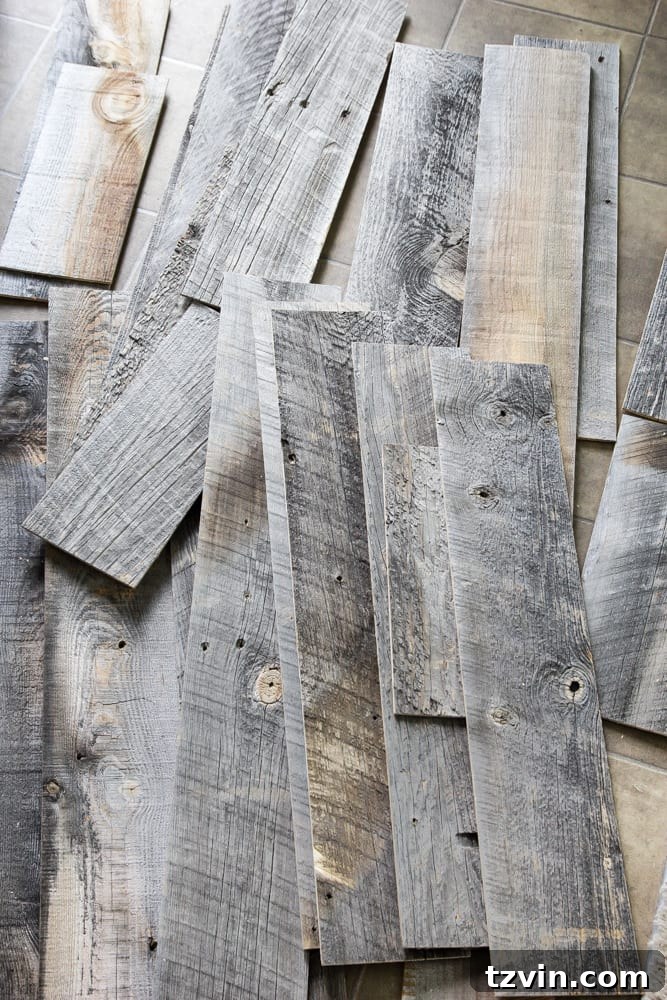
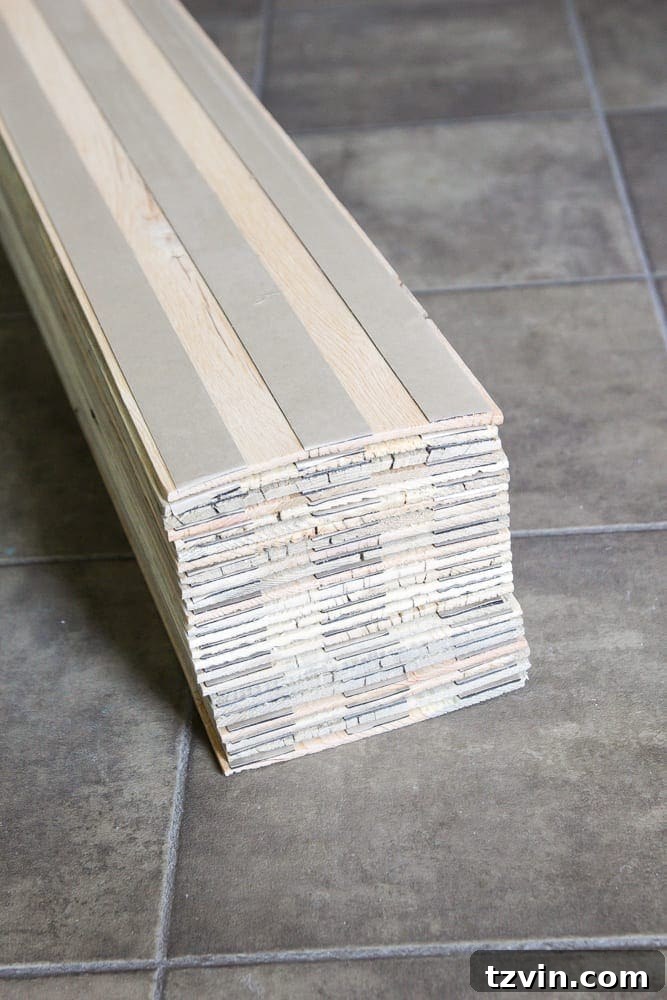
For those unfamiliar, Stikwood offers genuine reclaimed and sustainably harvested wood planks, but with a revolutionary peel-and-stick adhesive backing. This innovative product transformed a potentially complex project into a remarkably simple one. It arrived at our doorstep in a neat, compact box, ready to unleash its rustic magic:
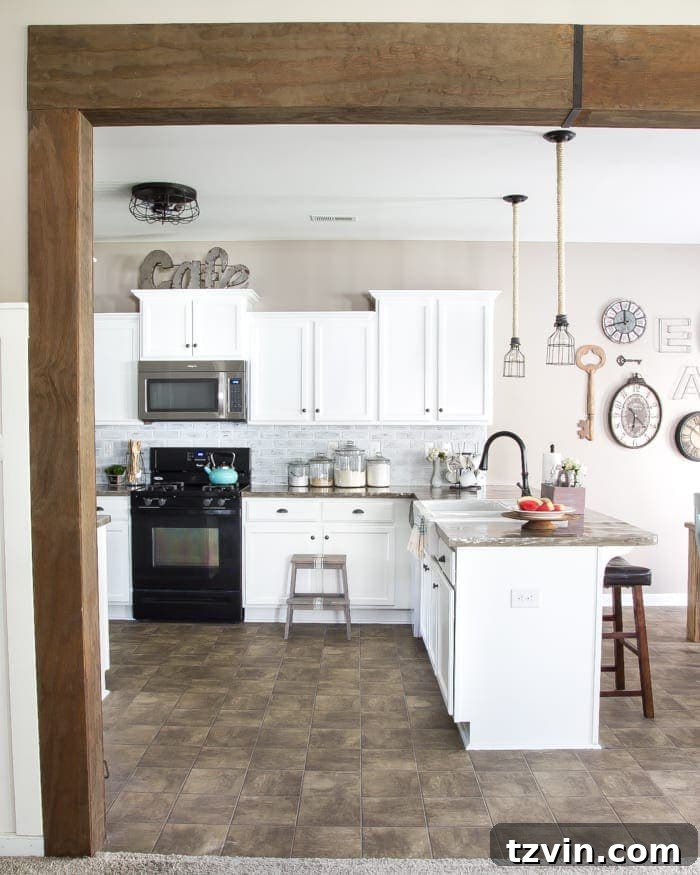
I had been eager to experiment with Stikwood since first hearing about it a year ago. Early on in the planning stages of our comprehensive kitchen makeover, I envisioned incorporating some form of wood cladding on our kitchen bar or peninsula. My primary motivation was not just aesthetics, but also practicality. I knew from experience that an exposed painted surface in such a high-traffic area would inevitably suffer from scuffs and chips from restless feet. A durable, beautiful wood finish seemed like the ideal solution.
Beyond protection, I wanted to introduce visual interest and texture to break up the expansiveness of white in our kitchen design. The warm, earthy tones of reclaimed wood would also seamlessly tie into the rich brown hues of our existing wood beam doorway, creating a cohesive and inviting atmosphere. The goal was a modern farmhouse aesthetic – clean and bright, yet grounded with natural, rustic elements.
UPDATE: Discover the full transformation in our complete kitchen makeover reveal!
Gathering Your Supplies for a Seamless Reclaimed Wood Project
One of the many benefits of using Stikwood is the minimal toolset required. This isn’t a project that demands a full workshop or specialized carpentry skills, making it perfect for DIY enthusiasts. Here’s what you’ll need to achieve your own rustic kitchen bar transformation:
Supplies Used: (Affiliate links are provided below for your convenience, helping support our content at no extra cost to you. For more information, please refer to my full disclosure here.)
- Stikwood in Reclaimed Weathered Wood: The star of our project! This authentic wood with its self-adhesive backing makes installation incredibly simple and delivers that coveted weathered look.
- Jigsaw: Essential for making precise cuts to fit your planks around corners, outlets, or to create staggered ends for a natural look.
- Square Tool: Crucial for marking perfectly straight lines on your Stikwood planks, ensuring clean, professional-looking cuts.
- Rubber Seam Roller: While we initially improvised, a dedicated rubber seam roller is highly recommended for pressing the Stikwood planks firmly onto the surface, ensuring maximum adhesion.
- Tape Measure: For accurate measurements of your bar surface and Stikwood planks.
- Pencil: To mark cut lines and reference points on your wood.
- Level: To ensure your first row of Stikwood is perfectly straight, which is fundamental for a professional finish.
Step-by-Step: Transforming Your Kitchen Bar with Stikwood
Preparation: Setting the Stage for Success
Before diving into the exciting part, a little preparation goes a long way. Begin by cleaning the surface of your kitchen bar thoroughly. Ensure it’s free of dust, grease, or any debris that could compromise the adhesive’s grip. While Stikwood’s adhesive is incredibly strong, a clean surface is paramount for long-lasting results. We also recommend drawing a level line where your first row of Stikwood will be applied. This ensures your entire installation remains straight and true.
Cutting and Customizing Your Stikwood Planks
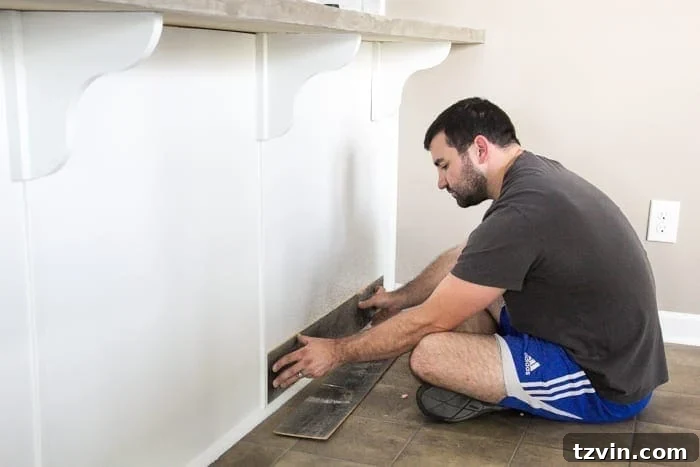
Initially, my husband Robert and I were perhaps a bit *too* eager and started peeling and sticking without much strategic planning. However, we quickly found our rhythm and discovered that careful planning makes the process much smoother. It’s best to alternate between lighter and darker wood tones to create a natural, varied look, and to stagger the end cuts of the planks, mimicking traditional wood paneling.
Trimming the Stikwood planks is surprisingly straightforward. Whenever a cut was needed – whether to fit an edge, accommodate an outlet, or simply create a staggered pattern – we used the square tool to mark a precise, straight line. Then, with a few quick passes of the jigsaw, the plank was perfectly sized. The quality of the reclaimed wood means it cuts cleanly, making the process efficient and satisfying.
The Peel, Stick, and Roll Technique for Flawless Adhesion
Once your plank is cut to size, the magic happens. Simply peel off the paper backing from the adhesive strips on the back of the Stikwood plank. Position the plank carefully against your prepared surface, align it with your level line or previous planks, and firmly press it into place. These planks are, in essence, the most robust “stickers” you’ll ever encounter, designed for industrial-strength hold.
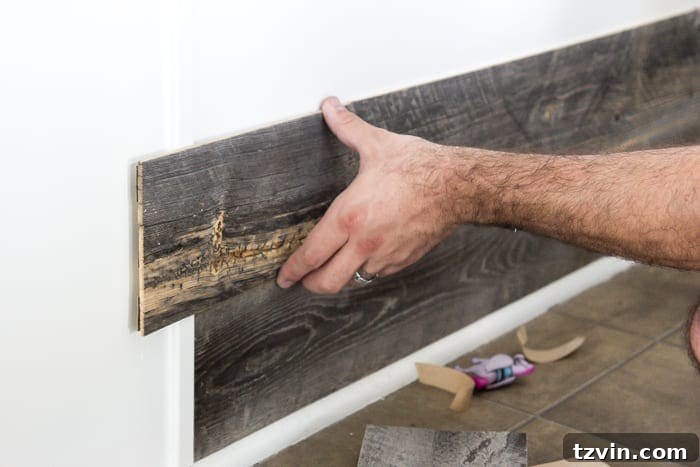
To ensure every inch of the adhesive made full contact with the bar surface, we used a roller. While we initially grabbed a paint roller (because, let’s be honest, impromptu DIY projects sometimes involve improvisation!), a dedicated rubber seam roller is the technically correct tool for applying even pressure and securing the planks perfectly. Lesson learned for our next Stikwood adventure!
The Unveiling: A Masterpiece of Rustic Charm and Enduring Protection
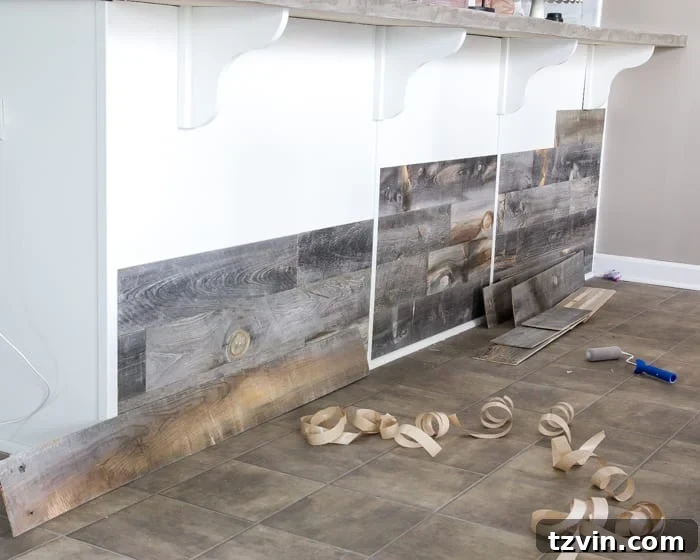
With each piece we meticulously placed, Robert and I couldn’t help but “ooh” and “ahh” over the transformation. The rich textures, varying grains, and authentic imperfections of the reclaimed wood are truly captivating up close. It’s a testament to the raw beauty that only aged wood can provide, bringing a story and a sense of history into our modern kitchen.
Robert, in particular, was quite pleased with himself, playfully declaring, “I am Handyman. Hear me grunt!” – a testament to how accessible and satisfying this DIY project proved to be. It’s always rewarding to tackle a home improvement task and see such a dramatic, positive outcome.
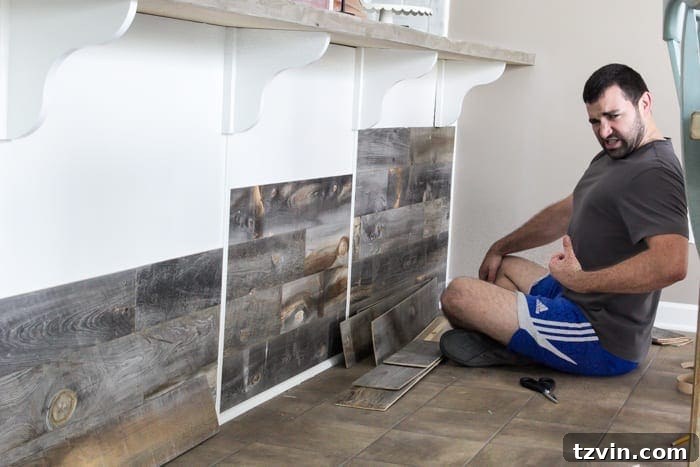
Beyond its undeniable aesthetic appeal, our newly clad bar now boasts an invaluable layer of protection. It’s shielded from the inevitable scuffs and kicks that come with daily life in a busy kitchen, ensuring the painted cabinet base beneath remains pristine. This blend of durability and rustic beauty is a definite win in my book. And for added peace of mind, should future homeowners (or even we, down the road) decide on a different aesthetic, the Stikwood planks can be carefully pried off since no nails were used in their installation.
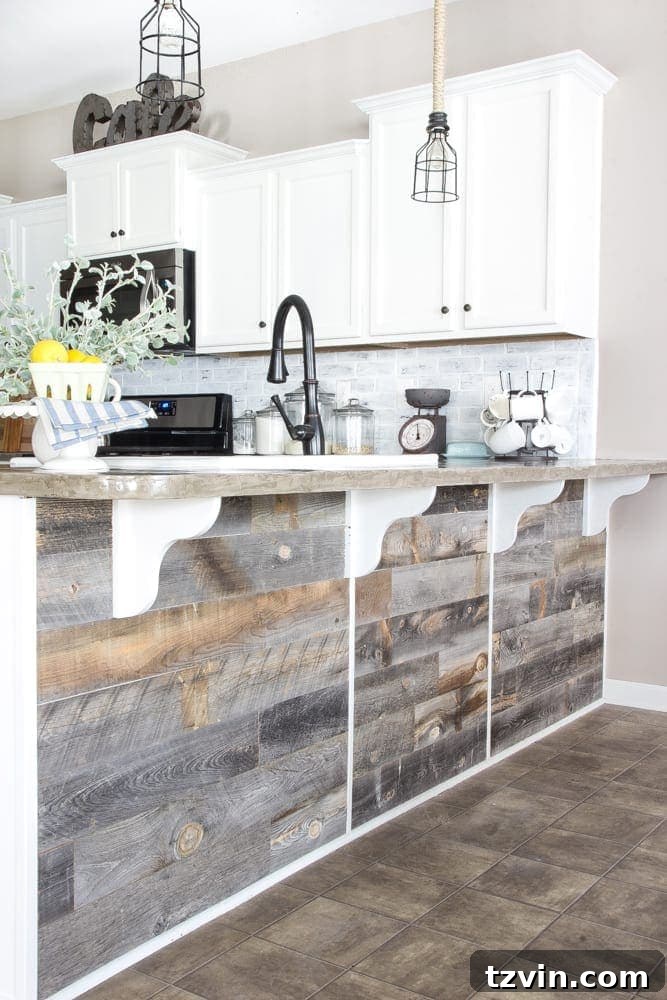
Beyond the Bar: Continuing Our Home Renovation Story
While our reclaimed wood bar is a significant step, the dream for our kitchen continues to evolve. One of these days, I’m really hoping to replace our current vinyl flooring with beautiful hardwood. It would undeniably elevate the entire space, but that’s a project for Phase 2, a little further down the road.
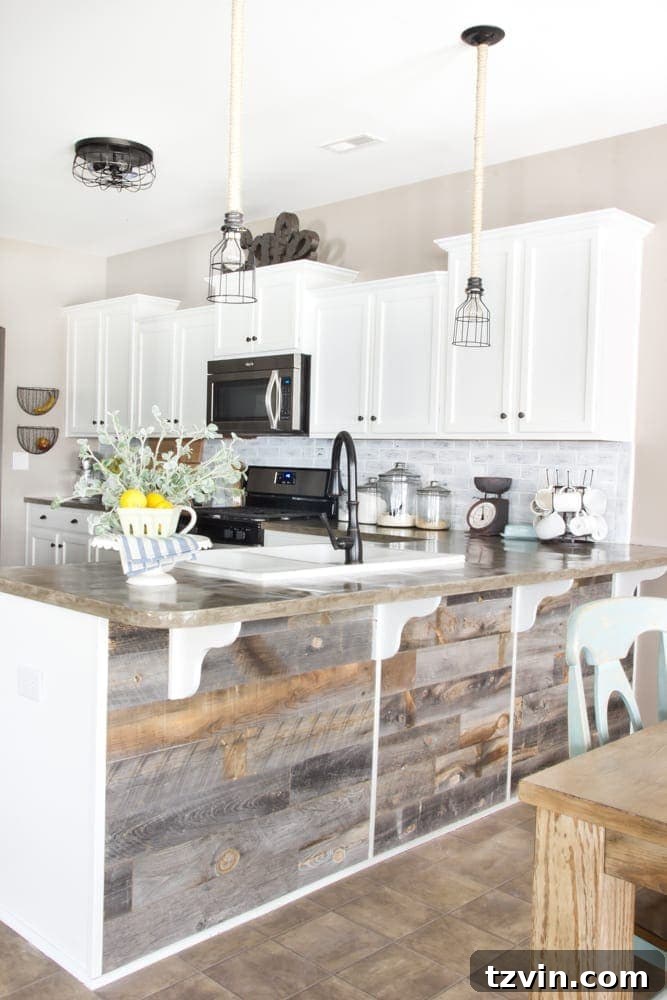
With the bar completed, our next item on the checklist is to select the perfect set of bar stools. Once those are in place, this space will feel incredibly close to being fully realized. The recent delivery of our new stainless steel range – a fantastic 30% off score during a Lowe’s appliance sale, woohoo! – has already made the kitchen feel much more cohesive and modern. Every small improvement brings us closer to our dream kitchen.
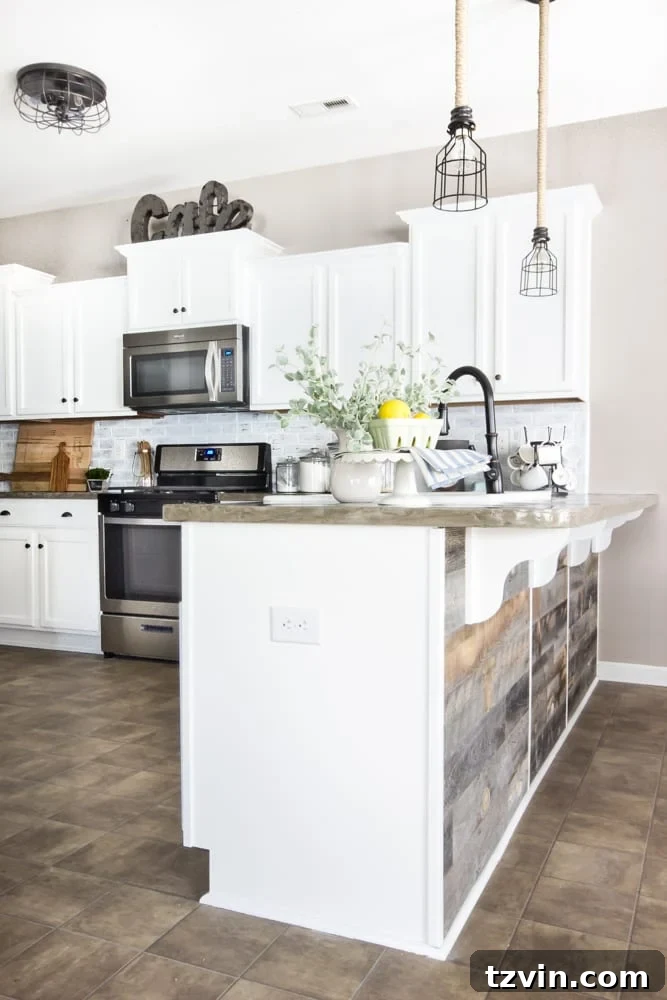
We even have a few leftover Stikwood pieces, and I’m already brainstorming creative ways to utilize them. After all, genuine reclaimed wood is far too precious to let go to waste. Every beautiful plank reminds me of those old barns, and the desire to save and celebrate their inherent charm drives my next DIY inspiration. Must. save. all. the. pretty. barns!
This project truly highlights how easy and impactful it can be to incorporate elements of rustic charm into a modern home, especially with innovative products like Stikwood. It’s a simple way to add warmth, texture, and a touch of history to any space, proving that you don’t need to be a seasoned carpenter to achieve stunning results.
In case you’re catching up on our kitchen makeover adventures, here are some previous posts and projects that might inspire your own home improvement journey:
- Kitchen Makeover Plans and Mood Board: Our initial vision and design blueprint.
- DIY Industrial Pendant Lights: Adding unique lighting fixtures on a budget.
- Installing an IKEA Farmhouse Sink: A step-by-step guide to installing our classic farmhouse sink.
- DIY Feather Finish Concrete Countertops: Achieving a custom look for less.
- How to Paint Kitchen Cabinets Like a Pro: Our detailed guide to a flawless cabinet finish.
- Faux Rusted Vintage Scale Makeover: A charming decorative accent project.