
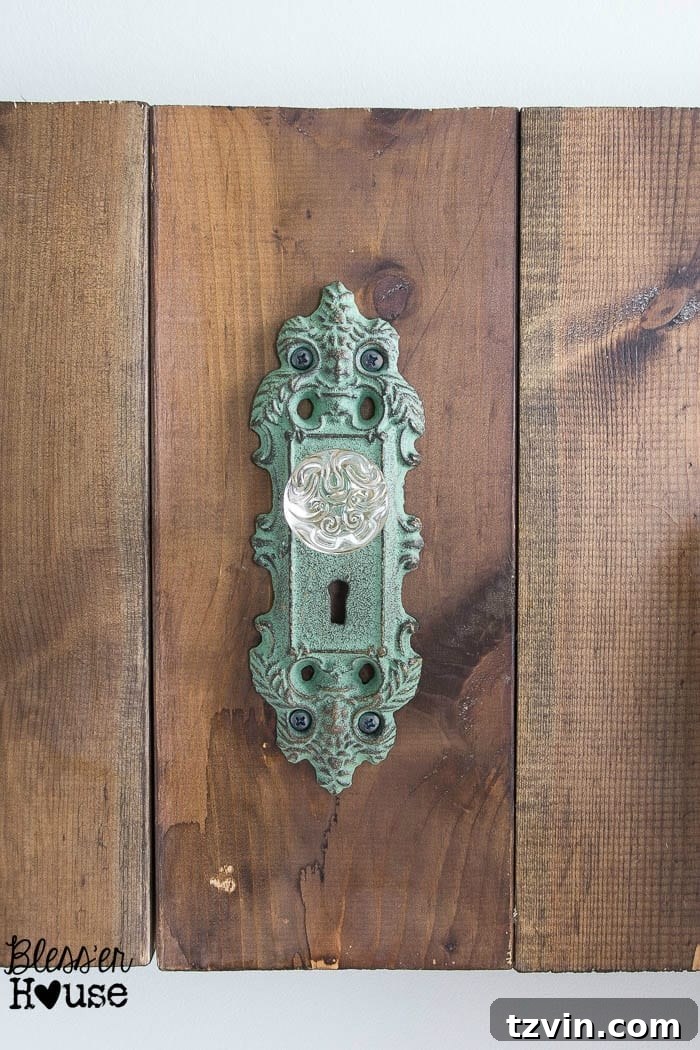
Life often feels like a browser with countless tabs open, each demanding attention. Today’s feature, our charming DIY Antique Door Knob Towel Rack, was one of those delightful tabs that finally got its moment in the spotlight. Sometimes, amidst the hustle and bustle, it’s these small, creative projects that bring a unique sense of accomplishment and a breath of fresh air to our living spaces. This particular project isn’t just about functionality; it’s about infusing character and a touch of vintage elegance into our newly refreshed hallway bathroom, transforming it from a mere utility room into a space with genuine personality.
If you ever entertain the notion that I have everything perfectly organized, please dismiss that thought immediately. My brain operates more like a whirlwind of ideas, constantly buzzing with new inspirations and tasks. Yet, it’s precisely this overflow of creativity that often leads to some of our most beloved home projects, like this very towel rack. It’s a testament to embracing the creative chaos and finding beauty in the unexpected.
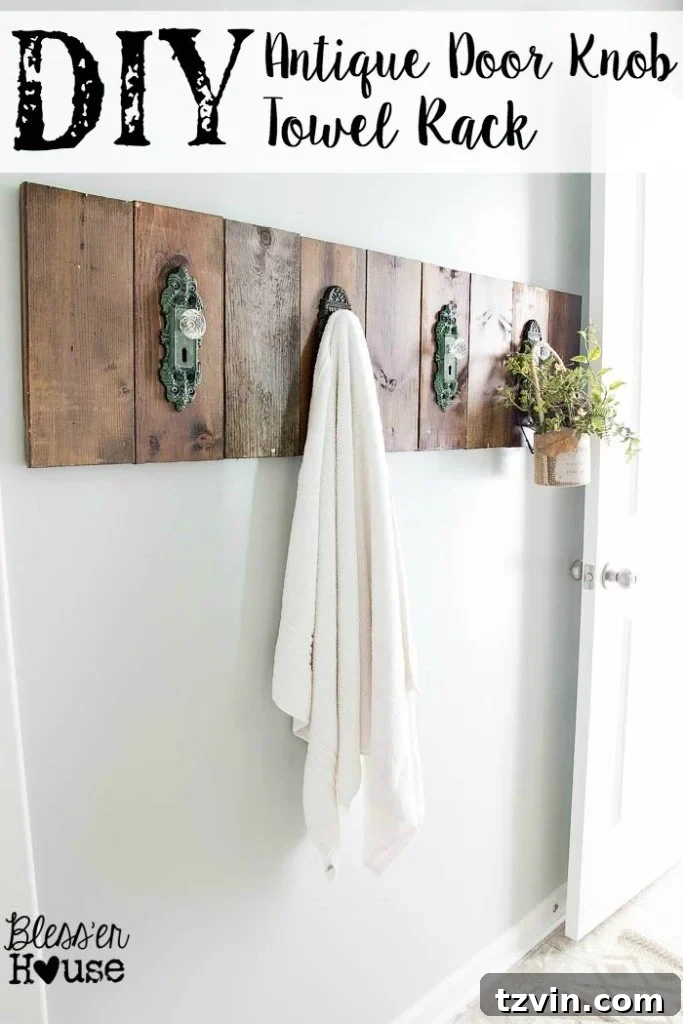
The centerpiece of this project? Antique door knobs! I’ve always harbored a desire to incorporate these timeless pieces into our home décor. While the ones used here aren’t genuine centuries-old antiques, they perfectly capture that coveted vintage aesthetic. But let’s keep that little detail our secret, shall we? The magic lies in their appearance and the unique charm they bring, regardless of their origin. They instantly elevate the towel rack beyond a mundane household item, making it a focal point of interest.
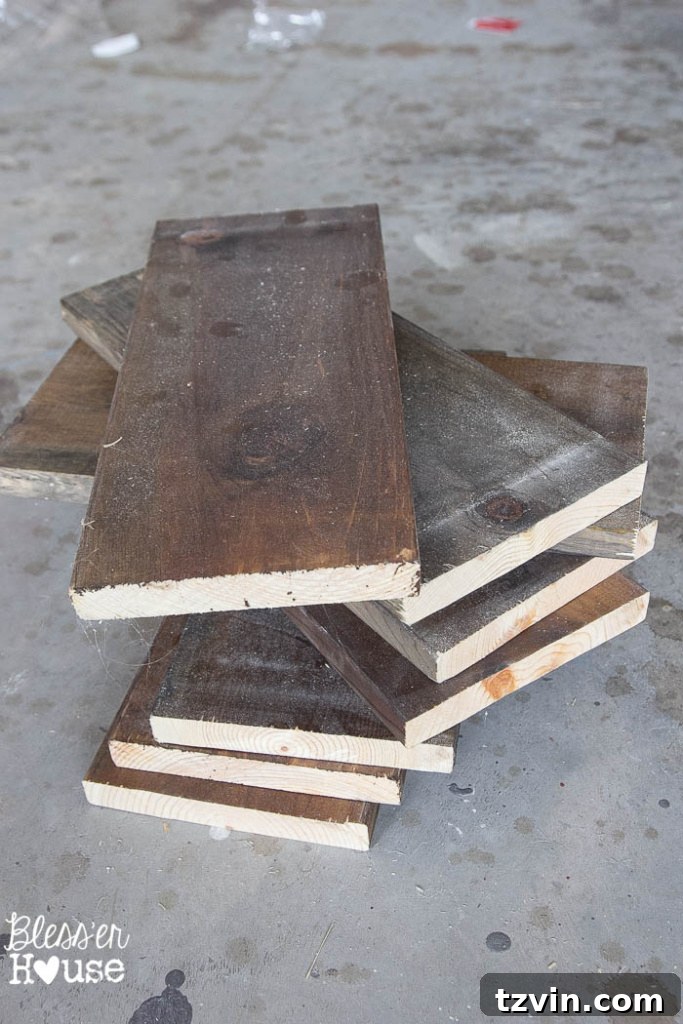
As many of you likely know, I’m a fervent advocate for repurposing. You could say I’m a genuine “junk-ie” – in the best possible sense! I find it almost unbearable to see materials with potential simply discarded. Our garage, a treasure trove of project leftovers, often provides the inspiration for our next DIY adventure. This handy woodpile, a collection of salvaged pieces from previous endeavors, is a testament to sustainable living and imaginative crafting. It’s amazing what beautiful and functional items can emerge from what others might consider scraps.
From this very same resourceful wood stash, we’ve brought to life an array of projects, each with its own story. There’s the anniversary sign, a heartwarming reminder of special dates; an adorable arrow growth chart, marking our little one’s milestones; a practical mail organizer, helping to keep clutter at bay; and an oversized sheet music display, adding an artistic touch to our walls. Each project not only served a purpose but also added a layer of handcrafted warmth to our home. This time, my gaze fell upon some leftover pieces from our bathroom plank wall, and an exciting new idea began to form. These sturdy pine boards, already cut and treated, were just waiting for their next transformation.
Crafting Your Own Antique-Inspired Towel Rack: A Step-by-Step Guide
Creating your own antique door knob towel rack is a rewarding project that combines rustic charm with practical functionality. Here’s everything you’ll need and how to bring this unique piece to life.
Essential Supplies:
To embark on this delightful DIY journey, gather the following materials. Please note that affiliate links are provided below where indicated by asterisks, offering convenient access to specific products mentioned. For more information regarding our affiliate policy, please refer to our disclosure policy here.
- Pine Boards: You’ll need 2 pieces of 1x6x8 pine boards, which will be cut into nine 16-inch lengths. These form the structural base of your towel rack, providing a sturdy surface for the knobs. Using leftover planks from previous projects, like a bathroom plank wall, is an excellent way to repurpose materials and reduce waste, adding to the sustainable charm of your piece.
- Wood Stain: Choose a DIY stain or any wood stain of your preference to achieve your desired aesthetic. A darker stain can enhance the antique feel, while a lighter tone might offer a more farmhouse-chic look. Consider testing your stain on a scrap piece of wood first to ensure it matches your vision.
- Marine Grade Polyurethane: This is a crucial protective layer, especially if your towel rack will reside in a moisture-rich environment like a bathroom. Marine-grade polyurethane* provides superior water resistance, protecting the wood from humidity and splashes, thereby ensuring the longevity of your project.
- Antique Door Knobs: Select 4 decorative antique-style door knobs. For this project, I utilized options similar to this one from Hobby Lobby. Look for knobs that offer character and charm, whether they are genuine antiques or beautifully crafted reproductions. The key is their aesthetic appeal and how they complement your chosen bathroom décor.
- Continuous Hinge or Metal Strip: A continuous hinge* (also known as a piano hinge) or a thin metal strip with pre-drilled holes will be used to connect your wood planks. The hinge provides an easy and sturdy way to assemble the individual wood pieces into a single, cohesive rack. While a custom-drilled metal strip might be a cheaper alternative, a continuous hinge offers convenience with ready-made holes.
- Hack Saw: A hack saw* is indispensable for precisely cutting the continuous hinge to the required length. This tool ensures clean cuts, essential for a professional finish.
- Hangman Wall Mount: To securely install your completed towel rack on the wall, a Hangman wall mount* is highly recommended. This mounting system ensures a flush, stable, and easy installation, providing confidence that your beautiful creation will stay safely in place.
The Assembly Process:
The construction of this towel rack was remarkably swift, primarily because the wood boards were already prepped from our prior bathroom plank wall project. They were cut, stained, and sealed, ready for their new purpose – a true testament to the efficiency and joy of using leftovers!
Step 1: Preparing and Assembling the Wood Base. Begin by laying your nine 16-inch wood boards face down on the floor. Arrange them side-by-side to form the desired width of your towel rack. This arrangement allows you to accurately measure the length needed for your continuous hinge. Robert and I searched extensively for a thin metal strip, similar to what we used on our wood beam doorway, hoping for a more cost-effective solution. While a metal strip might have been cheaper, the continuous hinge proved to be an excellent alternative, mainly because its pre-drilled holes significantly expedited the assembly process. This saved us valuable time and effort in drilling numerous holes ourselves.
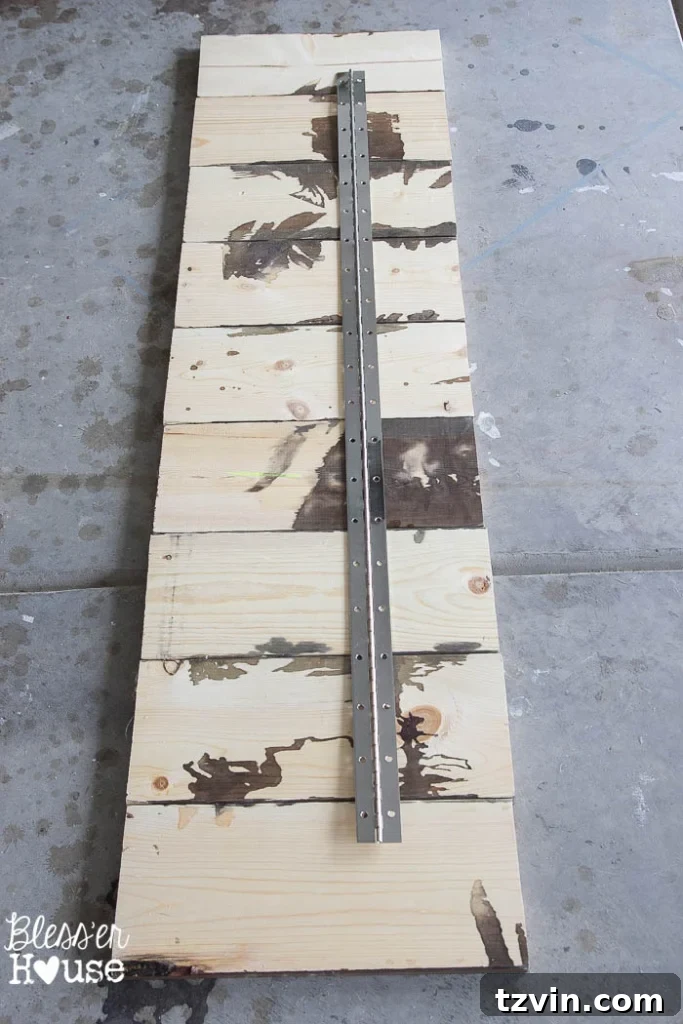
Using a hack saw, Robert carefully cut the continuous hinge to the exact length required to span across the width of the arranged boards. Accuracy here is key to ensuring the planks align perfectly. Once cut, the hinge was laid across the boards, ensuring it was centered and evenly distributed across the joints where the planks met.
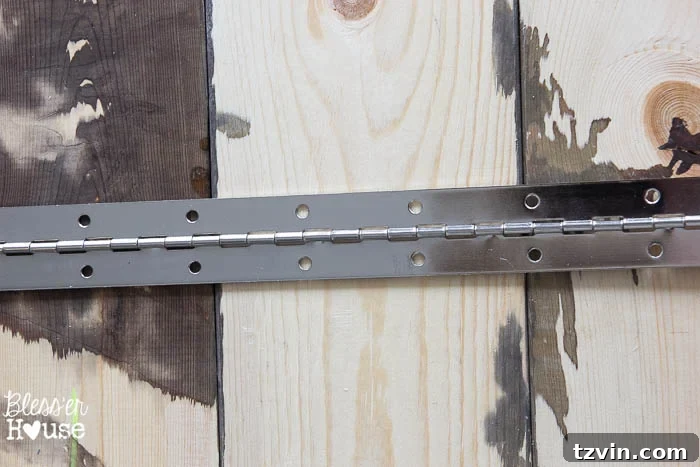
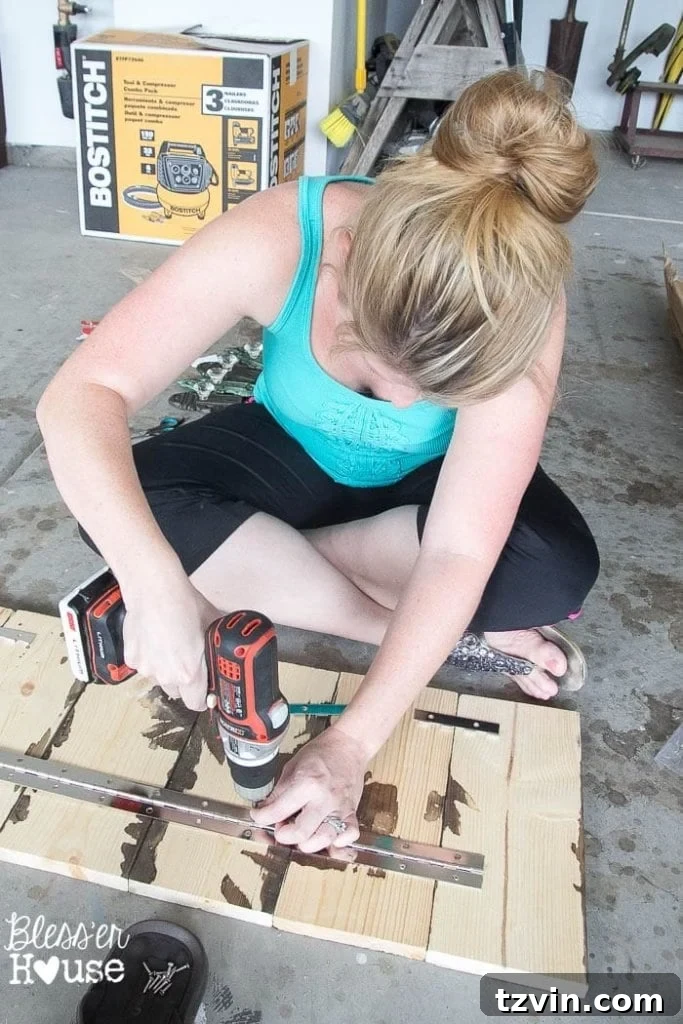
Next, I used screws to firmly secure the hinge to each individual plank, effectively joining all the pieces into a single, sturdy unit. To enhance stability and prevent any warping or movement, we also cut up the remaining portion of the hinge into smaller sections and used these to connect the bottom parts of the planks. This double-hinge method ensures the entire wooden structure remains rigid and robust, capable of holding towels without issues. This attention to detail in the assembly process is crucial for both the durability and the aesthetic appeal of the finished rack.
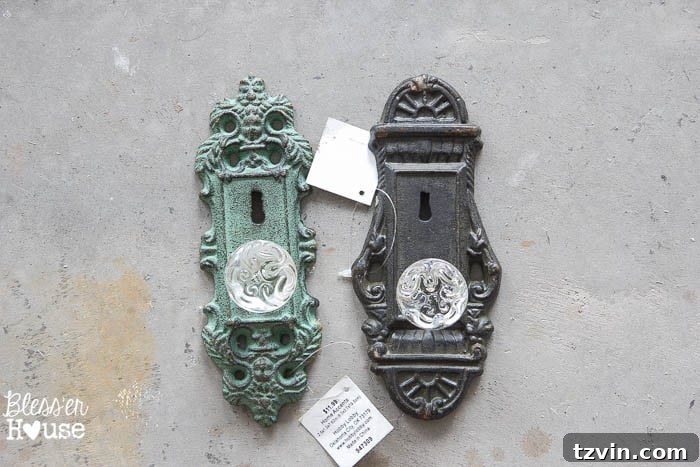
Step 2: Attaching the Antique Door Knobs. Finding the perfect door knobs was an exciting part of the process. I was thrilled to discover these adorable door knob hooks at Hobby Lobby, especially since they were marked down by 50%! This brought their cost down to a mere $6.00 each – a fantastic bargain when you consider the price of authentic antique door knobs. These reproductions offer the same vintage appeal without the hefty price tag, making the project both beautiful and budget-friendly.
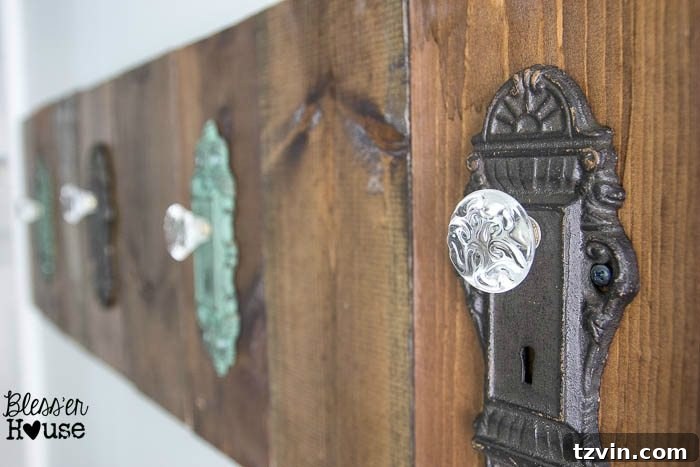
Once the wooden base was fully assembled, we carefully positioned the door knobs where we wanted them on the planks, ensuring even spacing and an aesthetically pleasing arrangement. Then, it was a straightforward process of screwing them securely into place. With the knobs attached, the towel rack was nearly complete. The final step was to hang this beautifully crafted piece using a reliable Hangman wall mount system, which ensures a flush and secure fit against the wall. And just like that, our charming DIY Antique Door Knob Towel Rack was finished, ready to add a touch of vintage charm to our bathroom!
Aesthetic and Practical Touches for Your Bathroom
The finished towel rack is more than just a place to hang towels; it’s a statement piece that perfectly complements our bathroom’s aesthetic. I particularly adore how the subtle blue/green hues of some of the knobs harmonize with our wall color, Sherwin Williams Sea Salt. This shade creates a serene and inviting atmosphere, and the knobs add just the right amount of contrasting pop without overwhelming the space.
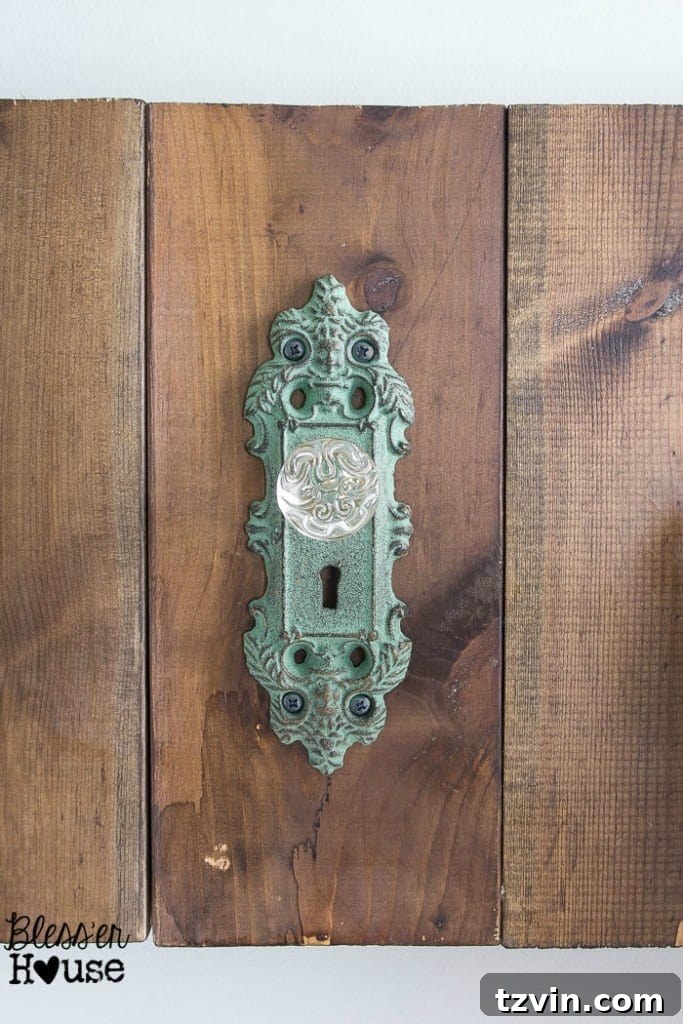
I’m generally not a fan of overly matchy-matchy décor, preferring a more eclectic and lived-in feel. To achieve this, I intentionally incorporated some bronze-toned knobs alongside the blue/green ones. This subtle variation adds depth and interest, preventing the rack from looking too uniform or mass-produced. It’s these small, thoughtful details that truly make a DIY project shine and feel uniquely yours.
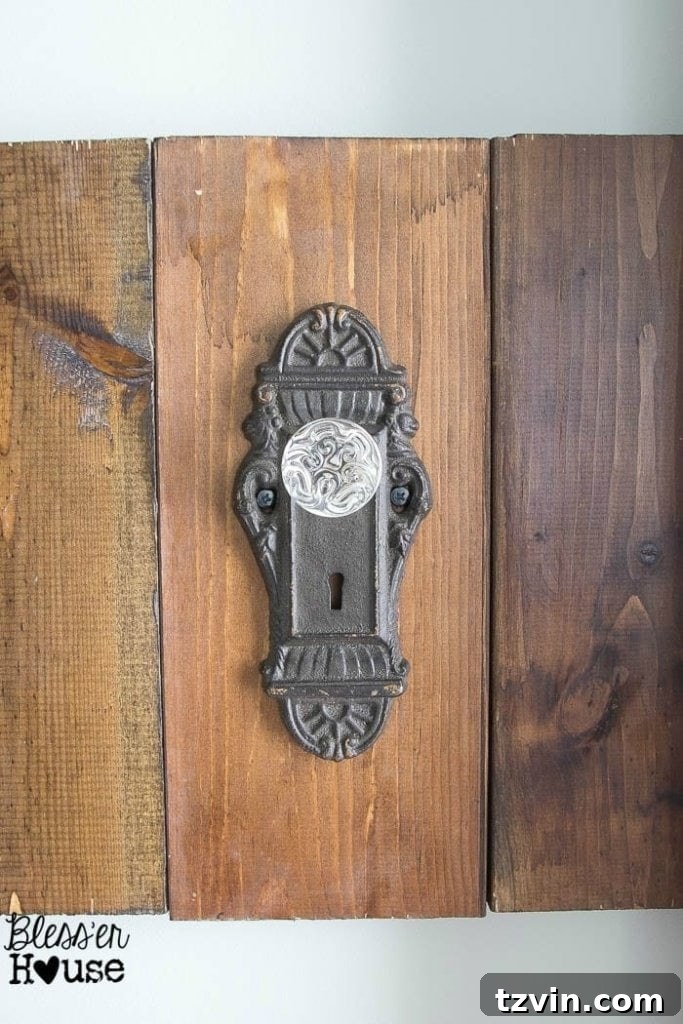
One of the beautiful aspects of using reclaimed or leftover wood is its inherent imperfections. The wood scraps we utilized for this project aren’t perfectly cut, and they bear a few delightful dents and dings. And honestly, I wouldn’t have it any other way. These little “flaws” tell a story; they give the piece character and authenticity. Our homes, much like ourselves, are rarely perfect, and there’s a profound beauty in letting our living spaces reflect that reality. Embracing the imperfect adds warmth, history, and a touch of genuine charm that perfectly polished items simply cannot replicate.
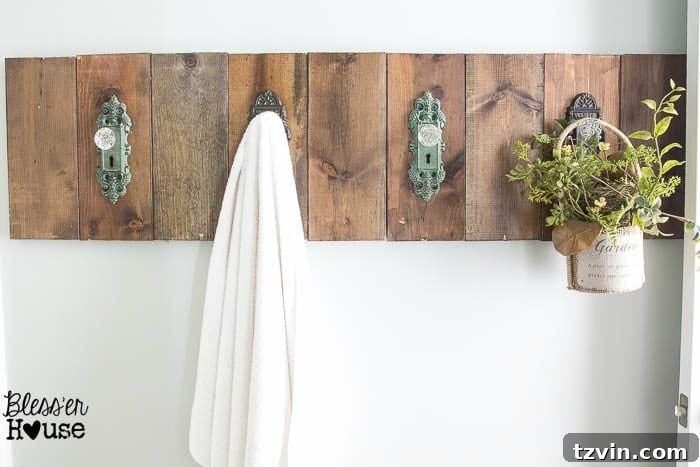
Capturing the true essence of this towel rack through photography in our small, window-less bathroom has proven to be quite a challenge. The photos, as lovely as they are, simply don’t do justice to how utterly cute and wonderfully unique this piece is in person! It truly adds a magical touch to the space.
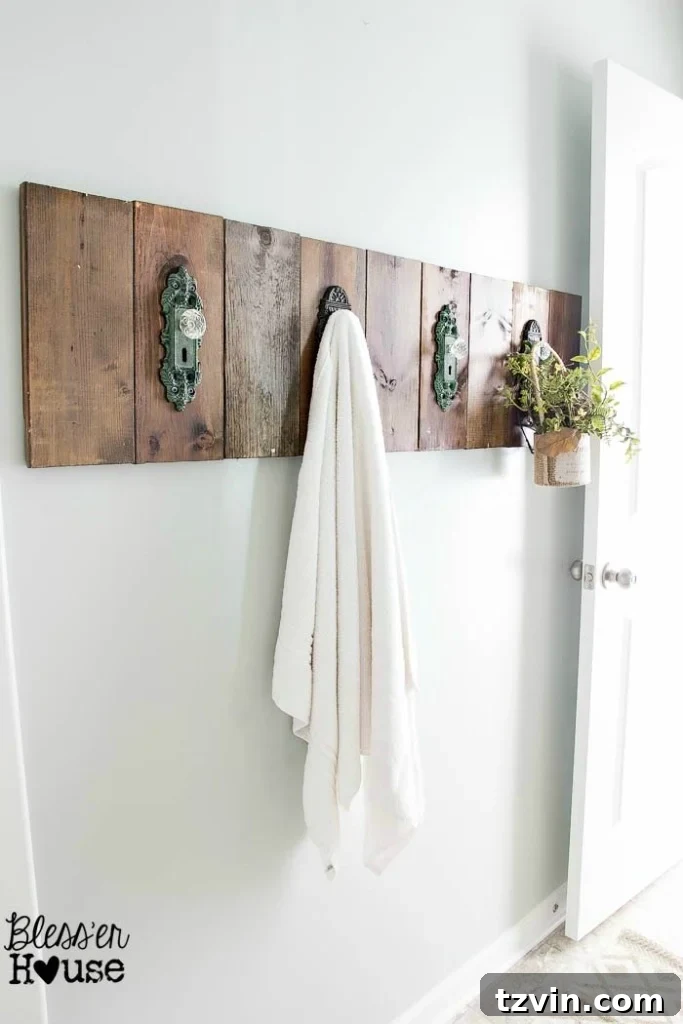
This bathroom serves a dual purpose: it’s primarily our daughter’s bathroom, but it also doubles as a guest bathroom on occasion. I particularly appreciate how the towel rack introduces just the right amount of whimsy and charm without being overly elaborate or ostentatious. It strikes a perfect balance, appealing to both youthful spirits and visiting guests, making the space feel welcoming and special.
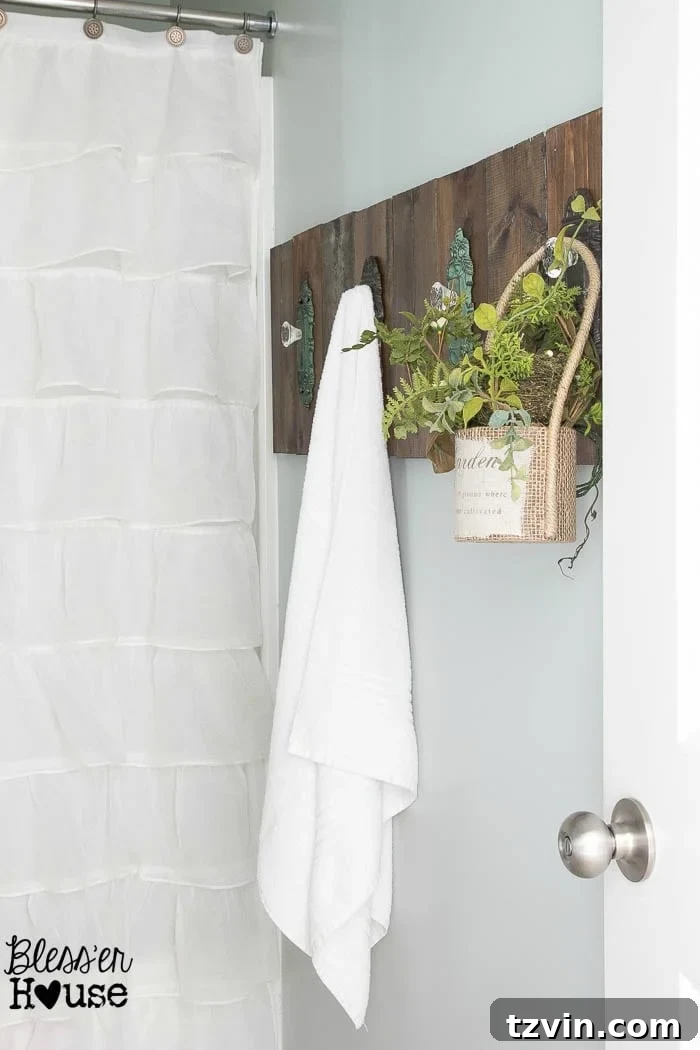
And let’s be honest, hooks often win the battle against towel bars when it comes to encouraging kids to hang up their towels, don’t they? A simpler, more accessible hanging solution usually stands a better chance. (I know, I know, that might be wishful thinking, but a mom can dream, right?) Ultimately, this DIY Antique Door Knob Towel Rack is a delightful blend of practical utility, unique design, and the immense satisfaction that comes from creating something beautiful with your own hands, especially from repurposed materials.
Final Thoughts and Future Projects
So, what are your thoughts? Do you agree this was an excellent way to utilize project leftovers? It’s incredibly satisfying to transform discarded wood into something both functional and beautiful. For me, this project allowed me to finally close that mental “tab” in my brain. One idea brought to fruition, leaving just 999,999 more to go! The sense of accomplishment that comes from completing a DIY project, especially one that adds so much character to a space, is truly invaluable.
On a different note, I’m bursting with excitement to share a major home transformation with you all next week! It’s a project that has been brewing for a while, and I sincerely hope you’ll be as thrilled about the reveal as I am. Stay tuned for more creative adventures and home décor inspirations!

Follow us for more inspiring DIY projects and home décor ideas:
Facebook | Pinterest | Instagram | Twitter | Google+ | Bloglovin | Hometalk