
DIY Weathered Wood Look: A Step-by-Step Guide with Paint and Wax for a Restoration Hardware Aesthetic
In the world of home decor, few finishes captivate quite like the timeless appeal of weathered wood. Its rugged charm, subtle variations in tone, and tactile texture evoke a sense of history, comfort, and natural beauty. Brands like Restoration Hardware have popularized this aesthetic, making it a coveted look for furniture and accents. But what if you could achieve this sophisticated, aged appearance without expensive treatments or years of natural exposure? Today, we’re unveiling a simple yet incredibly effective technique to create a beautiful weathered wood look using just two humble heroes: paint and wax. Forget complex stripping or sanding—this method offers a quick, clean, and stunning transformation for any piece of furniture.
Every piece of furniture holds a story, or at least the potential for one. For this particular project, our “damsel in distress” was less about being distressed and more about being a blank canvas yearning for character. She was a beautiful table, but perhaps a little too pristine, too polished, lacking the rustic charm that truly speaks to a lived-in, loved home. Some might gasp at the thought of painting over a perfectly good finish, but sometimes, a piece is just begging for a fresh perspective. Found at a consignment shop in Charlotte for a mere $160, this black beauty, with her undeniably gorgeous legs and elegant silhouette, was destined for a dramatic change. While she had a few minor dents and dings—perfect imperfections for adding character—the real motivation was to infuse her with that coveted weathered wood essence.
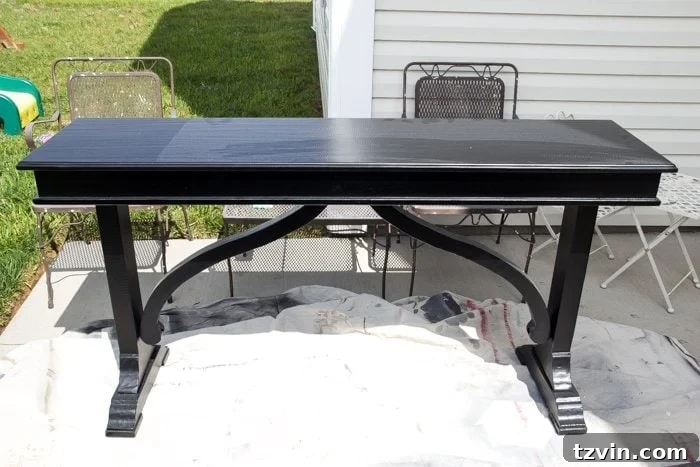
The initial thought might be to strip the existing finish to reveal the natural wood beneath. However, stripping paint can be a messy, labor-intensive, and often unpredictable process. The condition of the wood underneath is always a gamble, and the time commitment can be daunting. This is precisely where our simple paint and wax technique shines. It bypasses the need for harsh chemicals and endless scraping, offering a remarkably straightforward path to a high-end, aged aesthetic. If you’ve ever dreamt of giving an old dresser, coffee table, or even a picture frame a sophisticated, time-worn appeal, this tutorial is your secret weapon. I’ve personally used this method on various pieces, including a laundry hamper and an office supply organizer, and the results are consistently stunning and surprisingly easy to achieve.
Essential Supplies for Your Weathered Wood Transformation
Achieving a convincing weathered wood finish doesn’t require a workshop full of specialized tools. The magic truly lies in selecting the right products and applying them with intention. Here’s what you’ll need to get started on your own furniture makeover. (Affiliate links are provided for your convenience. For more information, please see our full disclosure.)
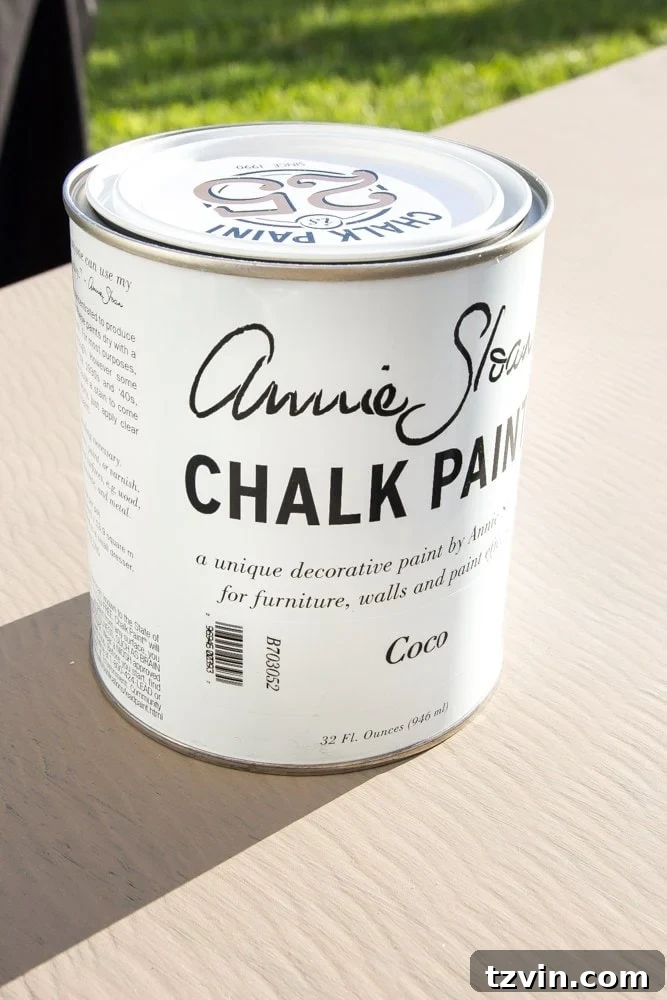
- Annie Sloan Chalk Paint in Coco: This specific shade of chalk paint is the cornerstone of our weathered look. Coco is a beautiful, muted brown with gray undertones, mimicking the natural aged tones of wood exposed to the elements. Chalk paint is ideal for this technique because of its excellent adhesion to almost any surface (no priming or heavy sanding required!), its matte finish, and its porous nature, which allows the wax to penetrate and create depth. While other chalk paints might work, Coco provides that authentic base color that truly sells the weathered illusion. You can typically find Annie Sloan paints at local stockists; a list of retailers is usually available on their official website.
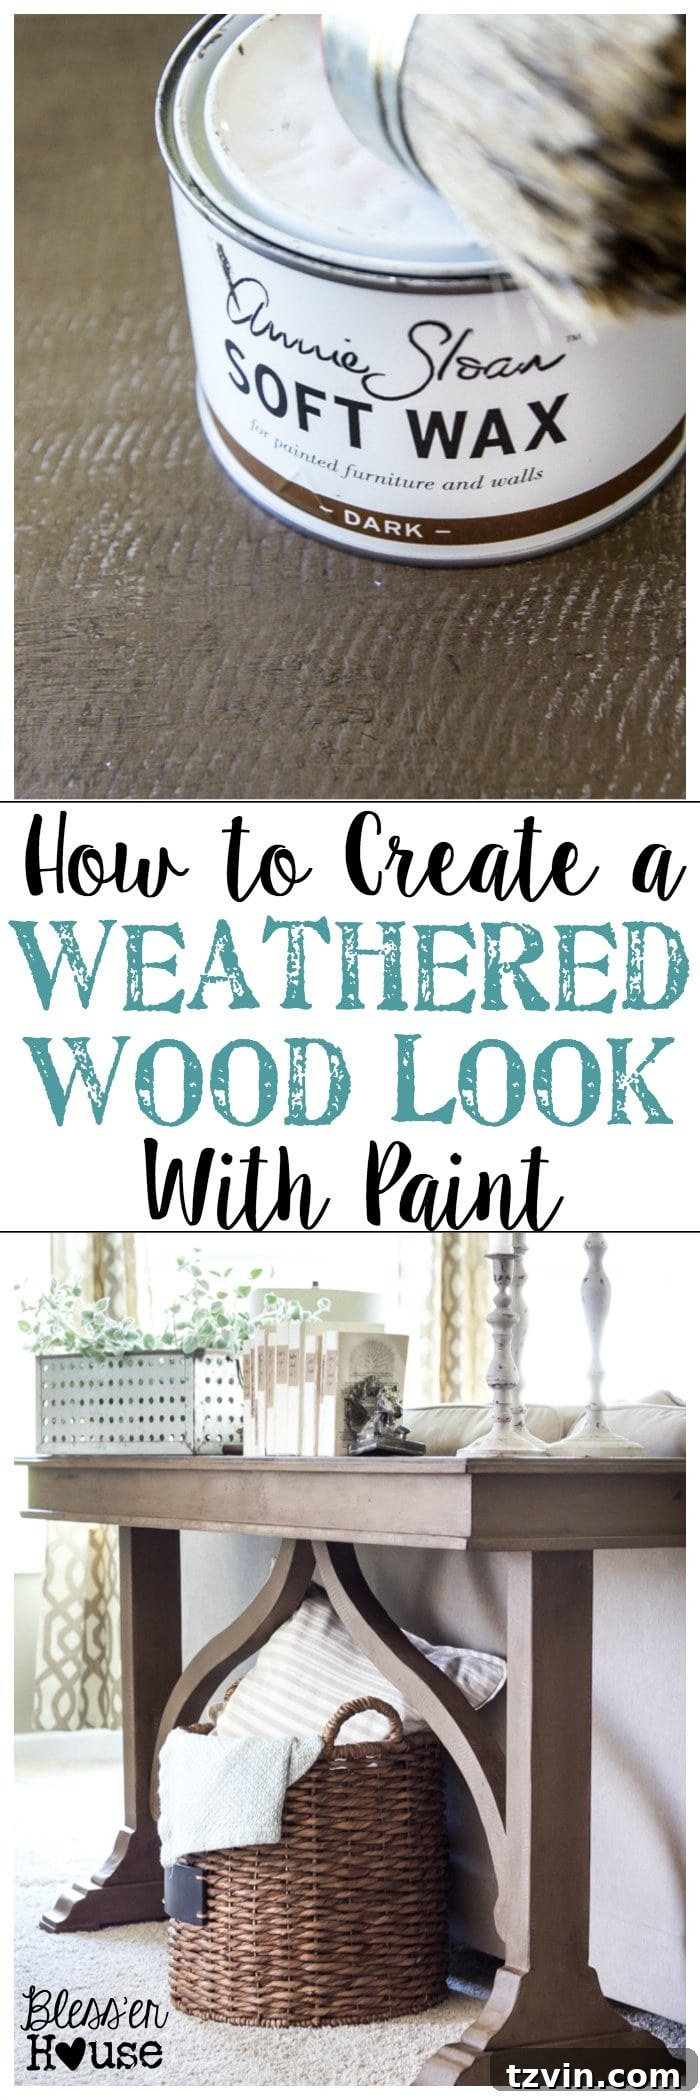
- Annie Sloan Dark Soft Wax (or similar dark wax): This is the second crucial component. Dark wax is what creates the “weathered” effect, settling into the recesses and brush strokes, enhancing texture, and adding a rich, aged patina. Applying dark wax directly over chalk paint, without a clear wax base, allows for a deeper and more pronounced darkening effect, which is exactly what we want for a truly weathered finish. If you have a preferred brand of dark wax, feel free to use it, but ensure it’s a soft wax for easy application.
- Purdy 1.5″ Angled Paint Brush: A high-quality brush makes all the difference in achieving a smooth, even paint application on furniture. An angled brush allows for greater control, especially around detailed areas and edges, ensuring a professional-looking finish. While any good quality brush will do, Purdy brushes are a favorite among furniture painters for their durability and excellent performance.
- Wax Brush: While you can apply wax with a lint-free cloth, a dedicated wax brush makes the process significantly easier and more efficient, especially when working the wax into carved details and textured surfaces. Wax brushes are designed to hold and distribute wax evenly, allowing for better control over the depth of the finish.
- Fine Grit Sandpaper (around 220-320 grit): Sandpaper is used for light distressing and smoothing between coats, ensuring a silky-smooth finish before the wax application. The fine grit prevents deep scratches, allowing for subtle wear marks that enhance the weathered look.
- Lint-Free Cloths: Essential for buffing the wax and wiping away any excess, ensuring a smooth, non-tacky finish.
Step-by-Step Guide to Your Weathered Wood Finish
Now that you have your supplies, let’s dive into the simple steps that will transform your furniture into a stunning, aged masterpiece. Remember, patience and a light hand are your best friends in this process.
Step 1: Preparing and Painting with Coco Chalk Paint
The beauty of chalk paint is its minimal preparation requirement. For most pieces, a simple clean to remove dirt and grime is sufficient. There’s usually no need to sand down to bare wood or apply a primer, which saves a significant amount of time and effort. Once your piece is clean and dry, you’re ready to paint.
Using your Purdy angled brush, apply one to two coats of Annie Sloan Coco paint. For a truly authentic weathered look, aim for thin, even coats. Don’t overload your brush; instead, apply paint in long, consistent strokes, following the natural grain of the wood if visible. The first coat will likely appear somewhat translucent, allowing some of the original finish to peek through, which is perfectly normal. This initial layer creates the foundation for the aged appearance.
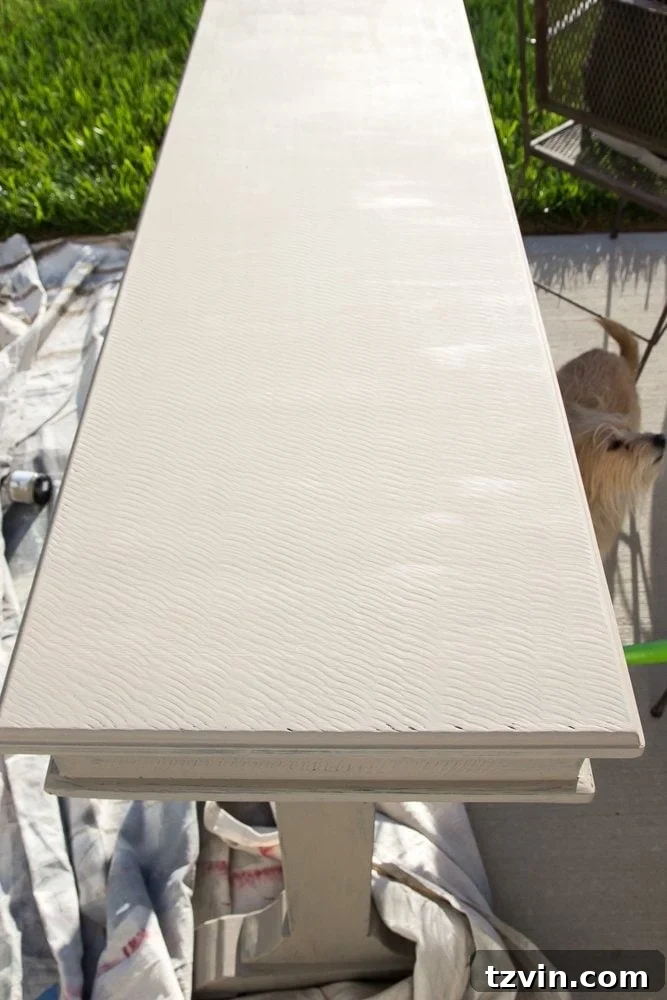
After the first coat has dried completely (chalk paint typically dries quickly, often within an hour or two), take your fine-grit sandpaper and lightly sand the entire surface. This step serves multiple purposes: it smooths out any minor brush strokes, removes any gritty texture, and prepares the surface for the next coat, ensuring a beautifully smooth finish for the wax. This light sanding also provides a subtle form of distressing, allowing tiny hints of the underlying color or wood to subtly emerge, which enhances the weathered effect. Wipe away any sanding dust with a clean, dry cloth.
Apply a second coat of Coco paint. For most pieces, two coats will provide ample coverage and a consistent base color. After the second coat has dried, repeat the light sanding process. The goal is to achieve a uniform, matte finish that feels soft and smooth to the touch. This smooth surface is crucial for the dark wax to be applied and blended effectively, creating that seamless, aged patina. Ensure all sanding dust is removed before moving on to the next step.
Step 2: Applying the Dark Soft Wax for an Authentic Patina
This is where the magic truly happens, transforming your painted piece into a rich, weathered masterpiece. Once your second coat of paint is completely dry and sanded smooth, it’s time for the dark wax. Unlike many waxing tutorials that recommend a clear wax first, we’re applying the dark wax directly onto the Coco paint. This technique allows the dark pigments to penetrate more deeply into the porous chalk paint, resulting in a much richer, darker, and more authentic aged appearance, akin to wood that has darkened over decades.
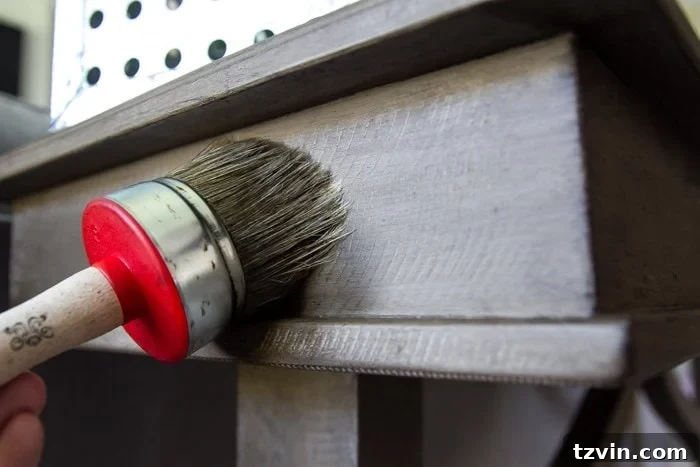
Load your wax brush sparingly with the dark wax. It’s always better to start with less and build up the color. Begin applying the wax to a small section of your furniture piece, working in circular motions to work the wax into the paint, ensuring it gets into all the crevices and details. Think of it almost like staining the paint. You want to brush the dark wax on liberally enough to cover the surface, then use your wax brush to work it in until it’s smooth and even. The aim is not just to coat the surface, but to truly imbue the paint with the dark pigment.
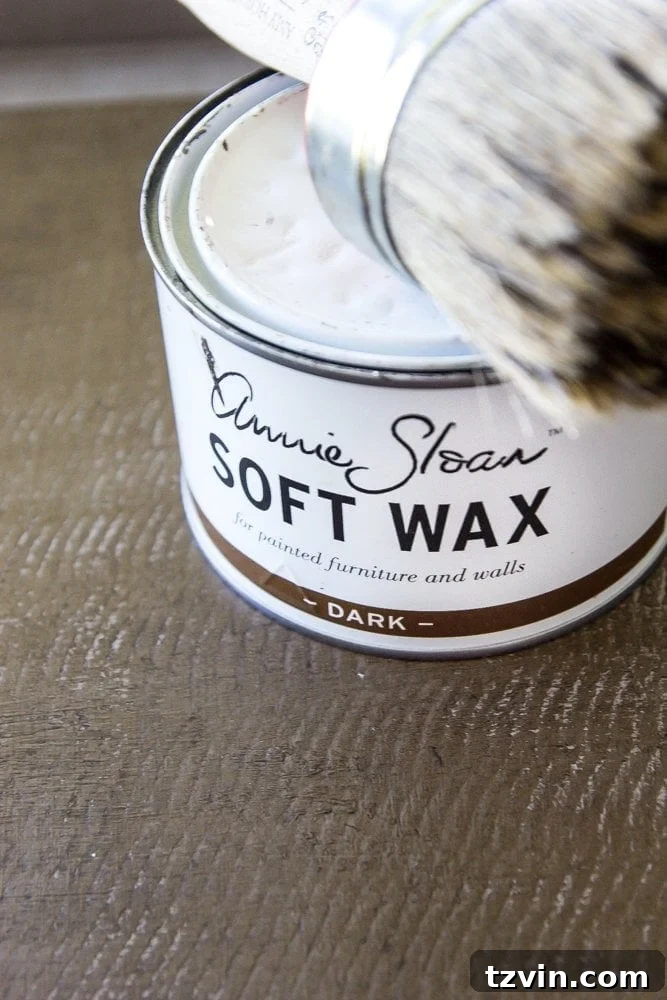
Work in small sections at a time because wax can dry fairly quickly. As you apply the wax and work it into the surface, you’ll immediately notice the transformation. The Coco color will deepen, and subtle variations will emerge, mimicking the natural aging process of wood. For areas where you want a more pronounced aged effect, such as carved details, edges, or areas that would naturally accumulate dirt and grime over time, you can apply a bit more wax and leave it slightly darker. For a lighter, more subtle weathered look, you can wipe away excess wax with a clean, lint-free cloth almost immediately after application.
After you’ve applied the wax to a section and achieved your desired level of darkening, use a fresh, lint-free cloth to gently buff the waxed area. Buffing removes any excess wax, smooths the surface, and brings out a subtle sheen, giving the piece a polished yet aged feel. Continue this process across the entire piece, section by section, until you’re satisfied with the overall weathered look. This methodical approach ensures even application and allows you to control the depth of the patina. Once the entire piece is waxed and buffed, allow it to cure for several days to a week. While the surface might feel dry to the touch quickly, the wax needs time to fully harden and provide maximum durability. During this curing period, handle the piece gently.
The Remarkable Transformation: Achieving that Restoration Hardware Vibe
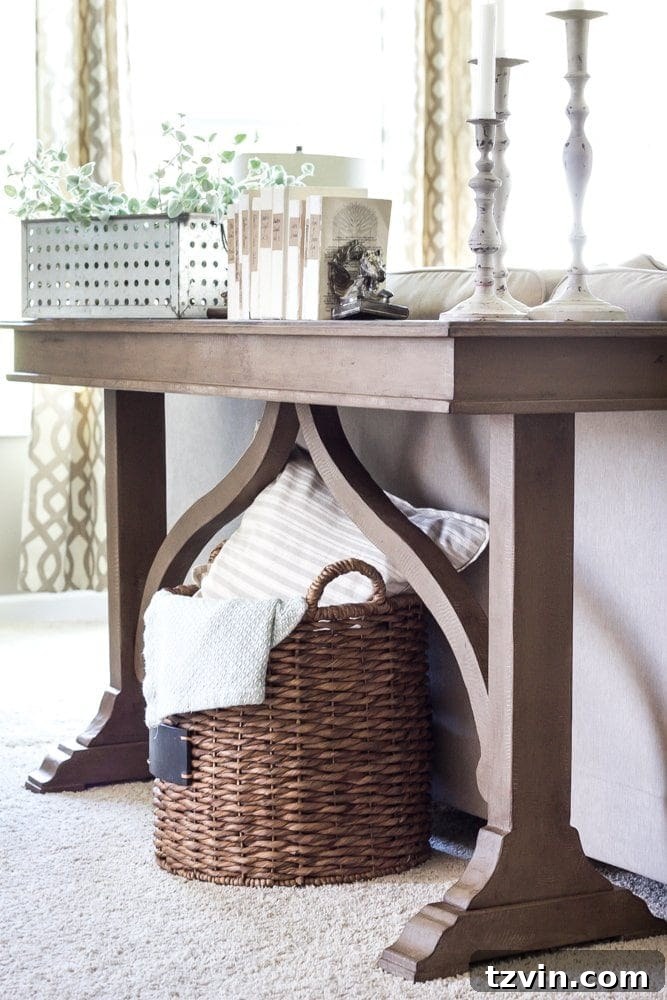
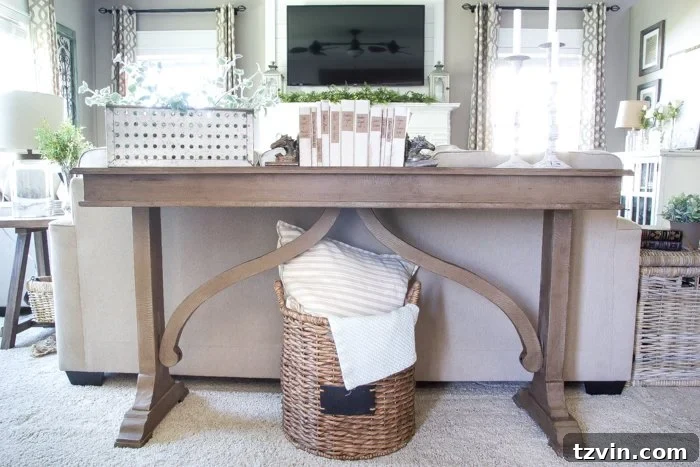
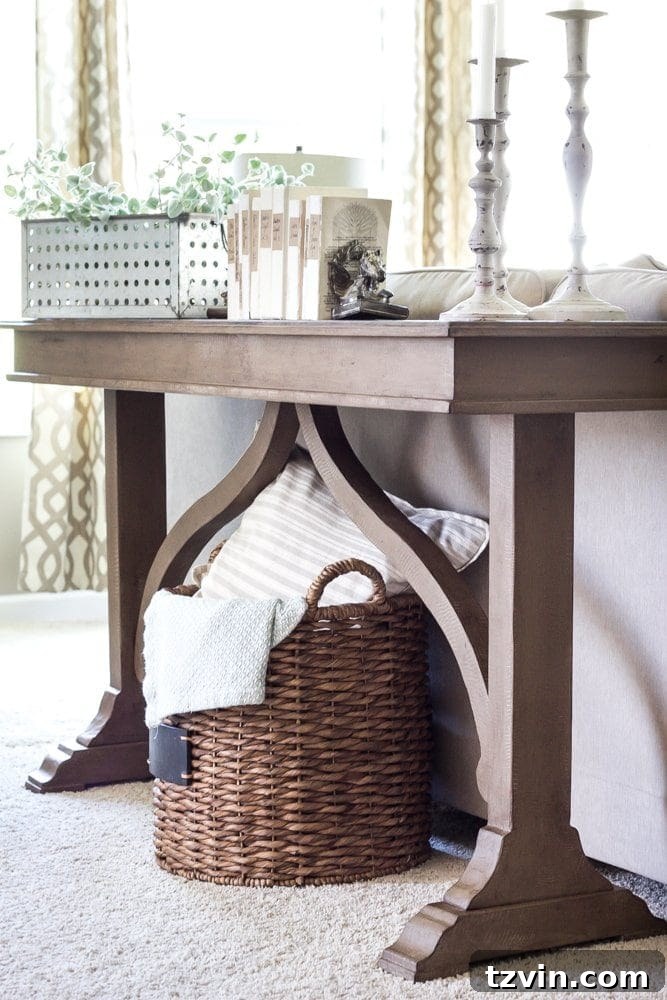
The beauty of this technique lies in its simplicity and the dramatic results it yields. What started as a shiny, somewhat generic piece of furniture is now a unique statement piece with character and depth. The combination of Coco chalk paint and dark wax creates a sophisticated finish that truly mimics the authentic patina of aged wood, reminiscent of the high-end pieces found in Restoration Hardware. The muted brown base, enhanced by the dark wax, captures the essence of wood that has naturally grayed and darkened over time, acquiring a soft, time-worn appearance.
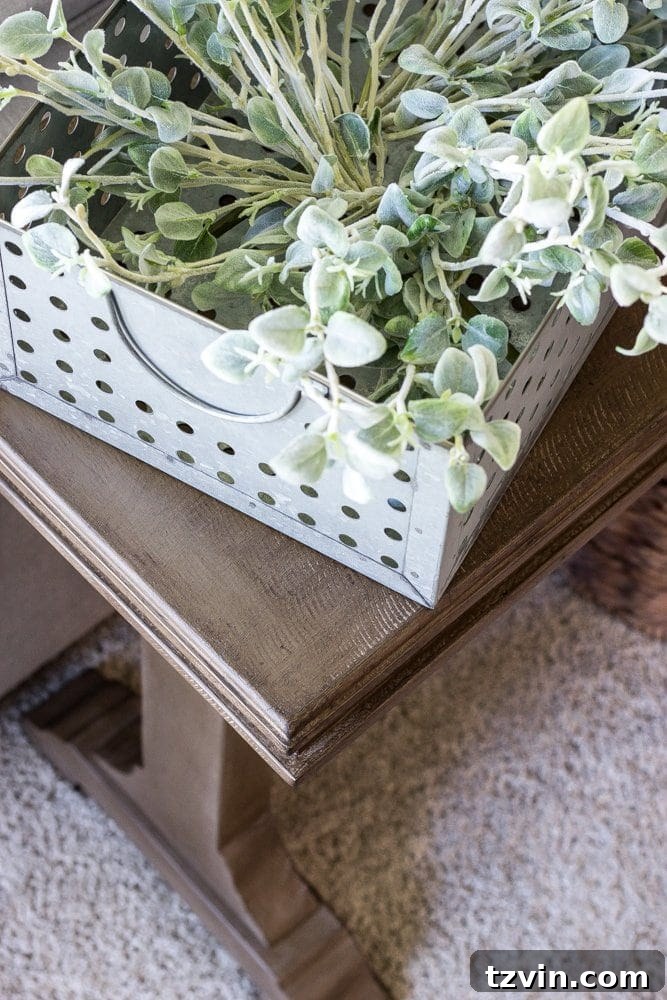
While photographs can capture much of the charm, the true magic of this weathered wood look is often best appreciated in person. The subtle variations, the soft feel of the waxed surface, and the way light plays off the textured finish create a depth that is hard to fully convey through a lens. The dark wax settles beautifully into the brush strokes and any existing imperfections, creating an “aged” effect that adds instant history and warmth to the piece. This method truly offers a shortcut to achieving a high-end, bespoke furniture look without the hefty price tag or the arduous labor of traditional distressing and staining.
Beyond its aesthetic appeal, this technique is incredibly versatile. It can be applied to virtually any piece of unfinished, painted, or previously stained furniture, making it an excellent choice for breathing new life into thrift store finds, inherited pieces, or even new, inexpensive items that lack character. The durability of a properly waxed finish, especially after a full curing period, makes it suitable for everyday use, adding both beauty and protection. For maintenance, a simple wipe-down with a damp cloth is usually sufficient, with occasional re-waxing in high-traffic areas if needed.
Integrating Your Transformed Piece into Your Home Decor
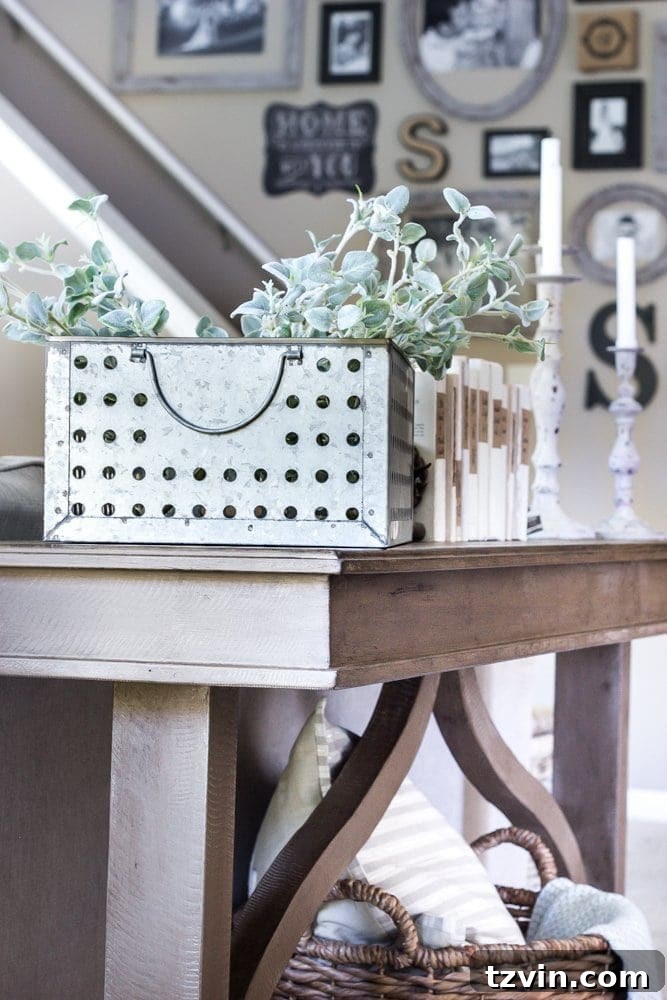
A newly transformed piece of furniture has the power to redefine a space. This weathered wood table, now imbued with a sophisticated aged character, has become a focal point, adding significant interest to the back of our couch. It effortlessly blends rustic charm with an understated elegance, elevating the entire living room’s ambiance. This single makeover inspired a desire to reassess other elements, perhaps even reorganizing the space around the television, demonstrating how one successful DIY project can spark a wave of creative home improvements.
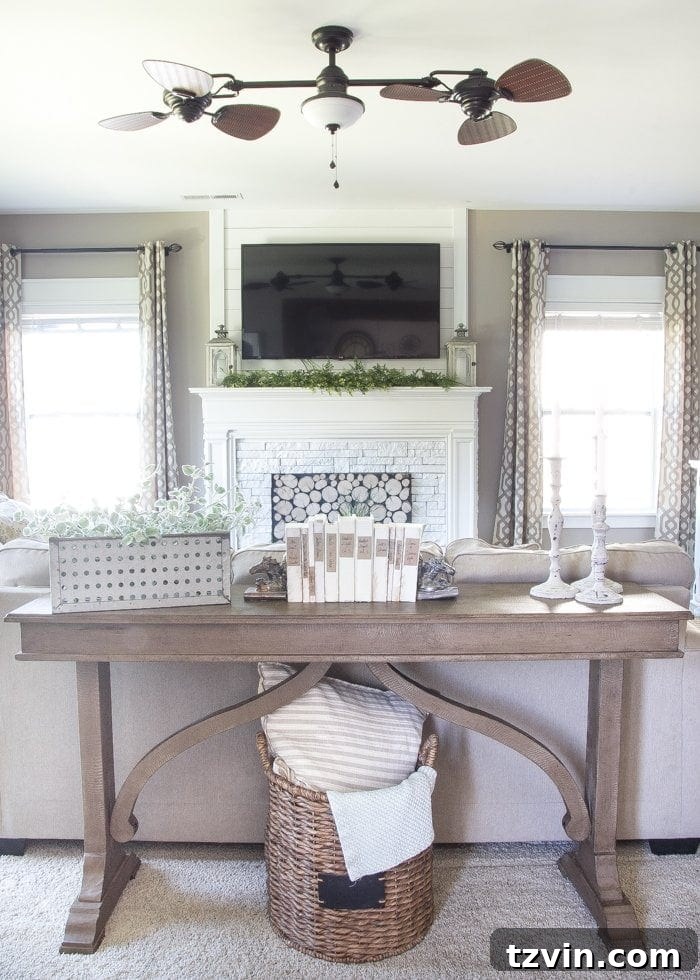
The table now serves a dual purpose: it offers practical surface area for decor and essentials, and it visually separates the living room from the kitchen area, creating distinct zones within an open-concept layout. This subtle division enhances the feeling of coziness and completeness in the space without sacrificing the open flow. It’s a testament to how thoughtfully chosen and beautifully refinished furniture can dramatically improve both the aesthetics and functionality of a room. This aged finish introduces texture and warmth, inviting you to linger and relax in a space that feels curated and deeply personal.
Beyond This Project: Continue Your DIY Journey
If this weathered wood tutorial has ignited your passion for DIY home decor, there’s a world of projects waiting for you. We’re constantly working on transforming different areas of our home, from the office and kitchen to the master bedroom, bringing new life to every corner. These projects, though sometimes slow and steady, always yield rewarding results.
For those looking to further enhance their living spaces, consider exploring other transformative tutorials. You might find inspiration in our DIY faux fireplace tutorial, which can add architectural interest and a cozy focal point to any room. Alternatively, learn how to elevate your windows with our easy DIY window trim guide, proving that even small details can make a big impact. And if you’re keen on styling, check out this article on how to style your fireplace mantel for every season for fresh ideas.
With yard sale and flea market season upon us, it’s the perfect time to hunt for treasures just waiting for a creative touch. Have you embarked on any furniture makeovers recently? We’d absolutely love to see your projects and hear about your experiences! Share your transformations and inspire others with your creativity.

Stay Connected for More Inspiration:
Facebook | Pinterest | Instagram | Twitter | Google+