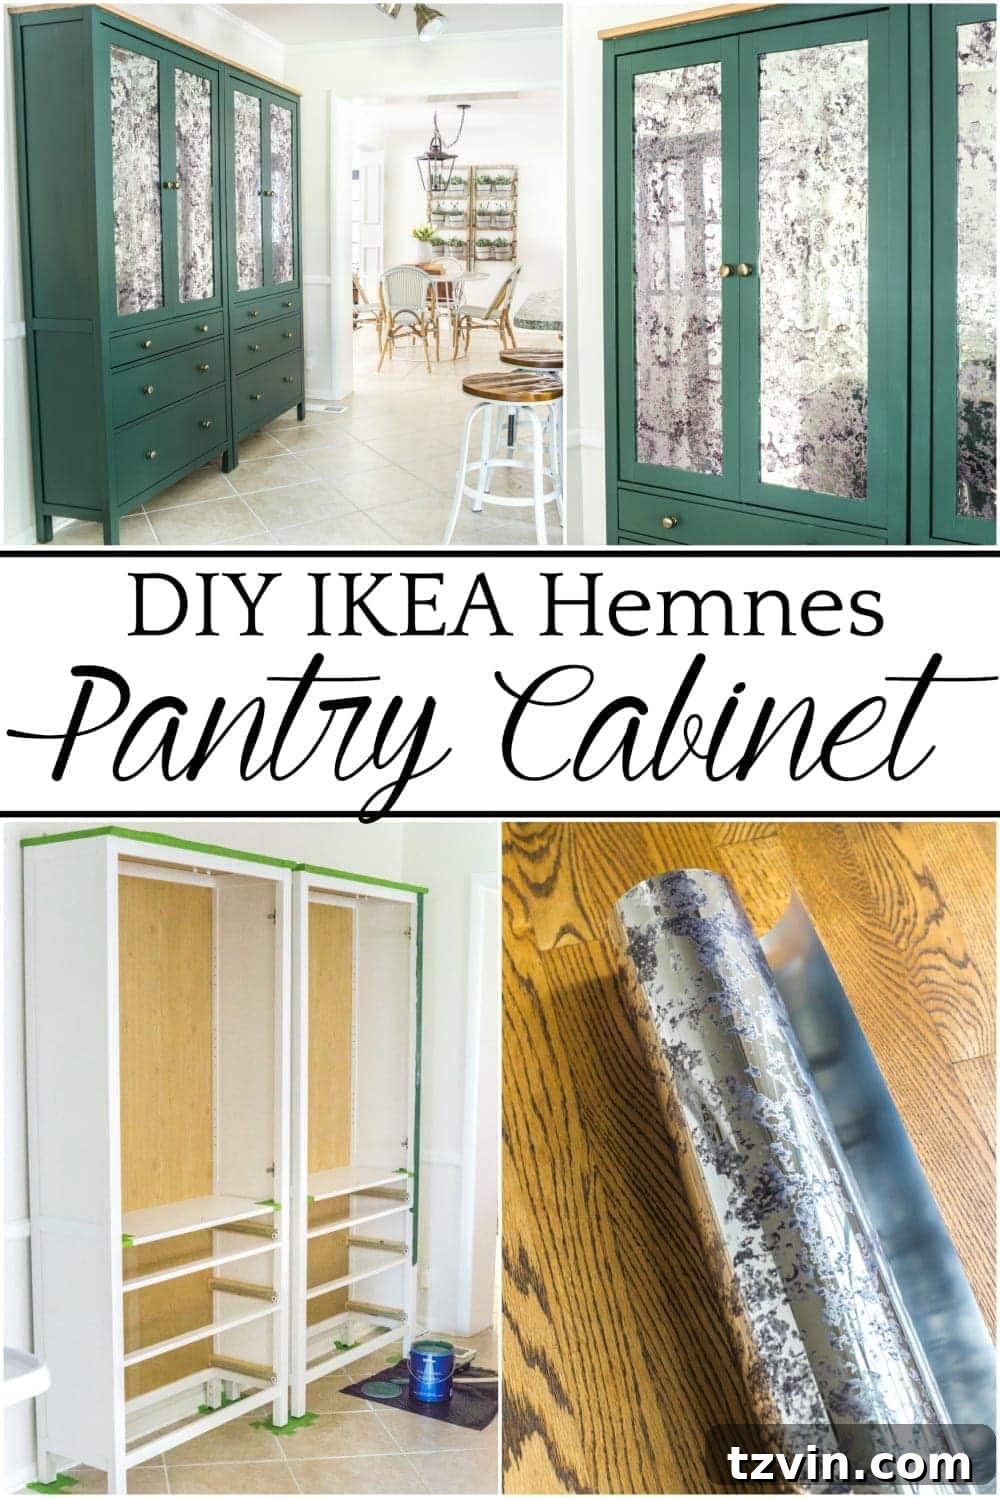
Transform Your Kitchen: A DIY Guide to Creating a High-End Freestanding Pantry from IKEA Hemnes Cabinets
Are you struggling with a lack of functional kitchen storage? Do you dream of a perfectly organized pantry that not only keeps your essentials in order but also adds a touch of custom elegance to your home? We understand the challenge, and we’re thrilled to share our ultimate solution: transforming humble IKEA Hemnes glass-door cabinets into a stunning, freestanding pantry cupboard with a custom, high-end look, complete with antique mirror window film. This project has revolutionized our food storage, bringing order and style to our kitchen.
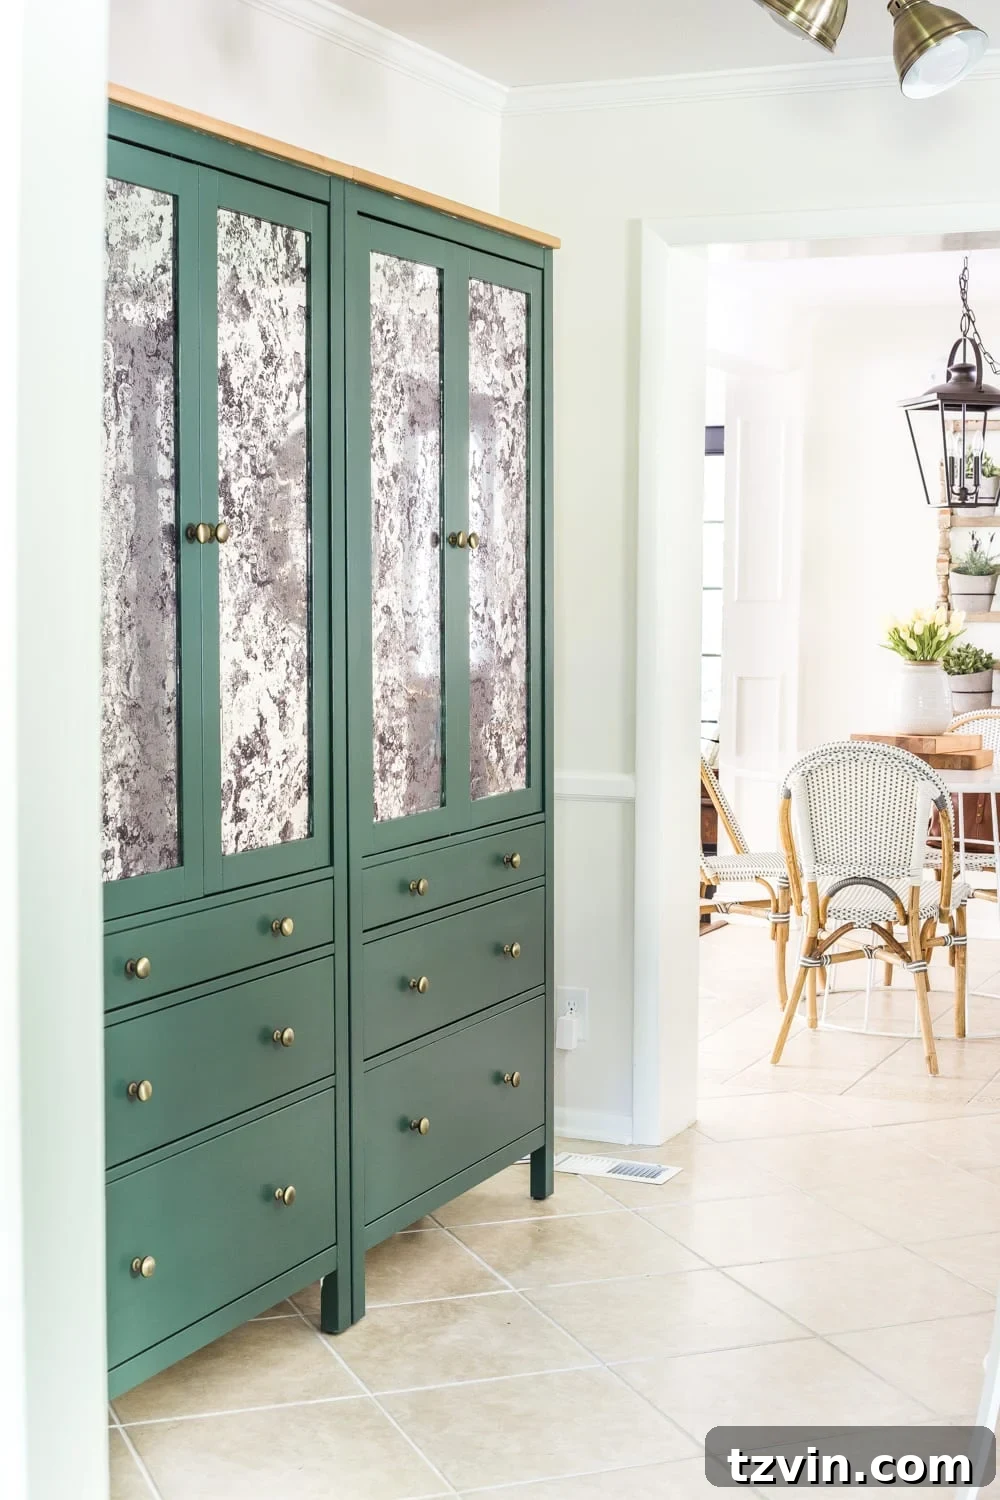
We call it Kitchen Pantry 2.0 – a complete overhaul of our food storage strategy. While minimalist living is admirable and many thrive in smaller spaces, we found ourselves constantly battling with insufficient storage. Our family’s needs, especially with frequent entertaining and cooking nearly all our meals at home, demanded a more robust and organized solution than the few cramped shelves in our laundry room or a single upper kitchen cabinet could offer. This IKEA pantry cabinet hack was the answer to our persistent storage woes.
Update: Discover how we maximized storage and organized our freestanding pantry cupboard for optimal functionality in this detailed post.
Why a Freestanding IKEA Pantry Cabinet is a Game-Changer for Kitchen Storage
Our journey to the ultimate freestanding pantry began out of sheer necessity. Our kitchen was desperately lacking efficient and accessible food storage, pushing us to rethink our entire approach. If you find yourself with limited built-in cabinet space, no dedicated pantry, or simply a desire for more organized and aesthetically pleasing storage, an IKEA pantry cabinet solution could be your perfect fit.
For us, it wasn’t just about finding a space for groceries; it was about creating a system that supported our lifestyle. Juggling bags of chips, canned goods, and various ingredients across two small shelves in the laundry room cabinet, or trying to maintain a “handy dandy storage system” in an upper kitchen cabinet, proved unsustainable. After a year, these makeshift solutions simply weren’t working. The constant struggle made meal prep and entertaining far more stressful than it needed to be.
As we pondered our options, we realized that our existing coffee bar, while charming, wasn’t fulfilling its potential on the far wall of our kitchen. It occupied valuable real estate that could be better utilized. So, in a plot twist typical of home improvement projects, we decided to remove it entirely. This freed up the perfect spot for our new, much-needed food storage solution.
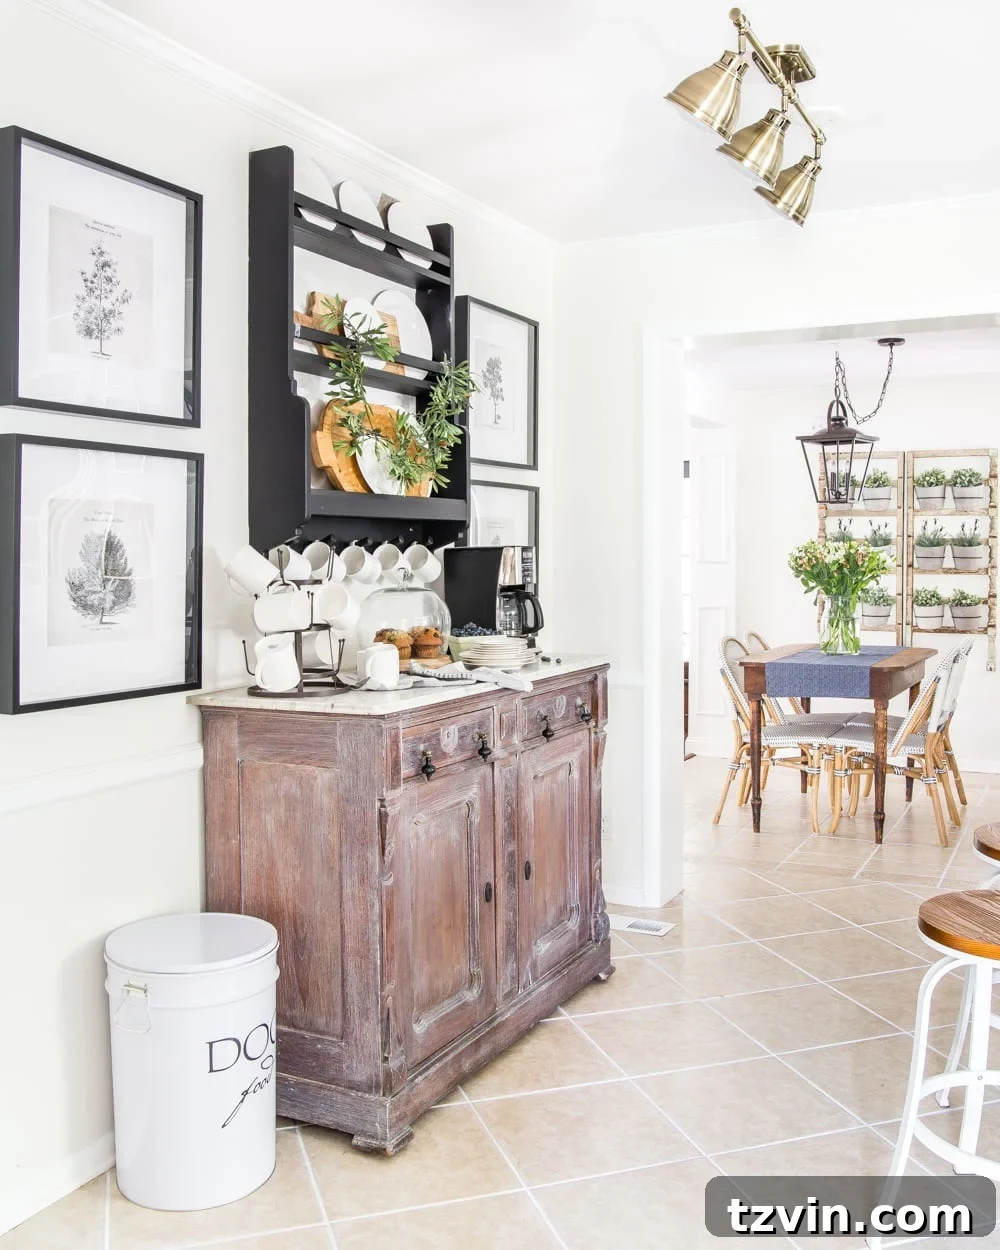
This experience taught us a valuable lesson: don’t be afraid to change what isn’t working for you and your family. A beautiful space that lacks functionality is ultimately a wasted space. Prioritizing practical needs over purely aesthetic elements can lead to a far more enjoyable and efficient home environment. This philosophy became the driving force behind our DIY IKEA pantry cabinet project.
DIY IKEA Pantry Cabinet: Crafting Custom Storage with Hemnes Units
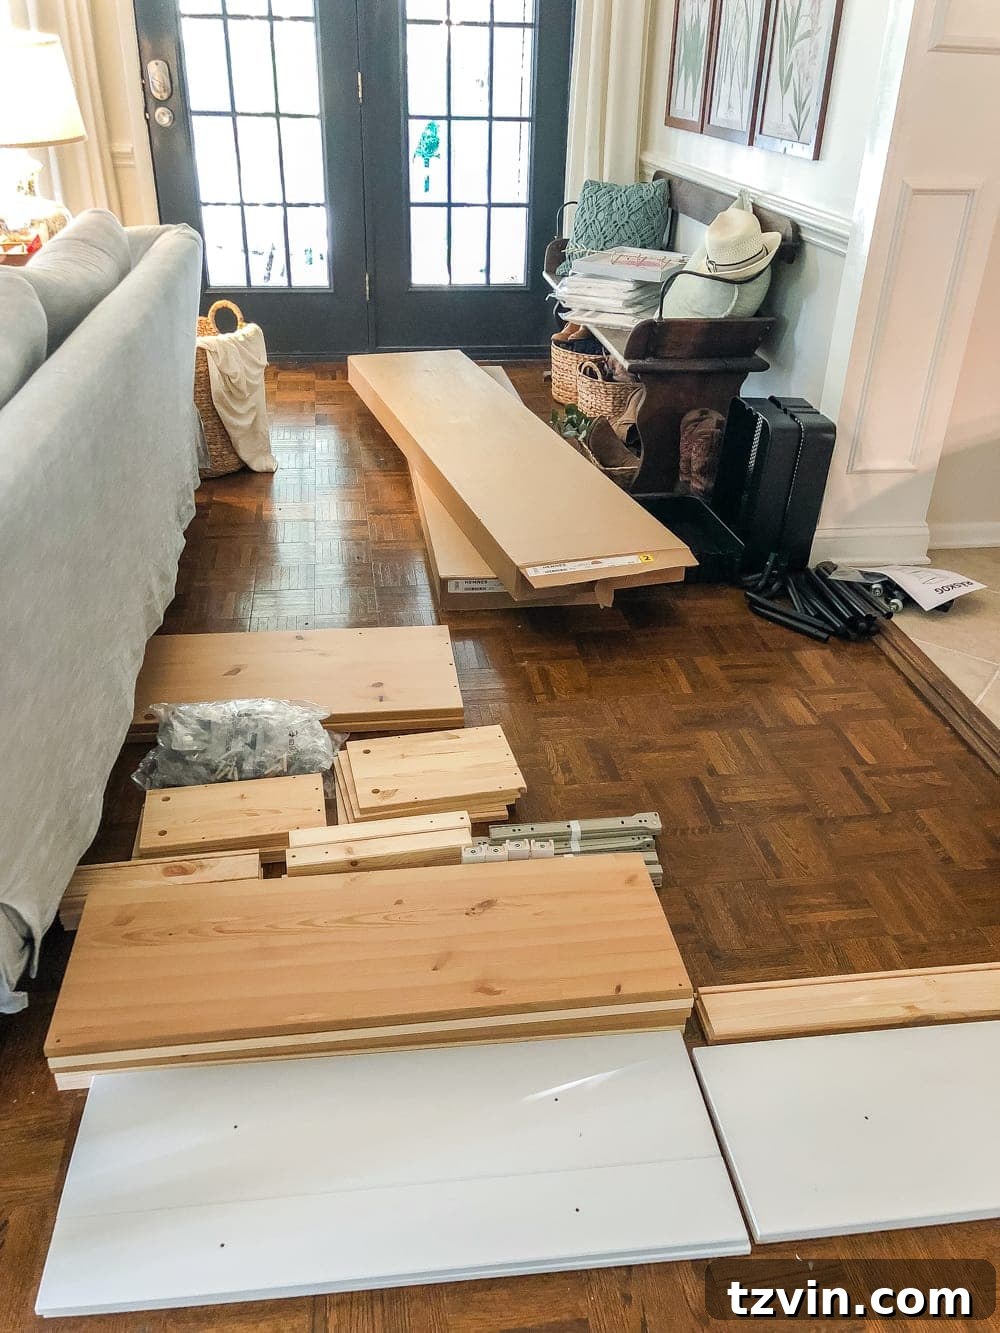
With our vision clear and space cleared, we moved on to Plan B: constructing two IKEA Hemnes glass-door cabinets. This step, while requiring some patience with “a bajillion and a half IKEA pieces,” laid the foundation for our custom freestanding pantry. The Hemnes line offers a classic aesthetic and sturdy construction, making it an excellent base for a high-end transformation.
Essential Supplies for Your IKEA Hemnes Pantry Makeover
(Please note that some affiliate links are provided below for your convenience. Full disclosure information is available here.)
- 2 IKEA Hemnes Glass-Door Cabinets (the foundation of your new pantry)
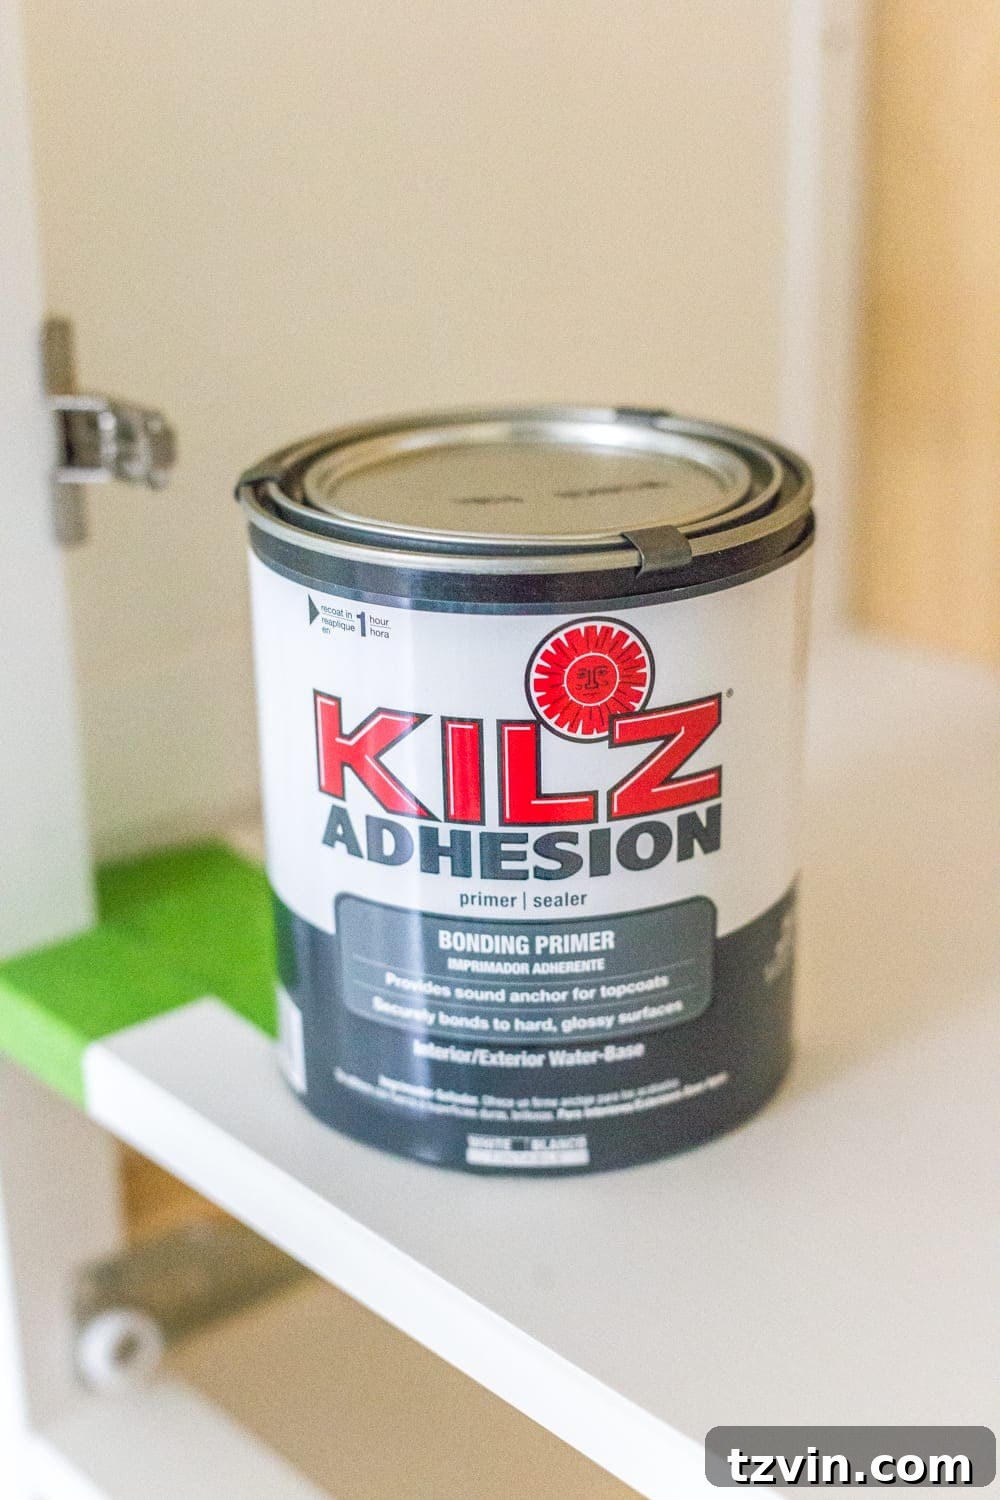
- Kilz Adhesion Primer (absolutely crucial for painting laminate surfaces)
- High-quality Cabinet/Trim Enamel Paint in your chosen color (We opted for Behr Marquee enamel satin paint in Sherwin Williams Billiard, perfectly matching our existing lower kitchen cabinets for a cohesive look.)
- Professional Paint Brush (A 1 1/5″ angled Purdy brush is highly recommended for precision and smooth application.)
- Masking Liquid (Optional, but *strongly* recommended, especially when working with glass panels, to save significant time and effort.)
- Antique Mirror Window Film (The secret ingredient for that custom, high-end antique look.)
- Spray bottle filled with water and 8 drops of dish soap (essential for window film application)
- Sharp Scissors
- Sharpie Marker
- Credit card or a dedicated Squeegee (for smoothing out window film)
- X-acto Knife (for precise trimming of the film)
- Plenty of Paper Towels or Clean, Dry Rags
Step-by-Step Guide to Your DIY IKEA Pantry Transformation
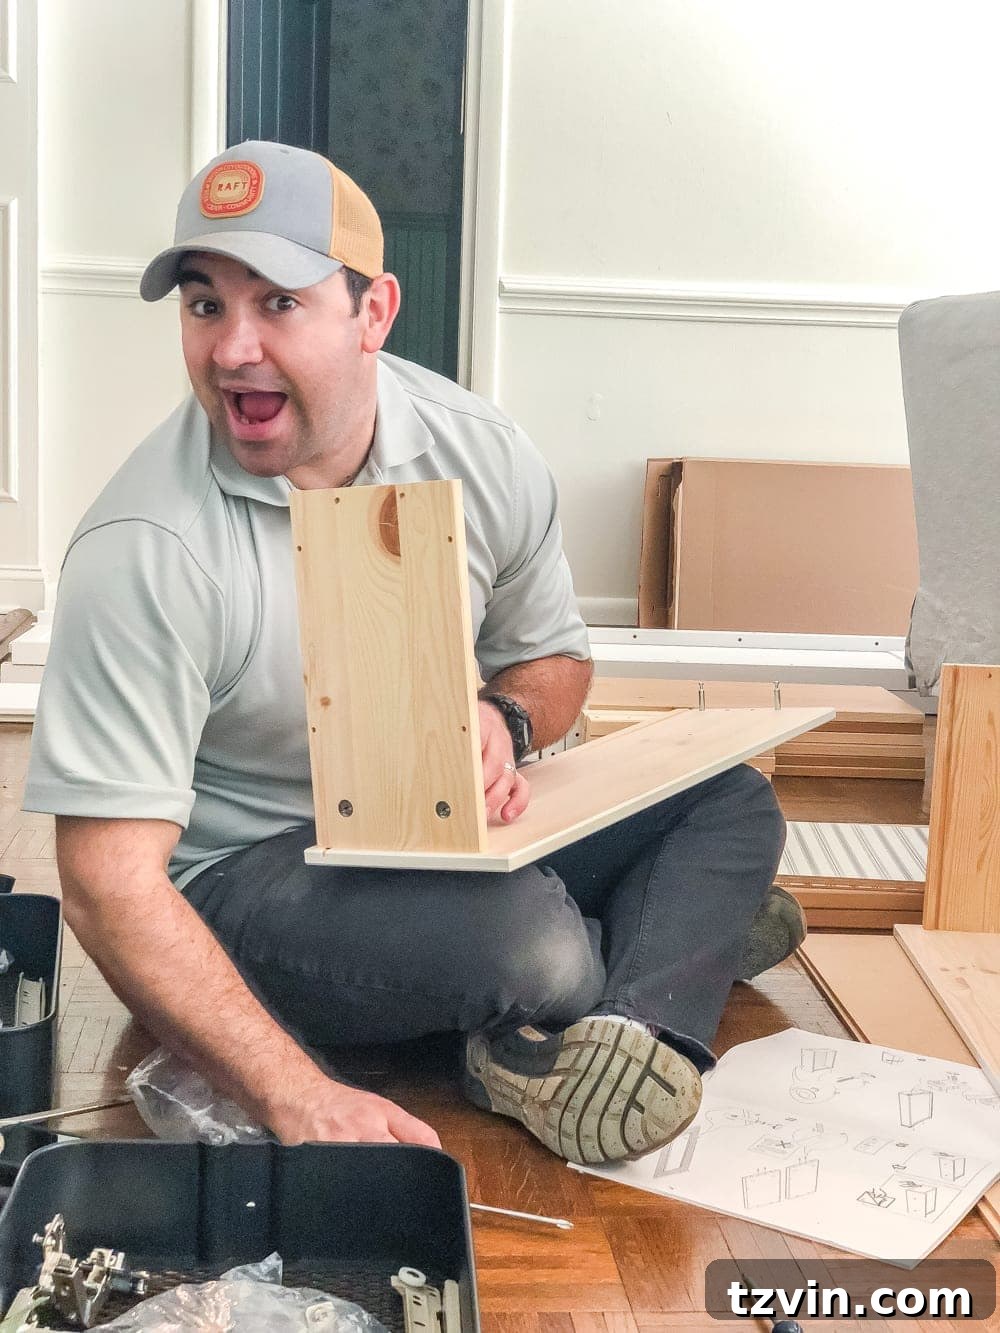
1. Assembly of the IKEA Hemnes Cabinets: This is where the magic begins, or perhaps, where the patience is tested! While some find assembling IKEA furniture akin to solving a giant LEGO puzzle – like my husband, Robert, who inexplicably enjoys it – it’s a necessary first step. Follow the detailed IKEA instructions carefully to ensure a sturdy and well-aligned structure for your freestanding pantry cupboard. Ensure all components are securely fastened before proceeding.
2. Preparing and Painting Your IKEA Furniture: The Key to Lasting Beauty: Painting laminate IKEA furniture requires specific techniques to ensure durability and a professional finish. Skipping these crucial steps often leads to frustrating scuffs and chips. We’ve outlined a comprehensive guide on how to paint laminate IKEA furniture successfully, which we highly recommend you consult.
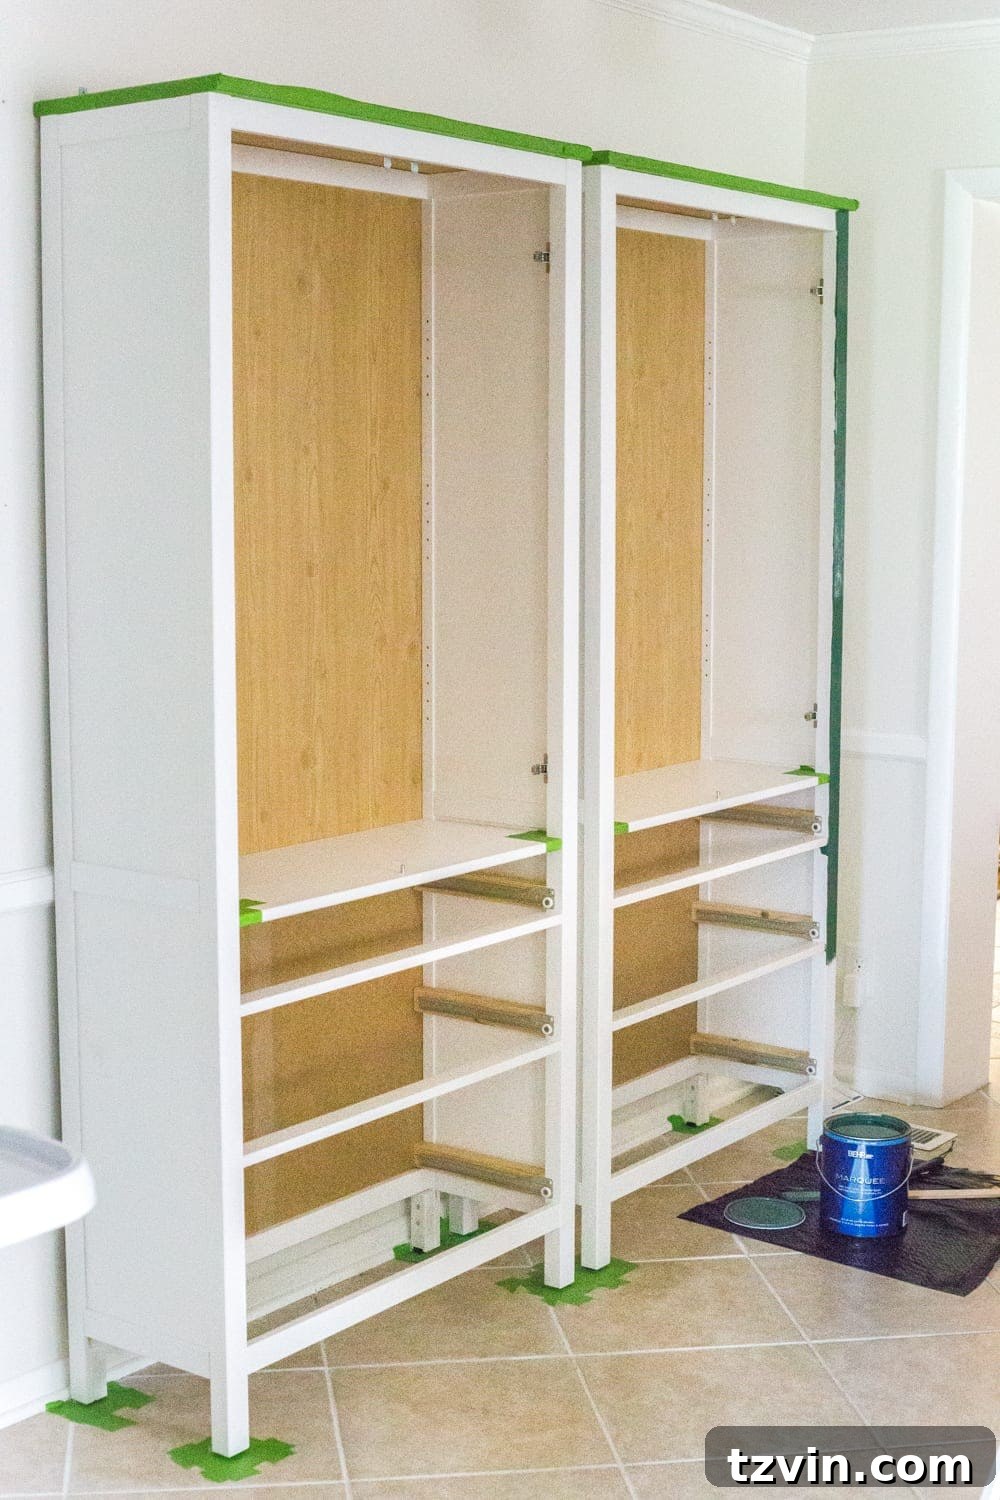
The absolute foundation of this process is an excellent adhesion primer, such as Kilz Adhesion. Laminate surfaces are notoriously tricky for paint to adhere to, but a high-quality primer creates a strong bond, preventing peeling and ensuring your paint job stands the test of time. Apply thin, even coats of primer, allowing adequate drying time between each. Once the primer is fully dry, proceed with your chosen cabinet/trim enamel paint. Two to three thin coats are typically sufficient for a rich, durable finish.
3. Painting the Glass-Front Cabinet Doors (and a Crucial Tip!): Once the main cabinet body is primed and painted, it’s time to tackle the glass-front doors. The same principles of priming and painting apply here. However, there’s one vital tip that we learned the hard way:
A Smart IKEA Pantry Cabinet Painting Tip for Glass Doors
Don’t skip the masking liquid on the glass before you paint! This product is a game-changer when painting around glass, as demonstrated in our guide to painting French doors. Simply brush the liquid onto the glass panes, allow it to dry completely, and then proceed with painting your door frames. Once the paint is dry, you can easily peel off the masking liquid, and it will take any stray paint with it, leaving a perfectly clean, crisp edge on your glass. This saves immense time and effort compared to painstakingly scraping paint off the glass later.
Trust us on this one! We initially painted the glass doors planning to scrape off the excess paint with a razor, only to discover how stubbornly the paint adhered. This oversight made the subsequent window film application trickier than it needed to be. Learn from our experience – a little masking liquid goes a long way in achieving a professional finish with minimal fuss. As bloggers, we’re often the guinea pigs, testing methods so you don’t have to!
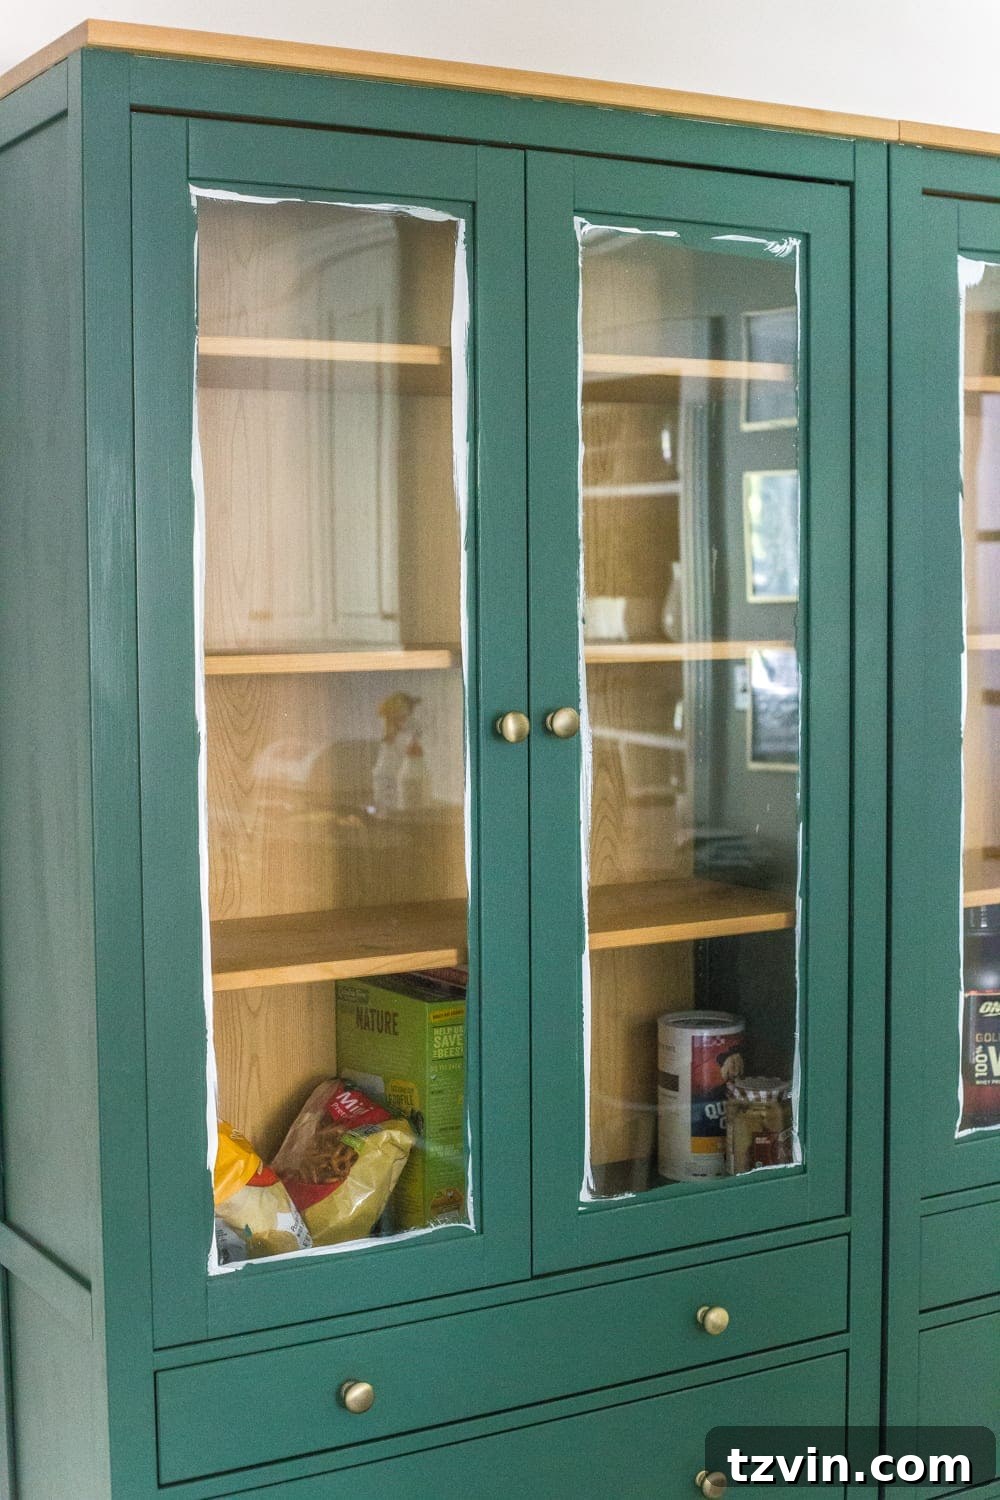
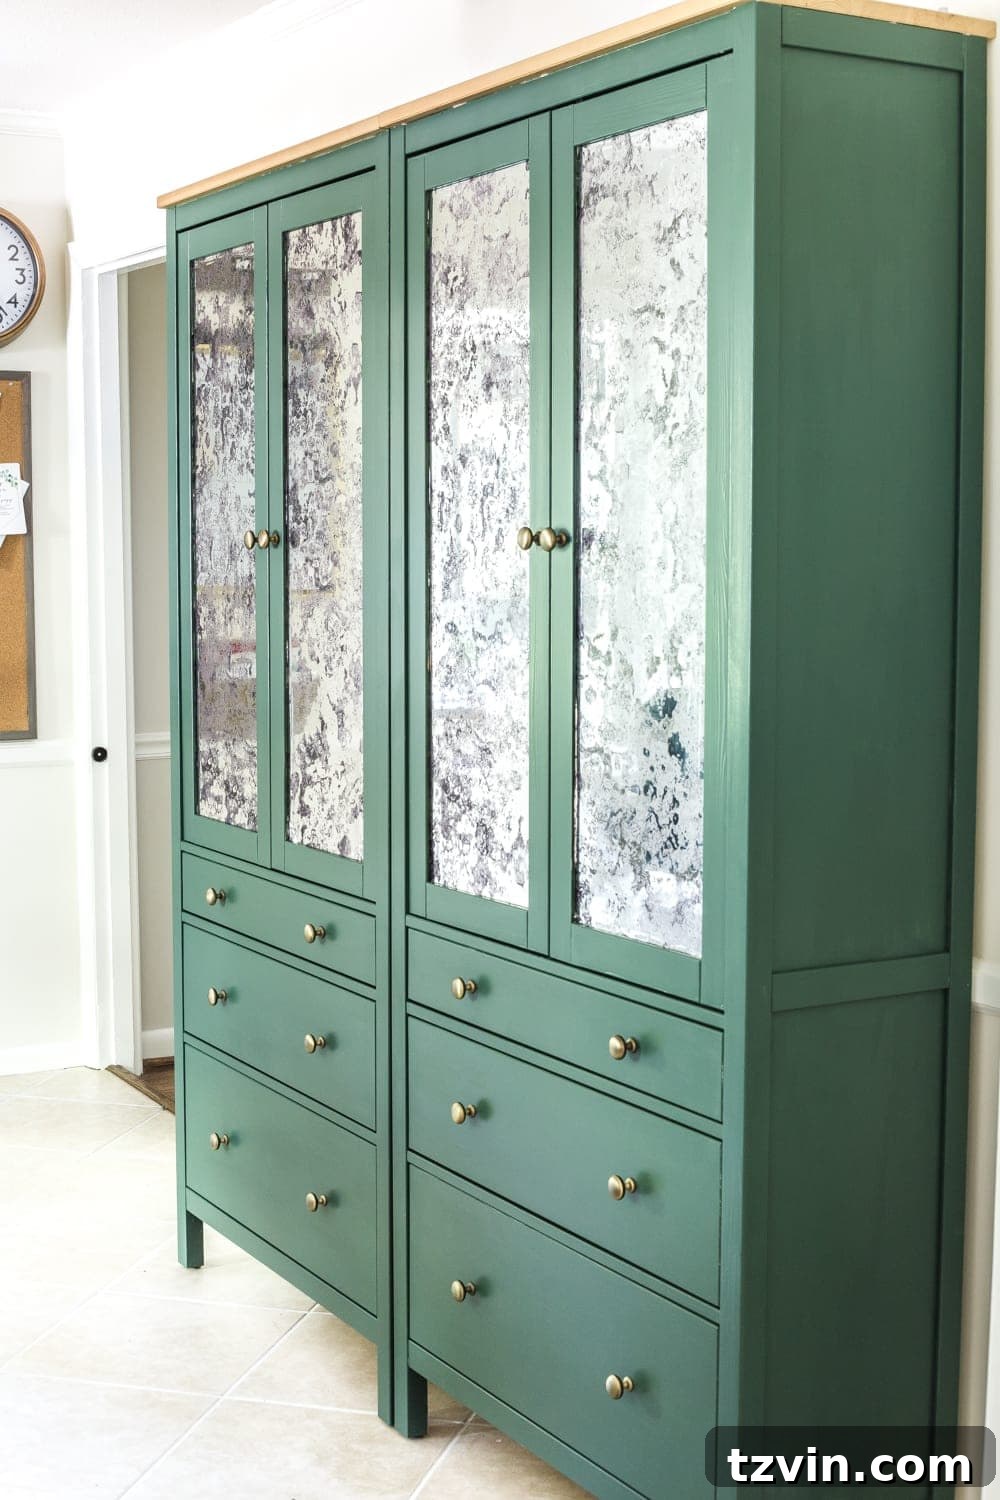
4. Elevating the Aesthetic with Antique Mirror Window Film: To beautifully conceal the pantry’s contents while adding a touch of vintage glamour and sophistication, we applied this incredible window film. It mimics a real antique mirror finish so convincingly that most people would never guess it’s a film! This choice wasn’t just about hiding clutter; the antique silver mirror effect beautifully ties in with our stainless steel appliances, creating a cohesive kitchen aesthetic. Furthermore, it helps bounce natural light from the opposing window, brightening what was once a darker interior wall.
For those who prefer a visual demonstration, this video guide provides excellent installation instructions for window film.
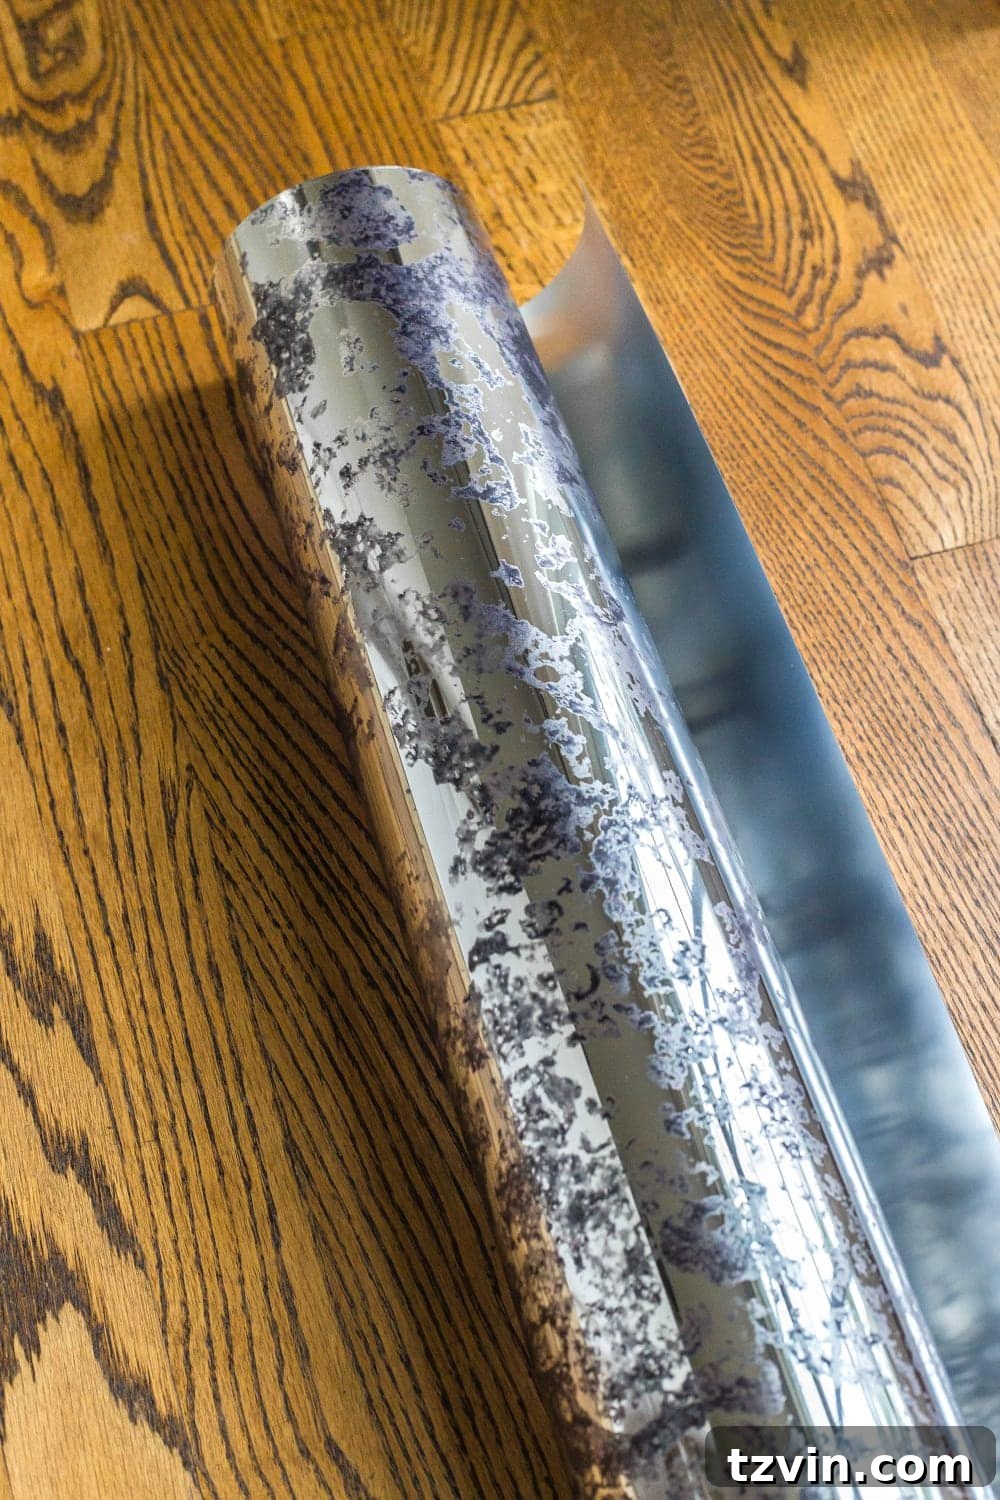
5. Measure with Precision: Begin by carefully measuring the exact width and height of each individual glass panel on your cabinet doors. To allow for easy trimming and a perfect fit, add approximately 1 inch to both the width and height measurements. Precision here will make the subsequent steps much smoother.
6. Cut the Film: With your measurements in hand, transfer them to the backside of the window film using a Sharpie. Use sharp scissors to cut the film to these slightly oversized dimensions. You’ll trim it to perfection later.
7. Prepare the Film for Application: Lay the cut film onto a clean, flat surface with the backing side up. Slowly and carefully peel off the protective backing from the film. As you peel, immediately and generously spritz the adhesive side of the film with your spray bottle containing the water/dish soap solution. Ensure the entire adhesive surface is thoroughly saturated; this allows for repositioning and prevents premature sticking.
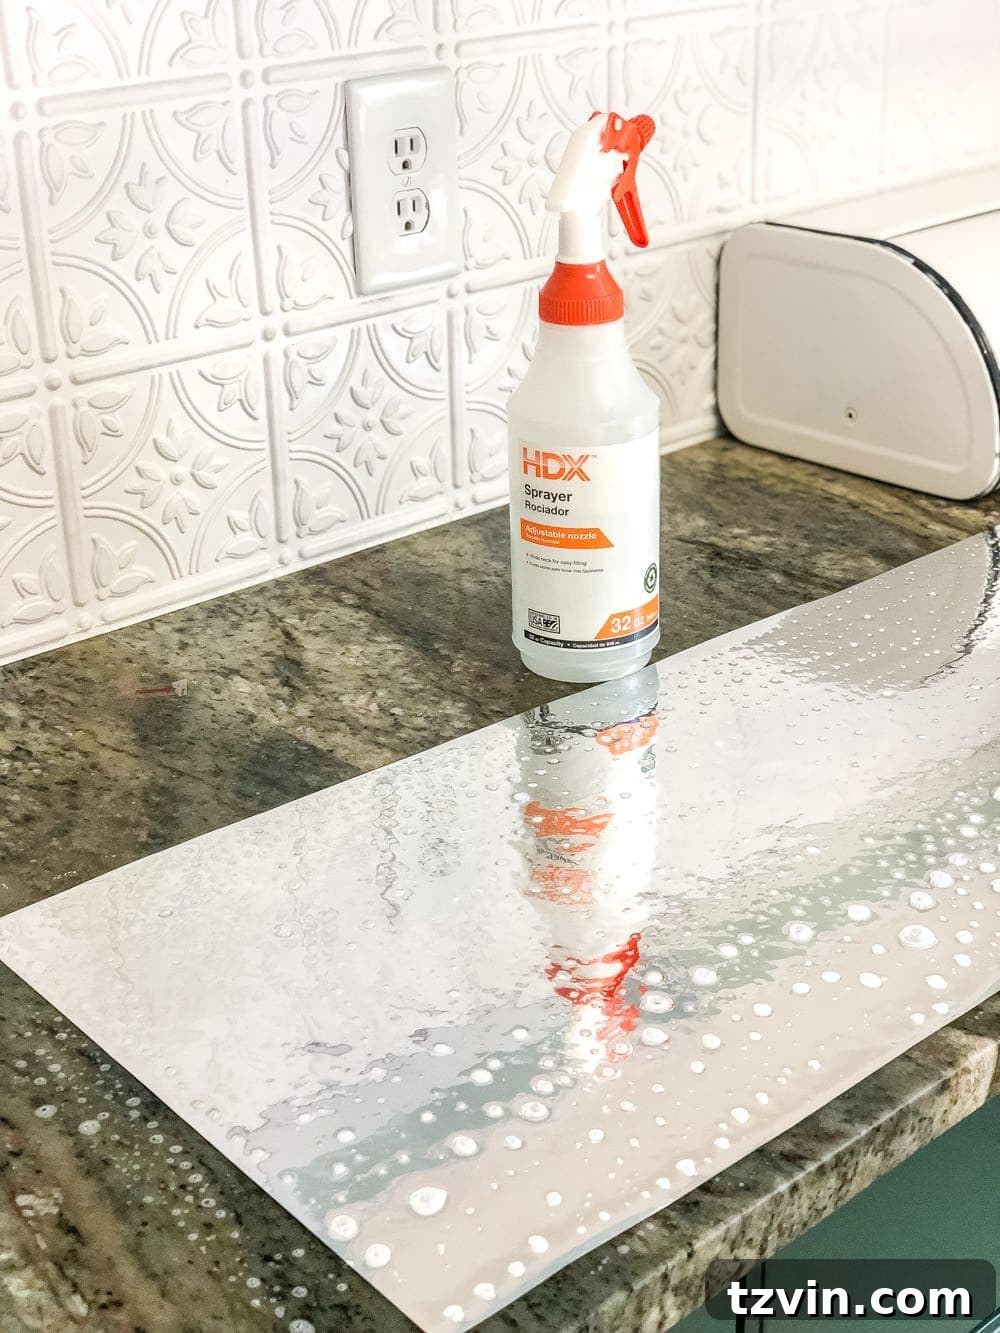
8. Prepare the Glass: Equally important is to thoroughly clean the glass panels on your cabinet doors, then generously spray them with the same water/soap solution. A well-lubricated surface is key for smooth application and bubble-free results.
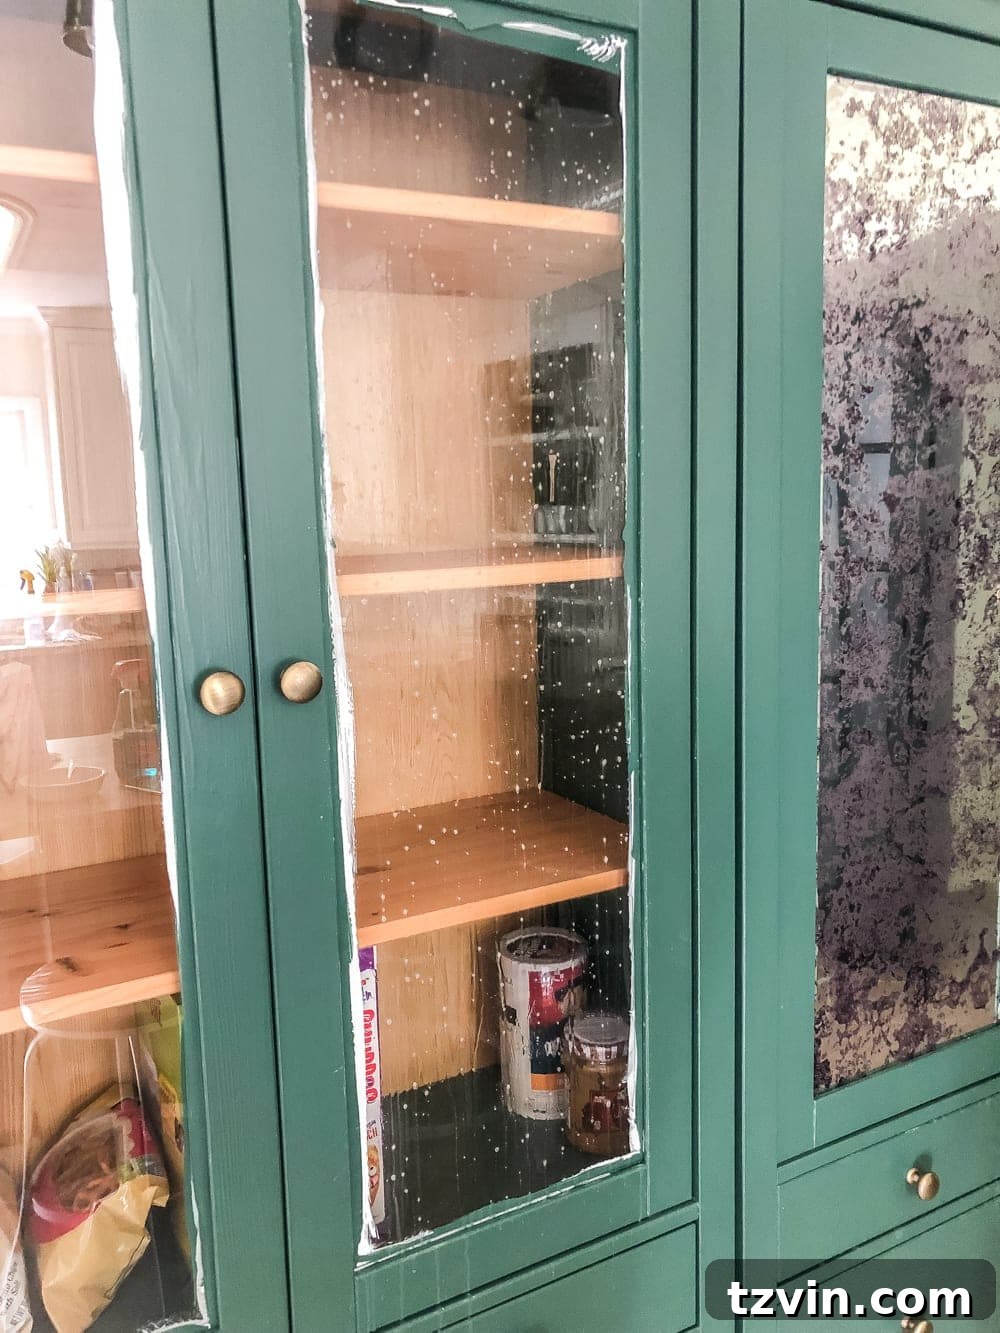
9. Apply and Smooth the Film: Carefully position the wet window film onto the wet glass panel. The soap solution allows you to slide and adjust the film until it’s perfectly aligned. Once positioned, use a credit card or a squeegee to gently smooth out any air bubbles and excess water. Start from the center of the film and work your way outwards towards the edges, applying firm, even pressure. This step is critical for a smooth, professional finish.
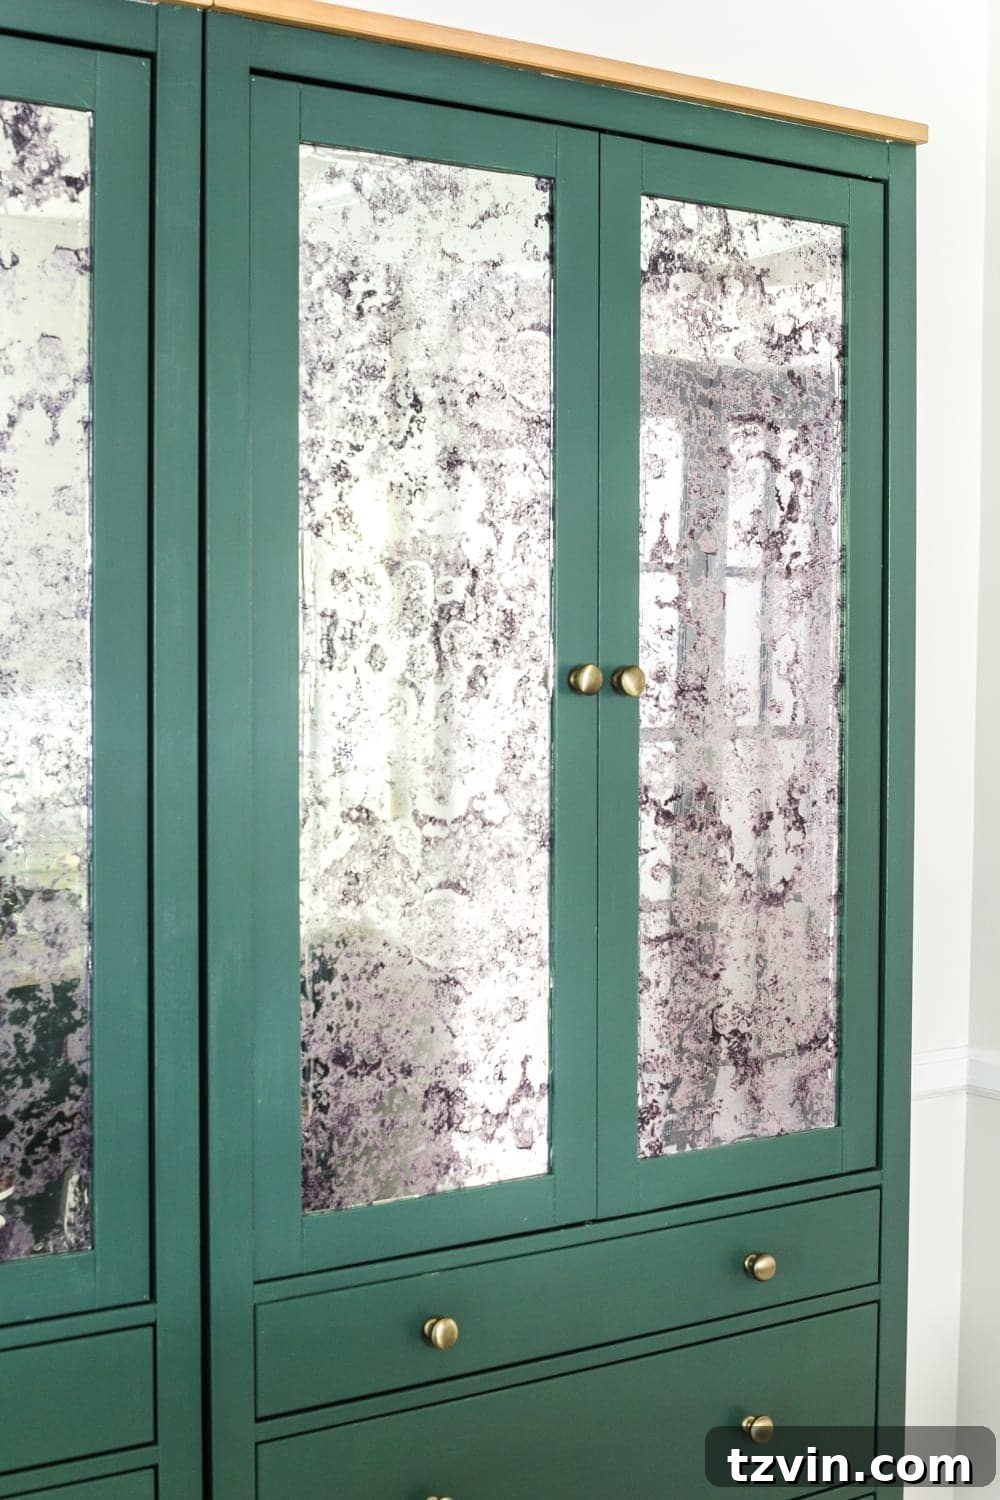
10. Trim and Finish: Finally, use a sharp X-acto knife and a straight edge (like a ruler) to carefully trim any excess film around the edges, creating a perfectly neat and tailored finish. Wipe up any residual water/soap solution with clean paper towels or a dry rag. Allow the film to dry completely, and you’ll be left with a stunning, custom antique mirror effect.
Voila! Your IKEA Hemnes cabinets are now transformed into a sophisticated, high-end freestanding pantry cupboard. The transformation is truly remarkable.
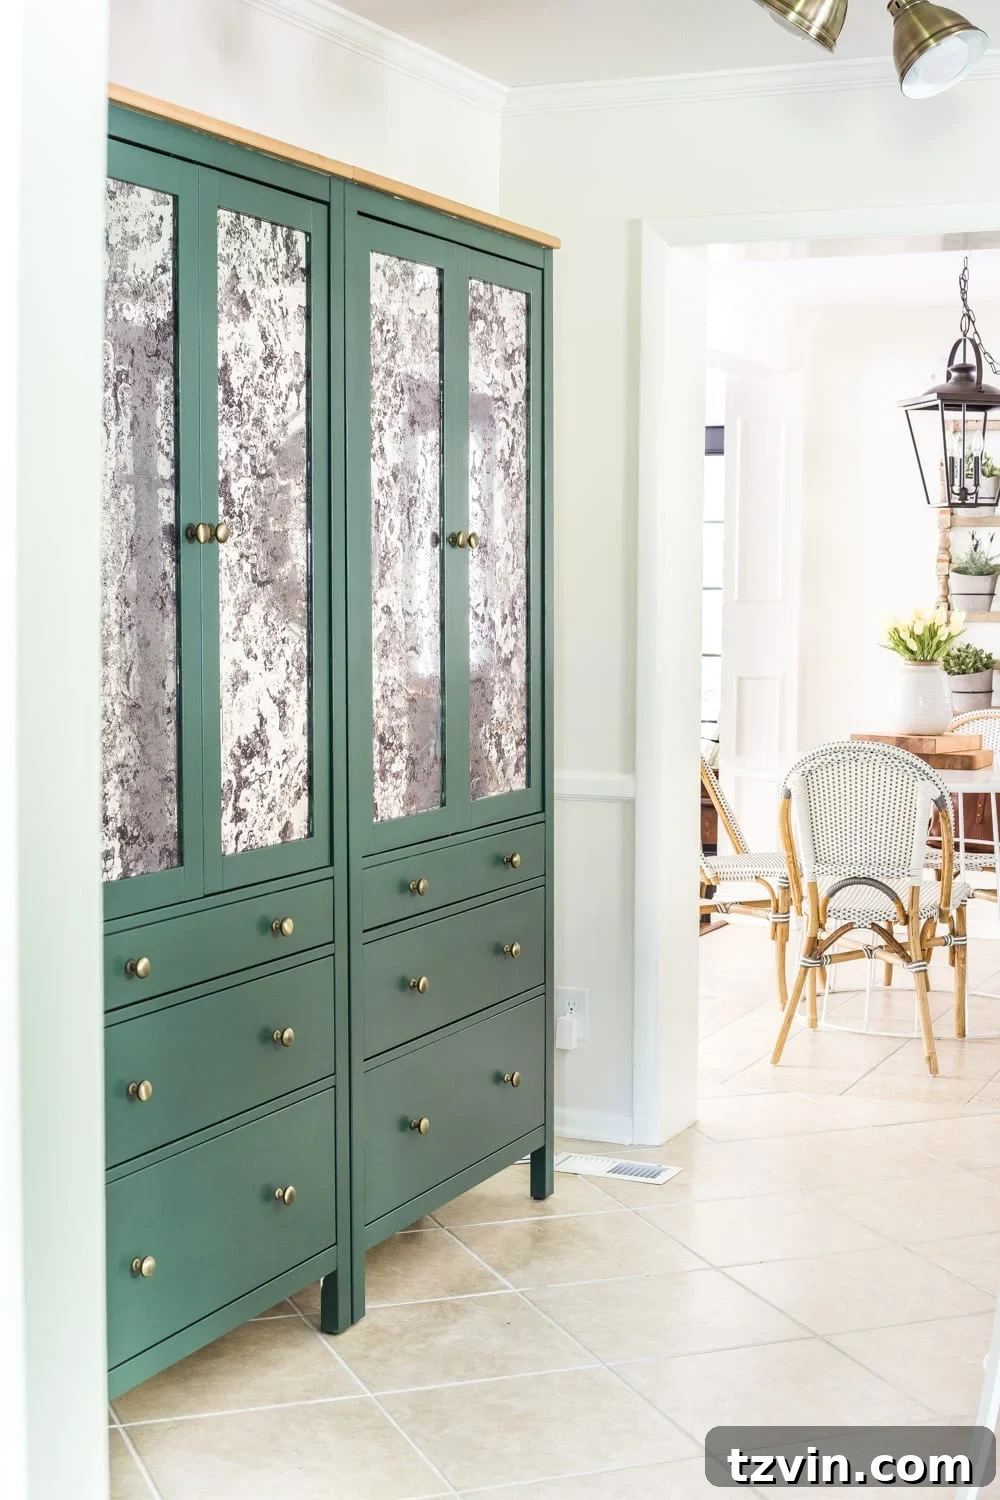
Optimizing Your IKEA Pantry Cabinet for Ultimate Storage Solutions
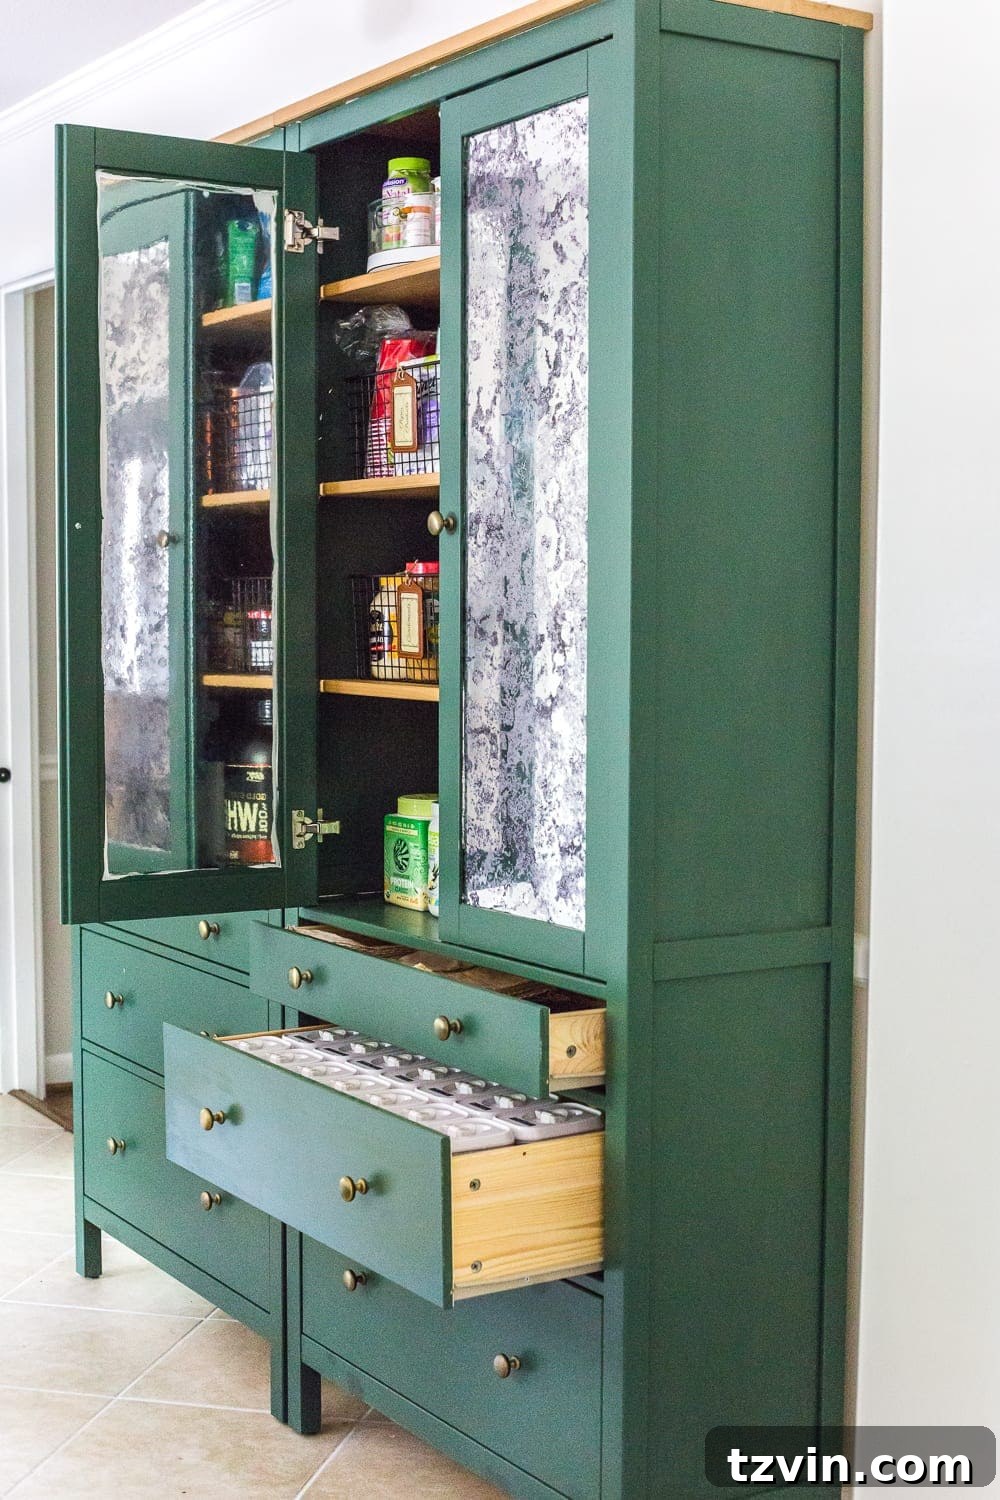
With the exterior transformation complete, the next phase is to conquer the interior. We’re currently in the process of transferring all our food items from various scattered locations into these beautiful cabinets, aiming for a single, centralized, and highly organized food storage system. The goal is to create a logical and efficient arrangement that makes meal preparation a breeze.
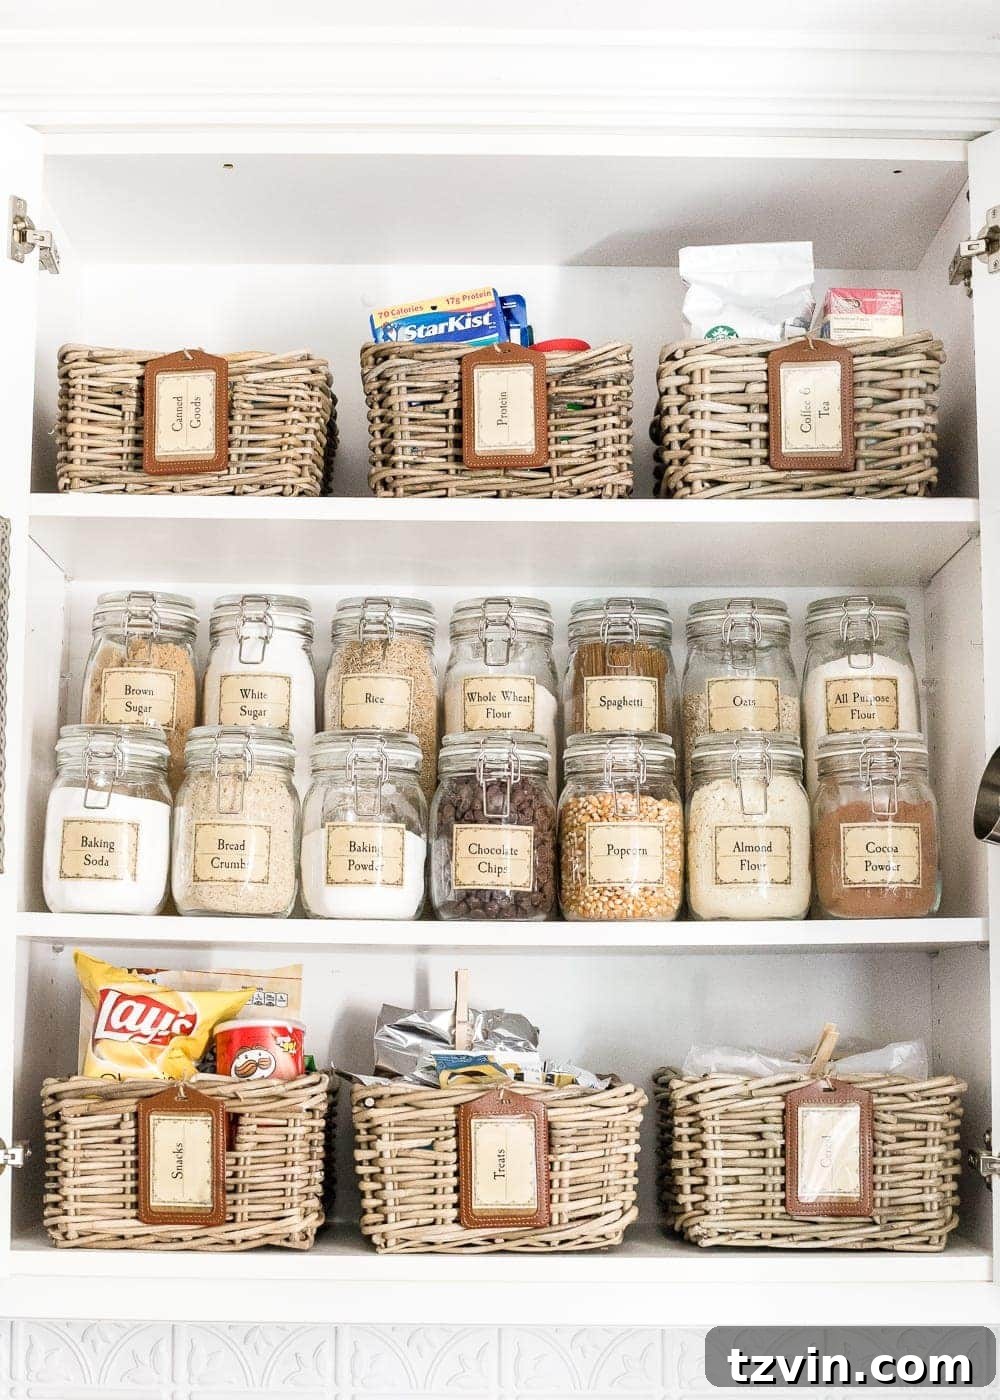
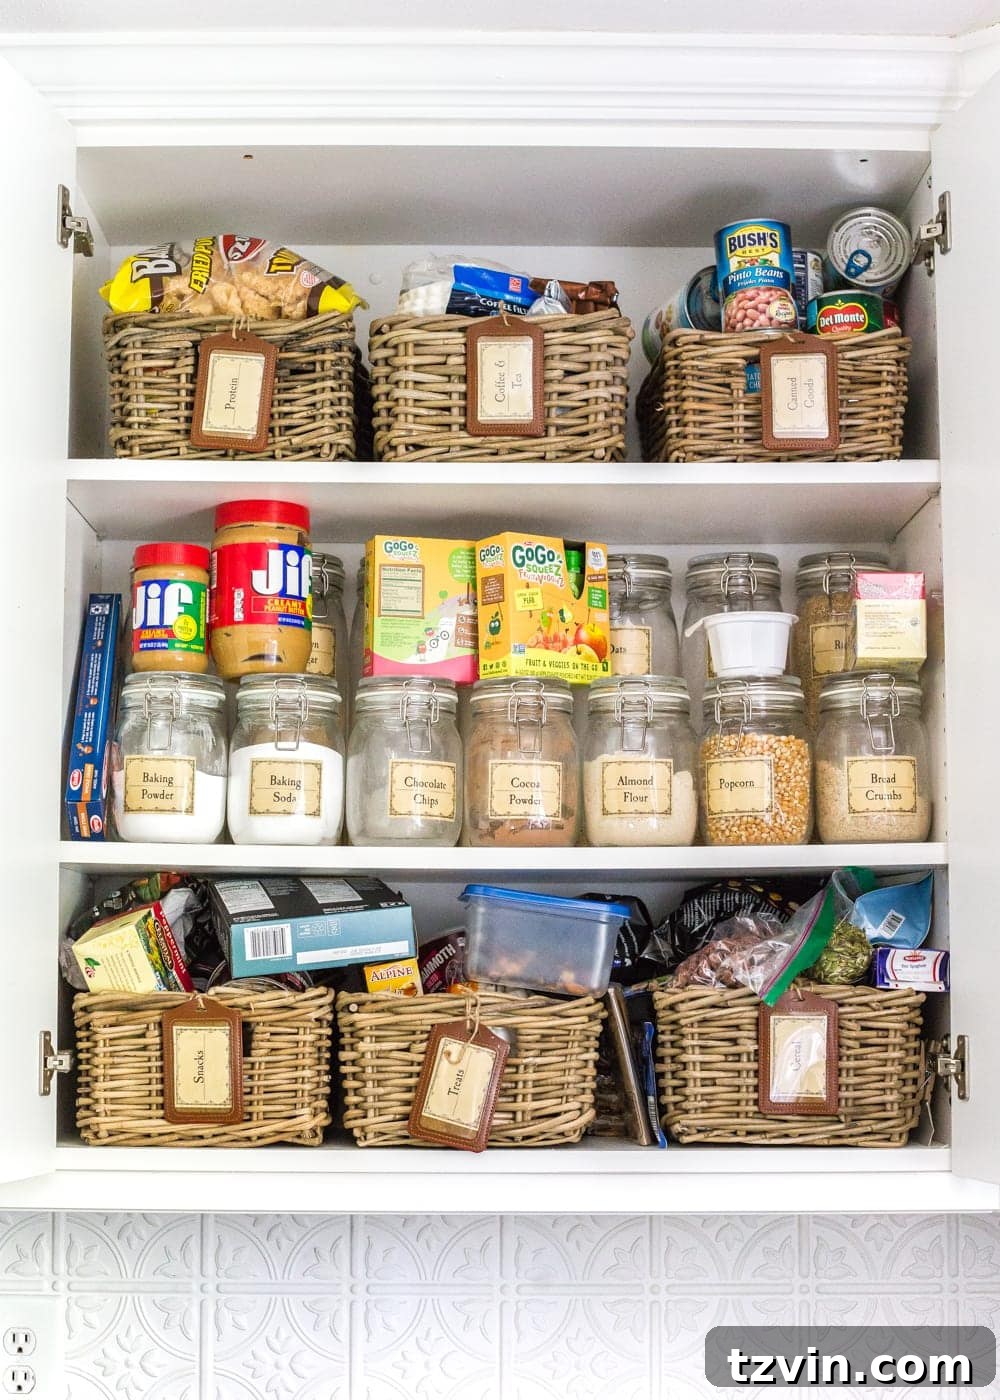
Update: We’ve since finalized our organization strategy, and this organized IKEA pantry cabinet is truly a dream come true! It’s incredibly satisfying to open these doors and drawers and instantly find exactly what we need, transforming daily routines.
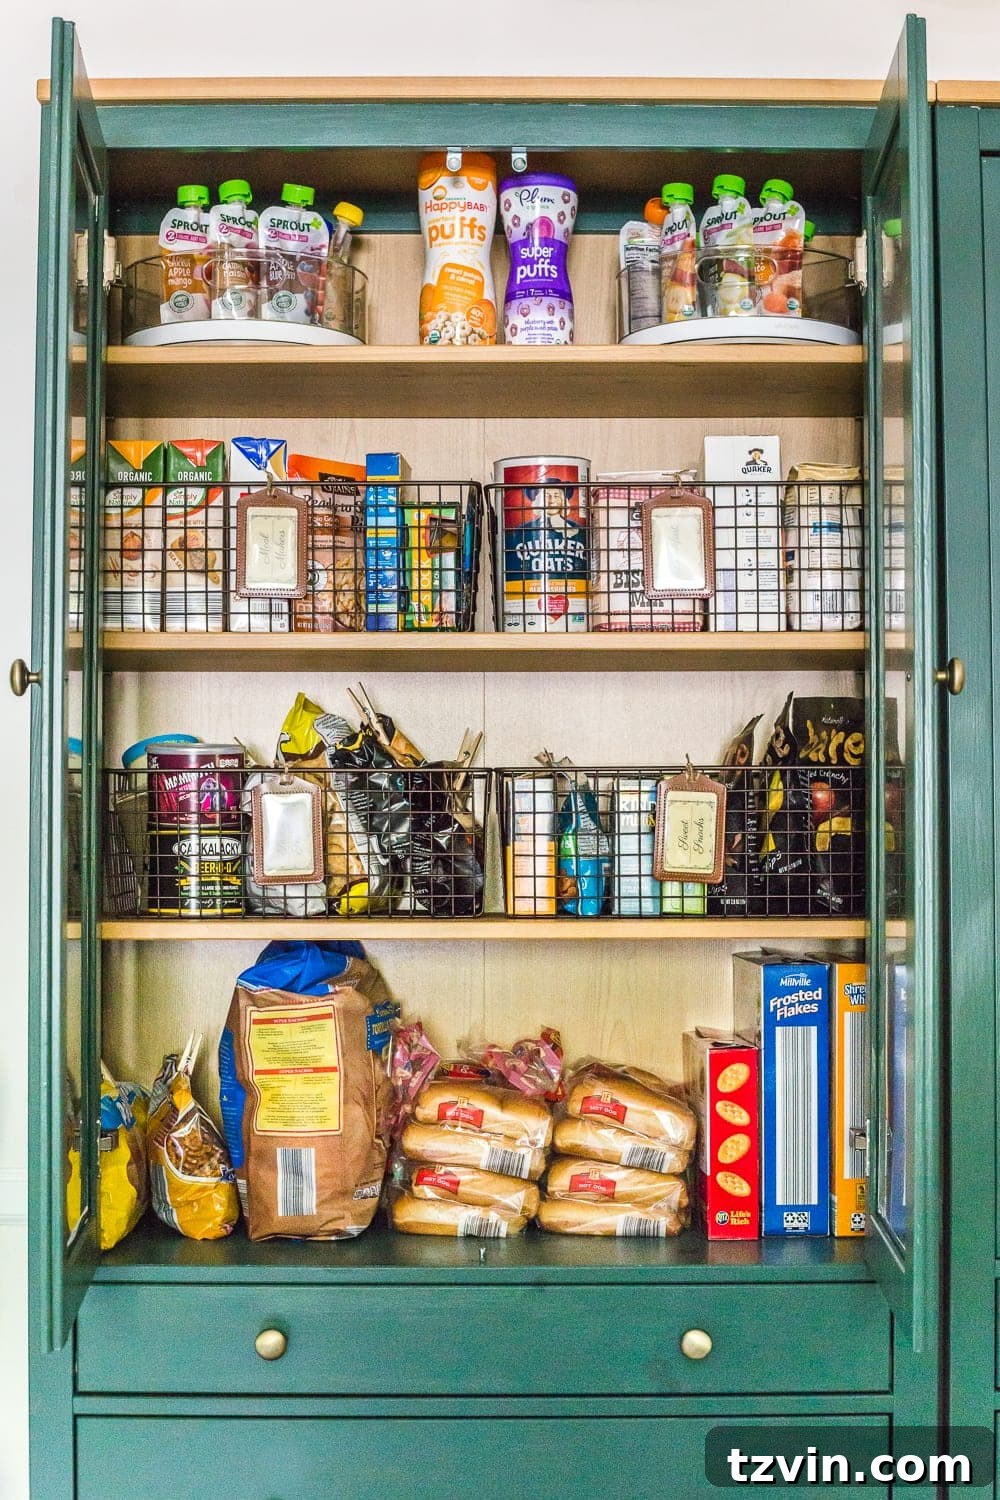
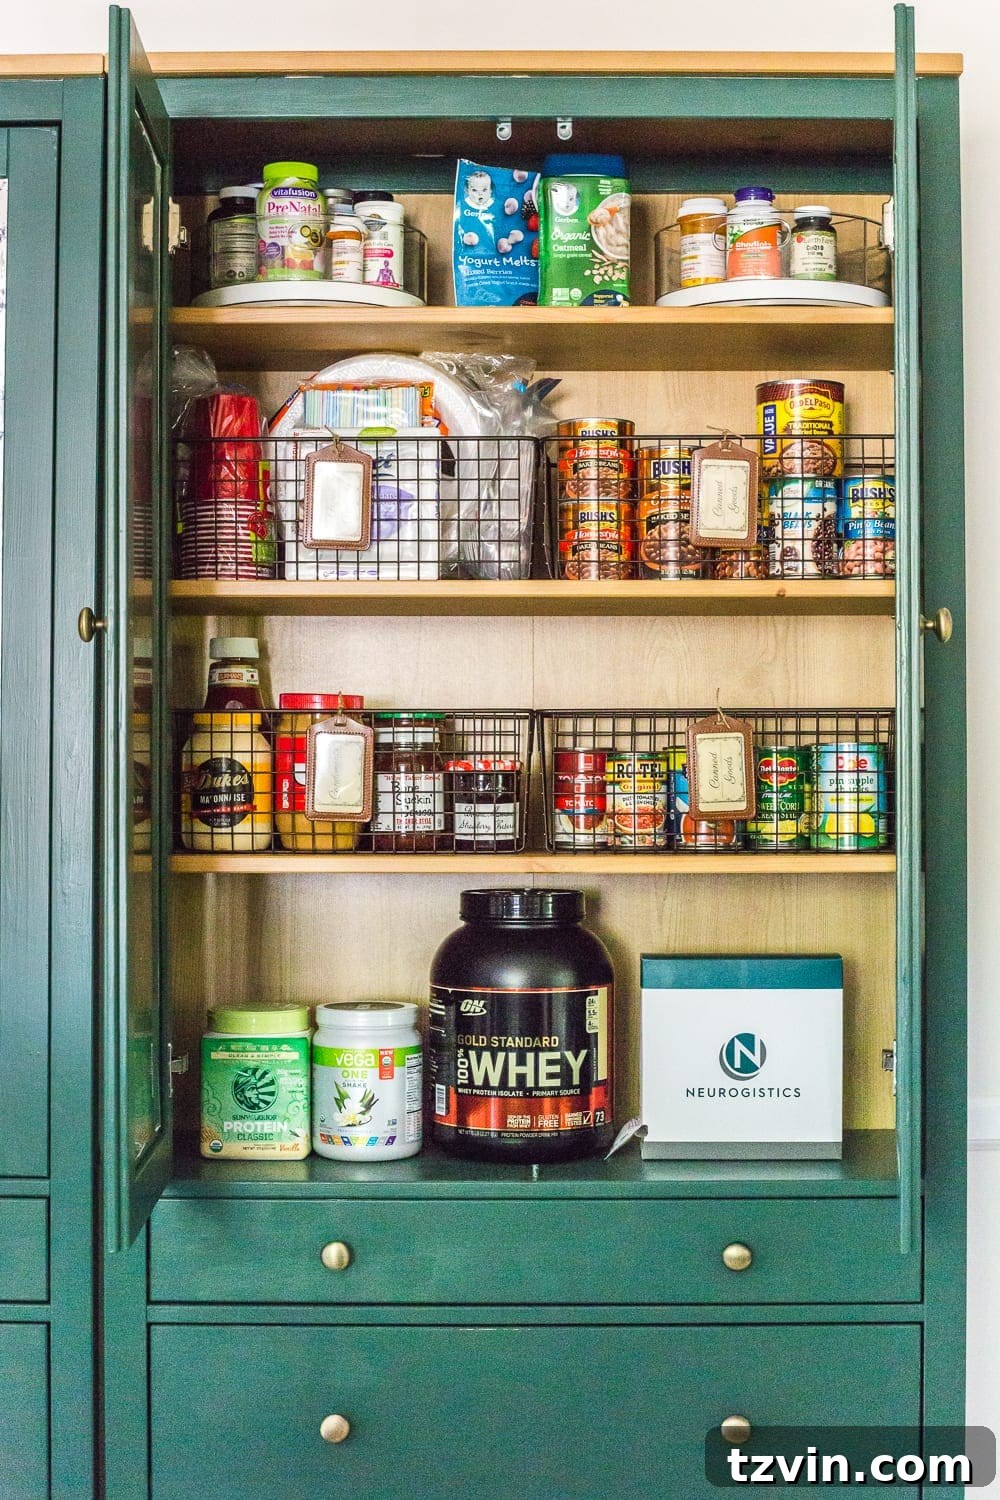
The Final Pantry Cabinet Results: Style Meets Superior Functionality
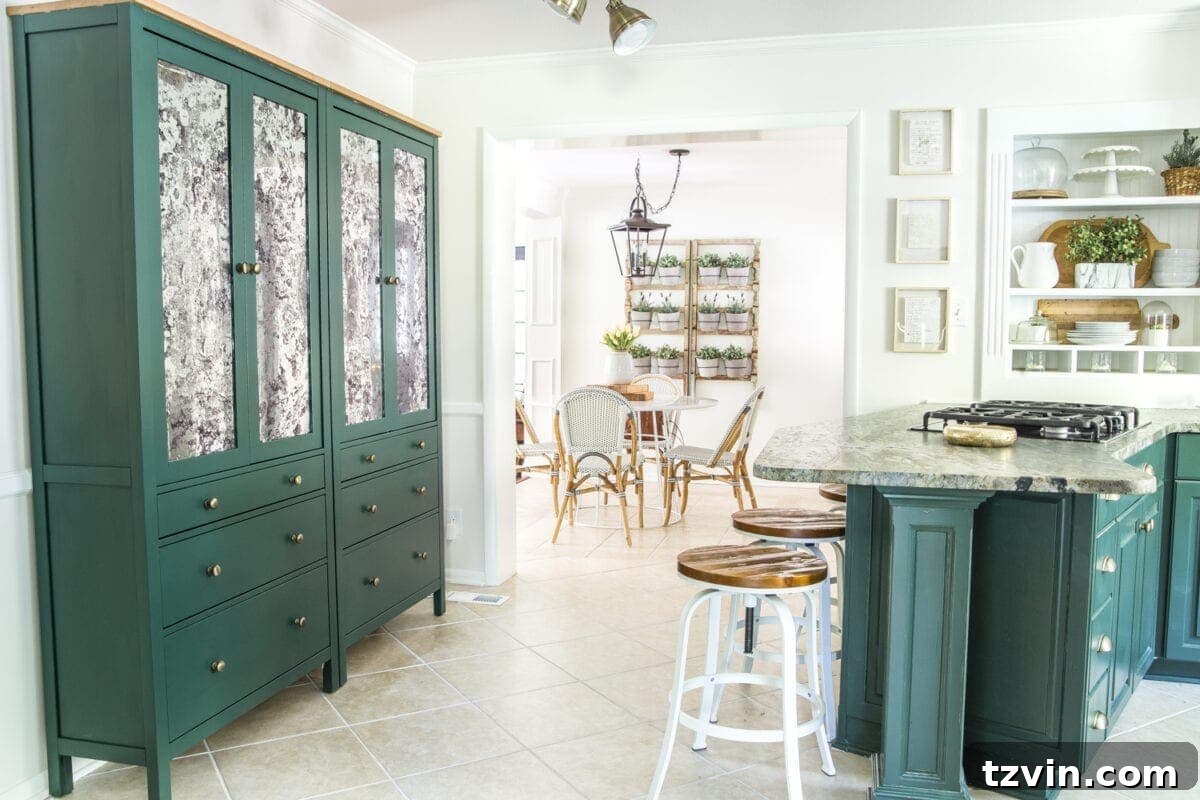
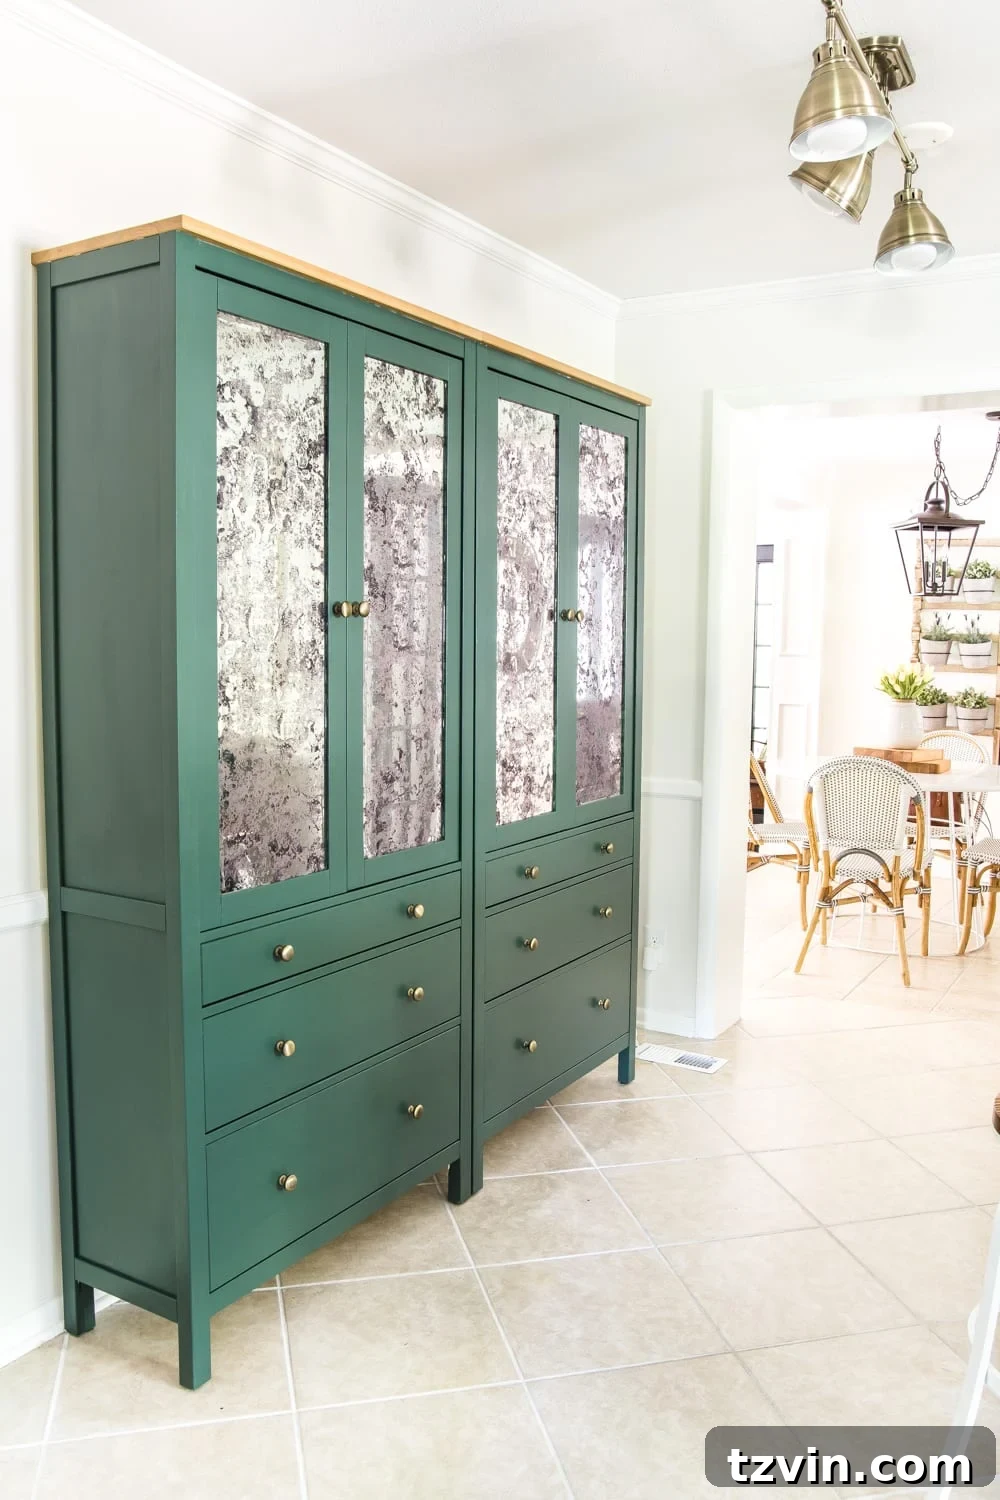
The completed freestanding pantry cupboards integrate seamlessly with our kitchen’s existing cabinetry, appearing as if they were custom-built for the space. We particularly love the flexibility of these freestanding units: if we decide to replace our flooring in the future, we won’t face the daunting task of demolishing built-in cabinets. Although freestanding, they are securely anchored to the wall for safety and stability – a crucial step that should never be overlooked.
It’s hard to believe these sophisticated pieces started as standard IKEA Hemnes cabinets. With their rich paint color, elegant brass knobs (not specifically mentioned in supplies, but visible in photos, so worth a subtle nod), and the stunning antique mirror film, they truly boast a high-end, custom look that elevates the entire kitchen. Who knew IKEA could look so fancy?
Explore More: Our Budget Kitchen Refresh & IKEA Hacks
If you’re new here and captivated by how a simple IKEA piece can be transformed, you might be interested in our full budget kitchen refresh makeover reveal from last year. It showcases how thoughtful updates can make a dramatic difference without breaking the bank.
For fellow IKEA enthusiasts, don’t miss our curated list of the best IKEA items for creating a stylish home on a budget. We share countless ideas to elevate everyday IKEA pieces to designer-worthy status, just like our Hemnes pantry.
We’re always eager to hear from our community! What are your go-to pantry solutions? Do you have any brilliant organizing hacks that have transformed your kitchen storage? While the inside of our new cabinets is still a work in progress, we’re making strides toward a perfectly organized system, and we’d love to hear your insights.
Loved this project? Pin it for later inspiration and share it with your friends!