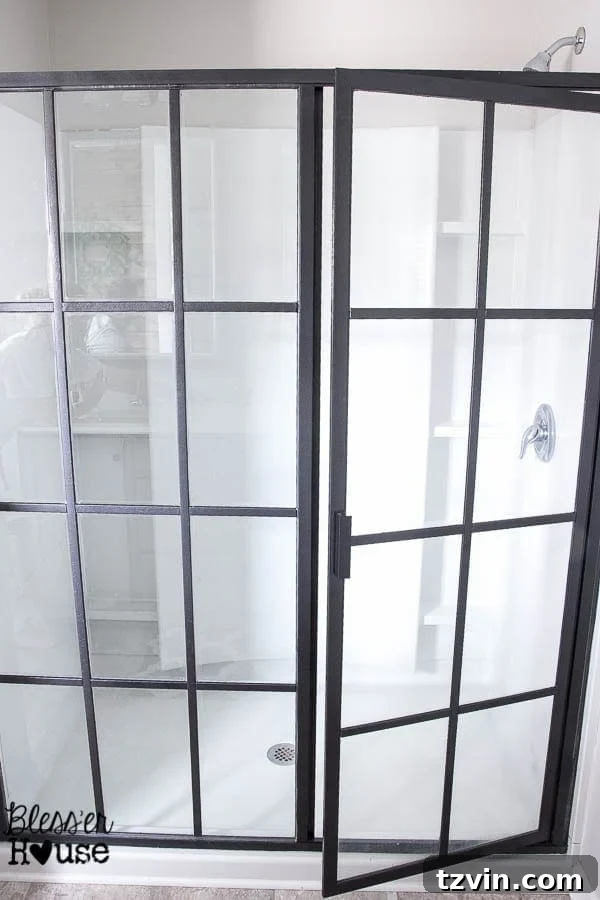
Transform Your Bathroom: DIY Industrial Factory Window Shower Door for Under $60
Are you dreaming of a bathroom refresh but worried about the cost of stylish upgrades? If you have a standard builder-grade glass shower door, get ready to be amazed! Today, I’m thrilled to finally share the highly anticipated tutorial for our DIY Industrial Factory Window Shower Door, a centerpiece of our master bathroom budget makeover. This project will truly blow your mind with its dramatic before-and-after and incredibly low cost. My inbox has been overflowing with requests to unveil this secret, and the wait is finally over!
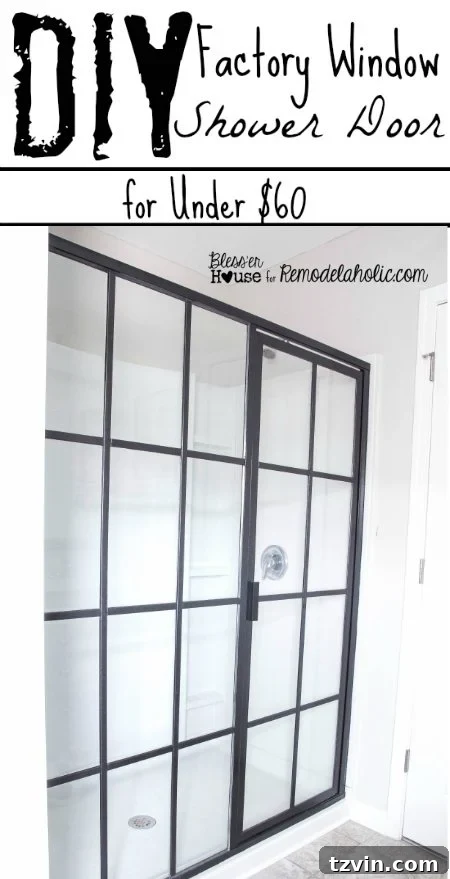
You might be wondering if this bathroom makeover journey ever ends, and I promise, this is the grand finale! Recently, I’ve been captivated by the chic, industrial-style factory window shower doors popping up all over Pinterest. Their sleek lines and edgy aesthetic instantly stole my heart. However, the reality quickly set in: these beautiful, high-end doors came with a hefty price tag, often requiring professional installation and extensive demolition work—far beyond my budget and DIY capabilities.
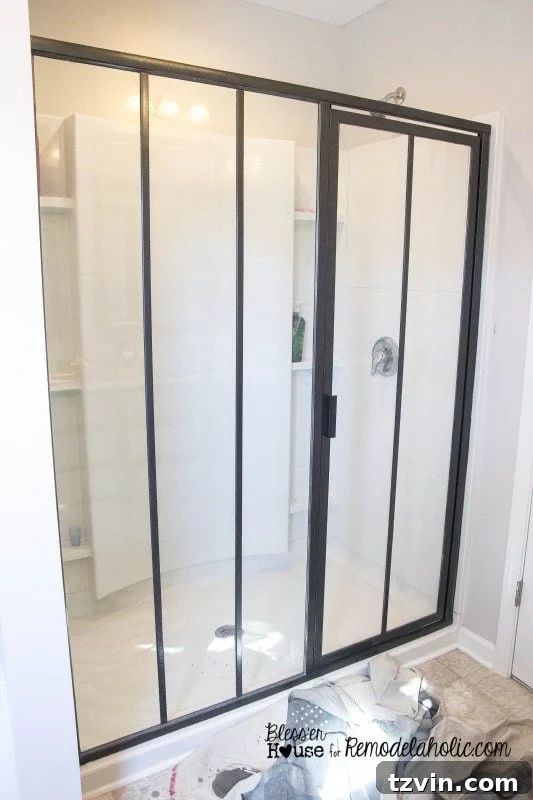
Determined to achieve this desired look without breaking the bank, I devised a clever way to replicate the factory window aesthetic directly on my existing builder-grade shower door. The best part? This entire transformation was accomplished for just under $60, making it an incredibly affordable bathroom upgrade. Get ready to learn how you can achieve this stylish industrial shower door transformation too!
Supplies Needed for Your Industrial Shower Door Makeover: (Affiliate links are provided below for your convenience. For more information, please refer to my full disclosure.)
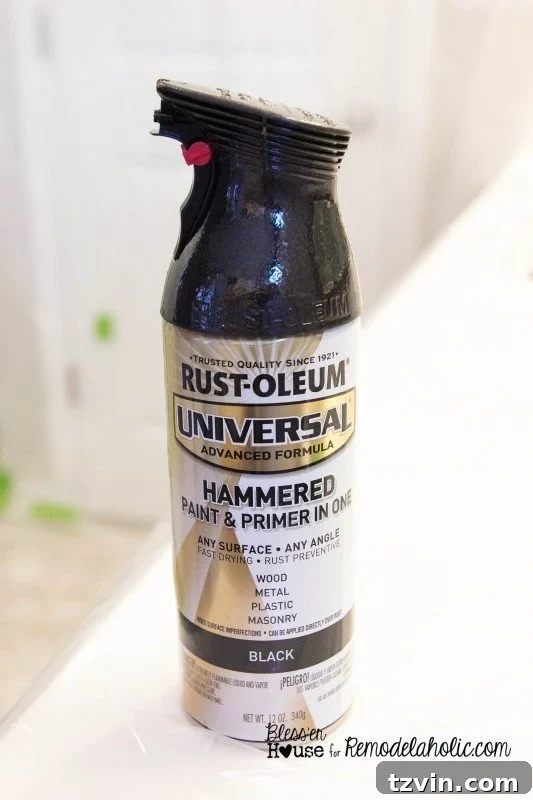
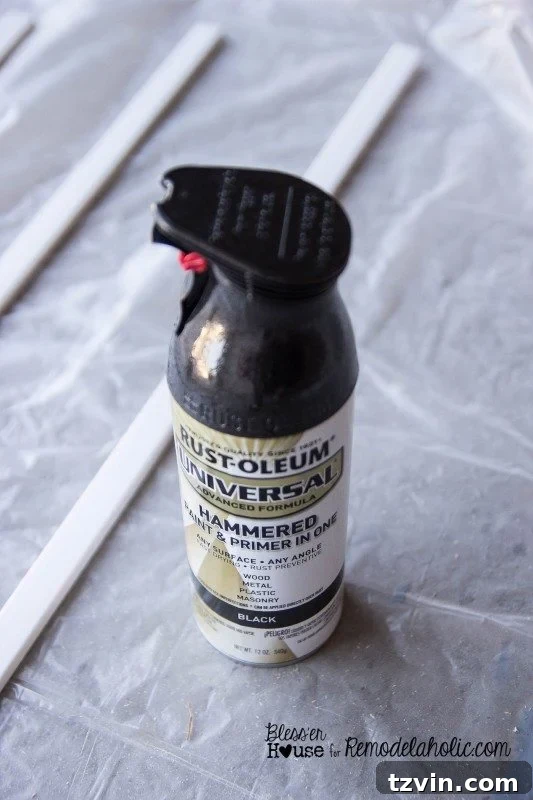
- Approximately 3 cans of Rustoleum Universal Hammered Black spray paint (Consider adding an automobile primer and spray lacquer as per the update for enhanced durability!)
- High-quality Painter’s tape (I highly recommend this brand for crisp lines.)
- Plastic drop cloth (essential for protecting surfaces)
- Respirator mask (crucial for safety when spray painting)
- Putty knife (for scoring tape edges)
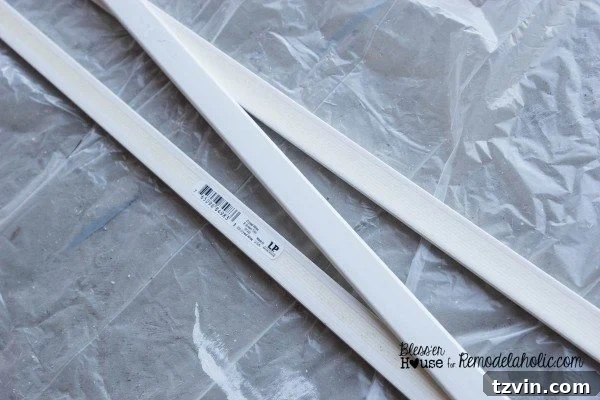
- 5 lengths of 1/4″ x 3/4″ x 96″ Polystyrene Lattice Moulding (lightweight and moisture-resistant)
- Tape measure (for precise measurements)
- Level (to ensure perfectly straight lines)
- Black permanent marker (for marking cutting and placement lines on glass)
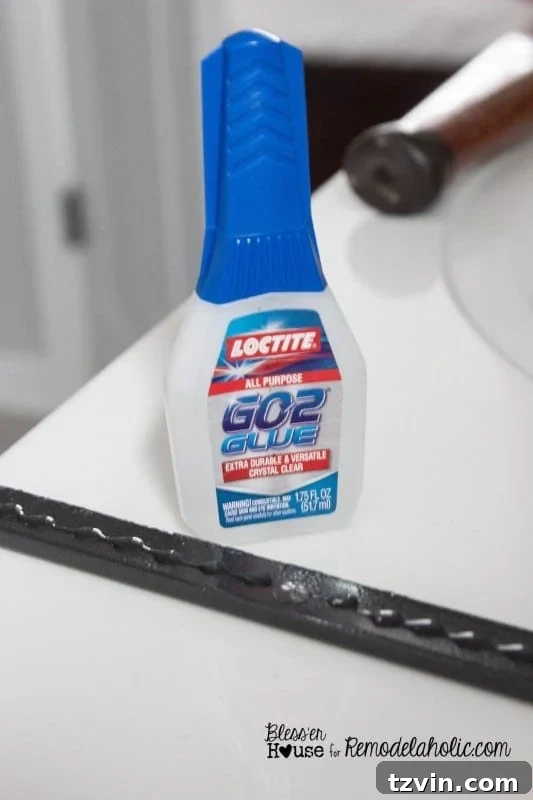
- Loctite GO2 Glue (strong, clear, and moisture-resistant adhesive)
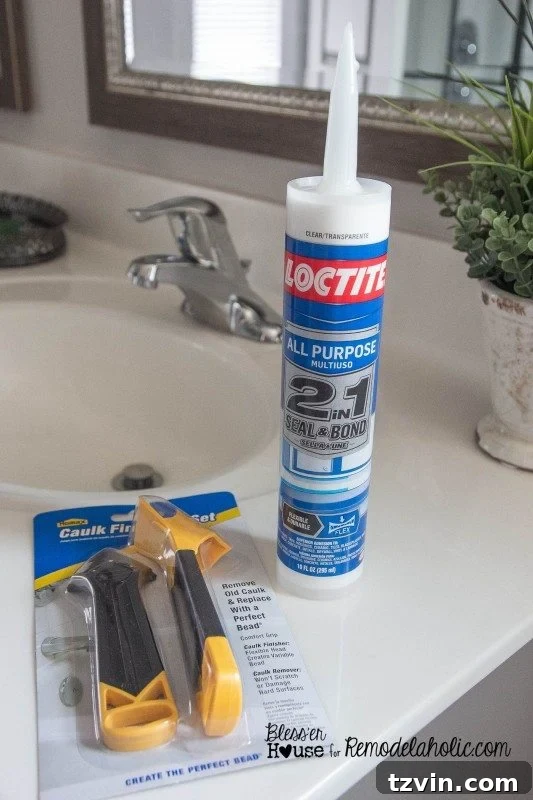
- Loctite 2 in 1 Clear Latex Window and Door Caulk (for sealing and preventing moisture)
- Caulk gun (for easy caulk application)
- Caulk finishing tool (for a professional, smooth finish)
*Note: I already had many of these tools, such as the tape measure, level, and caulk gun, as they are common staples in any DIY enthusiast’s workshop. This helped keep the project cost down for me.
IMPORTANT UPDATE: (December 2016) We are still absolutely loving this industrial shower door transformation! After extensive use, the only modification I would suggest to this tutorial for even greater durability is to first spray the metal shower door frame with an automobile primer, followed by the Rustoleum Hammered Black spray paint, and then finish with a protective spray lacquer. The original finish is still holding up remarkably well, but I’ve noticed a very minor wear on the bottom inside of the shower door frame that I believe the additional primer and lacquer steps would have completely prevented. Despite this minor observation, this DIY project has been incredibly worthwhile for us, delivering enduring style and functionality.
Estimated Time Commitment: 3 days. This timeline accounts for drying times between coats of paint and glue, making it a manageable project to tackle on your own, without needing extra hands. I successfully completed it solo, so while it requires patience for drying, it’s not physically strenuous.
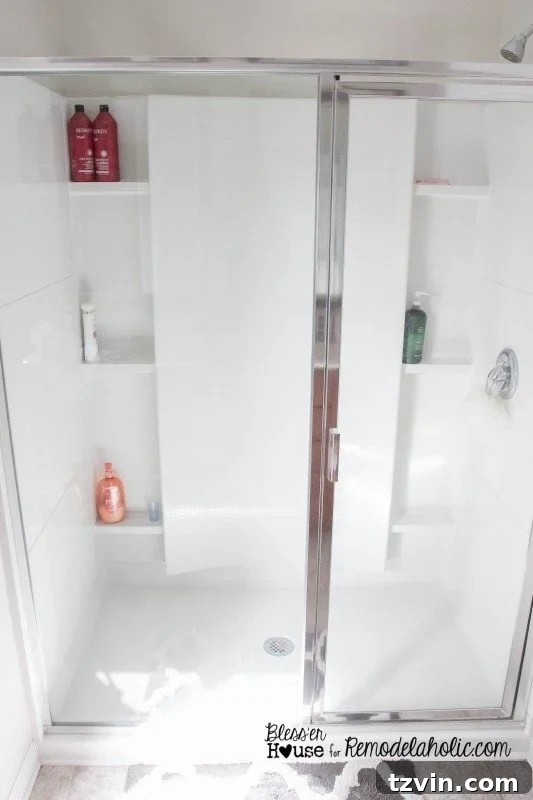
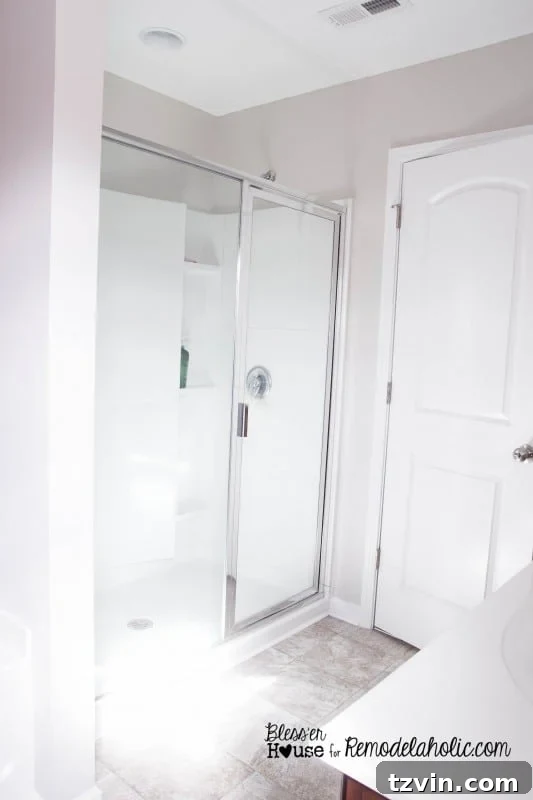
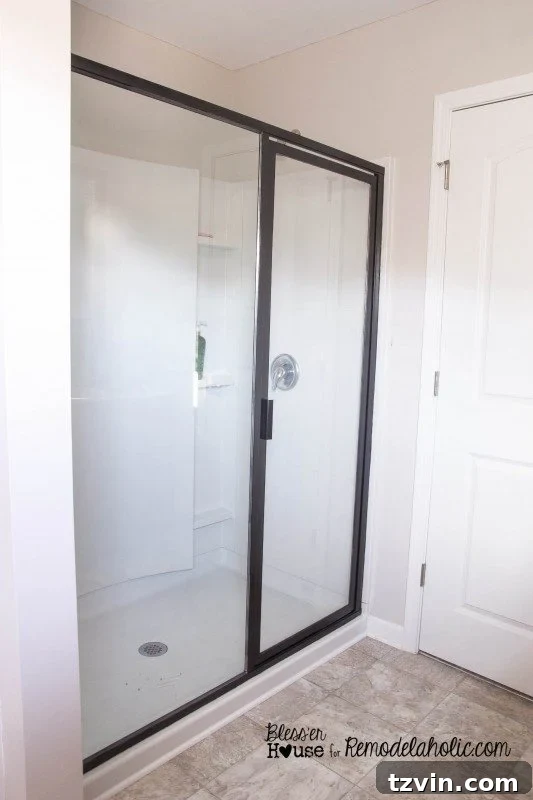
Of course, to begin this transformation, you’ll need an existing framed, hinged glass shower door. This DIY is designed to work with what you already have, making it a true budget-friendly makeover.
Here’s a look at my shower door before embarking on this exciting industrial-style journey:
Step 1: Thorough Cleaning and Drying of Your Shower Door
Begin by ensuring your shower and door are immaculately clean and completely dry. The success of your paint job hinges on a pristine surface. Remove every trace of soap scum, hard water stains, and grime. A simple yet effective solution of vinegar and dish soap, applied with a good scrub brush, can work wonders. After scrubbing, rinse thoroughly to eliminate any residue. Crucially, allow the shower to dry completely—we abstained from using ours for a full 48 hours to guarantee every speck of moisture had vanished. (Rest assured, we maintained proper hygiene during this period, just in a different shower!) This meticulous preparation prevents future paint peeling and ensures optimal adhesion.
Step 2: Meticulous Taping and Protecting Your Bathroom Surfaces
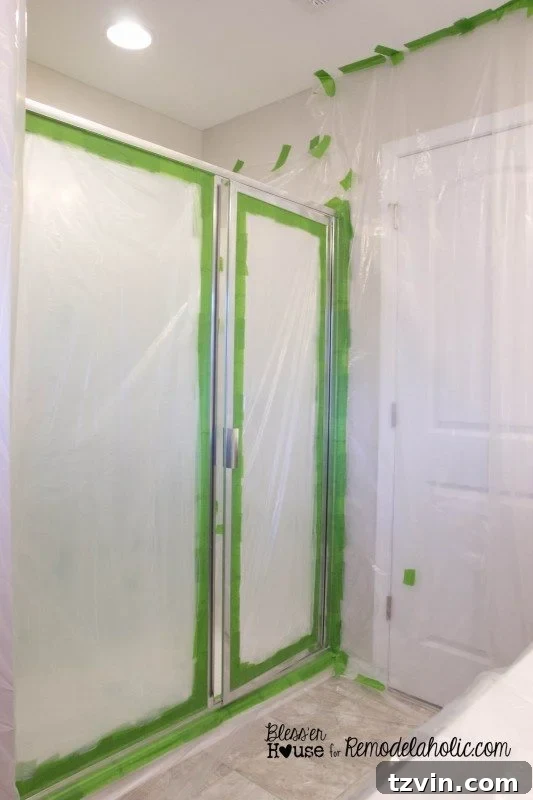
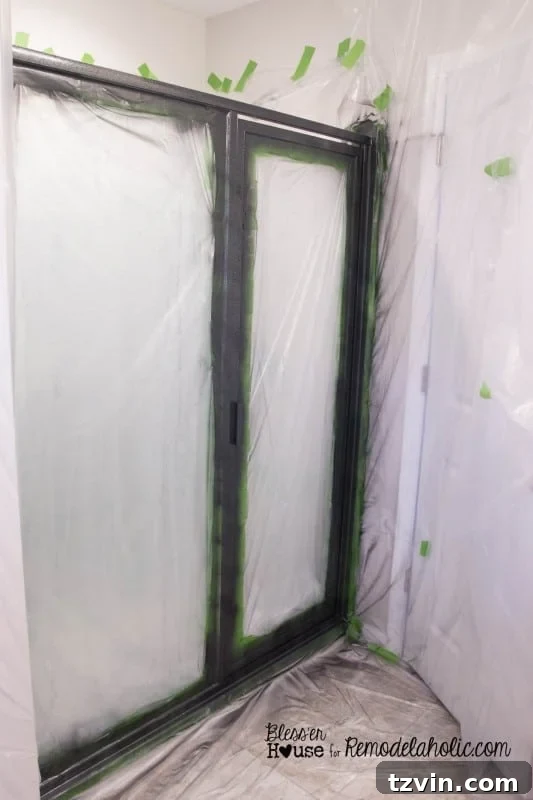
This step requires patience and precision. Using a plastic drop cloth and high-quality painter’s tape, carefully mask off everything you *don’t* want painted. This includes the glass panels of the shower door, the interior of the shower enclosure, your bathroom floor, surrounding walls, and any fixtures. Imagine you’re preparing a “crime scene” – no surface should be left exposed that isn’t intended for paint. This extensive protection ensures a clean, professional finish and prevents accidental overspray, saving you significant cleanup time later.
Step 3: Preparing for Paint & Applying the Initial Coats to the Shower Door Frame
Before you pick up that spray can, prioritize safety! Ensure excellent ventilation by opening all windows and doors in your bathroom, and always wear a painting respirator mask to protect yourself from harsh fumes. These fumes can be quite strong and irritating, so proper protection is non-negotiable.
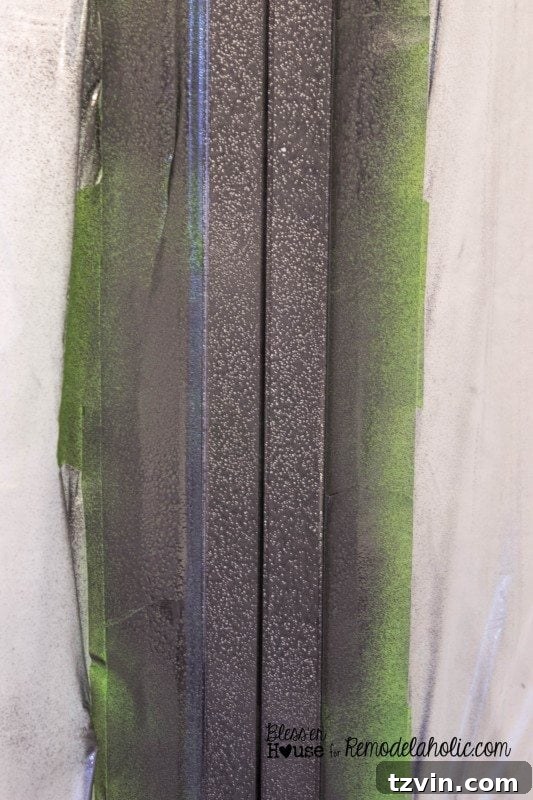
Now for the painting: Apply three thin, even coats of the hammered black spray paint to both the inside and outside of your shower door frame. To achieve a smooth, drip-free finish, maintain a consistent sweeping motion and keep the spray can moving at all times. Avoid concentrating paint in one spot, as this leads to drips and an uneven texture. The Rustoleum Universal Hammered Black spray paint I recommended is excellent because it has primer built-in, which simplifies the process by combining two steps into one. However, for enhanced durability and wear resistance, especially in a high-moisture environment, I highly recommend following the updated suggestion: apply an automobile primer first for superior adhesion, then the hammered black paint, and finally a protective clear spray lacquer. This three-step coating will significantly extend the life and finish of your industrial-style shower door.
During my initial attempt, I encountered an issue with two out of three spray cans clogging, which I suspect was due to the paint’s relatively thick consistency. If you experience similar problems, don’t hesitate to exchange the faulty cans, as a smooth flow is essential for an even finish.
I must admit, that very first coat was a bit alarming! I instantly had a moment of “Oh, what have I gotten myself into?!” But trust the process – it will look much better as you add subsequent coats. Hang in there; the transformation is worth it.
Allow each coat to dry to the touch before applying the next, which typically takes about an hour, depending on humidity and ventilation. Patience here is key to preventing smudges and ensuring an even cure.
Step 4: The Critical Step of Tape Removal & Rectifying Mistakes
Once all coats of paint are applied, allow a full 24 hours for the paint to thoroughly cure and dry before attempting to remove the painter’s tape and plastic drop cloth. This drying time is crucial for avoiding smudges and ensuring the paint has properly adhered.
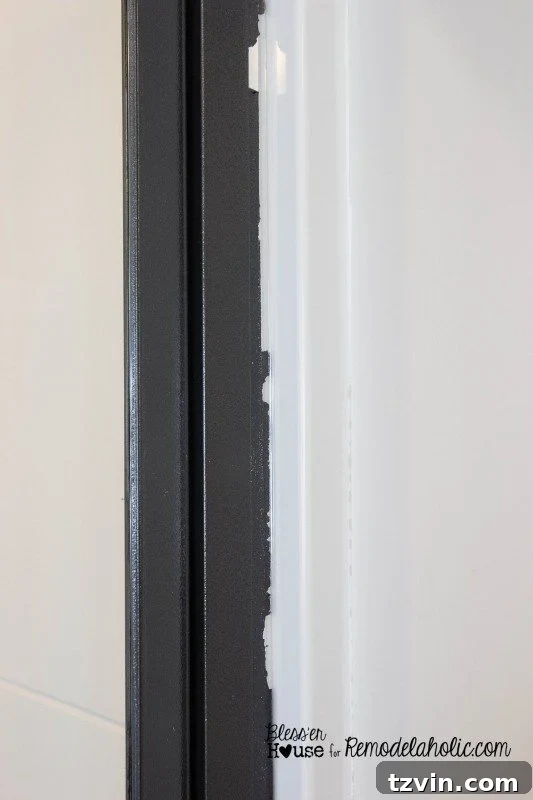
**Important:** Before peeling off the tape, use a putty knife to carefully score along the edges where the tape meets the newly painted frame. This creates a clean break in the paint, preventing it from lifting or tearing away from the frame as you remove the tape. Learn from my mistake: I neglected this vital step, which resulted in some minor paint lifting, as you can see here:
Scoring the tape would have easily prevented this minor setback. I became the “guinea pig” for this experiment, learning firsthand so you don’t have to! If you do encounter any “oops” spots or paint mishaps, don’t despair. I discovered several tricks for fixing them, which I detailed in this helpful post about how to fix painting mistakes.
Despite needing to touch up a few areas, the overall painted frame turned out fantastic, setting the stage for the industrial grid.
Step 5: Preparing the Grid Components with Polystyrene Moulding
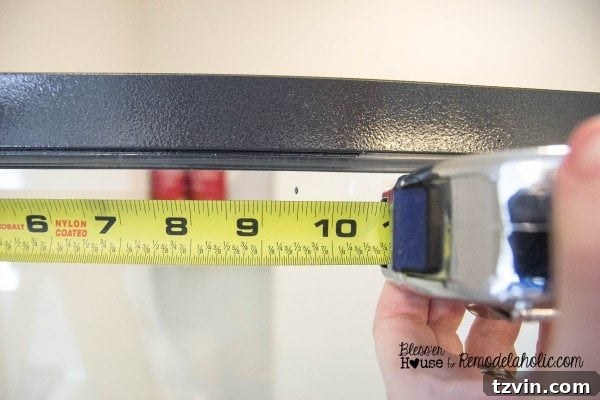
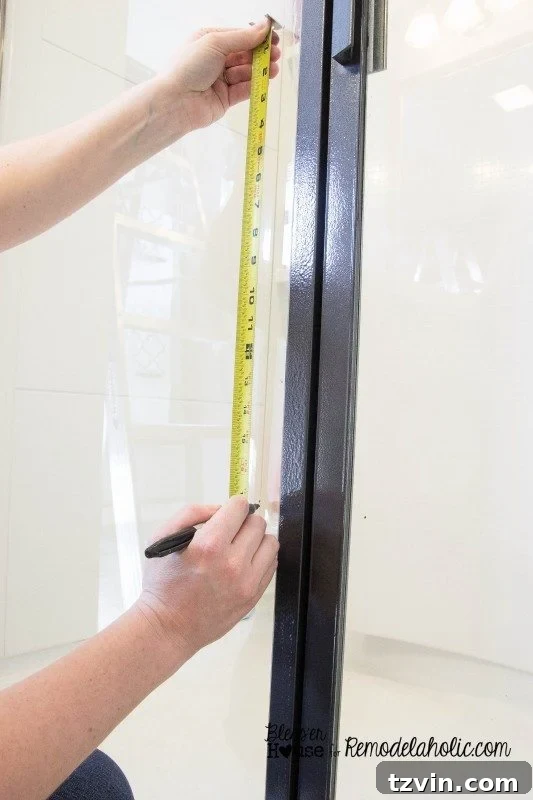
While your painted shower door frame is drying completely, you can begin working on the individual grid pieces that will form the “factory window” effect. Before starting, I meticulously measured the precise dimensions of the glass inserts on my shower door. This ensures that your grid design will fit perfectly and proportionally.
I began by cutting the vertical pieces of the grid from the polystyrene lattice moulding. To achieve my desired look of five “window panes” across and four vertically, I needed three lengths of moulding to span the height of the glass on my door. Polystyrene is the ideal material for this project due to its inherent properties: it is highly moisture-resistant, making it perfect for bathroom environments; it’s extremely lightweight, which means it won’t add unnecessary stress to your shower door or require heavy-duty adhesives; and perhaps best of all, it’s incredibly affordable, typically costing around $2 per length. This makes it a smart choice for a budget-friendly DIY.
Step 6: Painting the Moulding Pieces for a Cohesive Industrial Look
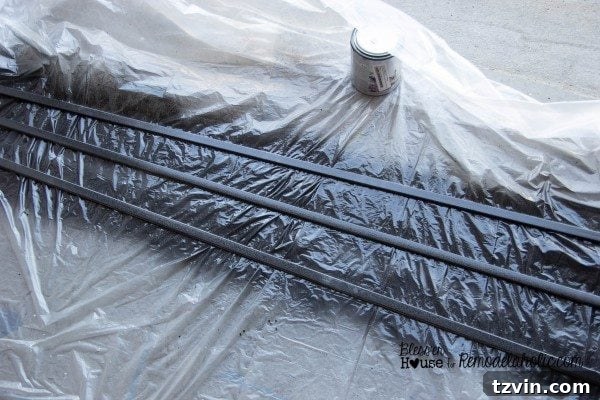
Once your polystyrene moulding pieces are cut to the appropriate lengths, it’s time to paint them. Using the same hammered black spray paint as for your shower frame, apply three thin, even coats to these moulding strips. I found it easiest to do this in my garage, laid out on a drop cloth, to ensure proper ventilation and prevent overspray in the bathroom.
A helpful tip for painting these strips: paint the backside of the pieces first. This way, any minor imperfections or paint wrinkles that might occur from contact with the drop cloth when flipped will be on the less visible side. Apply three coats to both sides, allowing sufficient drying time between each coat to achieve a durable and consistent finish. This meticulous painting ensures your grid elements seamlessly blend with the newly painted shower frame, completing the industrial aesthetic.
Step 7: Precise Measurement and Marking for Grid Placement
This is where a little careful calculation comes in handy – a task that, as a former high school English teacher, wasn’t always my strongest suit, but it’s entirely manageable!
I had already decided on a design featuring five “panes” horizontally and four vertically for my industrial factory window look. Since the left side of my shower door required three vertical sections to create the five horizontal panes, I measured the total width of the glass on the left door panel and divided it by three. This calculation gave me the precise spacing needed to place the two vertical moulding pieces evenly. For the right side of the door, which is the hinged, opening section, I divided its glass width by two to determine the placement for a single vertical moulding piece. This symmetrical approach ensures a balanced and authentic factory window appearance.
Using a tape measure and a black permanent marker, I carefully marked the exact positions where each vertical moulding piece would be adhered to the glass. I opted for a black marker so that any lingering marks would be inconspicuous against the black moulding once it was glued in place.
Should you make a slight marking error, don’t worry – a cotton swab with a little nail polish remover will easily erase permanent marker from glass without damage.
To determine the spacing for the horizontal moulding pieces, I divided the total height of the shower door glass by four. This calculation provided me with the uniform intervals at which to mark and subsequently place the horizontal strips, ensuring the four vertical panes were equally sized.
Step 8: Applying Adhesive to the Vertical Moulding Pieces
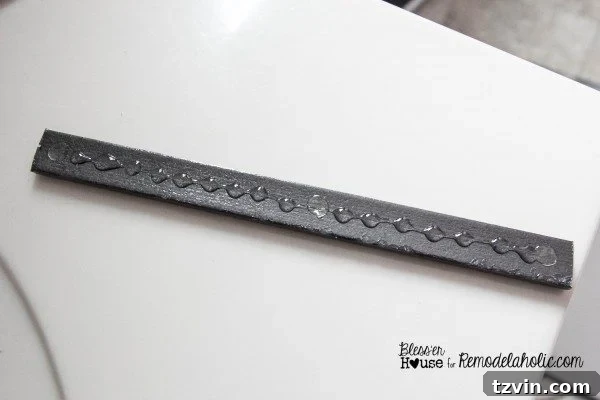
Once your painted vertical moulding pieces are completely dry and cured, it’s time to apply the adhesive. Carefully run a consistent line of Loctite GO2 Glue along the backside of each moulding strip. This particular adhesive is ideal for this project because it dries completely clear, leaving no visible residue. Its extreme strength ensures a secure bond to the glass, and its temperature and moisture resistance make it highly durable against the fluctuating humidity and wet conditions typical of a bathroom environment, guaranteeing a long-lasting application.
A crucial tip: apply the glue to only one moulding piece at a time, just before you are ready to place it. Do not pre-glue all pieces, as the adhesive sets relatively quickly, and you’ll want ample time for precise placement and adjustments.
Step 9: Attaching the Vertical Grid Pieces with Precision
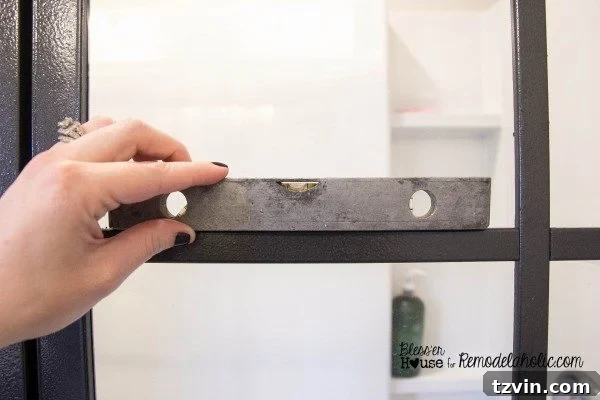
With the glue applied to a single moulding piece, carefully position it onto the glass, aligning it with the black permanent marker lines you made in Step 7. You’ll typically have a minute or two to subtly reposition the piece and make any minor adjustments to ensure perfect alignment. Use your level to double-check that each strip is perfectly straight and plumb. Once satisfied with the placement, firmly press the moulding piece against the glass for about a minute, allowing the glue to begin setting. This firm pressure ensures maximum contact and adhesion.
Step 10: Measuring and Preparing Horizontal Grid Sections
After all your vertical moulding pieces are securely in place and the adhesive has had sufficient time to set, it’s time to tackle the horizontal elements of your factory window grid. Using your tape measure once again, carefully measure the exact widths between the newly installed vertical sections. These measurements will vary slightly based on your initial door dimensions and vertical moulding placement, so measure each segment individually for accuracy. Based on my desired “5 panes across and 4 vertical” design, I needed to cut and paint fifteen individual horizontal moulding pieces. Cut these pieces from your remaining polystyrene lattice moulding.
Step 11: Attaching the Horizontal Grid Pieces
Once your horizontal moulding pieces are cut and painted (following the same painting process as in Step 6), you will attach them using the Loctite GO2 Glue. Apply the glue to the backside of each horizontal piece, one at a time, just as you did for the vertical strips. Carefully align each piece with the horizontal markings you made on the glass in Step 7. Again, use a small level to confirm that each piece is perfectly straight before pressing it firmly into place. The few minutes of repositioning time that the Loctite glue provides are invaluable for achieving a precise and visually appealing grid. Take your time to adjust each piece as needed, ensuring a symmetrical and authentic industrial window look.
On a side note, the level I’m using here holds a special place in my heart; it’s older than I am, having been passed down from my husband’s grandfather. It’s certainly seen its fair share of projects over the years, which explains its well-loved, slightly “shabby” appearance. It’s a testament to enduring quality and the stories behind our tools!
Step 12: Sealing and Reinforcing Your Industrial Shower Door Grid
The final crucial step in creating your durable industrial factory window shower door is sealing. To prevent any moisture from seeping behind the moulding pieces, which could lead to mold, mildew, or weakened adhesion over time, I used a clear latex caulk. This step is essential for the longevity and hygiene of your newly transformed shower door.
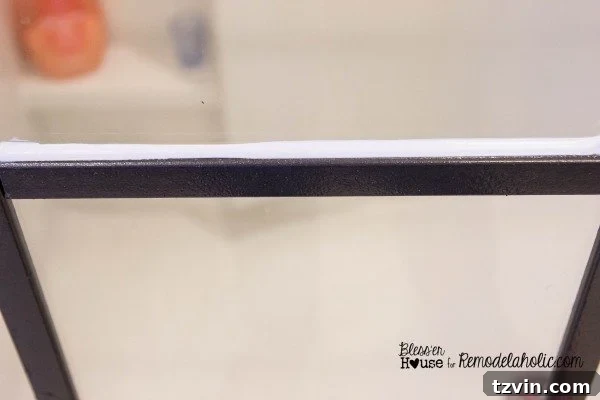
If you’ve never used this type of caulk before, don’t be alarmed by its initial appearance. Clear latex caulk often comes out white from the tube but dries to a transparent finish, seamlessly blending with your glass and black moulding. Using a caulk gun, apply a thin, consistent line of caulk along both sides of each moulding strip, working in small, manageable sections to prevent it from drying too quickly.
Immediately after applying the caulk, use a caulk finishing tool to smooth out the bead. This tool helps create a clean, professional-looking seal and pushes the caulk into any tiny gaps, ensuring a complete waterproof barrier. It can be a somewhat messy process, but the peace of mind knowing that your moulding is reinforced and fully sealed against moisture makes it entirely worthwhile.
Once the caulk is completely dry and clear, your dream industrial factory window shower door is complete! We waited a full 24 hours after caulking before resuming use of the shower, just to ensure all adhesives and sealants had fully cured. That first shower felt a bit nerve-wracking, but it held up 100% perfectly, exceeding all expectations.
If you’re concerned about its long-term durability, I can confidently tell you that we’ve been using this shower regularly for months, and we’ve experienced absolutely no problems. No chipping, no peeling, nothing but sustained awesomeness! To maintain its pristine condition, I would advise against aggressively scrubbing the painted areas with highly abrasive cleaners or tools. Gentle cleaning will suffice to keep your new industrial shower door looking fantastic for years to come.
Now, probably every time we have guests over, we’ll playfully weird them out by saying, “Hey! Wanna come see our shower?” If they know us, they’ll understand our excitement for this incredible DIY transformation.
To see the complete transformation of our master bathroom with a budget-friendly rustic industrial style, head over to our full master bathroom reveal post:
So, what do you think? Will you be attempting this industrial shower door makeover yourself? If you decide to give it a try, I would absolutely love to see your results! Share your creations with me.

Follow Bless’er House on social media:
Facebook | Pinterest | Instagram | Twitter | Google+ | Bloglovin | Hometalk