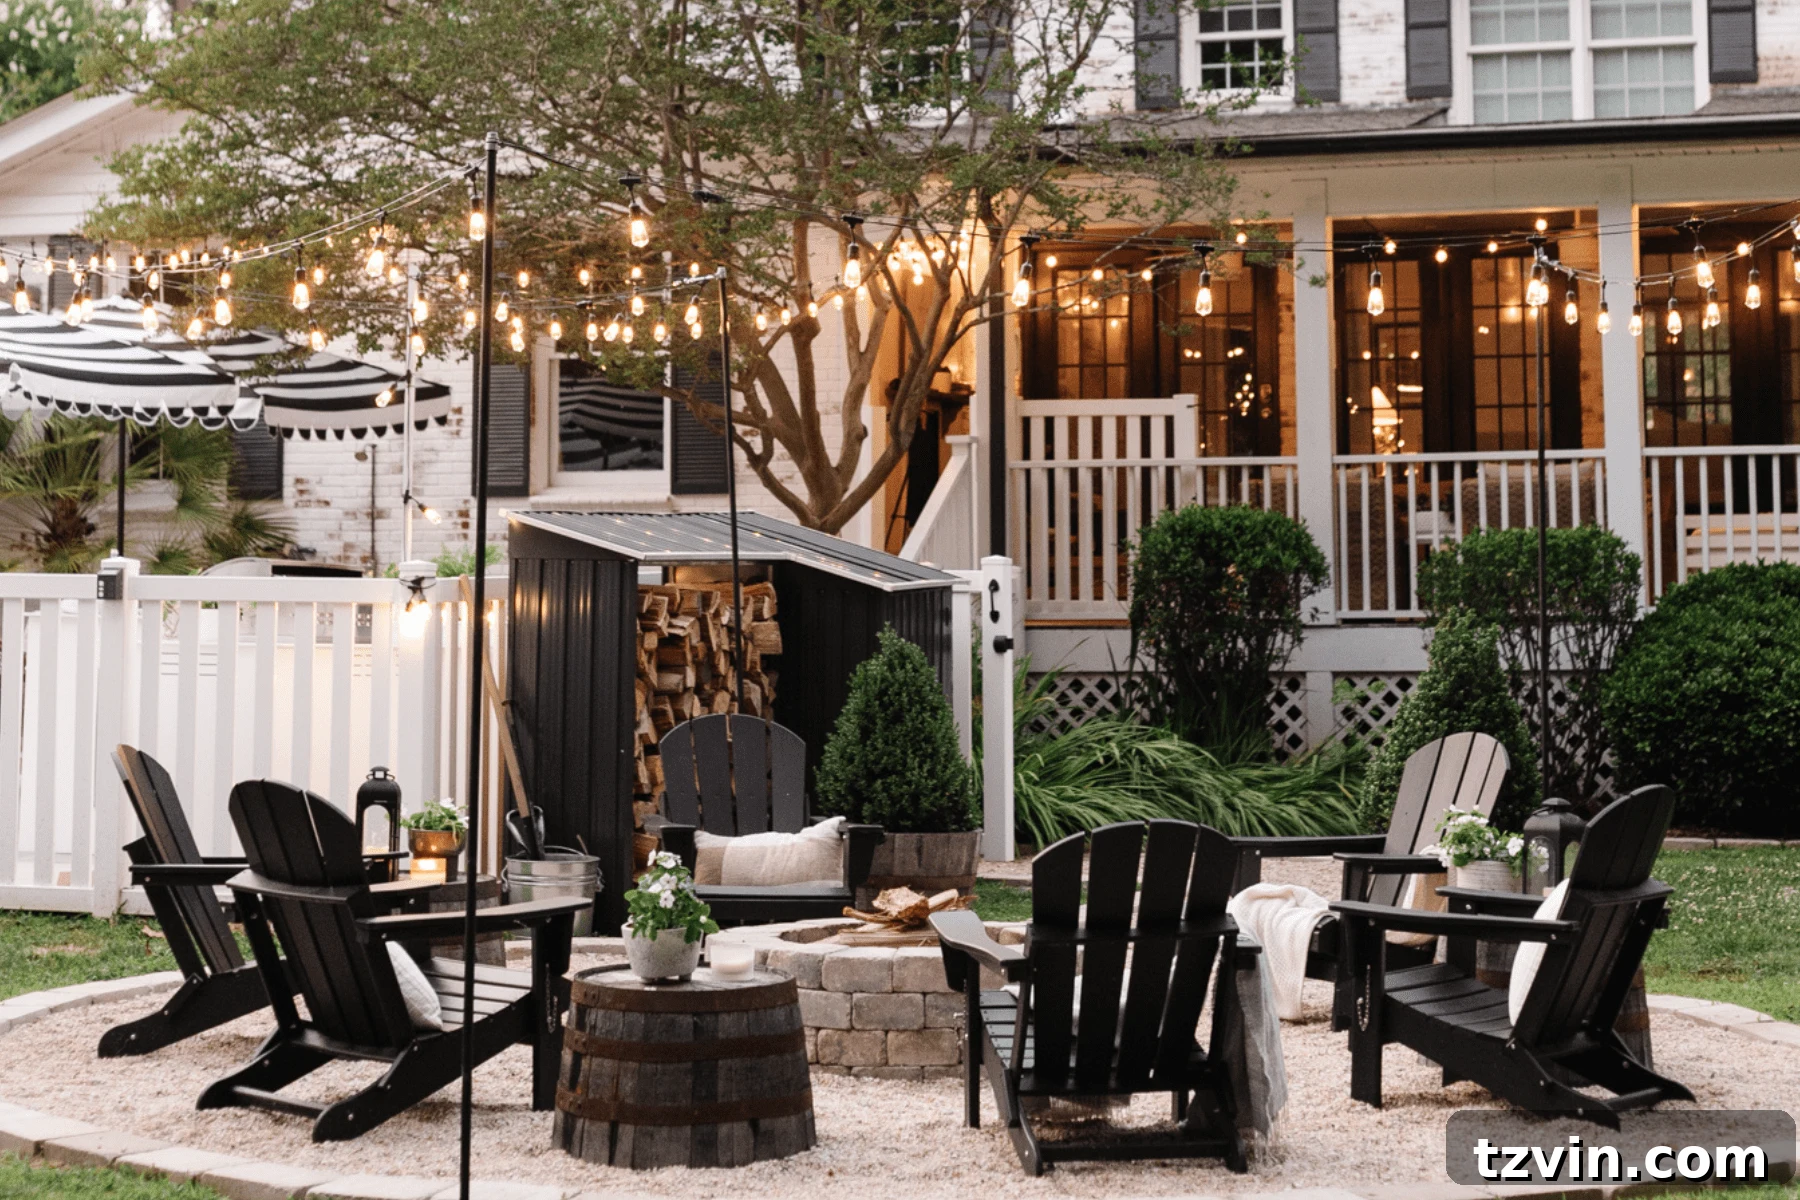
Transform your outdoor living spaces with enchanting illumination! This comprehensive guide offers 6 simplified DIY tutorials on how to hang outdoor string lights, even without trees, perfect for enhancing your fire pit area, illuminating a pool perimeter, adding charm to a fence, brightening a porch, securing lights to siding, adorning a patio, or any corner of your backyard.
Ultimate Guide: How to Hang Outdoor String Lights for a Dazzling Backyard
Creating a magical ambiance in your backyard with outdoor string lights might seem like a simple task, but for many DIY enthusiasts, it can quickly turn into a surprisingly complex project. From understanding electrical circuits and choosing the right lighting fixtures to expertly rigging posts, brackets, and support cables, setting up convenient extension cords, and integrating smart timers – there’s a lot to consider while still aiming for that perfect aesthetic.
Over the years, we’ve tackled virtually every outdoor string light hanging scenario imaginable in our own backyard. We’ve learned the tricks of the trade, faced the common challenges, and discovered effective solutions for various outdoor spaces. This guide consolidates all that experience, breaking down each method into easy-to-follow steps. Whether you have abundant trees or none at all, or if you’re looking to light up a fire pit, fence, porch, or patio, we’ve got you covered with practical, beautiful, and safe solutions.
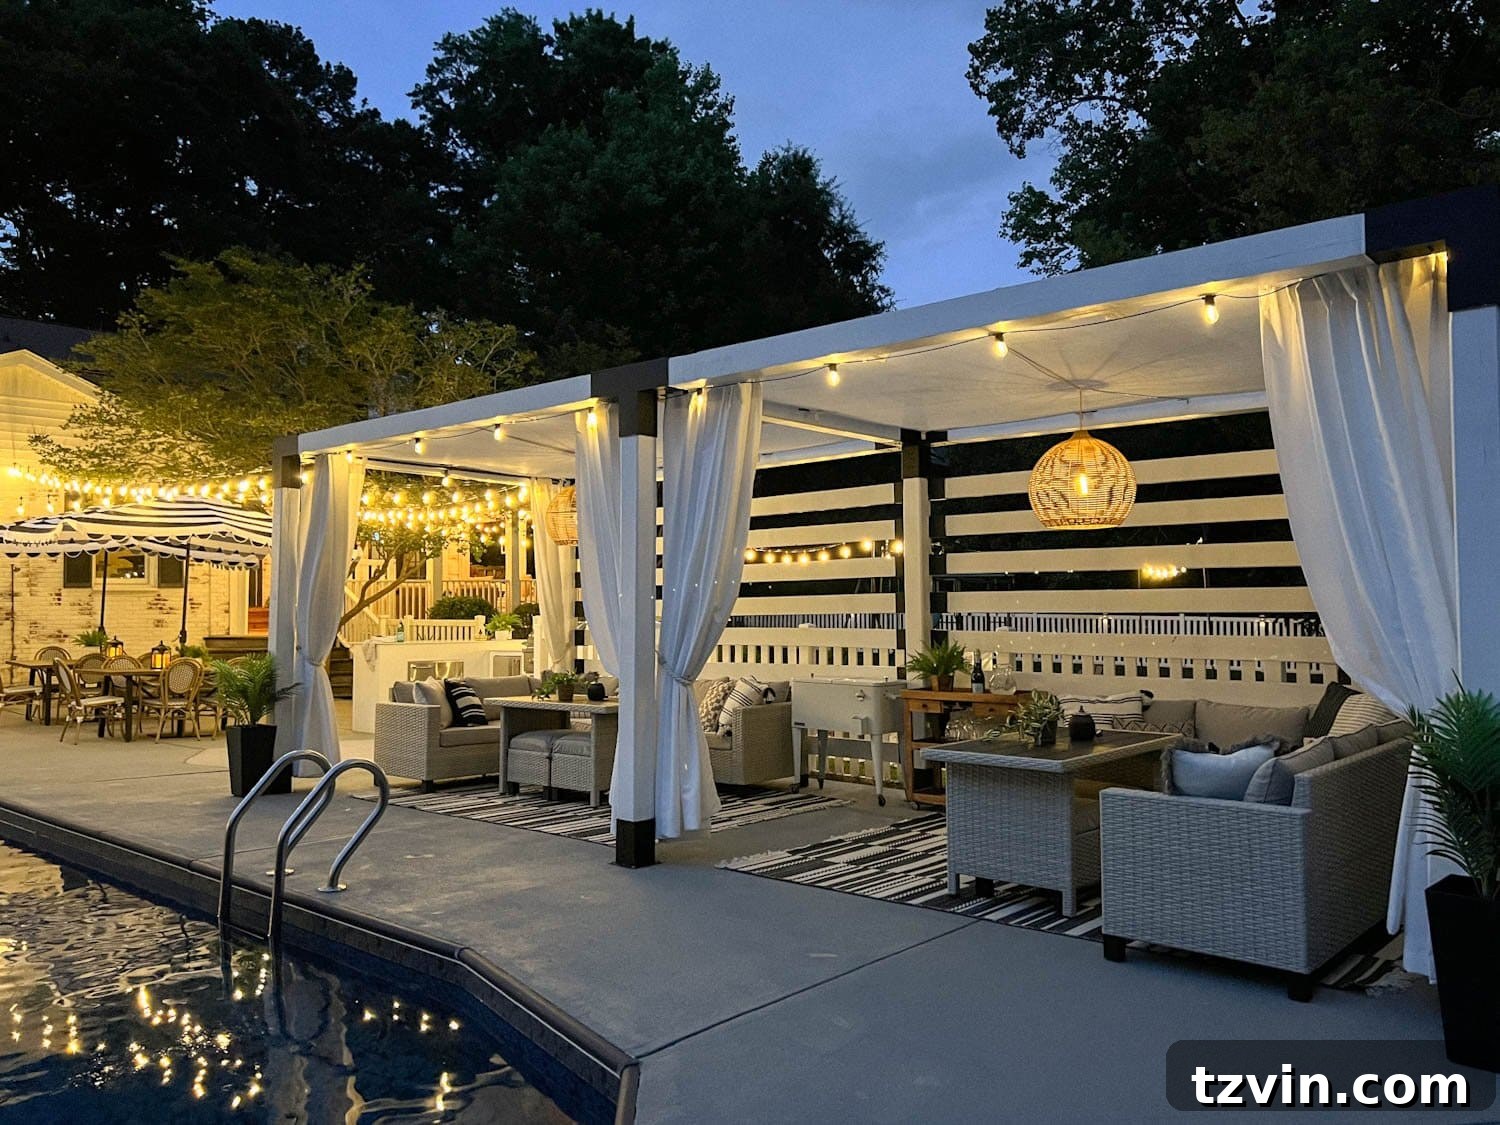
Selecting the Best Outdoor String Lights for Your Backyard Oasis
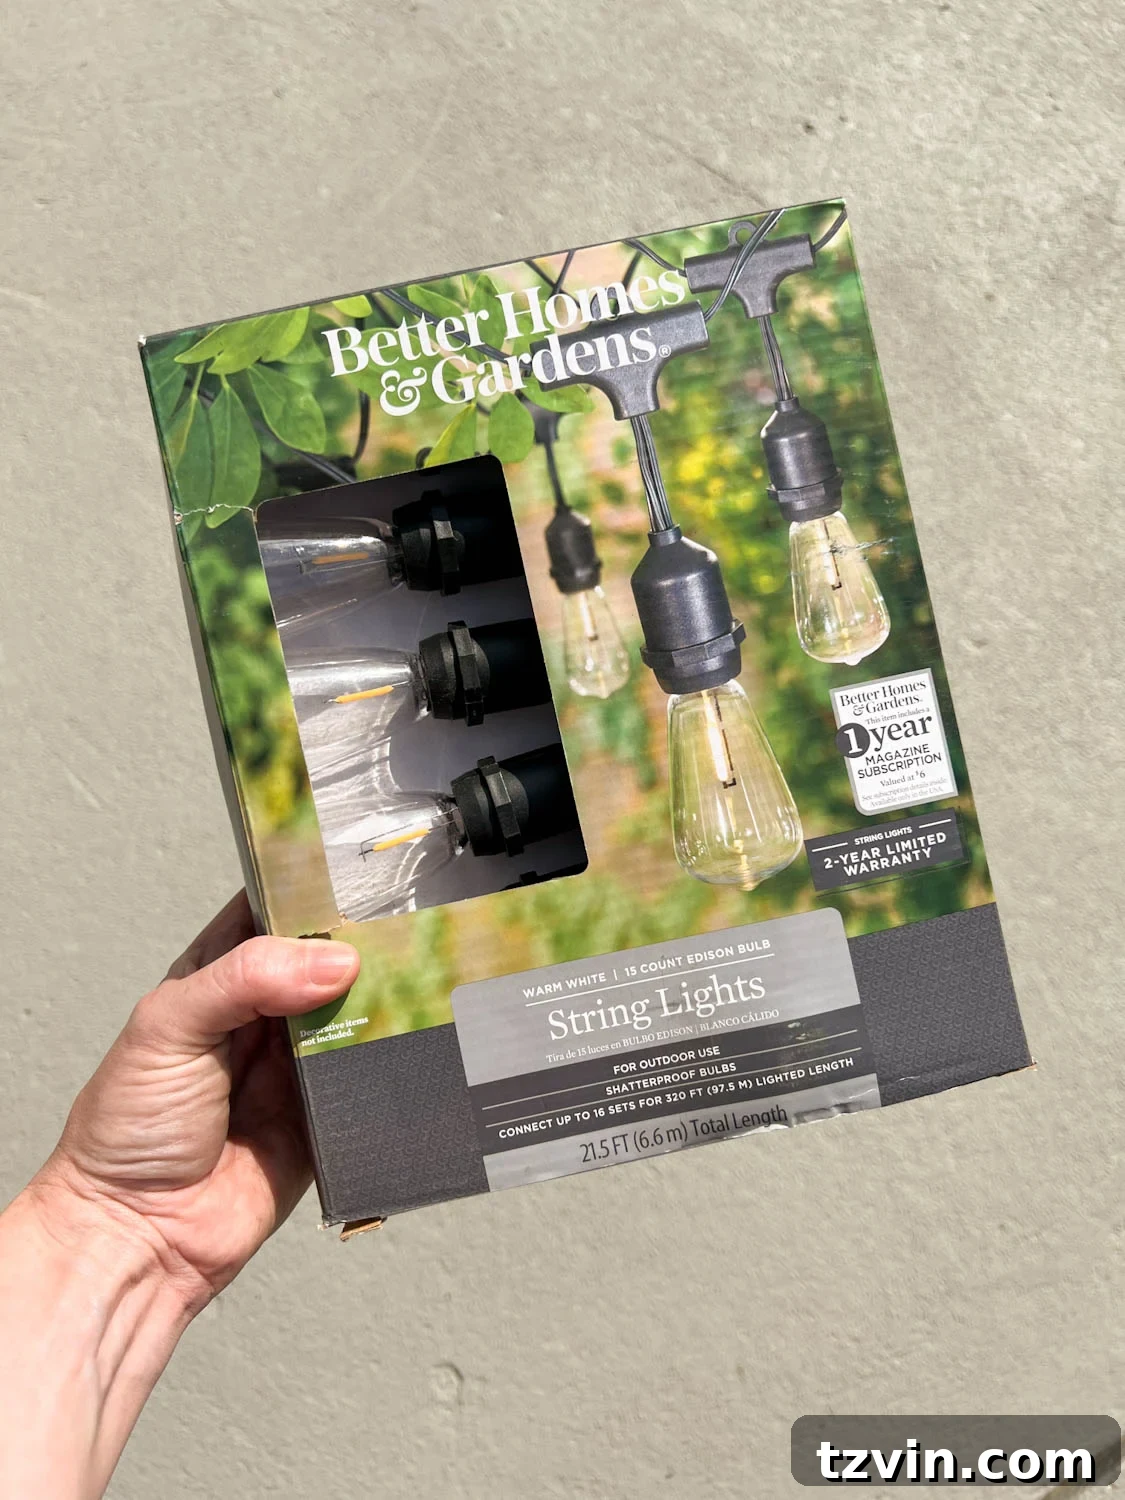
The market is flooded with various types of string lights, making it challenging to pinpoint the ideal choice for your specific outdoor needs. Based on extensive experience and testing in diverse conditions, we’ve found that the most effective and durable outdoor lights are **shatterproof, soft white LED string lights**. These characteristics are key to achieving both aesthetic appeal and long-lasting functionality.
- The Best Cafe String Lights for Hanging Short Distances (ideal for spans less than 8 feet, offering a charming cafe aesthetic).
- The Best String Lights with Edison Bulbs for Hanging Long Distances (perfect when paired with a Cable Kit to prevent sagging across expansive areas).
- The Best Solar String Lights Without a Plug-In Power Source (an excellent eco-friendly option for areas without accessible outlets, though it’s important to note that solar lights typically emit a softer glow and are not ideal as the sole light source for high-visibility tasks).
Why Shatterproof Lights Are a Must-Have
Safety should always be a top priority in any outdoor setting, especially in areas where people walk barefoot or children play. Shatterproof bulbs, typically made from durable plastic or polycarbonate, eliminate the risk of broken glass underfoot, preventing potential injuries. This feature is particularly crucial in regions prone to strong winds or inclement weather, where traditional glass bulbs could easily break and scatter fragments, turning a beautiful lighting display into a hazard. Opting for shatterproof ensures peace of mind and enduring beauty.
The Enchantment of Soft White Illumination
Soft white or warm white lights (generally around 2700K on the Kelvin scale) are celebrated for their inviting, cozy glow, characterized by a subtle yellow or orange hue. This warm light mimics the comfort of candlelight or a sunset, creating an intimate and relaxing atmosphere perfect for unwinding in your backyard. In contrast, daylight or cool white light bulbs, with their bluer tones, can make an outdoor space feel stark, sterile, and less conducive to relaxation. For an inviting and aesthetically pleasing environment, soft white LEDs are undeniably the superior choice. Furthermore, LED bulbs are significantly more energy-efficient and generate less heat than incandescent options, contributing to both safety and lower electricity bills.
The Essential Role of a Cable Kit for Long Spans
When planning to suspend string lights over extensive distances, specifically spans of 8 feet or longer, a robust string light cable kit becomes indispensable. These kits provide a sturdy guide wire or support cable that runs parallel to your string lights, preventing unsightly and damaging sagging. Not only does this maintain a taut, professional appearance, but it also reduces strain on the light strands themselves, extending their lifespan and ensuring consistent illumination. For a flawless and long-lasting installation over wider areas, never skip the cable kit.
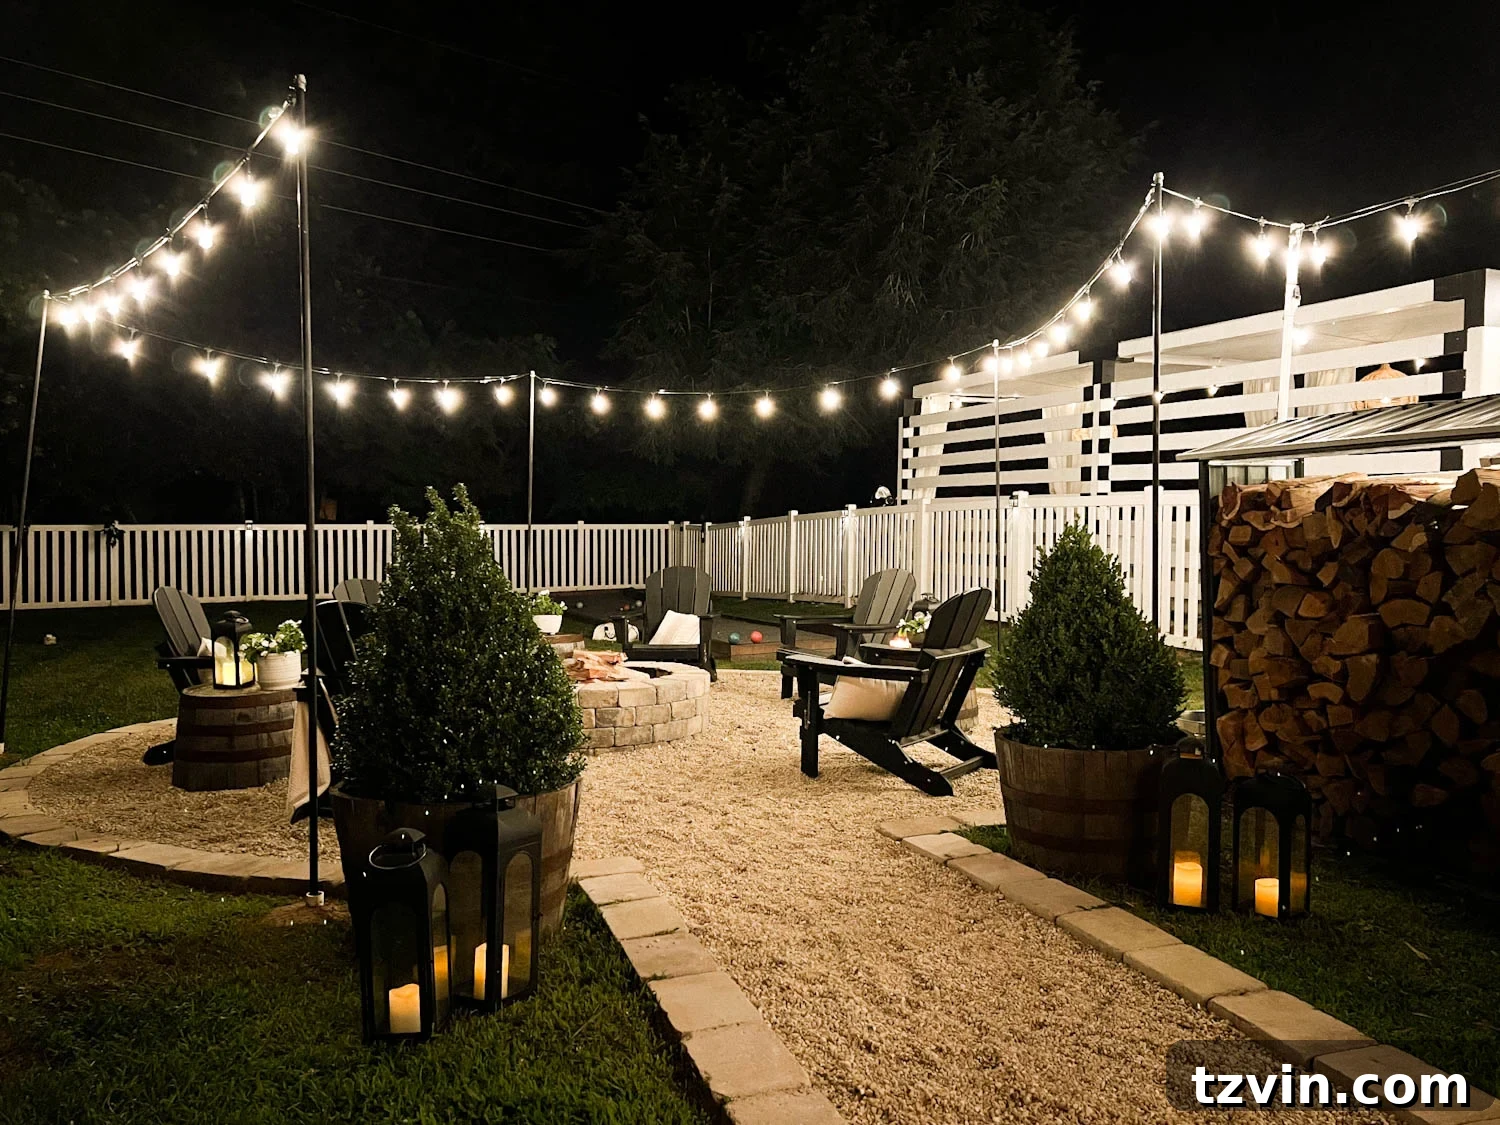
Perfect Placement: Enhancing Your Outdoor Spaces with String Lights
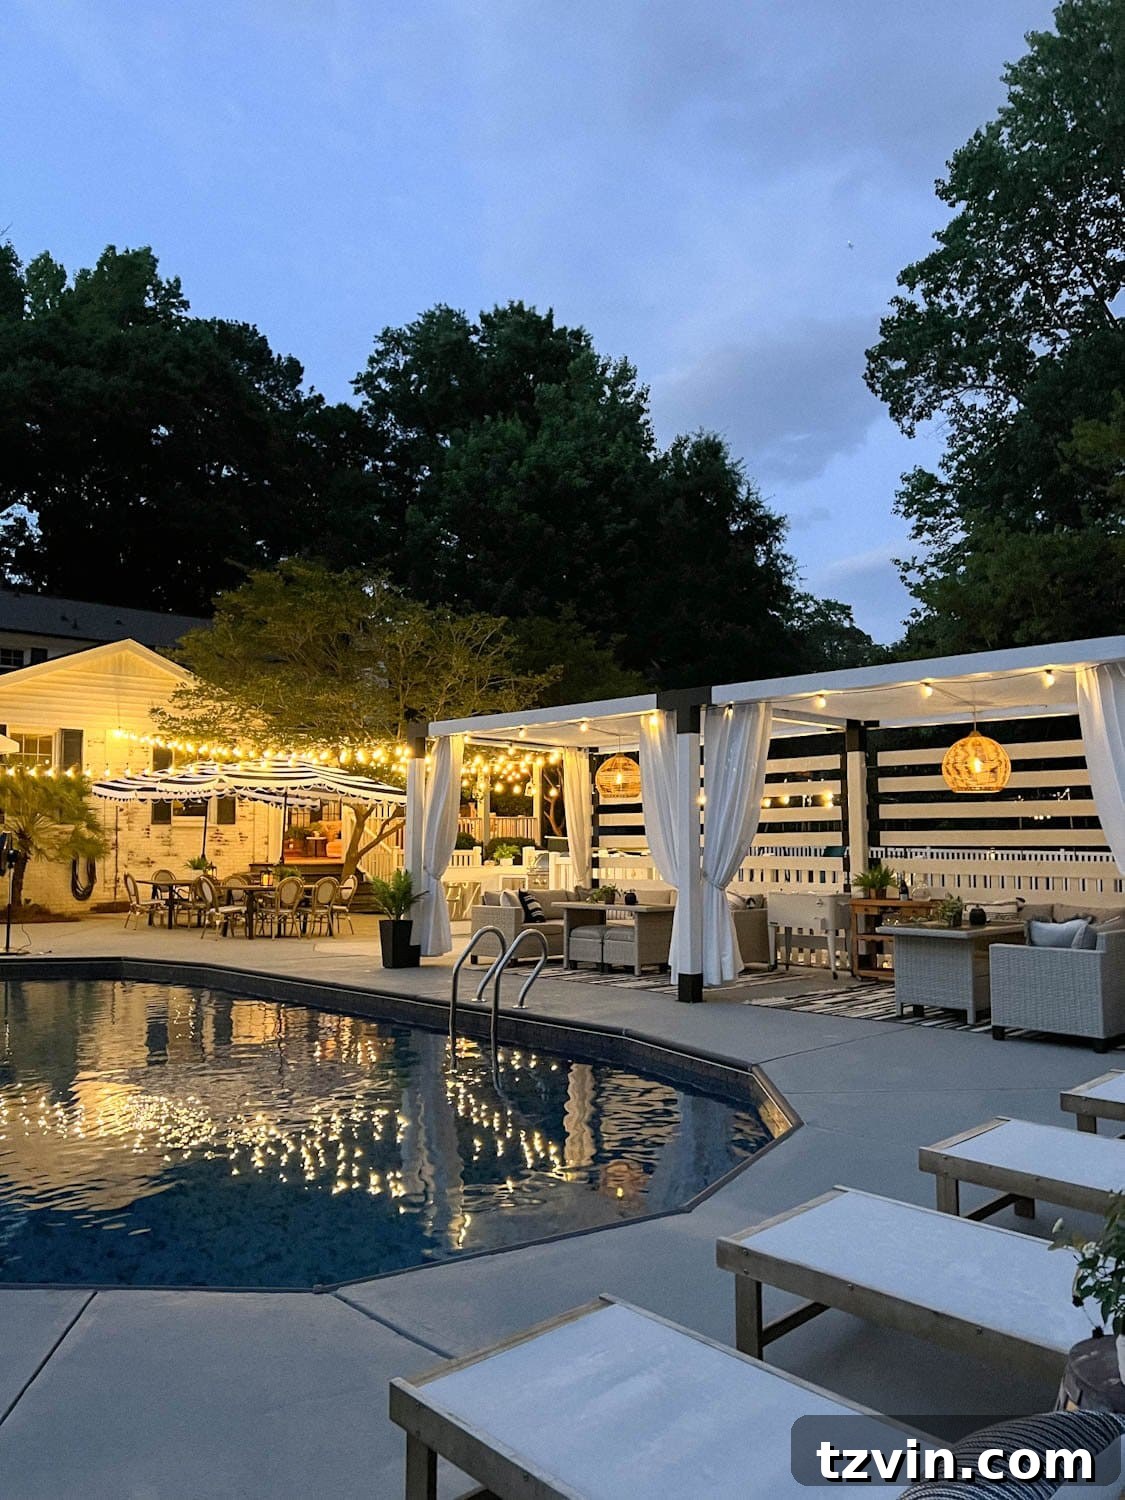
Important Safety Note: Always ensure string lights are installed far away from any water sources, such as pools, ponds, or hot tubs, to prevent potential code violations and serious safety hazards. Electrical components and water are a dangerous combination.
Outdoor string lights offer incredible versatility, capable of transforming nearly any backyard area into an inviting haven. Here are some of the most popular and effective locations to add ambient lighting:
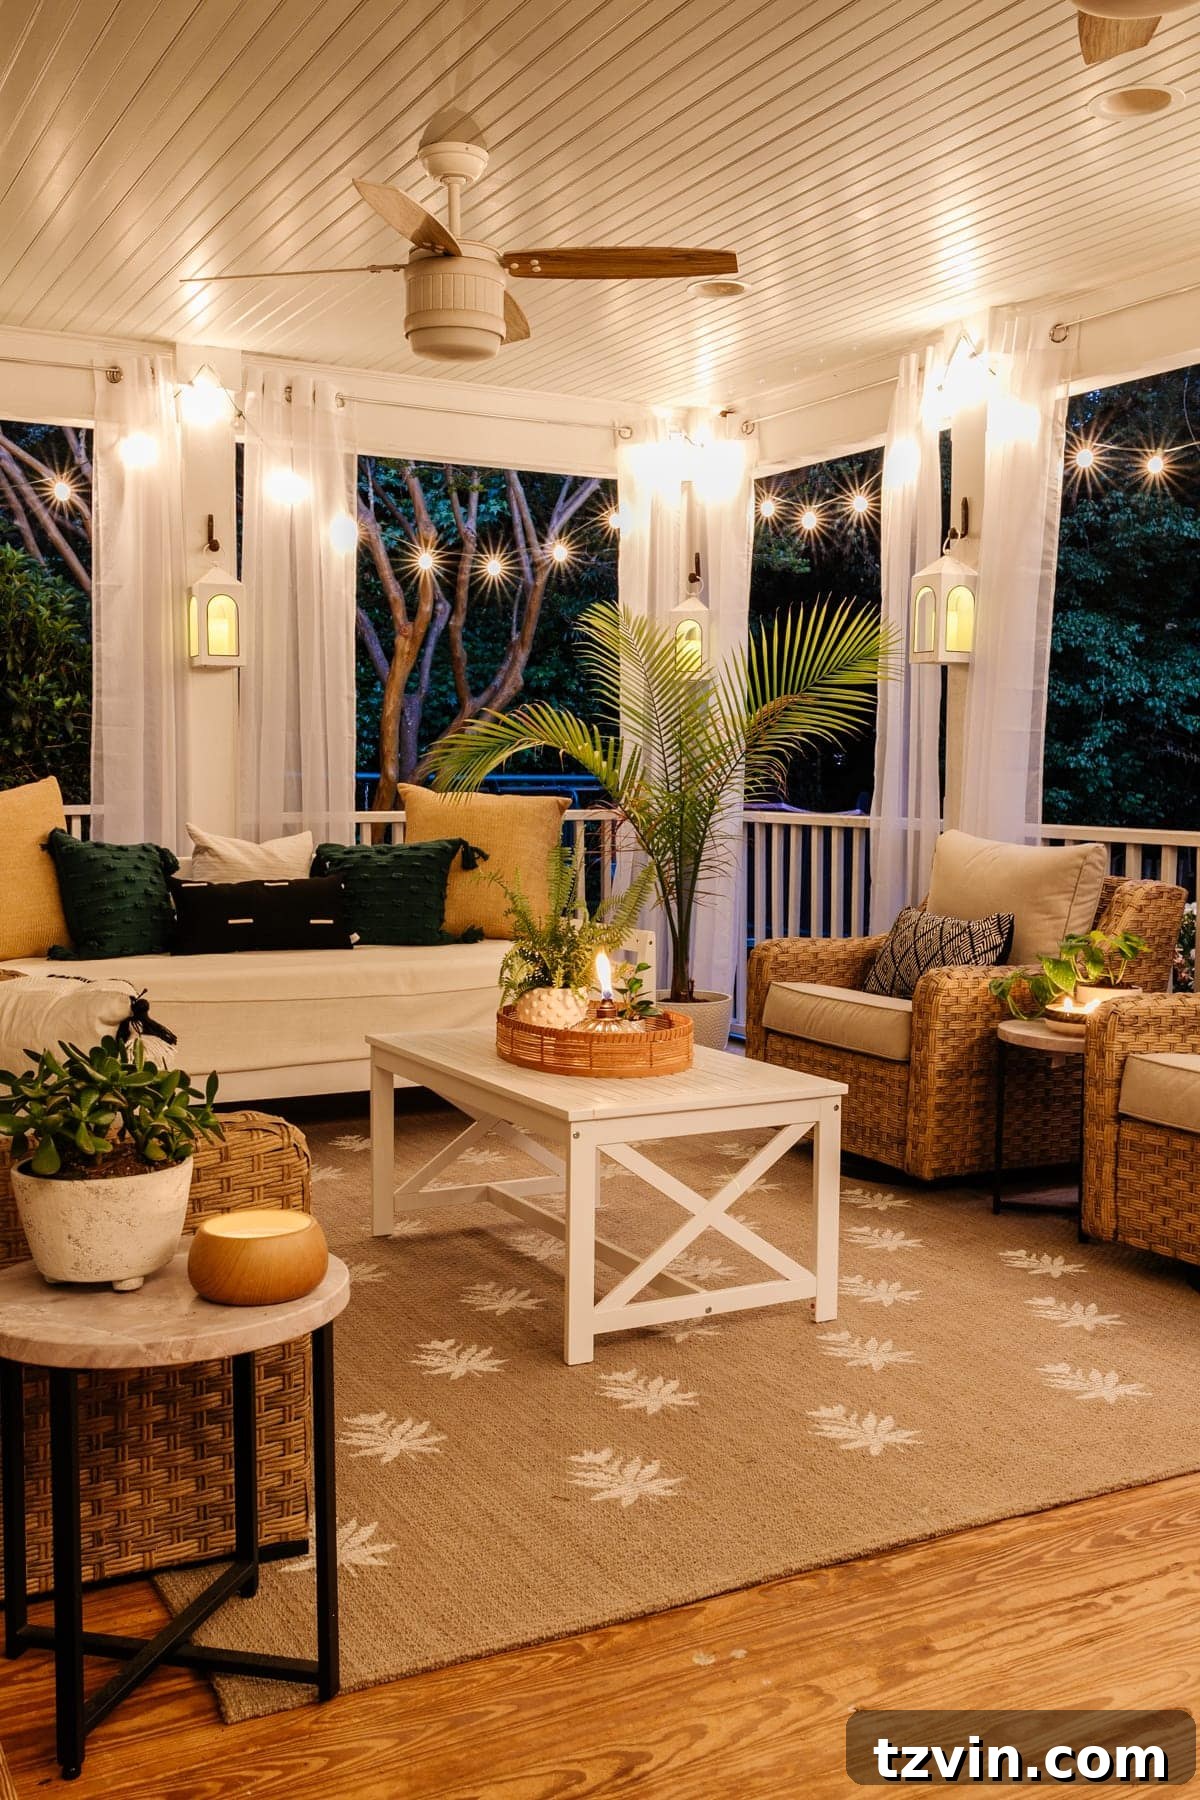
- Under a covered porch: Creates a cozy, illuminated outdoor room for evening relaxation.
- Around the perimeter of a fire pit: Defines the gathering space and adds a warm glow that complements the fire.
- Over an outdoor dining table: Provides focused, soft lighting for al fresco meals, enhancing the culinary experience.
- Above or around a patio: Transforms a concrete slab into a charming outdoor lounge area.
- Along a fence: Adds a decorative touch and extends the perceived boundary of your illuminated space.
- Hanging from trees in a yard: Utilizes natural elements to create a whimsical, natural canopy of light.
- In a playhouse: Turns a child’s retreat into an enchanting, well-lit hideaway for evening play.
- Over a deck: Elevates the mood and functionality of your deck for evening entertaining.
- Spanning across buildings: Connects different structures with a beautiful, continuous line of light.
- Under a pergola: Highlights the architectural features and provides shade with integrated lighting.
- Around a gazebo ceiling: Accentuates the gazebo’s structure and bathes the interior in a soft, inviting glow.
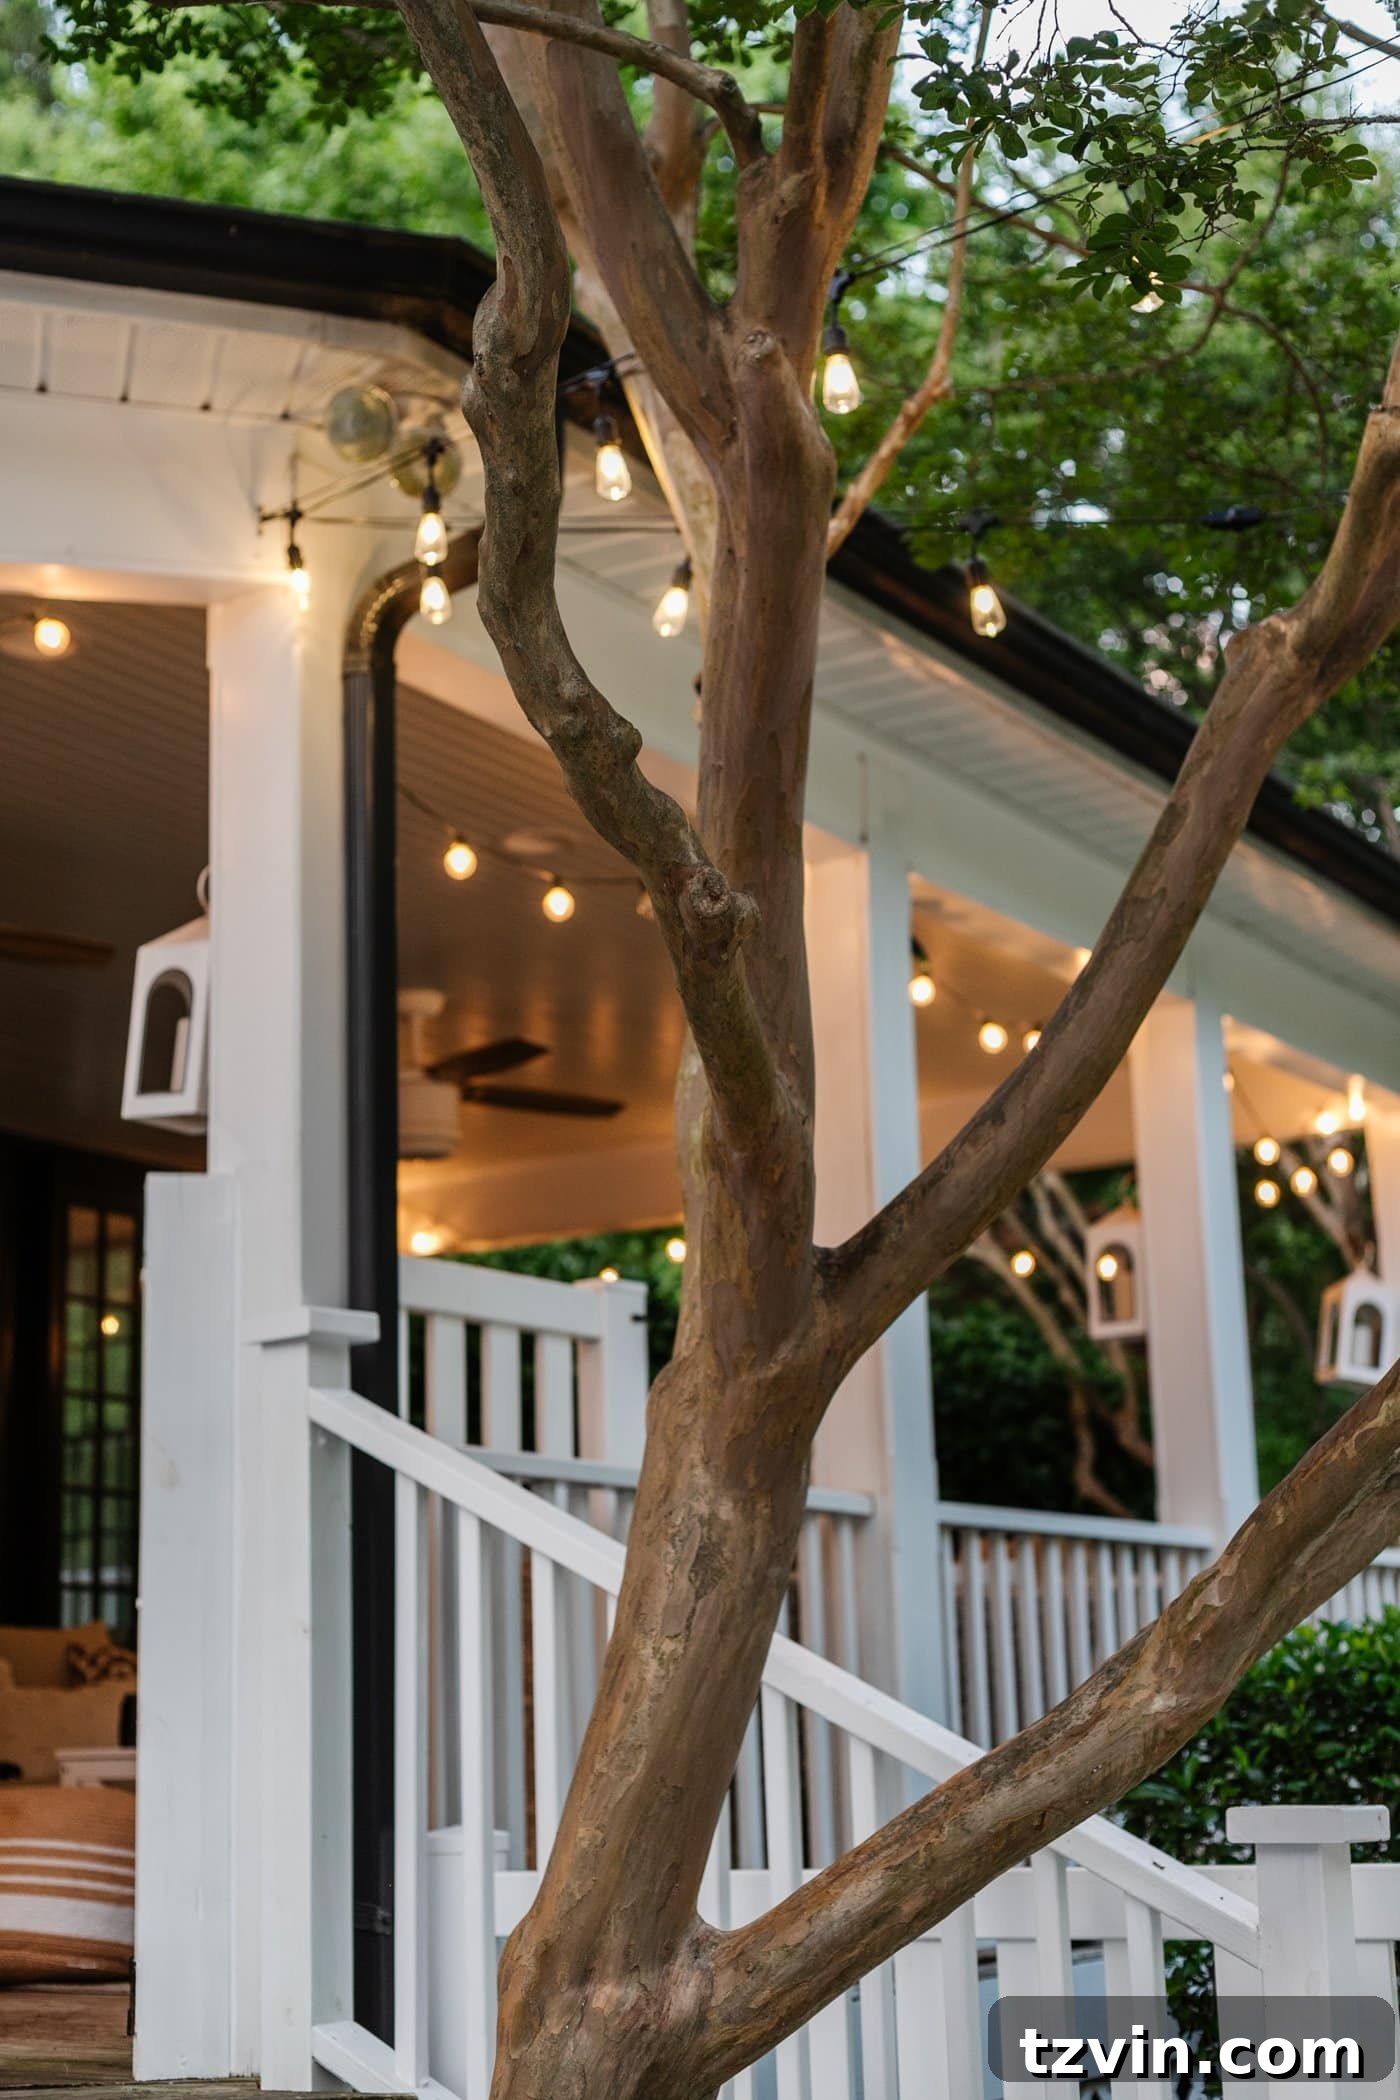
Discovering the Ideal Support Structures for Your Outdoor Lights
Successfully hanging outdoor string lights often requires creative solutions, especially if you don’t have perfectly placed trees to anchor your strands. Fortunately, a variety of existing structures and DIY supports can serve as excellent anchor points. Knowing your options will help you plan your lighting design effectively:
- Porch/Pergola/Gazebo Ceiling: These provide natural overhead support, perfect for creating a canopy of lights.
- Fence: A sturdy fence can support vertical or horizontal light runs, defining boundaries and adding decorative flair.
- Retaining Wall: Similar to a fence, a retaining wall offers a solid base for attaching lights, often adding indirect illumination to pathways or garden beds.
- House/Shed/Building: The exterior walls of your home or outbuildings are excellent for anchoring lights, especially when running strands between structures.
- Deck Railing: Ideal for encircling a deck, providing both ambient light and enhanced safety.
- Vinyl Siding Wall: Specific clips allow for damage-free attachment to siding, making it a renter-friendly option.
- Trees: The most natural and charming anchors, allowing for whimsical draping and a woodland feel.
- String Light Poles (DIY tutorials below): Custom-made poles are perfect for open areas where permanent structures are absent, offering flexibility in placement.
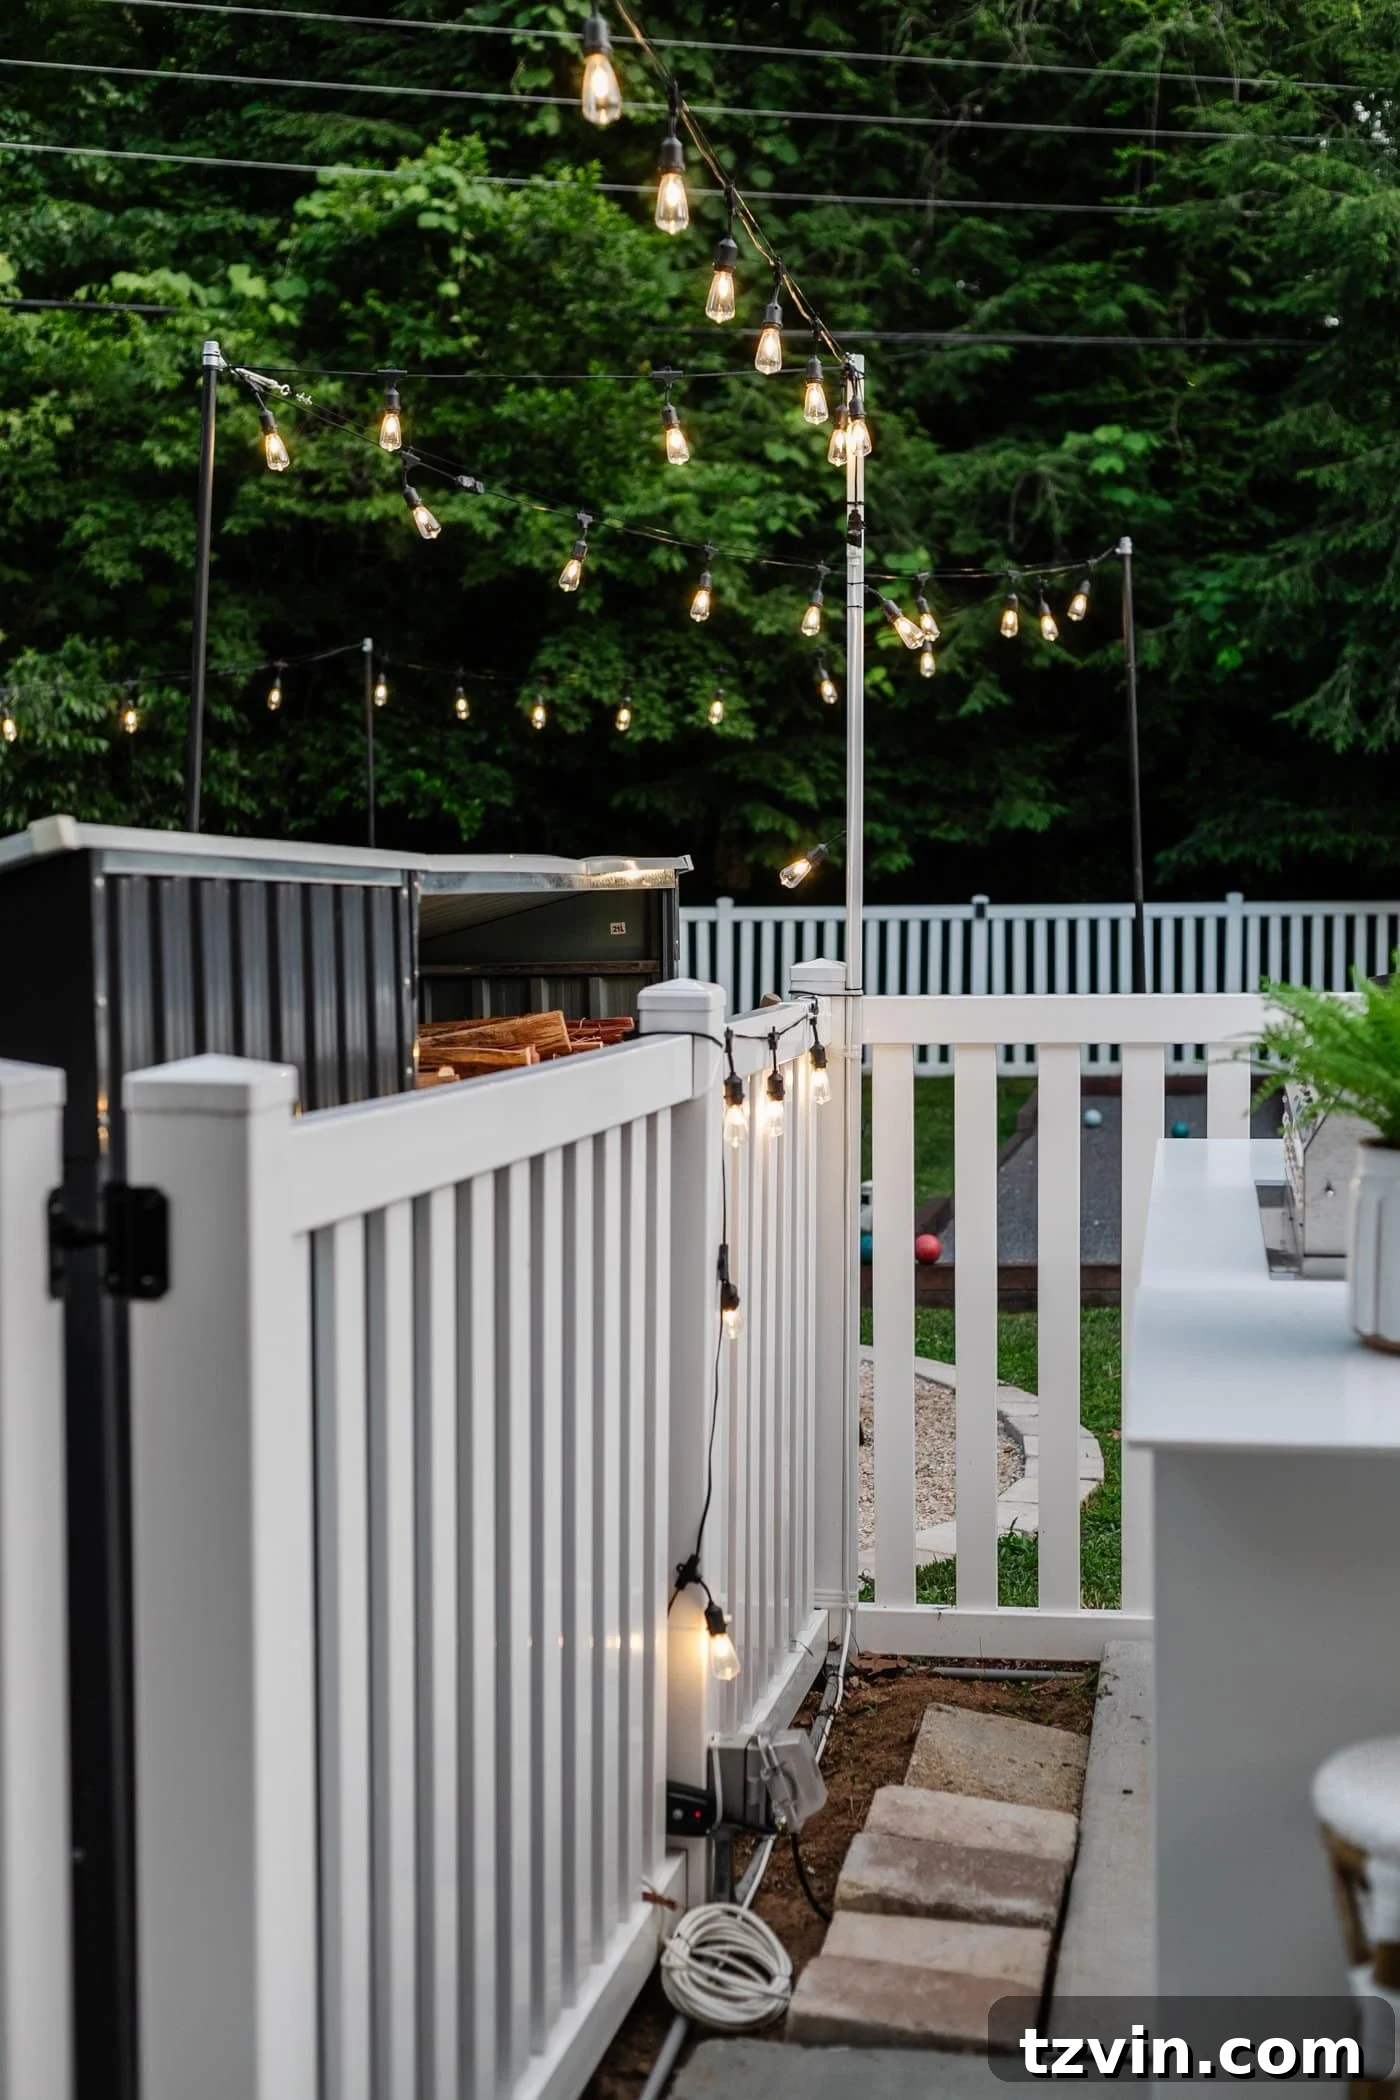
Essential Preparations Before Hanging Your String Lights
A successful outdoor lighting installation begins with thorough planning. Taking these preliminary steps will save you time, effort, and potential headaches down the road, ensuring a smooth and efficient setup.
Strategic Outlet Access Planning
Before purchasing or installing anything, meticulously survey your backyard to identify existing outdoor electrical outlets. Your lighting design should ideally originate from a nearby power source to minimize the need for lengthy extension cords, which can be both unsightly and a tripping hazard. If you have multiple strands, consider the total wattage and amperage to ensure you don’t overload a single circuit. For instance, we strategically placed our primary outdoor outlet behind our outdoor kitchen, keeping it discreet yet conveniently accessible. Always ensure outlets are weather-rated and consider using a GFCI (Ground-Fault Circuit Interrupter) for added safety.
Accurate Route Measurement for Optimal Lighting
Once you’ve envisioned your lighting layout, grab a tape measure and carefully map out the exact path your string lights will follow. Measure the distances between all anchor points and along any desired curves or dips. This precise measurement is crucial for determining the correct number of string light strands you’ll need to purchase, preventing both shortages and excessive waste. Remember to account for a slight amount of slack if you desire a gentle drape between supports, but avoid too much slack, which can lead to excessive sagging.
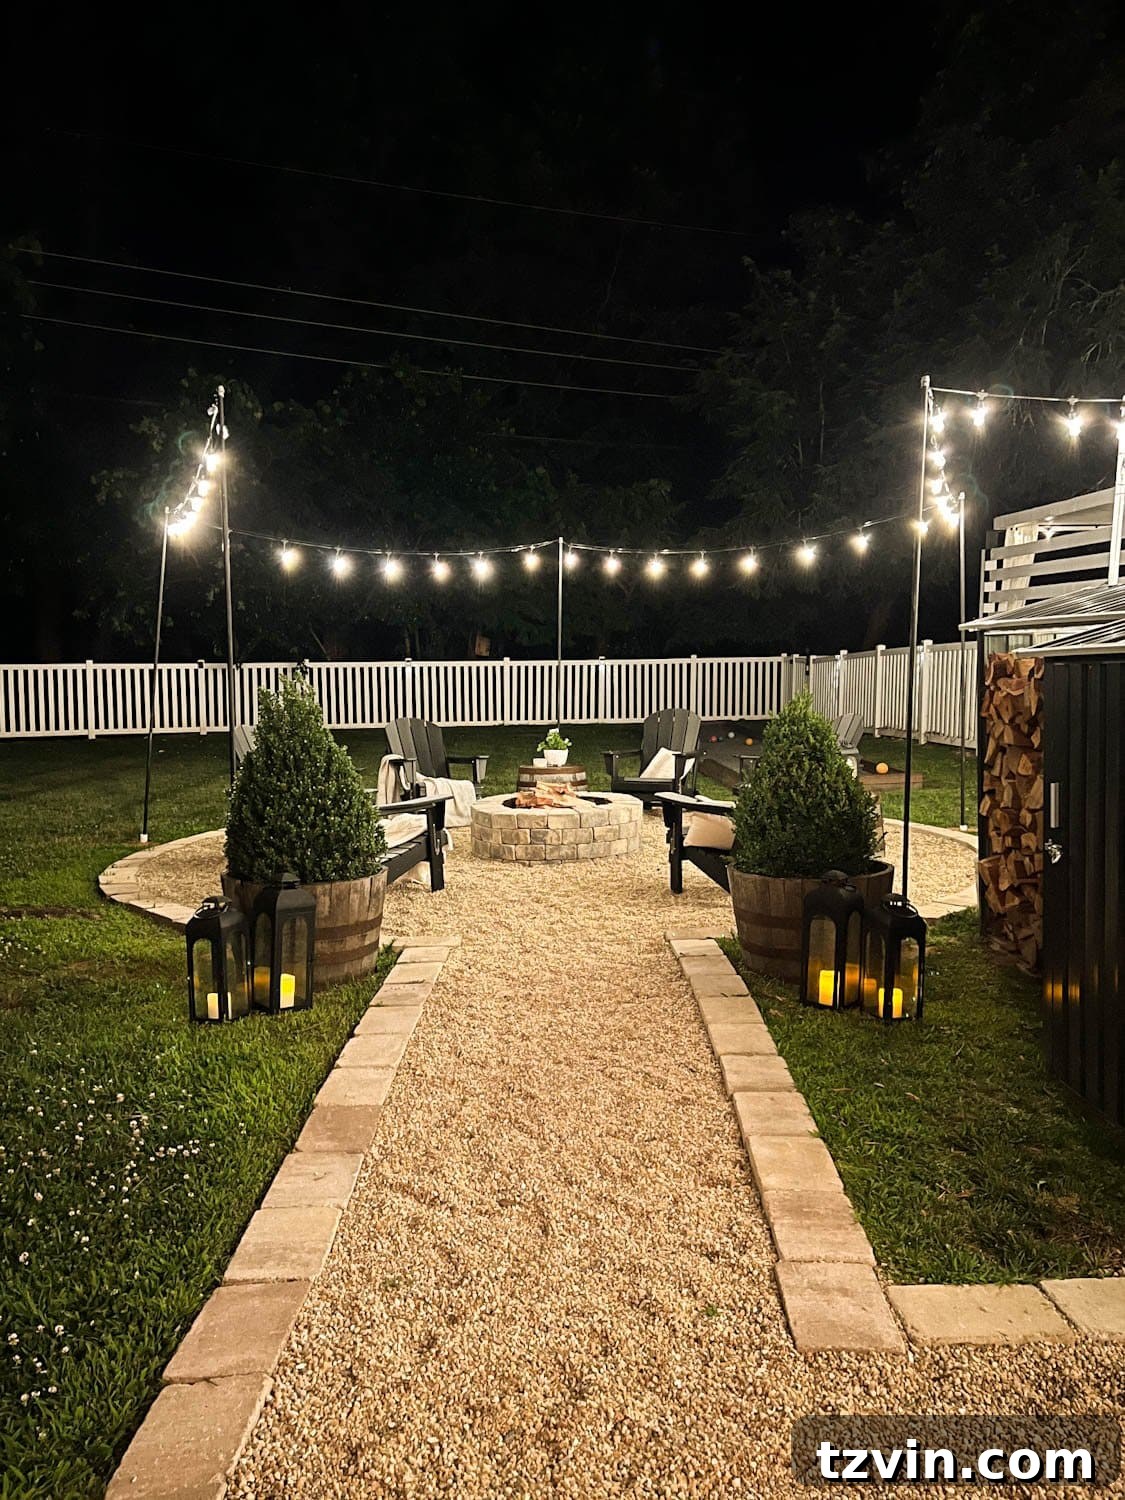
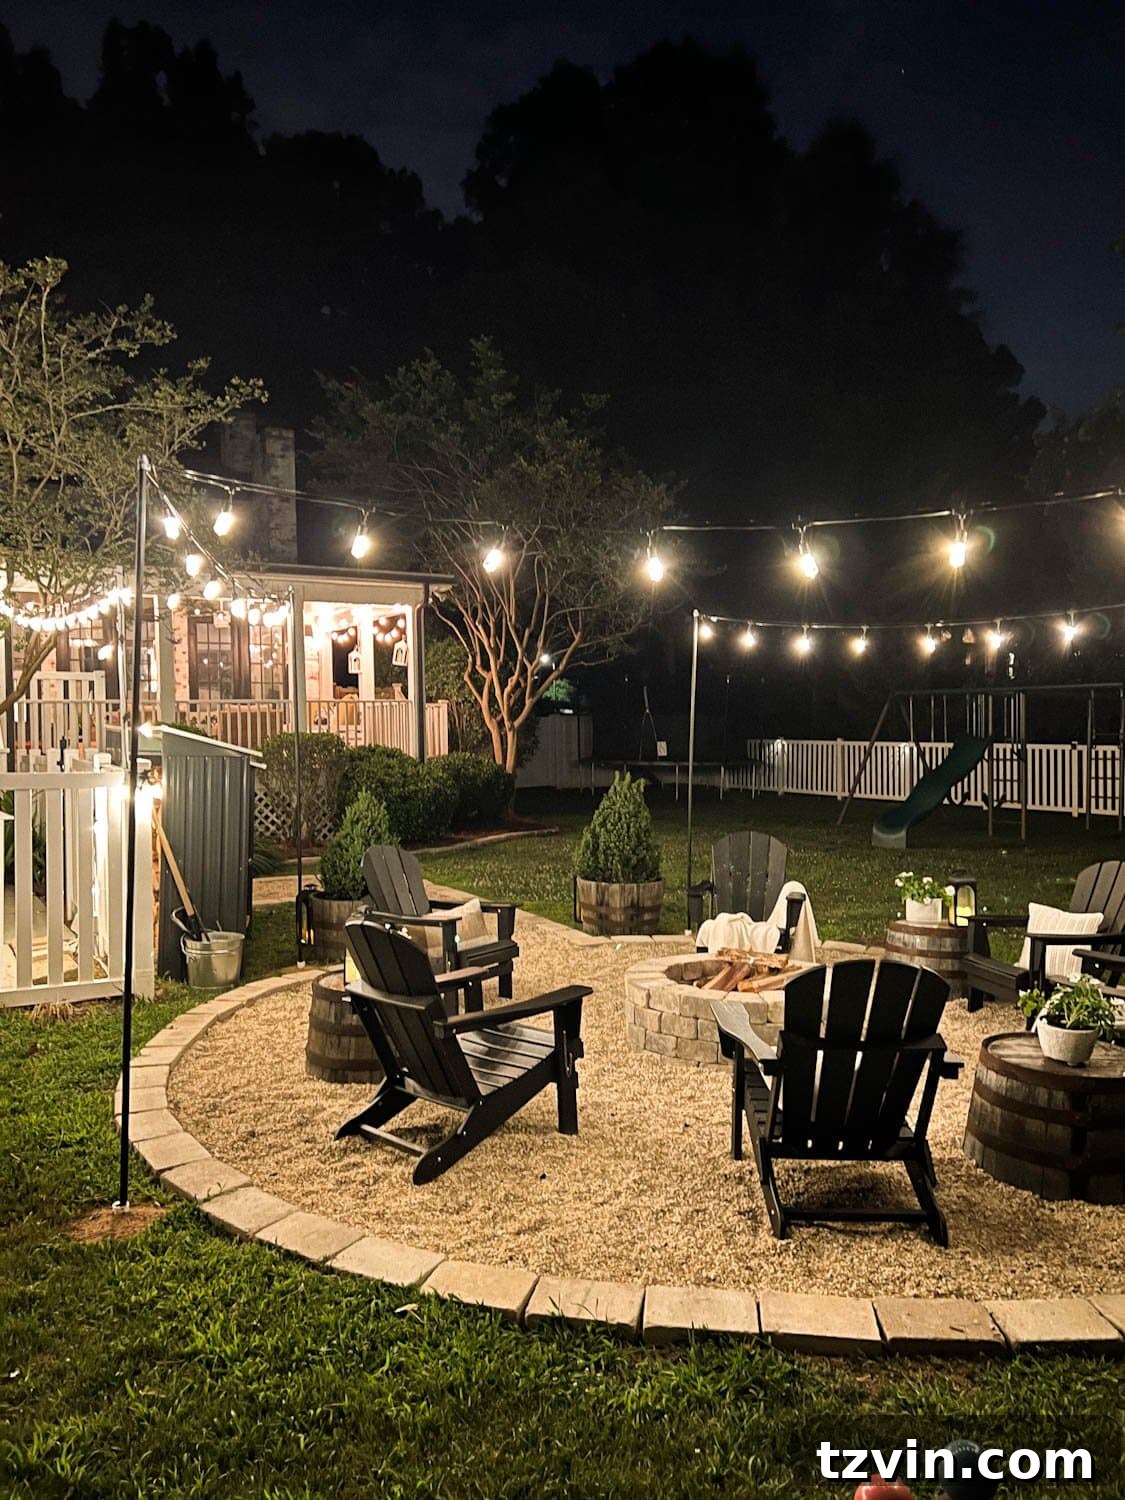
DIY String Light Poles: Lighting Your Fire Pit Without Trees
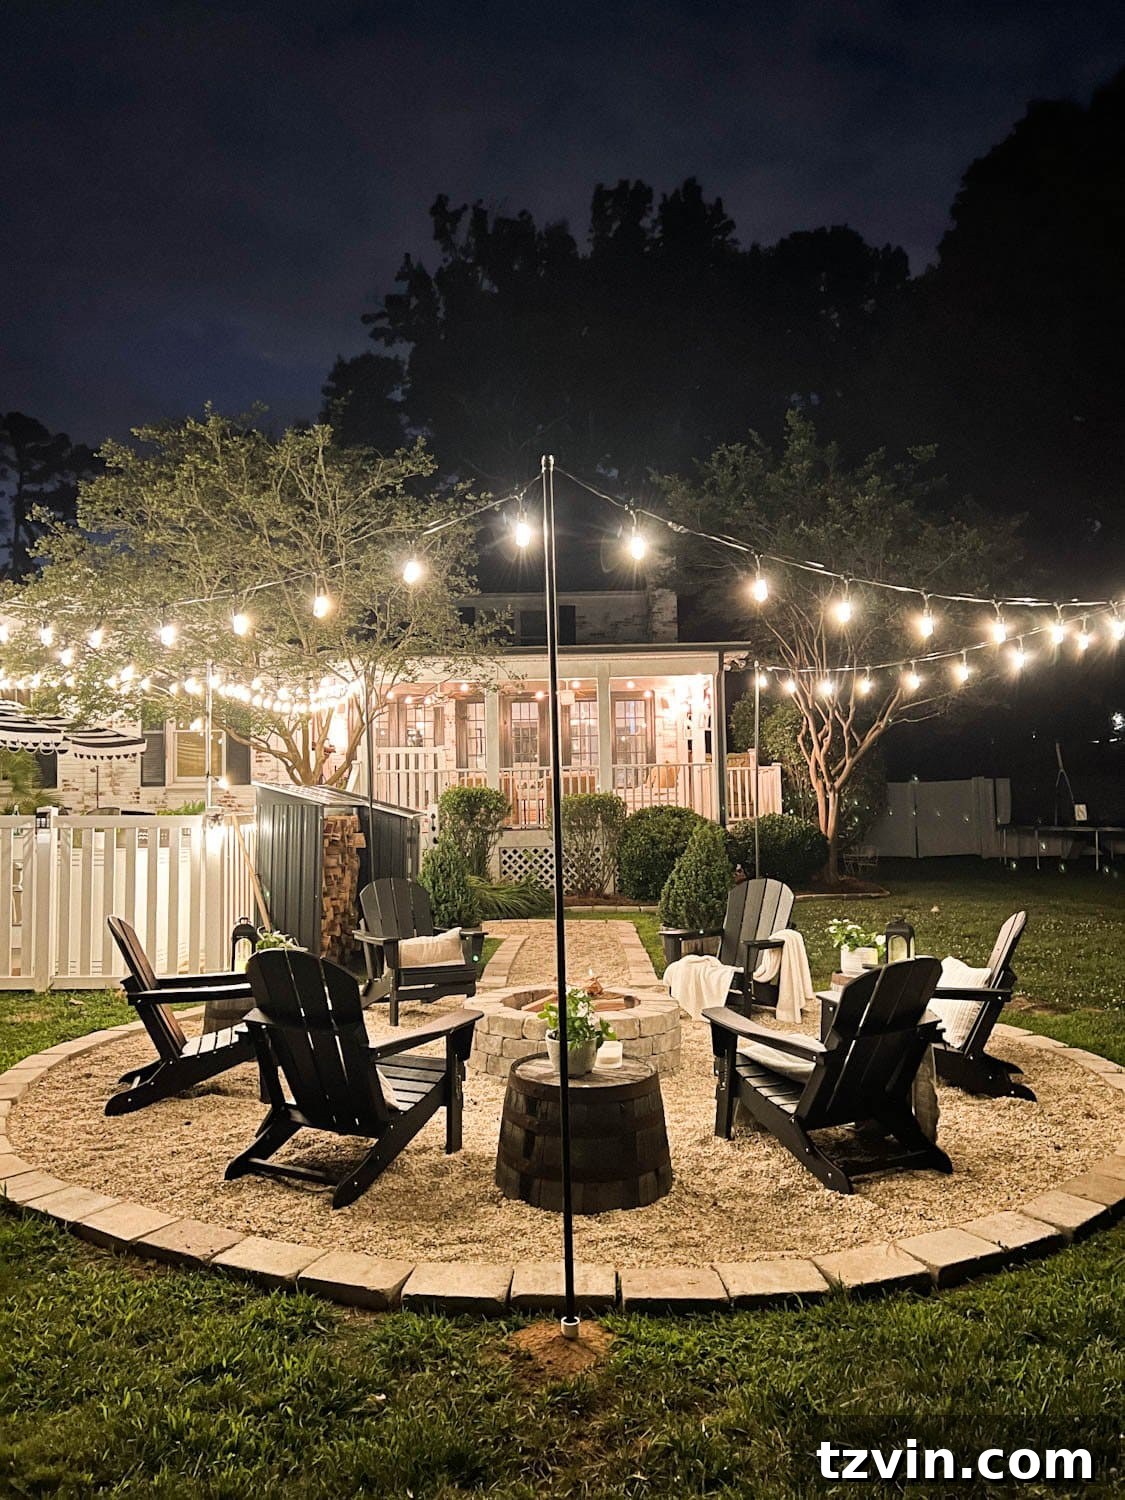
Supplies for DIY Fire Pit String Light Poles
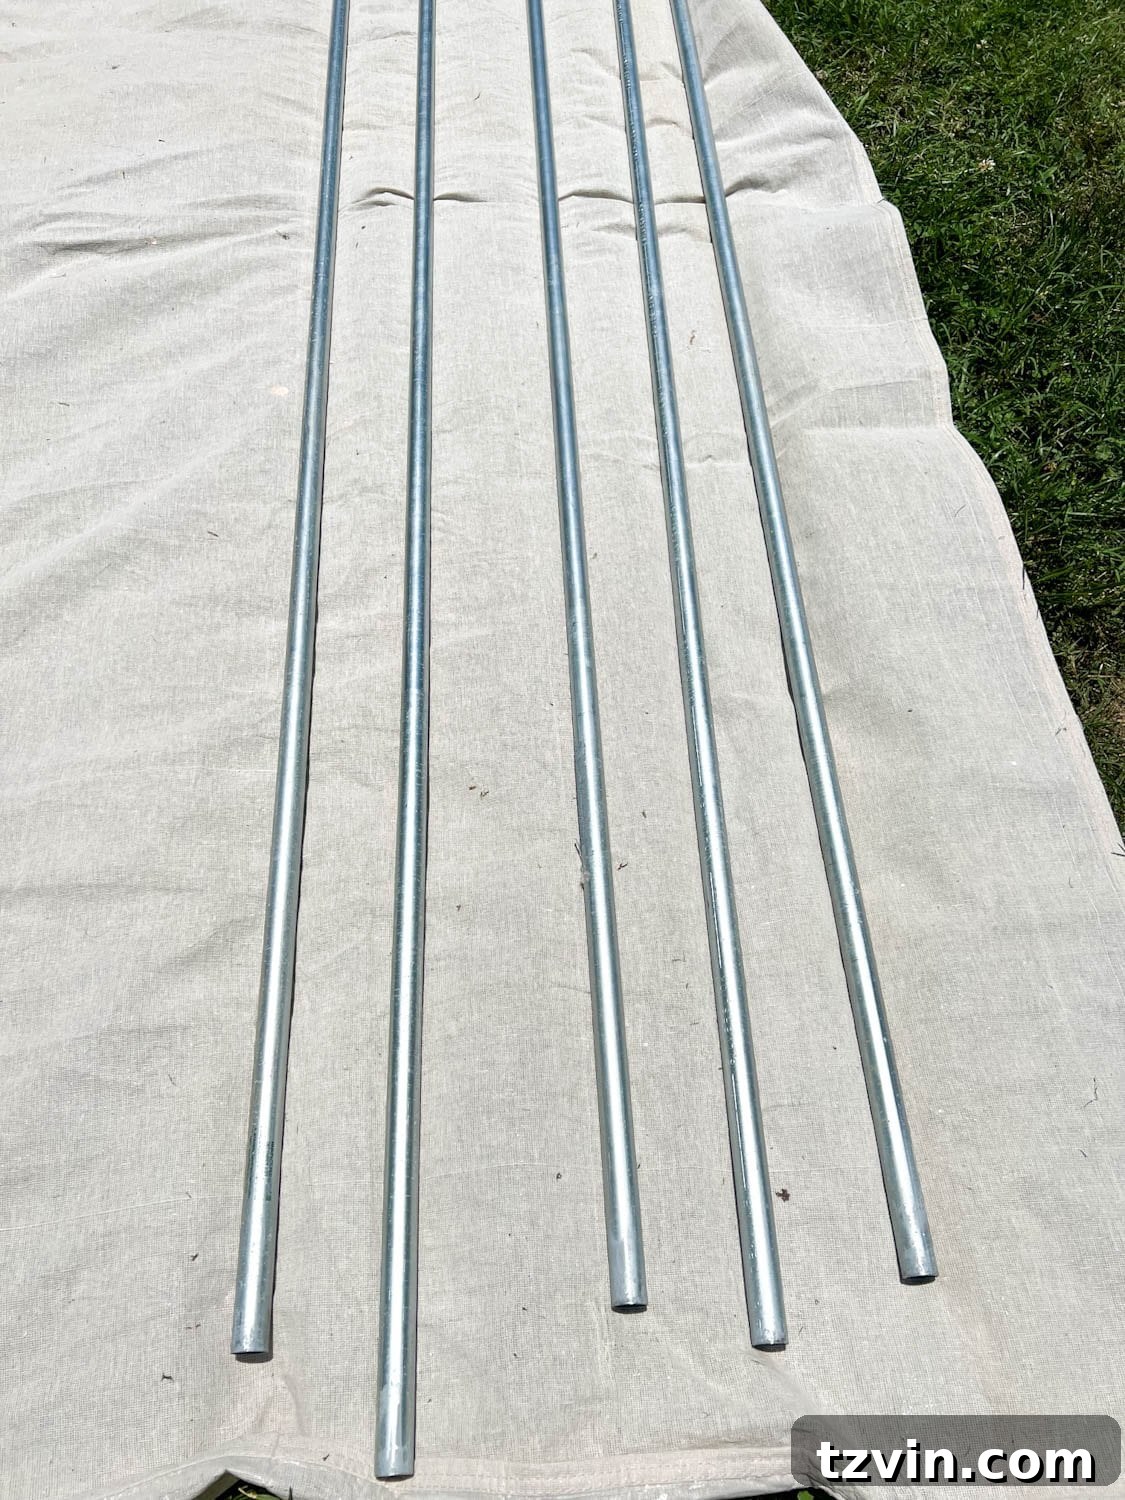
- 5 – 3/4″ x 10′ metal conduit pipes (The number may vary based on your fire pit’s perimeter and desired spacing).
- Drop cloth or old sheets.
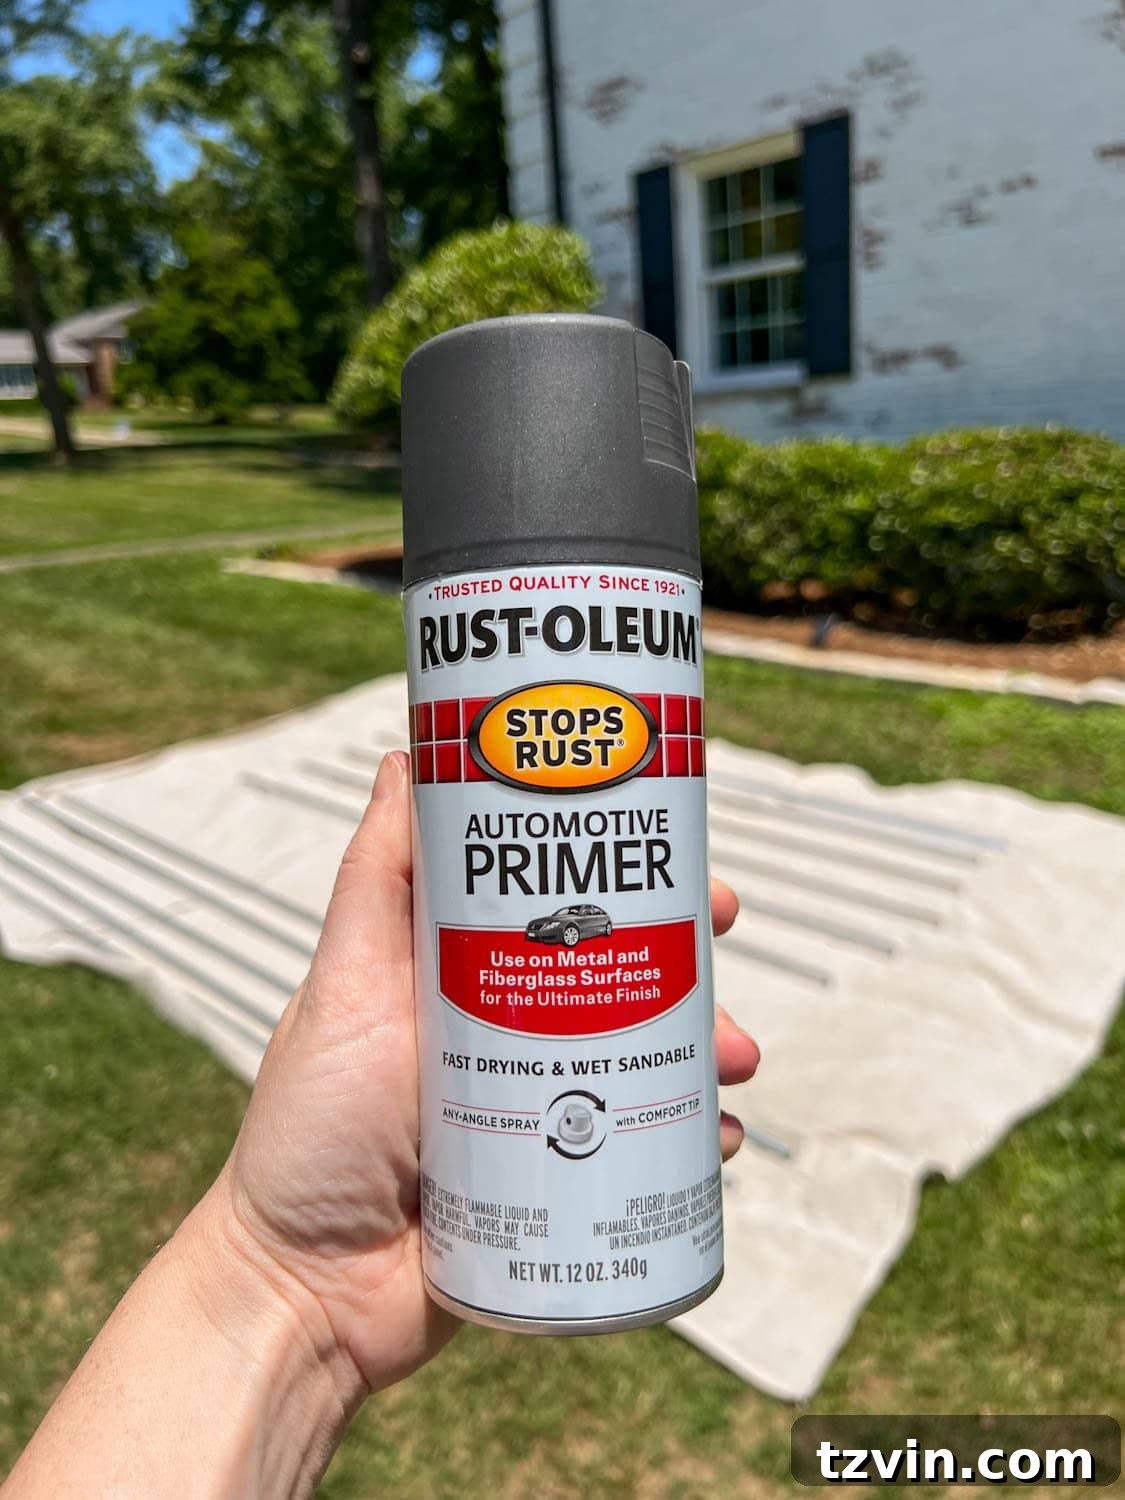
- Black or gray automotive primer (optional, but highly recommended for superior metal adhesion and outdoor durability).
- Black spray paint (optional, choose a color that blends with your landscaping).
- 1″ x 10′ PVC pipe (This will act as a sleeve in the ground).
- PVC cutter or hacksaw.
- Small level.
- 3/4″ zinc squeeze connector (These will serve as attachment points for your cable).
- Mounting tape (For securing the squeeze connectors).
- Black electrical tape (For waterproofing connections).
- Post hole digger (Essential for creating deep, stable holes).
- String lights (Shatterproof LED recommended).
- String light cable kit (Optional, but highly recommended for spans over 8 feet to prevent sagging and add stability).
- Outdoor extension cord (if using plug-in string lights, ensure it’s rated for outdoor use).
- Outdoor light sensor timer with remote (for automated, convenient lighting every evening).
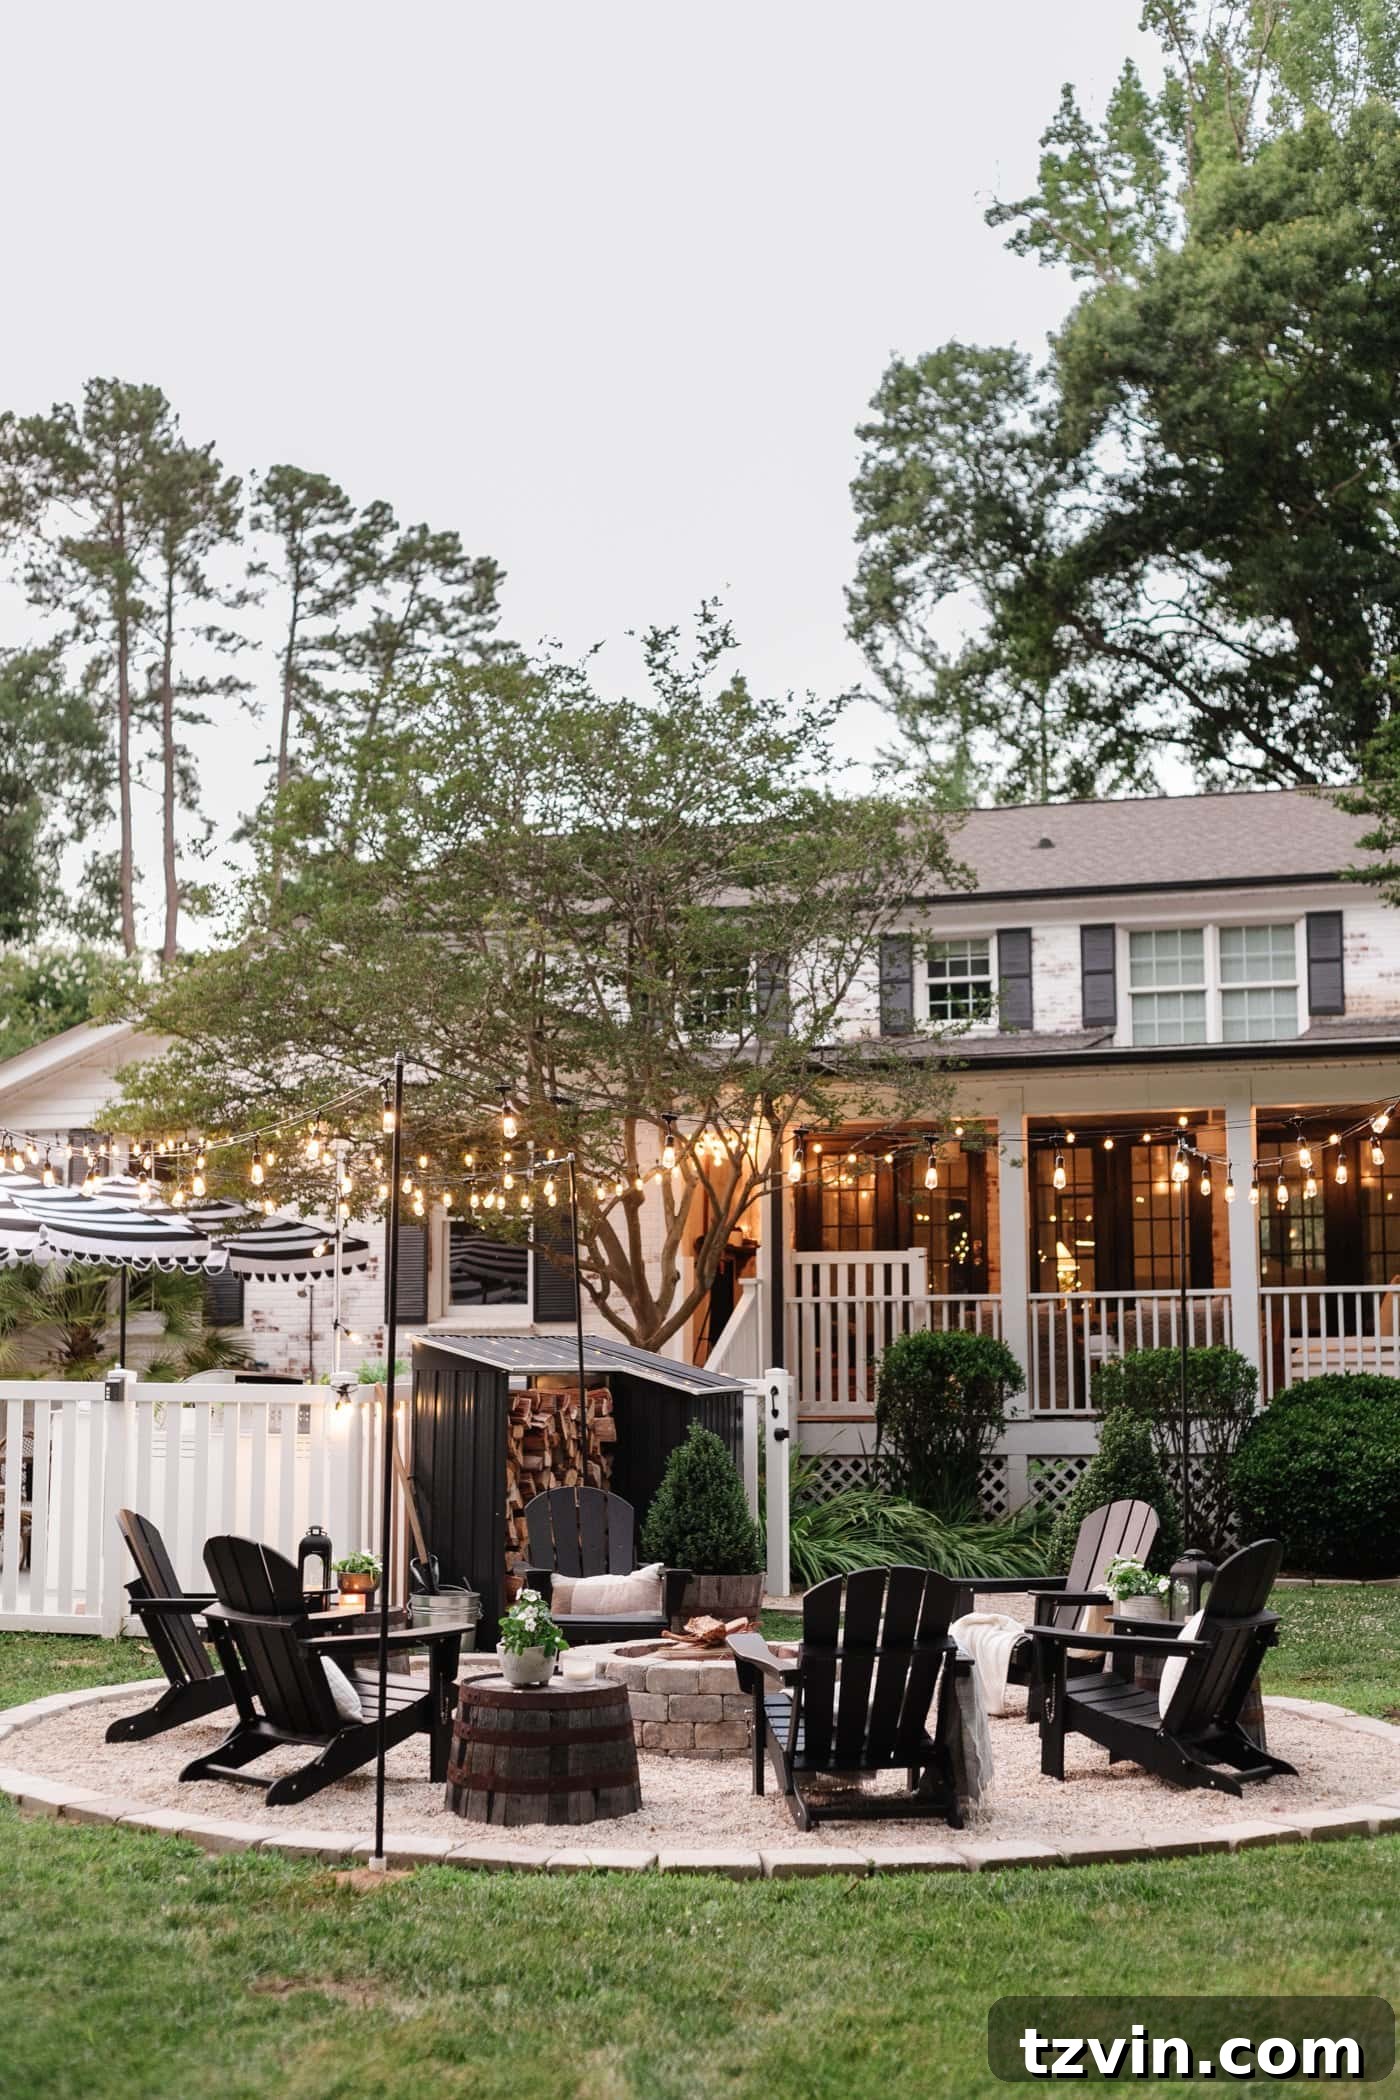
Steps to Install Outdoor String Lights Around a Fire Pit Using DIY Poles
Step 1: Prepare and Prime Your Conduit Pipes
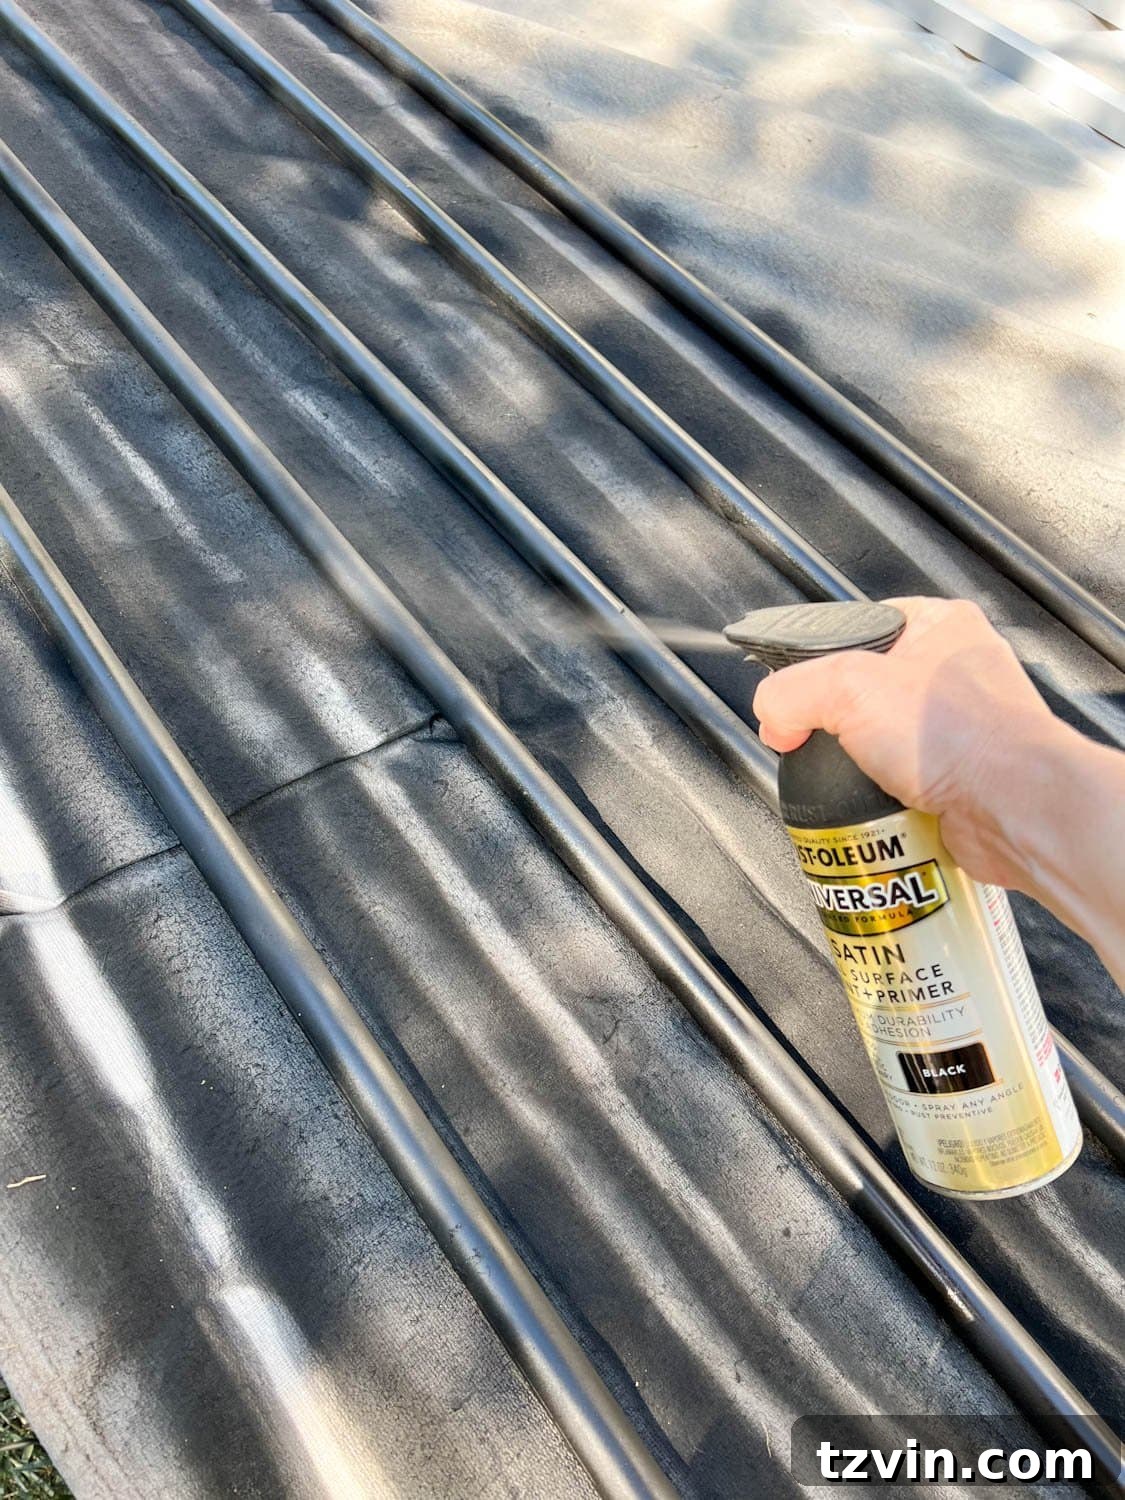
Choose a dry, warm, and sunny day for painting your conduit pipes. Lay out your metal conduit pipes evenly spaced on a drop cloth or old newspaper in a well-ventilated area. While painting is optional, applying a protective coating not only improves aesthetics but also significantly prolongs the life of your poles by preventing rust and corrosion, making them blend seamlessly into your outdoor decor.
Step 2: Apply Automotive Primer for Lasting Adhesion
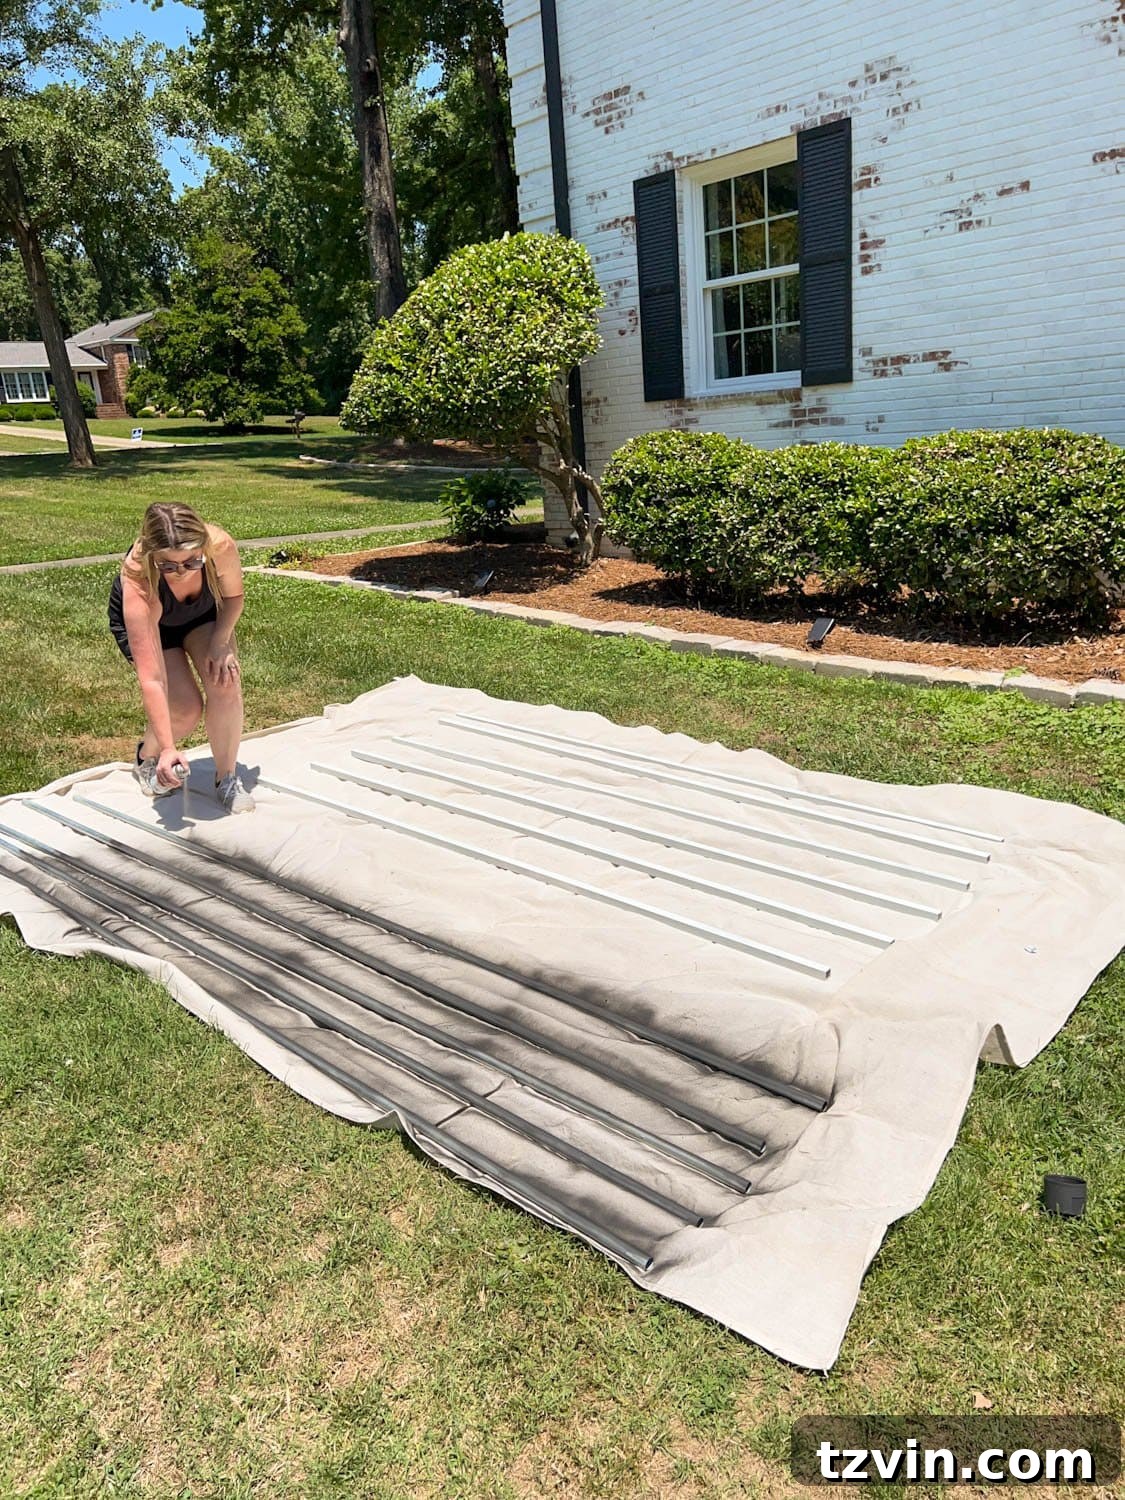
To ensure your chosen spray paint adheres perfectly and withstands harsh outdoor elements, apply a thin, even coat of automotive primer to all surfaces of the conduit pipes. From our experience, automotive primer offers the best adhesion on metal, creating a durable base that resists chipping and peeling, even with exposure to rain, sun, and temperature fluctuations. Allow the primer to dry completely according to the manufacturer’s instructions before proceeding.
Step 3: Finish with Your Chosen Topcoat Color
Once the primer is thoroughly dry, apply 1-2 thin, even coats of black spray paint (or your preferred color) to the conduit pipes. Multiple thin coats are better than one thick coat, as this prevents drips and ensures a smoother, more professional finish. Ensure complete coverage for maximum protection and a polished look. Let the paint dry completely before handling or installing the poles.
Step 4: Digging the Foundation for Your Light Poles
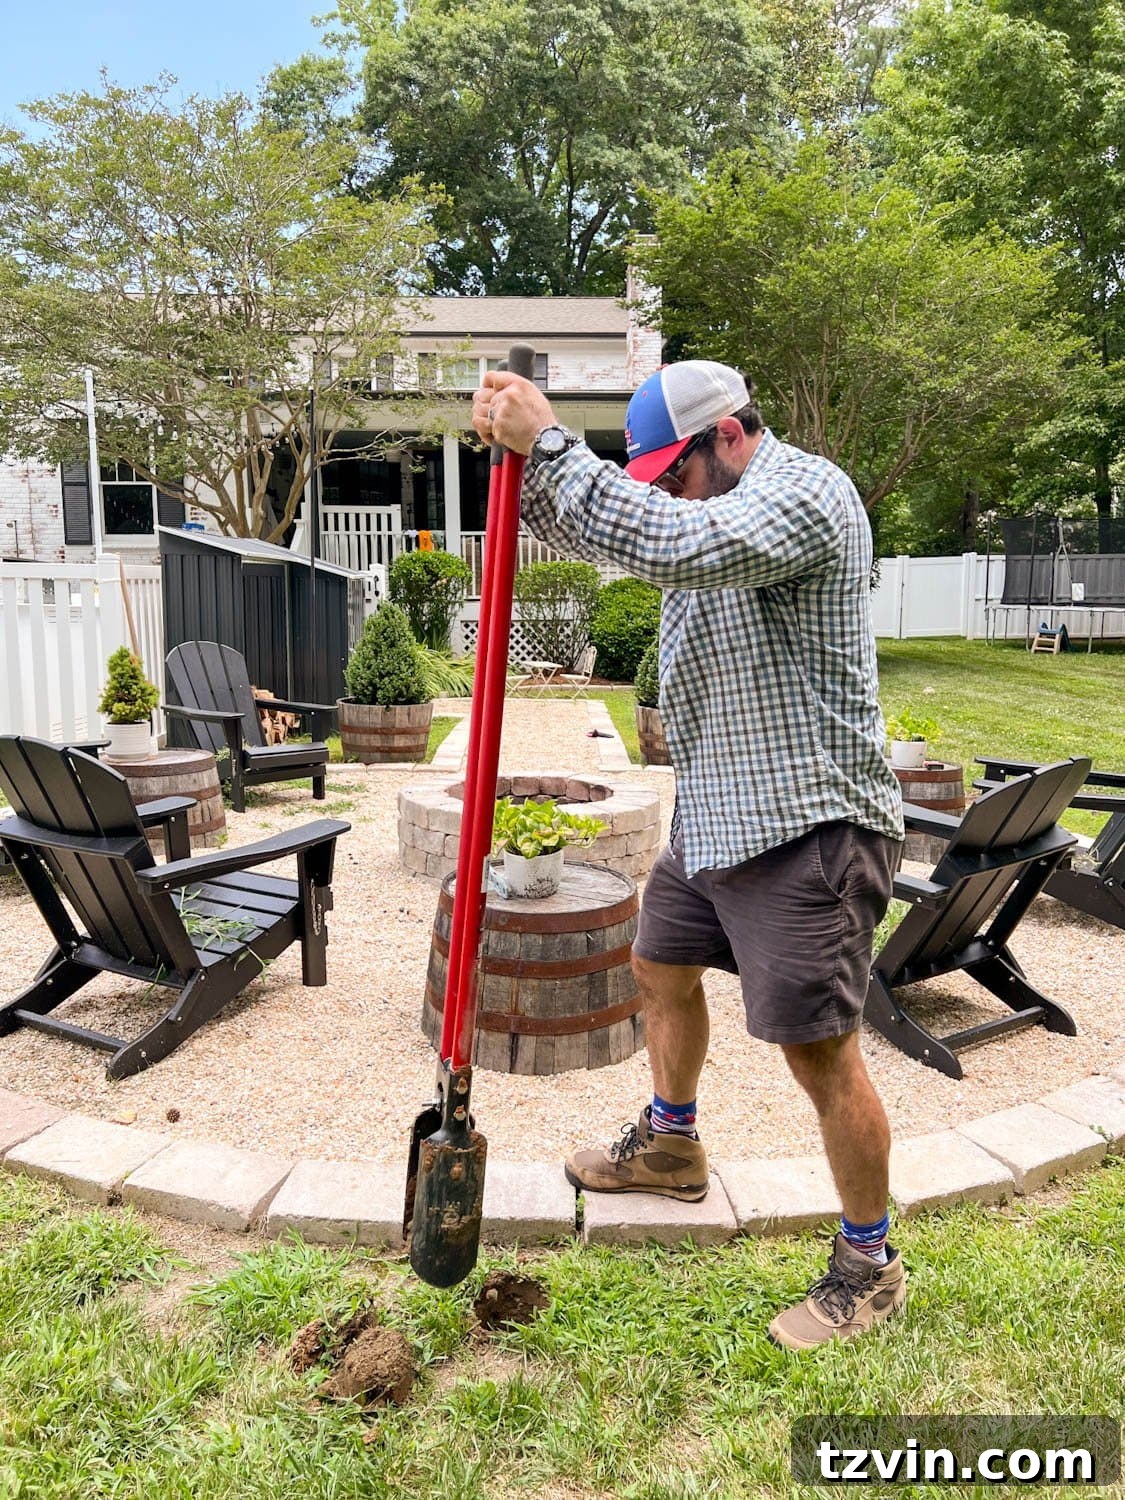
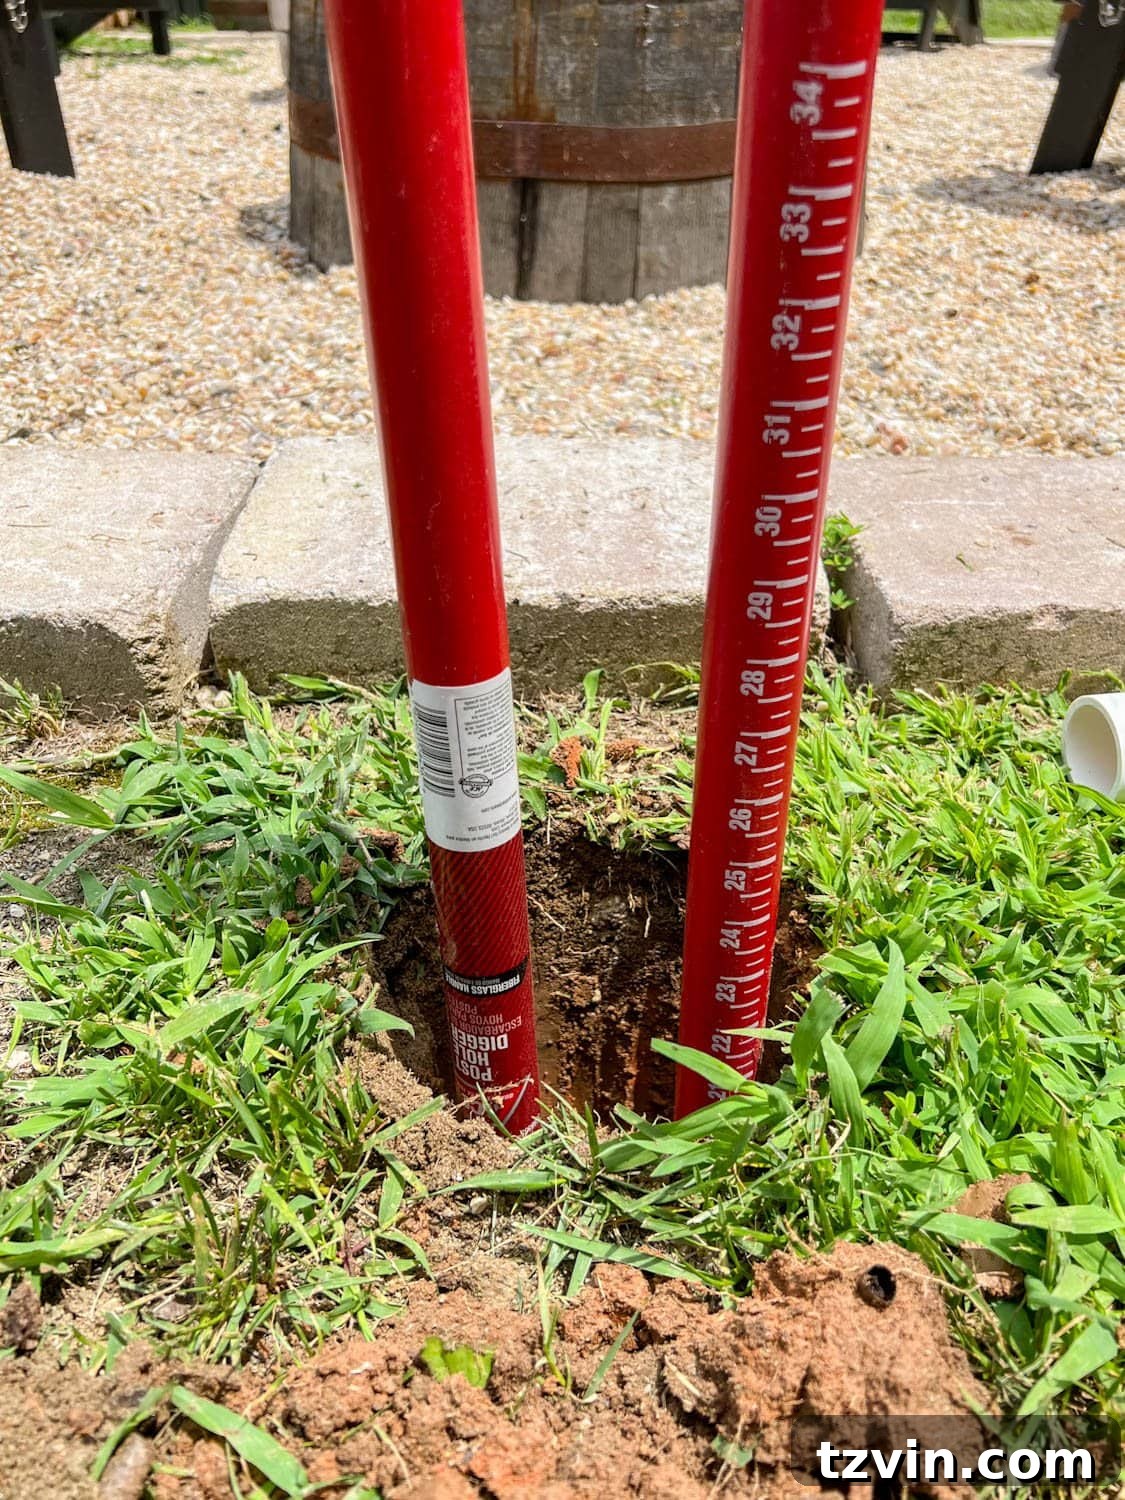
While the paint on your conduit pipes dries, pinpoint the strategic locations around your fire pit where you want your string light poles to stand. Mark these spots clearly. Using a post hole digger, excavate holes approximately 2 feet deep at each marked location. This depth is crucial for ensuring the stability and upright posture of your poles, especially in varying soil conditions and windy weather.
Step 5: Preparing the PVC Sleeves
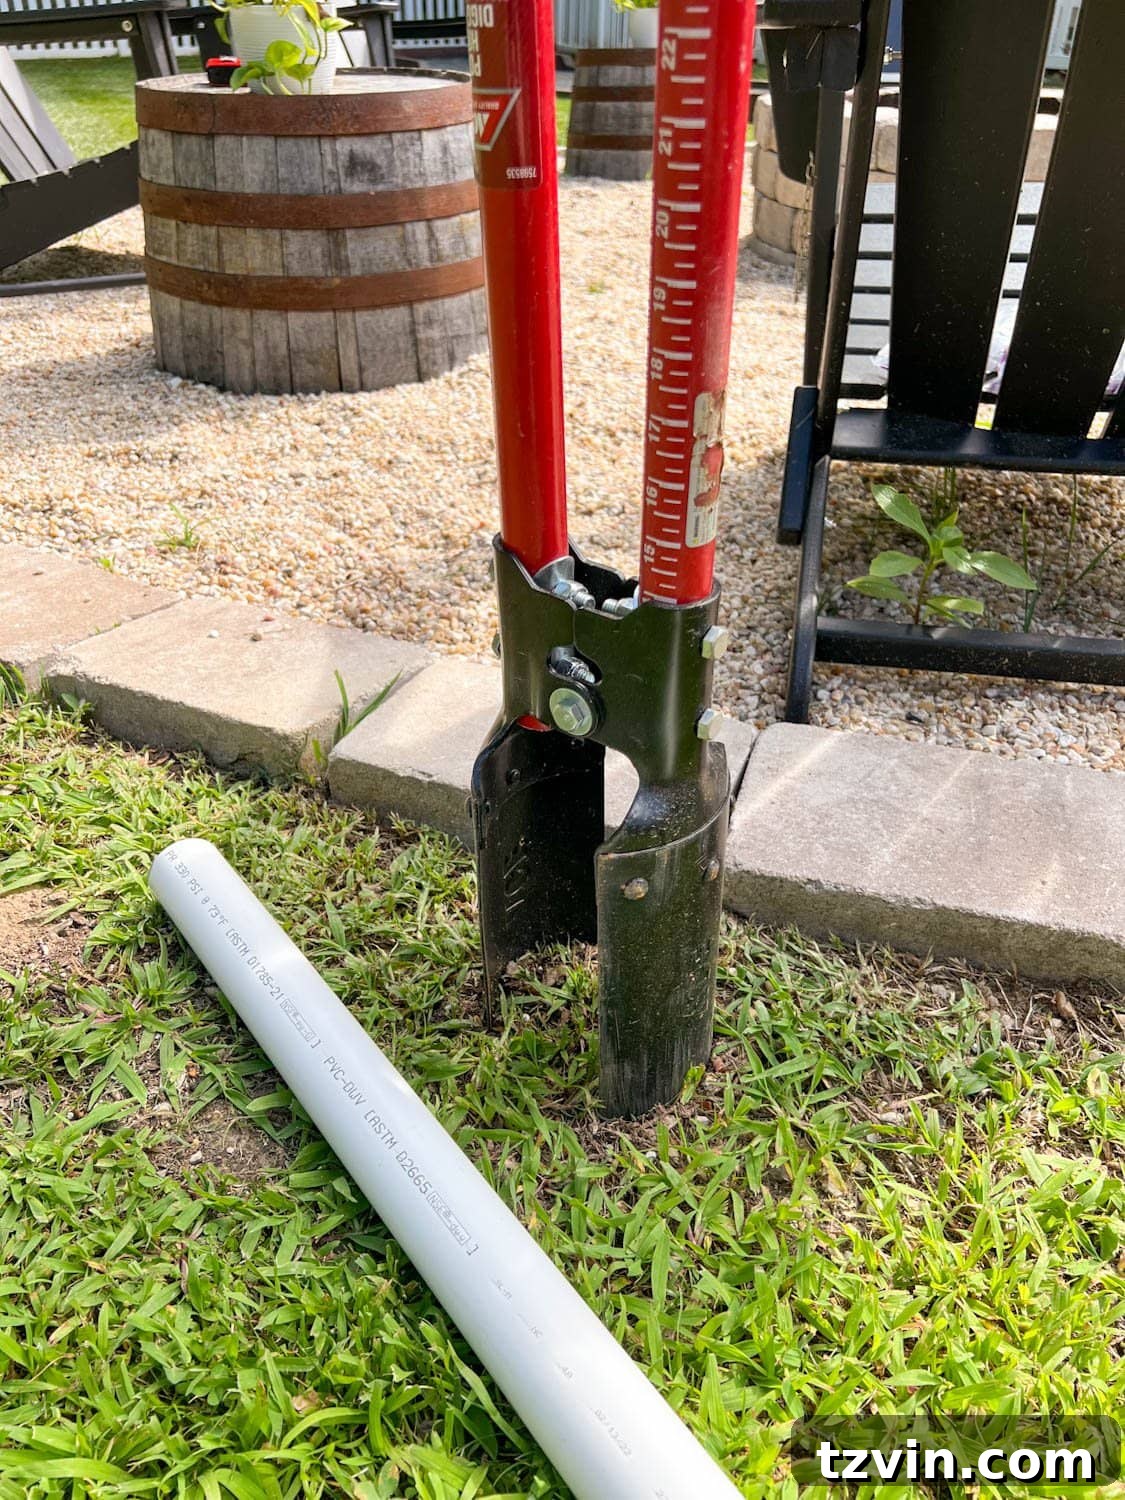
Utilize a PVC cutter or a hacksaw to segment your 10-foot PVC pipe into individual 2-foot lengths. You will need one 2-foot PVC segment for each pole you plan to install. These PVC sections will serve as underground sleeves, providing a stable, weather-resistant anchor for your metal conduit poles, allowing for easy removal or replacement if ever needed.
Step 6: Anchoring the PVC Sleeves and Conduit Poles
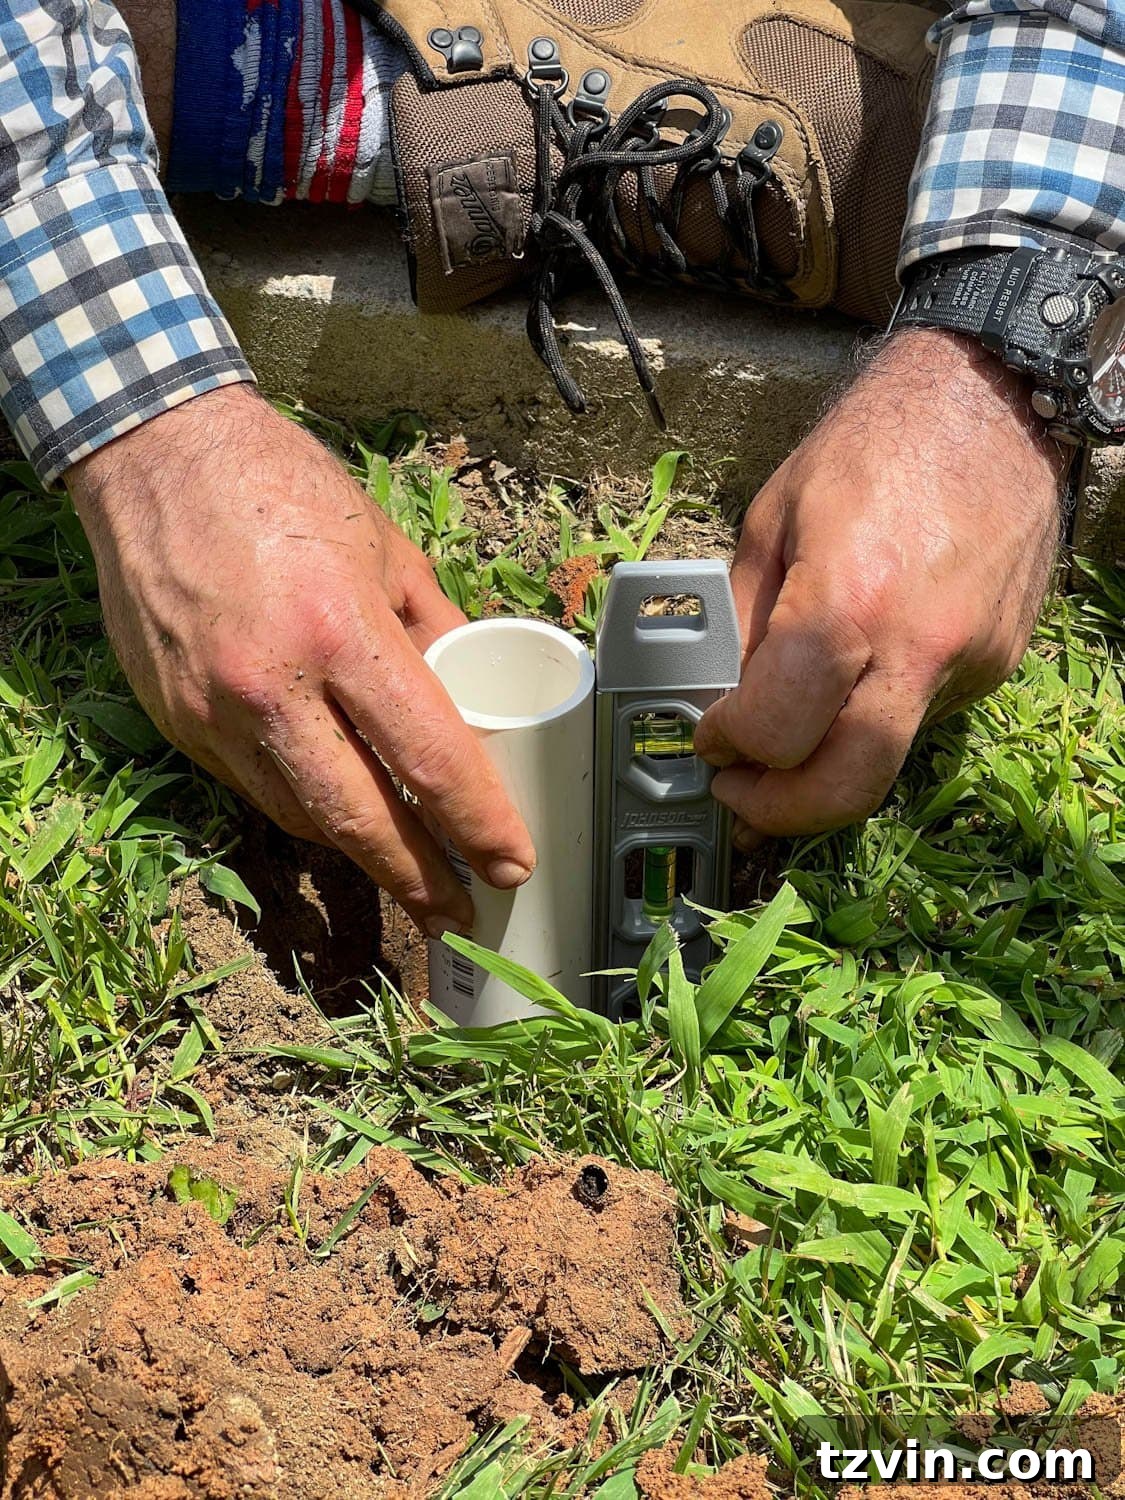
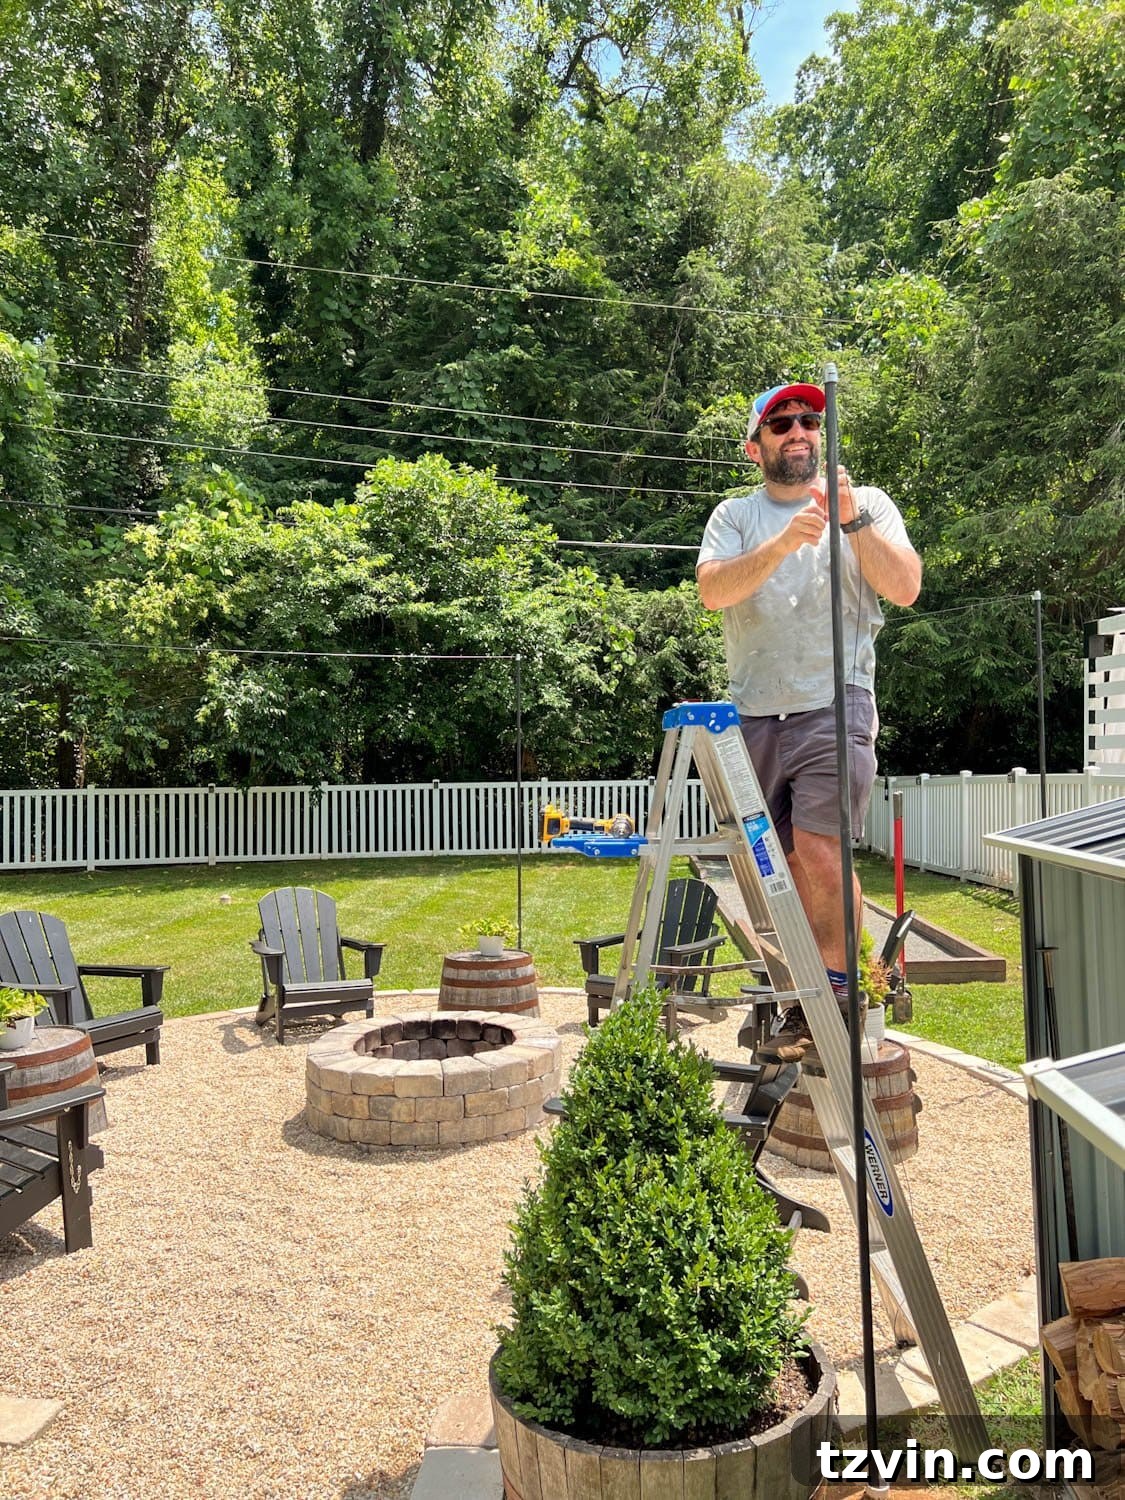
Carefully lower one 2-foot PVC pipe segment into each dug hole, ensuring it sits firmly at the bottom. Use a small level to verify that the PVC pipe is perfectly vertical – this is crucial for straight, professional-looking poles. Once aligned, backfill the hole tightly with dirt, compacting it around the PVC pipe to create a secure, immovable sleeve. Repeat for all pole locations. Finally, insert your painted conduit poles into these PVC sleeves. This method allows the conduit to stand firmly while also allowing it to be removed later if needed.
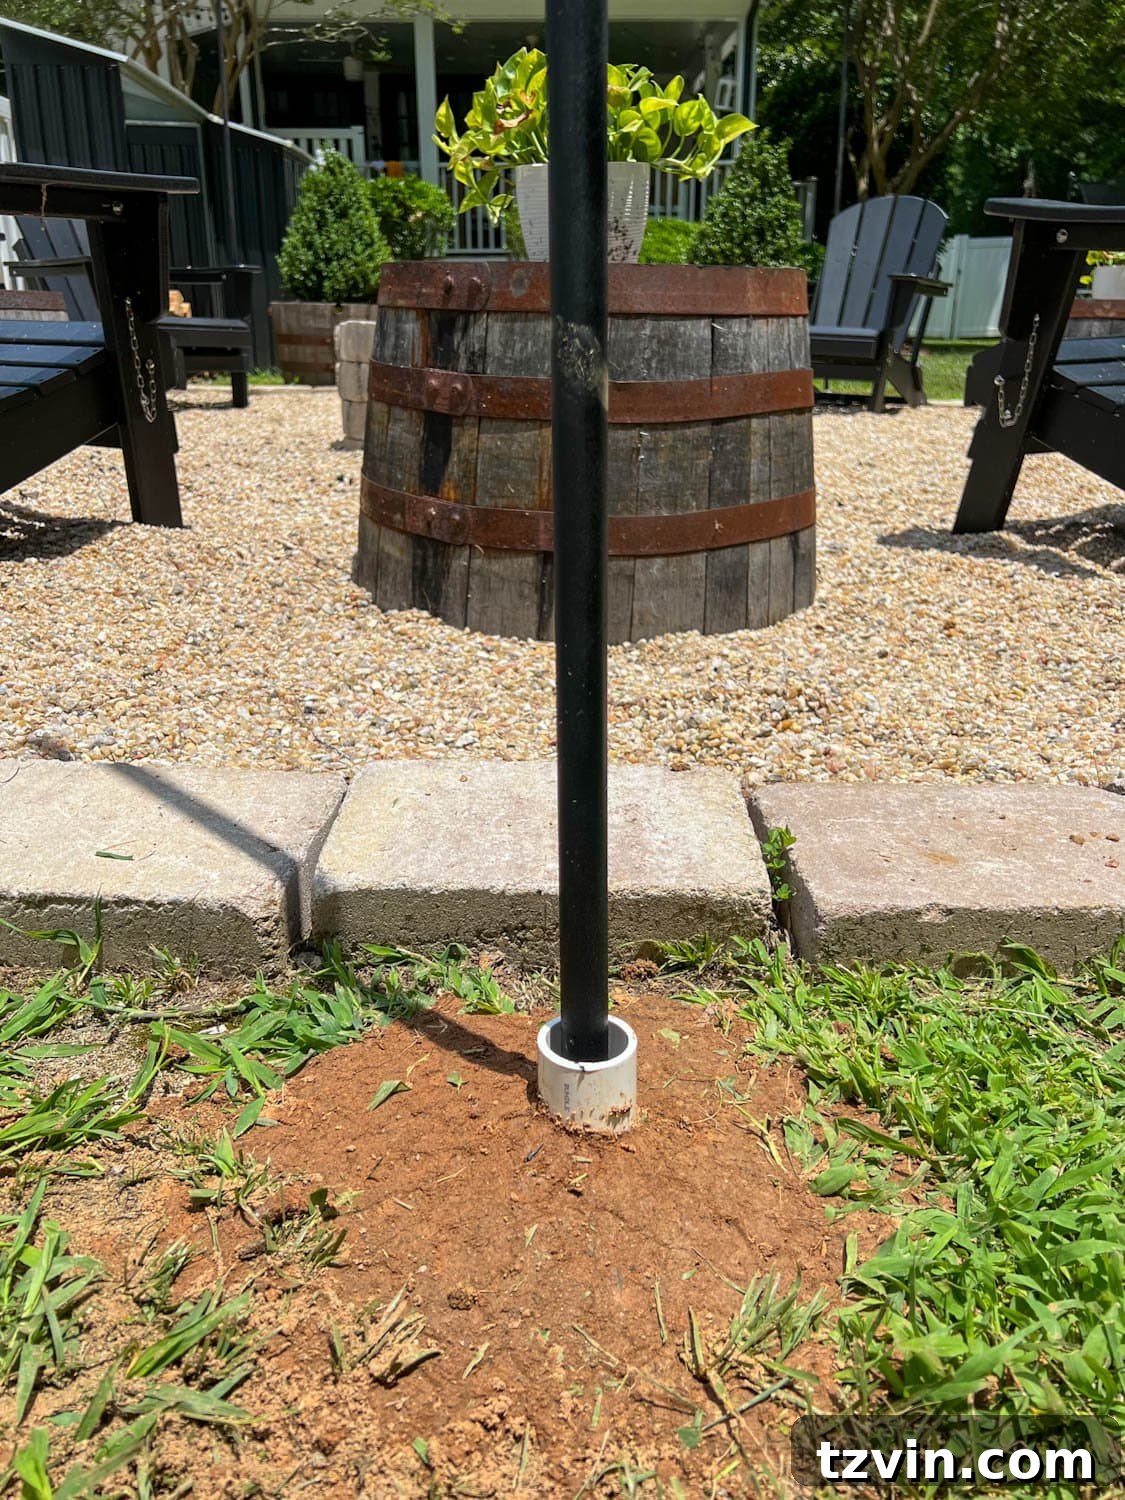
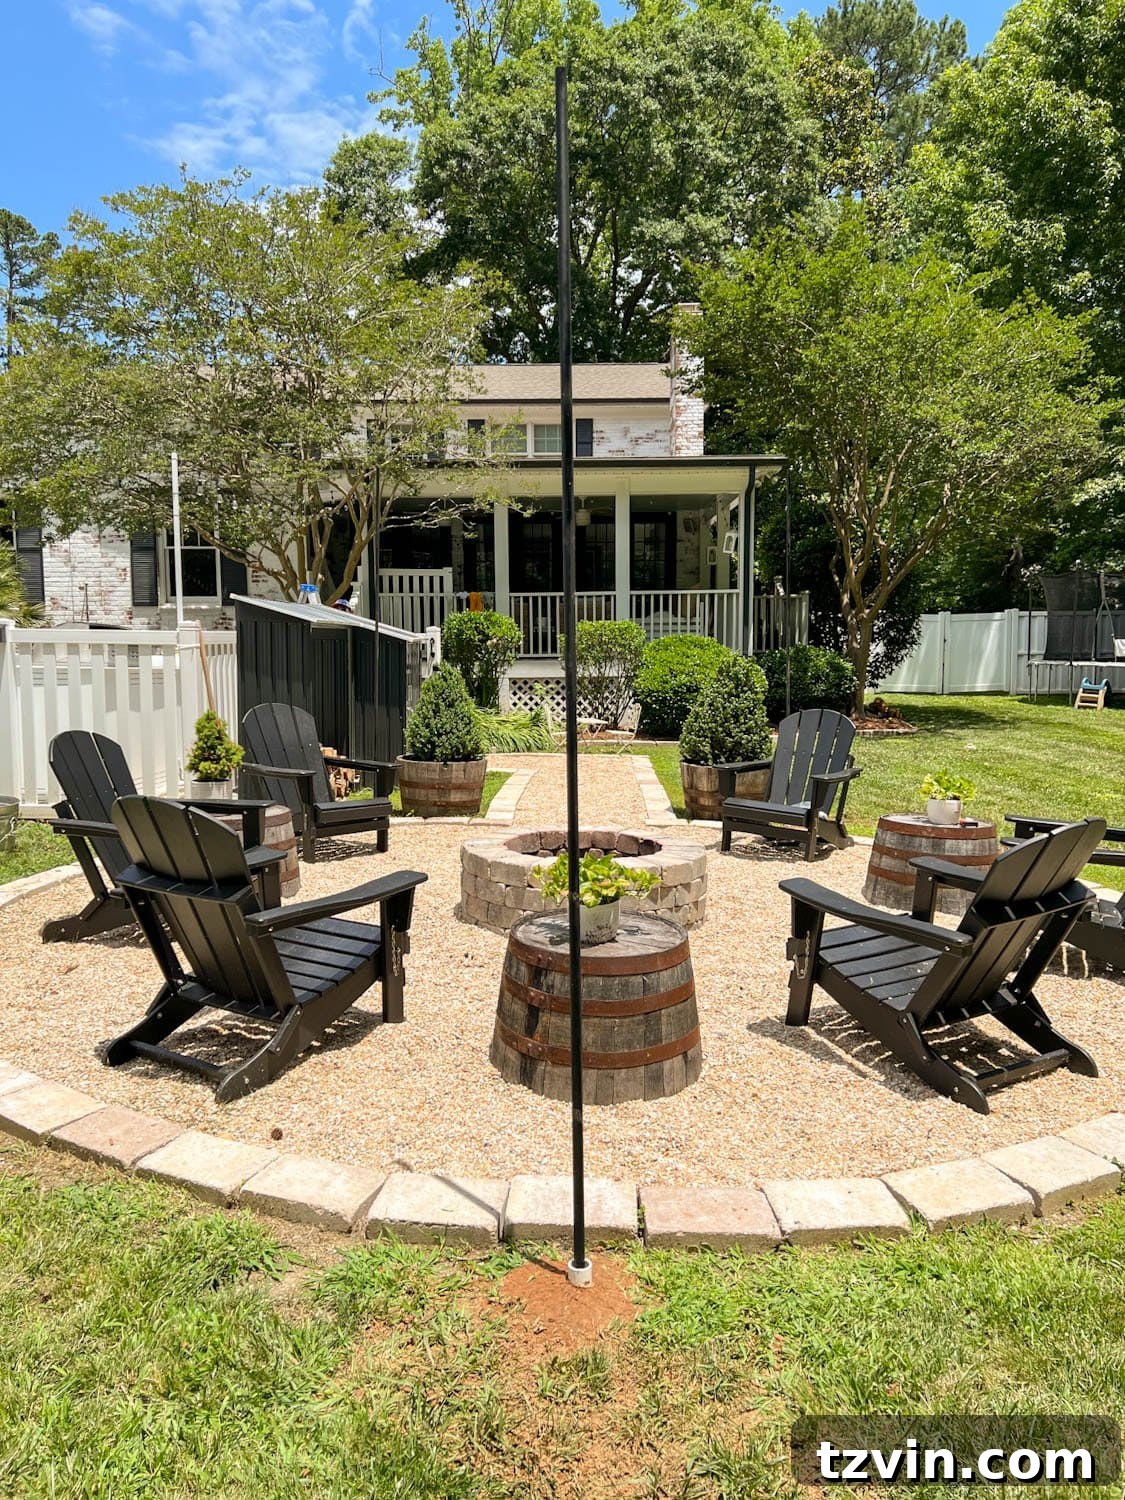
Step 7: Installing Squeeze Connectors for Light Attachment
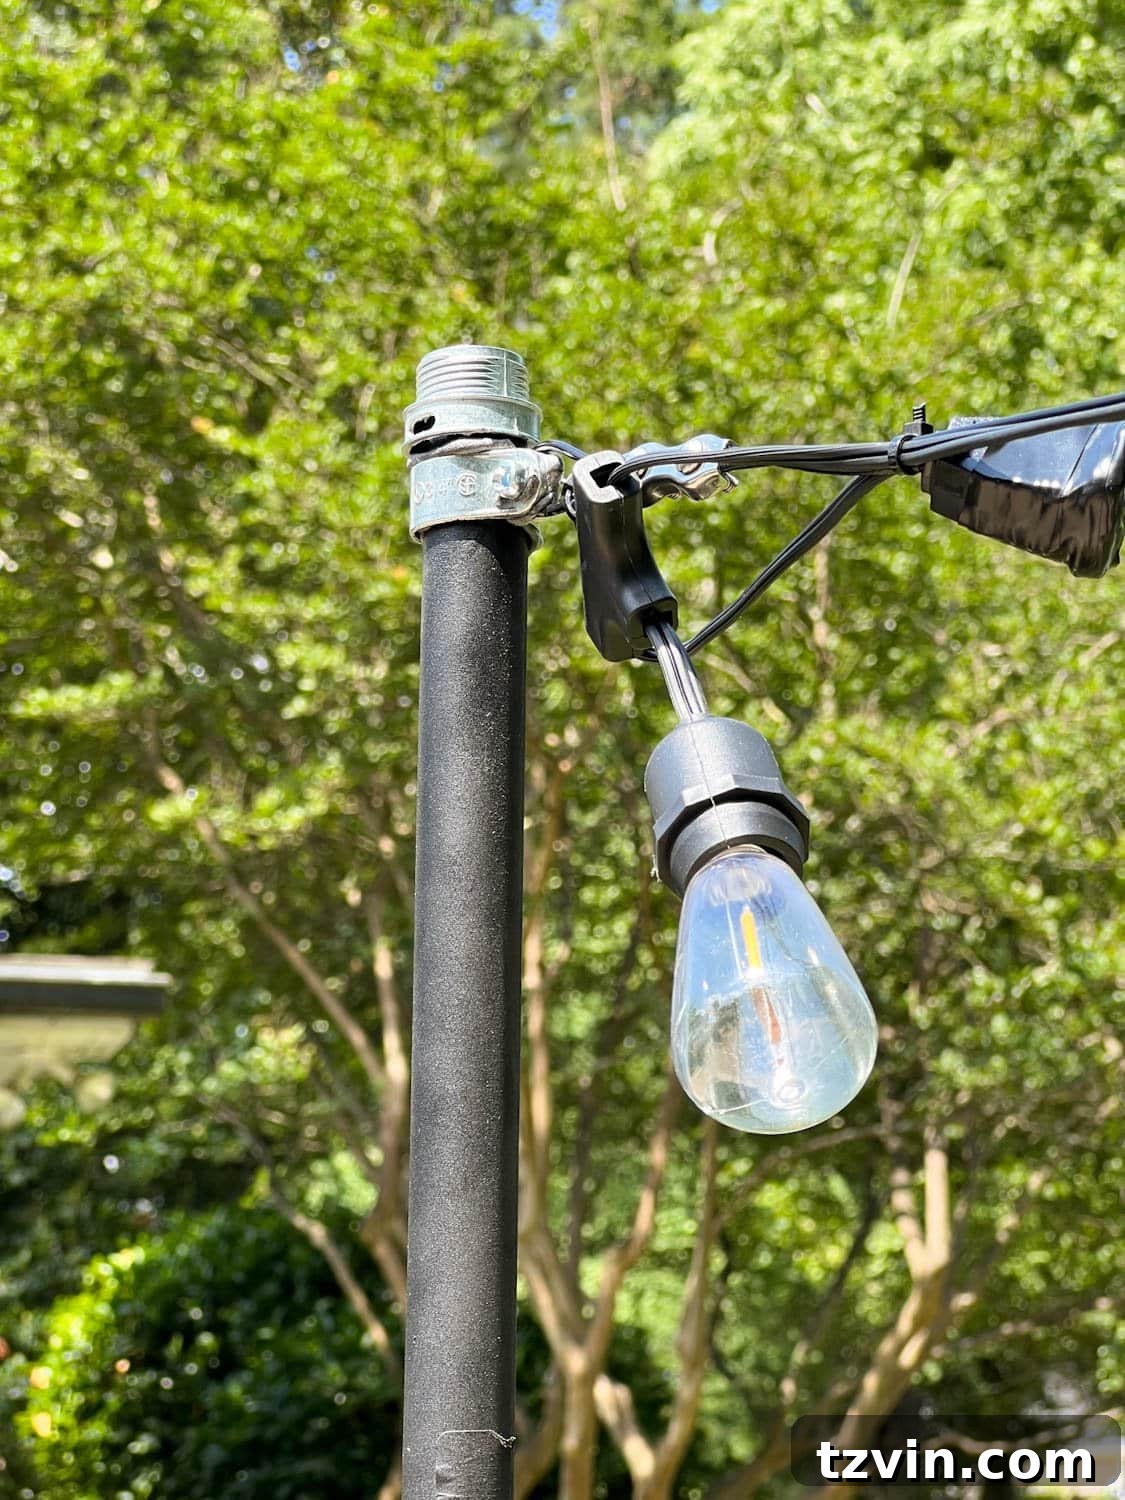
To create secure anchor points for your string lights or support cable, attach a zinc squeeze connector to the top of each conduit pole. Use heavy-duty outdoor mounting tape, such as 3M shelving tape, to firmly secure the connector. This connector acts as a sturdy loop through which you can thread your cable or light strands, ensuring they remain in place even in windy conditions. Make sure it’s tight and robust.
Step 8: Installing the Support Cable (Optional but Recommended)
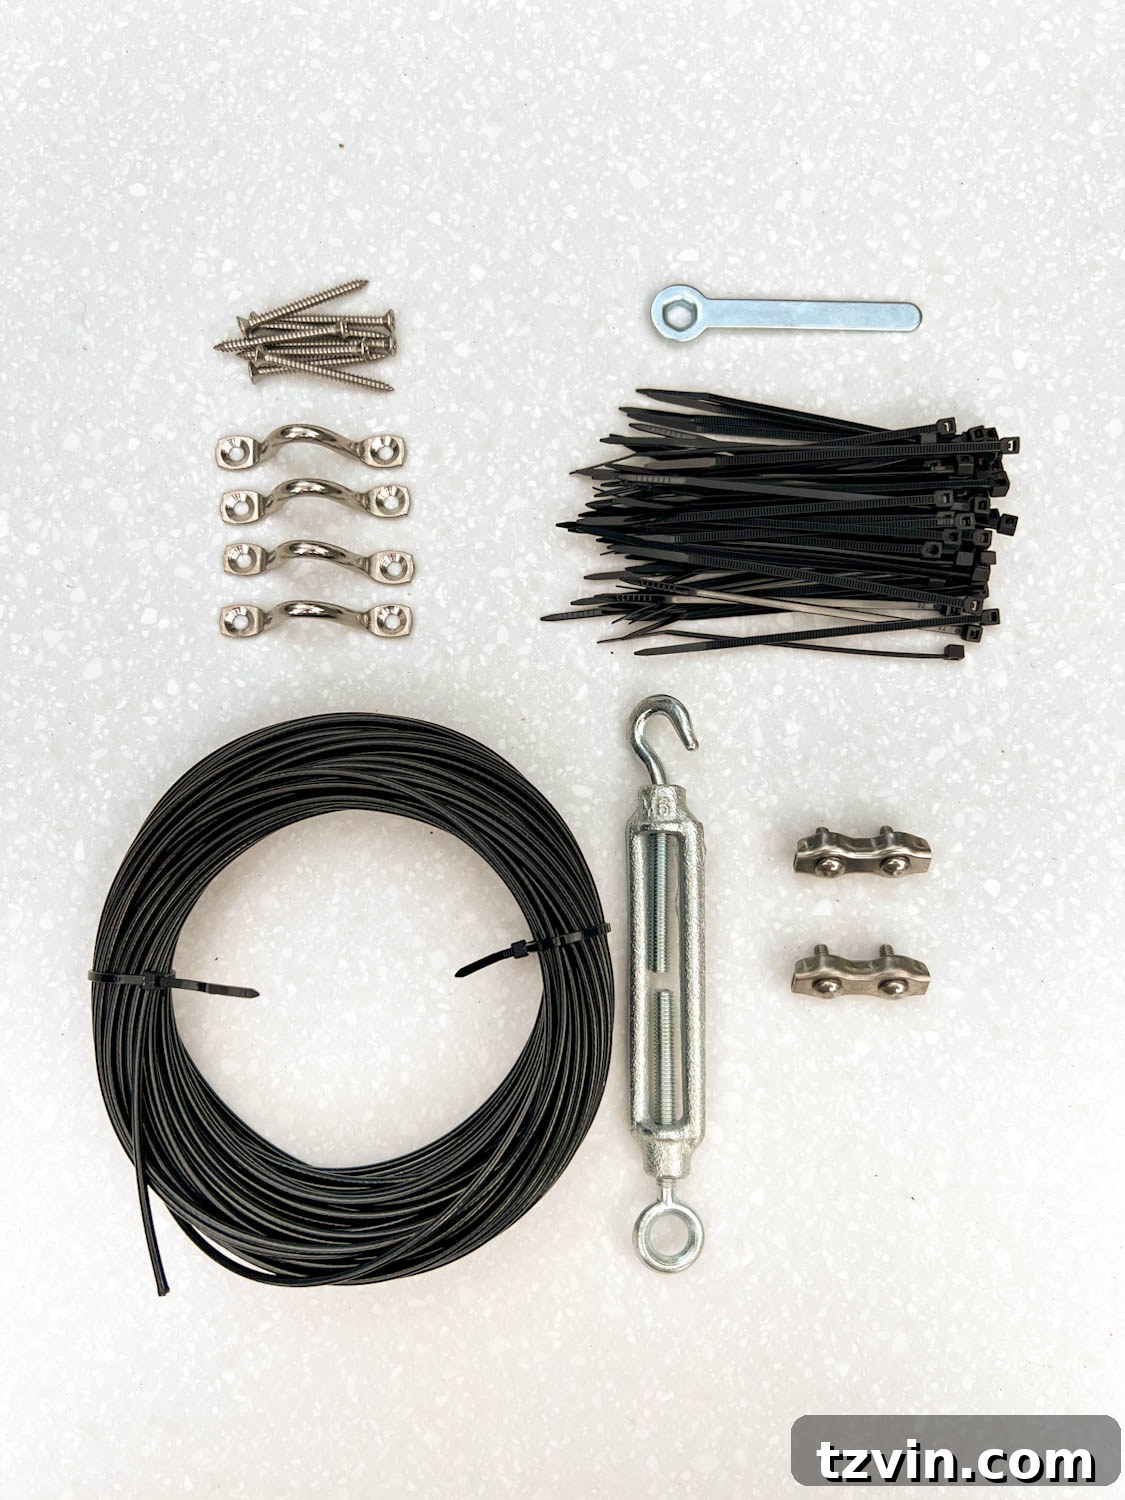
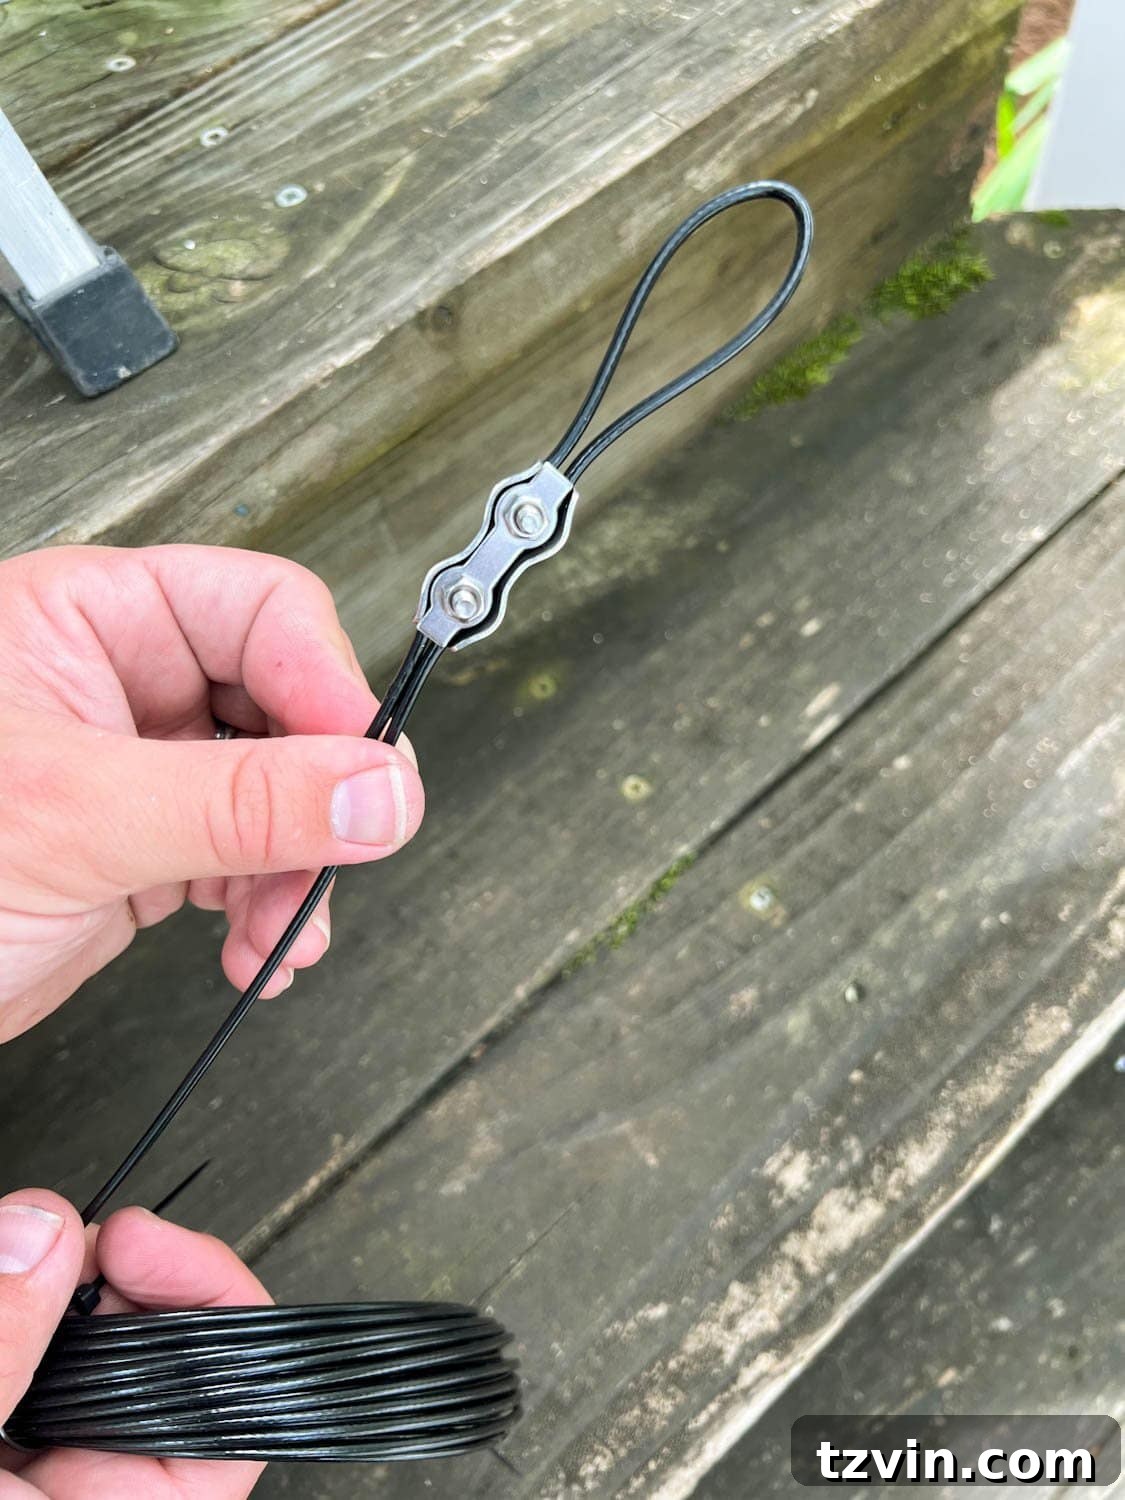
If using a string light cable kit for longer spans (recommended for preventing sag), now is the time to install it. Create a small loop at one end of the cable using the provided hardware in your kit, and attach it to a squeeze connector on your starting pole. Carefully pull the cable tight as you extend it to the next pole, securing it to each squeeze connector. Repeat this process around all your poles, ensuring the cable is taut to provide maximum support for your lights. This step is critical for a professional and durable installation.
Step 9: Attaching Your String Lights to the Cable
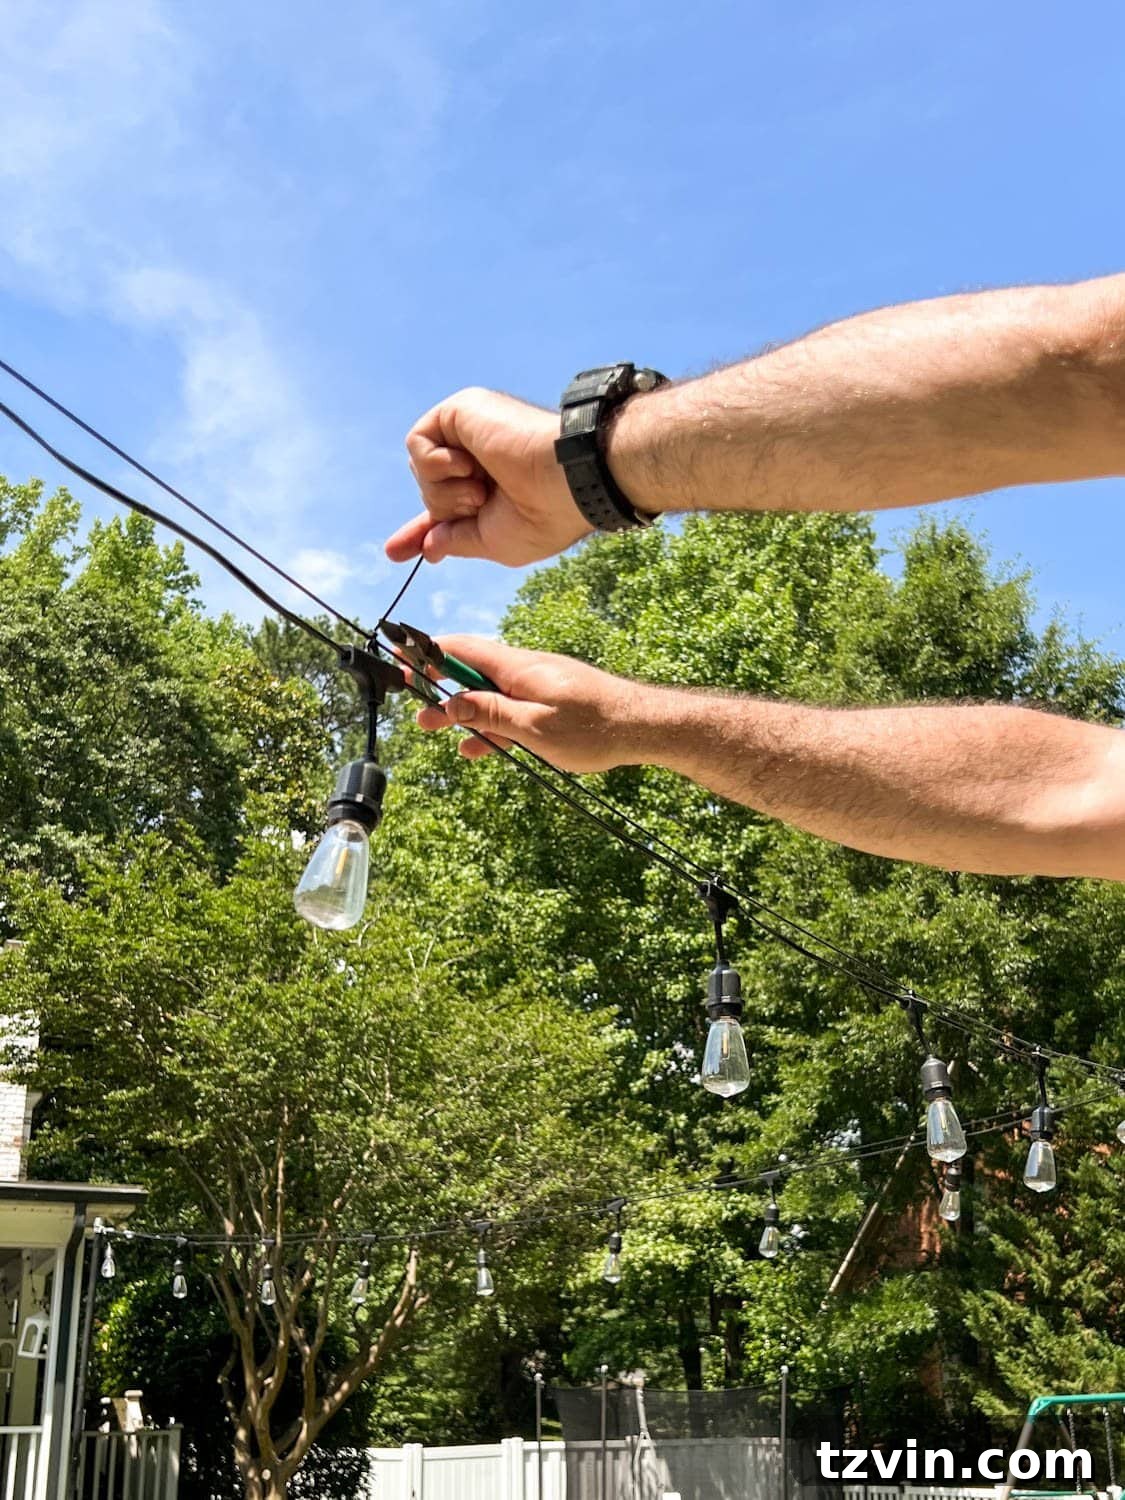
Start hanging your string lights from the conduit pole closest to your power outlet. This ensures you have easy access to plug in the first strand. Gently drape the string lights along the installed support cable (if used). For a secure and neat finish, attach each individual light bulb socket to the cable using the small zip ties provided in your string light kit. Space them evenly for a balanced look. The zip ties prevent the lights from sliding or tangling, keeping them perfectly aligned.
Once each light is secured, snip any excess zip tie ends with wire cutters for a clean, unobtrusive appearance. This small detail significantly improves the overall aesthetic of your lighting setup.
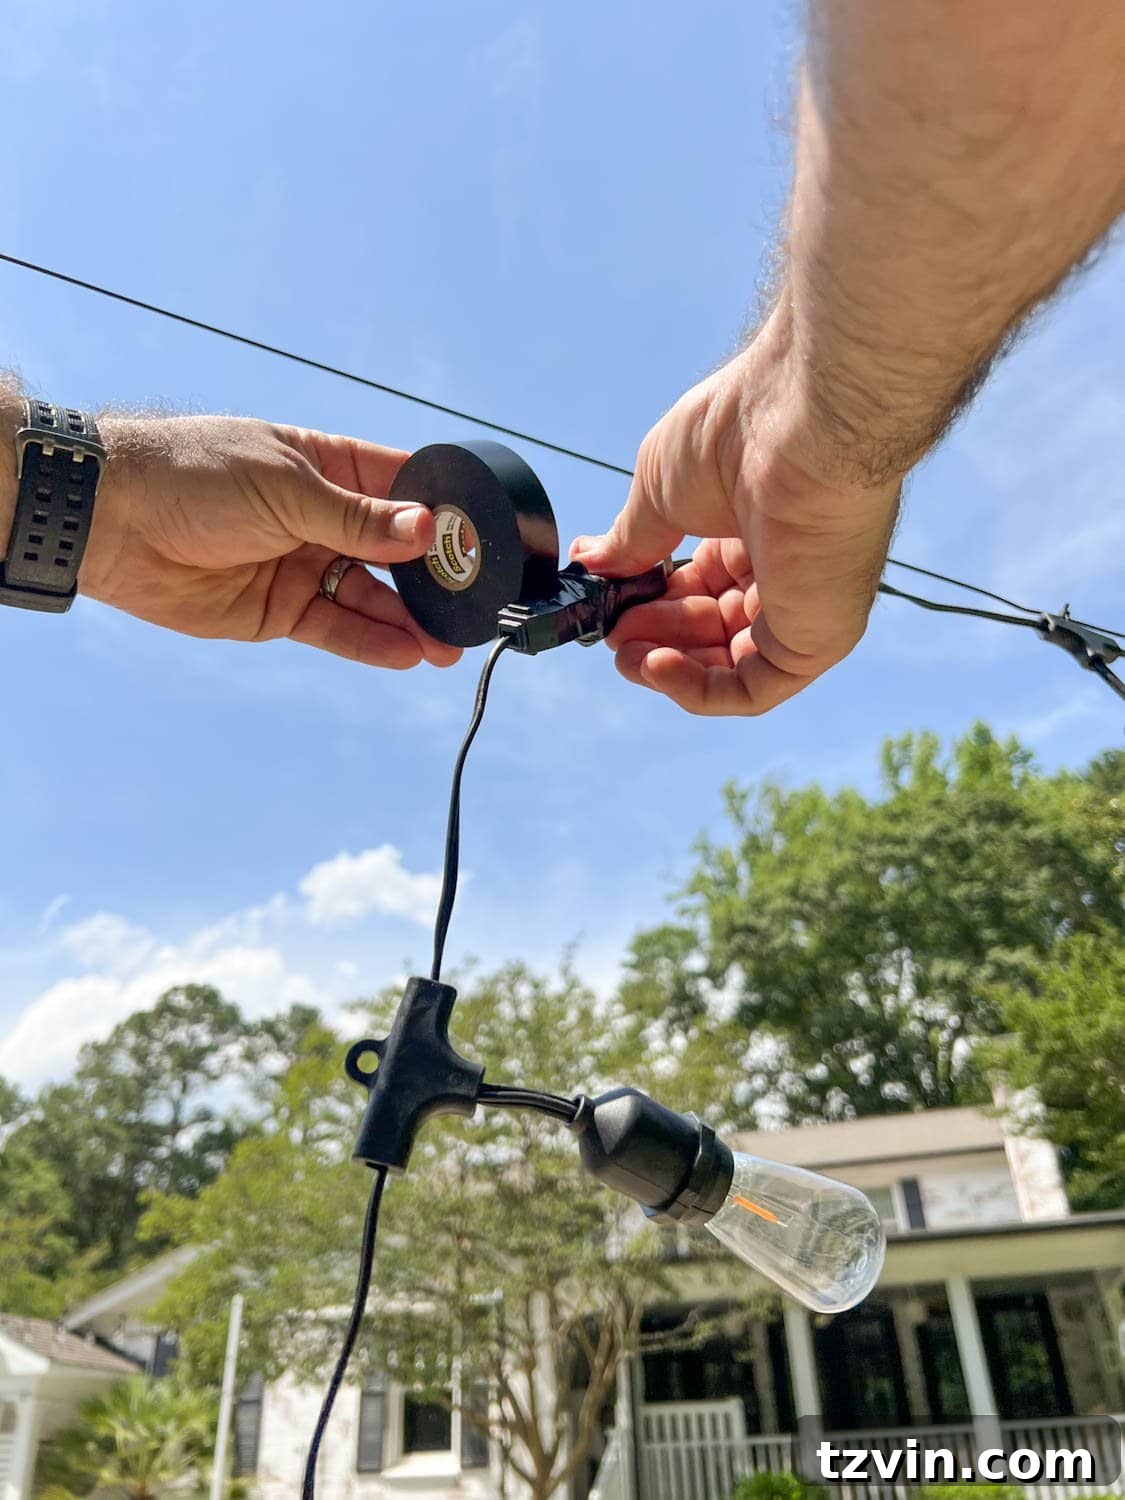
Step 10: Secure Electrical Connections with Electrical Tape
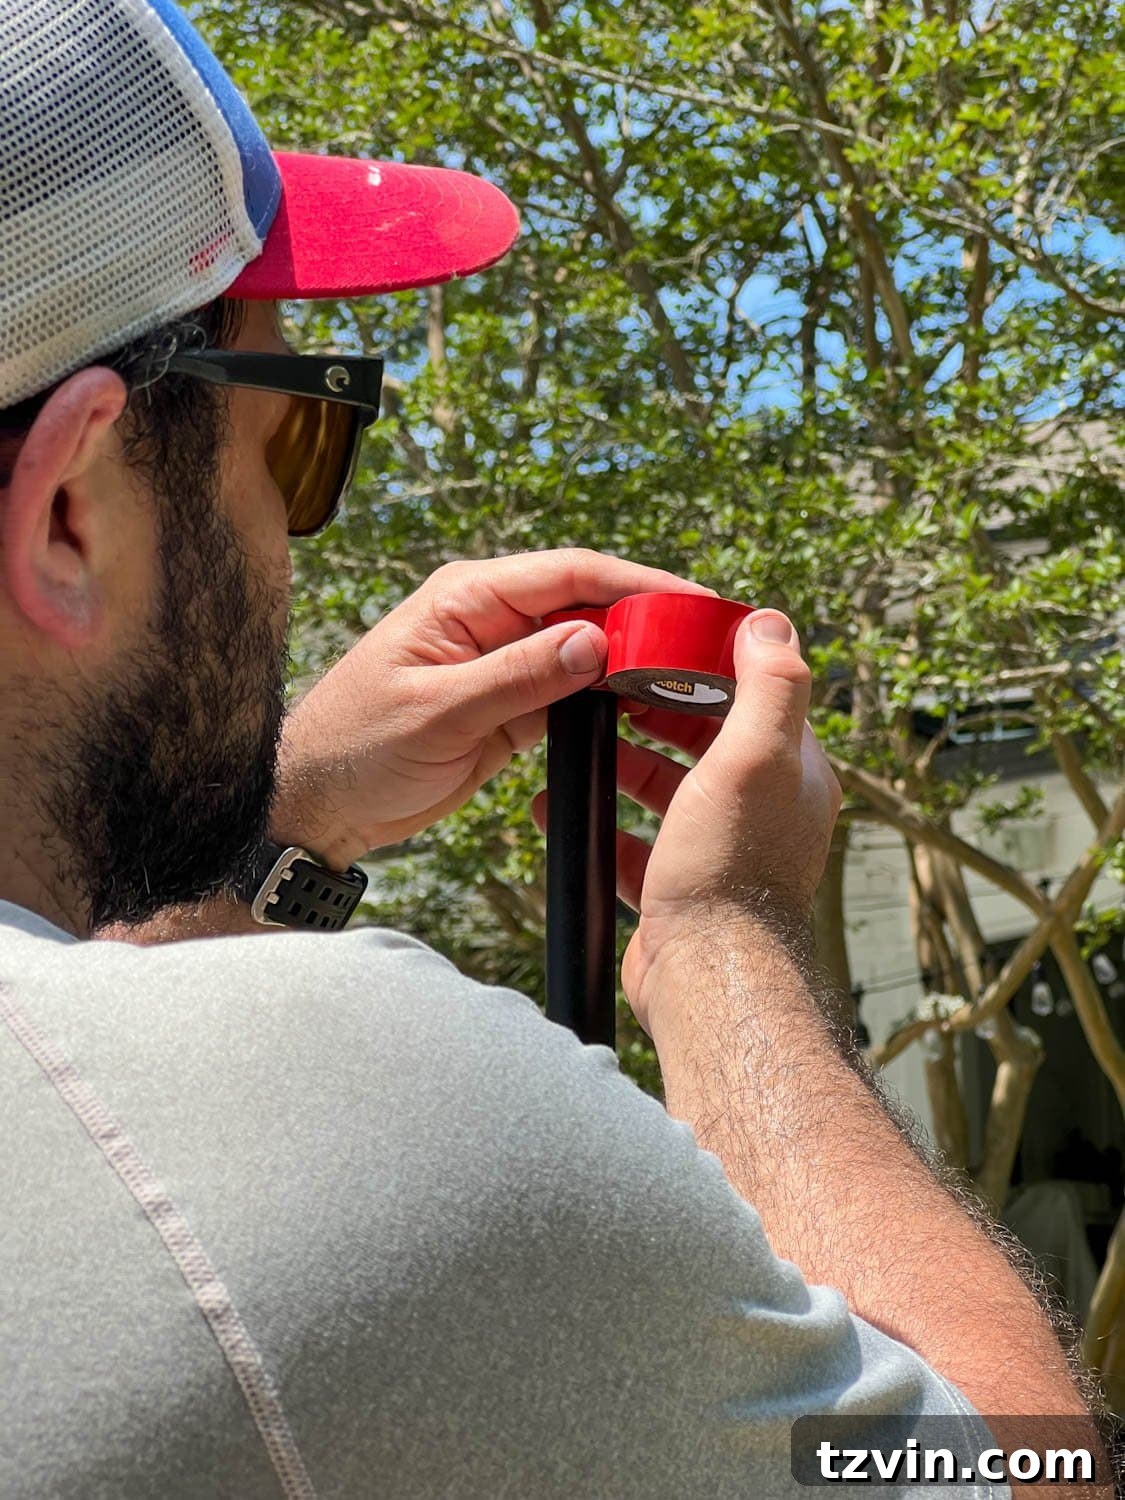
As you connect multiple string light strands, the tension on the cable can sometimes cause the plugs to pull apart slightly, interrupting the circuit. To prevent this and add an extra layer of weather protection, tightly wrap black electrical tape around each connection point where two strands plug into each other. This creates a secure, waterproof seal, ensuring consistent power flow and durability against the elements.
Step 11: Finalizing Power and Automation
Continue hanging and securing your string lights around the entire fire pit area. Once all strands are in place, run a heavy-duty outdoor extension cord from the end of your last string light strand, neatly down the nearest pole, and directly to your power outlet. For ultimate convenience and energy efficiency, connect an outdoor light sensor timer. This allows you to program your lights to turn on automatically at dusk and off at a set time, or you can use a remote control for manual operation as desired. Enjoy the magical transformation!
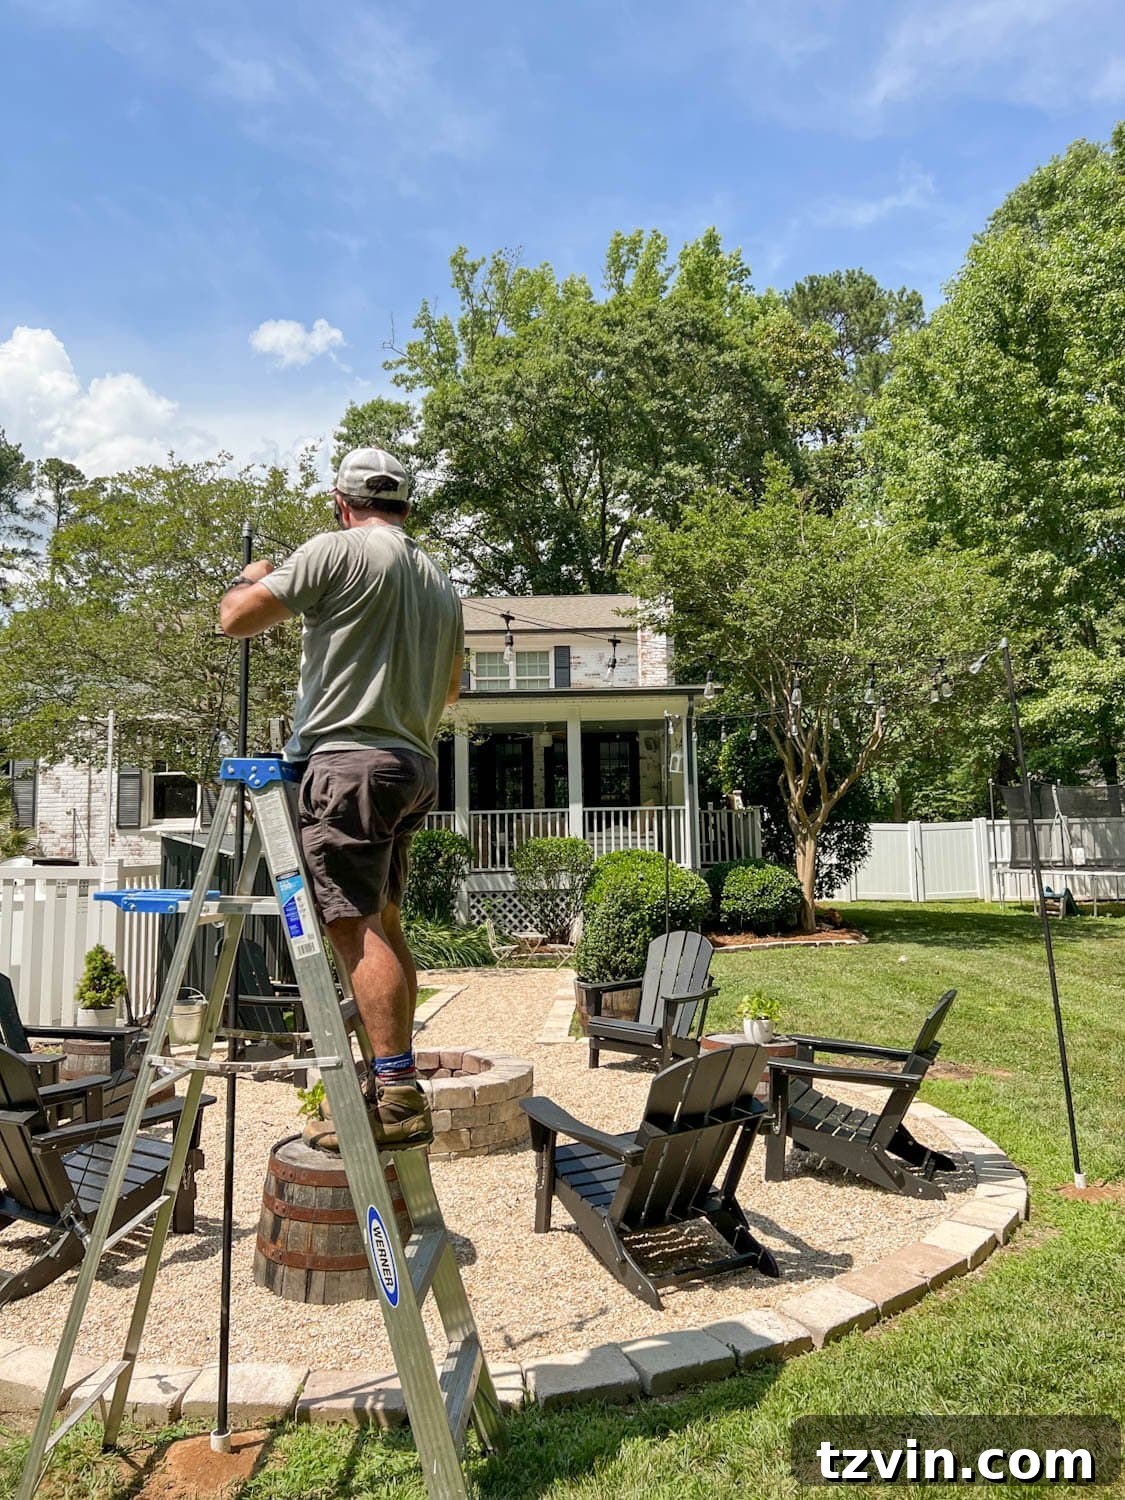
The result? Pure magic! It’s truly amazing how a thoughtfully installed string light display can elevate the ambiance around a fire pit, turning an ordinary evening into an extraordinary experience.
Damage-Free Method: How to Hang Outdoor String Lights on a Fence
This ingenious method utilizes aluminum tubing to create sturdy, damage-free anchor points on your fence posts. While the initial inspiration came from Maison de Pax’s string light tutorial, we’ve adapted it by integrating hooks at the top of the poles and using a cable system, which is essential for longer spans to prevent sagging. If you prefer a quicker, less permanent solution for shorter distances without a cable system, their original tutorial is also an excellent resource.
Supplies for Hanging Lights on a Fence
- 1″ x 8′ aluminum square tubing (Determine the quantity based on your fence length and desired light spacing).
- Automotive spray primer (Optional, but highly recommended for superior adhesion and outdoor durability, especially if changing the metal’s color).
- Spray paint (Choose a color that matches or complements your fence for a seamless look).
- Drop cloth or old sheets.
- 26″ zip ties (Or appropriate length to securely wrap around your fence posts without damaging them).
- Wire cutting pliers (For trimming zip ties and other wires).
- Drill and drill bits (For pilot holes and attaching hardware).
- Cup hooks with safety buckles (These hooks provide a secure attachment point for the cable and lights).
- Shatterproof LED String lights (We prefer plug-in LEDs for their brightness and energy efficiency compared to solar options in areas with power access).
- String light cable kit (Essential for long spans to maintain tension and prevent sagging).
- Outdoor extension cord (if using plug-in string lights; ensure it’s heavy-duty and weather-rated).
- Outdoor light sensor timer with remote (For convenient, automated lighting control).
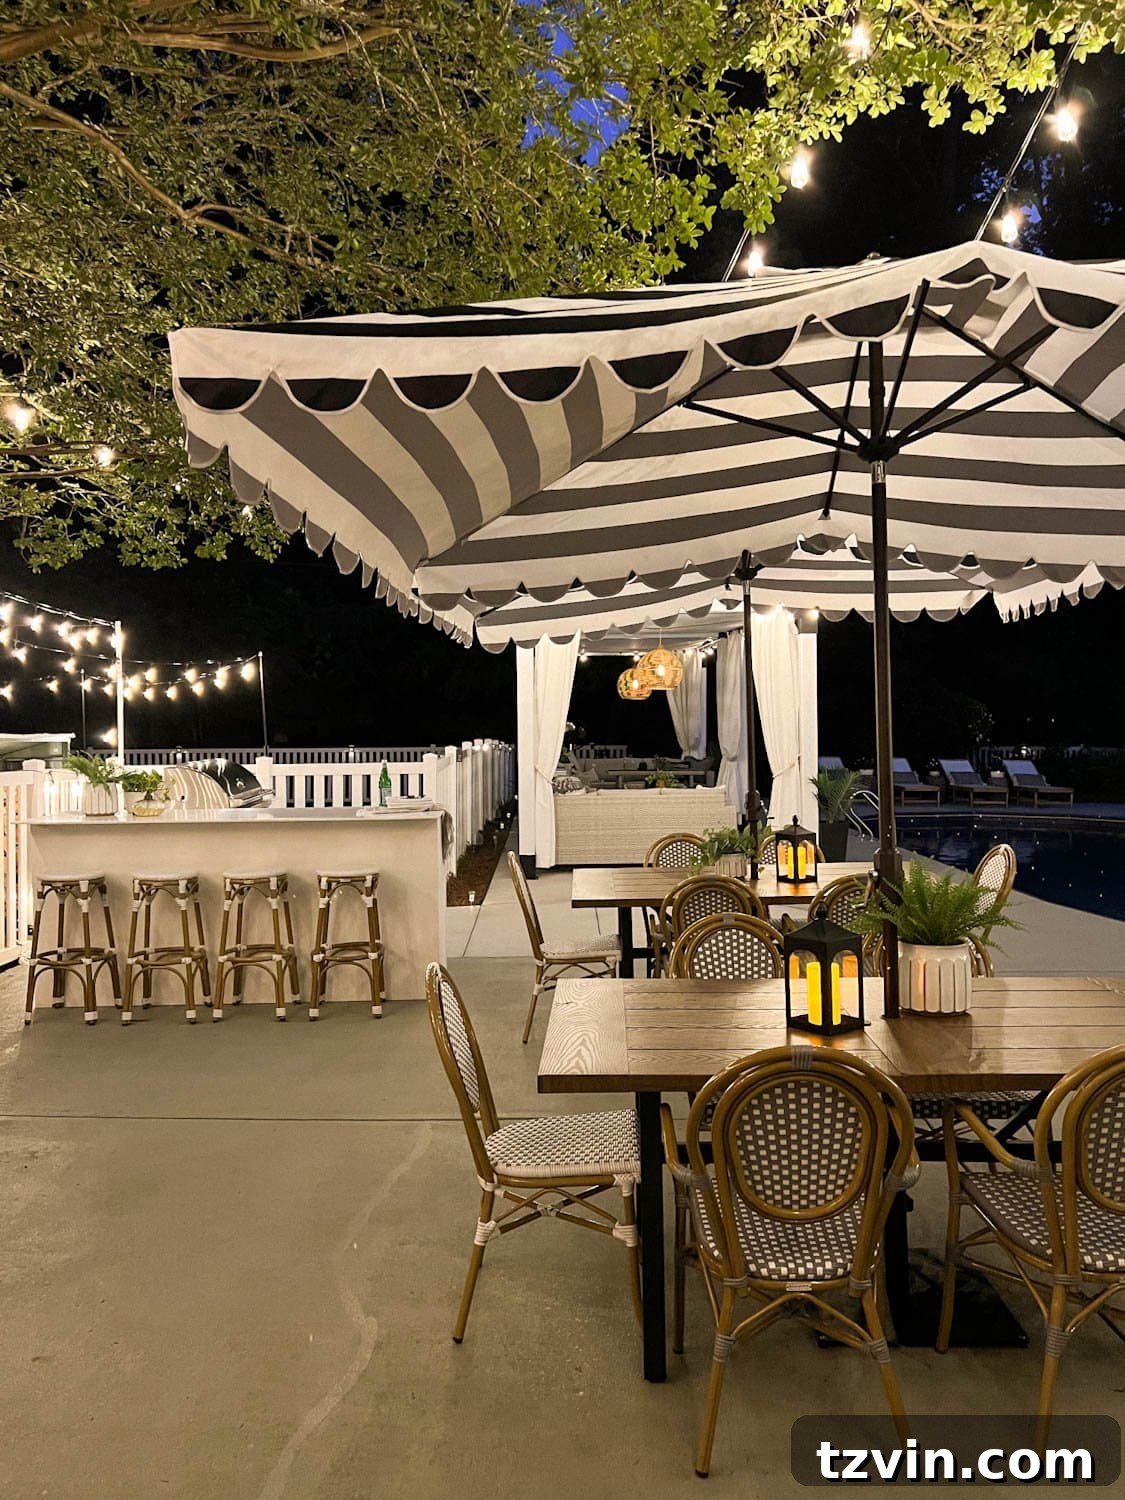
*If you’re planning to hang string lights near a pool, it is critically important to NOT hang them directly over the water. This is a severe safety hazard and violates most electrical codes. Instead, position your string lights well around the perimeter of the pool, far enough away to eliminate any risk of electrical wires or bulbs falling into the water.
Steps to Hang String Lights on a Fence Using Tubing
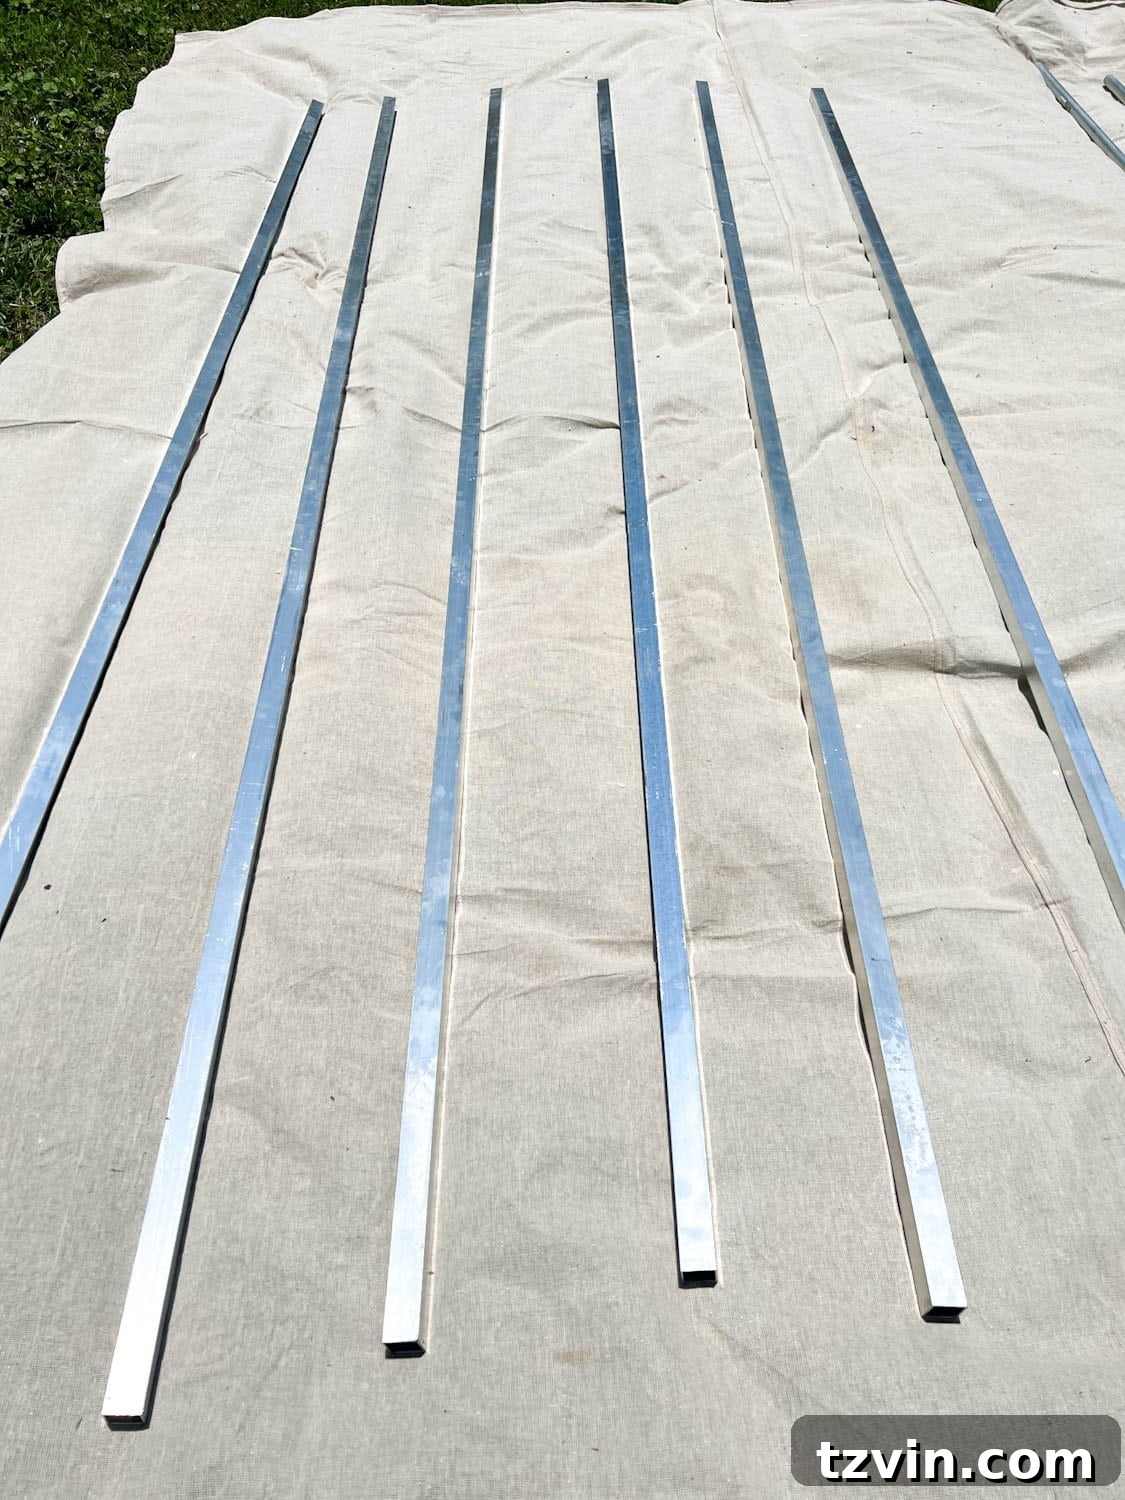
Step 1: Priming the Aluminum Tubing
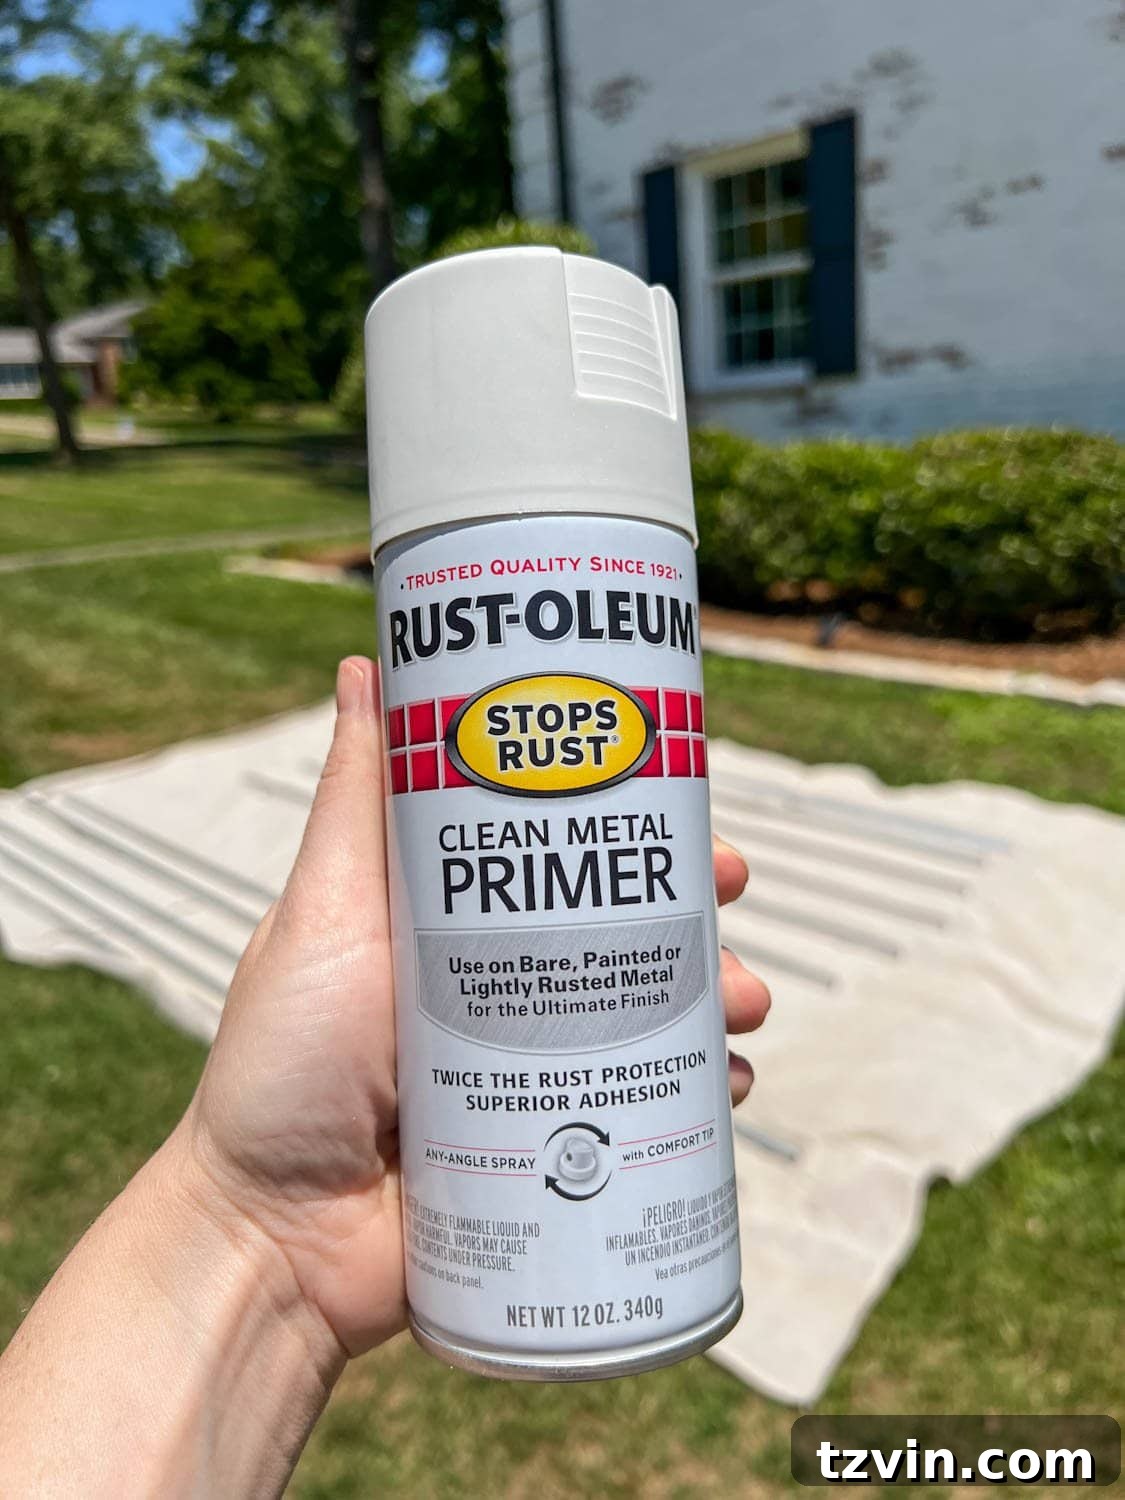
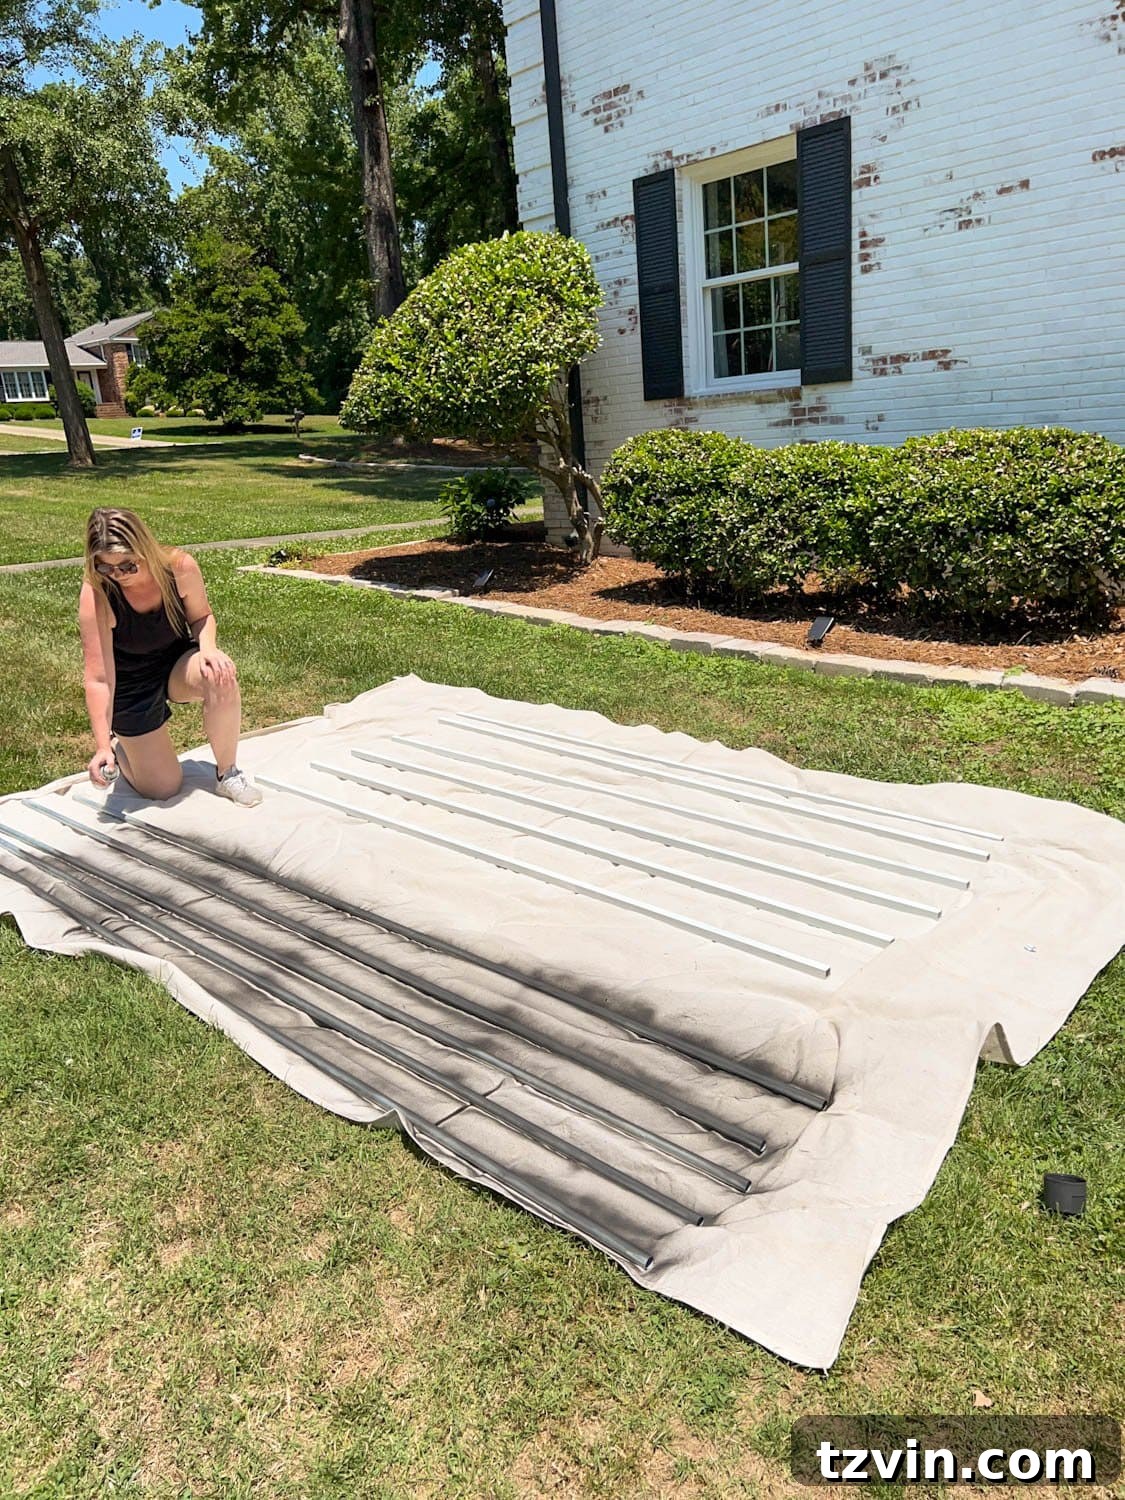
Just as with the fire pit poles, begin by applying a thin, even coat of automotive primer to all surfaces of the 1-inch aluminum square tubing. This crucial step prepares the metal for paint, ensuring excellent adhesion and providing a durable barrier against rust and corrosion, which is vital for outdoor longevity. Allow the primer to dry completely before proceeding.
Step 2: Painting the Tubing to Match Your Aesthetic
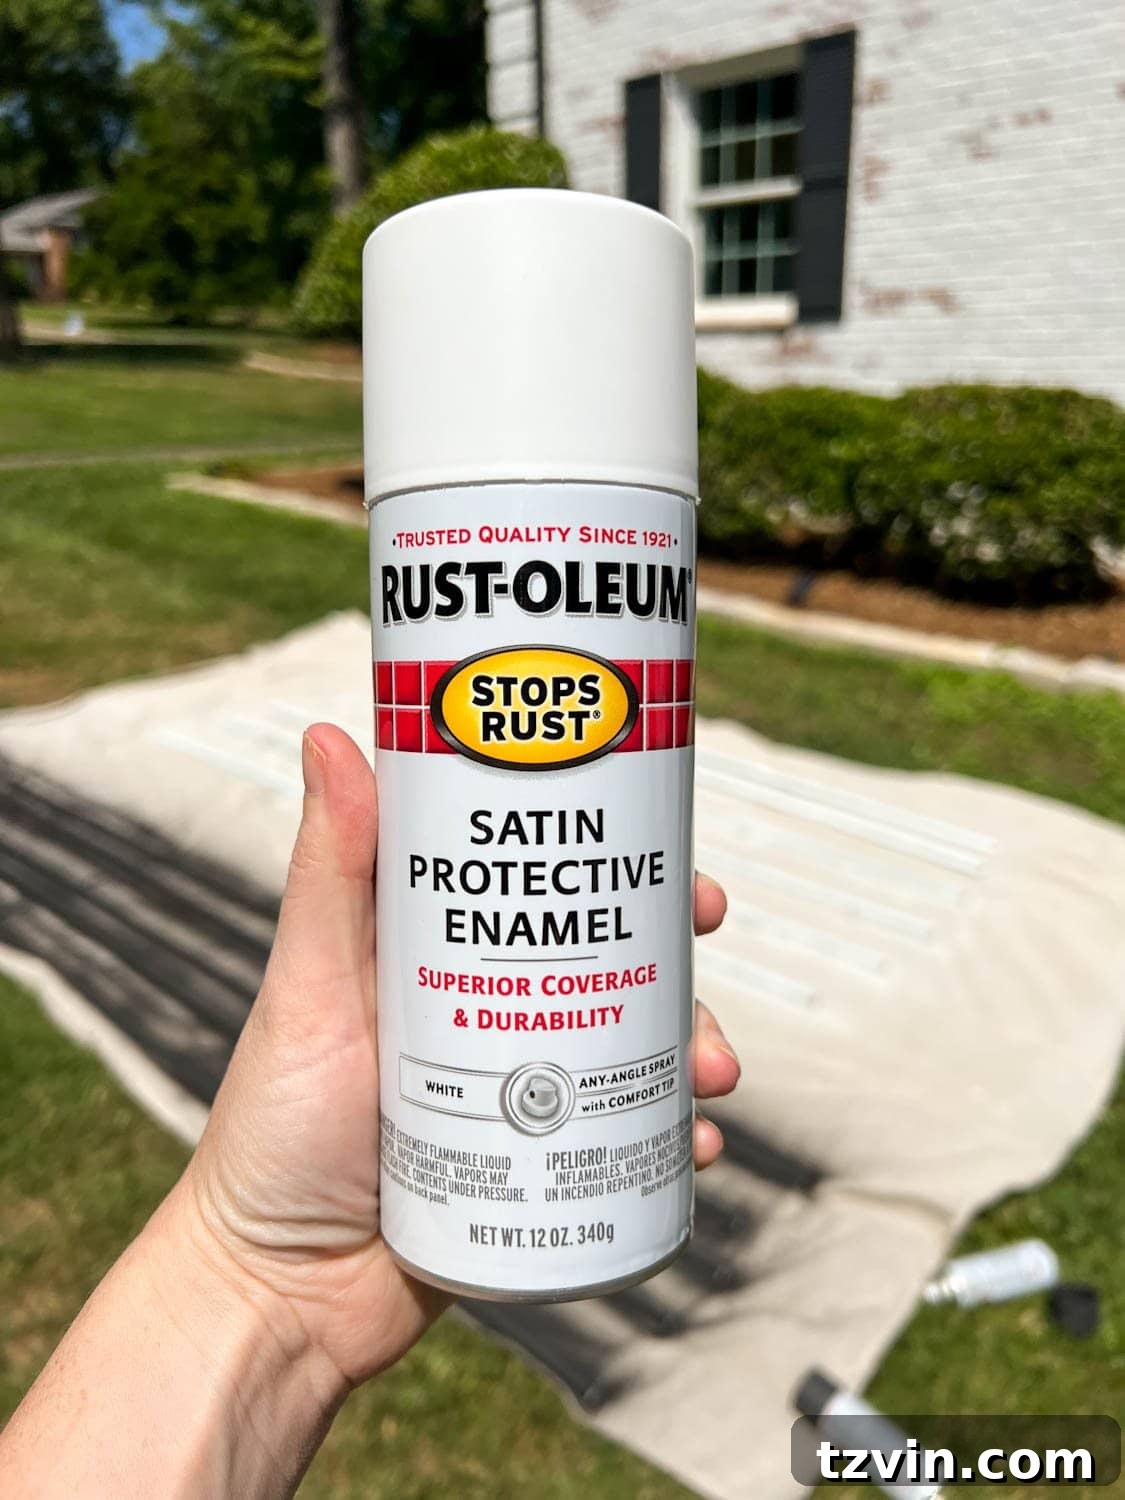
Once the primer is dry, apply 1-2 thin, even coats of spray paint in your desired color. For a fence, you might choose a color that closely matches its existing finish, such as white, black, or brown, to help the poles blend in seamlessly. Allow each coat to dry thoroughly before applying the next, and ensure the final coat is completely dry before handling and installation.
Step 3: Securely Attaching the Tubing to Your Fence
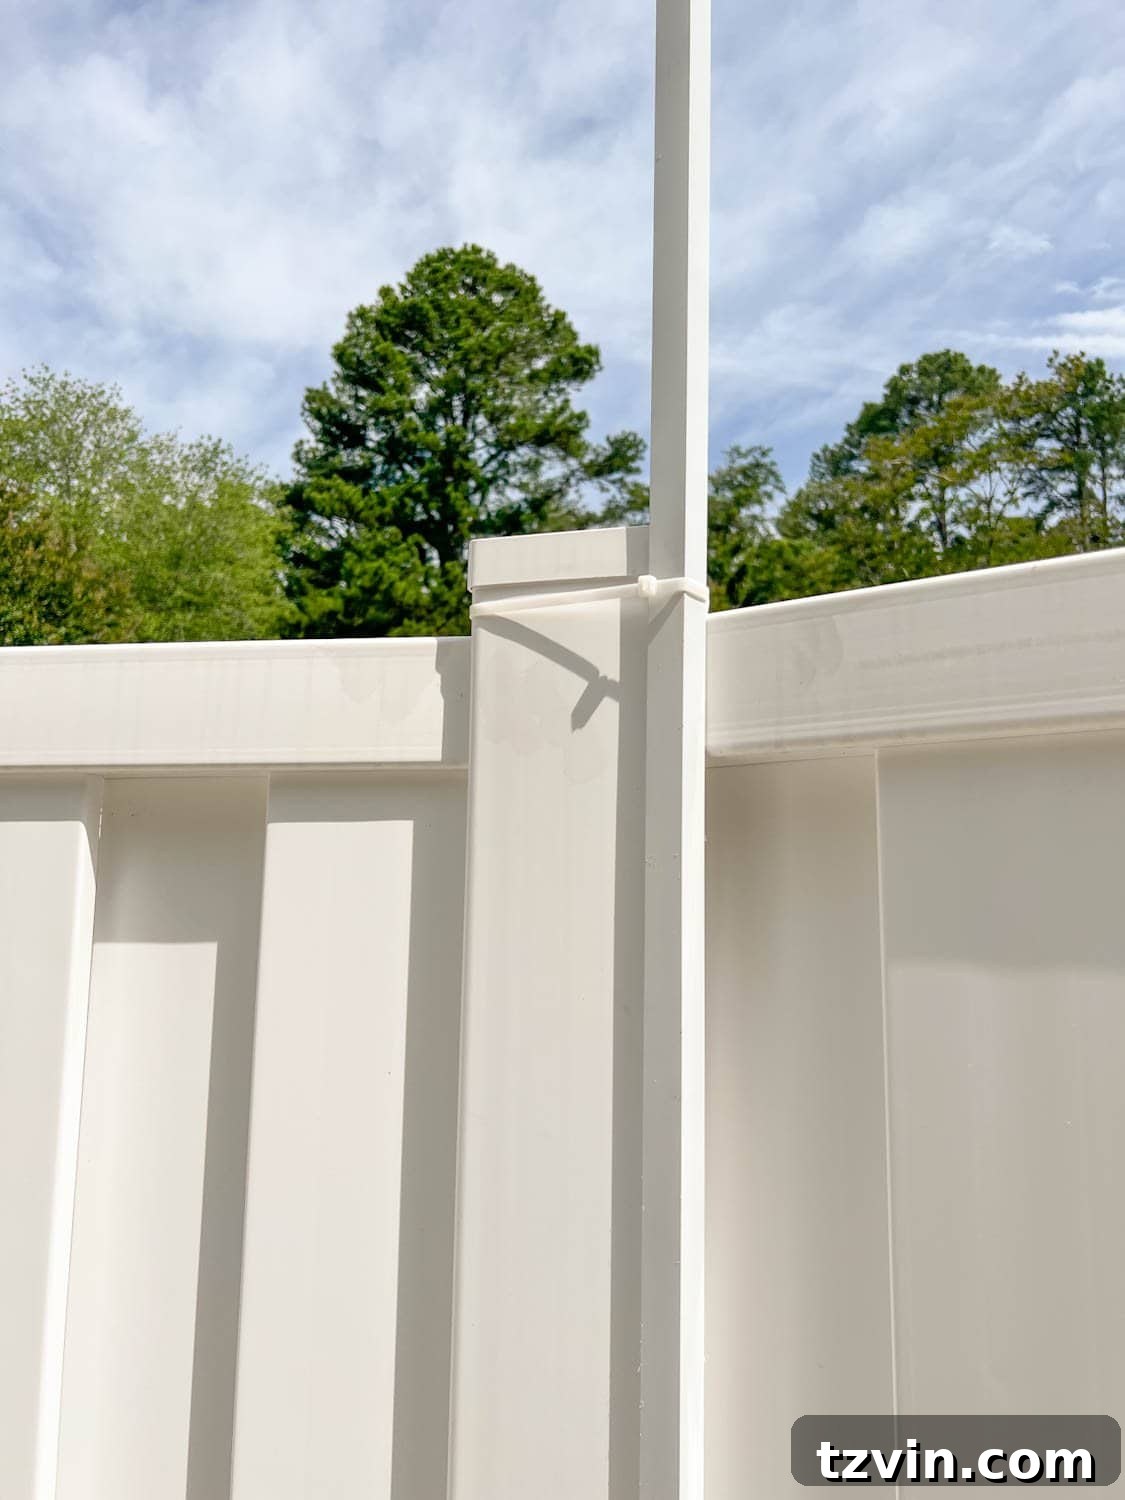
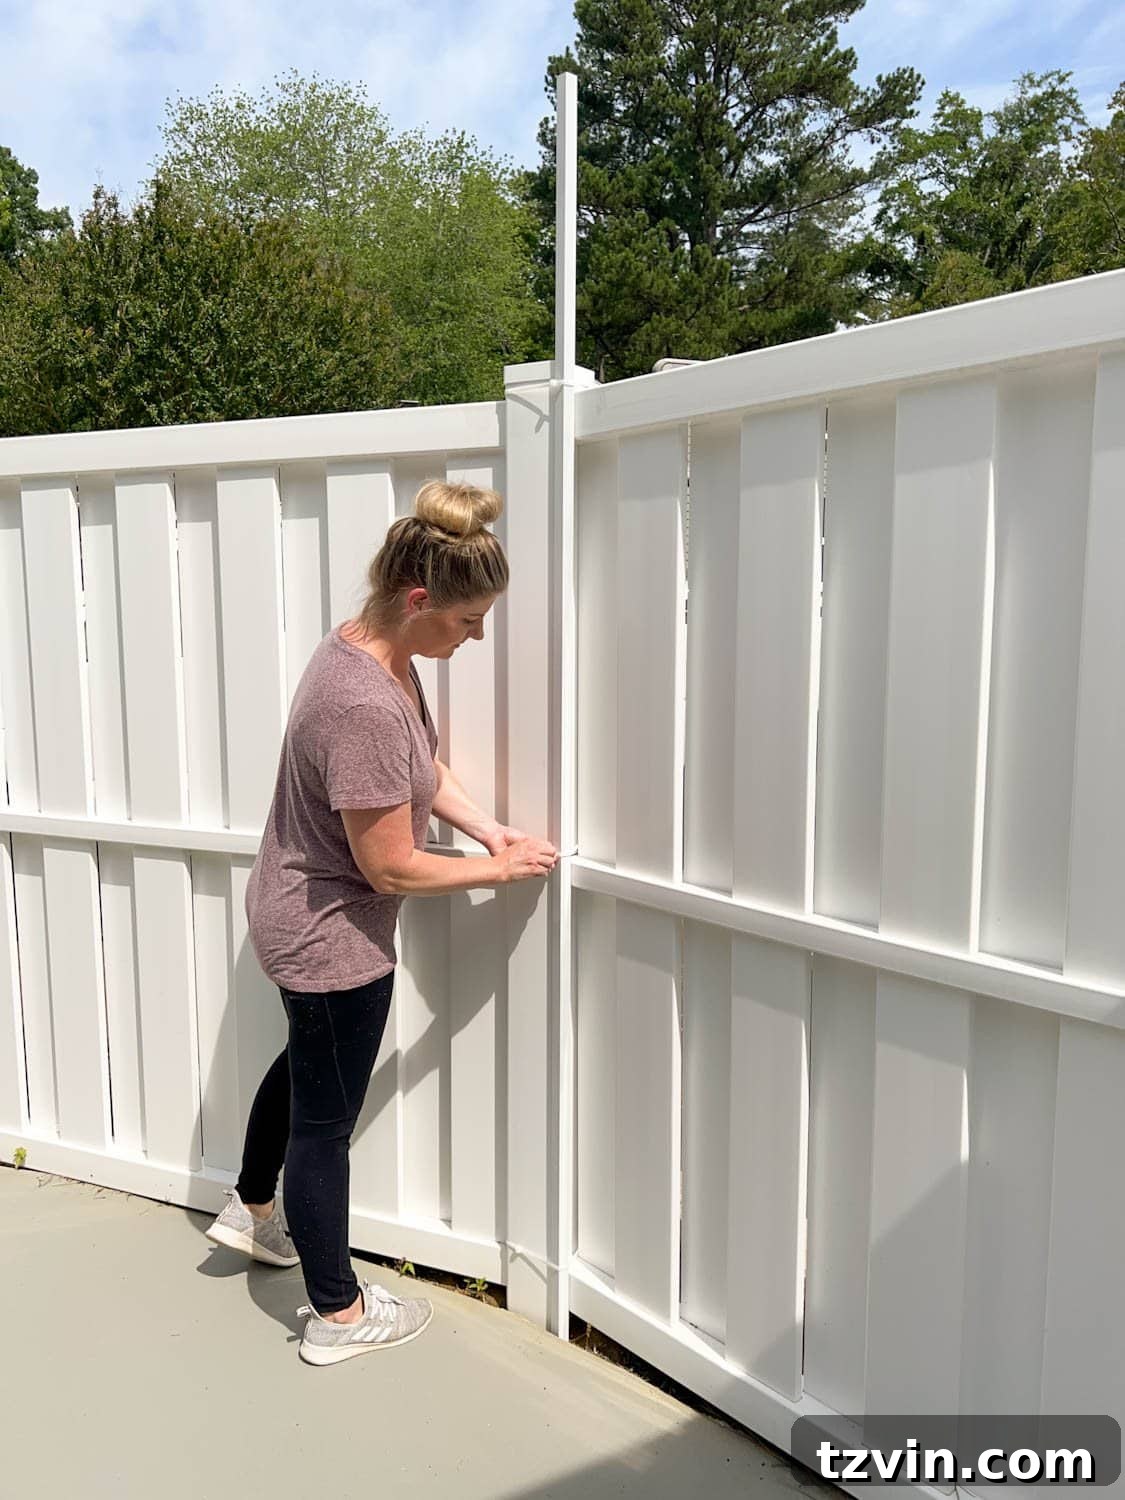
With your painted tubing ready, determine the optimal placement for your string light poles along your fence. Position each piece of square aluminum tubing vertically against a fence post. Securely attach the tubing to the fence post using long, heavy-duty zip ties. Ensure the zip ties are pulled taut enough to hold the tubing firmly in place without causing any damage to the fence itself. This method provides a stable and temporary solution that won’t leave marks.
Step 4: Trimming Zip Tie Ends for a Clean Look
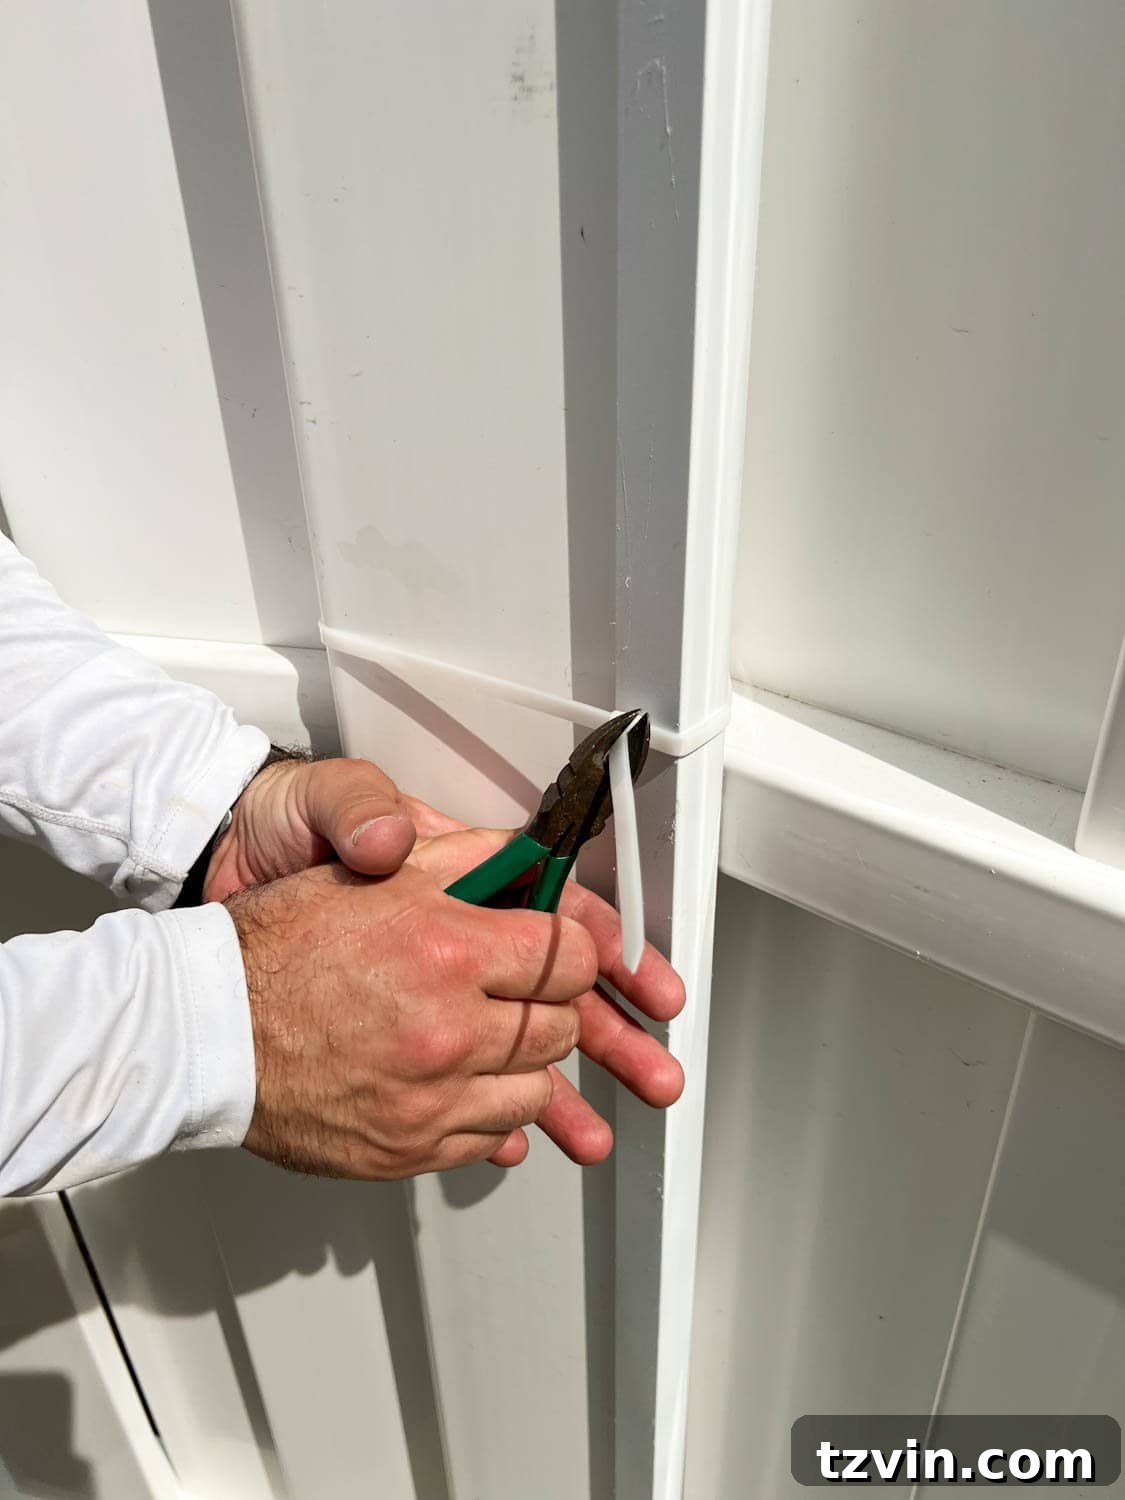
For a neat and professional finish, use wire cutting pliers to carefully snip off any excess length from the zip ties. Trim them as close to the locking mechanism as possible. This prevents unsightly dangly bits and ensures a clean aesthetic that won’t detract from your beautiful lighting display.
Step 5: Installing Eye Hooks for Cable Attachment
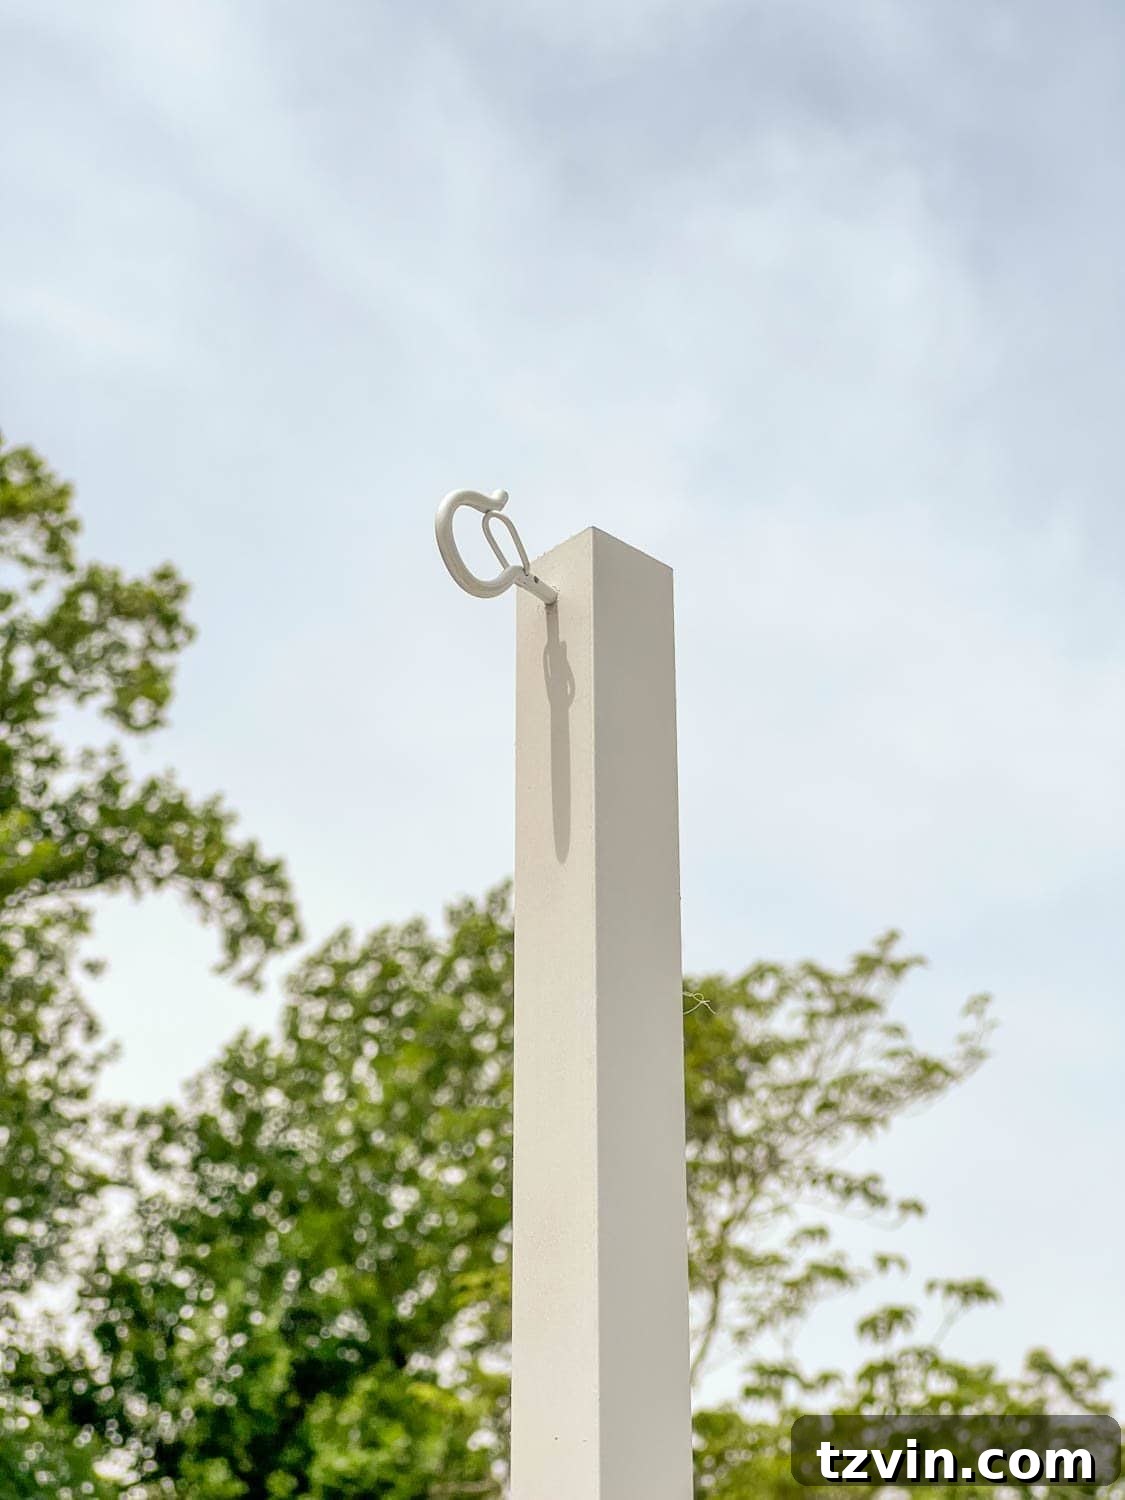
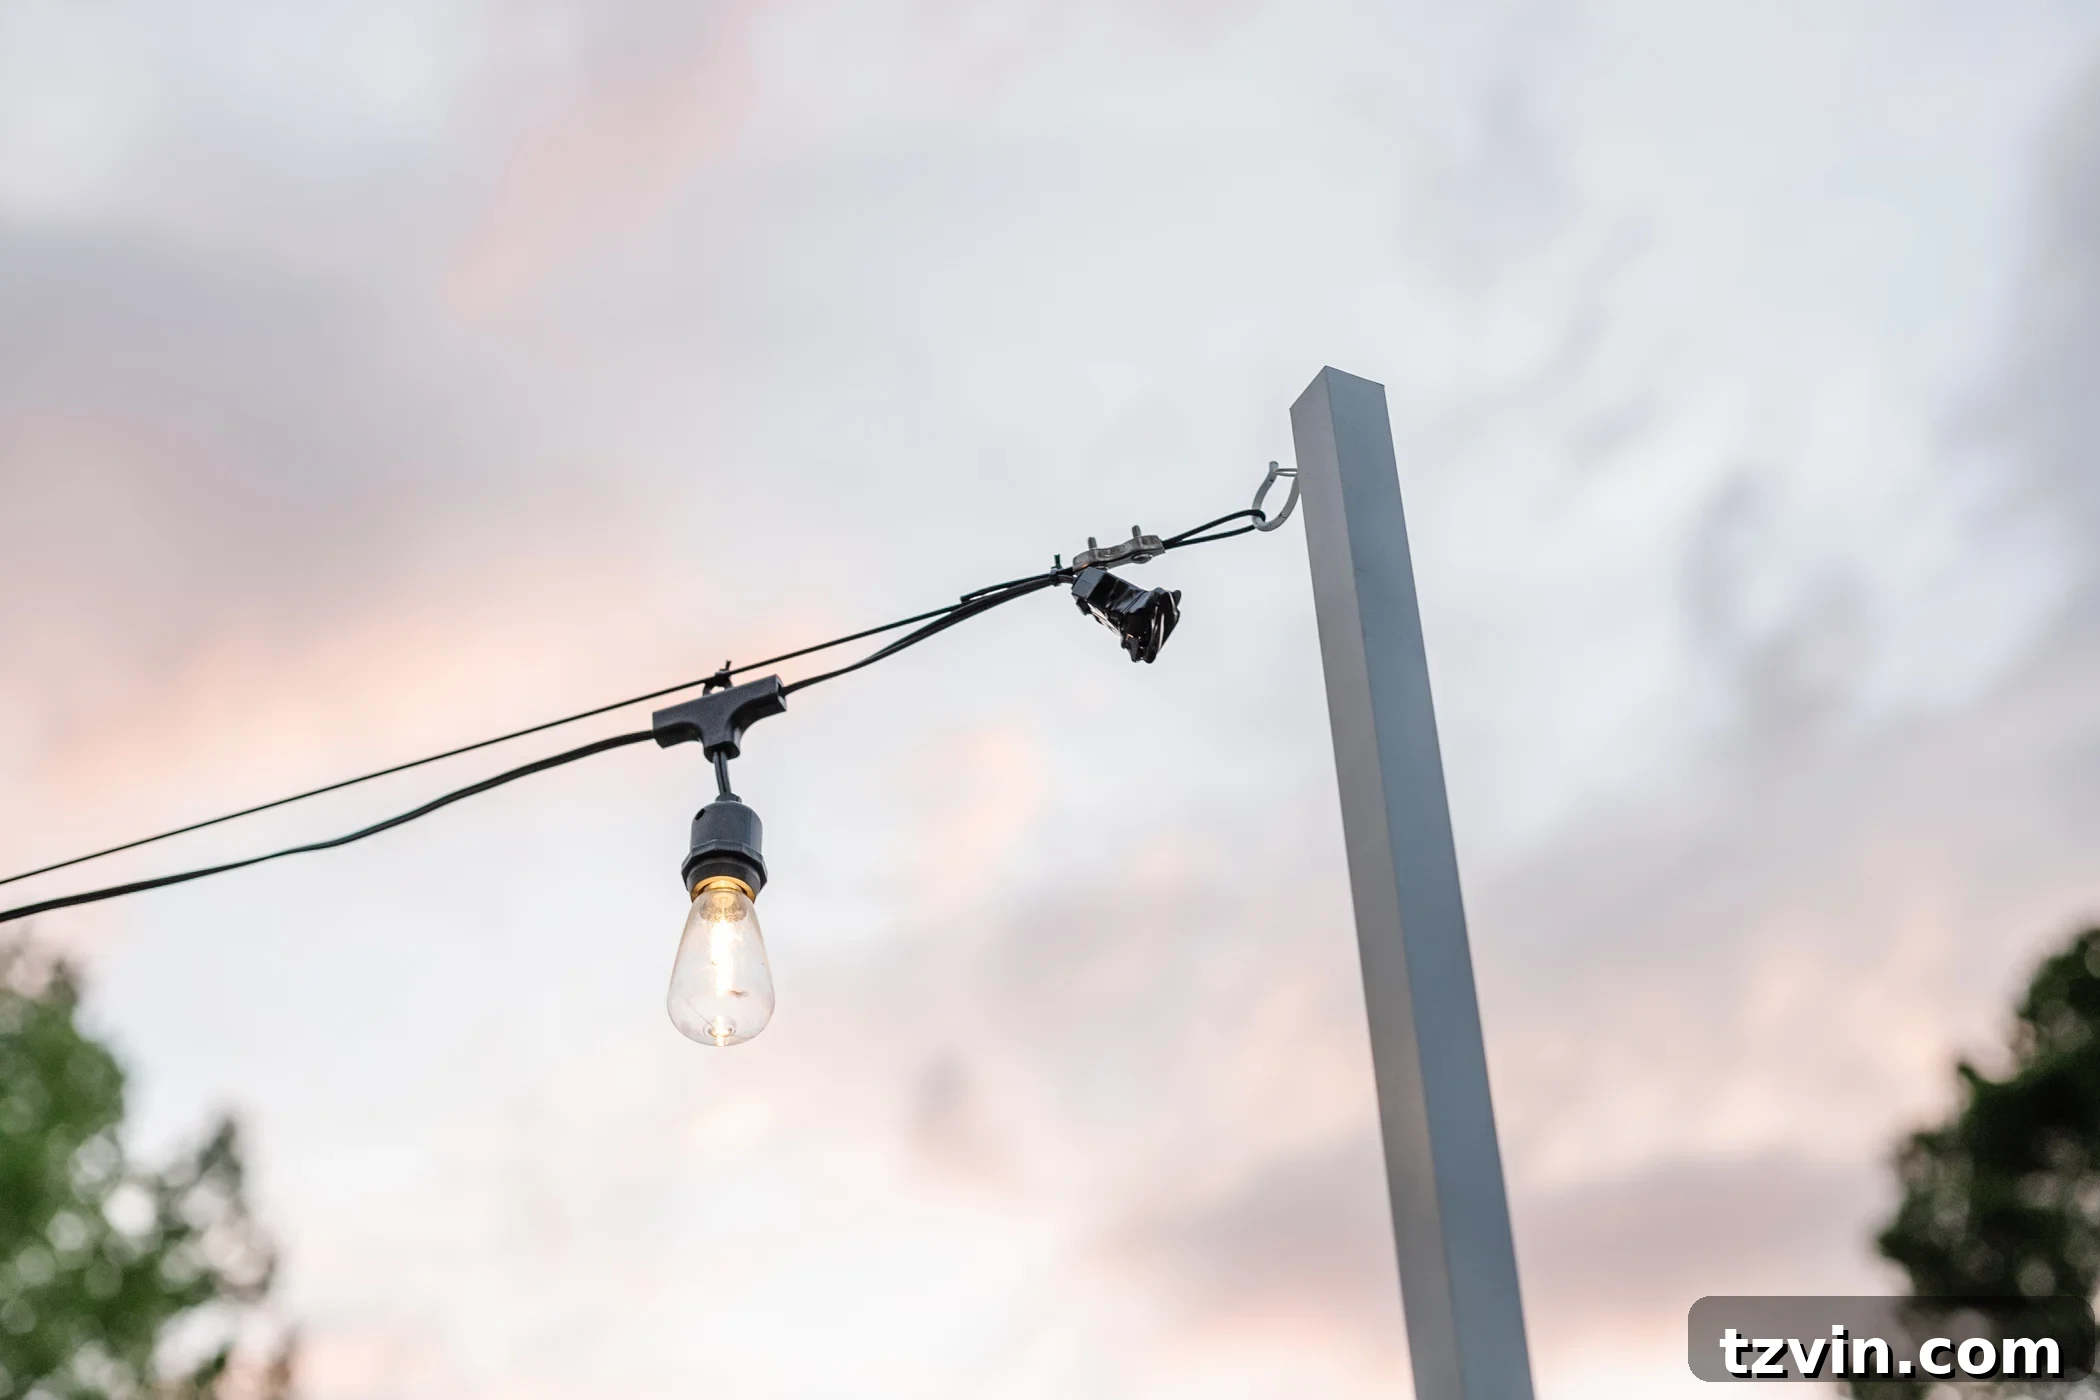
At the top of each aluminum tubing, use a drill with a 5/32-inch drill bit to create a pilot hole through one side of the tubing. This pilot hole will guide your eye hook. Screw in a cup hook with a safety buckle firmly until it is secure. These hooks will serve as the primary attachment points for your string light cable, providing a robust and reliable anchor for the entire lighting system.
Step 6: Identifying End Points and Attaching Wall Brackets
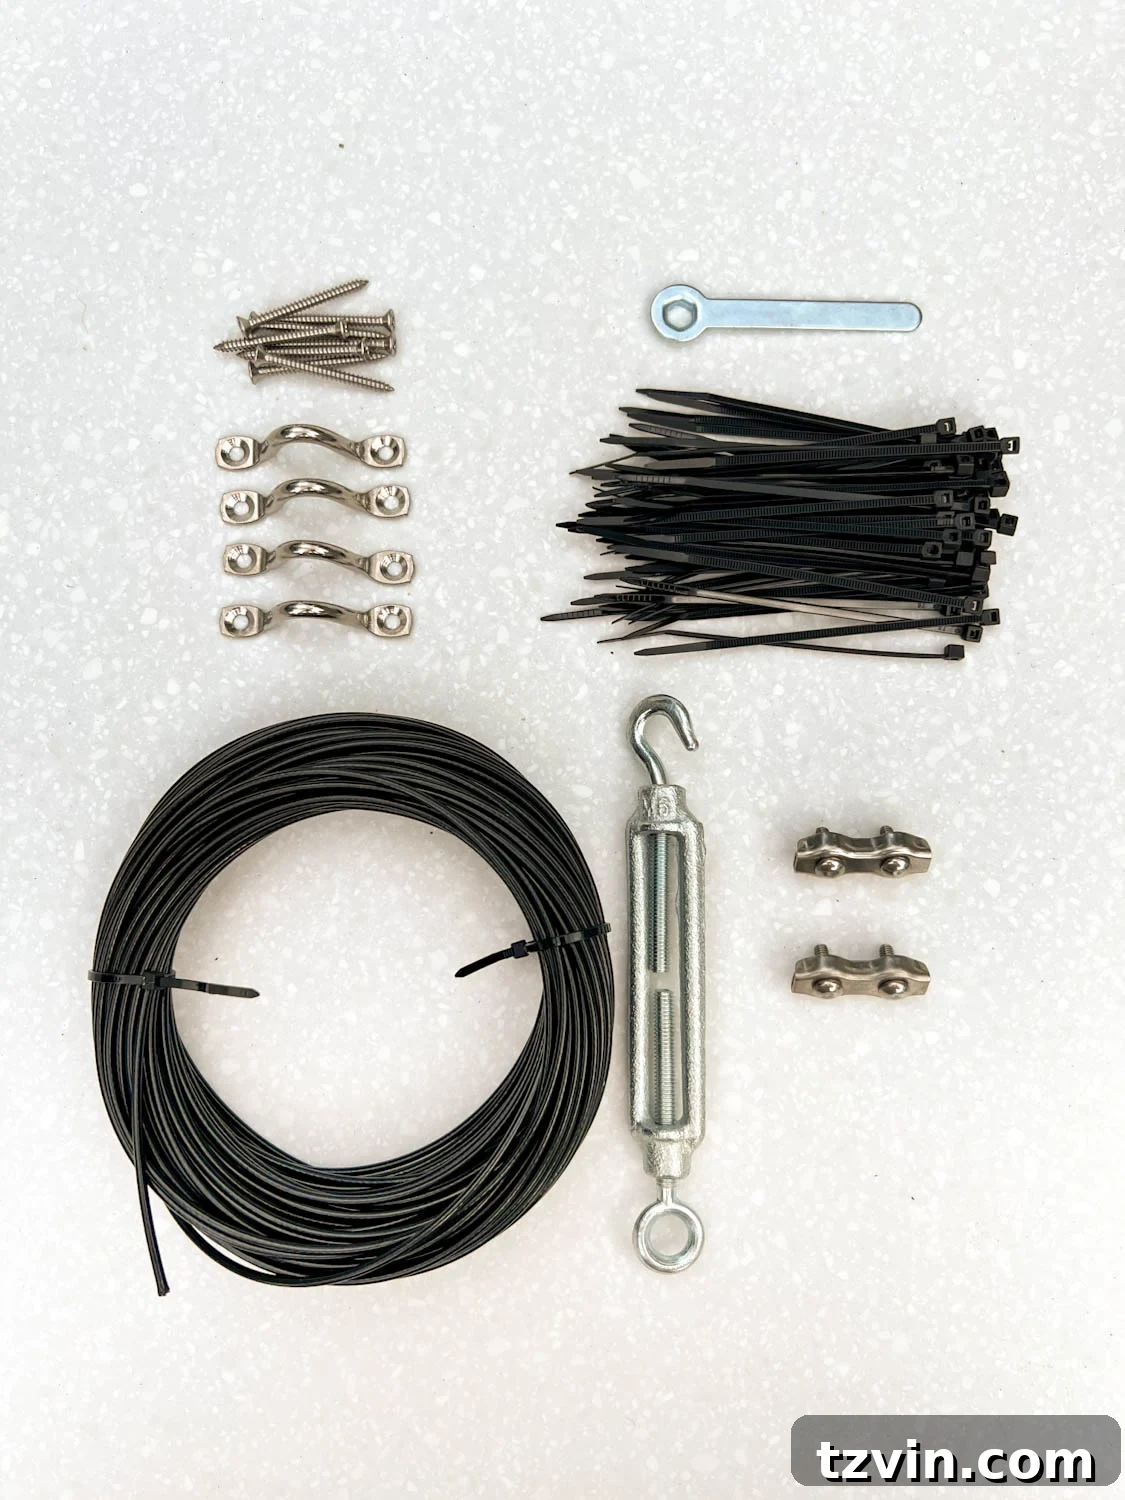
Beyond your fence, identify any nearby permanent structures (such as your house, a shed, or a pergola) that can serve as additional anchor points for your string lights. These typically include eaves, soffits, or flat siding. Using your drill, securely attach the brackets from your string light hanging kit to these chosen end points. These brackets will work in conjunction with your fence poles to create the overall lighting design, providing necessary support for longer runs.
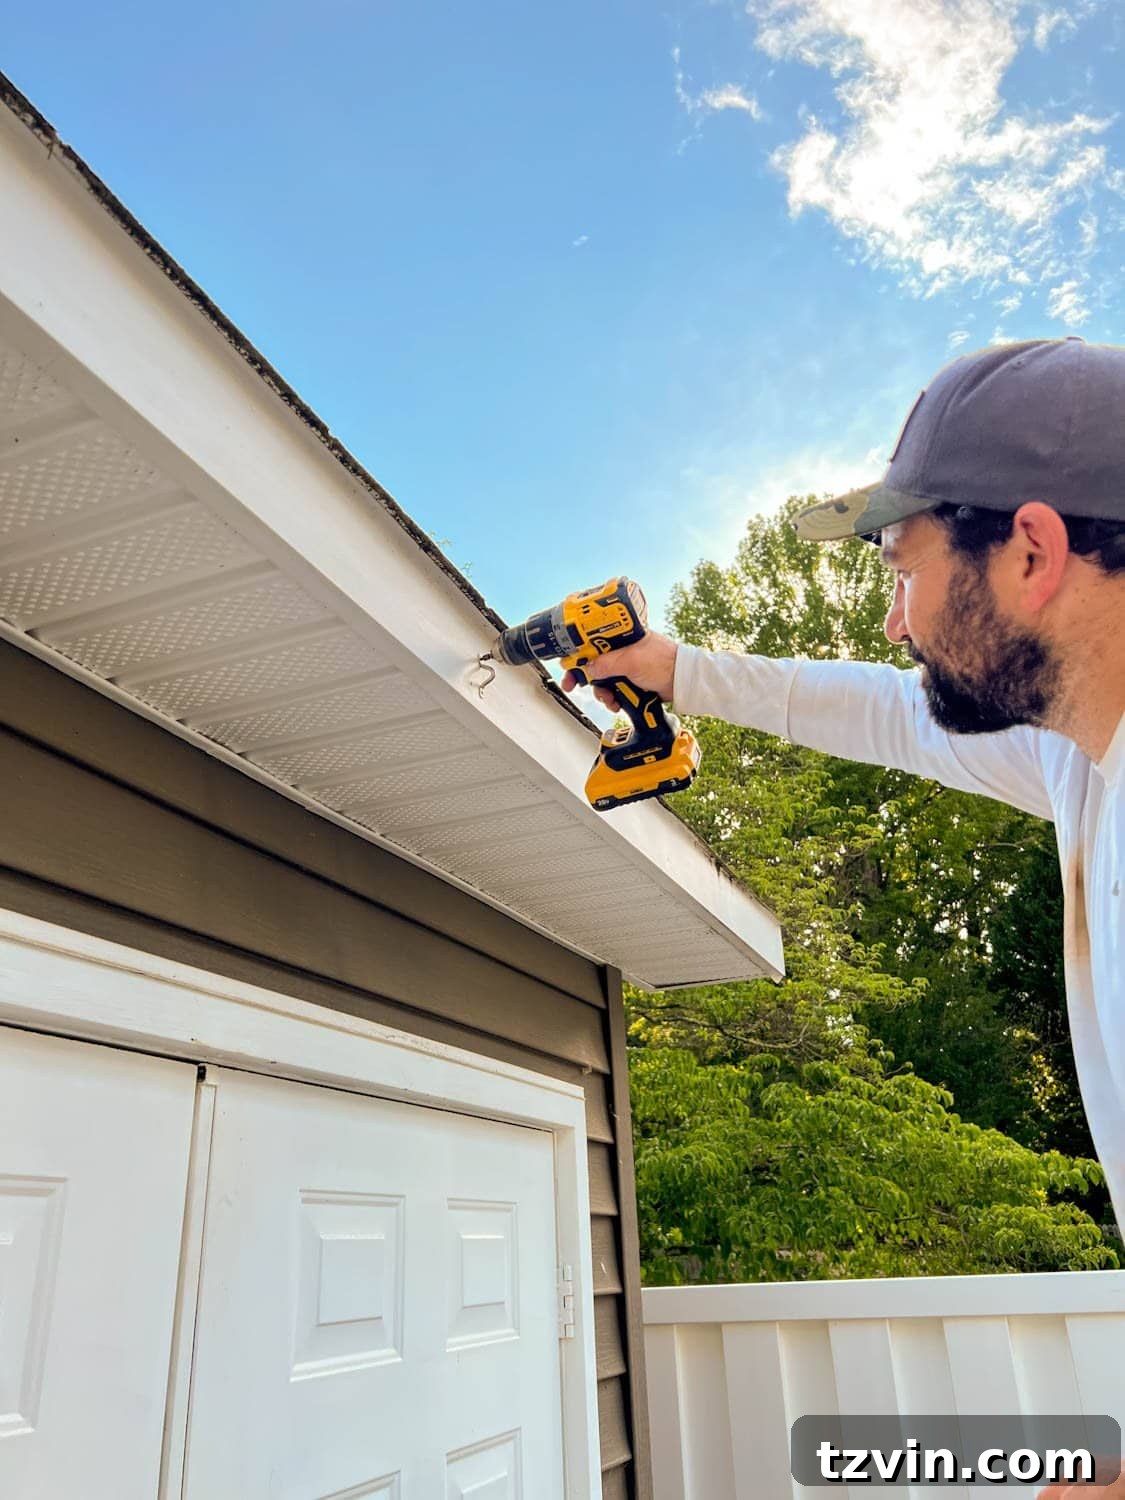
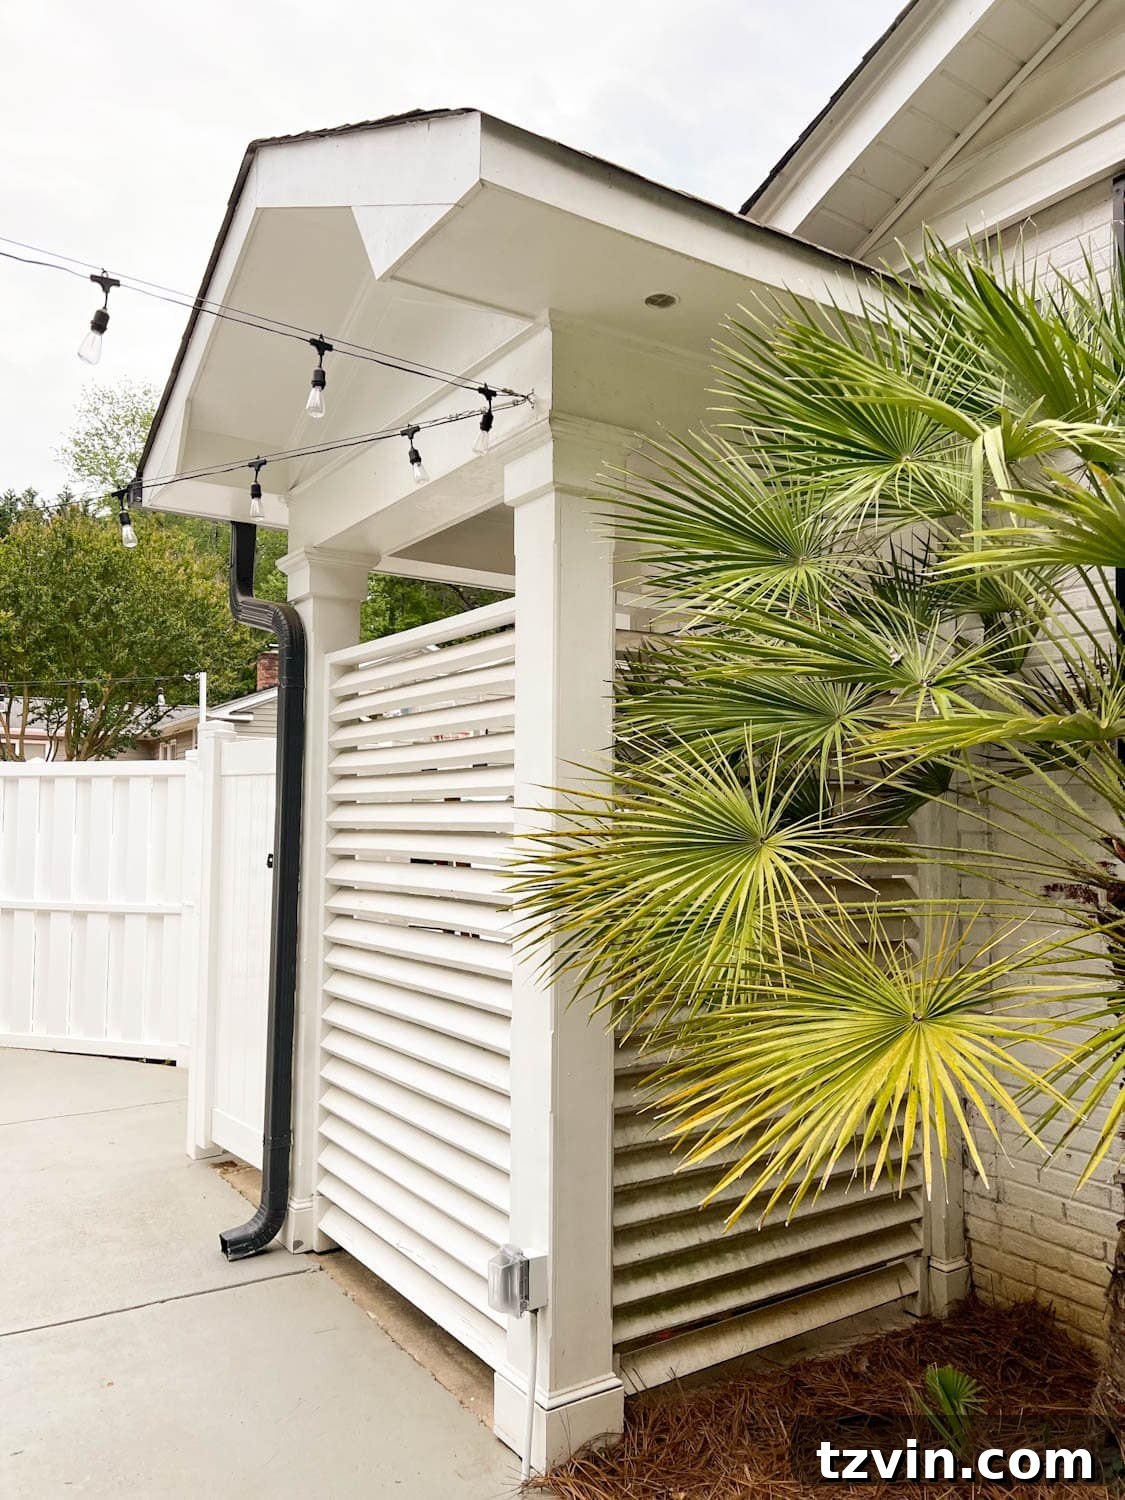
Step 7: Installing the Support Cables with Proper Tension
Now, take the support cables from your string light kit. Attach one end to a bracket on a building and the other to an eye hook on one of your fence tubing poles, following the kit’s recommended hardware and methods. As you extend the cables, pull them taut between all anchor points (brackets and eye hooks). Maintaining good tension is vital; it prevents the string lights from sagging in the middle, creating a clean, crisp, and professional look that withstands environmental factors.
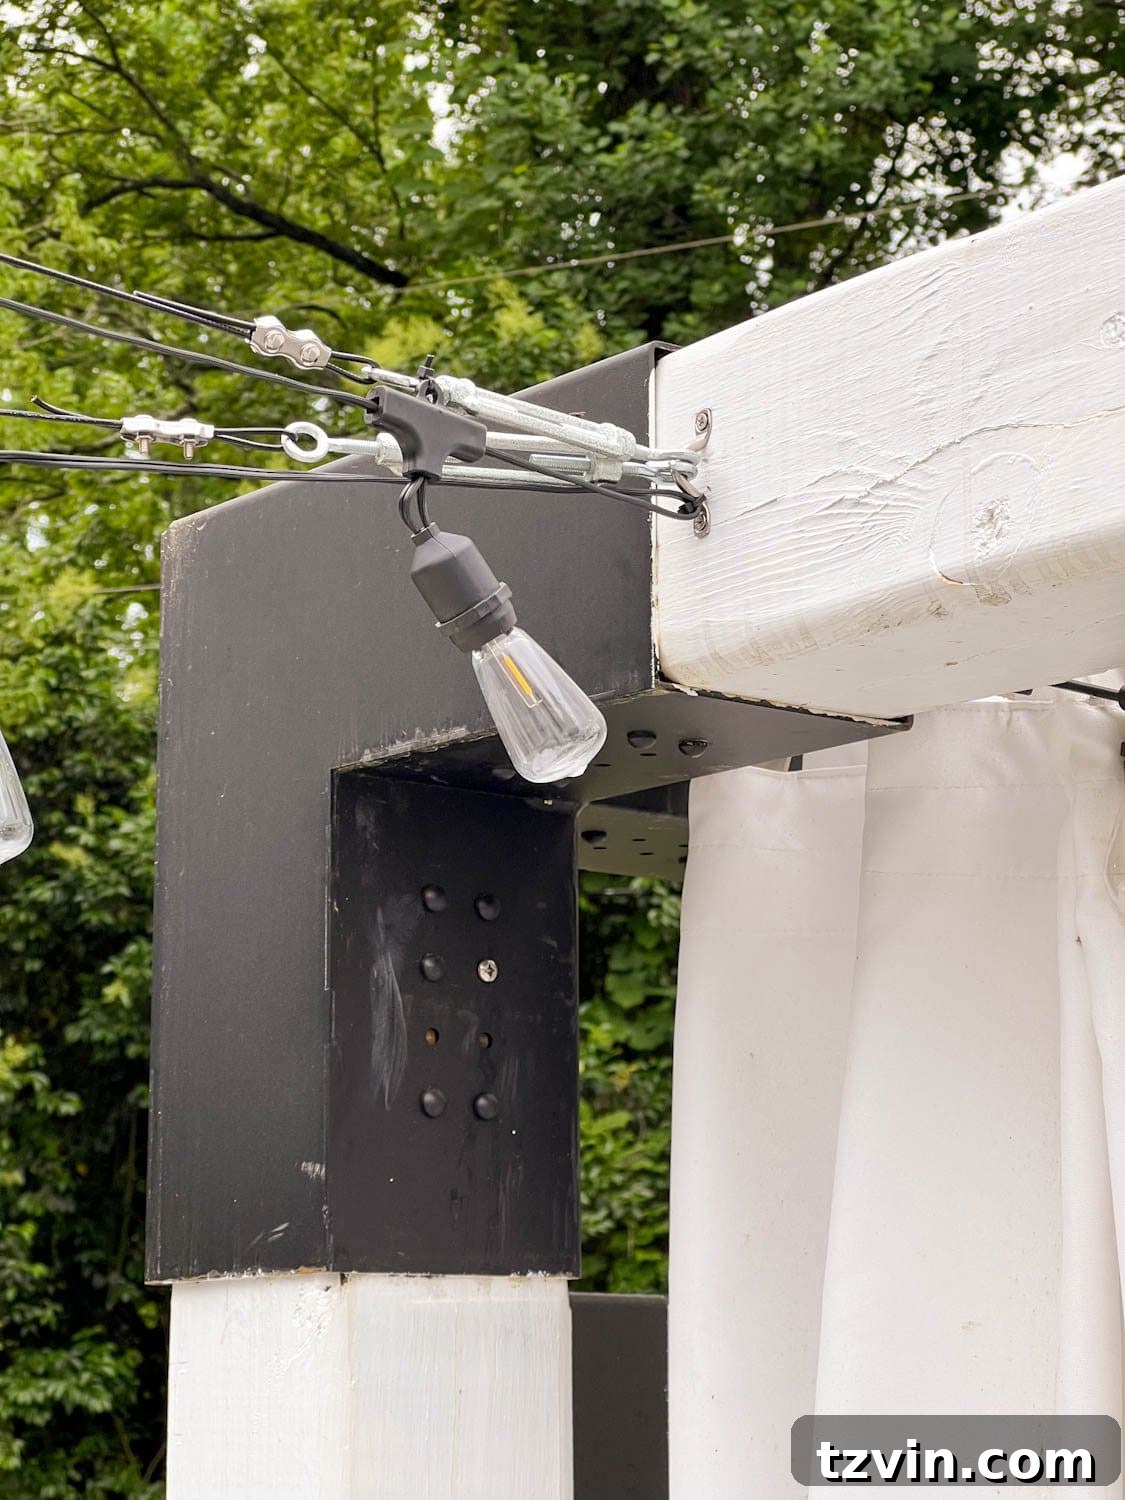
Step 8: Attaching the String Lights to the Cables
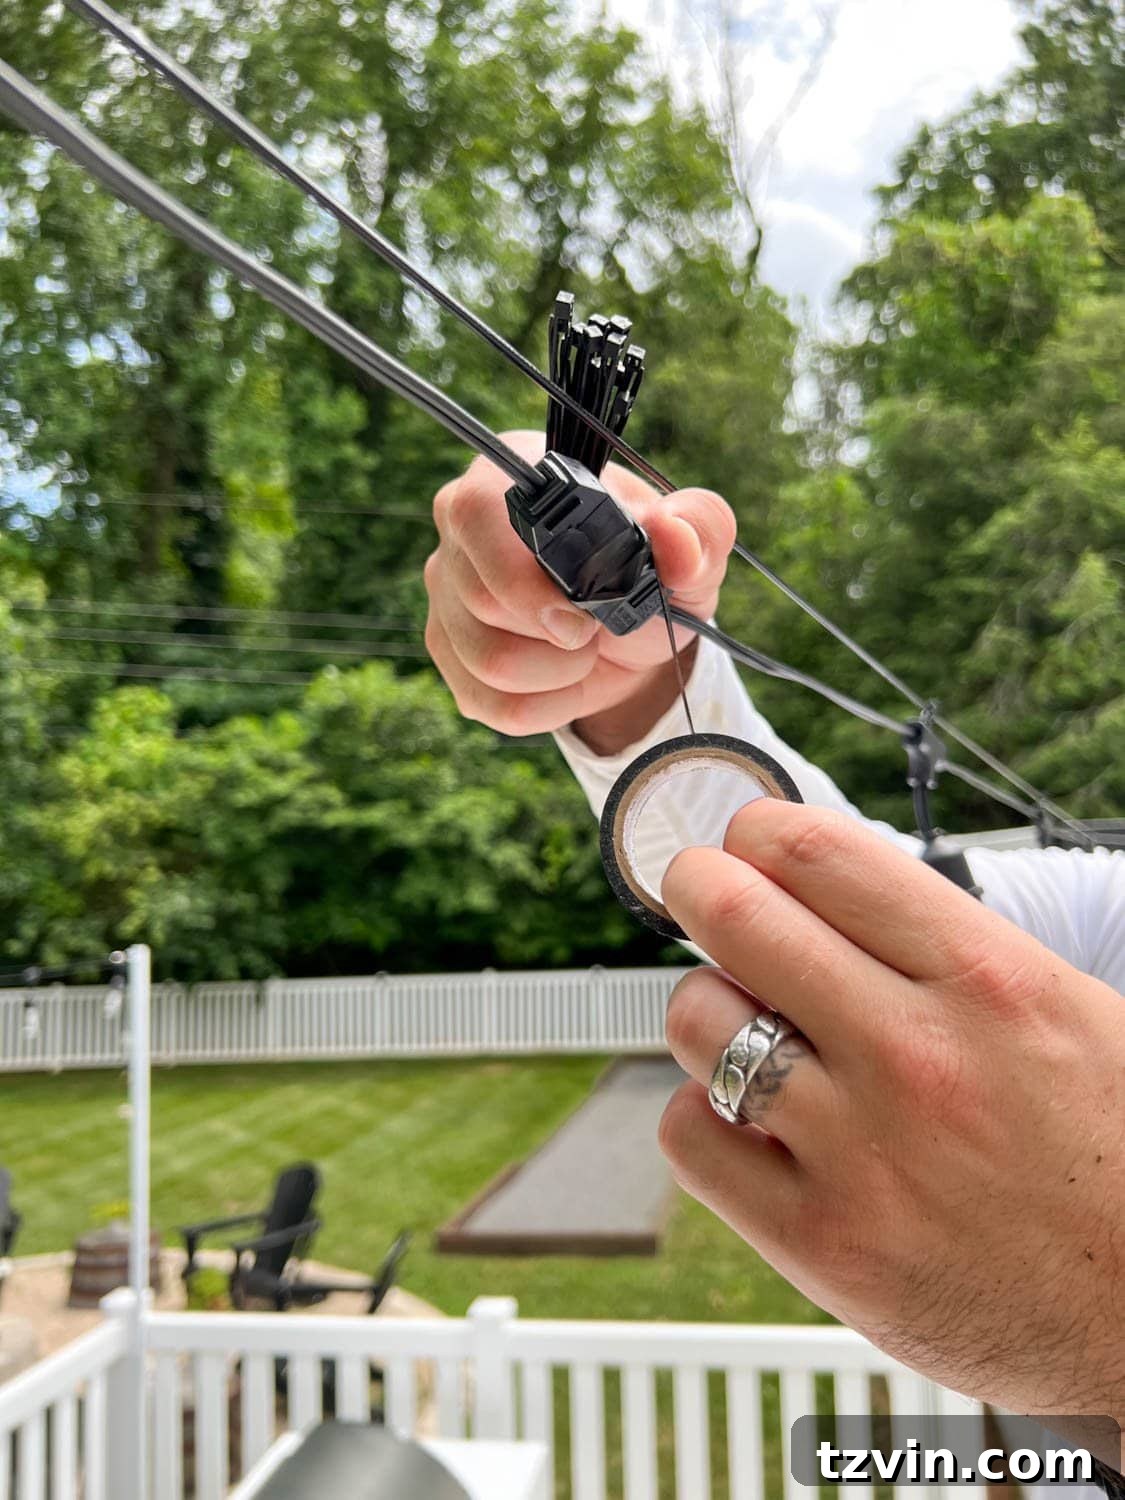
Begin by plugging in your first string light strand to the nearest accessible outdoor power outlet. Starting from that point, drape the lights along the installed support cable. For each light bulb socket, use the small zip ties from your kit to securely fasten it to the cable. This ensures the lights stay uniformly spaced and prevents them from shifting. After each attachment, use your wire cutting pliers to snip off any excess zip tie material for a clean finish.
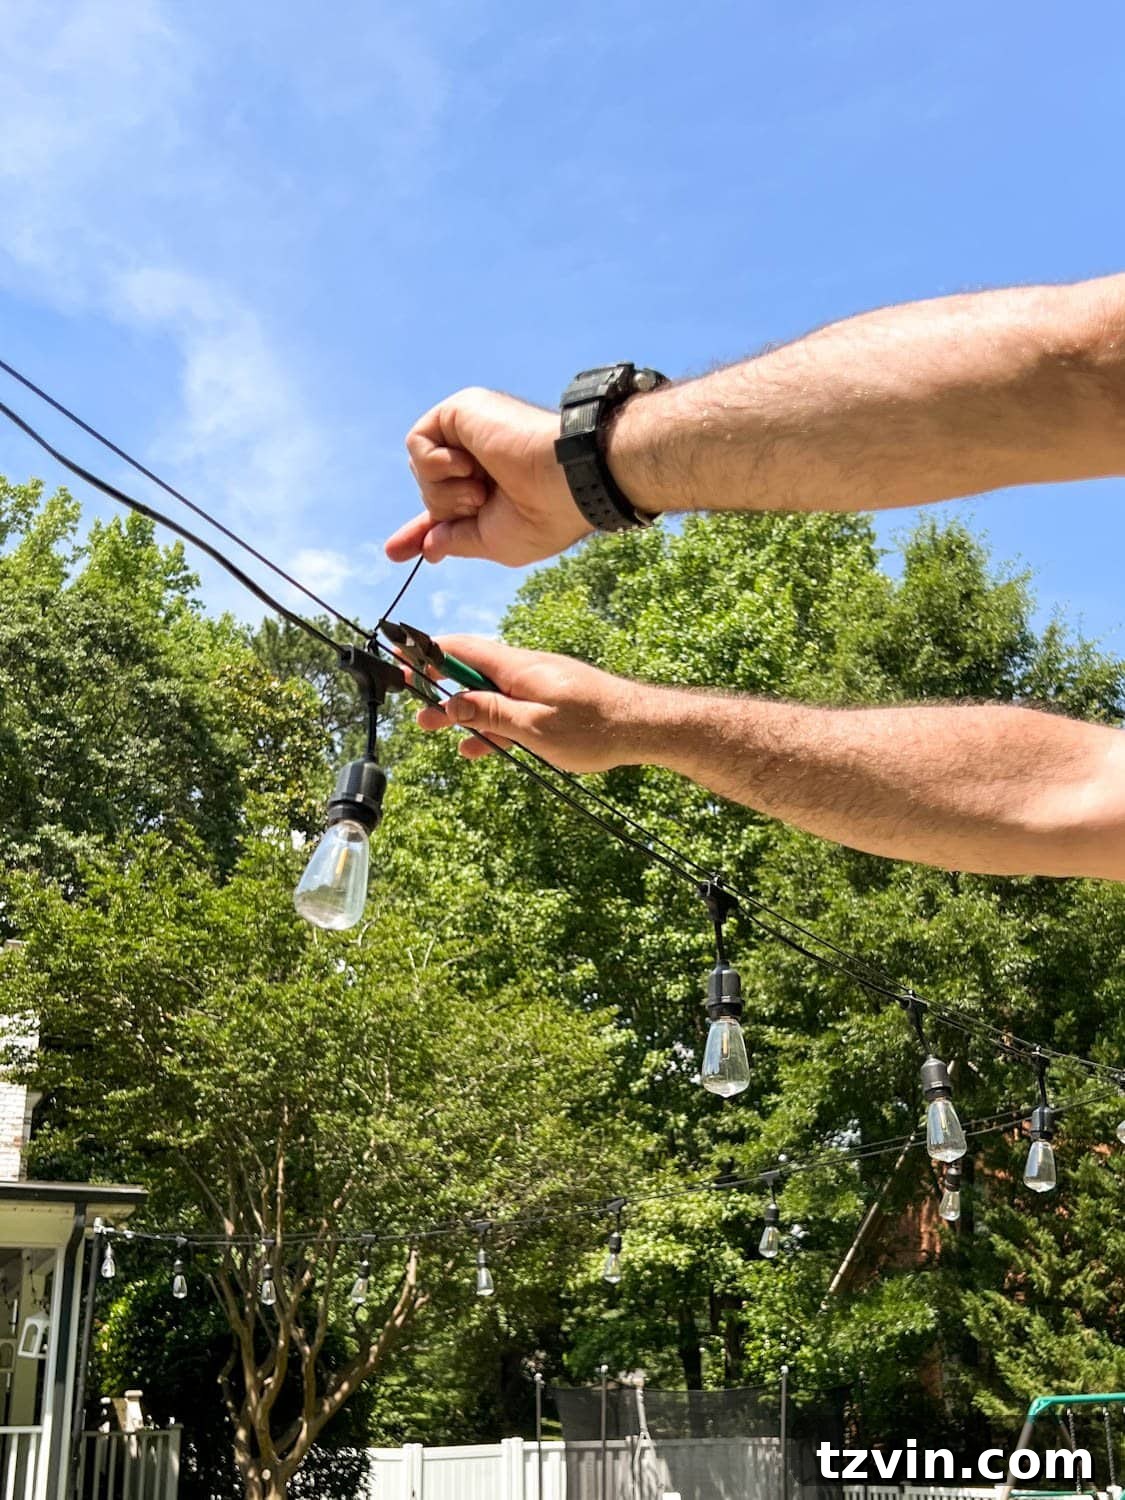
Step 9: Securing Plug Connections with Electrical Tape
To prevent string light strands from disconnecting due to tension, wind, or accidental bumps, wrap black electrical tape tightly around all plug-in connections between strands. This provides an essential layer of security, keeping the connections snug and protected from moisture. Repeat Steps 8 and 9 until all your string lights are hung and connected along your cables, reaching your final anchor point.
Step 10: Connecting to Power and Setting Up Automation
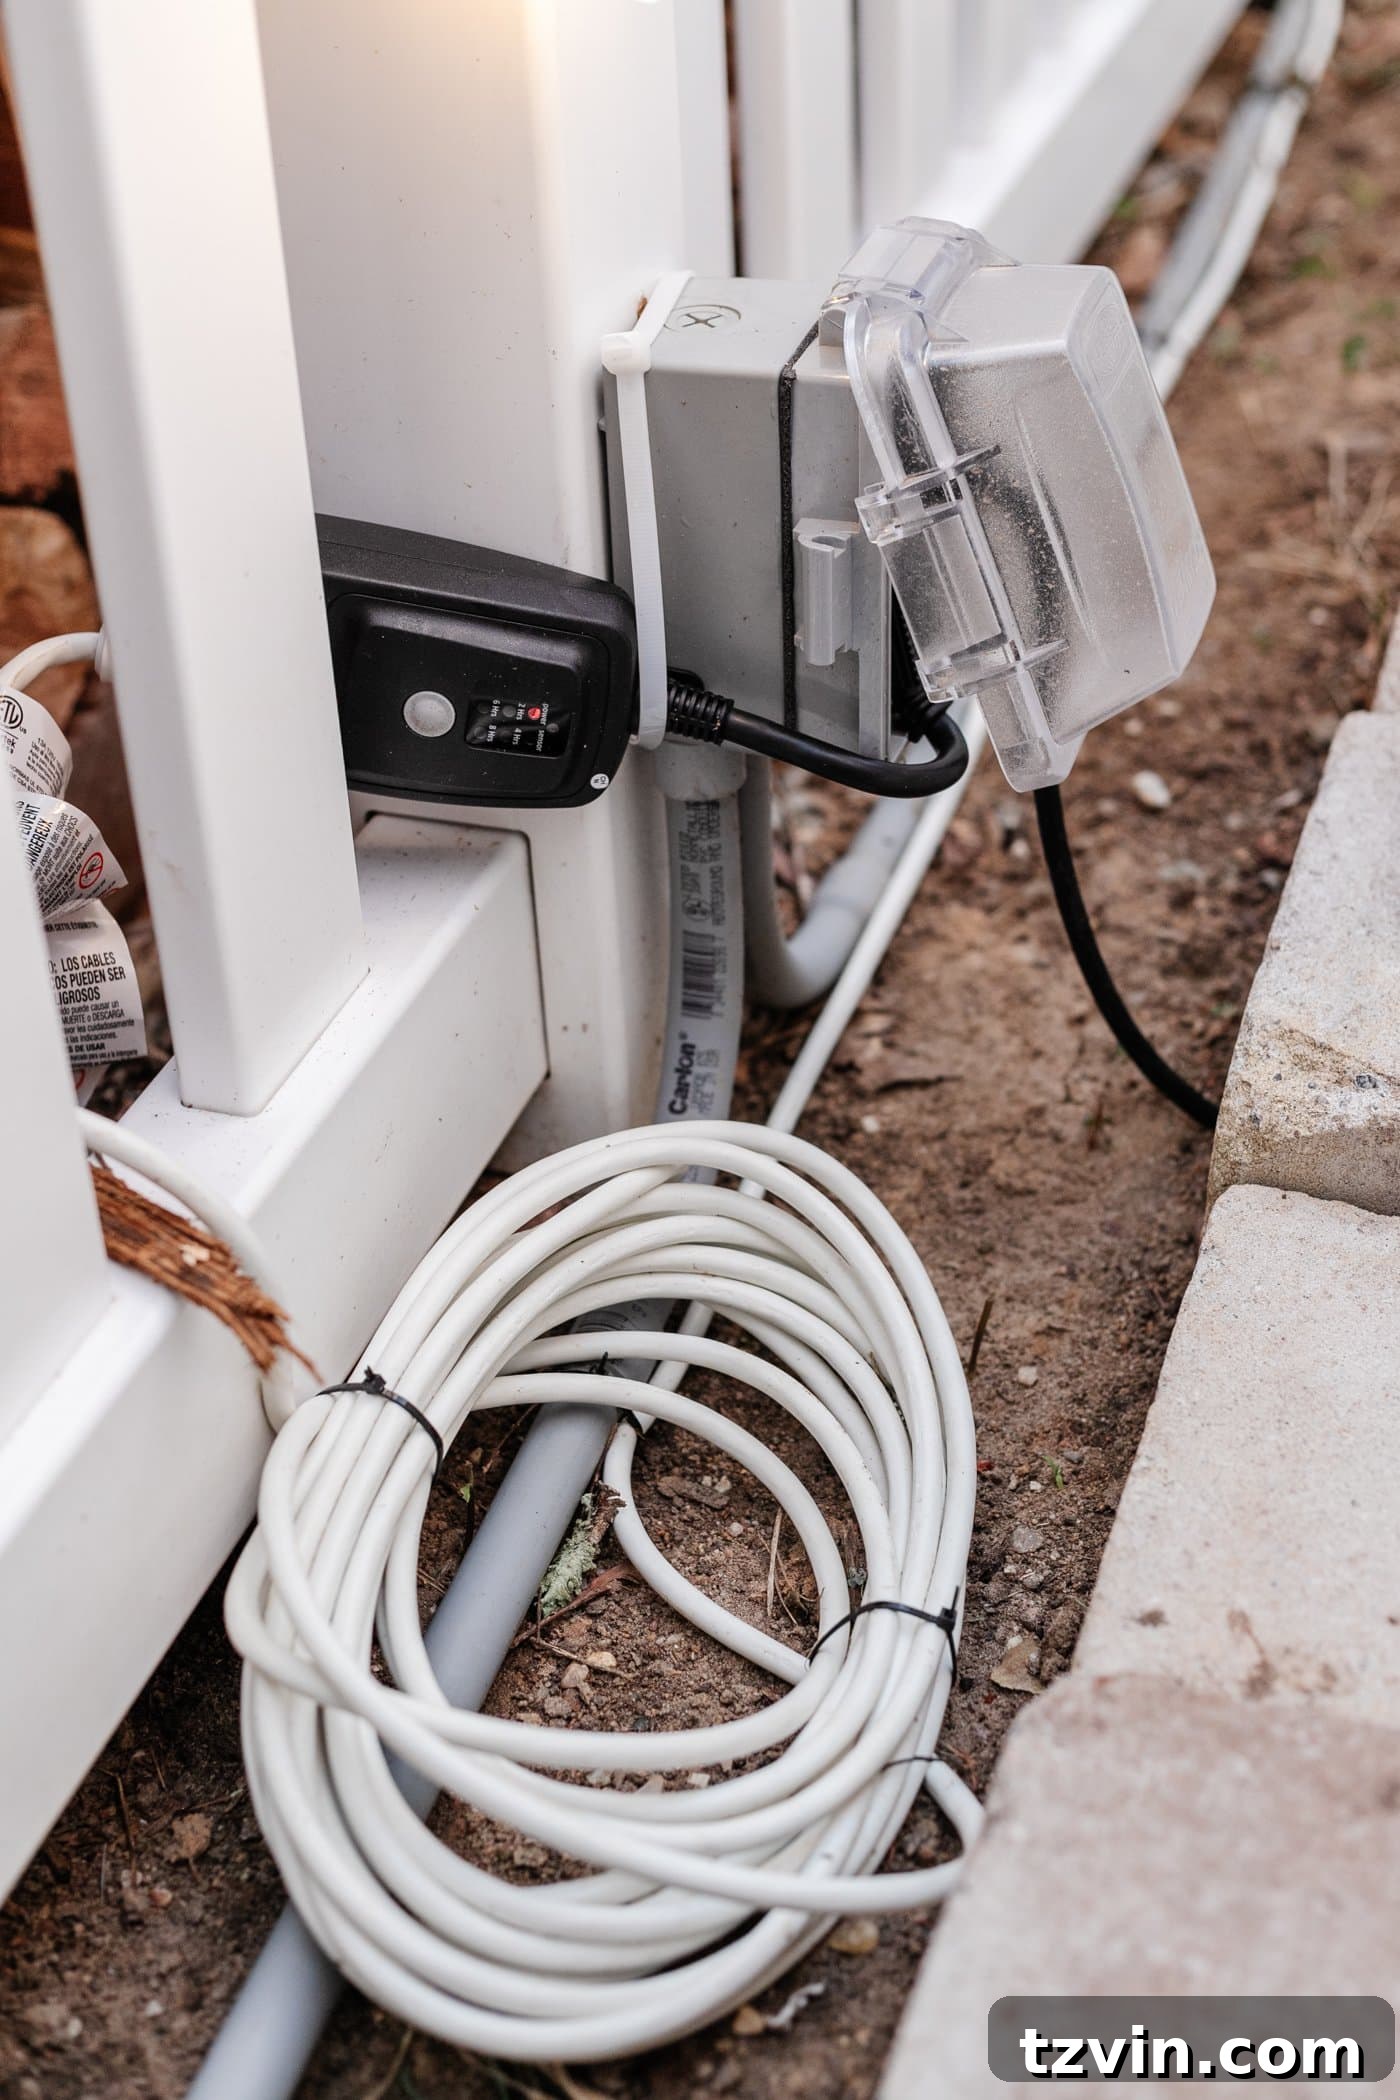
Once your lights are fully installed, carefully run a durable outdoor extension cord from the end of your string light system, down the nearest pole, and to your designated outdoor power outlet. For effortless ambiance every evening, connect an outdoor light sensor timer. This allows you to schedule your lights to illuminate automatically at dusk and turn off at a preset time. Alternatively, use the remote control for manual operation whenever you wish to switch them on or off. Enjoy your beautifully lit outdoor space!
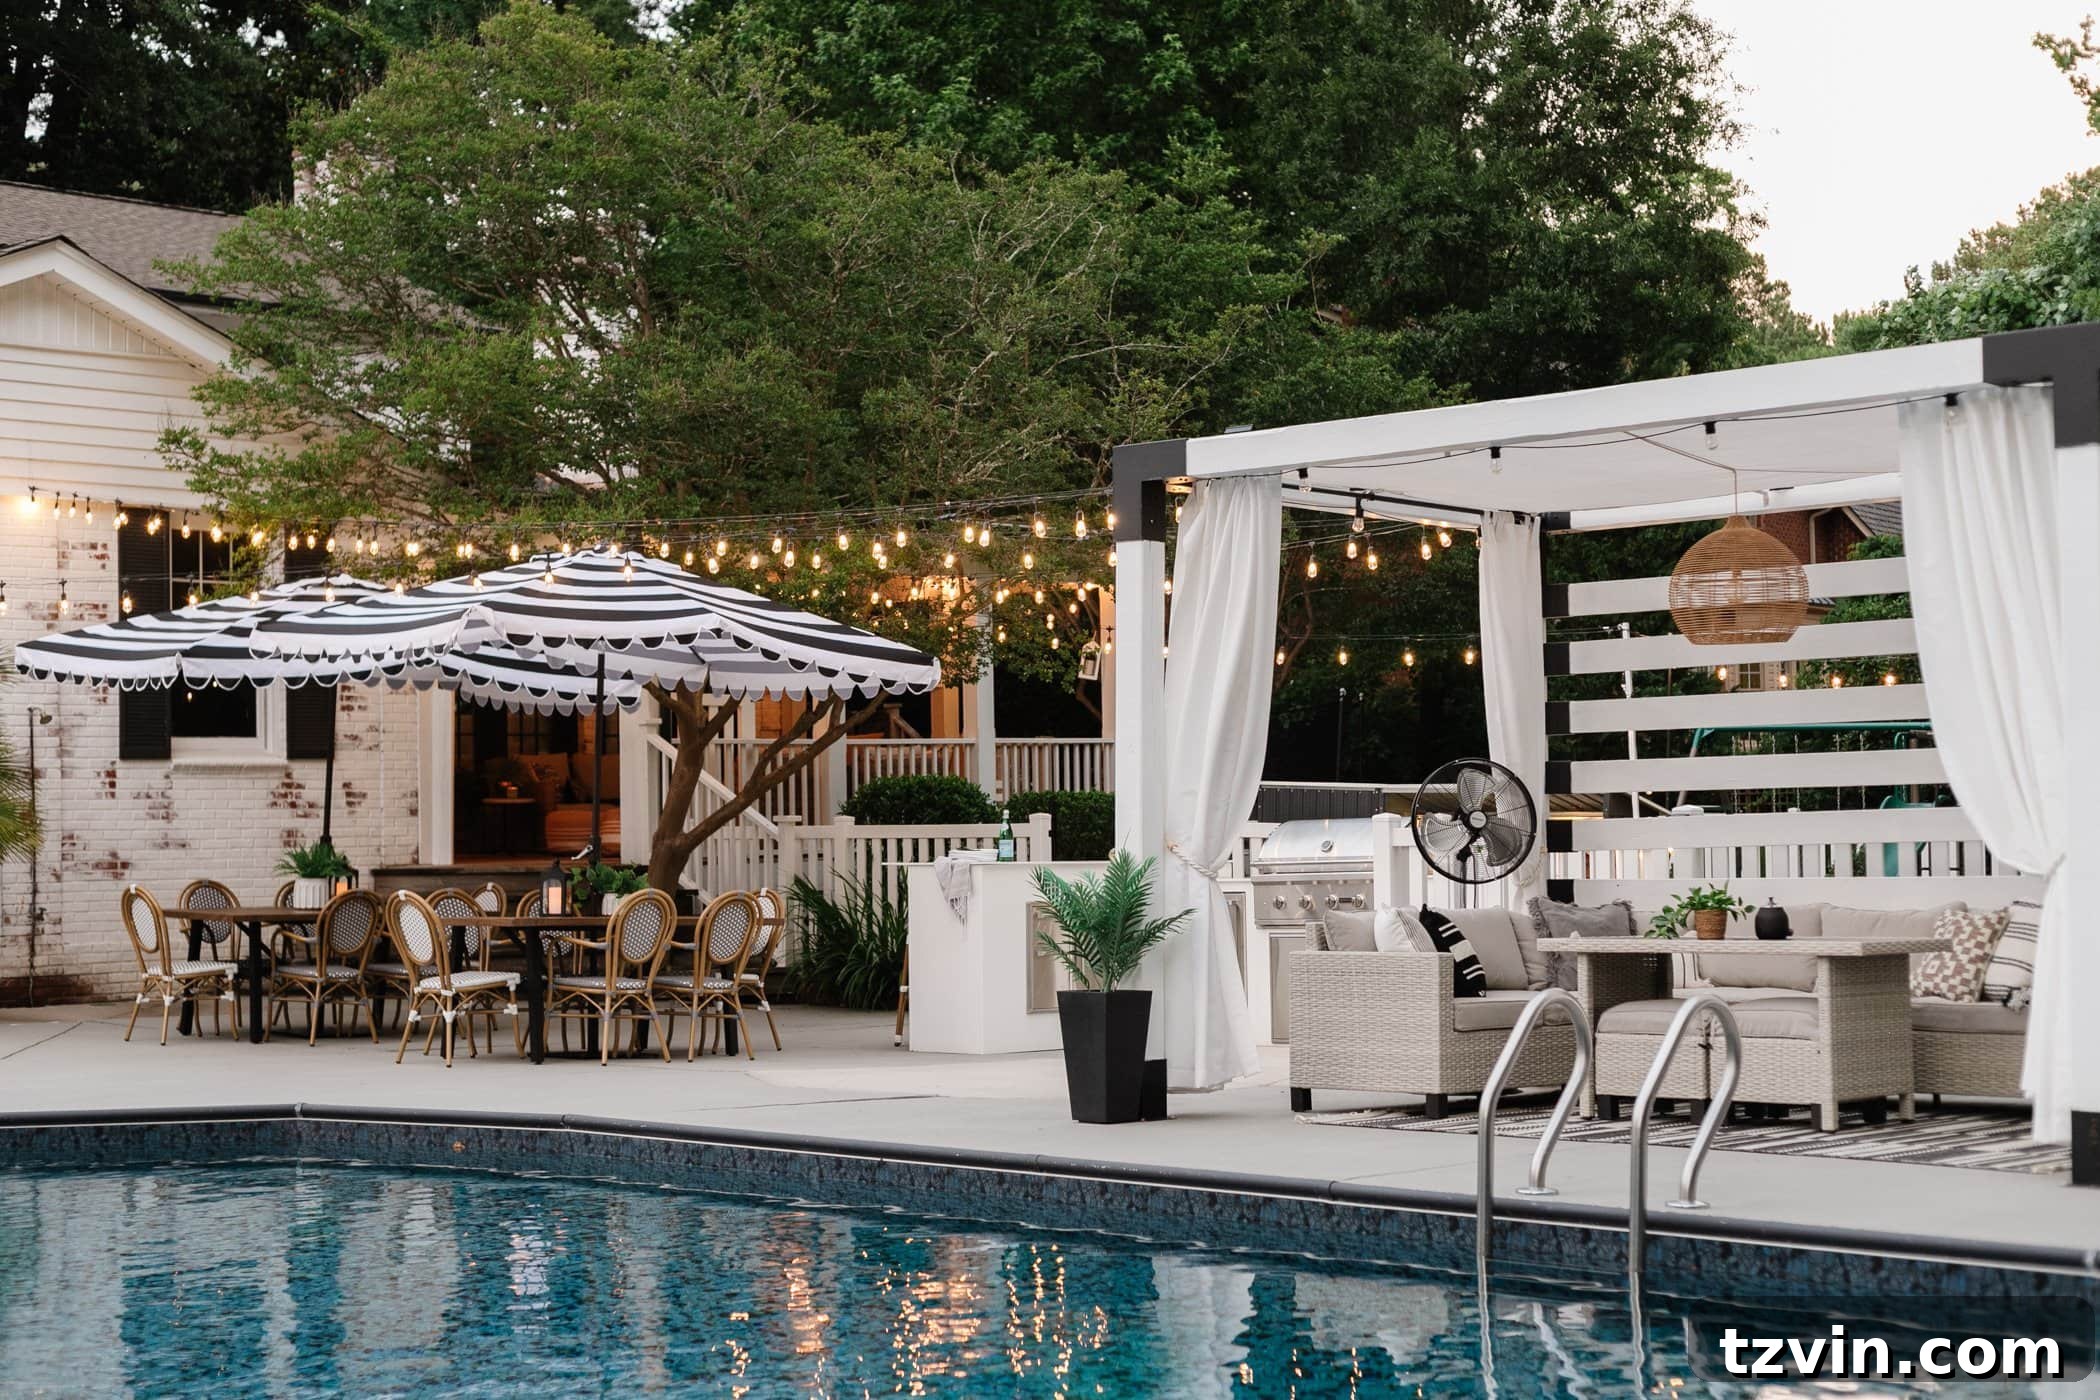
For more creative backyard lighting ideas, including solar pendant lights and lanterns that we’ve incorporated around our pool deck, be sure to check out this detailed post!
Effortless Elegance: How to Hang String Lights from Trees
Two years ago, we created our very own DIY beer garden by strategically hanging string lights from trees, utilizing a similar method to the fence installation for anchoring points. This technique transforms a wooded area into an enchanting, illuminated retreat. Solar string lights are often the best choice here due to the typical lack of accessible power outlets in natural, wooded environments.
Supplies for Hanging Lights from Trees
- Solar string lights (Highly recommended for trees, as power outlets are rarely available. Note their softer glow compared to plug-in options).
- Screw hooks with safety buckles (For secure, strong attachment to tree trunks and branches).
- Drill and drill bits (To create pilot holes before screwing in hooks).
Steps to Hang String Lights from Trees
Step 1: Establishing Your First Anchor Point with a Hook
Begin by selecting a sturdy tree trunk or a thick branch that will serve as your primary starting point. Using a drill with a 5/32-inch drill bit, create a small pilot hole. This prevents cracking the wood and makes it easier to install the hook. Screw in a screw hook with a safety buckle firmly until it is deeply embedded and secure. Ensure the hook is strong enough to bear the weight of the lights.
Step 2: Weaving and Wrapping Lights for a Natural Look
Starting from your first anchor point, begin running your solar string lights. Instead of simply stretching them, artfully weave the strands through and around the natural contours of tree limbs and branches. This creates a charming, organic display that blends seamlessly with the natural environment. For added stability and to guide the lights along your desired path, you can install additional screw hooks into other branches or tree trunks at strategic intervals. This helps distribute the weight and secures the lights against wind.
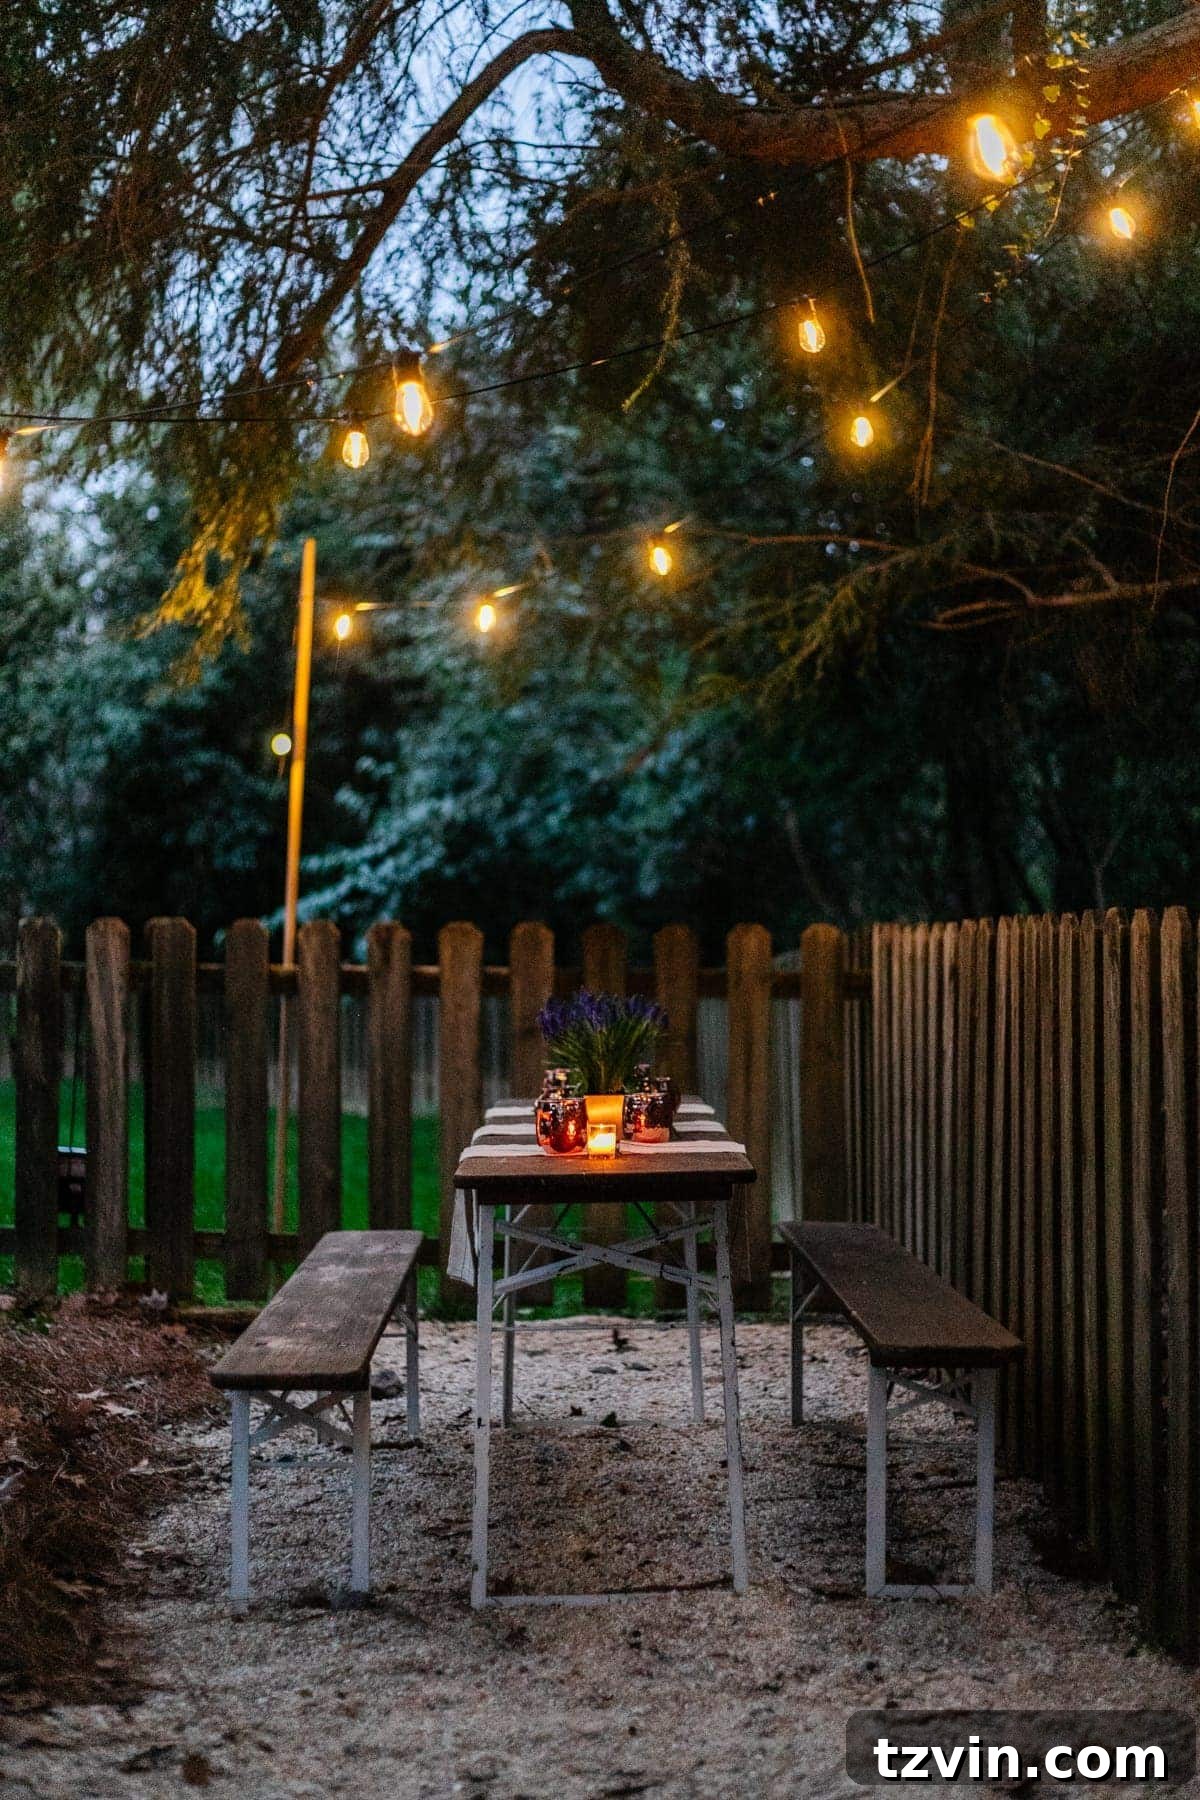
Since solar string lights operate independently without needing an electrical outlet, they offer unparalleled flexibility in placement, making them ideal for remote or densely wooded areas. However, it’s important to remember that solar lights typically emit a softer, ambient glow rather than bright, functional illumination. While perfect for creating a cozy atmosphere, they are generally not sufficient as your sole light source for activities requiring high visibility.
Effortless Porch Lighting: How to Hang String Lights on a Covered Porch
Supplies for Porch String Lights
- Cafe or globe string lights (We recommend cafe-style lights for porches as they tend to be less bulky and offer a classic, charming look).
- Outdoor Command hooks (Specifically designed for outdoor use and damage-free removal).
- Outdoor extension cord (Only if needed to reach your power outlet).
- Outdoor timer and remote (Optional, but adds convenience for automatic lighting).
Steps to Hang Cafe Lights on a Covered Porch or Covered Patio
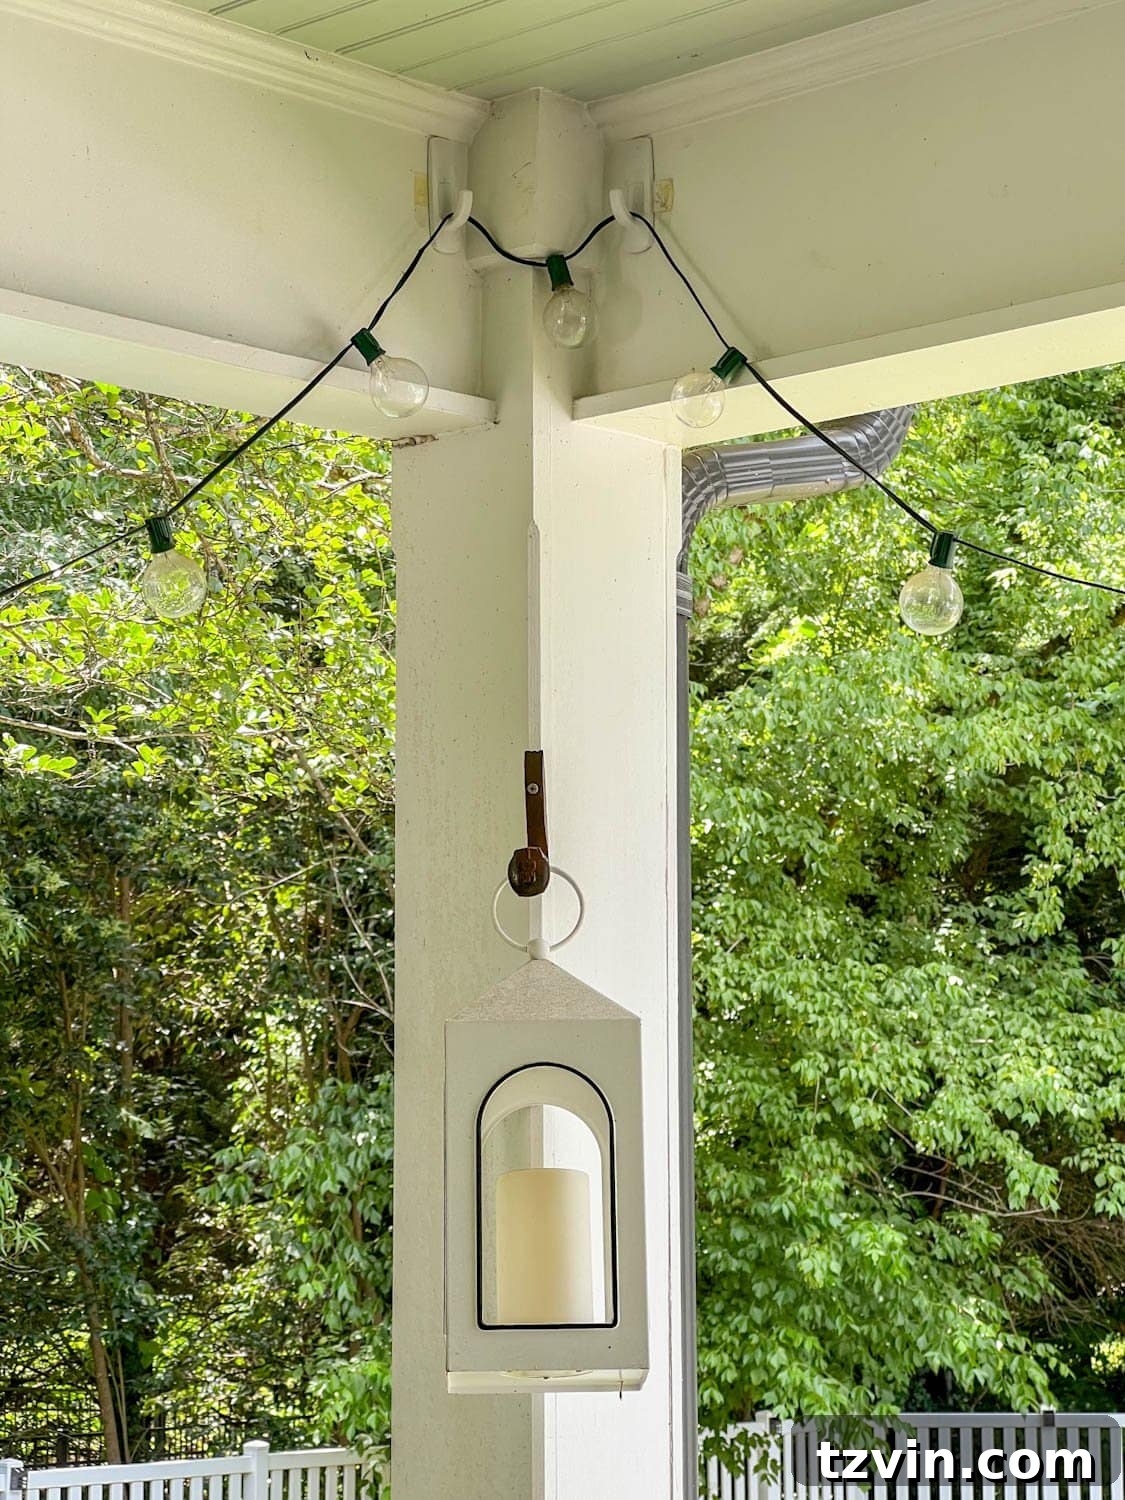
This method for hanging porch string lights is incredibly straightforward, largely thanks to the simplicity and reliability of outdoor Command hooks. The entire process can be boiled down to one primary step with a few critical sub-steps to ensure maximum adhesion and longevity:
- Prepare the Surface: First, ensure the surface of your porch soffit (or covered patio ceiling) is clean, dry, and free of any dust or debris. Wipe the area where you intend to place the hooks with rubbing alcohol and let it air dry completely. This step is vital for optimal adhesive performance.
- Apply Adhesive Strips: Carefully peel the backing from the adhesive strip that comes with the Command hook. Press the strip firmly onto the back of the Command hook for at least 30 seconds.
- Mount the Hook: Now, press the hook firmly against the cleaned soffit surface in your desired location. Apply strong, even pressure for another 30 seconds to ensure a strong bond.
- Allow to Set: This is a crucial step often overlooked! Allow the Command hook to set for at least one hour (or longer, as recommended by the manufacturer) without hanging any weight on it. This allows the adhesive to cure properly, creating a much stronger bond.
- Hang Your Lights: Once the hooks have fully set, you can safely hang your cafe-style string lights as desired. Repeat these steps for all necessary hooks to create your beautiful lighting pattern.
If your string lights aren’t quite long enough to reach a power outlet, use a weather-rated outdoor extension cord to bridge the gap discreetly. For added convenience, integrate an outdoor timer. This allows you to program your porch lights to illuminate automatically at dusk and turn off at a specific time, ensuring your porch is always inviting without any manual effort.
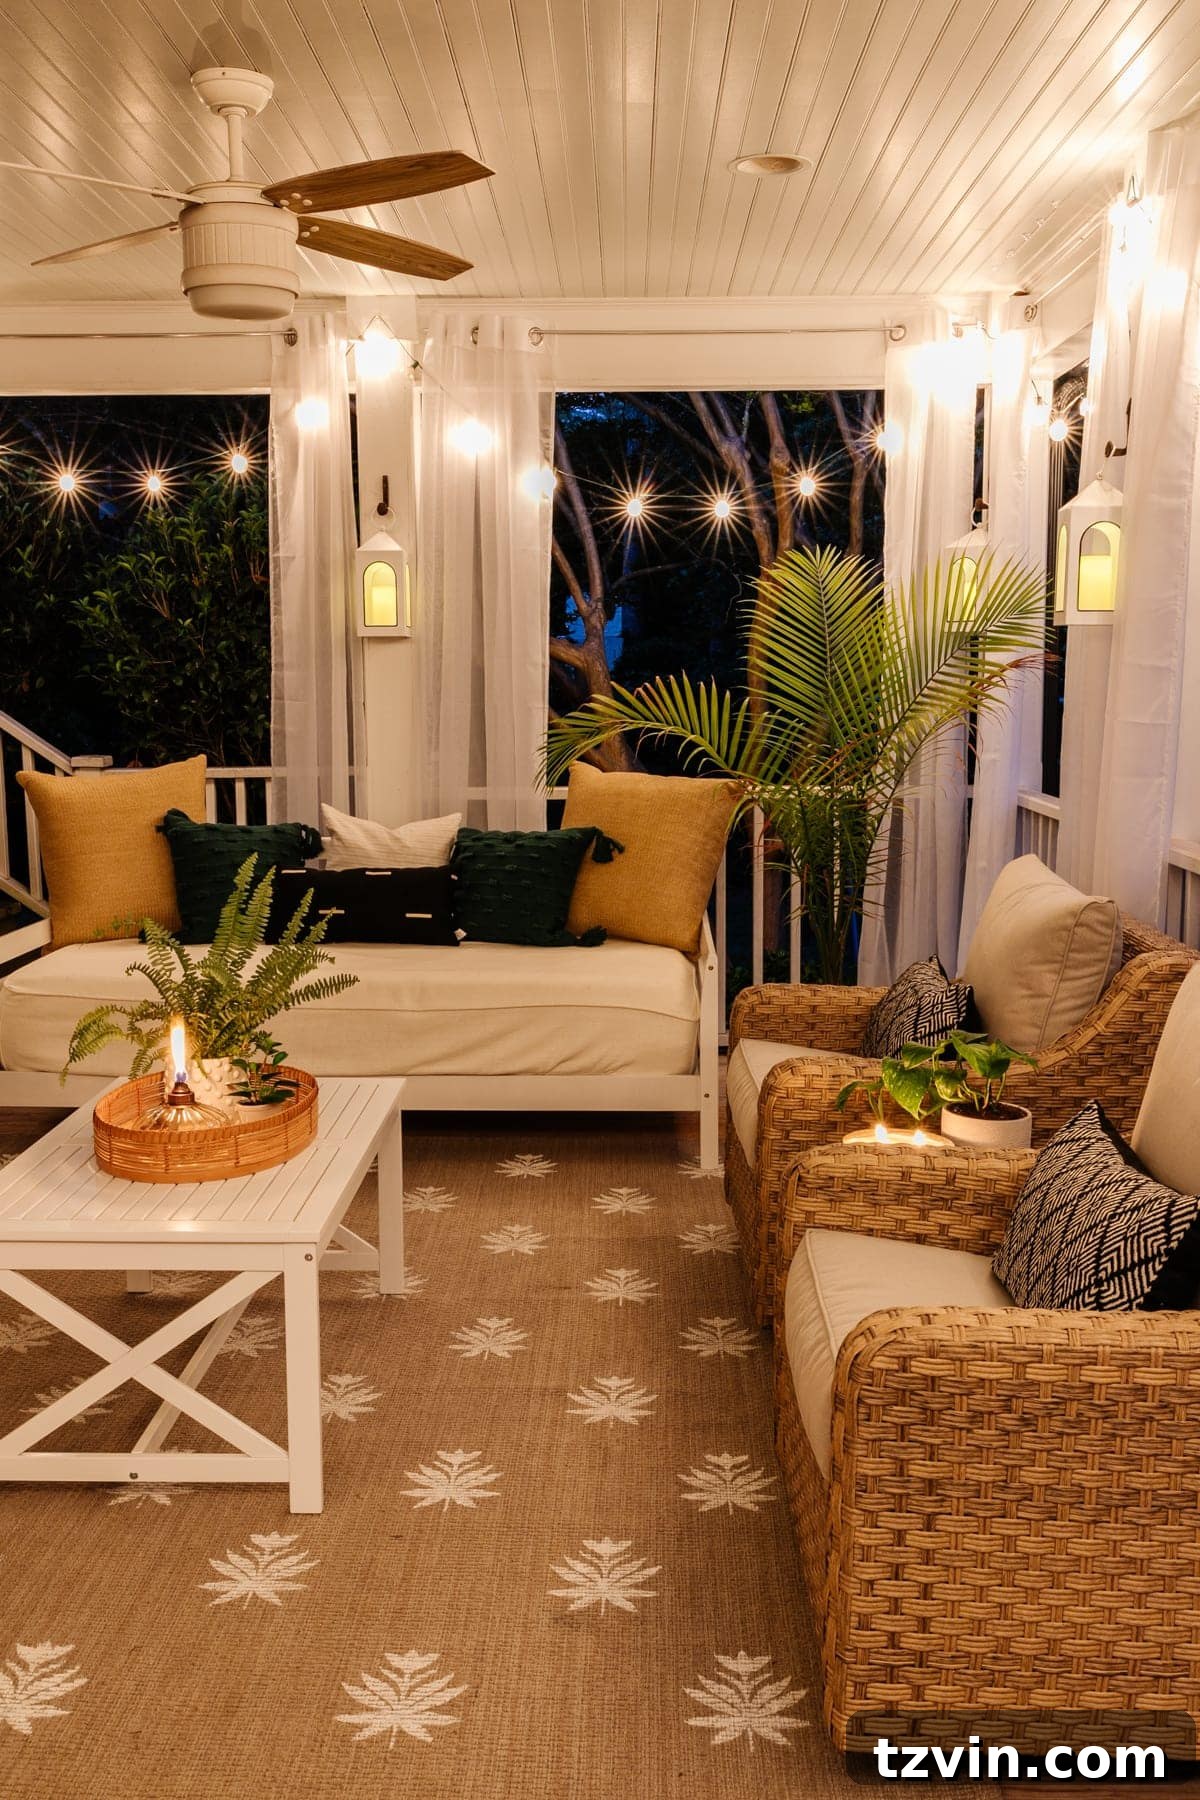
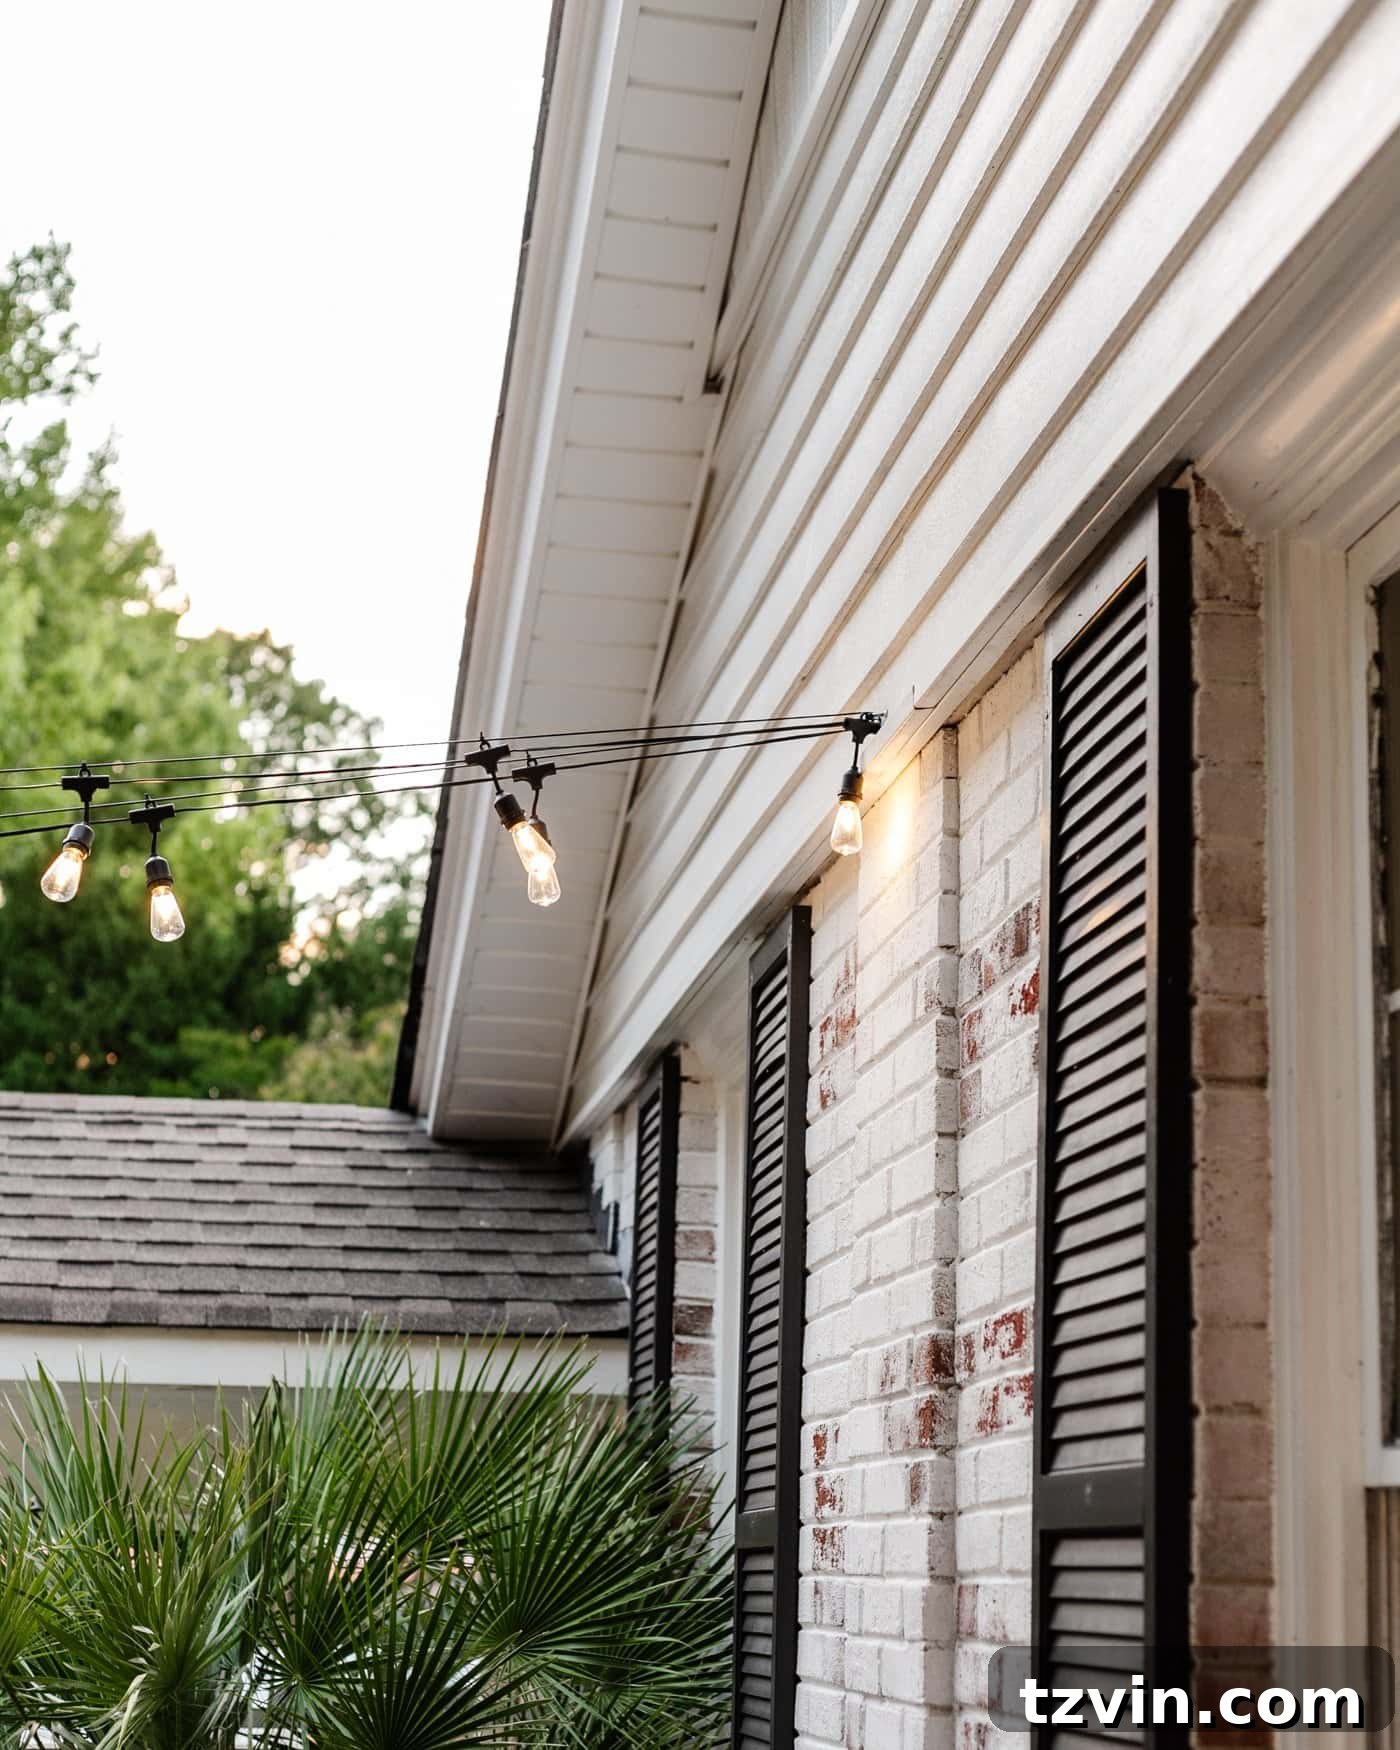
Seamless Integration: How to Hang Outdoor Patio Lights from Siding
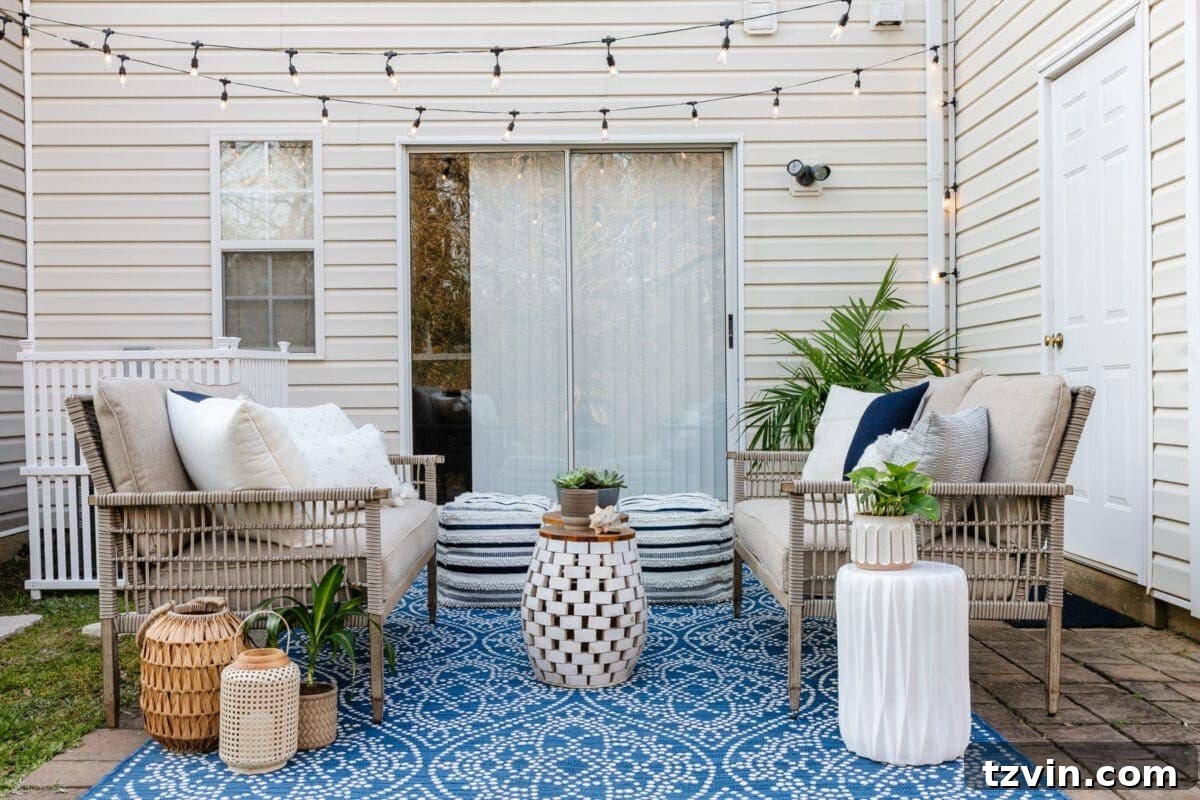
Supplies for Hanging Lights on Vinyl Siding
- Shatterproof string lights (Always opt for durable, shatterproof bulbs for outdoor use).
- Vinyl siding clips (These specialized clips allow for damage-free attachment without drilling or adhesives).
- Outdoor extension cord (Use if your string lights need extra reach to the power source).
- Outdoor timer and remote (Optional, for automated lighting schedules and convenience).
Steps to Hang String Lights on Vinyl Siding without Damage
Hanging string lights on vinyl siding is remarkably simple and completely damage-free, thanks to innovative vinyl siding clips. This method requires no drilling, adhesive, or special tools beyond the clips themselves, making it perfect for renters or anyone wishing to avoid permanent alterations.
Step 1: Strategically Placing Vinyl Siding Clips
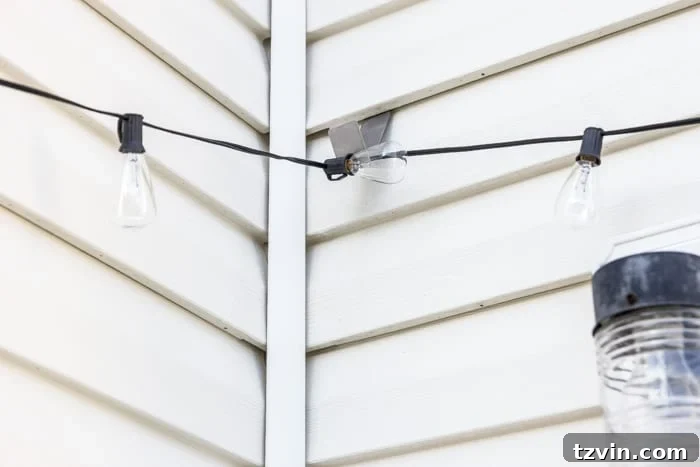
Identify the areas on your vinyl siding where you want to suspend your string lights. Vinyl siding clips are designed to slide securely under the overlapping edges of your siding panels. To install, simply lift the bottom edge of a siding panel slightly and slide the flat part of the clip underneath until it hooks securely. The small hook on the clip will now be exposed and ready to hold your lights. Space your clips according to the desired drape or tautness of your string lights.
Step 2: Hanging Your Patio Lights with Security
With the siding clips firmly in place, begin hanging your string lights. For optimal security and to prevent the strands from slipping off, loop the string light cord once around the bend in each clip’s hook before letting it drop. This simple technique creates a more robust hold, ensuring your lights stay put even during strong winds or heavy rain. We’ve used these clips for several years, enduring numerous thunderstorms, and our light strands have consistently remained perfectly in place, demonstrating their surprising durability and damage-free removal.
Creative Solution: How to Make Planter Posts for String Lights Around a Patio
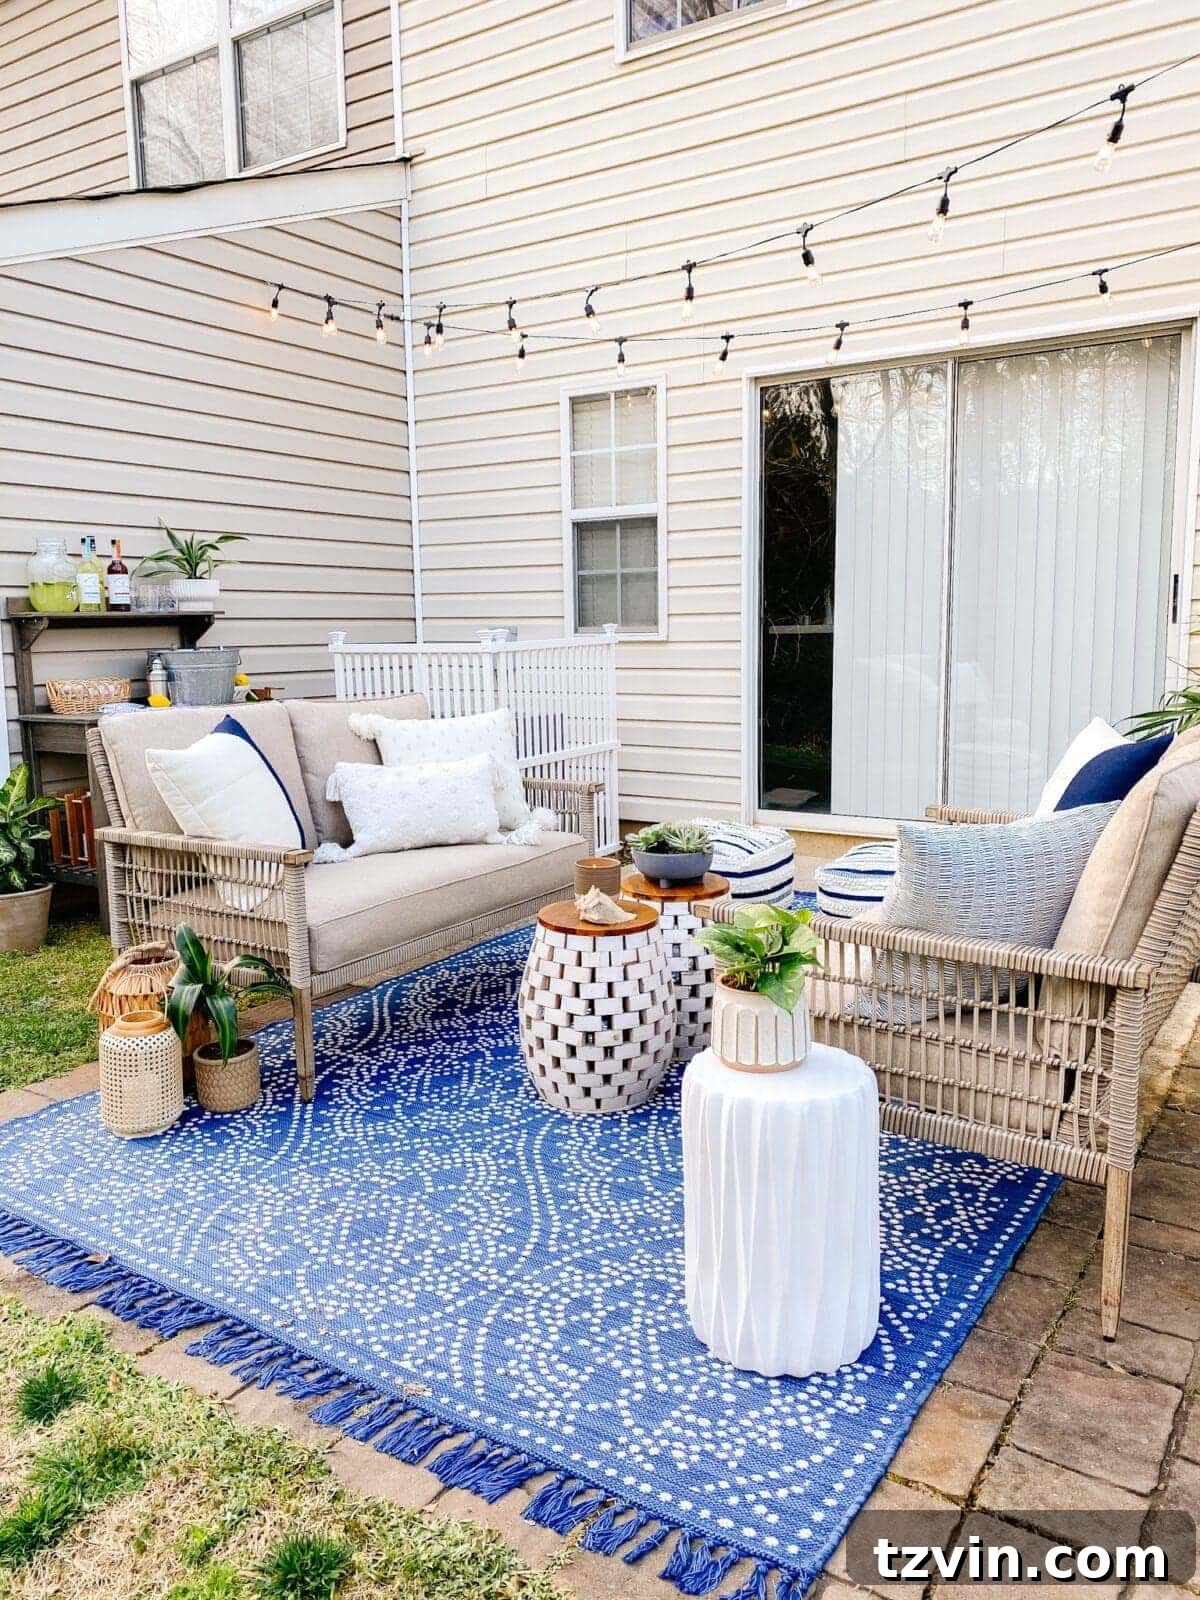
For those seeking a versatile and movable lighting solution, particularly around a patio, creating planter posts is an excellent DIY project. At our old house, we implemented these ingenious planter posts to beautifully illuminate our small outdoor patio, and they worked absolutely perfectly, defining the space and adding a charming glow.
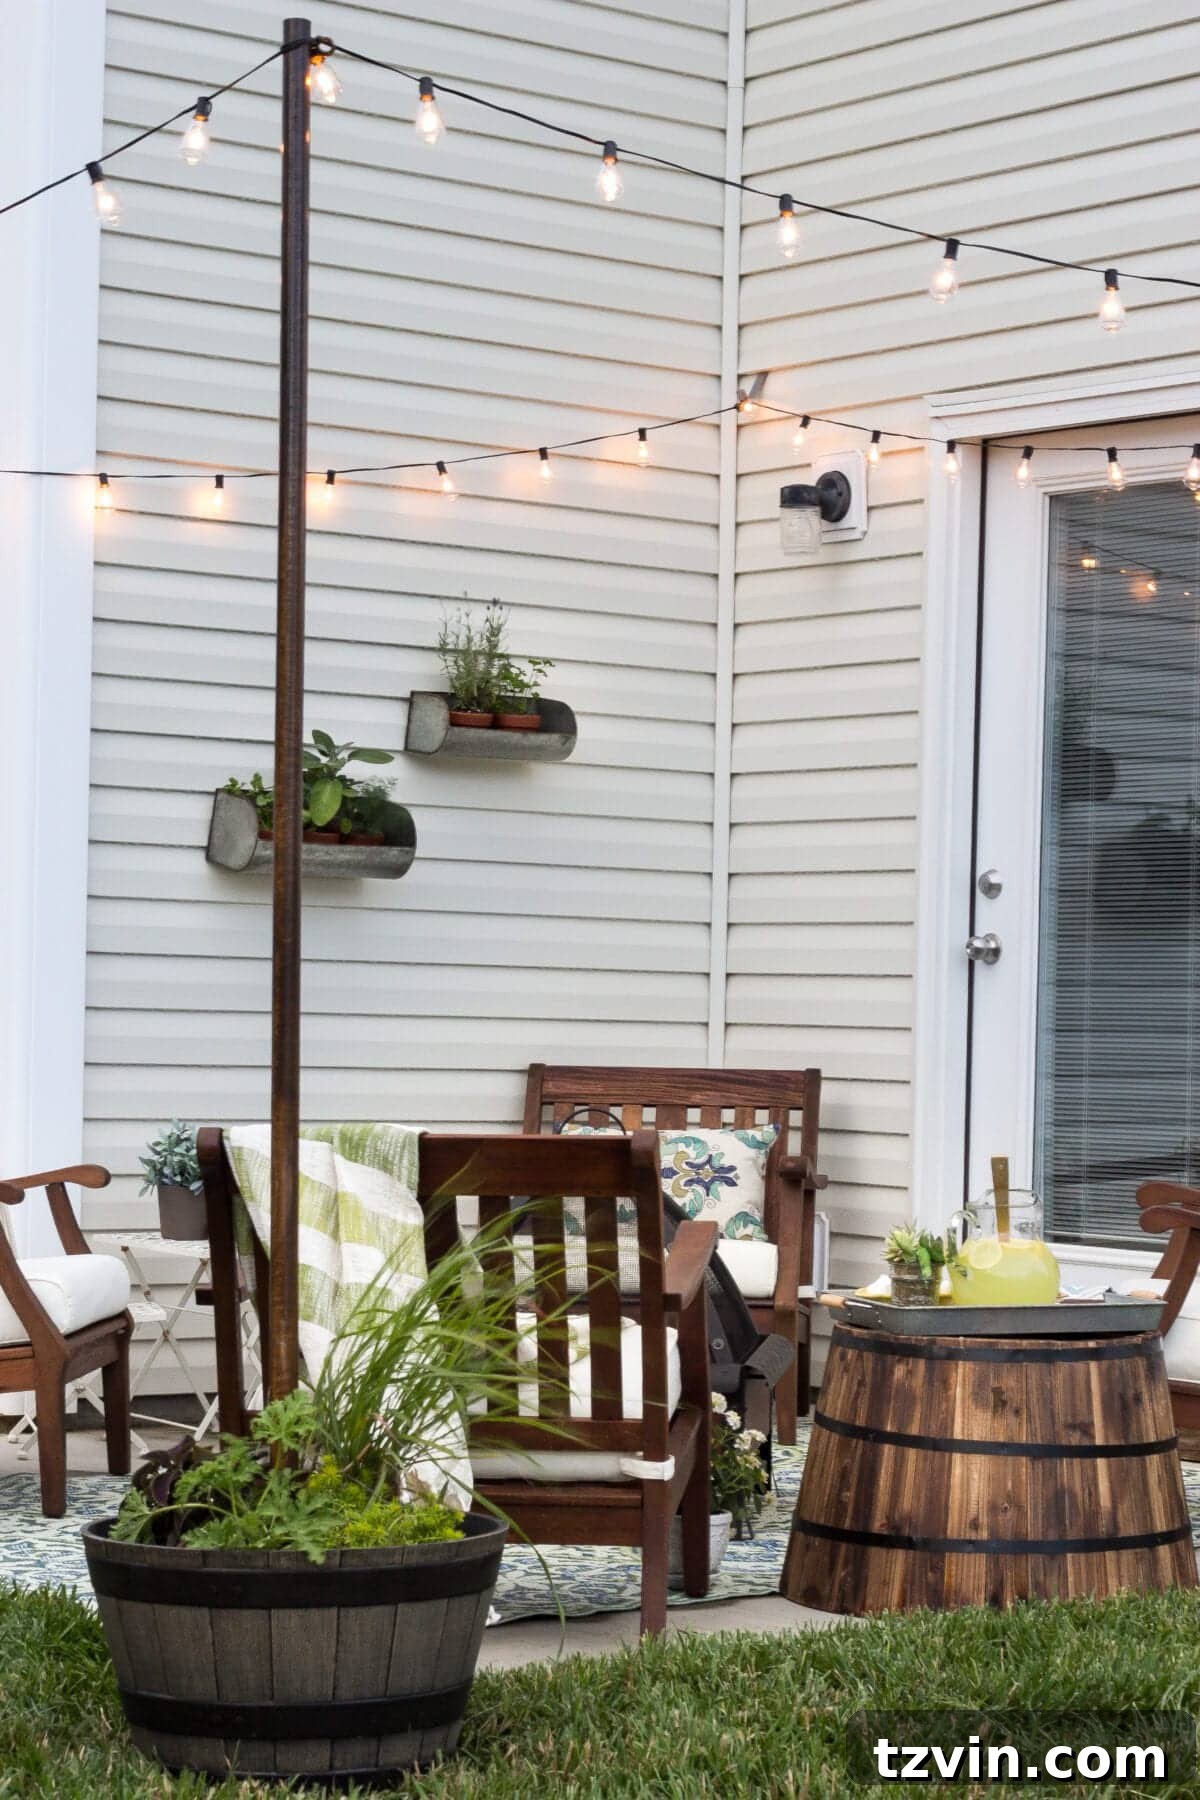
For a detailed, step-by-step guide on how to construct these versatile planter posts for string lights, we highly recommend this comprehensive tutorial from City Farmhouse. It offers a fantastic alternative to digging permanent posts into the ground, as seen in our fire pit string light tutorial.
Beyond Lighting: Additional Benefits of Planter Posts
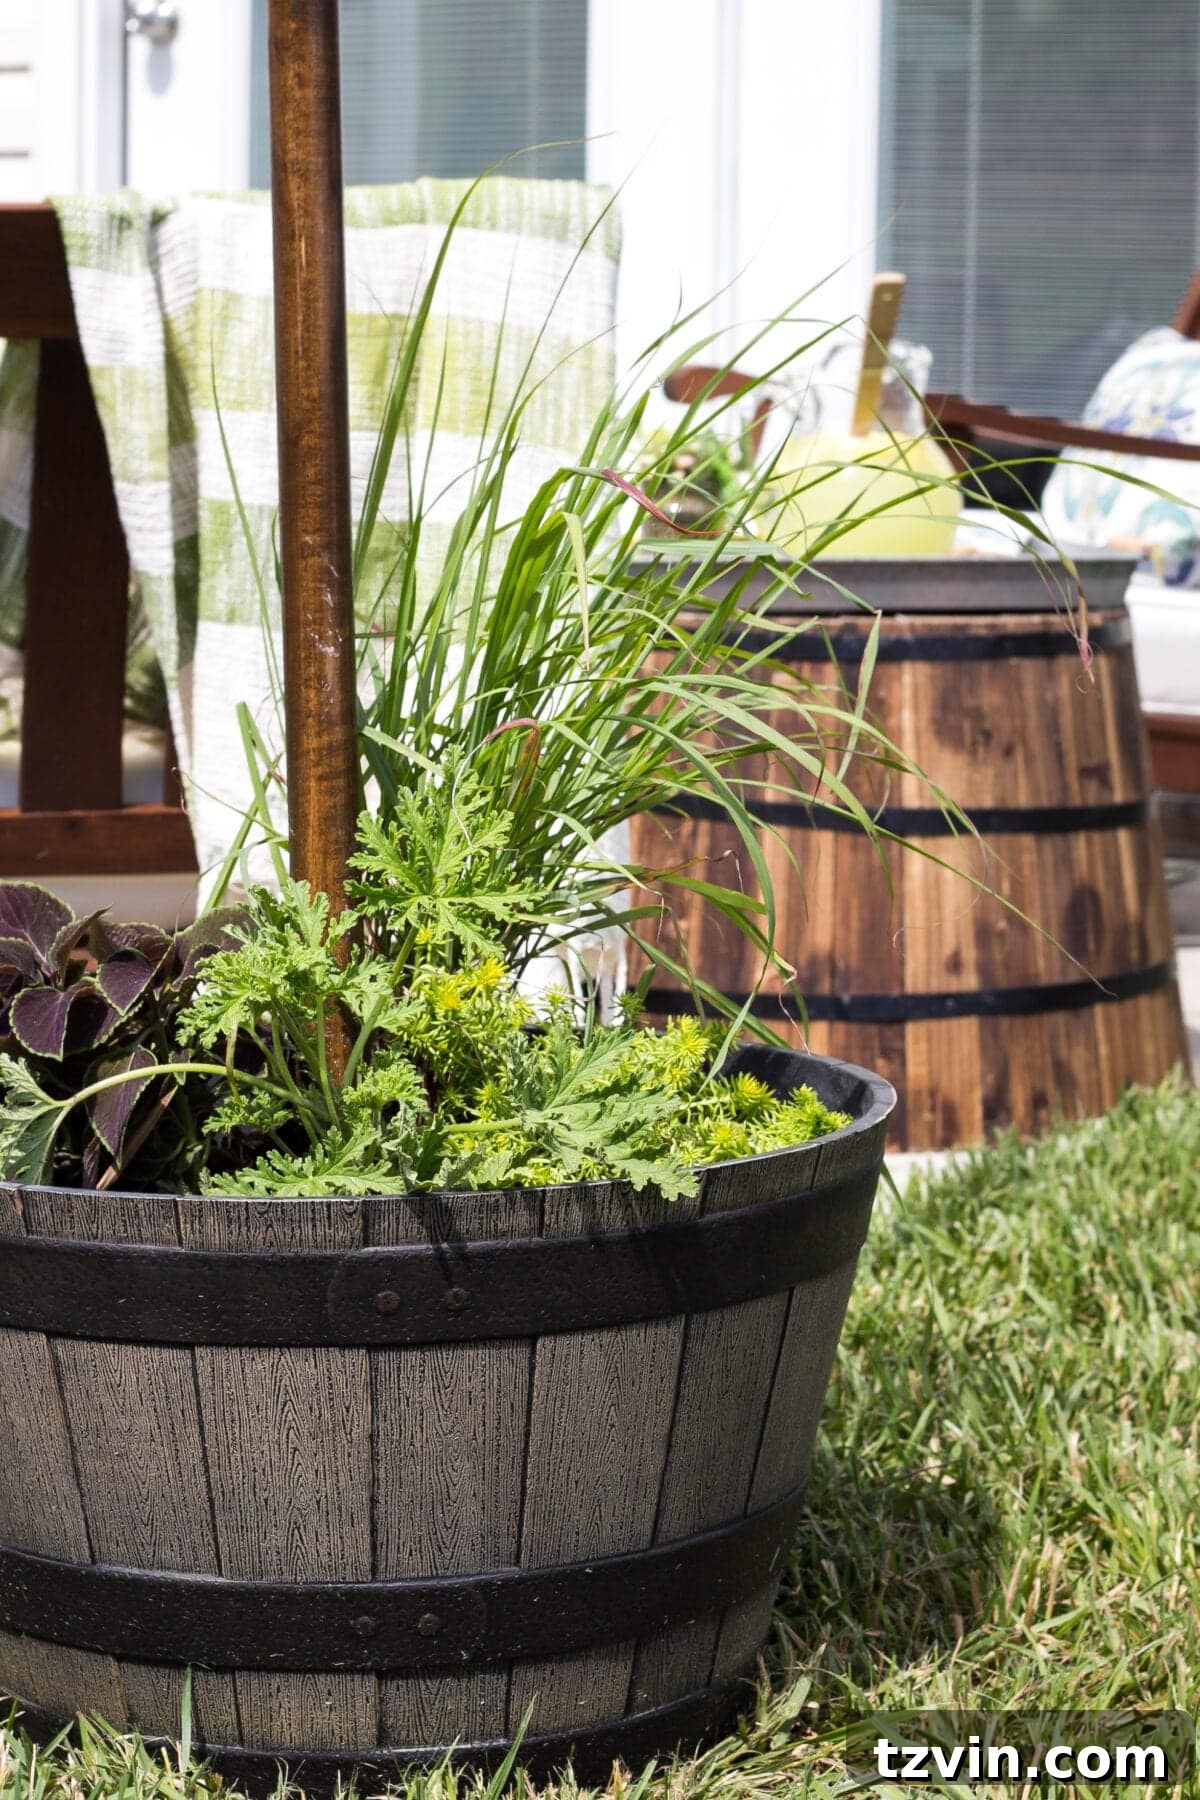
Creating planter posts offers a fantastic, flexible solution for hanging string lights, especially if you are a renter or prefer not to make permanent alterations to your property. Beyond their primary function as light anchors, these planters offer an additional, practical benefit: they can house mosquito-repelling plants! Consider planting citronella, lemongrass, or lavender in your planter posts to naturally help keep pesky mosquitoes at bay, enhancing comfort on your patio evenings.
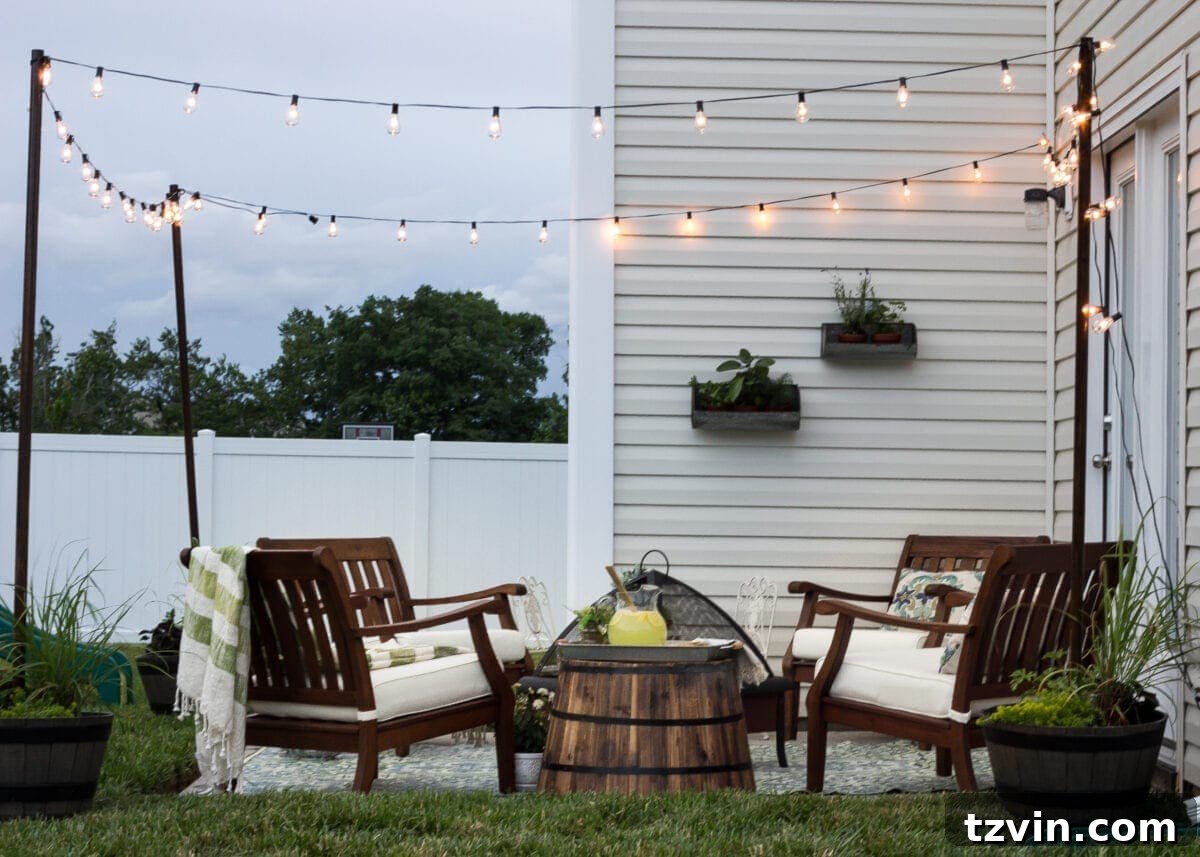
At our previous home, we maximized the aesthetic and functional potential of our small patio by combining the use of these movable planter posts with the vinyl siding clips. This hybrid approach allowed us to create a beautifully illuminated and inviting outdoor space with flexible, damage-free installation methods.
There you have it—a comprehensive guide covering just about every conceivable way to hang outdoor string lights, from permanent installations to renter-friendly solutions. If you’ve ever felt overwhelmed or unsure about how to approach outdoor lighting, we sincerely hope these detailed tutorials have provided the clarity and confidence you need to get started. We’d love to hear from you in the comments if you try any of these methods yourself!
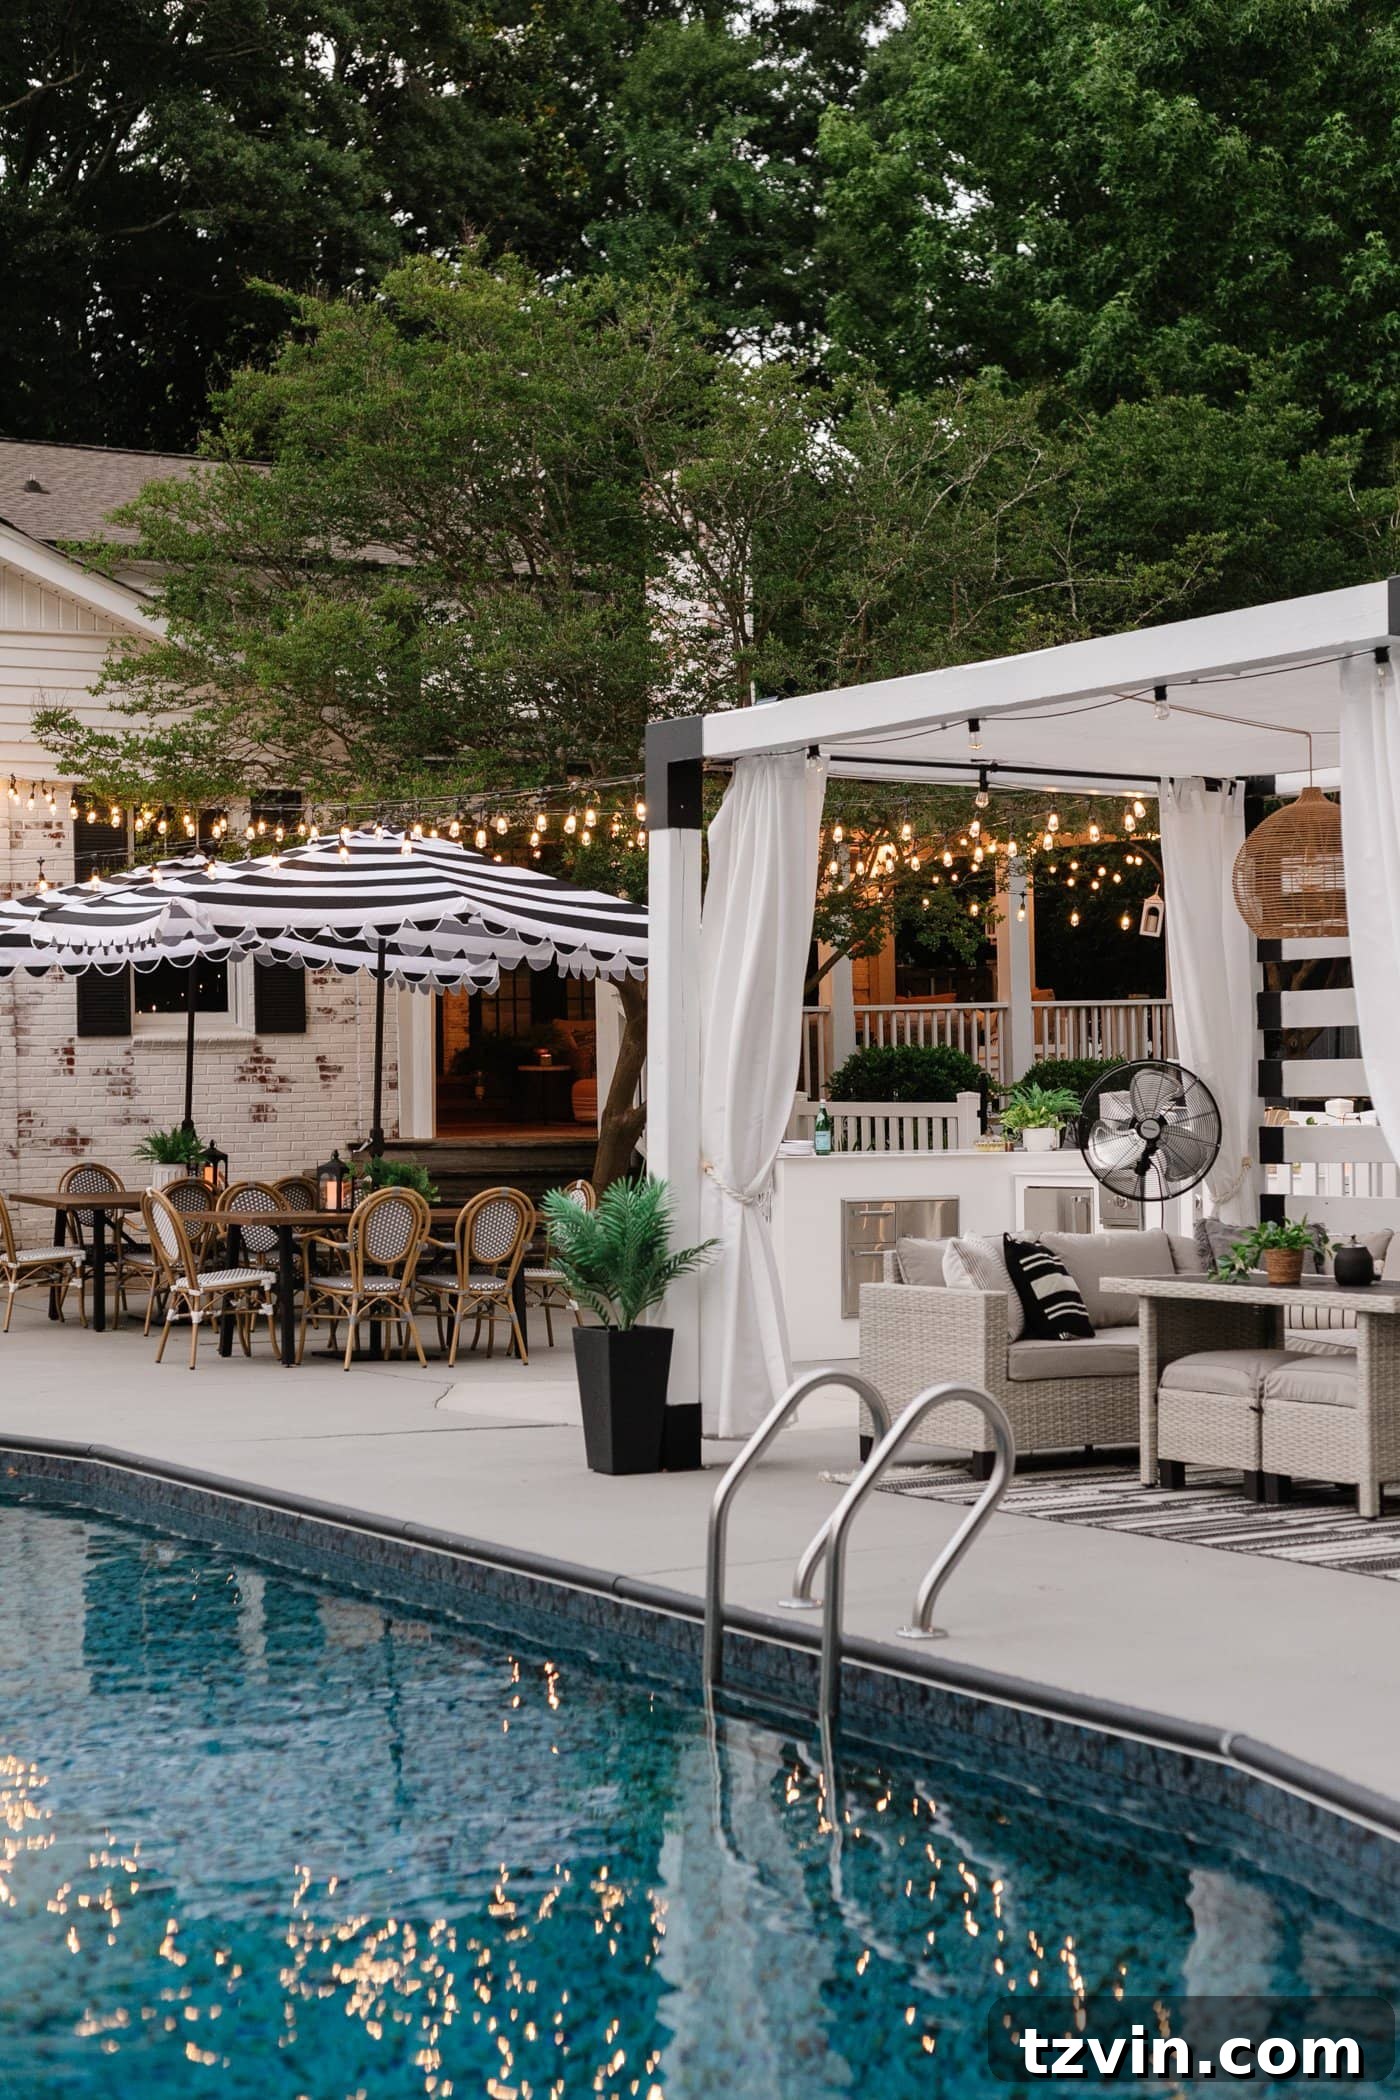
More Inspiring Backyard Ideas to Elevate Your Outdoor Space
Budget-Friendly Backyard Lighting Ideas You Can Easily Install Yourself
41 Ingenious DIY Backyard Ideas on a Budget for Effortless Outdoor Living
Our Walmart Patio Furniture Review: Durability and Value After 1 Year
Backyard DIY Fire Pit: Build It in a Single Weekend!
Explore more brilliant DIY backyard ideas here.
Frequently Asked Questions About Hanging Outdoor String Lights
Yes, absolutely! Command hooks are an excellent, damage-free solution for hanging string lights, especially on surfaces like porch soffits or covered patio ceilings. It’s crucial, however, to ensure you purchase the specific “Outdoor” rated Command hooks. These hooks are engineered with weather-resistant adhesive strips designed to withstand varying temperatures and moisture, making them suitable for exterior use on surfaces such as house siding, gutters, soffits, and around windows. Always follow the manufacturer’s instructions for surface preparation and application to ensure maximum adhesion and longevity.
While not always strictly necessary for very short spans (typically less than 8 feet), using a guide wire – often included in a string light cable kit – is highly recommended for most outdoor string light installations. A guide wire provides essential extra support, preventing the light strands from sagging over longer distances, which can detract from their aesthetic appeal and put undue stress on the wiring. Furthermore, a taut guide wire helps keep your lights securely in place during windy weather, ensuring a tidy appearance and extending the overall lifespan of your lighting system. For a professional, durable, and sag-free installation, a guide wire is your best friend.