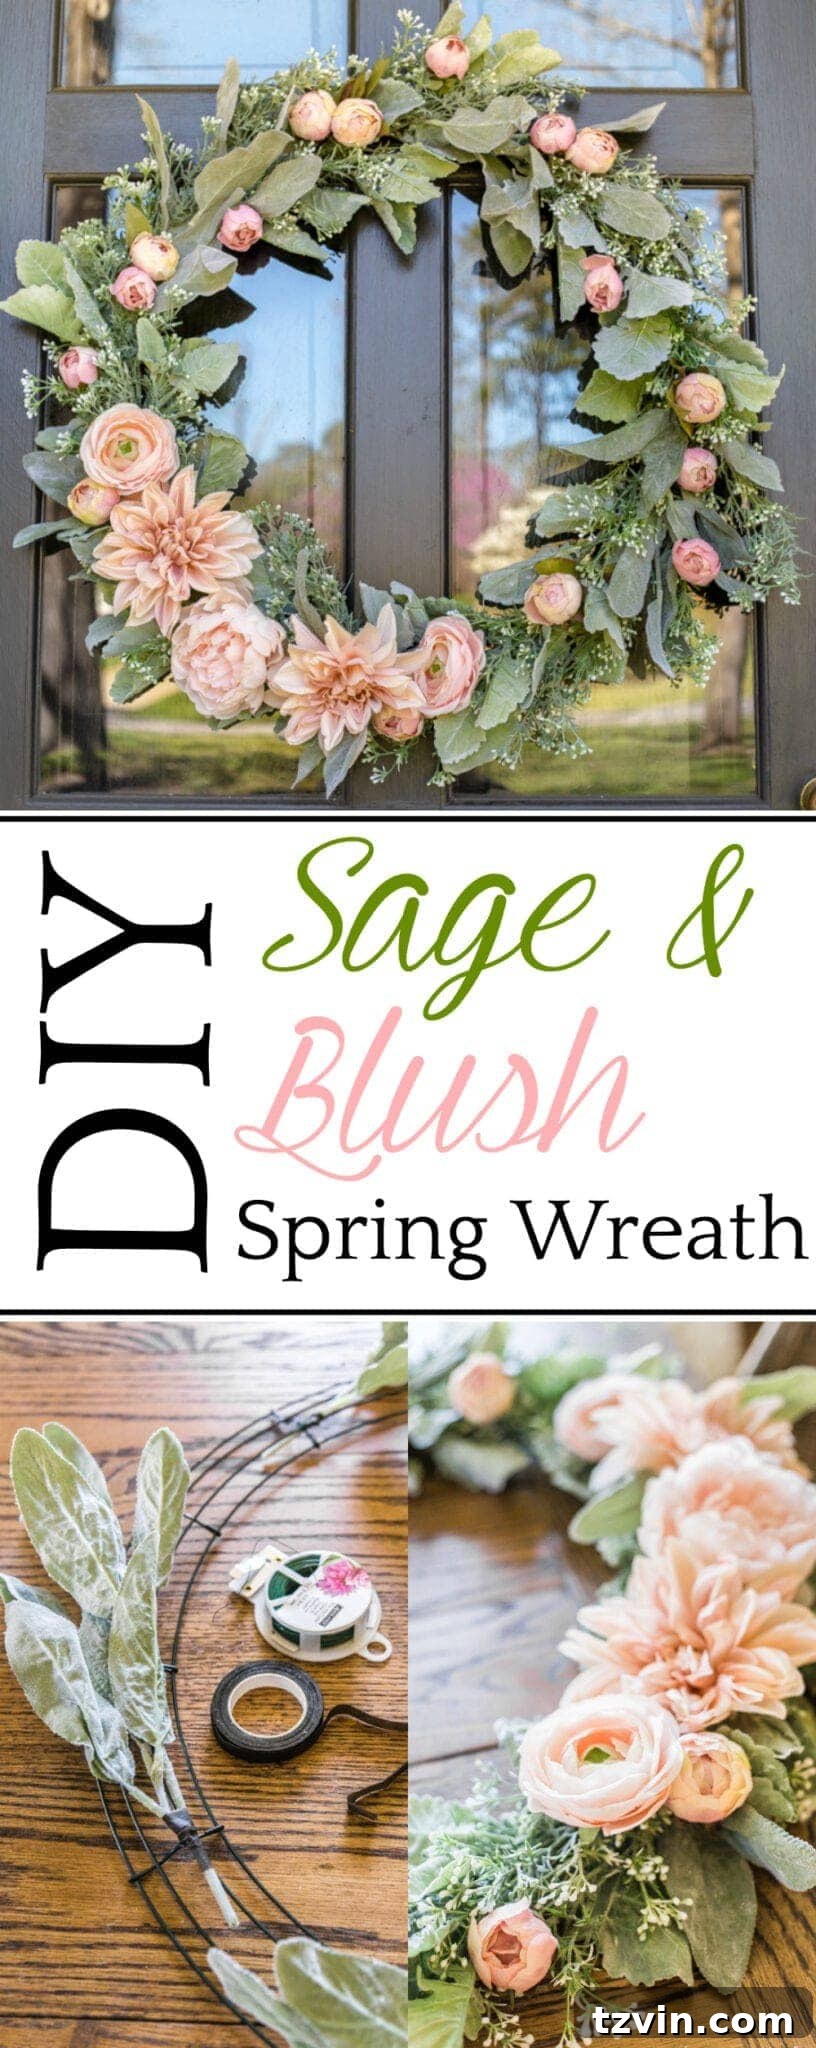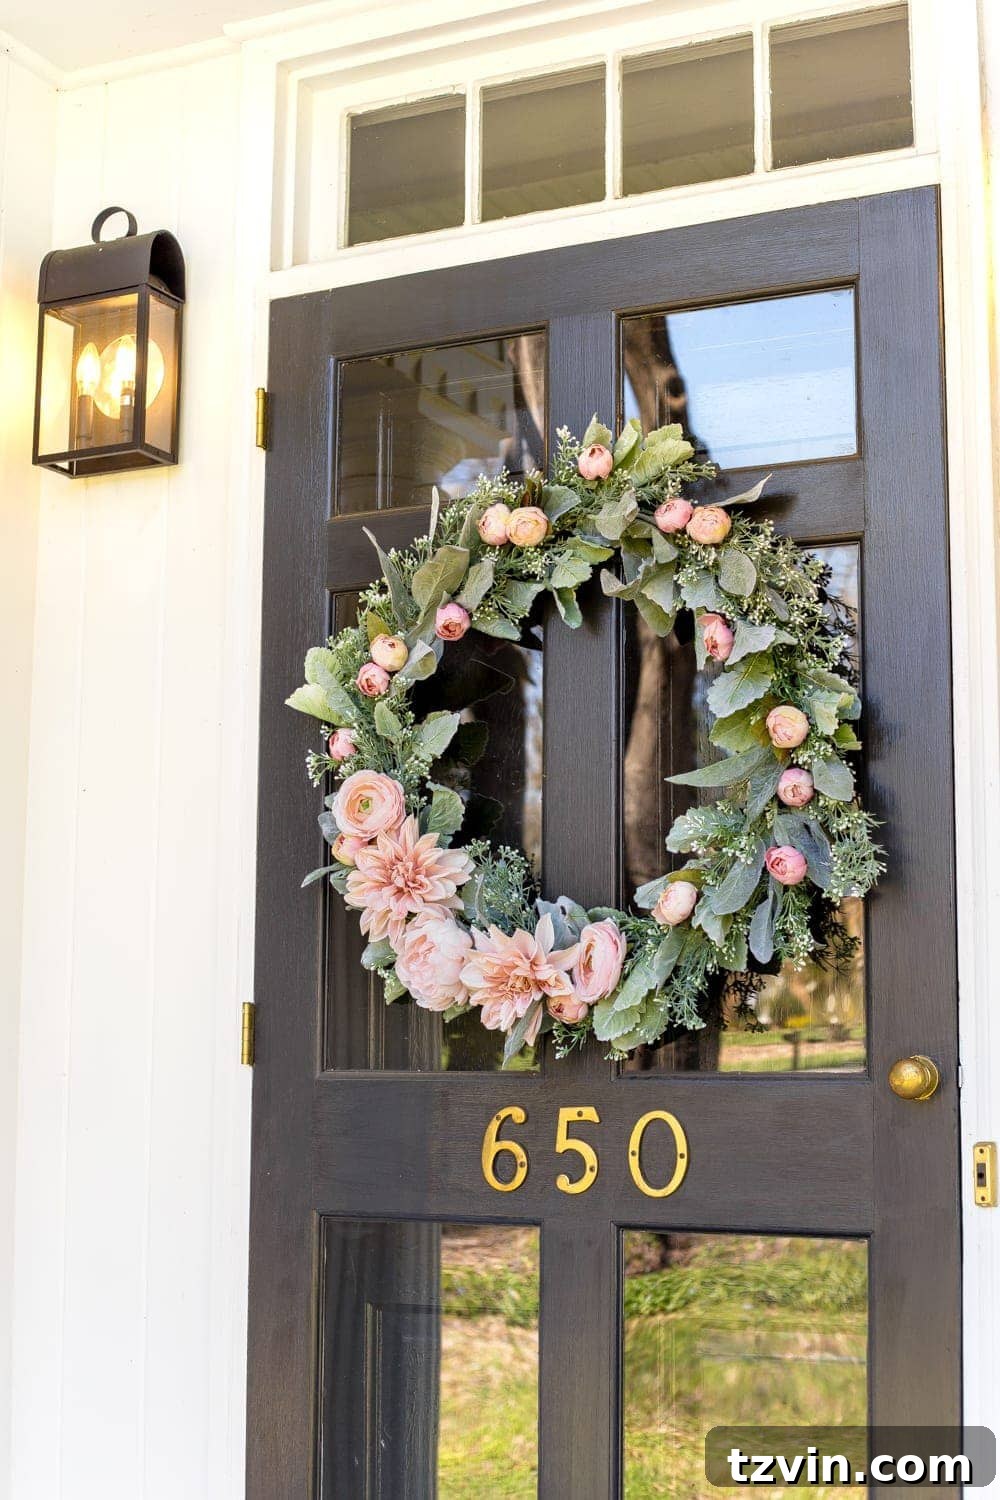
Crafting Your Dream Spring Wreath: A Step-by-Step Guide to a Romantic Sage and Blush Masterpiece
There’s something truly special about spring. The world awakens, colors return, and a fresh sense of possibility fills the air. And for many of us, that feeling extends to our home decor. We crave lightness, beauty, and a touch of seasonal charm, often starting right at our front door. While I might decorate our home with budget-friendly finds, reclaimed treasures, or even clever IKEA hacks – and proudly so – I have to confess one area where my standards are exceptionally high: front door wreaths.
Yes, I’m a self-proclaimed “wreath snob.” It’s a trait I’ve learned to embrace, because when it comes to the first impression of my home, a generic, mass-produced wreath simply won’t do. I believe a wreath should tell a story, reflect personal style, and radiate a warmth that welcomes all who approach. That’s why crafting my own has become not just a hobby, but a delightful pursuit of personalized elegance.
Why DIY Your Own Spring Wreath?
Beyond satisfying my inner wreath enthusiast, making your own wreath offers a myriad of benefits. Firstly, it allows for unparalleled customization. You choose every element, ensuring the final piece perfectly complements your home’s aesthetic and your personal taste. No more settling for “close enough” when you can achieve “absolutely perfect.” Secondly, it can be surprisingly cost-effective. While quality artificial florals can be an investment, catching sales (like I did!) or using existing craft supplies can make DIY much more affordable than purchasing a high-end, bespoke wreath. Finally, there’s the immense satisfaction of creating something beautiful with your own hands. It’s a therapeutic process that results in a unique piece of decor, imbued with your personal touch, ready to greet visitors with its handmade charm.
My latest creative endeavor bloomed during a recent trip to Michael’s, where I discovered their faux florals were 50% off. It was an irresistible invitation to indulge my love for soft, romantic hues. I found myself drawn to every “bashful” and “blush” flower, knowing instinctively that pink would be my signature color for the season. Inspired by this delicate palette, I embarked on creating a sage and blush spring wreath that embodies soft romance and welcomes the vibrancy of spring. If you, too, appreciate the artistry of a truly exceptional wreath, then join me in this step-by-step tutorial.
(Some affiliate links are provided below. Full disclosure here.)
Gather Your Essential Supplies for a Blush and Sage Wreath
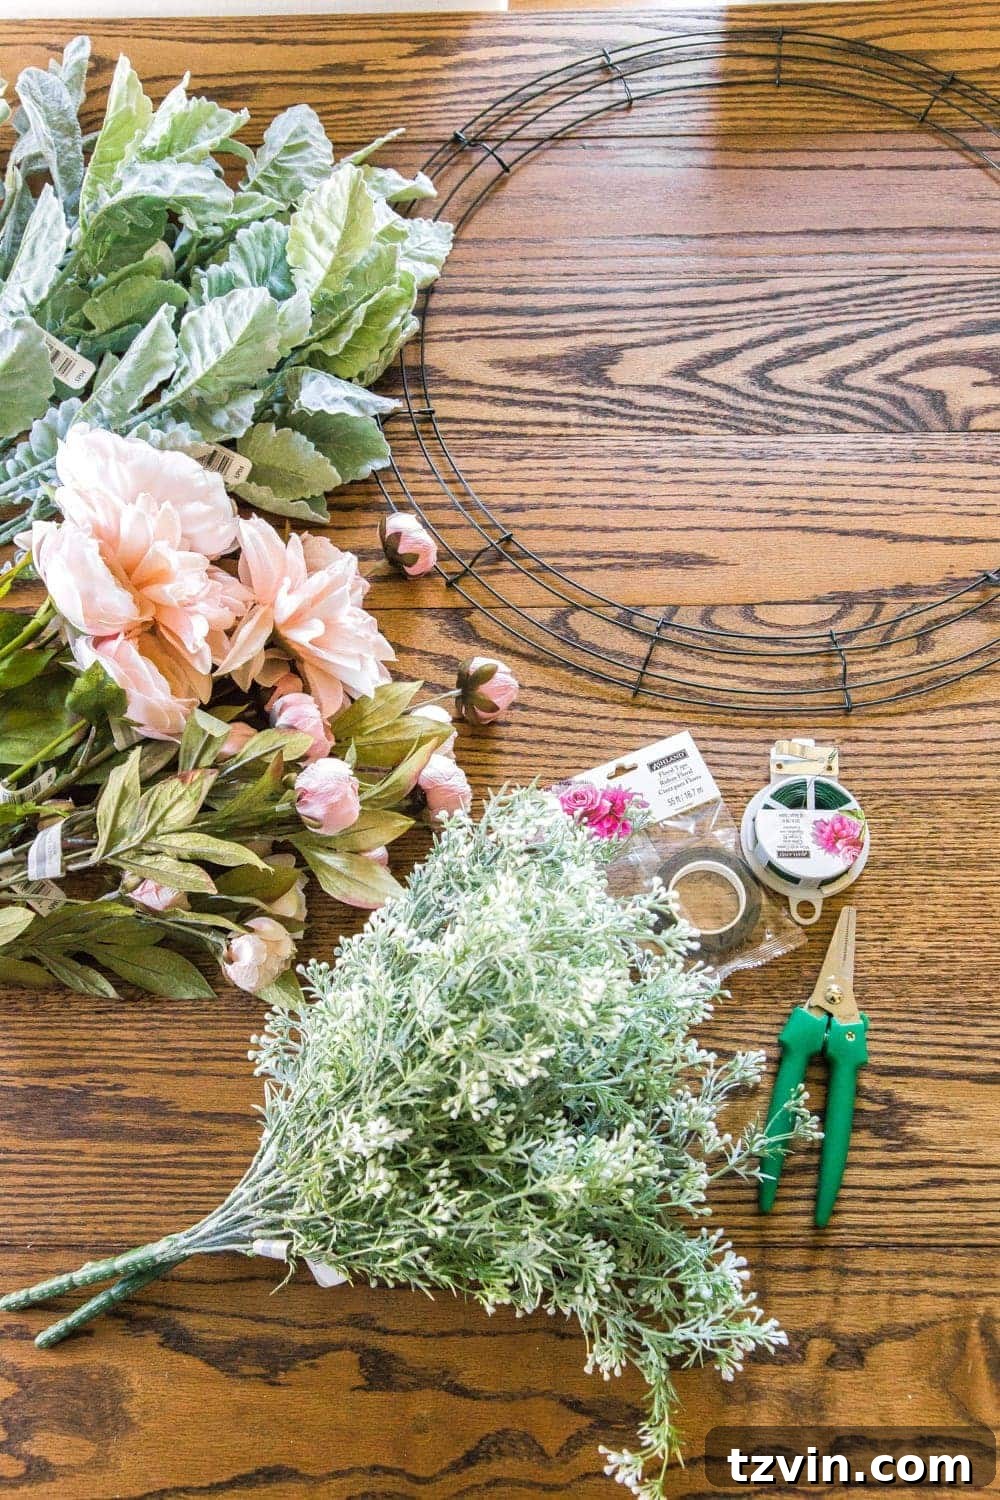
Before you begin your creative journey, gathering all your materials is key. Having everything within reach will ensure a smooth and enjoyable crafting experience. Here’s what you’ll need to create your very own sage and blush spring wreath:
Supplies List:
- Wire wreath form (A 24″ form provides a generous base for a statement piece)
- Floral wire (Essential for securely attaching greenery and flowers)
- Floral tape (Provides extra security and helps camouflage wire)
- Floral cutters (A sturdy kit will make snipping stems effortless)
- Artificial lamb’s ear stem (For that soft, muted sage greenery base)
- Artificial lamb’s ear bush (More volume for a lush foundation)
- Artificial white berry bush (To add texture and delicate contrast)
- Artificial peony stem (A classic, full blush bloom)
- Artificial dahlia stem (similar) (Adds dramatic flair and rich color)
- Artificial ranunculus stem (Delicate and multi-layered blush beauty)
- Artificial garden rose bush (Romantic, timeless blossoms to complete the look)
Step-by-Step Wreath Assembly: Creating Your Romantic Spring Display
Now that you have all your supplies, let’s dive into the creative process. Building an artificial floral wreath is a rewarding experience, allowing you to sculpt a beautiful design that will last season after season. Remember, there’s no single “right” way to arrange your flowers and greenery; feel free to let your artistic eye guide you.
1. Building the Sage Greenery Base with Lamb’s Ear
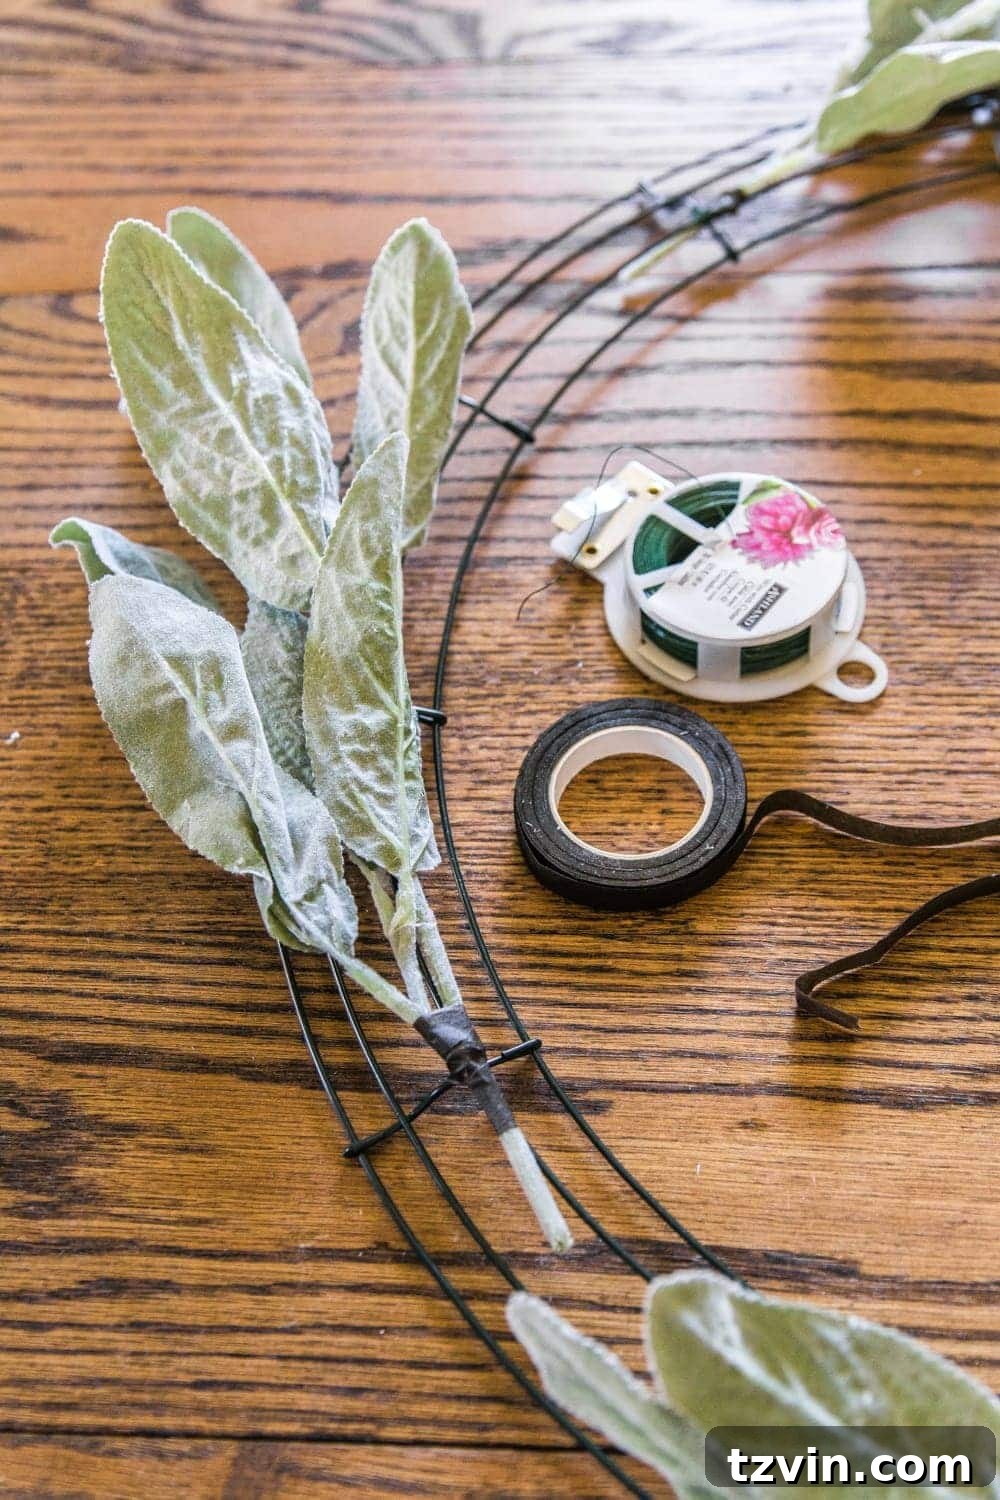
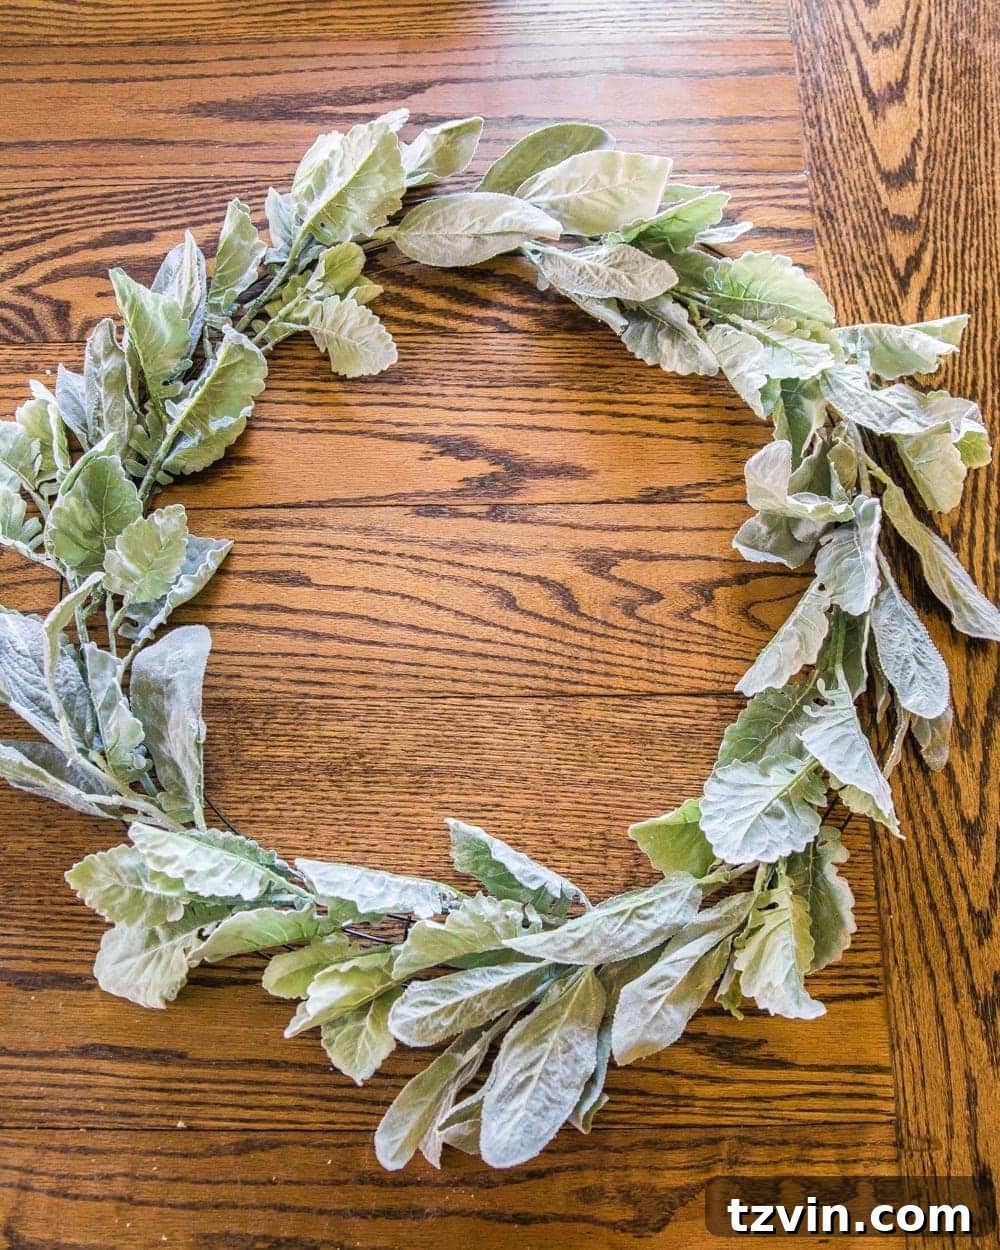
The foundation of any beautiful wreath is a lush, well-distributed base. I began with the artificial lamb’s ear, which offers that perfect soft, dusty sage tone. First, use your floral cutters to snip the lamb’s ear stems into individual pieces. This gives you more control over their placement and allows for a fuller, more natural look. Begin by arranging these individual stems evenly around your wire wreath form. Aim for a balanced distribution, covering the metal frame completely to create a soft, continuous ring of greenery. Once you’re satisfied with the arrangement, securely attach each stem to the wire form using floral wire. Wrap the wire tightly around the stem and the form, twisting the ends to secure. For an extra neat finish and added stability, you can also wrap a bit of floral tape around the wire and stem. This step is crucial for creating a robust and visually appealing base.
2. Adding Delicate Texture with White Berries
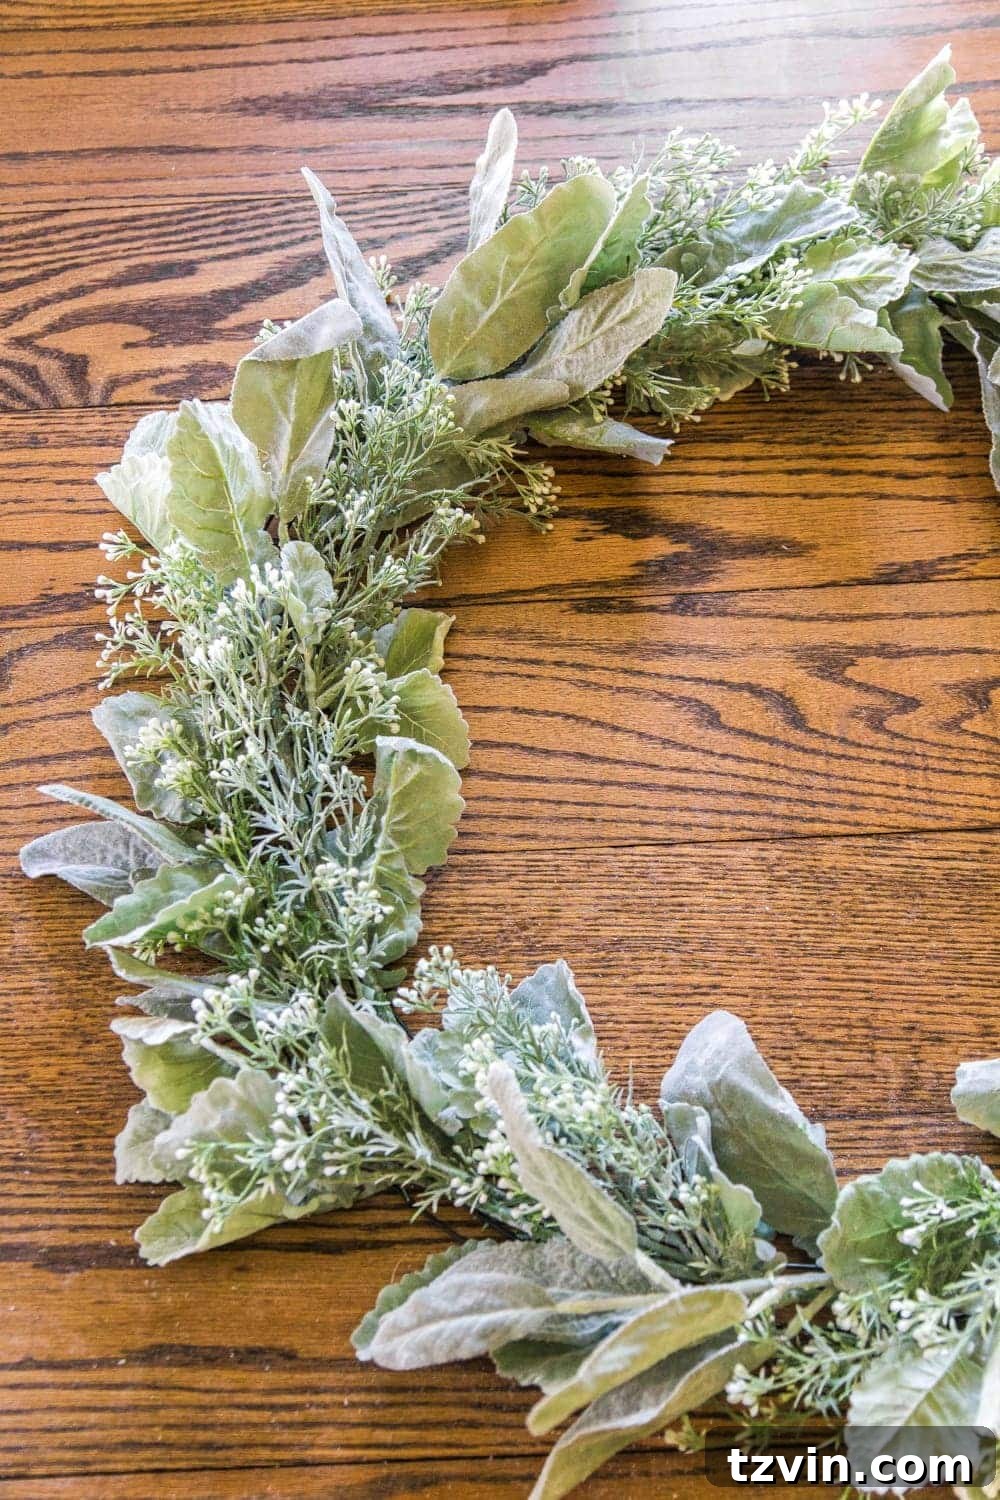
With your lamb’s ear base firmly in place, it’s time to introduce some textural interest. The artificial white berry bushes are perfect for this, adding a delicate, whimsical touch and breaking up the solid green. Similar to the lamb’s ear, take apart your white berry bushes by snipping them into smaller, individual stems. Now, carefully weave these berry stems into the lamb’s ear base, distributing them evenly around the wreath form. Place them between the lamb’s ear stems, allowing the white berries to peek through and add depth. Again, secure each berry stem with floral wire and floral tape. This layer provides visual intrigue and creates a more dynamic canvas for your blush flowers.
3. Placing Your Blush Floral Accents
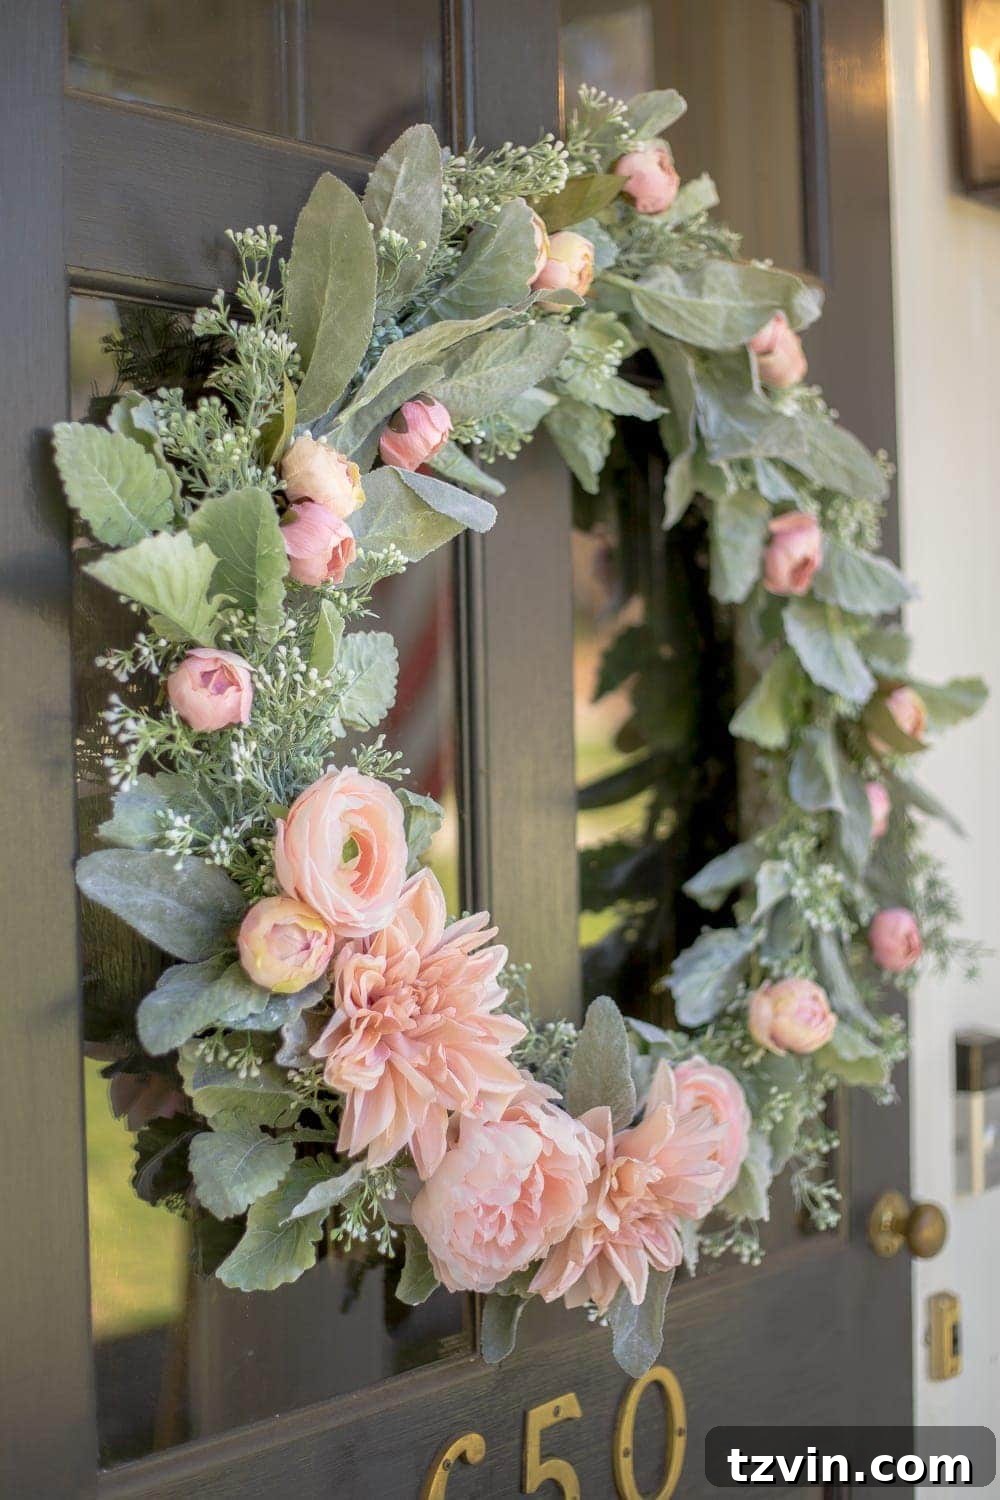
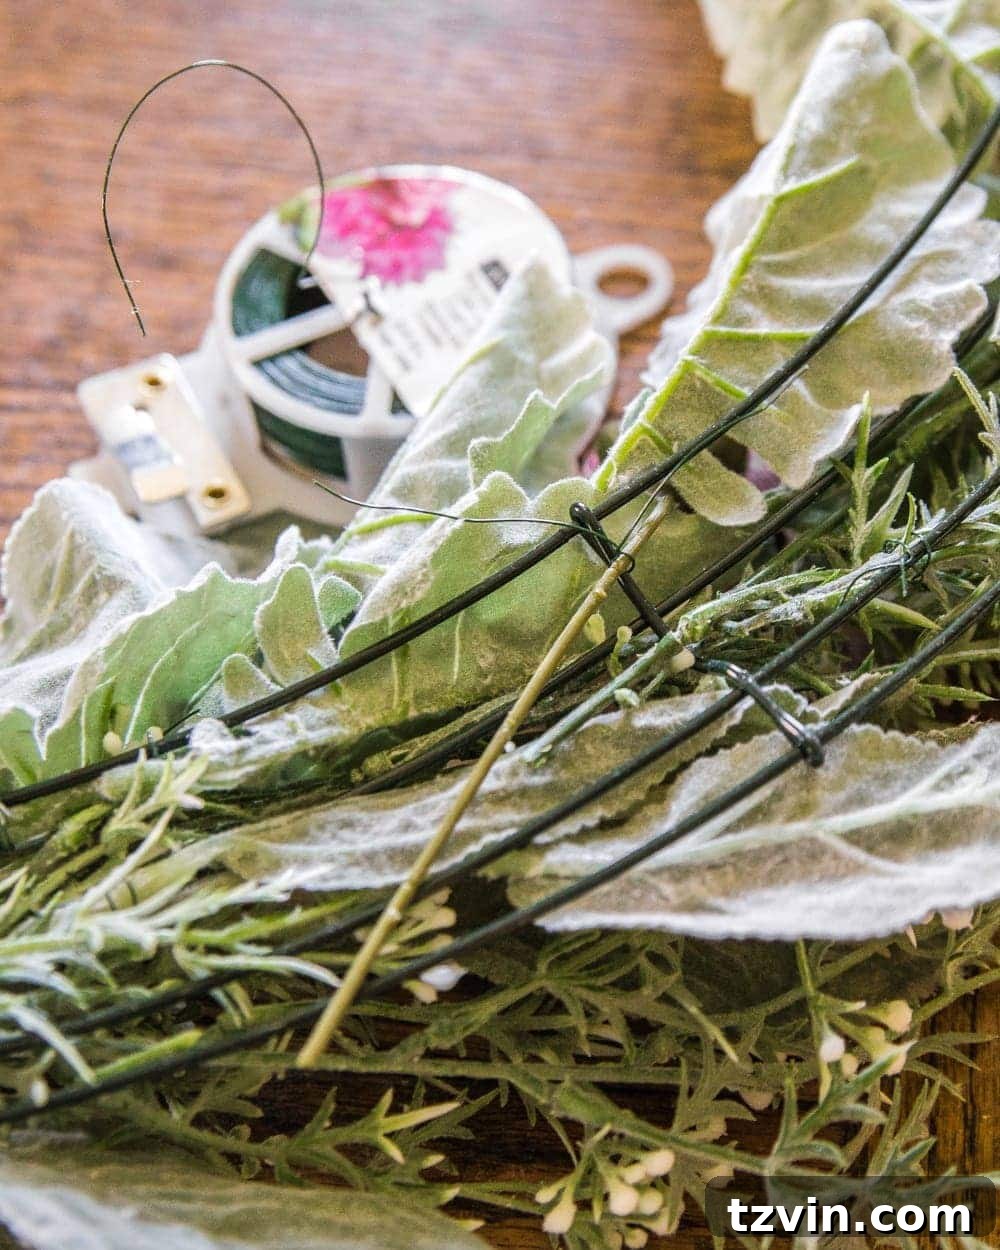
This is where the wreath truly comes to life with its romantic blush hues. Take your assortment of artificial peony, dahlia, ranunculus, and garden rose stems. Before permanently attaching anything, take a moment to “dry fit” your flowers. Place them loosely on the wreath where you envision them. Consider creating clusters, ensuring balance, and thinking about how the different flower shapes and sizes interact. Don’t be afraid to step back and view your wreath from a distance to get a better perspective. Once you’ve decided on the perfect arrangement, one by one, pull the stems of each blush flower through the wire form and the established greenery. On the backside of the wreath, firmly secure each flower stem with additional floral wire. You might need to wrap the wire several times, ensuring that the flowers are snugly attached and won’t shift or fall off. The goal is a secure, beautiful display that showcases the delicate beauty of each blush bloom against the sage greenery.
The Final Touch: A Beautiful Wreath in Under an Hour!
And just like that, in under an hour, you’ve transformed a simple wire form and a handful of artificial florals into a stunning, custom spring wreath! It’s incredibly satisfying to see your vision come to fruition so quickly. Take a moment to fluff your flowers and greenery, ensuring everything looks natural and full. Adjust any stems as needed to achieve that perfect soft, romantic style. This was actually my first time making a wreath entirely from scratch, and I was genuinely surprised by how much fun it was. I tend to lean more towards furniture makeovers and home improvement projects, but this venture into floral crafting has definitely sparked a new passion. I’m already envisioning more wreaths in my future!
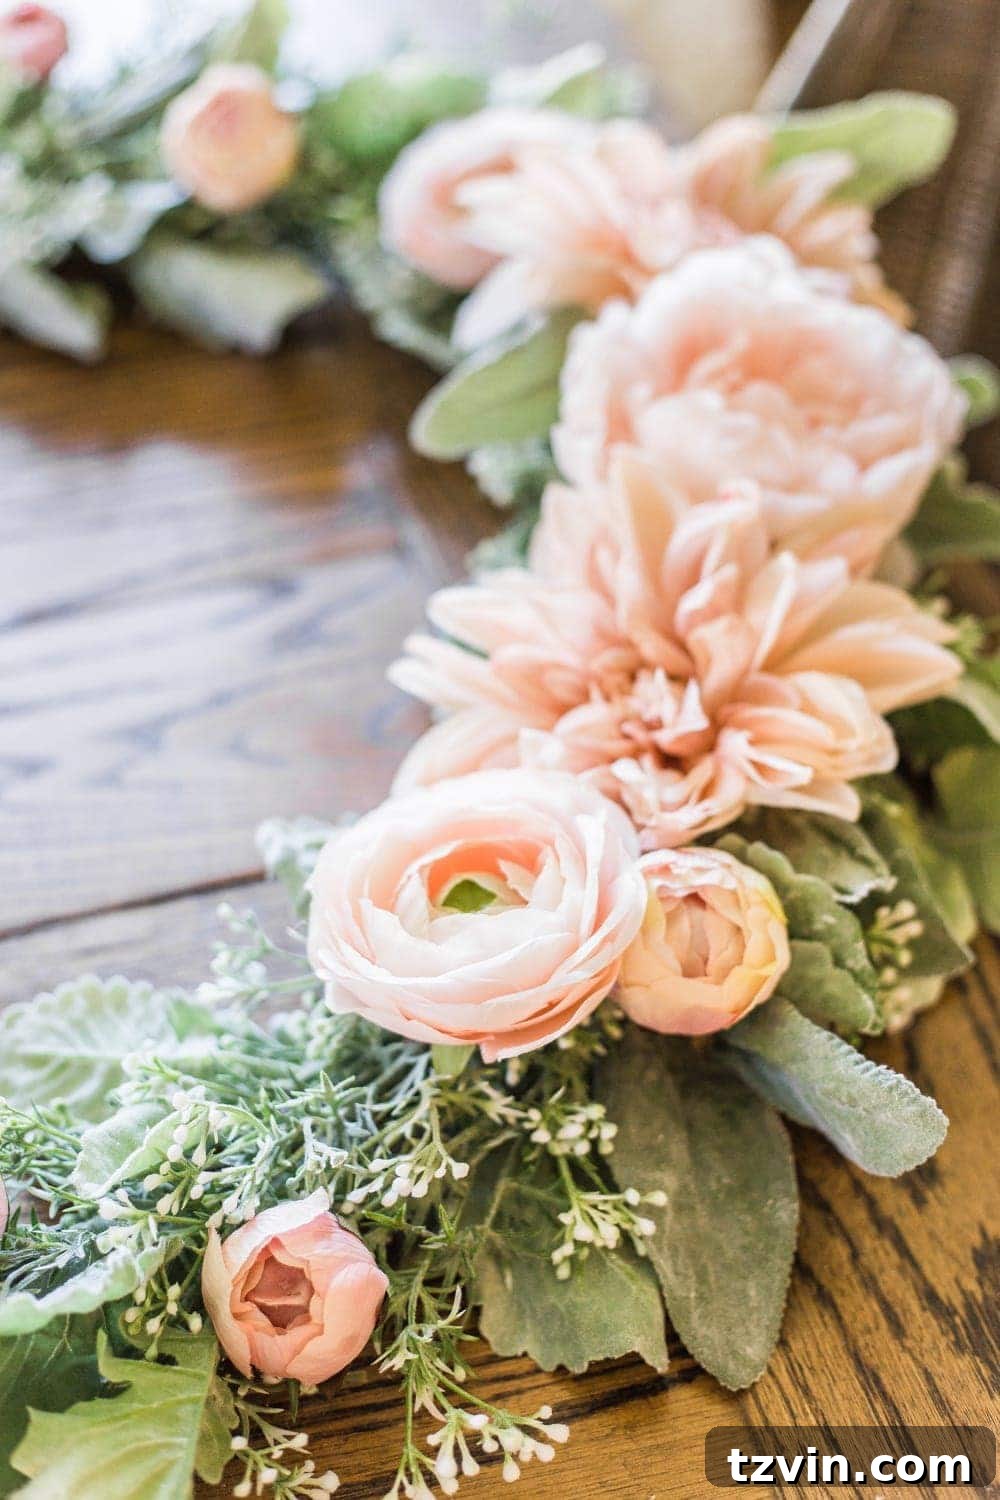
Now, our beautiful sage and blush wreath hangs proudly on our front door, a hopeful beacon for the arrival of warmer weather and vibrant spring days. There’s an undeniable charm to the combination of muted sage and delicate blush, evoking a sense of calm elegance and timeless romance that truly captures my heart.
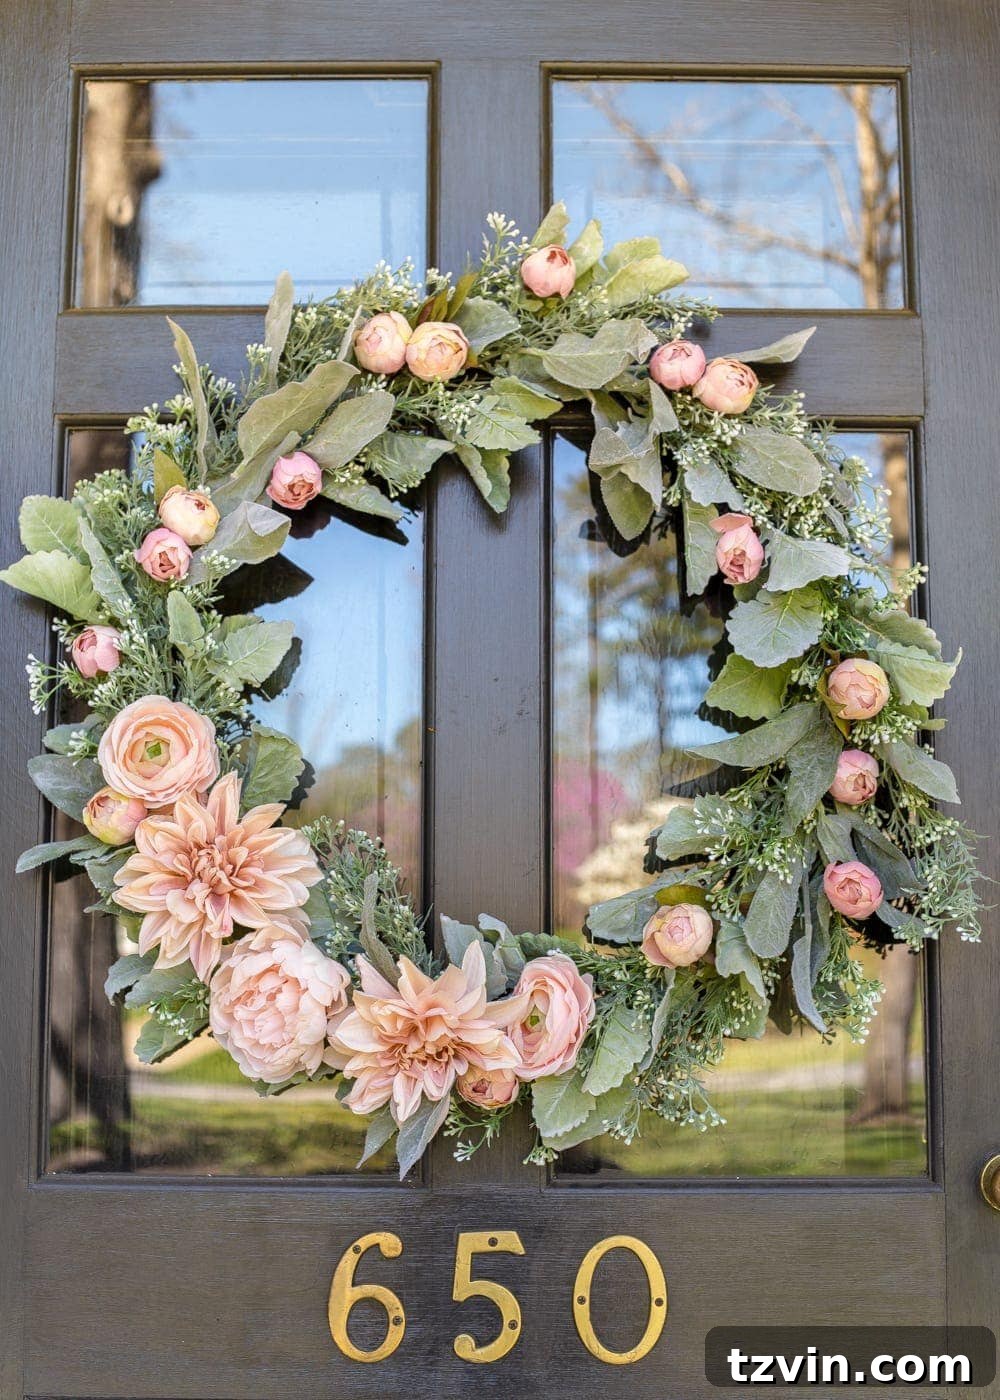
Tips for Wreath-Making Success
- Quality Matters: Investing in good quality artificial flowers and greenery makes a significant difference in the final look and longevity of your wreath. Look for realistic textures and colors.
- Balance is Key: While arranging, constantly step back and observe your wreath. Ensure an even distribution of colors and textures to create visual harmony.
- Layering Adds Depth: Start with your base greenery, then add filler elements, and finally, your focal flowers. This layering technique creates depth and a natural, organic feel.
- Don’t Be Afraid to Experiment: If something doesn’t look right, simply un-wire it and try a different placement. The beauty of artificial florals is their flexibility.
- Secure Everything: Loose elements can detract from your wreath’s beauty and longevity. Use plenty of floral wire and tape to ensure every stem is firmly attached.
- Consider Your Hanging Spot: Think about where your wreath will hang. Will it be exposed to direct sunlight or rain? Choose materials and construction methods accordingly.
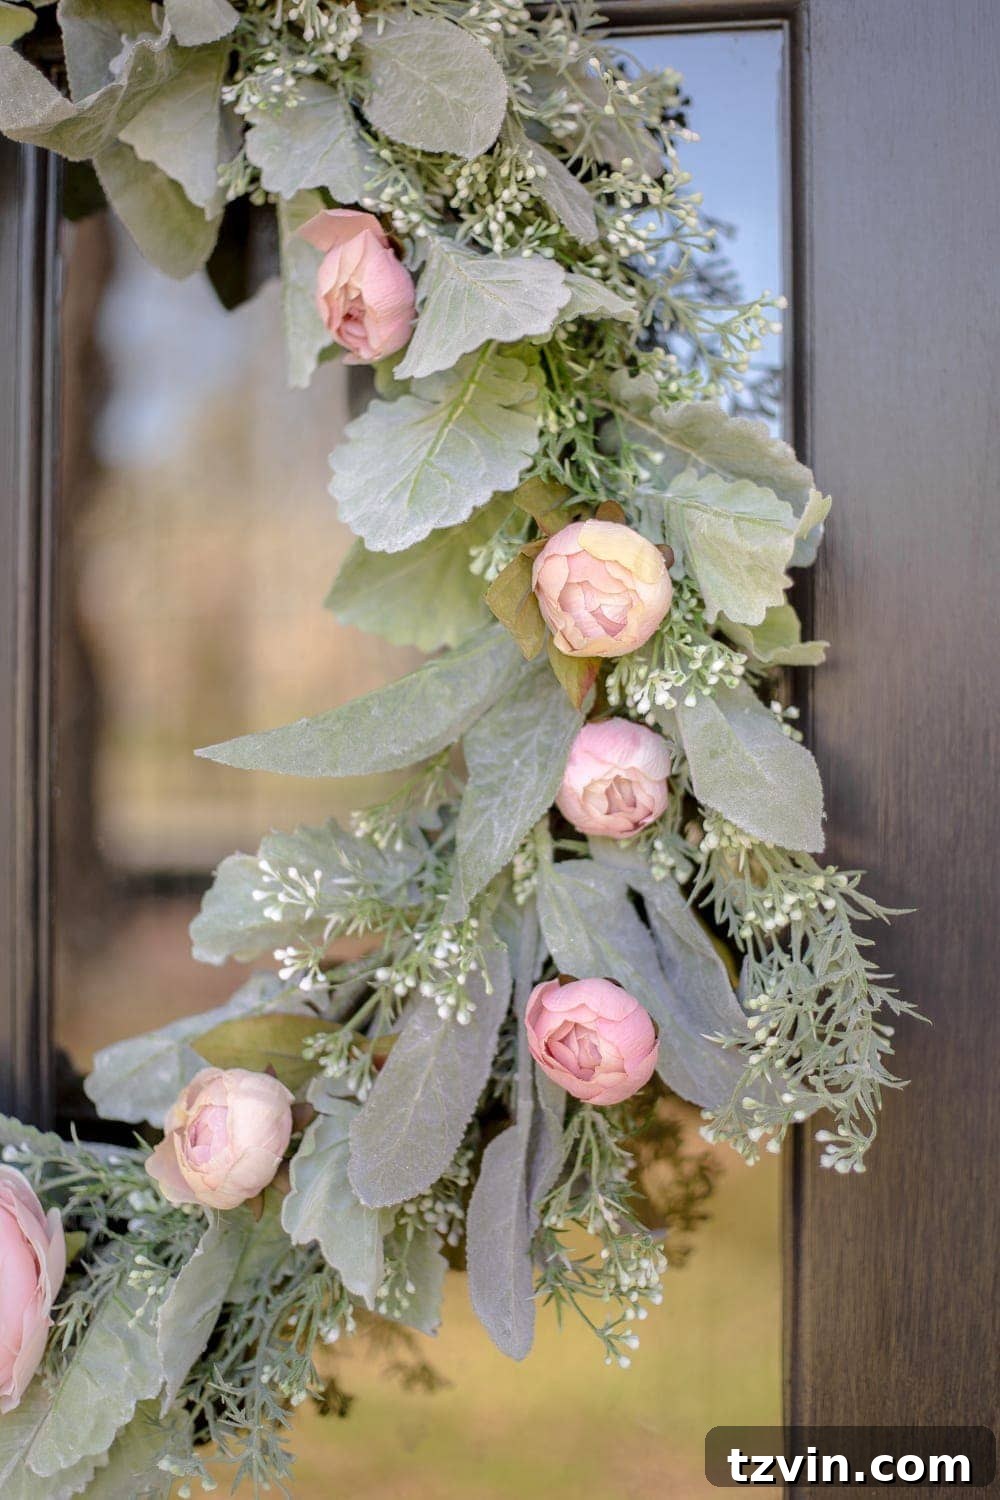
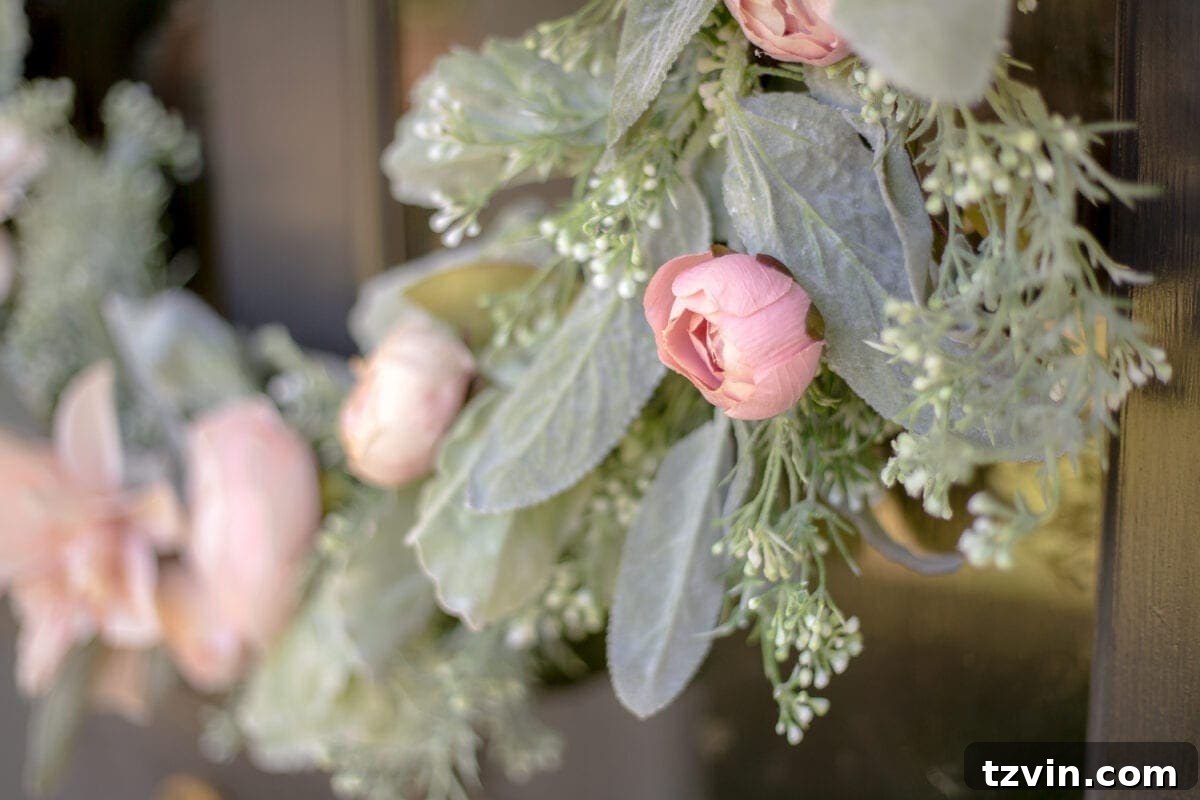
The allure of sage and blush, or anything “bashful” and romantically hued, truly captivates me. This color combination brings a serene yet joyful vibe that is perfect for welcoming guests and enhancing curb appeal. Now that my beautiful sage and blush spring wreath is complete, my next project is to sweep the front porch clean and get the rest of this charming stoop ready for the season. Spring is all about renewal, and a fresh, inviting entryway is the perfect way to embrace it!
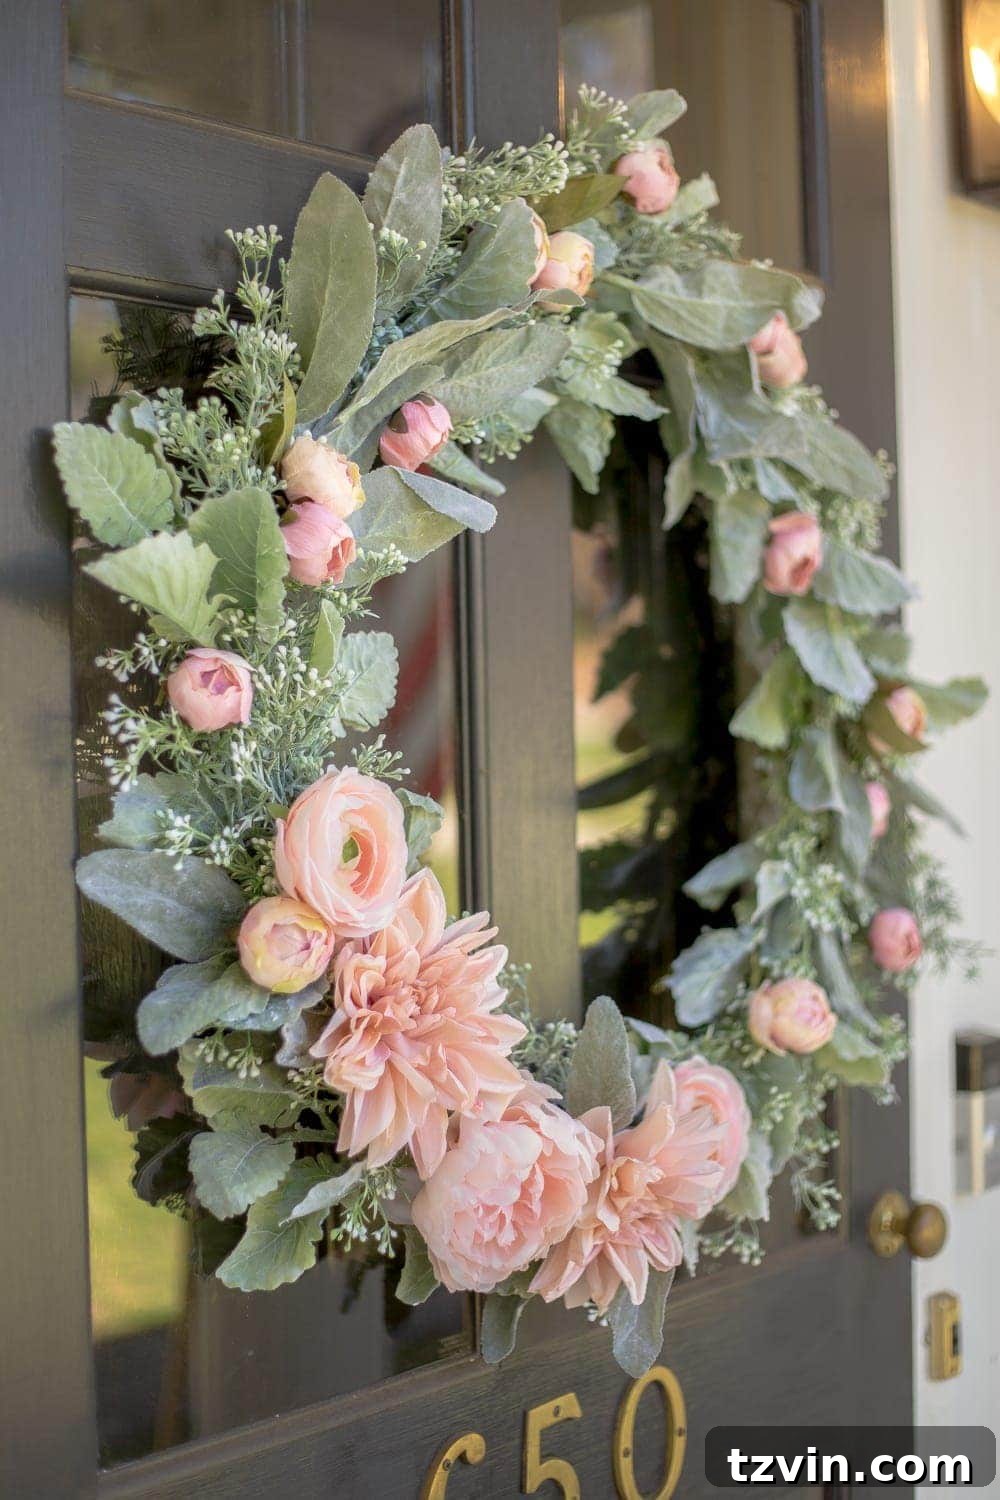
I hope this tutorial inspires you to unleash your inner wreath maker. There’s immense joy in crafting something beautiful for your home, especially when it results in a piece as enchanting as this sage and blush spring wreath.
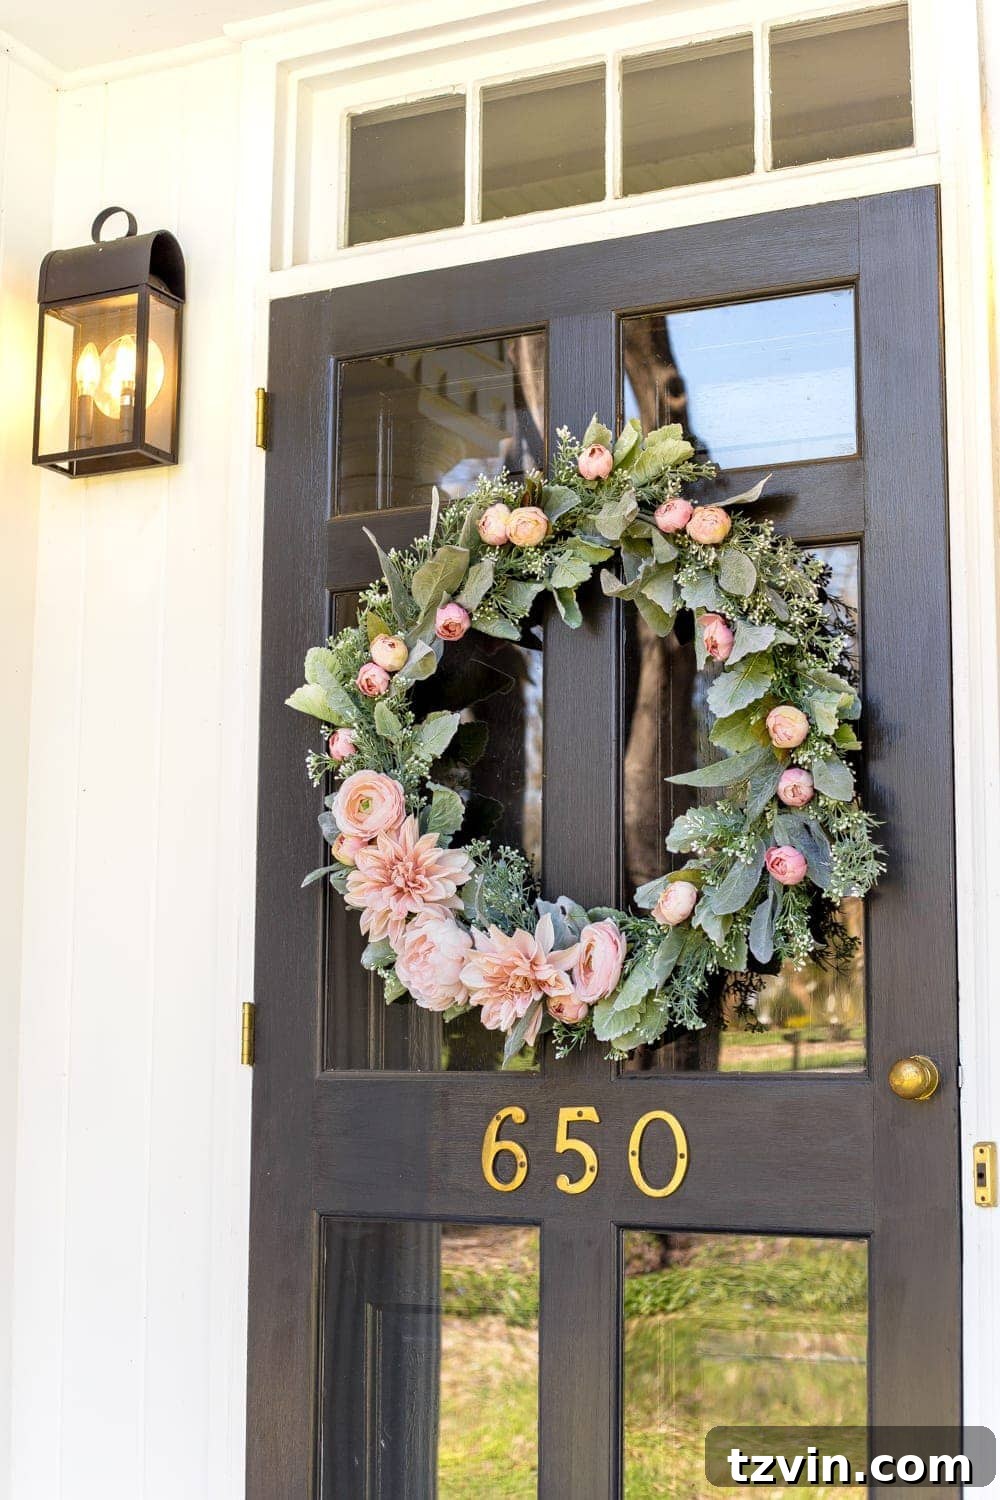
If you want more DIY spring wreath ideas, you can check out all of them on the tour below:
Succulent & Peony Simple DIY Spring Wreath at The Happy Housie
Dollar Store Spring Wreath at Craftberry Bush
Lambs Ear & Blush Spring Wreath at Bless’er House
Elegant Peony & Eucalyptus Spring Wreath at Inspiration for Moms
Spring Fern & Eucalyptus Wreath at Zevy Joy
Boxwood and Bicycle Spring Wreath at The Turquoise Home
DIY Modern Floral Wreath at Lolly Jane
Oversized Spring Succulent Wreath at My Sweet Savannah
Five Minute Eucalyptus Wreath at Amber Tysl
Earthy & Elegant Spring Wreath at Willow Street Interiors
Mini Rosemary Wreaths for a Spring Table at Satori Design for Living
Spring Hydrangea Wreath at Confessions of a Serial DIYer
Branch and Vine Spring Wreath at Town and Country Living
Spring Hoop Wreath with Lemons at Modern Glam Home
Spring Wreath Ideas at Hallstrom Home
Spring Woodland Wreath at Deeply Southern Home
Dollar Store Easter Egg Wreath at The DIY Mommy
Spring Moss Covered Wreath at Tauni Everett
Easy 15 Minute Marshmallow Peeps Wreath at Heathered Nest
Pastel Colours M&M Wreath at Paint Me Pink
How to Make a Paper Flower Wreath at Happy Happy Nester
Spring Floral Hoop Wreath at My Uncommon Slice of Suburbia
Hanging State Sign at Taryn Whiteaker Designs
Book Page Butterfly Wreath at Life is a Party
Spring Basket Wreath at Clean & Scentsible
Simple Succulent Wreath at A Pretty Life
DIY Paper Flower Wreath at My 100 Year Old Home
Spring Plaid Carrot Layered Wreath at Tatertots and Jello
If you want to save this post for later, you can pin it here: