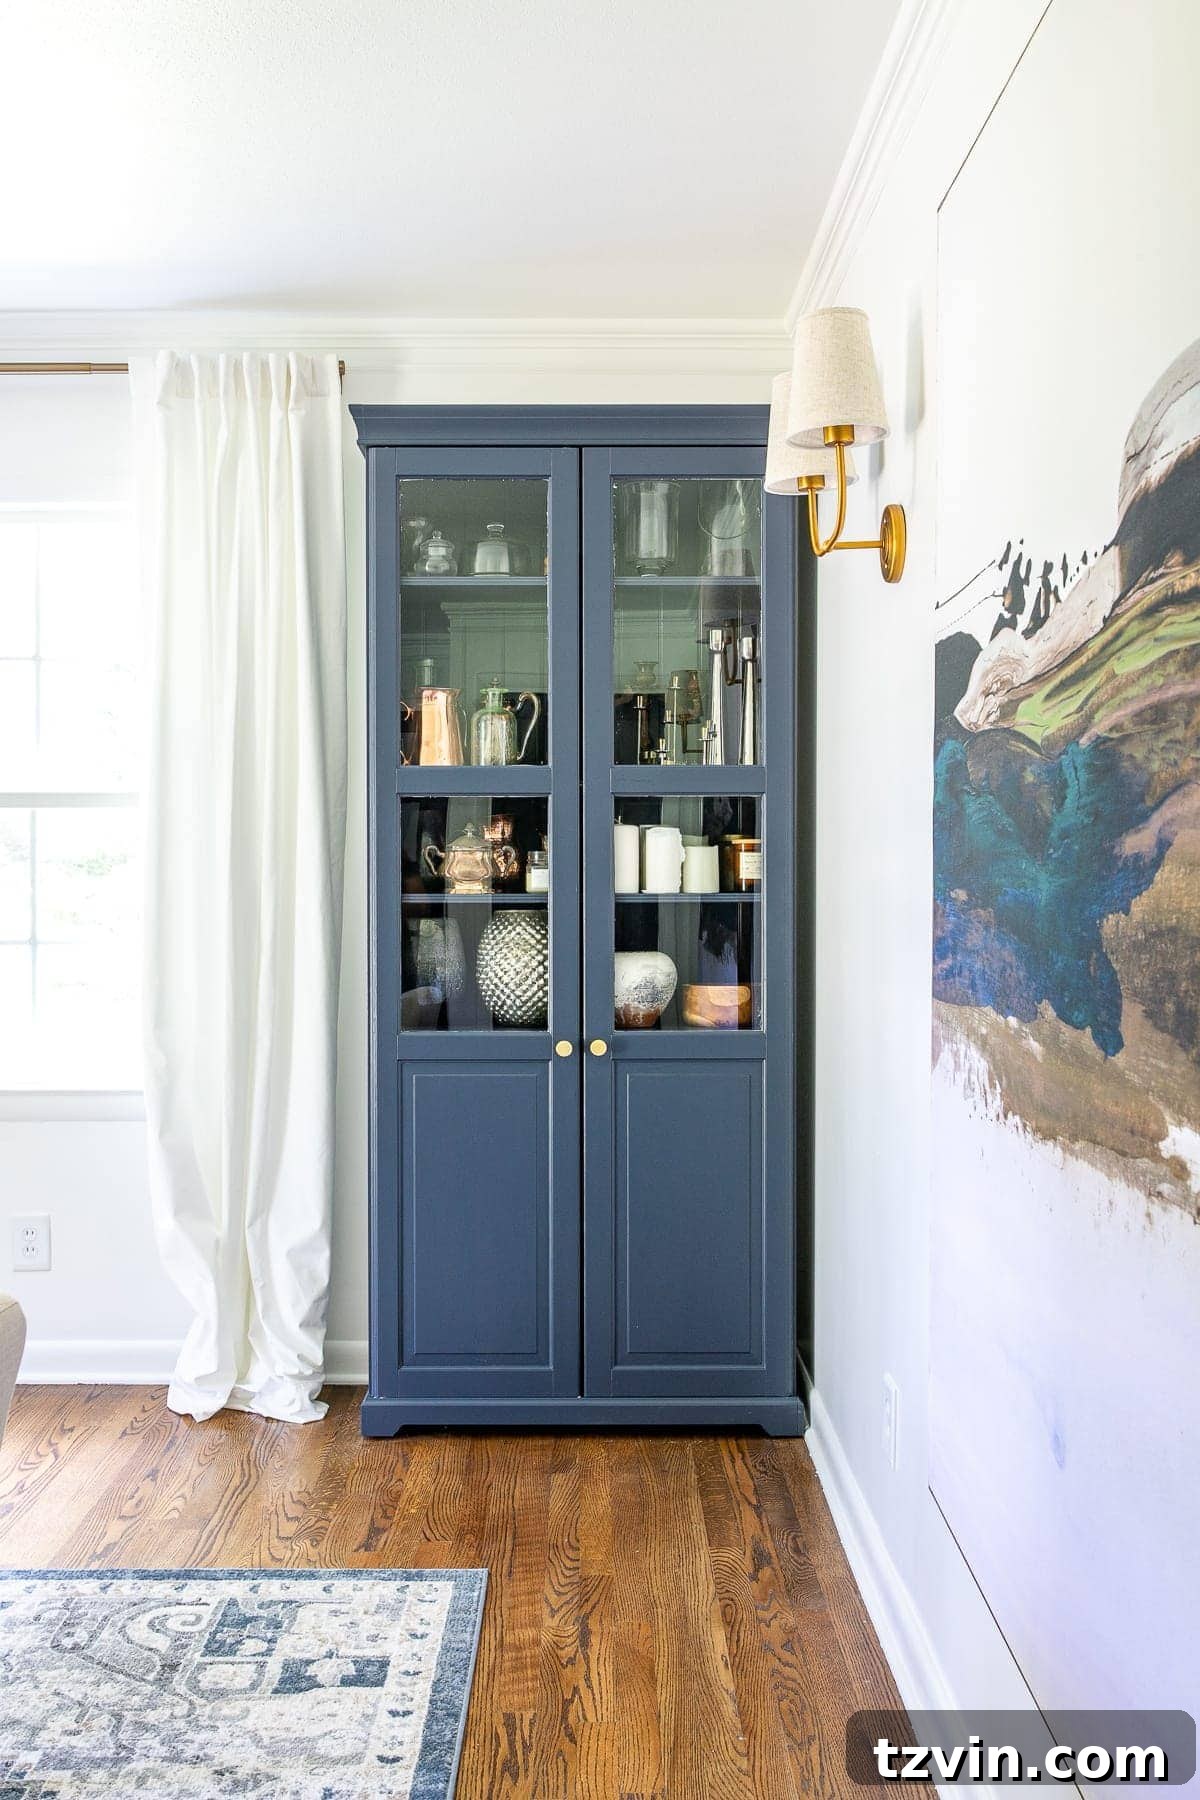
Unlock the Secrets to Painting Furniture Like a Pro: A Comprehensive Guide to Lasting Finishes & Scoring the Best Secondhand Deals
Have you ever dreamed of transforming a drab, outdated piece of furniture into a stunning focal point? The art of painting furniture is not just a DIY project; it’s a journey of creative expression, sustainability, and smart home decor. For years, this blog has featured countless furniture makeovers, showcasing the incredible potential hidden within neglected pieces. It’s truly time to pull back the curtain and share all the invaluable tips, tricks, and secrets accumulated over a decade of transforming furniture.
Eight years ago, fueled by a desire for a creative outlet and a way to contribute to our family’s budget, I embarked on a journey of finding unwanted furniture on platforms like Facebook Marketplace and in local thrift stores. My garage became a workshop, where I breathed new life into these pieces, reselling them to cover grocery bills and more. This experience revealed painting furniture as the perfect side gig, an immensely satisfying creative pursuit, and an incredibly cost-effective method to beautify any home.

The Ultimate Beginner’s Guide to Painting Furniture
Many aspiring DIYers often wonder where to begin their furniture painting journey, how to properly prep a piece, and what techniques can create those coveted, fun finishes. This comprehensive guide aims to consolidate all my best advice into one easily accessible resource, empowering you to tackle your first (or fiftieth!) furniture makeover with confidence.
Consider this your essential guide to painting furniture, designed specifically for beginners. I wholeheartedly promise it’s far less intimidating than it appears. In fact, once you experience the satisfaction of transforming a piece, you’ll likely find yourself completely hooked – fair warning!
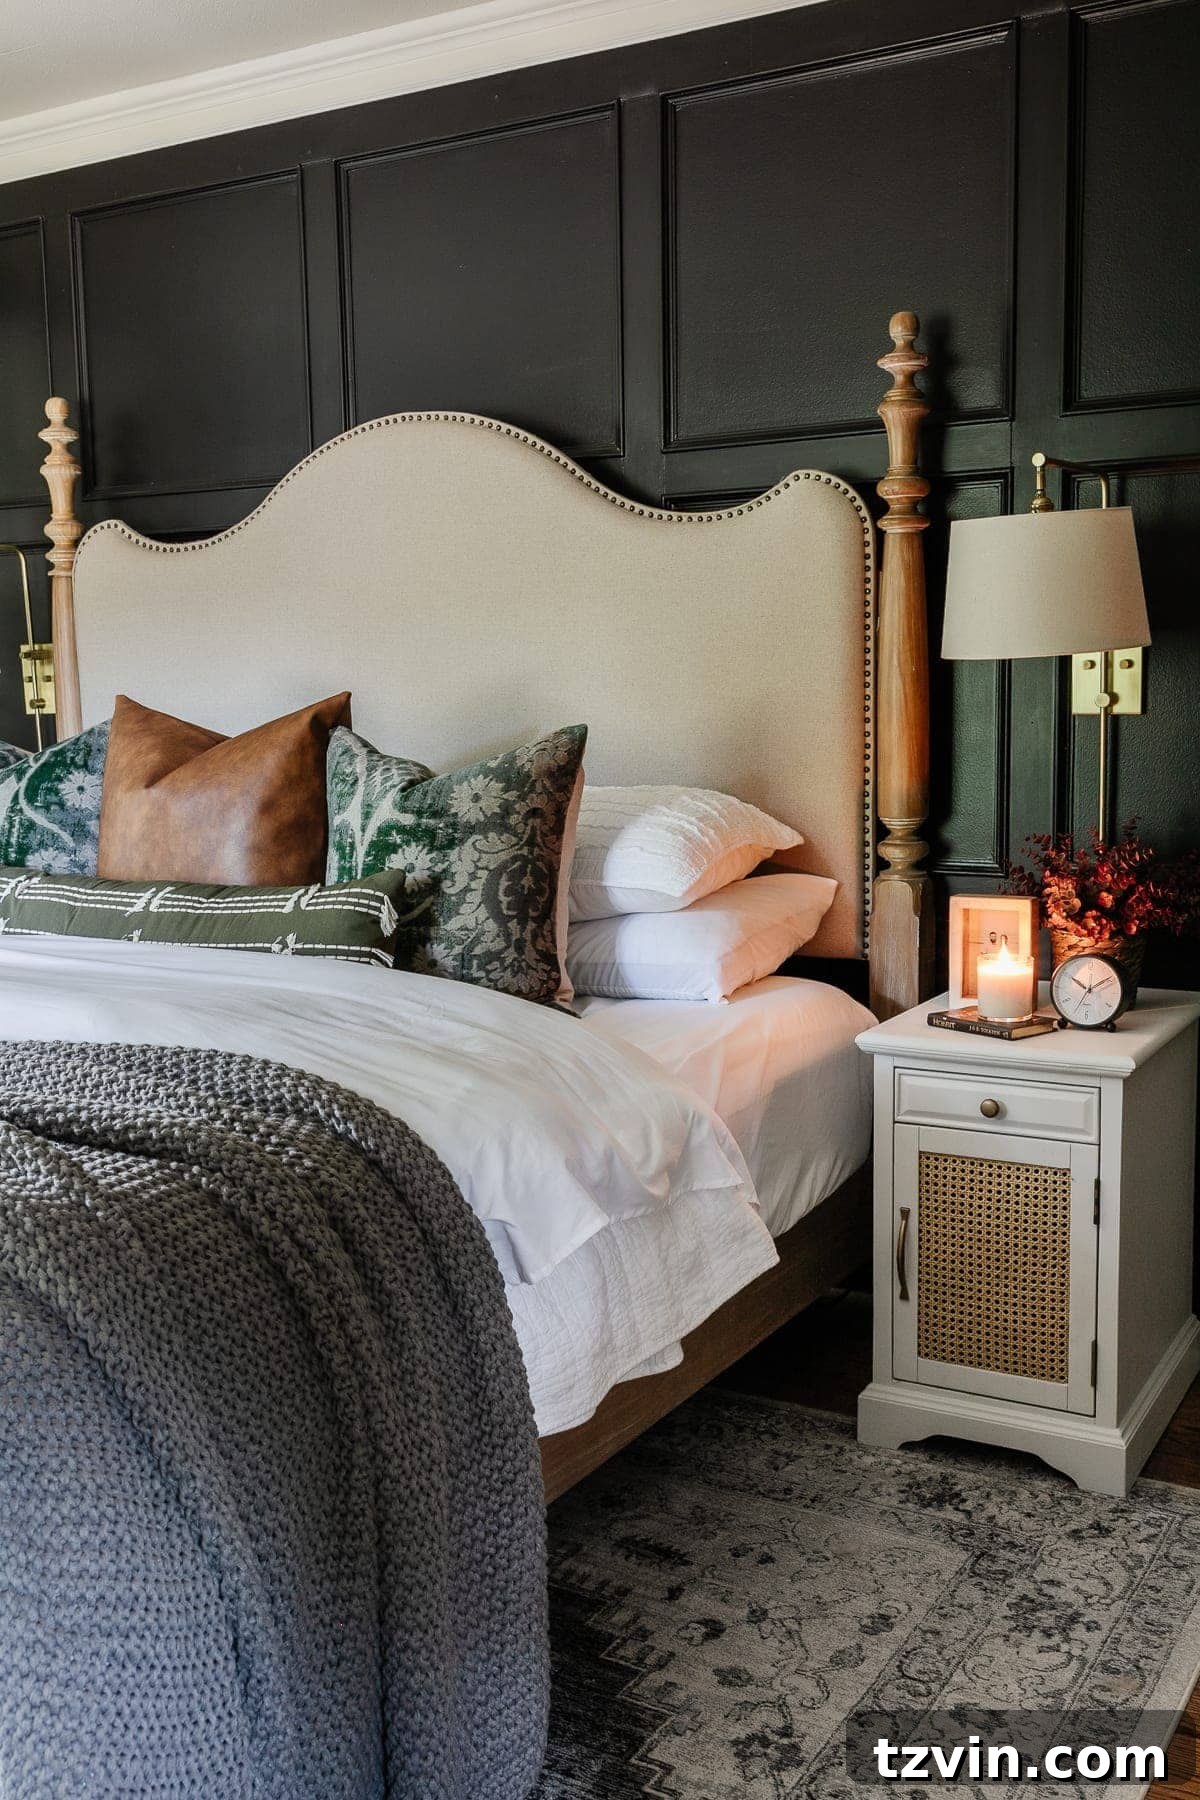
Unearthing Hidden Gems: Where to Find Secondhand Furniture to Paint
One of the most exciting parts of a furniture makeover project is finding the perfect piece with potential. Instead of buying new, opting for secondhand furniture is not only budget-friendly but also environmentally conscious. To help you snag the absolute best deals and most promising pieces, delve into these insider secrets and top shopping sources:
- How to Find the Best Deals on Facebook Marketplace: Learn strategies for searching, setting alerts, and negotiating prices on this popular platform.
- 30 Home Decor Items You Should Always Buy While Thrift Shopping: Discover hidden treasures beyond furniture, and what to always look for.
- 12 Goodwill Shopping Secrets Revealed: Master the art of thrifting at Goodwill for maximum success.
- 8 Apps to Up Your Thrifting Game: Leverage technology to locate the best deals and sales near you.
- 18 Craigslist Shopping Secrets Revealed: Navigate Craigslist effectively to find amazing furniture pieces.
Your Go-To List for Secondhand Furniture Shopping Sources
Expand your search to include these diverse options for discovering your next project piece:
- Facebook Marketplace: An ever-changing inventory of local listings, often from individuals eager to clear space. Look for terms like “moving sale” or “must go.”
- Craigslist: A classic platform for finding everything from freebies to antique gems. Patience and specific search terms are key.
- Thrift Stores: Regularly check your local Goodwill, Salvation Army, and independent thrift shops. Inventory changes daily, so frequent visits can yield great finds.
- Consignment Shops: These stores often carry higher-quality, curated pieces, but sometimes at a slightly higher price point. Don’t be afraid to ask about sale cycles.
- Antique Stores: While typically higher-priced, you can occasionally stumble upon unique pieces that just need a fresh coat of paint to fit modern aesthetics. Keep an eye out for “as-is” sections.
- Estate Sales: A treasure trove for unique furniture. Find them on EstateSales.net. Arrive early for the best selection, but consider later hours for potential discounts.
- Yard/Garage Sales: Weekend hunts can be incredibly rewarding. Search for them using Yard Sale Treasure Map for organized routes.
- Moving Sales: Often advertised locally, these sales are great for finding items quickly as sellers are motivated.
- Facebook Buy/Sell/Trade Groups: Join local community groups for more targeted listings and sometimes even free items.
- OfferUp: A mobile-first marketplace for local buying and selling.
- LetGo: Similar to OfferUp, a popular app for local classifieds.
- Nextdoor: Your neighborhood’s social network often features items for sale or even free.
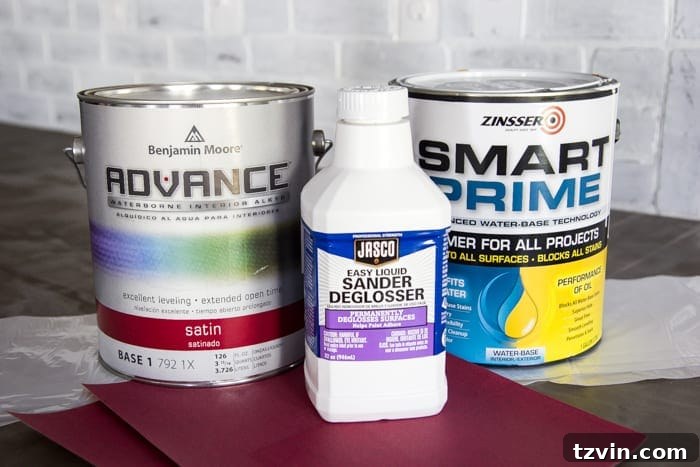
Essential Toolkit: Supplies You Need for Painting Furniture
Having the right tools is paramount to achieving a professional, long-lasting finish. Investing in quality supplies will save you time, effort, and frustration in the long run. Here’s a breakdown of what you’ll need:
Mandatory Supplies for Nearly All Furniture Painting Projects
- Drop Cloth: Essential for protecting your floors and surrounding areas from paint drips and dust.
- Simple Green Cleaner (or preferred degreaser): Crucial for thoroughly cleaning the furniture surface, removing grime, oils, and old polishing residues that could prevent paint adhesion. Other effective options include TSP (requires rinsing) or Krud Kutter.
- Clean, Dry Rags: For wiping down surfaces after cleaning and for various steps throughout the process.
- Chemical-Resistant Gloves: Protect your hands from cleaners, paint, and other chemicals. Safety first!
- Screwdriver: For easily removing old hardware, allowing for a cleaner paint job and potential hardware upgrades.
- Wood Filler: For patching holes, divots, or minor damage in the wood. It creates a smooth, even surface for painting.
- Putty Knife: Ideal for applying wood filler smoothly and scraping away loose veneer.
- Medium and Fine Grit Sandpaper (or Liquid Sander/Deglosser): Sandpaper is vital for creating a “tooth” for the paint to adhere to, smoothing patched areas, and distressing. Liquid deglossers offer a chemical alternative for light sanding/scuffing.
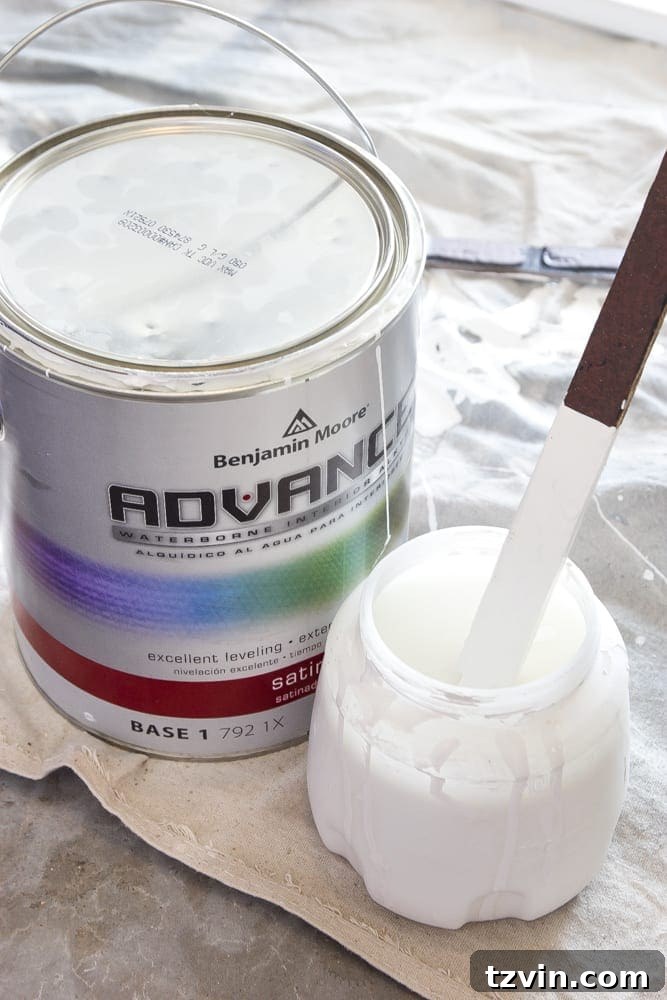
- Paint of Your Choice: This is where your vision comes to life! I personally favor waterborne alkyd-based paints like Benjamin Moore Advance and urethane acrylic enamel-based paints such as Sherwin Williams Emerald for their exceptional durability and smooth finish.
- Good Quality Angled Paint Brush: A high-quality brush is a game-changer. Natural bristle brushes with flexible handles offer superior control and a smoother application, especially for intricate details and edges.
- Tack Cloth: An often-overlooked but essential item for picking up fine dust particles after sanding, ensuring a perfectly clean surface before painting.
Optional Furniture Painting Supplies for Enhanced Results and Specialized Finishes
- Kilz Adhesion Primer: Even “paint-and-primer in one” formulas sometimes benefit from a dedicated primer, especially on slick or challenging surfaces like laminate or previously stained dark wood.
- Spray Shellac: A must-have if you’re painting over dark wood stains or knotty wood, as it effectively blocks bleed-through that can tint your new paint color.
- Small Foam Roller and Paint Tray: Excellent for achieving a smooth, even finish on larger, flat surfaces like tabletops or drawer fronts.
- Furniture Wax (in chosen color): Used with chalk or mineral paints to add depth, protect the finish, and create an antique or distressed look.
- Wax Brush: Specifically designed for applying furniture wax easily and evenly into carved details.
- Clear Wax: Absolutely essential for sealing chalk paint, providing a durable, protective layer.
- Wire Brush: For achieving a more aggressive, “chippy” distressed look by physically pulling paint off the surface.
- Chip Brush: An inexpensive brush perfect for dry-brushing techniques to add texture and subtle color variations.
- Artist Brushes: Ideal for very detailed work, fine lines, or reaching into small crevices on ornate pieces.
- Fusion Crackle: A special medium used to create a beautiful, aged cracked finish on your painted furniture.
- Orbital Sander: A powerful tool for stripping old finishes down to bare wood, especially useful for larger projects or when you want a completely new base.
- Polycrylic or Fusion Tough Coat: These water-based topcoats provide exceptional protection for painted or stained finishes, particularly on high-traffic surfaces. Not needed if using self-sealing paints like Homestead House Stain & Finishing Oil or many mineral paints.
Choosing Your Palette: Understanding Chalk Paint, Mineral Paint, and Alkyd/Acrylic Enamel Paints
Selecting the right type of paint is a crucial decision that impacts your preparation, application, and the final durability and aesthetic of your furniture piece. Each paint type offers distinct characteristics:
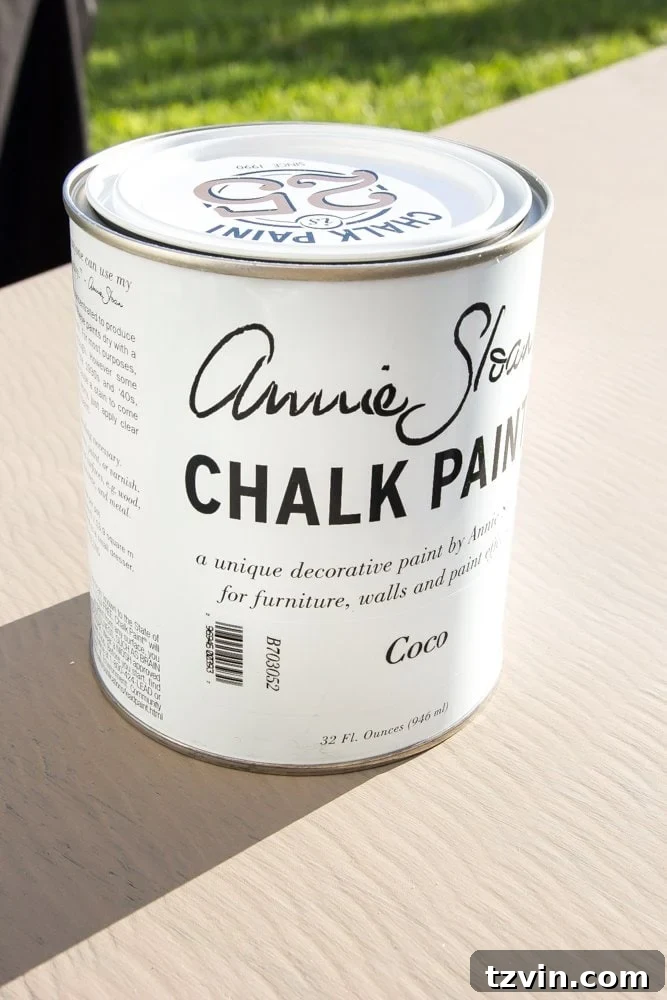
When to Choose Chalk Paint
Chalk paint is renowned for its matte, velvety finish and its forgiving nature, making it a popular choice for furniture makeovers. It’s an excellent option when your goal is to achieve a flat, vintage, or distressed aesthetic with minimal effort.
- Flat Sheen: Delivers a distinctly chalky, ultra-matte finish that absorbs light, perfect for rustic or antique styles.
- Minimal Prep Work: One of chalk paint’s biggest advantages is that it often requires little to no sanding or priming, adhering well to most surfaces. However, it is essential to seal it with wax or a topcoat after painting to protect the finish and enhance durability.
- Visible Brush Strokes: Brush strokes are typically more noticeable with chalk paint, which can contribute to its hand-painted, artisan charm.
- Ideal Projects: Best suited for decorative pieces, items that won’t experience heavy daily use, or when you specifically desire a distressed or aged look.
When to Choose Mineral Paint
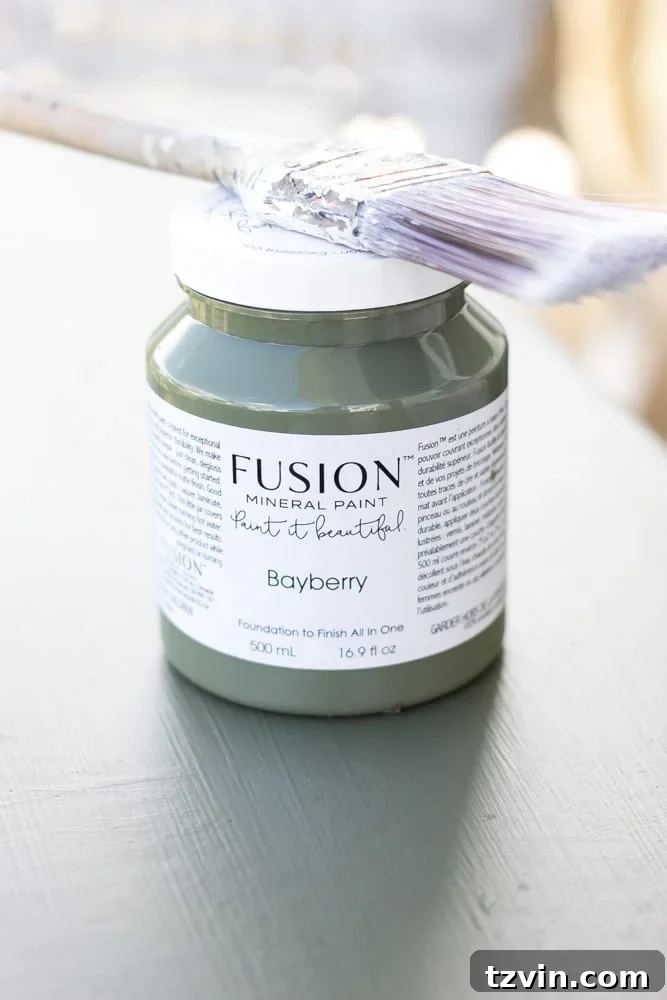
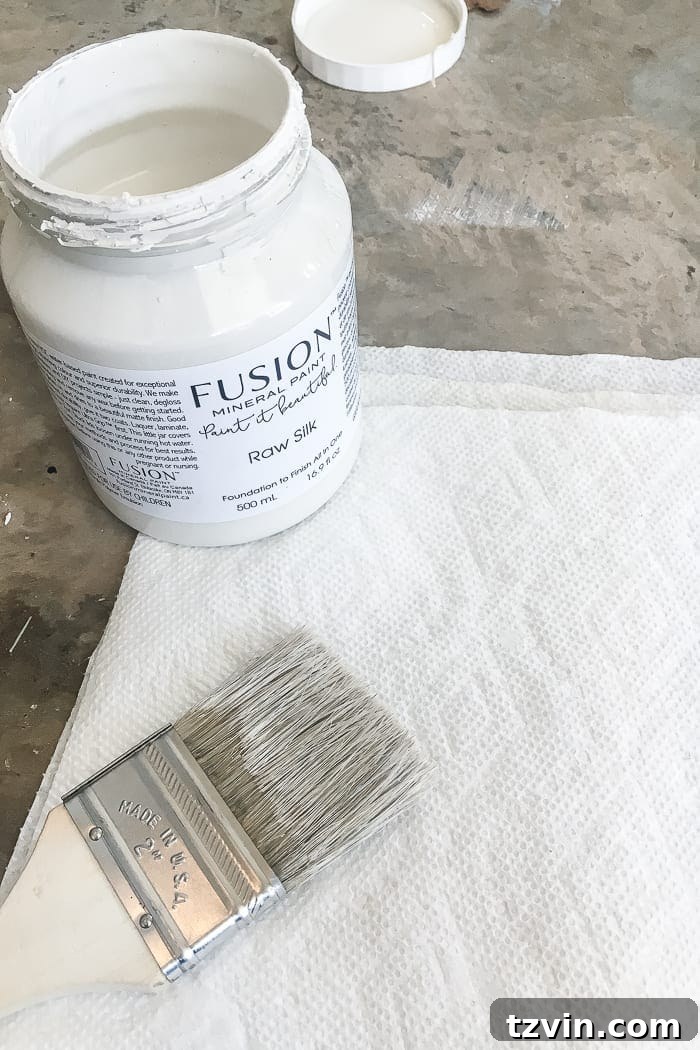
Mineral paint, such as Fusion Mineral Paint, offers a fantastic balance of ease of use and durability, often becoming a favorite for those seeking a smooth finish without extensive sealing steps. It provides a more robust finish than chalk paint while still allowing for distressing if desired.
- Satin Sheen: Typically dries to a beautiful, low-sheen satin finish, providing a sophisticated look.
- Little to No Prep & Self-Sealing: Mineral paint boasts excellent adhesion and often requires minimal prep work. A significant advantage is its built-in topcoat, meaning you generally do not need to seal it after painting unless you’re seeking to boost its durability for extremely high-traffic areas. It’s truly a “one and done” solution for most pieces.
- Self-Leveling Properties: Brush strokes tend to self-level, resulting in a smoother finish than chalk paint, making it a great choice for a more contemporary aesthetic.
- Ideal Projects: Versatile for almost any furniture piece, from dressers and nightstands to tables that will see moderate use.
When to Choose Waterborne Alkyd or Urethane Acrylic Enamel Paint
For projects demanding the utmost durability and a glass-smooth finish, waterborne alkyd paints (like Benjamin Moore Advance) or urethane acrylic enamel paints (such as Sherwin Williams Emerald) are the gold standard. These paints offer exceptional hardness and resistance to wear, making them suitable for the most heavily used furniture pieces, though they generally require more diligent preparation.
- Variety of Sheens: Available in a full spectrum of sheens, including flat, eggshell, satin, semi-gloss, and gloss, allowing for precise aesthetic control (sheen availability may vary by brand).
- Requires Prep and Often Primer: Due to their superior adhesion and hard finish, these paints typically require thorough cleaning, sanding, and often a dedicated primer to ensure optimal bonding and prevent issues like bleed-through or peeling.
- Sealer Not Required: Once cured, these paints form an incredibly hard, durable surface that does not require an additional sealer or topcoat for protection.
- Exceptional Self-Leveling: These paints are formulated to self-level beautifully, resulting in the smoothest, most brush-stroke-free finish achievable among all paint types.
- Ideal Projects: Highly recommended for kitchen cabinets, interior doors, trim, and high-traffic furniture like dining tables, coffee tables, and end tables where maximum longevity and resistance to scuffs are critical.
Understanding the distinctions between these paint types is the foundational step in determining the level of preparation required and ensuring your chosen finish aligns perfectly with your project’s needs and desired outcome.
The Foundation of a Flawless Finish: How to Prep Furniture for Paint
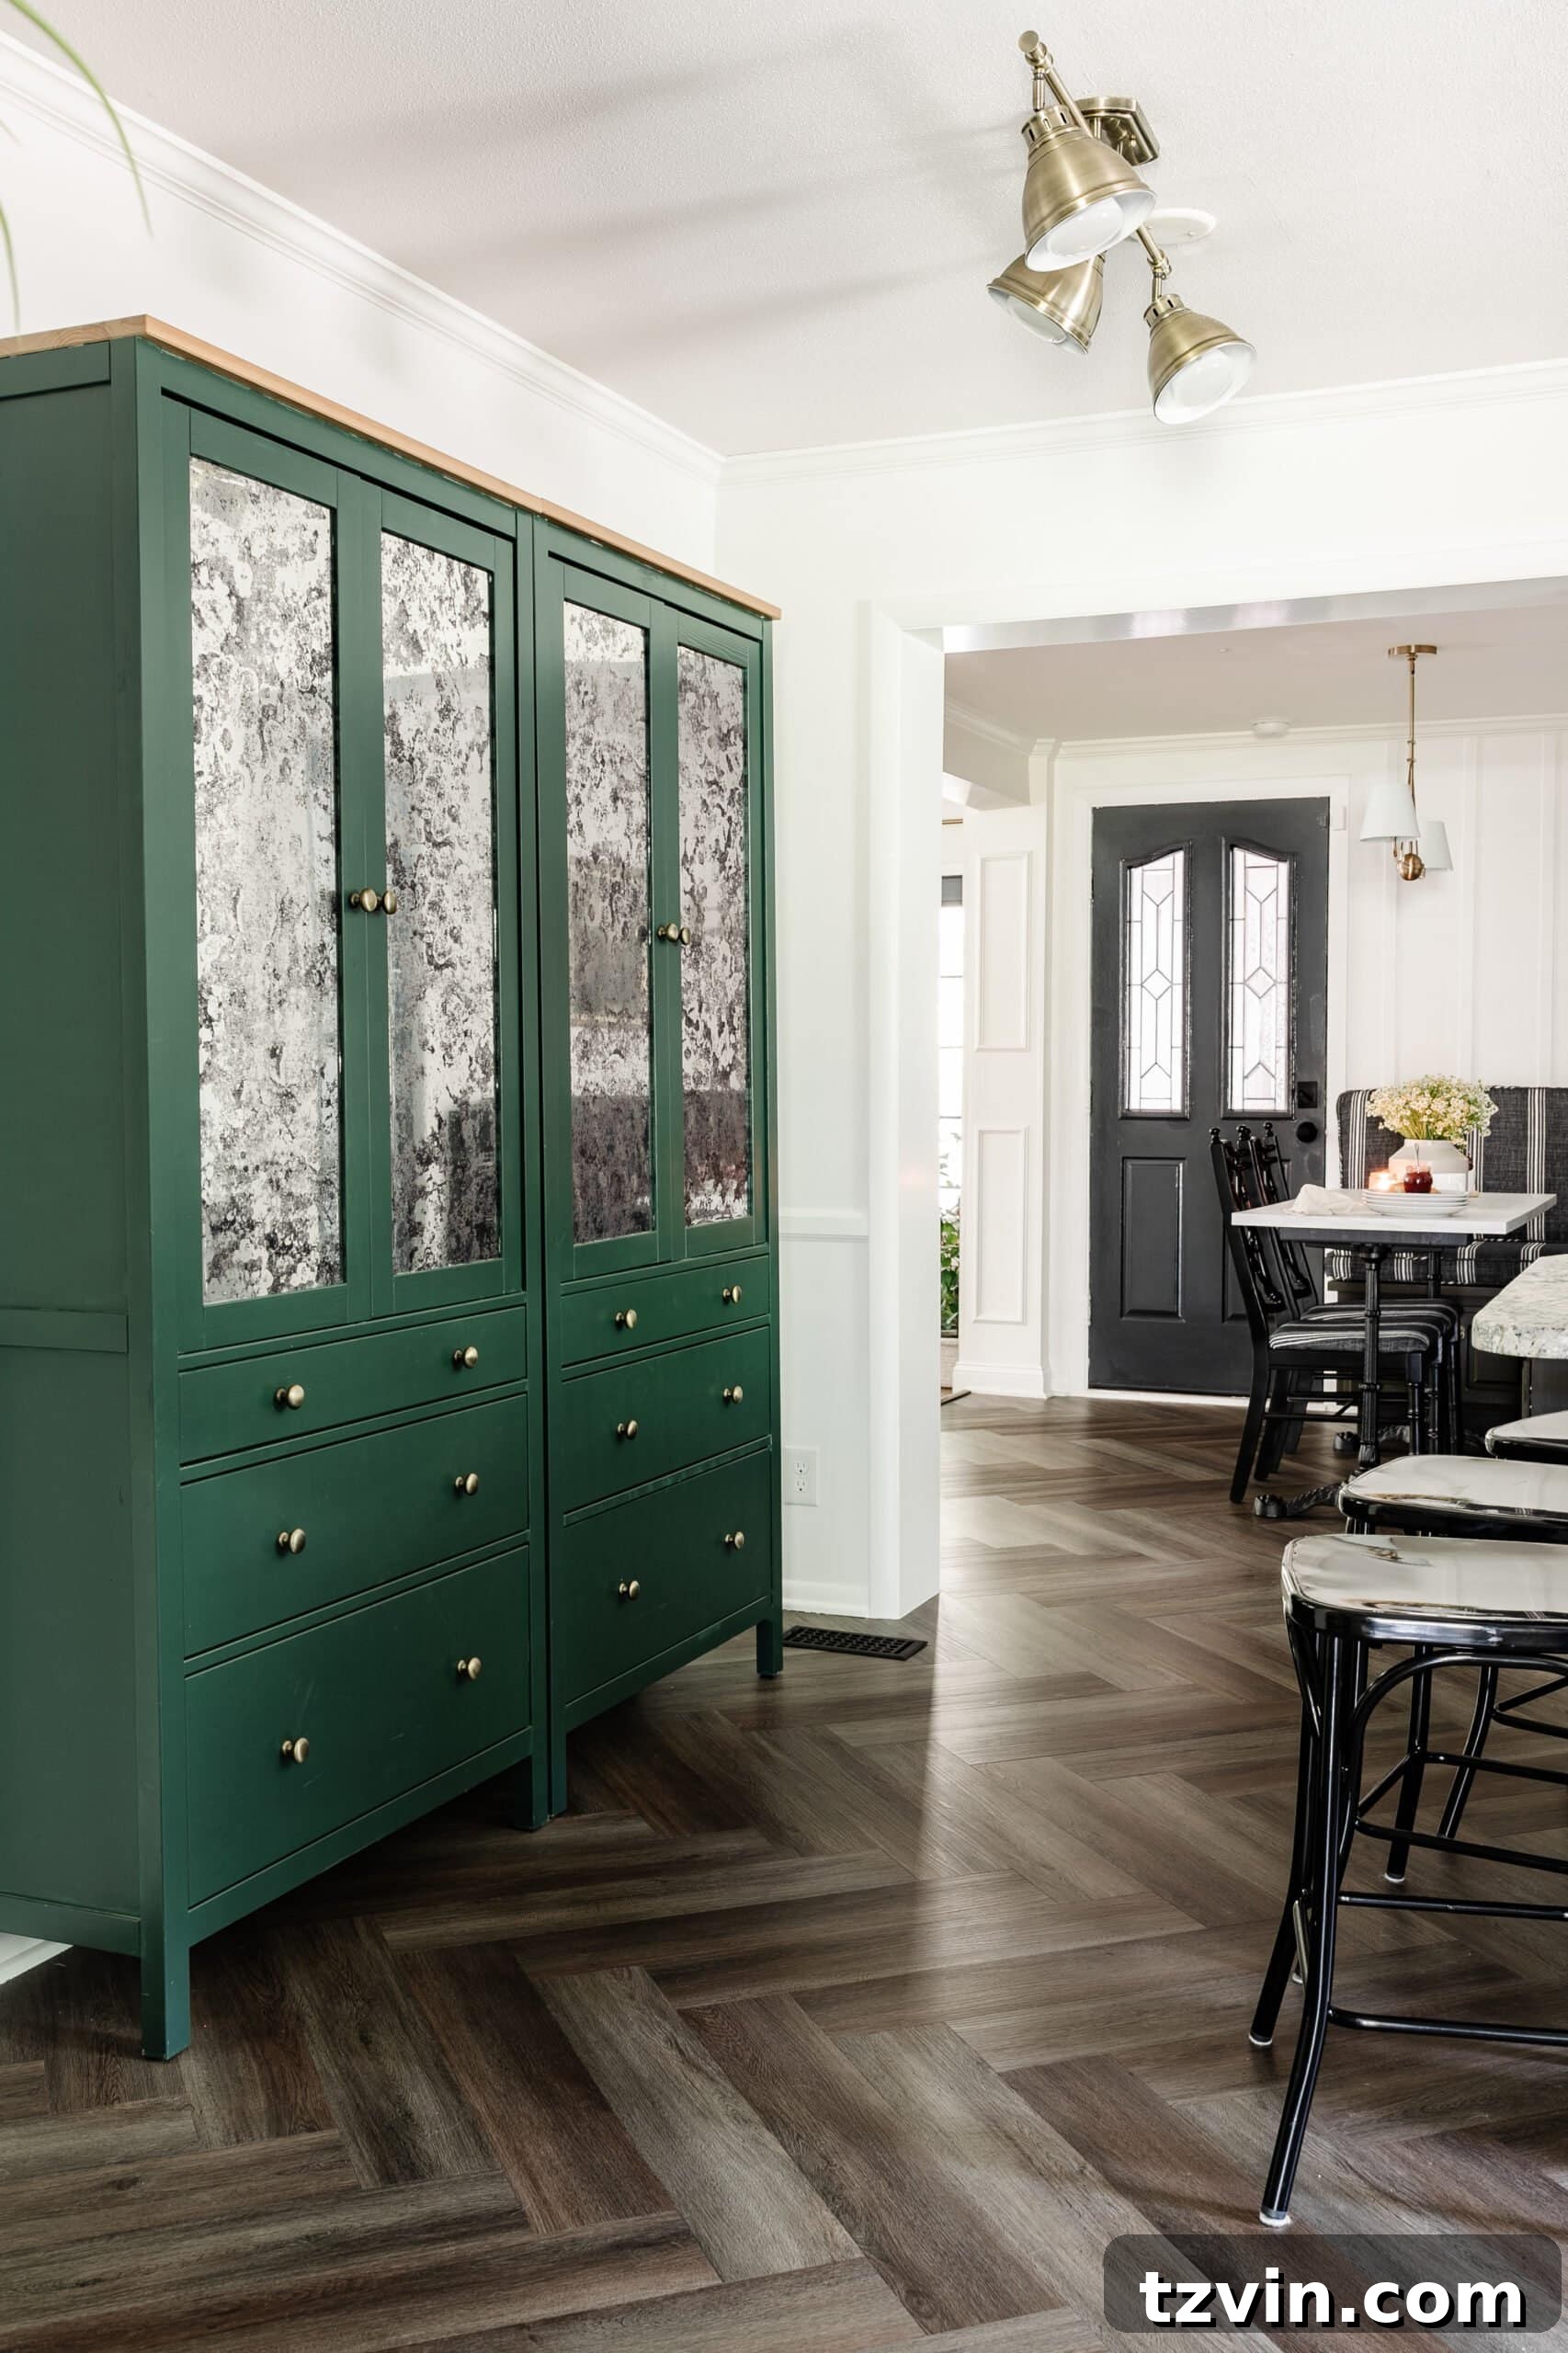
While often considered the least exciting part of any furniture makeover, meticulous preparation is undeniably the most critical step for achieving a durable, long-lasting, and beautiful paint finish. Skipping or rushing this stage can lead to frustrating issues like peeling, chipping, or poor adhesion. Don’t underestimate the power of a good prep!
1. Thoroughly Clean the Furniture
Furniture, especially vintage or secondhand pieces, accumulates years of dust, dirt, oils, and residues from furniture polish. These contaminants create a barrier that prevents paint from adhering properly. A thorough cleaning is absolutely non-negotiable.
Recommended Furniture Cleansers
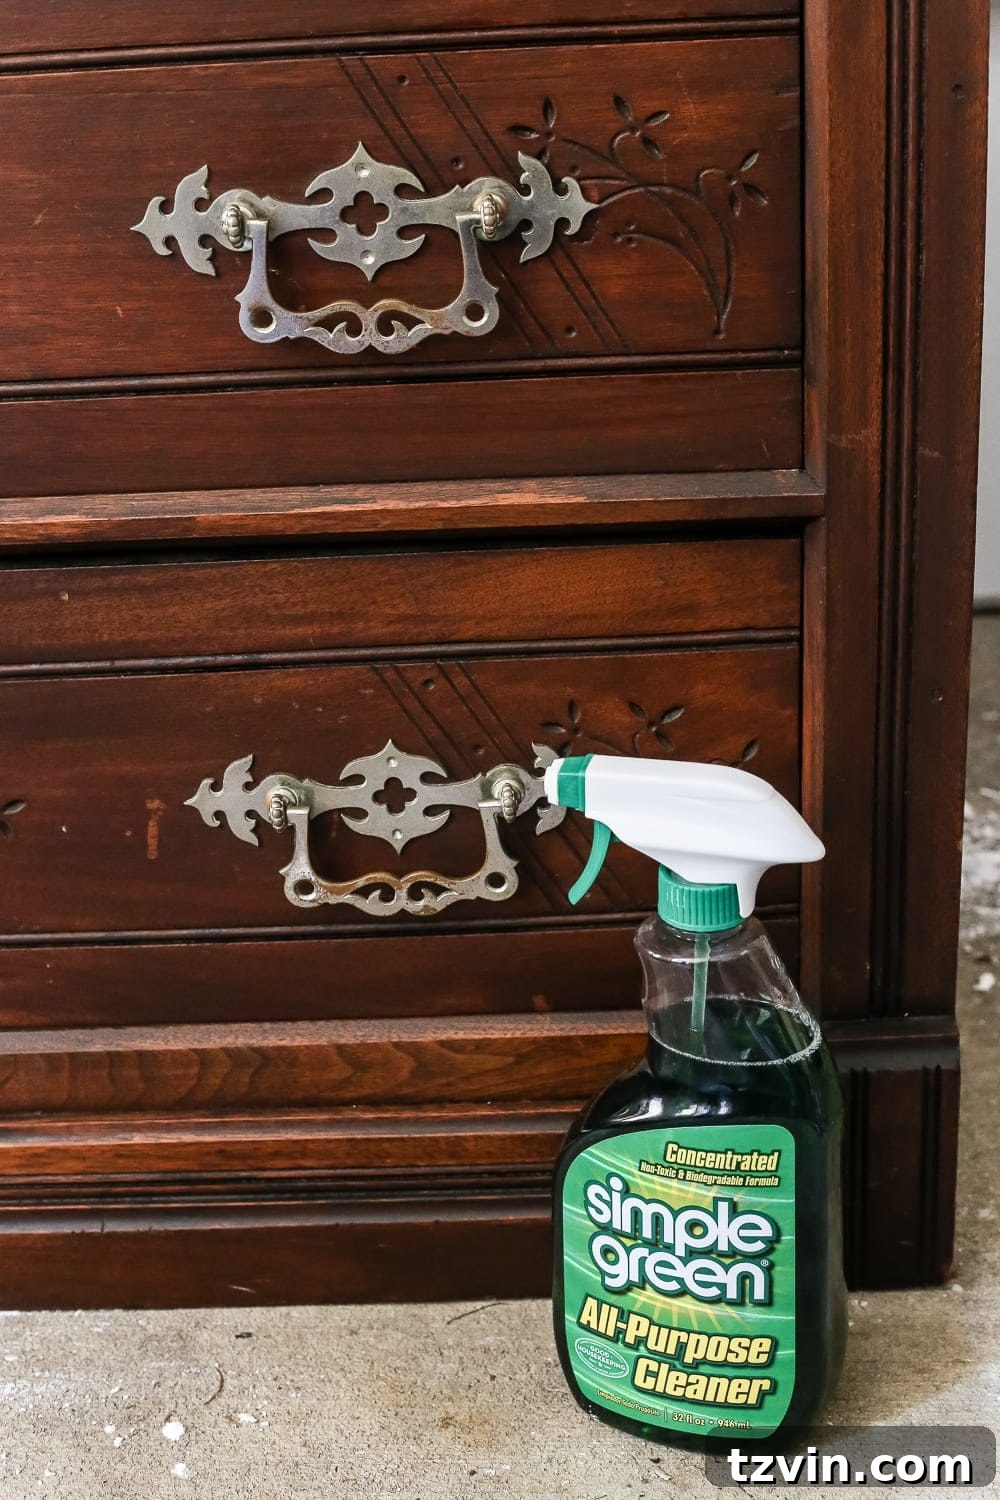
- Simple Green: My personal preference for its effectiveness as a degreaser and the convenience of not requiring a rinse. It breaks down oils and grime efficiently.
- TSP (Trisodium Phosphate): A heavy-duty cleaner for very dirty or greasy surfaces. Be aware that TSP requires thorough rinsing afterward to remove all residue, and it’s essential to wear gloves and eye protection.
- Krud Kutter: Another excellent degreaser and all-purpose cleaner that is highly effective at removing tough stains and grease without harsh fumes.
- Murphy’s Oil Soap: A gentler option for cleaning wood, especially if you’re trying to preserve existing finishes on parts of your piece. It’s less of a degreaser and more of a general cleaner.
Always apply your chosen cleaner with a clean, dry rag, wiping down the entire surface of the furniture. For stubborn spots, you might need a second pass or a slightly more concentrated solution. Allow the piece to dry completely before moving on.
2. Remove Hardware, Repair Damage, and Prepare for New Finishes
This stage involves addressing any physical imperfections and ensuring a smooth canvas for your paint.
2a. Disassembly and Hardware Removal: After cleaning, carefully remove all old knobs, pulls, and any other hardware. If your piece has drawers or doors, detach them from their hinges. This ensures a clean, even paint application and allows for easy replacement or updating of hardware.
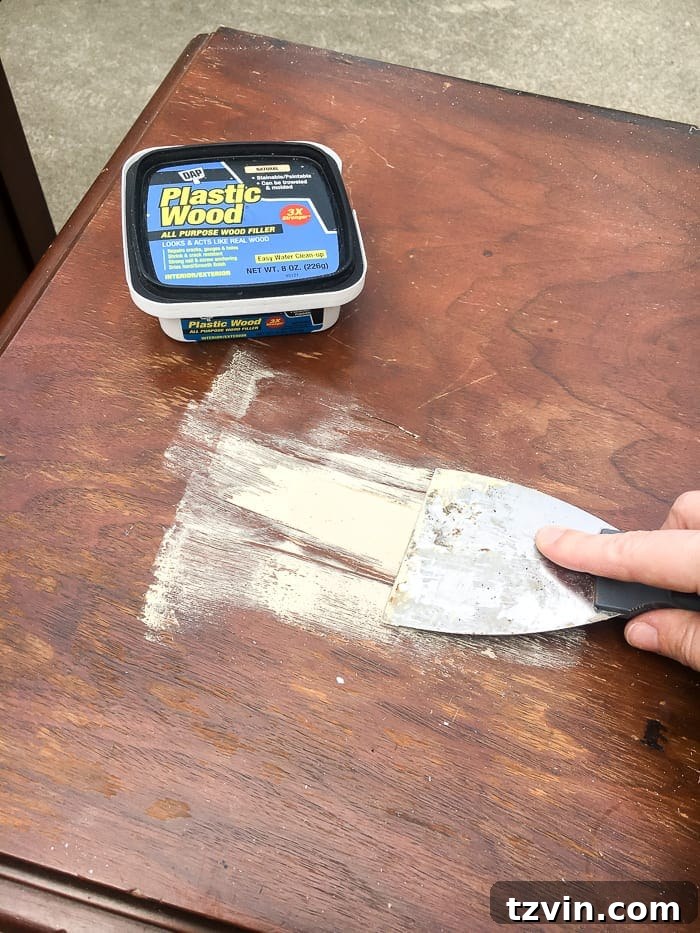
2b. Address Peeling Veneer: If your furniture piece has damaged or peeling veneer, use your putty knife to carefully scrape away any loose or remaining peeling sections. This prevents unevenness and ensures a smooth surface for repair.
2c. Patching with Wood Filler: Using your putty knife, firmly press wood filler into any damaged wood areas, cracks, or holes. If you plan to change the size or placement of your hardware, now is the time to fill the old knob/pull holes. Overfill slightly, as wood filler can shrink as it dries. Allow the filler to dry completely according to the manufacturer’s instructions.
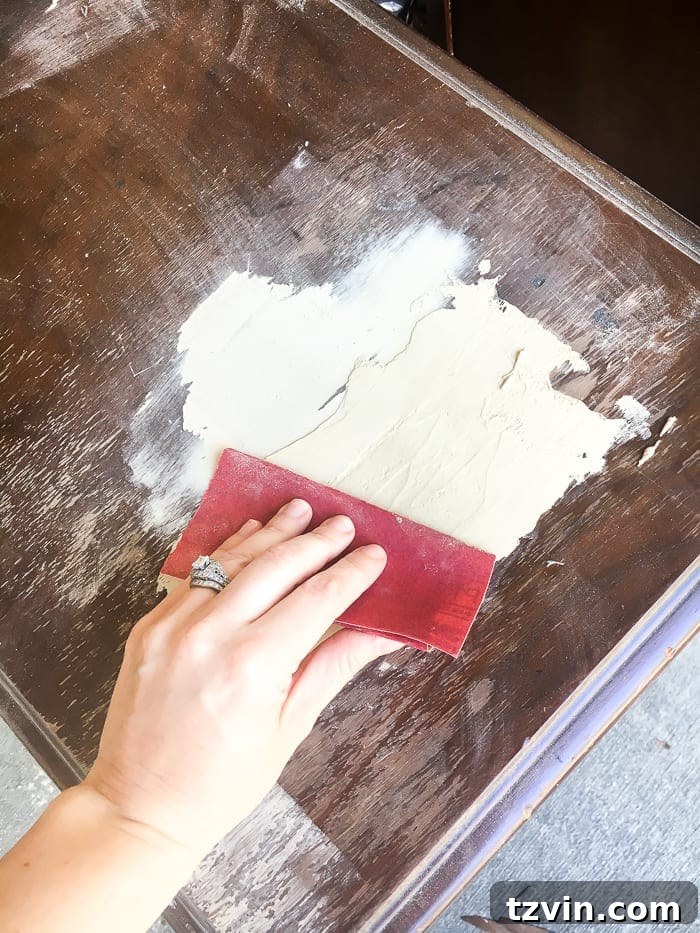
2d. Sanding Patched Areas: Once the wood filler is fully dry and hardened, use medium-grit sandpaper (and then fine-grit for extra smoothness) to sand down the patched areas until they are perfectly flush and smooth with the surrounding surface. Run your hand over it to feel for any imperfections.
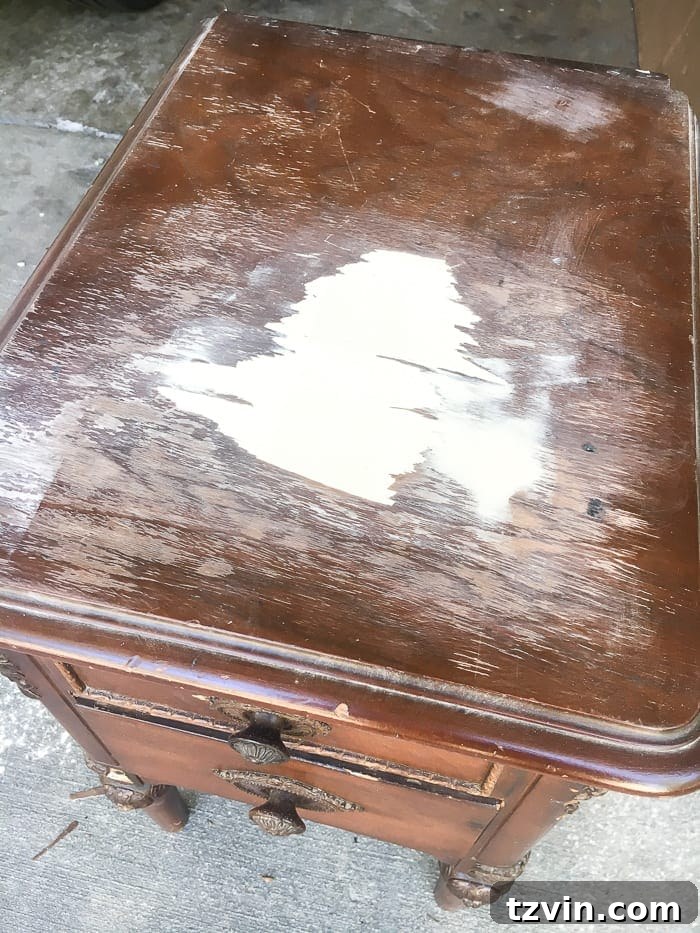
2e. (Optional but Highly Recommended) Preventing Stain Bleed-Through: If you are painting a dark stained piece of furniture, especially with a light-colored paint (like white), you absolutely must spray it with shellac or brush on a coat of Fusion Concealer. This critical step prevents the old stain from “bleeding” through your new paint, which can cause unsightly pink or yellow discoloration. No one wants a Pepto Bismol-colored table when they were aiming for crisp white!
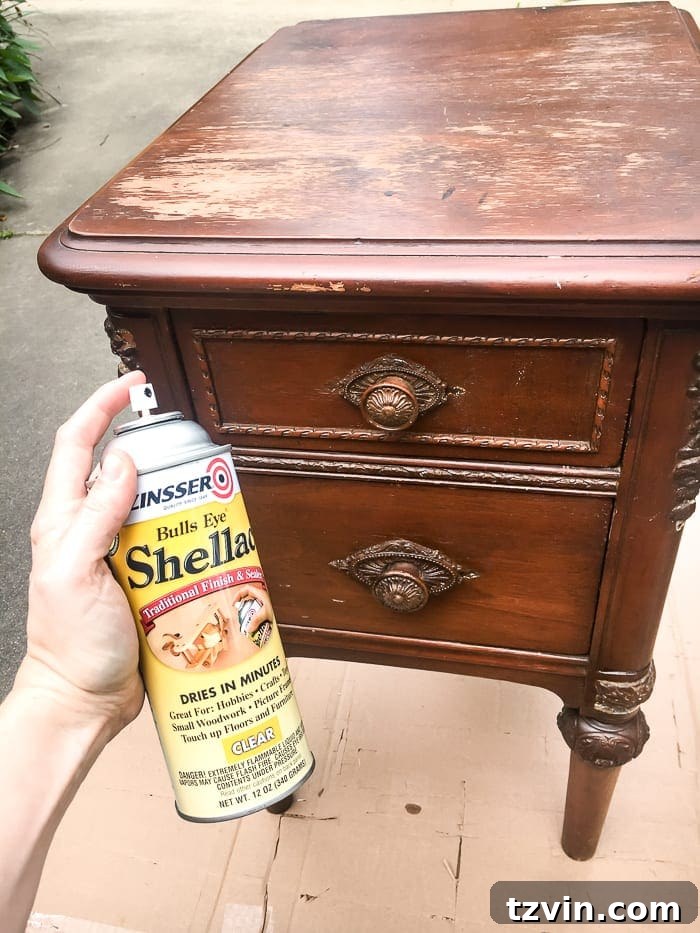
3. Apply a Base Primer (Optional, But Often Necessary for Best Results)
While some paints claim to be “paint and primer in one” or require no primer, applying a dedicated primer can significantly enhance the adhesion, durability, and evenness of your final paint job. It’s particularly important for certain types of furniture.
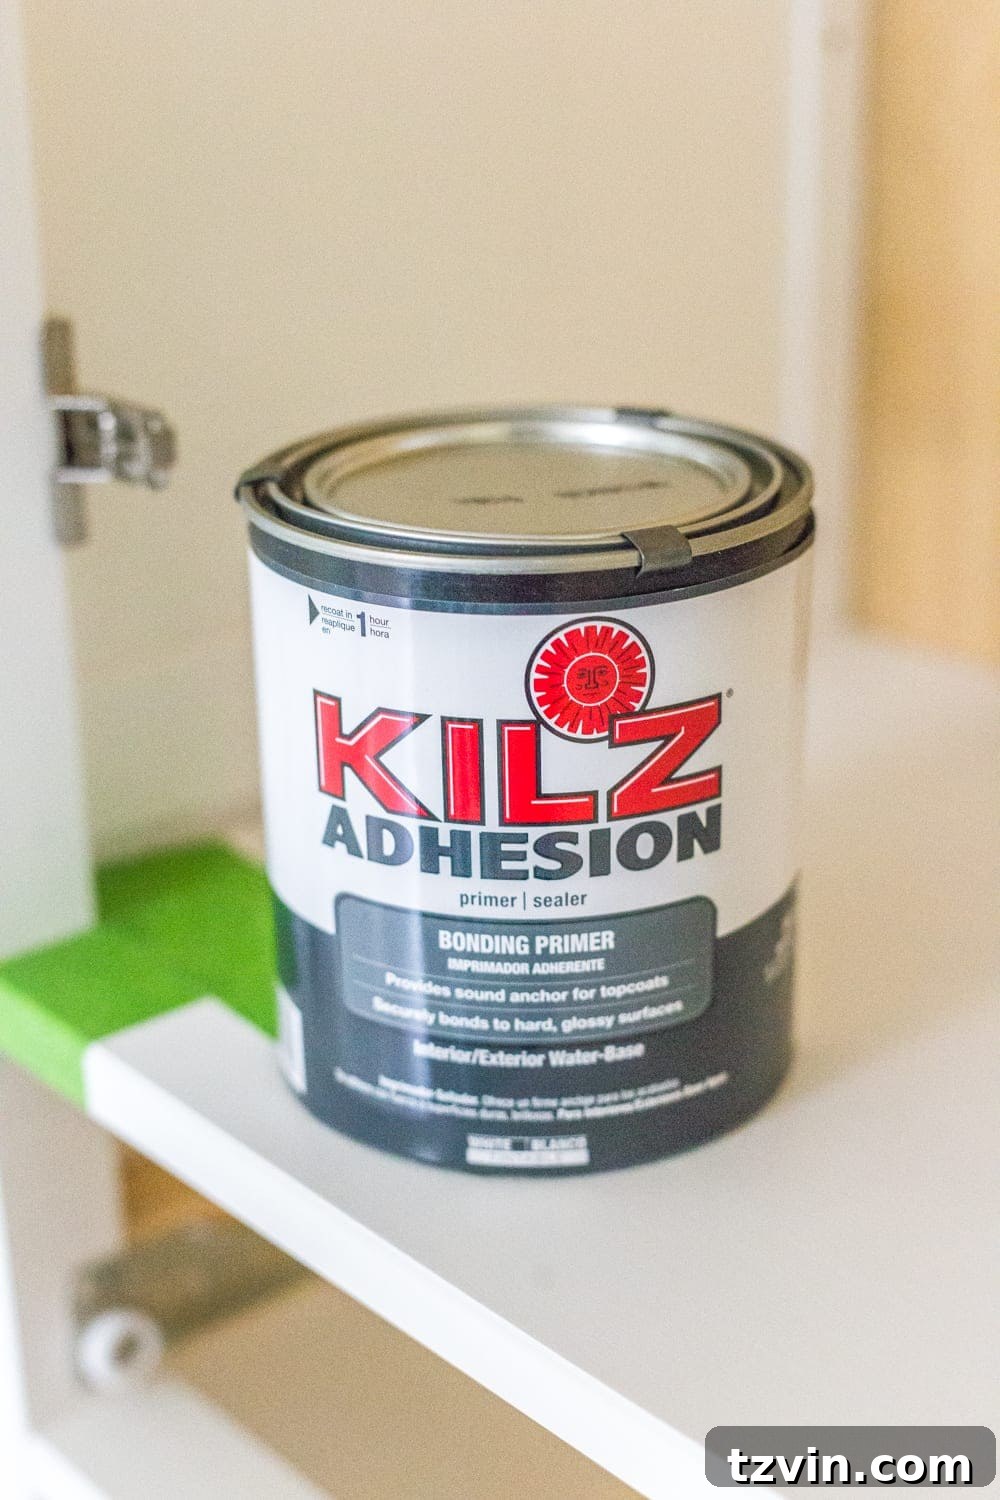
For high-traffic pieces or furniture made from slick materials like laminate, using a shellac-based or oil-based primer is highly recommended to ensure the paint adheres properly and resists chipping. I’ve found Kilz Adhesion primer to be exceptionally versatile and effective on a wide variety of challenging surfaces. Generally, only one thin, even coat of primer is necessary.
4. The Art of Application: Painting Your Furniture
Now for the truly rewarding part – watching your vision come to life with color! This is where the magic happens, transforming the prepped piece into something entirely new.
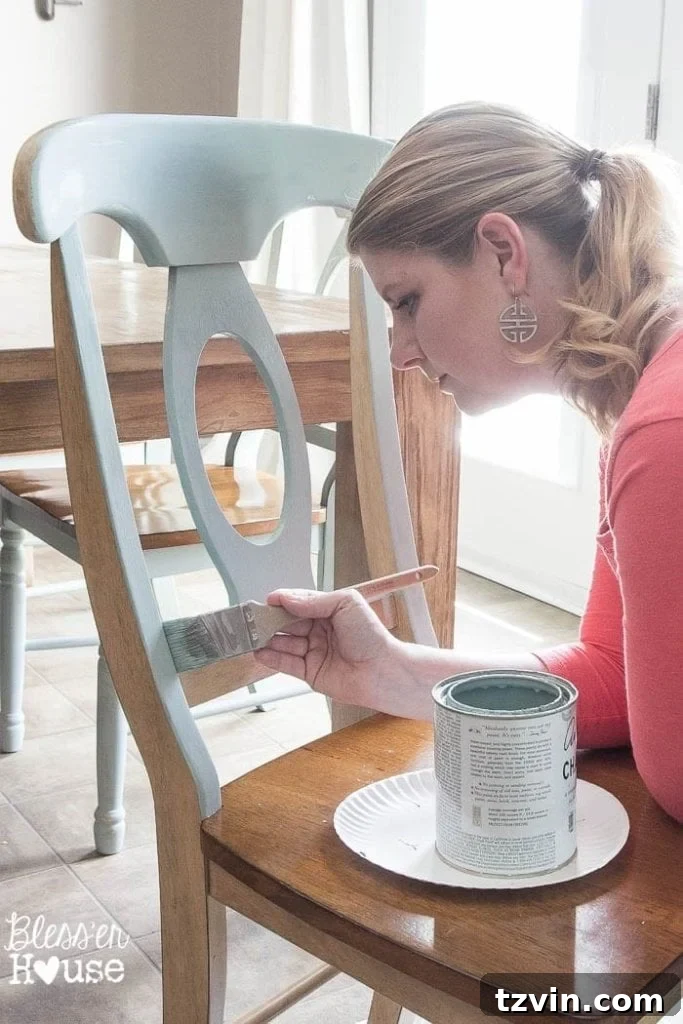
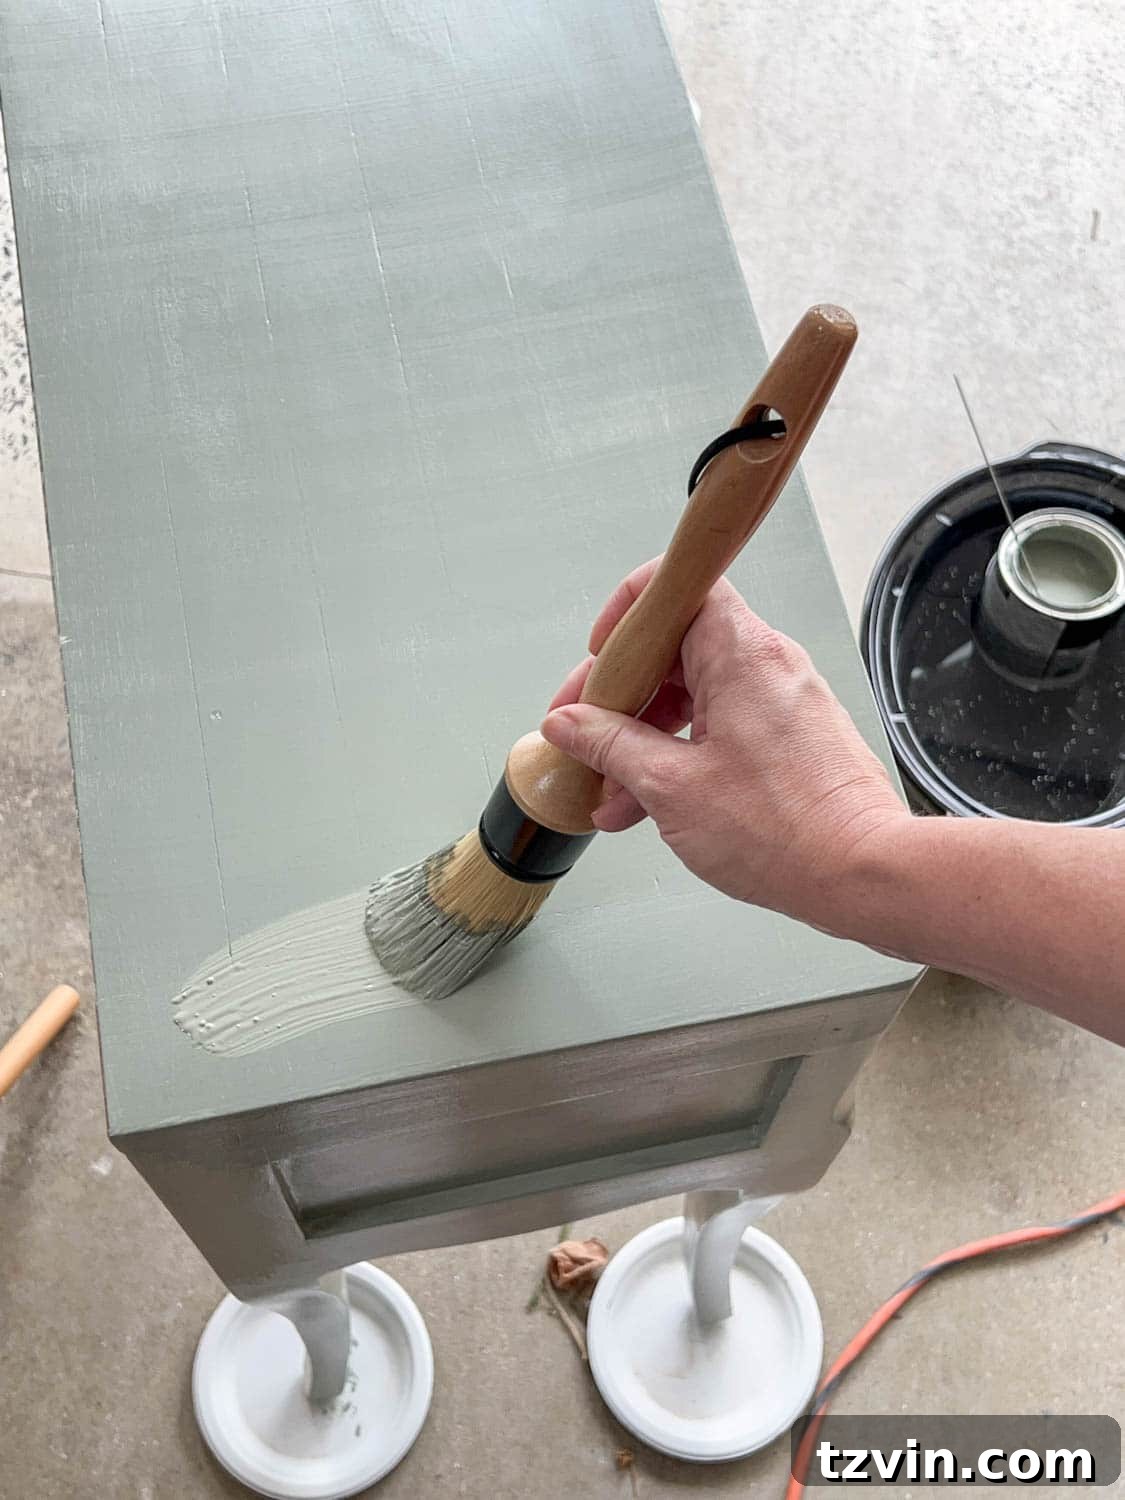
To achieve the best results, use a 1.5-inch or 2-inch angled sash brush, or a high-quality natural bristle brush. The angled bristles make it easier to reach into crevices, paint around intricate details (like non-removable wood knobs), and cut precise lines.
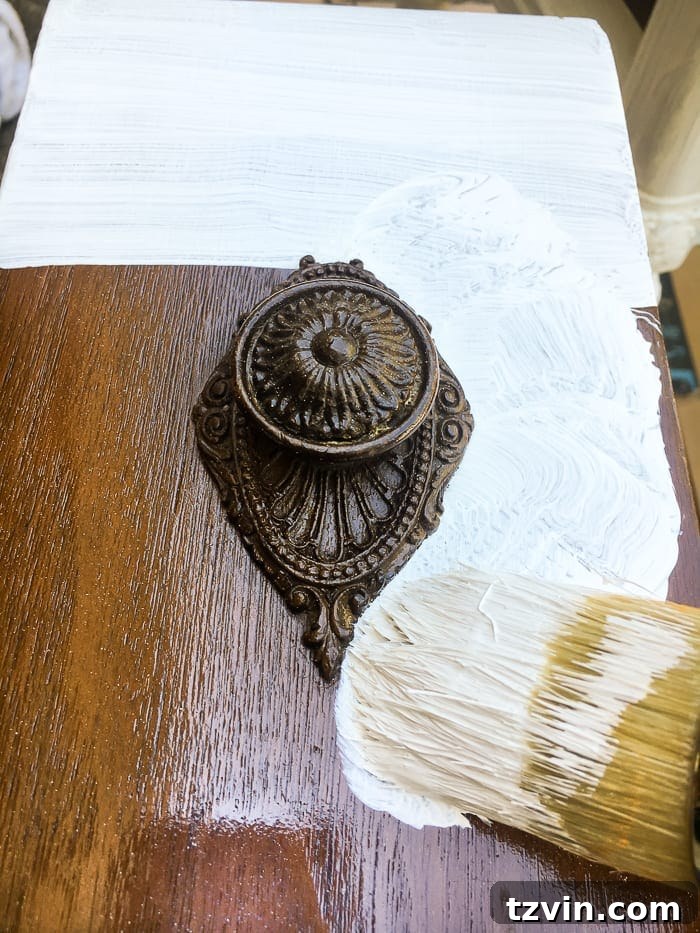
Application Technique: Maintain consistent brush strokes, always going in one direction (either up and down or left and right) across the entire surface. This technique helps minimize visible brush marks and contributes to a smoother, more professional finish. If you prefer a visual demonstration, this video offers helpful guidance.
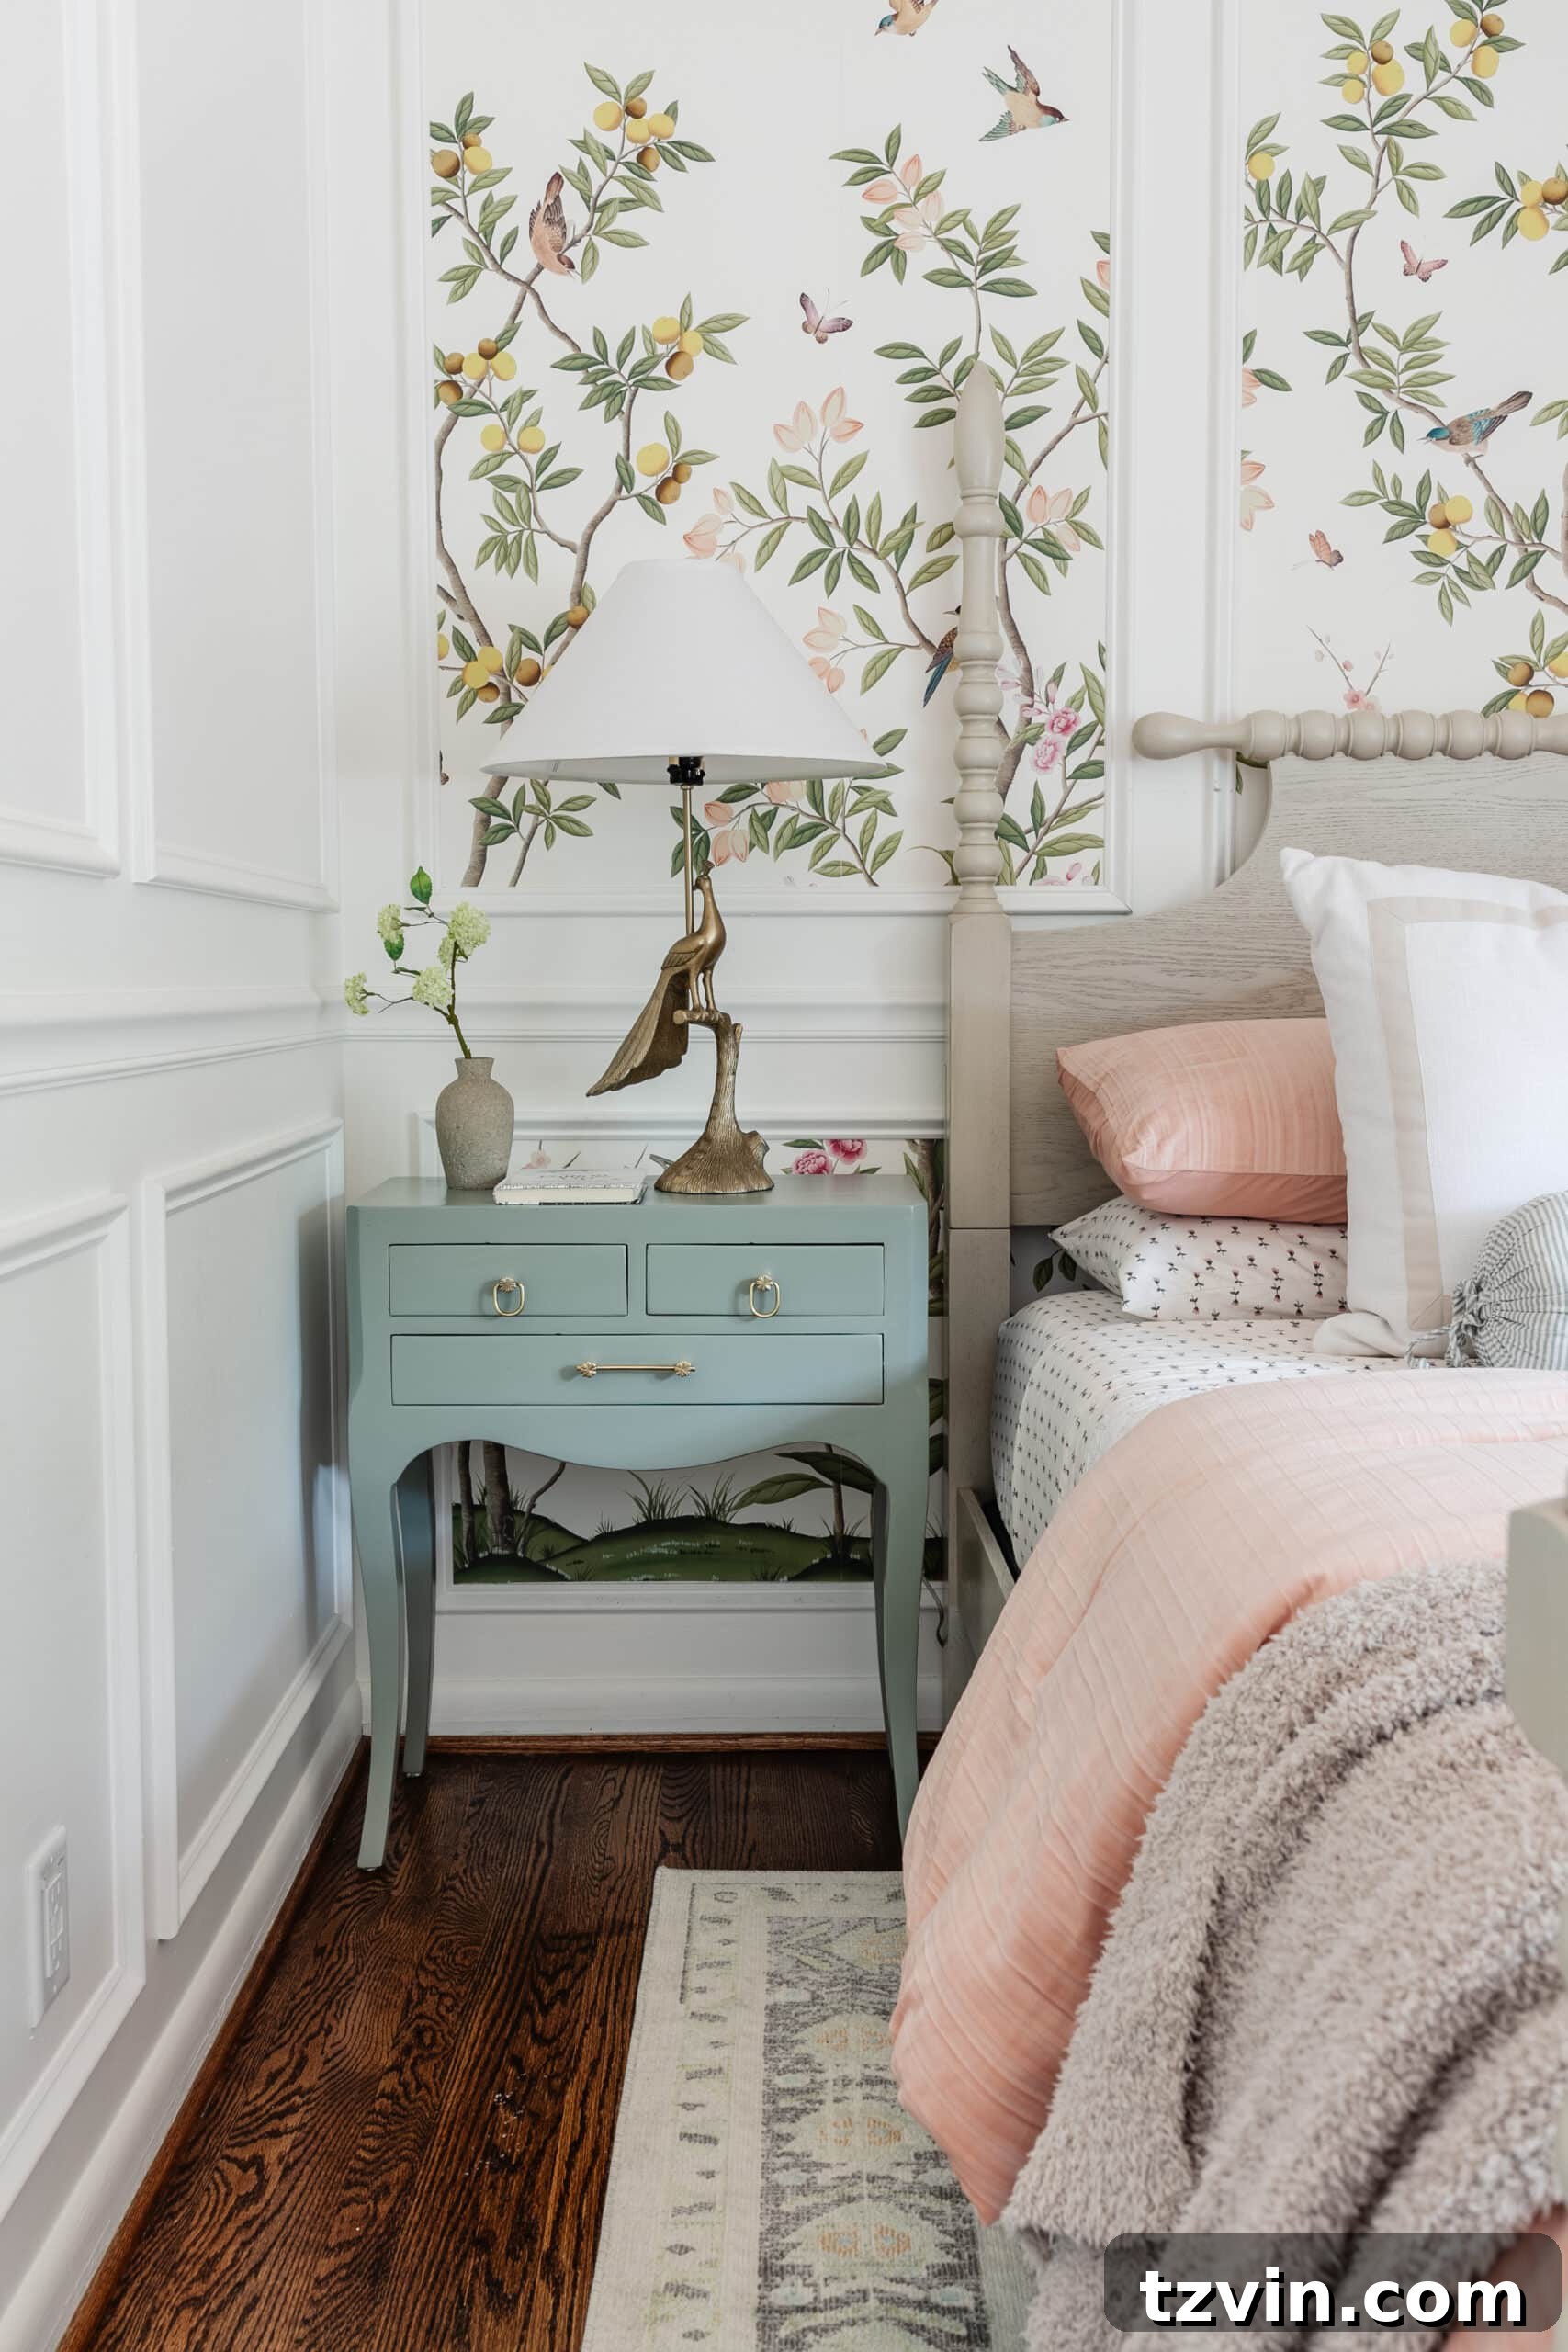
While it might take a little practice, the key is to apply thin, even coats and watch out for drips or pooling paint. For most projects, two coats of paint will provide solid, opaque coverage. However, if you’re painting a very dark piece with a light color (especially white), you might need a third coat to achieve complete opacity and eliminate any underlying color show-through. Allow each coat to dry thoroughly according to the paint manufacturer’s recommendations – usually 2-4 hours between coats. Once the final coat is applied, let the piece dry for at least 24 hours to ensure the paint has begun to cure and is robust enough to handle without damage.
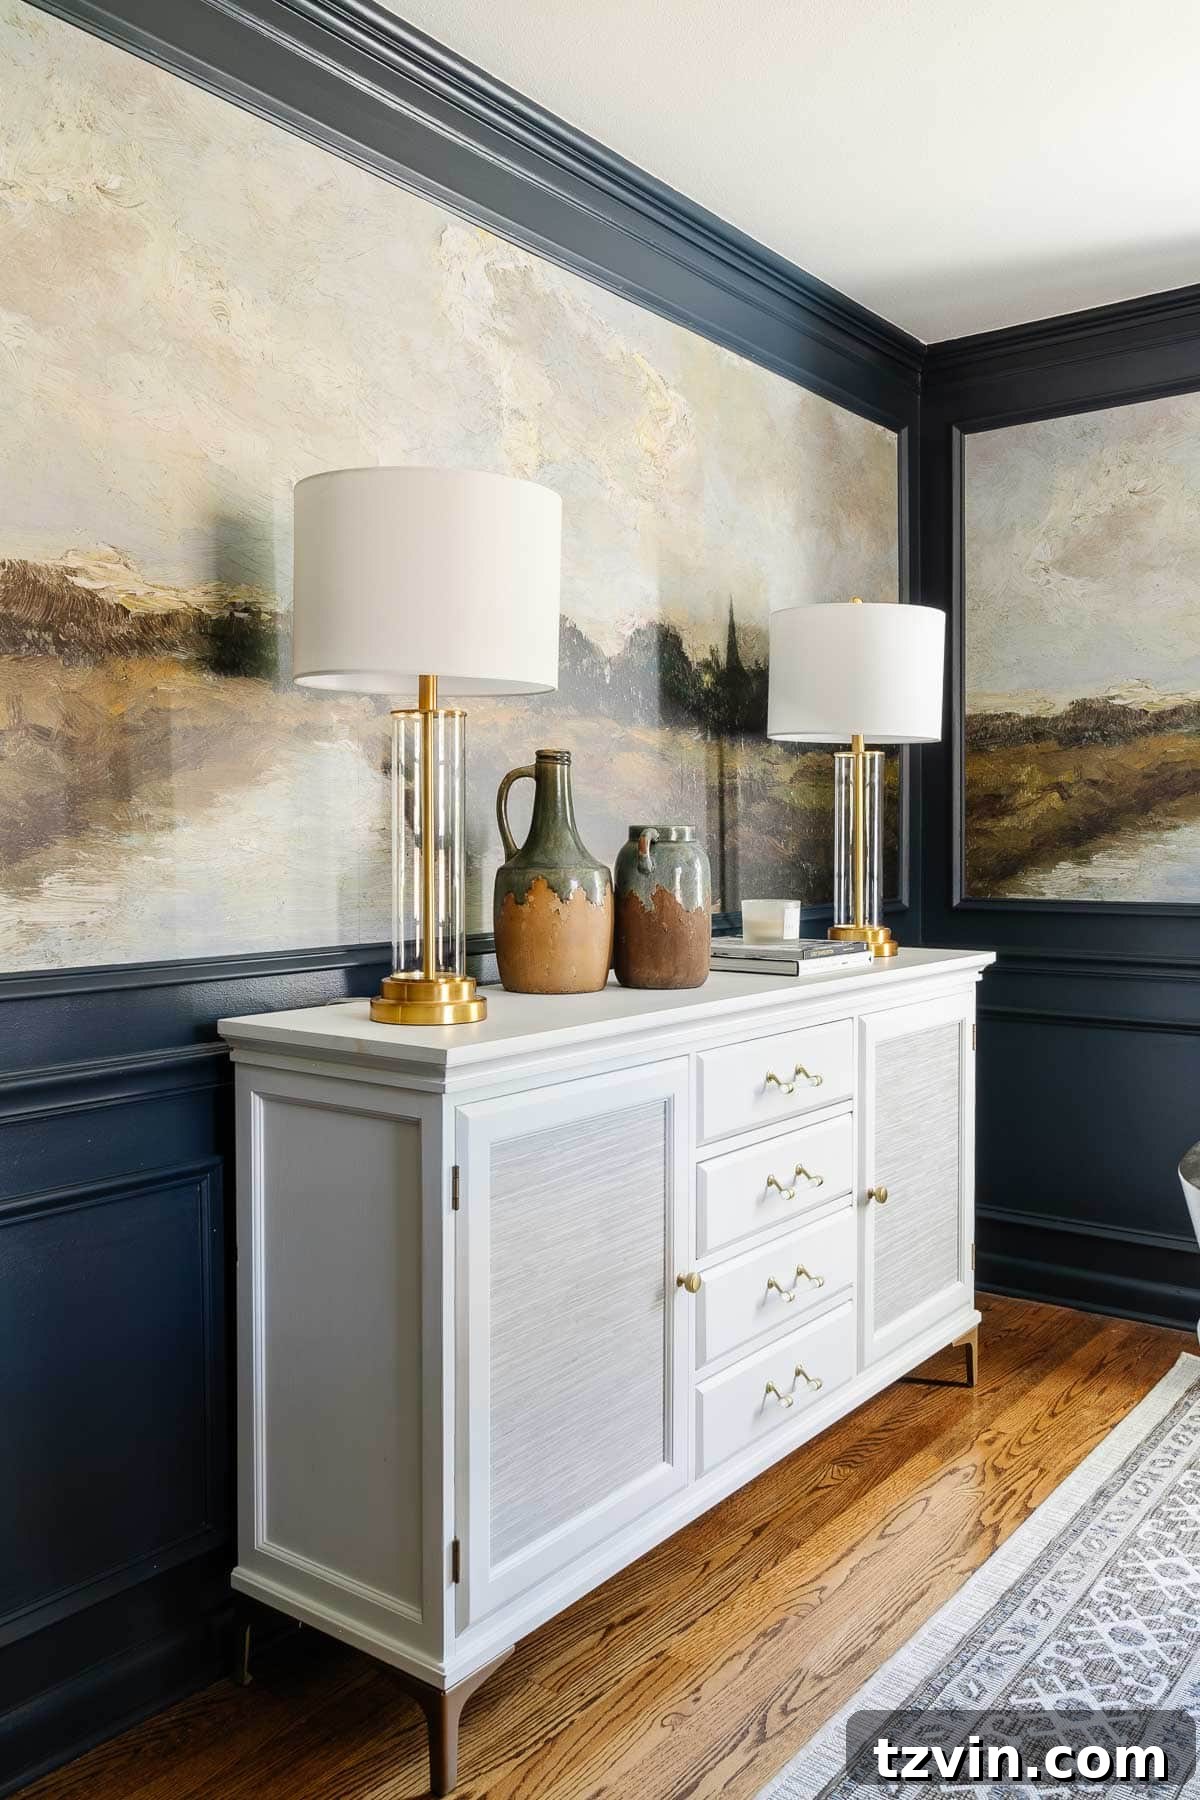
PRO TIP #1: Achieving a Super Smooth Finish: For the most luxurious, ultra-smooth finish, opt for premium self-leveling paints like Benjamin Moore Advance or Sherwin Williams Emerald. These paints are engineered to minimize brush strokes as they dry, resulting in a harder, exceptionally durable finish compared to standard latex paints. An added bonus? They typically do not require a separate sealer!
PRO TIP #2: Enhancing Flow with Warm Paint: When working with semi-gloss or gloss paints, a little warmth can make a big difference. Gently warm your can of paint by placing it in a slow cooker with a bit of warm water. This thins the paint slightly, improving its flow and resulting in an even smoother, more professional application with fewer brush marks.
5. Protecting Your Masterpiece: Sealing the Furniture (Optional but Often Necessary)
While some paints are self-sealing, others require an additional protective layer to ensure durability, especially for furniture that will see regular use. Choosing the right sealer depends on your paint type and the desired level of protection.
How to Seal Chalk Paint for Durability
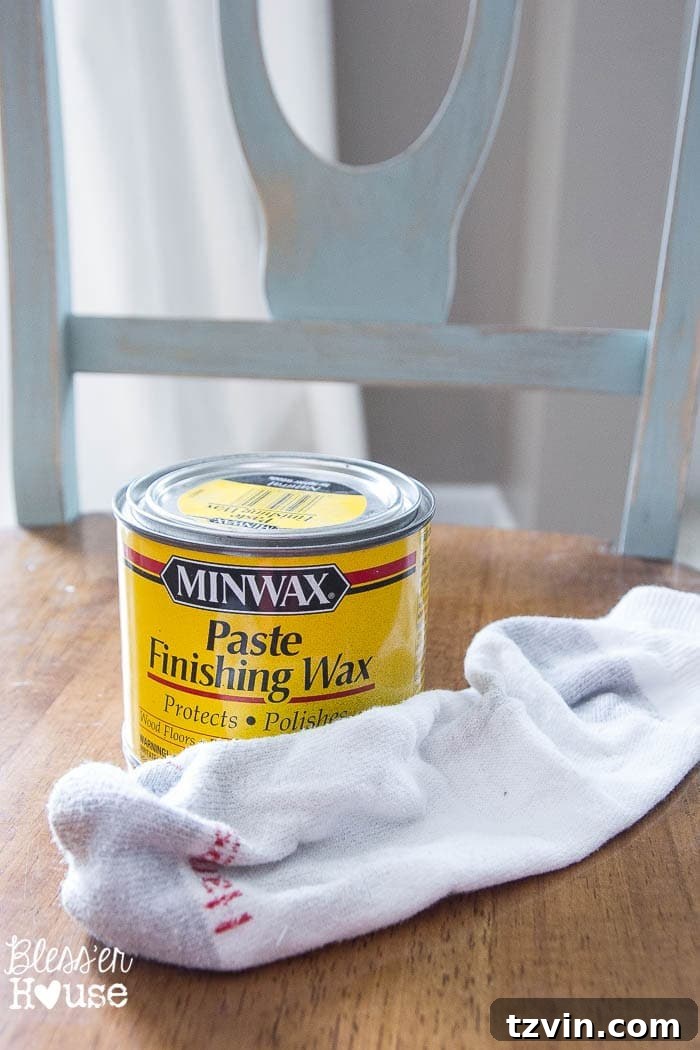
If you’ve chosen chalk paint, sealing it with a coat of clear wax is not just recommended, it’s essential for both protection and enhancing its unique finish. My go-to choices include Annie Sloan Clear Wax or regular Minwax Paste Finishing Wax.
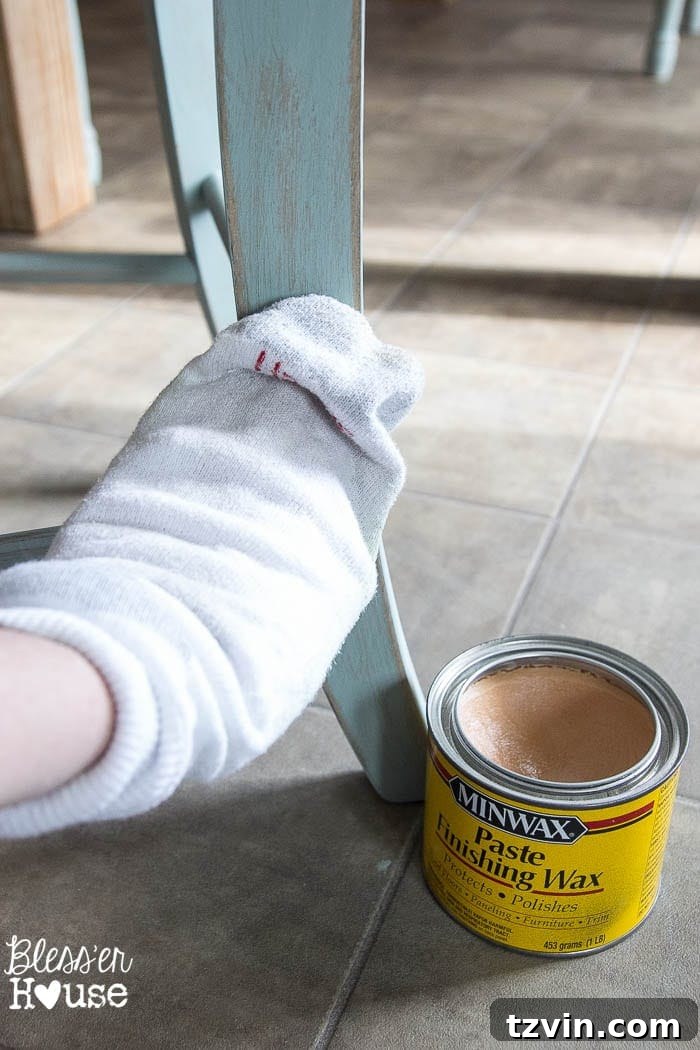
Application Method: Scoop a small, nickel-sized amount of clear wax onto a natural bristle wax brush or even a clean white sock. Evenly rub a very thin layer of the clear wax over the painted surface. Work in small, manageable sections to ensure thorough coverage before the wax begins to dry. The goal is a thin, uniform application, not a thick layer.
How to Seal Mineral Paint, Waterborne Alkyd Paint, or Urethane Acrylic Paint
While mineral paints and alkyd/acrylic enamels are inherently more durable than chalk paint, certain high-wear furniture pieces (like the top of a dining table or a frequently used desk) can benefit from an additional layer of protection to withstand heavy daily use. For these instances, I strongly recommend applying 2-3 thin coats of a water-based polyurethane.
Why Water-Based Polyurethane? Unlike oil-based polyurethanes, water-based versions will not yellow or significantly darken your paint color over time, preserving the true hue of your finish. This type of sealer dramatically boosts durability, providing superior resistance to scratches, spills, and general wear and tear, which is why it’s my top recommendation among all other sealers for these paint types.
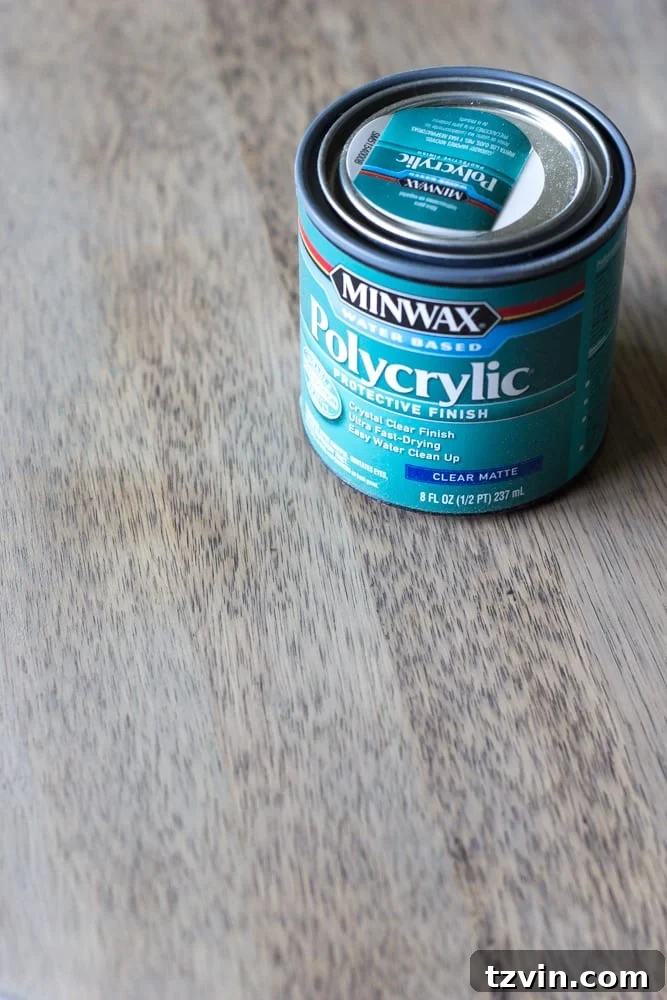
With the final coat of paint or sealer applied and fully cured, your furniture piece is technically complete. But if you’re looking to elevate your project and inject unique personality, there’s a world of creative techniques to explore…
Adding Personality: Creative Finishes and Embellishments to Furniture
Beyond a fresh coat of paint, various techniques can add depth, age, and a unique character to your furniture, transforming it into a truly bespoke piece. Experiment with these methods to match your desired aesthetic.
Mastering the Art of Furniture Distressing
If you’re drawn to the charming, weathered, or antique look, distressing is an excellent technique to simulate natural wear and age. This process intentionally creates imperfections, revealing glimpses of the underlying wood or previous paint layers.
Technique: Grab a few pieces of fine or medium-grit sandpaper for this step. I prefer using sandpaper sheets over a sanding block because the flexibility of the paper allows you to get into intricate grooves, around curved edges, and into detailed carvings more naturally. This results in a more organic, authentic distressed appearance.
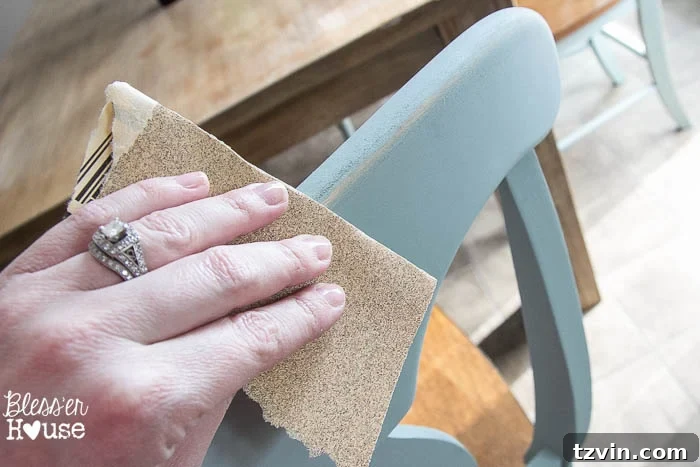
Gently scuff up the freshly painted surface with your sandpaper. Focus on the areas where a piece would naturally show wear over time: corners, edges, raised details, and areas that would typically be handled frequently. The goal is to create subtle signs of aging, not to aggressively remove all the paint. Step back frequently to assess your progress and ensure a balanced, natural look.
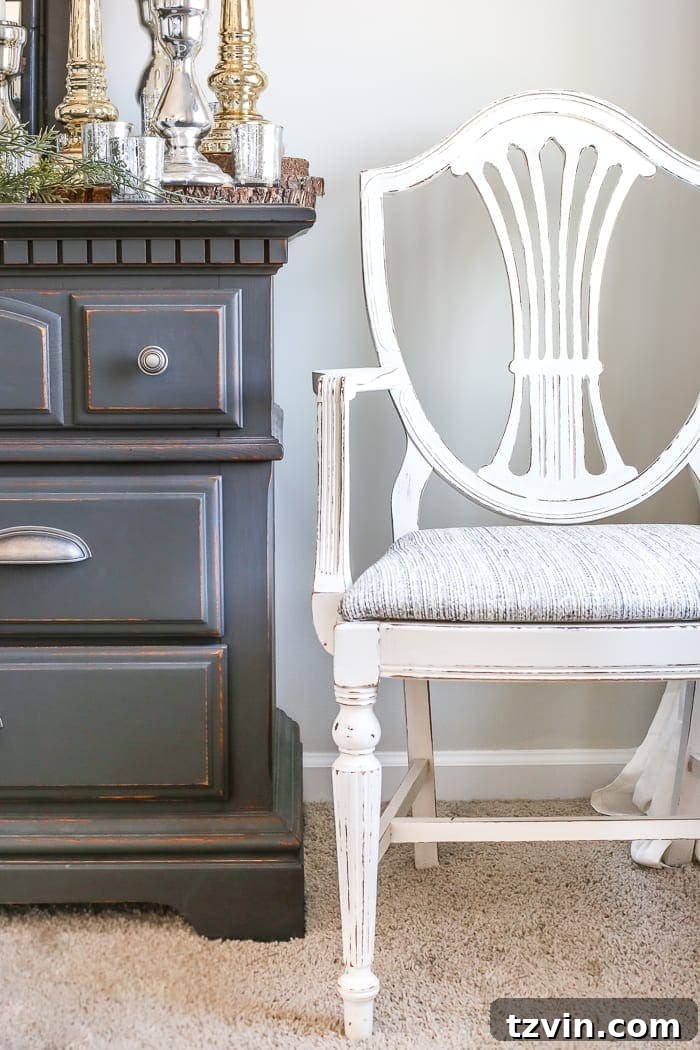
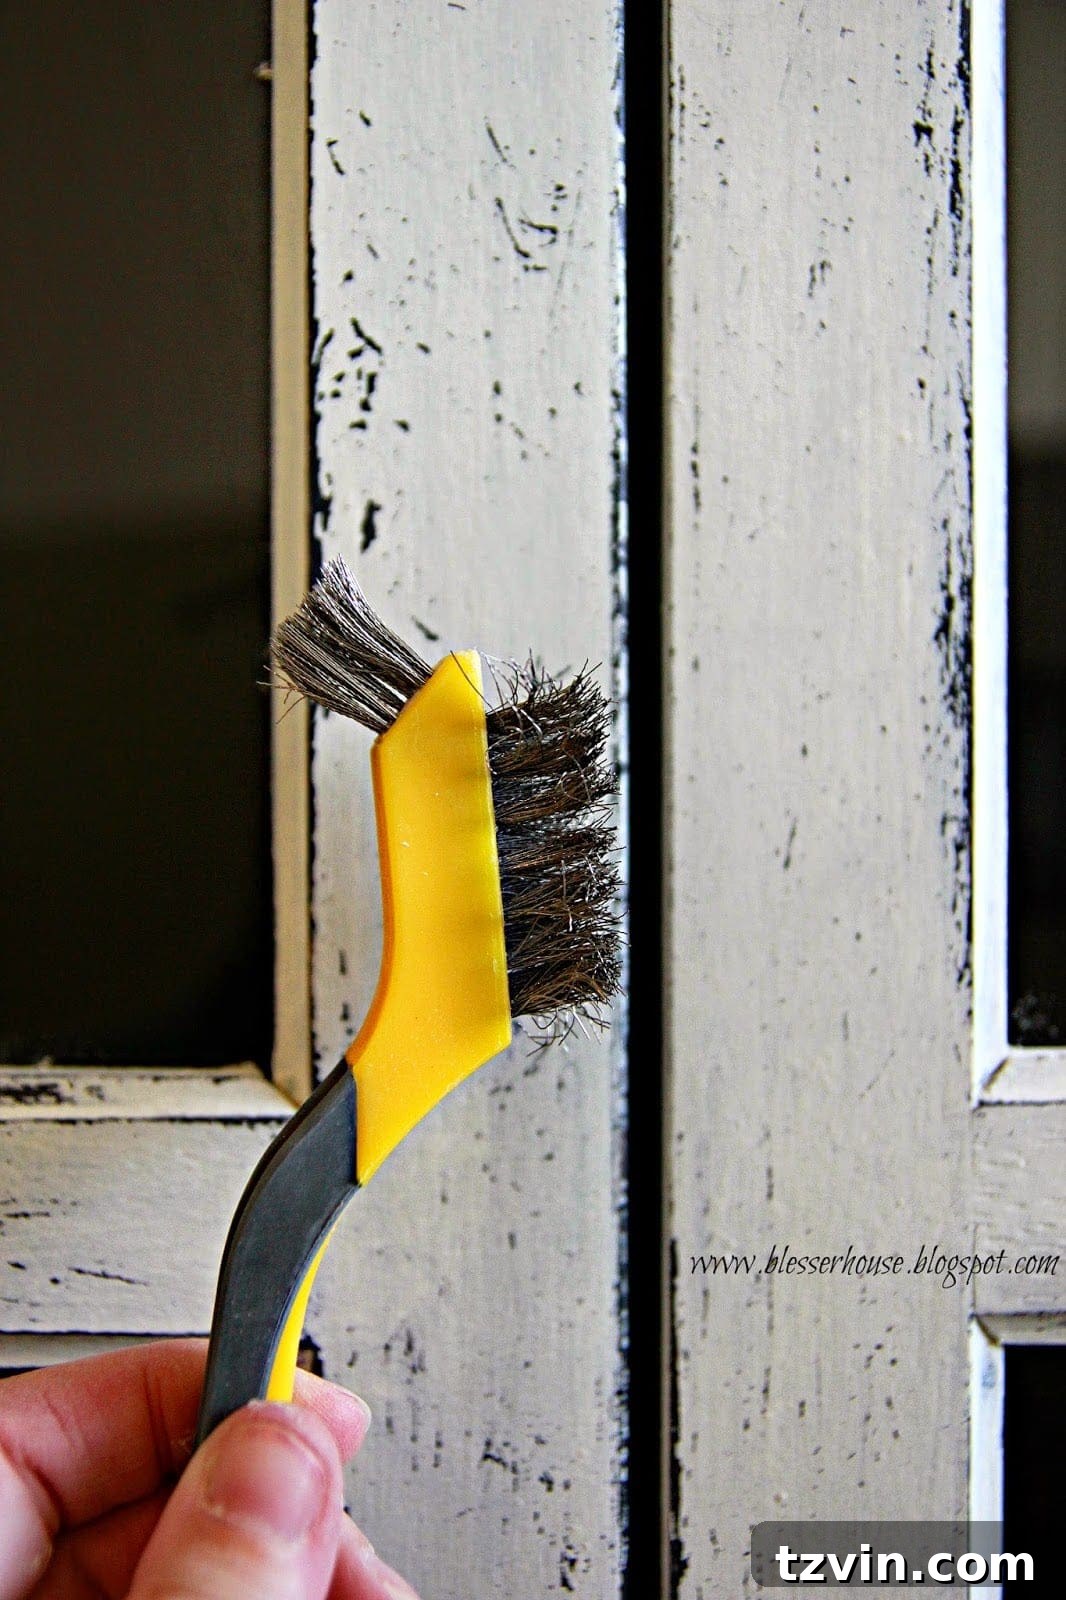
For a more pronounced, heavily distressed, or “chippy” aesthetic, you can use a wire bristle brush. This tool will rough up the paint surface further, physically removing small flakes of paint to mimic extreme age and wear. Use with caution and a light hand until you achieve the desired effect.
Aging with Wax After Painting Furniture
Waxing is a transformative step, particularly suggested for chalk-painted or mineral-painted surfaces, as it adds a layer of protection while simultaneously enhancing the aesthetic. It’s often the trickiest technique to master, but the stunning, aged results are incredibly rewarding. If your piece boasts any carved details, applying a colored wax is an absolute must-do to highlight them.
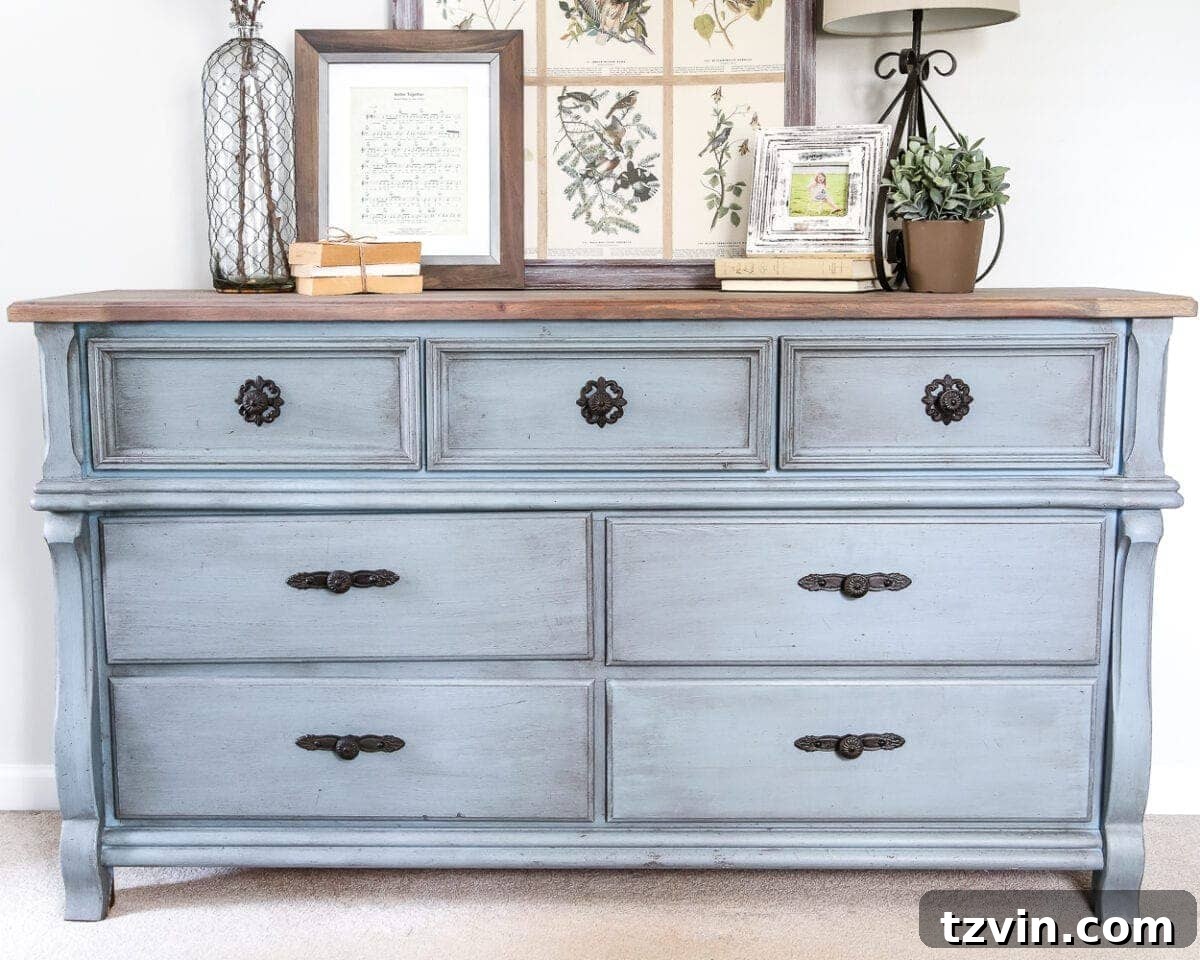
Creating an Aged Antique Look with Dark Wax
To impart a beautiful, time-worn, antique patina, you can apply a dark wax such as Homestead House espresso or black wax, or Annie Sloan dark wax, after your piece has been sealed with clear wax (if using chalk paint) or is fully dry.
1. Practice First: It’s highly recommended to practice on a scrap piece of wood or an inconspicuous area of your furniture first. This allows you to get a feel for the wax and how quickly it dries. You’ll learn the optimal drying time for buffing.
2. Application: Using a wax brush, dip the bristles about 1/4 inch into your wax pot. Rub a thin, even layer of the colored wax onto a small section of your painted furniture (e.g., a 1-2 foot area). If you’re working on a larger piece like a dresser, tackle one drawer or panel at a time. Avoid applying wax to the entire piece at once, as wax dries quickly, and you’ll need time to buff before it hardens too much.
3. Buffing: Allow the wax to dry for just 2-3 minutes. This short window is crucial. Then, using a clean, dry rag (an old, clean sock worn like a mitten works wonderfully), gently but firmly buff away any excess wax. The goal is to remove the excess from the flat surfaces while allowing the darker wax to settle into the crevices and details, creating that aged effect. For a visual guide, this excellent tutorial by Marian Parsons (Miss Mustard Seed) provides clear instructions.
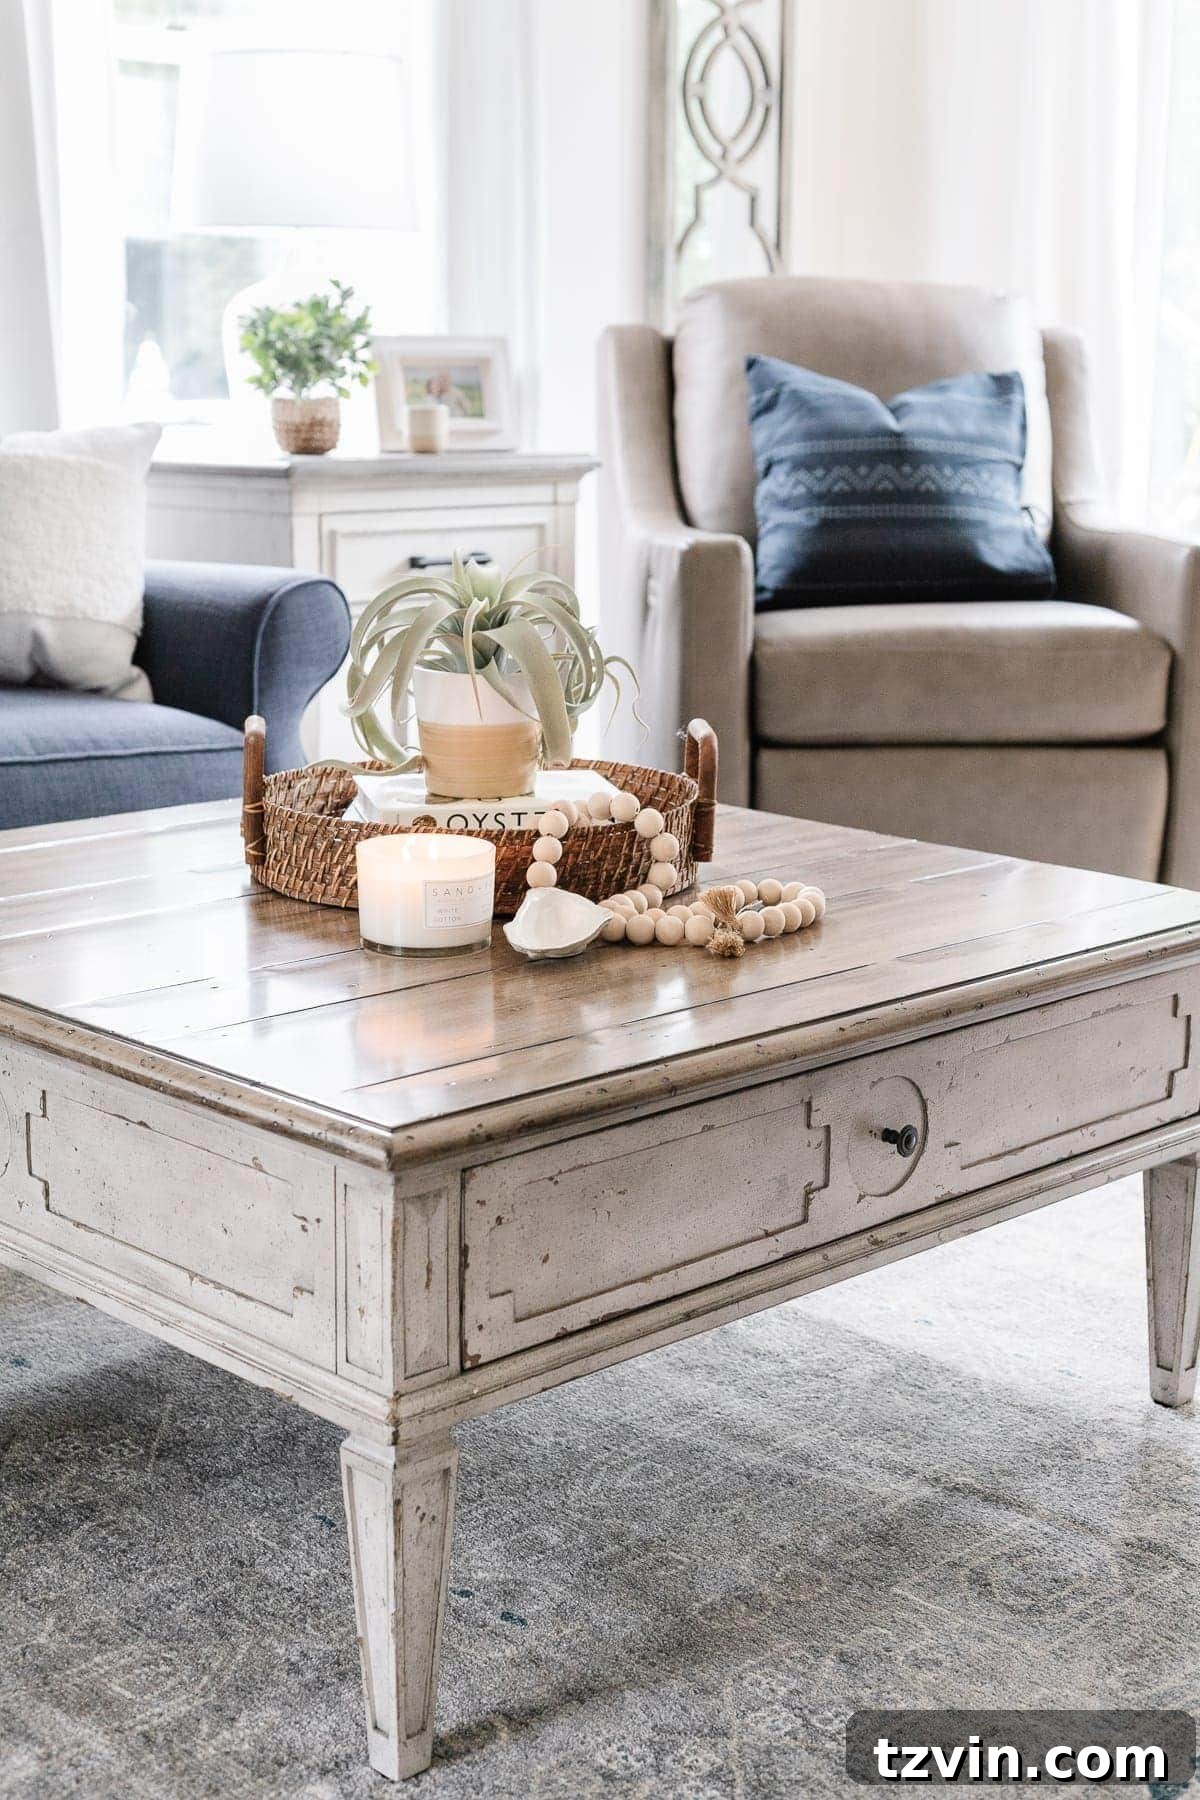
Creating a Liming Effect with White Wax
For a lighter, beachy, or coastal-inspired look, consider using Homestead House white wax. Apply it in the same manner as the dark wax, rubbing it into the painted surface and then buffing away the excess. The white wax will subtly settle into the grain and details, creating a beautiful limed finish that brightens the piece while adding texture and depth.
How to Dry Brush Furniture to Create Depth and Texture
Dry brushing is a quick and effective technique for adding subtle texture, enhancing wood grain, or creating a weathered, sun-kissed effect on your furniture. It’s incredibly forgiving, dries almost instantly, and requires minimal paint. If your piece has a prominent raised wood grain, dry brushing is perfect for bringing out that natural texture and giving it a unique character.
- Choose Your Color: Select a paint color that contrasts beautifully with your base coat. Dry brushing white over a dark painted finish, for instance, creates a striking, weathered look. A lighter color will highlight texture, while a darker color can add shadow and depth.
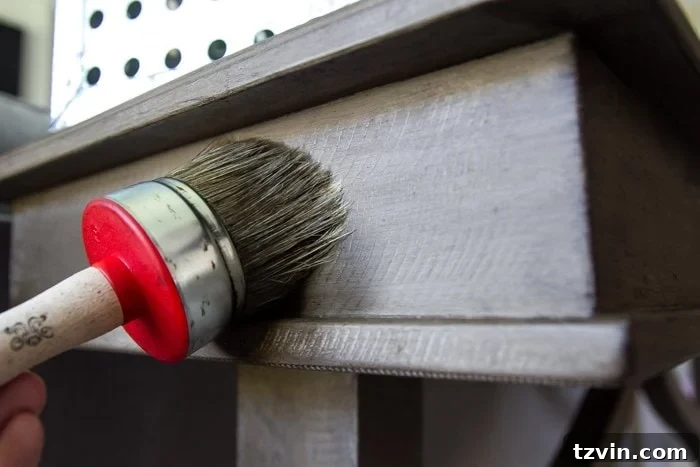
- Prepare Your Brush: Using a dedicated chip brush (which has stiff, coarse bristles ideal for this technique), dip the very tips of the bristles about 1/4 inch into your chosen paint.
- Remove Excess Paint: This is the most crucial step for “dry” brushing. Vigorously brush the bristles on a dry paper towel or a clean, dry rag until it appears almost all the paint has been removed from the brush. You want the brush to feel almost dry, leaving only a tiny amount of paint on the tips.
- Apply to Furniture: With your nearly dry brush, lightly skim the bristles over the surface of your furniture, keeping your strokes consistent and in one direction. The sparse amount of paint will catch on the raised areas and textures, creating a soft, streaky, or subtle highlight effect. Build up the effect gradually until you achieve your preferred level of dry brushing.
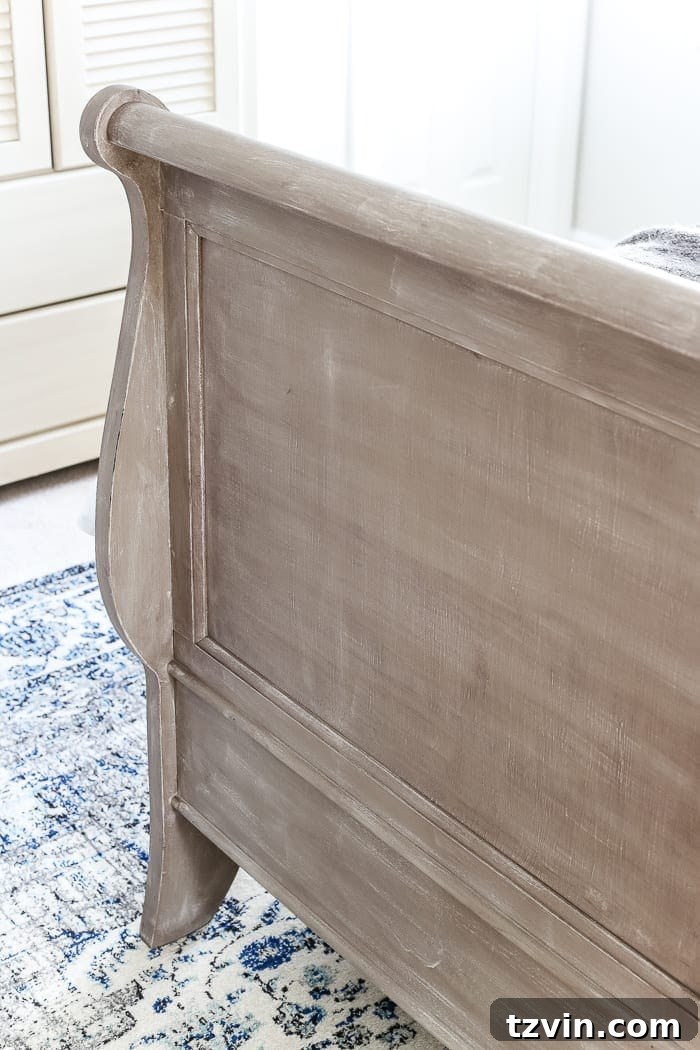
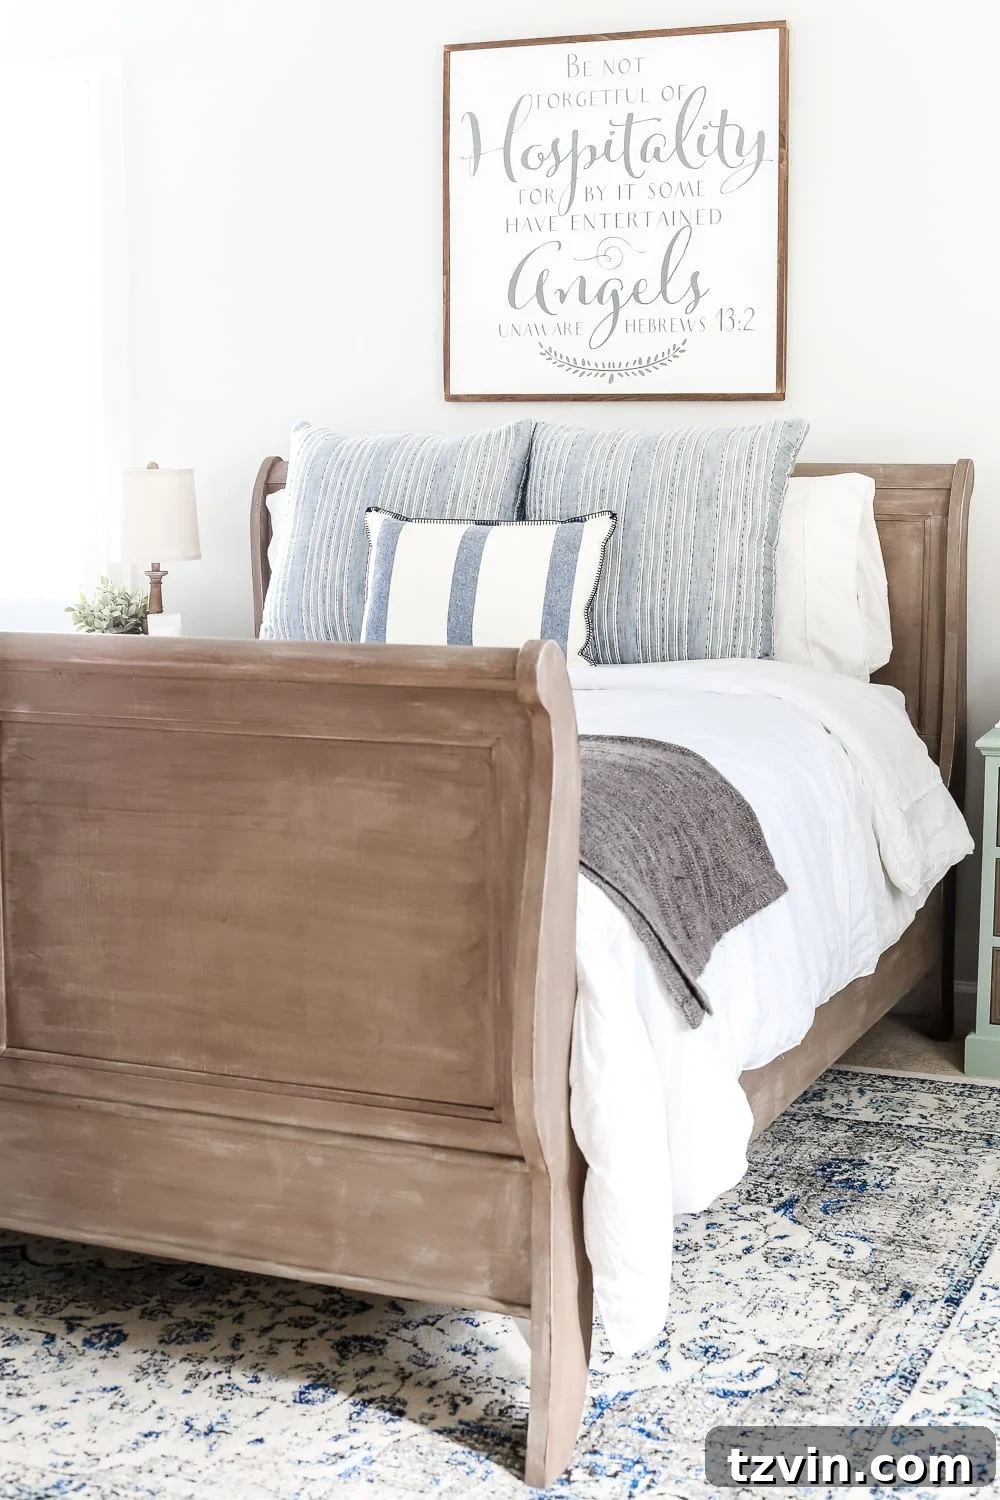
Adding a Metallic Effect with Rub ‘n Buff
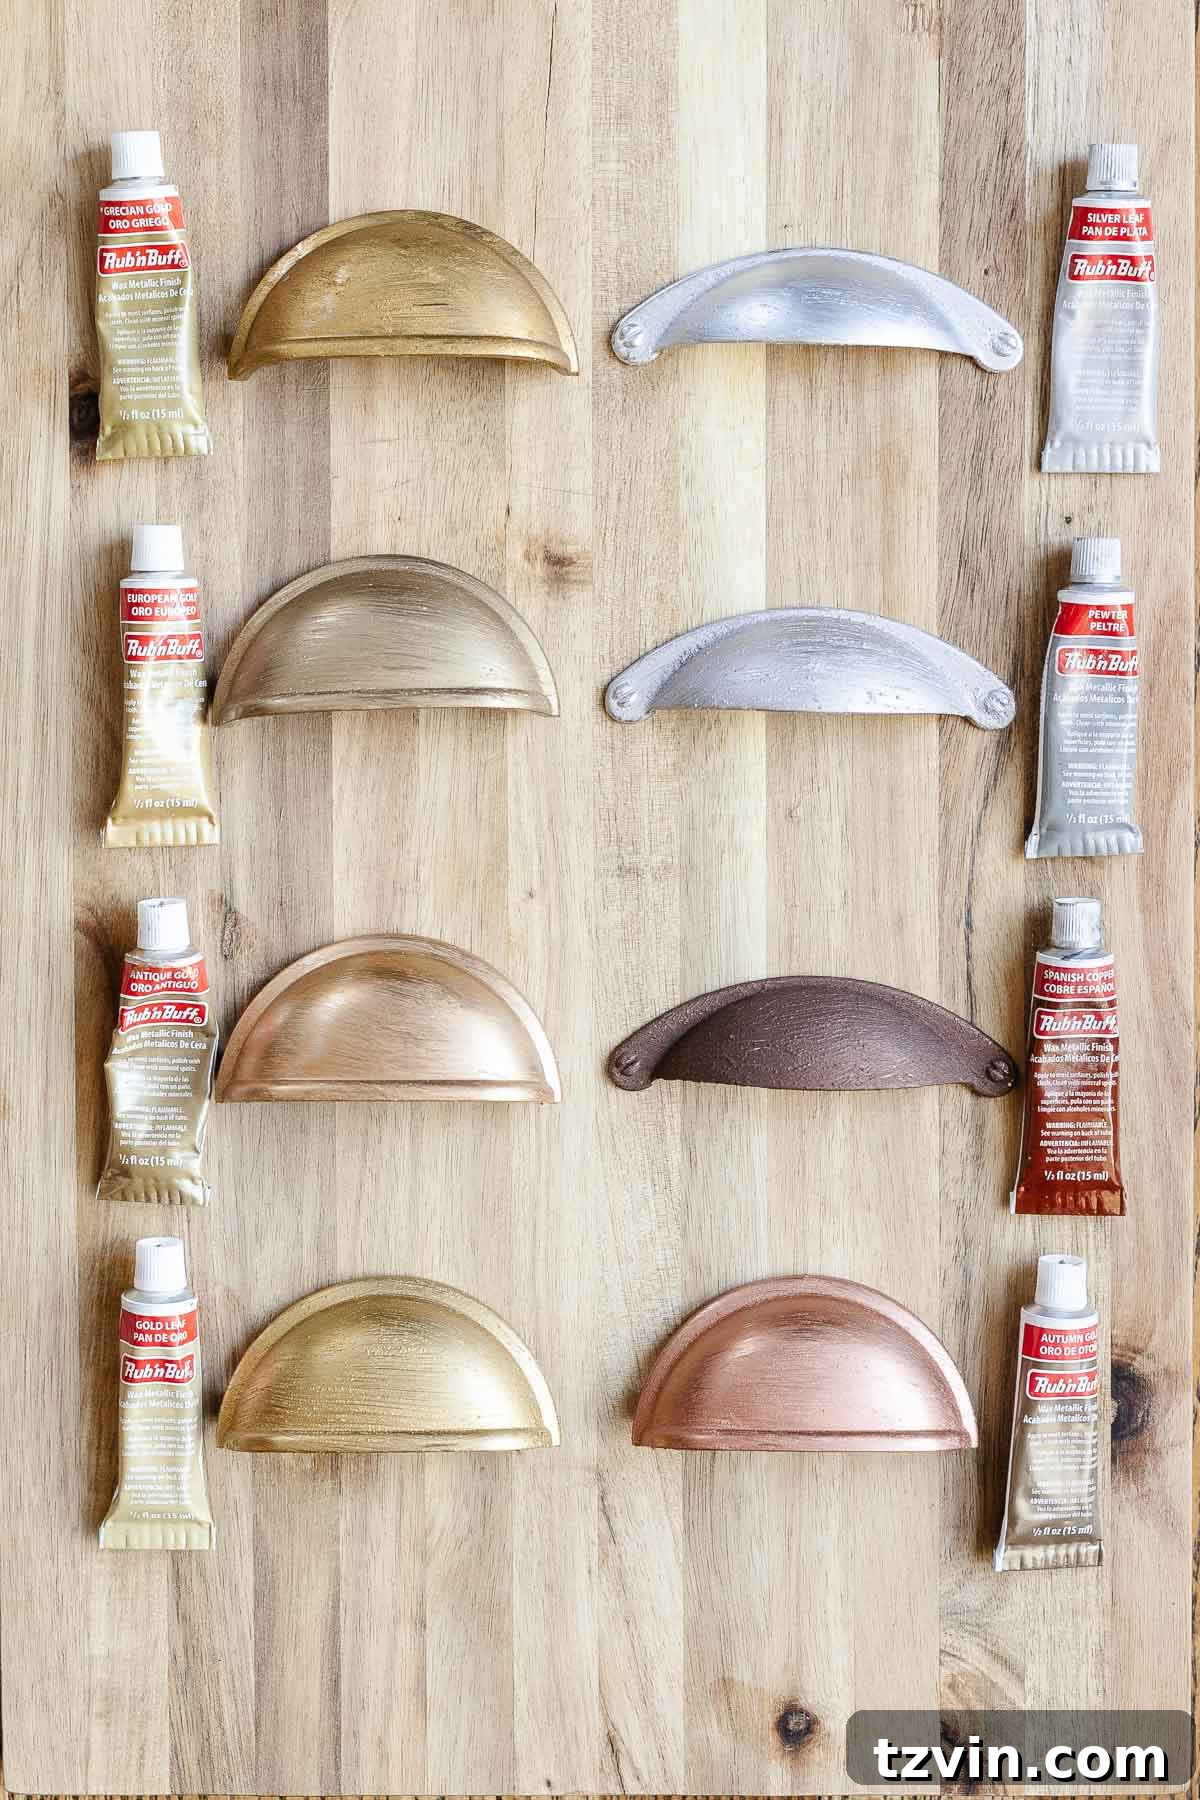
Rub ‘n Buff is a truly magical product for instantly transforming the look of metallic pieces, such as furniture knobs, hinges, or decorative accents. It’s a wax-based metallic finish that adds a touch of glitz and elegance.
- Application: Take a very small amount of Rub ‘n Buff onto an artist brush or even a cotton swab. Apply the waxy paste in an extremely thin, even layer to the areas where you desire a metallic sheen. A little goes a very long way!
- Surface Preparation (if needed): If you find the Rub ‘n Buff isn’t adhering well to a very smooth or glossy surface, gently scuff up that area with fine-grit sandpaper first. This creates a slight “tooth” for the product to grip.
- Buff for Shine: After letting the Rub ‘n Buff sit for just about one minute, take a clean, soft cloth and buff away any excess. This action polishes the metallic particles, bringing out a brilliant shine.
Rub ‘n Buff works beautifully on both metal and painted surfaces to simulate different metallic finishes. The image below illustrates what it looks like before buffing. For a deeper dive into the available shades, explore this comprehensive breakdown of all Rub ‘n Buff colors to find your perfect metallic accent.
Adding a Crackling Effect After Painting Furniture for Vintage Charm
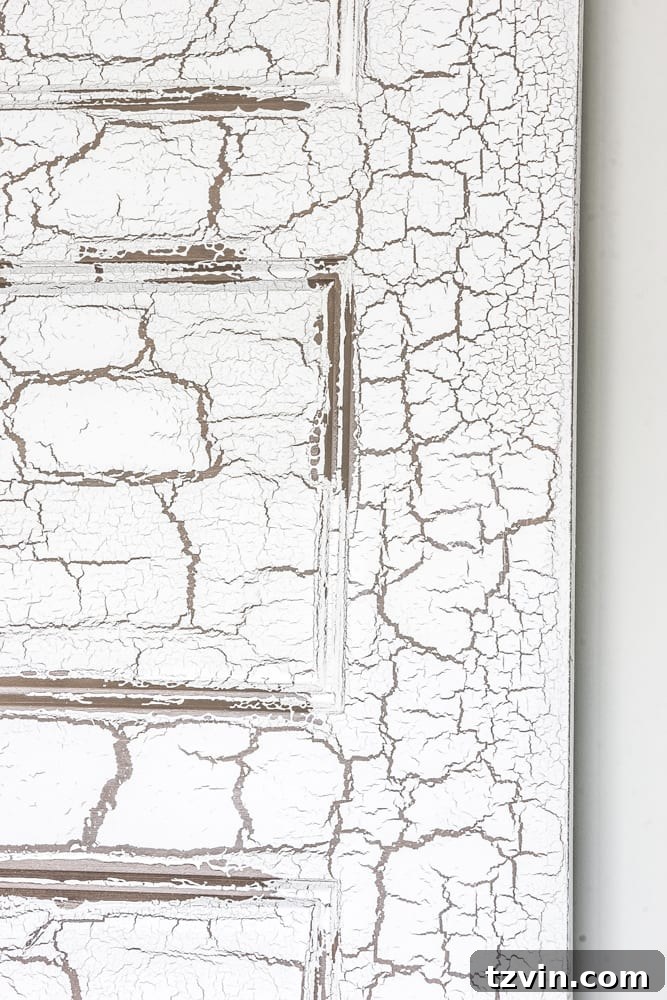
The crackling effect is a truly captivating finish that instantly makes any furniture piece look incredibly aged and full of vintage character. It’s fascinating to watch the cracks develop, revealing a contrasting color beneath.
- Base Coat: Begin by painting your furniture with the color you wish to see peeking through the cracks. This will be your base layer. Ensure this coat is completely dry before proceeding.
- Apply Crackle Medium: Brush a moderate, even layer of Fusion Crackle medium over the dried base color. The thickness of this layer can influence the size and pattern of your cracks – follow the product’s specific instructions.
- Wait for Activation: Allow the crackle medium to dry and activate according to the directions on the back of the bottle. This waiting period is crucial for the chemical reaction to begin.
- Top Coat Application: Once the crackle medium is ready, apply your chosen top coat color. For the most even crackle pattern, a paint sprayer (like this recommended sprayer) often yields the best and most consistent results. If using a brush, apply the top coat in a single, even stroke over the crackle medium, avoiding overworking the paint as this can disrupt the crackling process. Watch as the magic unfolds and the cracks begin to appear!
Beyond Paint: How to Strip and Re-stain Furniture
While this guide focuses heavily on painting, sometimes a piece of furniture cries out for the natural beauty of wood grain. Stripping and re-staining is an alternative makeover method, especially popular for tabletops or pieces with beautiful natural wood underneath. It can be messy, but the process itself is straightforward.
1. Stripping the Old Finish: The most efficient way to remove an existing paint or stain layer is by sanding. I strongly recommend using a belt sander over a mouse sander for speed and effectiveness on larger flat surfaces. Start with coarse-grit sandpaper to quickly strip away the old finish. Once the old finish is mostly gone, switch to a medium-grit sandpaper to smooth out the wood surface and remove any deeper scratches. Finally, finish with a fine-grit sandpaper to achieve a perfectly smooth, ready-to-stain surface.
(Alternatively, you could use a chemical paint stripper, but be warned: it’s typically a fumey, time-consuming, and extremely messy process that I avoid whenever possible. Similarly, the oven cleaner stripping method is not a personal favorite due to its inconsistency and potential for damage.)
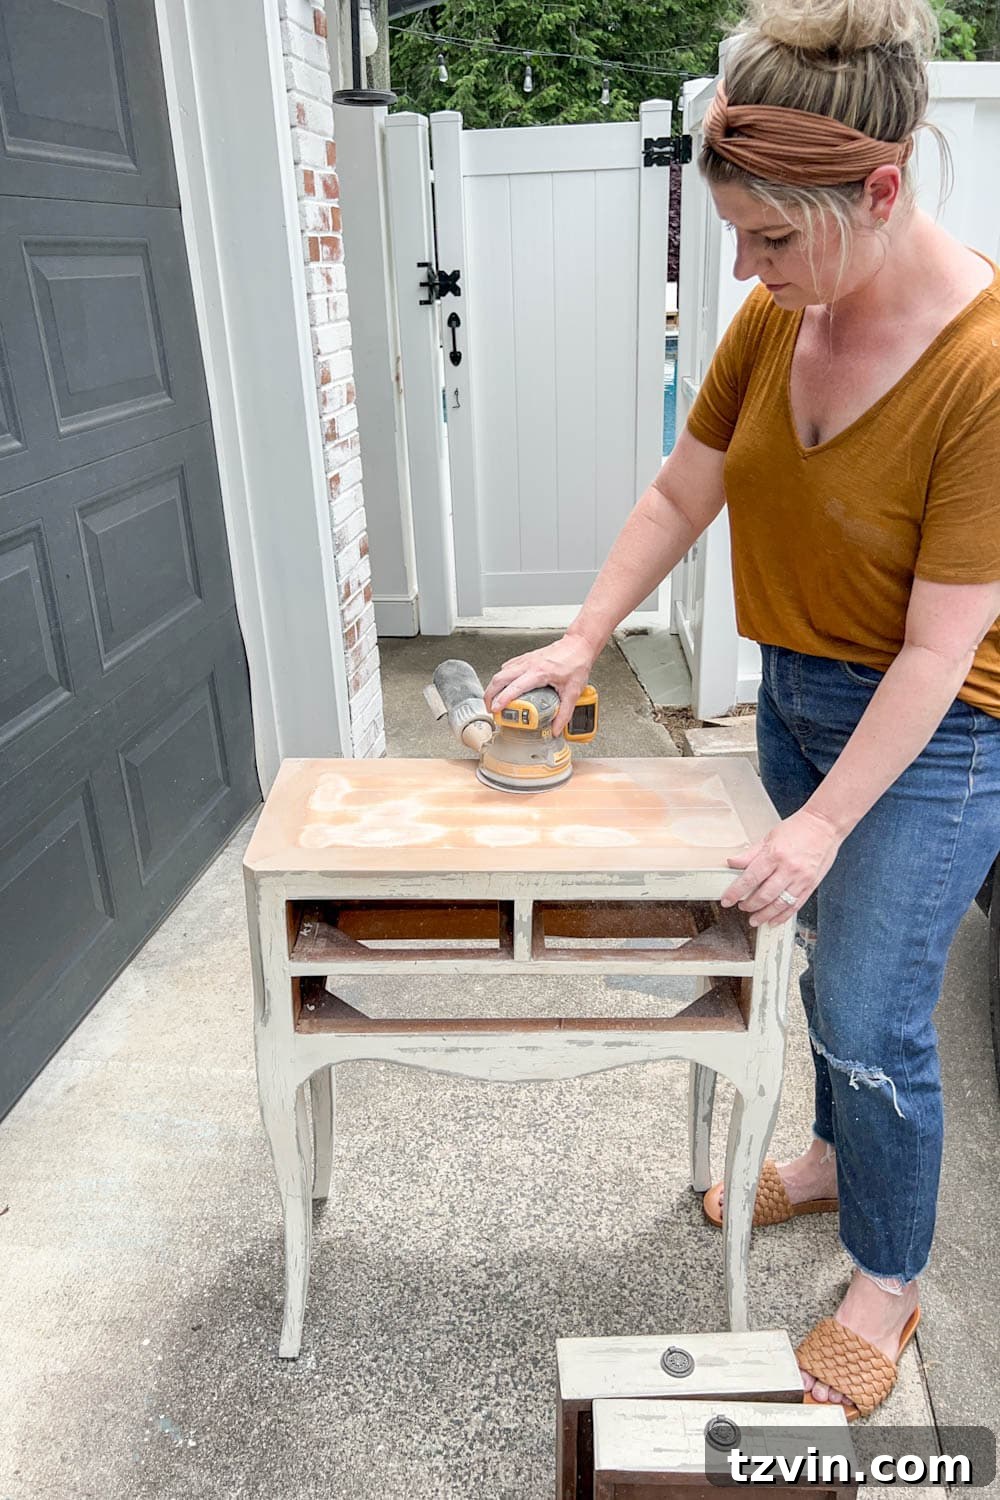
2. Apply Wood Conditioner: After sanding, use a varnish brush or clean rag to apply a wood conditioner. This step is crucial for ensuring an even stain absorption, preventing blotchiness, especially on softer woods. Let the conditioner sit for a few minutes (check product instructions) and then wipe away any excess just before applying the stain.
3. Staining: Apply the wood stain of your choice following the directions on the back of the can. Use a rag or brush to apply the stain evenly, let it penetrate for the recommended time, and then wipe away any excess. The longer the stain sits before wiping, the darker the color will be. Always work in the direction of the wood grain.
4. Achieve Desired Darkness: For a deeper, richer color, add additional coats of stain, allowing adequate dry time between each application. Continue until you achieve your desired level of darkness. Once the final stain coat is applied, let it dry for at least 24 hours (or longer, depending on the product) before moving to the sealing step.
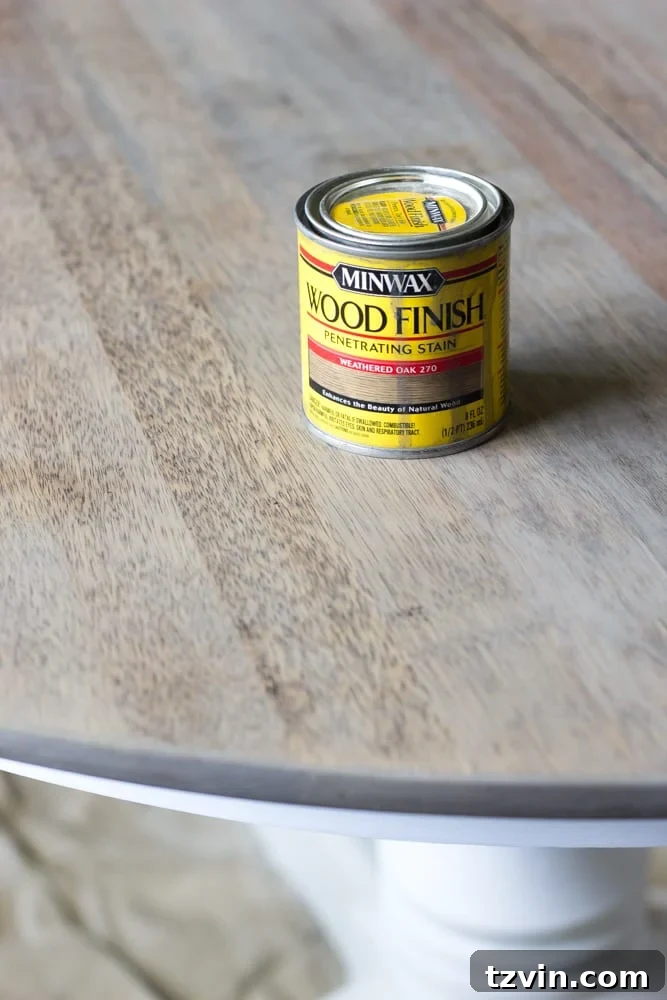
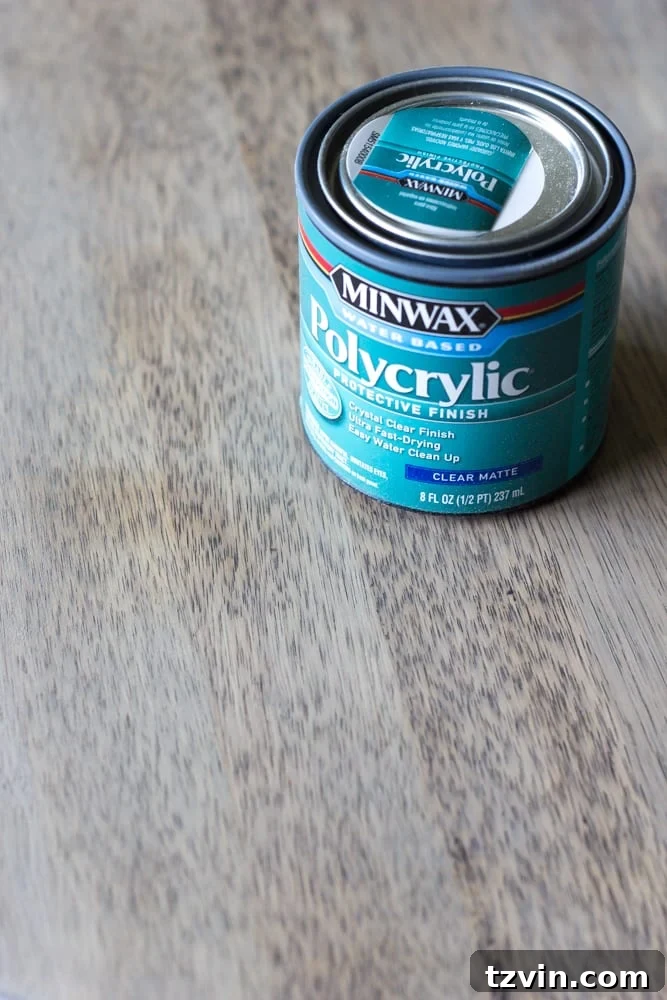
5. Sealing Stained Wood: All stained wood, without exception, should be sealed for protection, particularly if it’s a high-traffic piece like a dining table or coffee table. Brush on 2-3 thin, even layers of Polycrylic (a water-based polyurethane). To prevent brush marks, try not to overwork the wet poly – apply it with minimal passes. Allow each coat to dry thoroughly according to product instructions, and then let the final coat cure for 24-48 hours. This final step ensures your beautiful stained finish is completely protected from daily wear and tear.
The Finishing Touch: Adding Hardware After Painting Furniture
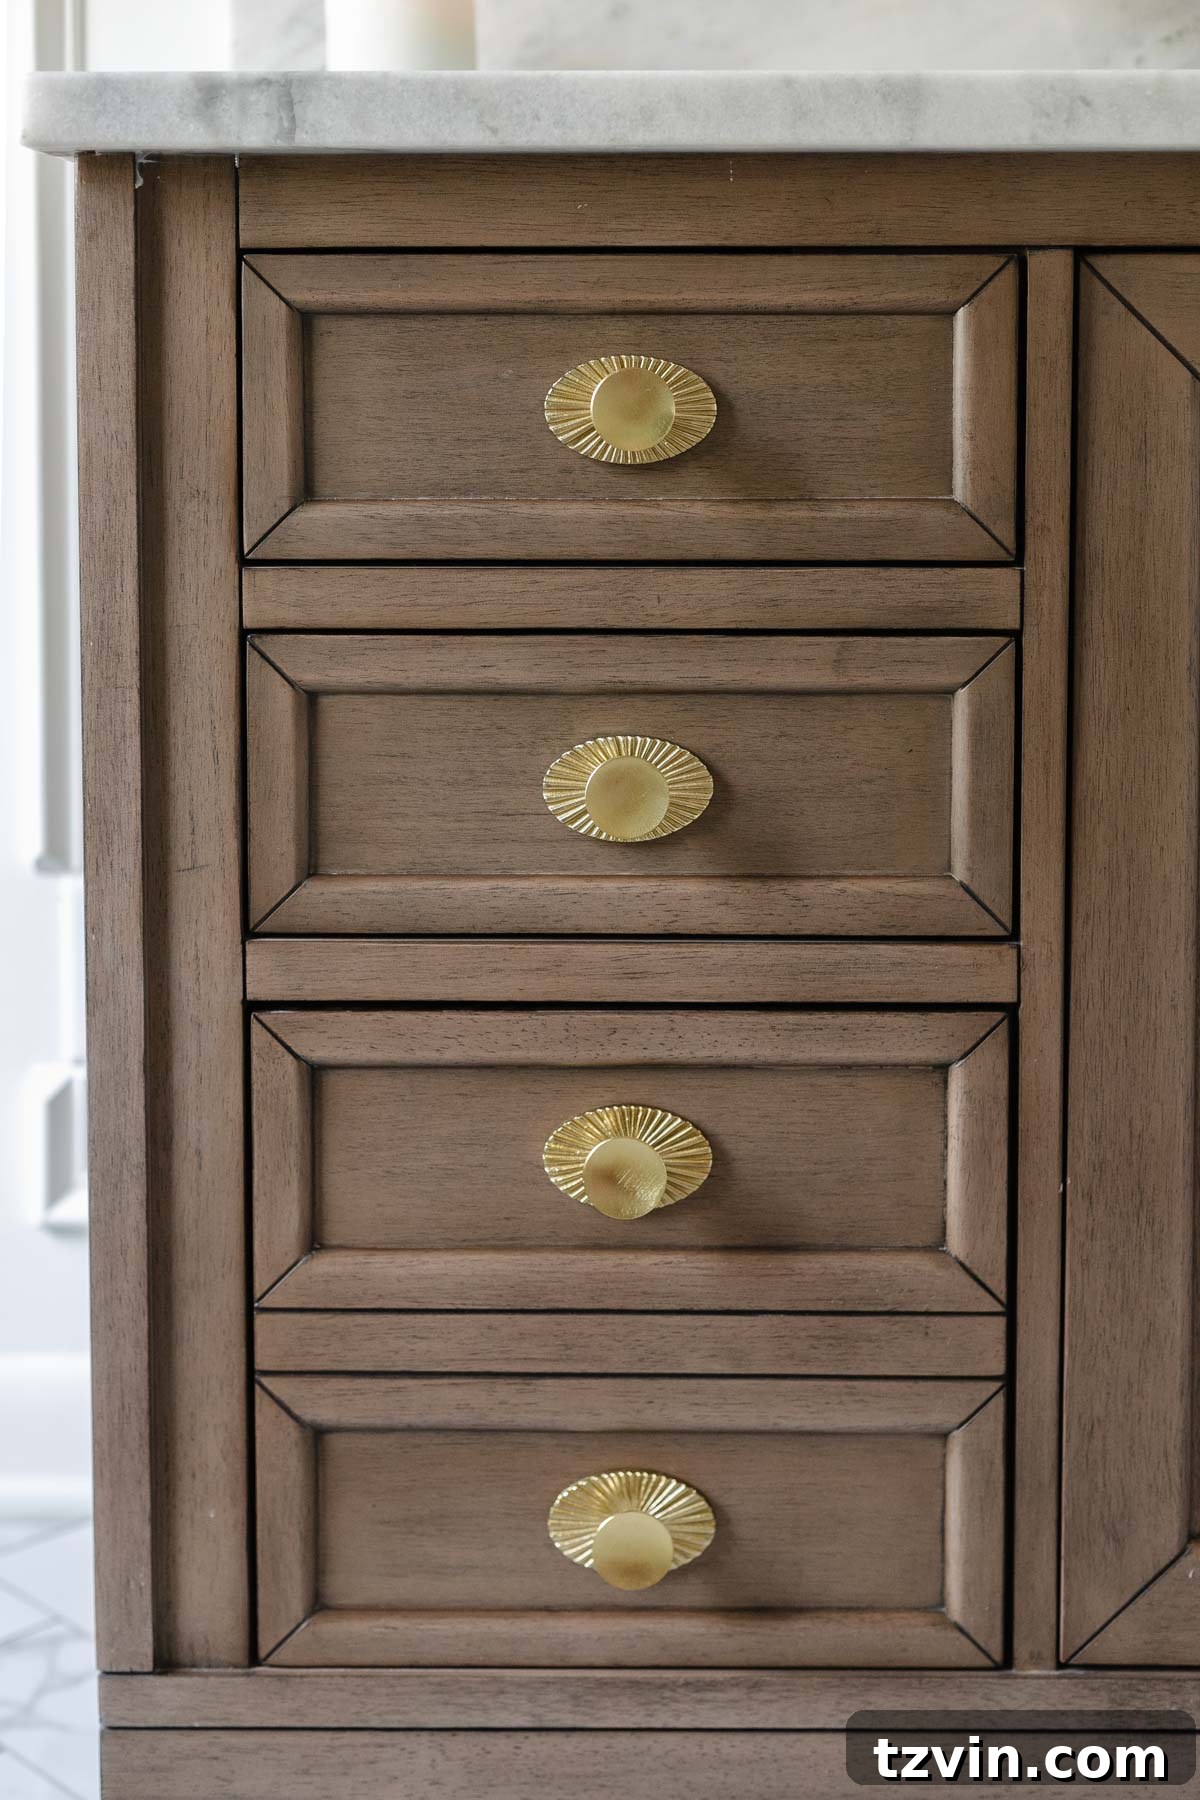
Once your paint or stain has fully cured, the final and most exciting step is to add new hardware. This seemingly small detail can dramatically alter the entire look and feel of your transformed furniture, elevating it from a simple piece to a statement item. Adding some pretty knobs, pulls, or handles is the perfect finishing touch to complete your furniture makeover.
This post offers an excellent resource for discovering some of my favorite places to source unique and stylish hardware for furniture makeovers. To make the process of drilling new holes for knobs and pulls infinitely easier and more precise, I highly recommend using a hardware template. It ensures perfect alignment and saves you from frustrating mistakes.
Whew! That was a deep dive into the world of furniture painting, but I sincerely hope this comprehensive guide demystifies the entire process and makes the idea of a furniture makeover feel far less daunting for any beginner. This article truly contains everything you’ll need to know to confidently get started on your next project.
Don’t hesitate—just dive in and give it a try! You might discover a hidden talent you never knew you possessed. And remember, even if it doesn’t come naturally at first, a little bit of practice goes a long way. The most valuable lessons are often learned through mistakes, aren’t they? I’ve certainly gained a wealth of knowledge through the “School of Hard Knocks” in my own journey.
But truly, isn’t it incredibly rewarding to find a $20 desk and, with just a couple of hours of effort and a single can of paint, transform it to look like a million bucks?
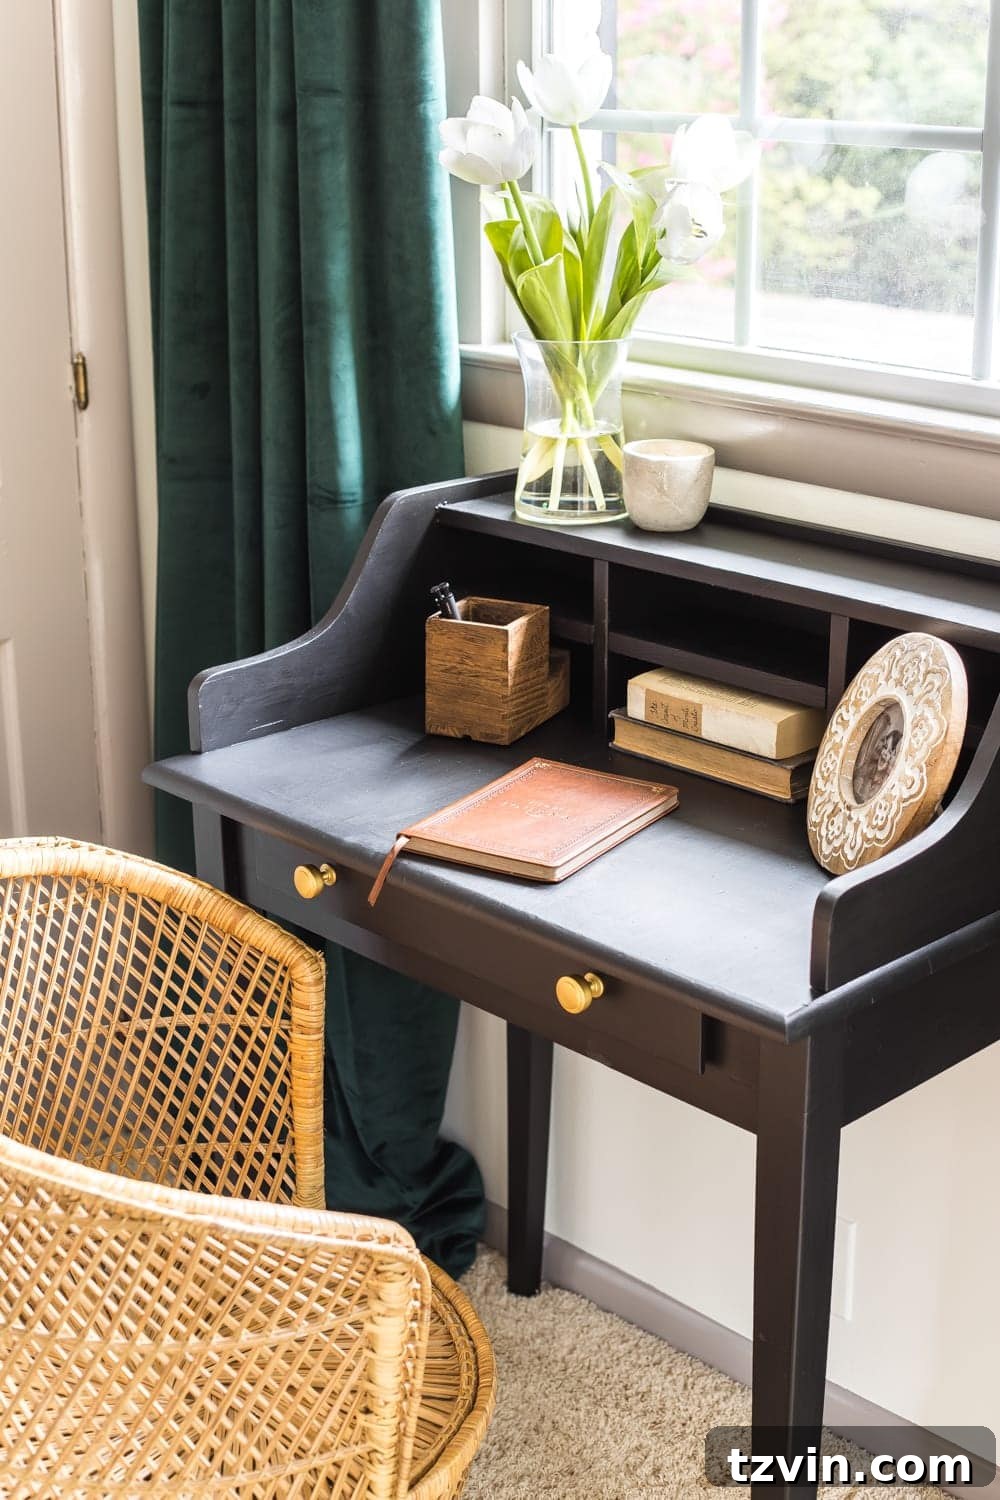
Have you attempted refinishing furniture before? What was your experience like?
Do you have a favorite furniture paint color you find yourself using again and again? Or perhaps a beloved distressing technique that always works wonders? Feel free to share a link to a favorite piece you’ve transformed if you have a blog yourself! The world of furniture makeovers is one where you never stop learning and perfecting your craft. Find even more furniture makeover ideas and inspiration here.
More Furniture Painting Ideas & Inspiration
- How to Paint Laminate Furniture: A specific guide for tackling challenging, slick surfaces.
- How to Paint Kitchen Cabinets Like a Pro: Master the techniques for a durable, factory-like finish on your kitchen cabinets.
- 15 Ways to Transform Your Entire House with Just Paint: Discover creative paint projects beyond furniture that can refresh your home.
Frequently Asked Questions About Furniture Painting
Painting over chalk paint, especially if it’s been waxed, requires a few extra steps to ensure proper adhesion of your new paint.
1. The first crucial step is to remove the furniture wax. This can be effectively done by scrubbing the entire piece with an abrasive sponge saturated with mineral spirits.
2. Once the wax is largely removed, scuff the entire surface with medium-grit sandpaper to create a ‘tooth’ for the new paint.
3. Thoroughly wipe down any residue from the mineral spirits and sanding with a degreaser like Simple Green or Krud Kutter.
4. After the piece is clean and dry, you can proceed to paint as you would any other furniture piece, considering a primer for optimal results.
The “best” paint sheen for furniture ultimately comes down to your personal style and the desired aesthetic. However, satin is widely considered the most popular and versatile sheen for furniture. It offers a soft, elegant glow that works well with many decor styles, provides good durability, and is relatively easy to clean. Higher sheens like semi-gloss or gloss offer maximum durability and a modern, reflective look, while flat or matte sheens create a chalky, vintage, or understated appearance but offer less protection and can be harder to clean.
Neglecting to clean or prime your furniture before painting significantly increases the risk of serious paint adhesion issues. You might experience your paint peeling, chipping, flaking, or scratching off easily. Dirt, grease, and old polish residues create a barrier that prevents the new paint from bonding properly to the surface. While some paints market themselves as “no-prep,” even these benefit immensely from a quick clean. For long-lasting, durable results that withstand daily use, proper cleaning and priming are always the best practices.
To achieve an ultra-smooth, brush-mark-free finish on your furniture, your best bet is to apply your paint with a paint sprayer. A sprayer atomizes the paint into a fine mist, resulting in an incredibly even and seamless coat. If using a sprayer, always follow the directions on the paint manufacturer’s label, as some paints may require thinning with water or a specific additive before sprayer application. For brush application, using high-quality self-leveling paints (like alkyd enamels), applying thin coats, maintaining consistent brush strokes in one direction, and adding a paint conditioner can help minimize brush marks.