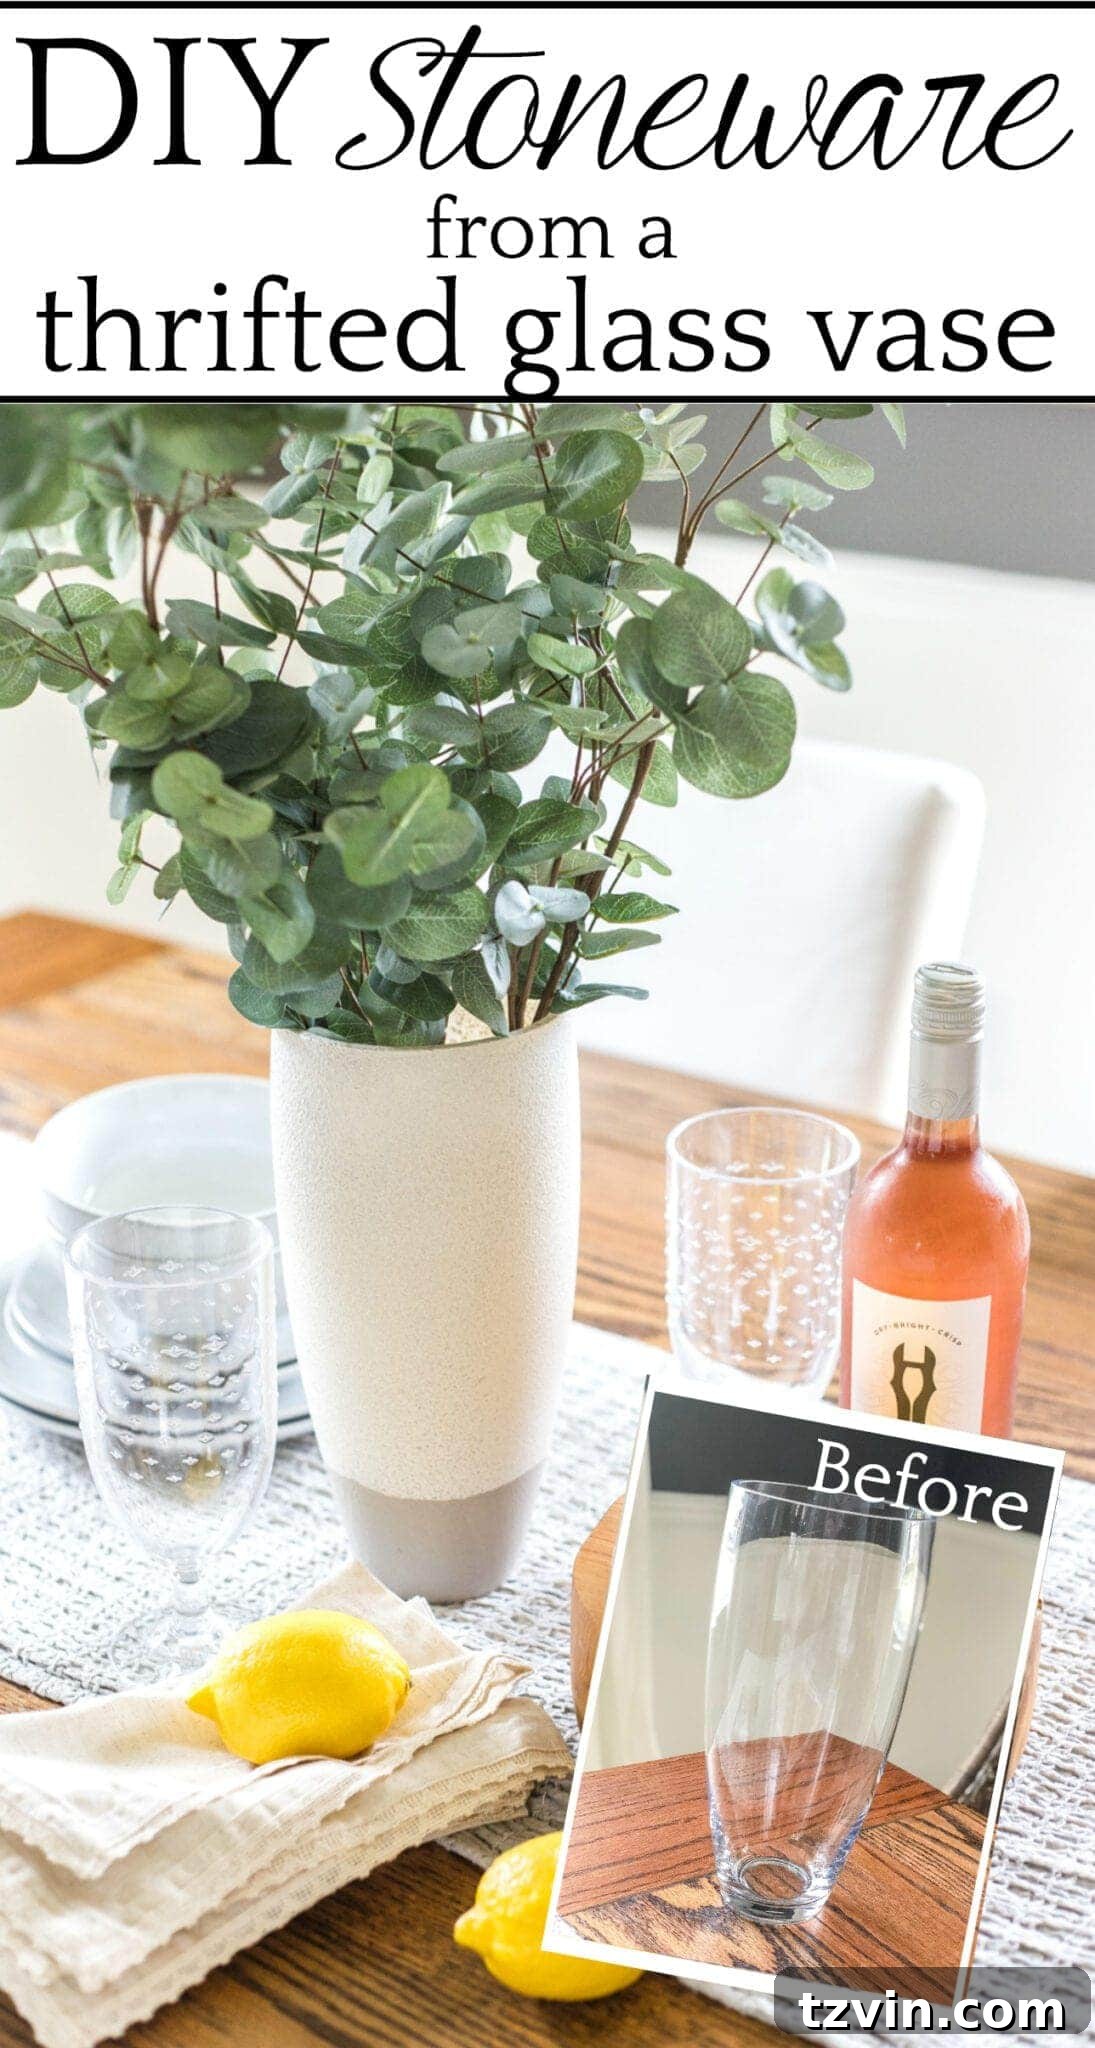
Transform Your Space: A Step-by-Step Guide to Creating Stunning Stoneware Vases from Thrifted Glass
Have you noticed the striking resurgence of stoneware vases in contemporary home decor? From high-end boutiques to popular retail chains like Target, these beautifully textured vessels are gracing shelves everywhere, bringing an organic, artisanal touch to interiors. Their earthy tones and unique finishes create an instant sense of warmth and sophistication, making them a must-have for anyone looking to elevate their living space. However, acquiring a collection of these coveted pieces can quickly become an expensive endeavor, especially when decorating on a budget.
But what if you could achieve this coveted stoneware aesthetic without breaking the bank? Imagine turning those forgotten glass vases or humble thrift store finds into designer-inspired decor. This DIY project offers an ingenious, cost-effective, and incredibly satisfying way to upcycle old glass items into stunning faux stoneware pieces using nothing more than a few cans of paint. Not only will you save money, but you’ll also contribute to sustainable living by giving new life to pre-loved items. Get ready to unleash your creativity and transform ordinary glass into extraordinary home accents!
(Some affiliate links are provided below. Full disclosure here.)
Why Choose the DIY Stoneware Look?
The appeal of DIY home decor projects like this one extends far beyond just saving a few dollars. Embracing the do-it-yourself approach allows for unparalleled customization, ensuring your decor perfectly matches your unique style and existing color palette. Furthermore, upcycling existing glass vases and bottles is an incredibly eco-friendly practice, diverting items from landfills and promoting a more sustainable lifestyle. The satisfaction of creating something beautiful with your own hands is also immeasurable, turning a simple craft into a rewarding experience. This project is particularly gratifying because the results are so visually impactful, effortlessly mimicking the texture and charm of authentic stoneware.
Essential Supplies for Your Stoneware Vase Makeover
Before you dive into this exciting transformation, let’s gather the necessary materials. One of the best aspects of this project is that many of these items might already be in your craft supply stash or easily found at your local hardware or thrift store. Remember, the goal is to make this project as cost-effective as possible, so prioritizing items you already own or can find affordably is key.
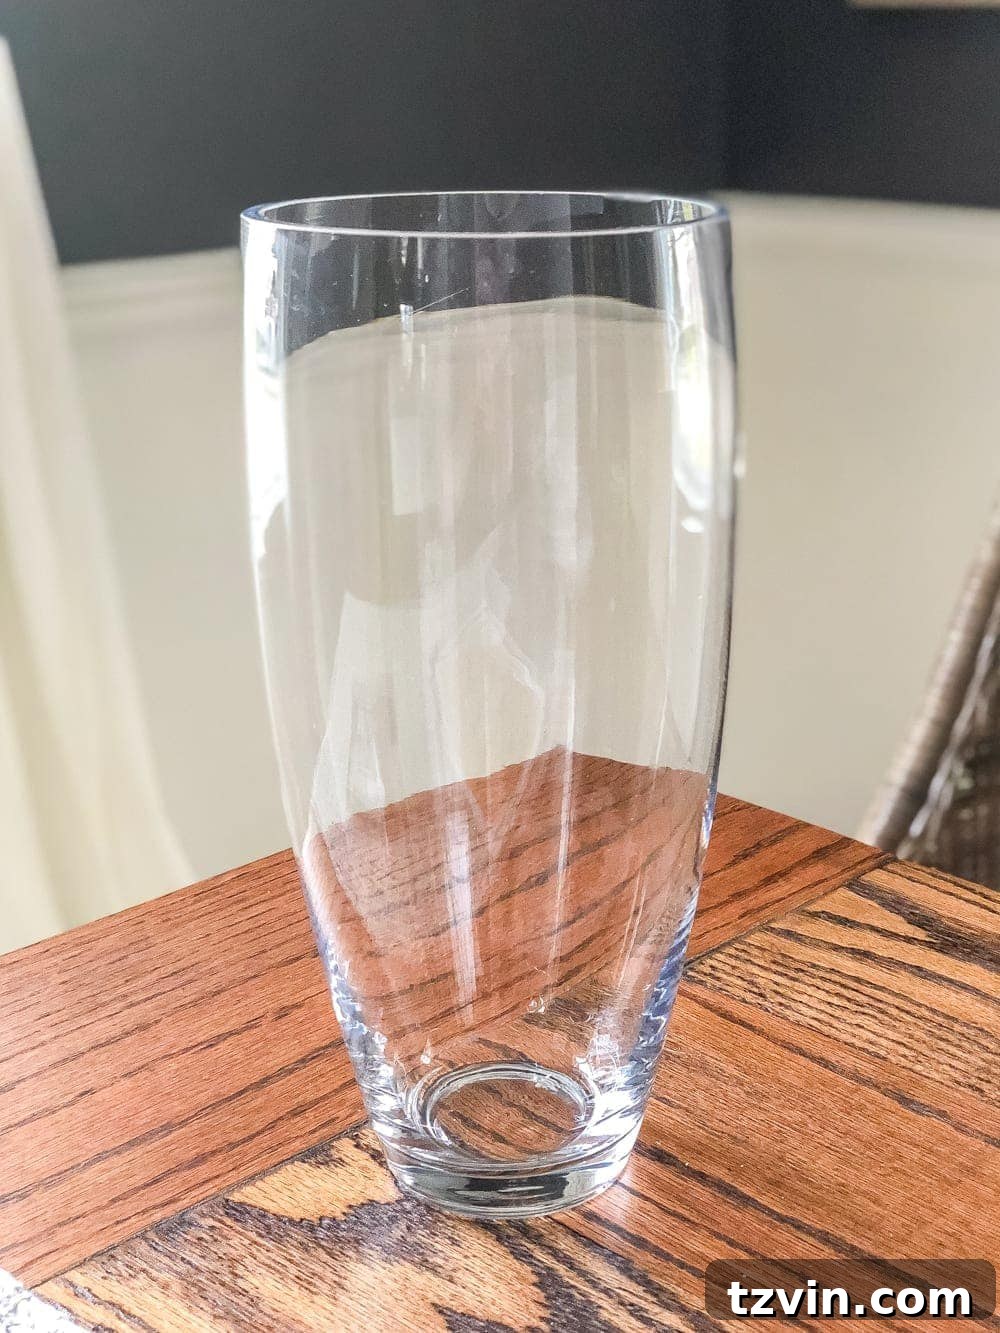
- Recycled or Thrifted Glass Vase(s) or Bottles: This is your blank canvas! Look for interesting shapes and sizes. Clear or colored glass will work, as it will be completely covered by paint. Old wine bottles, pickle jars, or generic glass vases are perfect candidates.
- Spray Primer: A good quality spray primer is crucial for ensuring proper adhesion of your stone-look paint to the smooth glass surface. It creates a grippy base that helps prevent chipping and provides a more durable finish. Choose a primer suitable for glass and multi-surfaces.
- Stone Look Spray Paint: This is the star of the show! This specialized paint contains textured particles that replicate the grainy feel and appearance of natural stone. Brands like Rust-Oleum or Krylon often offer excellent options. *Pro Tip: Check your local hardware store or craft supply retailer, as these specialty spray paints are often more affordably priced in-store than online due to shipping costs.* Consider a neutral shade like ‘stone,’ ‘sand,’ or ‘granite’ for an authentic look.
- Painter’s Tape (Optional but Recommended): Essential if you plan to add a two-toned, dipped effect to your vase, mimicking popular stoneware designs. Good quality painter’s tape will create crisp lines and prevent paint bleed.
- Craft Paint in Colors of Your Choice (Optional): If you opt for the dipped look, choose acrylic craft paints that complement your stone-look spray paint. Earthy tones like light brown, warm gray, cream, or even a deep charcoal work wonderfully to create a cohesive and authentic stoneware aesthetic.
A quick note on budget: This project truly shines when you already possess some of these materials or can source them very cheaply. If you find yourself needing to purchase every single item – a new vase, primer, stone paint, craft paint, and tape – the cumulative cost might approach that of a ready-made stoneware vase. The magic of this DIY lies in utilizing what you have or finding incredible deals to make it truly economical. We were fortunate to have primer, a suitable vase, painter’s tape, and craft paints already on hand, significantly reducing our overall expenditure.
Indeed, there’s a playful irony in the DIY world where sometimes the effort and resources invested can exceed the cost of buying an item new. However, the unique satisfaction, customization, and sense of accomplishment derived from a successful DIY project often outweigh the pure monetary comparison. For me, discovering this intriguing stone-look spray paint weeks ago sparked an immediate desire to experiment, particularly given its captivating texture.
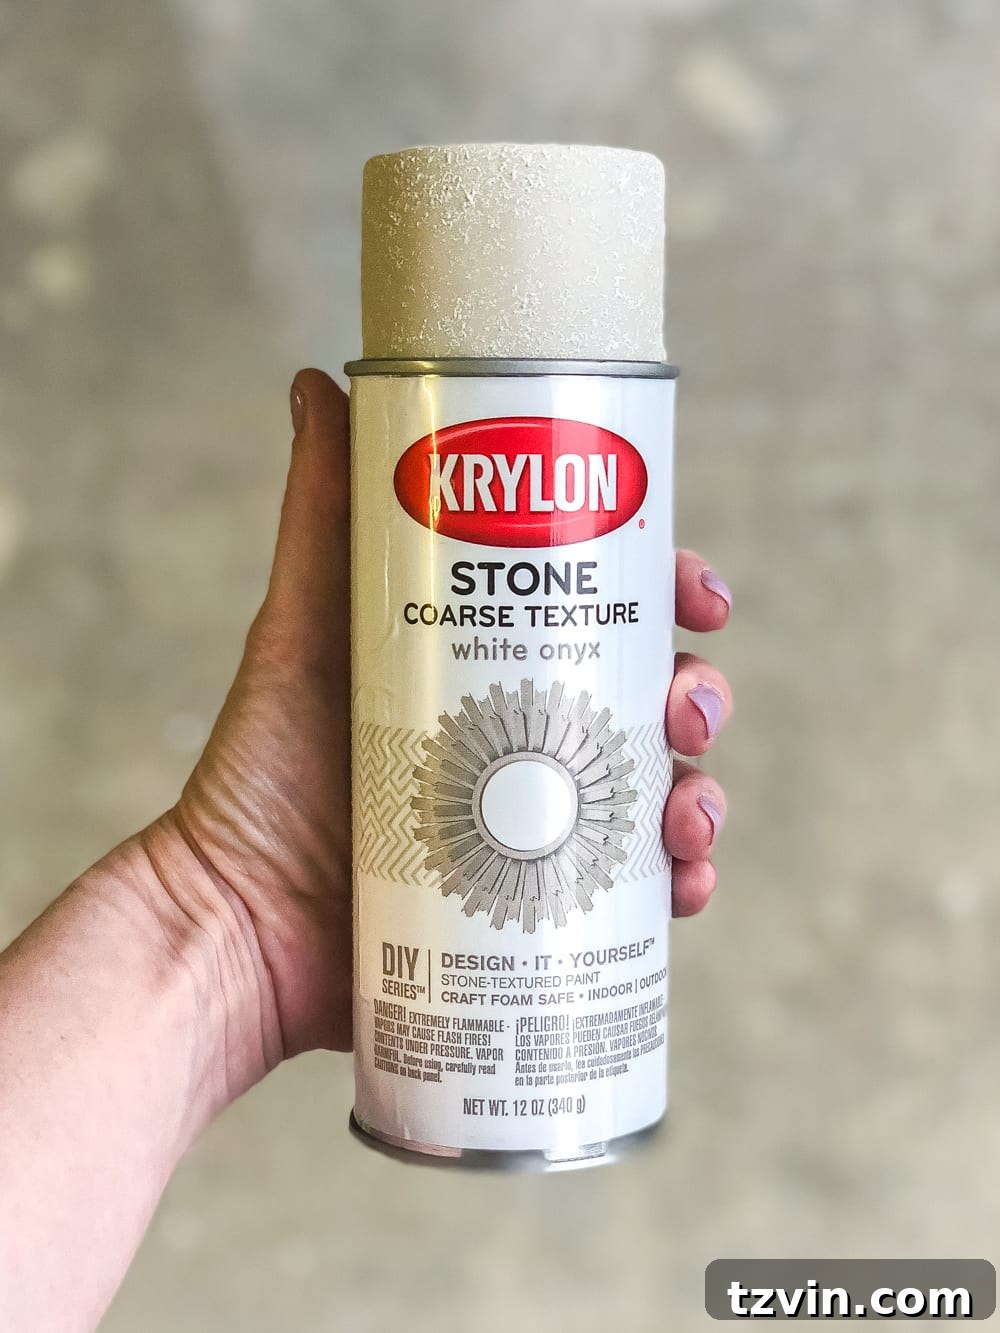
Your Step-by-Step Stoneware Transformation Guide
Ready to get started? Follow these simple steps to transform your plain glass vase into a rustic, textured stoneware masterpiece. Always work in a well-ventilated area, preferably outdoors, and wear appropriate safety gear like gloves and a mask when spray painting.
1. Prepare Your Surface: Clean and Prime
The foundation of any successful paint project is proper preparation. Begin by thoroughly cleaning your chosen glass vase or bottle. Wash it with soap and water to remove any dust, dirt, grease, or fingerprints. Rinse it well and allow it to dry completely. Any residue can compromise paint adhesion, leading to a less durable finish.
Once dry, apply a quick, even coat of spray primer. Hold the can about 8-12 inches away from the vase and use smooth, sweeping motions to avoid drips. A thin, uniform layer is all you need for the first coat. This primer is essential for creating a surface that the stone-look paint can properly adhere to, especially on slick glass. Allow the primer to dry according to the manufacturer’s instructions, typically 15-30 minutes.
2. Achieve the Authentic Stone Texture
With your vase primed and ready, it’s time for the star of the show: the stone-look spray paint. Shake the can vigorously for at least one minute before use to ensure the textured particles are well mixed. Apply the first coat using consistent, sweeping motions, ensuring good coverage without saturating any one area to prevent drips. The first coat might look thin, but subsequent coats will build up the texture and color.
Allow the first coat to dry for the recommended time (check the can’s instructions, usually 30-60 minutes). Once dry to the touch, apply a second coat. For a deeper, richer texture and color, you might even opt for a third light coat, allowing adequate drying time between each application. The more layers, the more pronounced the stone texture will become. Aim for an opaque and evenly textured finish across the entire surface of the vase. Ensure the vase is completely dry before proceeding to the next step, which may take several hours.
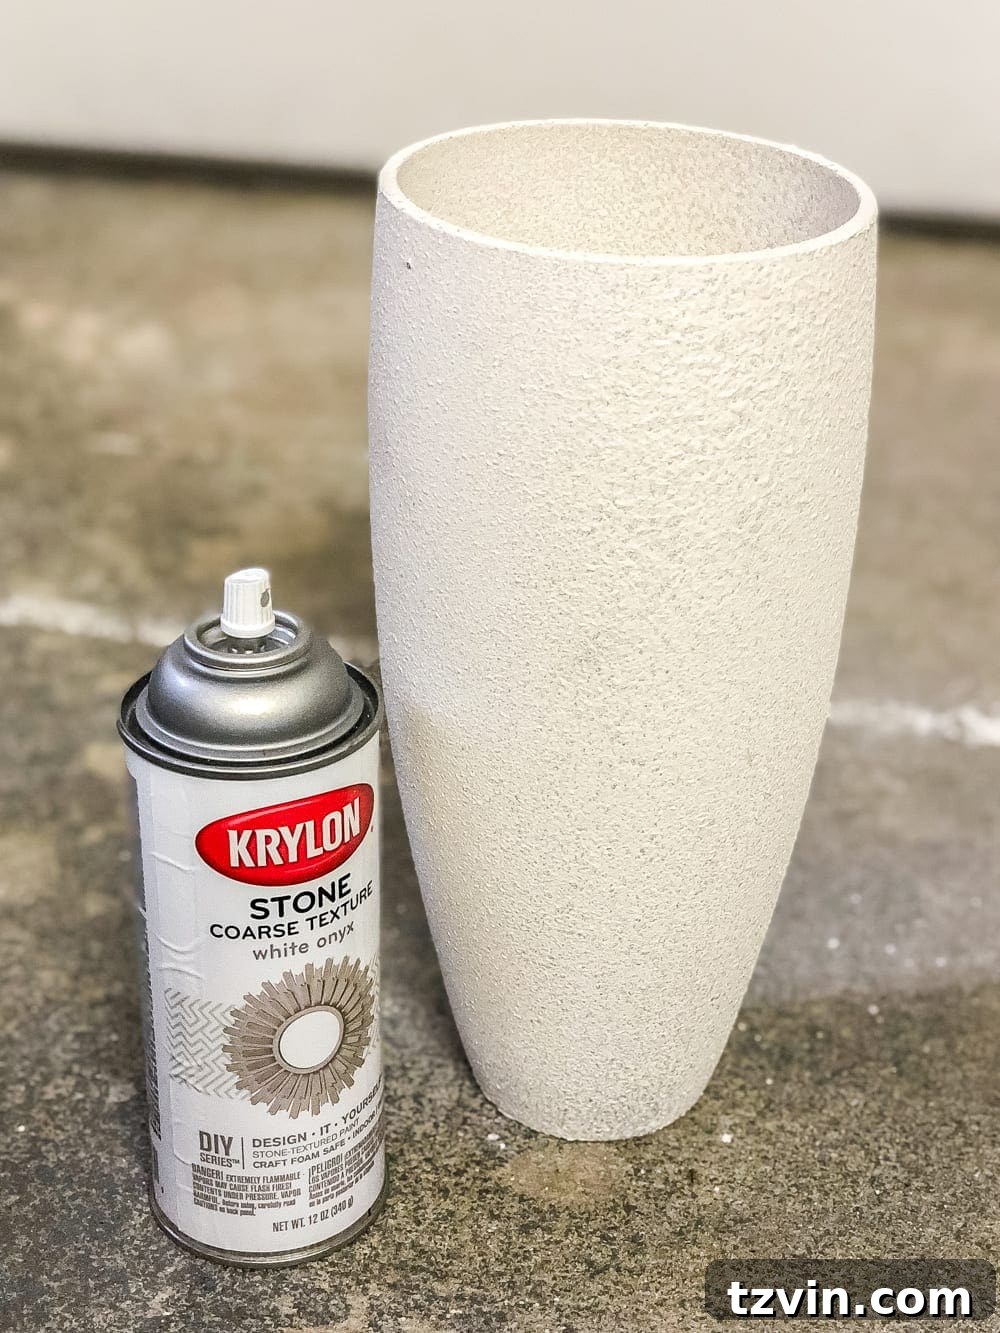
3. Create the Dipped Effect with Painter’s Tape
Once your stone-look spray paint is thoroughly dry and cured (this is important to prevent the tape from pulling off the texture), it’s time to add a stylish, two-toned “dipped” effect. This step is entirely optional, but it truly elevates the stoneware aesthetic, mirroring many high-end designs that feature an unglazed or contrasting bottom portion. Carefully apply painter’s tape around the bottom section of your vase, creating a clean line where you want the two colors to meet. Don’t worry about absolute perfection; many authentic stoneware pieces have a charmingly earthy, imperfectly dipped look that adds to their character.
Press down firmly along the edge of the tape to ensure it’s sealed, preventing any paint from bleeding underneath. This creates that crisp, professional-looking dividing line between your stone finish and the upcoming craft paint.
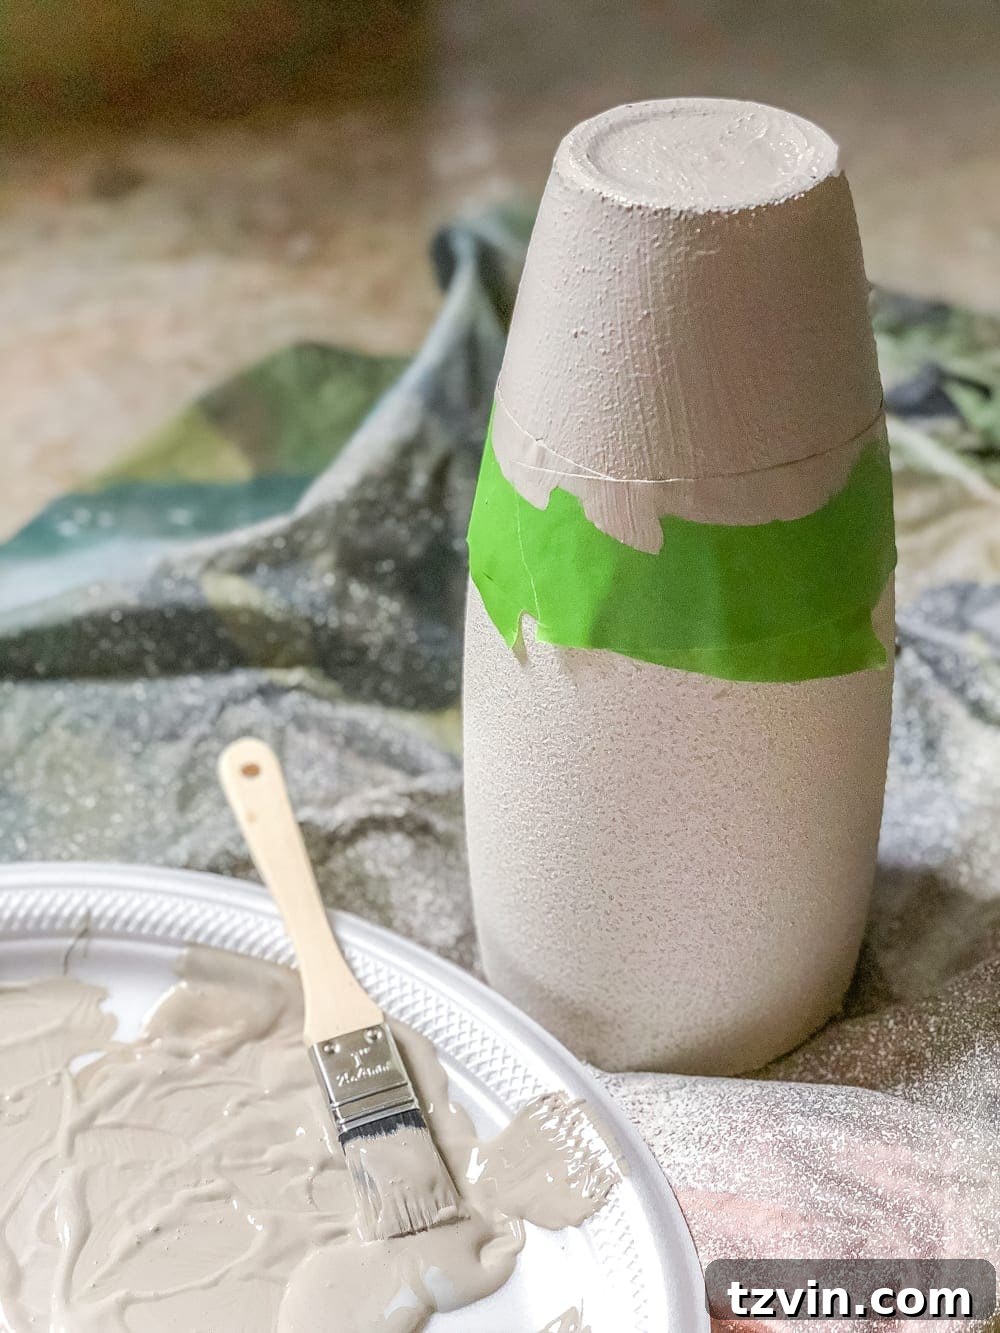
4. Apply the Contrasting Base Color
With the top portion of your vase protected by tape, you’re ready to paint the bottom. For this project, I mixed together some light brown and light gray craft paints to achieve a custom, muted earthy tone that beautifully complemented the stone texture. You can use any acrylic craft paint that matches your vision – a solid cream, a darker gray, or even a soft terracotta. Use a foam brush or a regular paintbrush to apply the craft paint evenly to the taped-off bottom section of the vase.
Apply two to three thin coats for opaque coverage, allowing each coat to dry to the touch before applying the next. Once the final coat is still slightly wet but not tacky, carefully peel off the painter’s tape. Pulling the tape off while the paint is still a bit damp helps ensure a clean line and prevents the paint from curing onto the tape and potentially peeling off with it. And just like that, you’ve created a stunning two-toned stoneware-inspired vase!
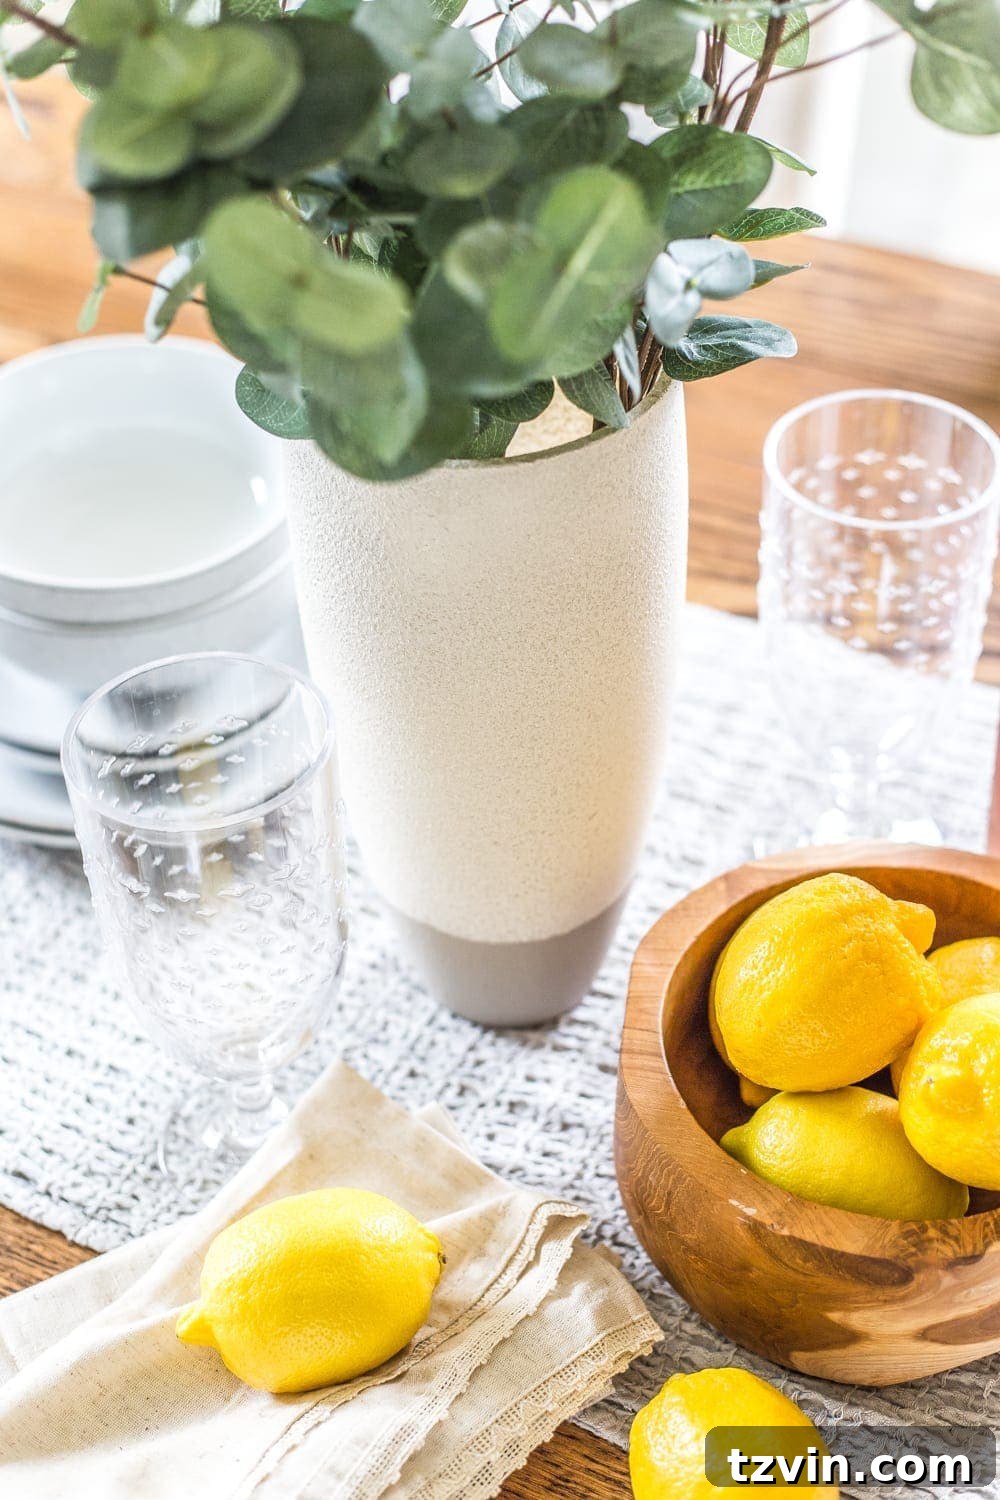
The Charming Result: Your New Faux Stoneware Vase!
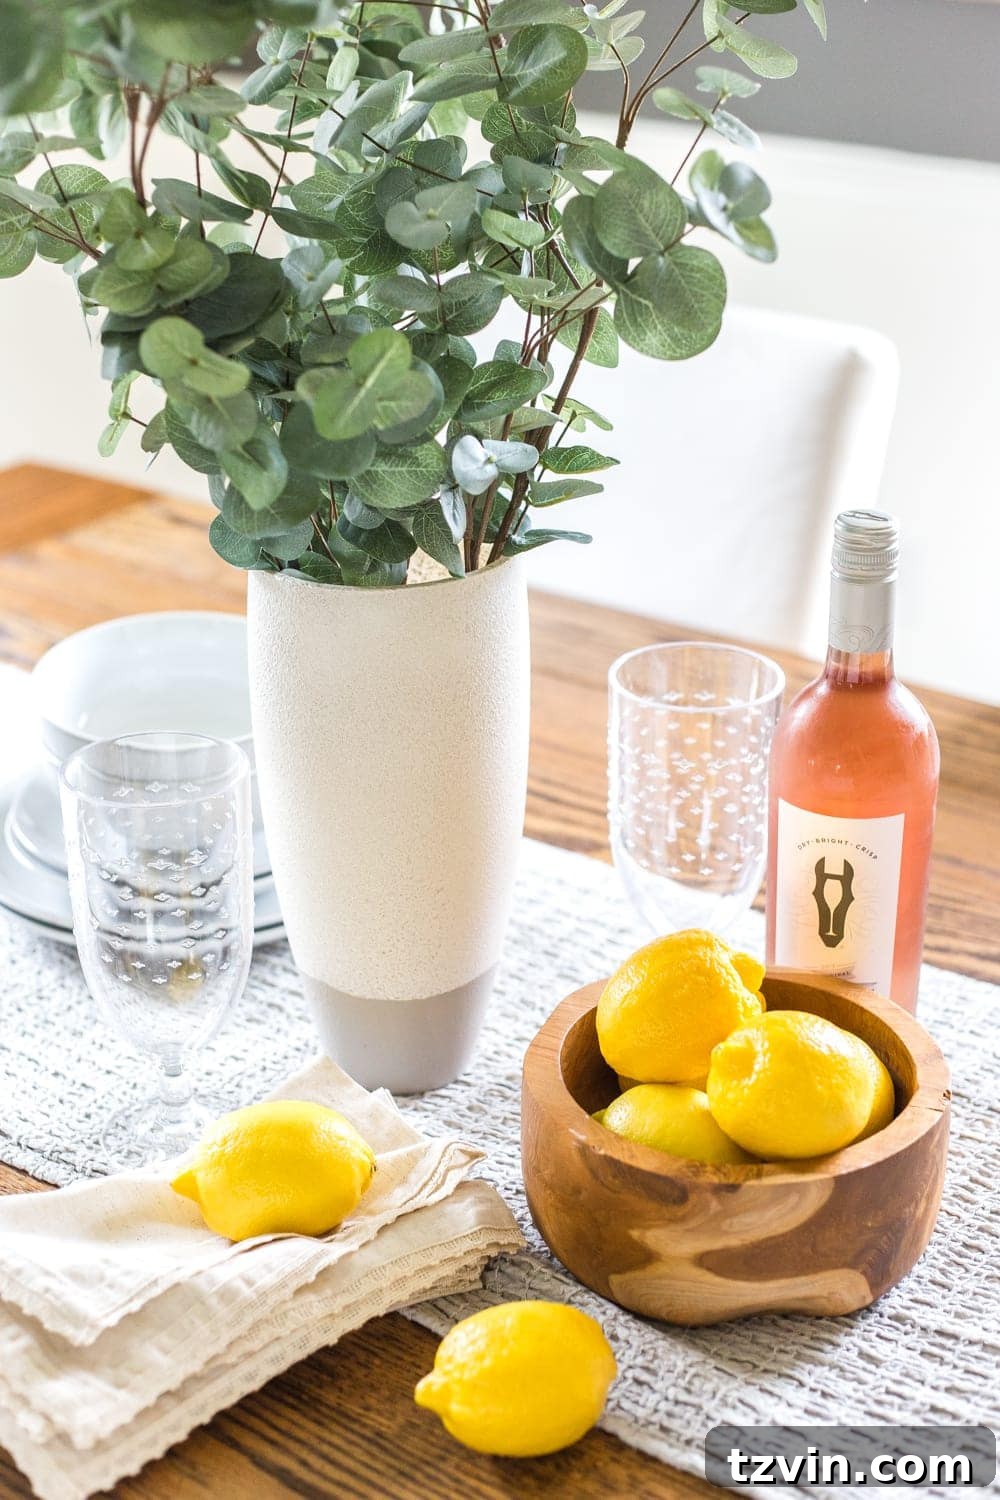
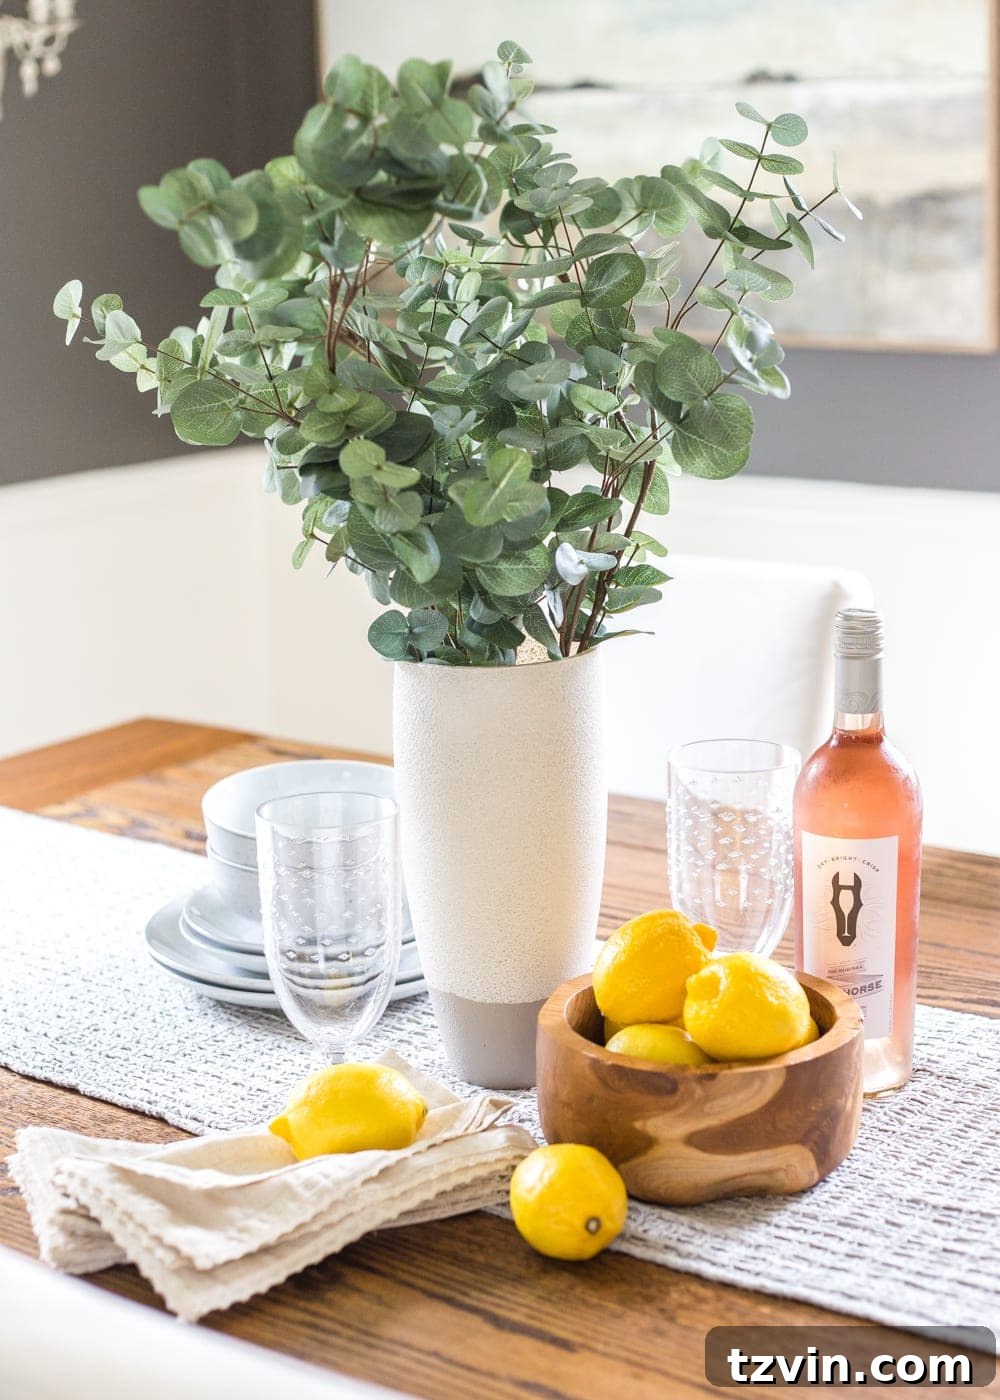
Isn’t the transformation truly remarkable? What began as a simple glass vase is now a chic, textured piece that could easily pass for genuine stoneware. The subtle texture of the spray paint combined with the contrasting dipped base creates an elegant and timeless aesthetic that will enhance any room. It’s an incredibly fun and thrifty craft that yields high-impact results.
I can hardly wait for spring to fully arrive so I can fill this beautiful vase with vibrant, colorful blooms, creating a delightful contrast against its earthy tones. Imagine it adorning your mantelpiece, gracing a bookshelf, or serving as a stunning centerpiece on your dining table. The possibilities for styling your new creation are endless.
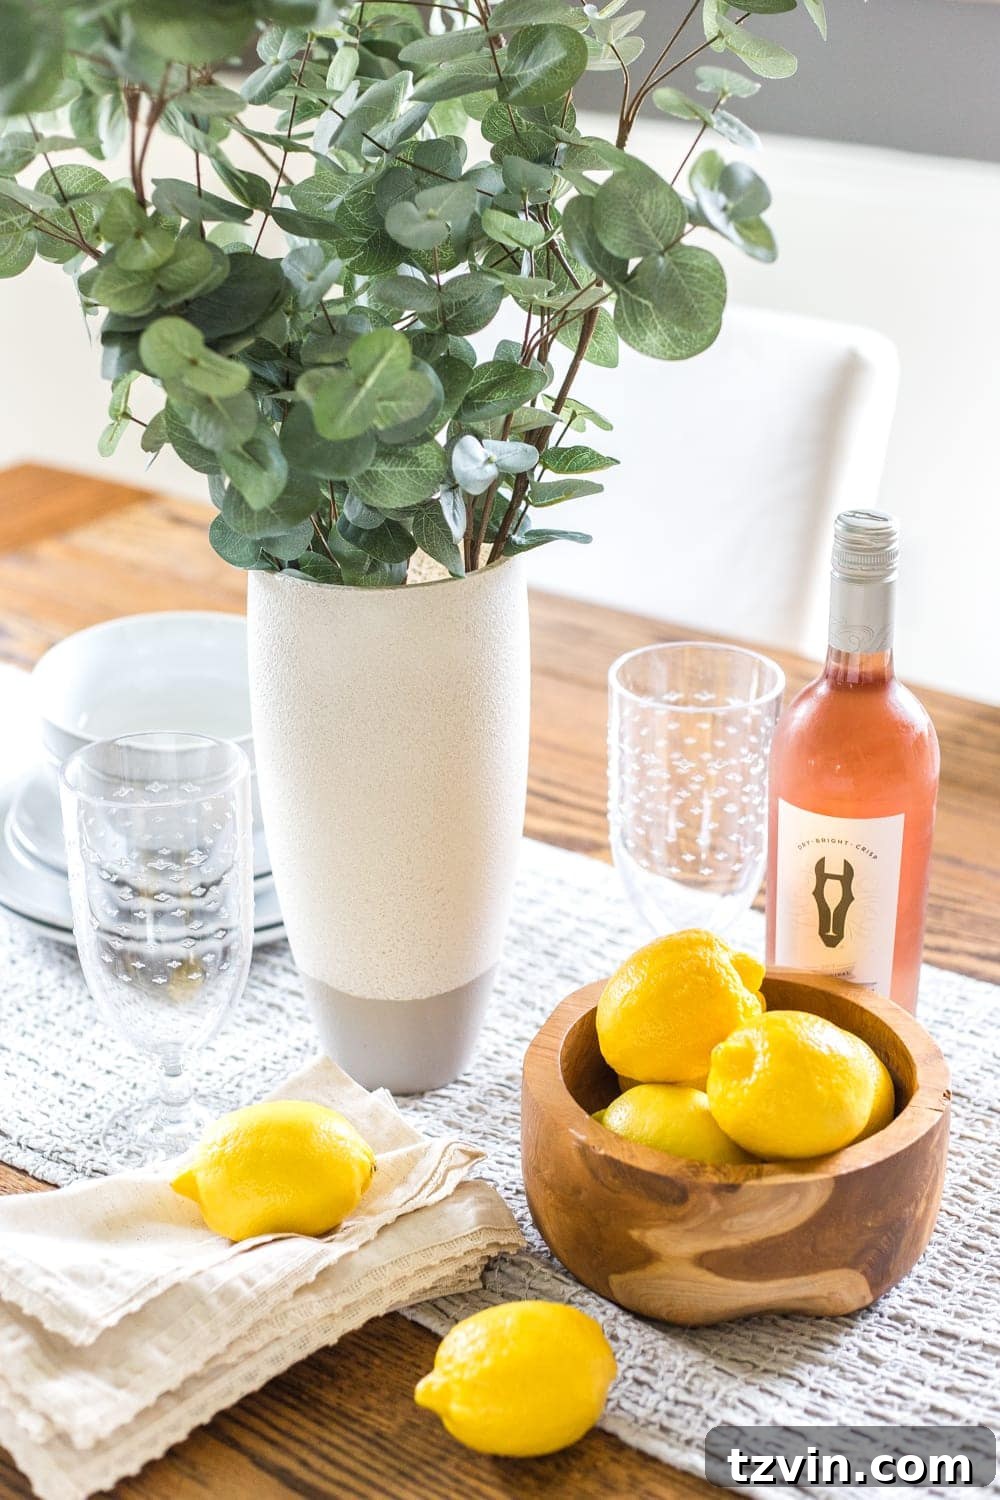
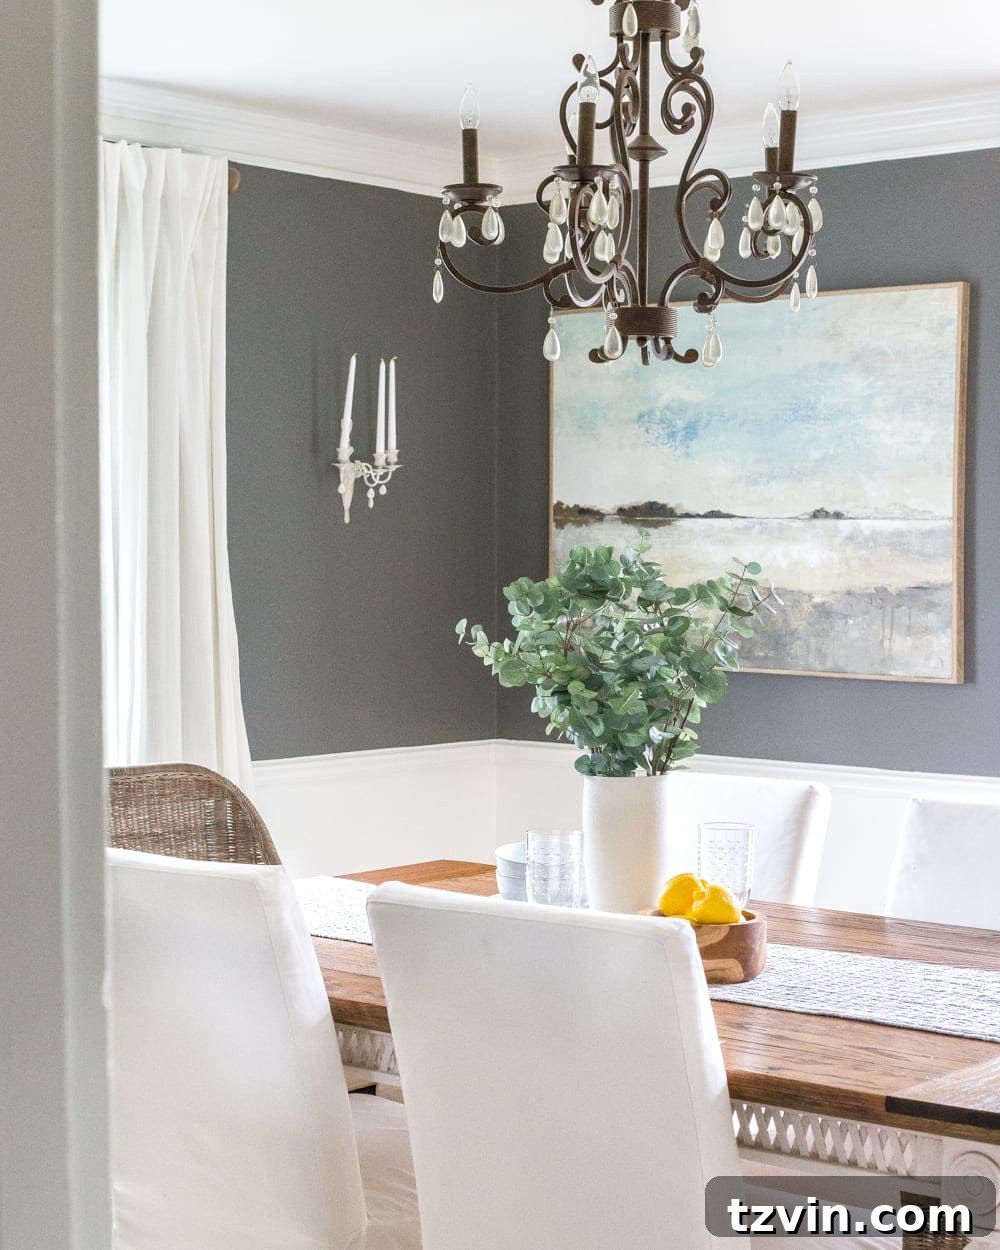
This project has certainly inspired me to keep an eye out for more plain glass vases and bottles during my next thrift store excursions. They are incredibly abundant and offer endless opportunities for creative transformation. Adding “plain glass vases” to my “always buy at thrift stores” list is definitely a decision I’m happy to make!
Tips for Success & Further Customization
- Experiment with Colors: Don’t limit yourself to neutrals. Try a deep sage green, a soft dusty blue, or even a bold black for a modern stoneware look. The beauty of DIY is tailoring it to your exact preferences.
- Vary the Dipped Effect: Instead of a straight line, consider a freehand wavy line or even a completely unpainted bottom section for a different aesthetic.
- Consider a Sealer: For added durability and water resistance, especially if the vase will hold fresh flowers frequently, you might apply a clear matte spray sealer over the finished paint. Ensure the sealer is compatible with both types of paint used.
- Other Applications: This technique isn’t limited to vases! Think about transforming old glass candle holders, decorative bottles, or even ceramic pots (after proper cleaning and priming for ceramics).
- Patience is Key: Allow adequate drying time between each coat and before handling your finished piece. Rushing the process can lead to smudges or an uneven finish.
This DIY stoneware vase project is a testament to how a little creativity and a few simple supplies can completely revolutionize your home decor. It’s an affordable, sustainable, and enjoyable way to infuse your space with personality and on-trend style.
Loved this DIY project? Save it for later inspiration by pinning it to your favorite decor boards!