Transform Your Home: The Ultimate Guide to Decorative Glass Window Film for Cabinets, Doors, and Windows
Unlock the potential of your living spaces by reimagining plain glass surfaces with the magic of decorative window film. From kitchen cabinets to shower doors, and expansive windows to interior French doors, this versatile and budget-friendly solution offers a remarkable way to enhance privacy, conceal clutter, and infuse your home with unparalleled style and charm. Forget expensive glass replacements; achieve a custom, high-end look with simple DIY application.
Every home has its little secrets – those areas where clutter gathers, or privacy is paramount. For many, clear glass doors and cabinets can be a visual challenge, exposing everything within. This is where decorative glass window film emerges as an indispensable tool, offering both aesthetic appeal and practical benefits. Whether you’re aiming for a classic vintage vibe, a sleek modern touch, or simply a clearer line of sight, window film provides an effortless upgrade.
What is Decorative Window Film?
Decorative window film is a self-adhesive or static cling material designed to be applied directly to glass surfaces. Available in an astonishing array of patterns, shades, and textures, these films can mimic the appearance of etched glass, frosted glass, stained glass, reeded glass, antique mirrors, and countless other specialty glass types. Unlike traditional glass treatments that require professional installation and come with a hefty price tag, window film empowers homeowners to achieve sophisticated looks with ease and affordability.
Beyond its aesthetic appeal, decorative window film serves multiple functional purposes. It’s an excellent solution for enhancing privacy without sacrificing natural light, as many films diffuse light beautifully while obscuring direct views. It can also act as a stylish barrier, camouflaging unsightly clutter within cabinets or behind glass doors. Furthermore, window film often provides UV protection, helping to reduce fading of furniture and flooring, and can even add an extra layer of safety by holding shattered glass together in case of breakage. Its DIY-friendly nature and removability make it a commitment-free way to experiment with different styles and adapt your decor as your tastes evolve.
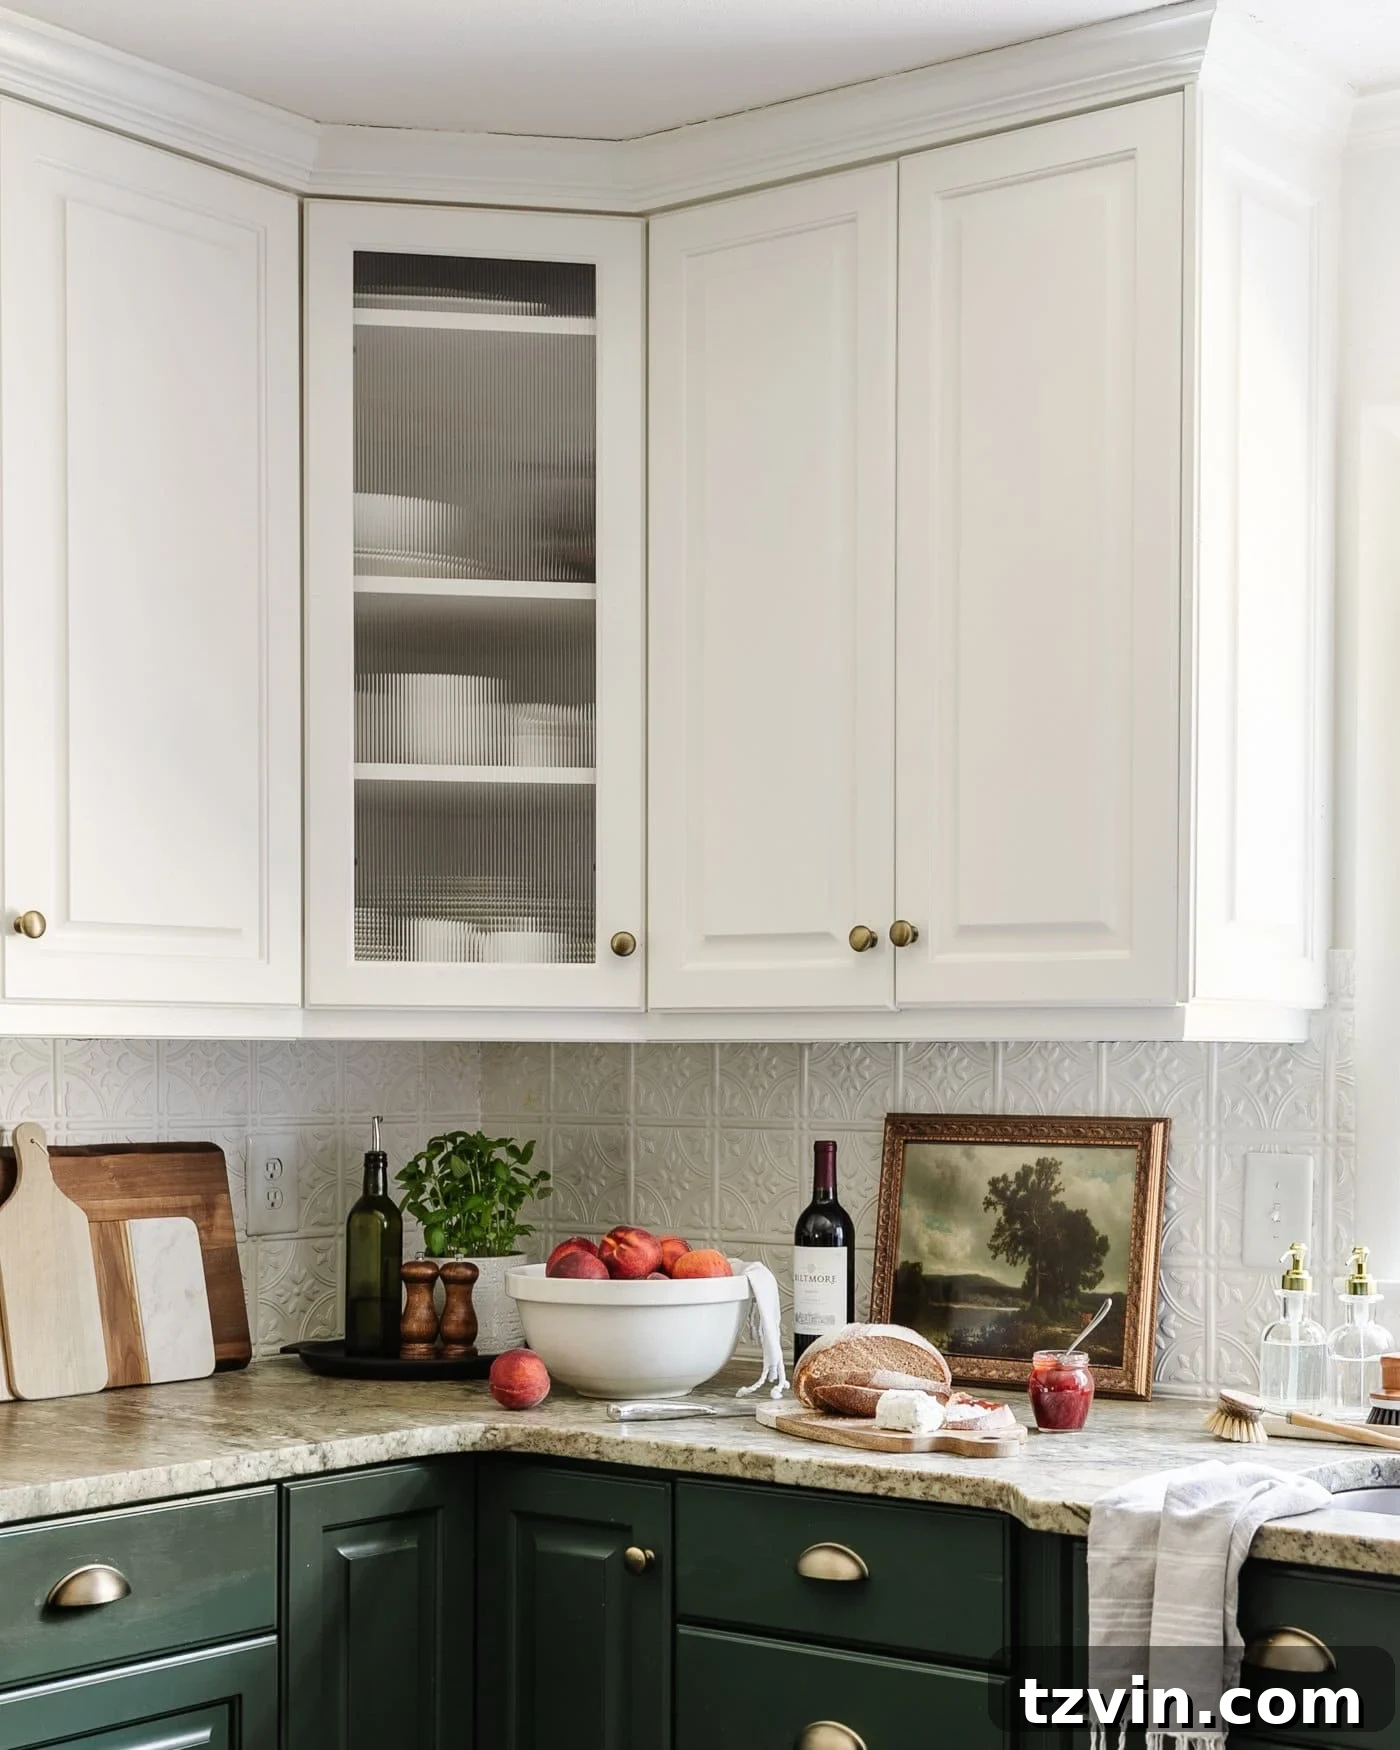
Having personally utilized window film extensively throughout my home – transforming everything from a chaotic home office that needed quick concealment from guests to a pantry filled with everyday essentials – I can attest to its transformative power. It was particularly impactful recently when I replaced broken glass cabinet fronts in our kitchen. The reeded glass film I chose brought an immediate sense of elegance and practicality, reminding me once again why this simple product is such a game-changer for home decor.
Where to Use Decorative Window Film Around the House
The versatility of decorative window film is truly remarkable, allowing it to address a myriad of design and privacy challenges across various rooms in your home. Its primary function often revolves around concealing clutter or improving privacy behind transparent glass, turning what might be an eyesore into a cohesive and stylish element.
Consider the impact on your kitchen. If you have glass-front cabinets that reveal an array of mismatched food containers or everyday dishes, a decorative film can instantly obscure these items, creating a clean, organized aesthetic. In bathrooms, a clear shower door or window can easily become a privacy concern; a frosted or patterned film offers an elegant solution, ensuring discretion without blocking essential light.
Beyond these practical applications, the wide range of patterns and textures available means that window film isn’t just a functional item; it’s a significant design feature. It can introduce architectural detail, historical charm, or a contemporary edge to an otherwise plain glass surface. Here are some prime locations and ideas for integrating decorative window film into your home:
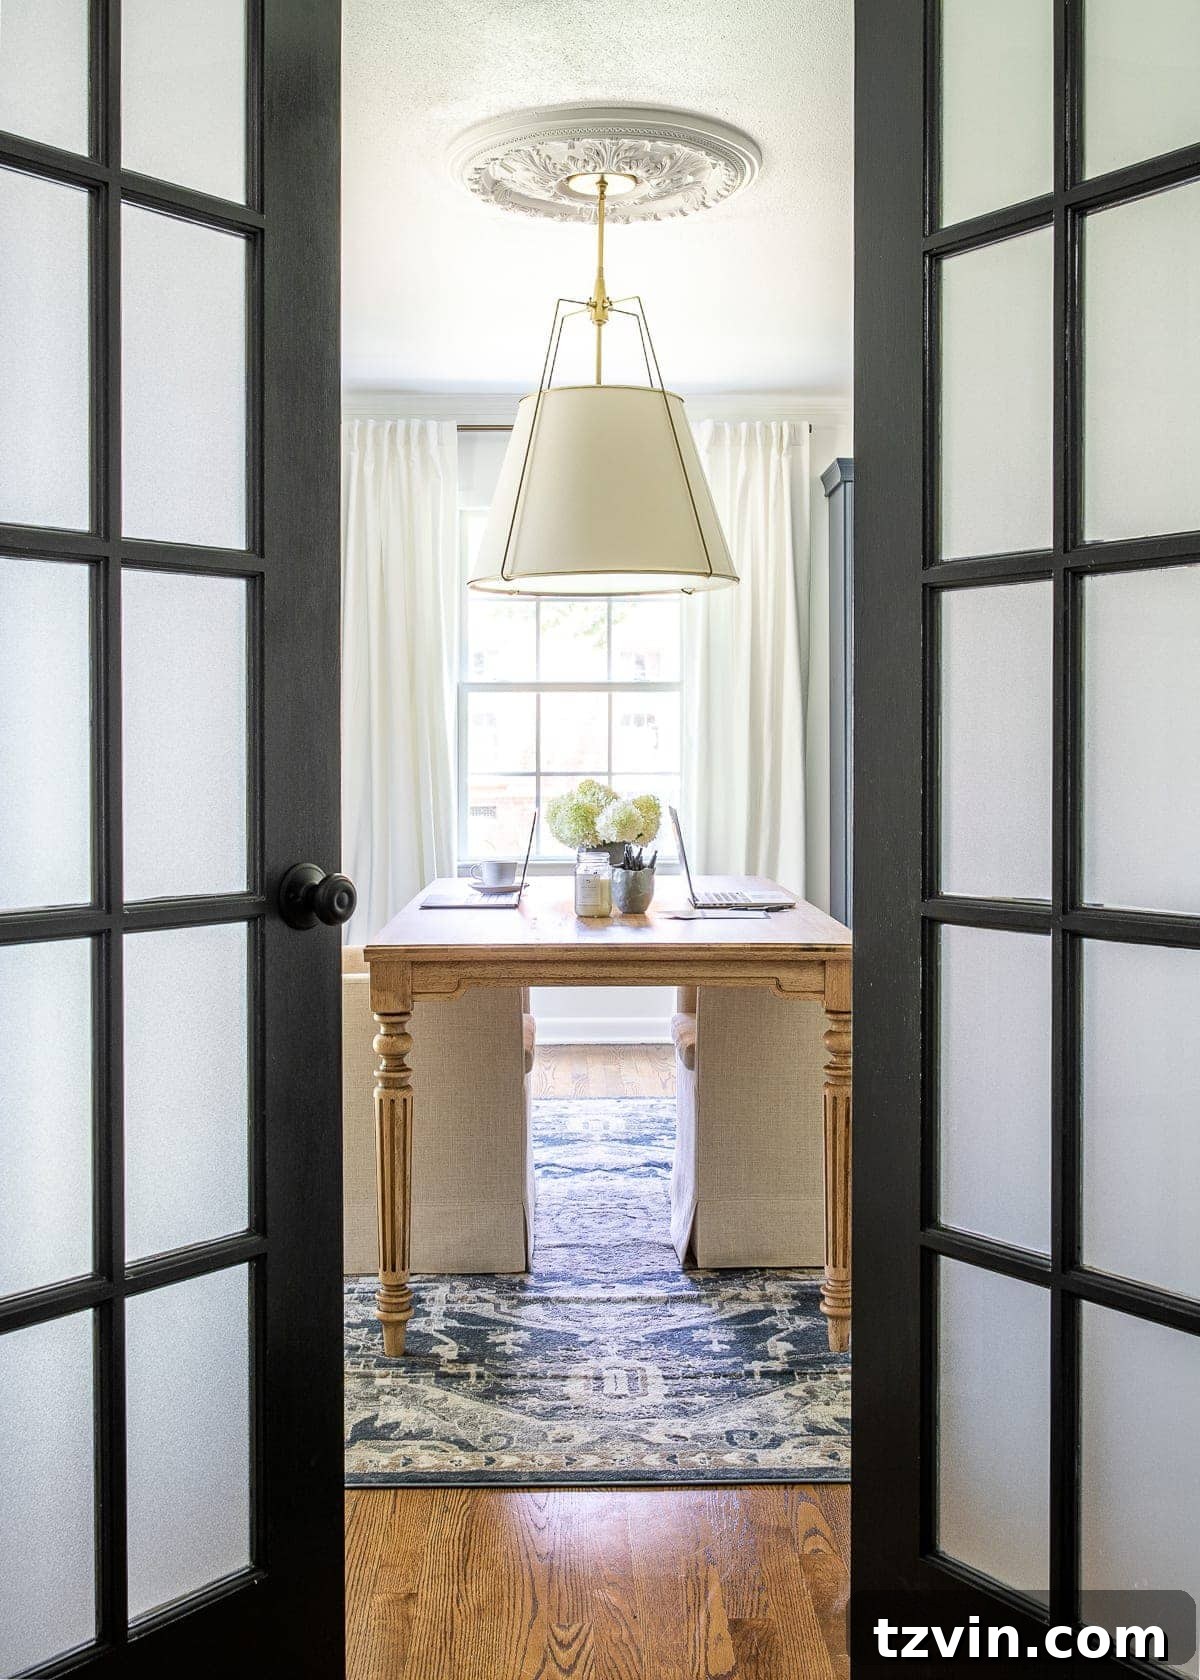
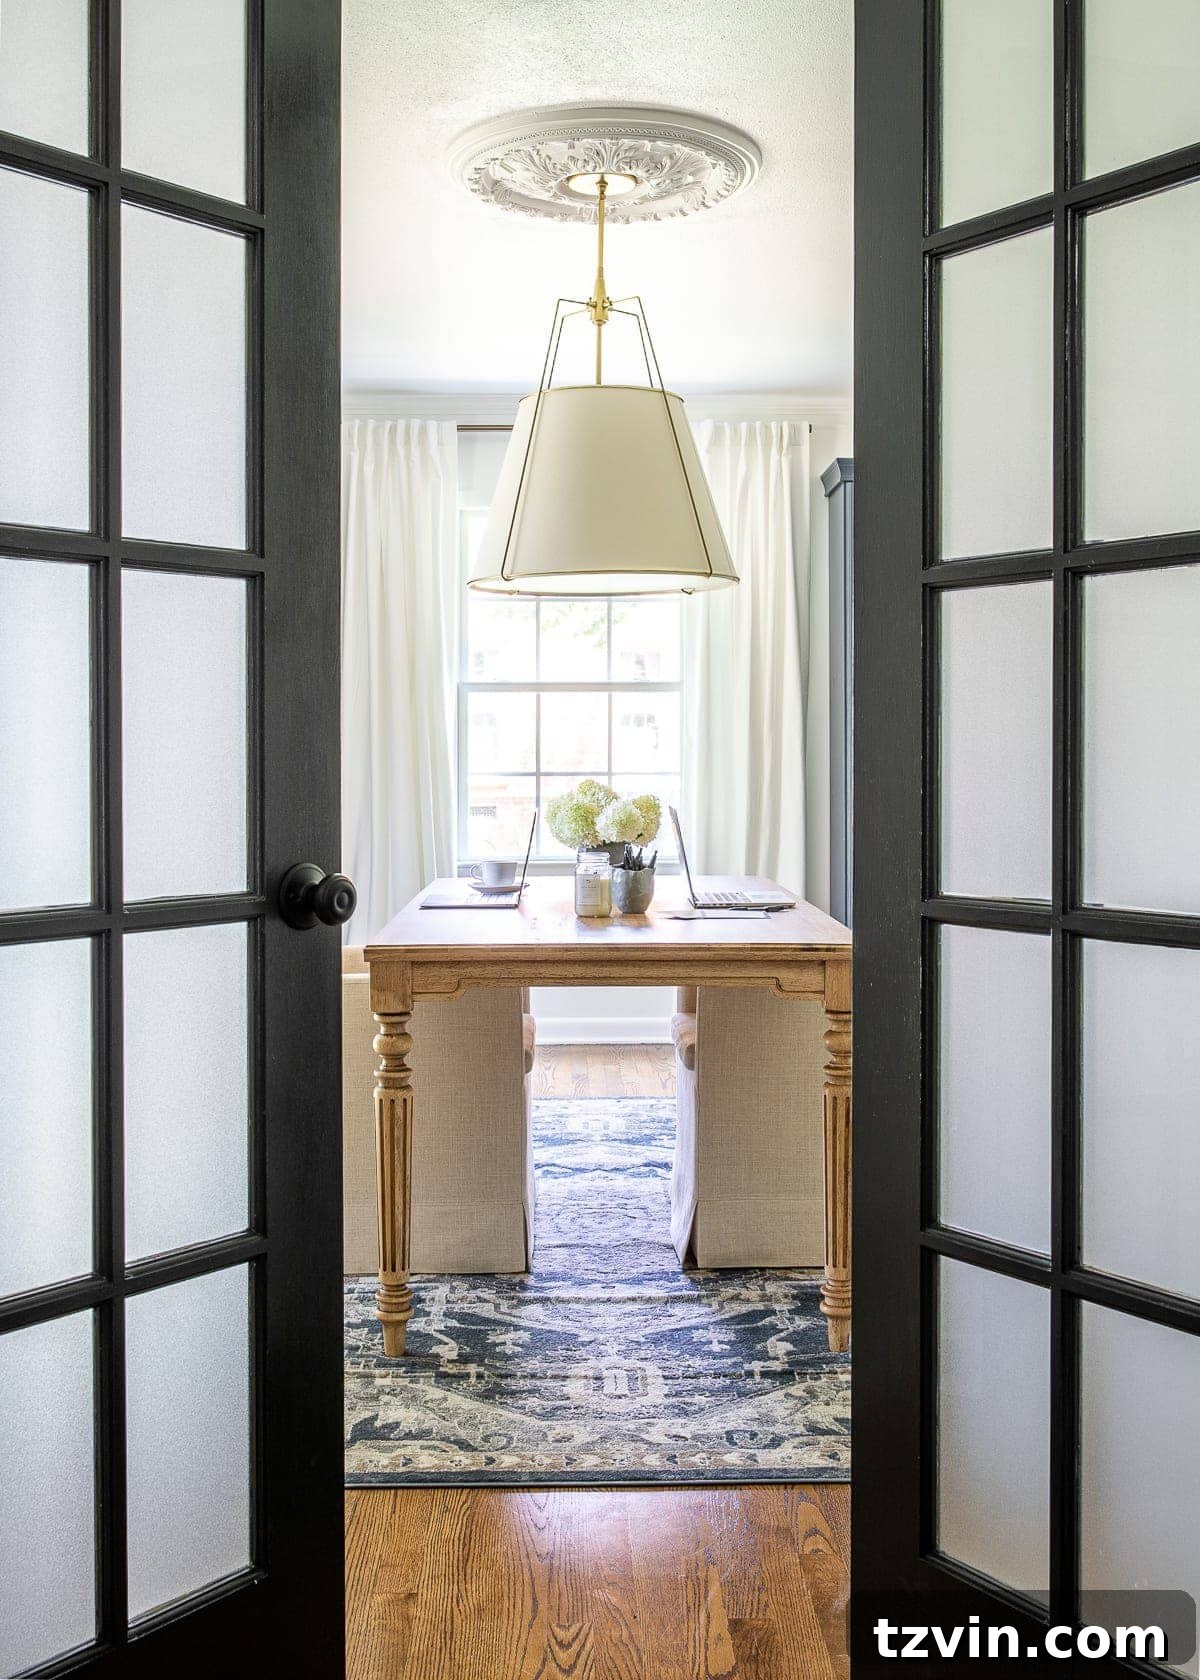
- Glass French Doors: Achieve privacy between rooms, such as a home office or dining room, using frosted film. This allows natural light to flow while obscuring views, creating distinct zones without feeling closed off.
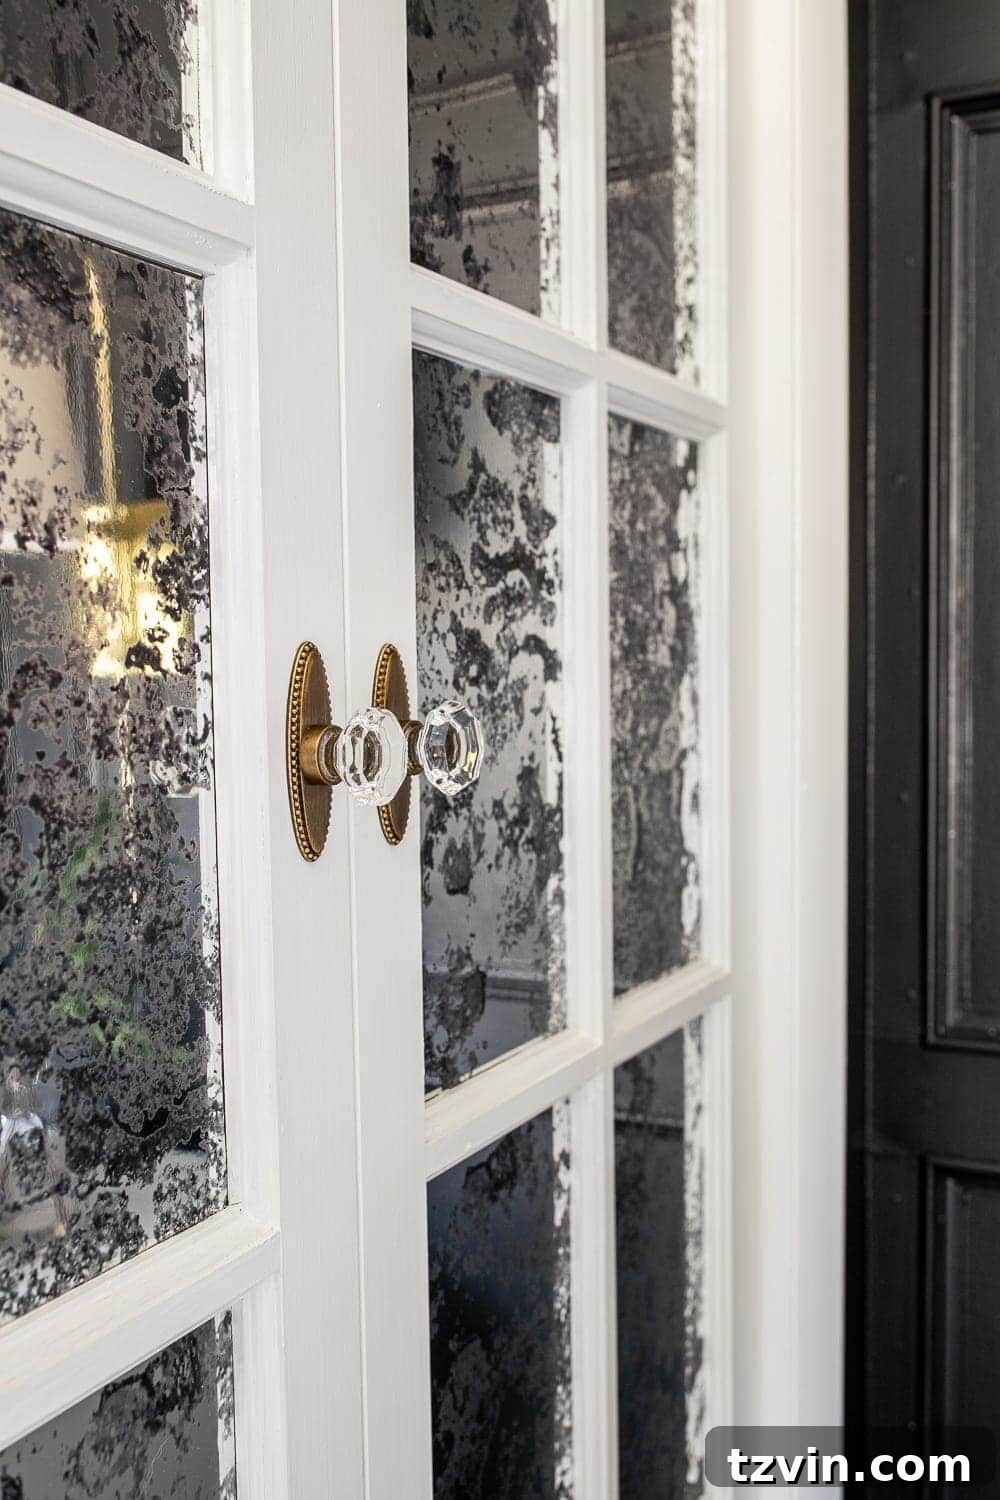
- Glass Closet Doors: Effectively hide clothing, storage bins, or utility supplies with films like antique mirror film. This transforms functional doors into reflective design elements that bounce light and add depth.
- Front Door Sidelights & Transoms: Protect your home’s privacy from passersby and add a sophisticated touch with one-way mirror film or decorative stained glass film, enhancing curb appeal while maintaining security.
- Glass Front Furniture: Elevate pieces like TV consoles, display cabinets, or dining buffet sideboards. Films such as lattice film can beautifully disguise electronic wires or less-than-perfectly-organized contents, turning a functional item into a statement piece.
- Kitchen Cabinets: Obscure unsightly food storage or create a refined look with leaded glass film, giving your kitchen a bespoke, custom feel without the cost of new doors.
- Bathroom and Shower Doors: Essential for privacy, a reeded glass film or frosted pattern can transform a plain glass shower into a spa-like retreat, offering elegance and personal space.
- Interior Windows & Partitions: Introduce architectural interest or privacy in open-plan living areas. A decorative film can define spaces while allowing light to flow, preventing a cramped feeling.
How to Apply Decorative Window Film to Glass
Applying decorative window film is a straightforward DIY project that can be completed with basic tools and a little patience. The key to a flawless finish lies in meticulous preparation and careful execution. Follow these steps to ensure your film adheres perfectly and looks professional:
Supplies
- Decorative window film of your choice
- Plain glass surface (window, door, cabinet panel, etc.)
- Glass cleaner
- Spray bottle filled with water (a few drops of dish soap can be added to create a “slip” solution, aiding repositioning)
- Tape measure
- Scissors
- Utility knife with plenty of new, sharp razor blades
- Old credit card or specialized squeegee (preferably with a felt edge to prevent scratching)
- Lint-free cloth or paper towels
- Safety pin or fine needle
Steps to Apply Window Film
Step 1 – Measure and Cut
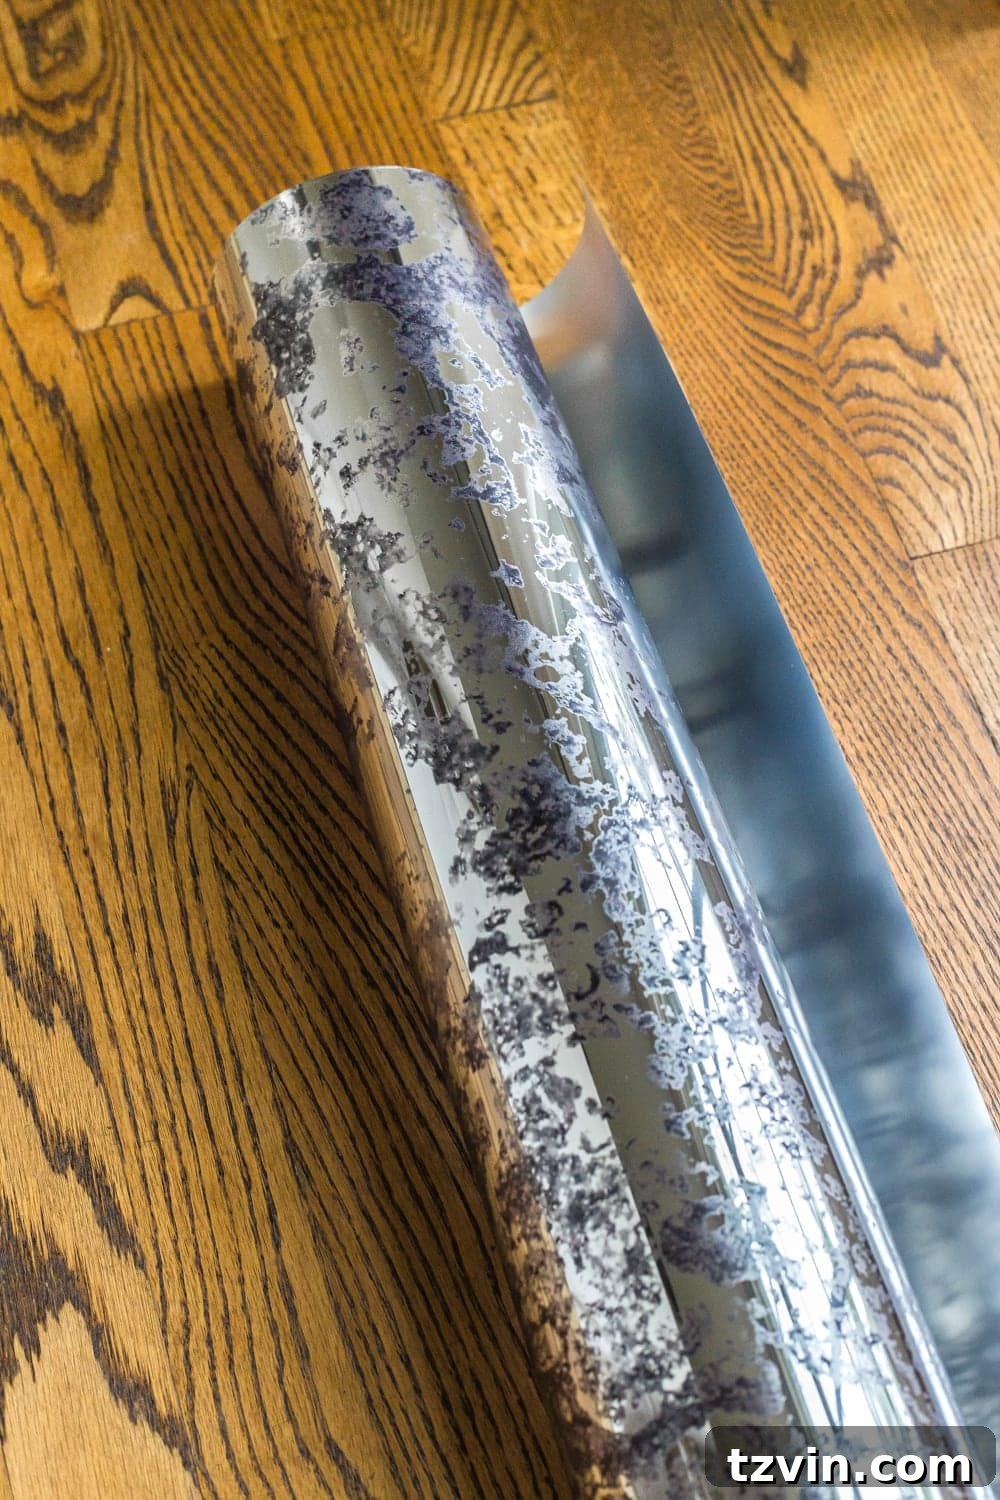
Begin by accurately measuring the dimensions of the glass portion where the film will be applied. Use your tape measure to get the exact height and width. When cutting the decorative film with scissors, always add a generous excess of about 1-2 inches on all four sides. This buffer zone is crucial as it provides enough material for precise trimming later, accounting for slight misalignments and ensuring full coverage to the very edges of the glass.
Step 2 – Clean Glass
This is perhaps the most critical step for a professional finish. Thoroughly clean the entire glass surface using a high-quality glass cleaner. Pay close attention to corners and edges, removing all dust, grime, smudges, and any stubborn adhesive residue. Use a clean, lint-free cloth or paper towel to dry the glass completely, ensuring no streaks or particles remain. Any speck of dust or fiber left behind will be trapped under the film and create a noticeable bubble.
Step 3 – Spray Window Film with Water
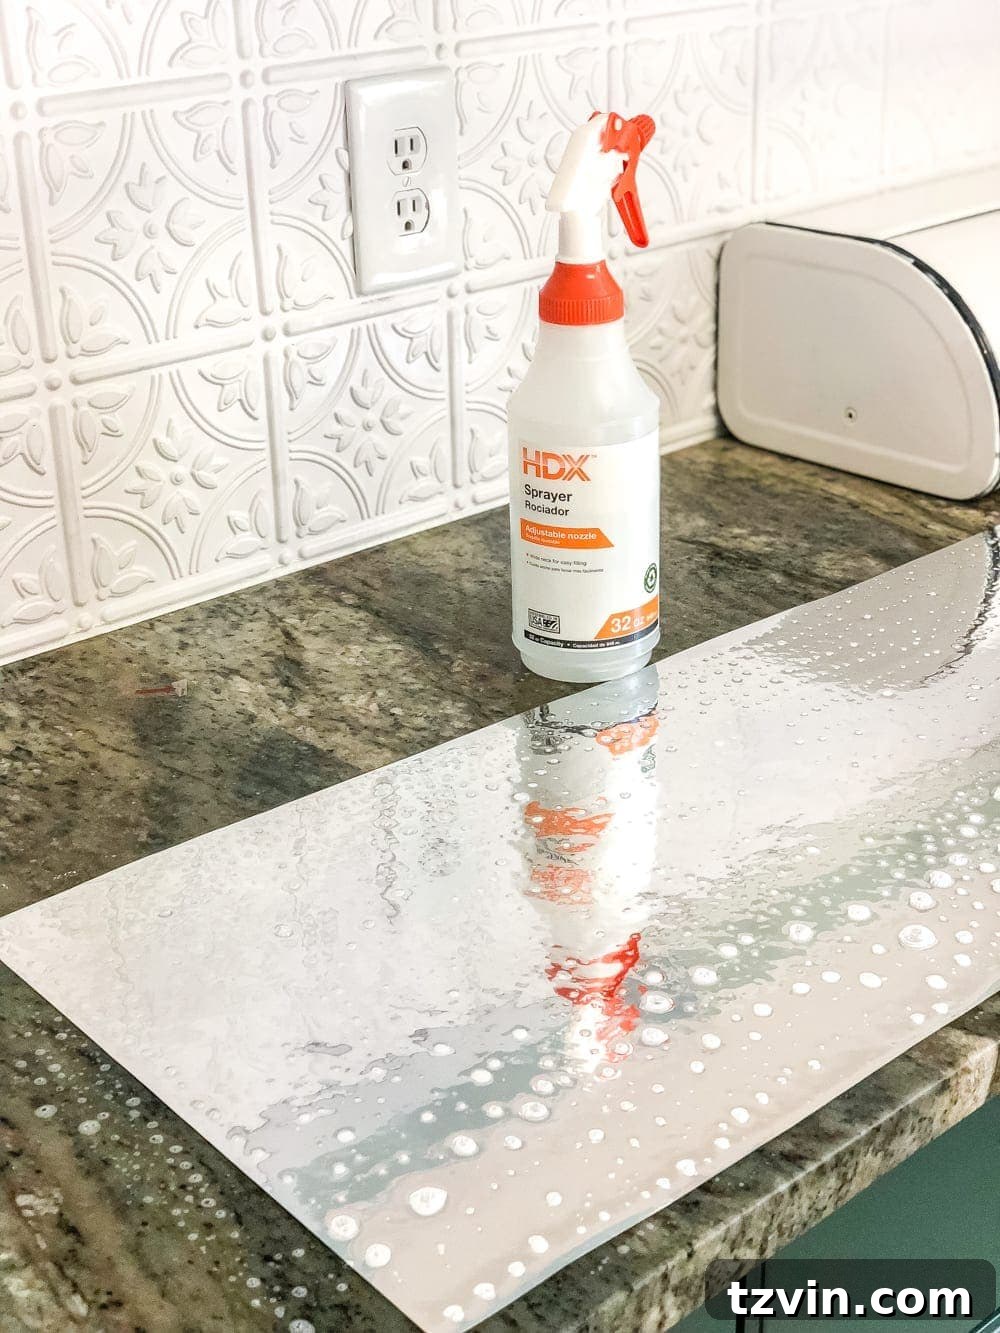
Lay the cut window film on a clean, flat surface with the adhesive backing facing up. Carefully peel off the clear protective liner from the backside of the film. As you peel, generously spray the exposed adhesive side of the film completely with water (or your water-soap solution). This “slip” solution activates the adhesive and allows you to reposition the film easily on the glass, preventing permanent sticking before you’re ready.
Step 4 – Spray Glass Surface with Water
Before applying the film, liberally spray the clean glass surface itself with water or the soap solution. This double saturation ensures maximum lubrication, making the film incredibly easy to slide and adjust into its perfect position without premature adhesion.
Step 5 – Press Film to Glass
Carefully pick up the wet film and align it over the wet glass surface. Gently place the saturated adhesive side of the window film onto the equally saturated glass. Position it so that the 1-2 inches of excess film you cut earlier hang evenly off all edges of the glass. The water layer will allow you to slide and fine-tune its placement until it’s perfectly centered and straight.
Step 6 – Press Out Air Bubbles
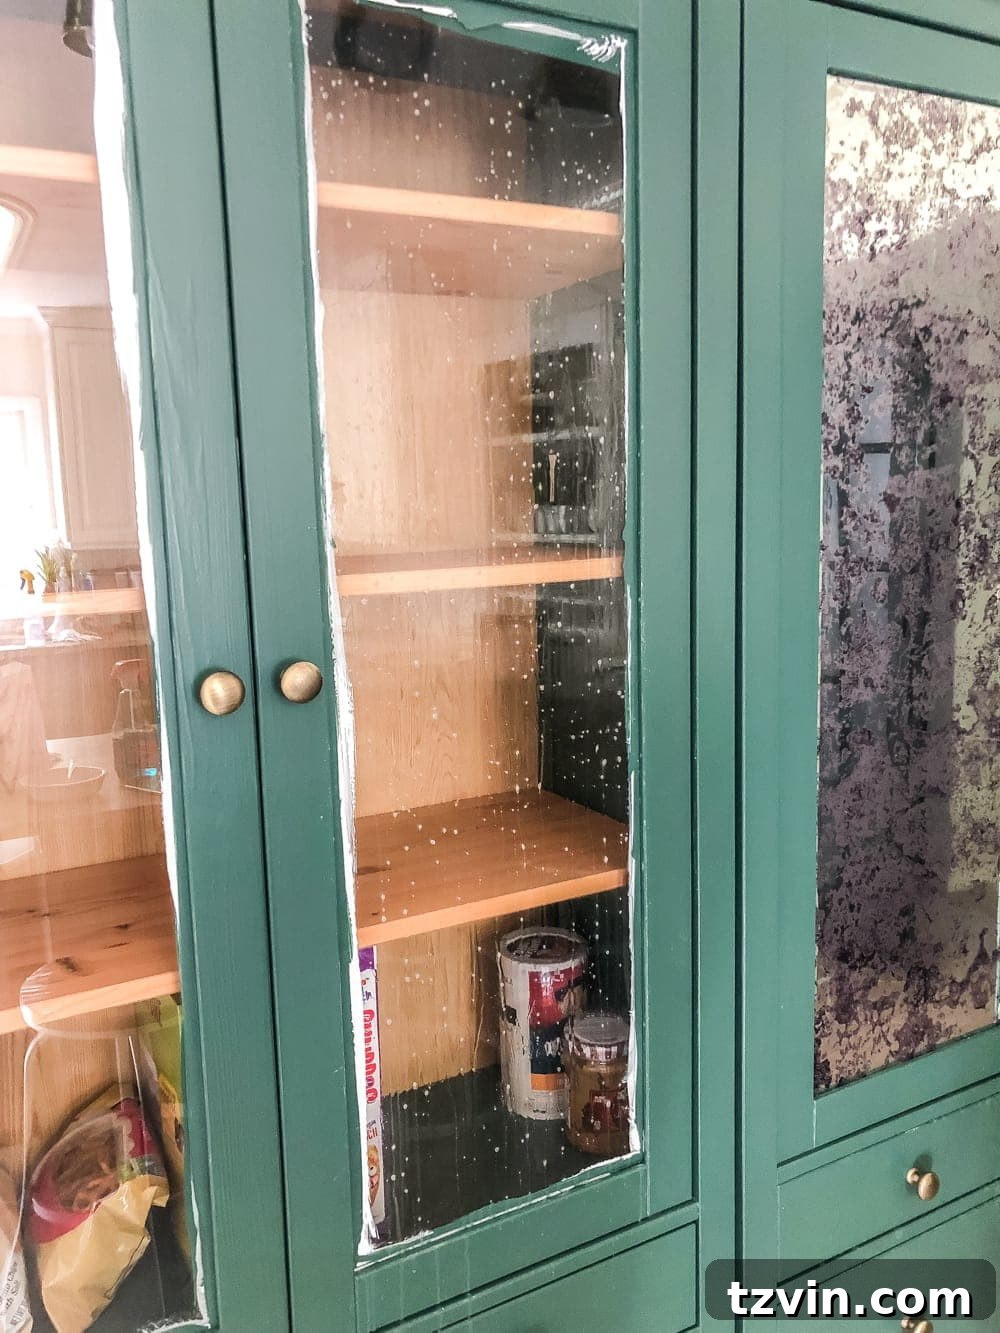
Once the film is in place, begin the crucial step of removing water and air bubbles. Using your squeegee or old credit card, start from the center of the film and firmly stroke outwards towards the edges. Apply consistent pressure to push all water and trapped air bubbles out from under the film. Overlap your strokes and work systematically across the entire surface until it is smooth and flat. Repeat this process several times to ensure all excess water is removed.
Step 7 – Trim Excess Film
With the film smoothed and most water removed, it’s time for precision trimming. Press the edge of your squeegee or credit card firmly against the glass edge, creating a crisp line. With a very sharp utility knife blade, carefully run the blade along the edge of the squeegee/card to cut away all excess film. A sharp blade is paramount for a clean cut; a dull blade will tear the film. Take your time, making sure to cut flush with the glass edge for a professional finish.
Step 8 – Prick Air Bubbles and Let Dry
After trimming, if you notice any small, persistent air bubbles that wouldn’t squeegee out, gently prick them with a safety pin or a fine needle. This allows the trapped air to escape. Immediately use your squeegee to smooth out the pricked area, pushing the air towards the hole. Finally, let the newly applied film fully dry without touching it. This curing process can take several hours to a few days, depending on humidity and temperature. During this time, the adhesive will bond completely, preventing any shifting. Your patience here will be rewarded with a durable, beautiful finish!
This method has consistently yielded fantastic results for me, transforming countless glass surfaces with ease and creating lasting improvements around the house.
Antique Mirror Glass Window Film
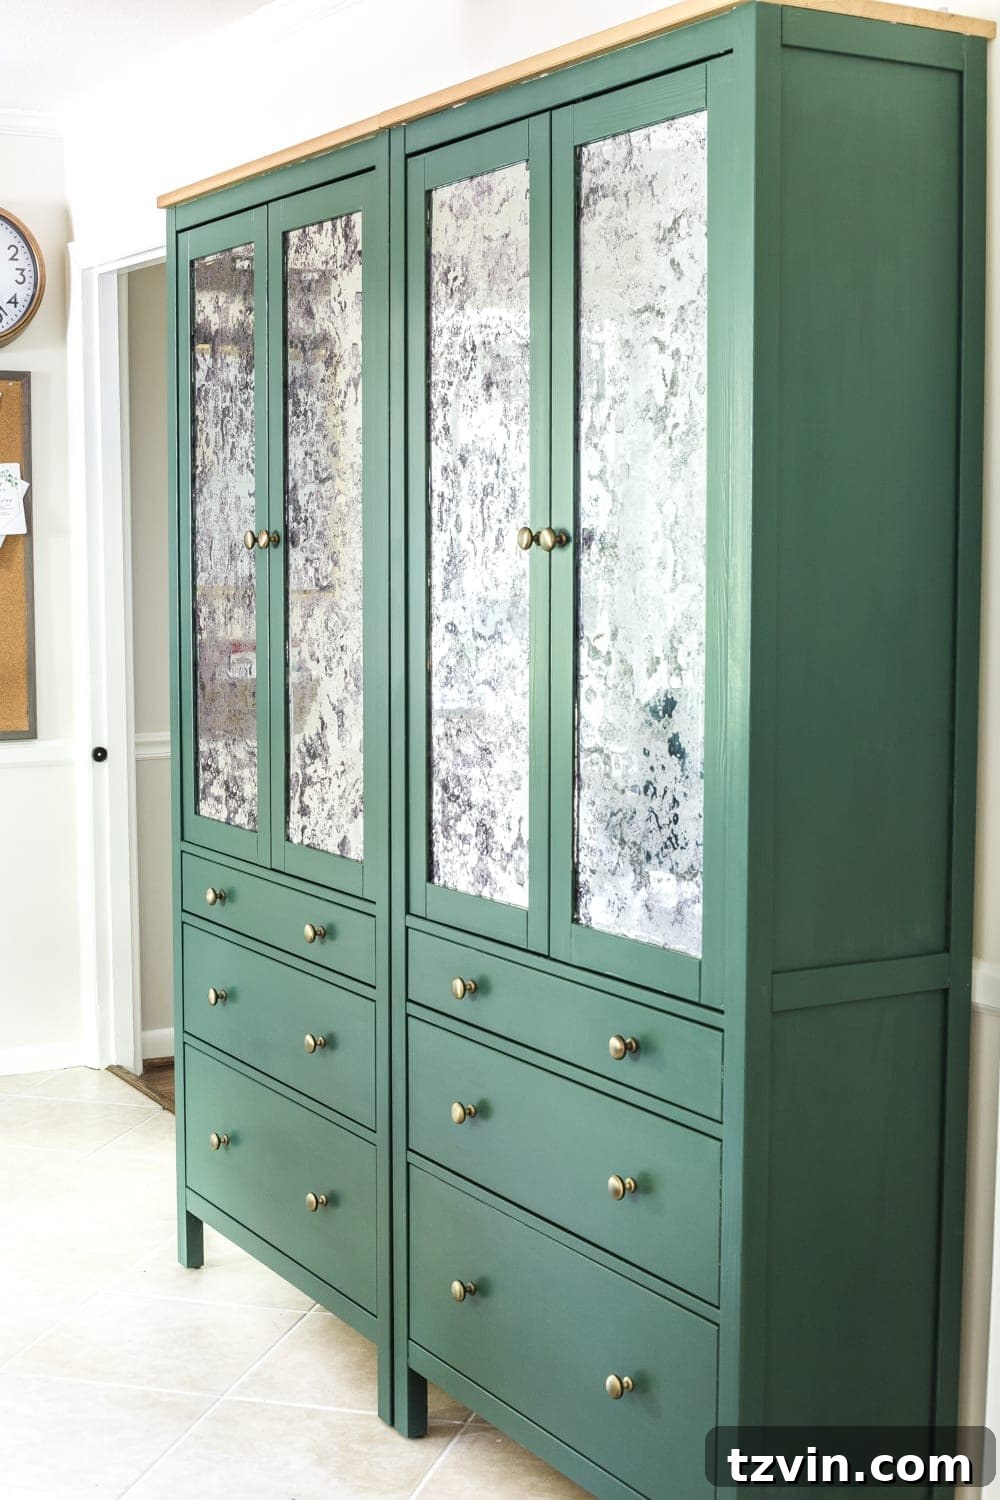
The antique mirror glass film is a personal favorite for its unique ability to combine decorative charm with practical concealment. I found it to be the perfect solution for our IKEA pantry cabinet doors, effectively obscuring the varied contents of food storage while adding a touch of vintage elegance to the kitchen. The subtle distressed look of the film makes it appear as though the cabinets are fitted with authentic antique mirrors, instantly elevating the space.
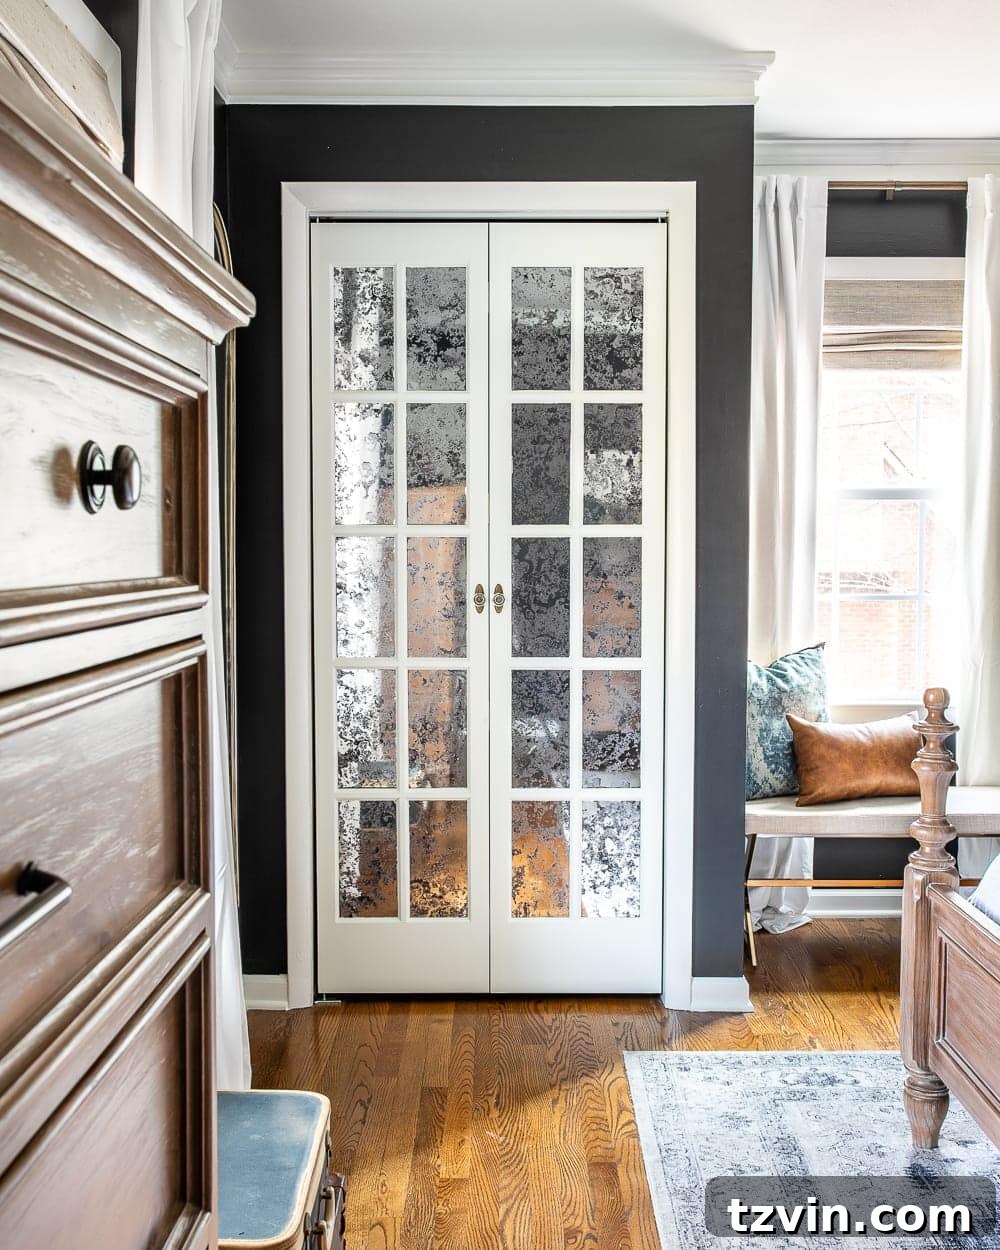
Its success led me to also apply it on the French bifold doors of our bedroom closets. Not only does it brilliantly hide the contents of the closets, but it also creates a stunning reflective surface that beautifully bounces natural light around the room. This effect makes the bedroom feel brighter and more spacious, adding a luxurious and polished finish without the expense or weight of real antique mirrors. It’s a smart way to introduce glamour and functionality simultaneously.
Frosted Window Film
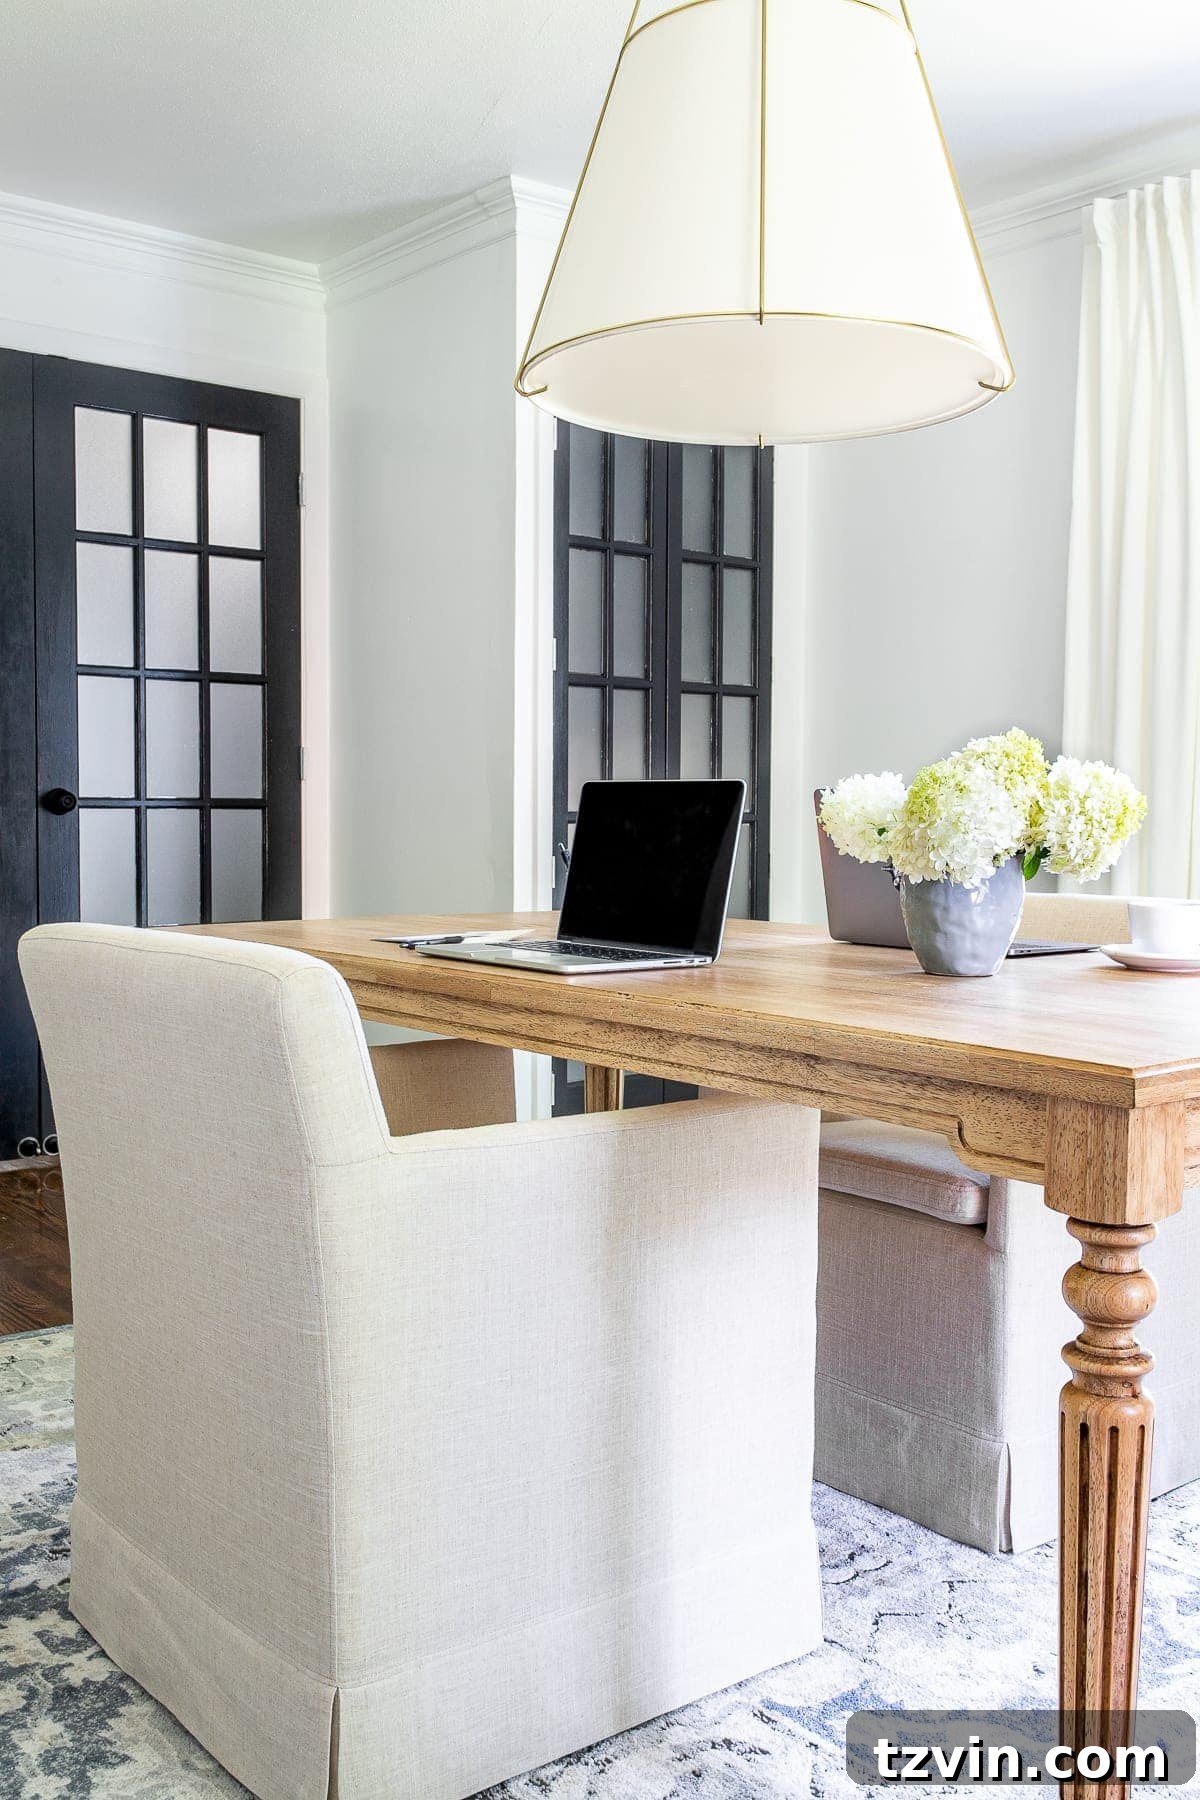
For applications where soft light diffusion and complete privacy are desired, frosted window film is an unparalleled choice. I’ve incorporated this versatile film on the French doors leading into our home office and also in our foyer. Its ability to obscure the view into my often-busy office workspace is invaluable, especially when guests are passing through the entryway. Yet, it doesn’t diminish the natural light, ensuring our dark foyer still feels open and welcoming. The frosted effect offers a clean, contemporary look that complements various interior styles.
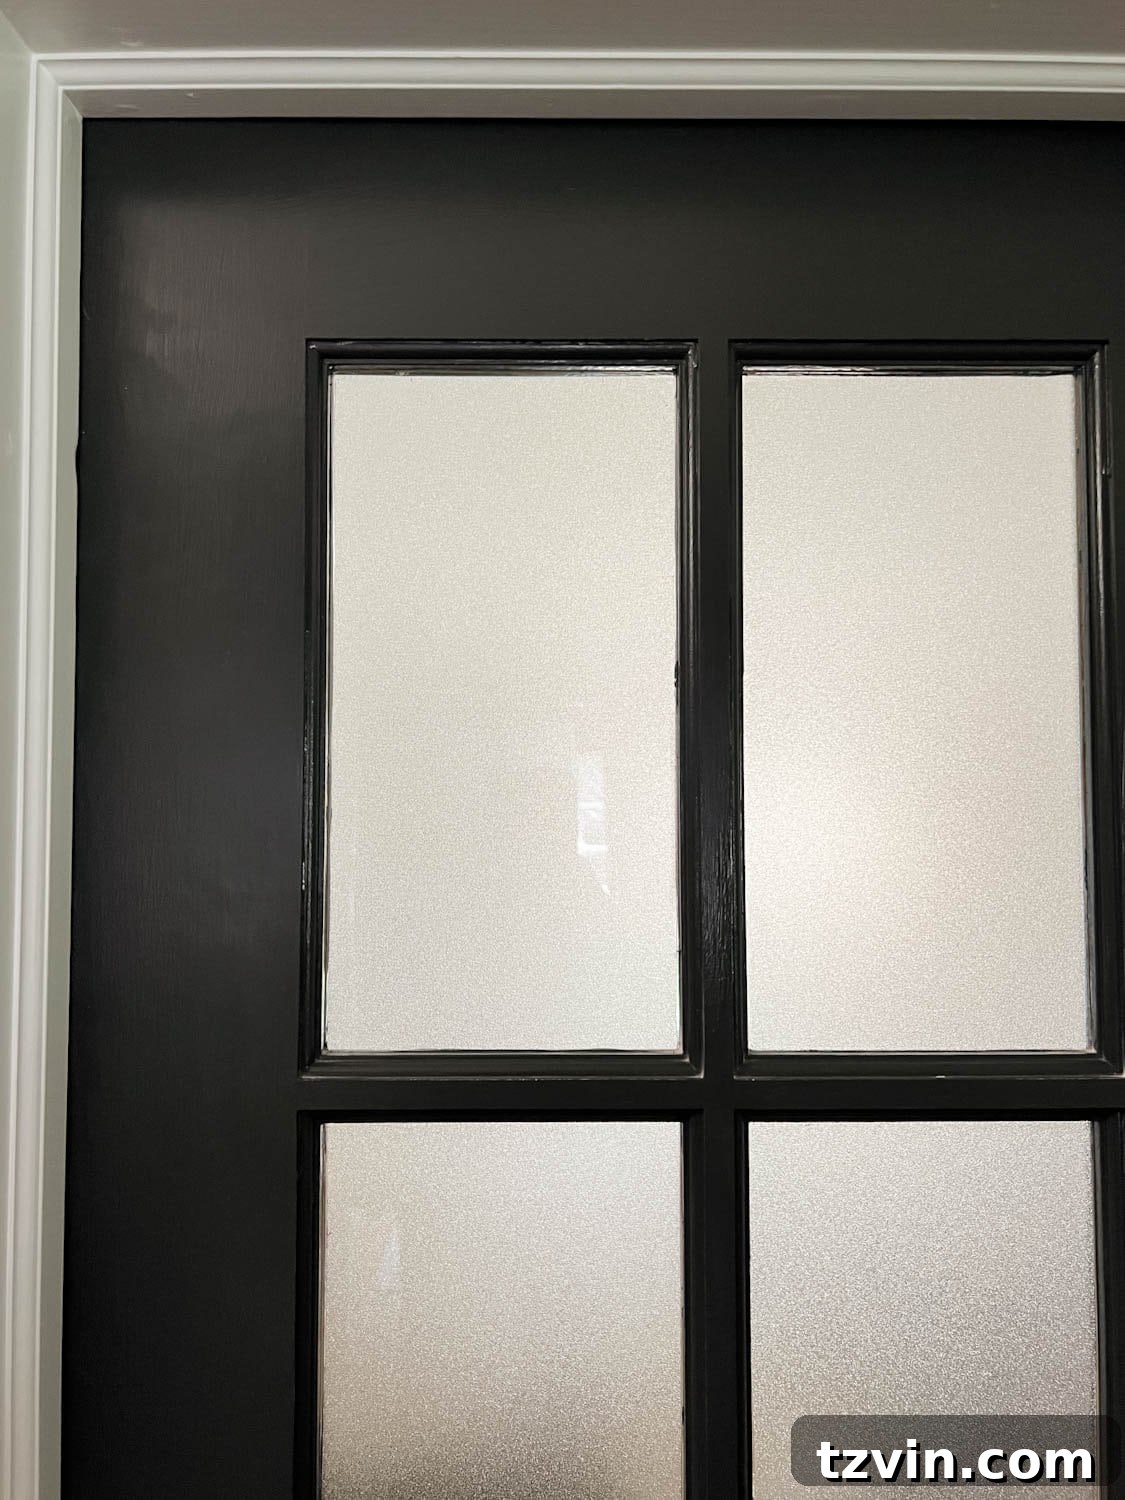
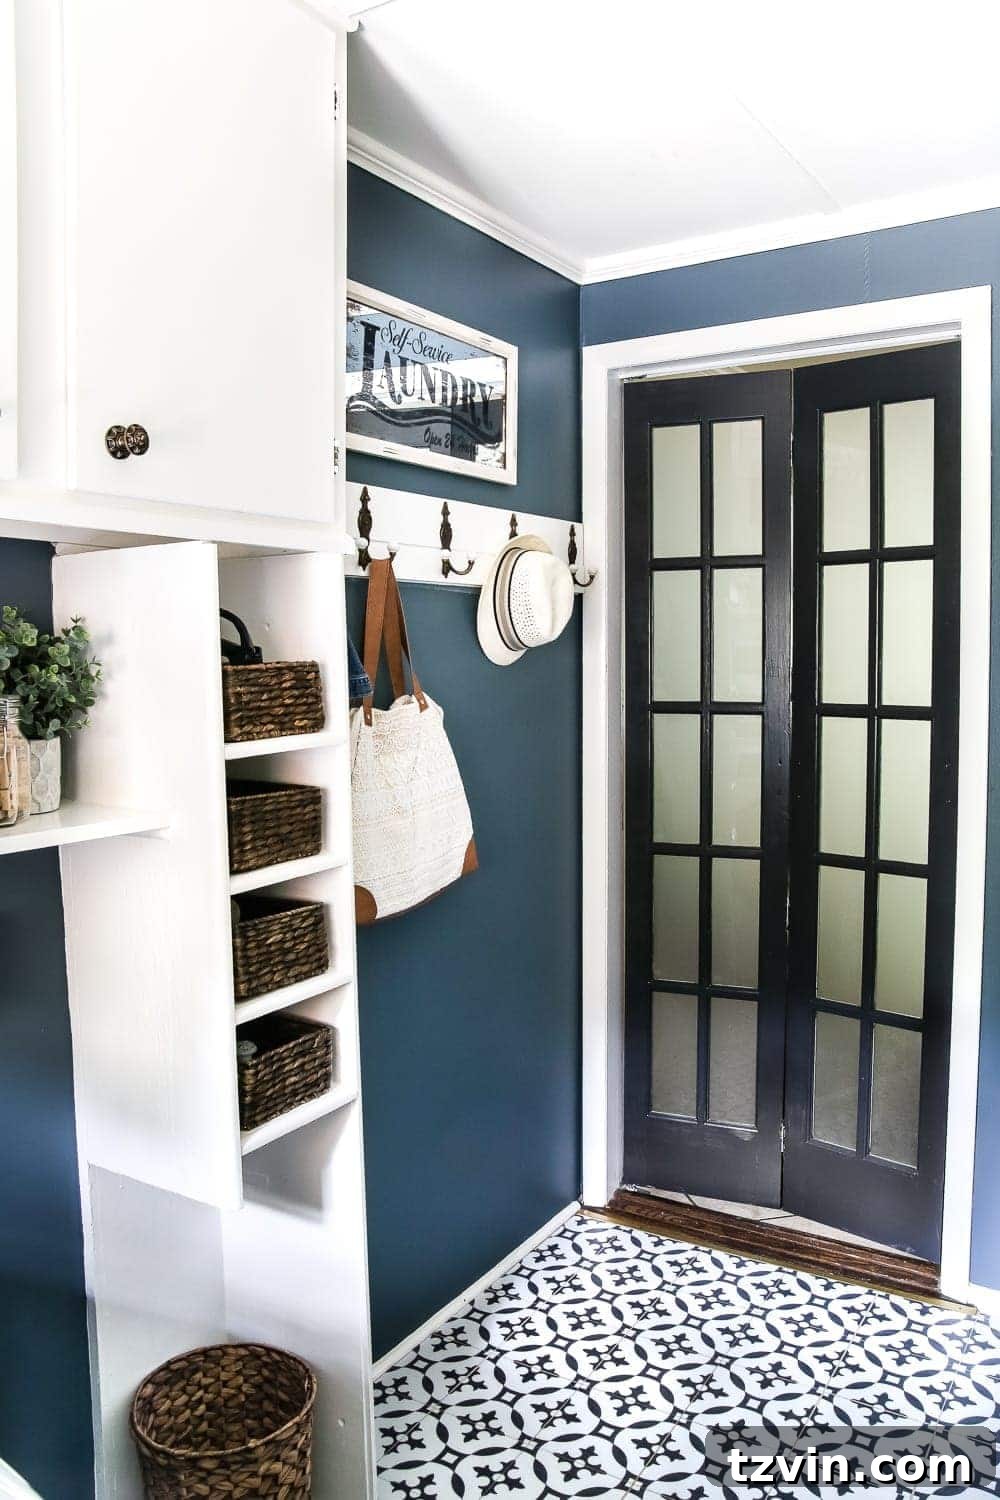
Frosted window film has also proven to be incredibly effective in practical areas of the home, such as our laundry room. Here, it artfully conceals cleaning supplies and often-piled-up hampers behind the French bifold door, maintaining a sense of order and neatness in a highly functional space. The soft, opaque finish transforms a utilitarian area into one that feels intentional and well-designed, proving that even mundane tasks can be housed stylishly.
Similarly, for the closets in our home office, where extra decor items and craft supplies often reside, I applied more frosted window film to the bifold doors that we converted into skinny French doors. This keeps the creative chaos out of sight, contributing to a calm and focused work environment. Frosted film is truly a chameleon of privacy solutions, adapting to various needs while consistently delivering a chic and seamless appearance.
Reeded Glass Film
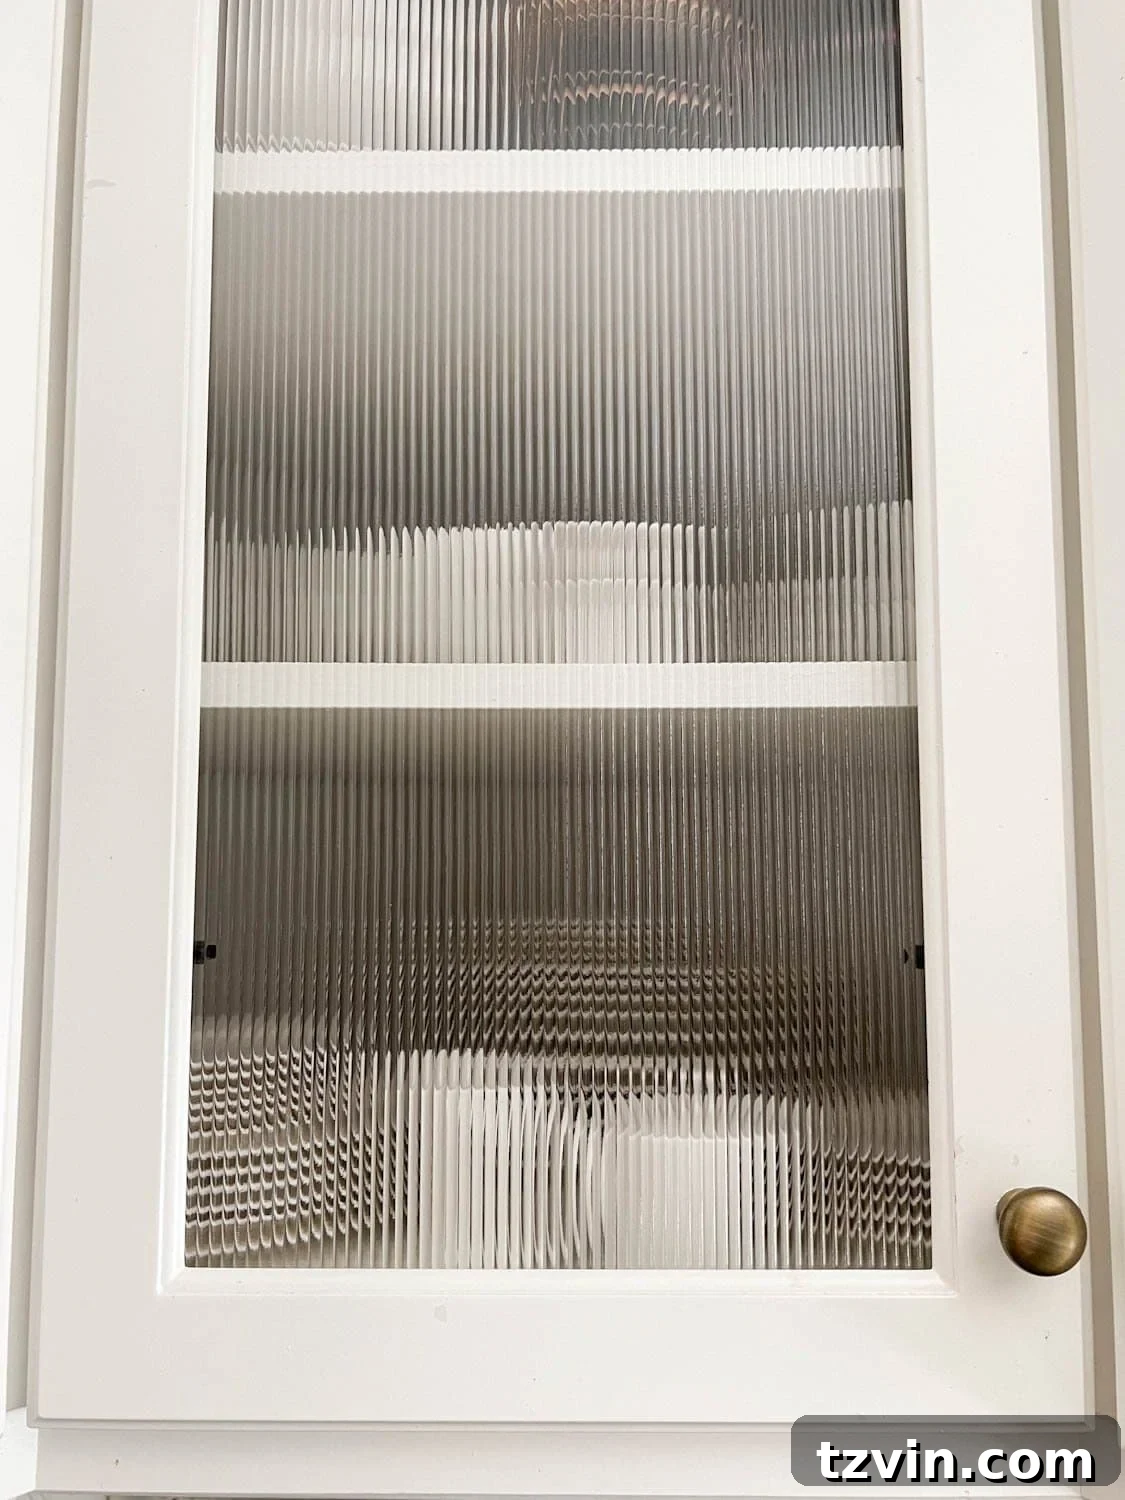
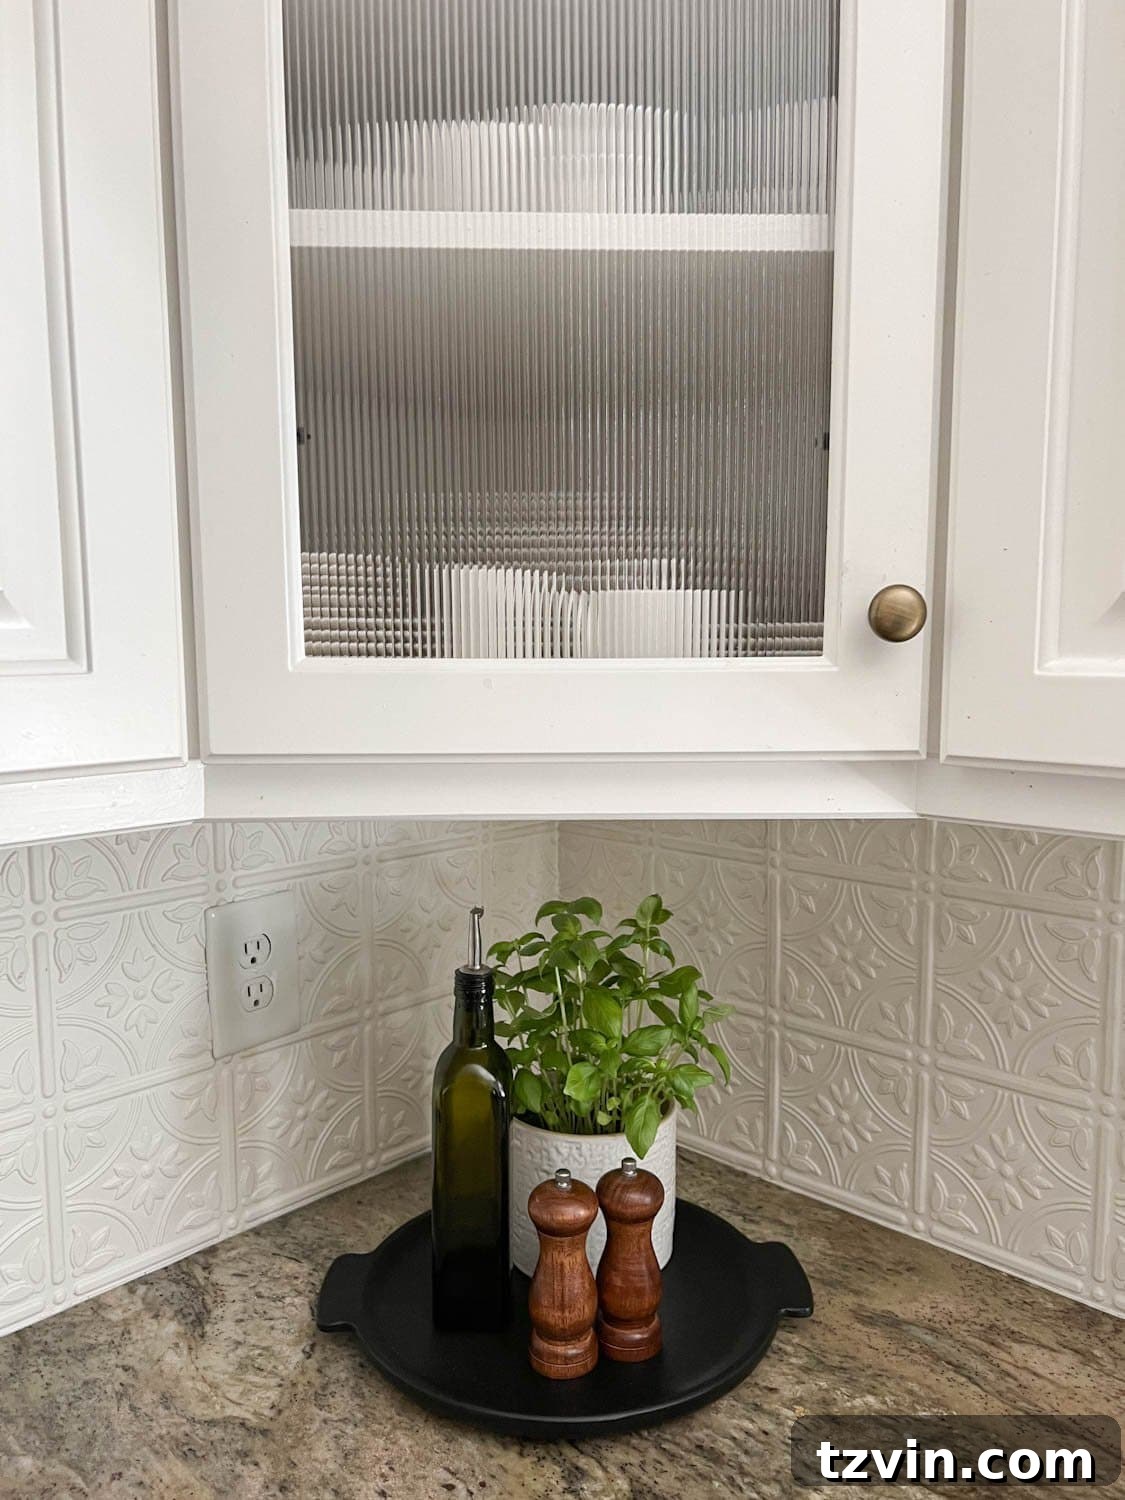
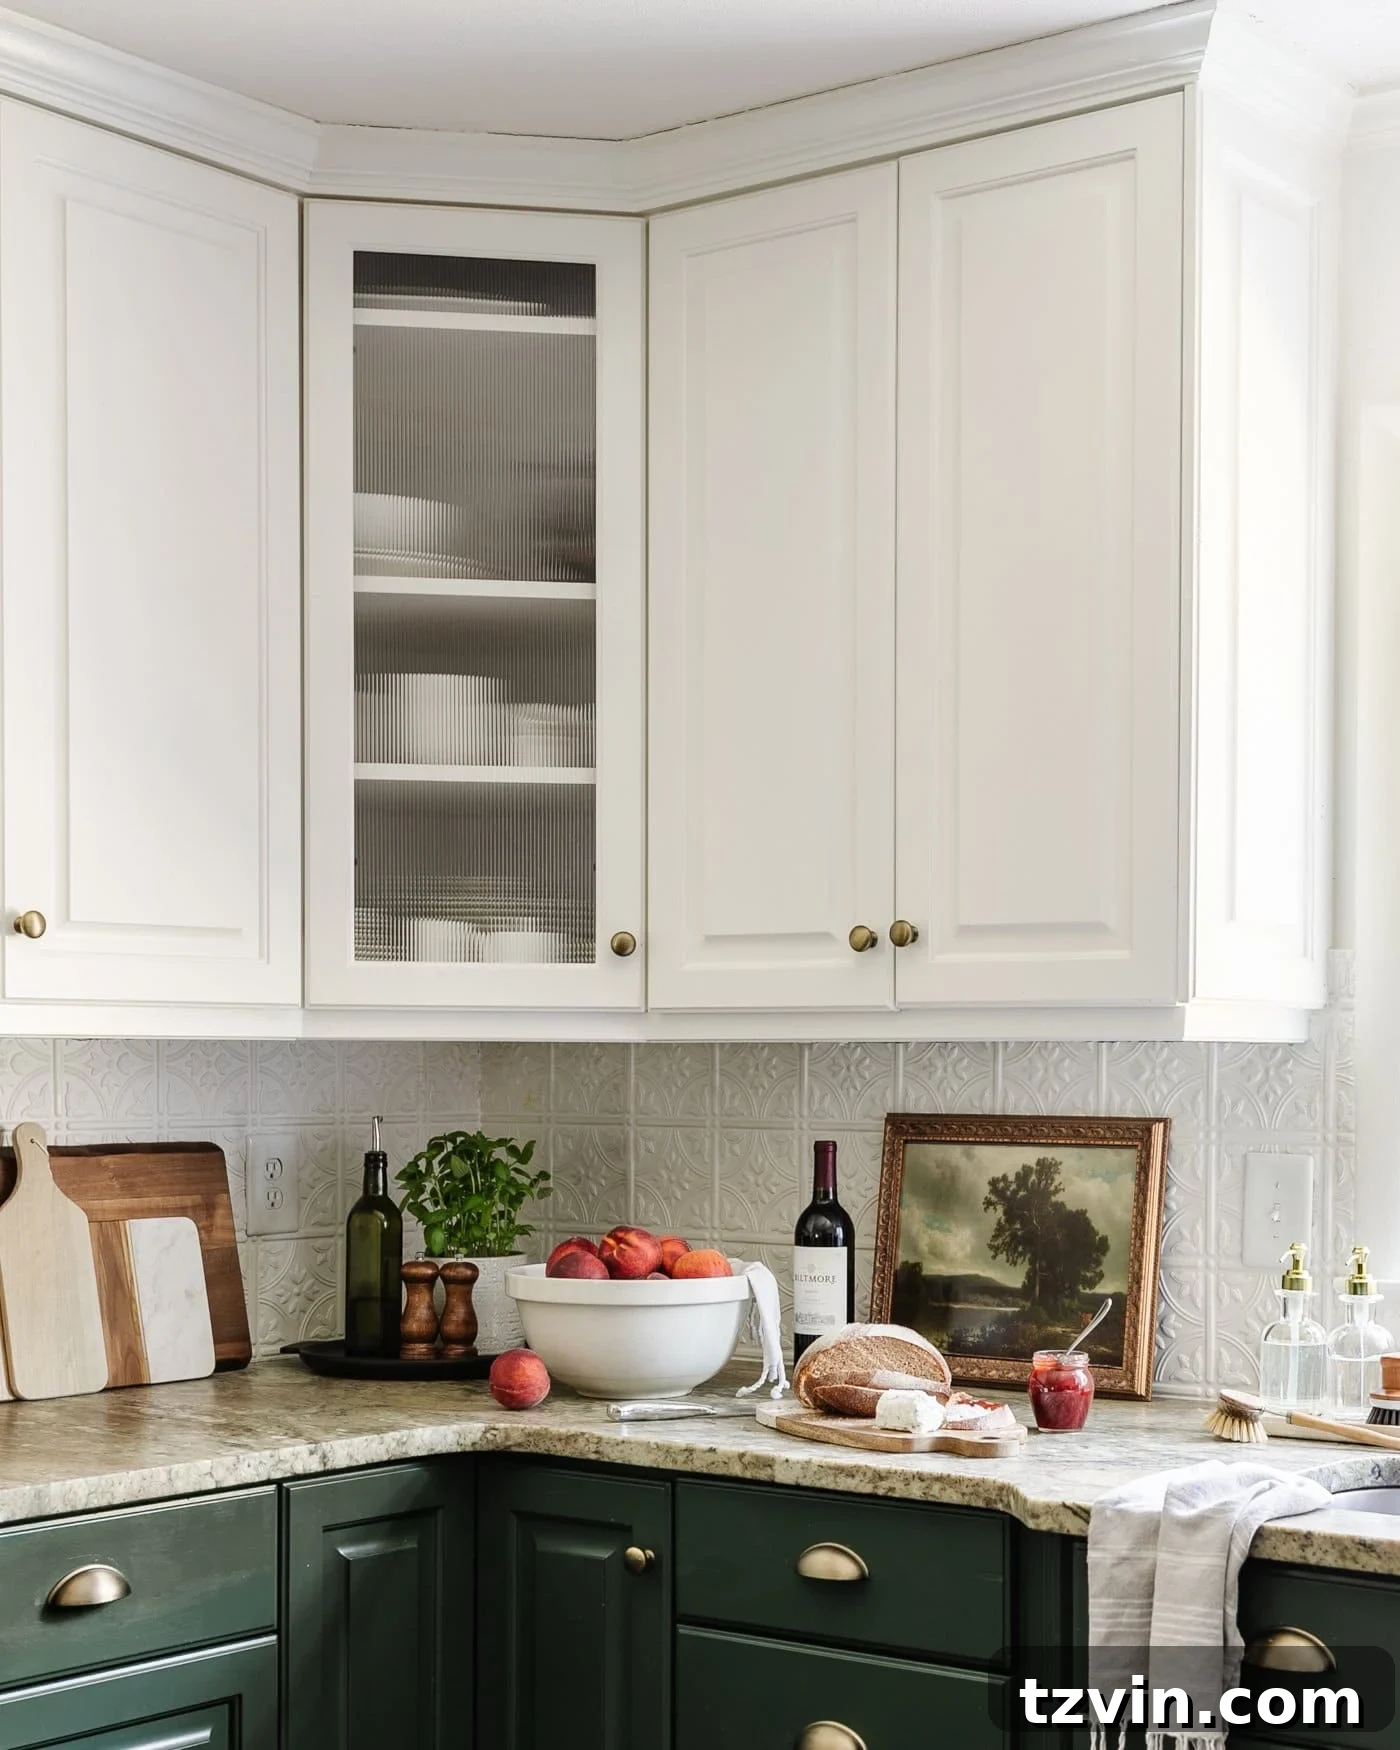
My latest love in the world of decorative window films is the reeded glass film. After replacing the broken leaded glass in our kitchen cabinets, this particular film has brought an incredible transformation to the space. The vertical lines of the reeded design instantly evoke a subtle Art Deco or Mid-Century Modern vibe, adding a sophisticated textural element that was previously missing. It beautifully diffuses the light, softening the view into the cabinets while still allowing a hint of what lies within, creating an intriguing depth and character. The clean lines and gentle distortion of reeded glass film are perfect for introducing a contemporary yet timeless aesthetic, and I am absolutely thrilled to reveal more of its impact on our kitchen soon!
Curated Vintage & Modern Decorative Window Film Ideas
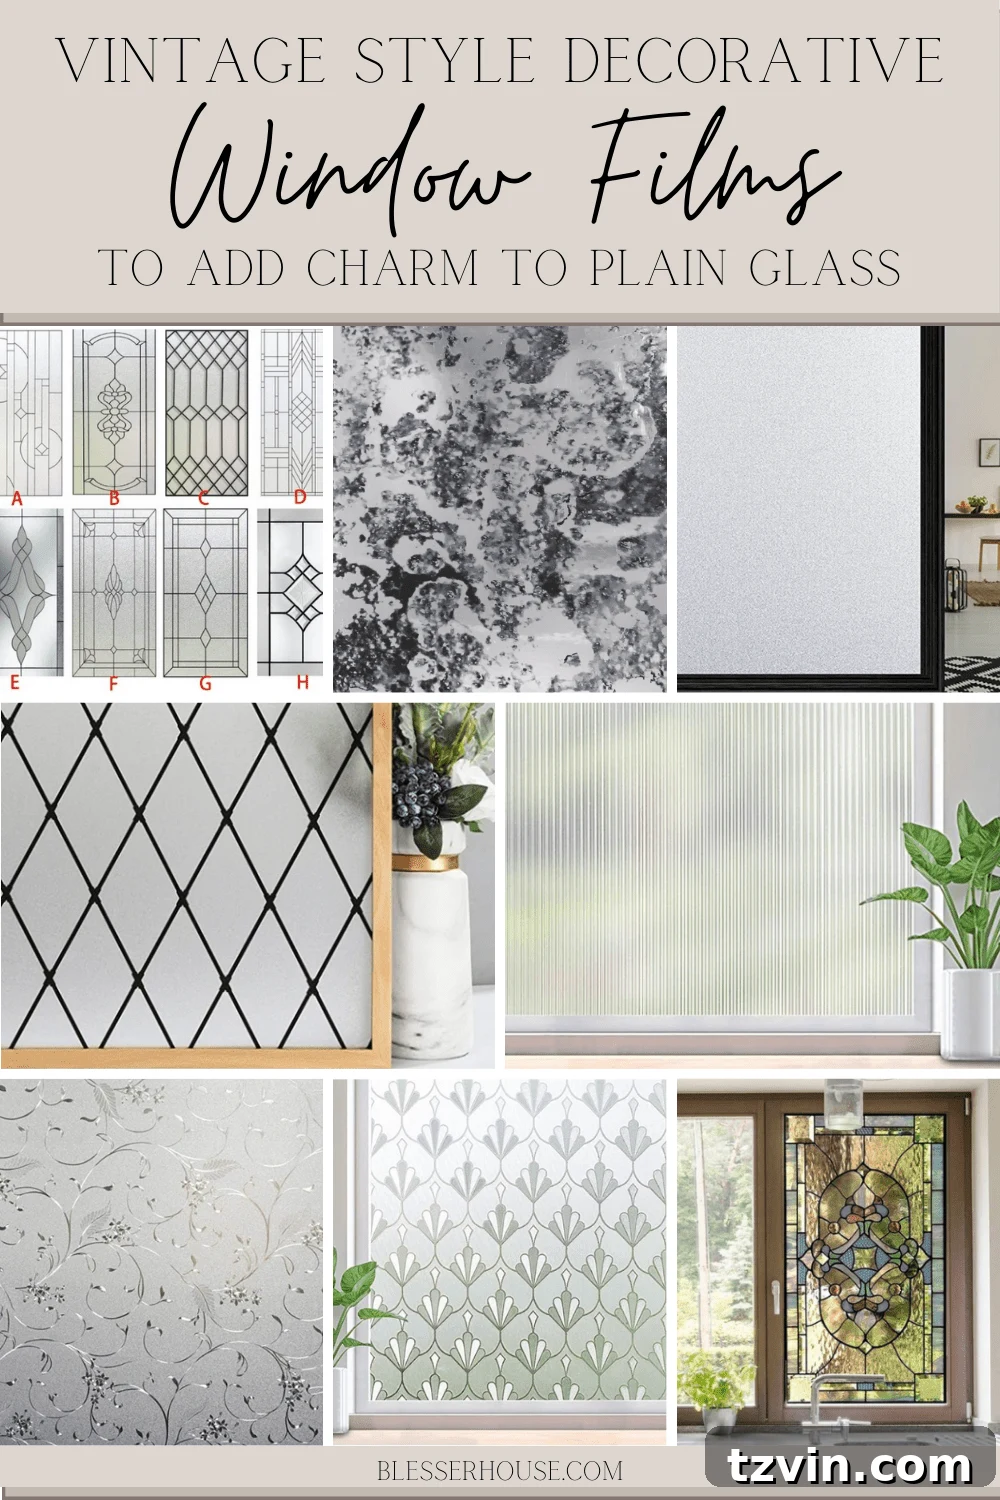
The world of decorative window film is vast, offering an incredible range of designs to suit any aesthetic, from charming vintage styles to sleek modern patterns. I’ve rounded up a selection of my absolute favorite window film designs, including some that have graced our own home, to inspire your next DIY project. Each offers a unique way to add character, privacy, and visual interest to your glass surfaces.
I’m particularly captivated by the potential of the black lattice film; I’m constantly dreaming up new ways to incorporate it into our home, perhaps on a living room window or an interior glass panel. Its intricate design could introduce a striking architectural detail, providing both privacy and a sophisticated focal point. The possibilities for creative expression are truly endless when you explore the diverse options available!
Explore These Beautiful Film Styles:
Leaded Glass Film (for a classic, elegant paneled look) | Antique Mirror Glass Film (adds vintage reflection and hides clutter) | Frosted Window Film (soft privacy and diffused light) | Black Lattice Film (introduces bold graphic pattern) | Reeded Glass Film (contemporary texture and subtle light play) | Etched Floral Glass Film (delicate and decorative privacy) | Deco Etched Glass Film (geometric patterns for Art Deco flair) | Stained Glass Film (vibrant color and traditional artistry)
More Decorative Glass & Mirror Ideas
If you’re captivated by the transformative power of glass and mirrors, here are more resources to inspire your next home decor project. Dive deeper into creating bespoke reflective surfaces and elegant glass features:
- Classic Decor Spotlight: Antique Gold Mirrors for All Budgets
- How to Turn Old Frames into Antique Mirrors
- DIY Mirrored French Closet Doors
- DIY Aged Gold Antique Mirror Makeover