This post is sponsored by ProCore Floors.
Elevate Your Home: DIY Herringbone LVP Floating Floor Over Tile (No Demo Needed!)
Transforming your home with a stunning new floor doesn’t have to be a costly, dust-filled nightmare. Say goodbye to dated, bland tile and hello to the elegant, high-end appeal of herringbone luxury vinyl plank (LVP) flooring! This comprehensive guide will walk you through everything you need to know to install a durable, beautiful LVP floating floor over existing tile, all by yourself and without the messy demolition. Get ready to add a sophisticated touch to your space for less!
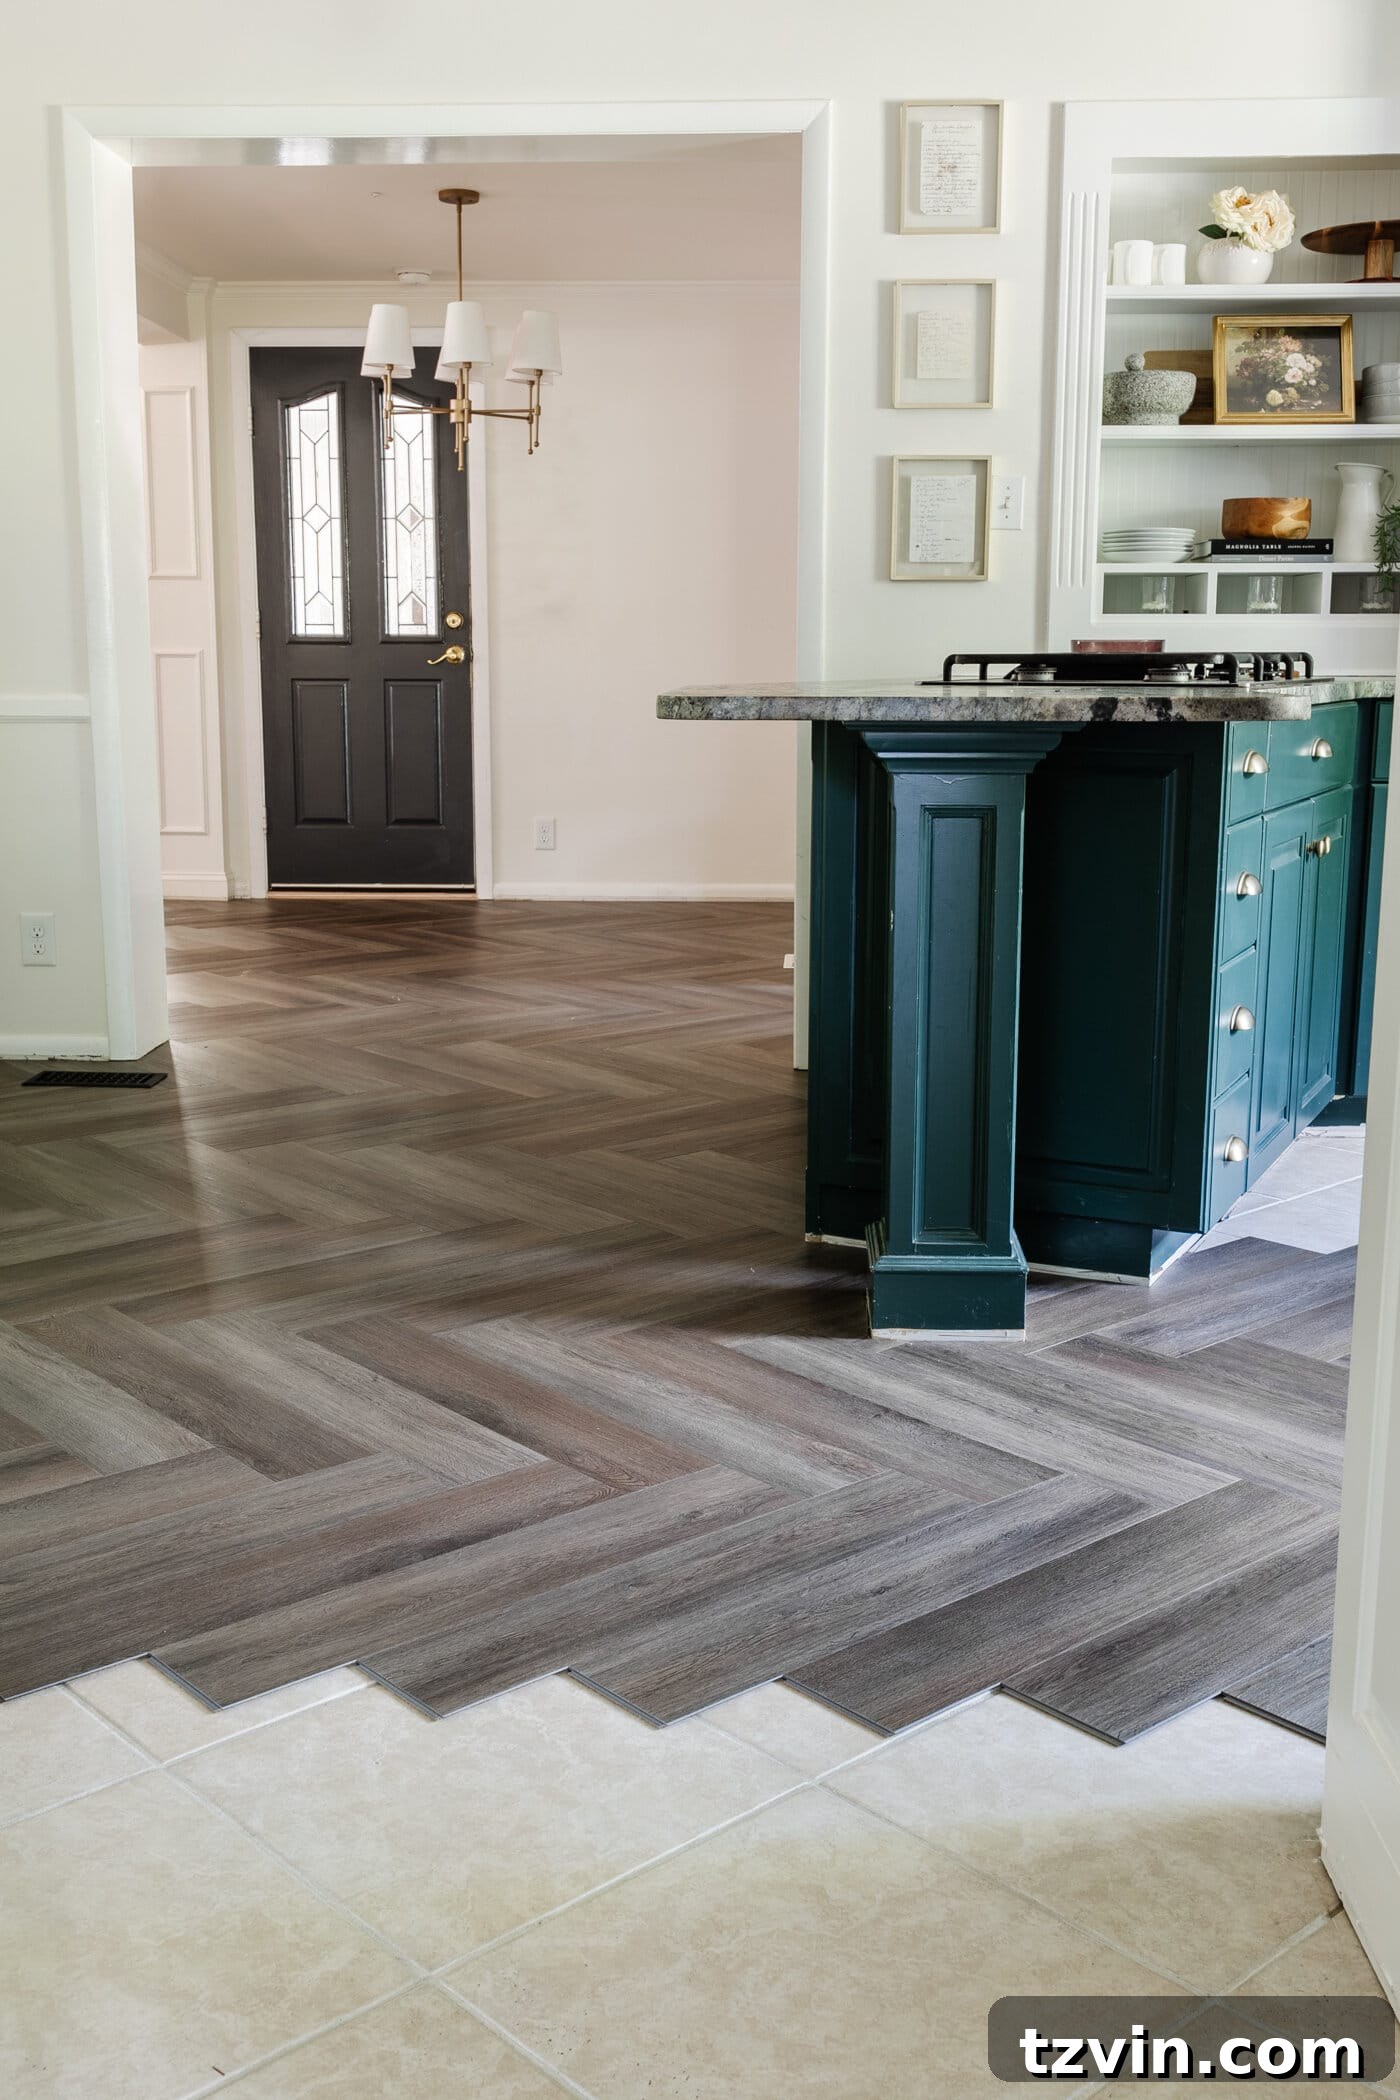
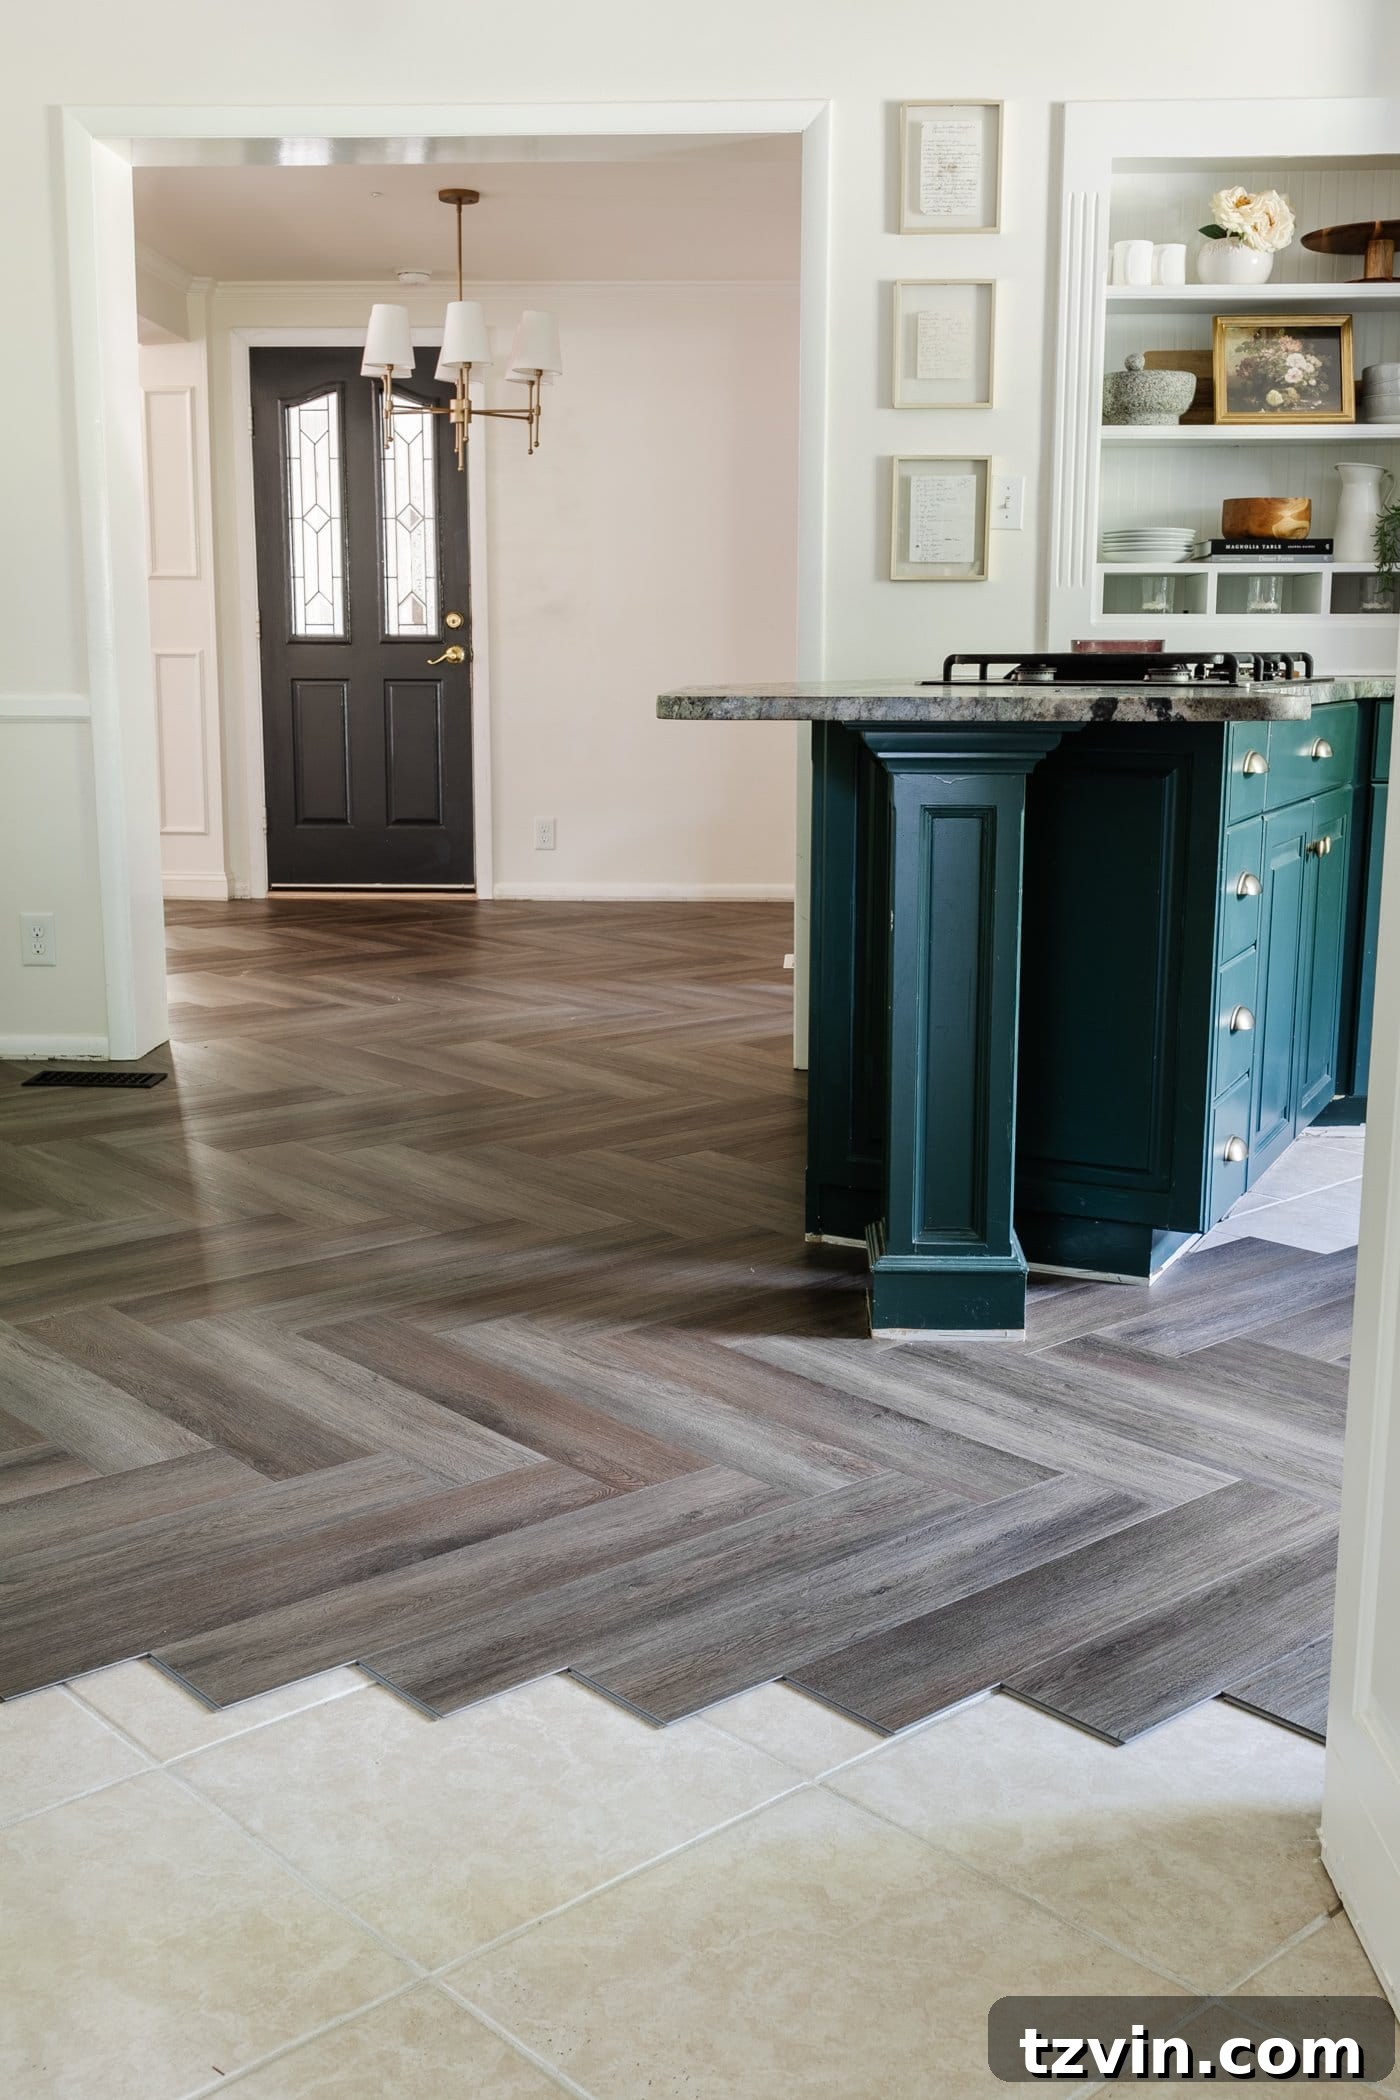
Our recent breakfast nook and kitchen renovation received an incredible flooring “glow-up” that has completely transformed the entire ambiance of these high-traffic areas. For years, I’ve yearned for a change from the old, beige tile, a feature I’ve long despised. I had no idea the monumental difference that new flooring alone could make – and the best part? No demolition was required! This innovative approach saved us immense time, effort, and expense, proving that a dramatic upgrade is entirely possible without the traditional upheaval.
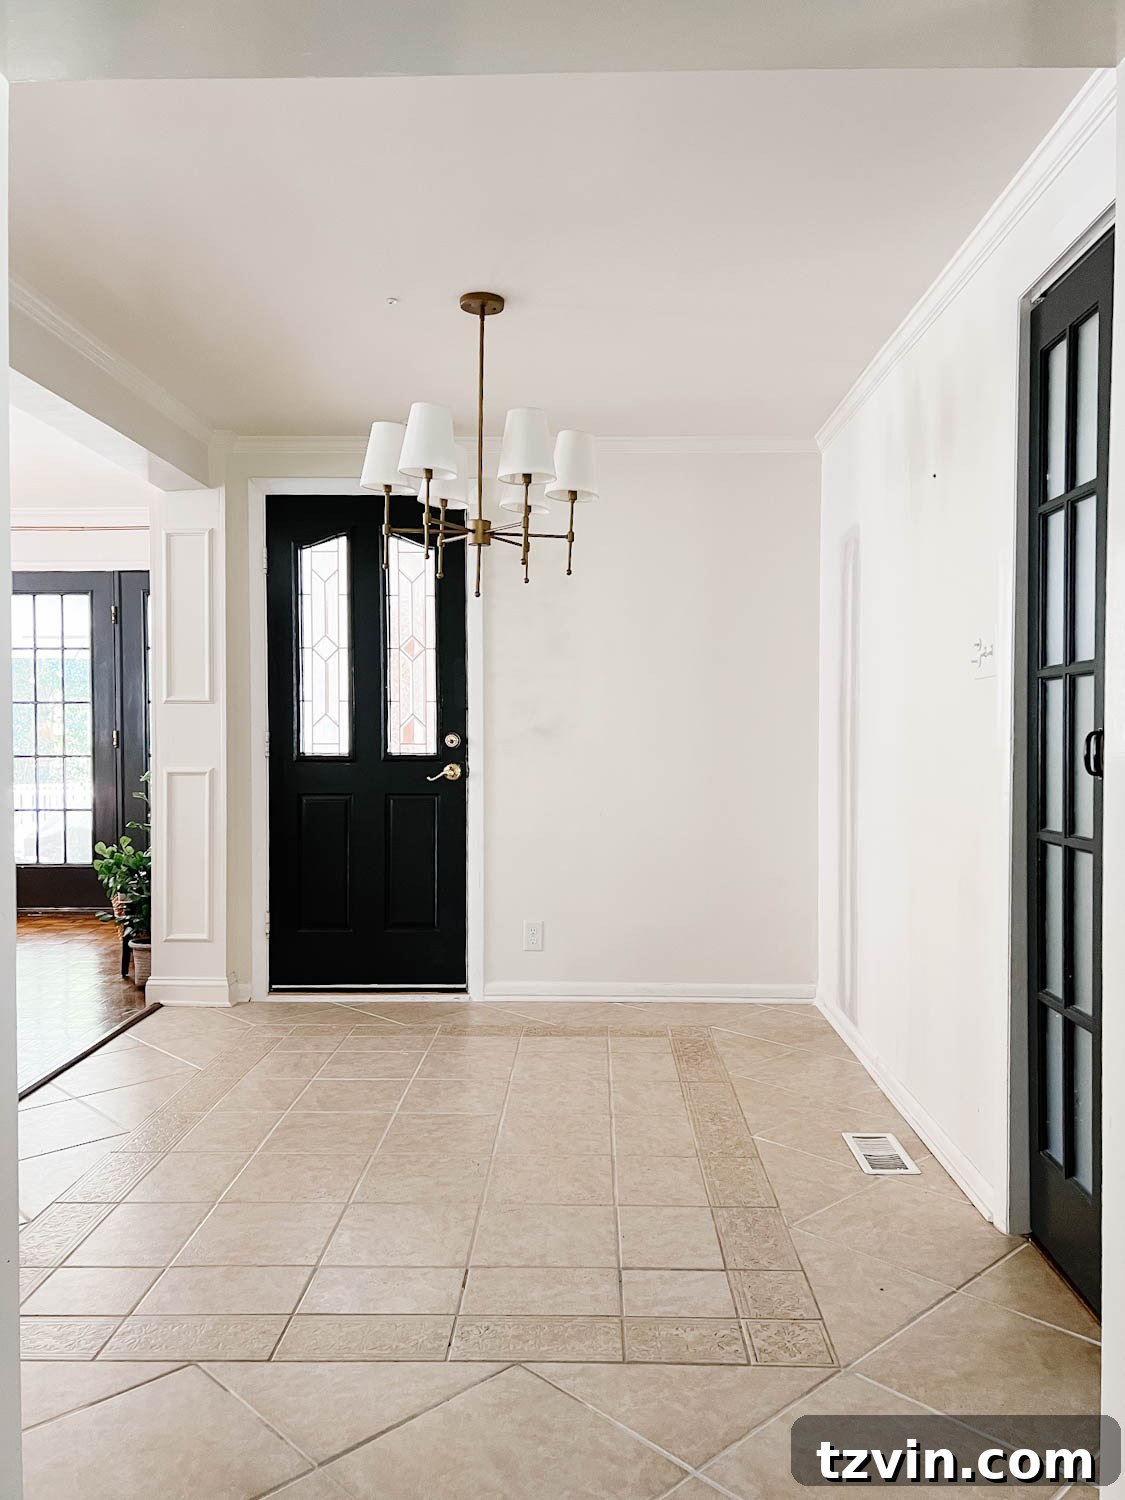
The feedback has been unanimous and overwhelmingly positive! Every guest who has stepped into our home since the installation has exclaimed, “Wow! These floors are absolutely stunning!” The impact of this simple yet impactful change truly speaks for itself, showcasing how the right flooring can redefine a space. This project allowed us to update our home’s aesthetic dramatically while maintaining a budget-friendly and DIY-friendly approach. It’s an ideal solution for anyone looking to refresh their interiors without the typical renovation headaches.
The Allure of Luxury Vinyl Plank Flooring: Style Meets Durability
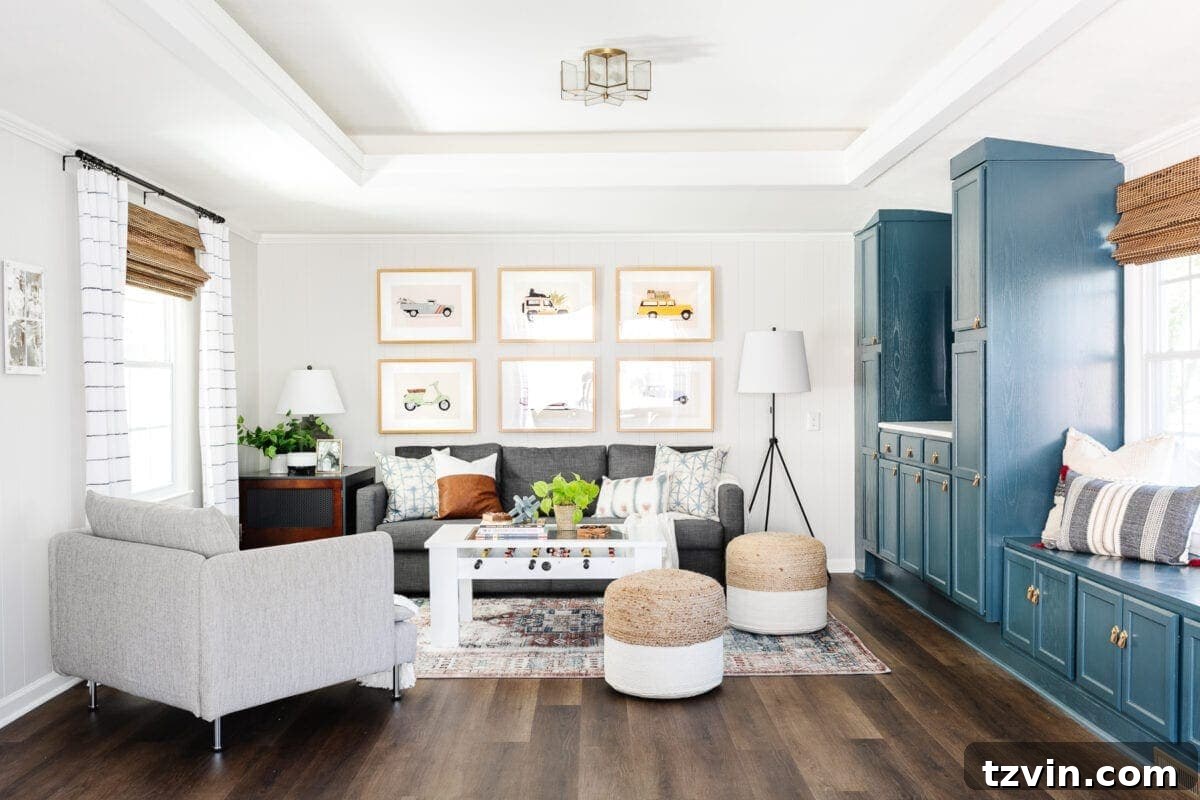
The herringbone pattern has truly become the star of these rooms, elevating their style from mundane to magnificent. Beyond aesthetics, the functionality and comfort of luxury vinyl plank (LVP) flooring from ProCore Floors are unmatched. It offers superior durability and a more cushioned feel underfoot compared to our home’s original 60+ year-old hardwood floors. Additionally, it provides a much-needed warmth, a welcome change from the consistently freezing cold tile it replaced.
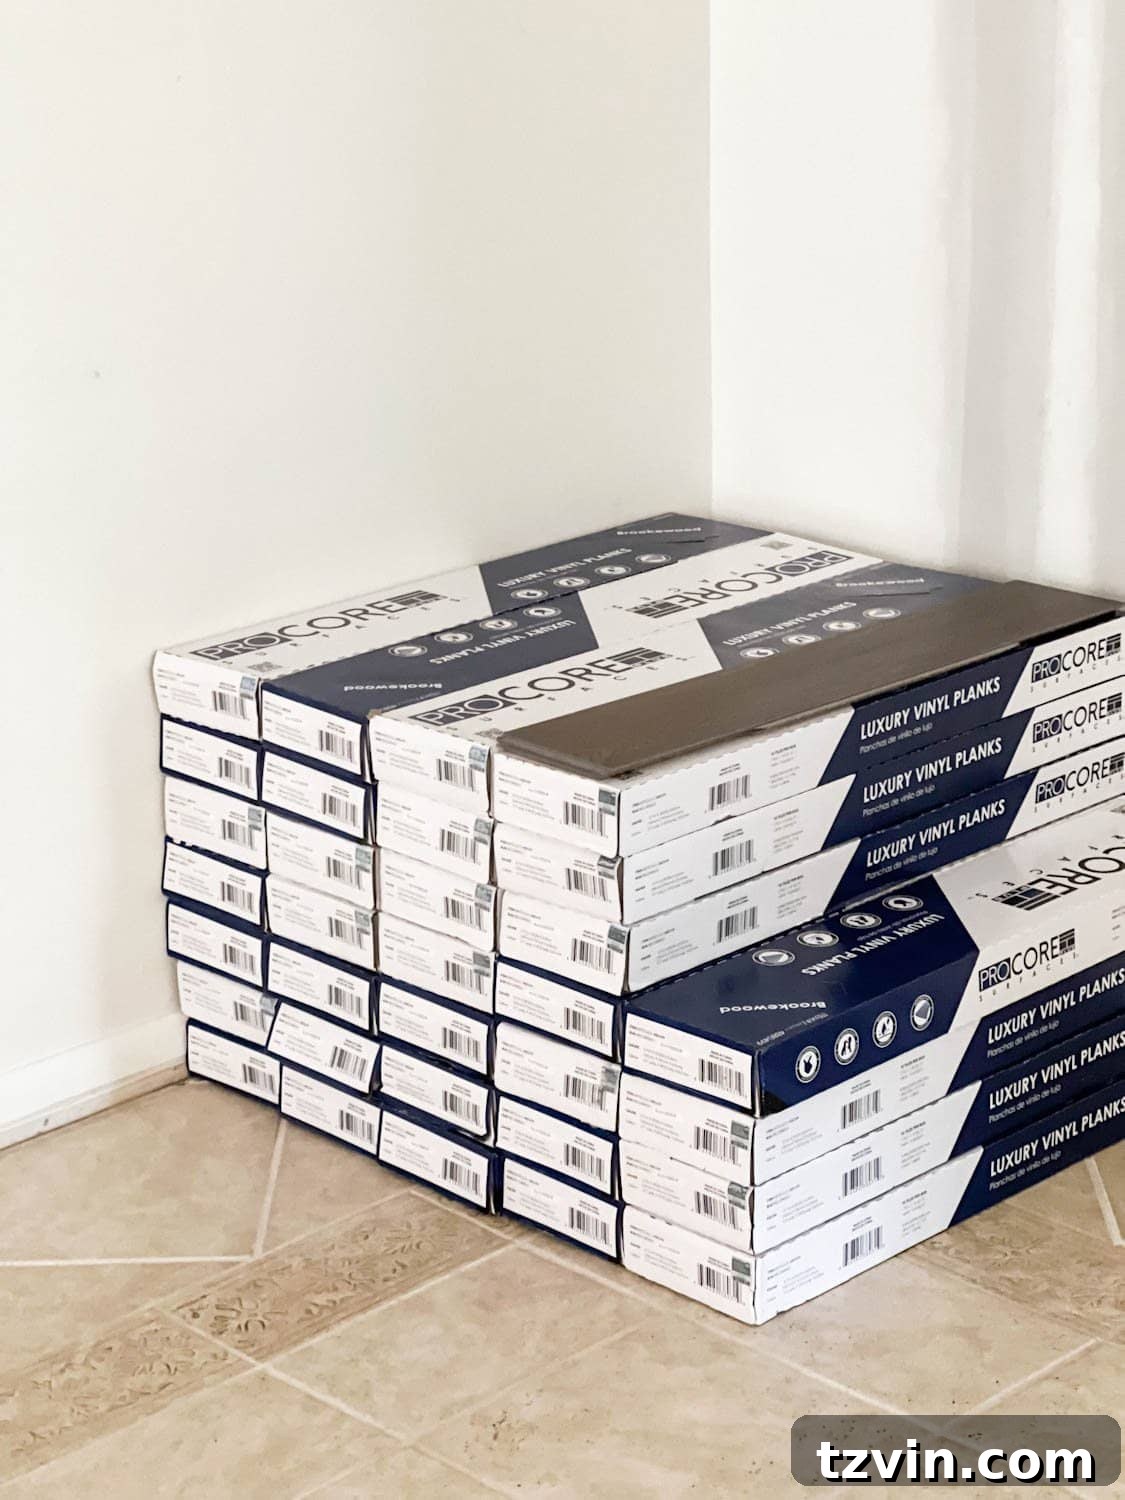
Given that our breakfast nook and kitchen serve as the central hub of our downstairs, experiencing the highest daily foot traffic and connecting all adjacent rooms, it was paramount to select flooring that married traditional style with modern technological advancements. We opted for the Brookewood Herringbone Luxury Vinyl Plank waterproof interlocking flooring. This particular shade, available at Lowe’s from ProCore Floors, perfectly echoes our home’s classic aesthetic while delivering contemporary performance. If you prefer a slightly more modern, Scandinavian-inspired look, the lighter Ashewood color is also an exquisite choice. These floors boast a subtle texture, masterfully designed to replicate the authentic look and feel of real wood planks, adding to their convincing charm.
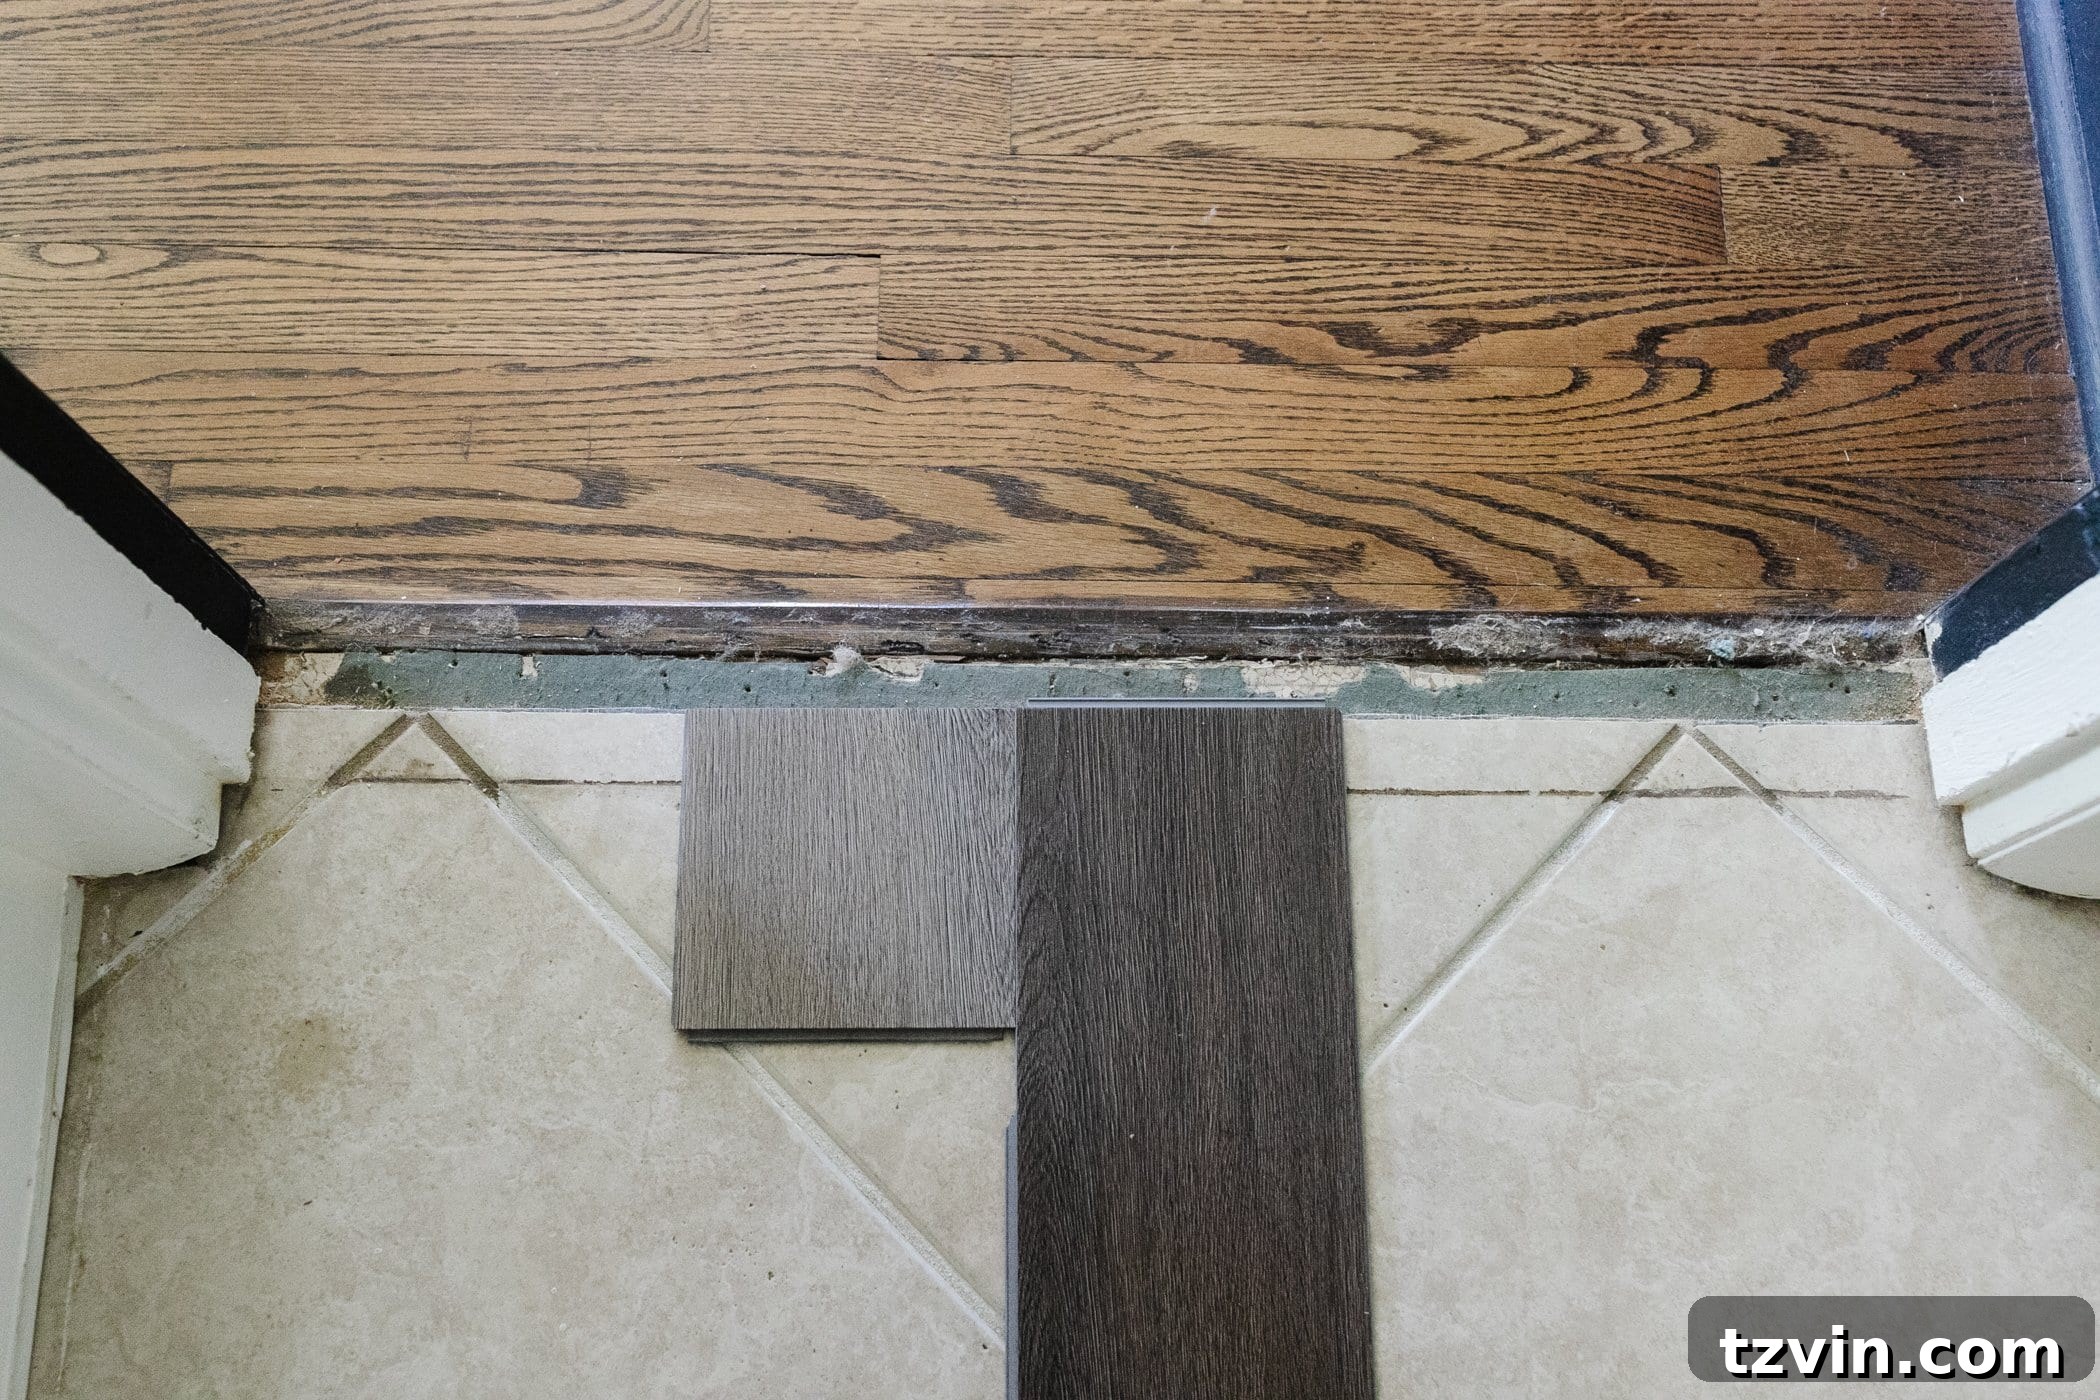
LVP Floating Floors: Superior Advantages Over Traditional Tile or Hardwood
Our experience with ProCore Floors extends beyond this project. We previously installed their standard luxury vinyl plank flooring in our neighbors’ playroom, a space that endures constant activity from their nine children. The remarkable durability and straightforward installation process left us thoroughly impressed. This prior success instilled complete confidence in choosing ProCore Floors again for our own kitchen area, especially with the desire for a sophisticated herringbone pattern.
Key Benefits of LVP Flooring:
- Waterproof: Ideal for kitchens, bathrooms, and basements, LVP offers complete protection against spills, moisture, and even minor leaks, unlike hardwood or some laminates that can warp or suffer water damage. This feature provides invaluable peace of mind in high-moisture environments.
- Stain Resistant: LVP’s protective top layer makes it highly resistant to stains from food, drinks, and everyday mishaps. Cleanup is incredibly easy, often requiring just a simple wipe, keeping your floors looking pristine with minimal effort.
- Scratch Resistant: Engineered to withstand the rigors of daily life, LVP is remarkably resistant to scratches, scuffs, and indentations from pets, furniture, and active households. This makes it an excellent choice for homes with children and pets.
- Exceptional Durability: Designed for longevity, LVP can endure heavy foot traffic without showing signs of wear and tear, ensuring your floors maintain their beautiful appearance for many years. Its robust construction makes it a smart, long-term investment.
- Low Maintenance: Unlike hardwood that requires specialized cleaning or tile that can harbor grout grime, LVP is incredibly easy to clean and maintain. Regular sweeping and occasional damp mopping are usually all that’s needed, freeing up your valuable time.
- Improved Sound Absorption: The multi-layered construction of LVP, particularly those with an integrated underlayment, helps to dampen sound, reducing echo and creating a quieter, more comfortable living environment. This is a significant advantage in open-concept spaces.
- Resilience for Kids, Pets, and High Traffic: LVP is specifically engineered to perform flawlessly in busy homes, effortlessly handling the constant activity of children, pets, and the high-traffic demands of bustling family life.
- Easier DIY Installation: Compared to the complex, labor-intensive processes of laying tile or installing traditional hardwood, LVP floating floors are significantly simpler for DIY enthusiasts. The click-lock system makes it a manageable project for most homeowners.
If you’re curious, you can find our detailed guide on how we installed standard luxury vinyl plank from ProCore Floors in our neighbors’ playroom here. It’s been over a year, and despite the constant activity of nine children and a dog, the floor has held up perfectly, looking as good as new! Discovering the herringbone vinyl floor option was truly exciting, offering the same trusted performance with an added layer of sophisticated design.
Understanding Floating Floors: The DIY-Friendly Installation Method
A floating floor refers to a flooring system that isn’t directly attached or glued down to the subfloor. Instead, the individual flooring pieces feature an interlocking mechanism, much like a jigsaw puzzle. This ingenious “click-lock” or tongue-and-groove system allows the planks to snap securely together, creating a tight, seamless bond without the need for adhesives, nails, or staples. This design allows the entire floor to “float” above the subfloor, accommodating minor shifts due to temperature and humidity changes without damage.
Luxury vinyl plank (LVP) flooring is a prime example of a floating floor, making it an incredibly popular choice for DIYers. The ease with which planks connect means that homeowners can often complete an entire room themselves, significantly reducing installation costs and project timelines. This method not only simplifies the installation process but also allows for easier replacement of individual planks should damage occur in the future, adding to its long-term appeal and practicality.
The Smart Choice: When to Install a Floating Floor Over Tile
While traditional flooring remodels often involve extensive demolition of existing tile, installing a floating LVP floor directly over tile offers a revolutionary alternative. Generally, for a large-scale, professionally handled room renovation where budget and time are not primary concerns, removing old tile might be the standard recommendation. However, for homeowners embarking on a DIY flooring project, or those facing significant budget and time constraints that make removing an old tile floor impractical or impossible, a floating LVP floor is an exceptionally smart and rewarding solution.
It’s a fantastic way to upgrade an unsightly or outdated floor, instantly adding value and aesthetic appeal without the mess, labor, and expense of demolition. This method saves you from the tedious process of chipping away old grout and tiles, hauling away debris, and preparing a new subfloor.
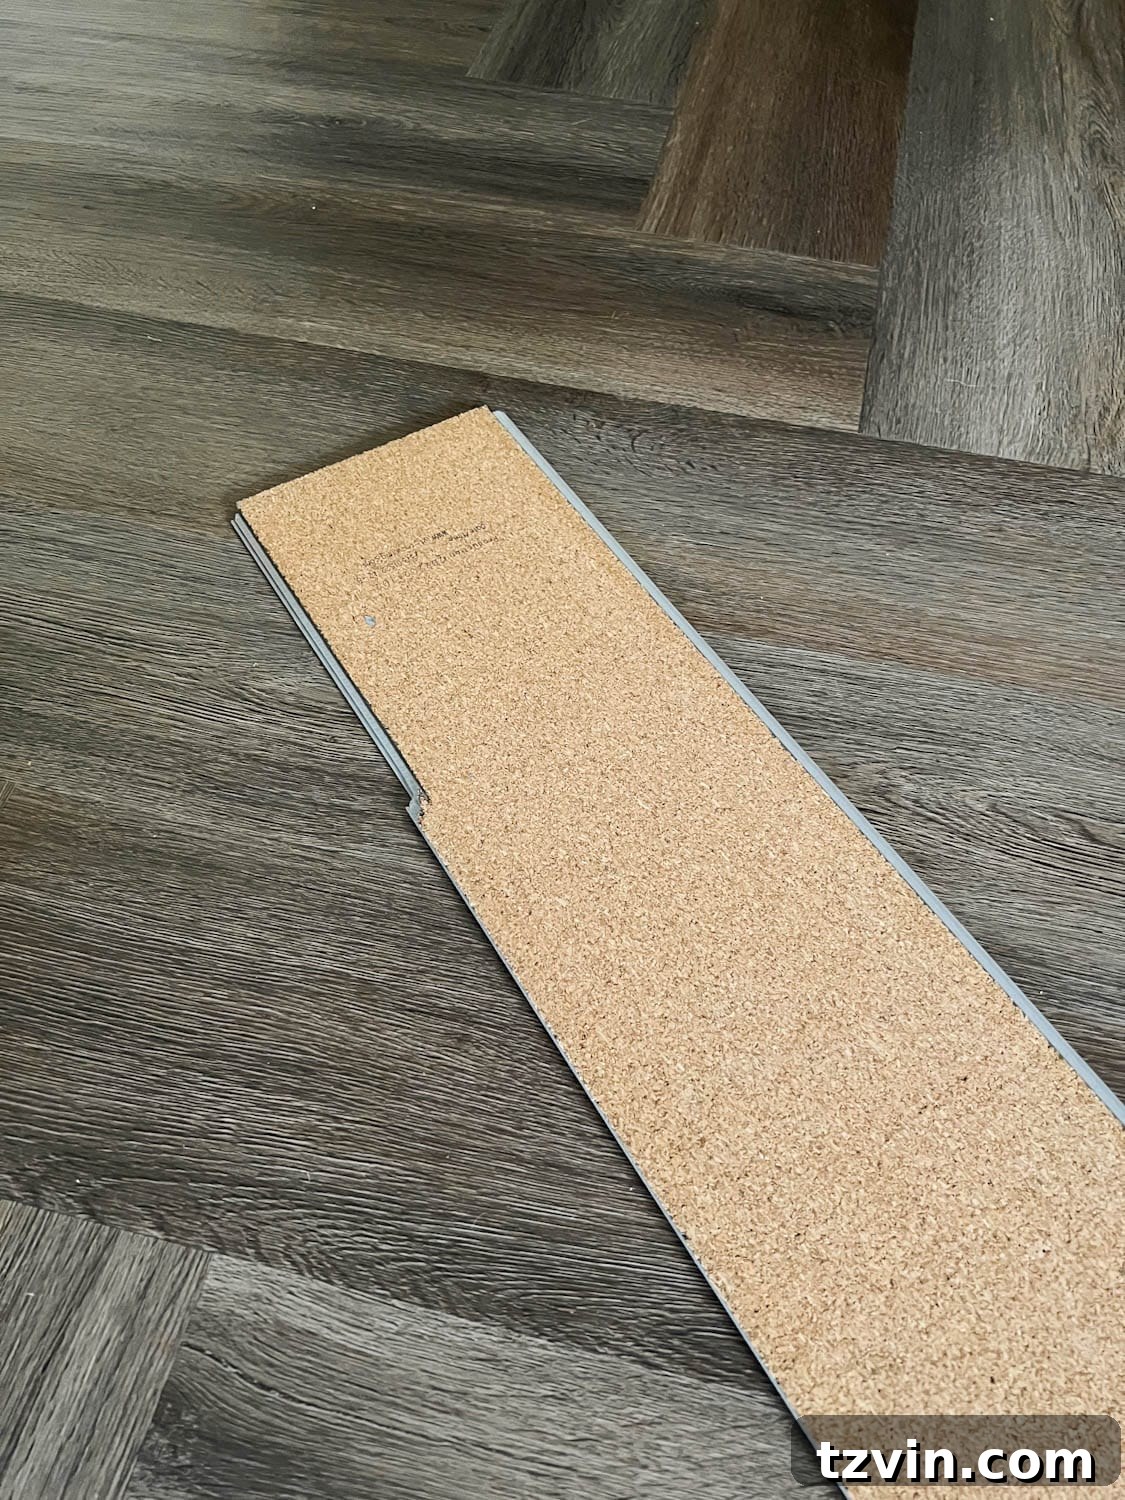
Crucially, not all LVP floors are suitable for installation over existing tile. It is vital to select a high-quality, rigid core LVP product, such as the ProCore Plus line. These advanced LVP options feature a robust built-in cork underlayment, providing the necessary rigidity and stability to function effectively as a floating floor over an existing hard surface. This integrated underlayment also offers additional benefits like sound absorption and increased comfort underfoot.
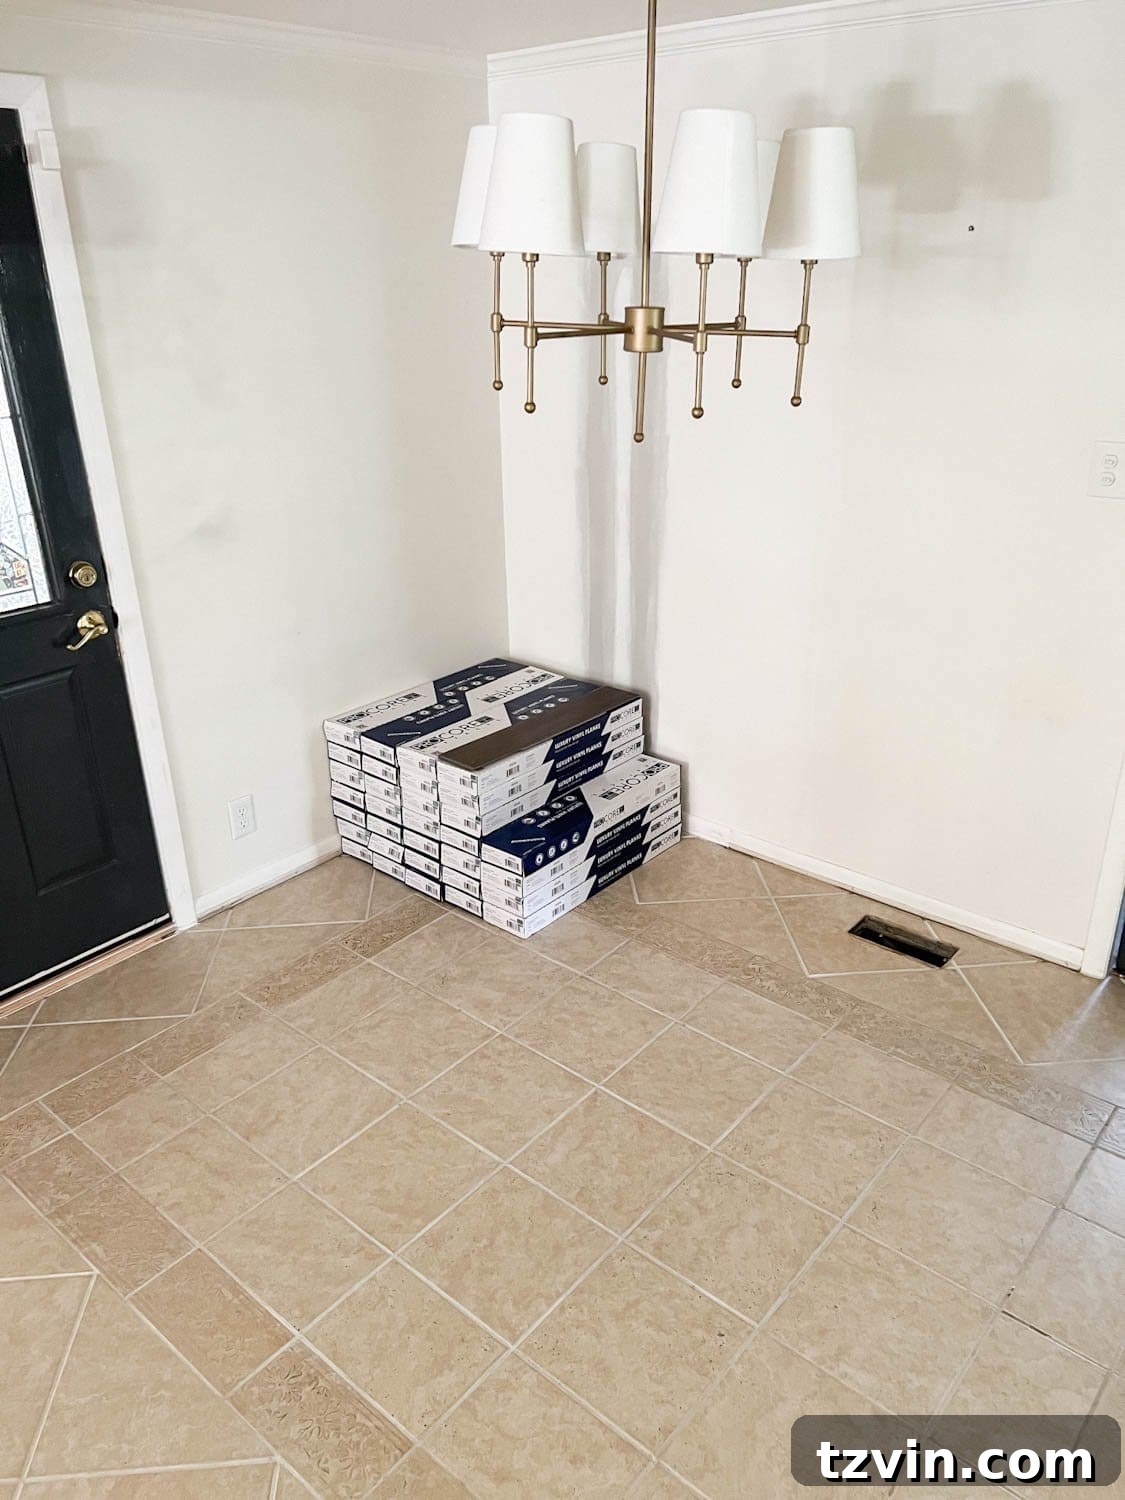
***Important Note: When installing luxury vinyl flooring over tile, ensure your existing tile subfloor is completely clean, free of debris, and perfectly level. There should be no cracks, holes, or significant raised textures that could telegraph through the new LVP and compromise its integrity or appearance. Any unevenness should be leveled with a self-leveling compound before installation.
Ideal Substrates for LVP Floating Floor Installation:
- Old Ceramic Tile: As long as the tile is structurally sound, without significant cracks, missing pieces, or extreme unevenness, it provides a stable base.
- Concrete: A common and suitable subfloor, concrete requires a 6-mil polyethylene moisture barrier to prevent moisture from wicking up into the LVP.
- Sheet Vinyl Flooring: Existing sheet vinyl, if fully adhered, flat, and in good condition, can serve as an excellent subfloor.
- Particle Board: While often considered an inferior subfloor, if stable and dry, LVP can be installed over it.
- Hardwood Floors: Installing LVP over existing hardwood is also possible, protecting the original floor while providing a fresh look.
Step-by-Step Guide: Installing a Herringbone LVP Floating Floor Over Tile
Embarking on a herringbone LVP installation might seem daunting, but with the right tools, preparation, and a clear step-by-step guide, it’s a perfectly achievable DIY project. The striking visual impact of the herringbone pattern is undeniably worth the effort.
Essential Supplies for Your Installation:
- ProCore Plus Herringbone LVP Flooring (We chose the beautiful Brookewood color for a warm, traditional feel.)
- Safety glasses (Always protect your eyes from flying debris.)
- Dust mask (Especially when cutting, to avoid inhaling fine particles.)
- Work gloves (To protect hands and improve grip.)
- HEPA filtered vacuum (For thorough cleaning before and during installation.)
- Rubber mallet (Essential for gently tapping planks into place without damage.)
- Knee pads (Your knees will thank you!)
- Utility knife (For scoring caulk and precise cuts on thinner materials.)
- 6ft and 1ft level or straight edge (Crucial for marking straight lines and checking floor levelness.)
- Speed square (For accurate 45 and 90-degree markings.)
- Chalk line (To create long, perfectly straight reference lines across the room.)
- Pencil (For marking cuts and guidelines.)
- Jigsaw with carbide blades (Carbide blades are vital for cutting LVP efficiently and cleanly.)
- Tape measure (For all measuring tasks.)
- Oscillating multi-tool (Indispensable for undercutting door jambs and tricky cuts.)
- 5-N-1 flooring transitions (For seamless transitions between different flooring types or rooms.)
- Broom (For initial cleaning.)
- Pry bar (For carefully removing shoe molding.)
- Brad nailer gun (or hammer and brad nails) (For reattaching shoe molding.)
- 6 mil polyethylene sheeting/moisture barrier (Only if installing over concrete, to prevent moisture migration.)
Detailed Floating Floor Installation Steps:
Step 1: Thoroughly Prepare Your Space
Before any planks are laid, meticulously prepare the room. Begin by removing all existing shoe molding around the perimeter. Use a utility knife to score any caulk lines, then gently pry the molding away from the wall with a pry bar. Take care not to damage the molding, as you can reuse it later, saving you a trip to the store and matching new trim. Thoroughly sweep and vacuum the entire tile floor, ensuring it is impeccably clean and free of any debris, dust, or particles that could interfere with the LVP installation.
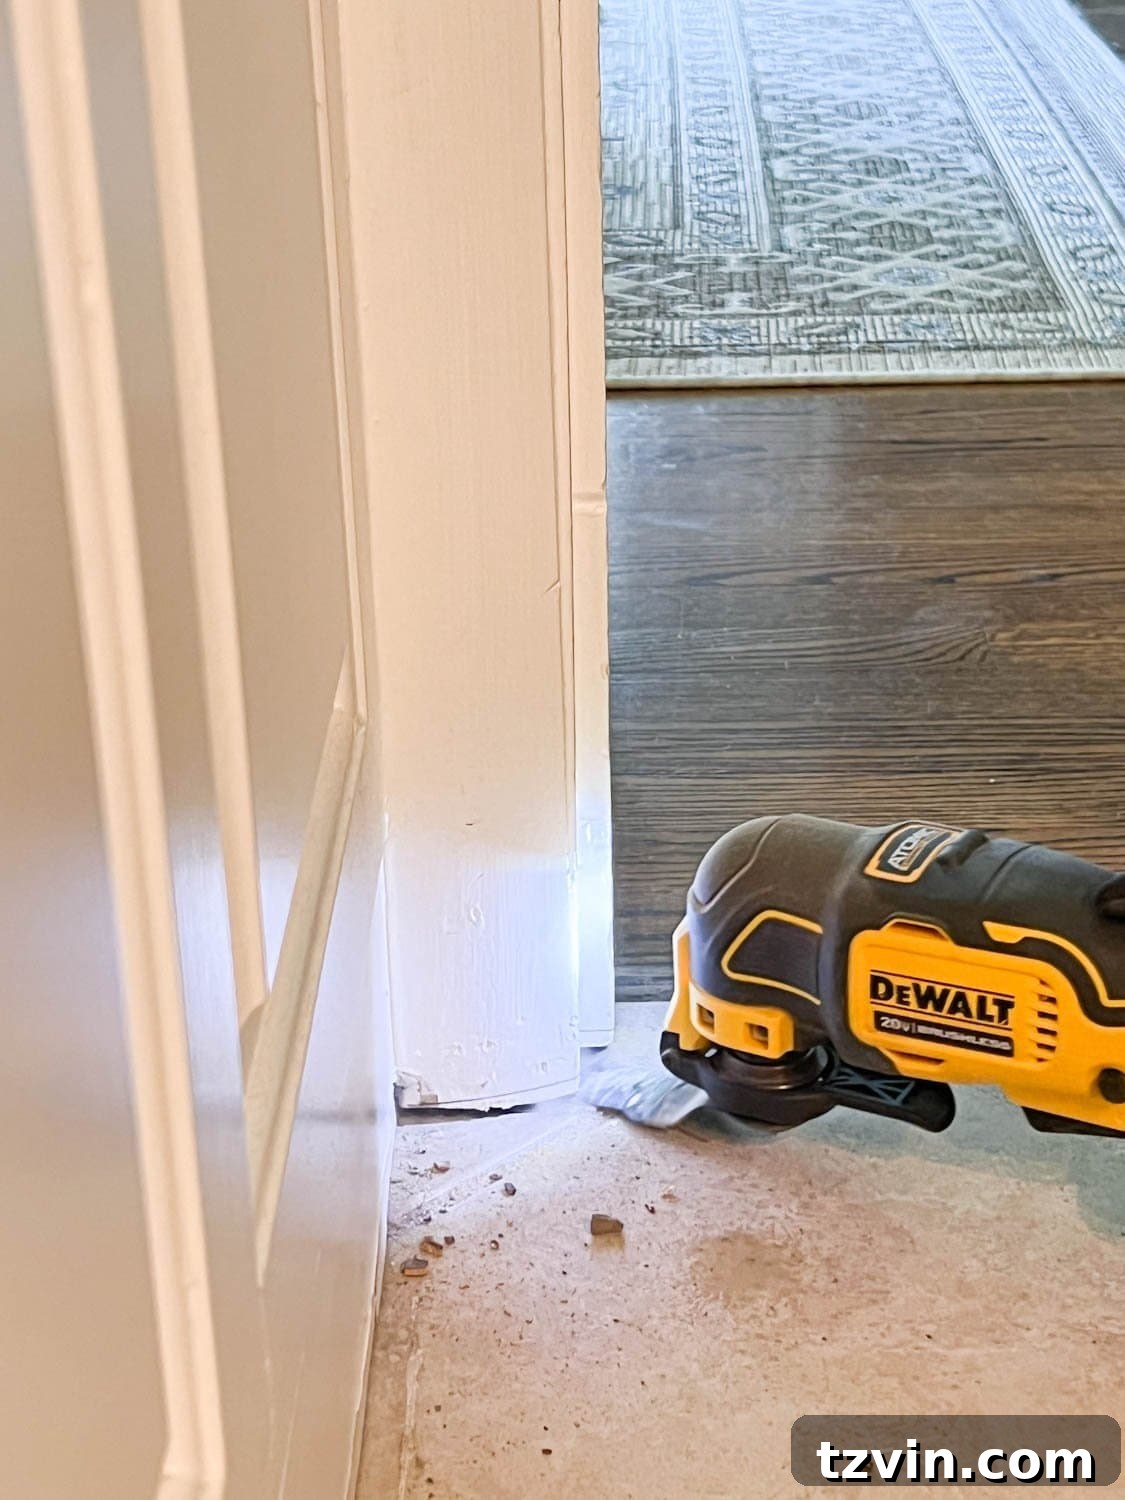
Step 2: Precisely Undercut Door Jambs
This critical step ensures a professional finish. Using an oscillating multi-tool, carefully undercut all door jambs and casings. The goal is to create a small gap underneath them, precisely the height of your LVP flooring (including any integrated underlayment). This allows the new planks to slide smoothly underneath, creating a clean, seamless look without needing to cut around intricate door frames.
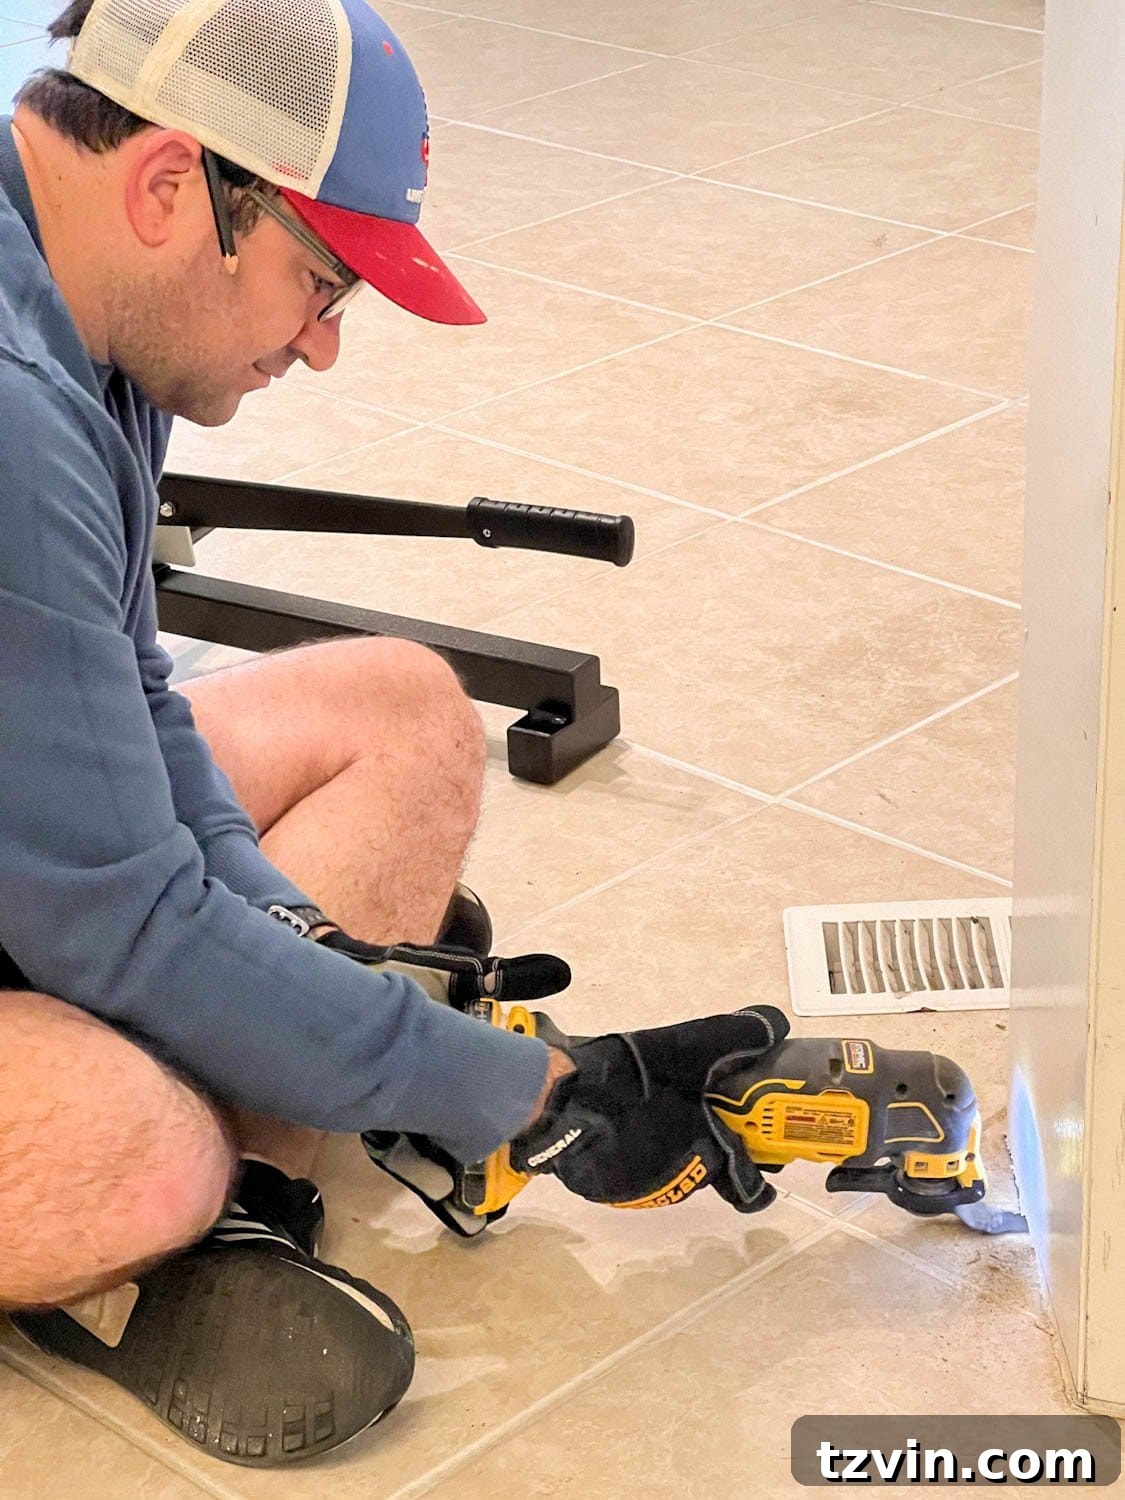
Step 3: Establish Your Primary Starting Line
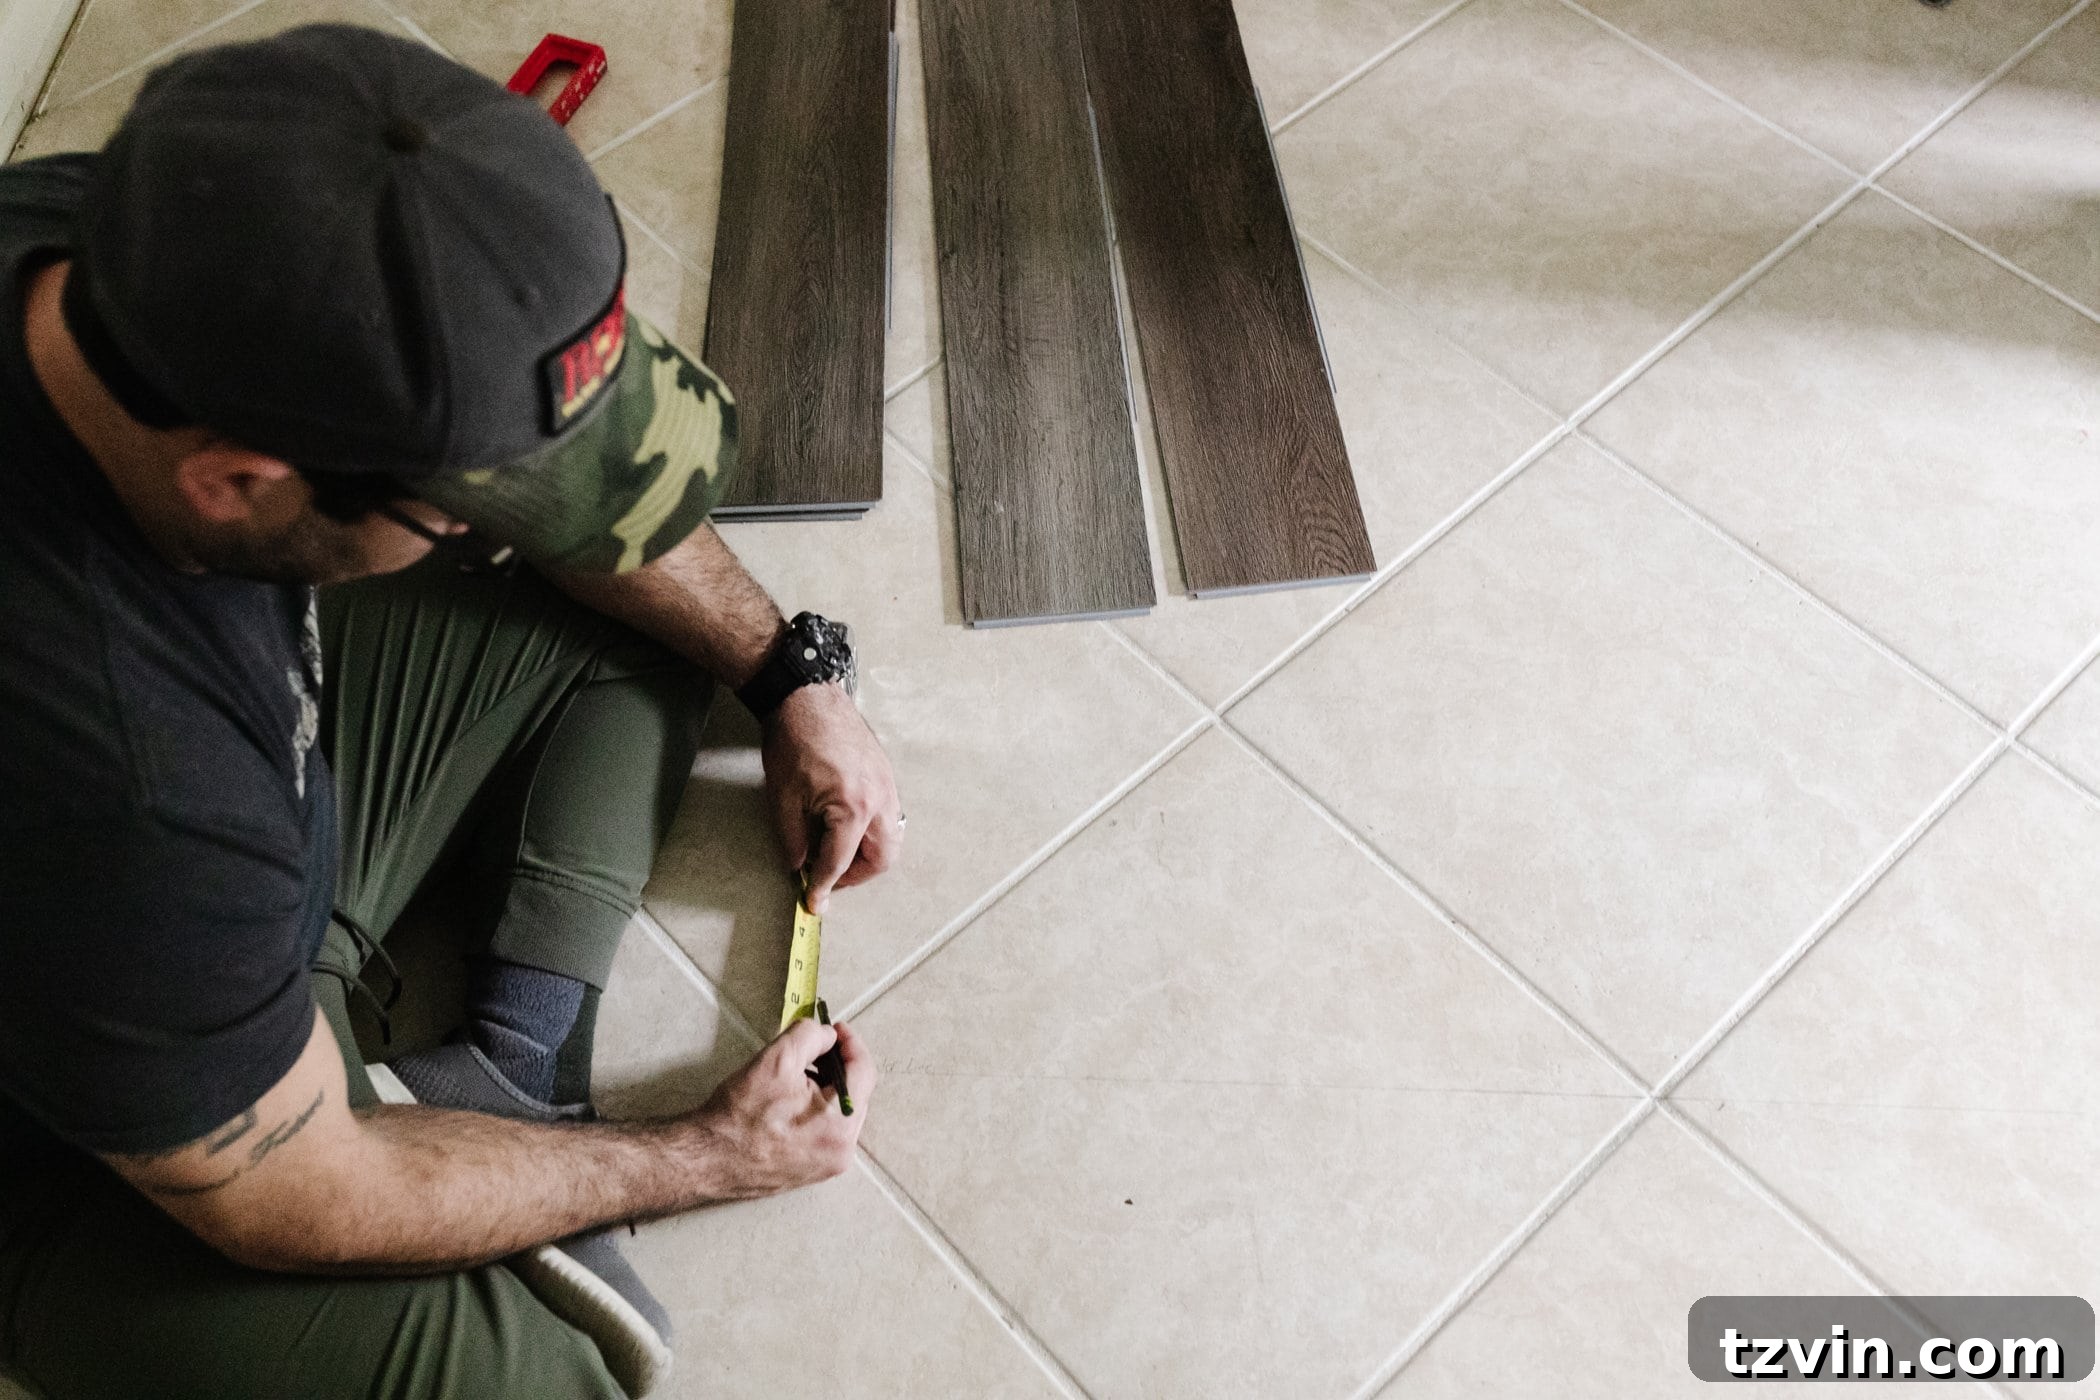
With a clean, prepped surface, determine the desired direction for your herringbone pattern. This often involves envisioning how the pattern will flow through the room. Next, precisely measure your space to find the exact center of the room. Using a chalk line for a long, straight mark or a straight edge and pencil for shorter sections, mark this very center line across the space. This will be your primary reference for alignment.
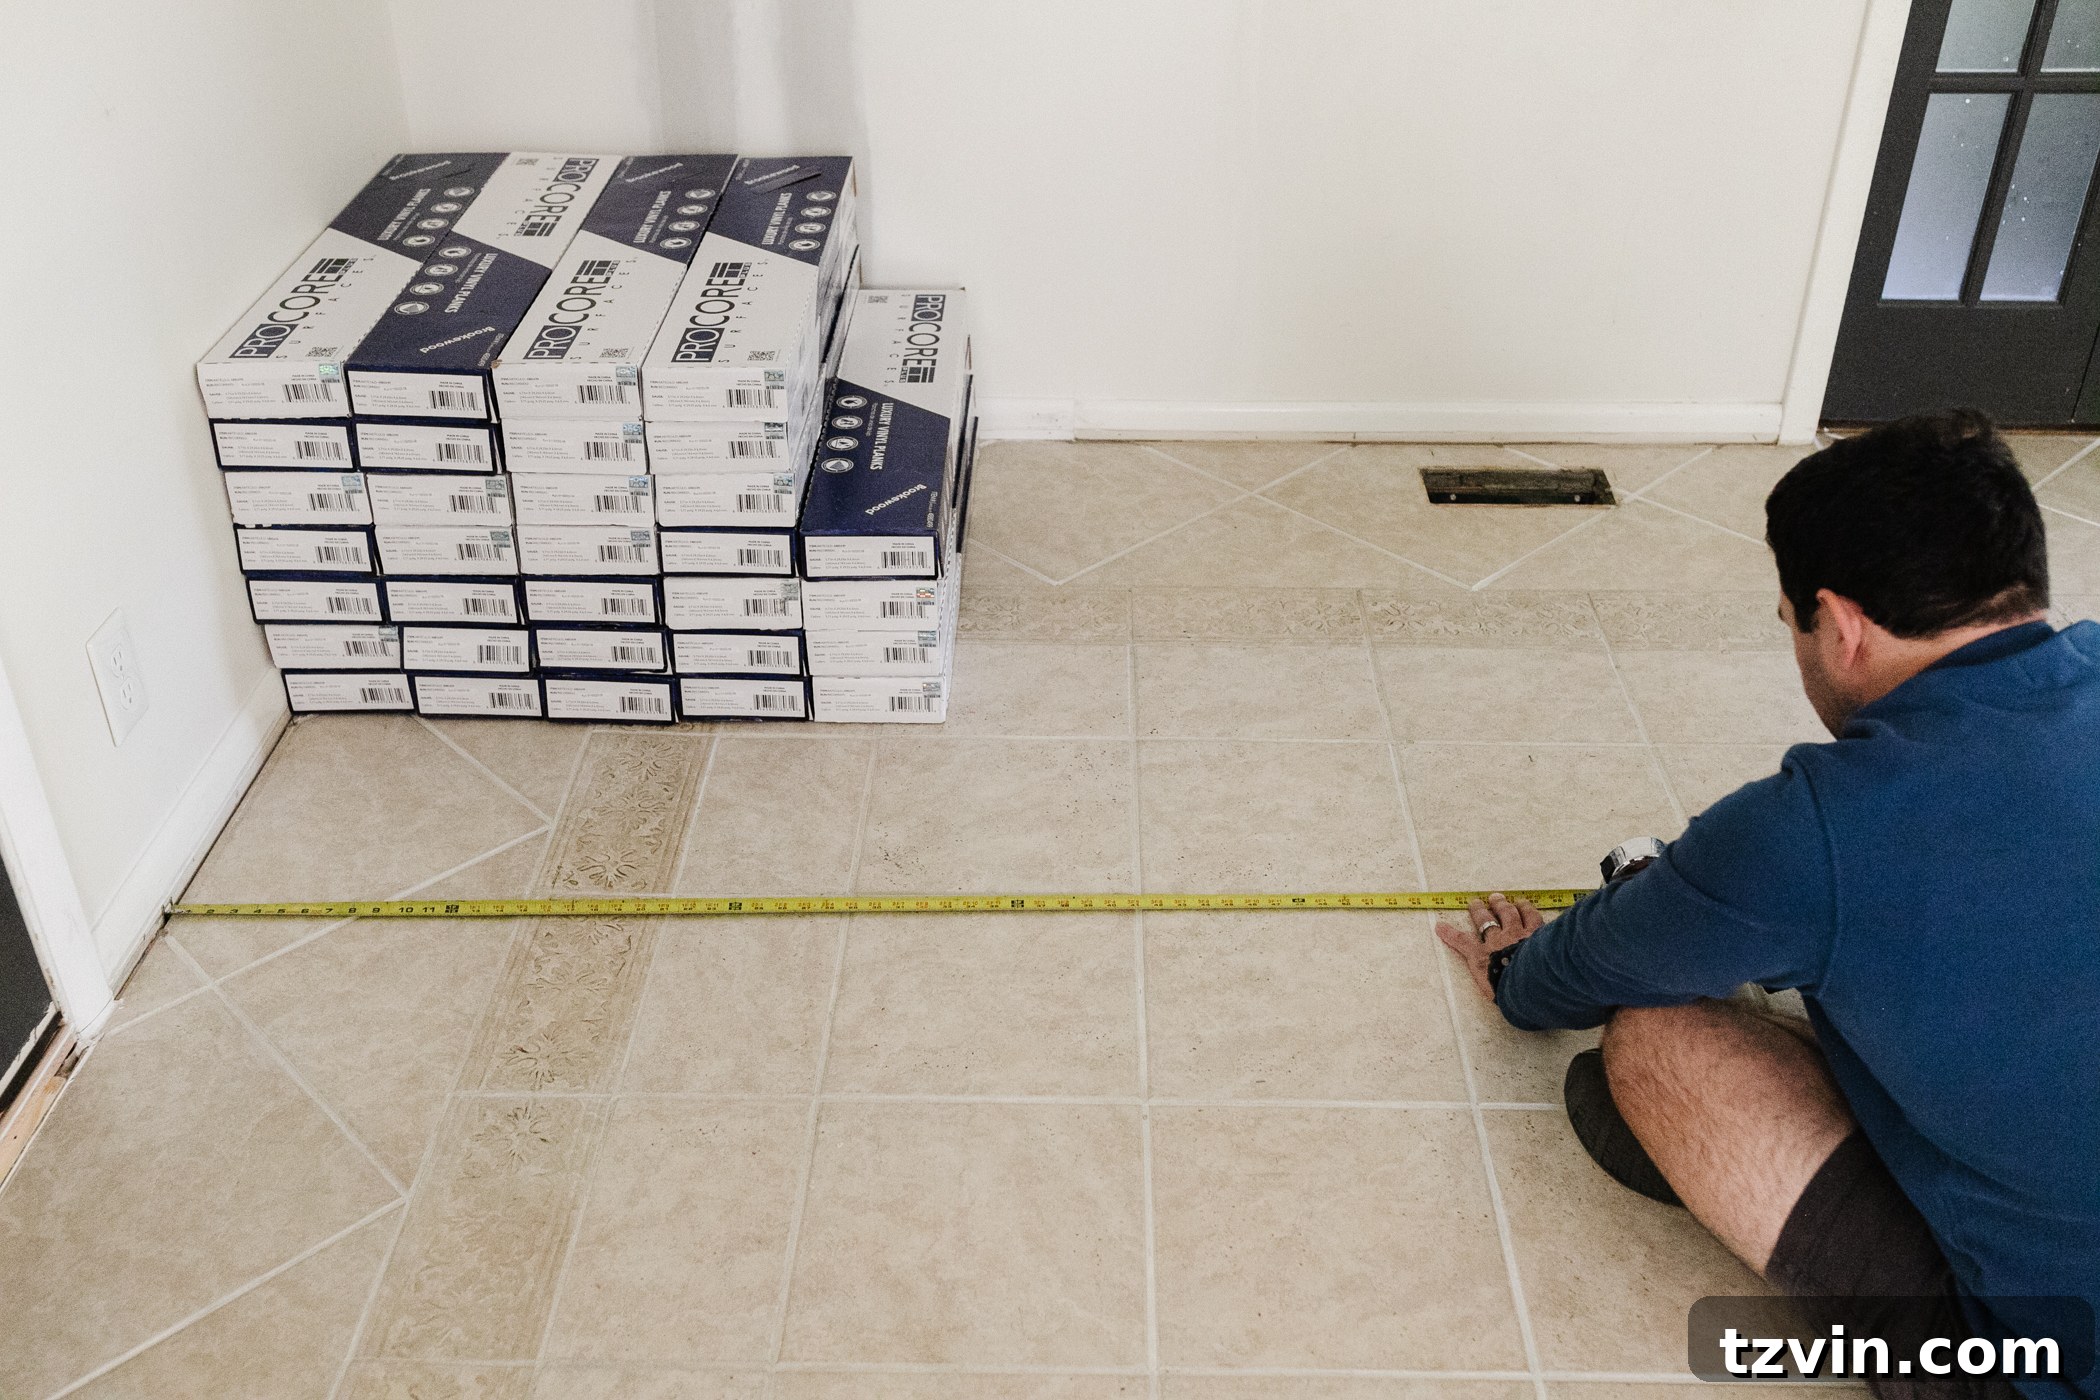
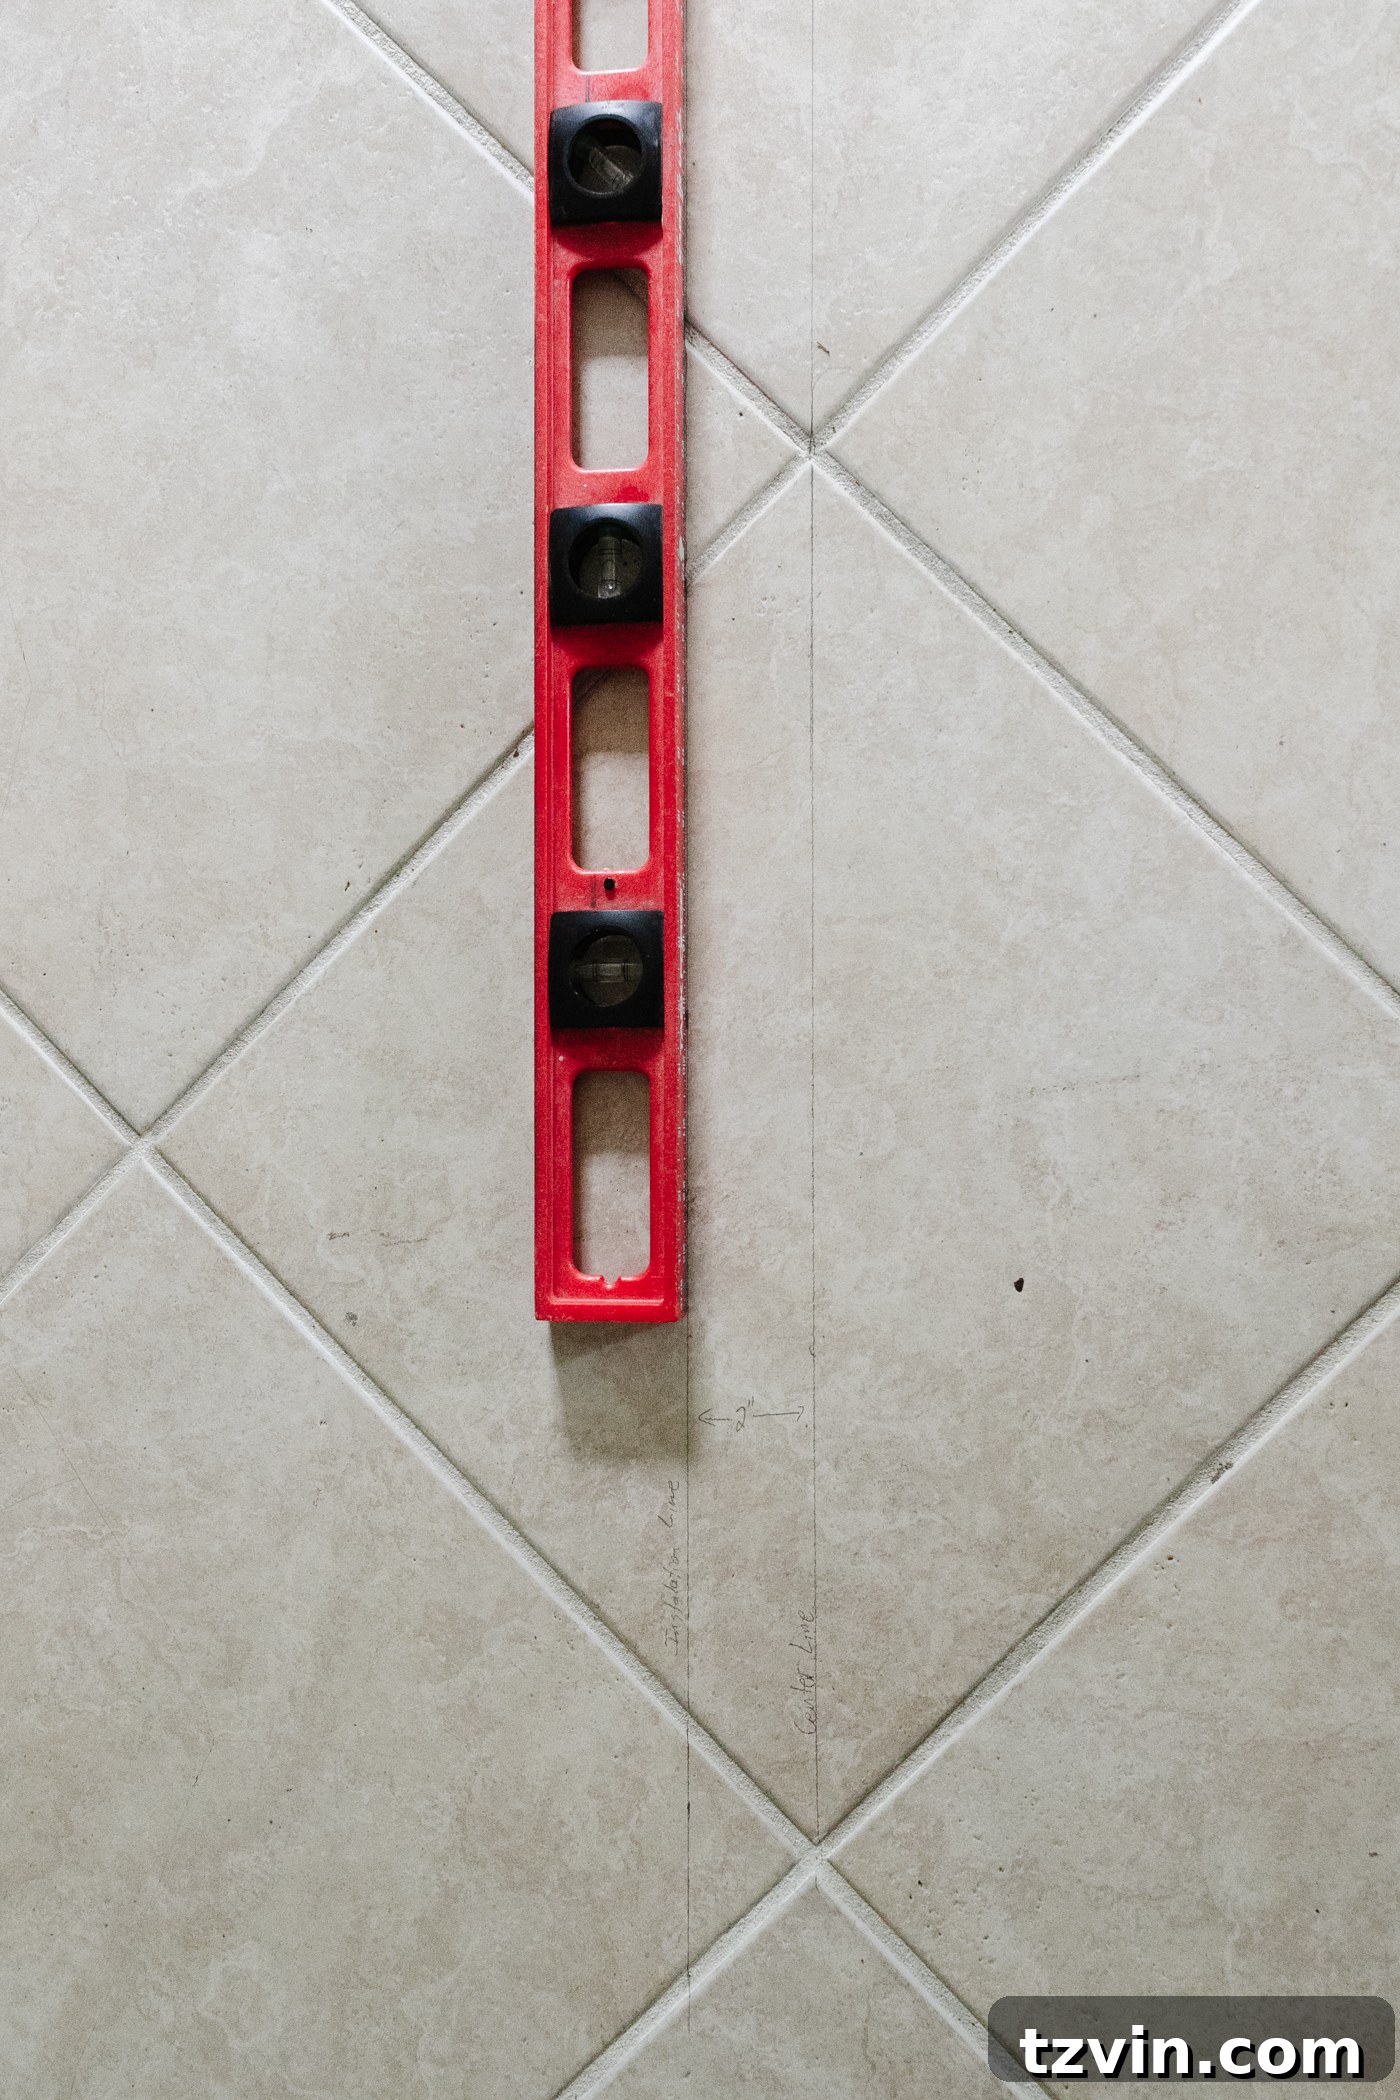
Then, using a chalkline or straight edge and pencil, mark the very center line of the space.
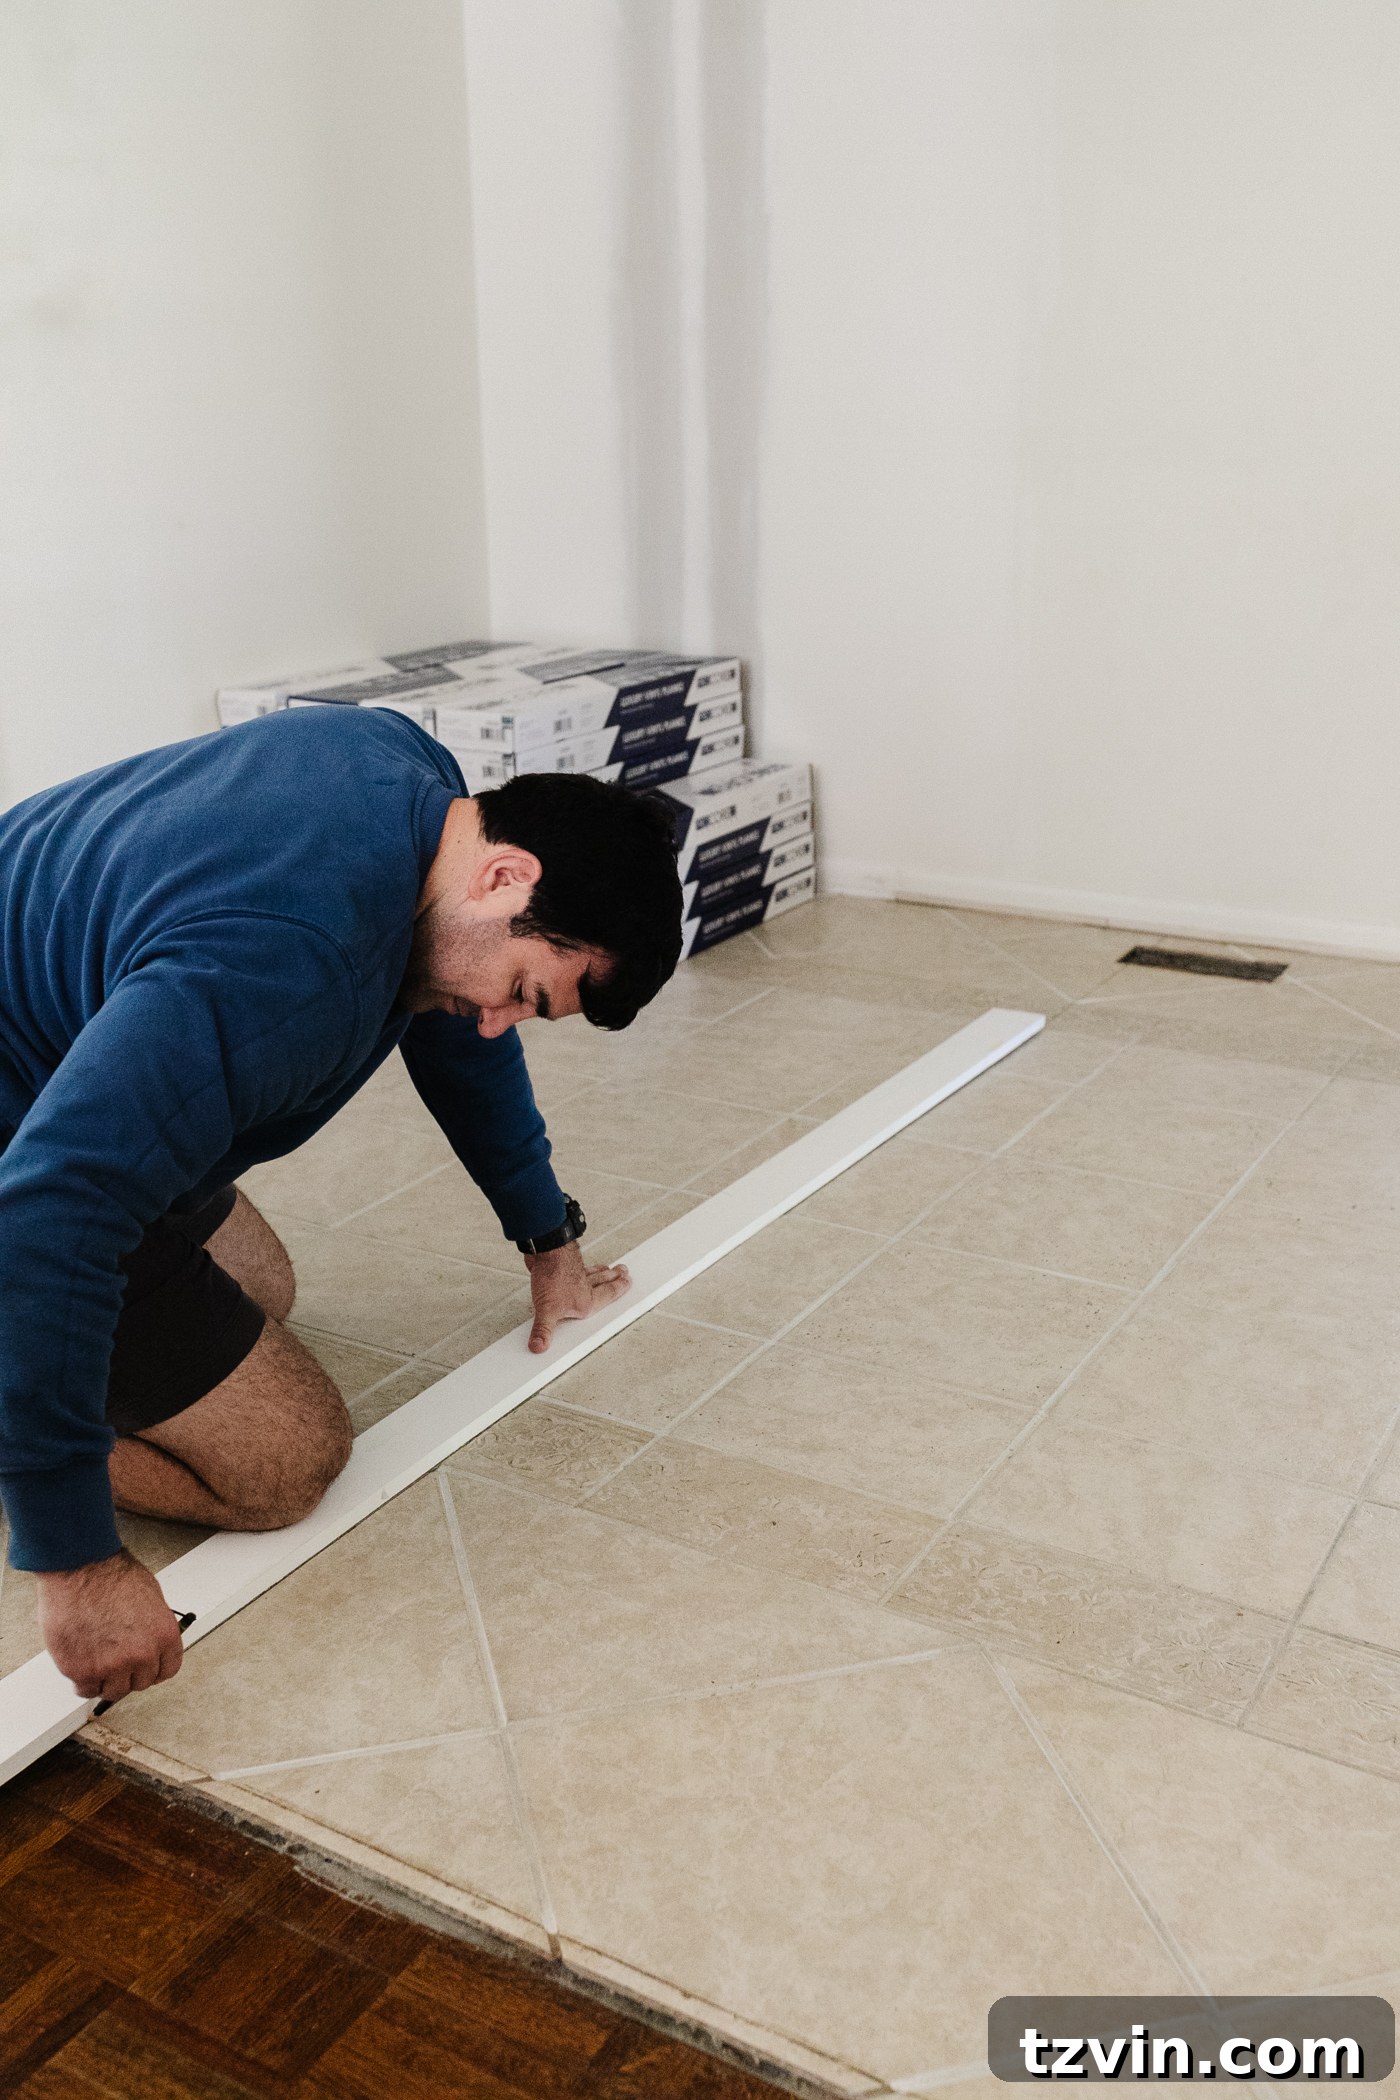
Step 4: Create a Secondary Guide Line
After establishing your room’s center line, measure and mark a second line exactly 2 inches away from your center line. This secondary line is crucial as it will serve as your precise guide for laying the very first row of herringbone planks, ensuring your pattern begins perfectly aligned and symmetrical. This small offset is key to achieving the distinctive V-shape of the herringbone design.
Step 5: Commence Plank Placement
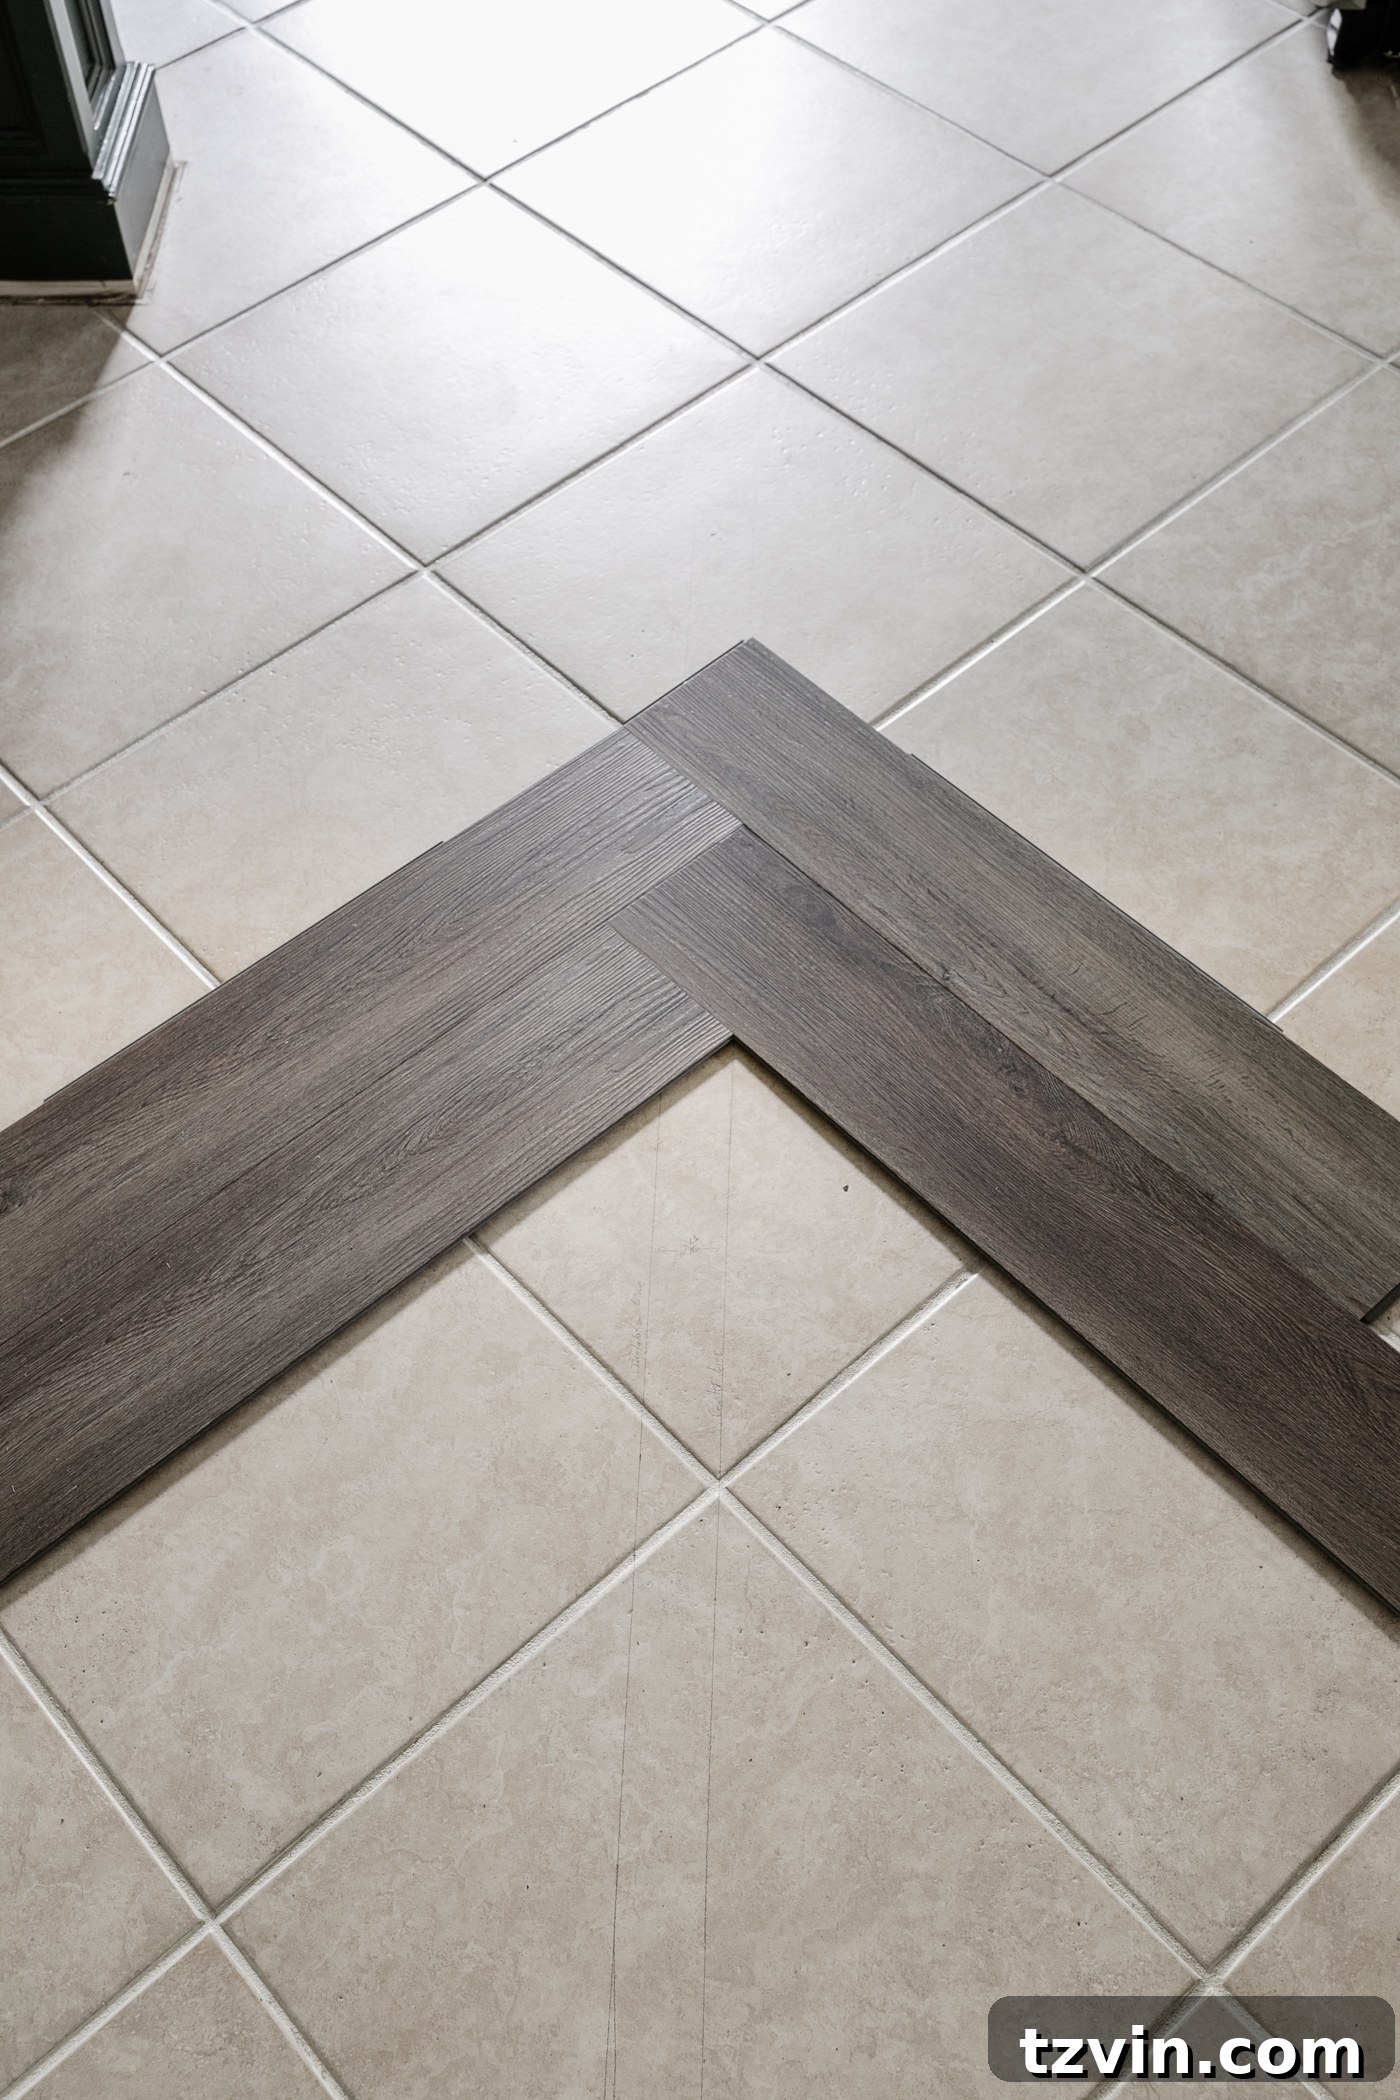
Carefully click together your initial few planks to form the foundational V-shape of your herringbone pattern. Align this initial assembly precisely with the two guide lines you marked in the previous steps. This starting point is paramount for ensuring the entire pattern lays out correctly and symmetrically across the room. Take your time with these first planks to establish a solid, accurate base.
Step 6: Securely Click Seams Together
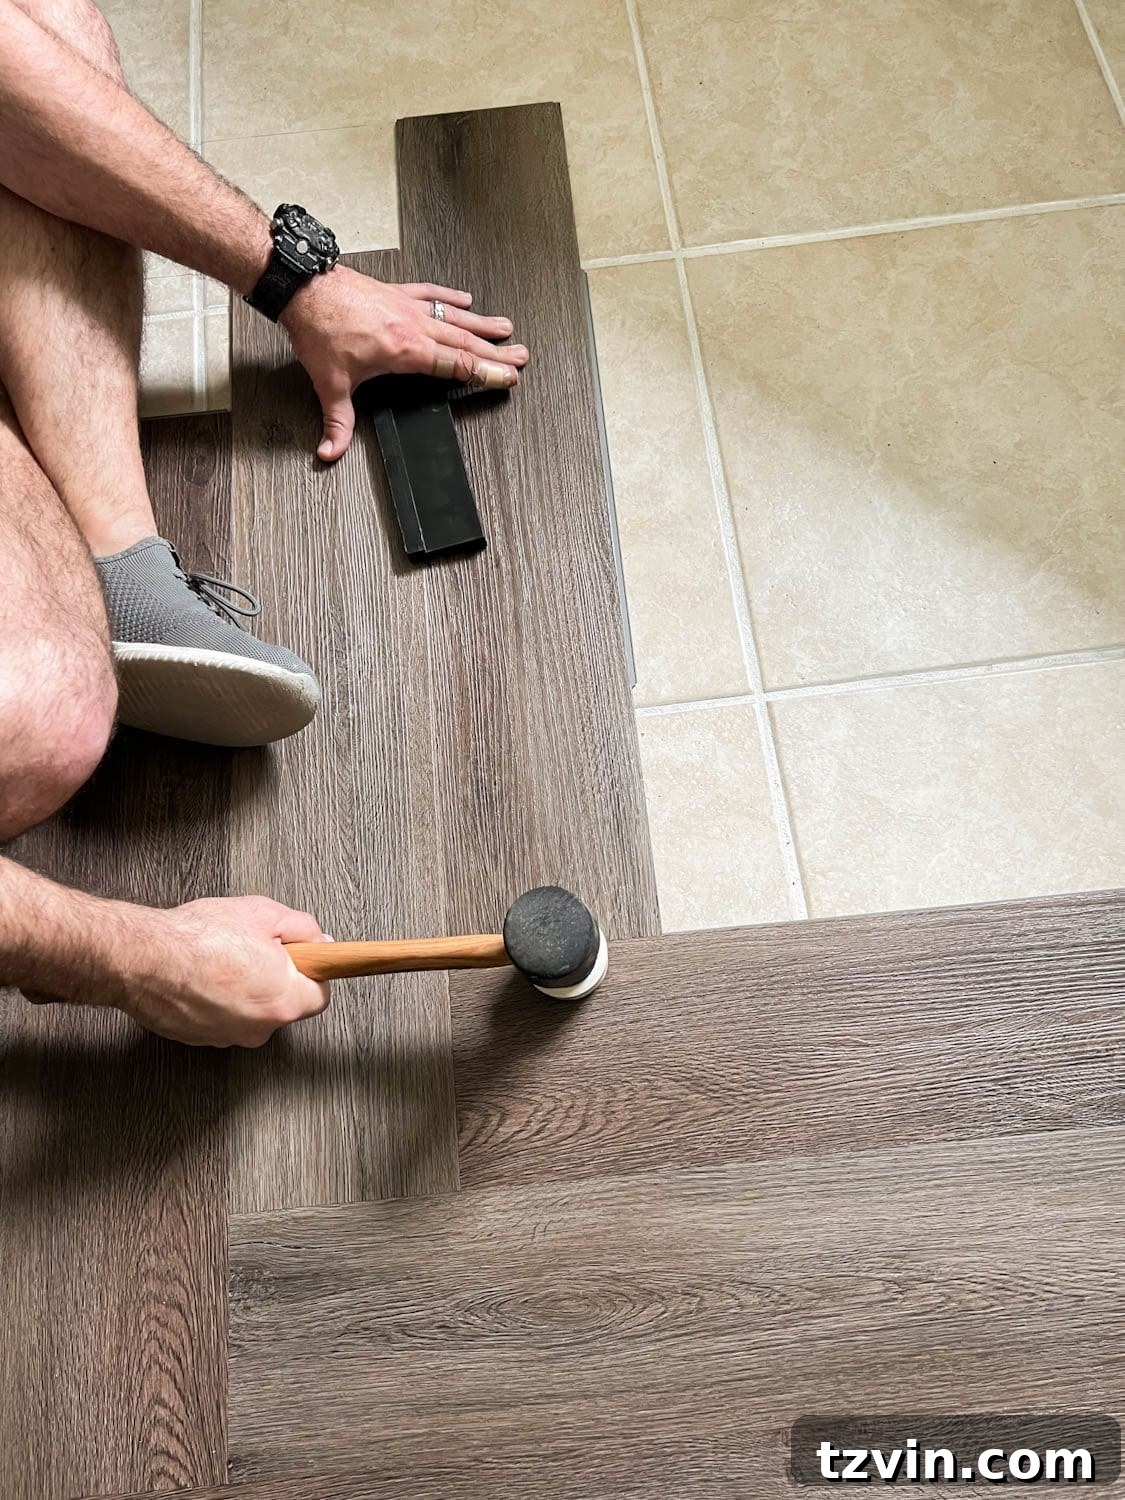
As you add subsequent planks, ensure each one clicks firmly into the adjacent piece. Use a rubber mallet and a scrap piece of flooring (avoid tapping blocks directly on the plank edge to prevent damage) to gently tap the planks together. This ensures a tight, flush fit at the seams, preventing any gaps or movement.
Step 7: Finalize Seam Locking
Once the planks are snugly fitted side-to-side, use the rubber mallet to tap gently on the top surface of the planks near the seams. This action helps to fully engage the click-lock mechanism, securely locking the planks together and creating a stable, unified floor surface. Work methodically to ensure every seam is properly locked.
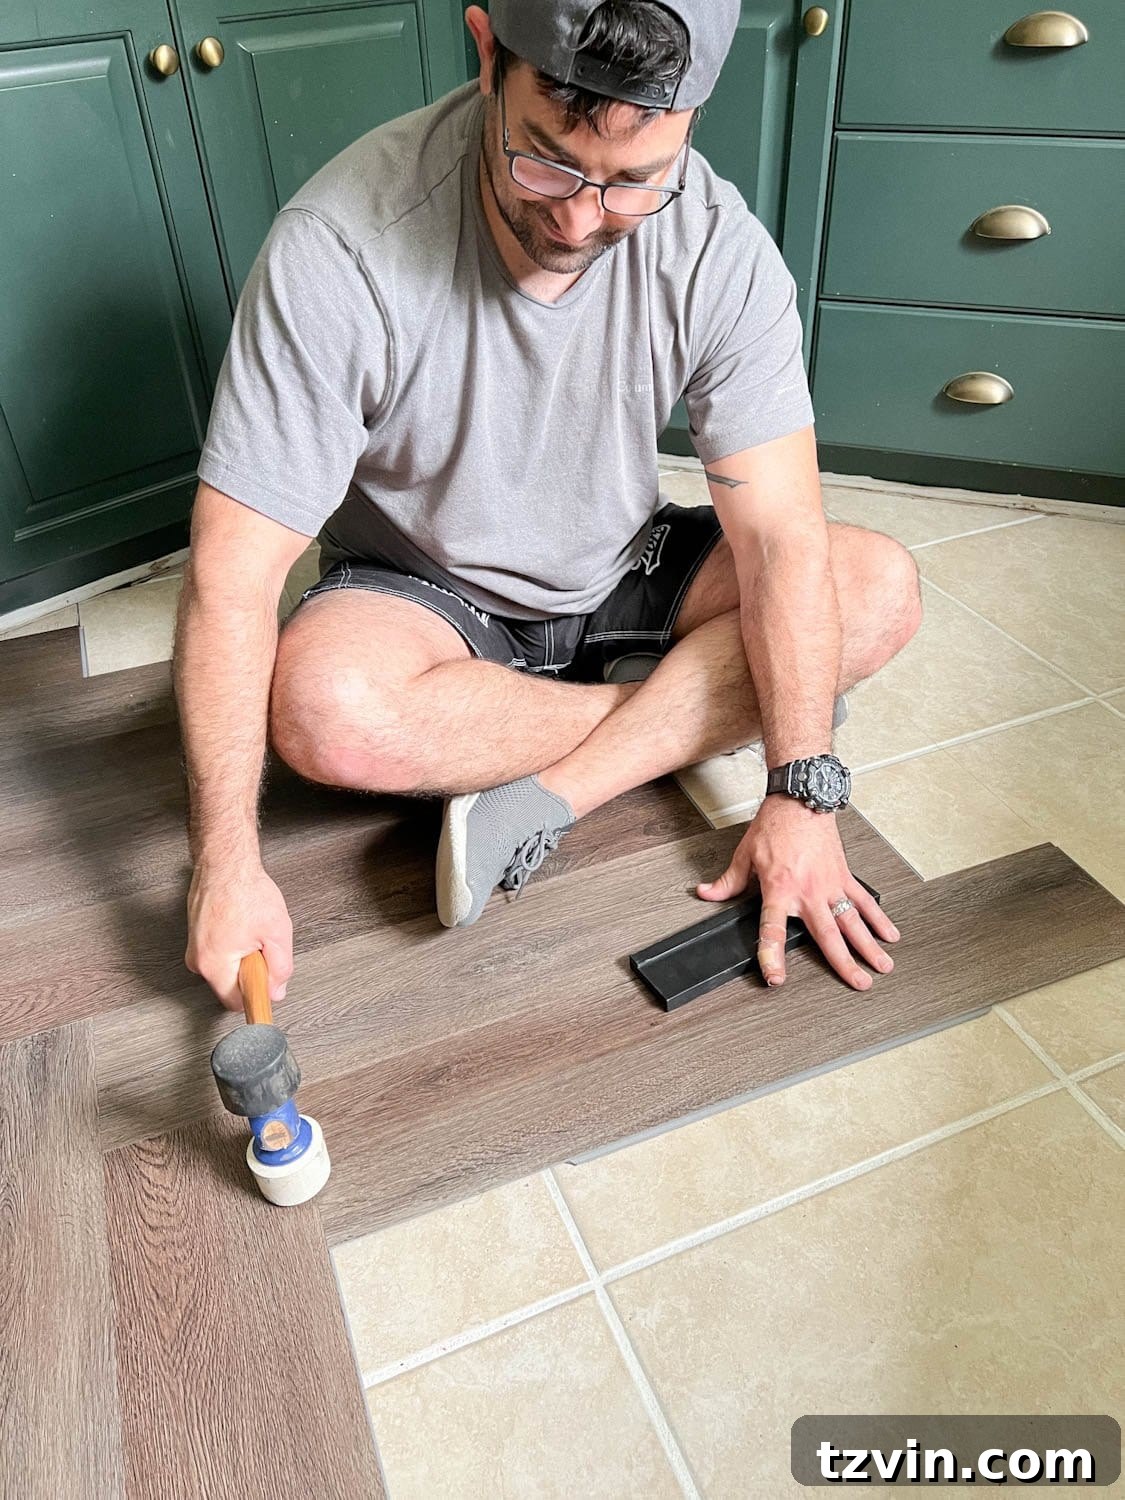
Step 8: Achieve a Natural Look by Varying Plank Patterns and Shades
To avoid a repetitive or artificial appearance, it’s crucial to vary the patterns and shades of your LVP planks. Don’t pull planks from just one box. Instead, open several boxes simultaneously and mix the planks. As you lay the floor, pay close attention to the pieces you select, ensuring that no two identical or very similar patterns/shades are placed side-by-side. This thoughtful approach creates a more organic, authentic wood floor aesthetic, enhancing the overall beauty and realism of your herringbone design.
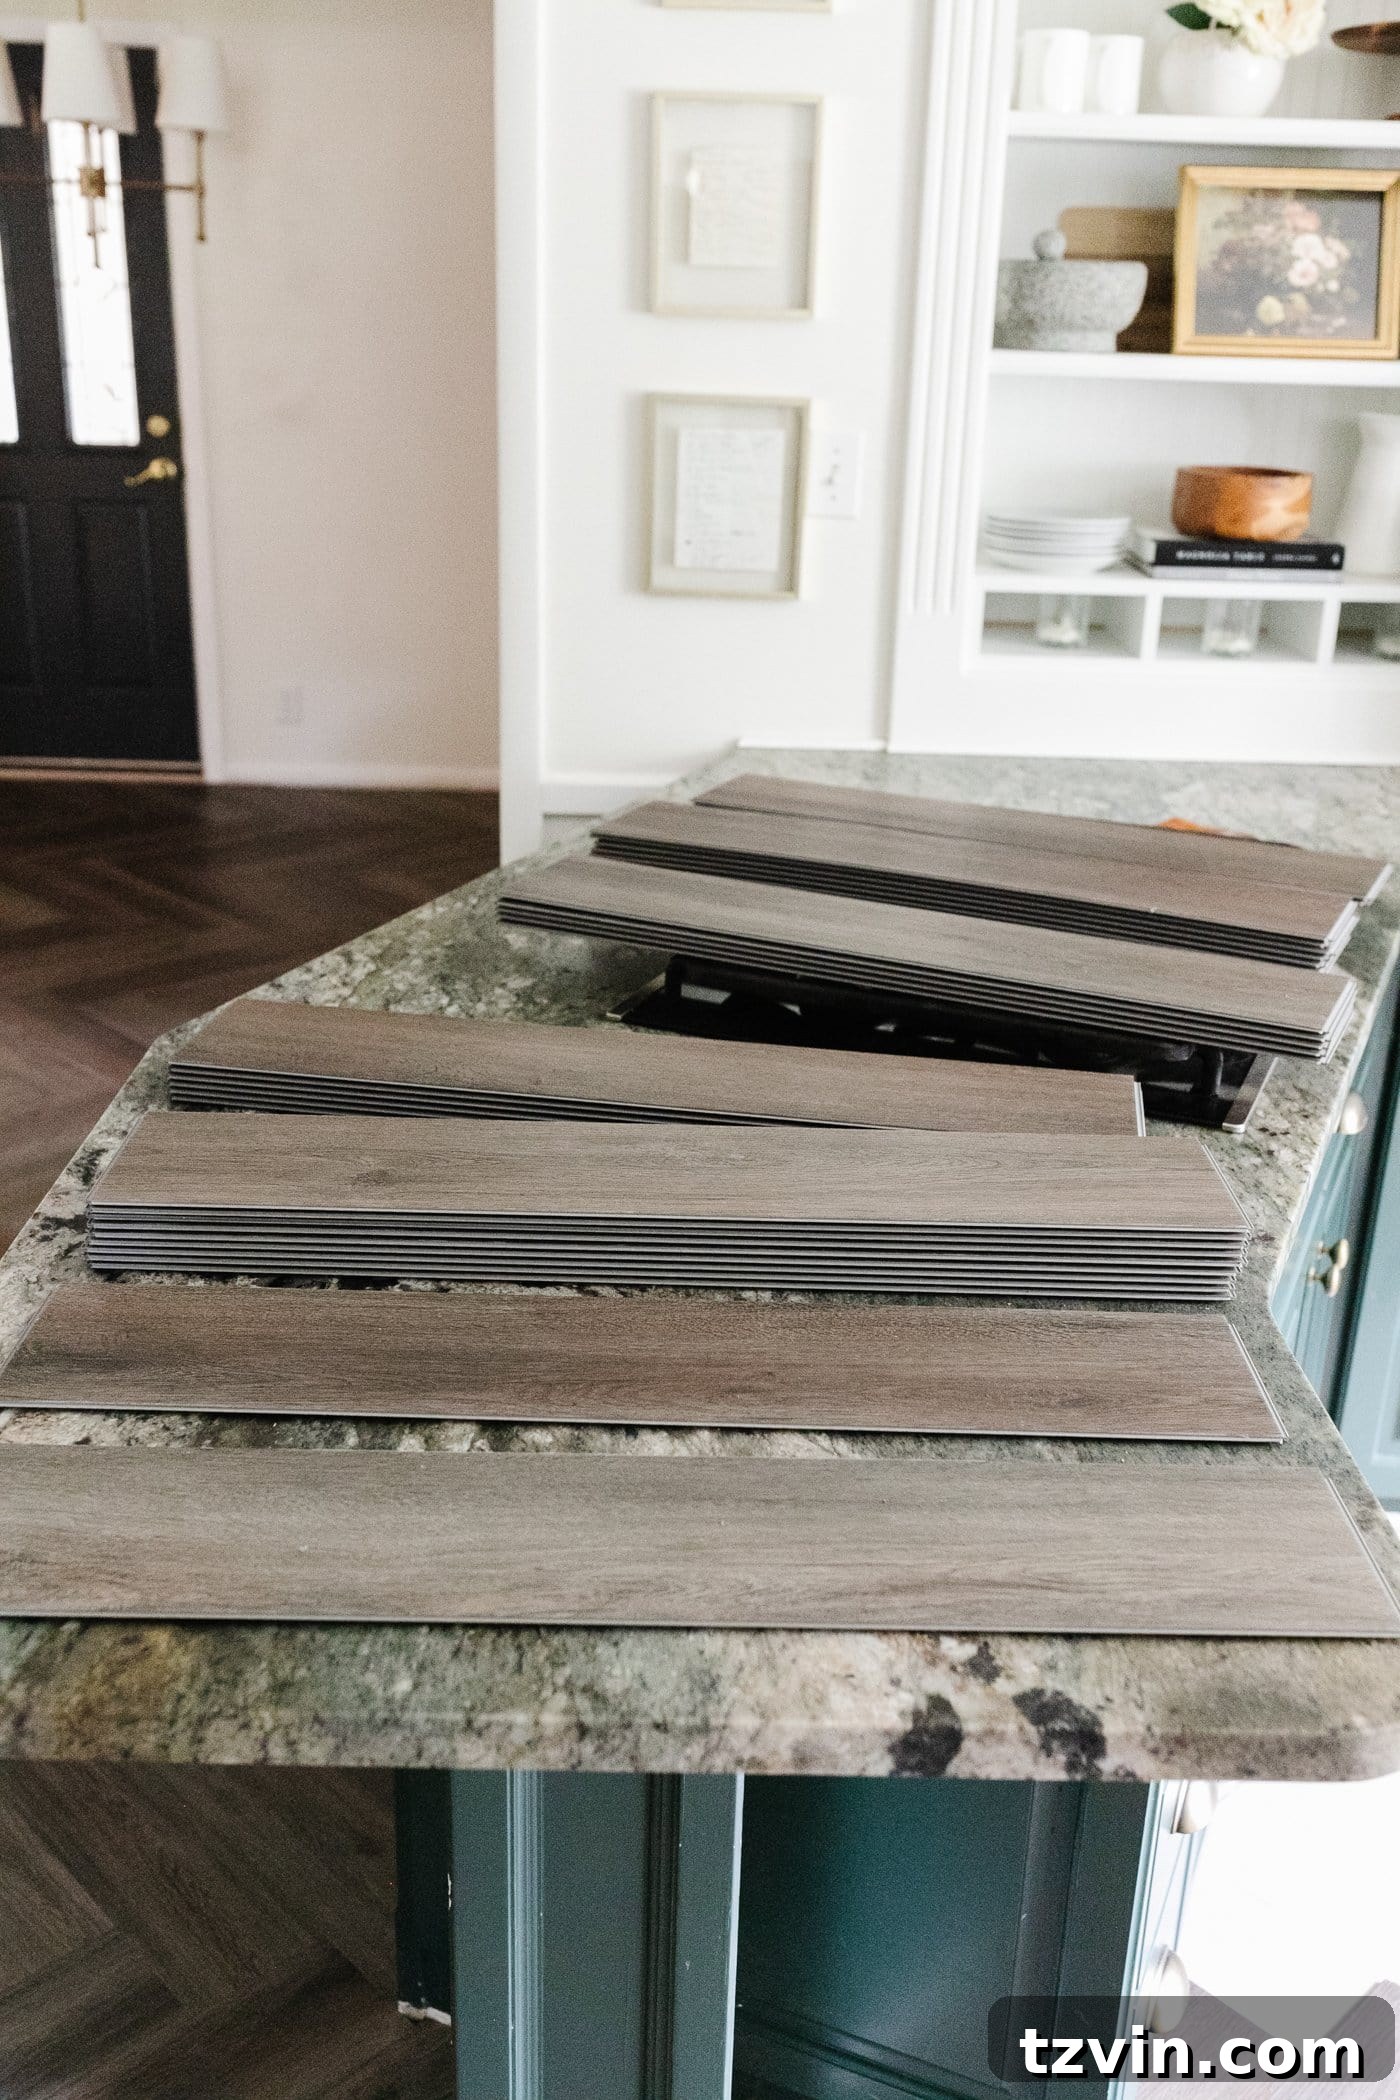
Step 9: Continue Laying Full Planks
Systematically repeat the process of laying, clicking, and locking full planks across the middle sections of the room. Maintain consistent alignment with your established guidelines and ensure each piece is snugly fitted and securely locked. This phase is generally the quickest as it involves fewer cuts, allowing you to build the core of your herringbone pattern efficiently.
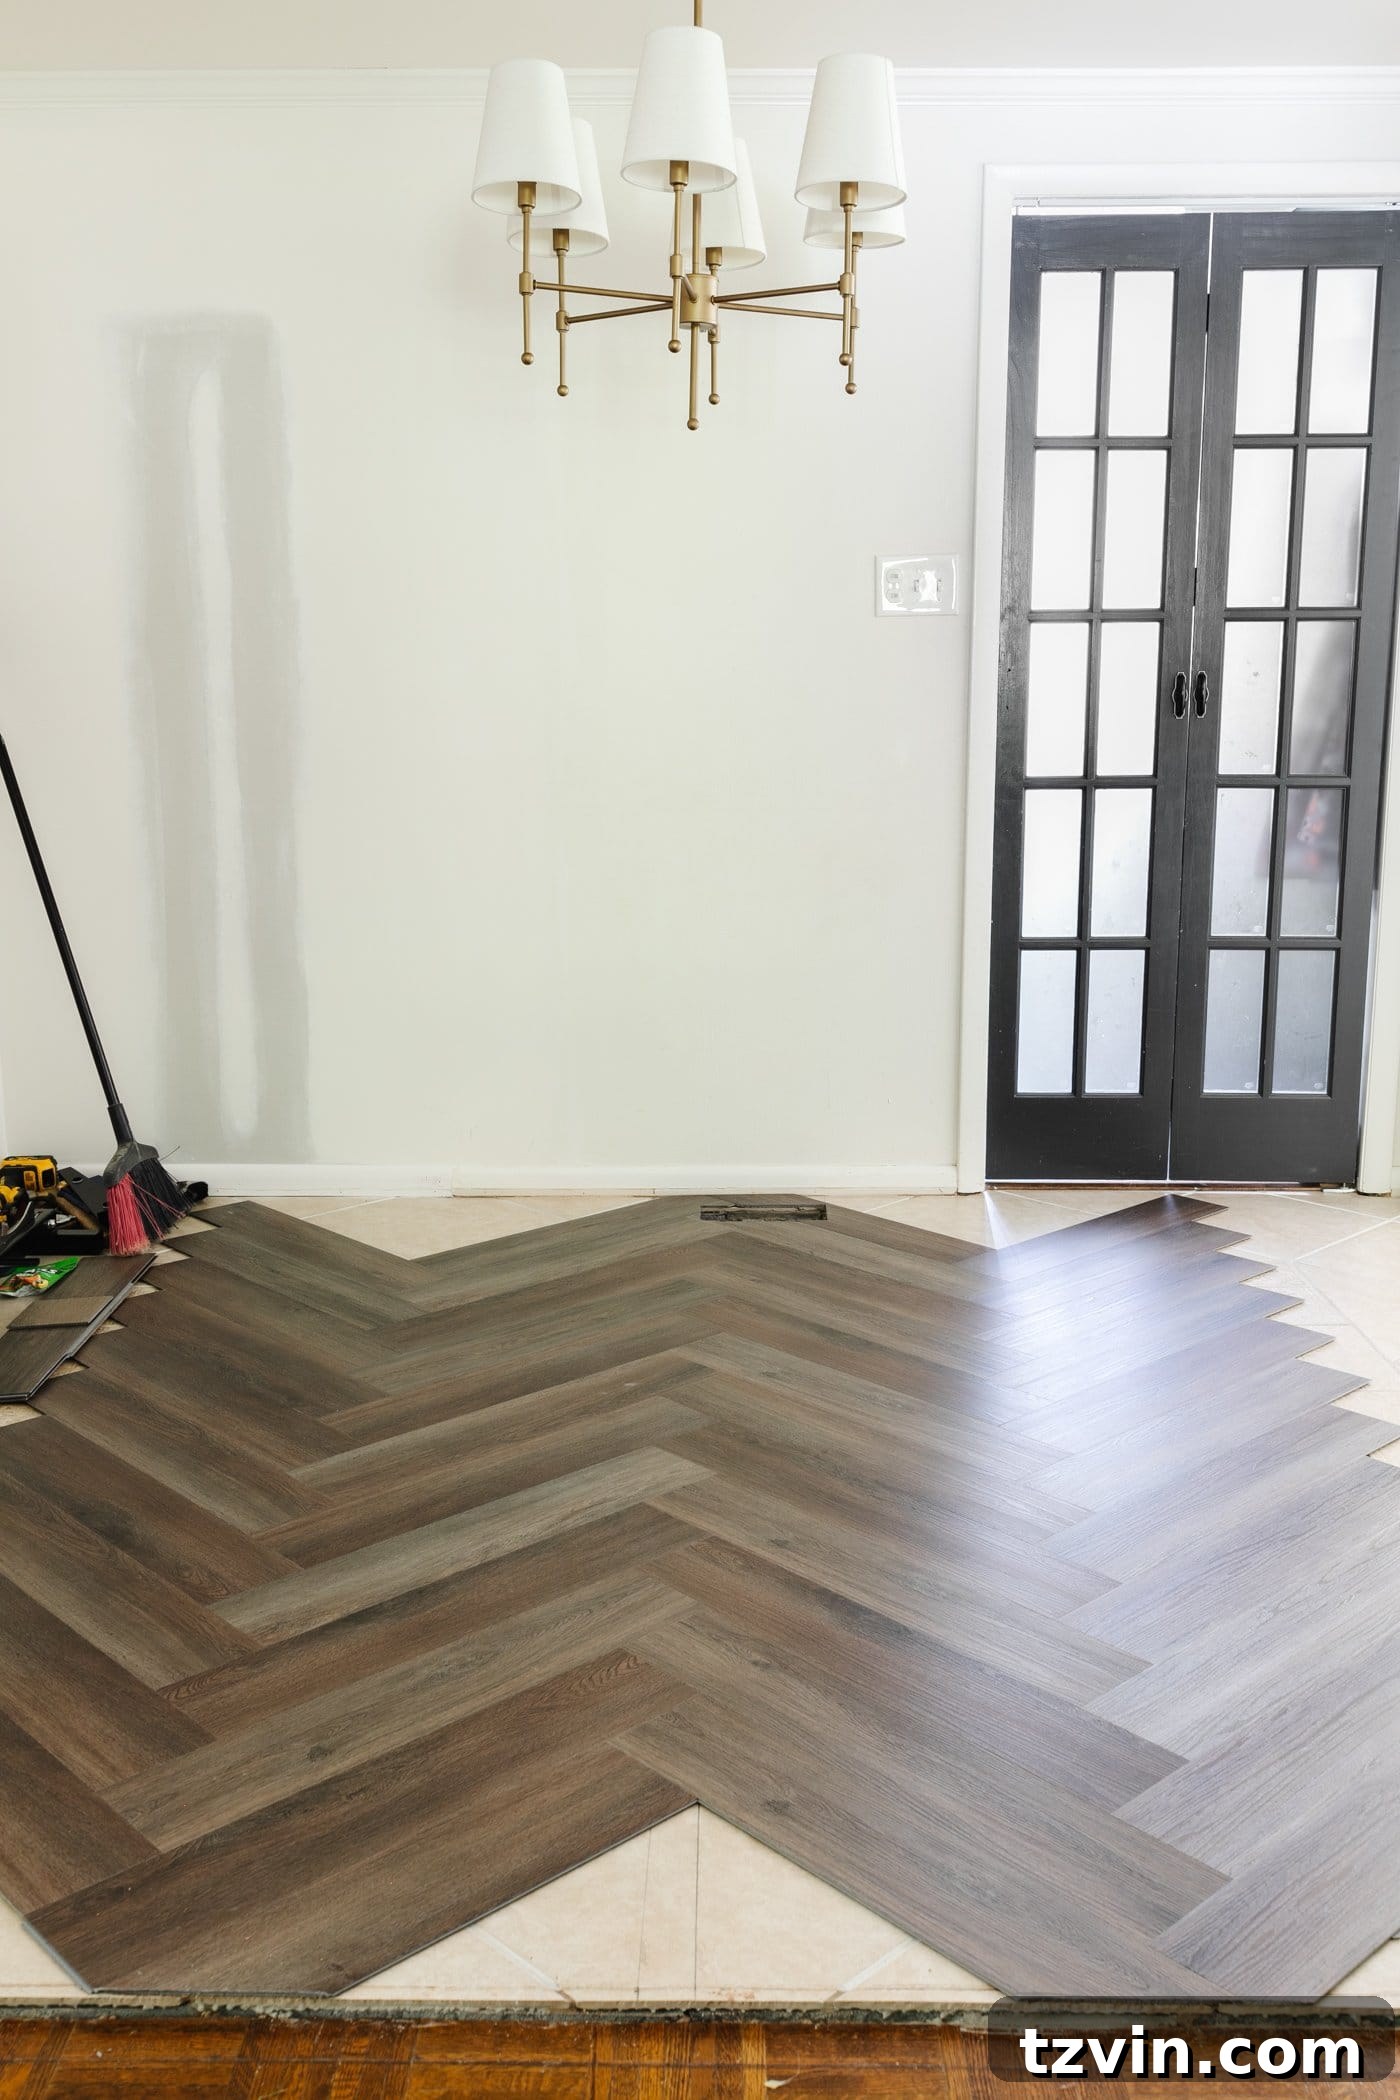
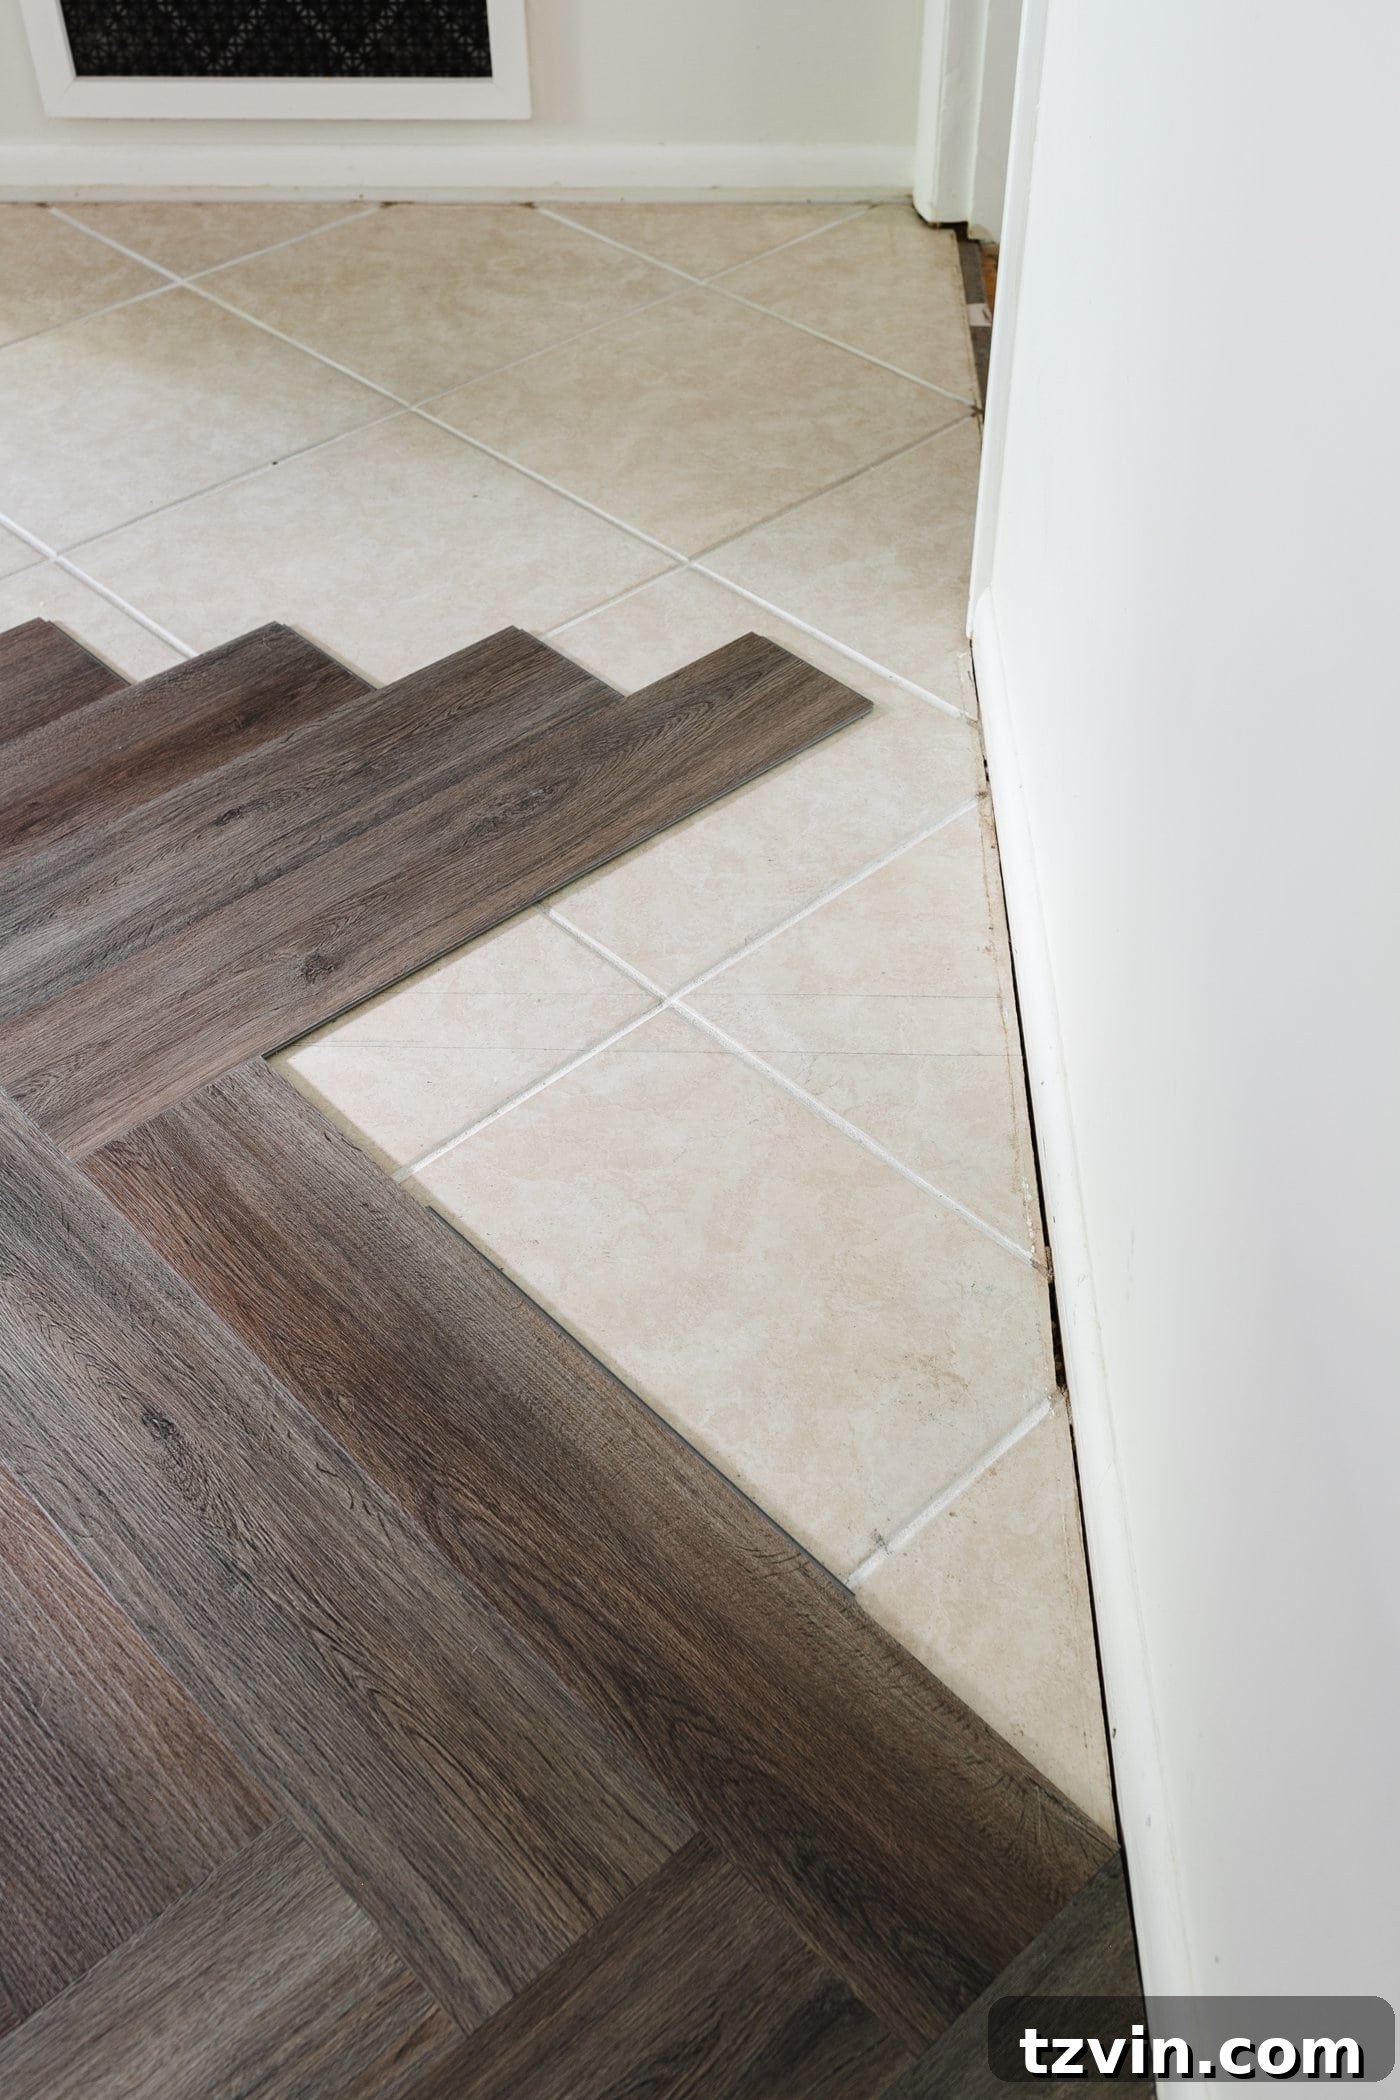
Step 10: Tackle Edges and Corners (The Challenging Phase)
Once the main body of the floor is laid, shift your focus to filling in the edges and corners of the room. This phase is typically the most challenging aspect of herringbone LVP installation, far more intricate than working with standard plank layouts due to the diagonal cuts required. However, the precise and polished final result is incredibly rewarding and well worth the extra effort. Patience and meticulous measuring are key here.
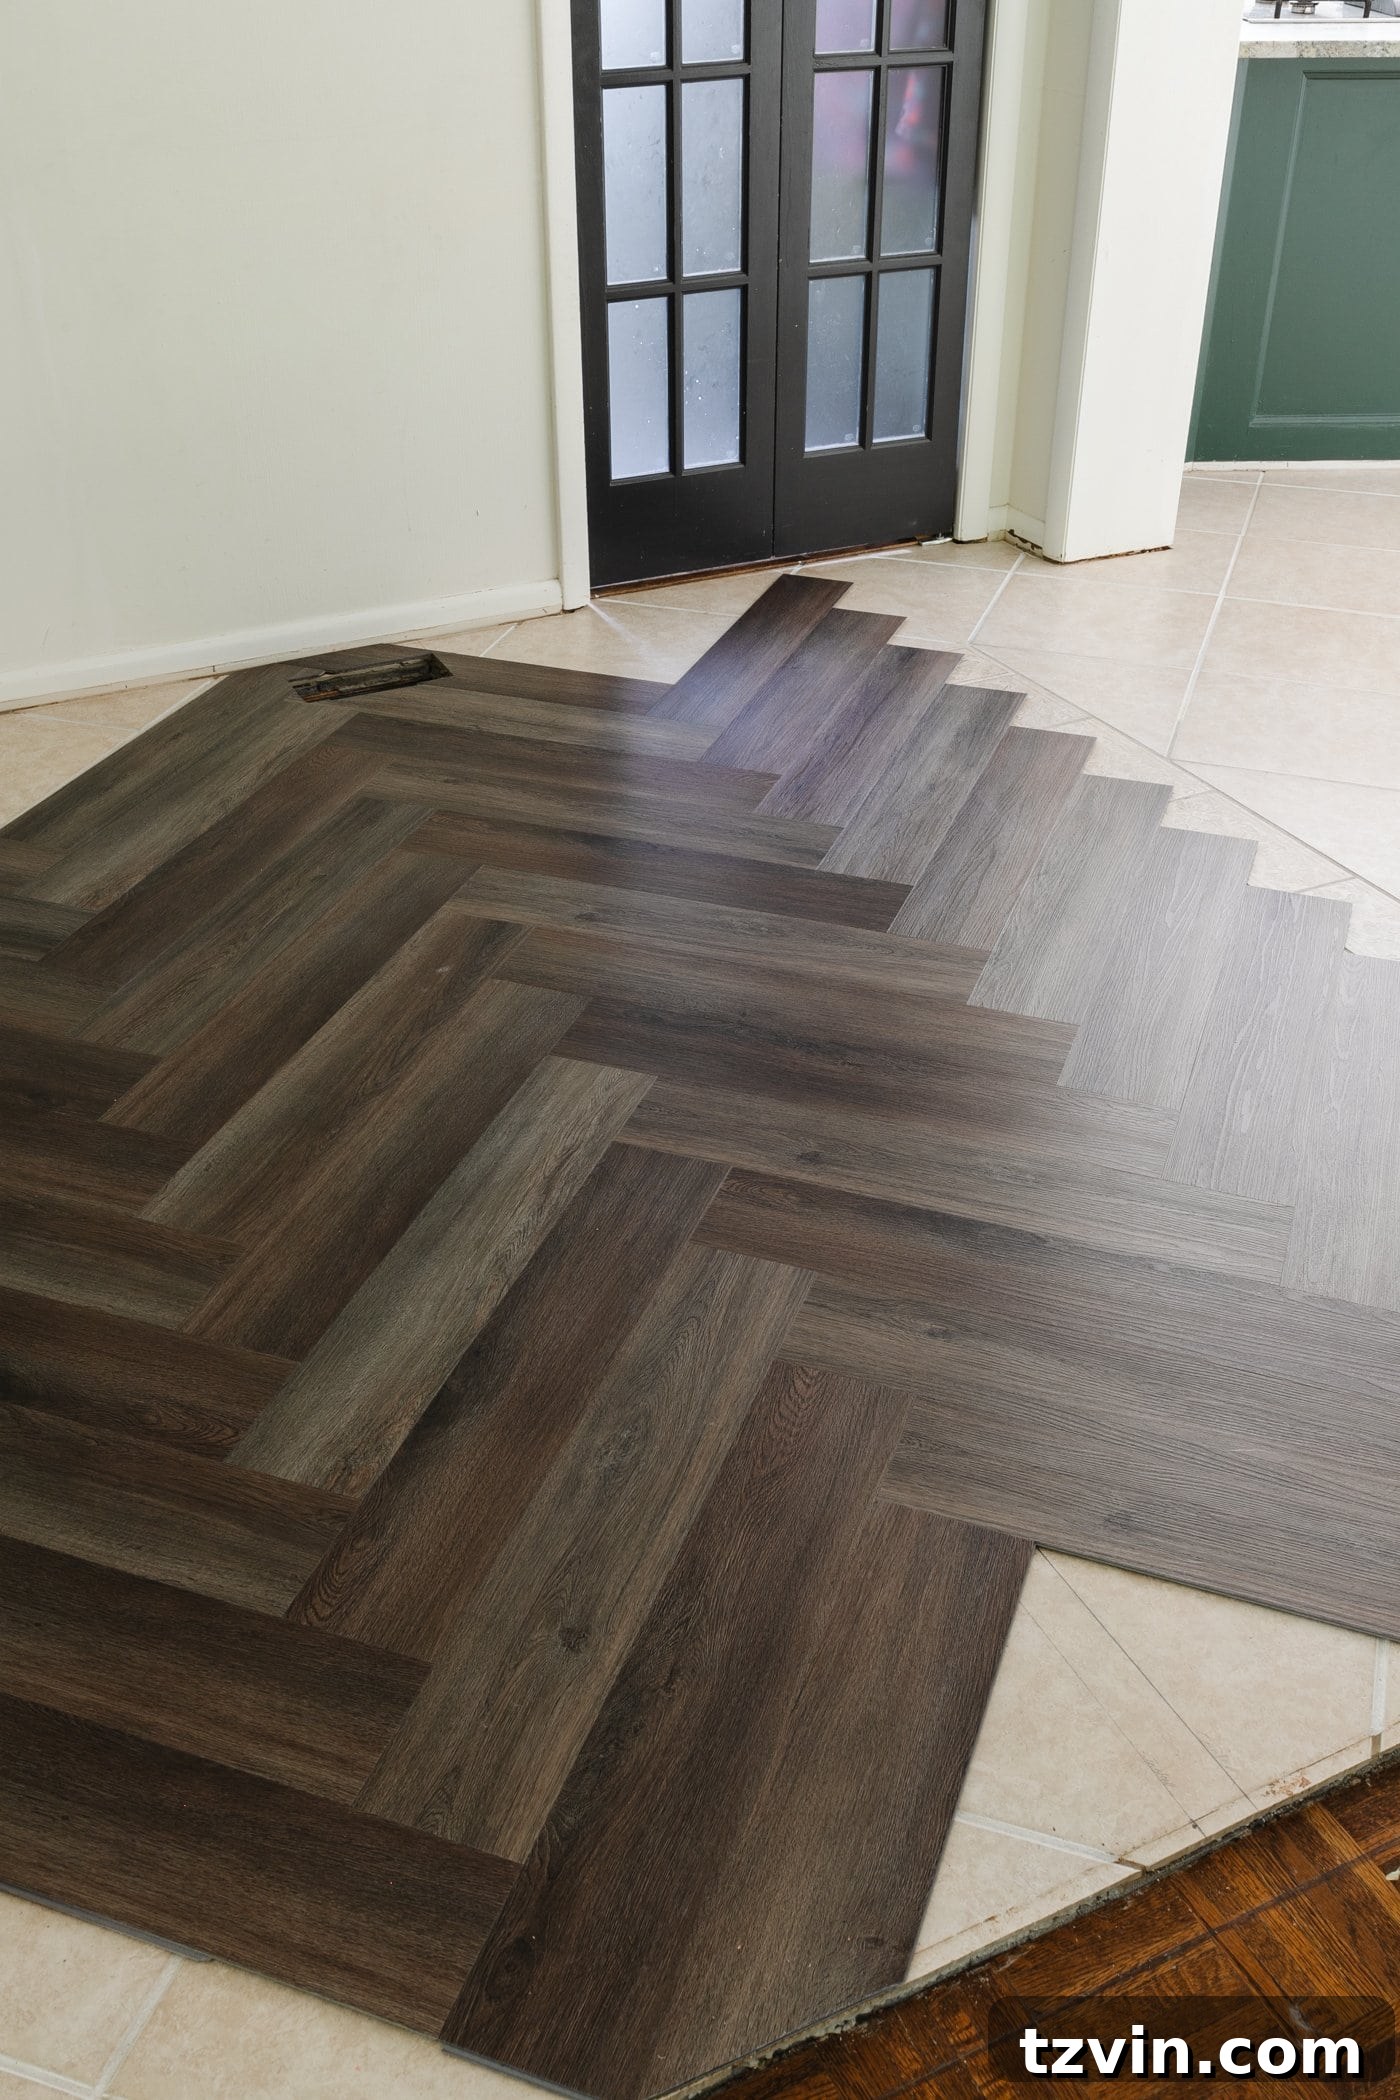
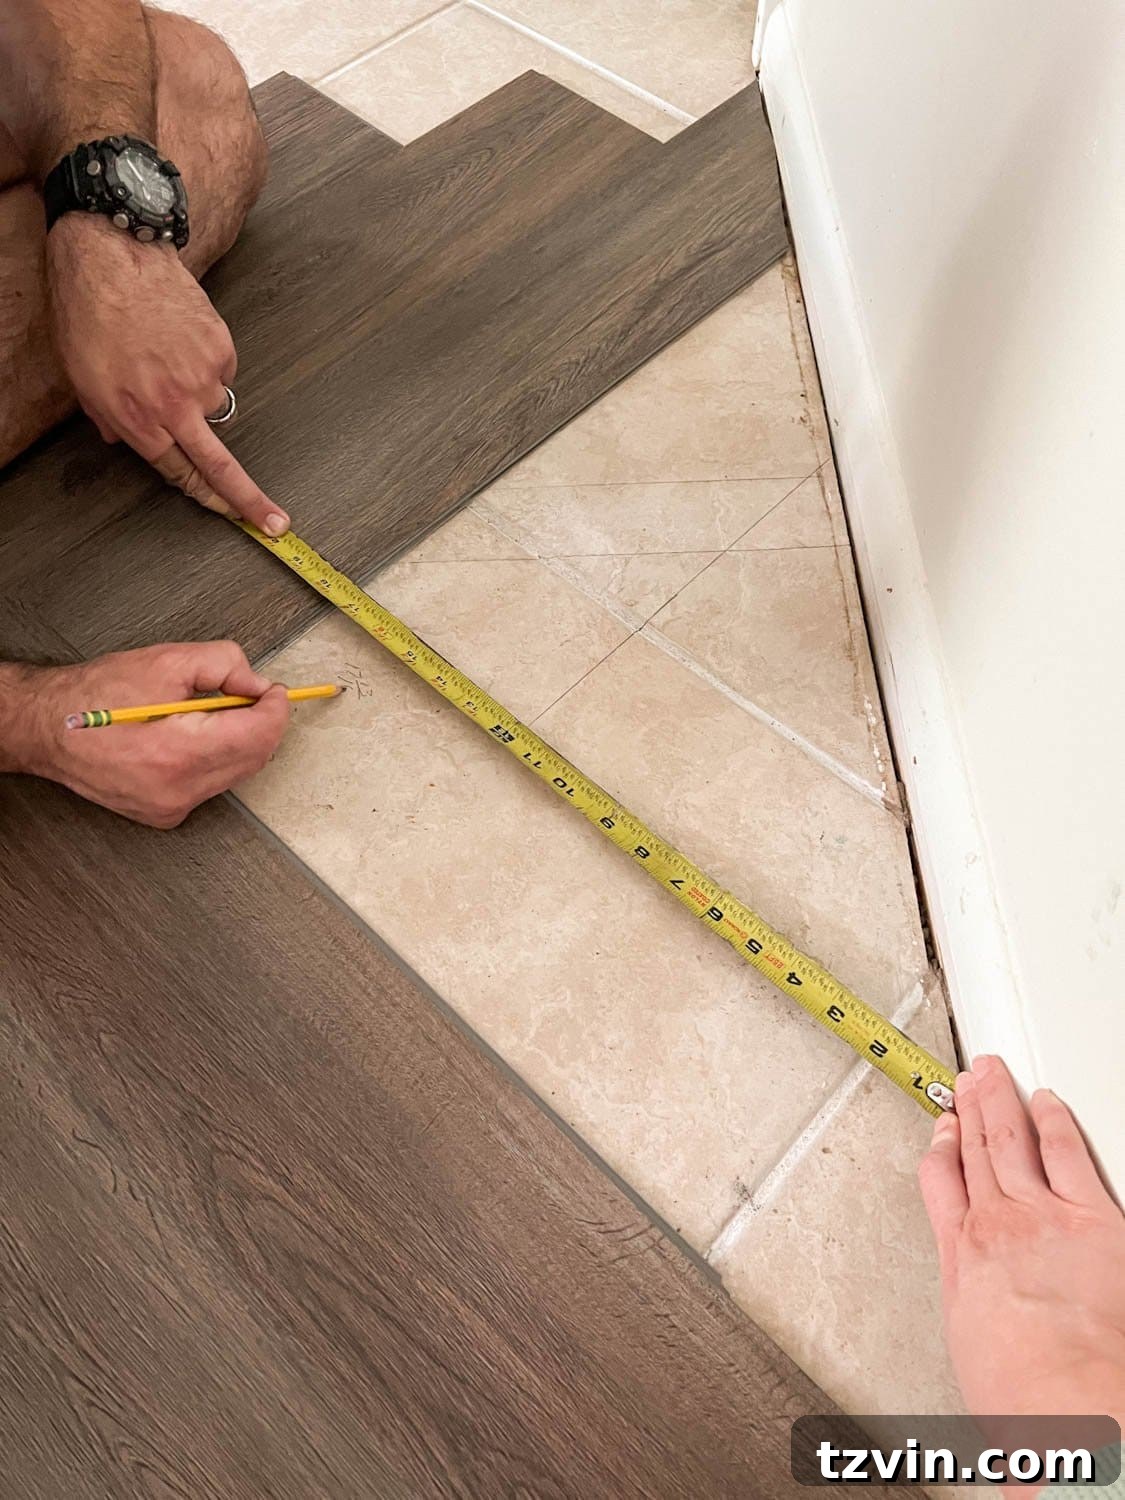
Step 11: Measure Distances to Walls
For each piece that needs to fit along an edge, accurately measure the distance from the last full plank to the wall. Take multiple measurements along the length of the gap to account for any slight inconsistencies in the wall’s straightness.
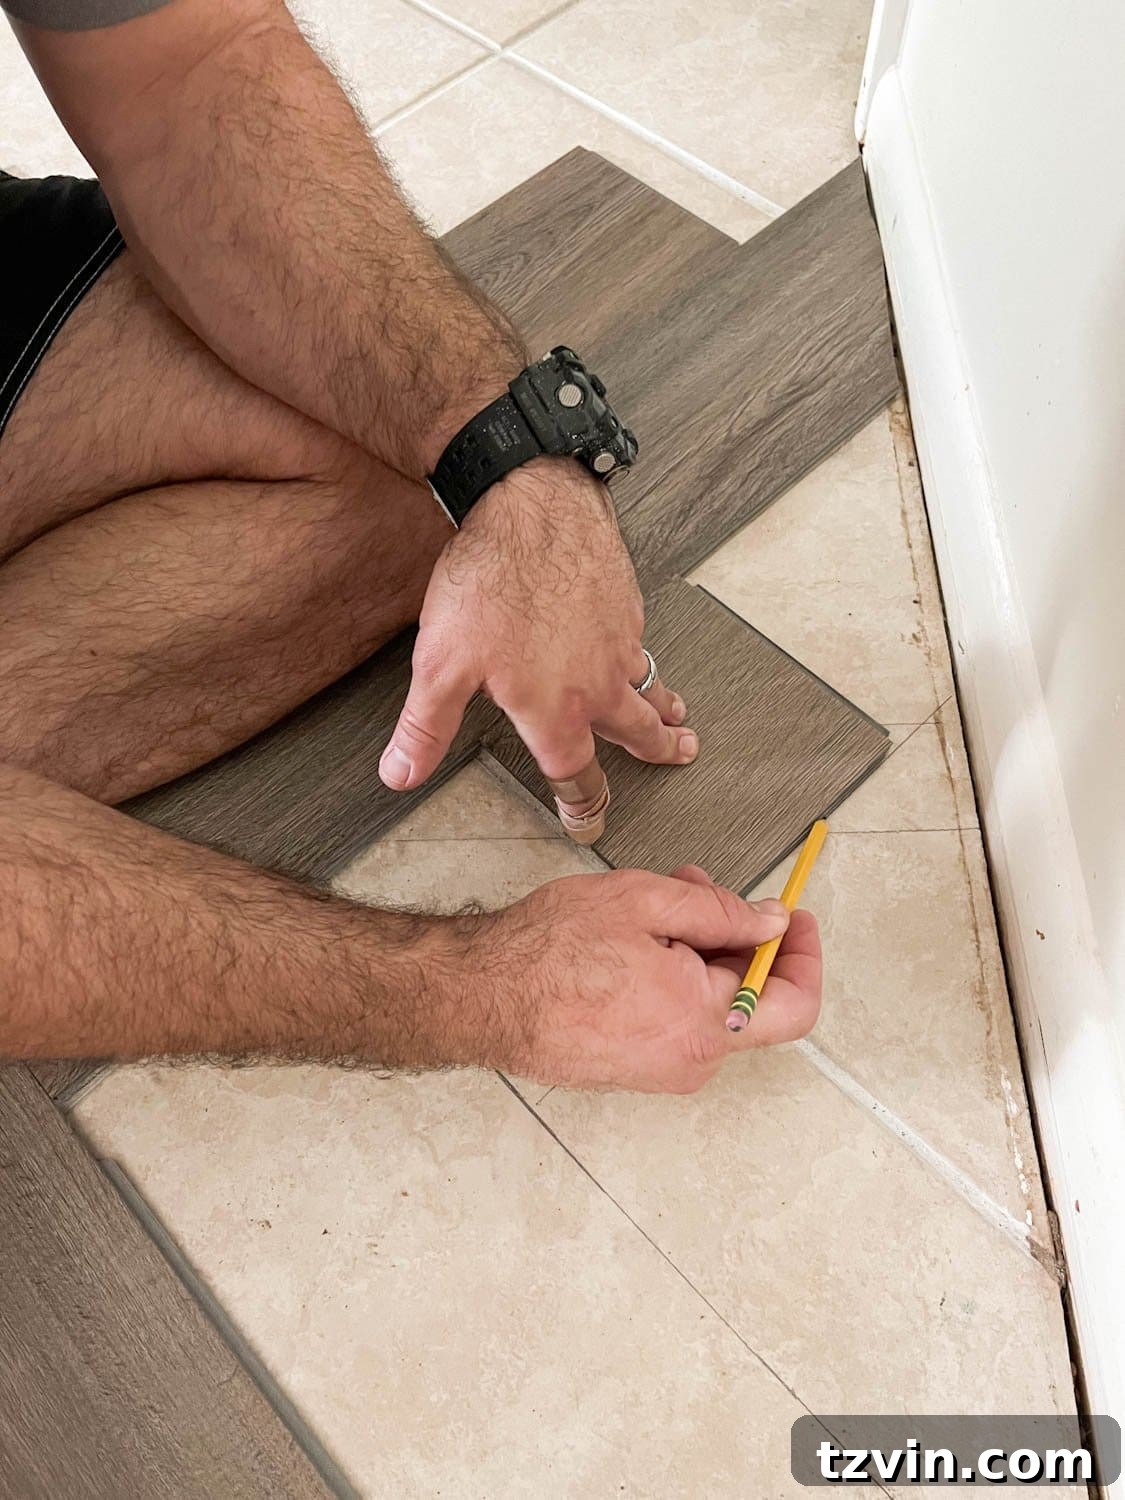
Step 12: Mark the Plank’s Required Width
Using a scrap piece of LVP as a spacer, mark the precise width needed for your edge piece. Align the spacer with the wall and transfer the measurement onto the new plank. This technique helps ensure consistent expansion gaps and accurate cuts.
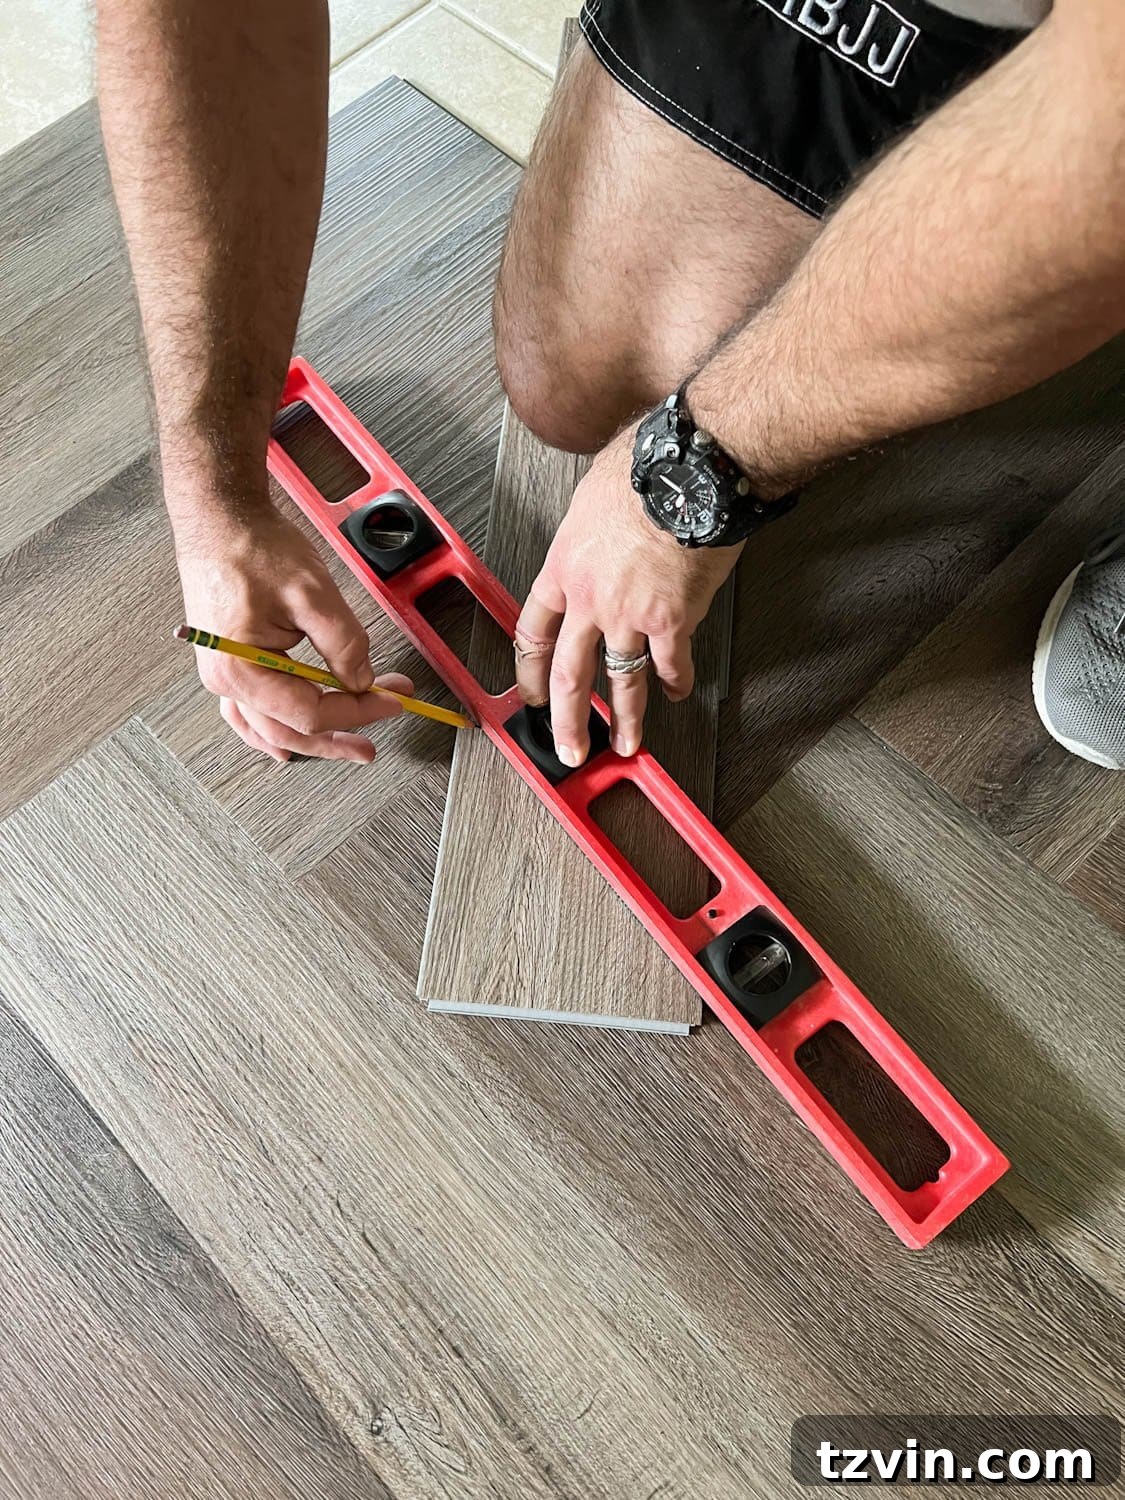
Step 13: Precisely Mark the Plank for Cutting
Combine the measurements from Step 11 (distance to the wall) and Step 12 (required width) to accurately mark the new plank. Use your speed square and pencil to draw clear, precise cut lines. Double-check all measurements before making any marks to minimize errors.
Step 14: Execute the Cut
With your lines clearly marked, use a jigsaw equipped with a carbide blade to carefully cut the plank. Carbide blades are essential for clean cuts through LVP without fraying or excessive dust. Always wear safety glasses and a dust mask during this step. Take your time to follow the lines precisely for a snug fit.
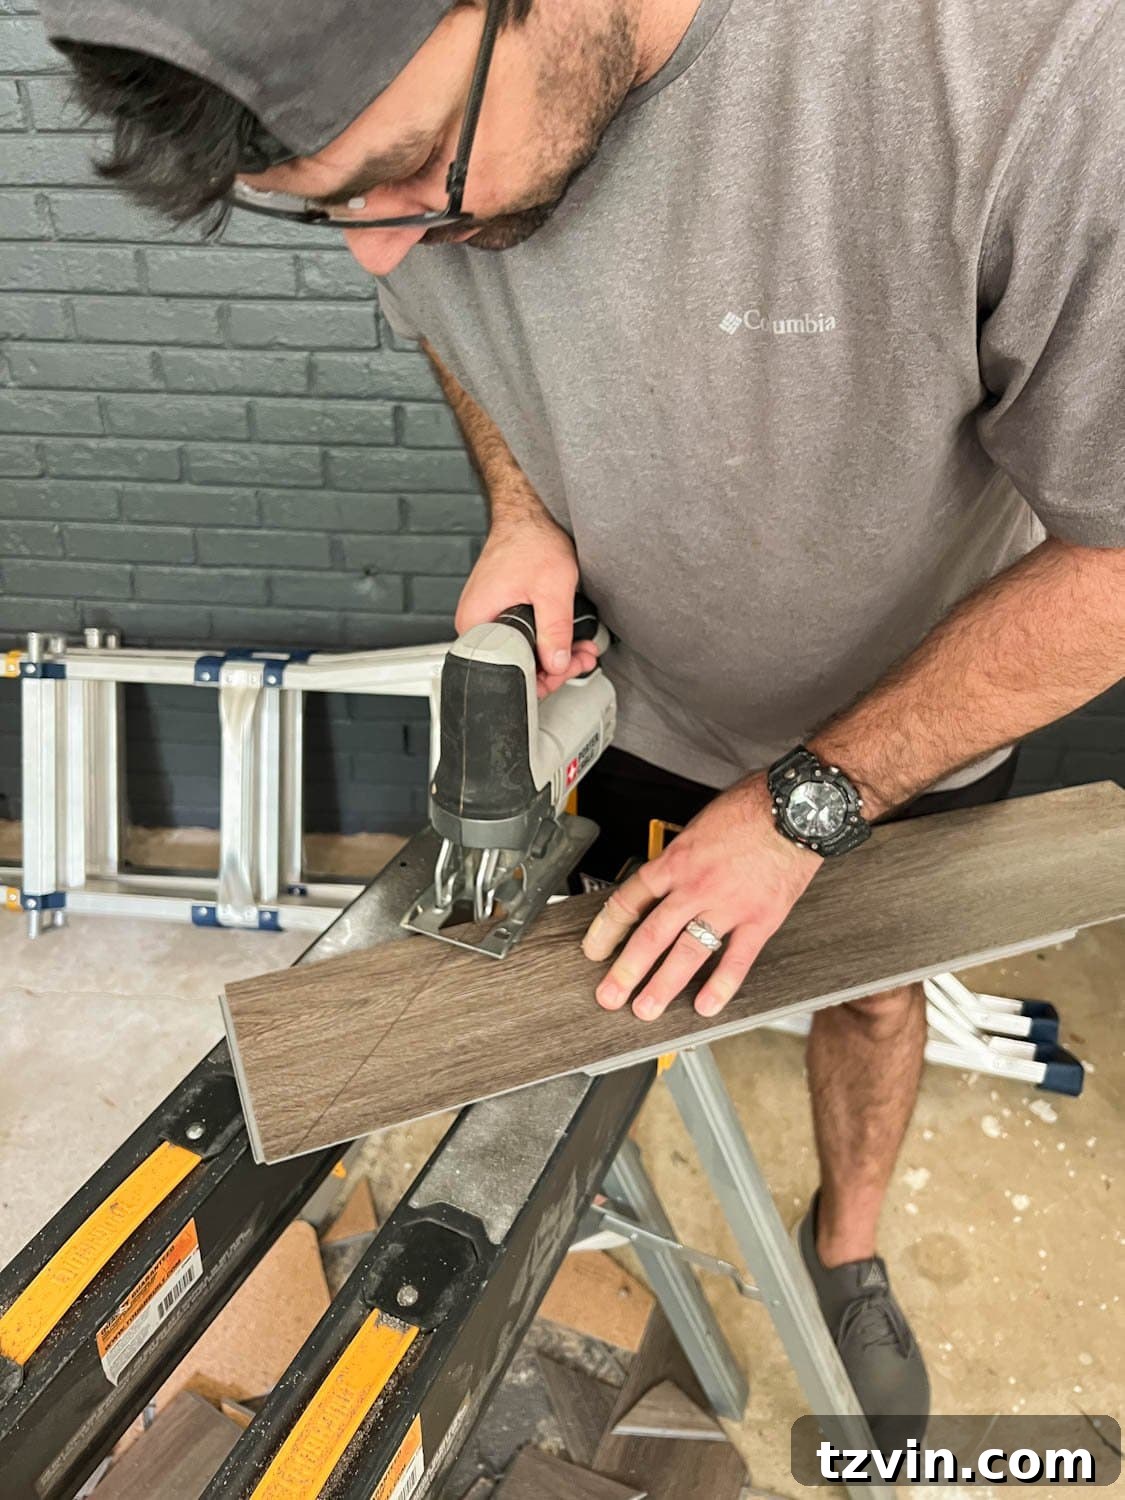
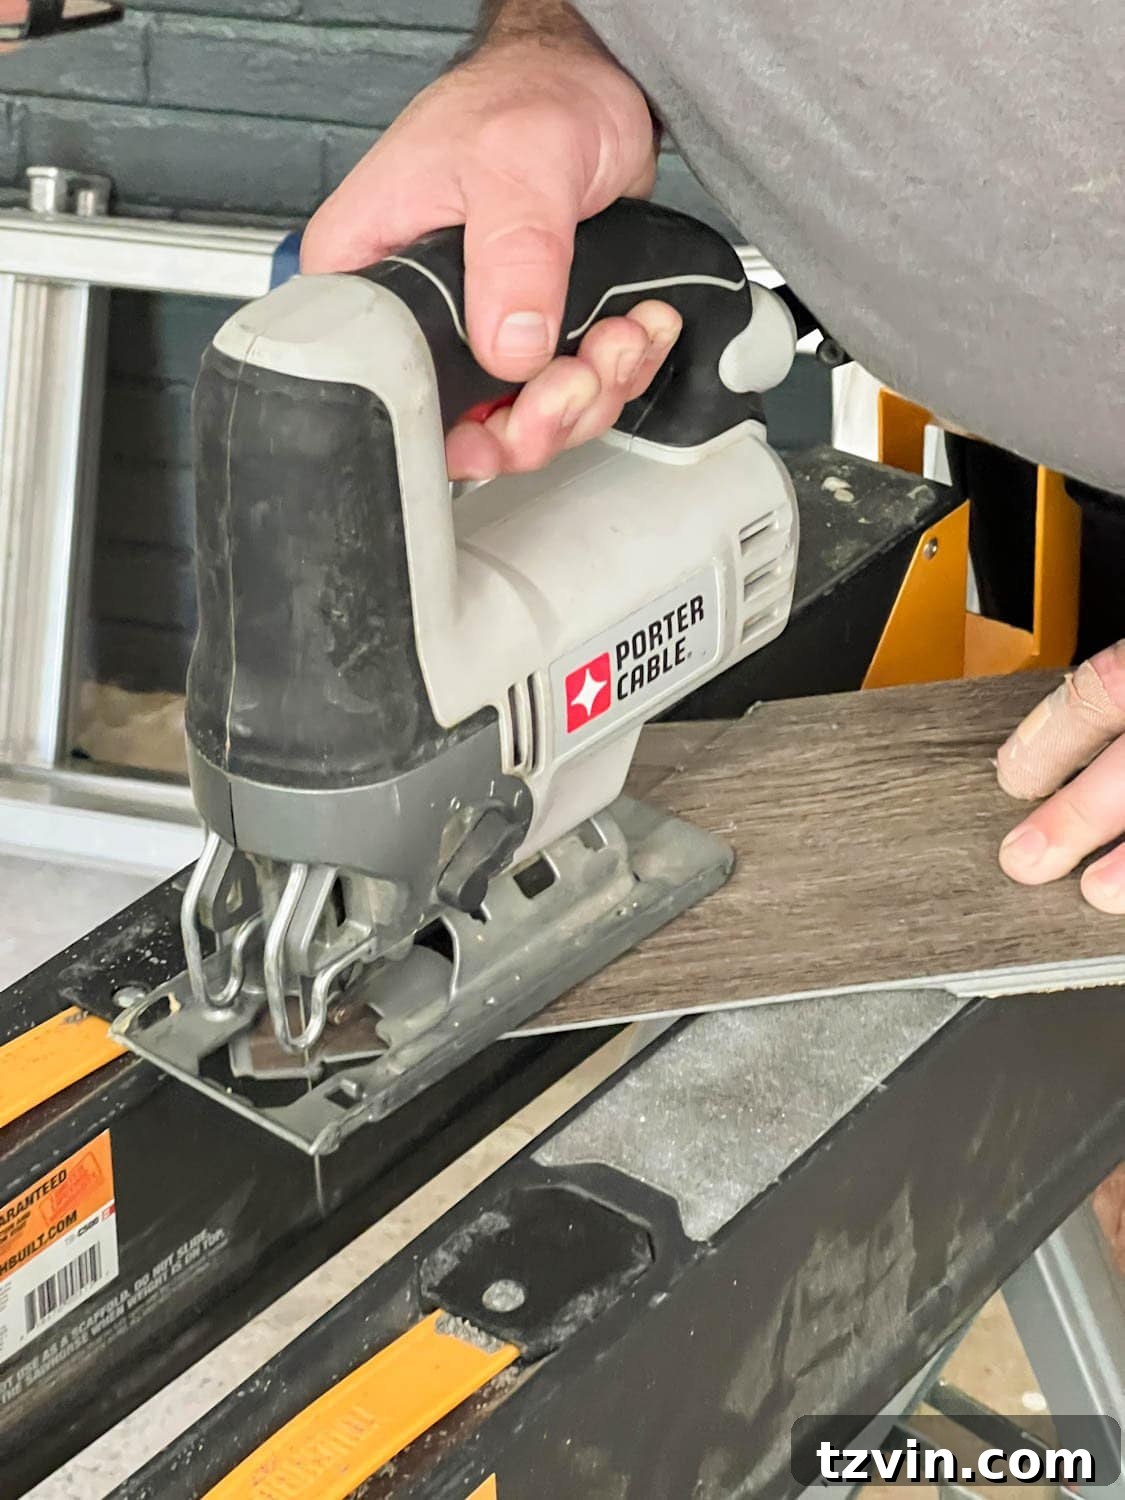
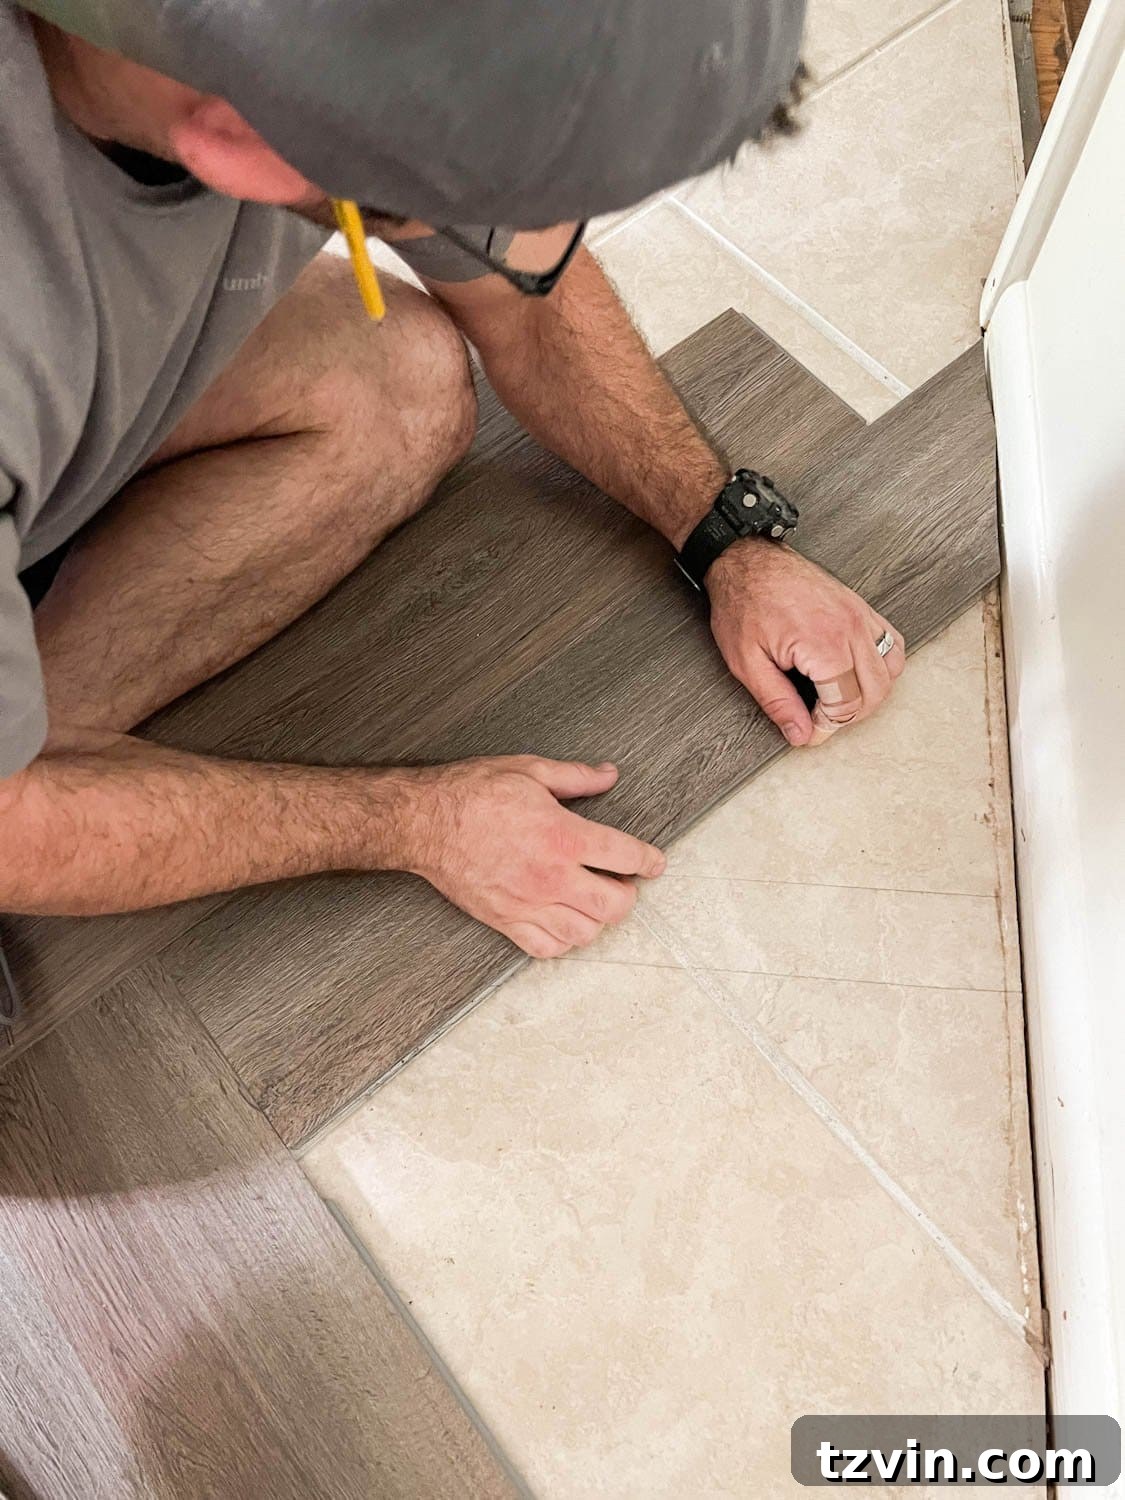
Step 15: Complete the Room with Edges and Obstacles
Continue to systematically fill in all remaining edges and corners of the room, meticulously measuring and cutting each plank as described in the previous steps. This also includes working around any permanent obstacles such as floor vents, cabinets, or irregular architectural features. Take your time, re-measure as needed, and make precise cuts to ensure a tight, professional finish throughout the entire space. The meticulous attention to detail in this stage will significantly impact the final appearance of your herringbone floor.
Step 16: Install Transition Strips
In any doorways where your LVP flooring meets another type of flooring, carefully install the appropriate transition strips. These strips provide a clean, professional finish and bridge any height differences between the two flooring materials. Most LVP transition strips are designed to snap securely into a track that’s anchored to the subfloor.
Step 17: Reattach Shoe Molding for a Polished Finish
Once all the flooring planks are securely installed, reattach the shoe molding onto your baseboards. This molding serves a crucial purpose: it covers any rough cut edges along the perimeter of the floor, creating a refined and finished look. Use a finish nailer for quick and easy attachment, or a hammer and brad nails if you don’t have a nailer. After reattaching, you can caulk any gaps and paint the shoe molding to match your trim, completing the transformation.
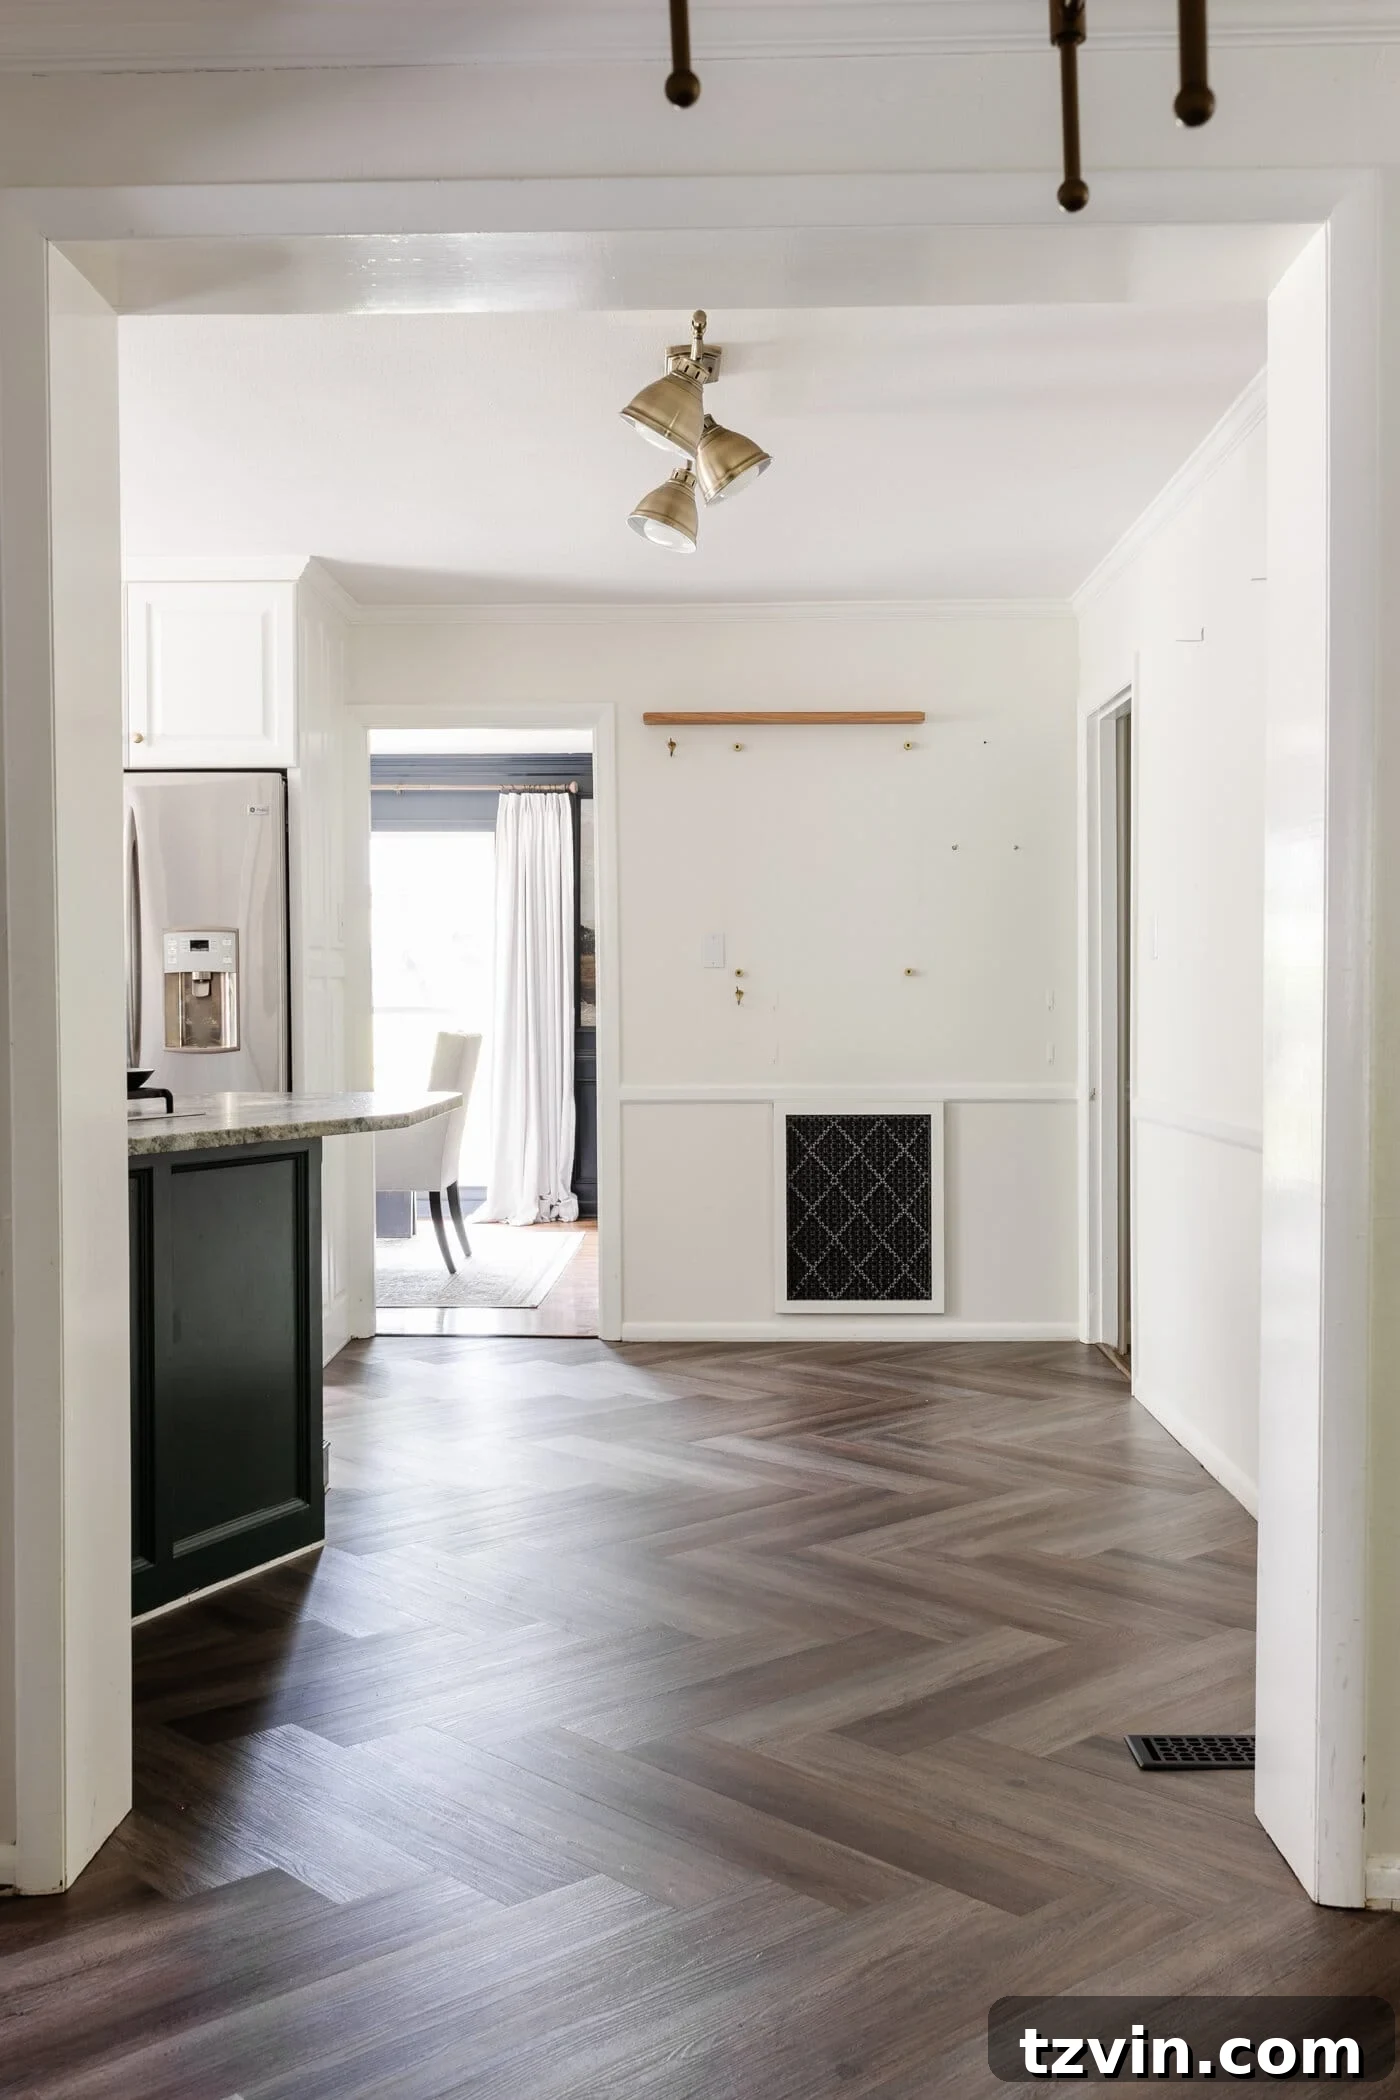
The Dazzling Outcome: Our Finished Herringbone LVP Floating Floor!
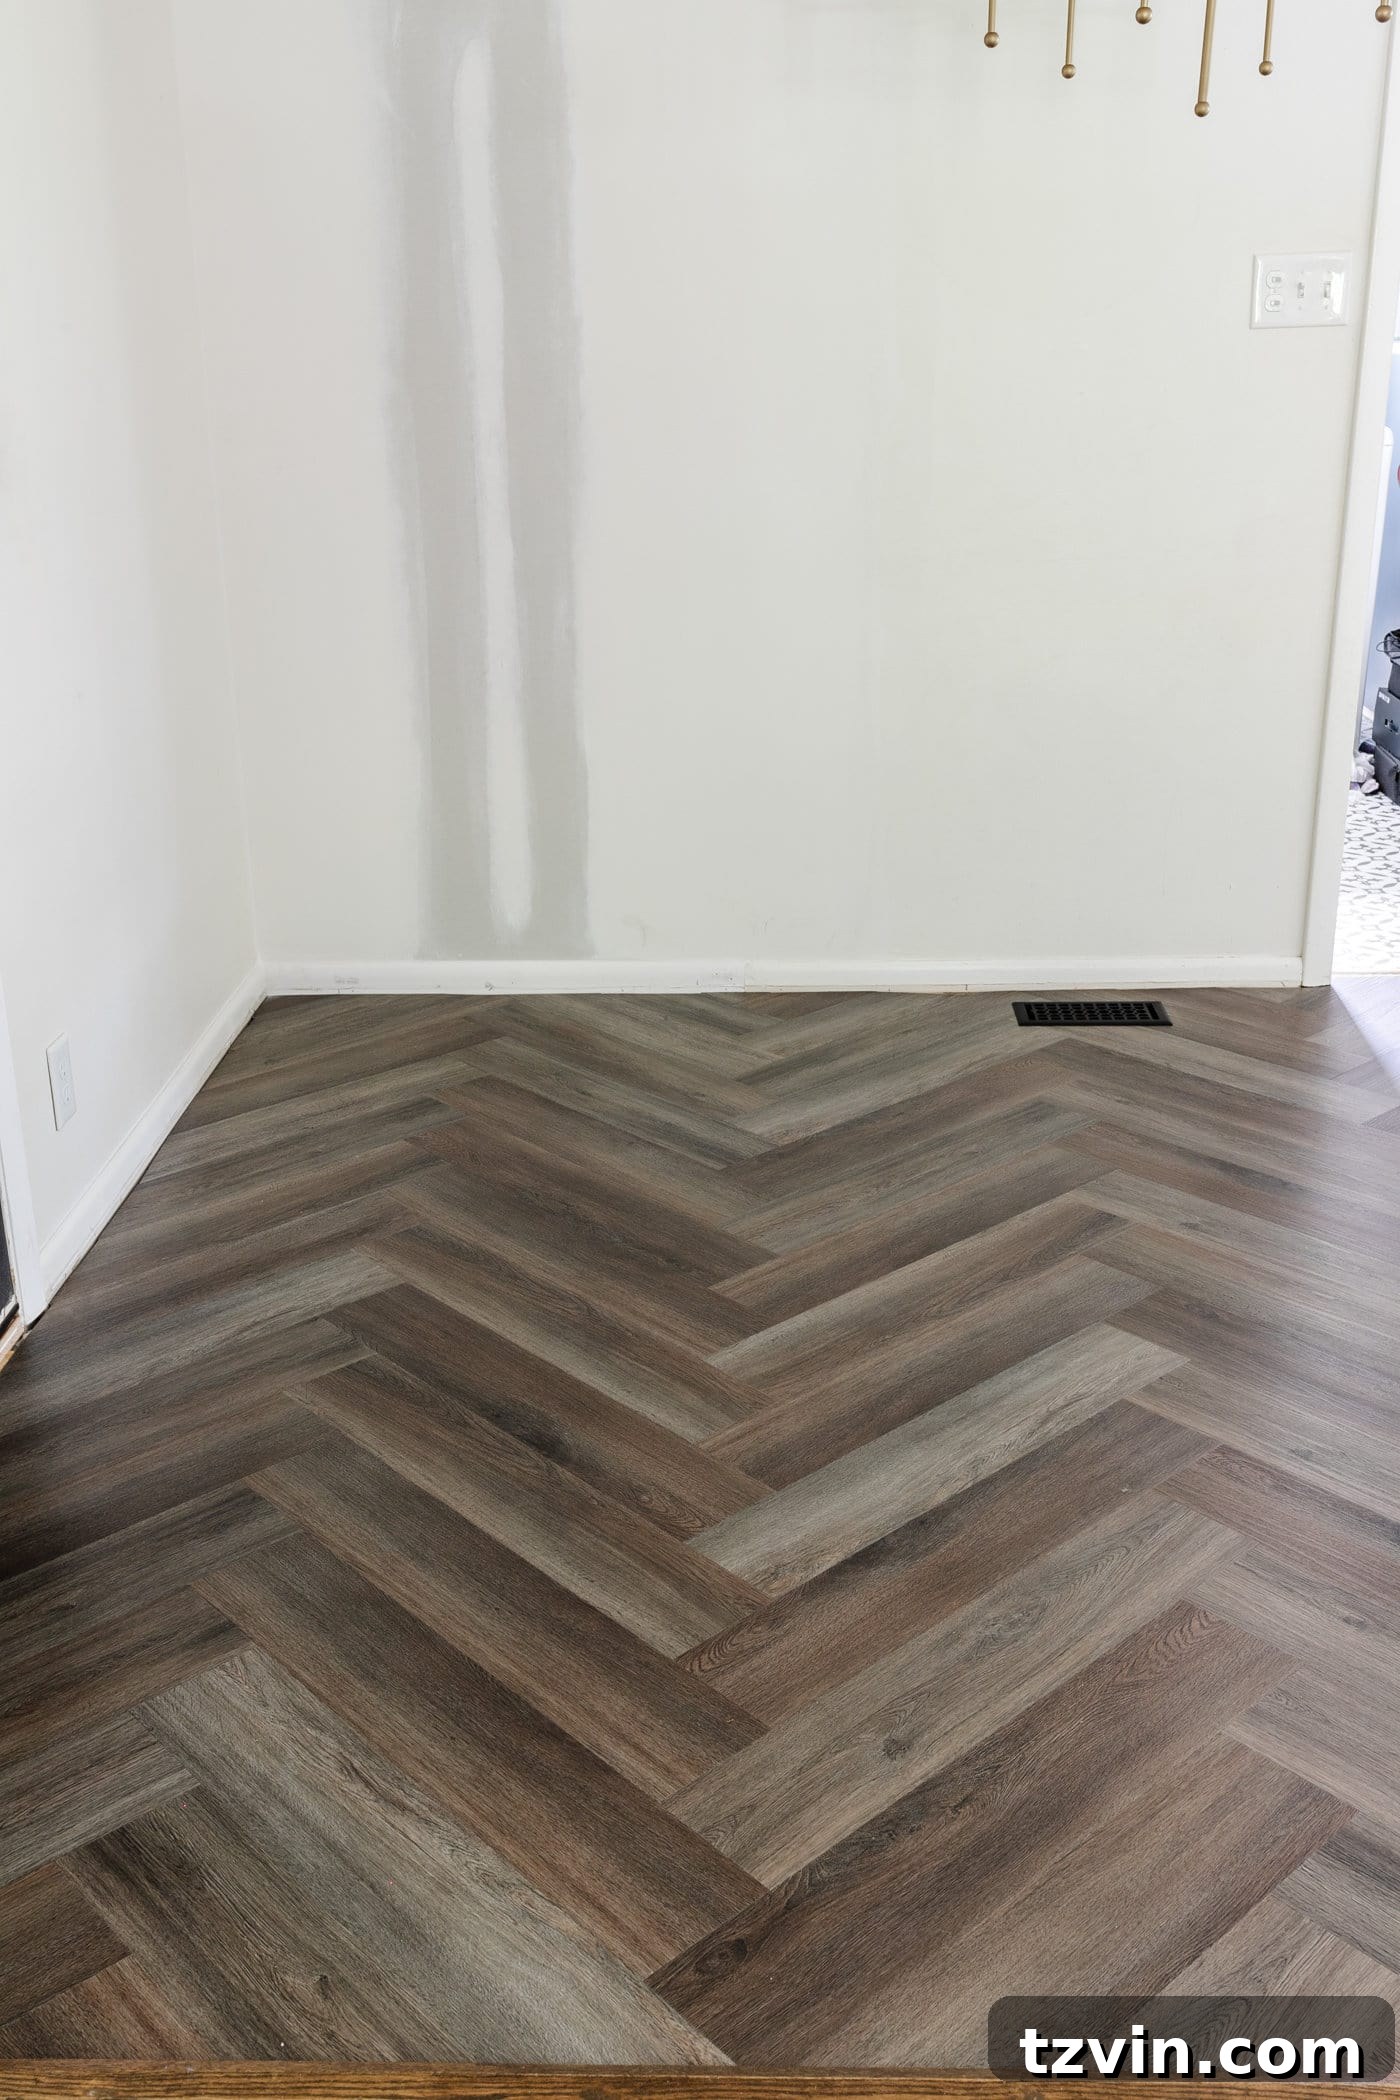
Can you believe the incredible transformation? The difference between the old, outdated beige tile and these stunning herringbone floors is absolutely monumental! It truly feels as if we’ve stepped into an entirely new room, filled with beautiful contrast and sophisticated charm. The choice of herringbone vinyl floor has undeniably elevated the space, providing a distinctive upgrade compared to a standard plank installation.
Beyond its striking appearance, the practicality of this flooring is a game-changer. Being completely waterproof, I no longer have to worry about accidental spills or the potential for a leaky dishwasher causing irreparable damage. This peace of mind is invaluable, especially in a busy kitchen environment.
Looking back, I genuinely can’t believe it took us this long to make such an impactful change. This project has exceeded all expectations, and I find myself wondering why we didn’t tackle it much sooner. I am utterly thrilled with the result and the fresh, inviting atmosphere it has created.
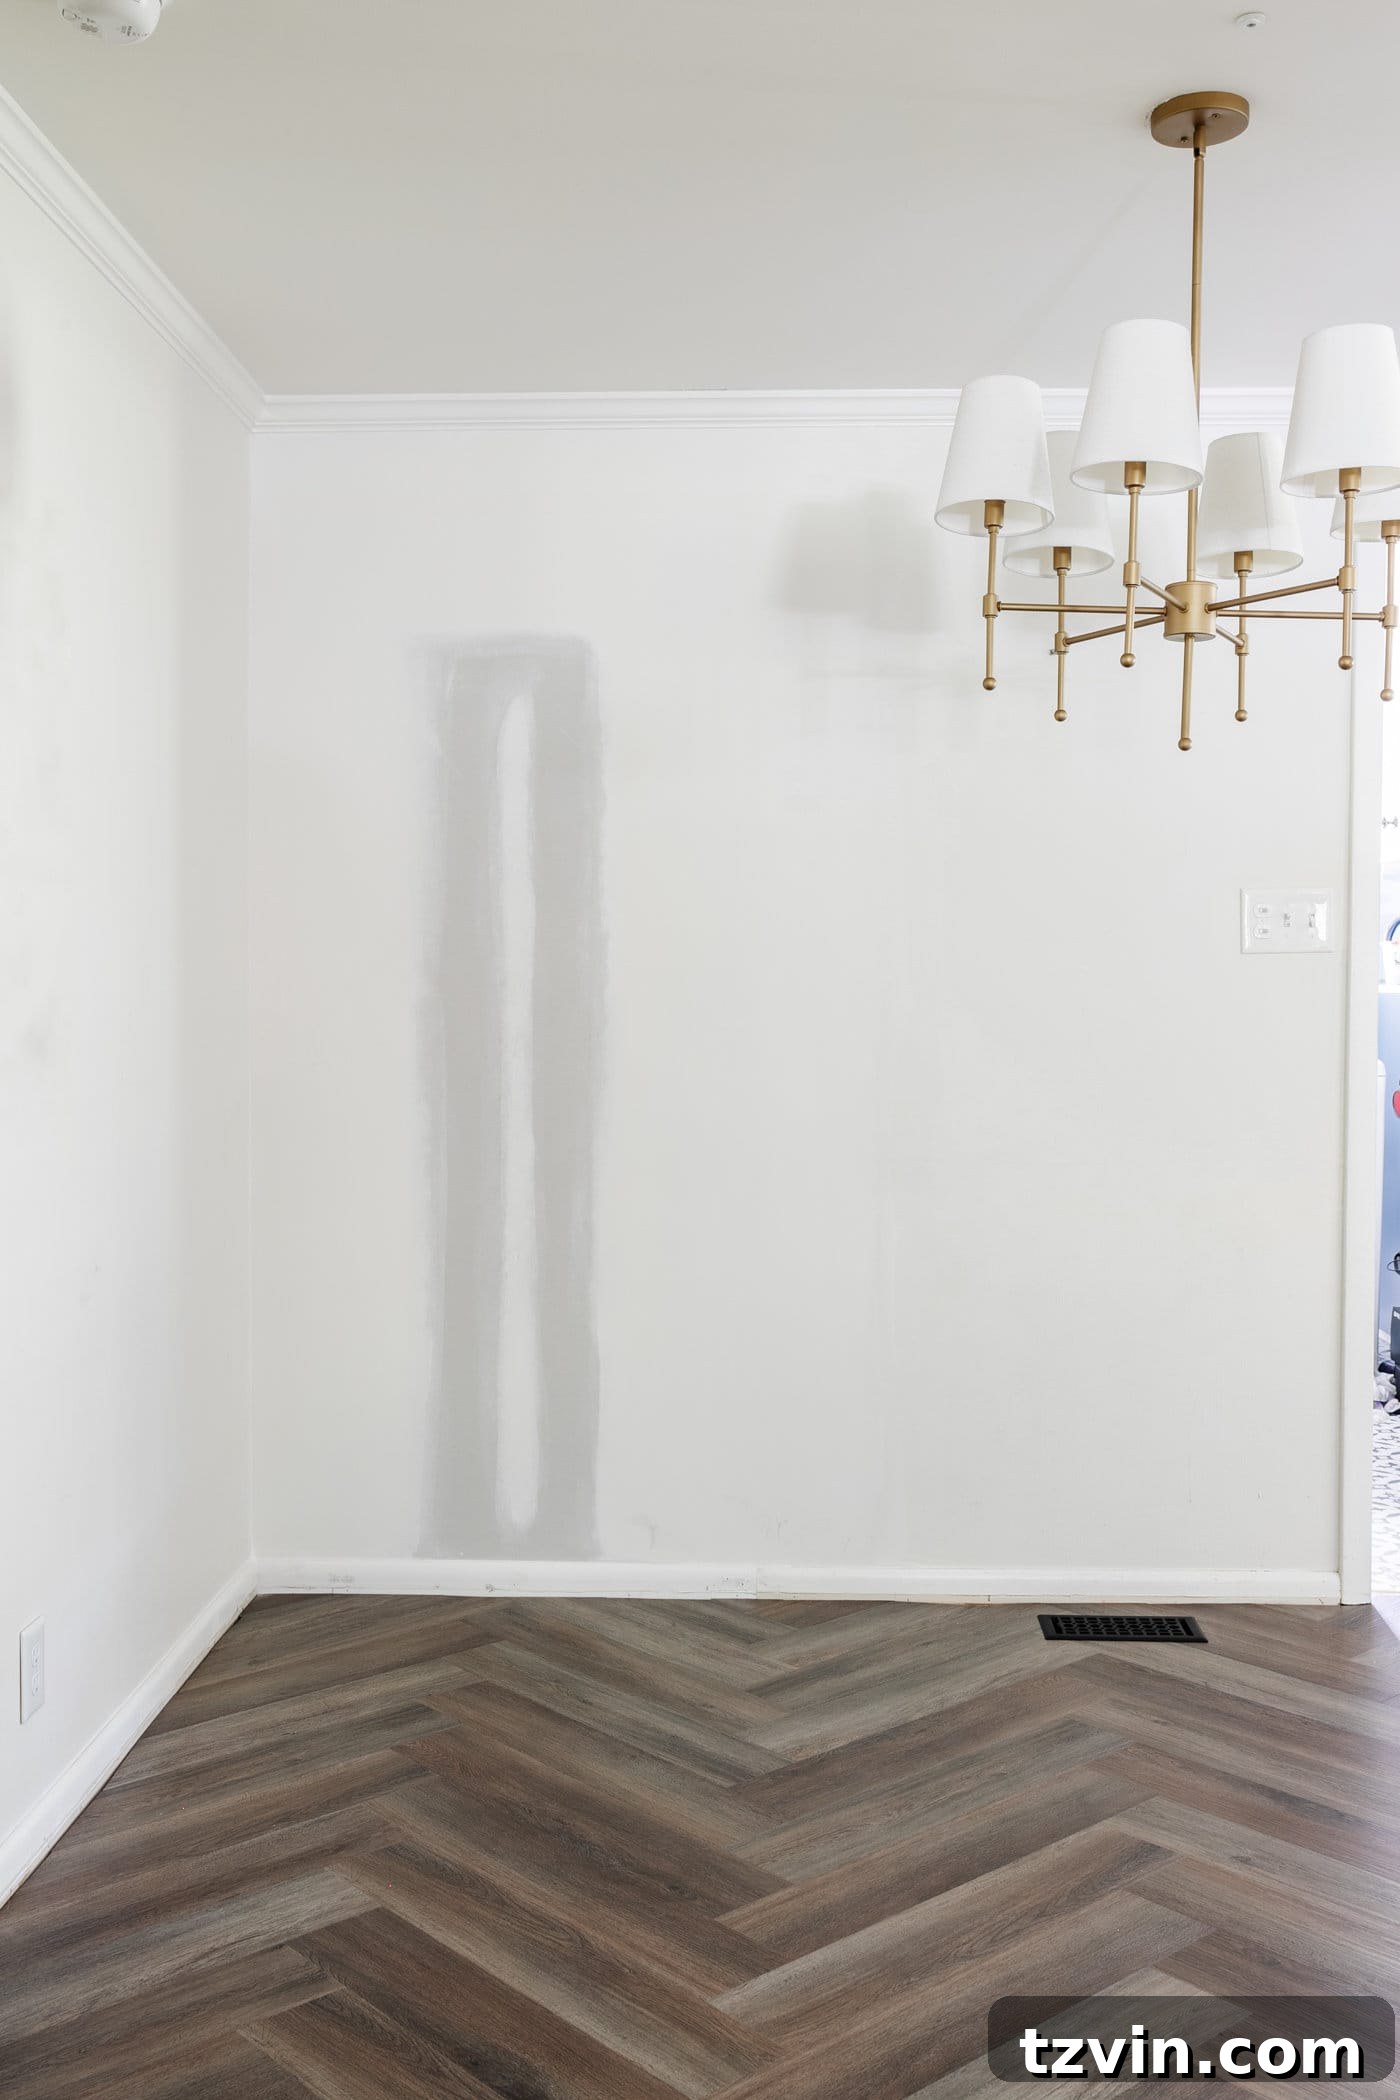
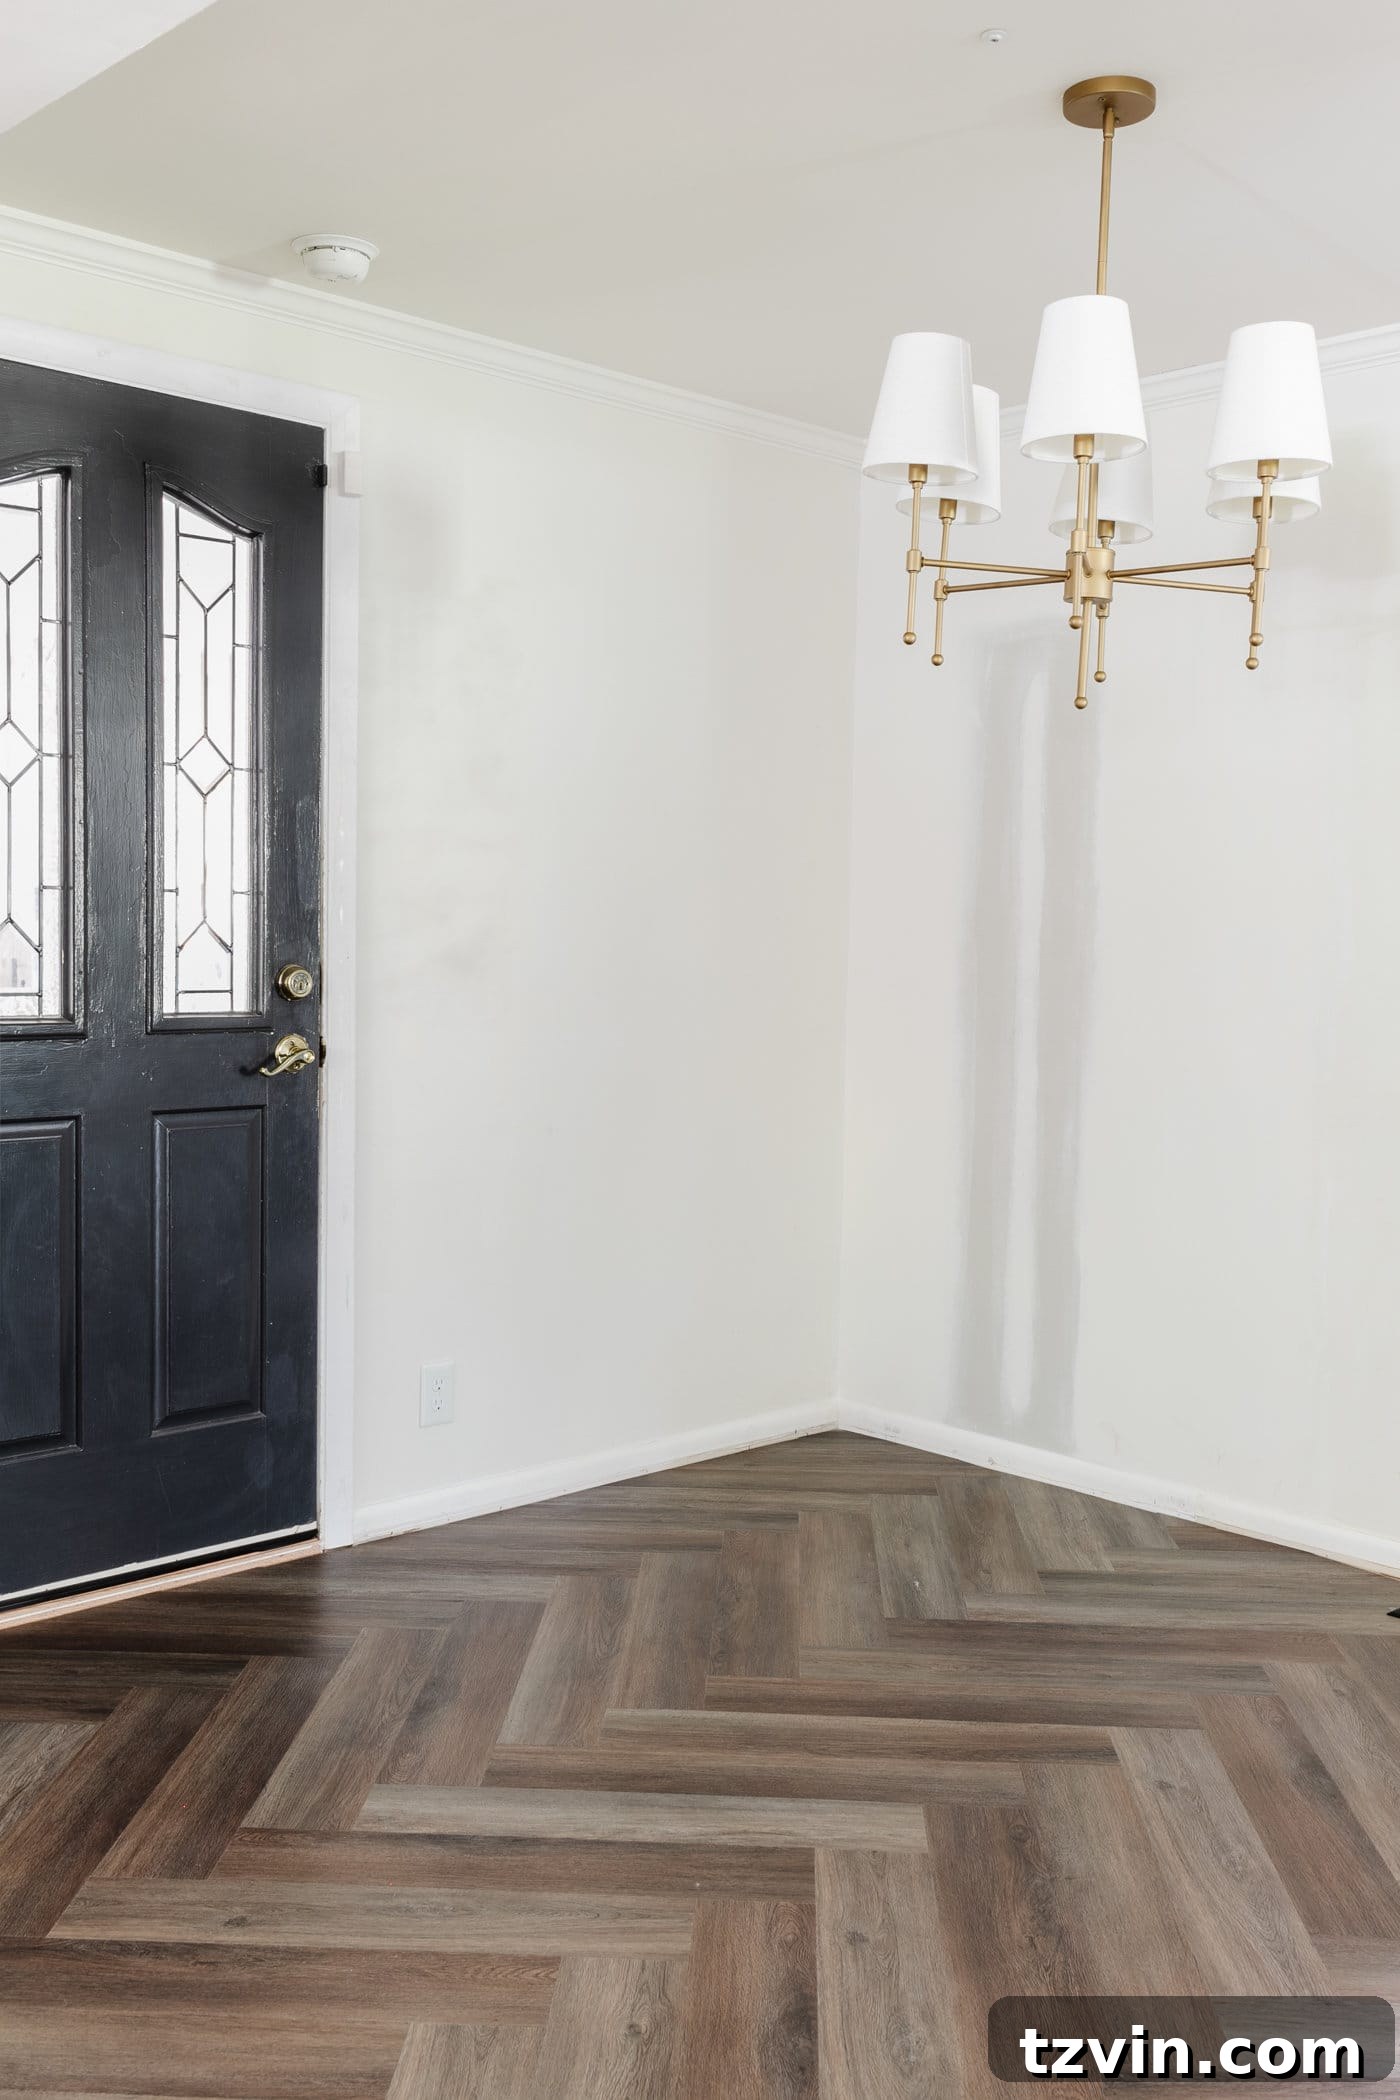
While the flooring transformation is complete, our breakfast nook still has a few exciting projects ahead. We’re planning a banquette makeover and installation, replacing the existing chandelier, building a custom table, and adding a unique wall treatment. It’s certainly going to be an adventurous journey, but with the old tile finally gone (or at least beautifully concealed), I can vividly envision the absolutely gorgeous space it’s destined to become.
What are your thoughts on our herringbone LVP floor decision? While it involved a significant amount more work compared to installing a regular LVP floating floor, the stunning visual impact and the undeniable sophistication it adds to our home make every ounce of effort completely worthwhile in my book. We couldn’t be happier!
Explore More Flooring Ideas and DIY Guides
- How to Install Luxury Vinyl Plank Flooring
- How to Install Sheet Vinyl Flooring Over Tile
- Marble Tile vs Marble Effect Tile: Which Is Best?
- Everything You Need to Know to Refinish Hardwood Floors
- DIY Moroccan Vinyl Peel and Stick Tile Floor