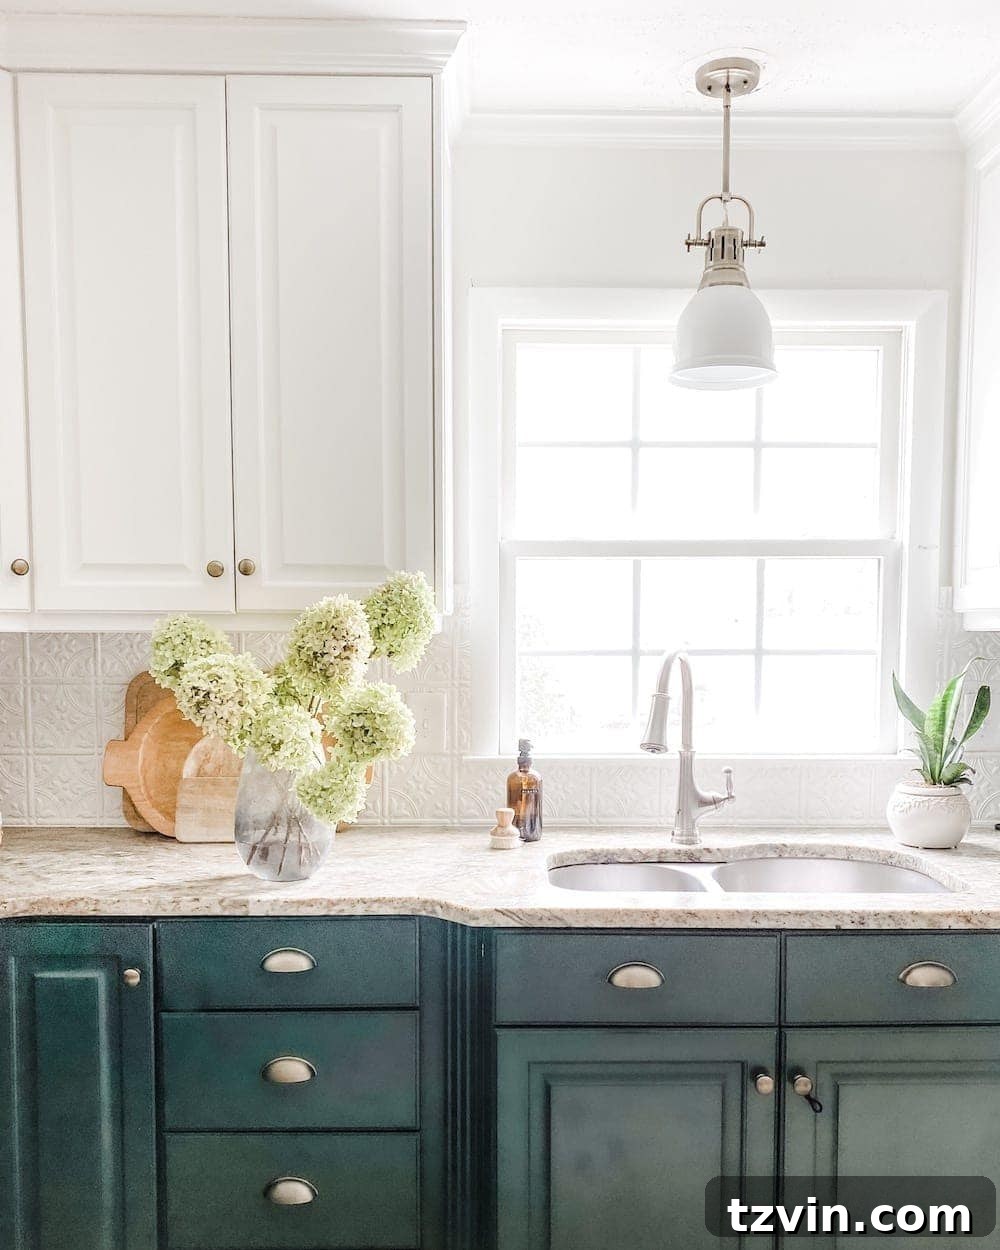
Transforming your home with natural, budget-friendly decor has never been easier or more rewarding than with dried hydrangeas. Imagine elegant floral arrangements adorning your mantel, dining table, or entryway, all crafted from the beautiful blooms right in your own garden. This comprehensive guide will walk you through the simple yet effective methods to dry hydrangeas, ensuring you can enjoy their timeless beauty indoors long after the growing season has passed. Say goodbye to expensive store-bought decor and hello to sustainable, stunning floral accents that add warmth and character to any space.
Drying hydrangeas is not just a craft; it’s a way to capture the fleeting beauty of summer and autumn, preserving it for months of enjoyment. Whether you’re a seasoned gardener or a complete beginner, you’ll be amazed at how effortlessly these magnificent flowers can be transformed into lasting decorative pieces. From selecting the perfect blooms to preserving their delicate structure, we’ll cover every step to help you achieve beautifully dried hydrangeas that enhance your home decor.
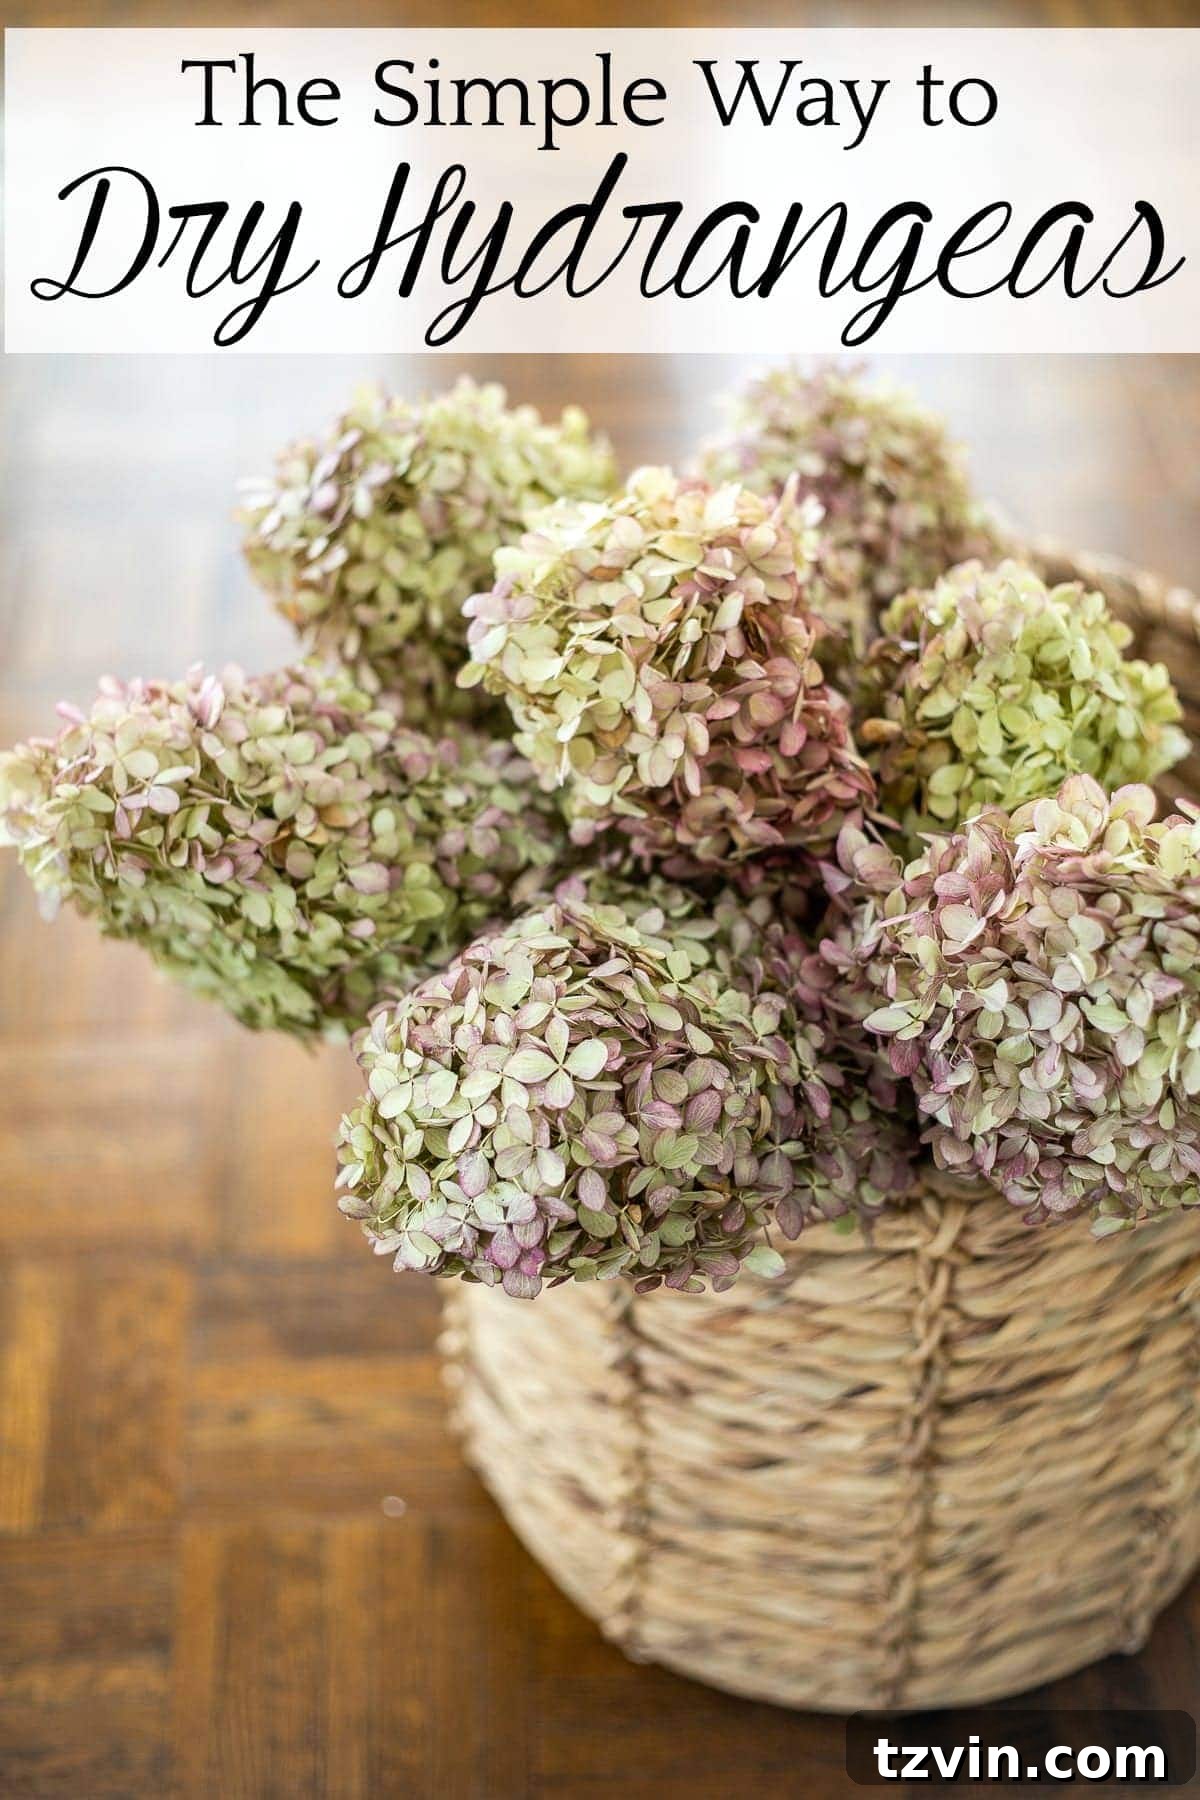
Related: Crafting a Stunning Pressed Leaf Art Gallery Wall for Your Fall Entryway
How to Dry Hydrangeas the Easy Way: A Step-by-Step Guide
Many people believe that drying flowers is a complicated process, but hydrangeas are remarkably forgiving and simple to preserve. With their abundant blooms and robust structure, hydrangeas are an ideal choice for anyone looking to add natural elements to their home decor without extensive effort. My own garden produced an extraordinary display of hydrangeas this year, and I quickly realized their potential beyond fleeting seasonal beauty. The idea of letting such vibrant blooms simply fade away as the weather turned colder felt like a missed opportunity. This discovery led me to explore the easiest methods for drying these gorgeous flowers, a process so straightforward it feels more like a creative indulgence than a chore.
The beauty of drying hydrangeas lies in their versatility. Once dried, they maintain much of their original charm, offering a muted, vintage aesthetic that complements a wide range of interior styles, from rustic farmhouse to modern minimalist. They are truly a gift from nature, allowing you to bring the tranquility of your garden indoors, free of charge, year after year. This guide will focus on the most accessible techniques, ensuring even first-timers can achieve stunning results.
When to Cut Hydrangeas for Optimal Drying: Timing is Key
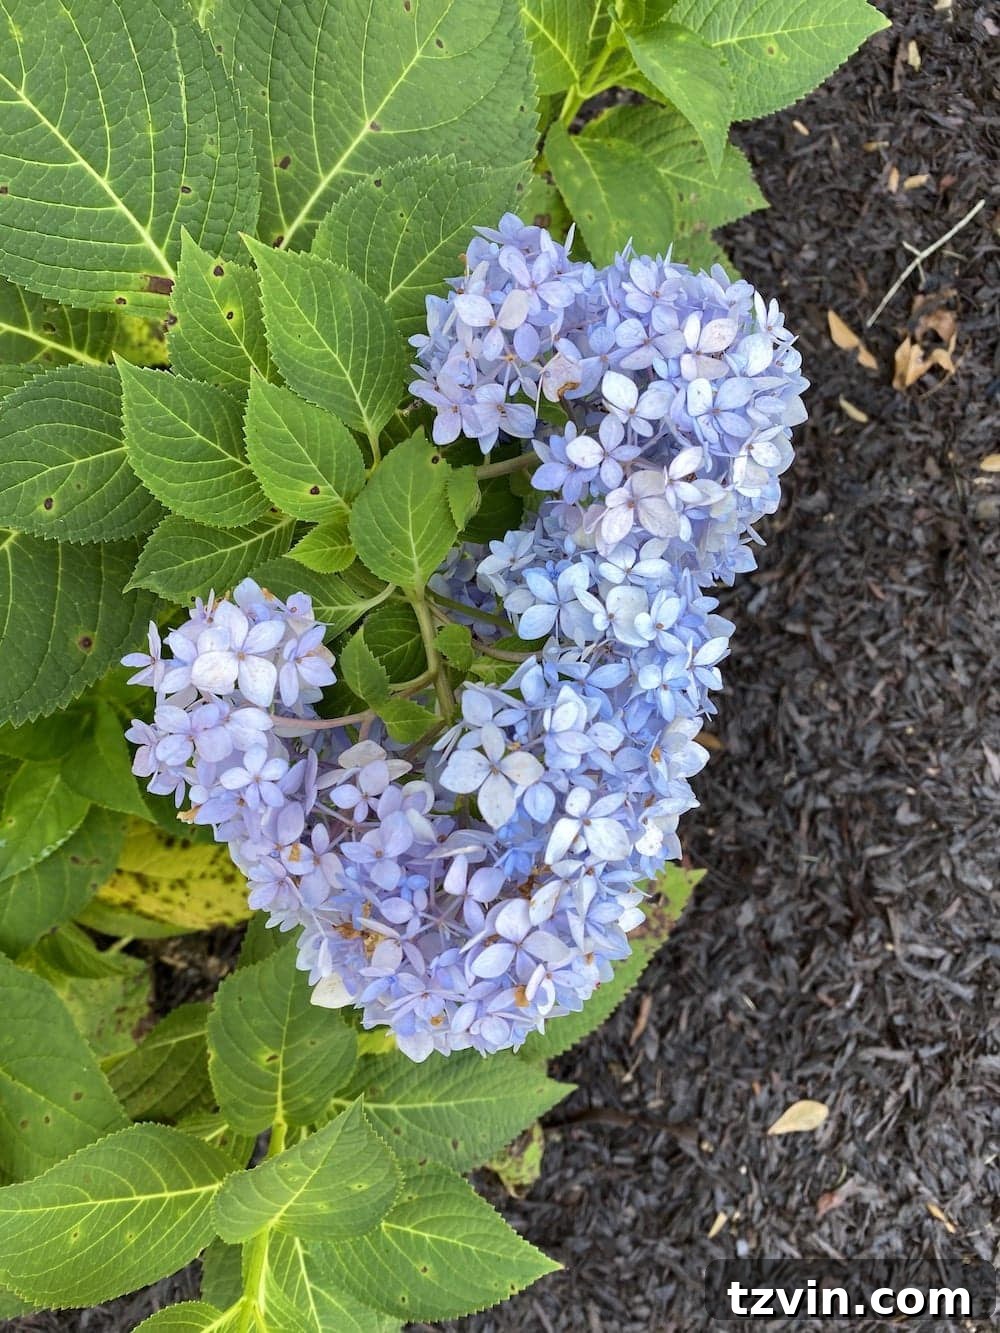
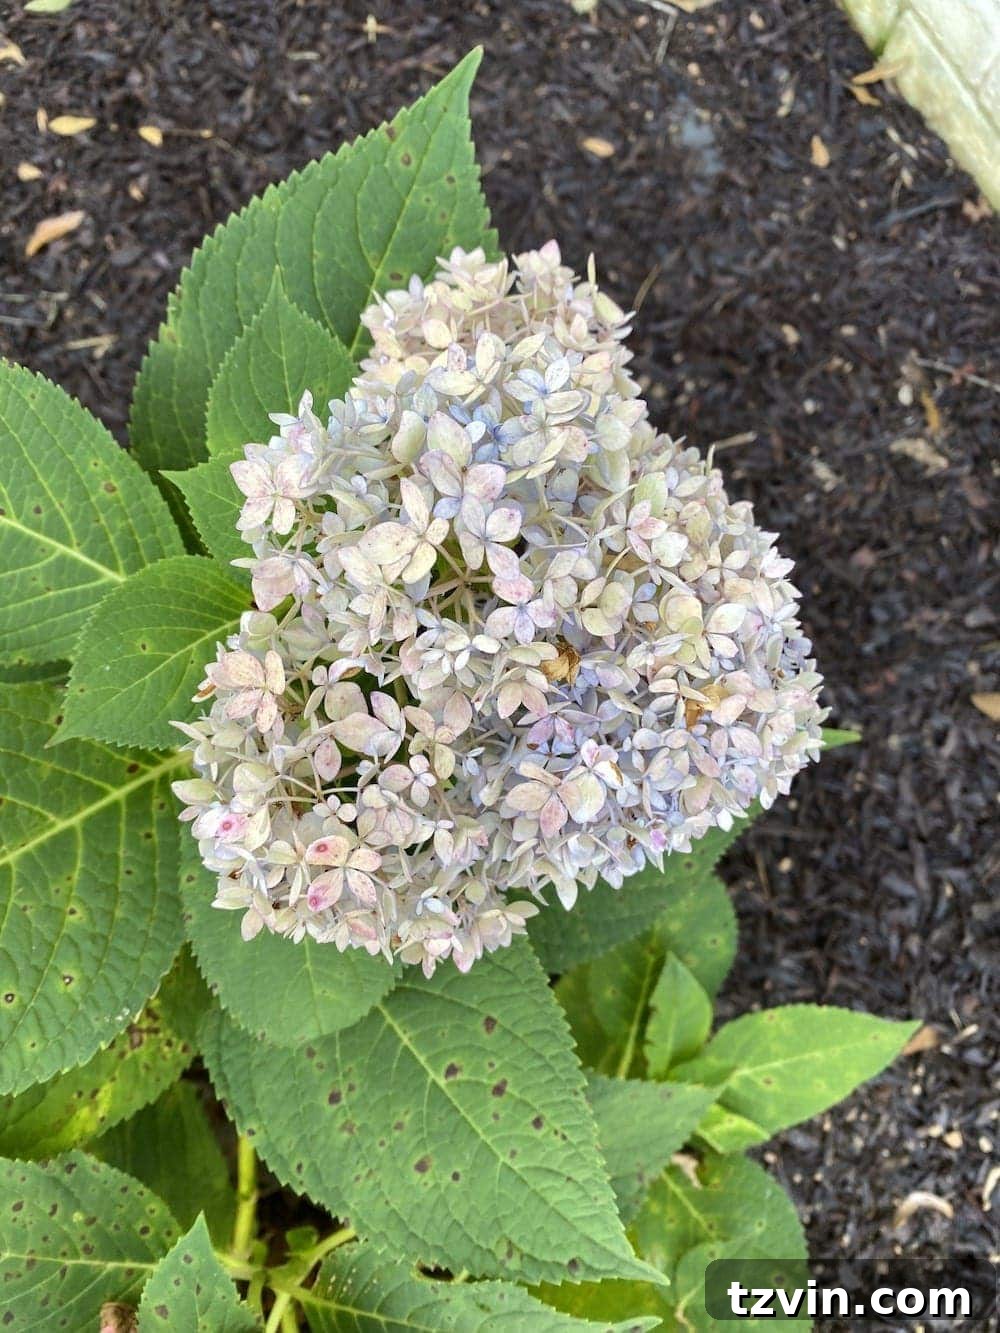
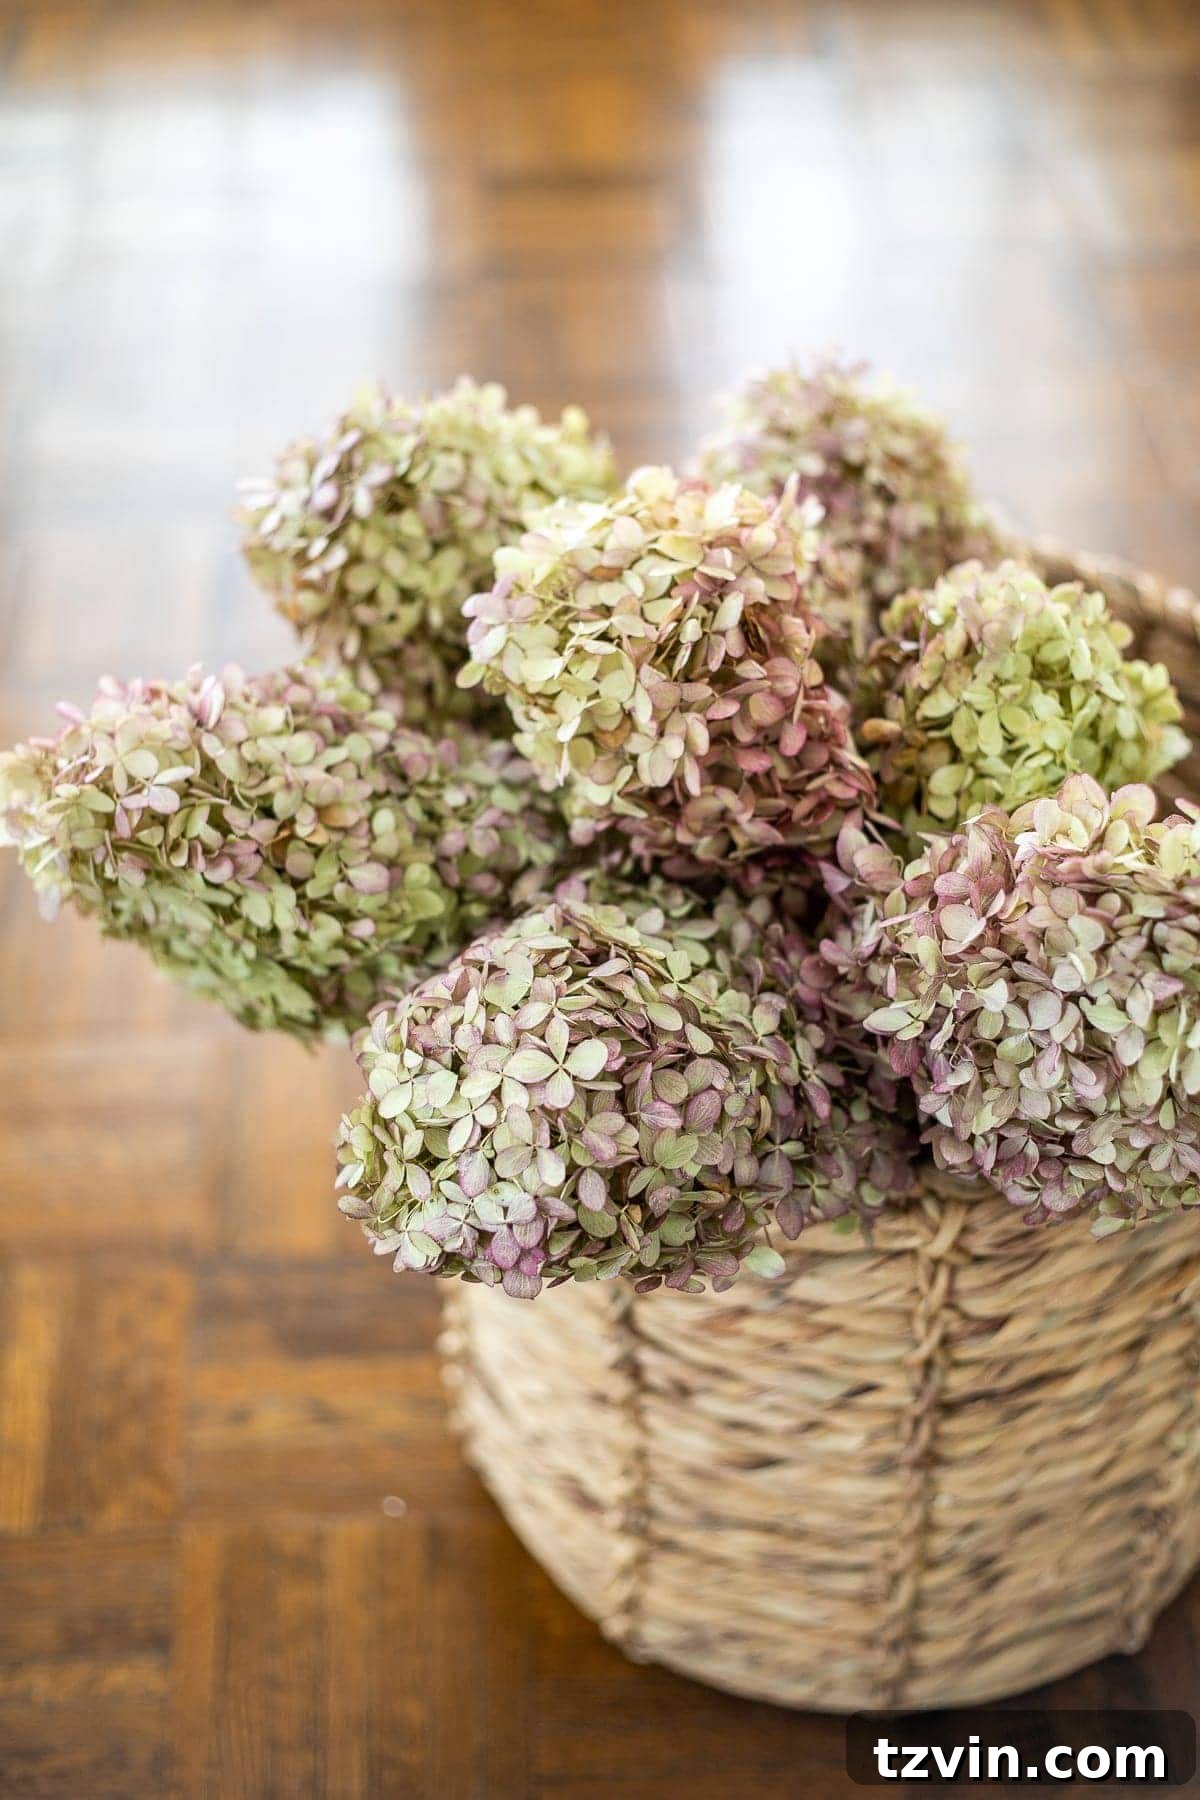
The secret to successfully drying hydrangeas largely depends on when you harvest them. Cutting your blooms at the right stage ensures they retain their color and structure beautifully. The ideal time to cut hydrangeas for drying is typically from late August to early October, or even into late fall, depending on your climate and the specific variety of hydrangea. You’ll know they are ready when their vibrant summer colors begin to soften and transition into more muted, antique tones. The petals will also start to feel papery, firm, and slightly “crunchy” to the touch, rather than soft and delicate like fresh summer blooms. This change indicates that the plant has started to withdraw moisture from the flowers, making them perfect candidates for preservation.
If you cut them too early, when the petals are still very soft and full of moisture, they are likely to wilt, shrivel, or turn brown instead of drying gracefully. Wait until the flowers have fully matured on the plant, allowing nature to do much of the preliminary drying work. Observing your hydrangeas daily during late summer will help you pinpoint this perfect window. Look for blooms that feel substantial and slightly leathery, with a noticeable decrease in their water content. This stage ensures they will hold their shape and color effectively through the drying process.
Too early to cut (still vibrant and soft):
Ready to cut (muted tones, firm petals):
Related: Creating Simple Yet Elegant DIY Pressed Flower Art for Your Home
The Vase Drying Method: Effortless and Effective
The vase method is by far the simplest and most hands-off approach to drying hydrangeas, making it perfect for those who want to enjoy their blooms even as they transition. This technique leverages the natural evaporation process, slowly drying the flowers while allowing you to display them immediately. Here’s how to do it:
- Prepare Your Stems: Using sharp pruning shears, cut your hydrangea stems to a length of about 12-18 inches. This length is ideal for most vase arrangements and allows for flexibility in styling once they are fully dried. Making a clean cut at an angle helps with water absorption during the initial stages.
- Remove Foliage: Carefully strip away all leaves from the stems. This step is crucial because leaves tend to rot or mold during the drying process, and they also divert moisture away from the blooms, which you want to dry. Focus all the plant’s remaining energy on preserving the flower head.
- Add a Small Amount of Water: Place the prepared stems into a vase with only about 1 inch of water. The trick here is to provide just enough water to allow the blooms to slowly “drink” and dry out simultaneously. The stems will gradually absorb the water, causing the petals to slowly dehydrate without wilting excessively.
- Choose the Right Location: Position the vase in a cool, dry spot indoors, away from direct sunlight. Direct sunlight can bleach the colors of your hydrangeas, making them look faded or dull. A corner table, a bookshelf, or a mantelpiece in a room with stable temperatures is ideal. Good air circulation is also beneficial to prevent mold.
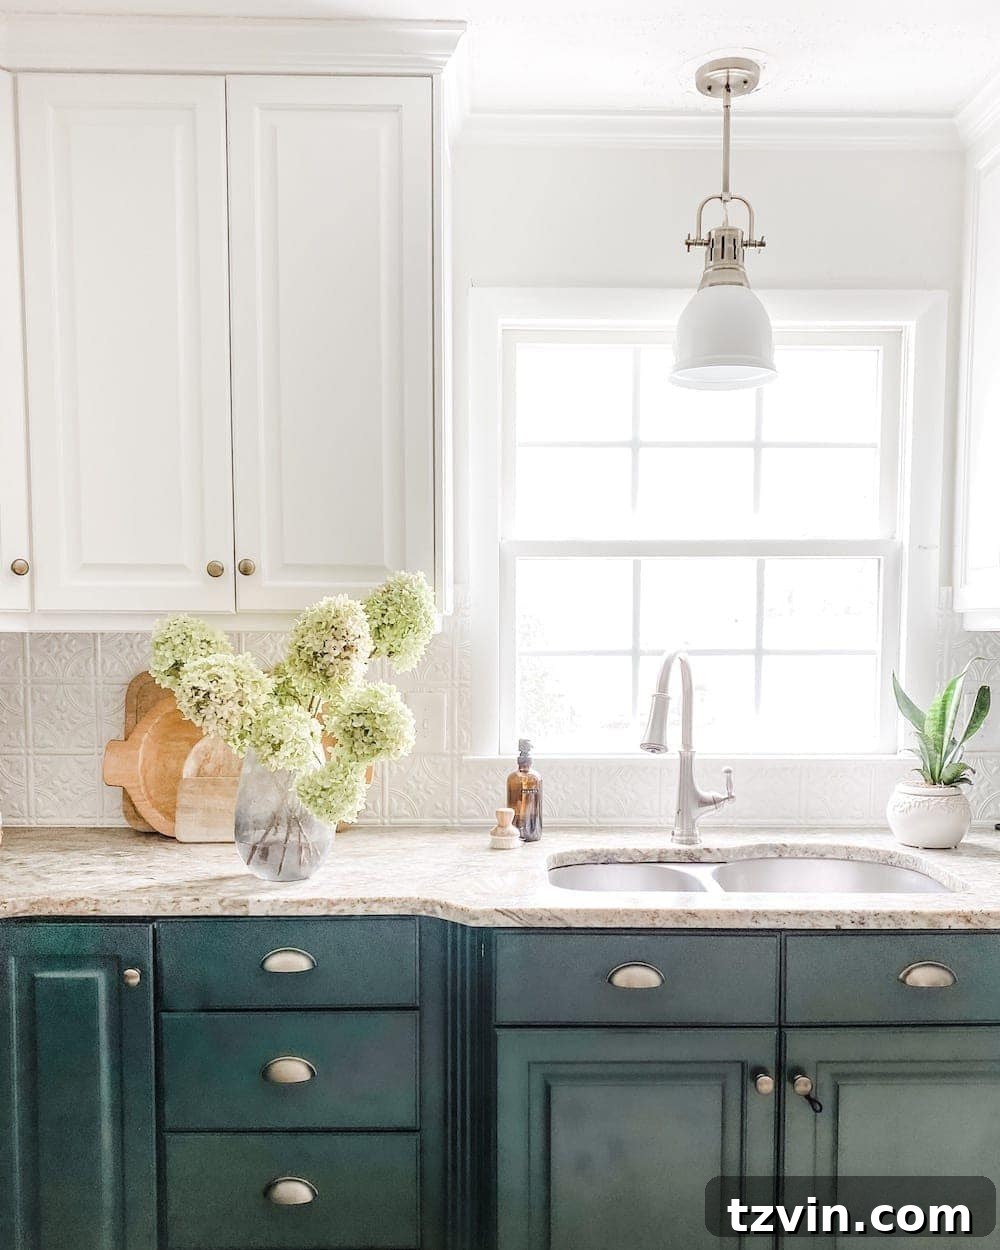
- Patience is a Virtue: Over the next 1-2 weeks, you will observe the water in the vase gradually evaporating. As the water level drops, the hydrangeas will naturally dry out, transitioning from fresh to beautifully preserved. The drying time can vary based on the humidity of your home and the original water content of the blooms.
- Check for Dryness: Your hydrangeas are fully dried when the petals feel completely crisp and papery to the touch, and they no longer have any flexibility. They should feel light and hold their shape without wilting.
The Hanging Method: Preserving Vibrant Color in Dried Hydrangeas
While the vase method is incredibly convenient, the traditional hanging method is another excellent option, particularly if your goal is to retain as much of the hydrangea’s original color as possible. This technique involves drying the blooms upside down in a dark, cool environment, which helps to lock in their vibrant hues by preventing light exposure and encouraging rapid, even drying.
To use the hanging method:
- Prepare Blooms: Similar to the vase method, cut your hydrangea stems to a desired length, typically 12-18 inches. Remove all leaves from the stems to prevent mold and direct drying energy to the flower heads.
- Bundle Loosely: Gather a few stems (about 3-5) into a small bunch. Do not make the bundles too large, as this can hinder airflow and lead to uneven drying or mold.
- Secure and Hang: Use a rubber band or twine to secure the stems tightly. Then, attach the bundle upside down to a clothesline, coat hanger, or drying rack. Ensure there is ample space between each bundle for good air circulation.
- Choose a Dark, Cool Spot: Hang the bundles in a dark, cool, and dry location. A closet, an attic, or a basement that is not prone to humidity is ideal. Darkness is key to preventing color fade, helping the hydrangeas retain their rich, natural pigments.
- Monitor and Wait: Allow the hydrangeas to hang for 2-4 weeks, or until they are completely dry and crisp. You can gently feel the petals periodically to check for dryness.
I personally favor the vase method due to its sheer simplicity and the immediate decorative payoff. Being able to enjoy the blooms as they slowly transform is a delightful bonus. However, if preserving the deepest color is your top priority, the hanging method in a dark space is often the more effective choice.
Related: Discovering Favorite Preserved Flowers and How to Dry Leaves and Flowers for Decor
How to Preserve Dried Hydrangeas for Lasting Beauty
Once your hydrangeas are completely dried, a final preservation step can significantly extend their lifespan and protect their delicate structure. The simplest and most effective method is to lightly spray them with an aerosol hairspray. A classic, unscented hairspray like Aqua Net works wonderfully, creating a subtle protective barrier without altering the flower’s appearance.
Here’s how to apply it:
- Choose Your Hairspray: Opt for a strong-hold, unscented aerosol hairspray.
- Spray Carefully: Hold the hairspray can about 10-12 inches away from the dried bloom. Spray in a light, even mist across the entire surface of the flower, including the underside of the petals. Avoid spraying too closely or heavily, as this can cause the petals to become wet, clump together, or even tear. The goal is a fine, uniform coating that helps prevent shattering and dust accumulation.
- Allow to Dry: Let the hairspray dry completely before handling or arranging the hydrangeas. This usually takes just a few minutes.
This light coating of hairspray helps to stiffen the petals slightly, making them less prone to crumbling and shedding over time. It also provides a mild shield against humidity, which can sometimes cause dried flowers to become limp.
Decorating with Your Beautifully Dried Hydrangeas
Now that your hydrangeas are perfectly dried and preserved, the creative fun truly begins! Dried hydrangeas offer incredible versatility for home decor. Their muted colors and rustic texture are perfect for adding a touch of natural elegance to any room, especially during the fall and winter seasons. Best of all, they are a completely free, sustainable decor option straight from your garden.
- Vase Arrangements: Simply arrange your dried hydrangea stems in vases, urns, or pitchers for a classic, understated centerpiece. Mix different colors for depth, or stick to a single hue for a monochromatic look.
- Bowls and Baskets: Create stunning vignettes by placing dried hydrangea heads in decorative bowls, woven baskets, or wooden crates. This adds texture and a cozy, natural feel to coffee tables, sideboards, or entryway consoles.
- Wreaths and Garlands: Individual dried hydrangea heads can be easily wired onto wreath forms or intertwined into garlands, perfect for front doors, mantels, or stair railings. Combine them with other dried elements like eucalyptus, wheat, or preserved leaves for a richer display.
- Seasonal Accents: Tuck smaller blooms into bookshelves, among picture frames, or alongside candles to add subtle hints of natural beauty throughout your home. They pair beautifully with other fall elements such as pumpkins, gourds, and autumn foliage.
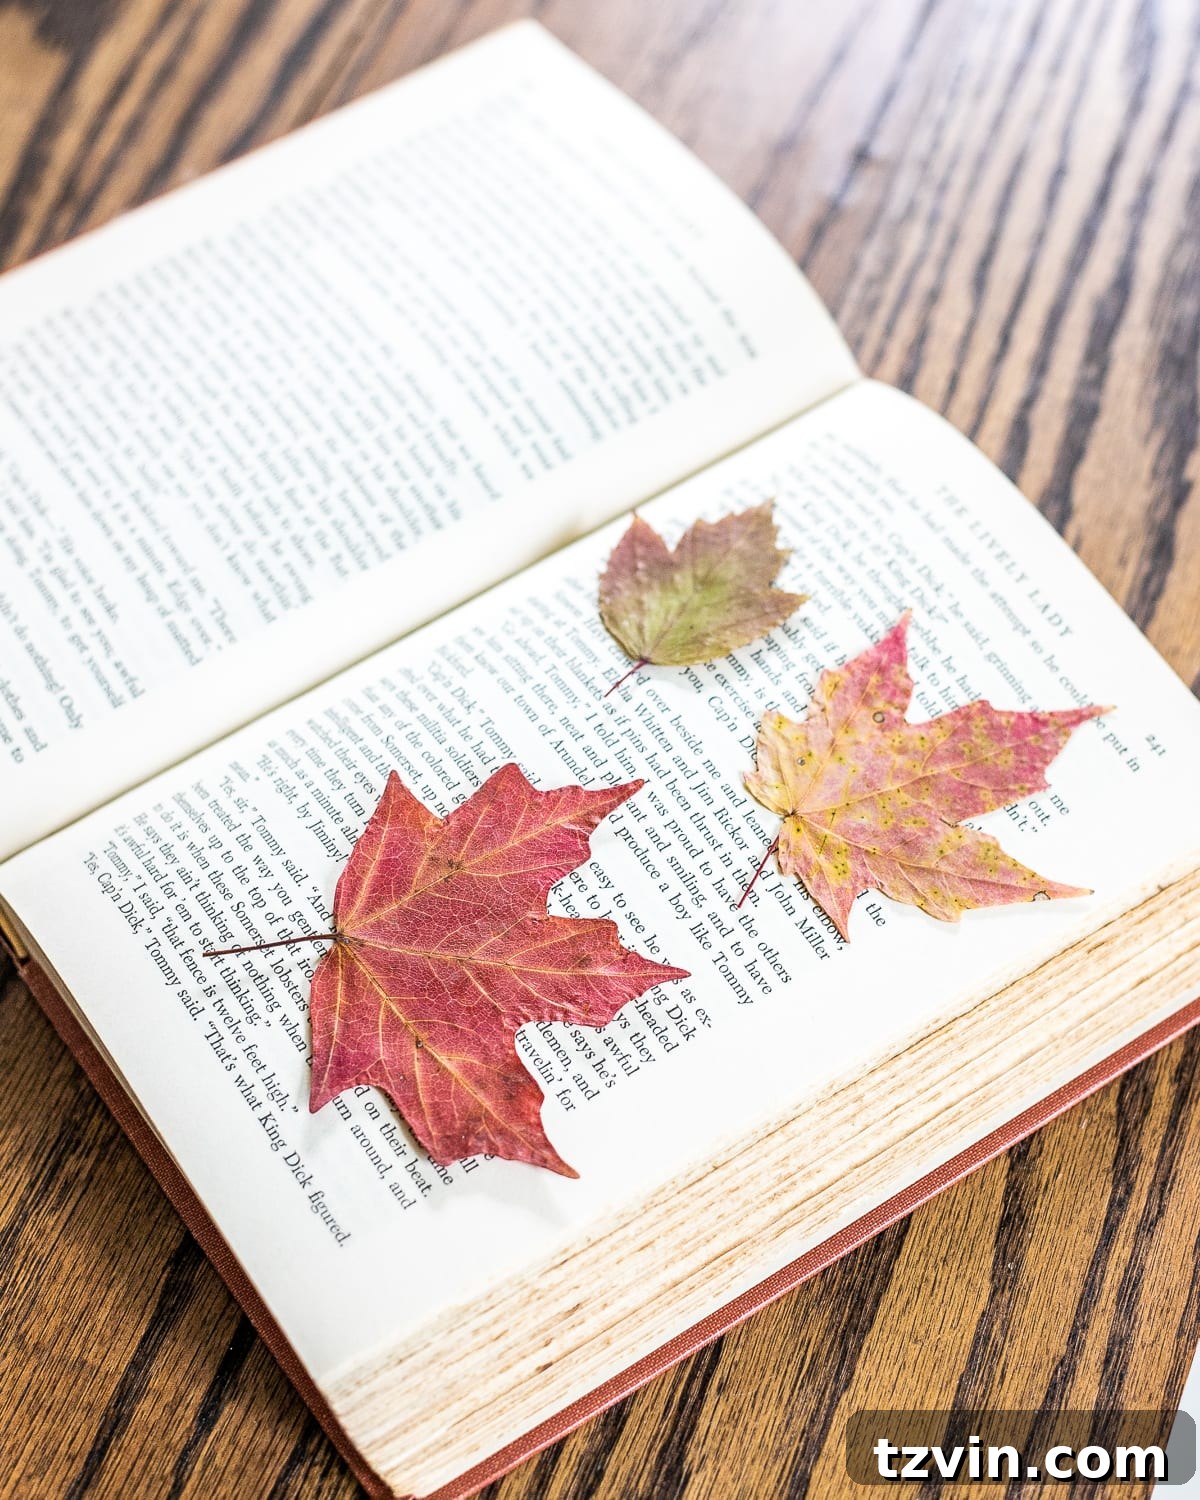
Beyond hydrangeas, I’ve also been busy pressing leaves in books, much like I’ve done with pressed flowers in past summers. There are countless ways to incorporate these natural “yard garb” finds into your fall decor, and I’m excited to share more unique ideas as they come to life.
Related: Embrace the Season with DIY Fall Decor Ideas to Create Cozy Home Vibes
It’s truly incredible how much beauty and inspiration nature provides, often right in our own backyards. Who knew that a simple act like drying hydrangeas could unlock such a rewarding creative outlet and offer endless opportunities for seasonal decorating?
Have you ever experimented with drying hydrangeas or pressing leaves for your home decor? It’s a wonderful project, perfect for a backyard scavenger hunt and a fascinating biology lesson for kids, transforming into a delightful home craft. Share your experiences and tips!
Explore More Floral Decorating Ideas
How to Make a Simple Fall Floral Arrangement Step By Step
Where to Find the Best Fake Flowers That Look Surprisingly Real