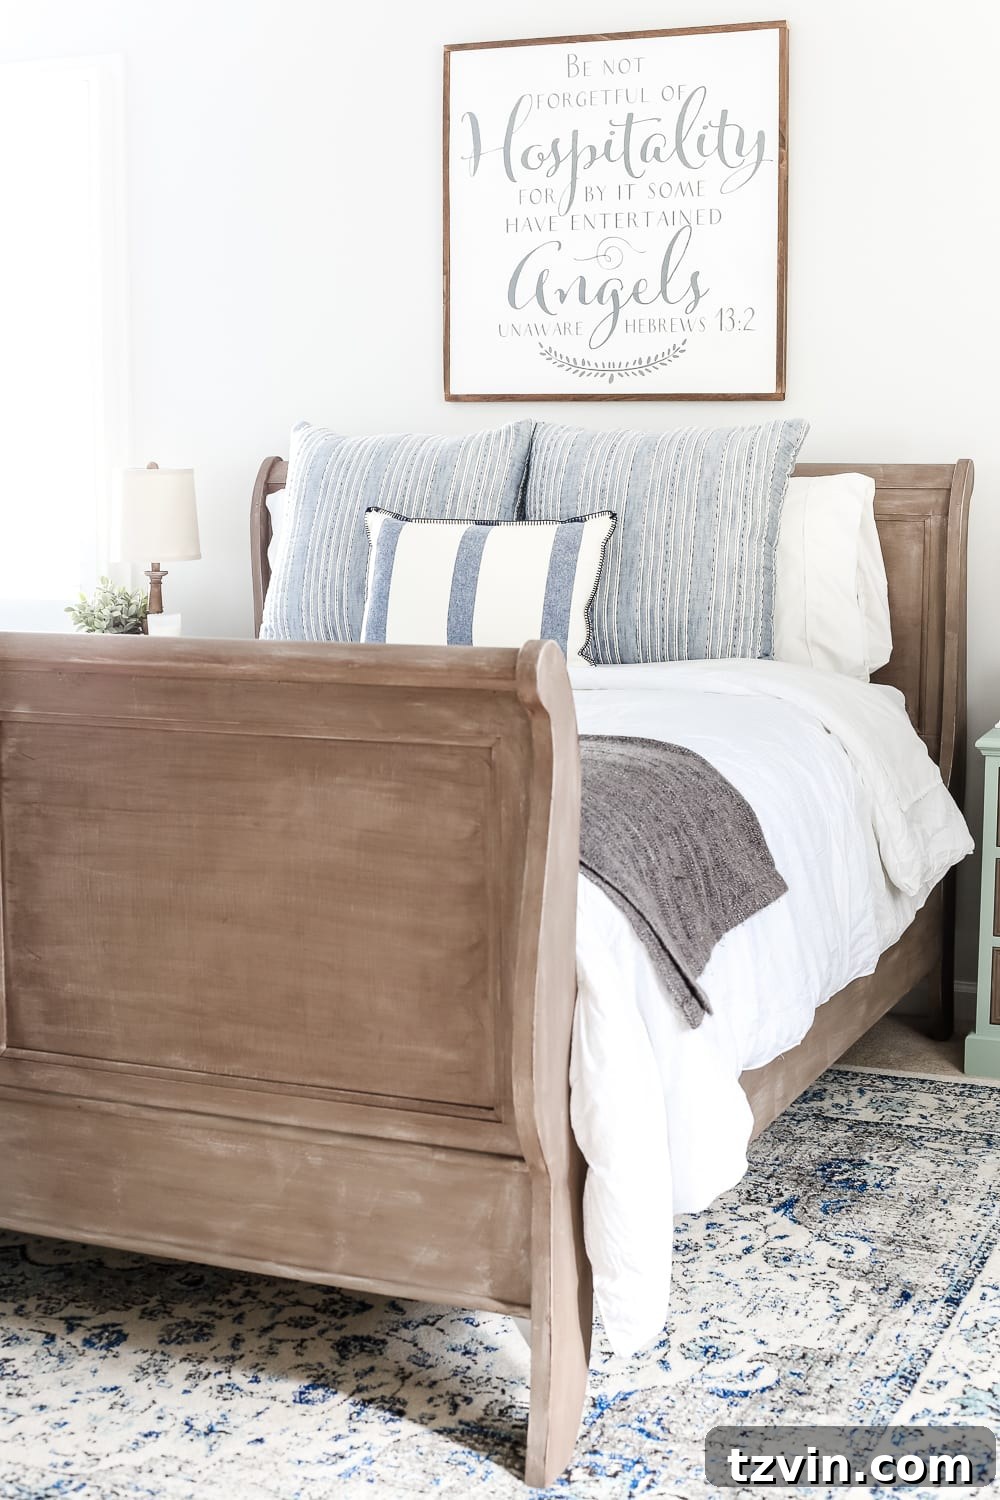
In a previous guest bedroom makeover update at my parents’ house, many of you
expressed interest in the “weathered wood” painted bed. I’m excited to share the
details!
After crunching the numbers (yes, a former English teacher does math!), we’ve
spent a total of $290 to fully furnish this guest bedroom. This includes a
dresser,
armoire, a pair of nightstands, and a queen-sized bed. Talk about a budget-friendly
transformation!
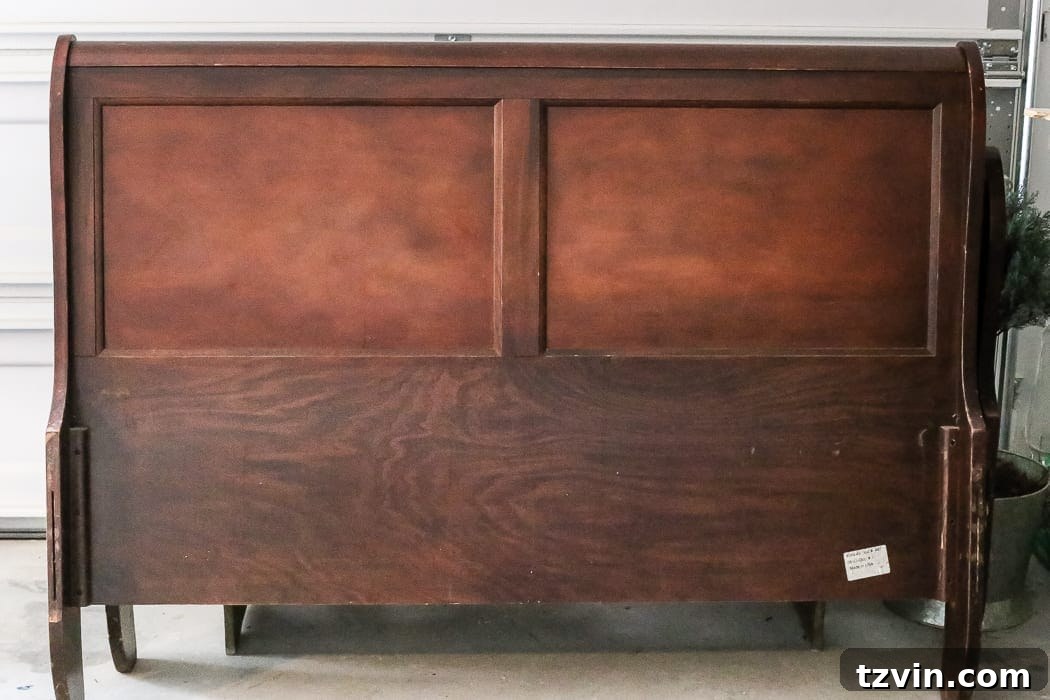
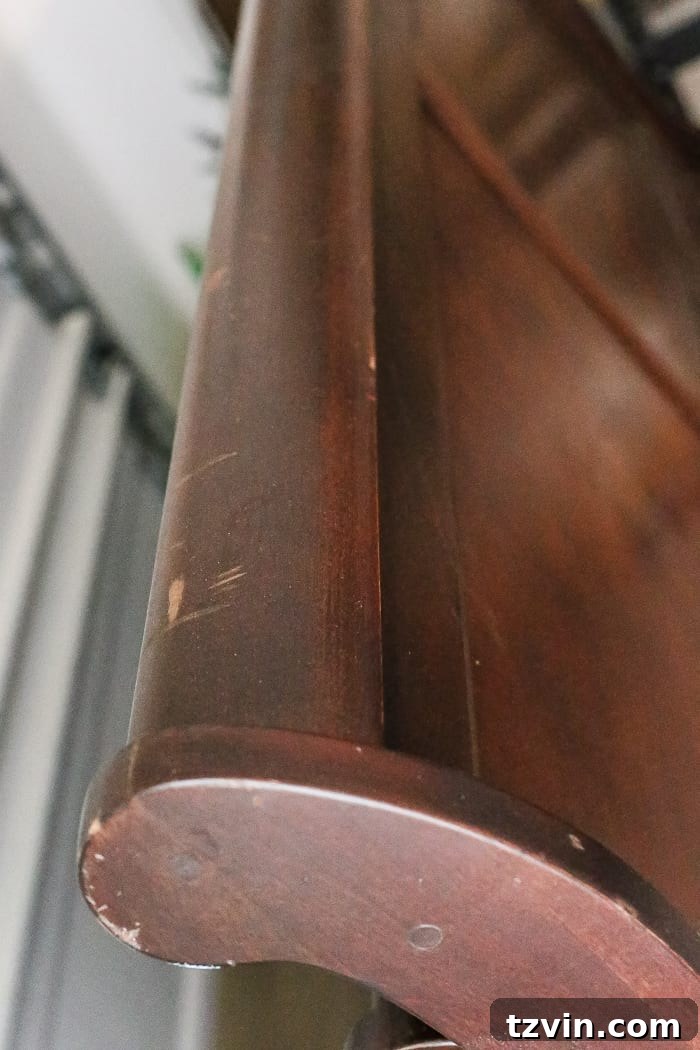
The sleigh bed, a Craigslist find for $110, was in good condition, but it had
some dings and scratches that needed a little love. Here’s how we gave it a
fresh, updated look.
How to Achieve a Weathered Wood Look on Furniture
The bed’s original cherry red stain needed a change. Since sanding it down
completely wasn’t an option (partially due to veneer), I decided to use my
tried-and-true “weathered wood” paint technique.
If it ain’t broke, don’t fix it! This method is simple and effective.
Supplies Needed
(Affiliate links are provided below for your convenience.)
- Annie Sloan Chalk Paint in French Linen
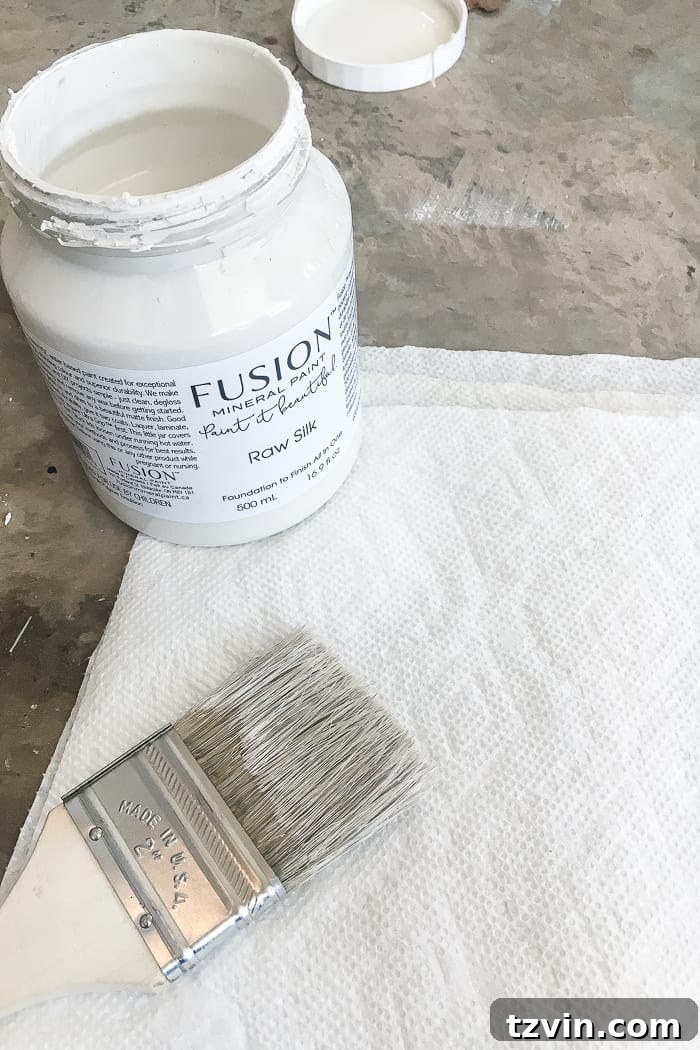
- Fusion Mineral Paint in Raw Silk
- Homestead House Wax in Espresso
- 1.5″ angled paint brush
- Chip brush
- Wax brush
- Clean, dry lint-free rag
- Paper towels
The best part? I was able to use supplies I already had from previous projects.
It’s always a win when you can save money and be resourceful!
Step 1: Preparing the Furniture Surface
People often ask if I prep furniture before painting. It usually depends on the
piece. If there’s wood oil or residue, I wipe it down with Krud Kutter or
liquid deglosser. In my experience, it’s a faster and equally effective
alternative to sanding.
This bed seemed ready to go from the start, so it did just fine without any
prep work. However, I always recommend a quick cleaning to ensure optimal
paint adhesion.
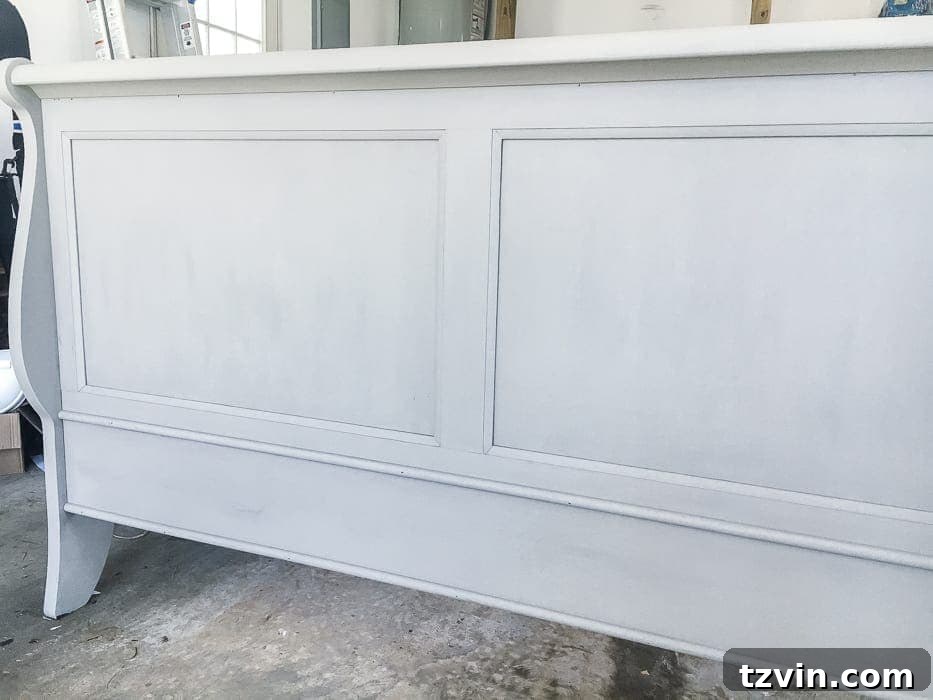
Step 2: Applying the Base Coat – Light Beige
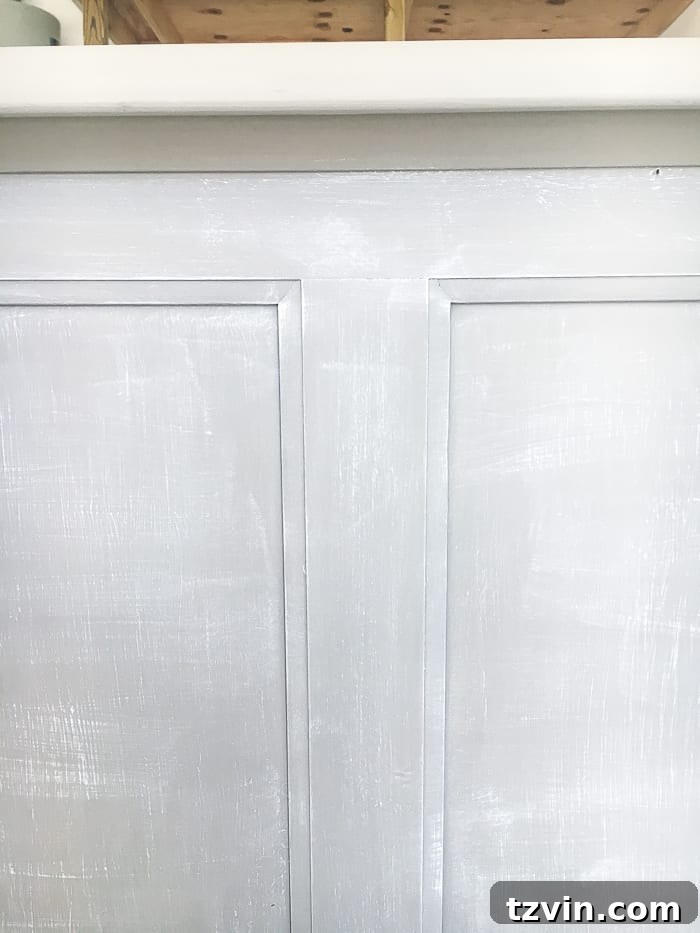
I applied two coats of Annie Sloan Chalk Paint in French Linen to the entire
bed, allowing it to dry between coats. (Sorry for the cell phone photos; I was
painting in my parents’ garage and didn’t have my camera.)
Step 3: Dry Brushing with White Paint
To add depth and dimension, I used the dry-brushing technique with Fusion Raw
Silk.
If you’ve never dry-brushed, it’s simple: dip the tip of your brush into the
paint, wipe most of it off on a cloth or paper towel until it feels dry, and
then brush onto the furniture. I love using a chip brush because its bristles
create a natural, weathered look, and the strokes aren’t as rigid as those
from a high-quality brush.
The dry brushing is subtle, but it’s a fantastic technique for layering and
adding interest.
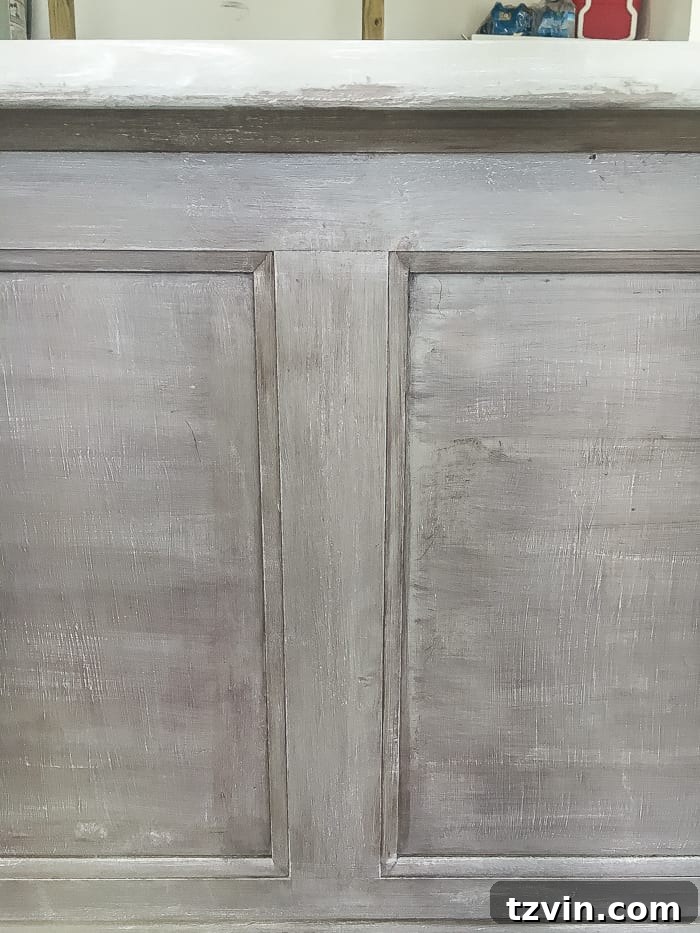
Step 4: Applying the Brown Furniture Wax
After dry-brushing, you can apply the Espresso wax. I like working the wax
into the grooves, following the direction of the wood grain. After about five
minutes, I buff with a clean cloth.
I took this picture before buffing, so the wax isn’t perfectly blended yet.
It’s crucial to apply a light coat of wax. Too much can lead to a sticky
surface over time.
Step 5: Allowing the Wax to Cure
I let the wax cure for 24 hours. Then, my dad and brother helped move the bed
into the guest room, where we all admired it (okay, maybe just me!) for a
while.
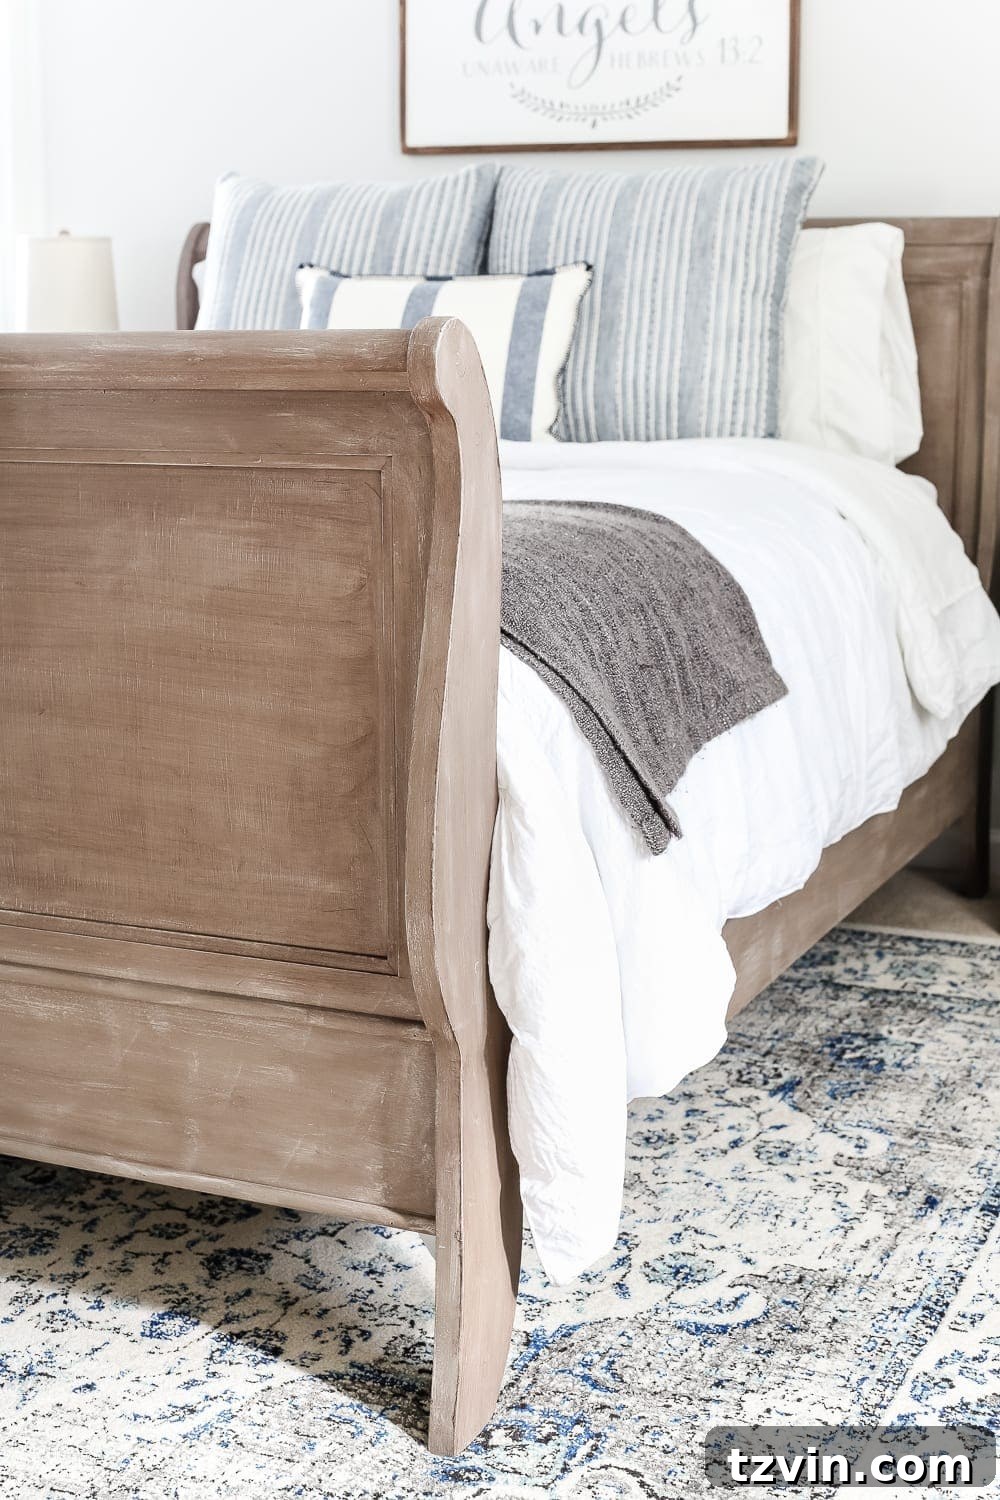
I’m thrilled with the result!
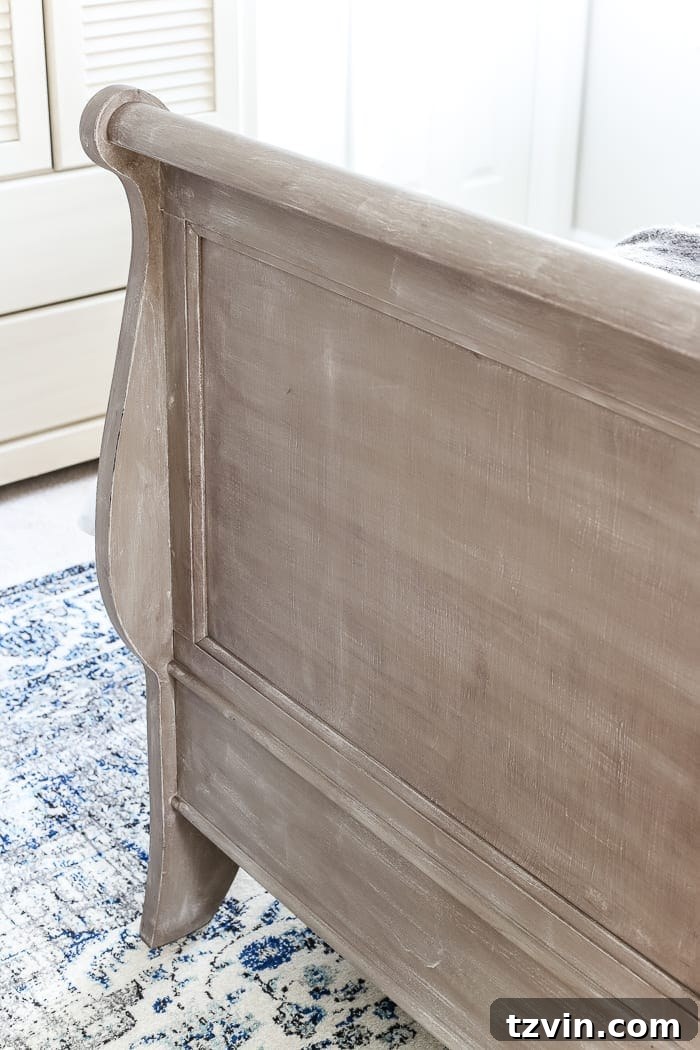
The bed isn’t “perfect,” and I love that. After taking these photos, I noticed
a few spots that needed touch-ups, which I’ve since taken care of.
The bed coordinates beautifully with the two-tone nightstands I painted earlier,
without being overly matchy-matchy. (Does perfectly matching furniture bother
anyone else?)
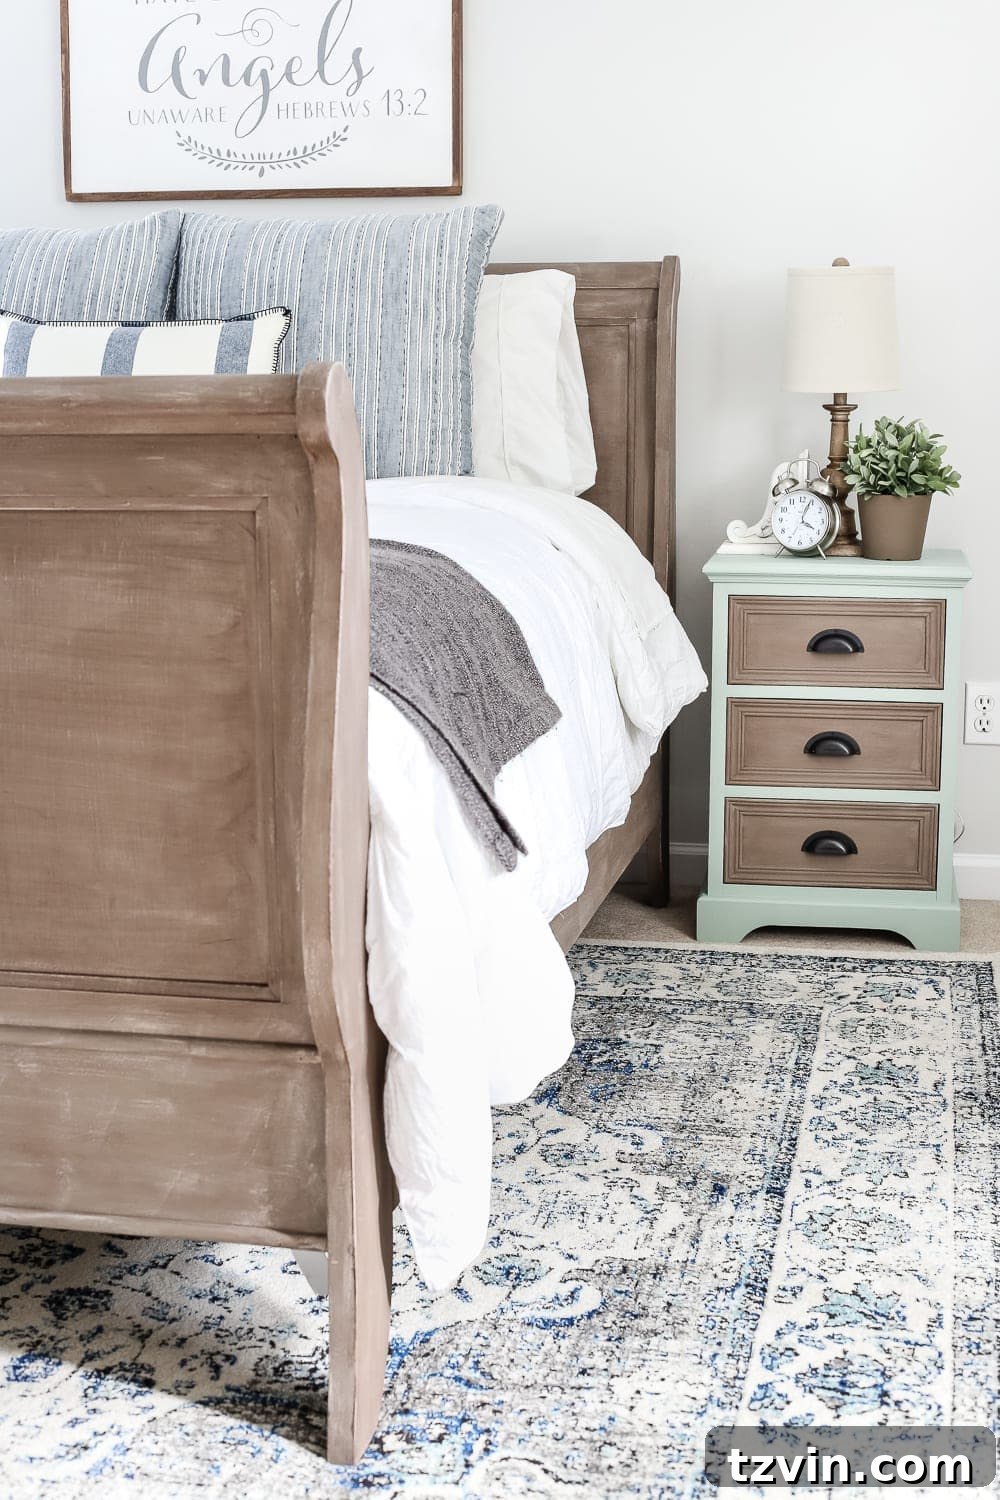
I found the perfect guest bedroom sign from an Etsy shop called Salted Words.
It’s a great reminder to make guests feel welcome.

And the ceiling fan from Hunter Fan Co. looks fantastic in here. I wasn’t sure
what color the blades would be when I ordered it online, but the vintage look
is perfect.


This guest bedroom has come a long way! I’m debating whether or not to add
curtains since the window already has plantation shutters. I’m leaning toward
keeping it clean and simple. What are your thoughts?
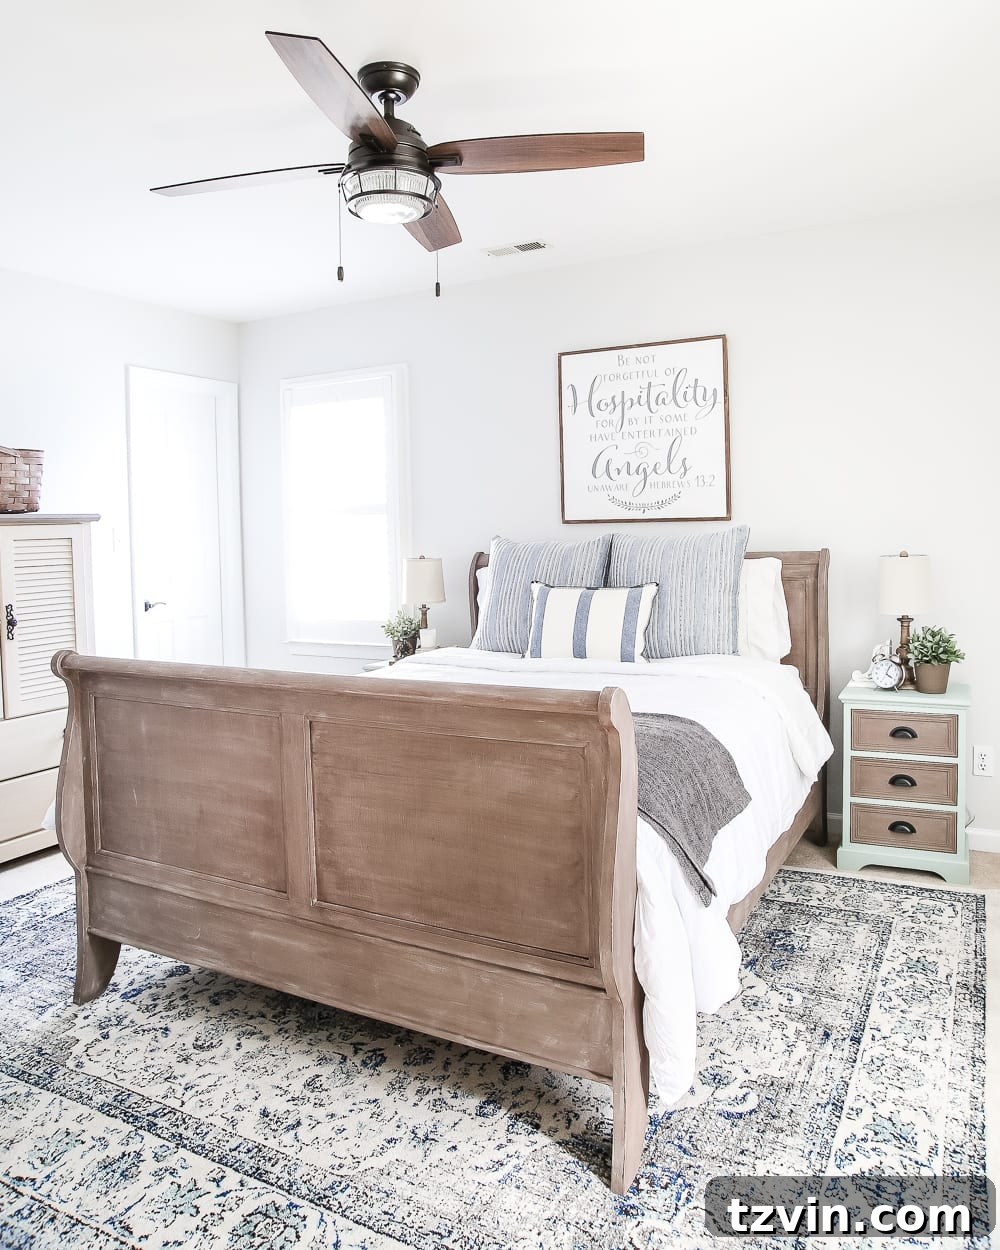
If you’d like to know about the other items I’ve used in this room, you can
find them here:
- Rug
- Euro pillows
- Blue stripe pillow
- Hospitality scripture sign
- Nightstands
- Armoire
- Lamps
- Ceiling fan

We still have this other side of the room to finish, but it’s coming along
nicely. With some artwork and pillows for the window seat, it will be complete.

I never imagined that this space would become my and Robert’s temporary bedroom
while we waited to close on our new home. It’s funny how things work out.
If you’d like to save this post for future reference, you can pin it here: