
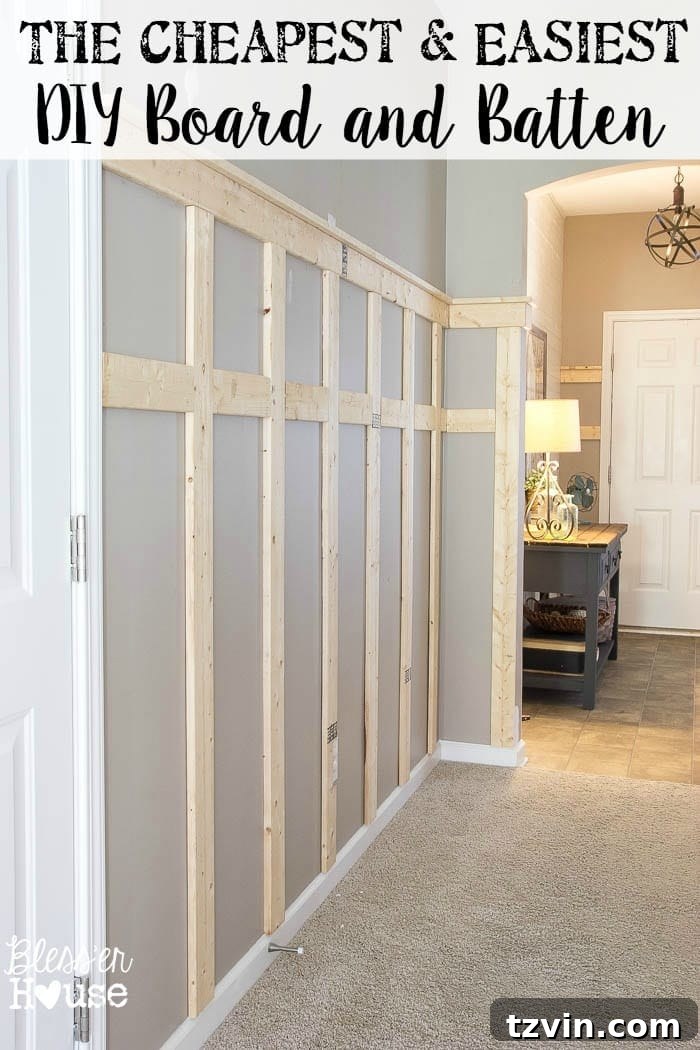
Transform Your Walls: A Step-by-Step Guide to Affordable Board and Batten
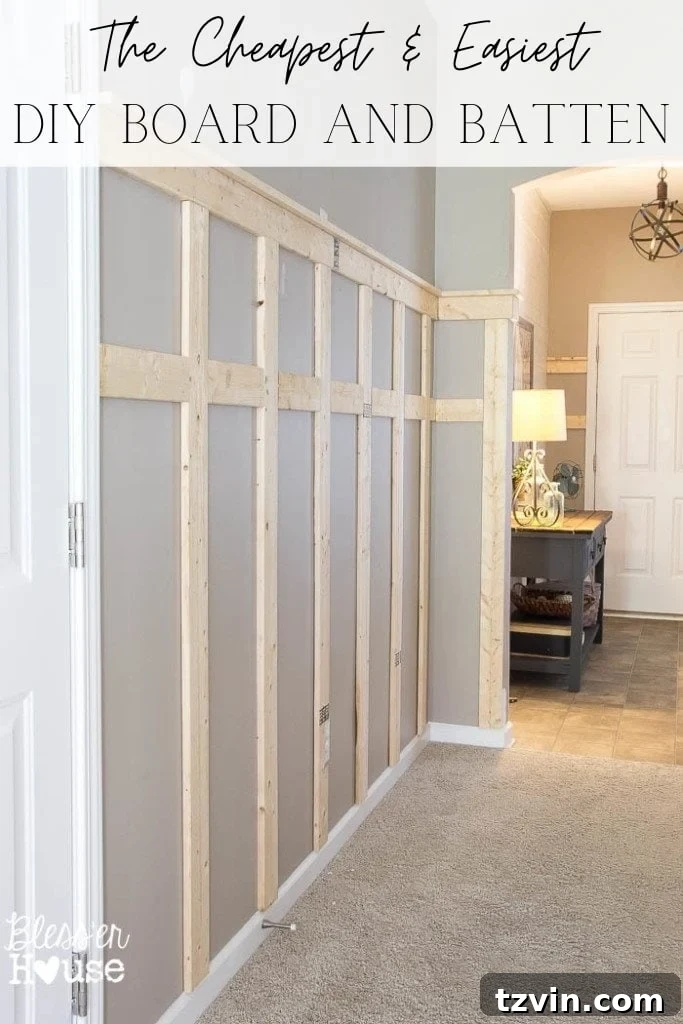
Remember the story “If You Give a Mouse a Cookie?” Well, this is the grown-up version for DIY enthusiasts.
Give a DIYer a table makeover, and they’ll want a shiplap wall. Then comes the board and batten. It’s a classic cycle!
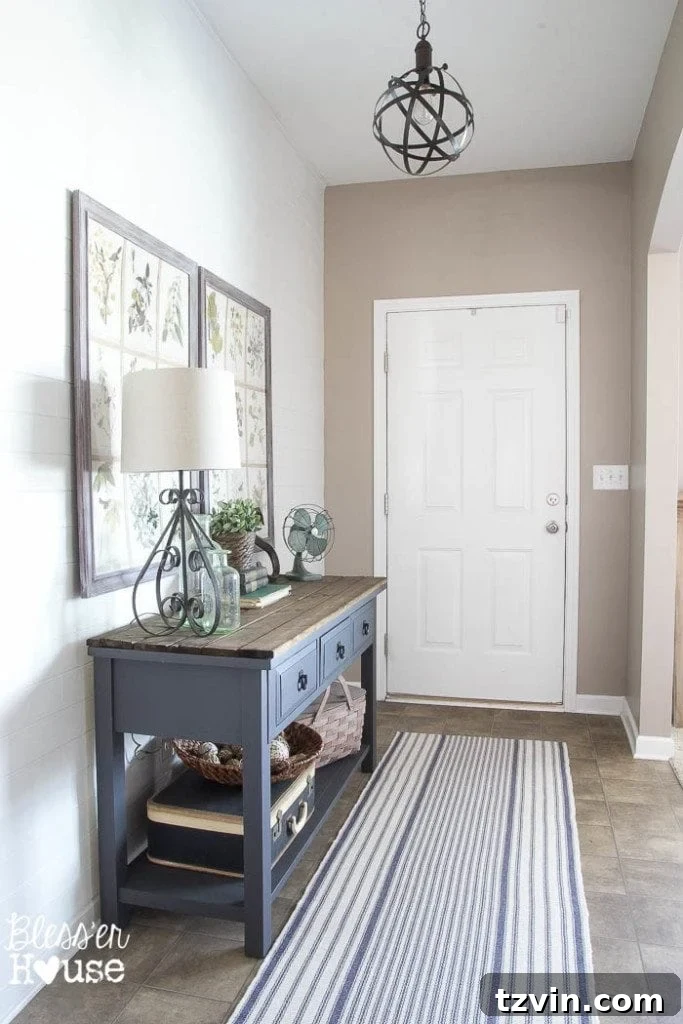
See Part Two of the DIY Board and Batten for the full reveal.
What is Board and Batten?
Board and batten is a timeless wall treatment that adds character and dimension. It involves vertical boards with horizontal strips, creating shadows and visual interest on plain walls.
While often seen on exteriors, fences, and furniture, this tutorial focuses on using it to create stunning board and batten wainscoting.
It’s a perfect choice for any room: hallways, entryways, bathrooms, bedrooms, dining rooms – anywhere that needs a stylish upgrade. And the best part? It’s a design that endures, blending seamlessly with various home styles.
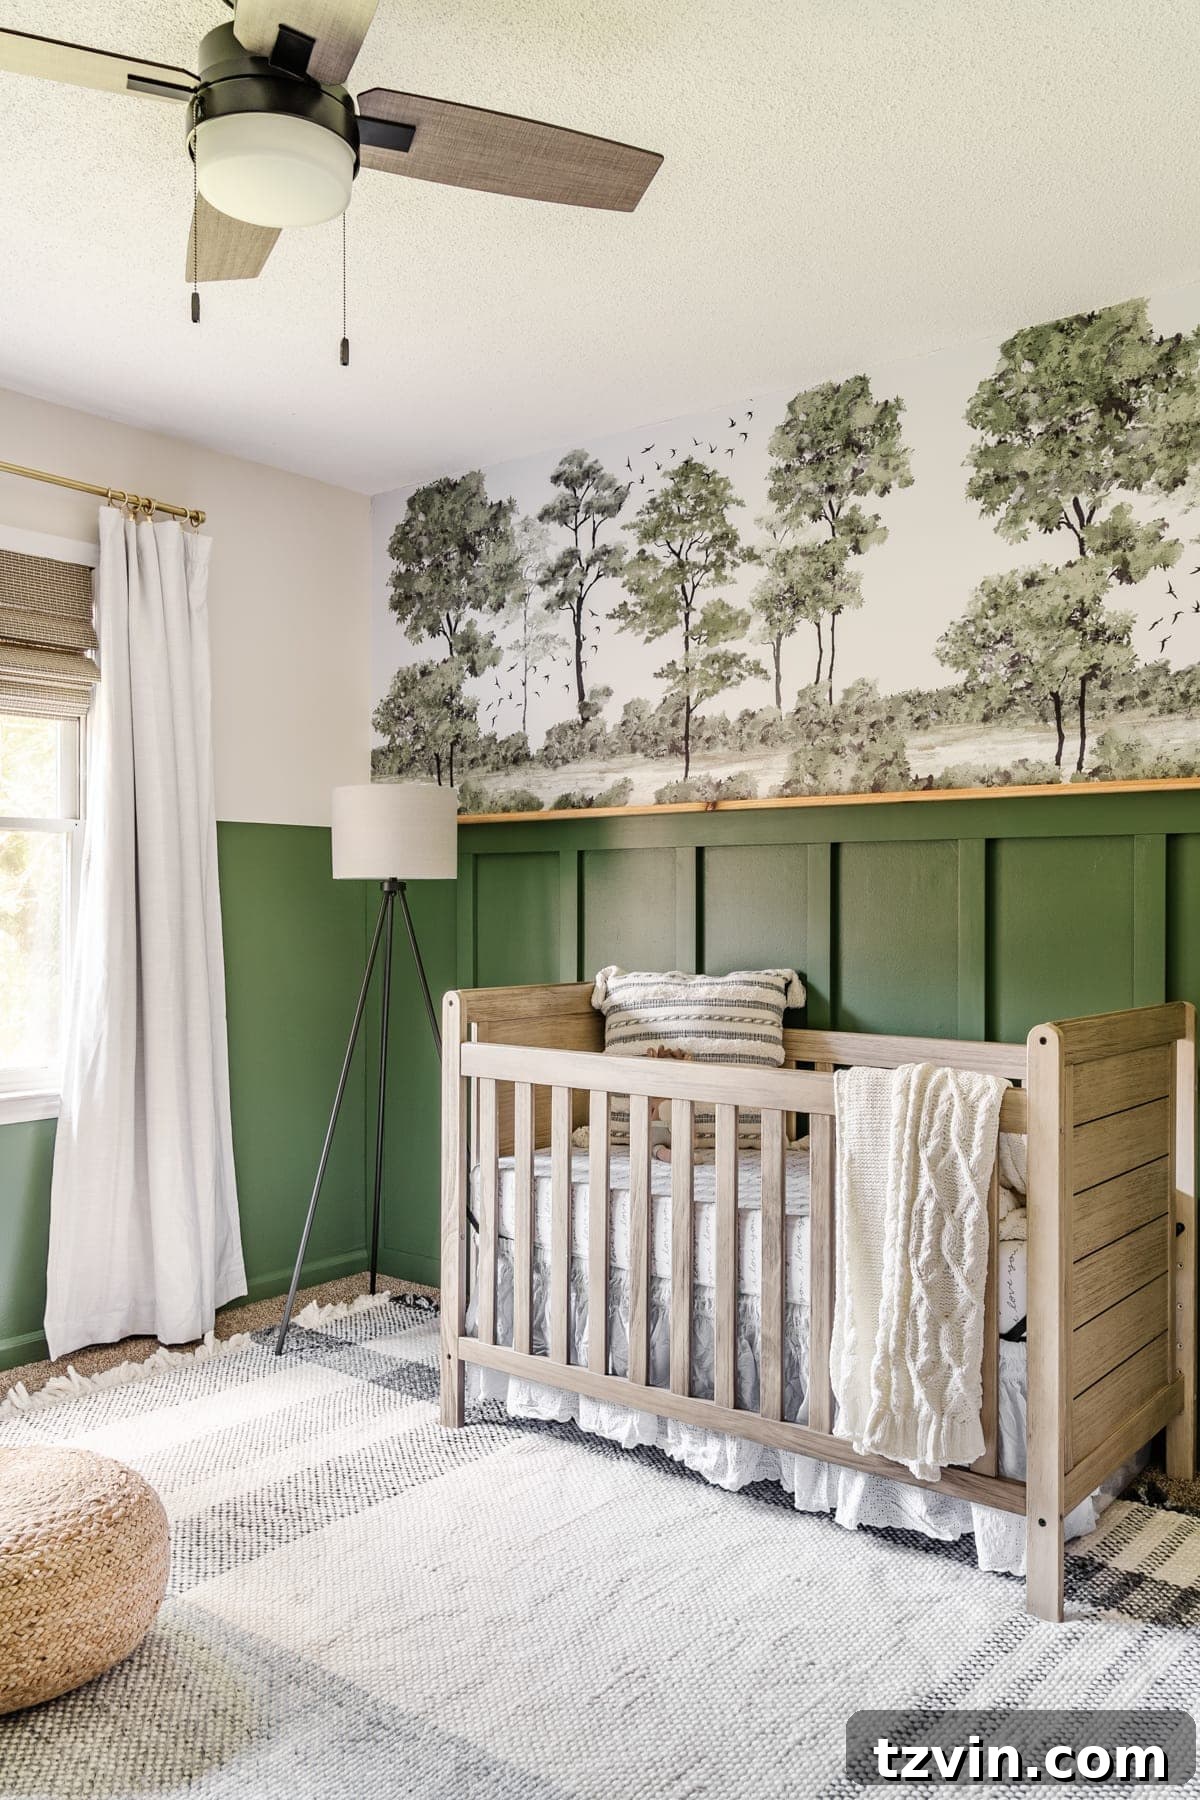
What Kind of Wood is Used for Board and Batten?
To make this DIY budget-friendly, we used pine furring strips. This cost-effective choice offers a similar look to more expensive options like MDF or pine trim.
While pine furring strips require a bit more prep work (filling knots and sanding), they can save you a significant amount of money.
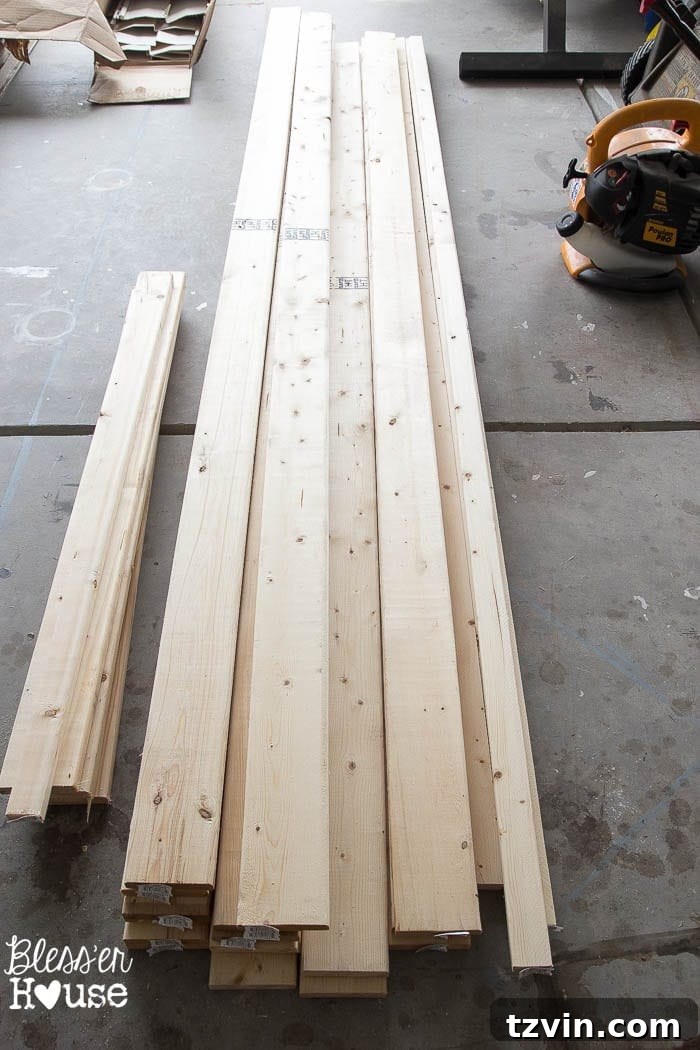
Remember, avoid using wood in humid environments like bathrooms and kitchens. In these areas, PVC is a better choice.
Tip: When selecting wood at the hardware store, check for warping by looking down the edge of each strip.
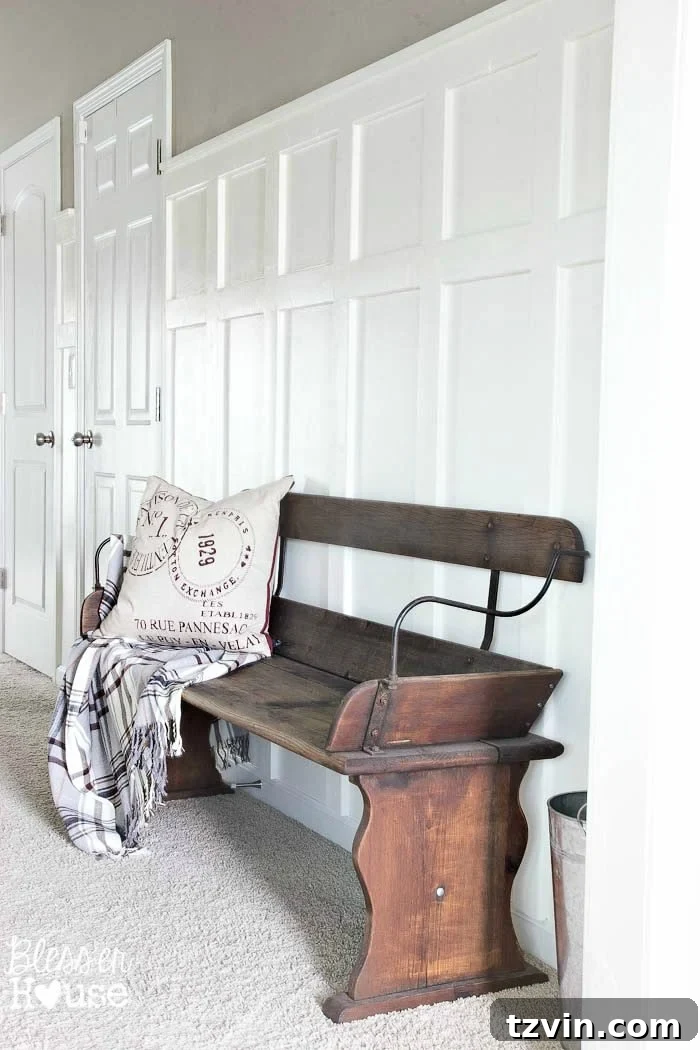
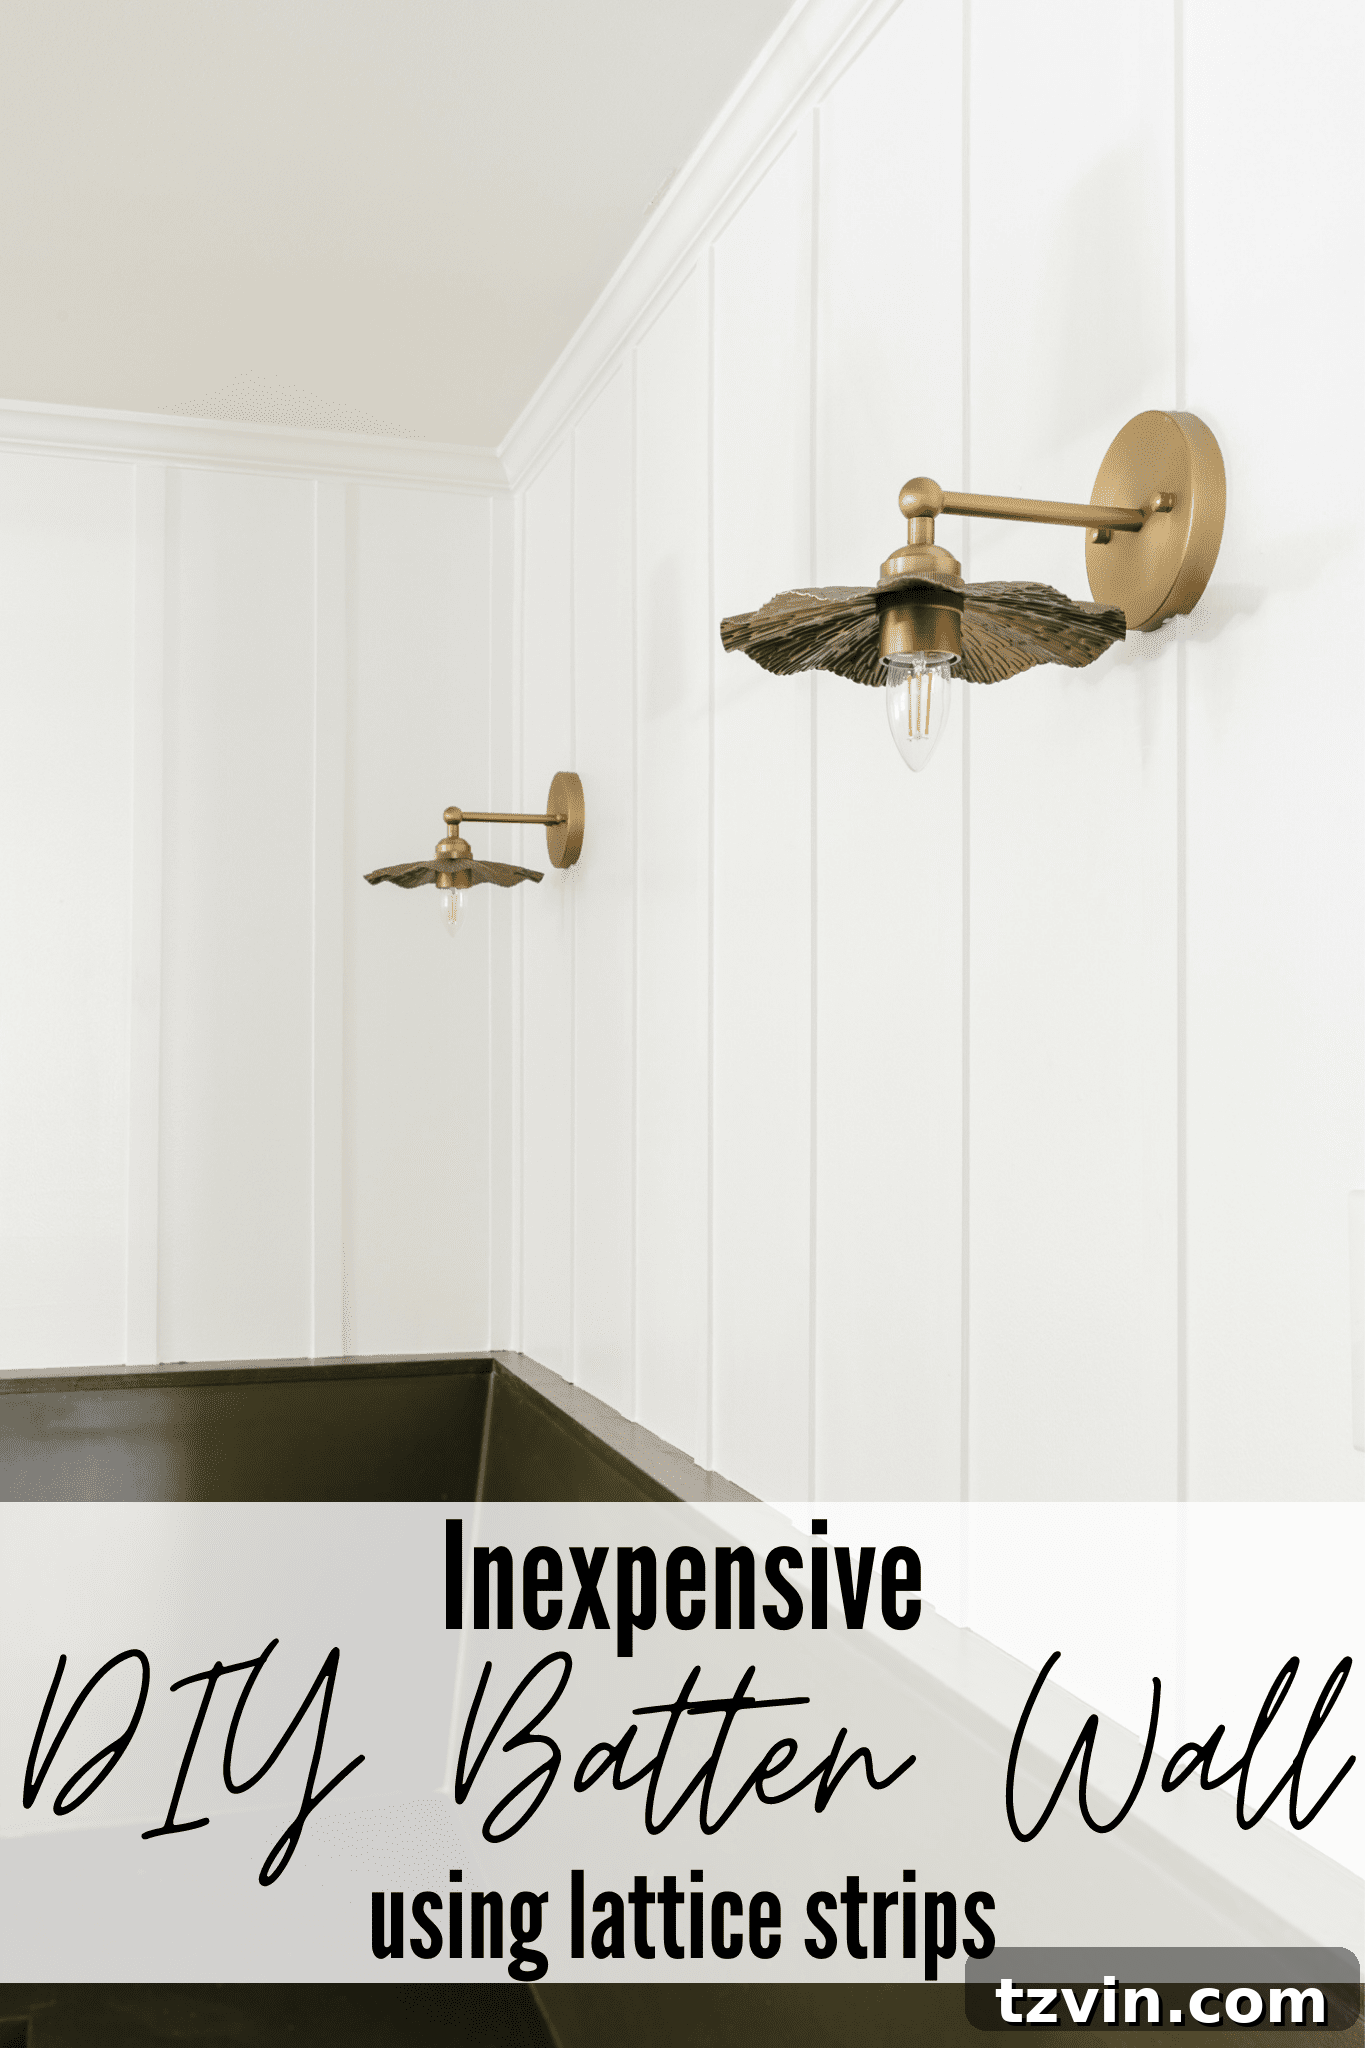
Another option for a budget-friendly batten wall is to use lattice strips. This method eliminates the need for horizontal boards, offering a straightforward approach that requires no power tools.
Tutorial: DIY Batten Board Wall with Lattice Strips
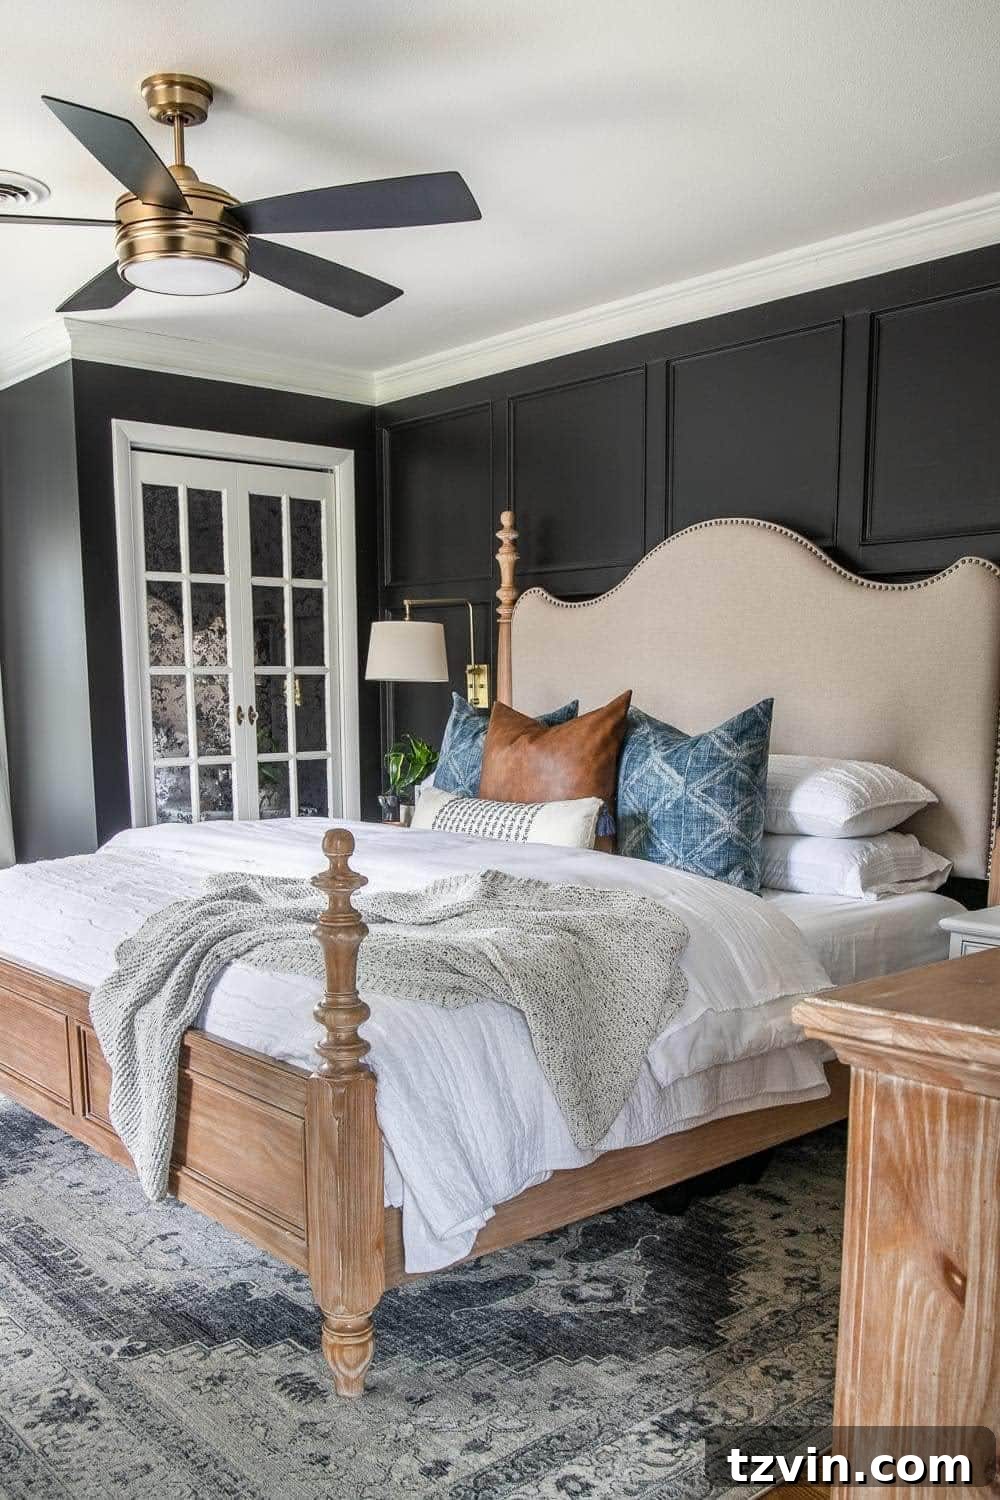
For a softer, more traditional aesthetic, you can add a panel cap molding to the top of your boards.
Tutorial: DIY Grid Wall Accent
Why Board and Batten is a Perfect Choice to Brighten Hallways
This hallway was a dark, cave-like space, lacking natural light. The board and batten transformed it, adding character and brightness.
If you have a dark hallway, board and batten can be a game-changer. It adds character and brightness without breaking the bank. It creates a high-end look on a budget!
While installing wainscoting can be time-consuming, the stunning result is well worth the effort.
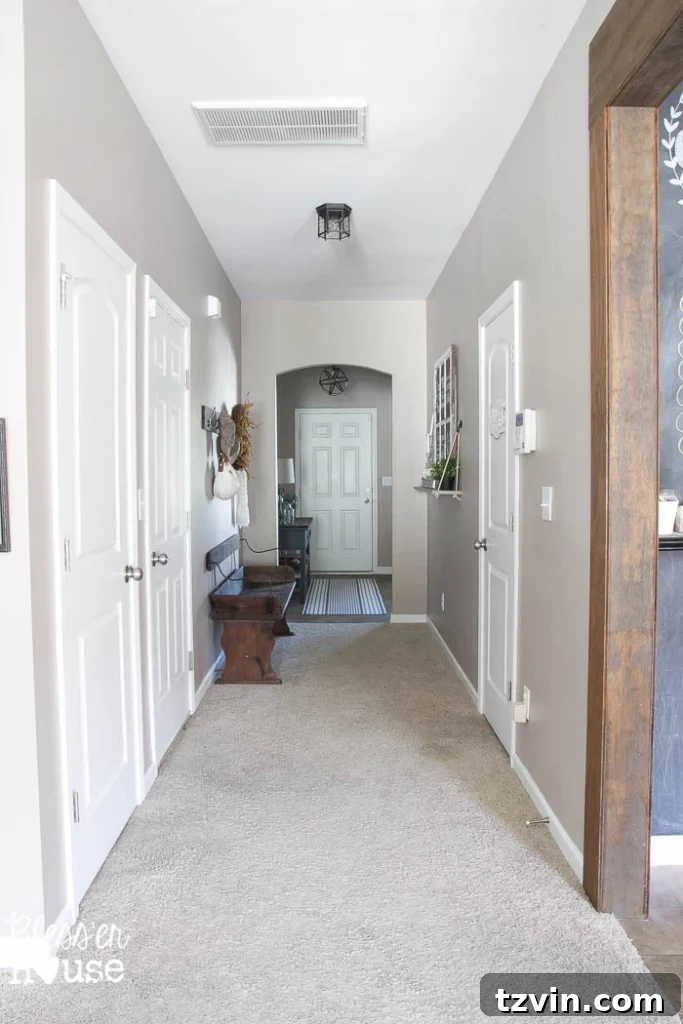
How to Install the Cheapest and Easiest DIY Board and Batten
Using furring strips is a budget-friendly trick. They are significantly cheaper than MDF boards.
While installing board and batten takes time, using furring strips simplifies the process and provides a beautiful, affordable result.
Supplies
- 1x4x8 pine furring strips (quantity based on your space)
- 1x2x8 pine furring strips
- 2 inch brad nails
- Hammer or brad nailer
- Stud finder
- Level
- Miter saw or circular saw
- Jigsaw
- White trim caulk
- Wood filler
- Medium to fine grit sandpaper
- Construction adhesive (optional, for extra secure boards)
Note: These instructions assume smooth walls. If you have textured walls, you’ll need MDF paneling before attaching your boards.
This project stayed under budget, even with a long hallway (excluding tools, but renting is an option).
Steps
1. Place the Top Boards
Attach the horizontal 1x4s at the desired height. Ensure they’re level.
Tip: You can build your board and batten using existing baseboards or replace them with a board of the same width as the top board for balance.
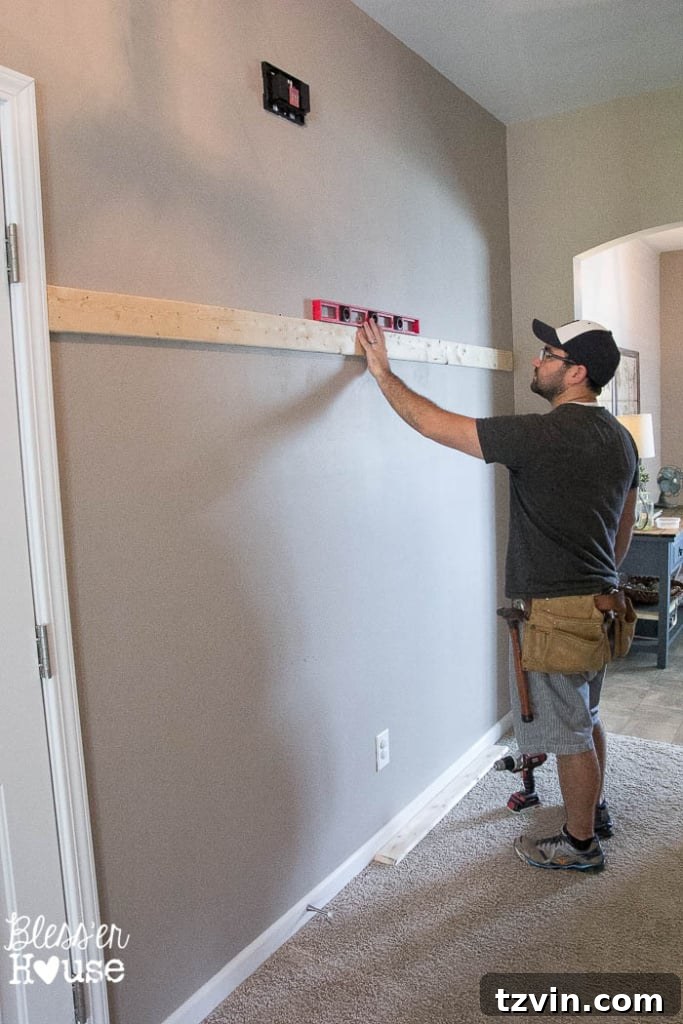
2. Nail the Top Boards
Secure the top boards to the wall studs using nails. A stud finder is essential here.
If using a hammer, ensure secure attachment. For added stability, consider using construction adhesive before nailing.
To minimize damage, apply finish nails at a 45-degree angle, alternating the direction of the nails.
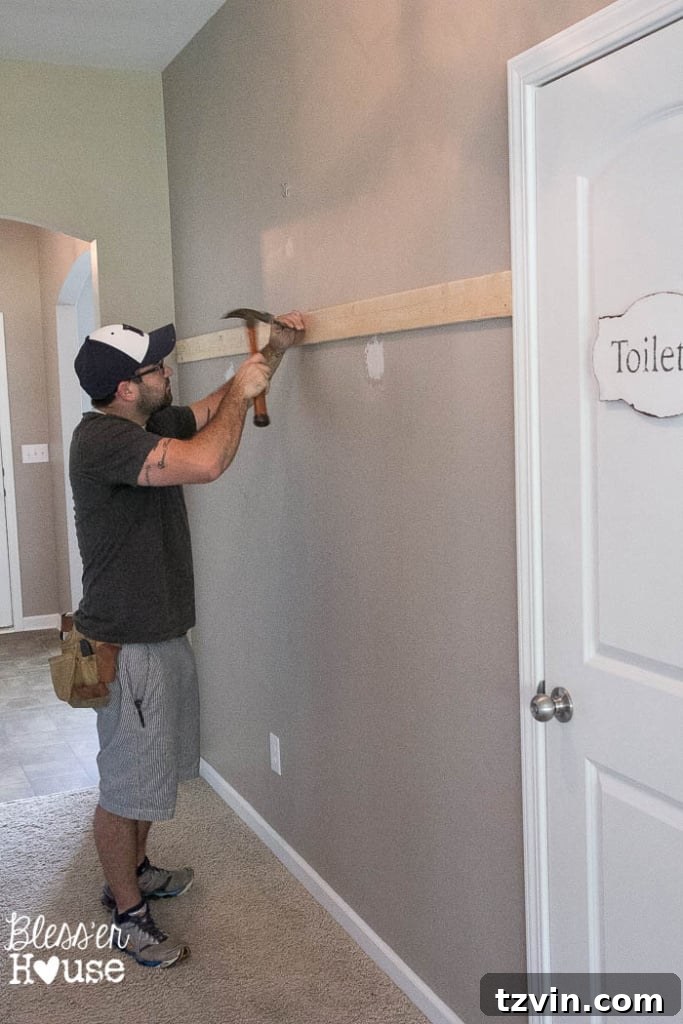
Progress! Remember, this is the beginning of a multi-day project.
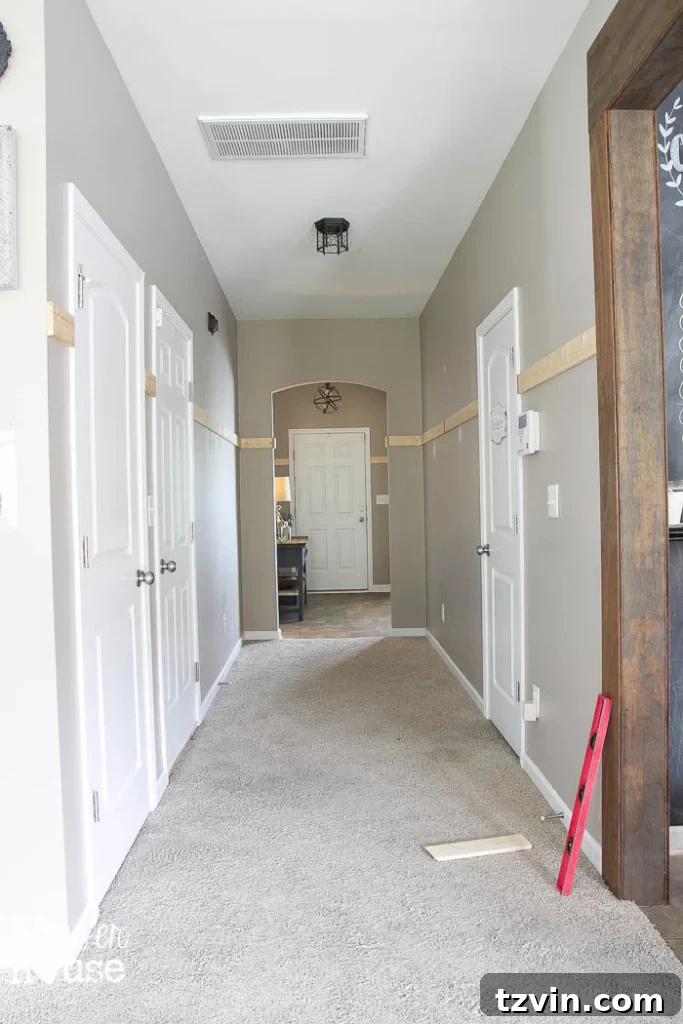
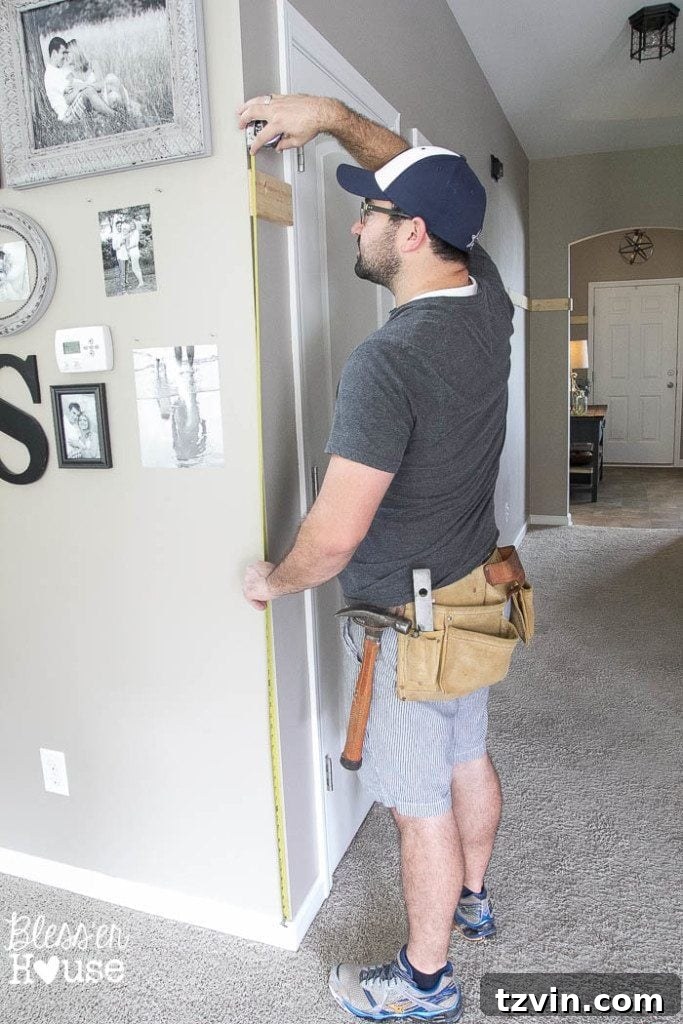
3. Measure and Cut Vertical Battens
Measure and cut the vertical battens to the correct length. Measure carefully from the top of the baseboard to the top board.
4. Cut Around Obstacles
When working around obstacles like light switches and outlets, measure carefully and use a jigsaw to cut the battens to fit.
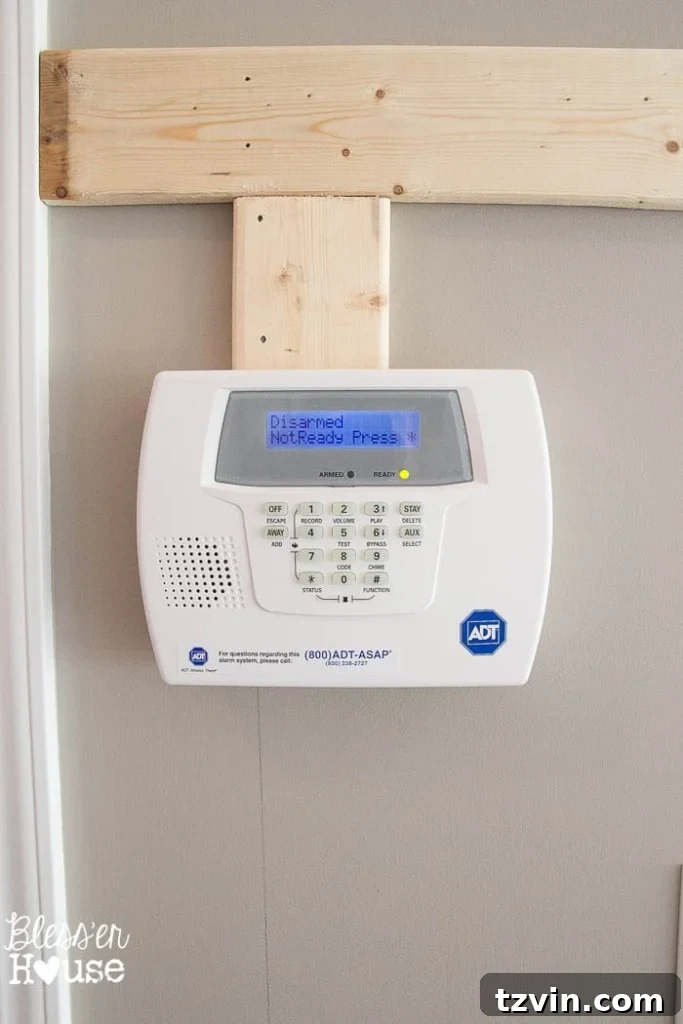
For light switches and outlets, use a jigsaw to carefully cut out the necessary sections.
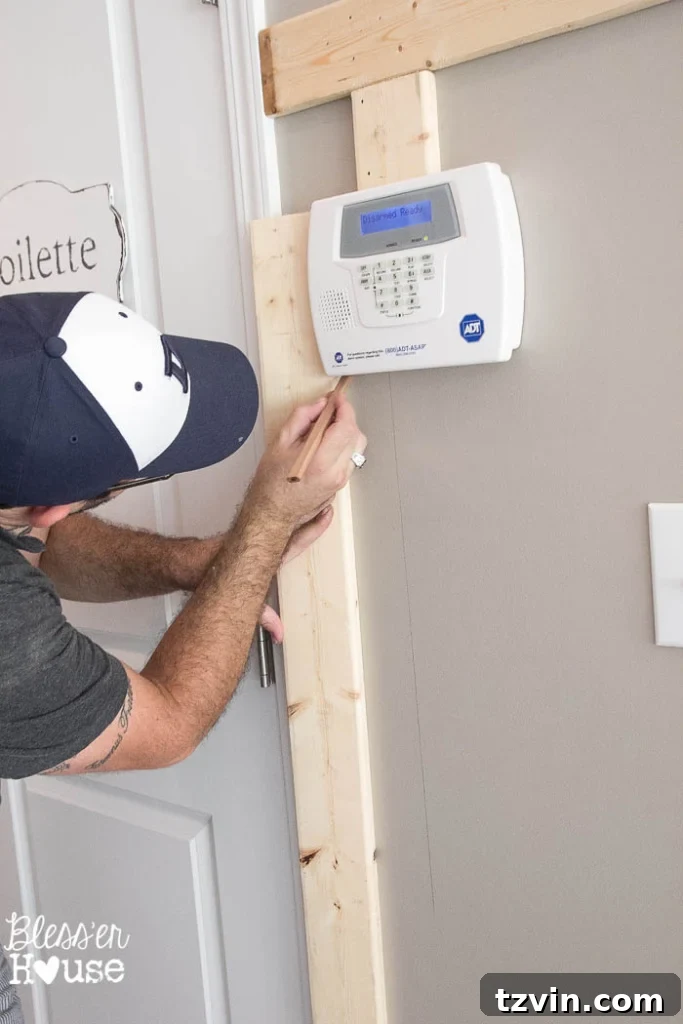
Carefully cut around obstacles to ensure a seamless fit.
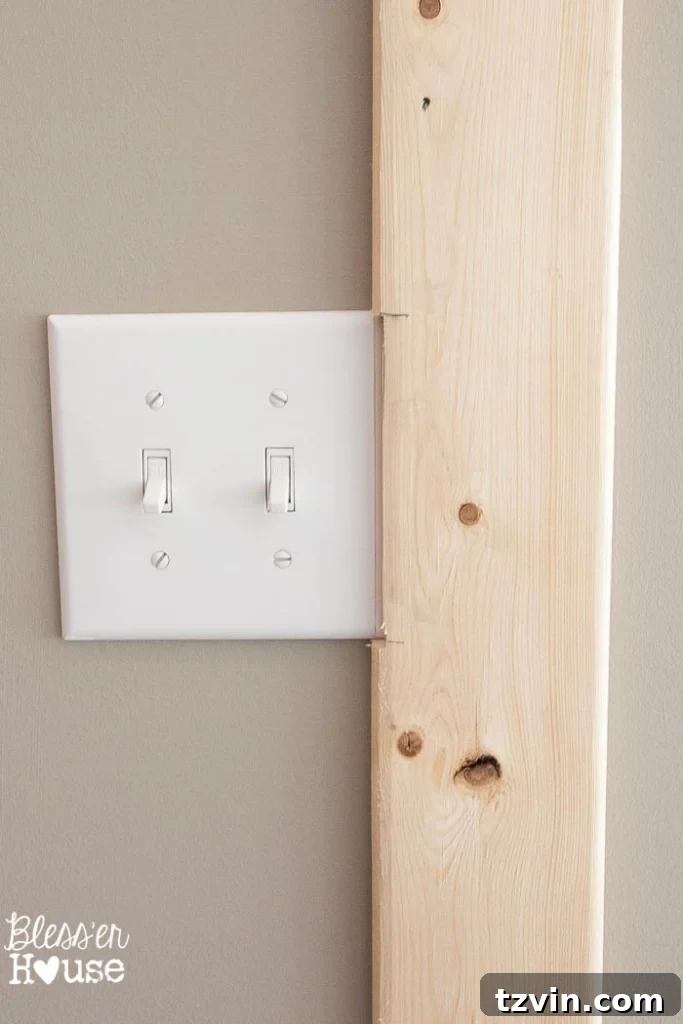
5. Nail Battens to Studs
Secure the vertical battens to the wall studs for maximum stability. This is crucial for a lasting result.
Tip: Nail your battens to studs. They should (hopefully) already be evenly spaced, and it will make the battens more secure.
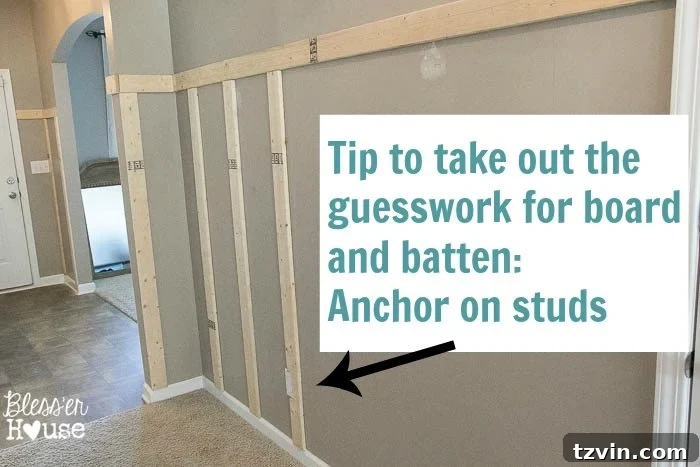
Almost there!
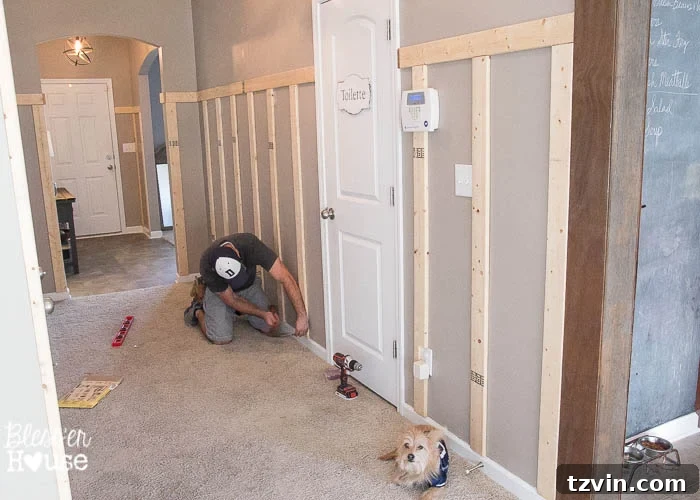
The stud trick works!
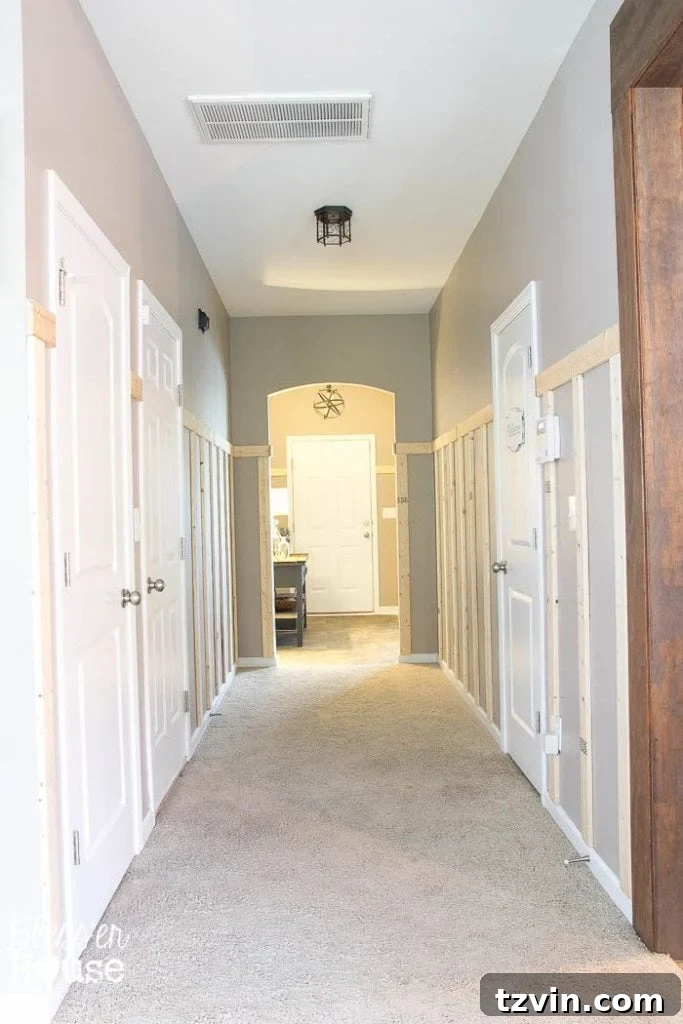
Focus on the finish line.
6. (Optional) Add A Second Board 12″ Below the Top Board
Add a second horizontal board 12 inches below the top board.
7. (Optional) Add a Shelf Detail to the Top Horizontal Board
Complete the look by adding a 1×2 board on top as a shelf. Customize the depth for a picture ledge.
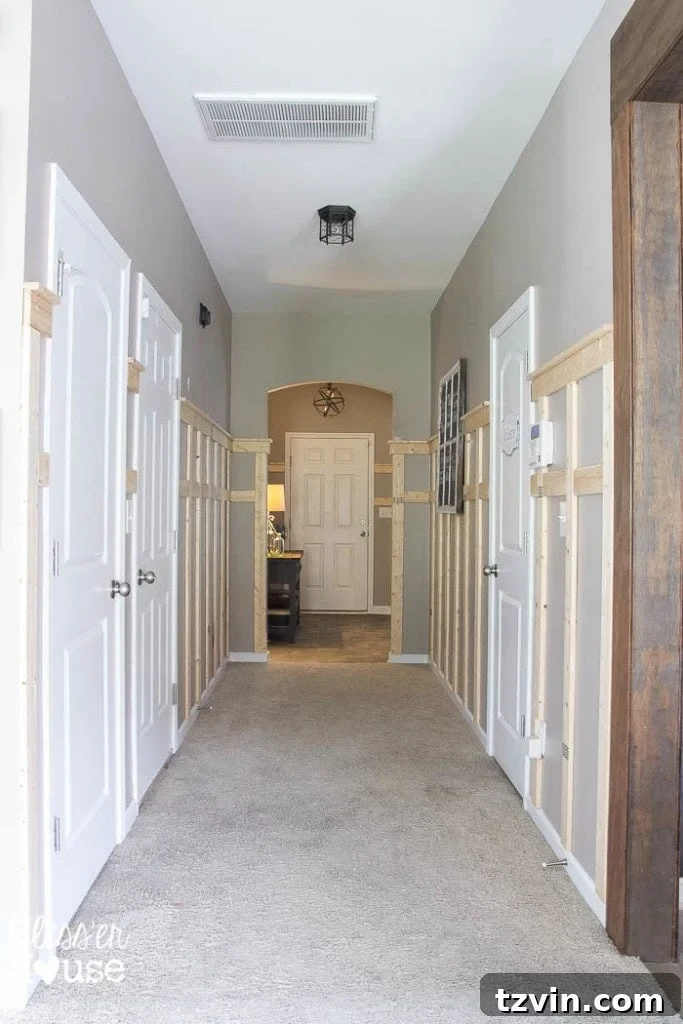
8. Caulk Gaps and Wood Fill Knots and Nail Holes
Fill any gaps with caulk for a smooth, professional finish. Use wood filler on knots and nail holes, then sand smooth.
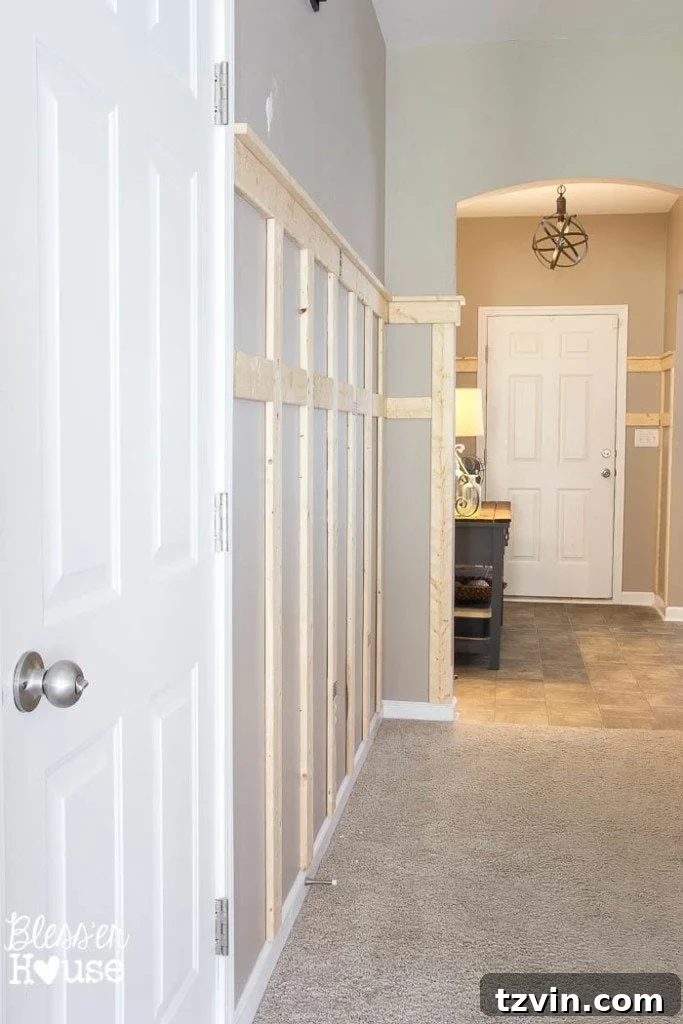
The result? A stunning transformation worth the effort.
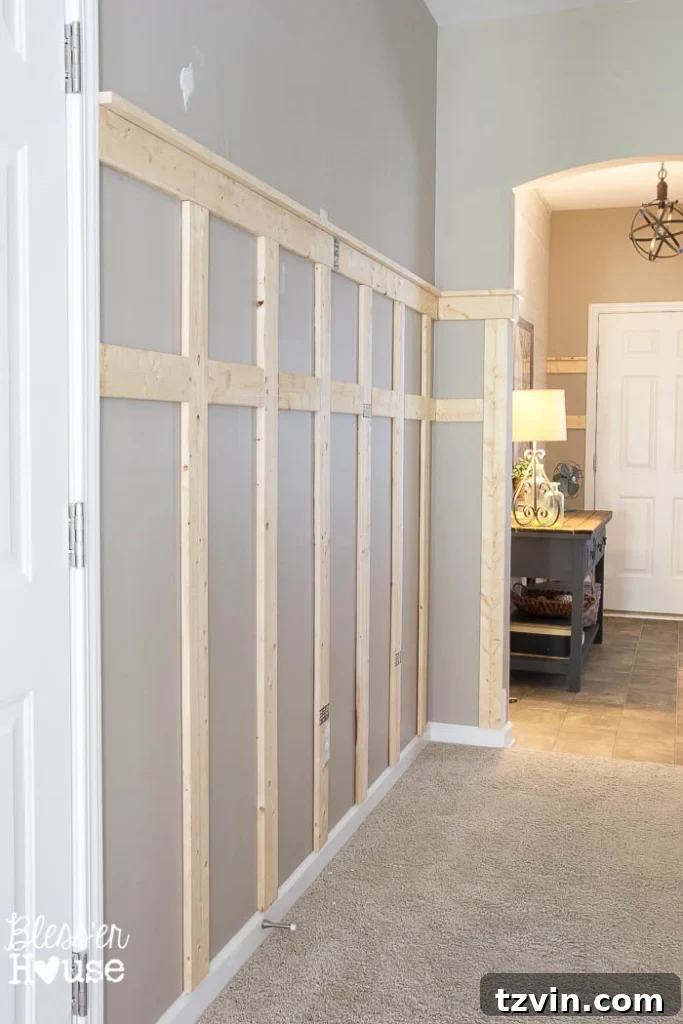
See the final reveal of the board and batten project!
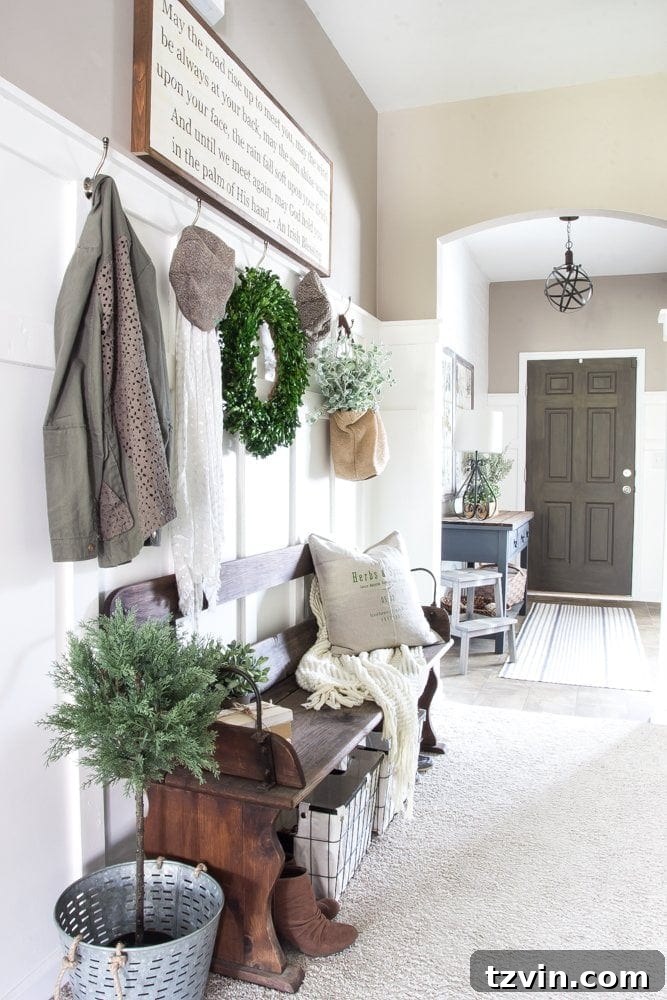
The results of a DIY project, hardwood floors!
Have you tried board and batten before? Share your experience!