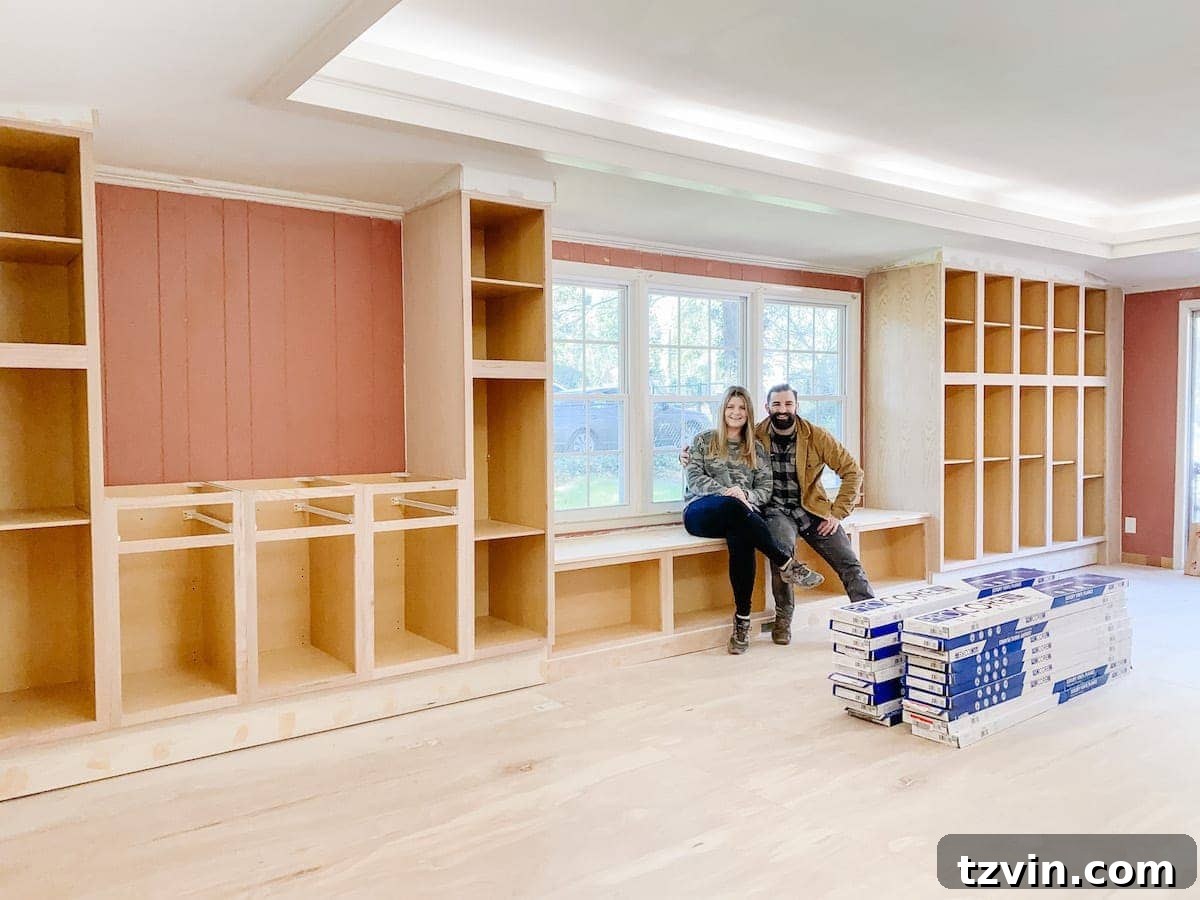
DIY Built-In Cabinets and Window Seat: A Step-by-Step Guide
Ready to transform your space with custom built-ins? This tutorial will guide you through creating stunning DIY built-in cabinets and a cozy window seat using affordable stock kitchen cabinets. We’ll cover everything from planning to finishing touches, so you can achieve professional-looking results without breaking the bank.
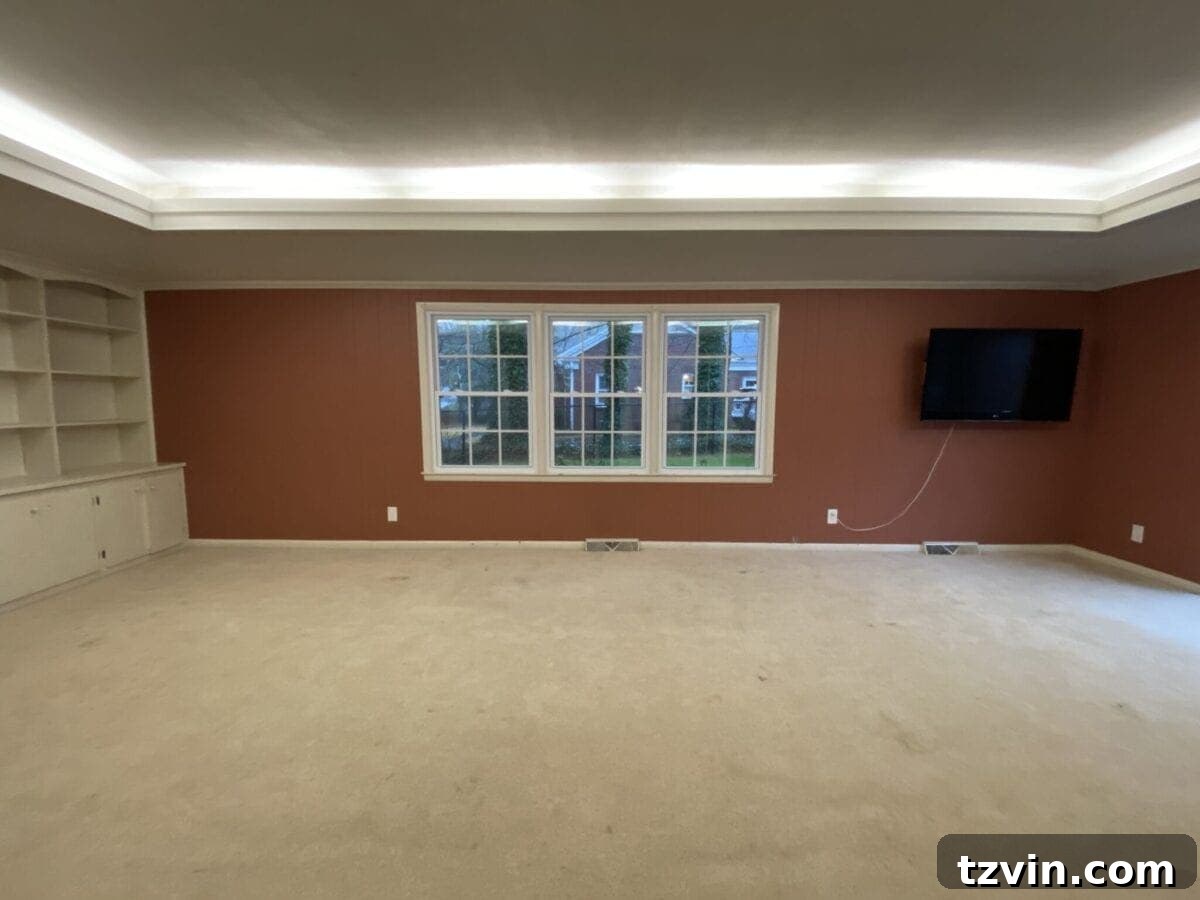
This project might seem daunting, but with clear instructions and the right tools, you can build your own custom storage and seating solution. Let’s get started!
This was a challenging project but worth it! Here are some other built-in projects we’ve tackled over the years:
- IKEA Built-Ins (Previous Home)
- IKEA Bookcase Built-Ins (Playroom)
- Built-In Window Seat (Refrigerator Cabinet)
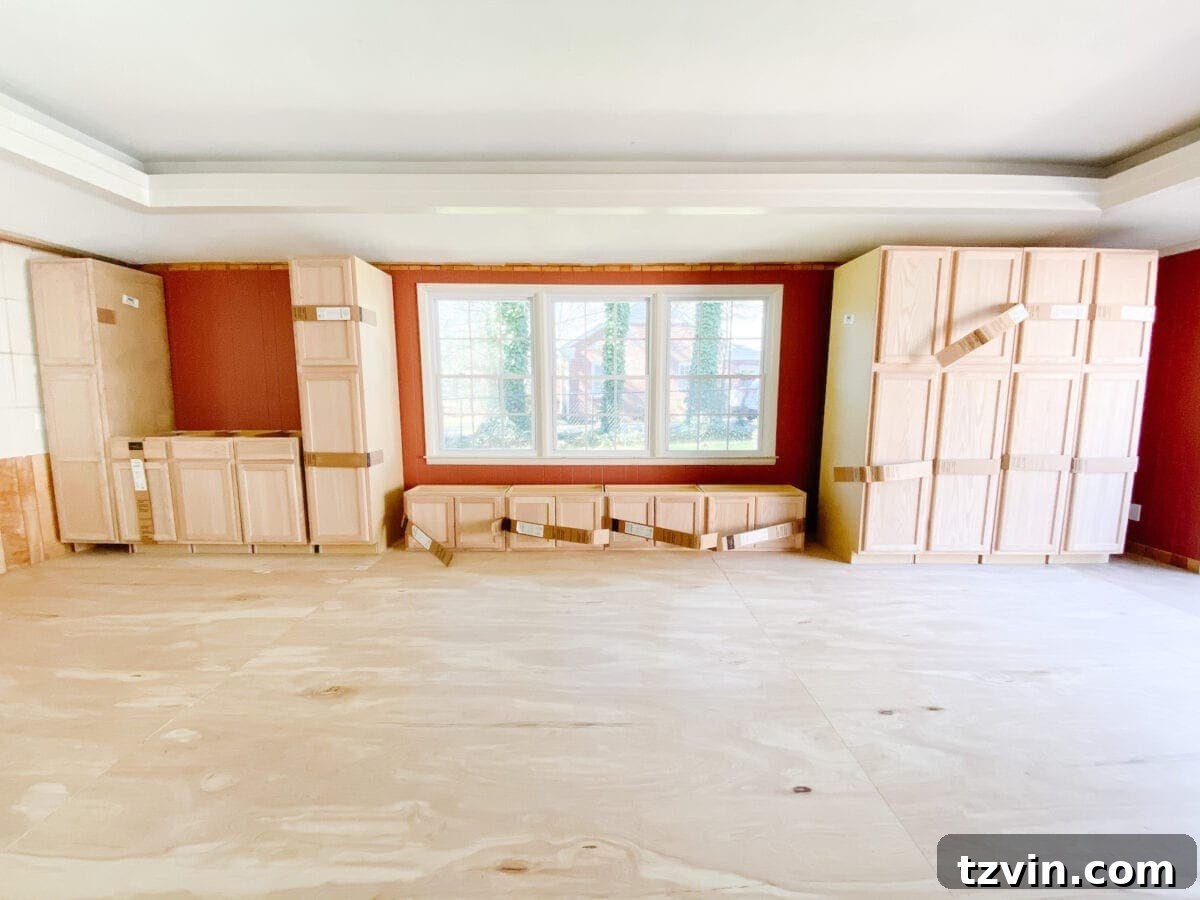
Seeing the project take shape is so exciting! Even with the doors, flooring, and paint left to do.
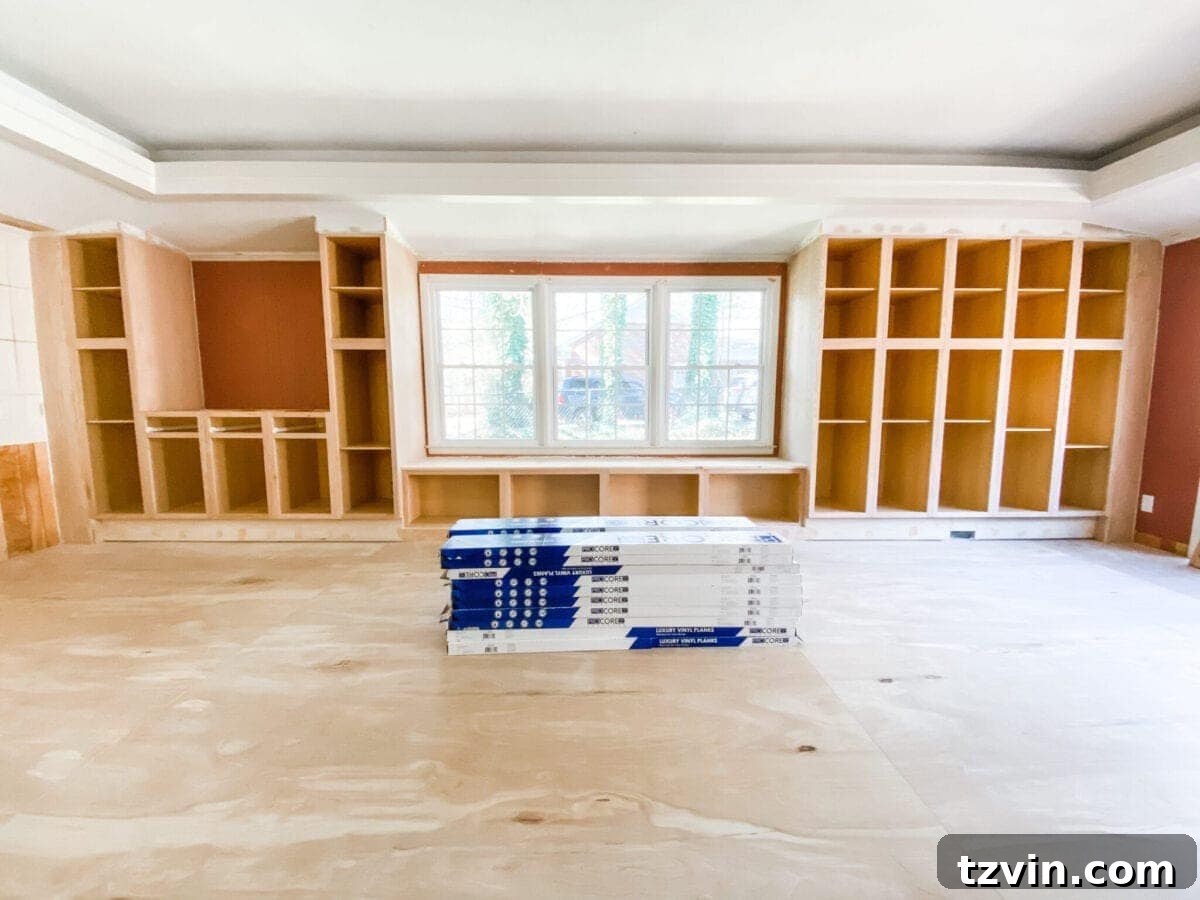
DIY Built-In Cabinet Tutorial
(Some affiliate links are provided below for your convenience.)
Materials You’ll Need:
- Stock Pantry Cabinets (We used 7)
- Stock Refrigerator Cabinets (We used 4 for the window seat)
- Stock Base Cabinets (We used 3)
- Stock Cabinet Side Panels (4 for exposed sides)
- 2×4 boards (15)
- 1x12x8 poplar boards (2)
- 1x10x10 pine board (1)
- 1x12x10 pine board (1)
- 1x4x8 pine boards (4)
- 1x8x10 pine boards (3)
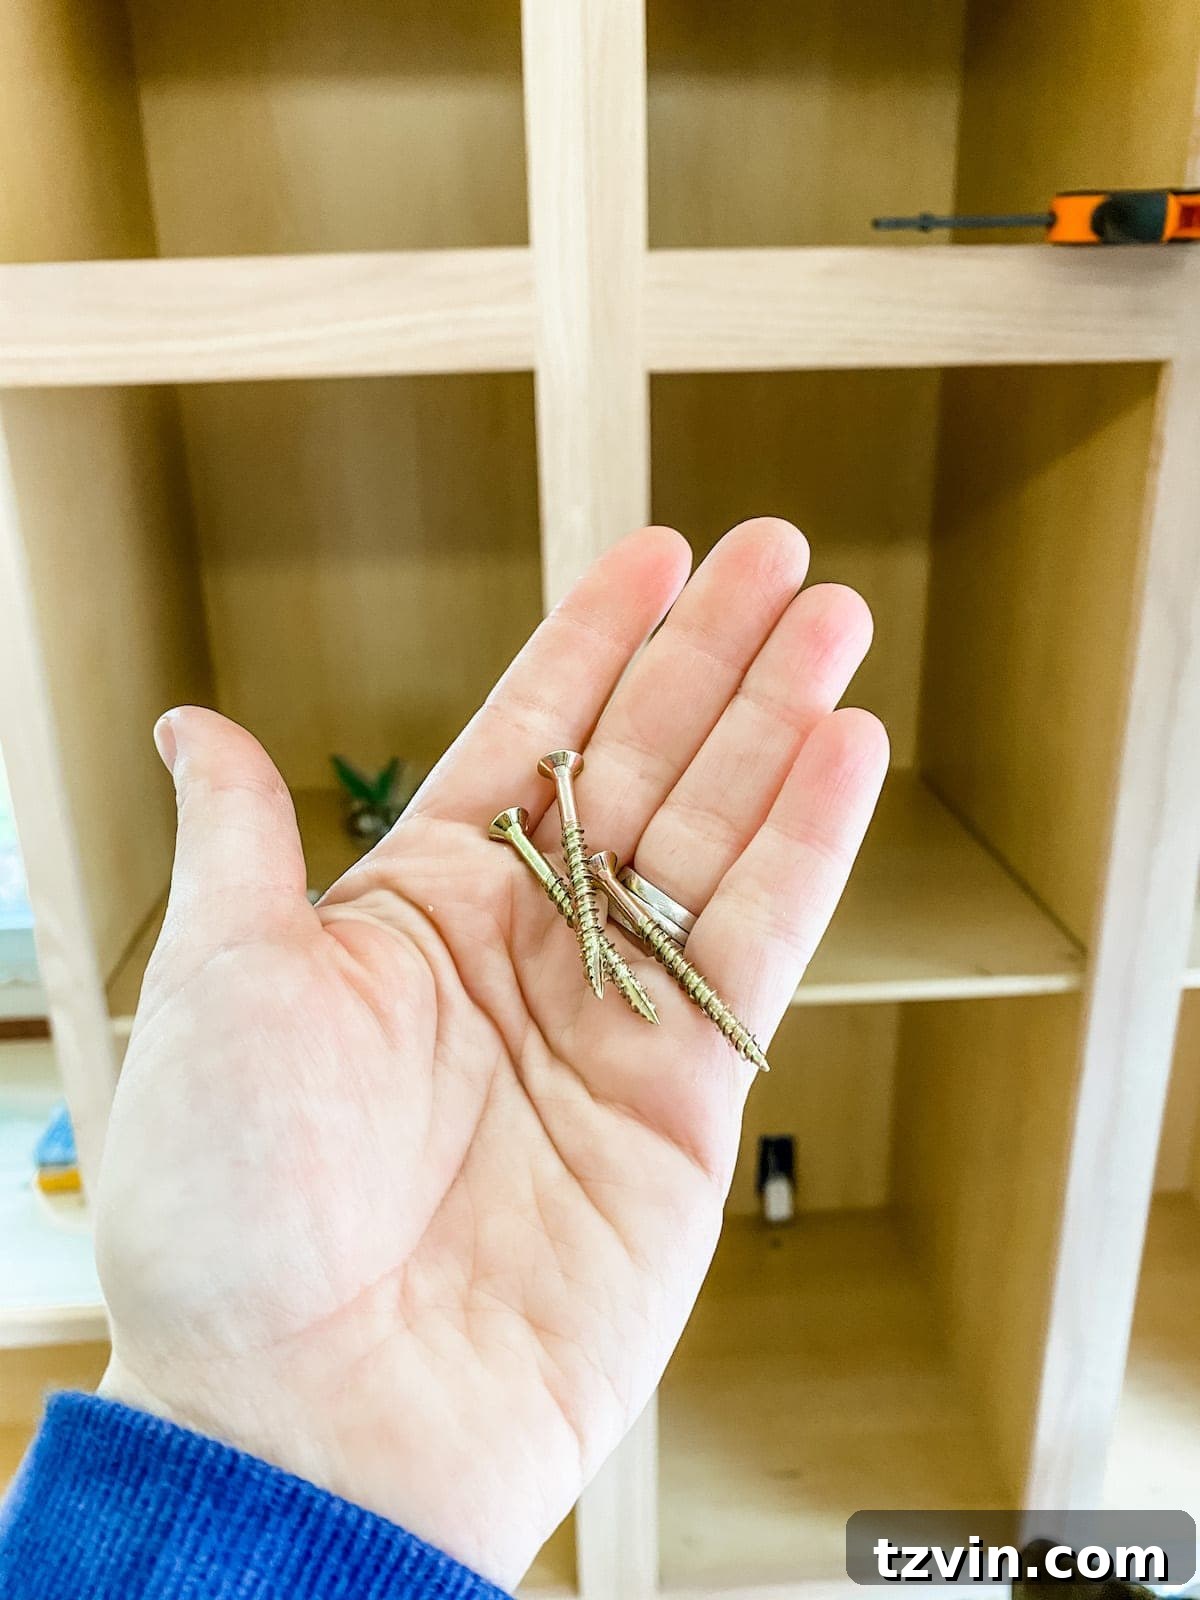
- 1 1/2″ cabinet screws (#8)
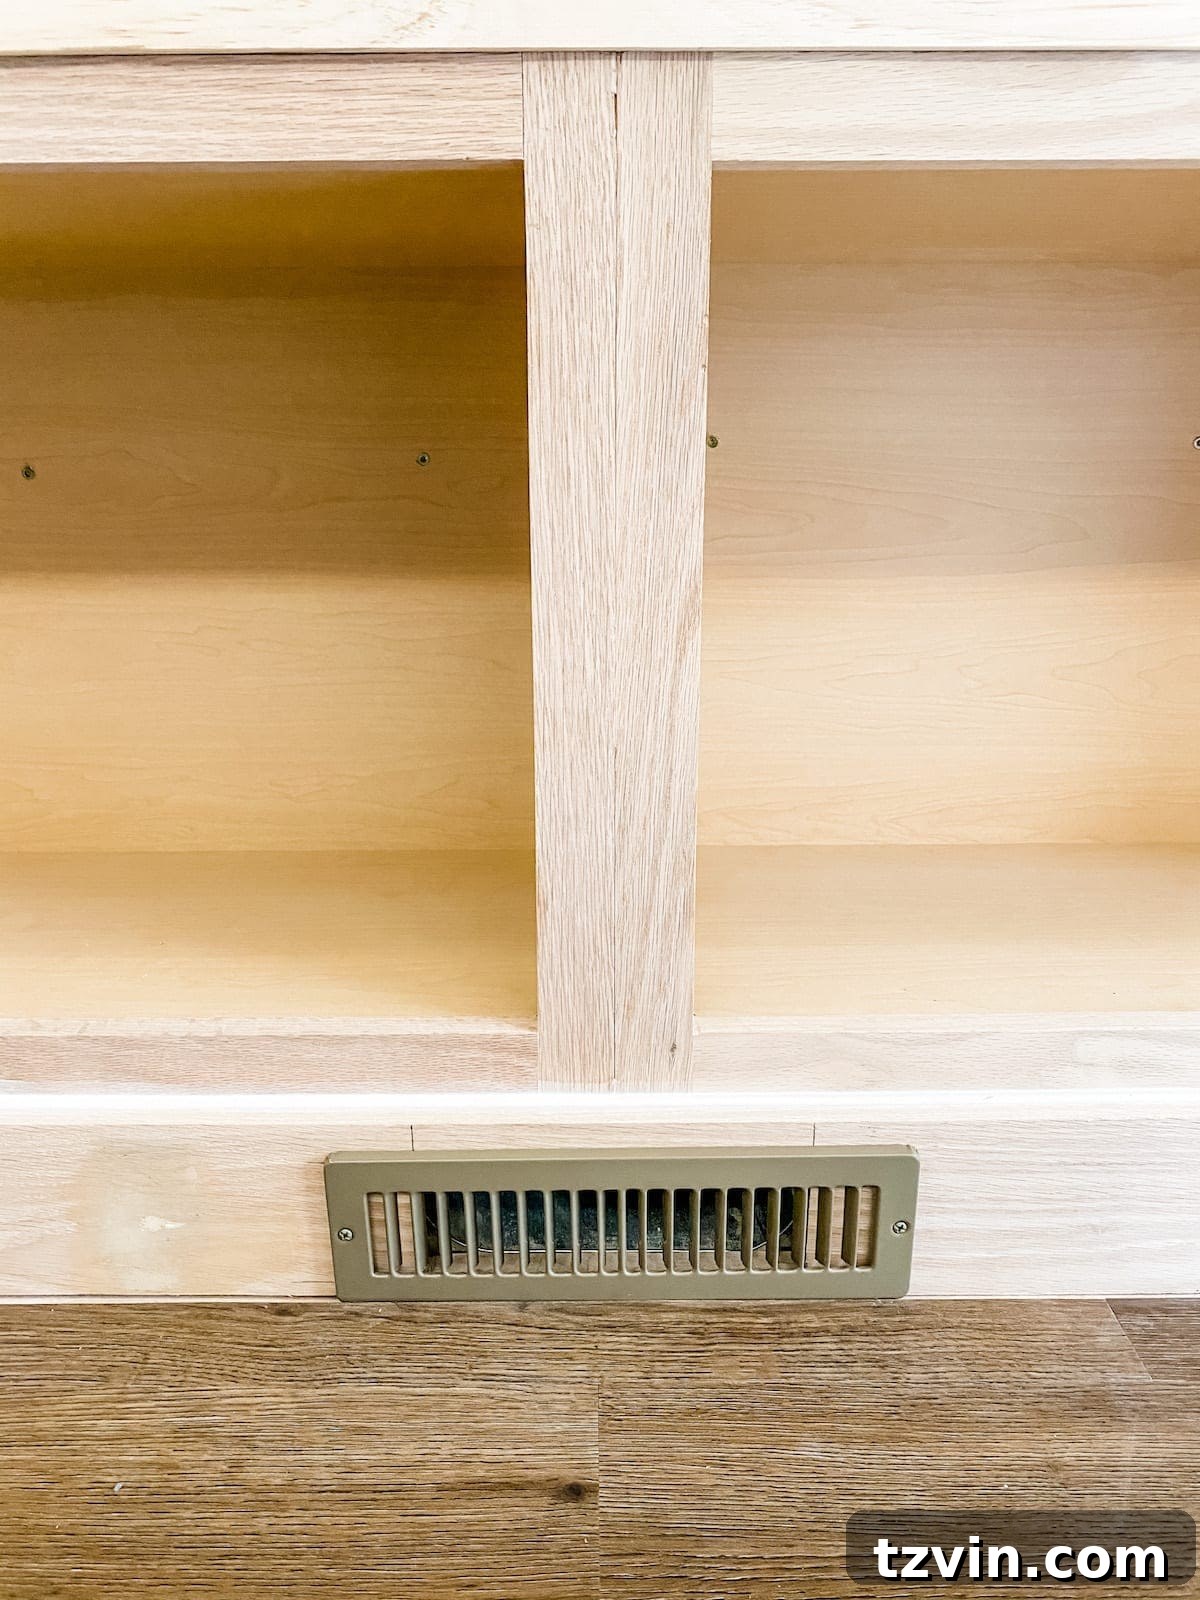
- 1 5/8″ deck screws (#8)
- Wood shims
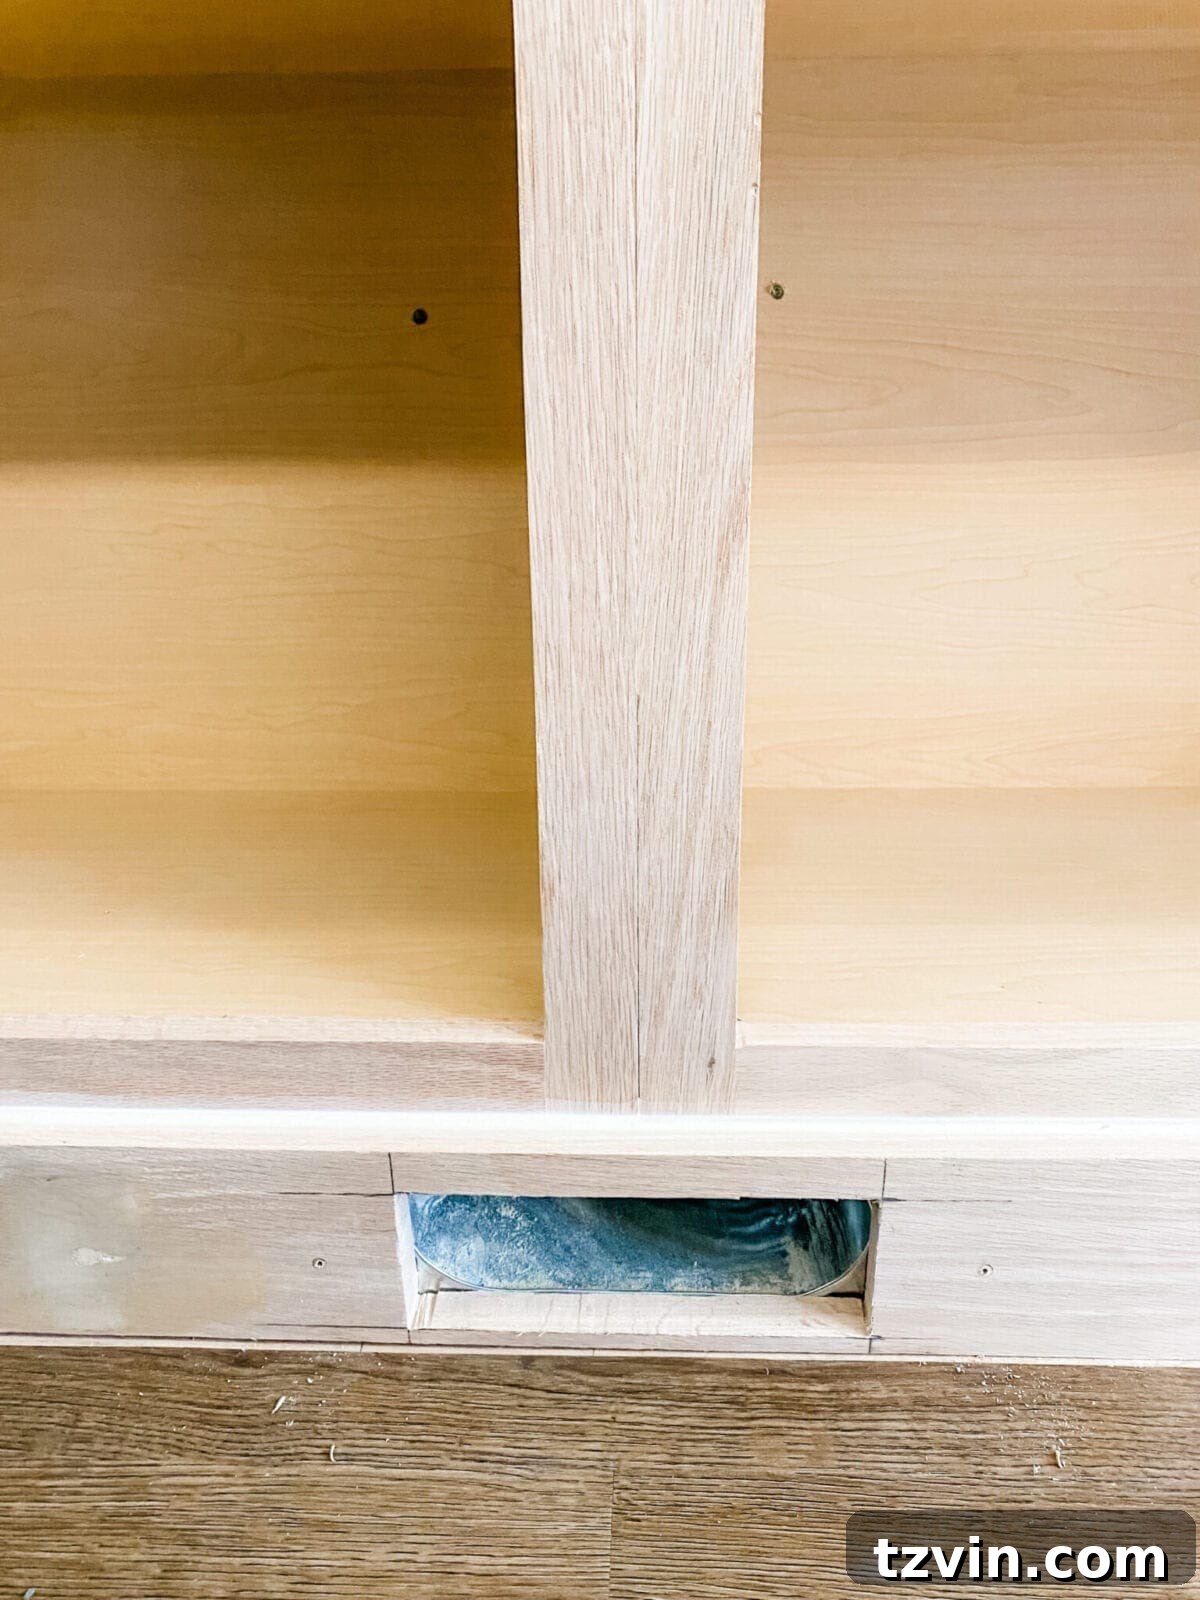
- Toe ductors
- Wood filler
- Paintable caulk
Tools You’ll Need:
- Clamps (4)
- Speed Square
- Tape Measure
- Chalk Line
- Drill and bit set
- Cordless finish nailer
- Cordless crown nailer
- Level
- Utility Knife
- Miter Saw
- Jigsaw
- Oscillating Multi-Tool
- Orbital Sander
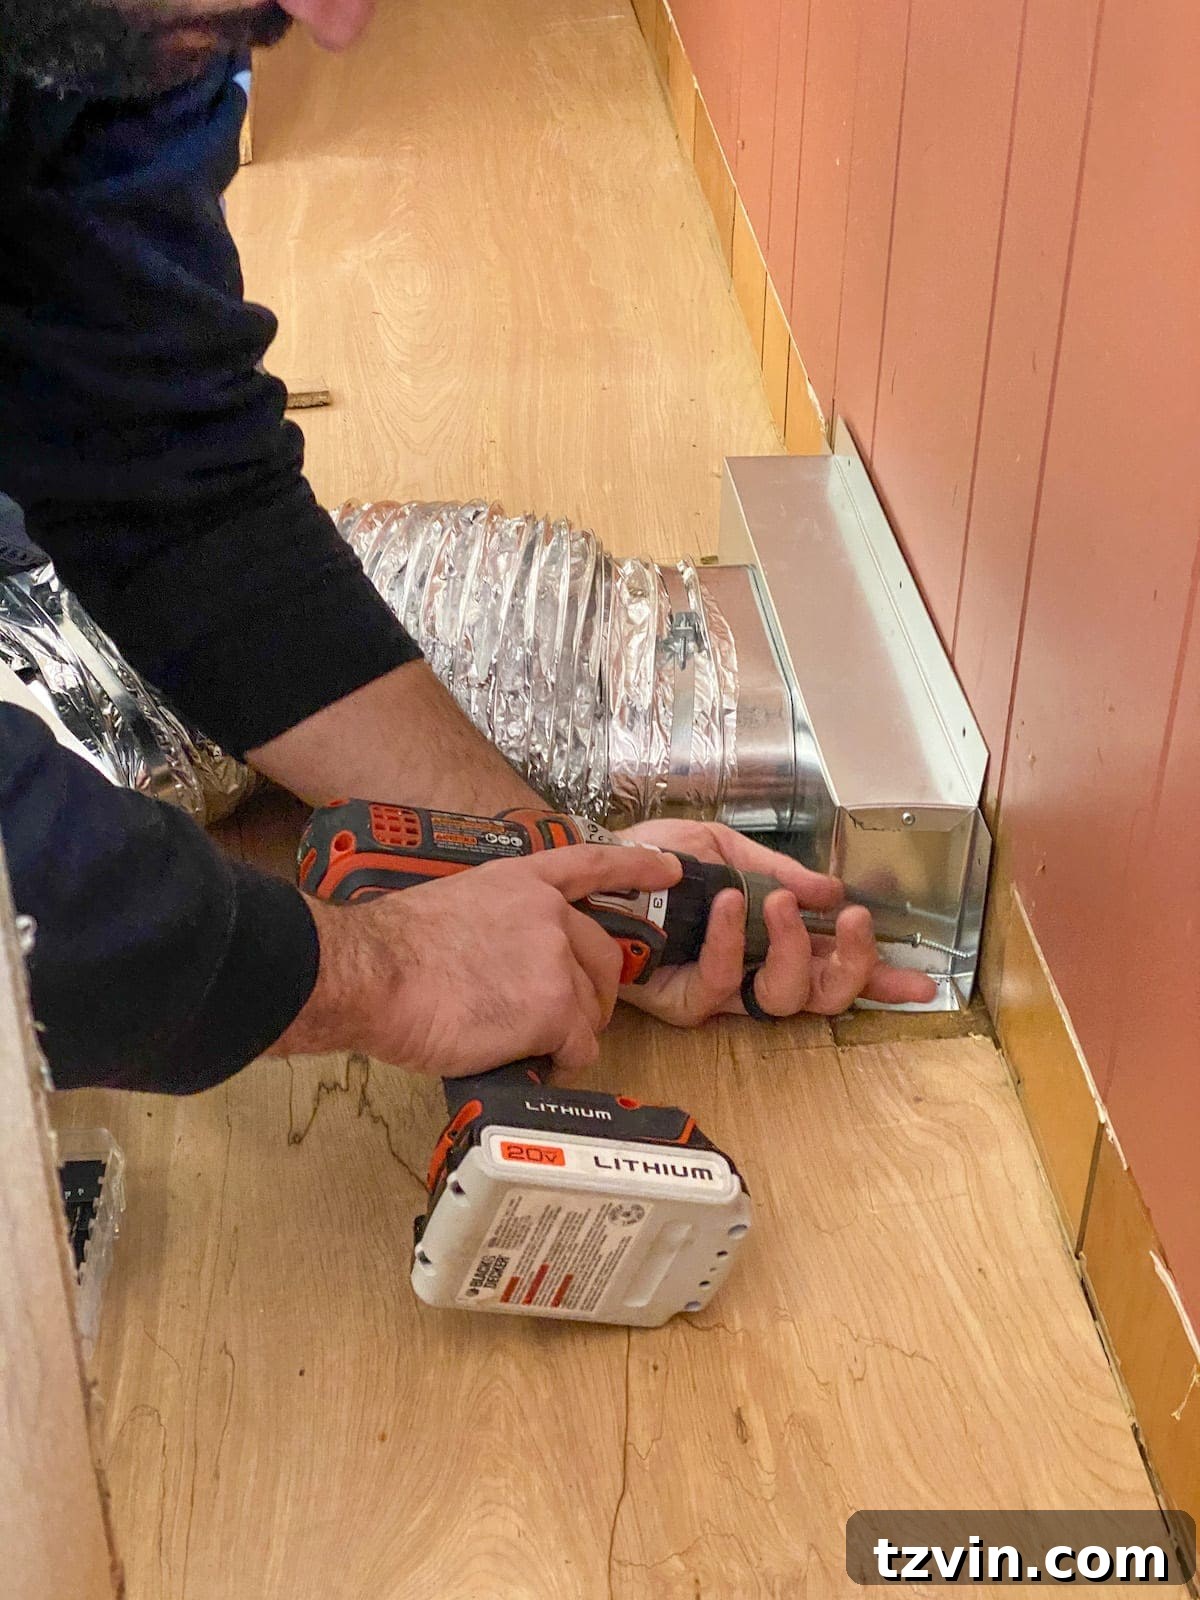
The key to success? Planning and preparation! This project required us to work around existing baseboard vents. Here’s how we did it.
Step-by-Step Instructions
The Base
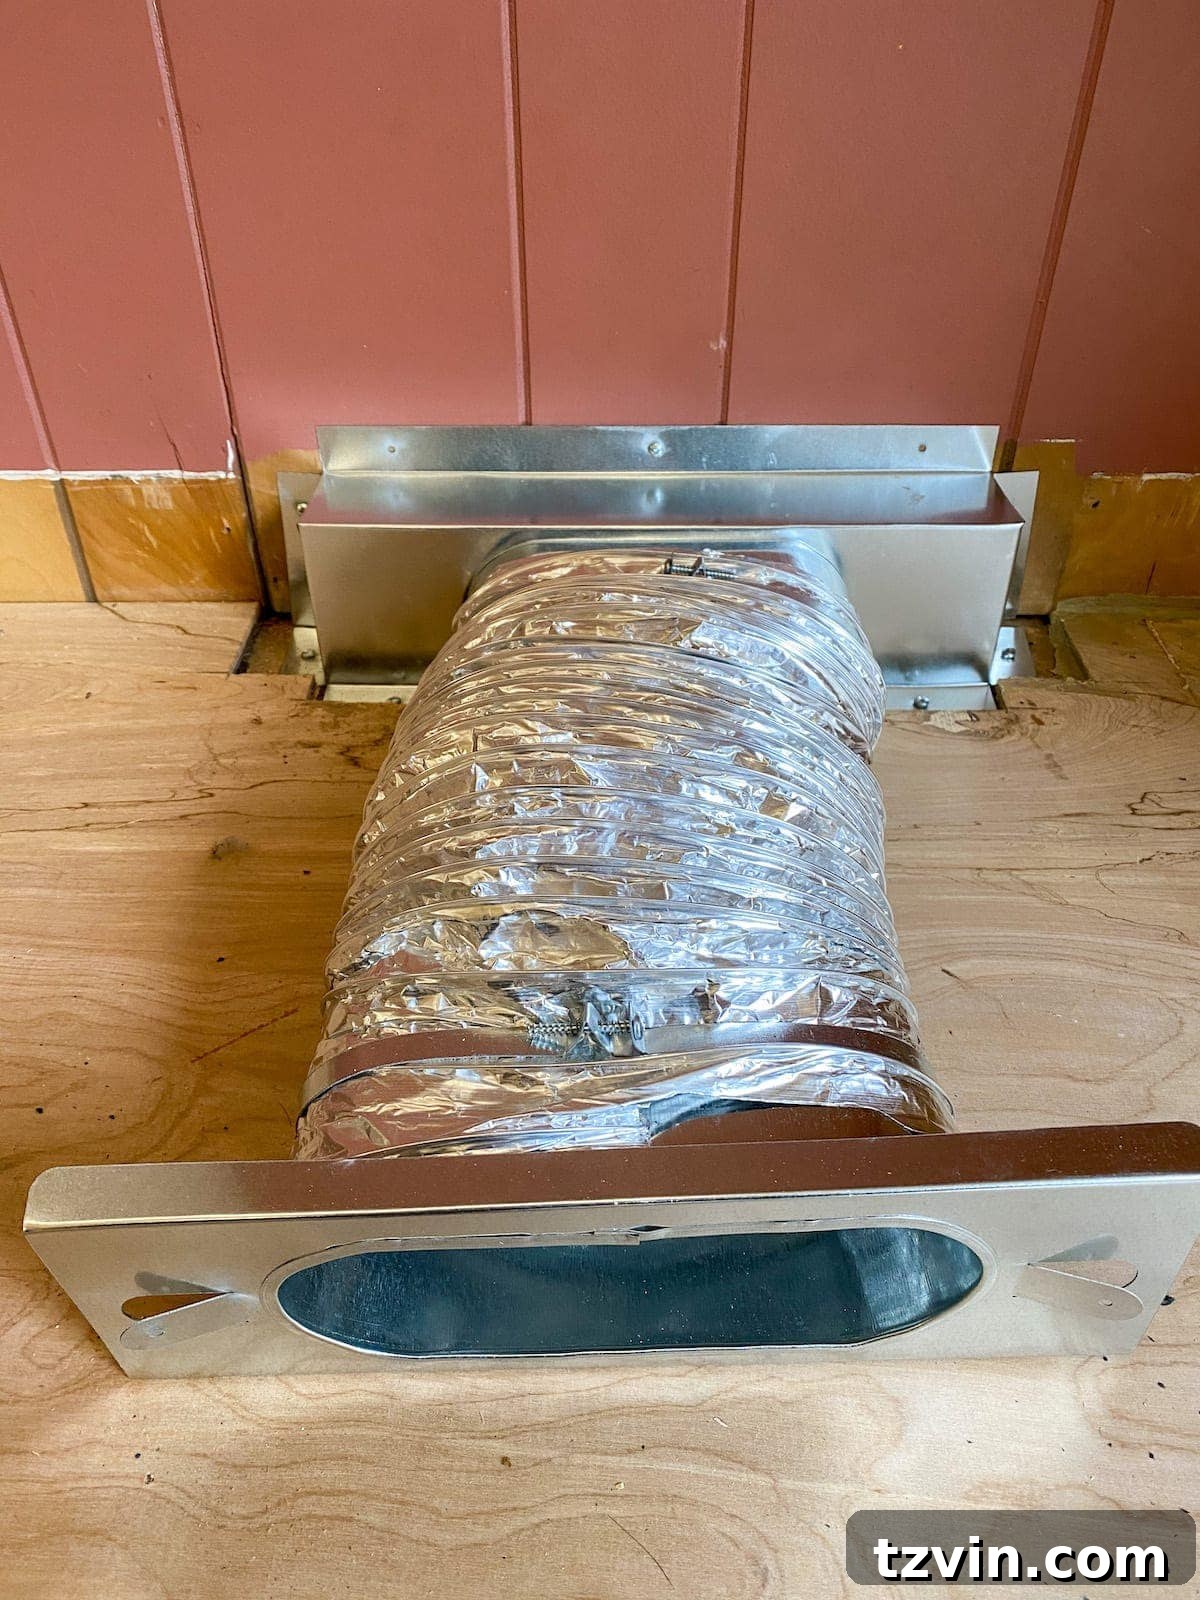
1. **Rerouting Vents:** We installed toe ductors to redirect the airflow of the baseboard vents. This ensures proper ventilation even with the cabinets in place.
2. **Marking the Depth:** Using a tape measure, we marked the desired depth of the cabinets on the subfloor, ensuring they would sit flush against the wall.
3. **Chalk Line:** We used a chalk line to mark the entire length of the wall at the predetermined depth, providing a clear guideline for the base construction.
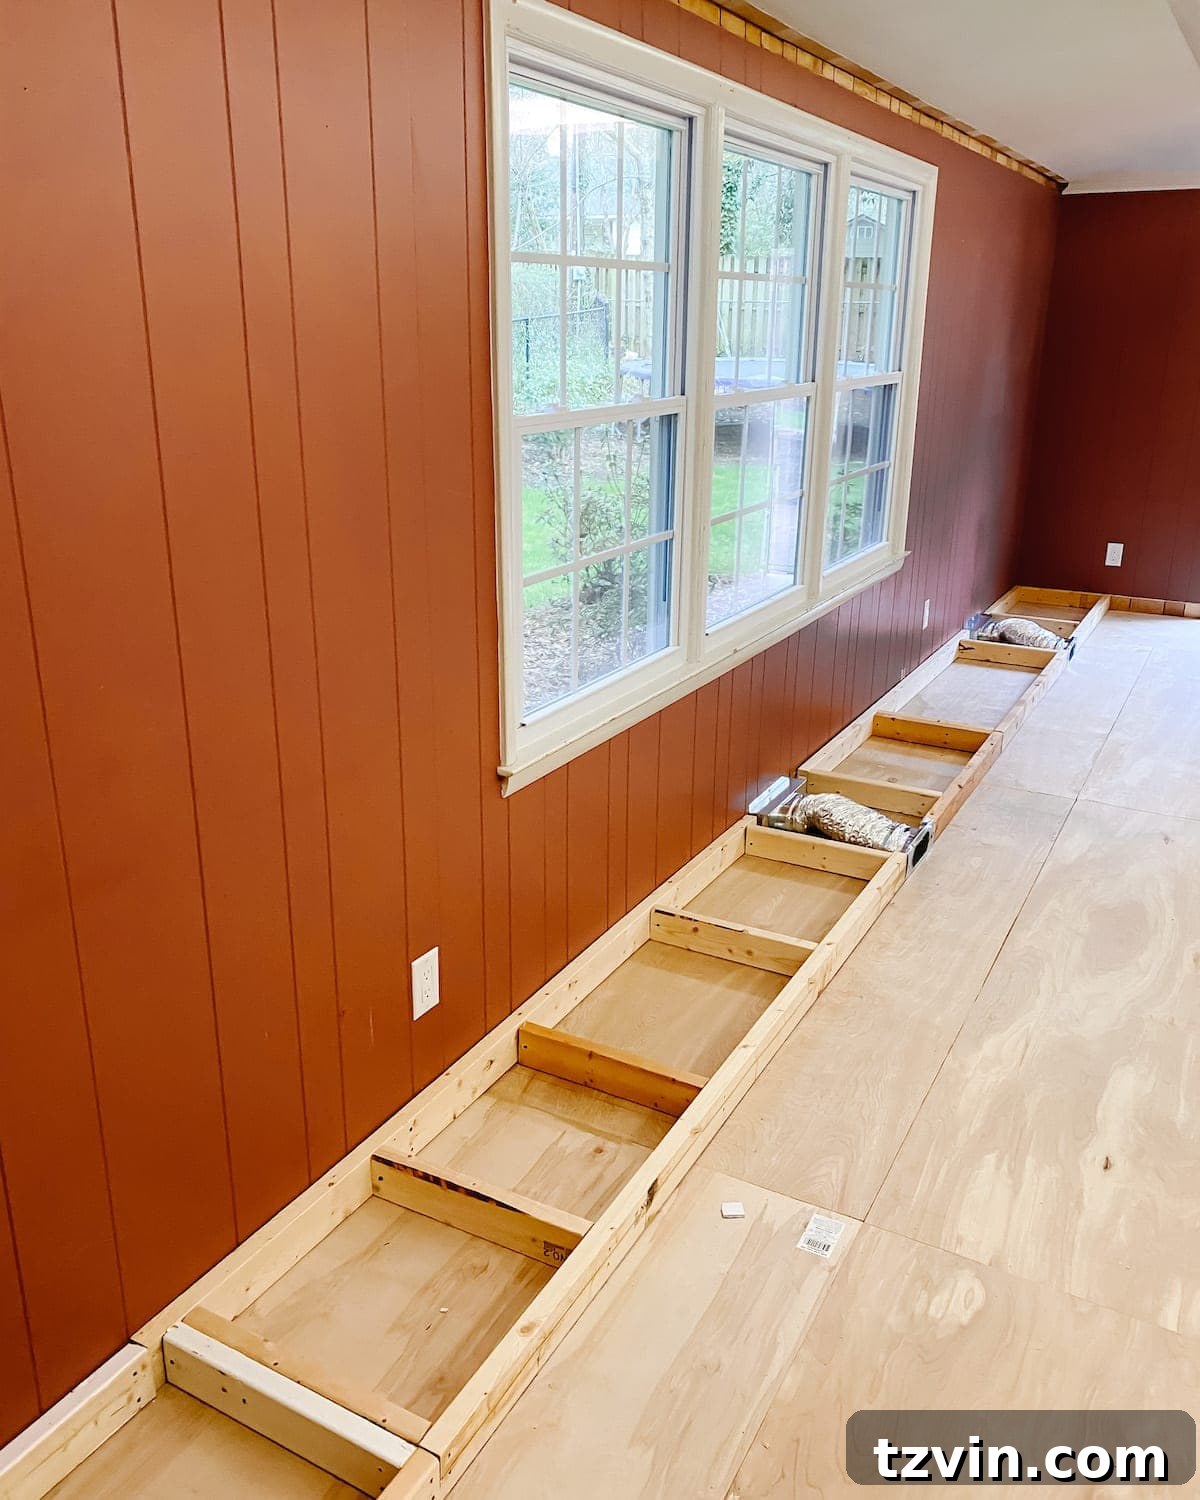
4. **Building the Base:** We built the base using 2x4s, securing them together and to the walls and floor with deck screws. This creates a sturdy foundation for the cabinets.
5. **Vent Clearance:** We positioned 2x4s on either side of the toe ductors to allow the vents to function correctly, ensuring air could flow freely.
The Window Seat
6. **Window Seat Support:** We began constructing the window seat by building a support structure behind the cabinets using 2x4s.
We wanted to make the cabinets a certain depth, so we added this support behind the refrigerator cabinets.
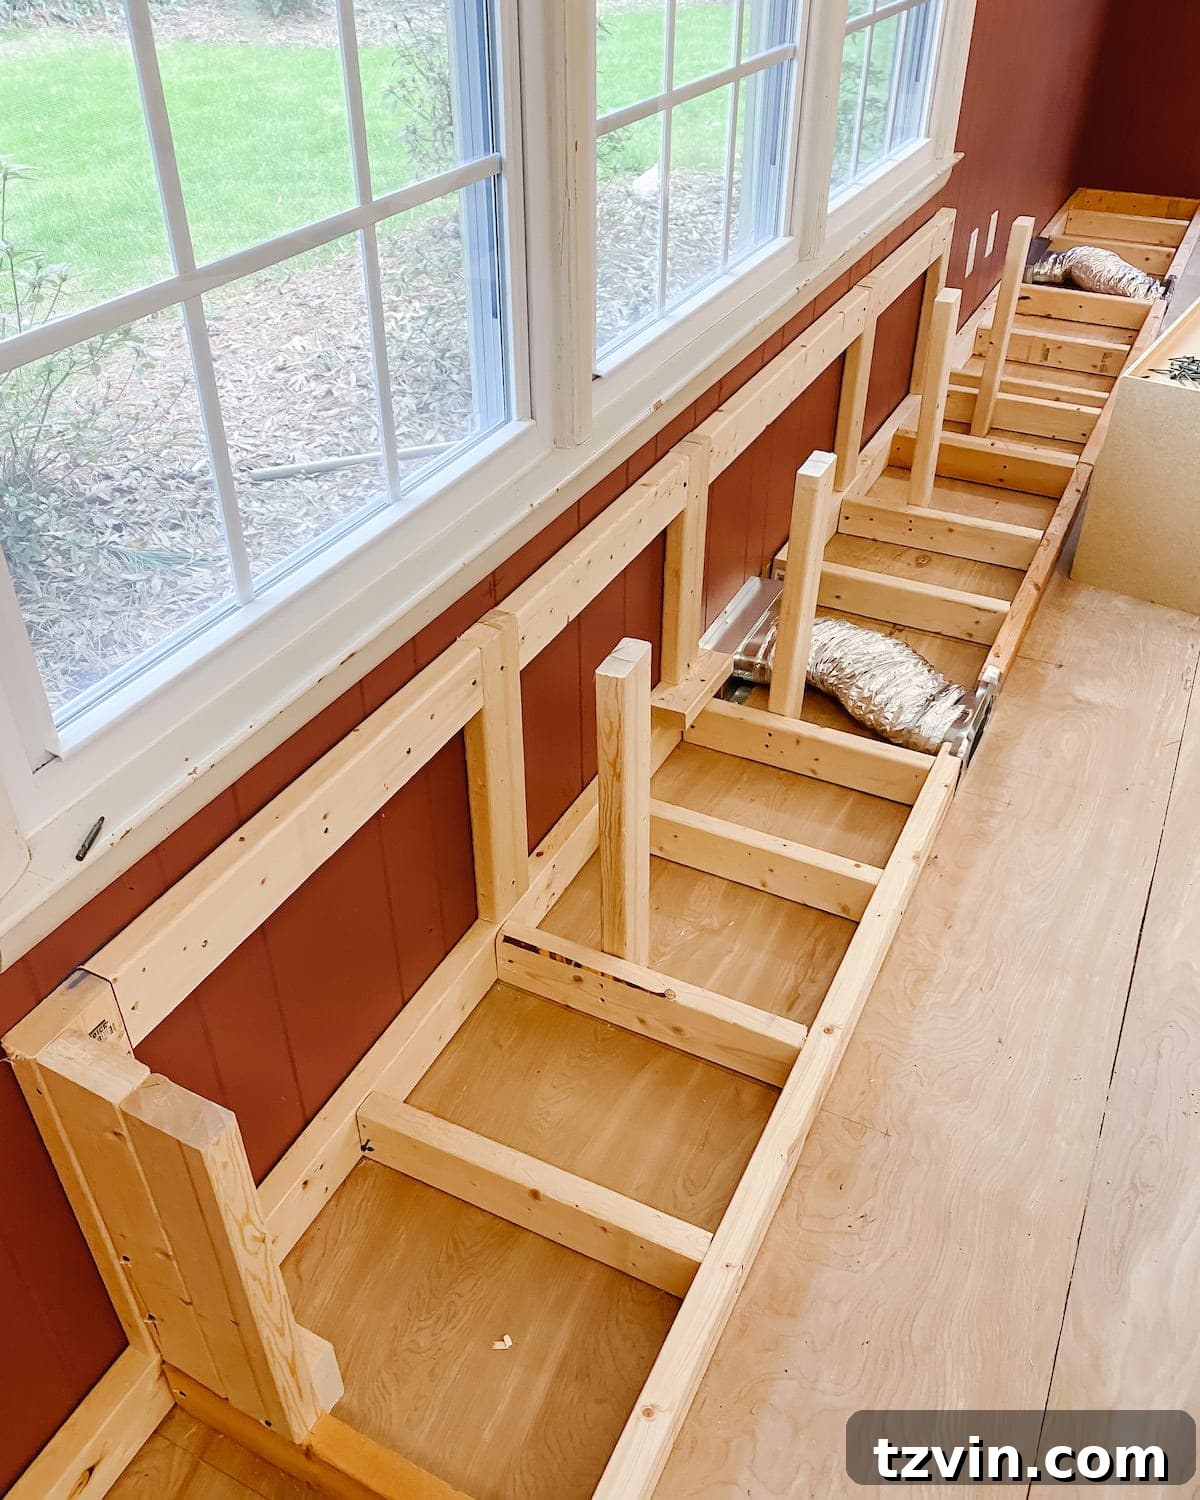
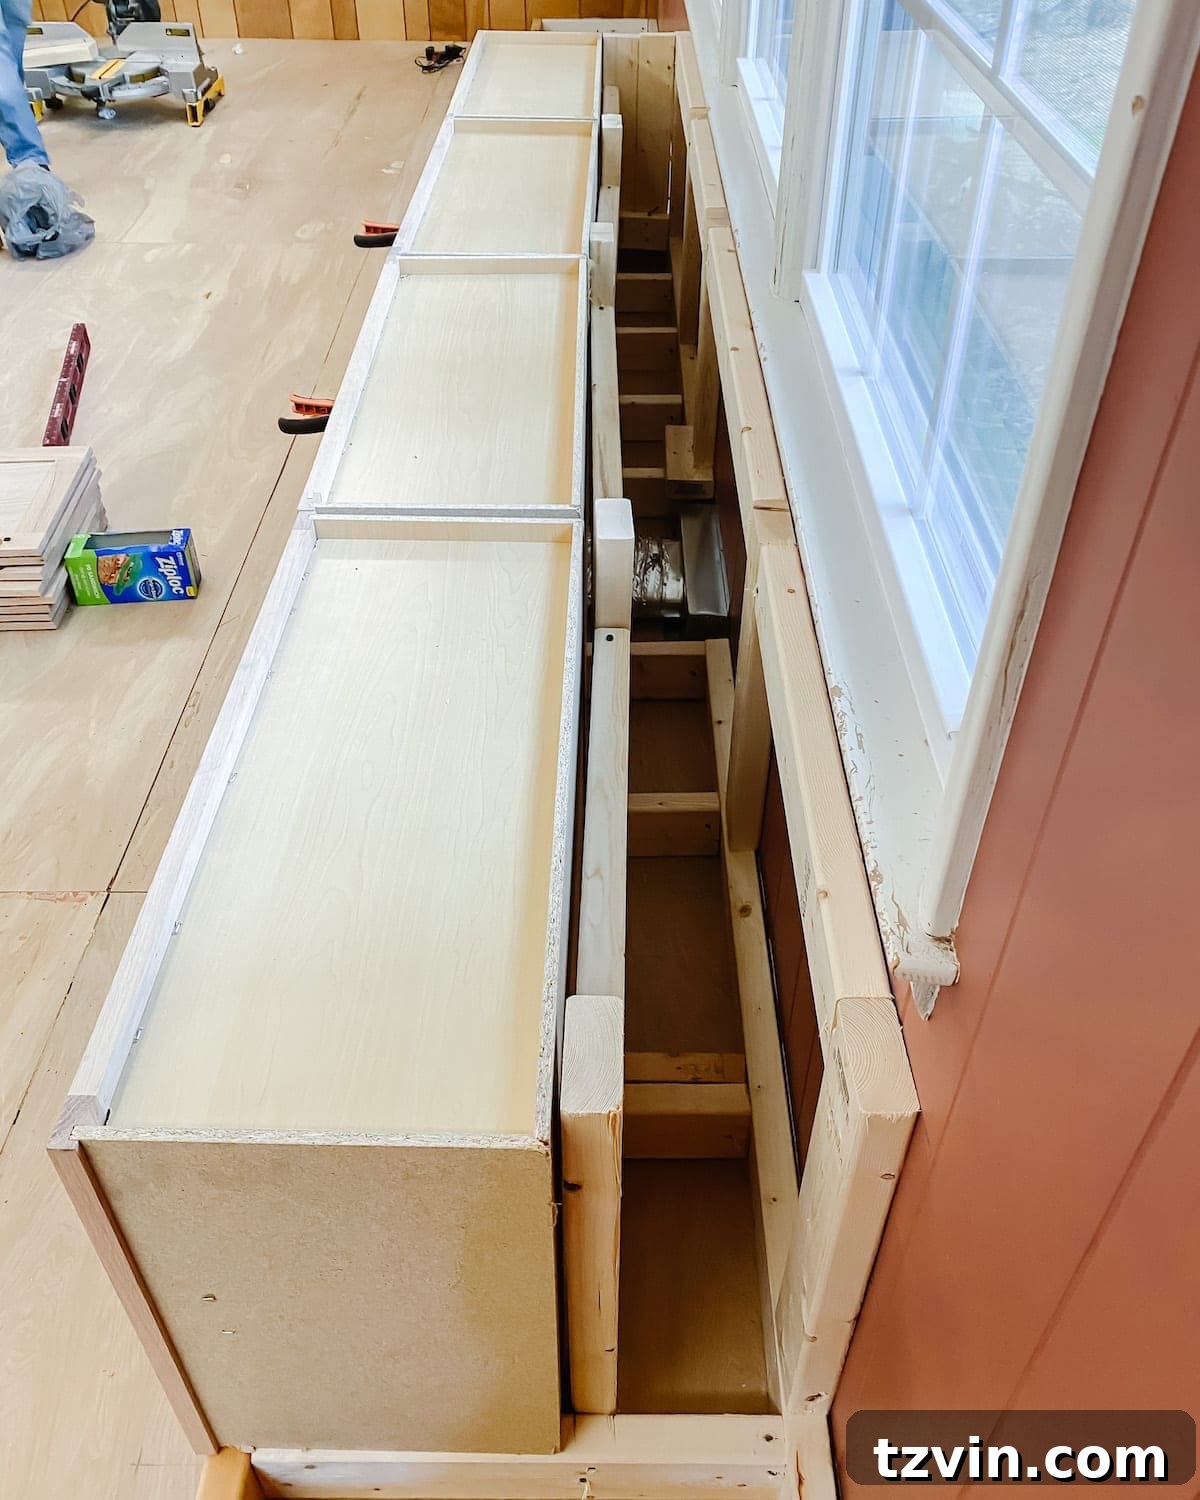
7. **Cabinet Attachment (Backs):** We secured the backs of the refrigerator cabinets to the 2×4 support structure with one cabinet screw per cabinet, giving us room to adjust for perfect alignment later.
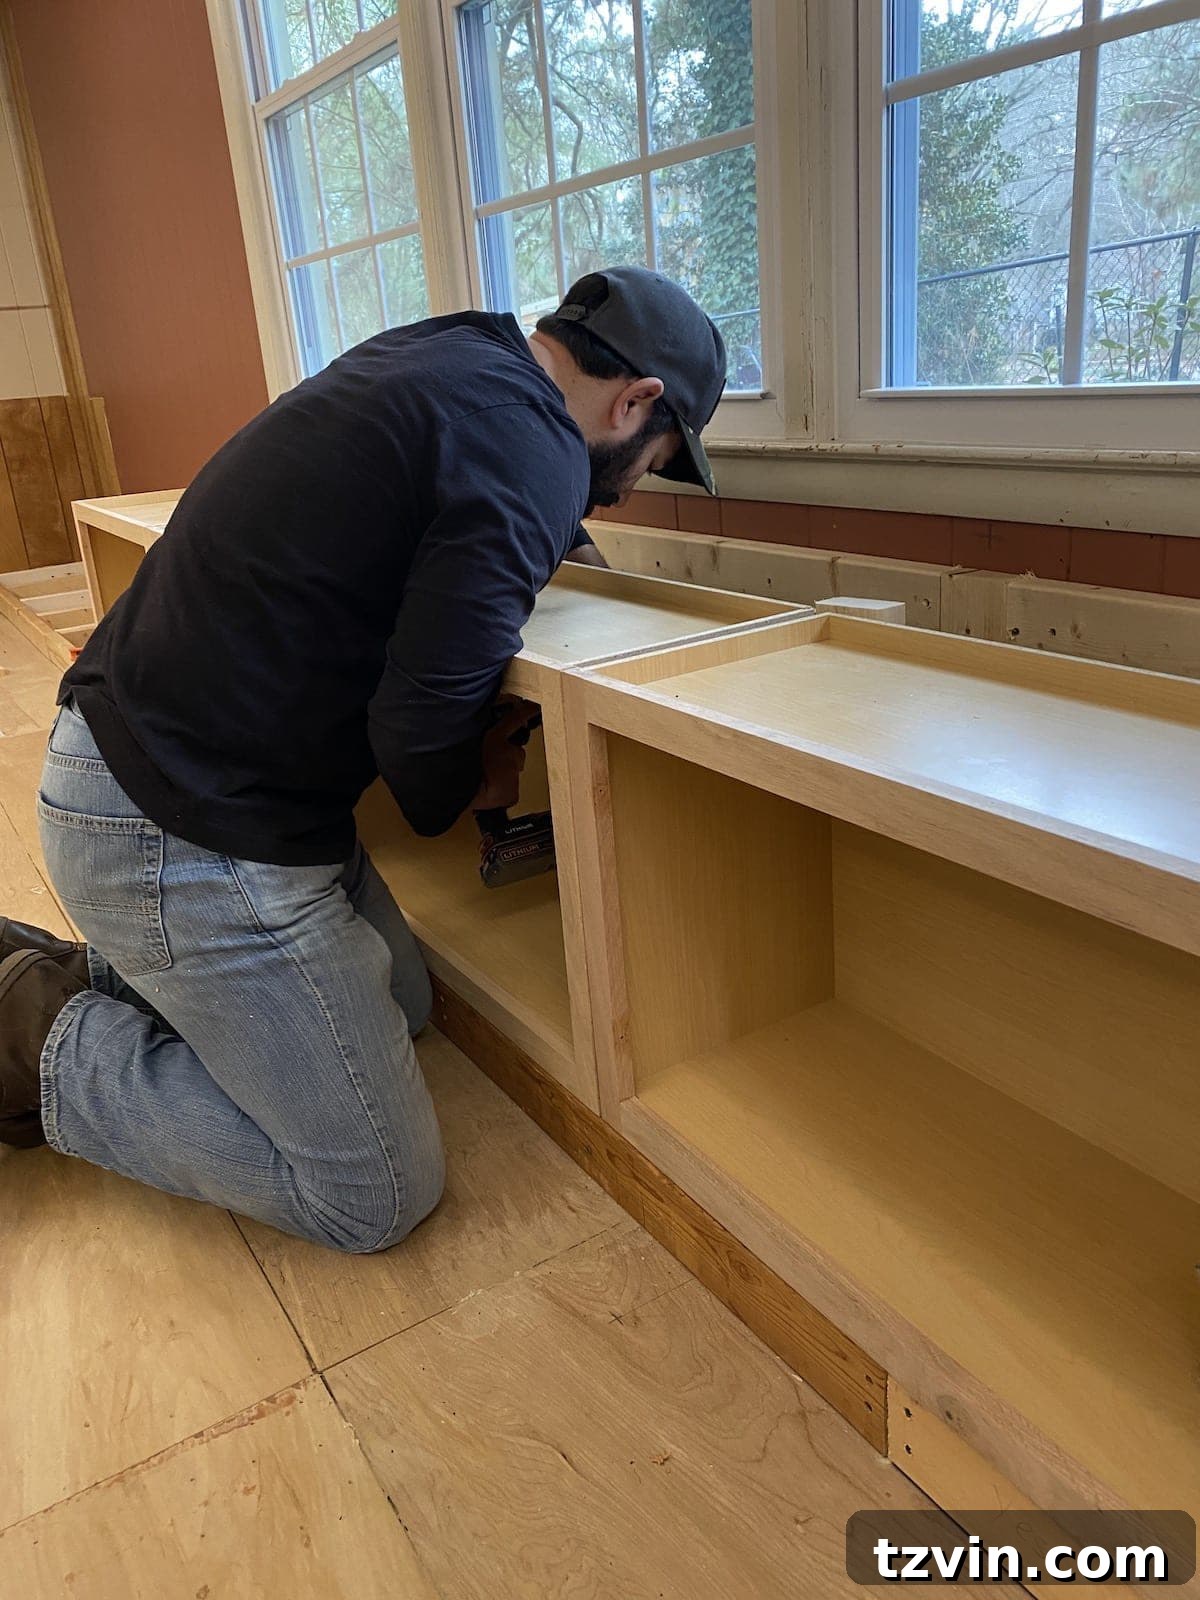
We only used one screw in the back at this point, so we would have a little room to wiggle the fronts.
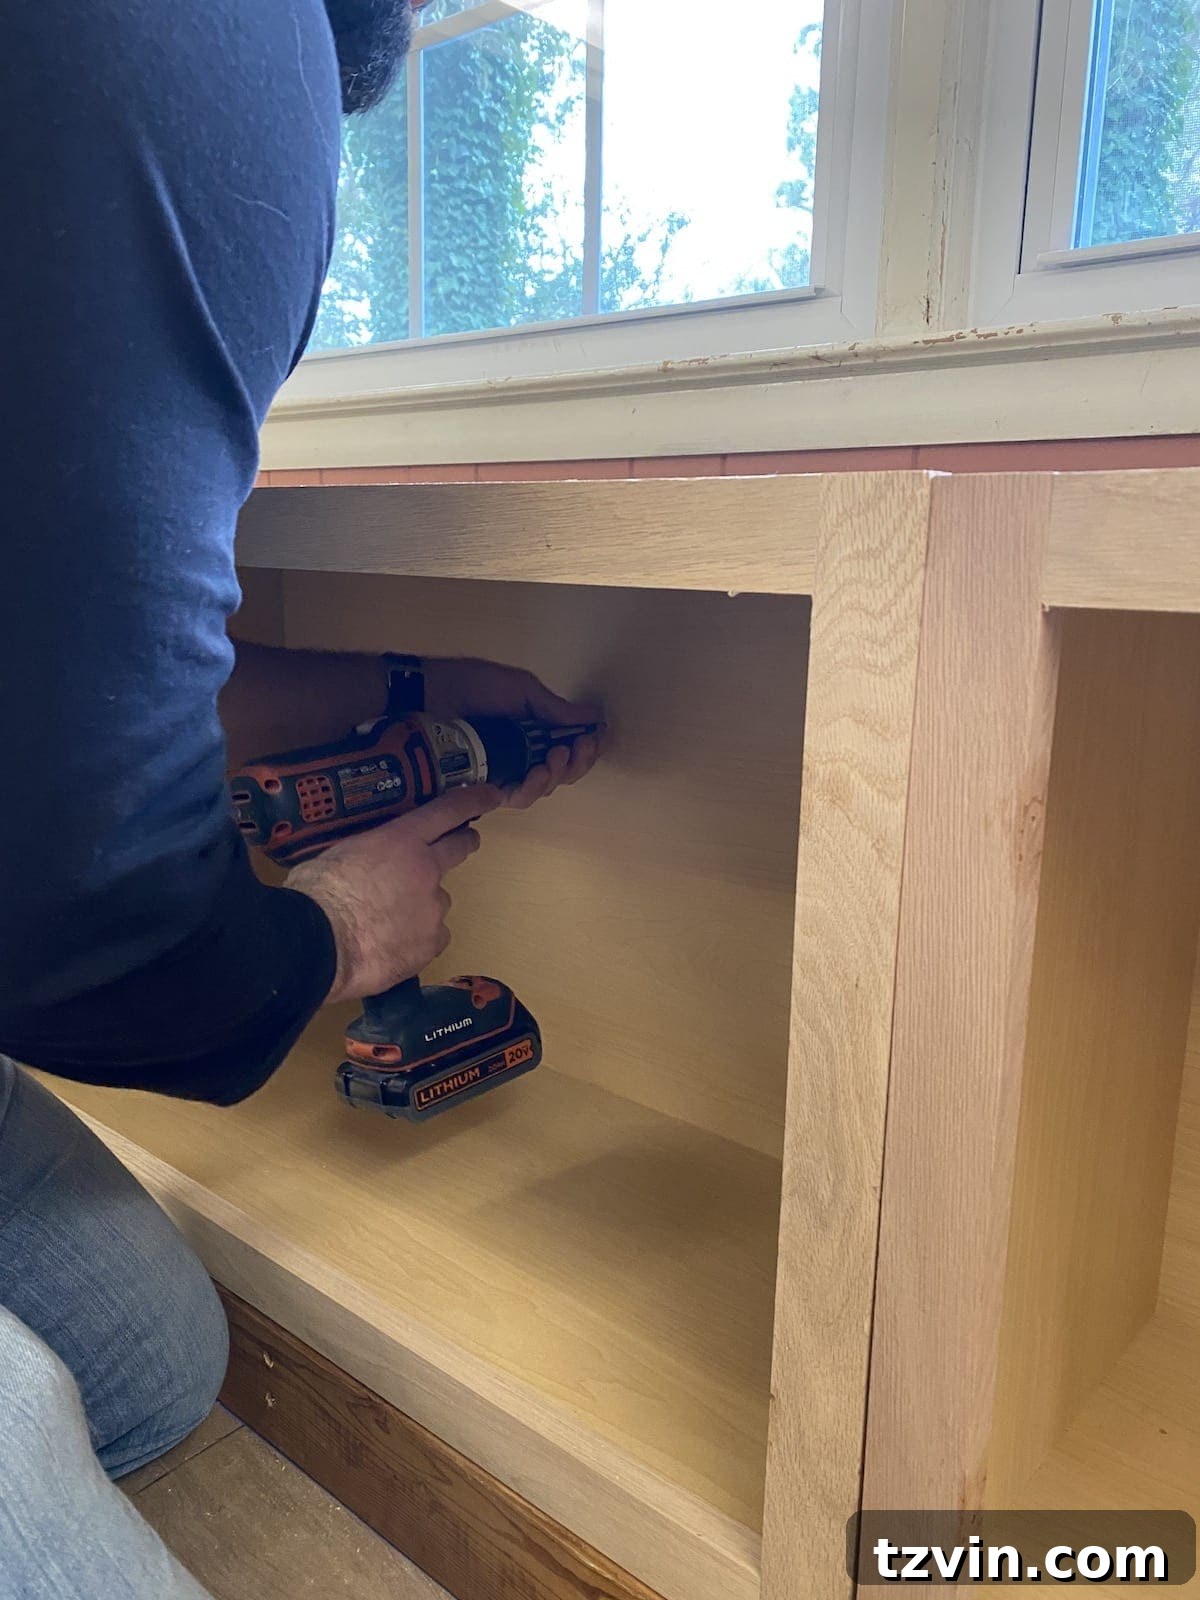
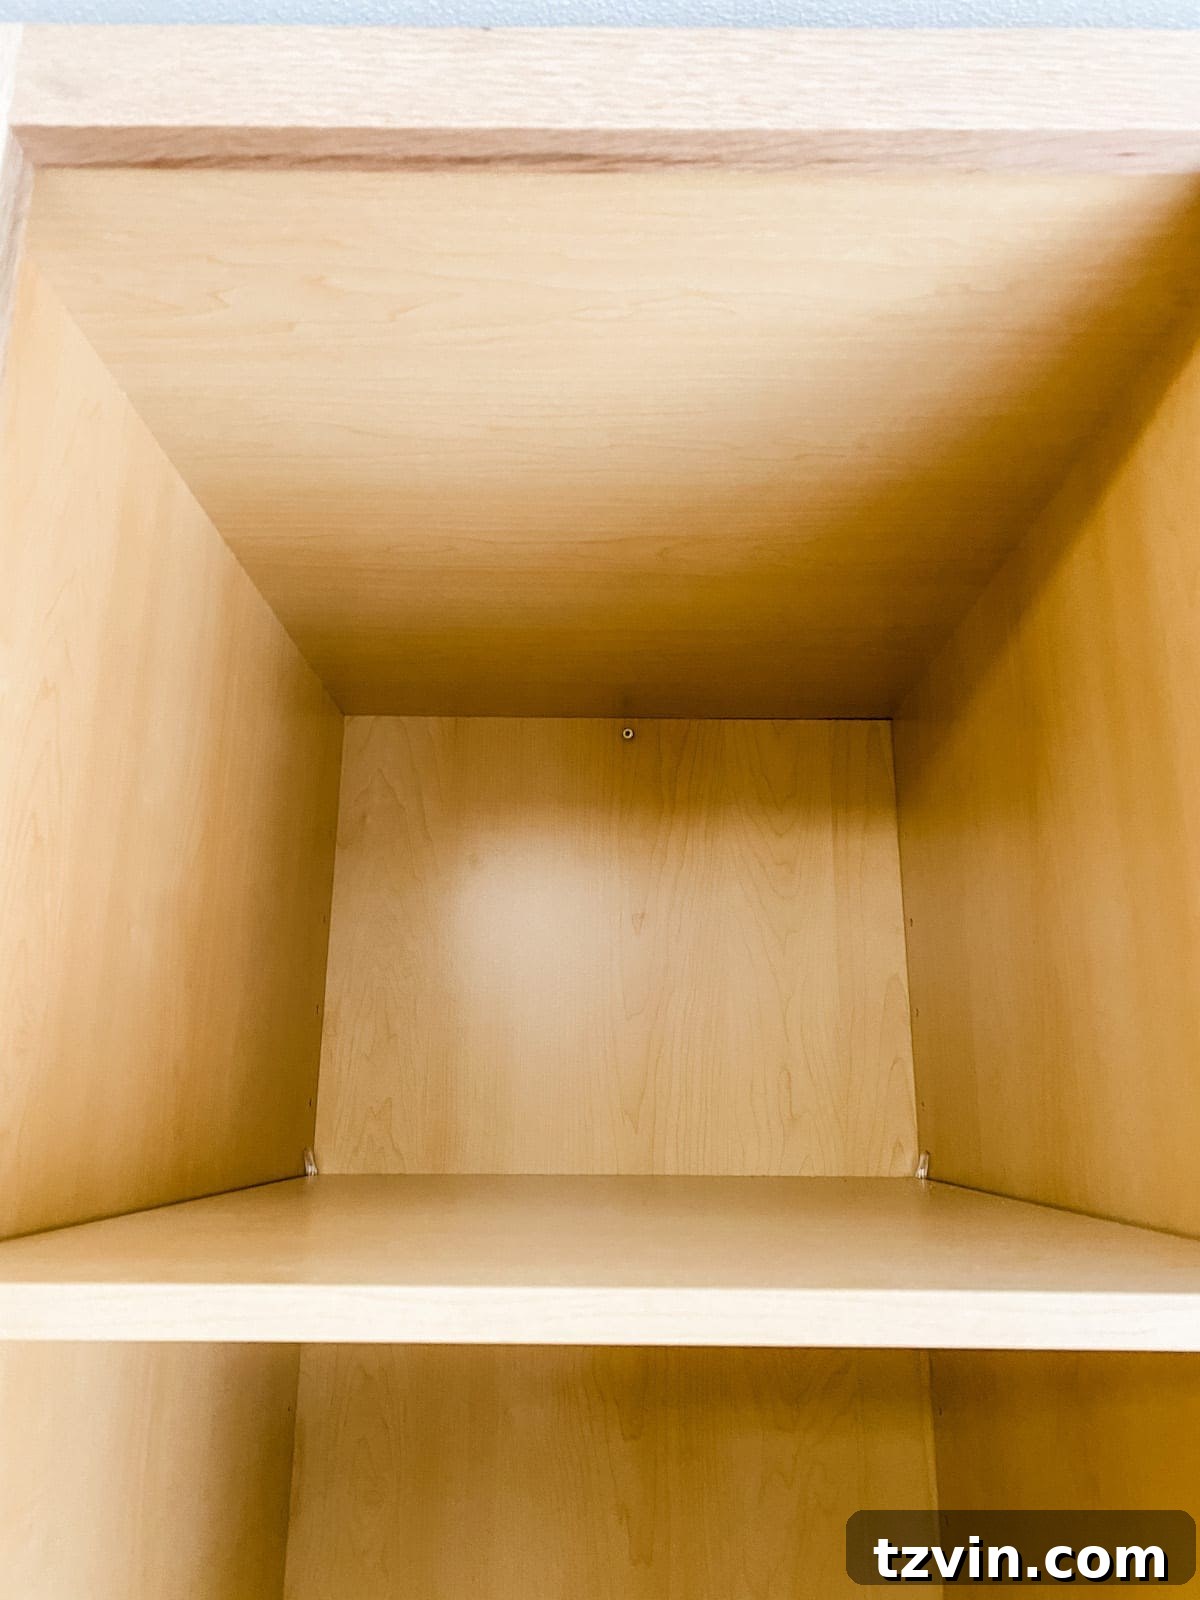
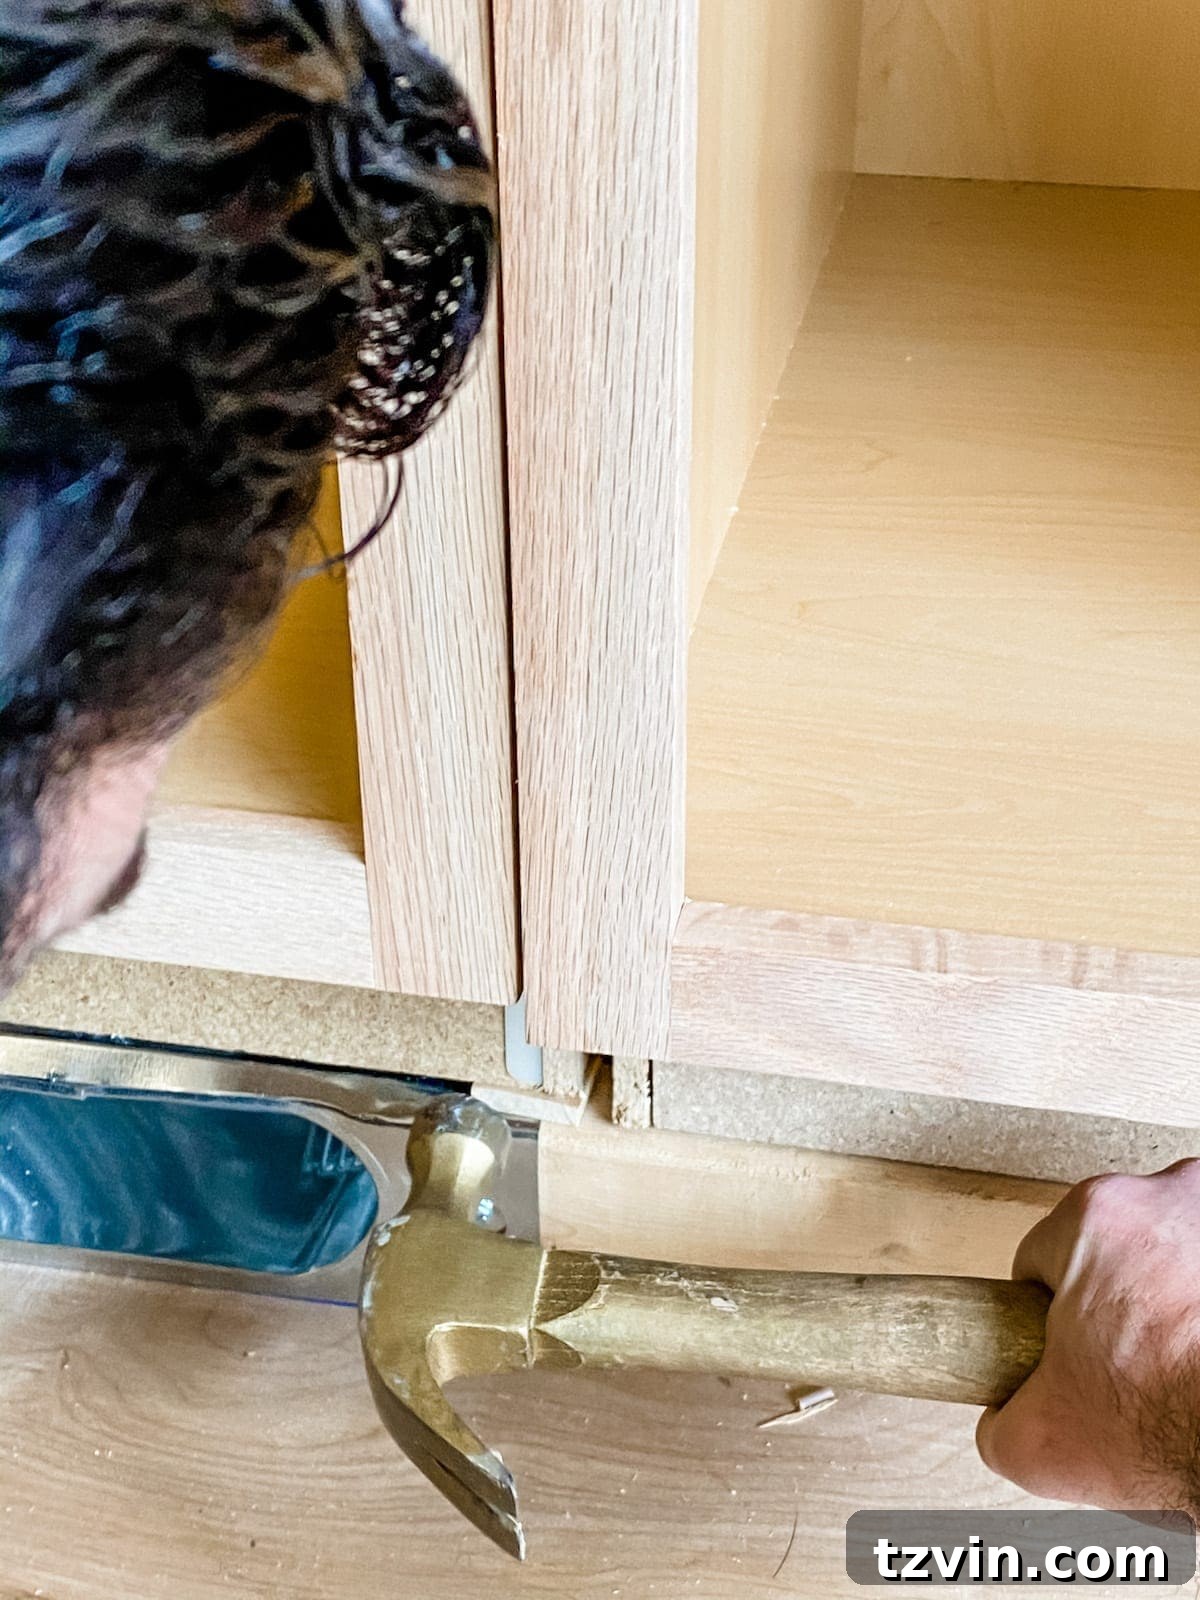
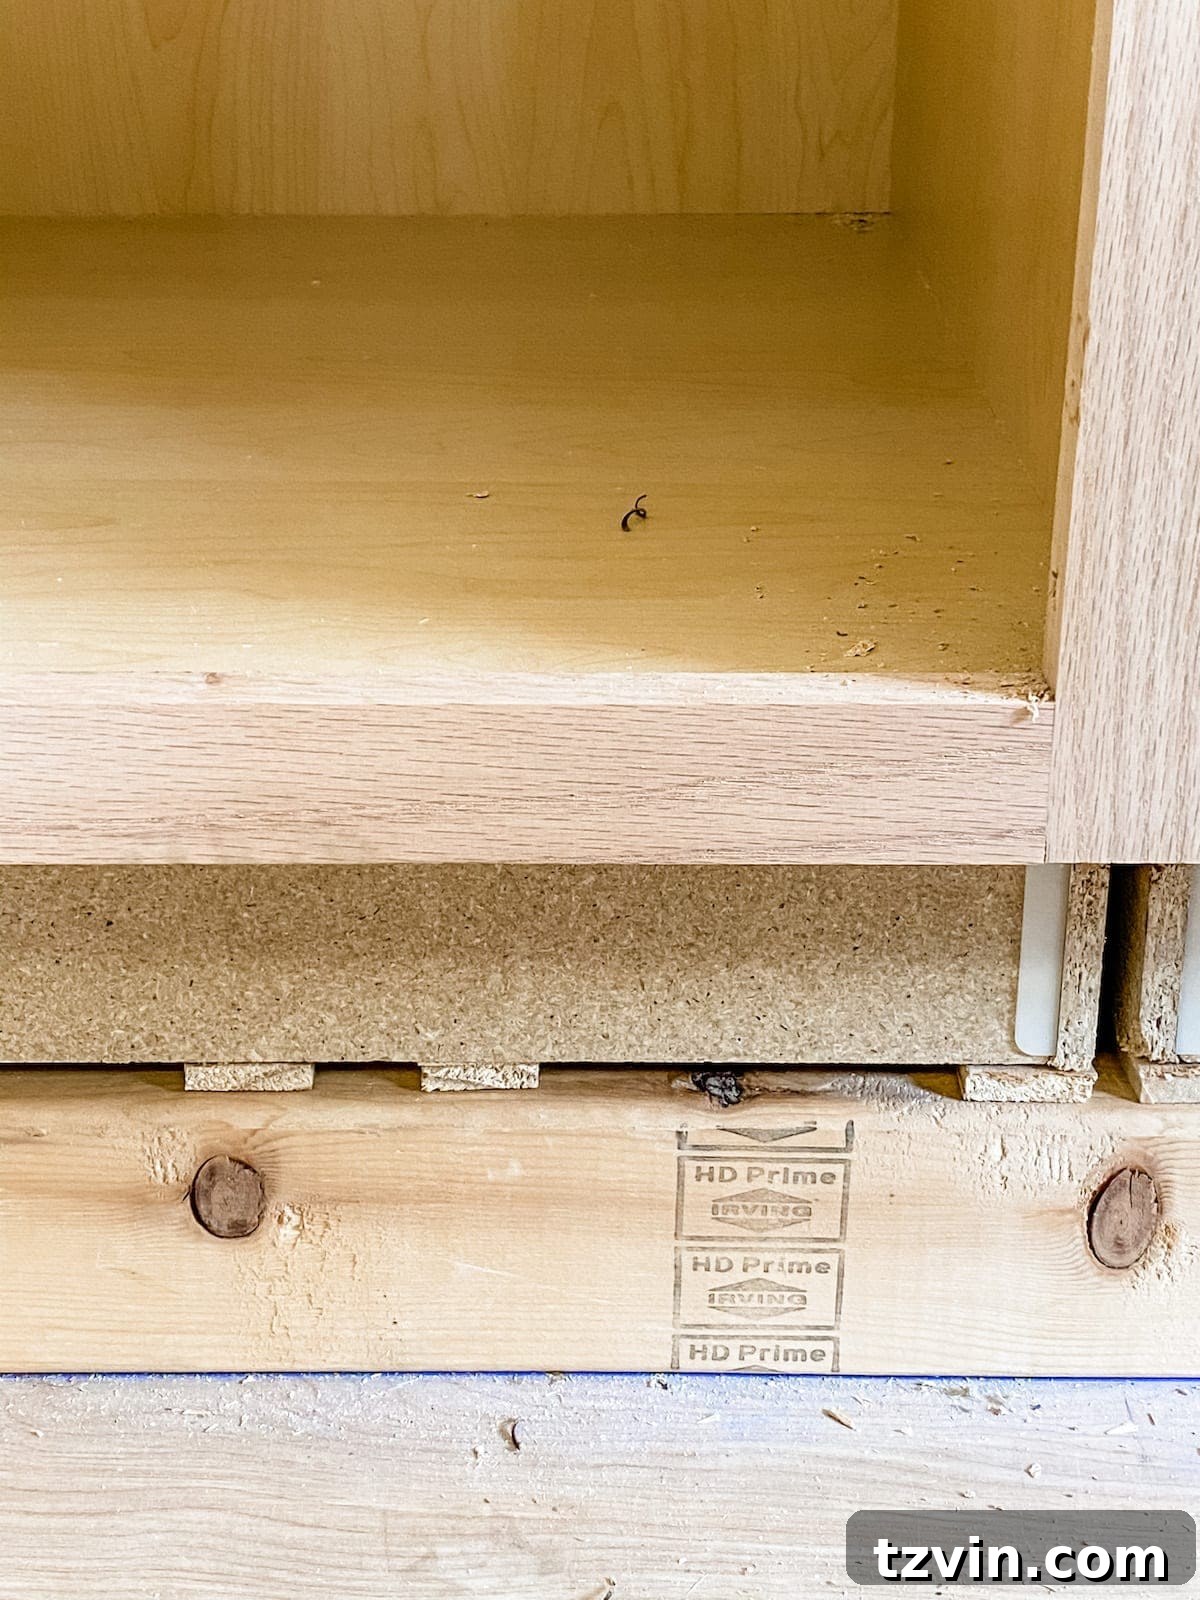
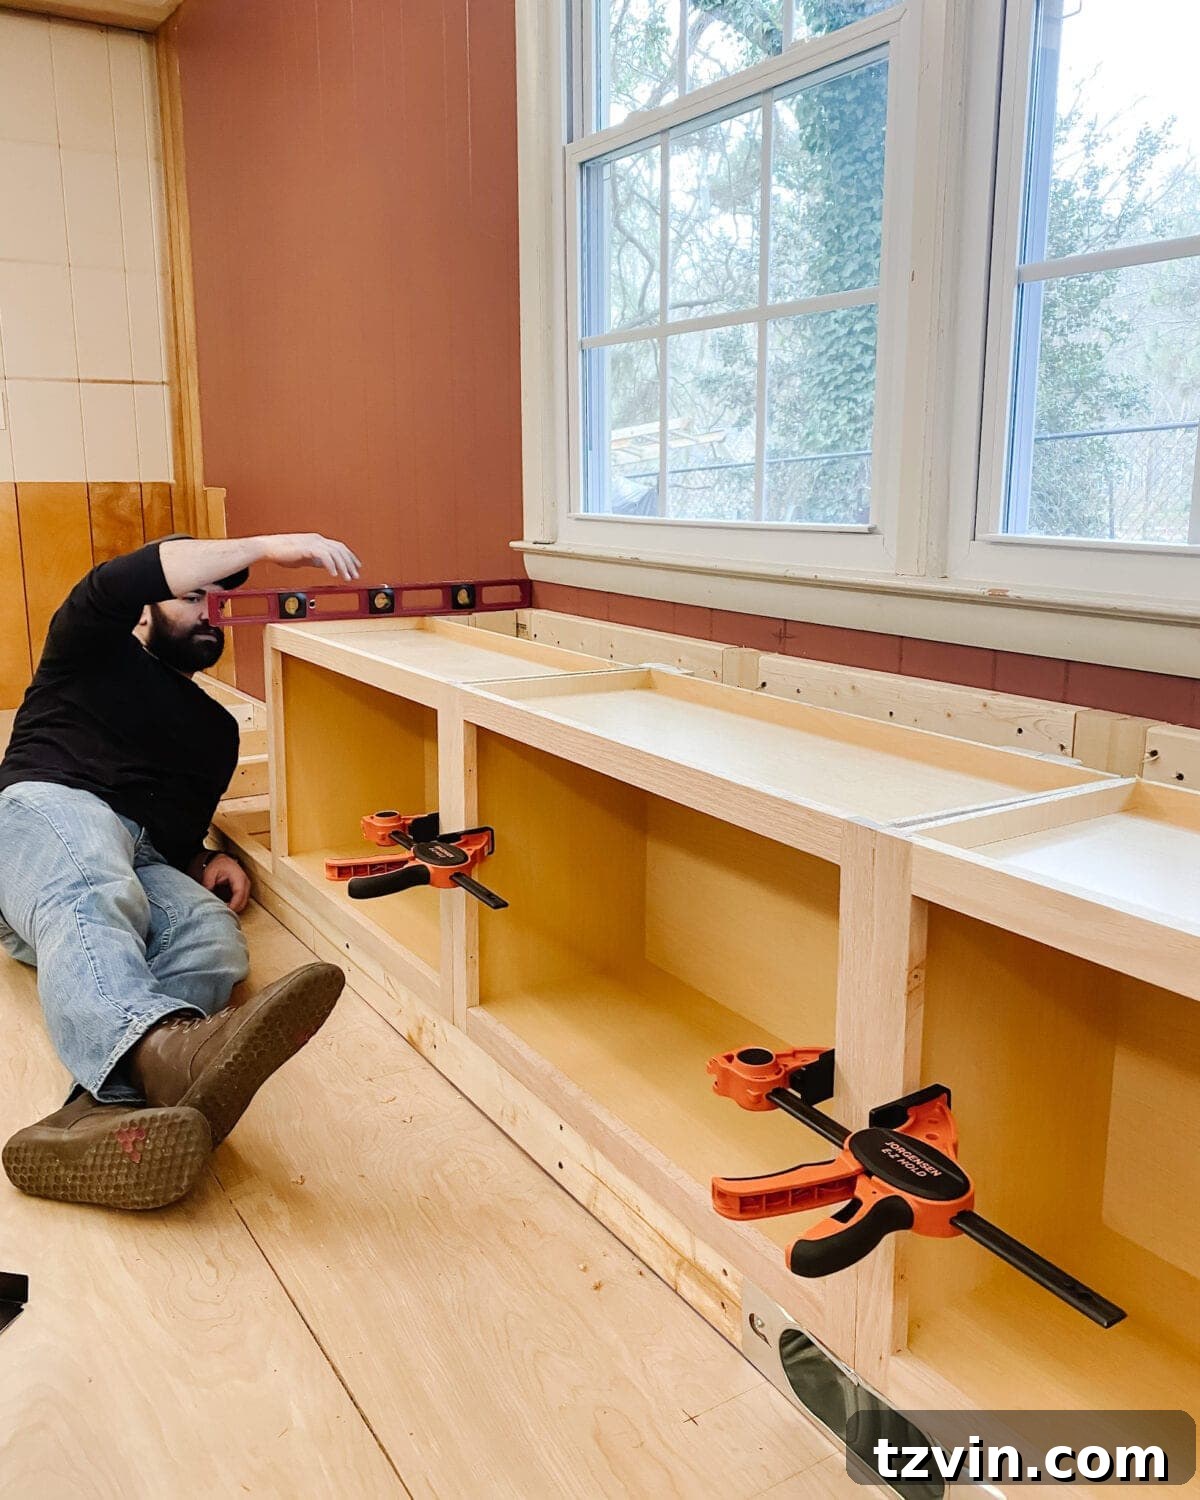
8. **Leveling:** We used shims between the bottom of the cabinets and the base to ensure each cabinet was perfectly level. This is critical for a professional finish!
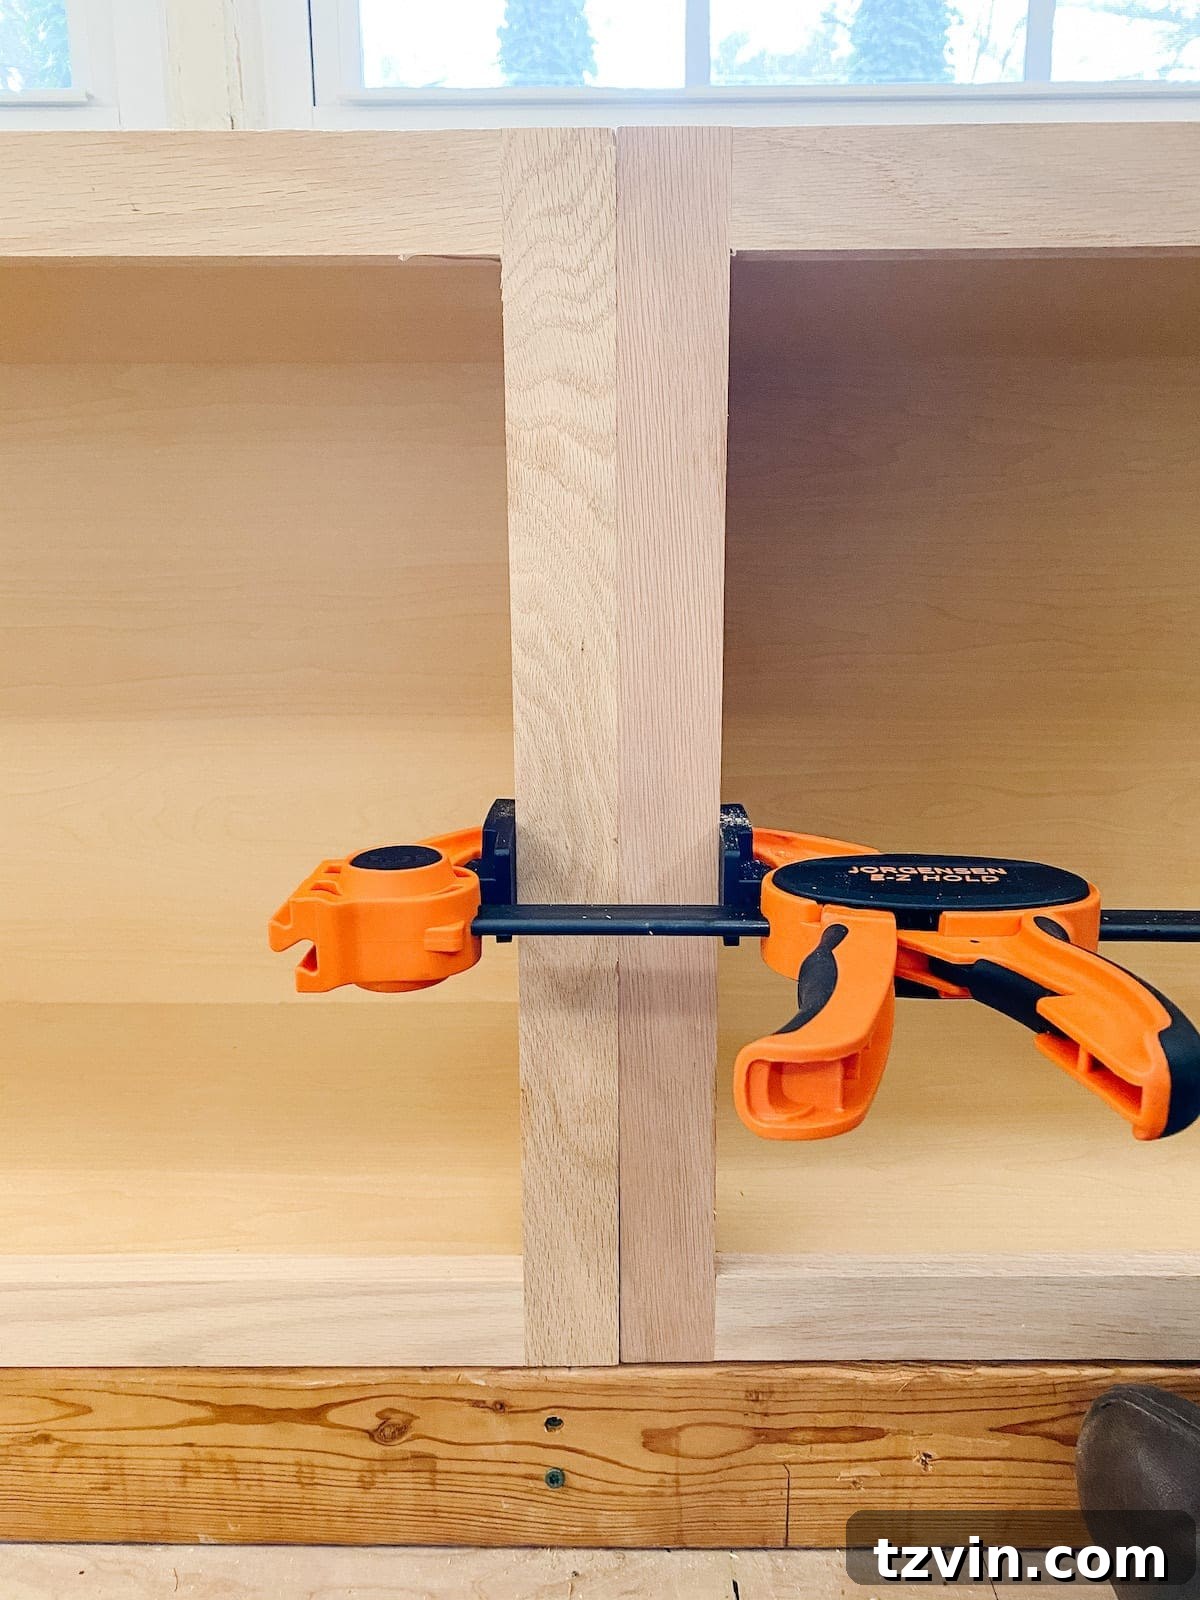
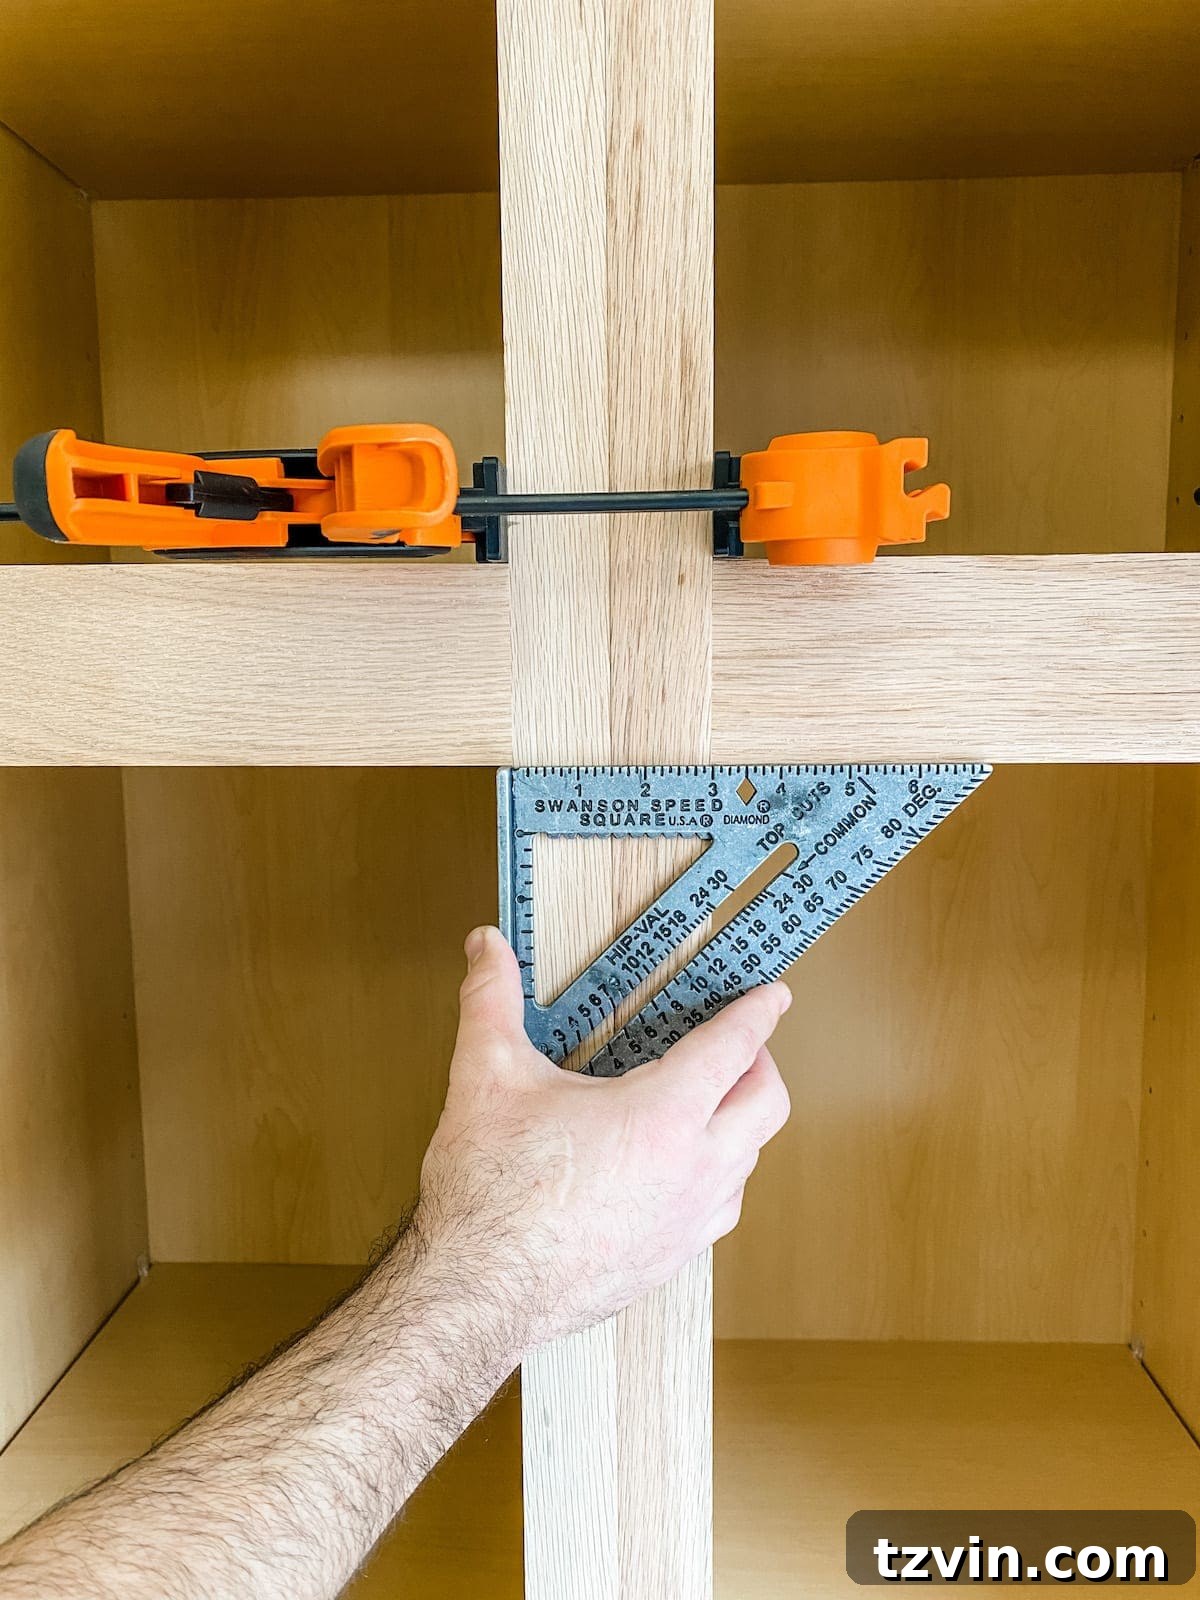
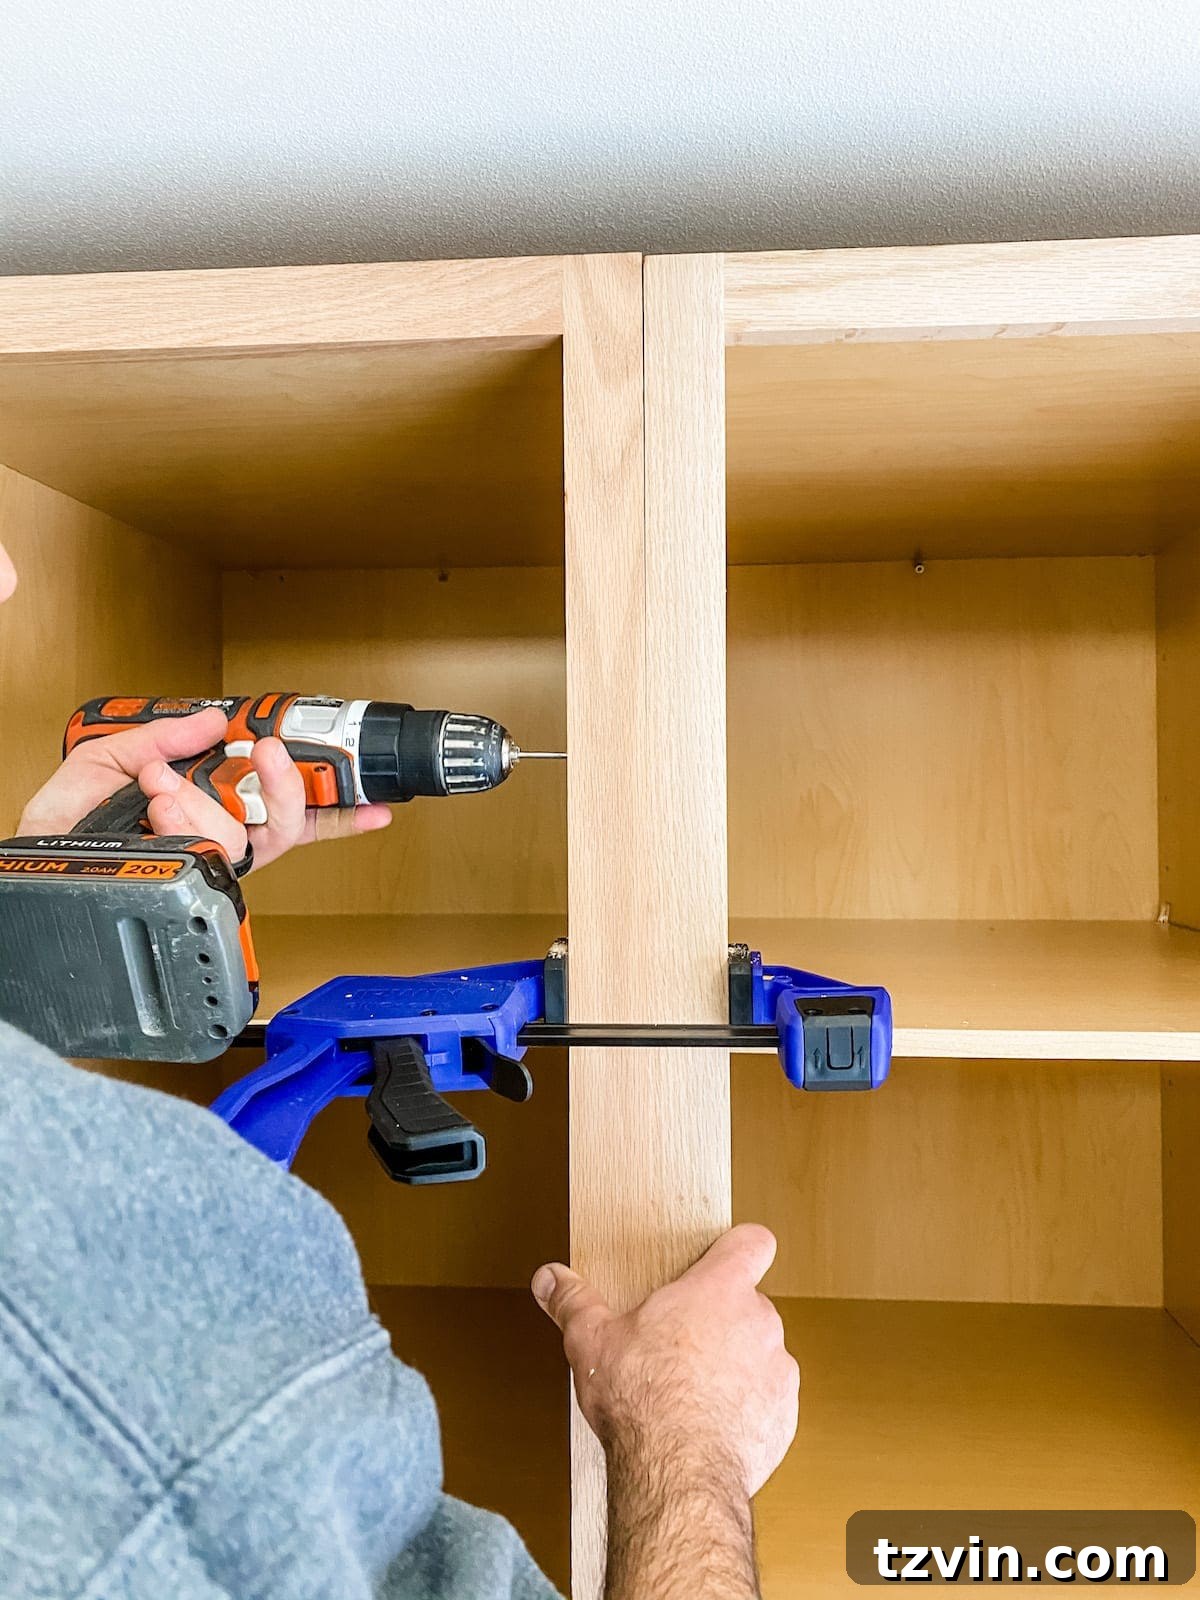
9. **Frame Alignment:** We used clamps to align the fronts of the cabinet frames, ensuring they were flush with each other. This creates a clean, seamless look.
10. **Cabinet Attachment (Sides):** We pre-drilled pilot holes and then screwed the cabinet sides together, creating a solid, unified structure.
11. **Securing the Cabinets (Backs, Part 2):** After aligning the frames, we drove two more screws into the backs of the cabinets to further secure them in place.
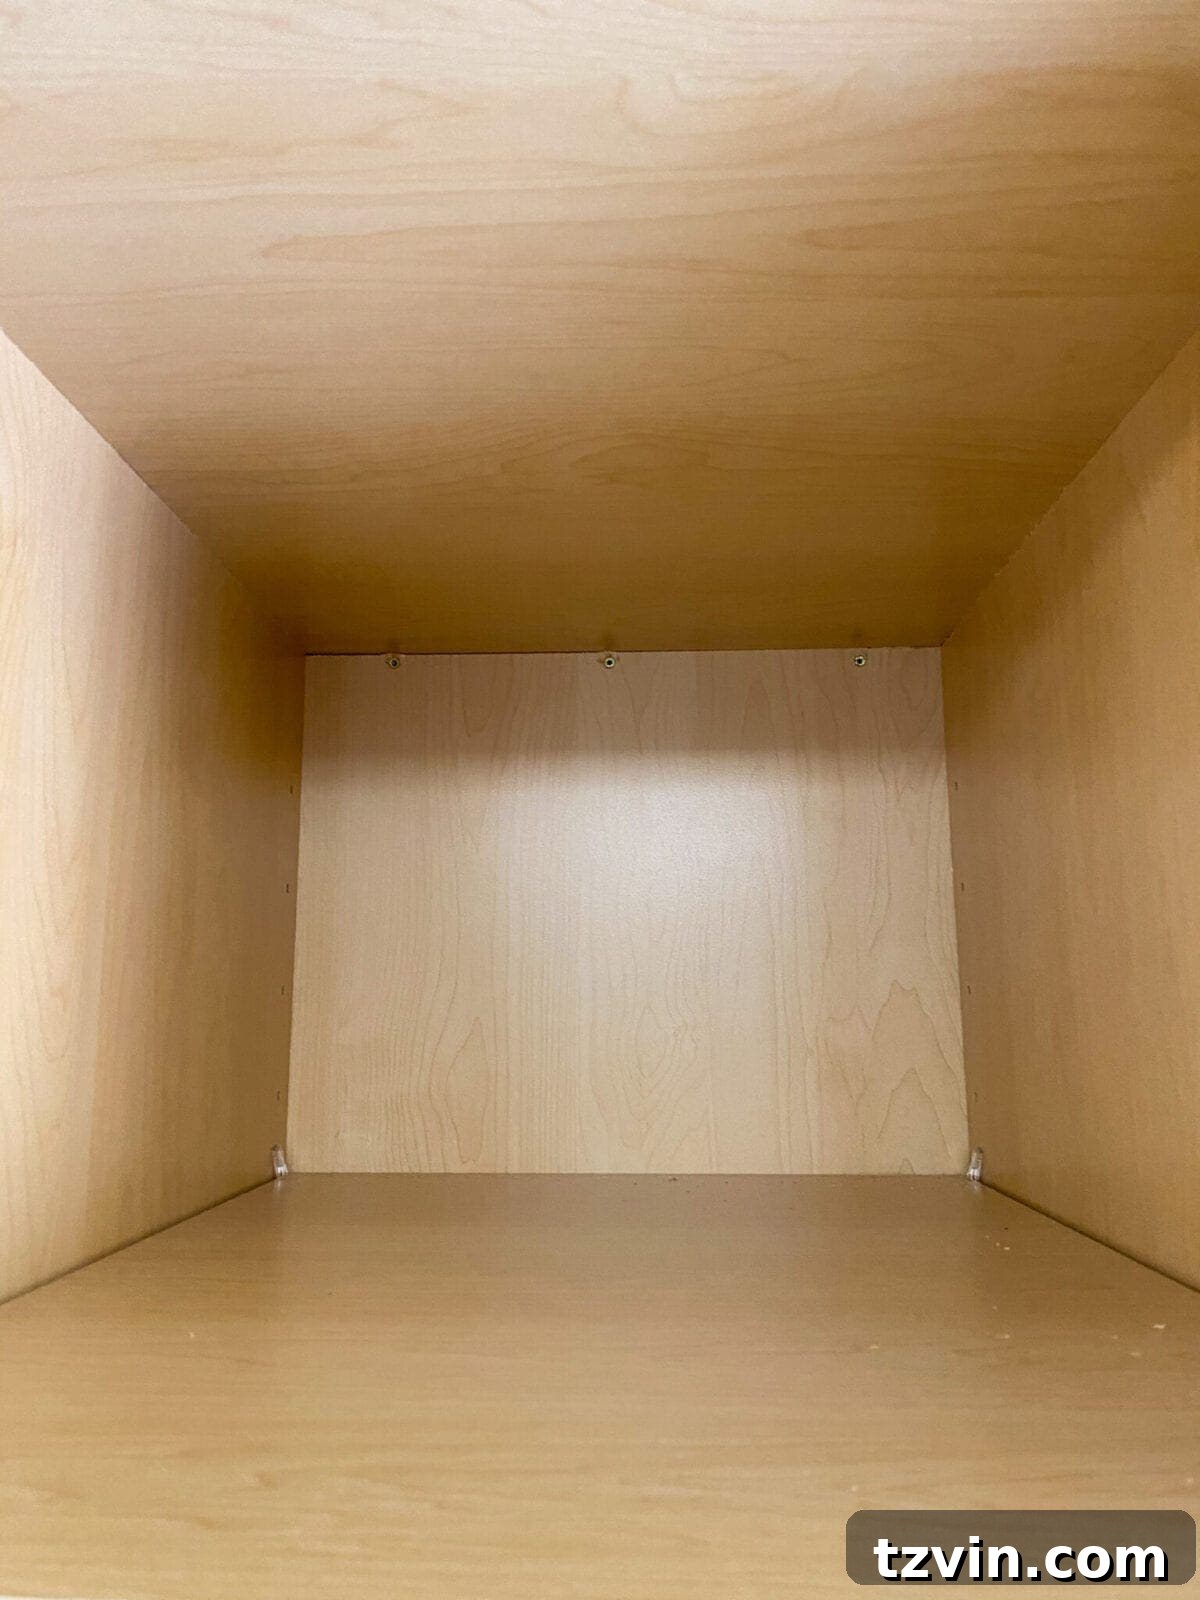
12. **Checking for Level (Top):** We double-checked the cabinets were level before installing the window seat top.
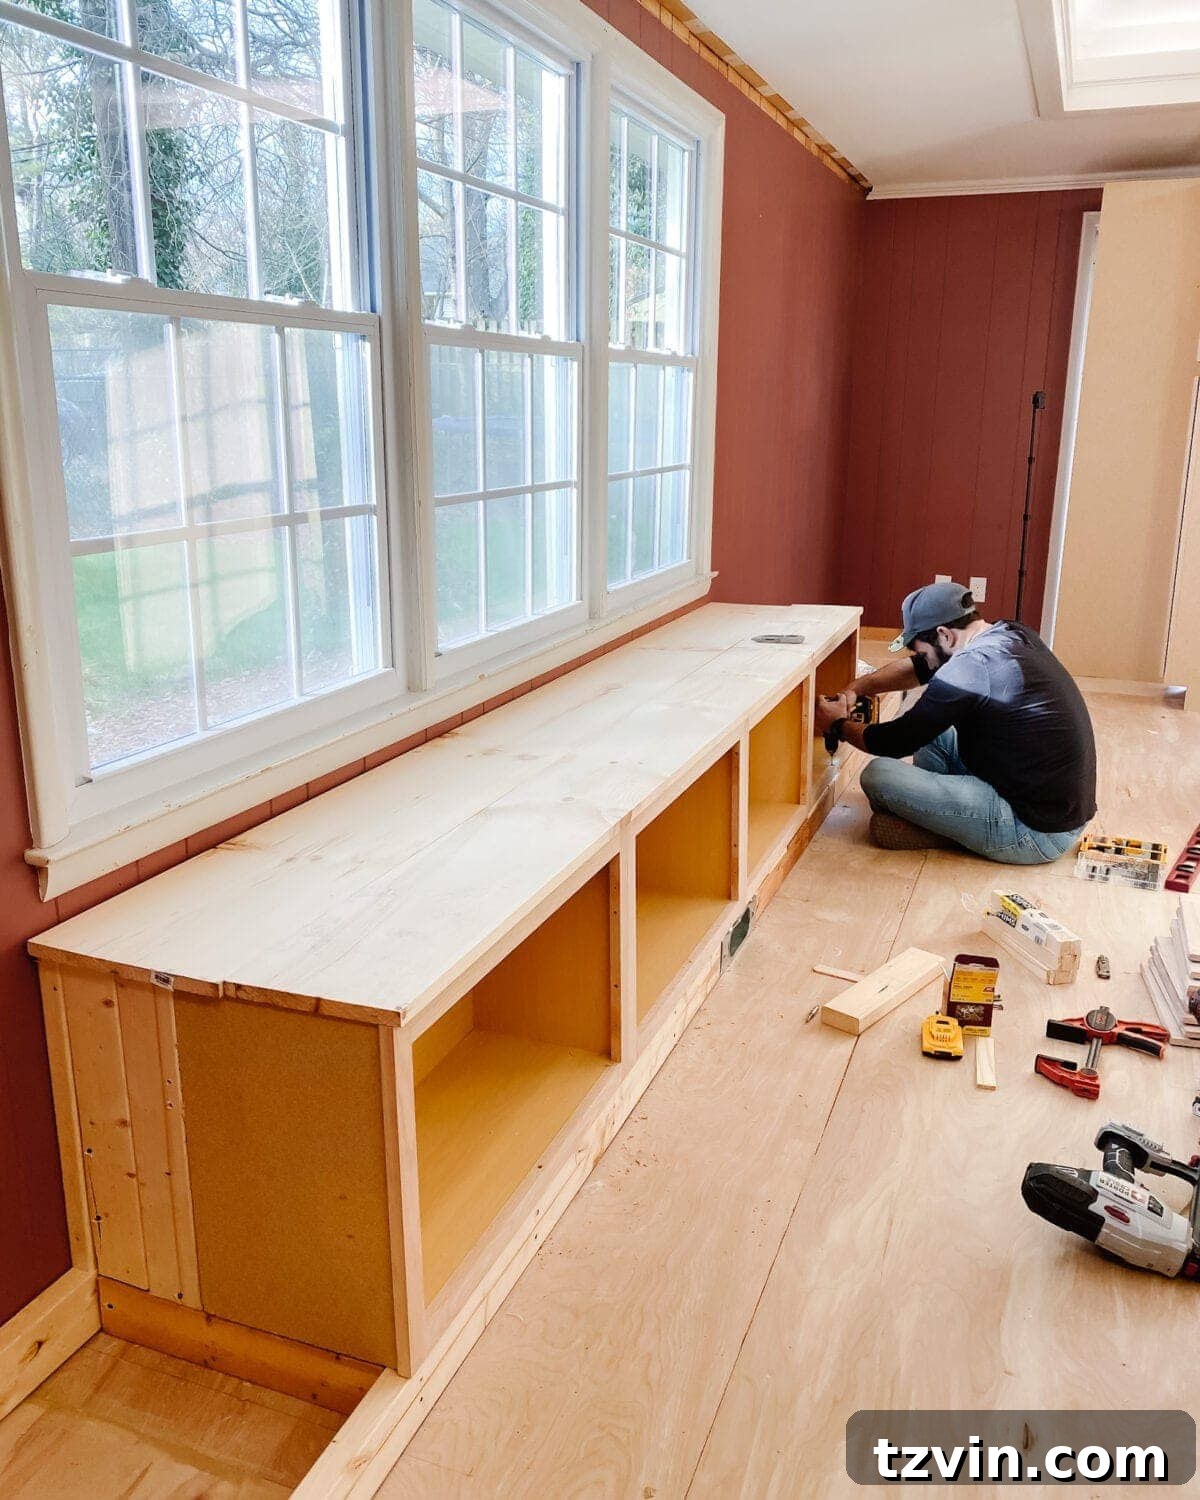
13. **Window Seat Top:** We cut a 1×10 and a 1×12 pine board to the appropriate length. Then we screwed these boards into the top of the cabinets to create the window seat surface.
The High Cabinets
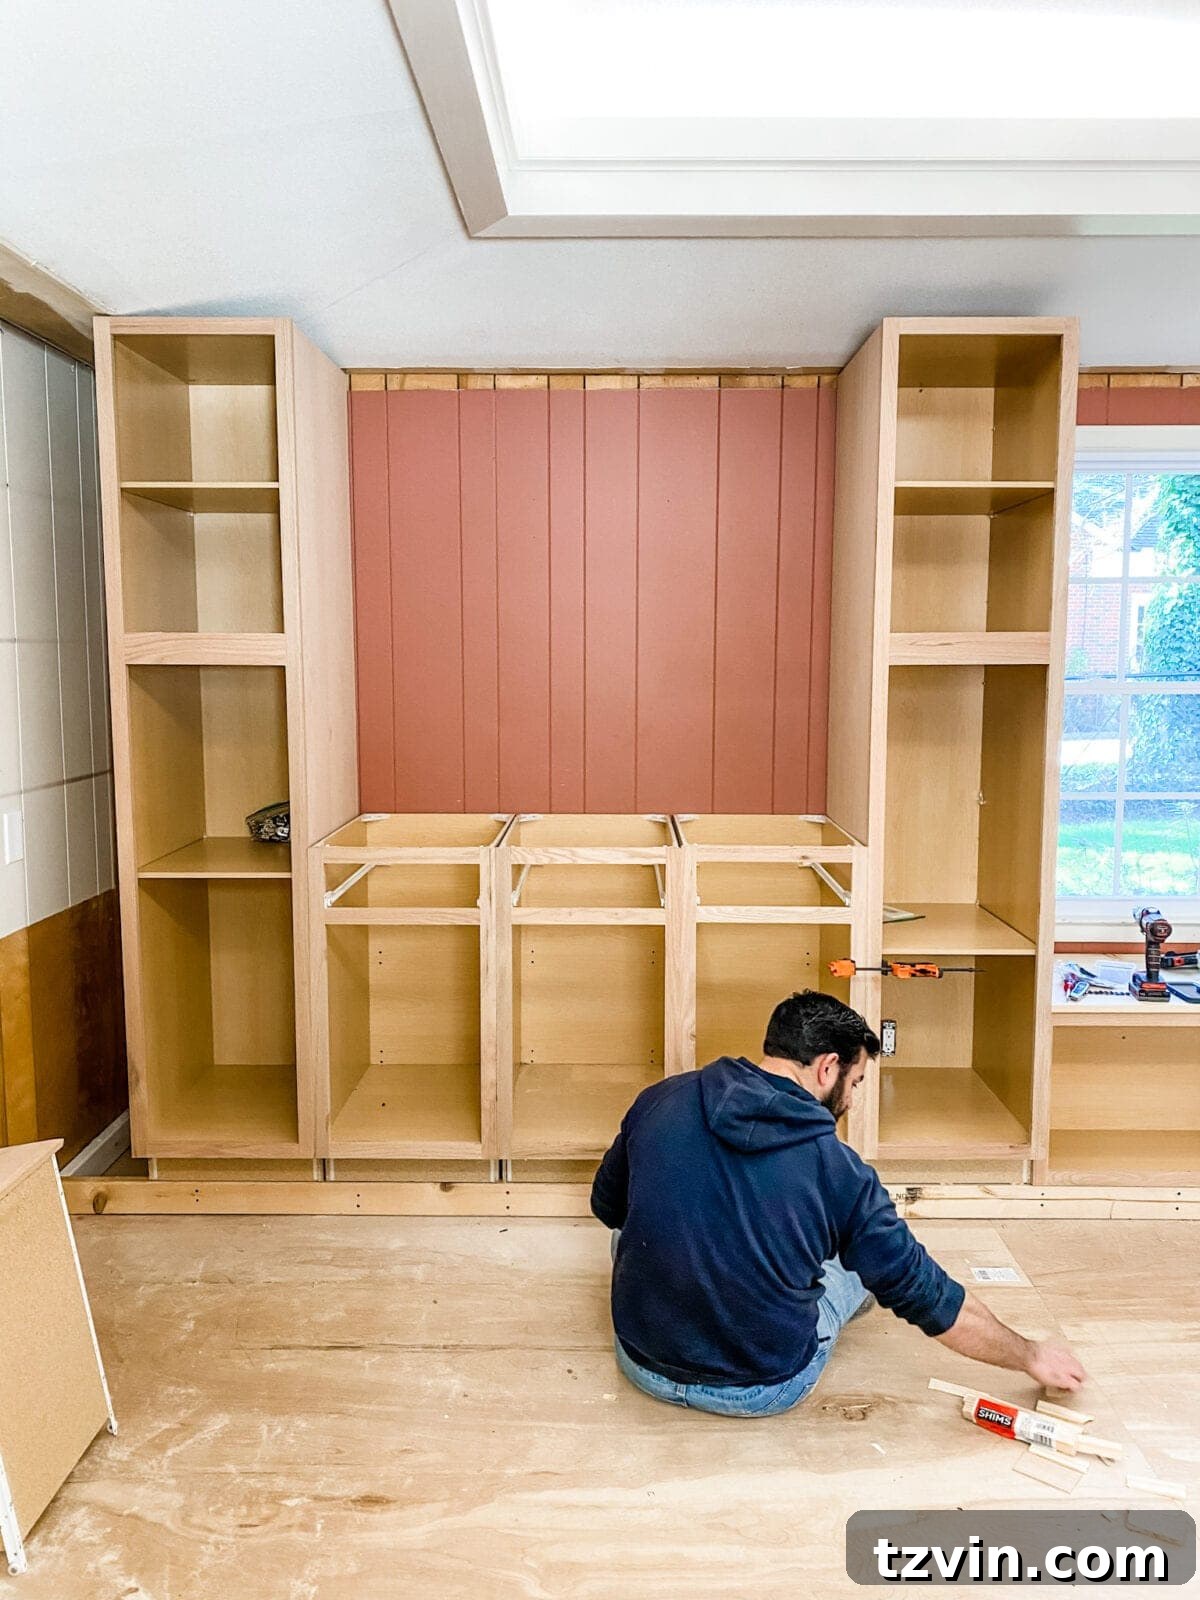
14. **High Cabinet Installation:** We repeated the steps from the window seat section to install the tall cabinets, attaching them directly to the back wall, into the studs.
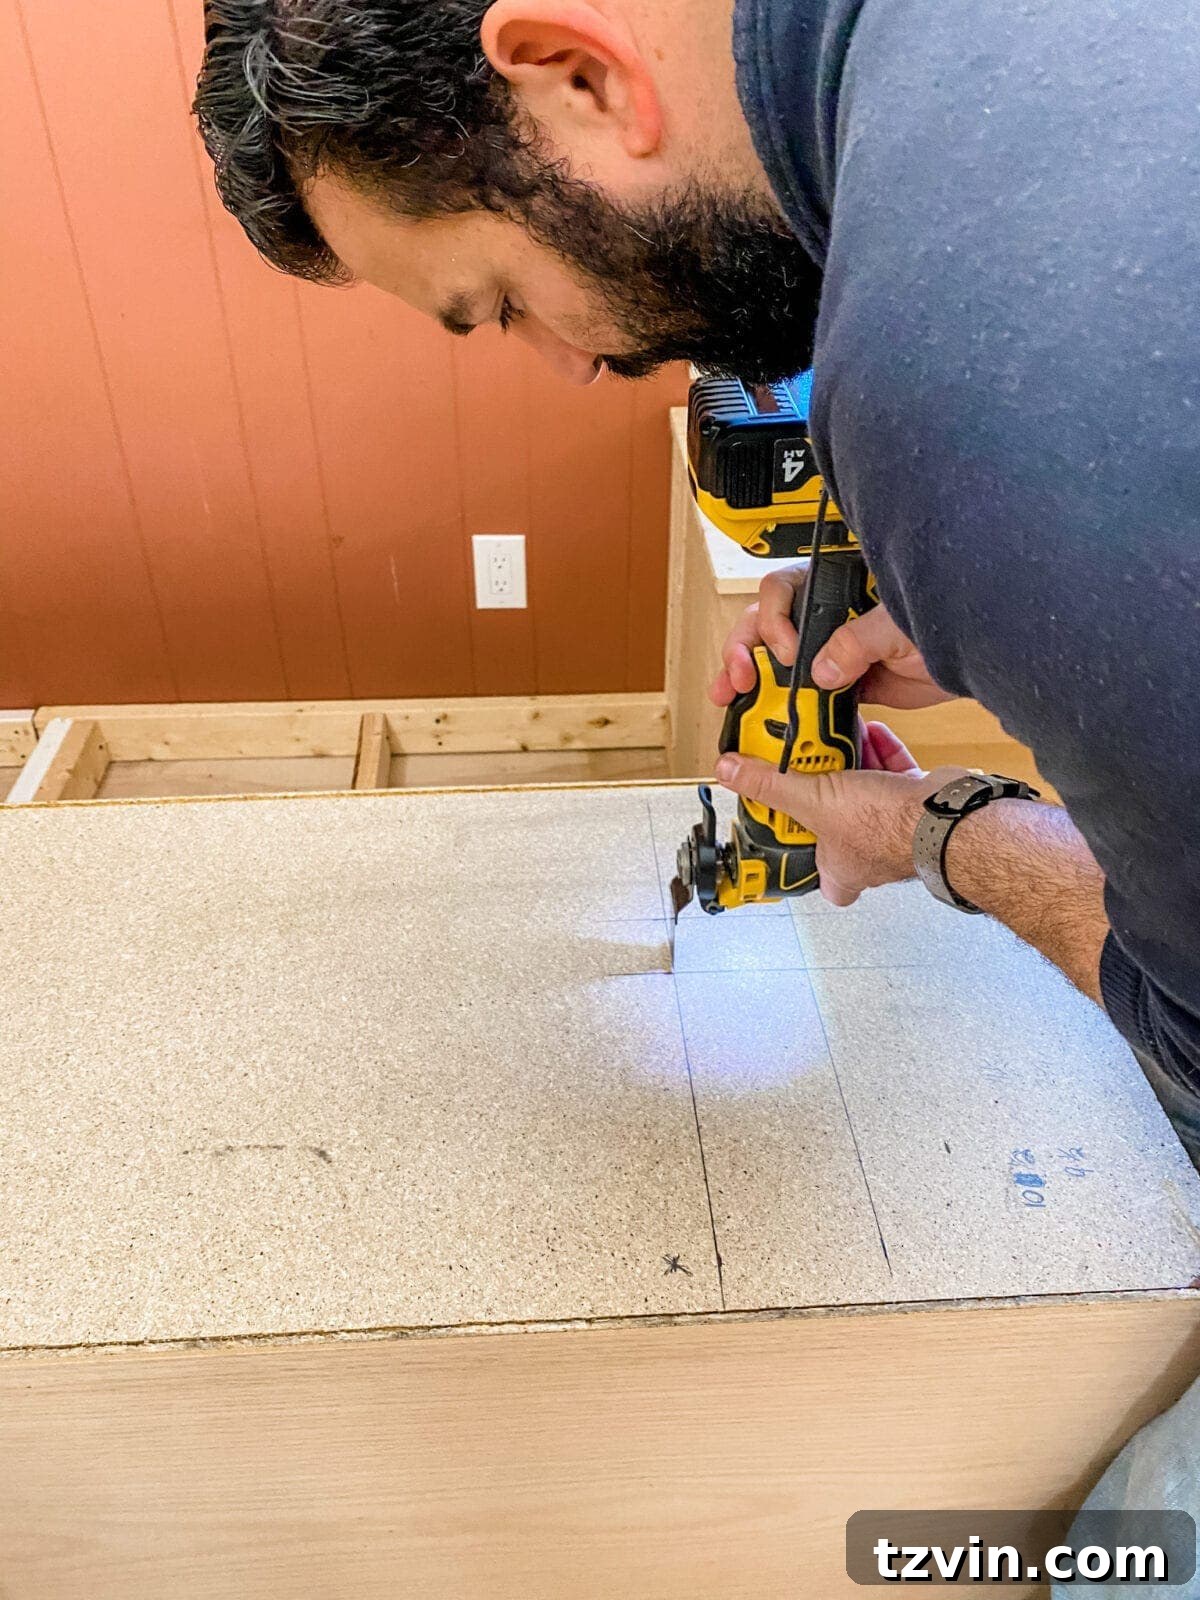
15. **Outlet Management:** When we encountered wall outlets, we used an oscillating multi-tool to create cutouts in the cabinet backs. We used outlet spacers to bring the outlets forward, ensuring they were accessible.
16. **Cabinet Assembly (Opposite Side):** We repeated steps 7-11 for the cabinets on the other side of the window seat.
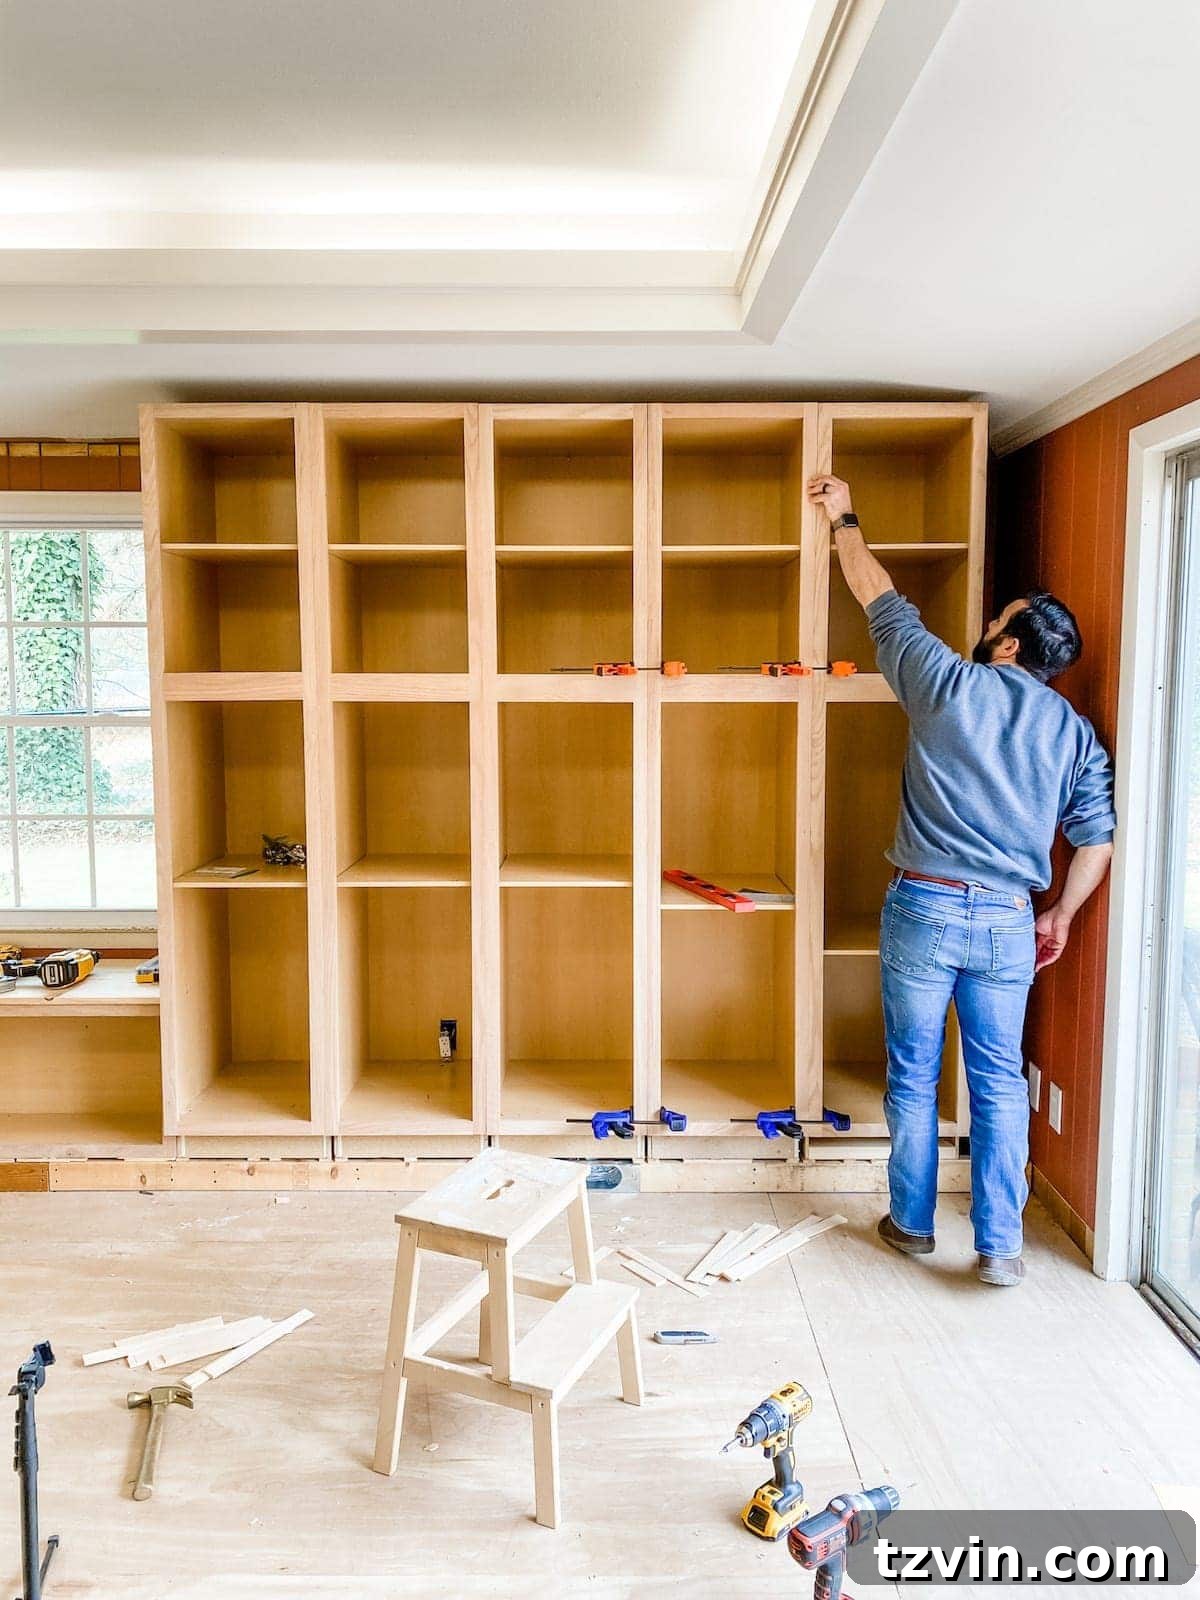
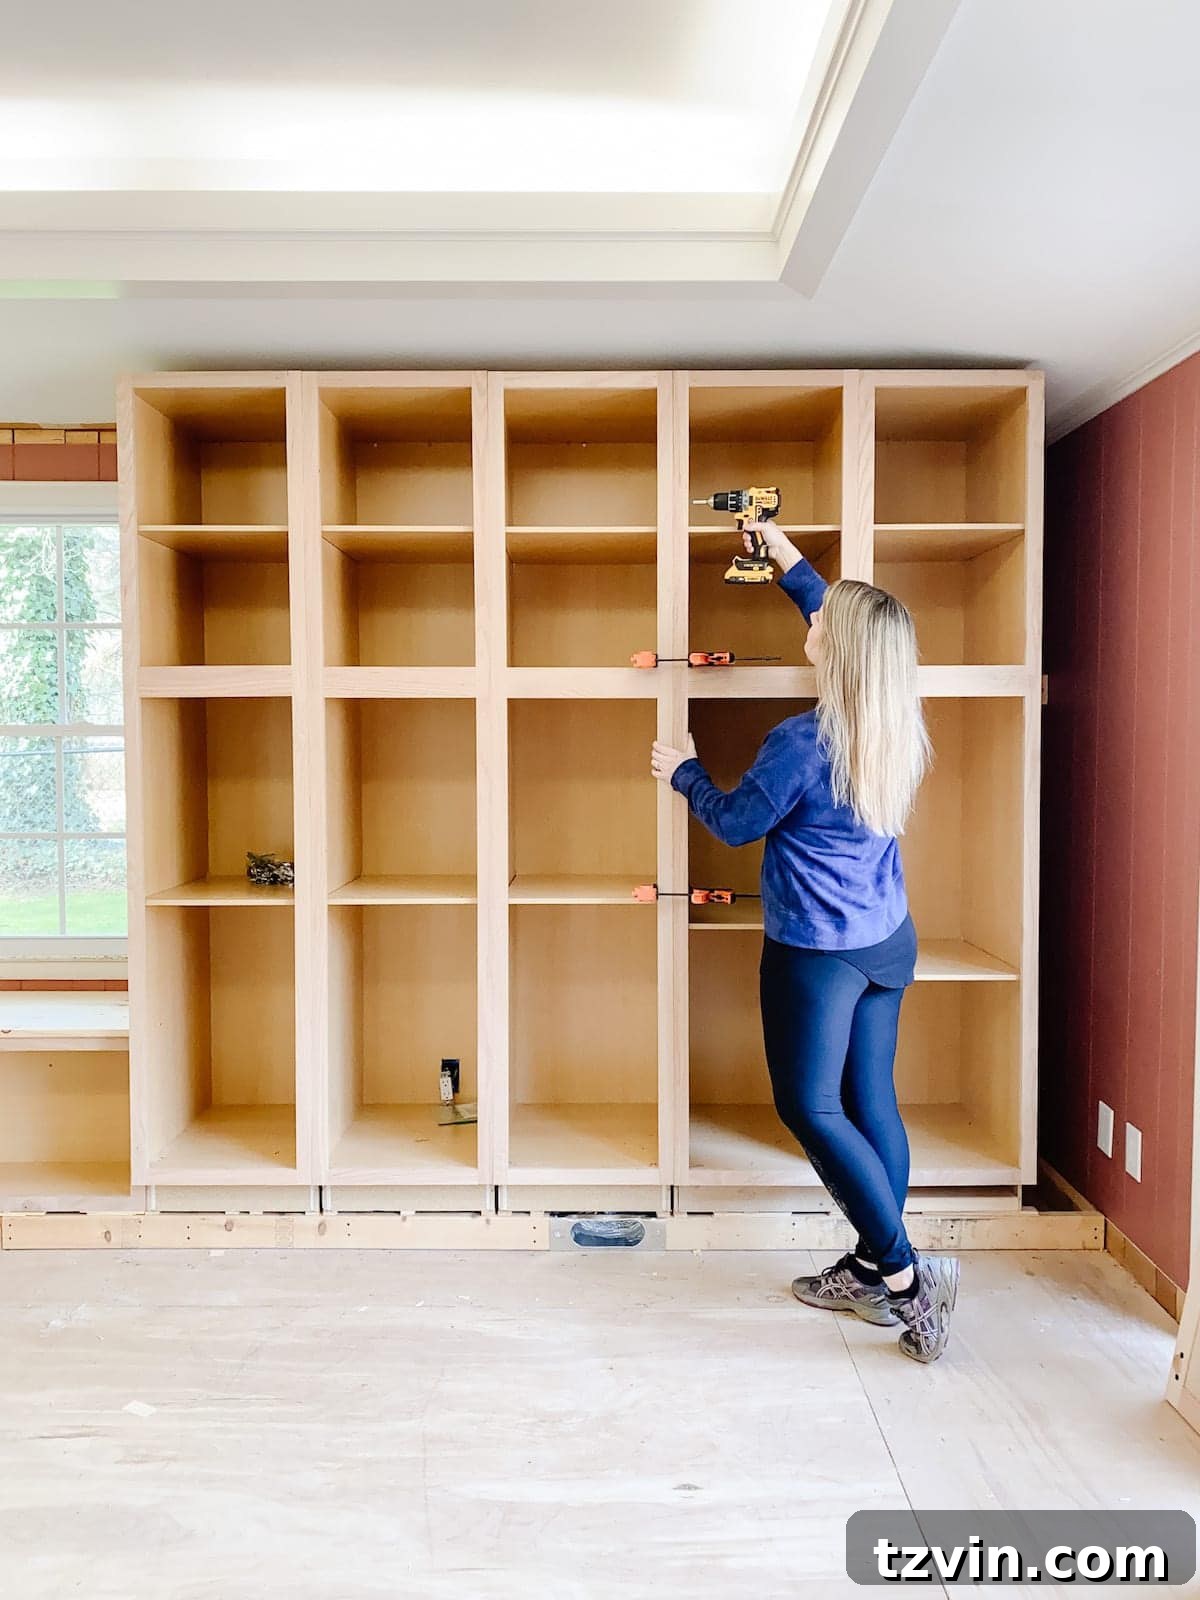
Aligning these cabinets perfectly required patience and precision, so using a square and clamps was essential.
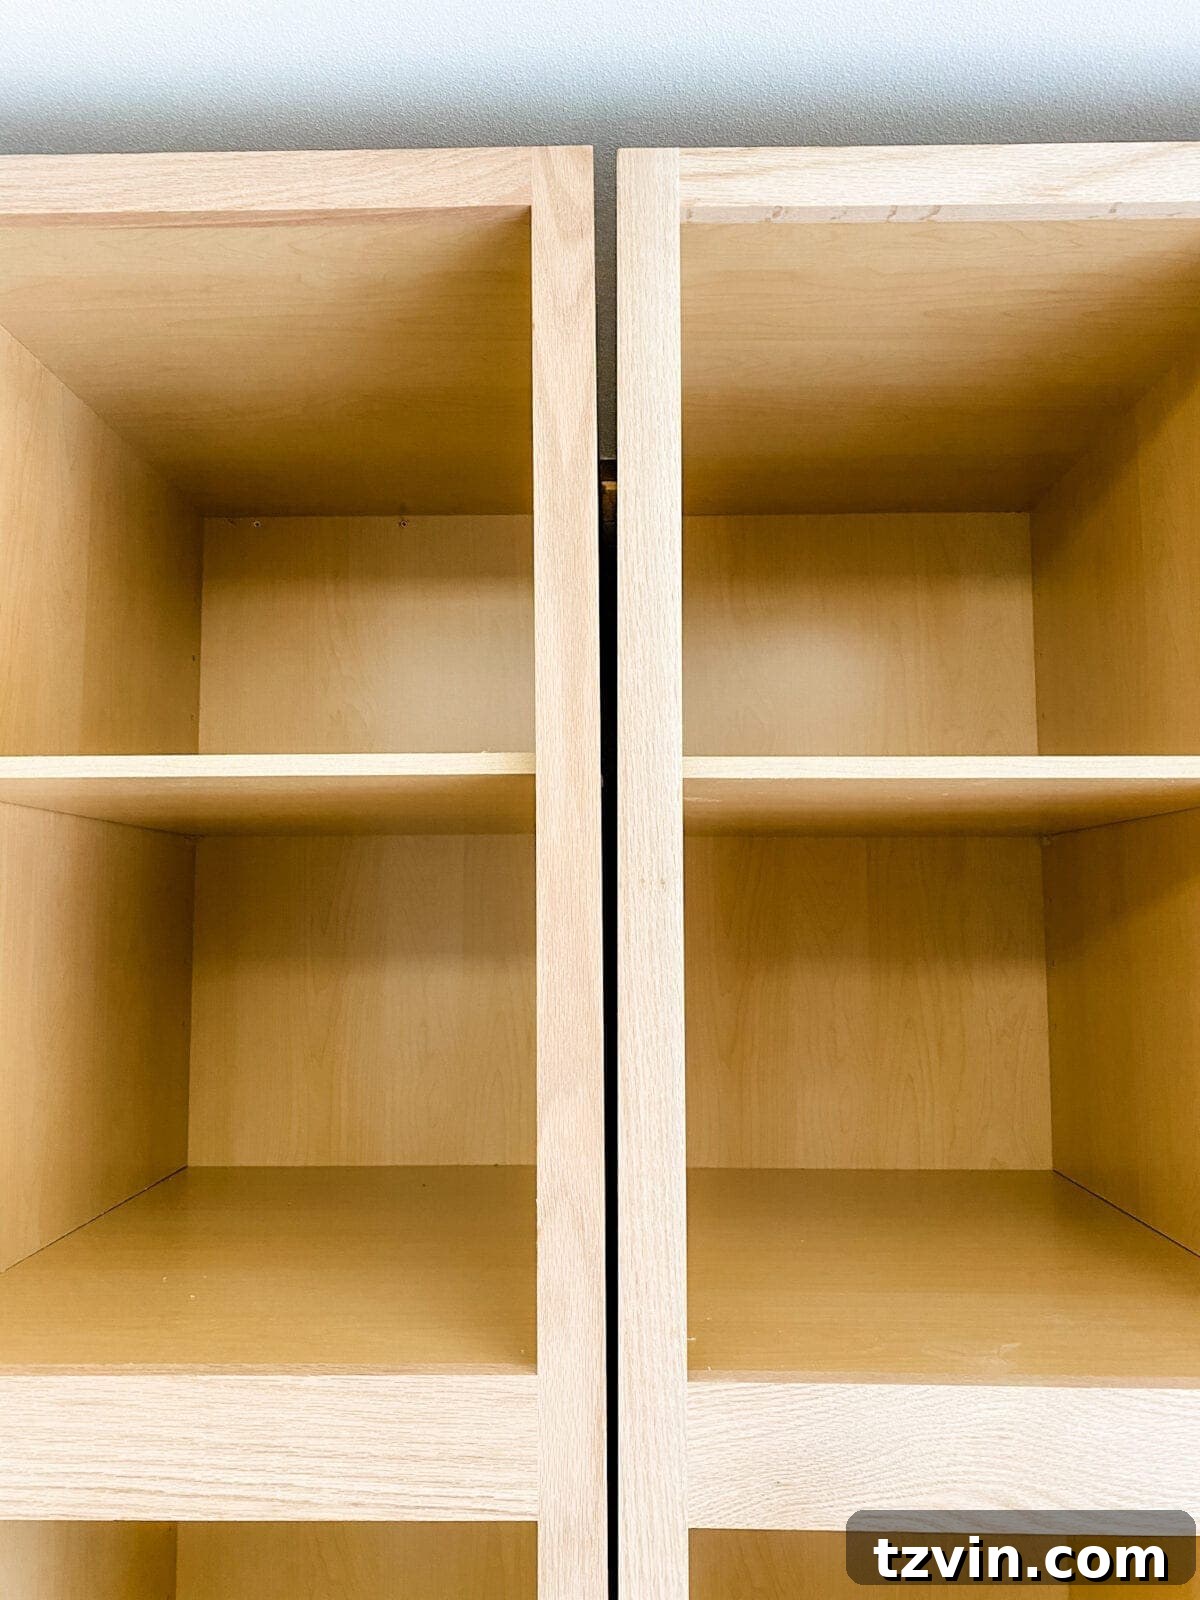
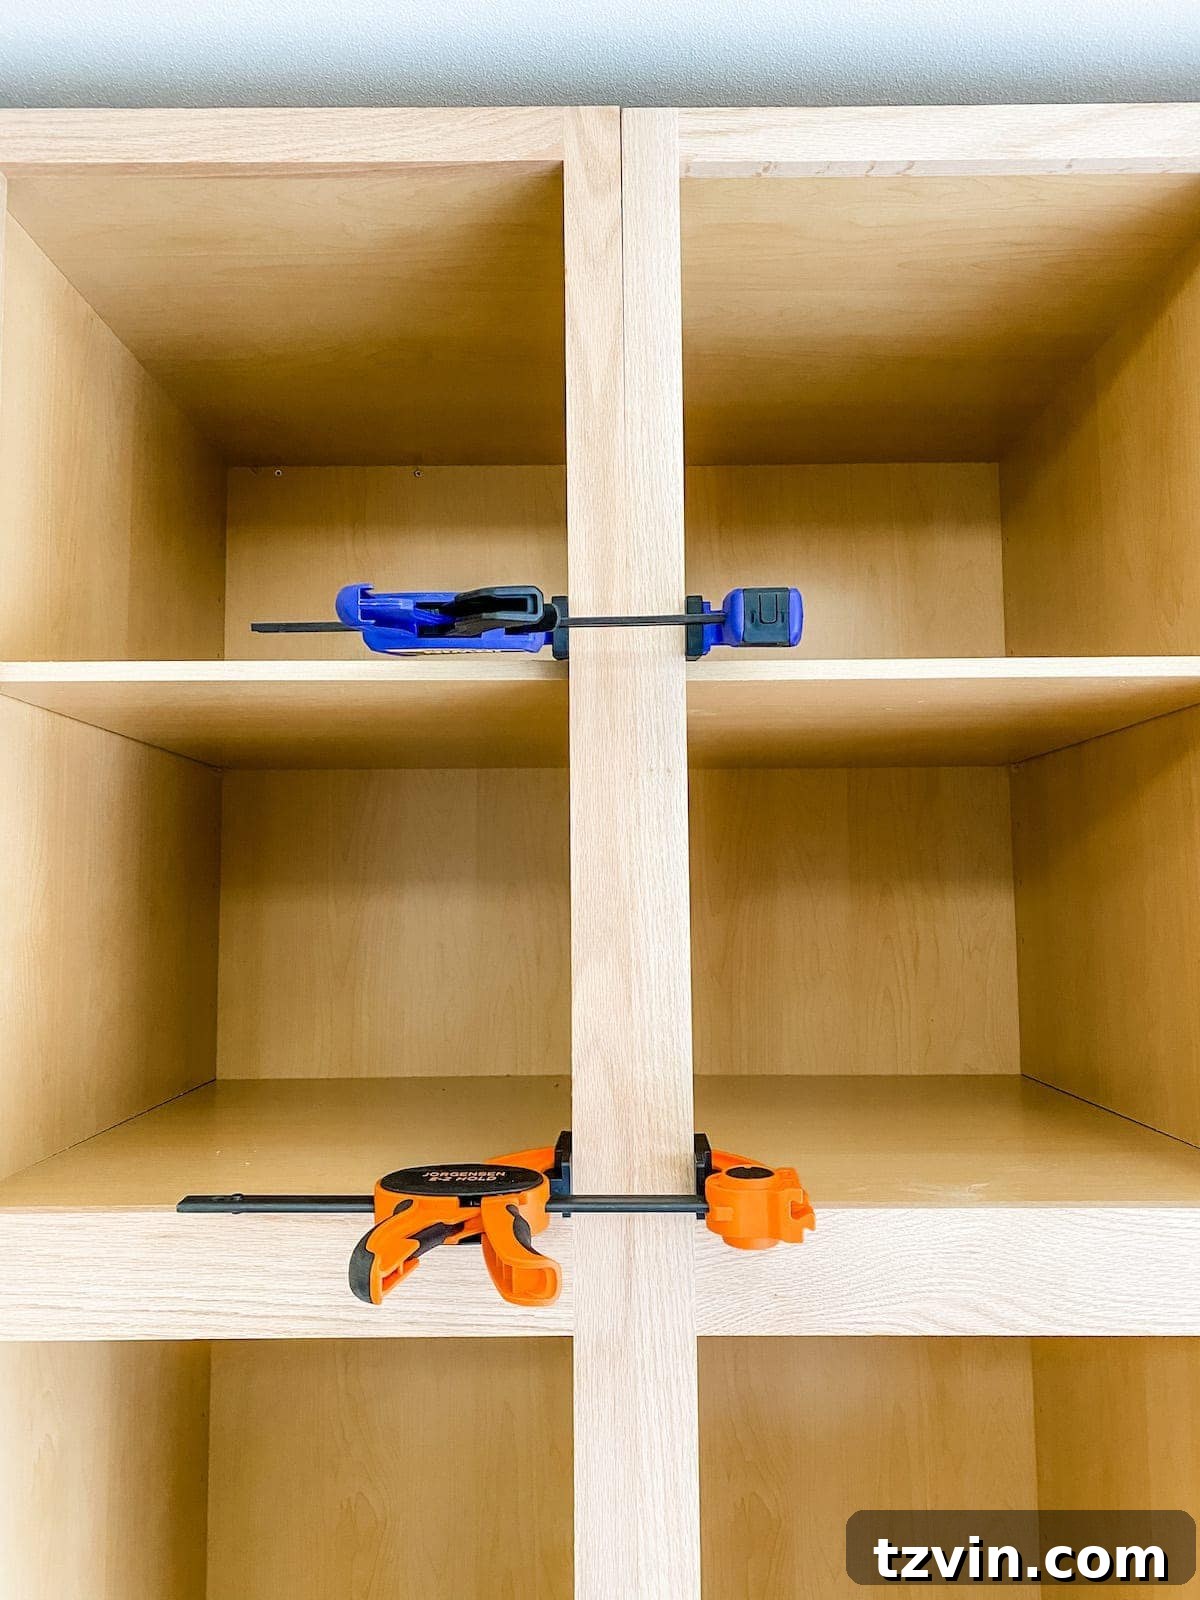
Once they were aligned, we screwed them together.
Trimming Them Out
17. **Side Trim:** To create a built-in look, we screwed 2x4s to the sides of the cabinets and the wall. Then, we attached a poplar board in front, effectively “building in” the cabinets to the walls.
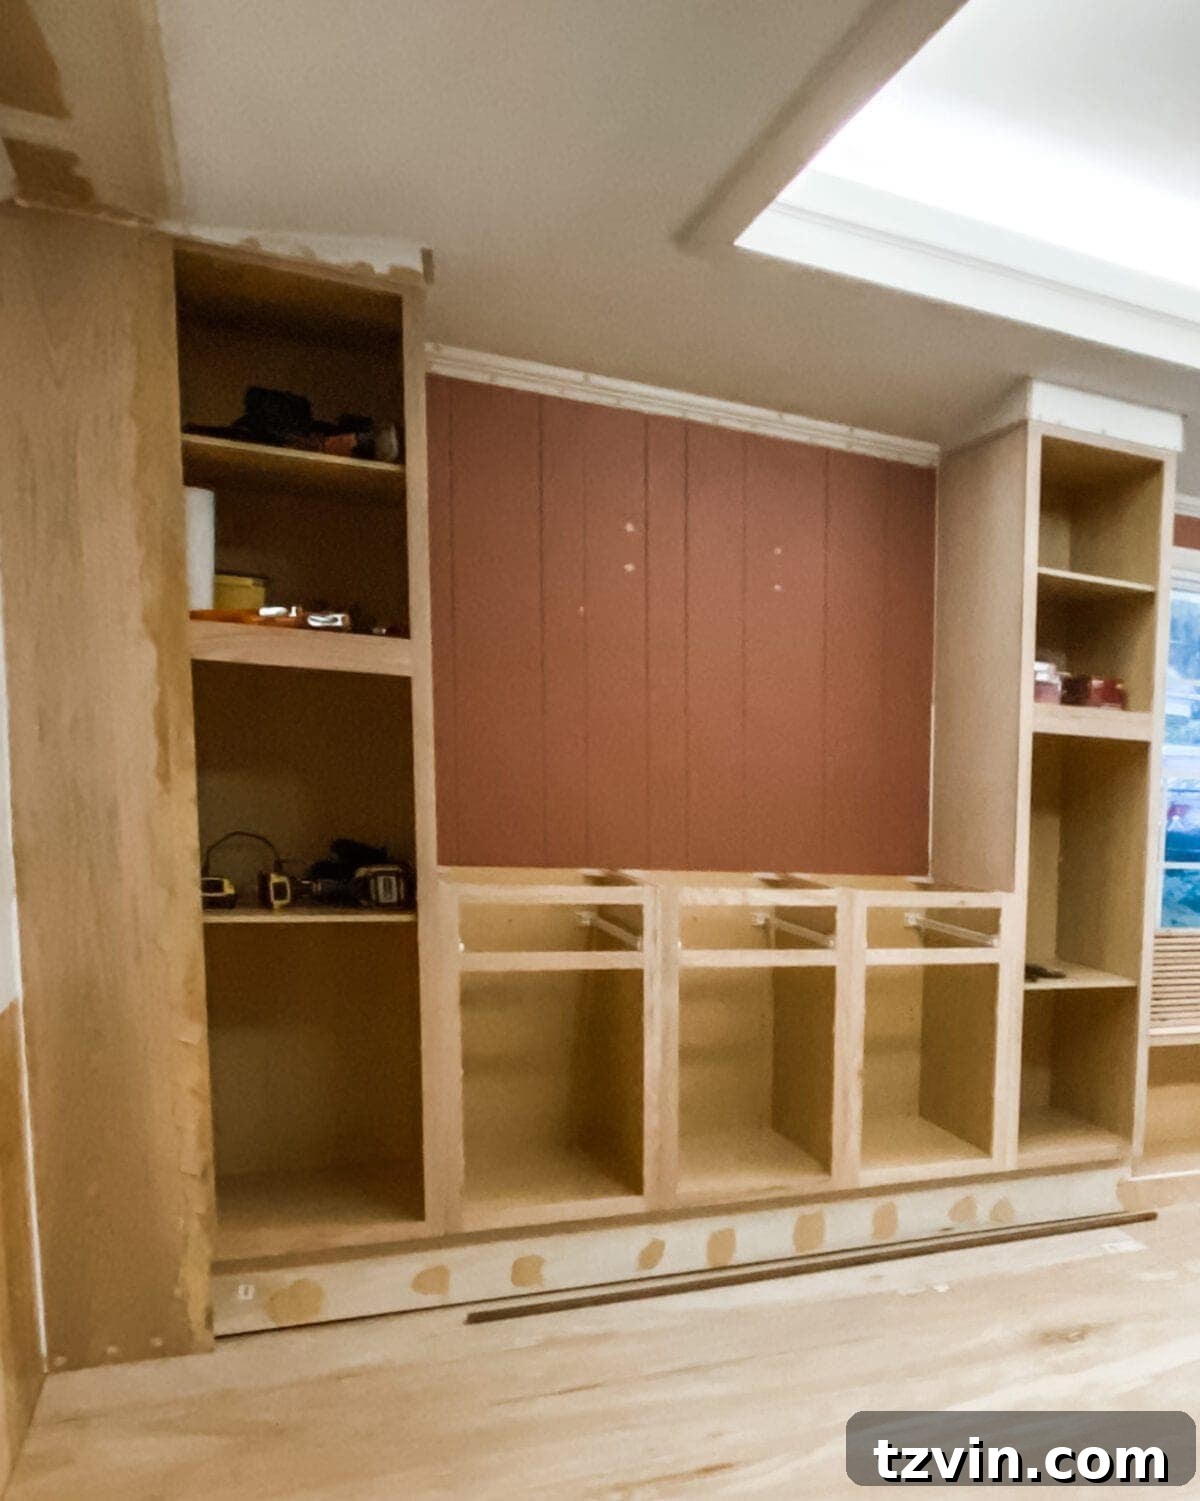
18. **Top Trim:** We attached 1×4 boards to the top of the cabinet frames, using a miter saw to cut the corners at 45-degree angles for a professional finish.
19. **Toe Kick:** We attached 1×8 boards in front of the 2×4 base to create a toe kick, providing a finished look and protecting the cabinet base.
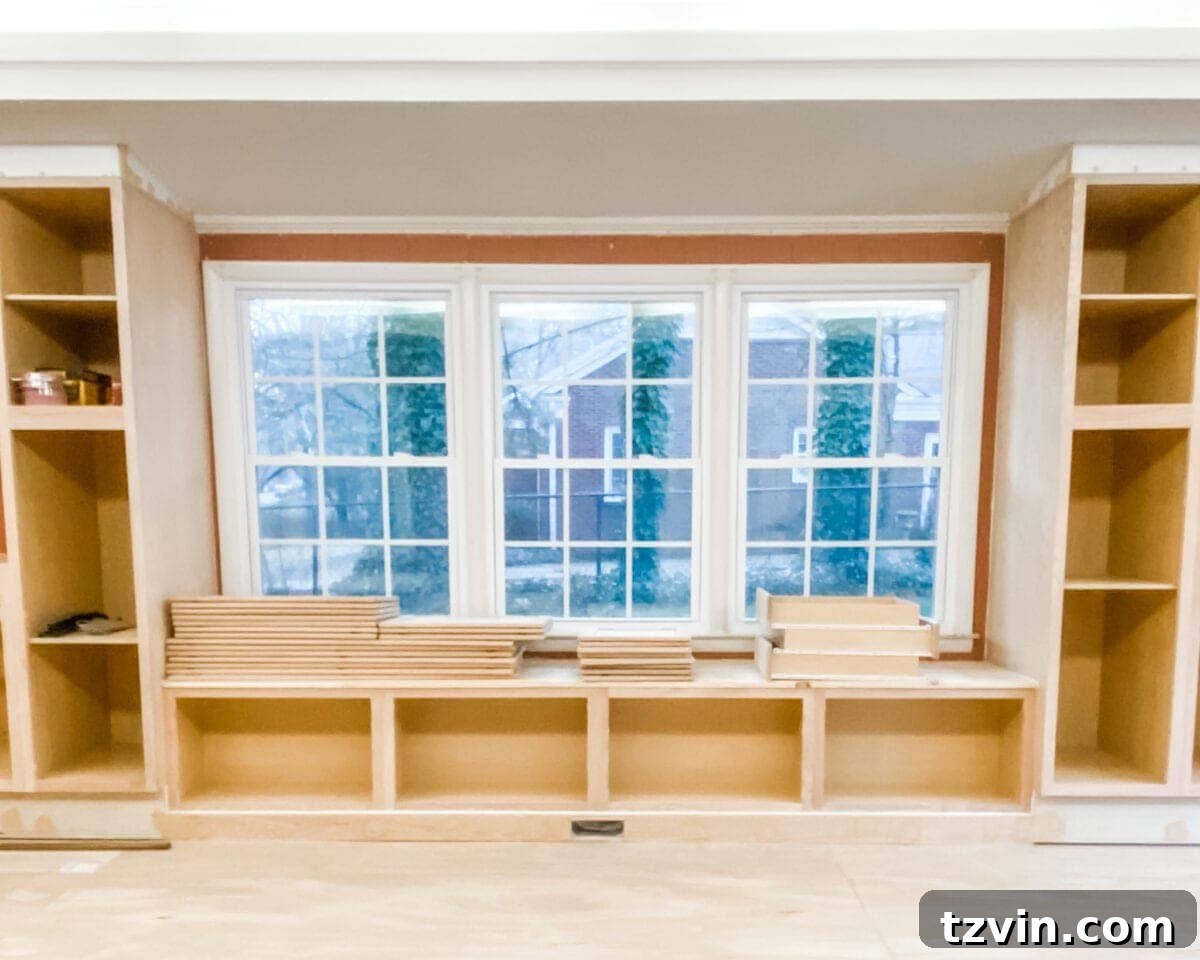
20. **Wood Filler and Caulking:** We filled all nail holes with wood filler and caulked any gaps for a smooth, seamless appearance.
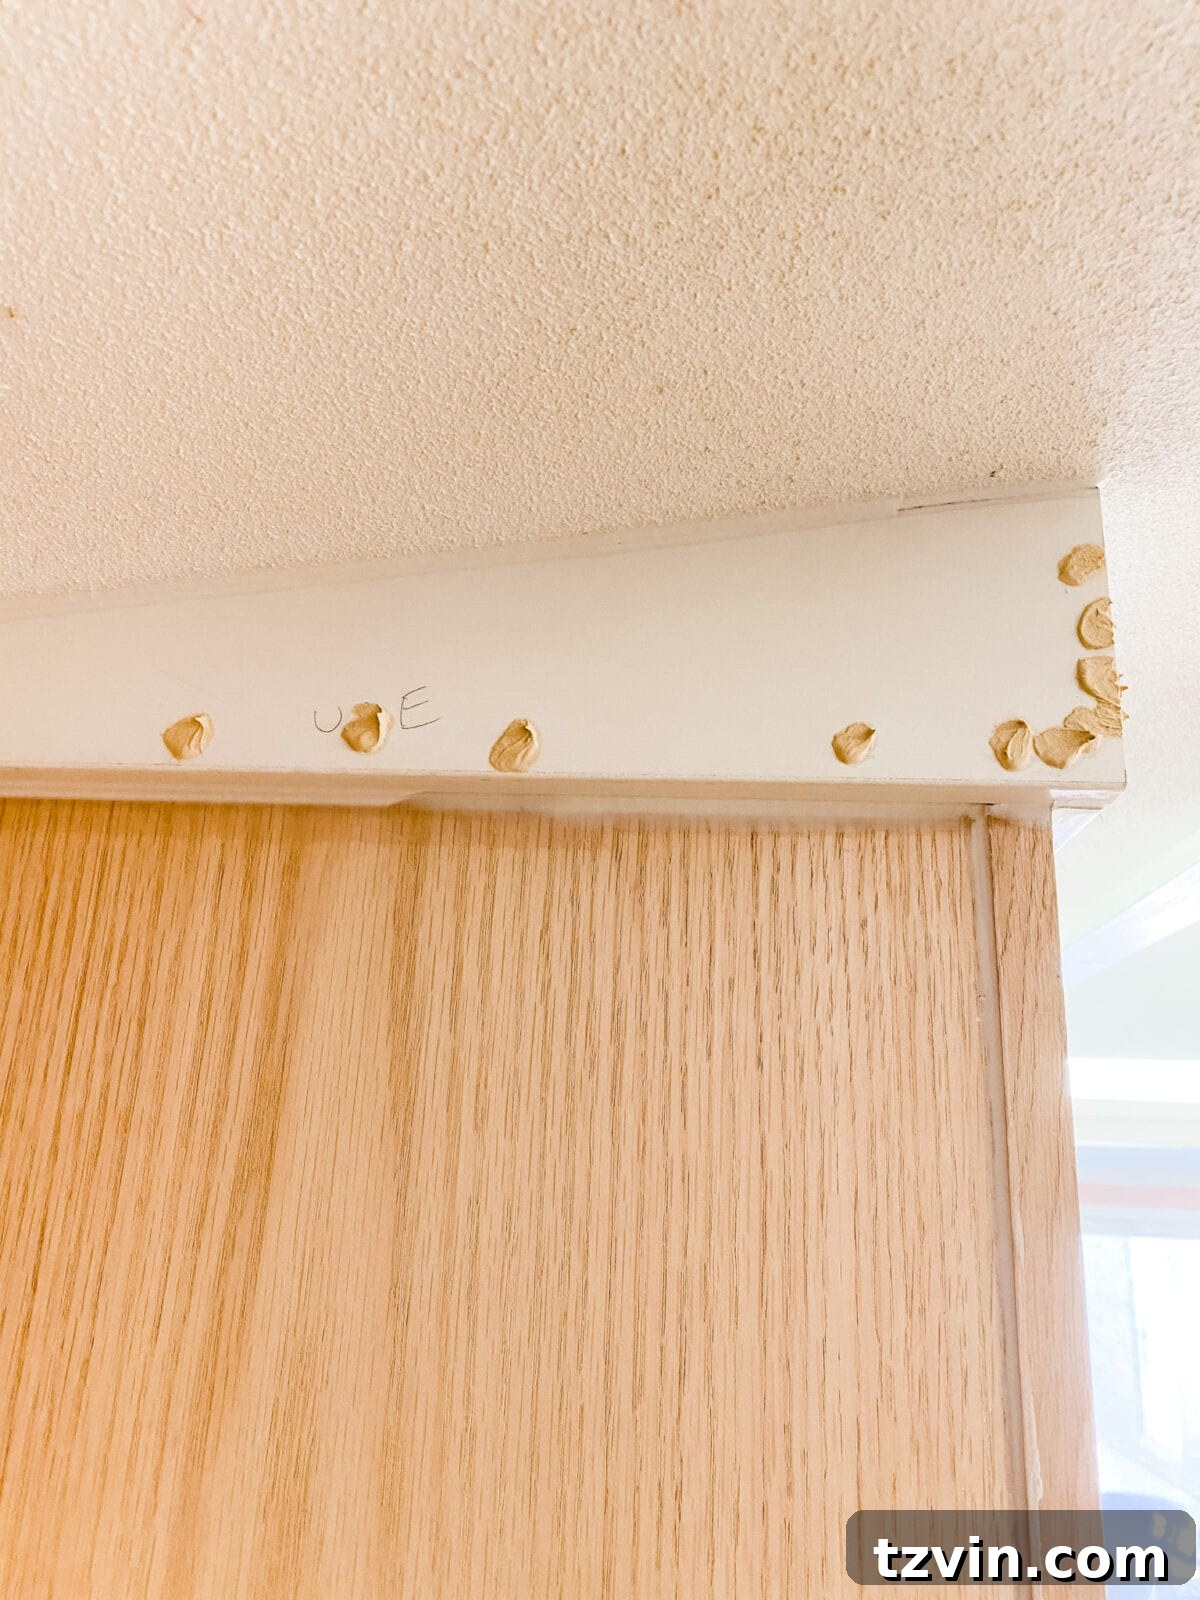
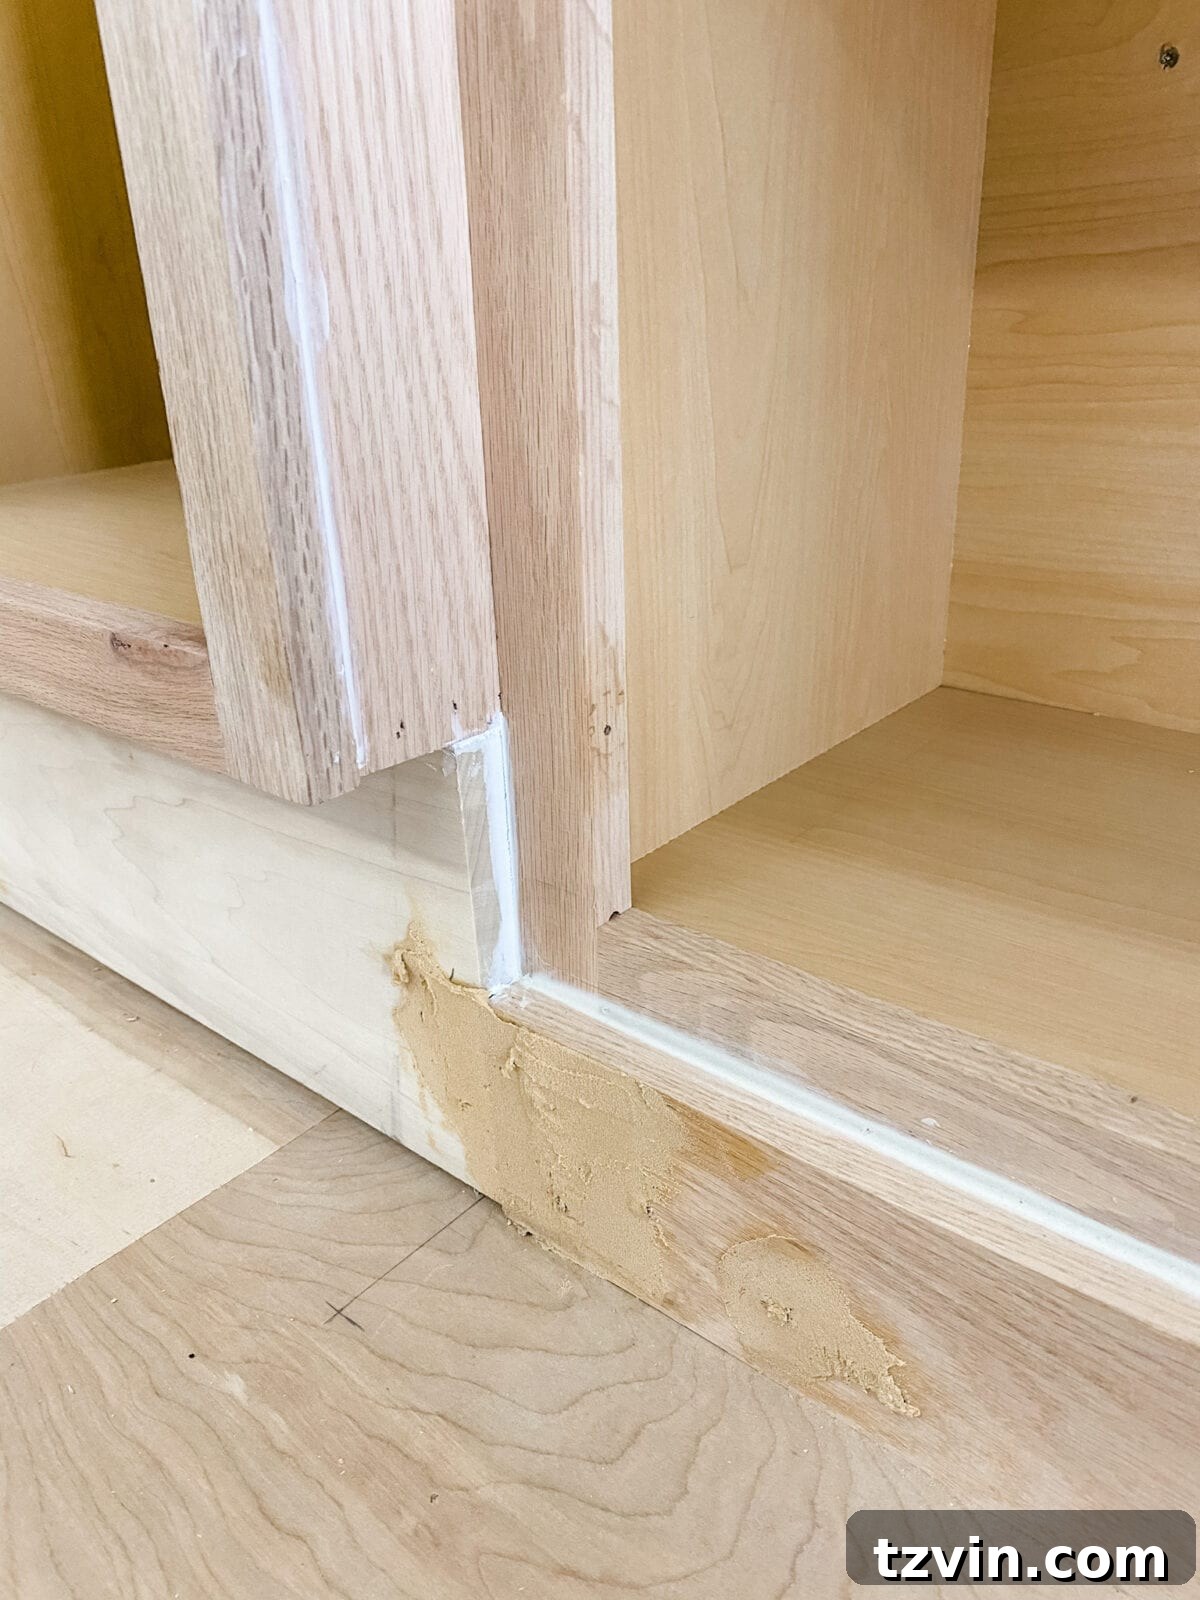
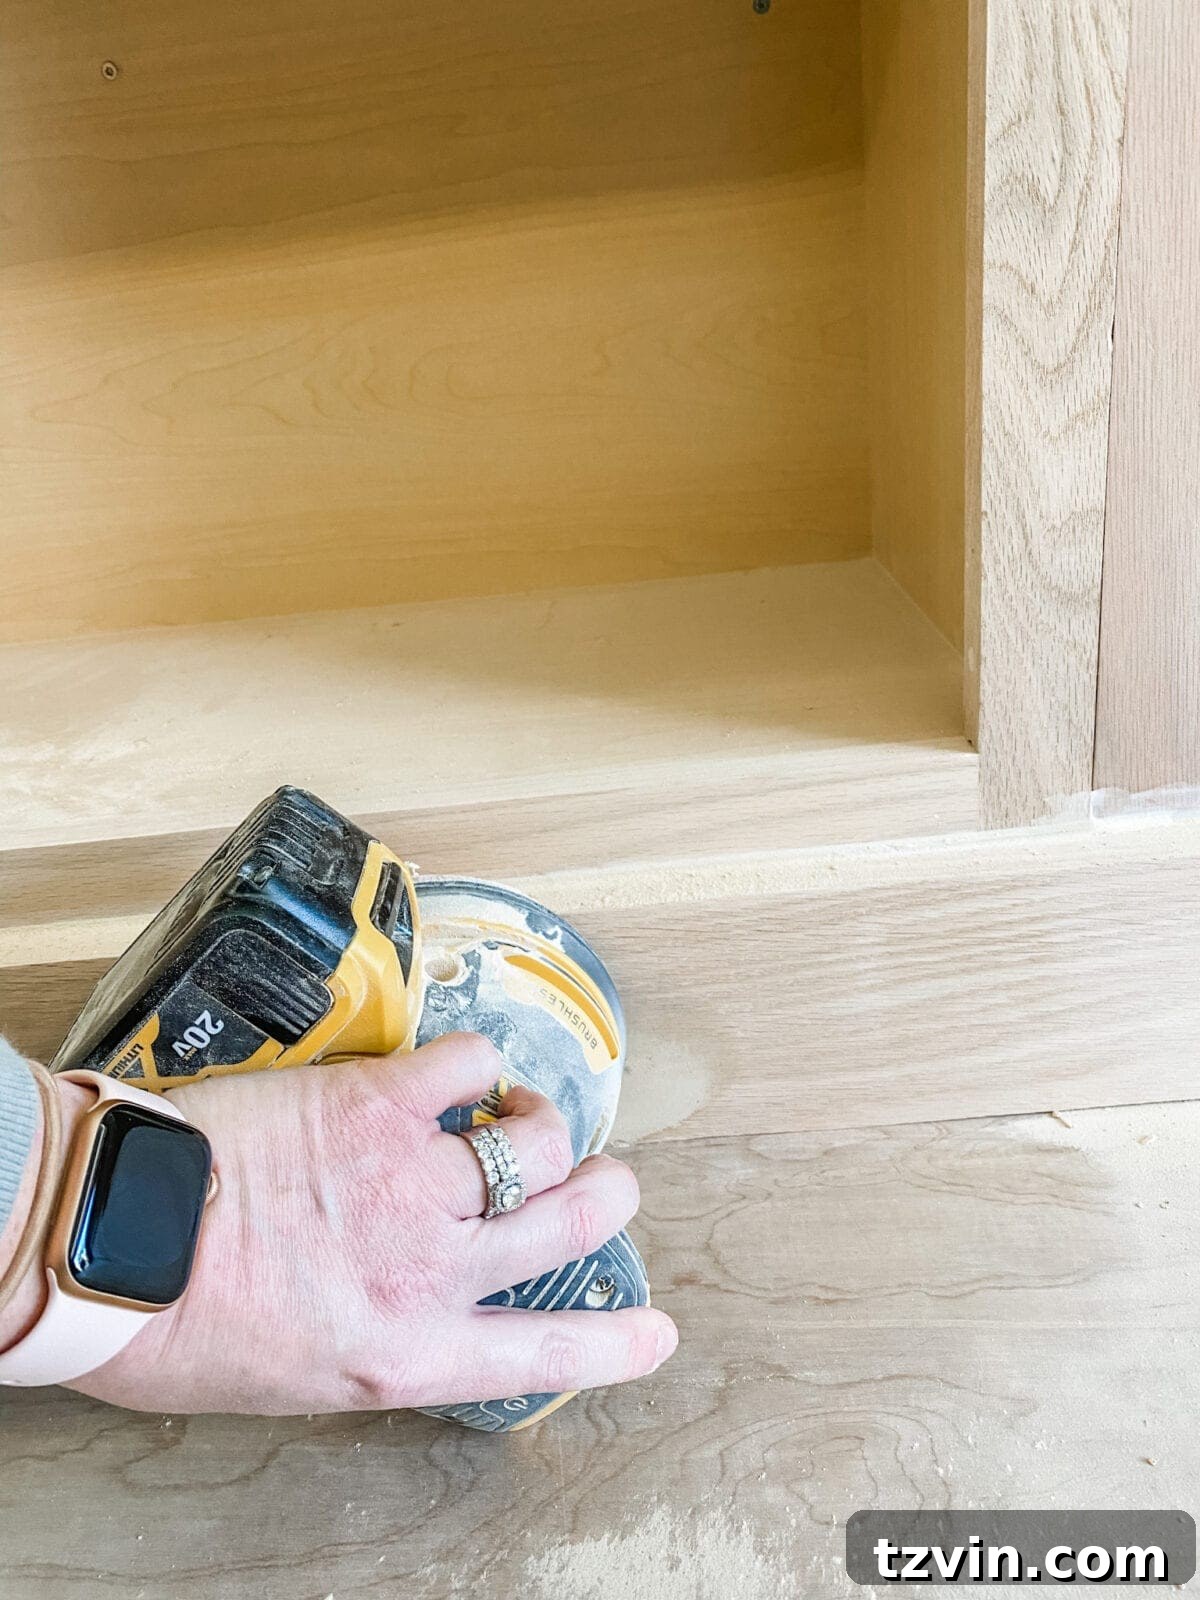
21. **Sanding:** Once the wood filler was dry, we sanded it smooth to prepare the surfaces for painting.
22. **Vent Covers:** Finally, we attached the vent covers.
The Finished Built-Ins!
And that’s it! While this project required time and effort, the result is well worth it.
We love the extra storage and how much bigger the room appears.
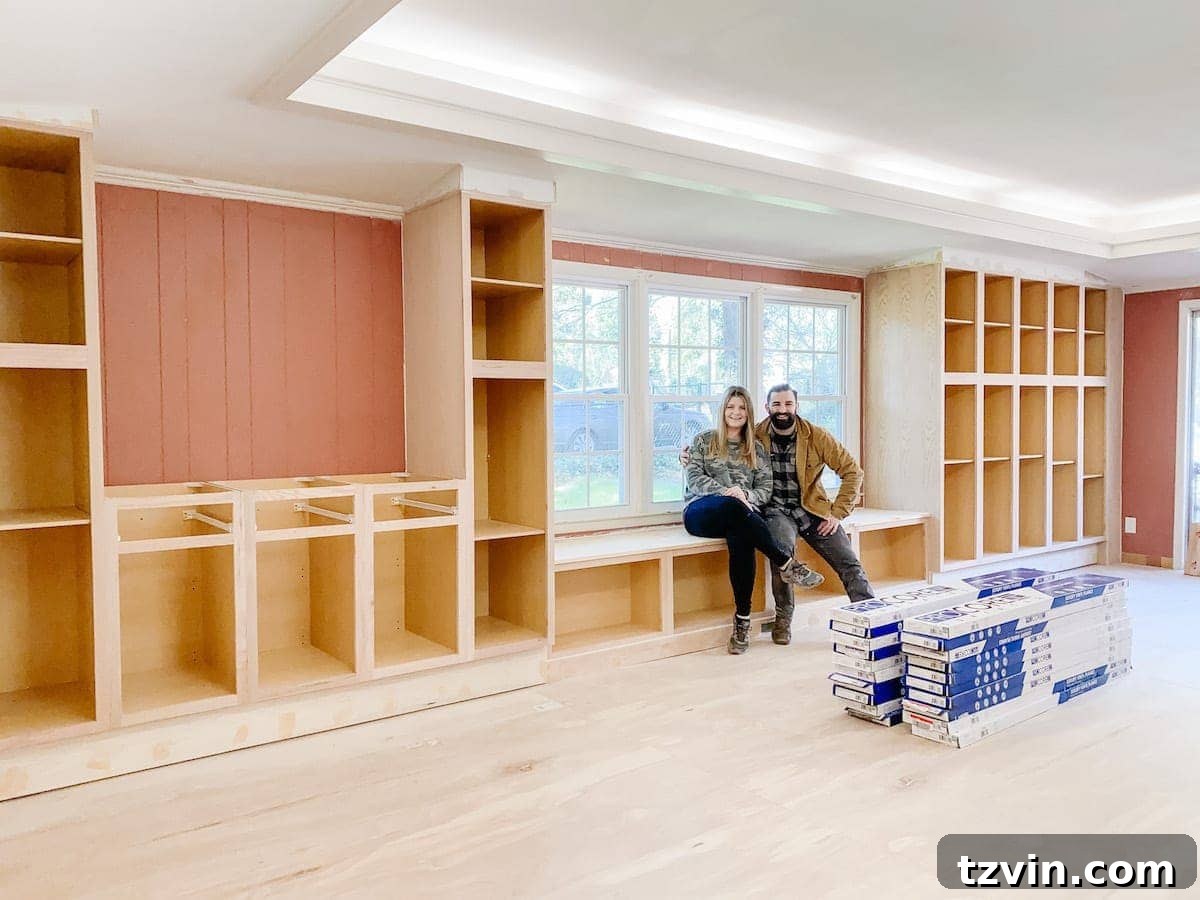
The next step is new flooring.
Stay tuned! You can find the entire process over on our Instagram Stories.