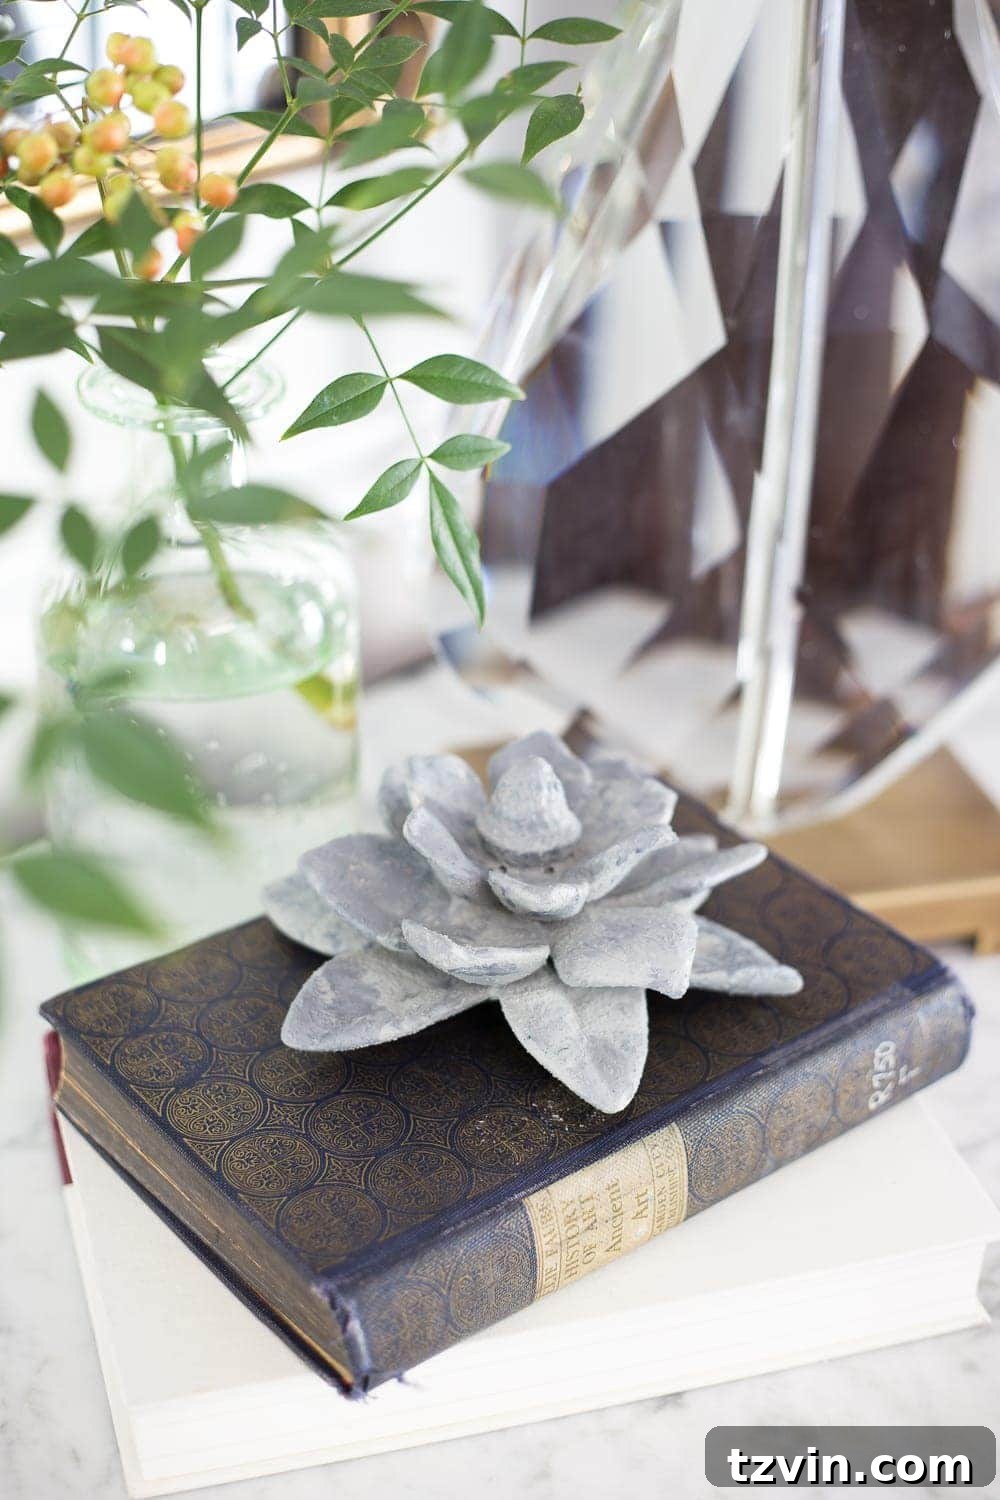
DIY Concrete Paint: A Simple Tutorial for a Chic Home Makeover
Ready to give your home decor a modern update without breaking the bank? If you’re a fan of the sleek, industrial look of concrete, then you’re in the right place! This easy DIY tutorial will show you how to transform everyday objects into stylish concrete-look accents using a simple craft paint technique. Forget complicated projects – this one is perfect for beginners and anyone looking for a quick and rewarding craft.
I recently discovered my new favorite craft supply: concrete craft paint! This stuff is a game-changer for breathing new life into old or thrifted decor. It’s surprisingly easy to use, and the results are fantastic.
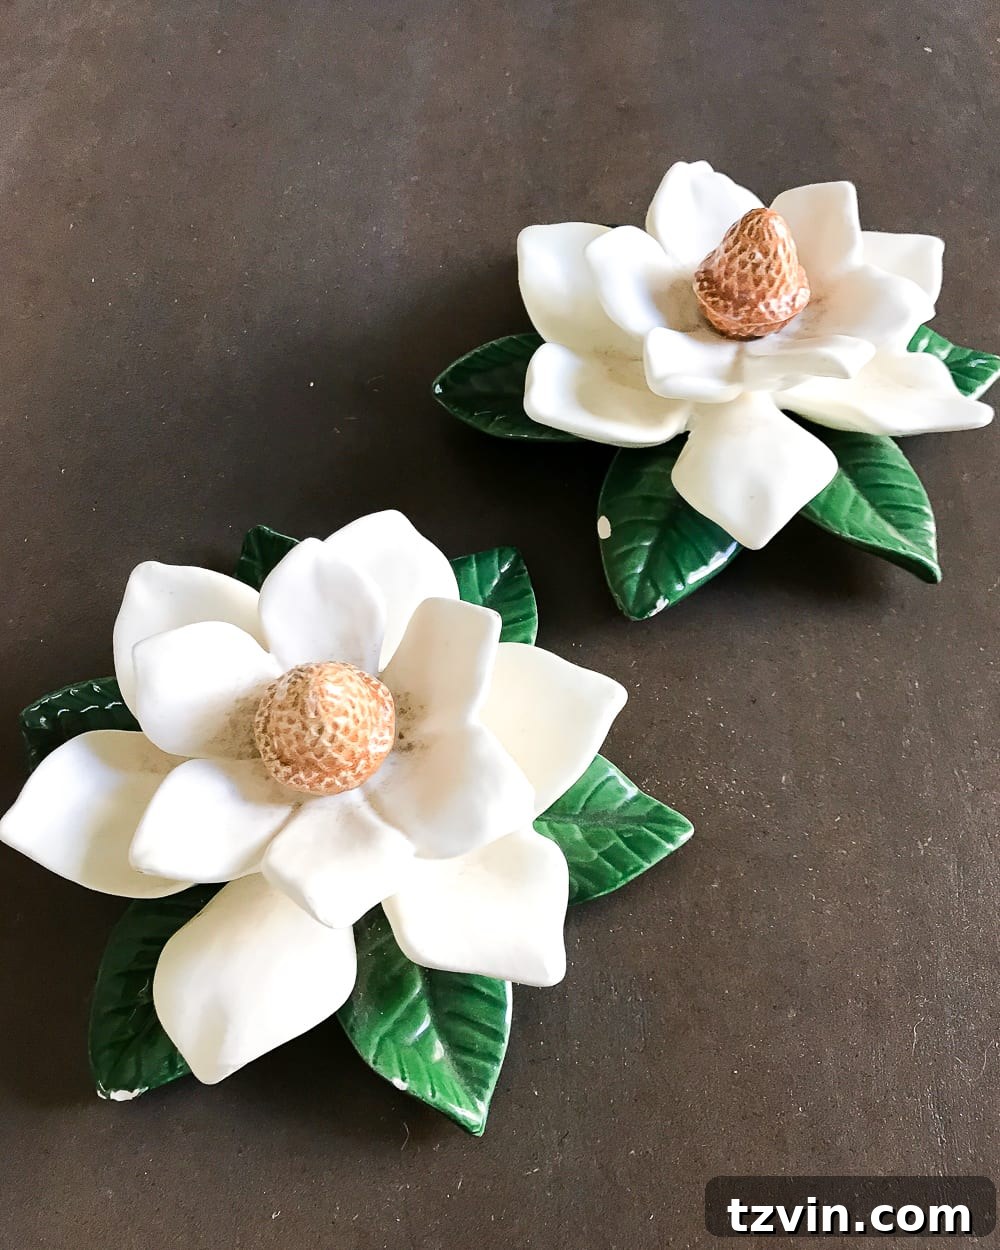
I stumbled upon some adorable ceramic magnolia figurines at my local thrift store. Each cost just a dollar! I couldn’t resist. These little beauties were a bit chipped and dusty, but I immediately envisioned them as chic, concrete statuettes. And guess what? It worked perfectly!
(Some affiliate links are provided below for your convenience.)
I love finding small accent pieces at thrift stores. They’re perfect for adding a finishing touch to a bookshelf, a tray, or any other spot that needs a little something extra. Using this concrete paint, you can transform almost anything into something stylish and unique.
This project is so simple, and the possibilities are endless. From vases and figurines to decorative bowls and picture frames, you can give a concrete makeover to a wide variety of items. It’s a fantastic way to refresh your existing decor or create custom pieces that perfectly match your style.
What You’ll Need:
- Medium-sized craft brush
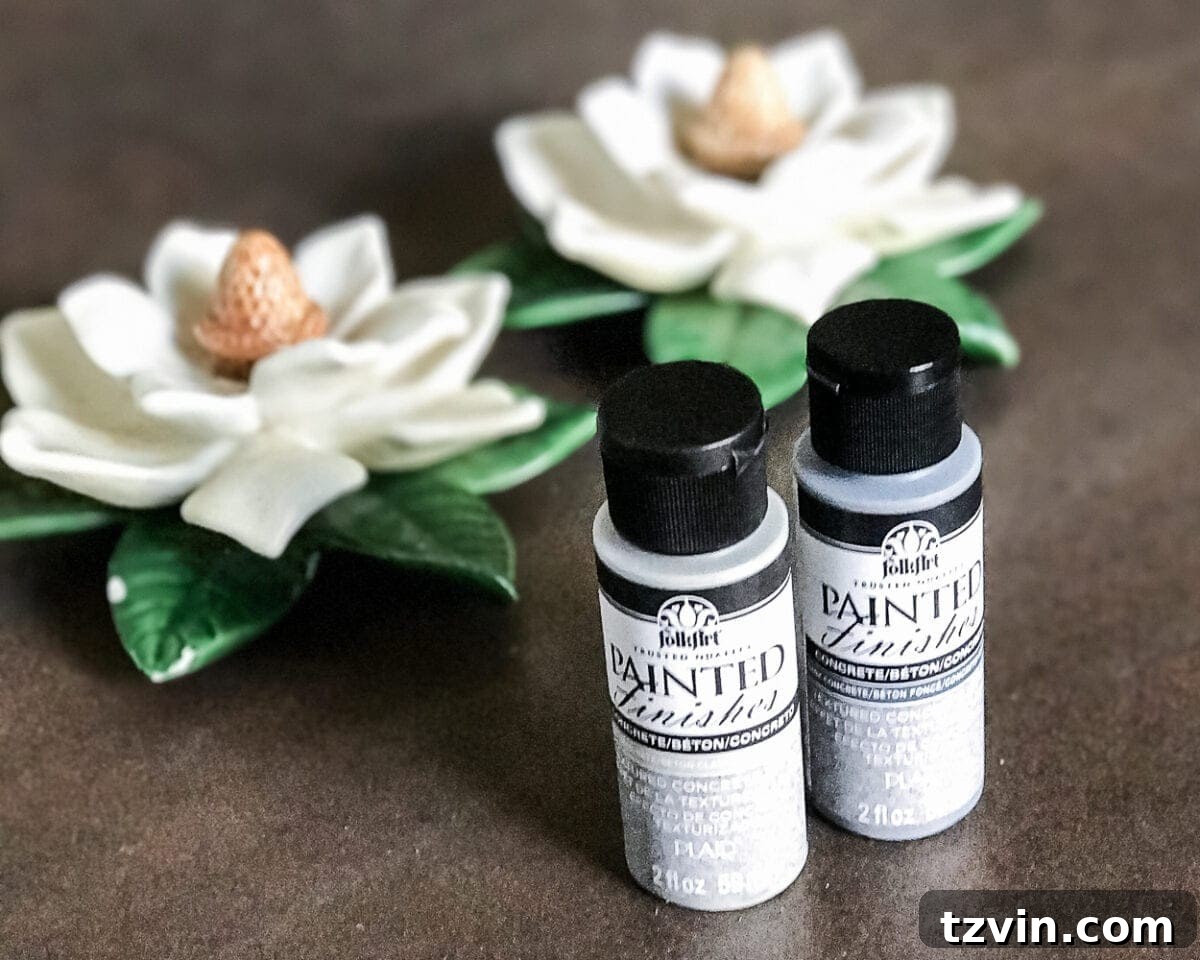
- FolkArt Painted Finishes Concrete Set (or similar concrete effect paint)
- Plastic drop cloth or a rag to protect your work surface
That’s it! This project is incredibly straightforward, consisting of just a couple of easy steps. Let’s get started!
Step-by-Step Instructions:
The beauty of this project lies in its simplicity. Here’s how to achieve that gorgeous concrete look:
Step 1: Base Coat
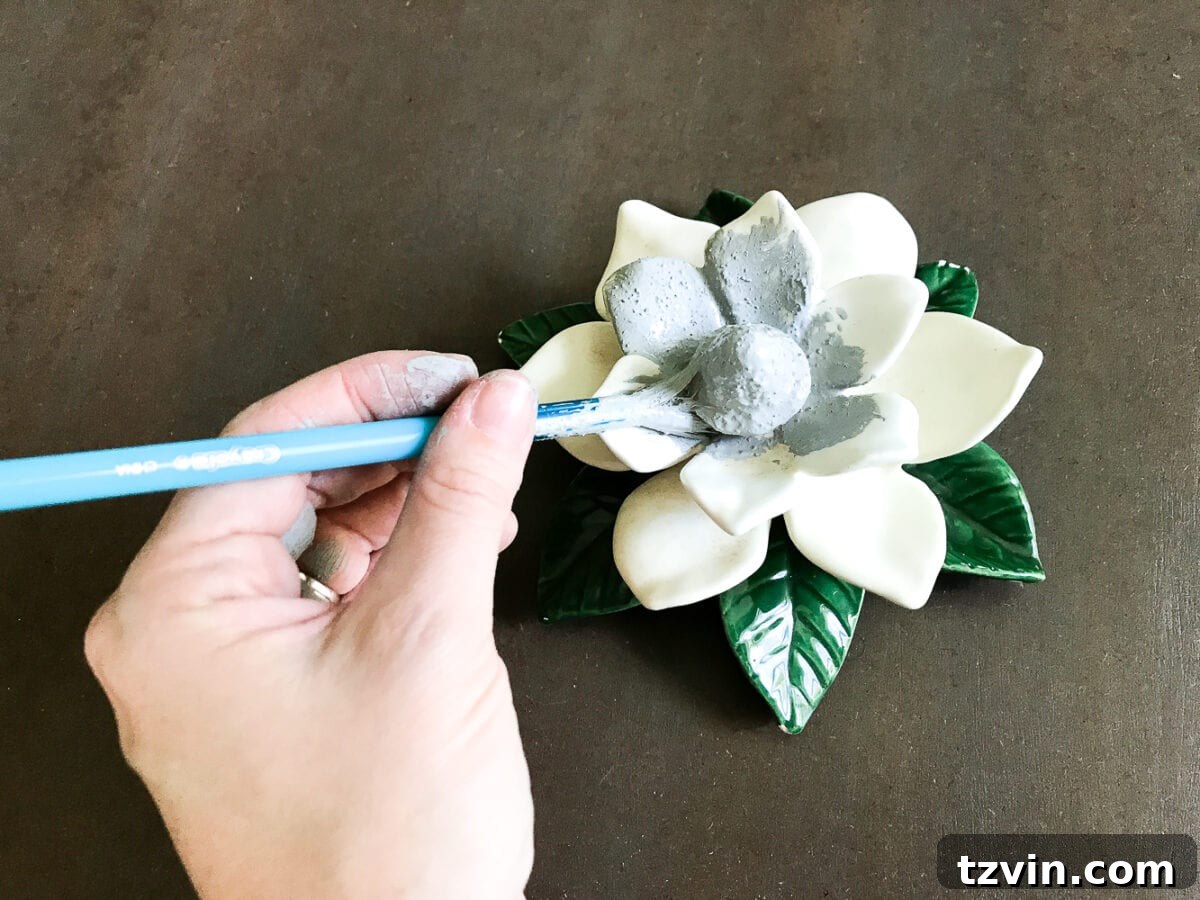
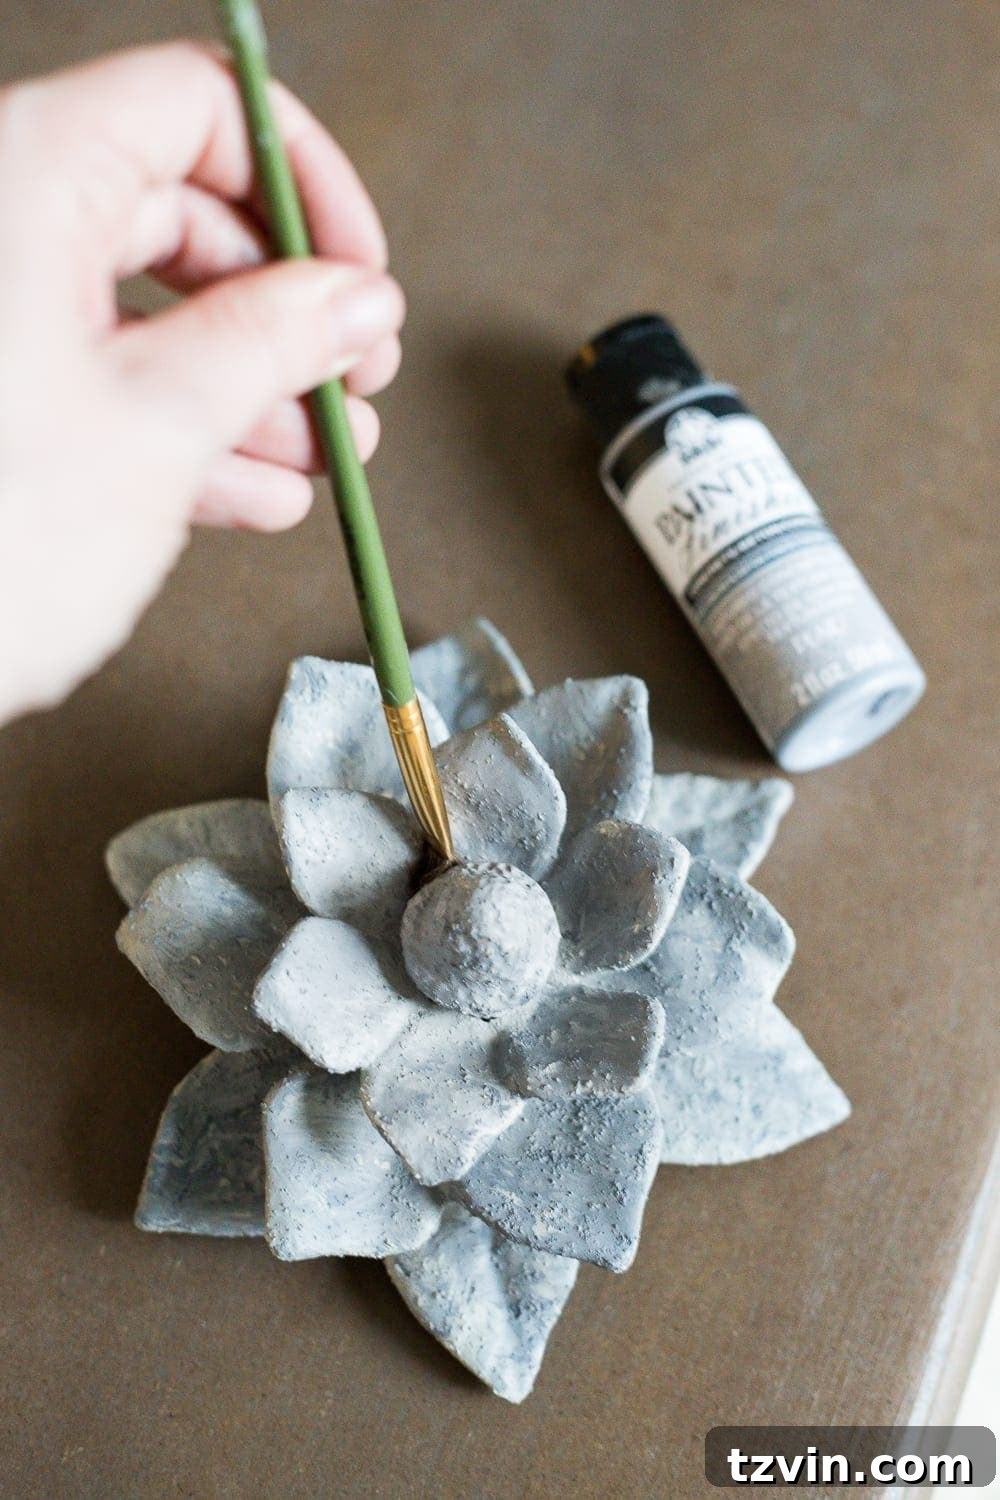
Using your medium-sized craft brush, start by applying the light-colored paint from your concrete paint set to your chosen item. Use a dabbing motion to create texture and ensure the paint gets into all the nooks and crannies. The gritty consistency of the paint is what gives it that authentic concrete feel.
Step 2: Add Depth and Dimension
While the light-colored paint is still wet, introduce the darker paint from the set. Dab it on in areas where you want to create more depth, such as the base of a figurine or in any crevices. You can also randomly dab the darker color to subtly blend and create an uneven, natural-looking concrete effect. Don’t worry about being perfect; the imperfections add to the charm!
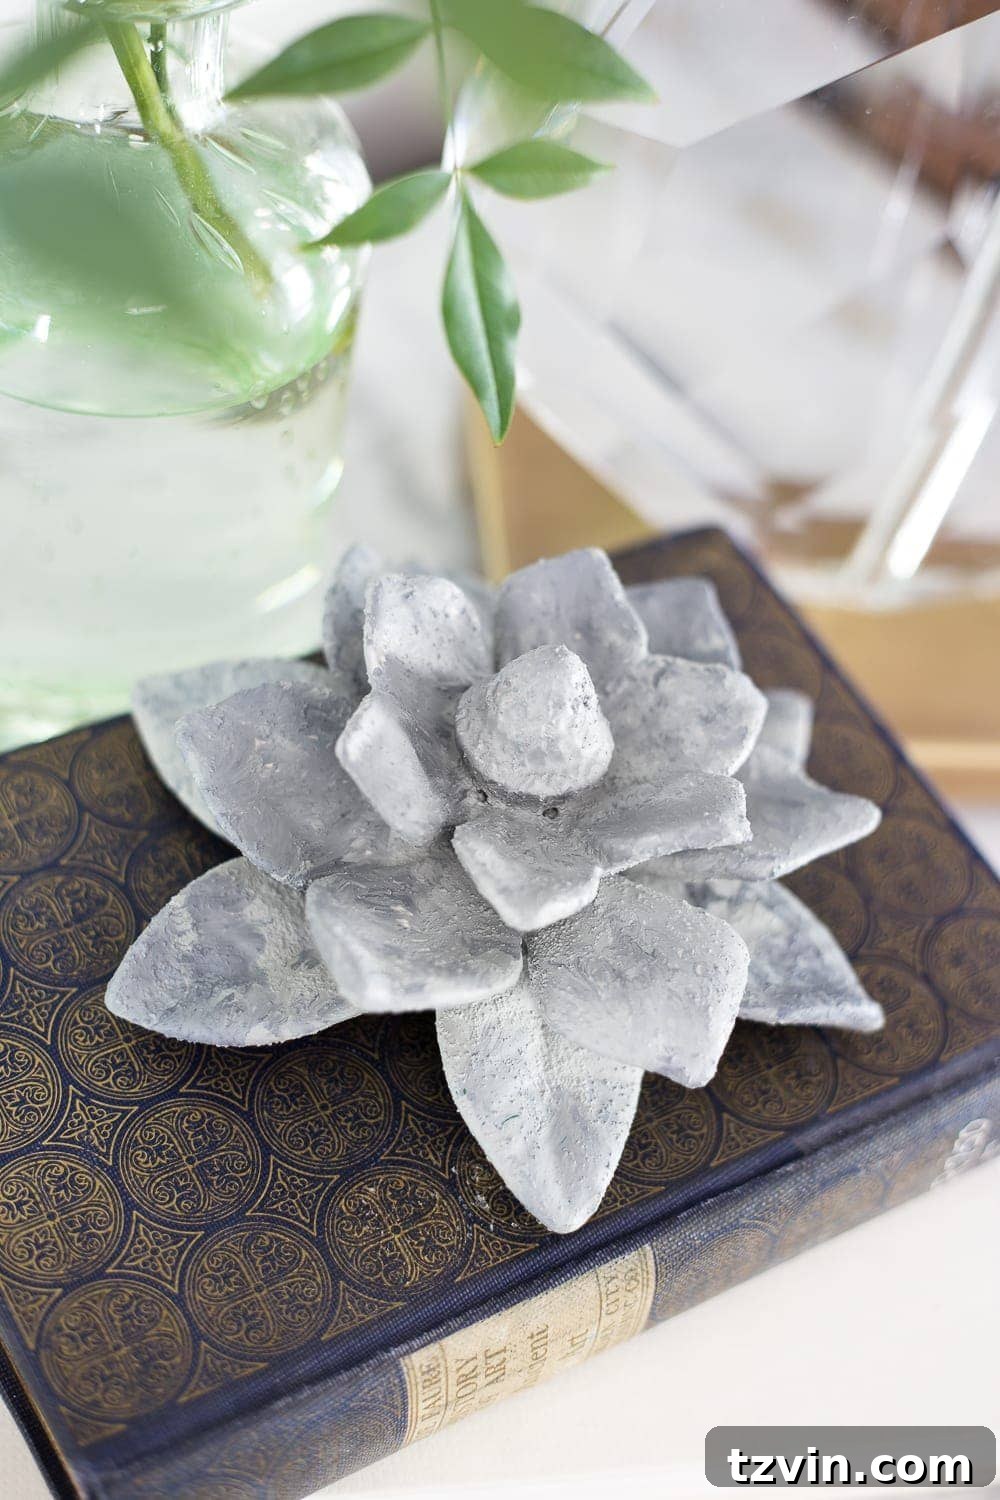
And that’s it! Allow the paint to dry completely, and you’ll have a stunning, concrete-look piece ready to display.
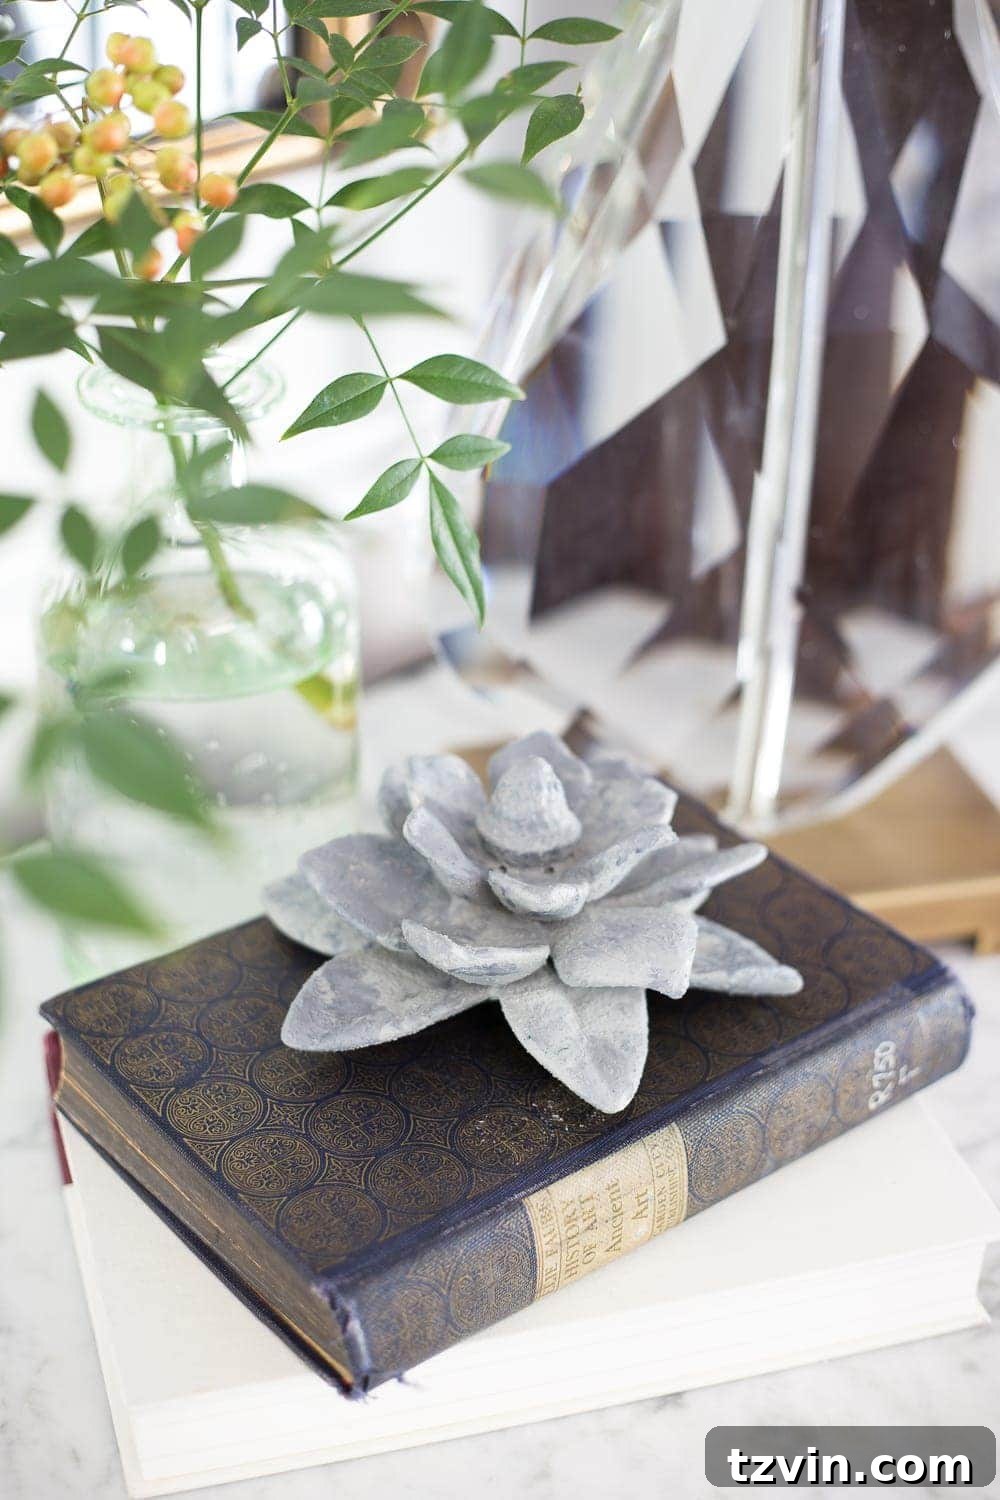
I find so many ceramic and metal accents at thrift stores that are perfect for this project. Think candlesticks, small statues, and decorative bowls – all of these can be transformed with this simple paint technique. It’s a great way to update your home decor without spending a fortune.
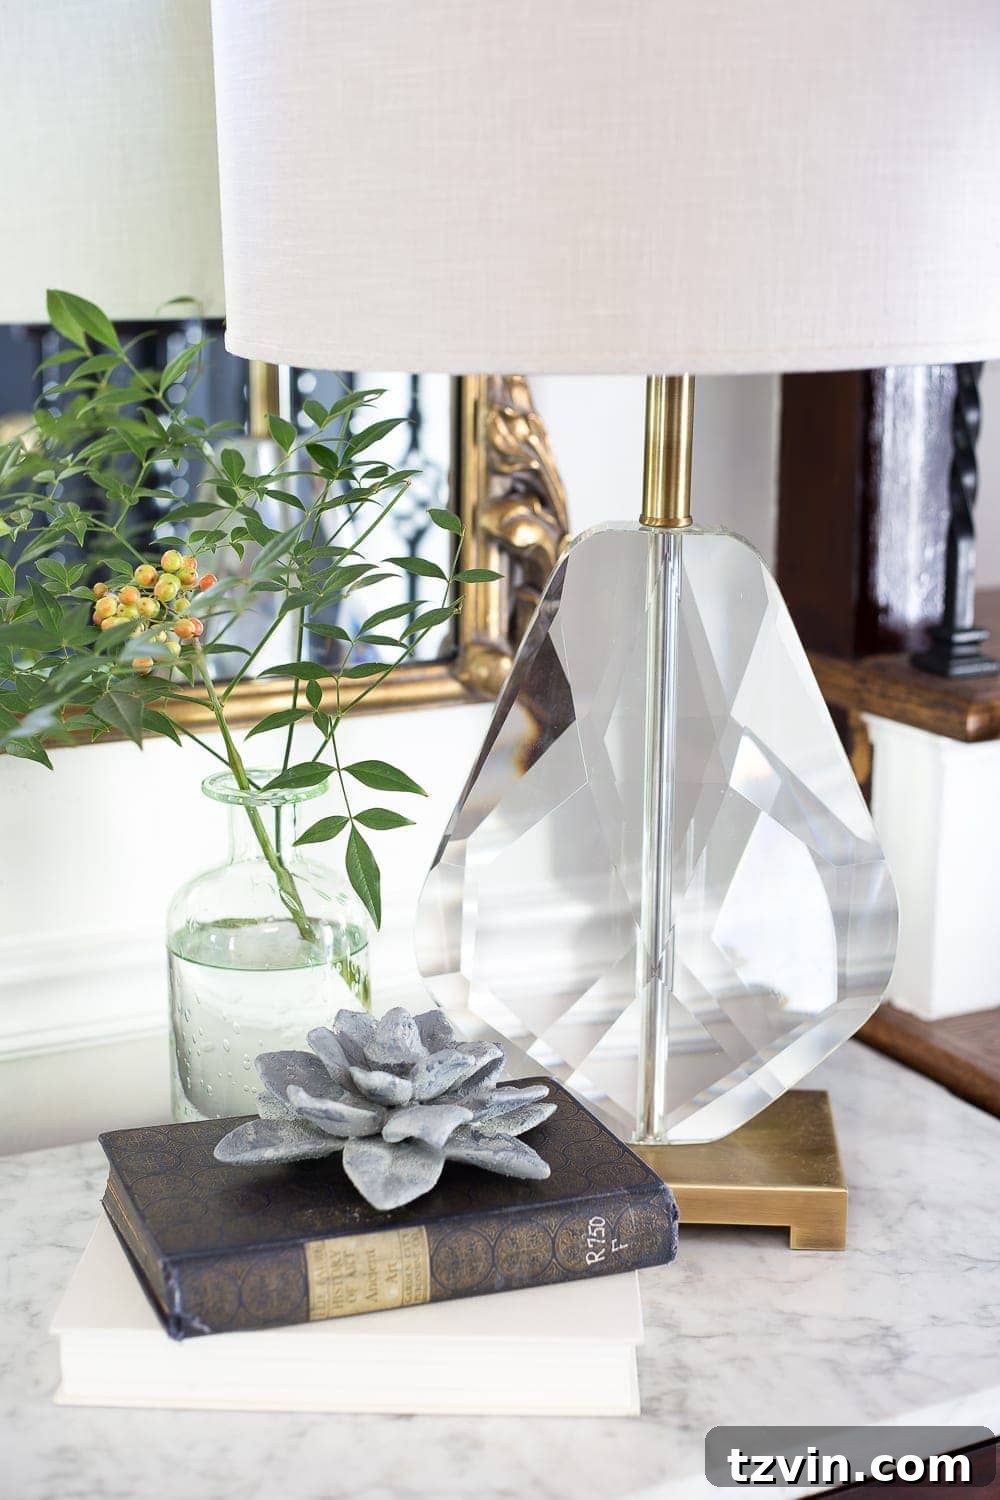
I’ve already started incorporating these little concrete-look accents into my home. One of the magnolia figurines now sits on my foyer chest. It’s the perfect finishing touch! And I’m excited to share more home updates with you soon.
Our home is constantly evolving. We’re currently working on a gallery wall and the exterior of our house with limewashed brick. The transformations are incredible, and I can’t wait to share them with you!
Until next time, happy crafting!