
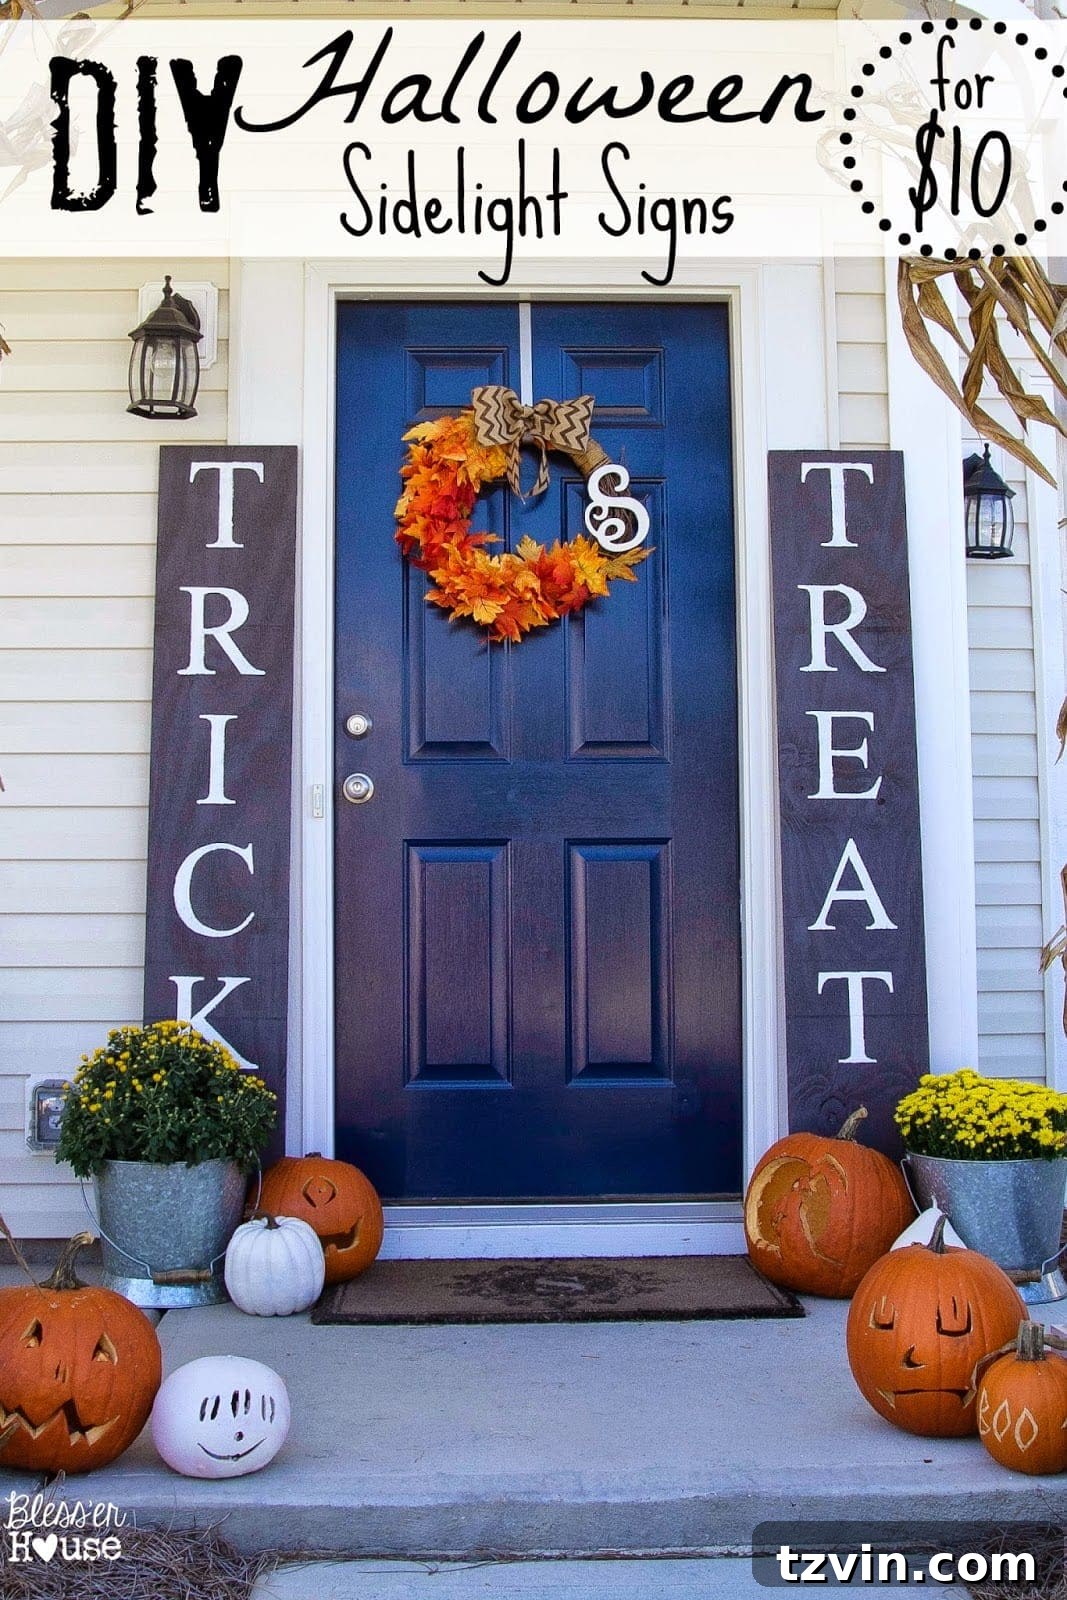
DIY Halloween Sidelight Signs: A Fall Porch Makeover
As a self-proclaimed latecomer to the fall decorating game, I’m finally embracing the season! Living in Charlotte, North Carolina, we recently experienced our first truly autumnal weather. It was a magical day, perfect for boots and the crisp, refreshing air.
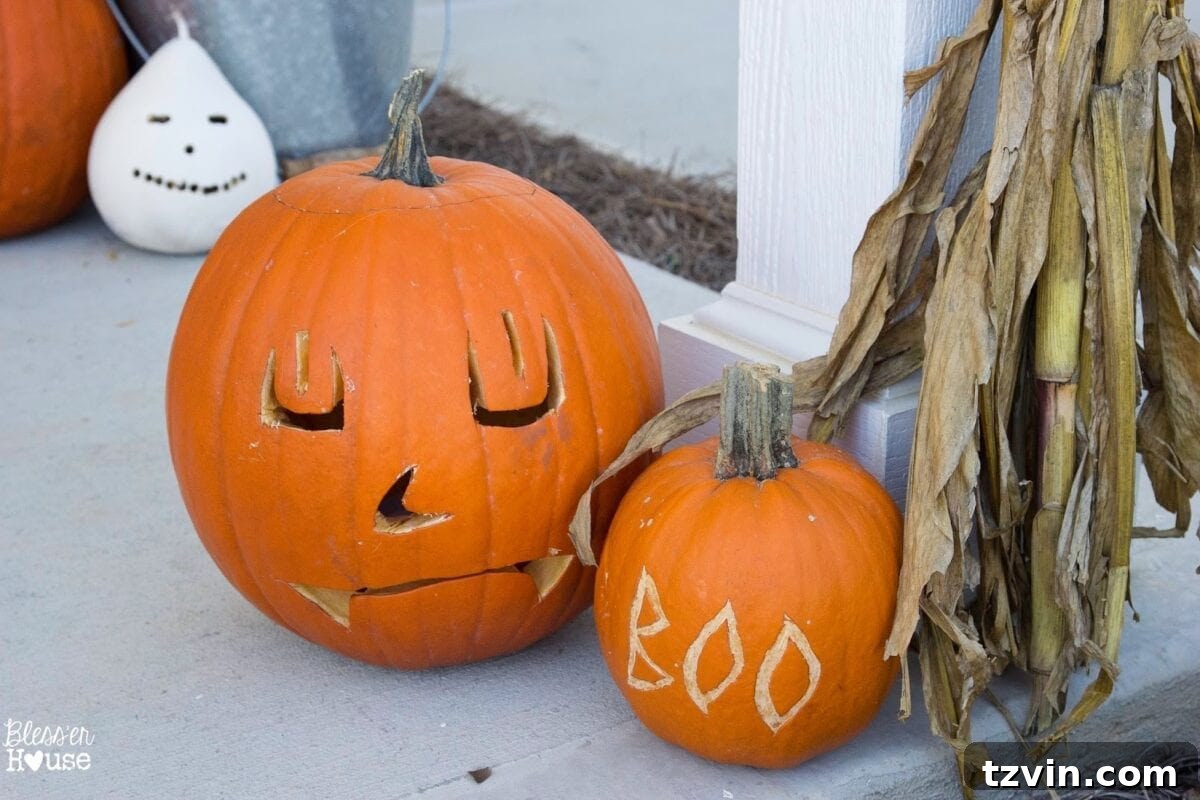
We kicked off the season with our annual pumpkin carving party at my in-laws’ house. The fresh pumpkins we brought home inspired an immediate porch decorating session, courtesy of my fall-loving husband.
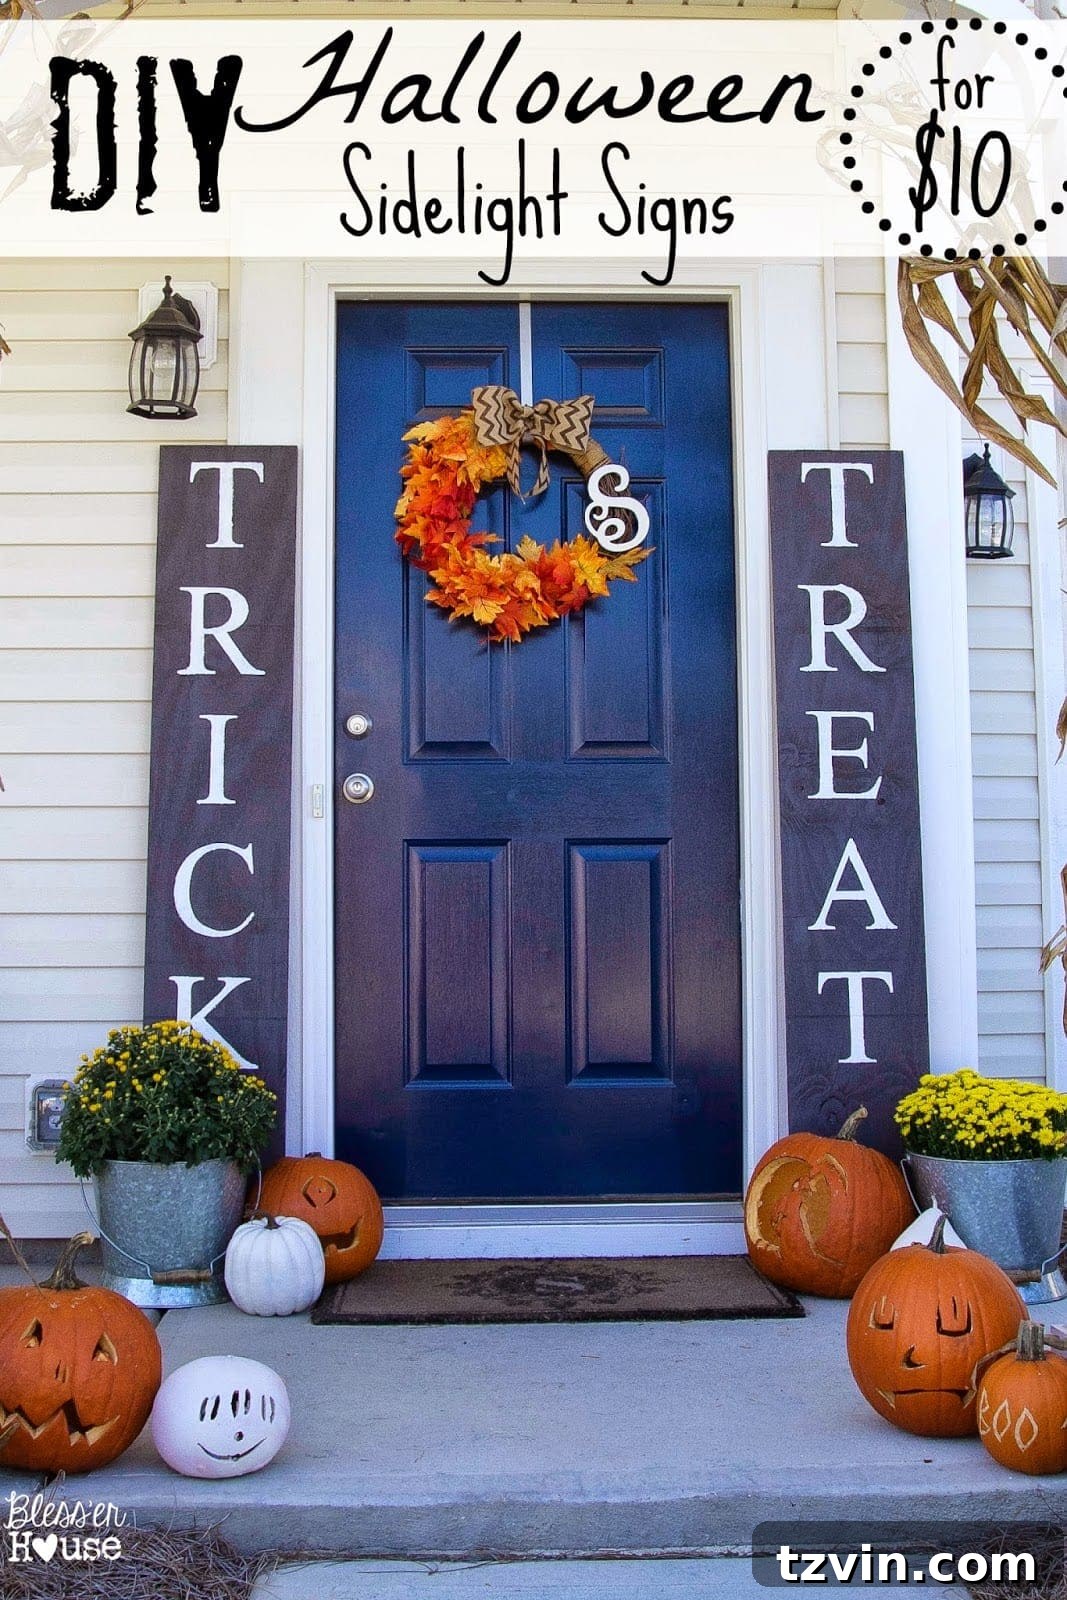
Those quirky, funny-looking pumpkins? That’s my husband’s creative contribution. My primary role was supervising our toddler and keeping her away from the sharp knives!
While the pumpkins were adorable, the porch felt like it needed a little something extra. I’ve always dreamed of a grand front door with elegant sidelights, but alas, builder-grade construction. The solution? DIY Halloween sidelight signs!
Creating the Halloween Sidelight Signs: A Simple Guide
I headed to Lowe’s with my toddler in tow and enlisted the help of a very friendly associate who was probably accustomed to Pinterest-inspired moms. He cut a piece of plywood for my project.
Supplies You’ll Need:
- Two plywood cuts, 12″ x 70″
- One sample pot of Valspar Blackstrap paint
- Ten sheets of cardstock
- X-acto knife
- Masking or packing tape
- White craft paint
- Paint brush
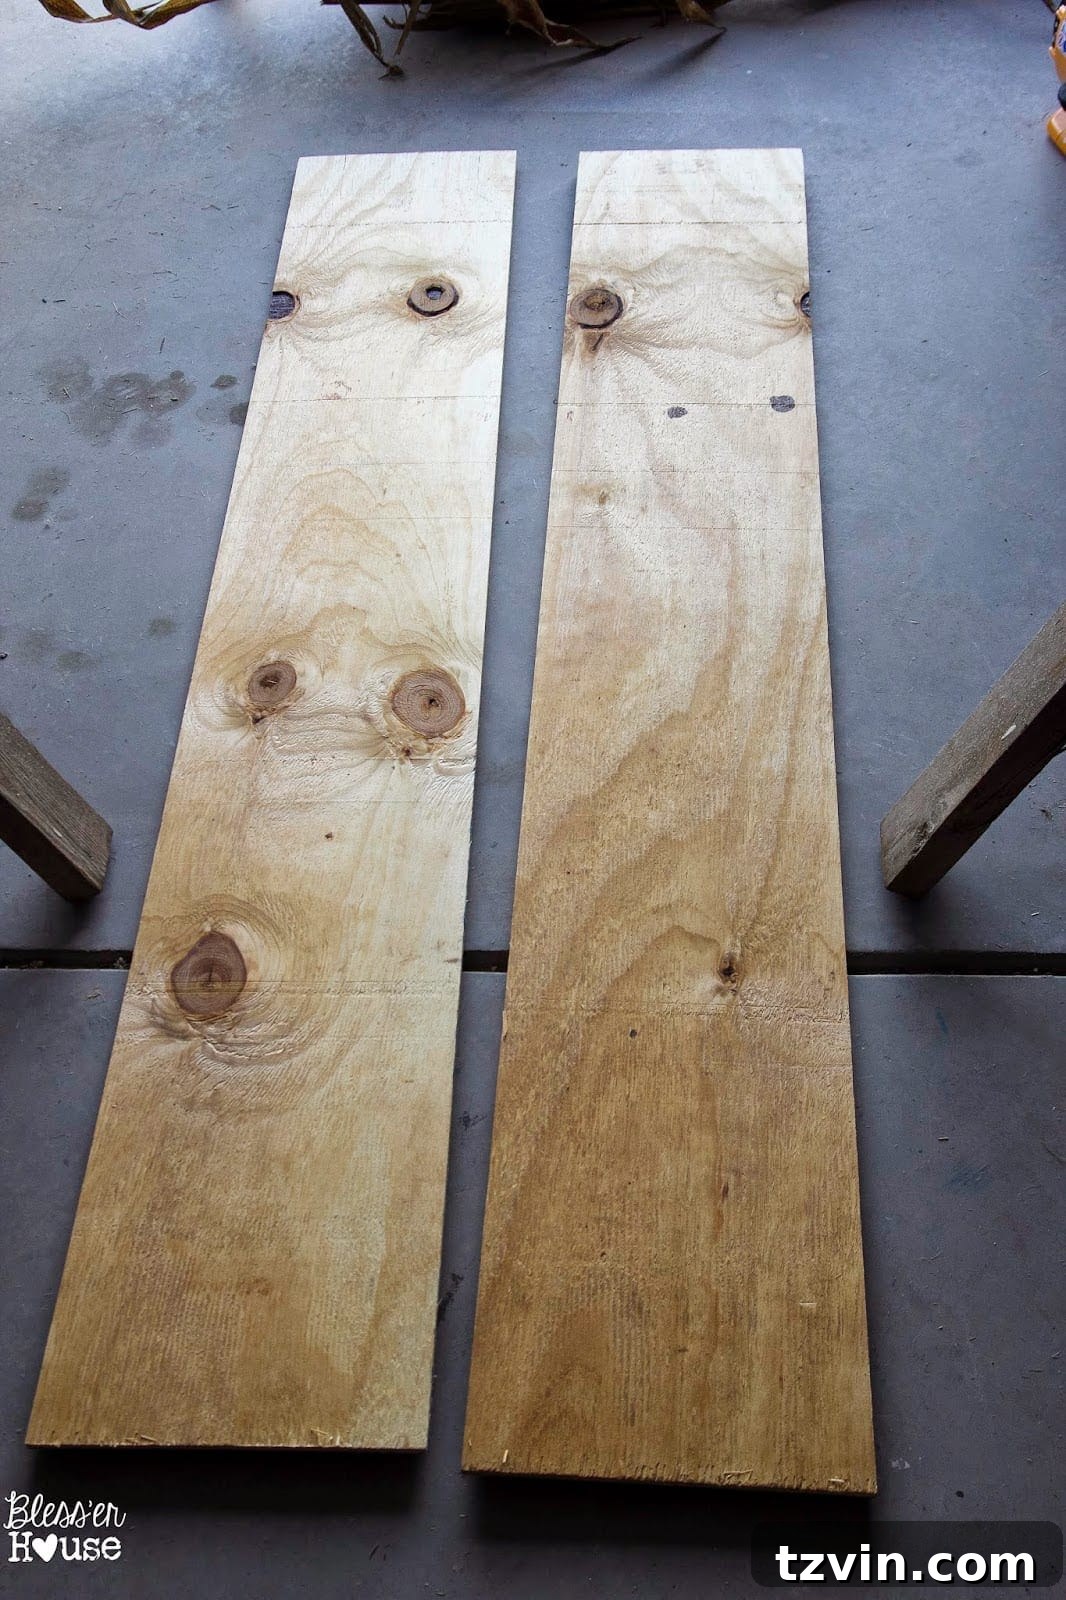
The plywood cost around $17, but since I only used a portion of it, I only factored the cost of the two signs, which was about $6. And I have plans for the rest of the plywood!
The paint sample was less than $3.
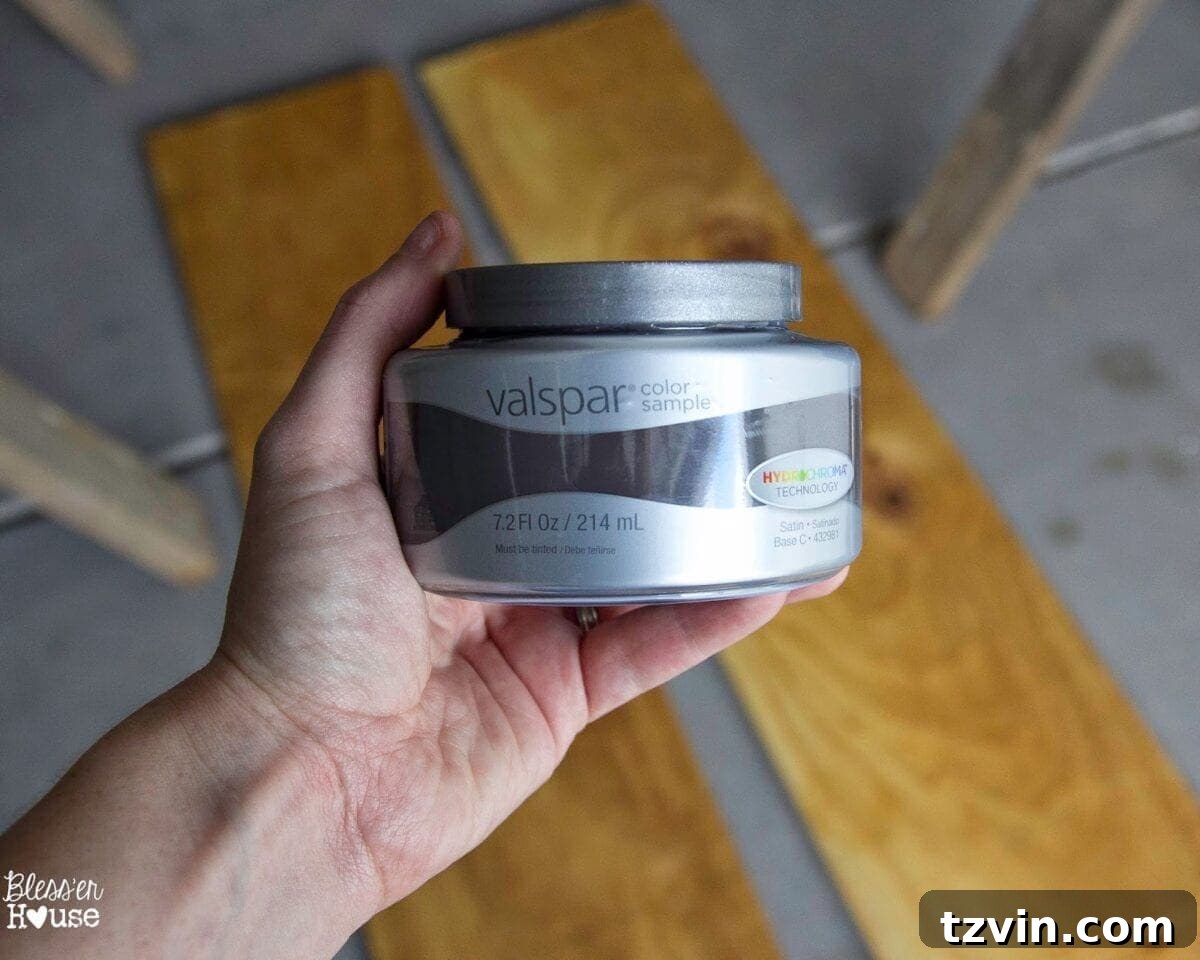
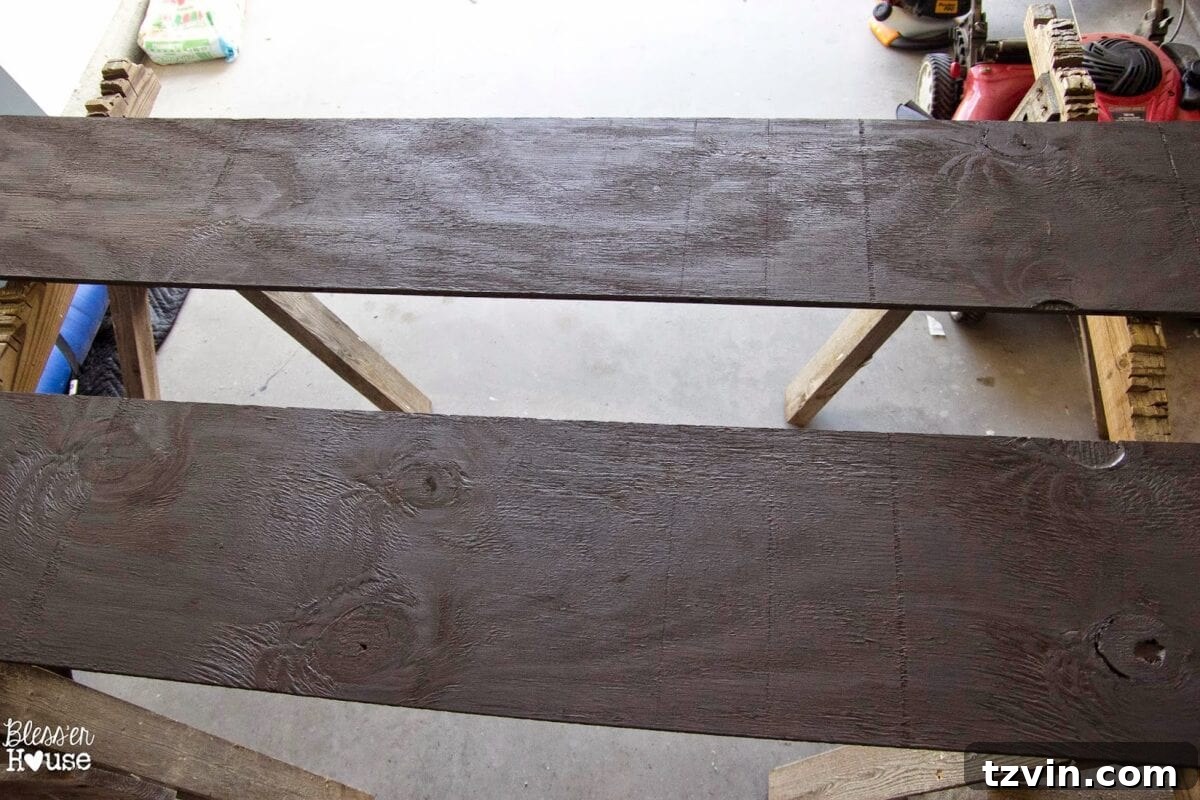
I applied the Blackstrap paint directly to the plywood. The raw wood absorbed the paint quickly, and it dried in no time. I still had plenty of paint leftover.
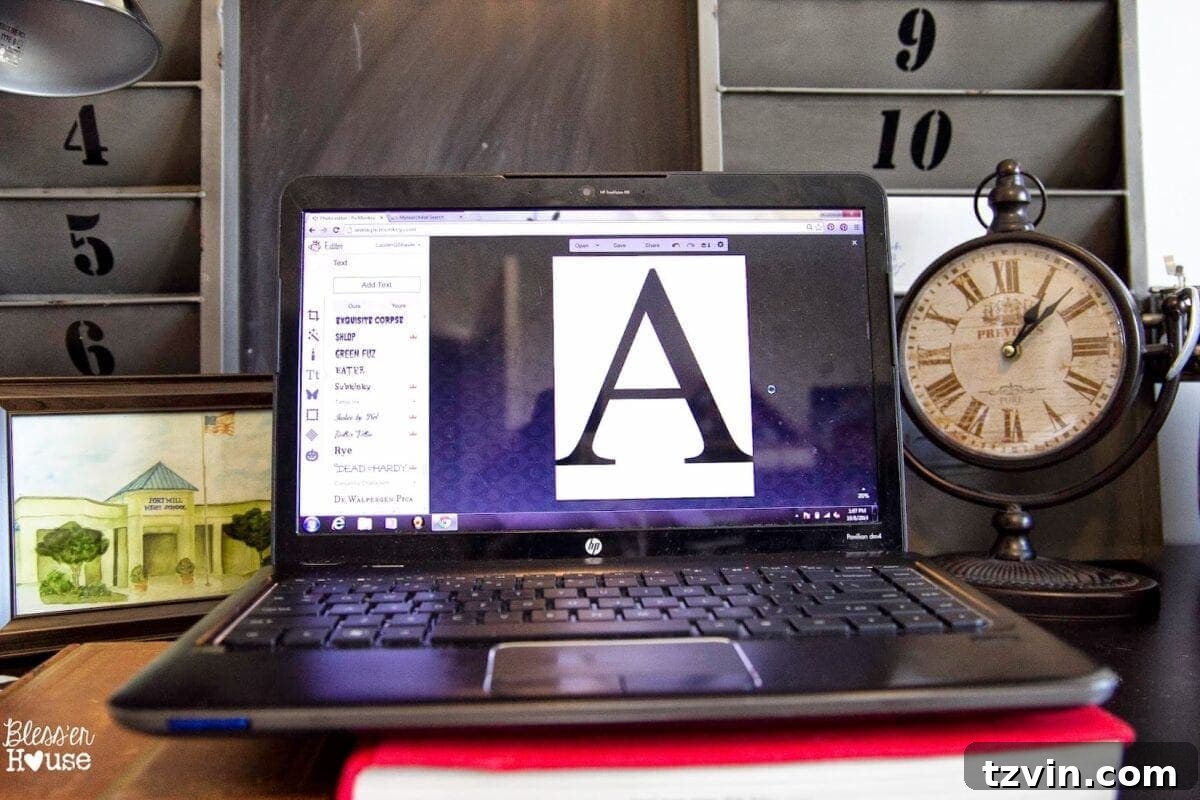
To create the wording, I used PicMonkey to format my stencils, using the classic Times New Roman font.
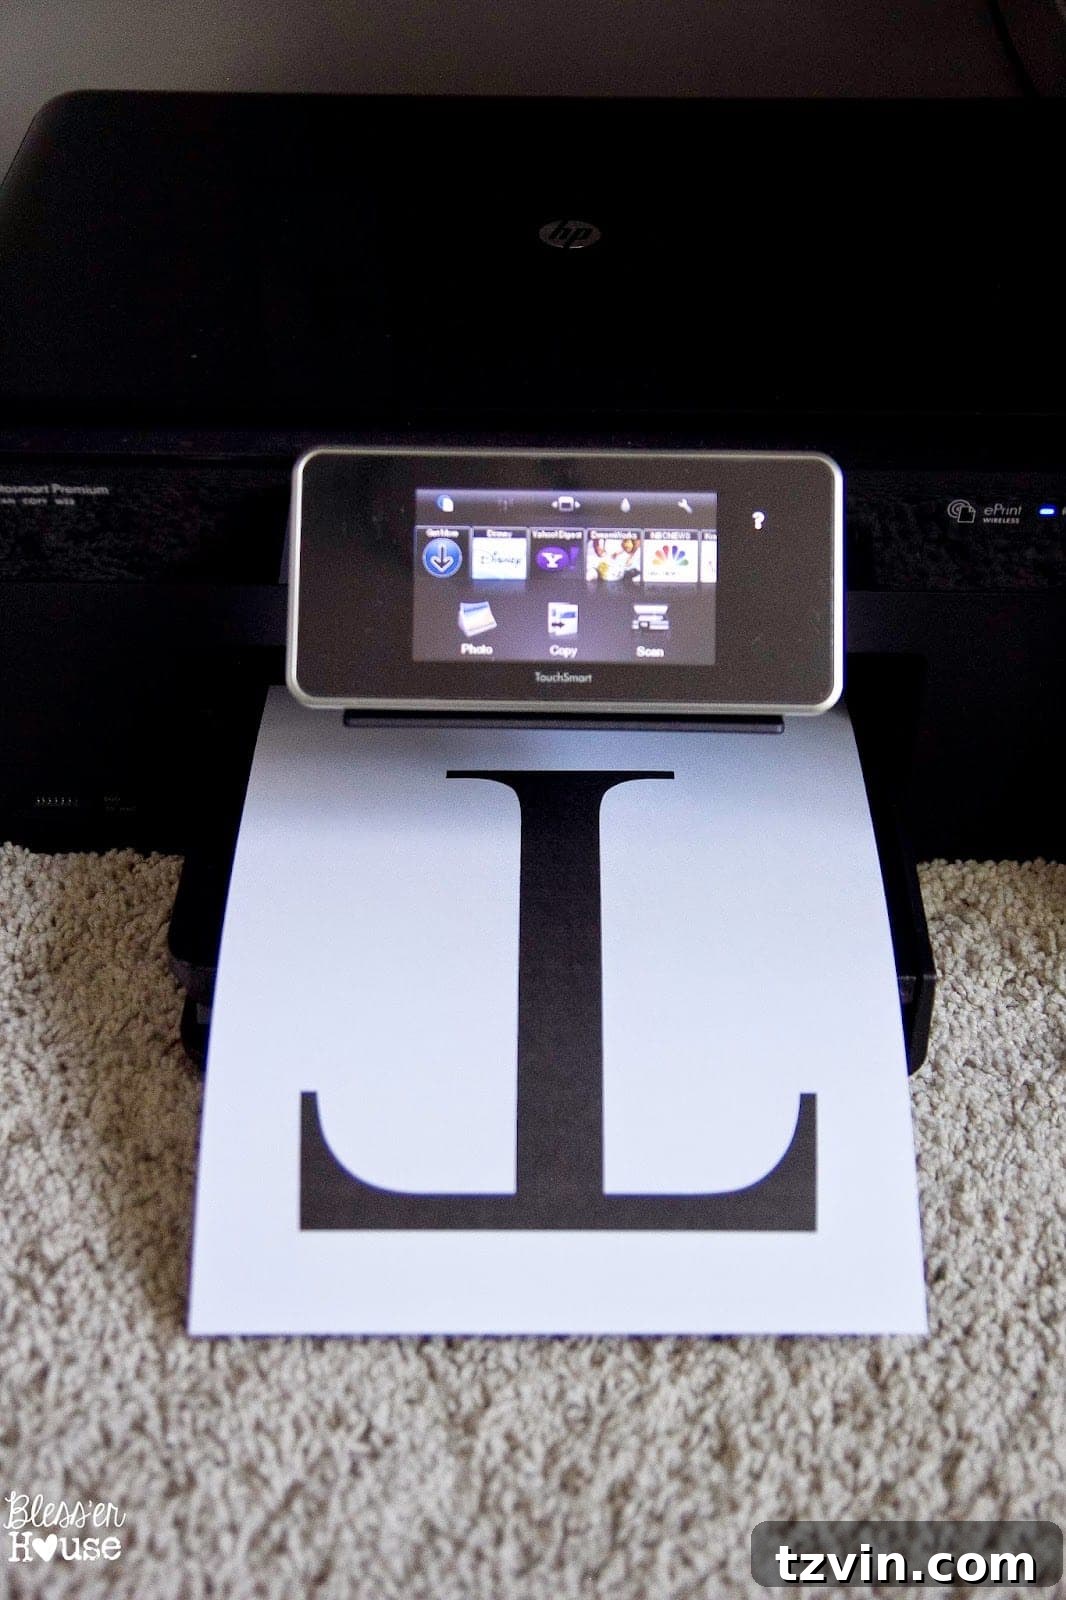
Next, I printed each letter individually onto cardstock.
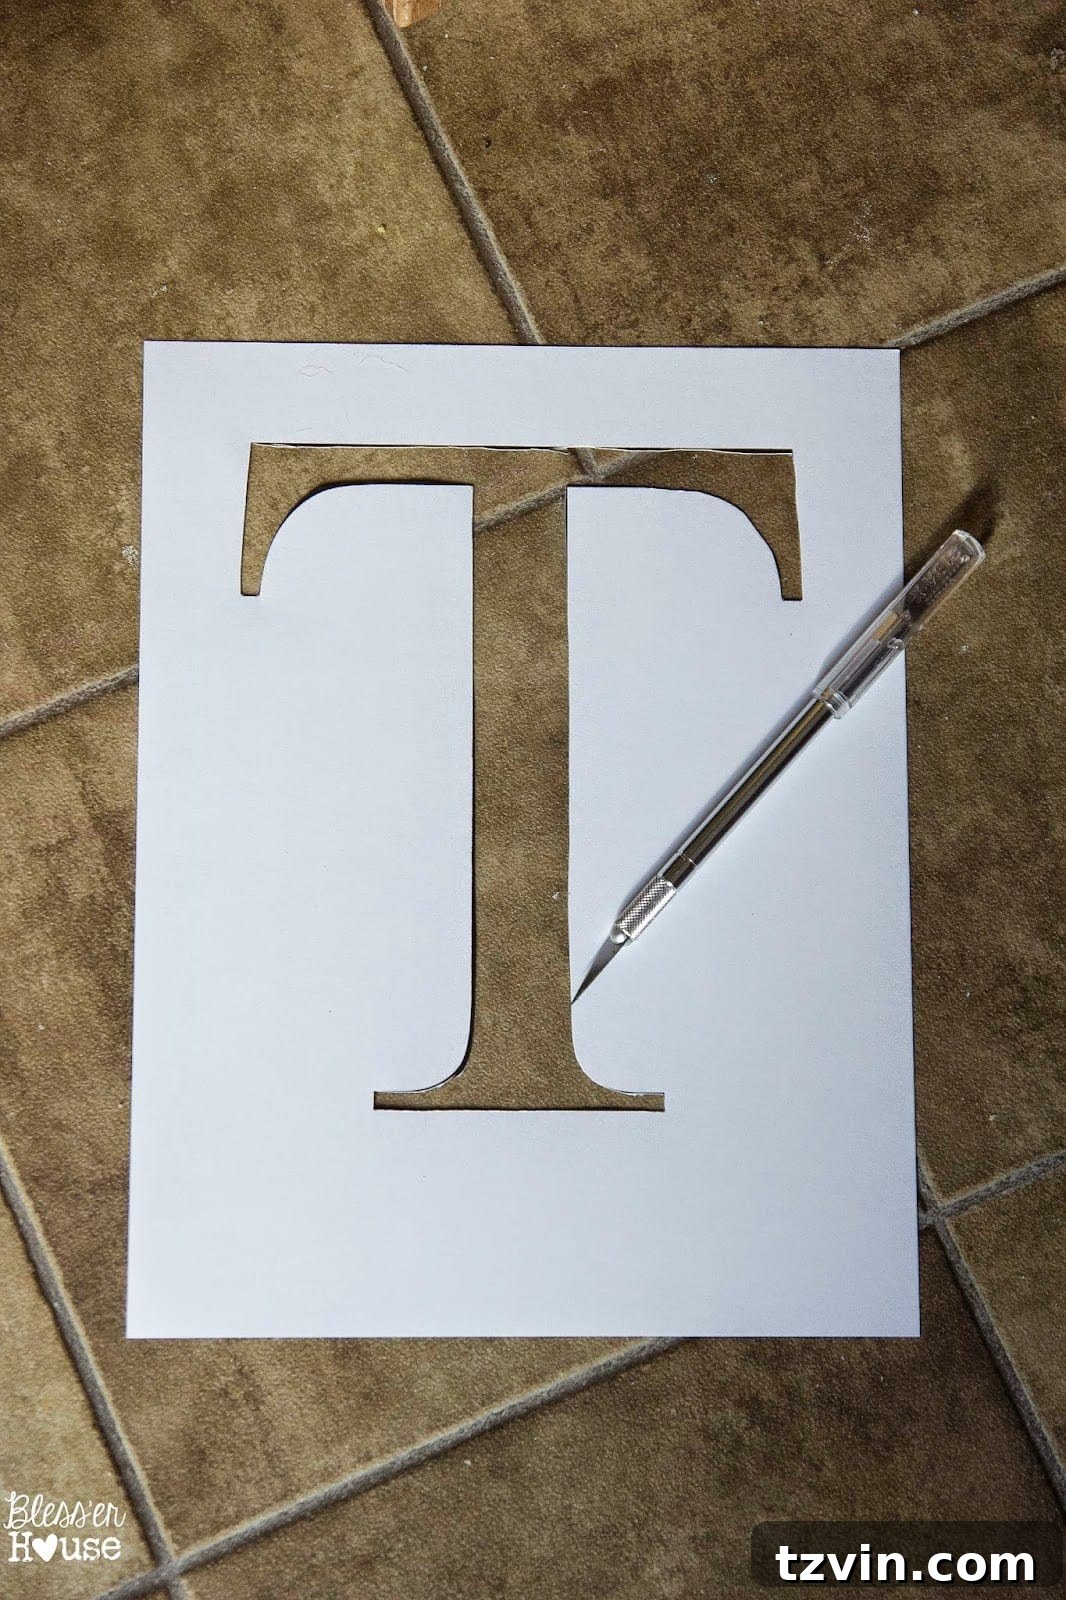
I carefully cut out the letters using an X-acto knife, creating the stencils. (Maybe Santa will bring me a vinyl cutter one day!)
The cardstock sheets were perfect for aligning and spacing the stencils. I used tape to secure them in place, ensuring clean lines.
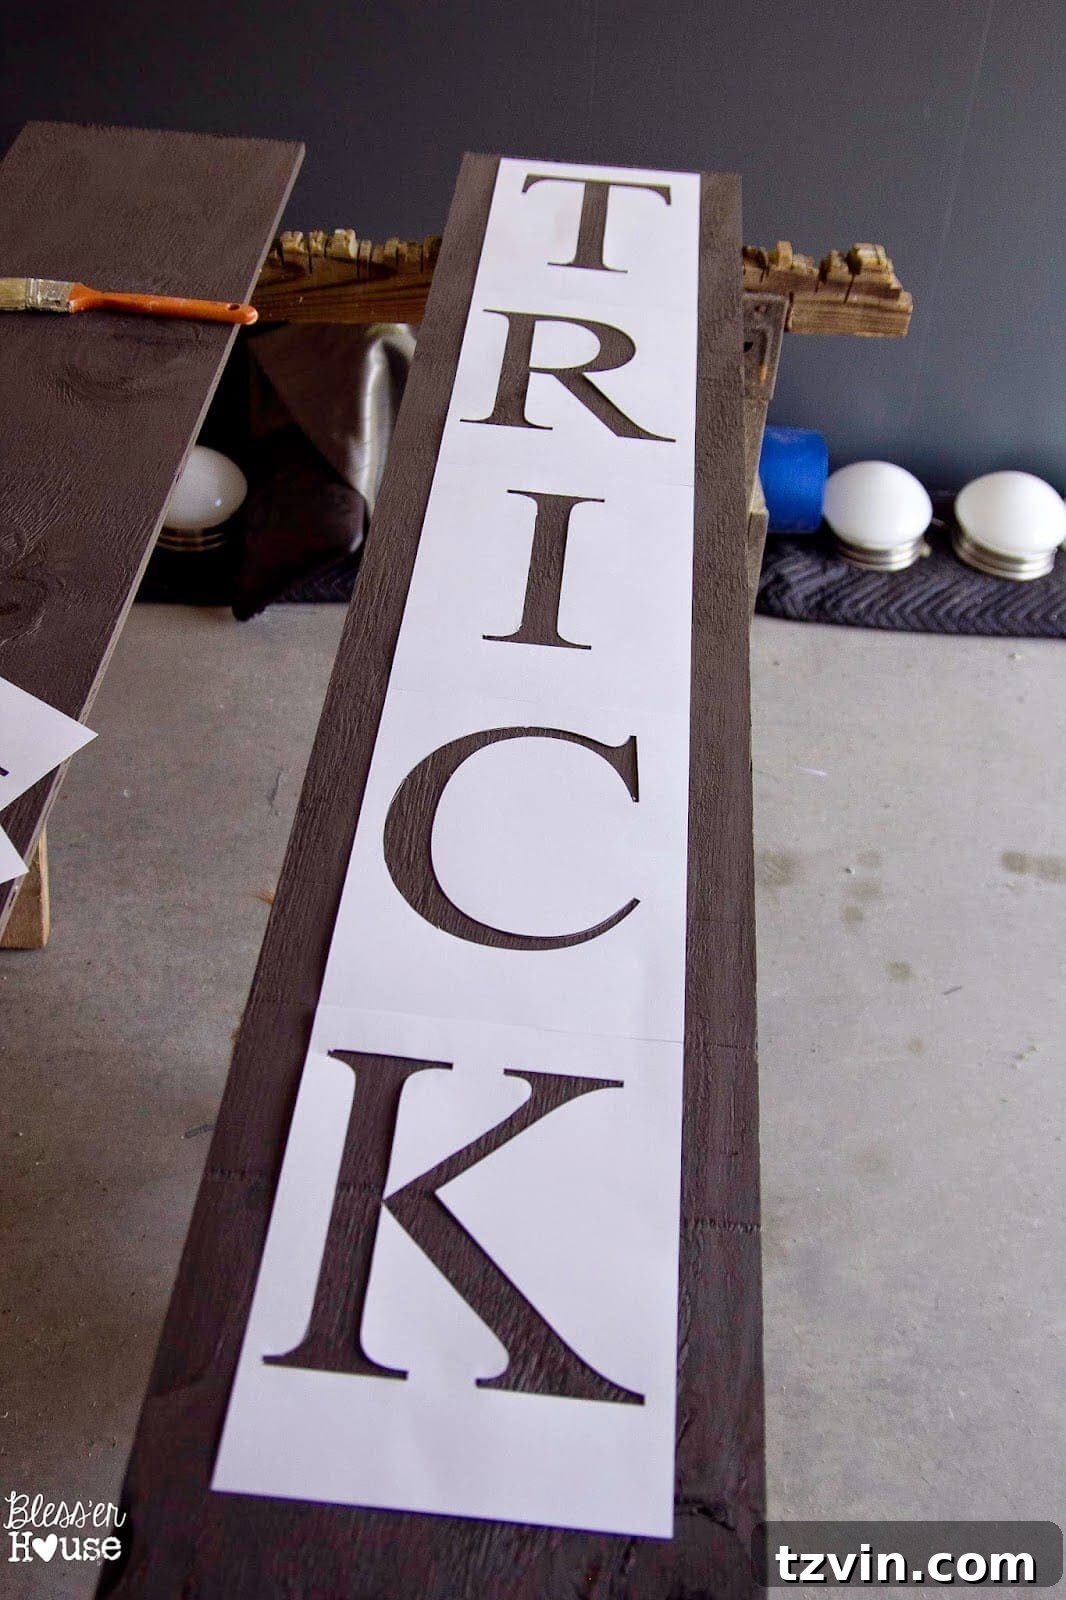
I used white craft paint, dabbing my brush to prevent any smudging under the stencils.
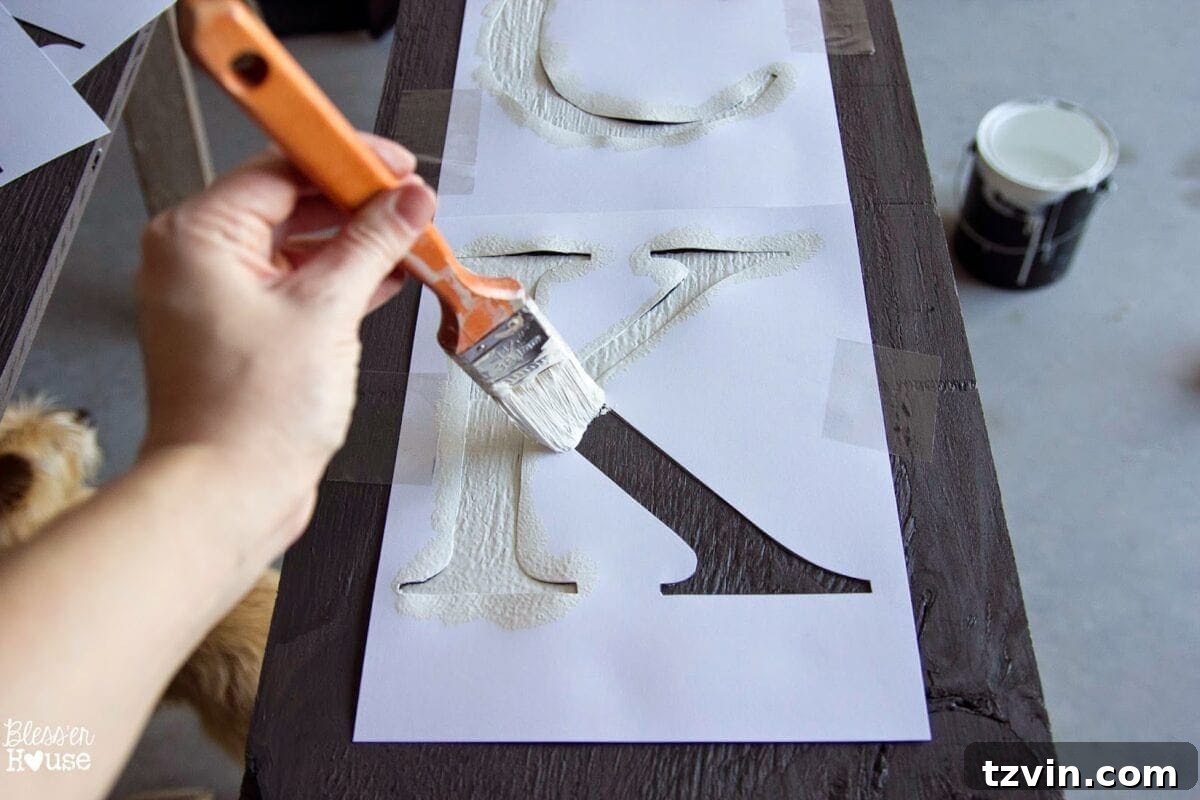
And that’s it! This entire project took less than an hour!
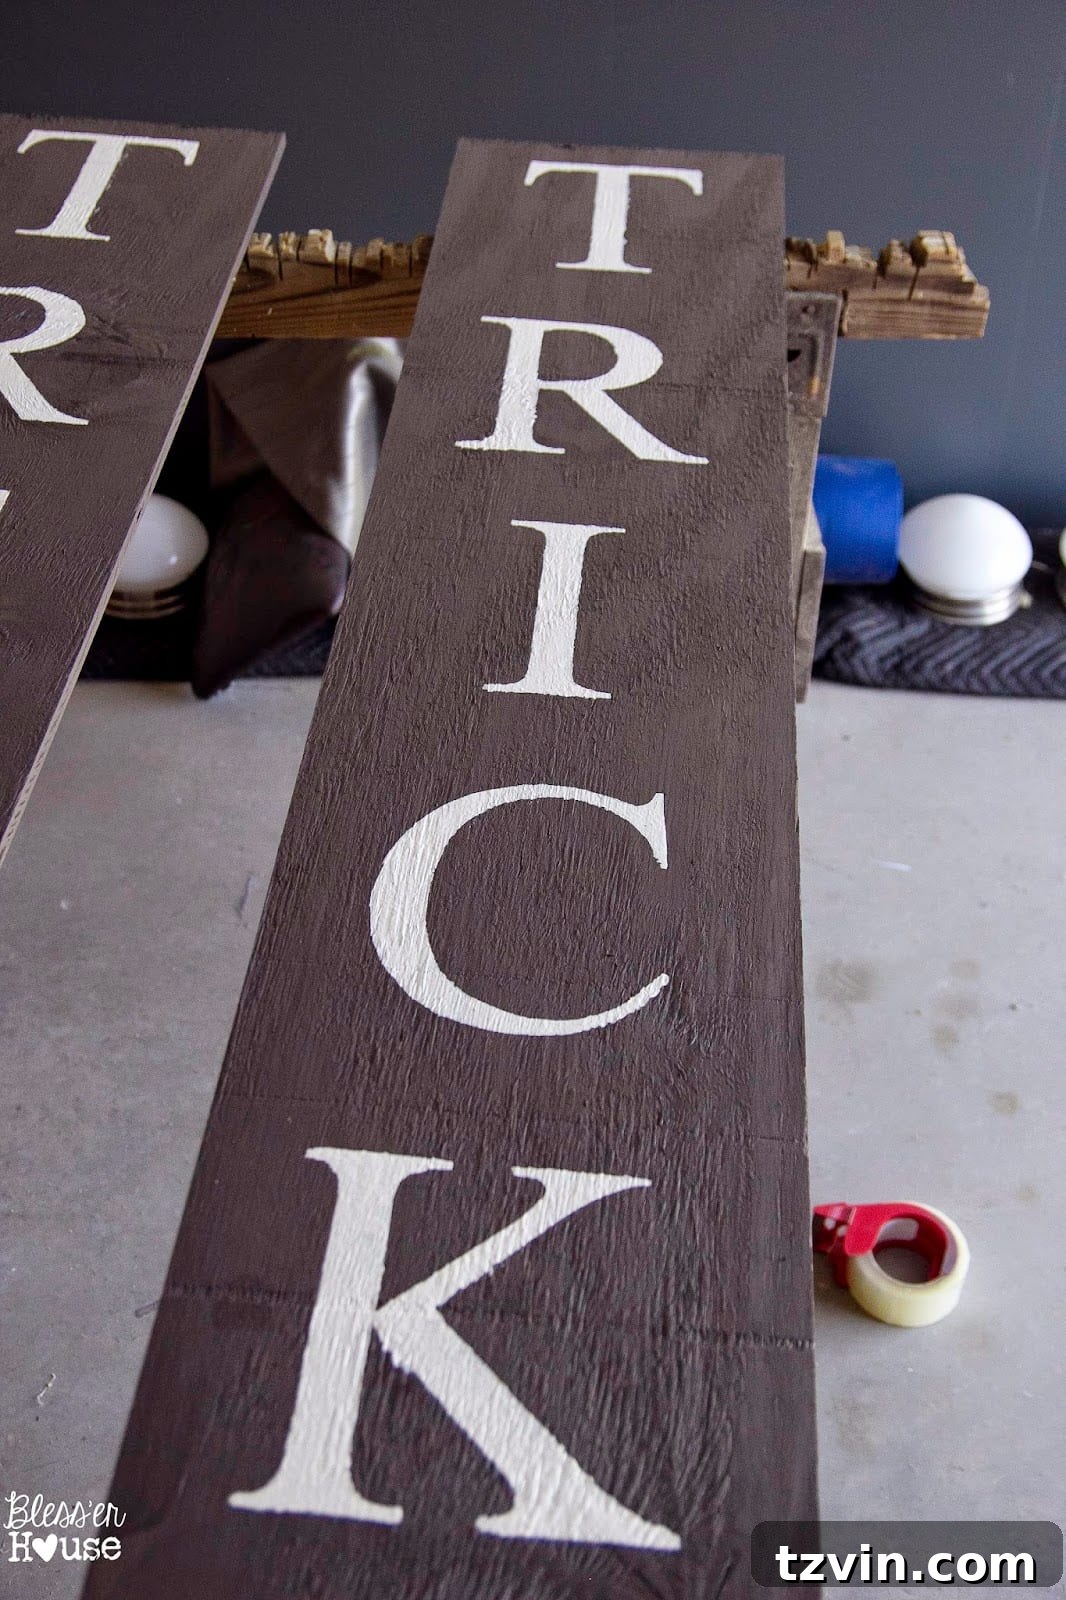
These signs added so much personality to our front porch! I also picked up a bundle of cornstalks for $5.
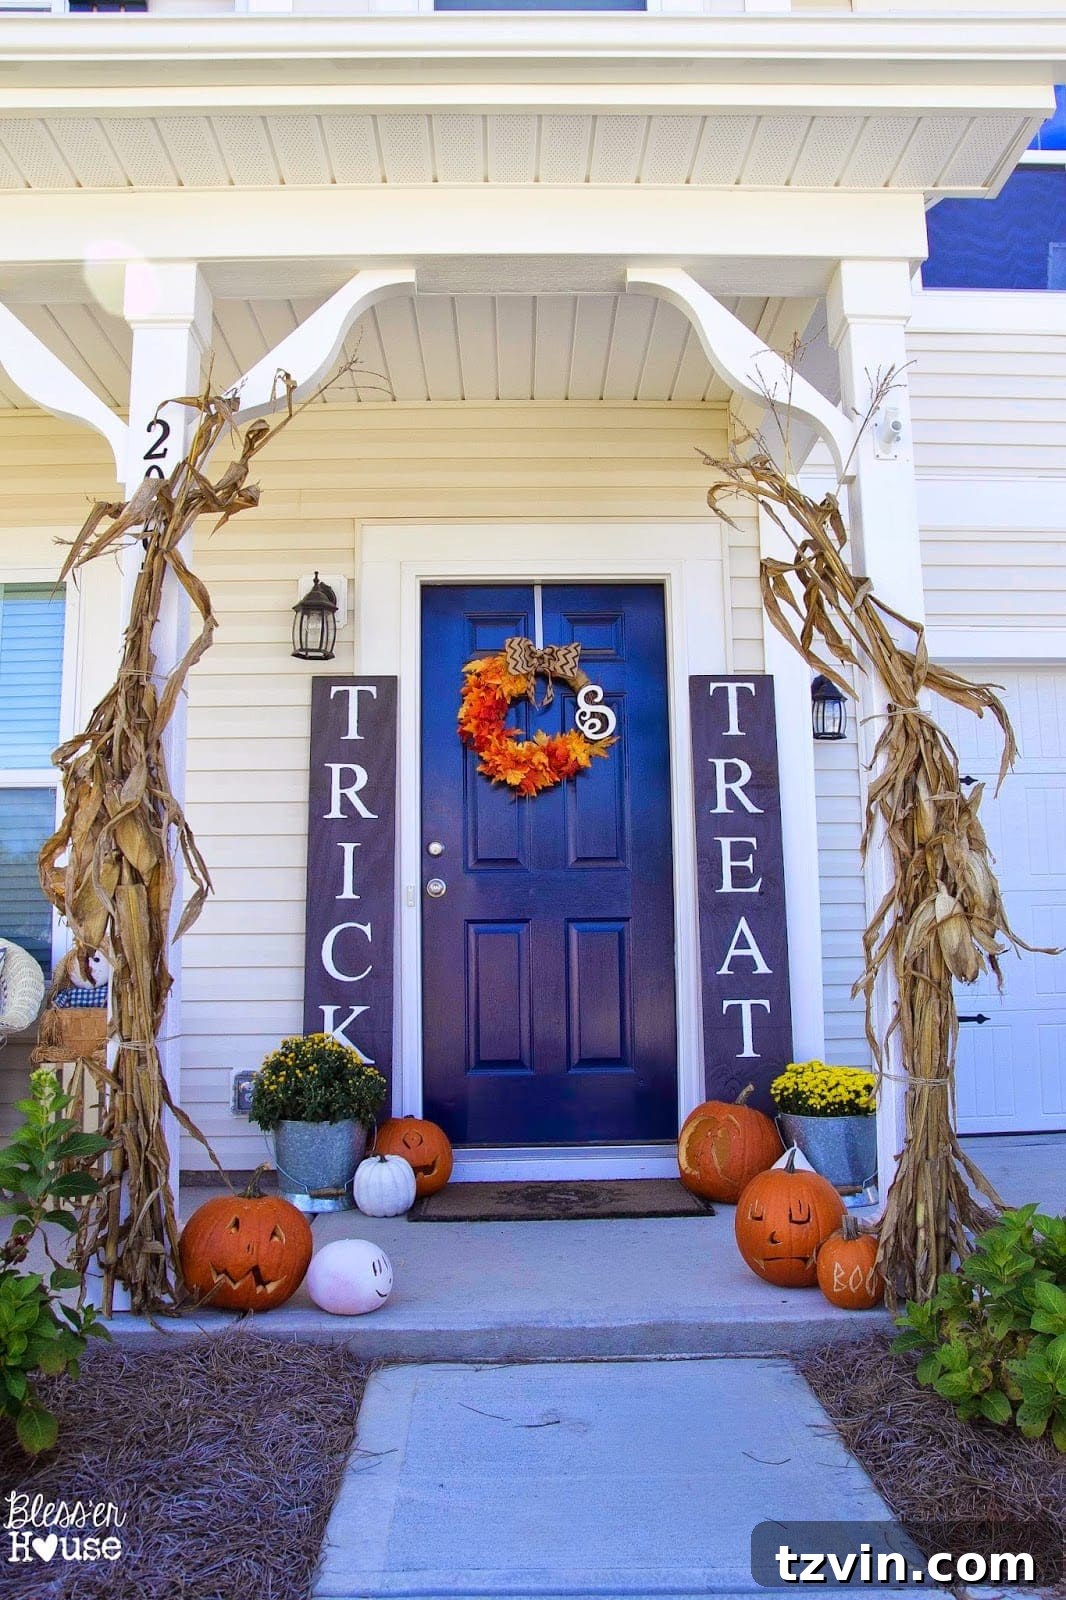
I also updated my door wreath. I used two fall garlands from Walmart ($4 each) and secured them with floral wire.
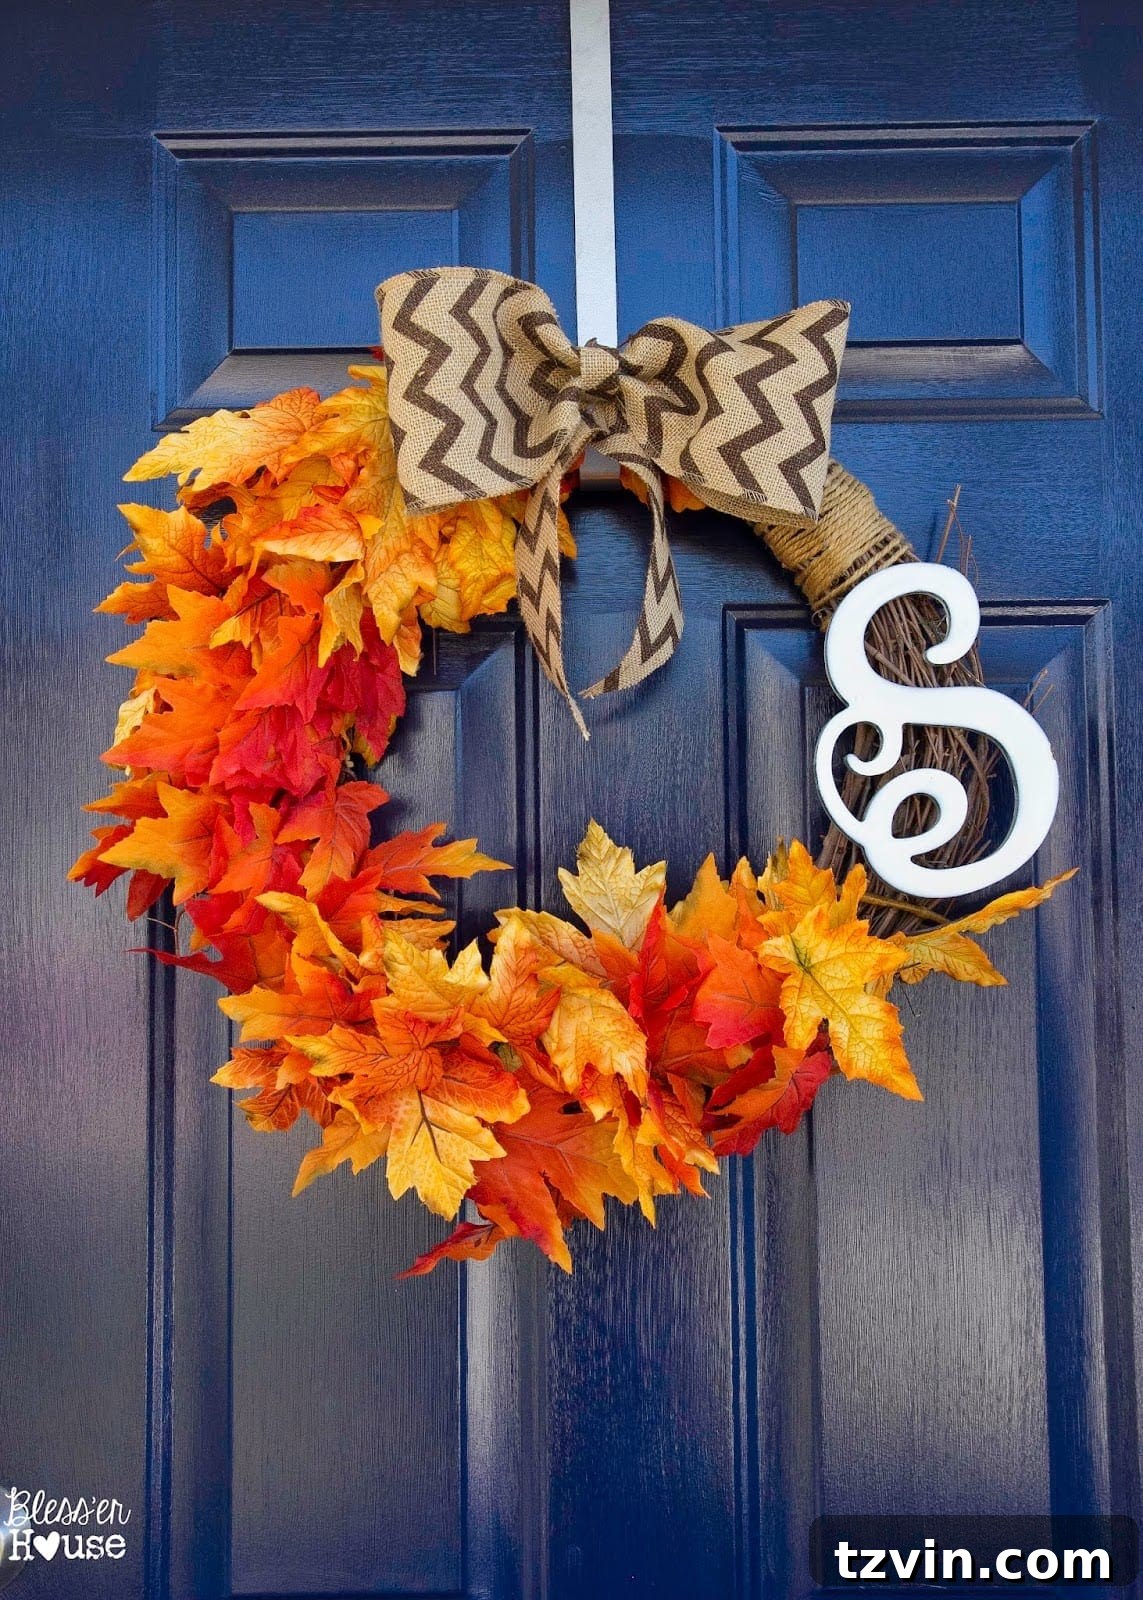
I love using traditional fall colors this year.
More Fall Fun: Pumpkin Carving and Hiking
Here are some pictures from our pumpkin carving party.
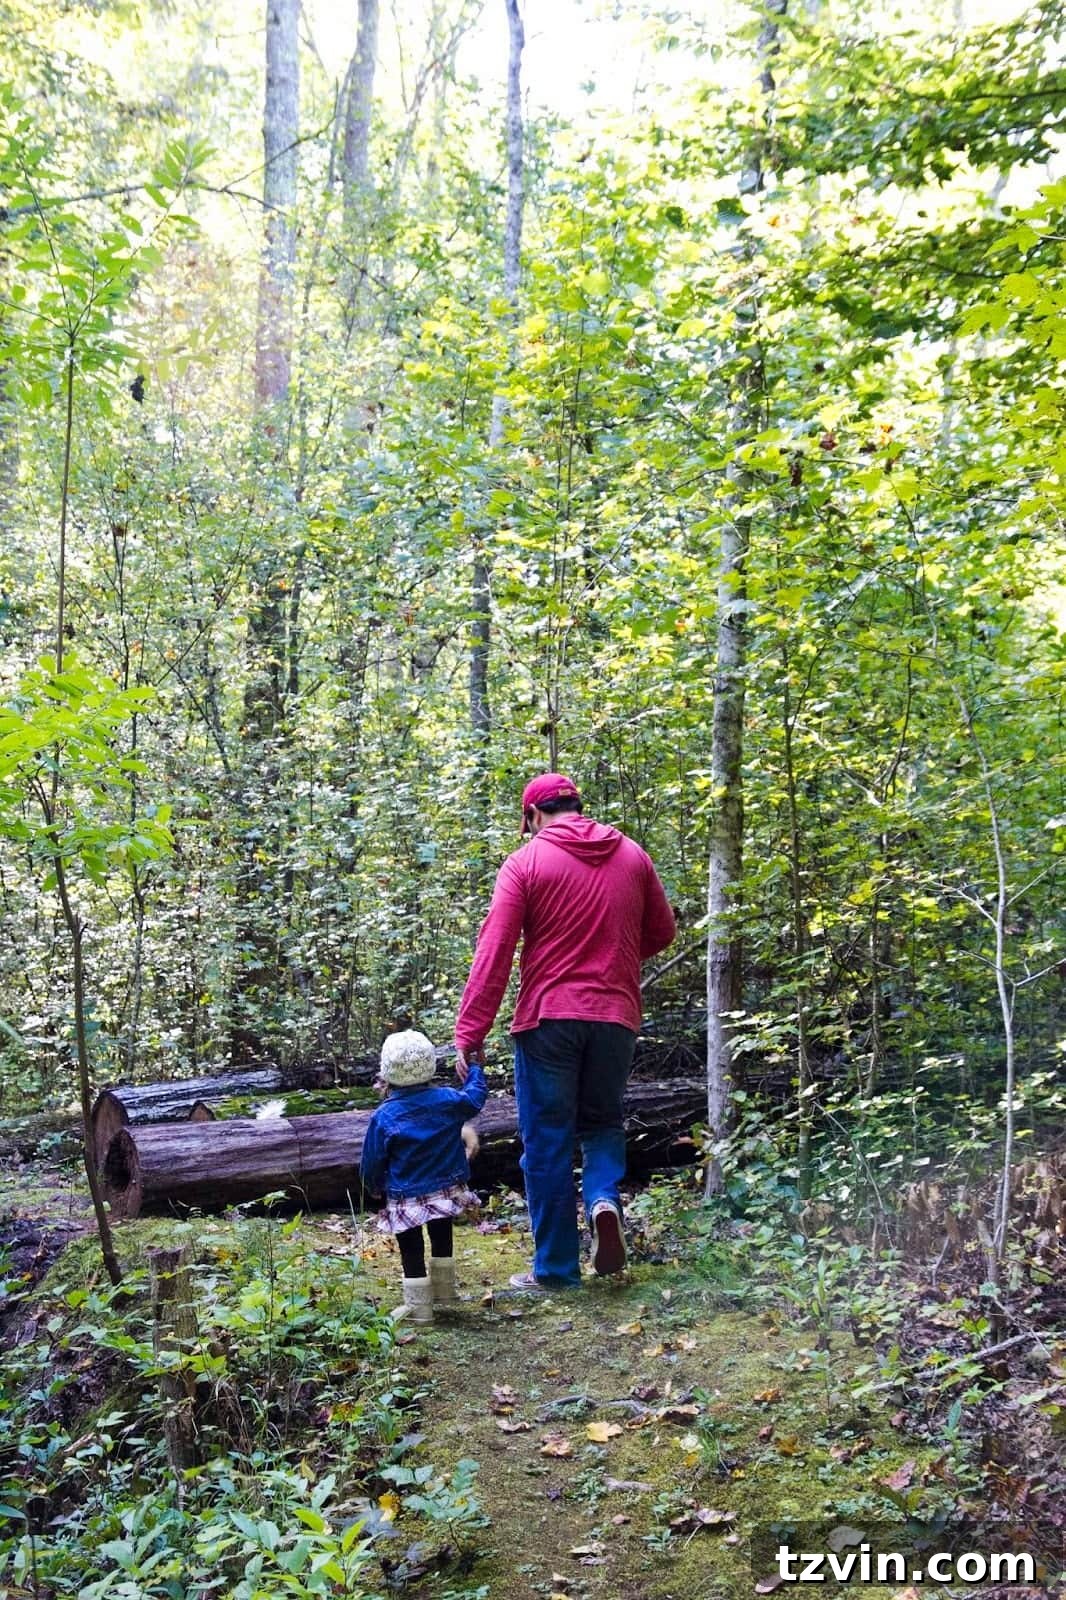
My in-laws have a gorgeous hiking trail behind their house. Despite my dislike for bugs, I loved the hike.
And here’s my favorite picture of Olivia and her daddy.
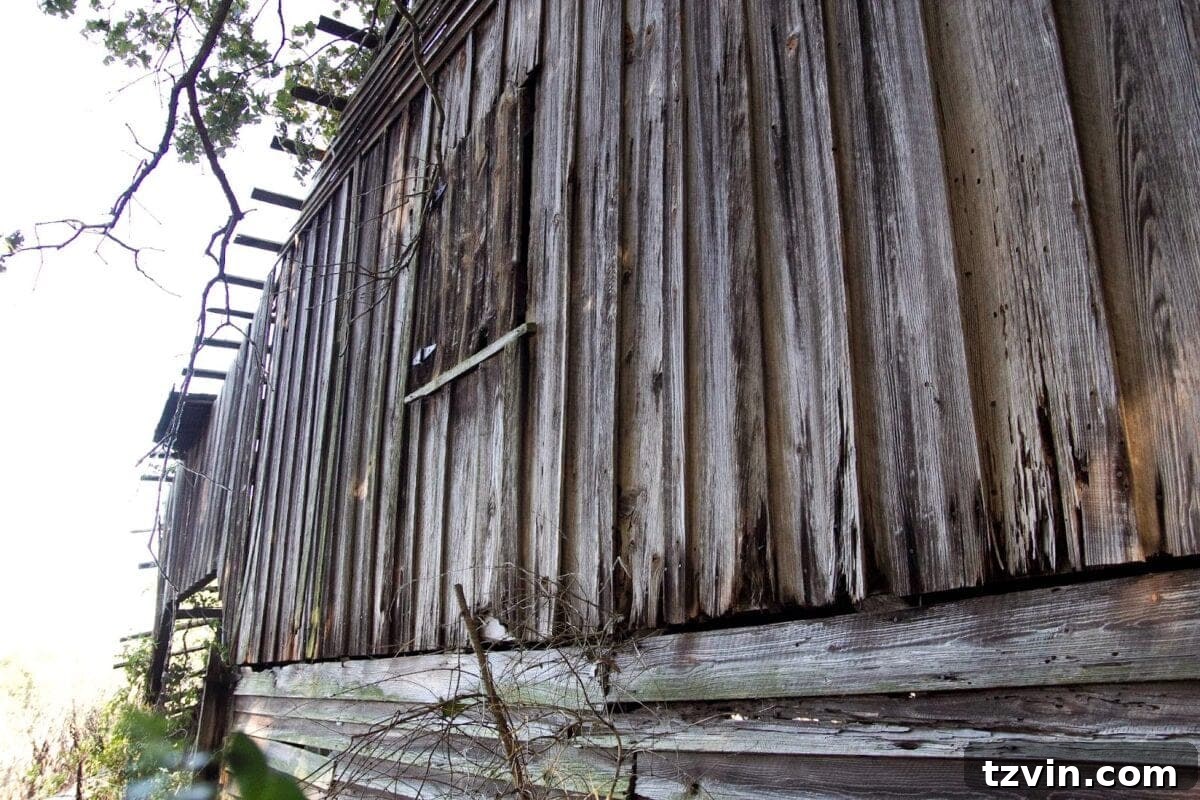
My in-laws have an old barn, I just admire the barnwood.
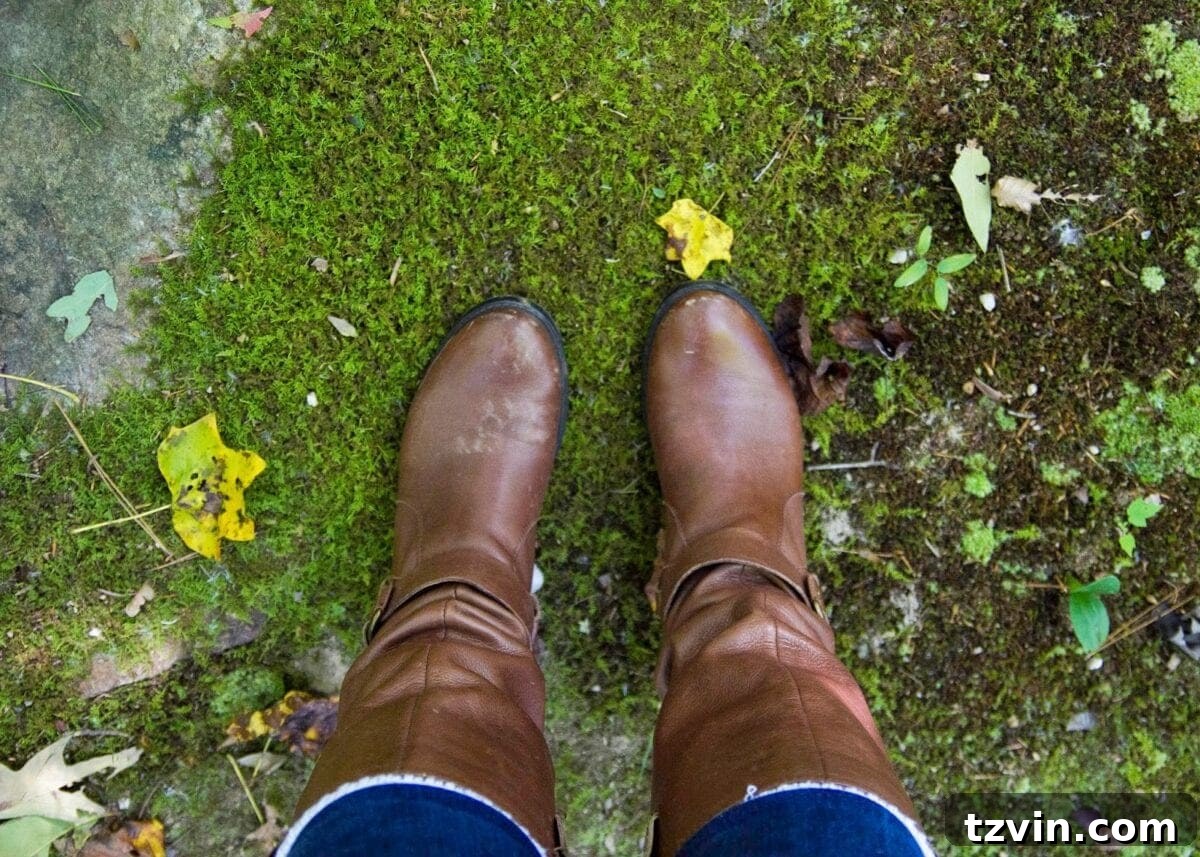
The trail is covered in moss.
Olivia loved the leaves.

I love this child.

I’m ready for fall! Bring on the trick-or-treaters!
Do you have fall weather yet? What are your favorite Halloween crafts? Share your porch decor!