
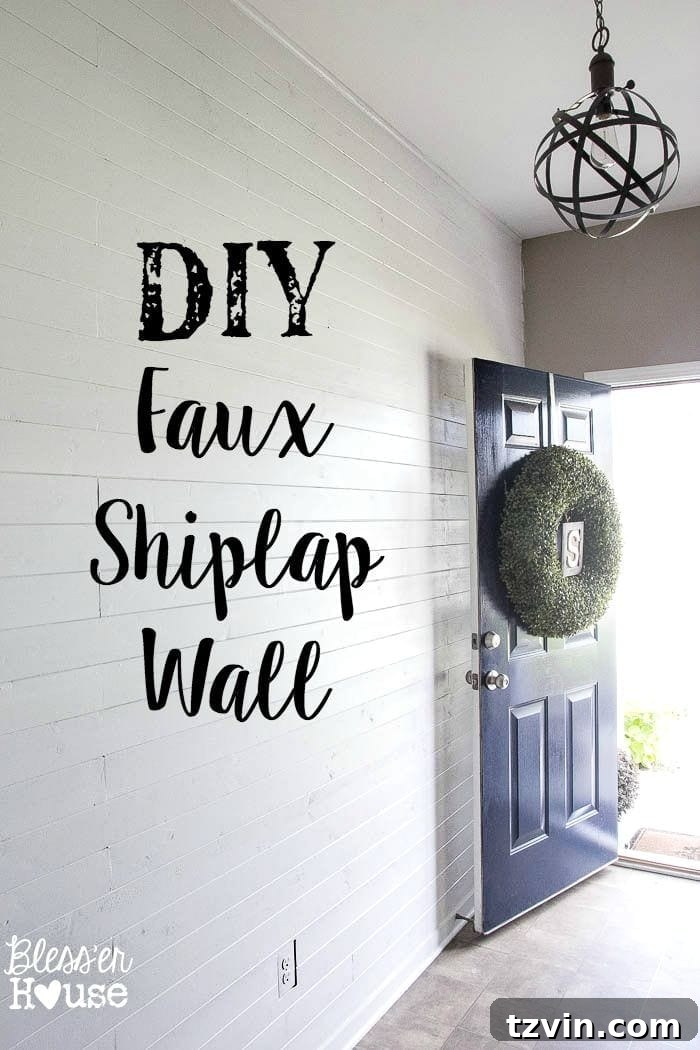
Transform Your Home: A Comprehensive DIY Guide to Faux Shiplap Walls with Tongue-and-Groove Planks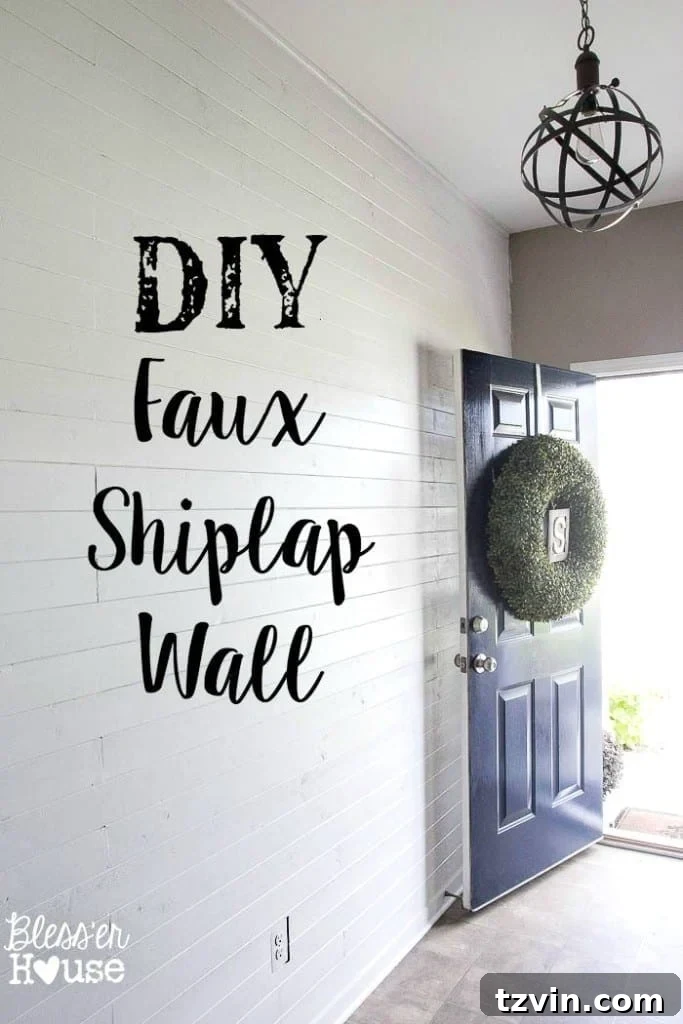
The allure of shiplap in home decor is undeniable, instantly invoking a sense of rustic charm, coastal calm, or modern farmhouse elegance. Its clean lines and distinctive texture have made it a go-to wall treatment for transforming ordinary spaces into extraordinary ones. While true shiplap involves overlapping wooden boards, creating a similar aesthetic with faux shiplap is a popular and often more accessible DIY project. This comprehensive guide will walk you through creating a stunning faux shiplap wall using tongue-and-groove planks, a method that simplifies installation and delivers a beautiful, professional finish.
Like many DIY enthusiasts, my journey into the world of shiplap was inspired by the incredible transformations seen in popular home design shows. The idea of bringing that bright, textured character into our own home became a personal mission. Our foyer, in particular, presented the perfect canvas. Lacking natural light, it felt a bit lackluster and yearned for a touch of character that only a classic wall treatment could provide.
From Drab to Fab: The Foyer’s Potential
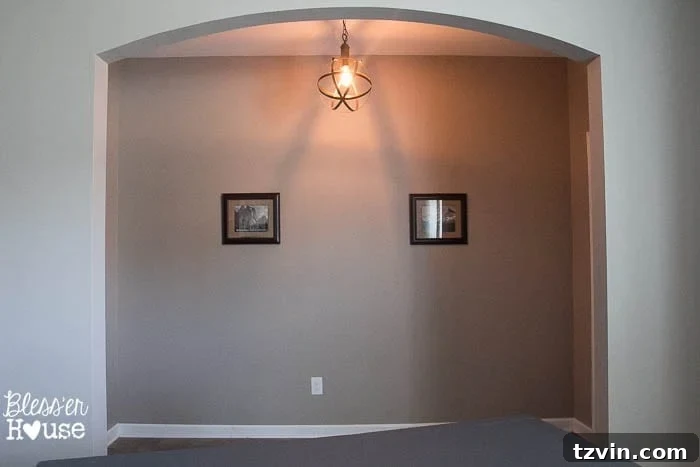
Here’s a glimpse of our foyer before its exciting transformation:
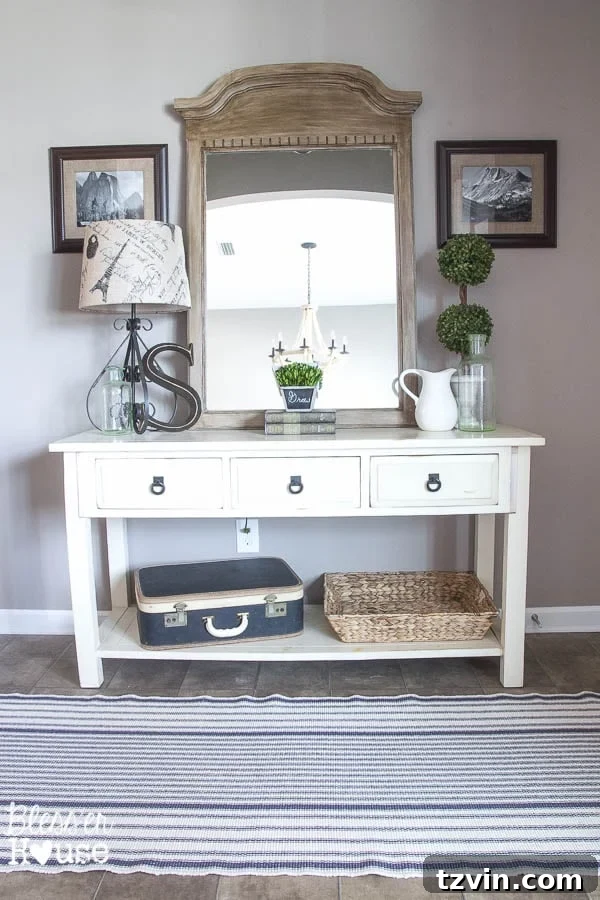
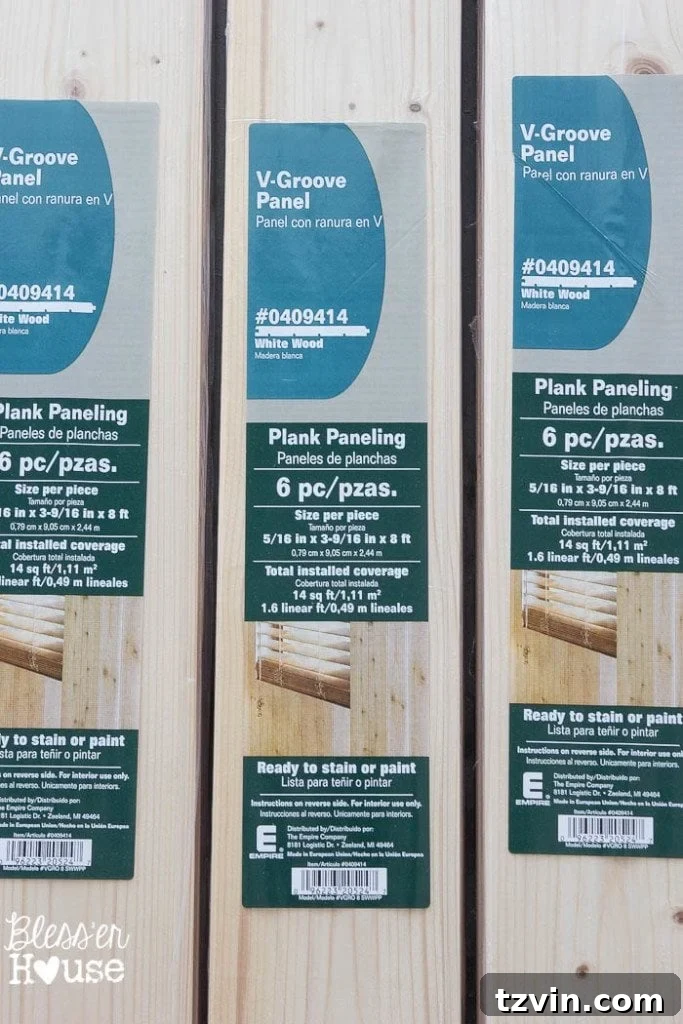
It was functional, yes, but far from inspiring. The space desperately needed an infusion of brightness and that signature farmhouse charm we adore. White shiplap emerged as the ideal solution to both illuminate the area and introduce architectural interest. This time, we opted for a method that prioritized ease of installation over the absolute cheapest approach. While ripping down plywood into strips is a common and budget-friendly faux shiplap technique, the thought of balancing coins between boards and the meticulous cuts involved led us to seek a simpler route. We chose pre-milled v-groove tongue-and-groove planks, expecting a quicker project. While it certainly saved us some headaches, transforming a wall with shiplap, even faux, is undeniably a time-consuming endeavor that requires patience and precision.
Gather Your Supplies: What You’ll Need for Your Faux Shiplap Wall
Having the right tools and materials on hand before you begin will make your DIY faux shiplap project much smoother. Here’s a detailed list of what we utilized to achieve our beautiful planked wall:
- V-Groove Wood Planks: We used 7 packs of v-groove wood planks, with 6 planks per pack. These interlocking boards are key to creating the distinct shiplap look with minimal effort.
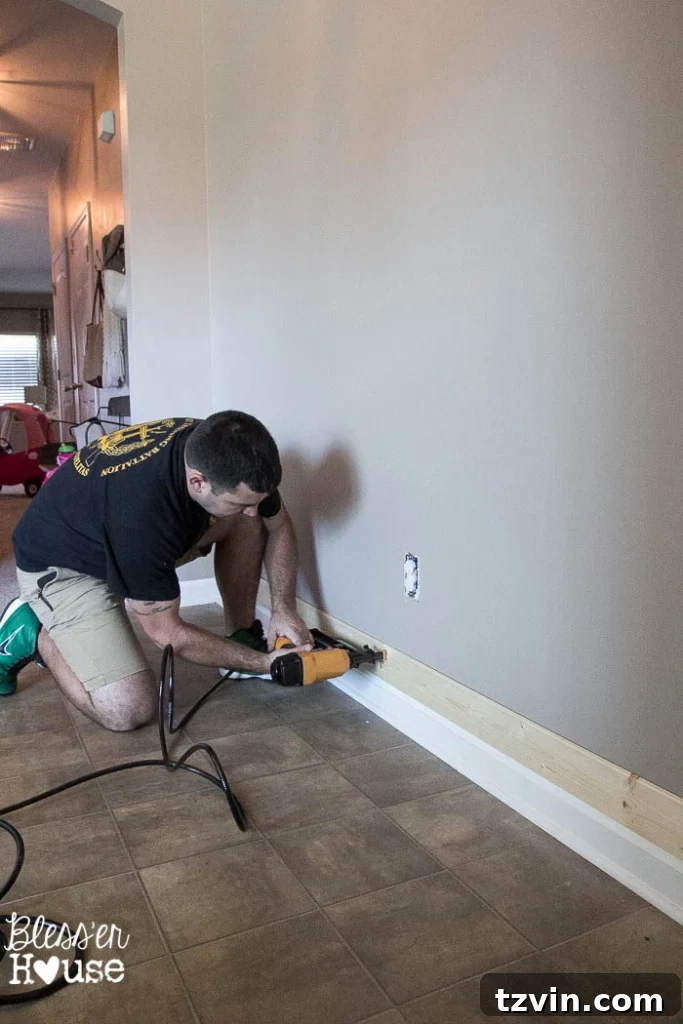
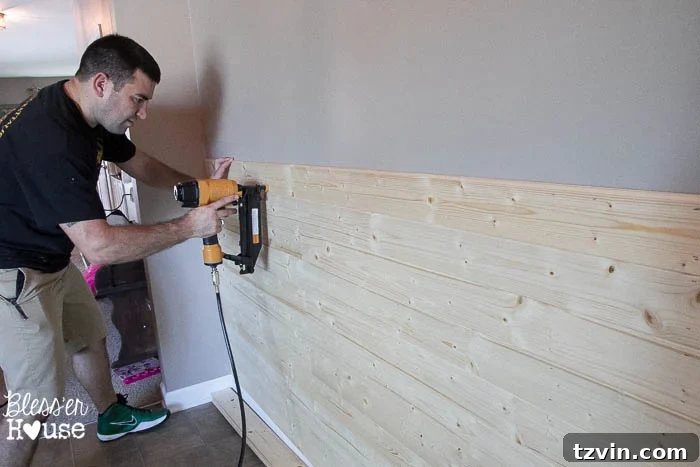
- Pneumatic Nail Gun:* (and nails) Essential for quick and secure attachment of the planks to the wall. A brad nailer or finish nailer is suitable for this type of project, ensuring the nails are discreet.
- Table Saw:* (or other suitable saw) A table saw provides precise, straight cuts crucial for fitting planks accurately. A miter saw or circular saw can also work, especially if you use a guide for straight lines.
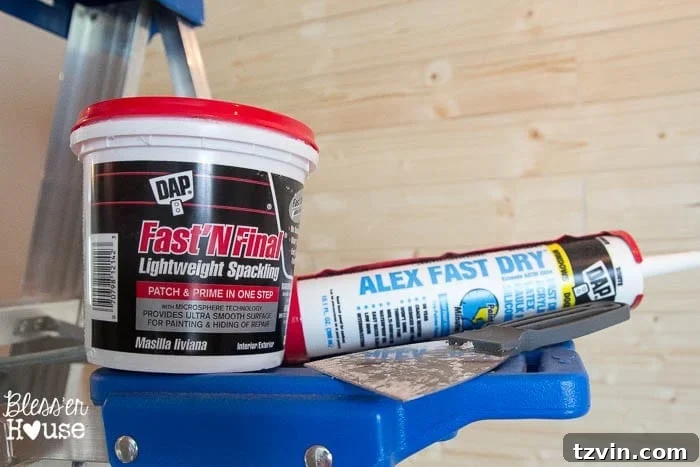
- Spackling Patch:* Used to fill nail holes, creating a smooth, flawless surface ready for paint.
- White Trim Caulk:* Perfect for sealing any gaps along edges, corners, and where planks meet trim, ensuring a clean, finished appearance.
- Primer/Paint of Your Choice: We used a paint-and-primer-in-one formula to save time, opting for a crisp white to maximize light reflection.
(Affiliate links are provided above, noted with asterisks. I only recommend brands I trust that I would use in my own home. For more information, see my disclosure.)
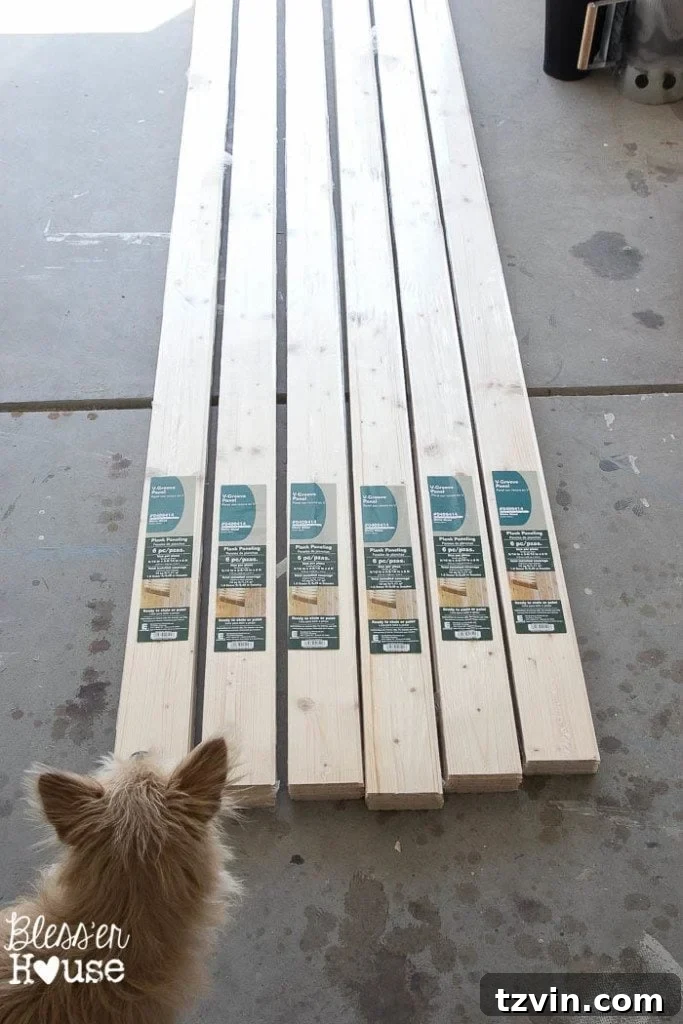
The total cost for the wood, paint, spackling, and caulk for this project came to approximately $140. While we could have saved around $30 by purchasing and ripping plywood into strips, the convenience and consistent spacing offered by v-groove planks significantly reduced potential frustrations and saved us a considerable amount of time and effort compared to other faux shiplap methods. Even our furry supervisor, Lola, made sure everything was up to standard.
Prepping Your Canvas: Clearing the Way for Shiplap
Before diving into installation, it’s crucial to thoroughly prepare your workspace. This involves moving any furniture or decor away from the wall you plan to shiplap. Our foyer table, which is also due for a makeover, was carefully relocated to give us clear access to the entire wall surface.
Clearance is key for safe and efficient work. We make sure to have all necessary tools laid out and within reach. As with many home improvement projects, a good cup of coffee (or two!) and some spirited teamwork kept us energized and focused throughout the process. It’s truly a family affair when it comes to tackling DIY projects in our home.

Step-by-Step Installation: Building Your Faux Shiplap Wall
1. Measure and Plan Your Plank Layout
First, measure the total width of your wall. Our wall was 10 feet wide, and our planks came in 8-foot lengths. This meant we needed to cut and alternate plank sizes as we worked our way up. Planning your layout in advance, deciding where to make cuts and how to stagger the seams, helps create a more professional and visually appealing finish. A good rule of thumb is to avoid having all seams line up vertically on the same row.
2. Starting from the Bottom
We began installing the planks at the bottom of the wall, just above the existing baseboard. This approach ensures that any slight variations or cuts at the top will be less noticeable, especially once trim is added. However, some prefer to start at the top and work their way down, ensuring a perfectly aligned top edge. The most crucial aspect of the first plank is to ensure it is perfectly level across the entire wall, as this sets the foundation for all subsequent rows. Use a level extensively for this initial step.
3. Navigating Obstacles: Cutting Around Outlets
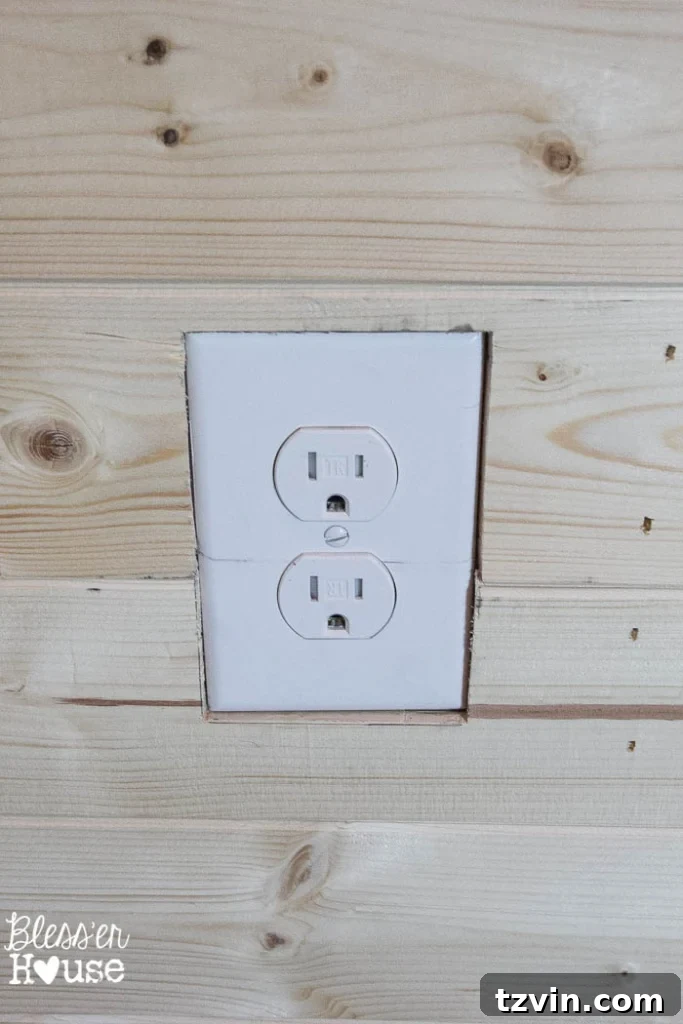
Dealing with electrical outlets is often the trickiest part of wall paneling. We only had one outlet to contend with, but it still required careful attention. For each plank that crossed the outlet, I held it in place while my husband, Robert, precisely traced the outline of the outlet box onto the wood. We then used a jigsaw to cut out the opening. Accuracy here is vital for both safety and aesthetics. While you can opt for an outlet extender to bring the outlet cover flush with the new planked surface, we found that our standard outlet cover still fit perfectly over the wood planks without needing an extender.
4. Building Up: Alternating Plank Sizes and Ensuring Fit
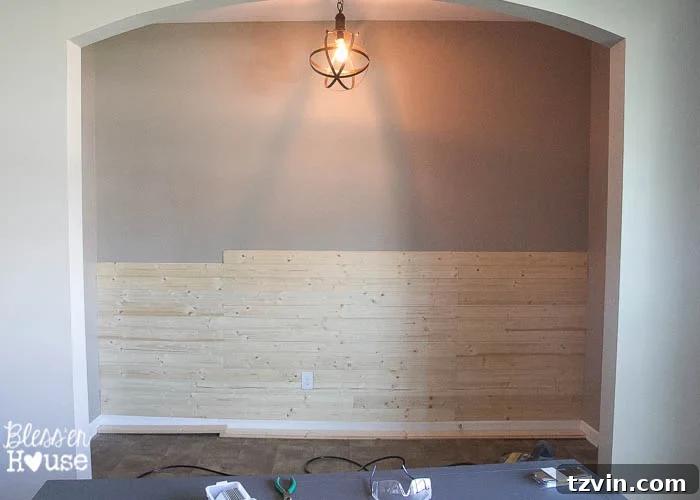
We continued working our way up the wall, alternating between 8-foot and 2-foot planks to create a staggered, natural look for the vertical seams. Constant measurement is crucial, as walls are rarely perfectly square. Some of our planks varied slightly from the exact 2-foot mark, so we made sure to measure each piece against the wall before making any cuts with our saw. This flexibility ensures a tighter fit and minimizes unsightly gaps.
Here, you can better visualize the alternating plank sizes before the final 2-foot section was installed. The tongue-and-groove system makes horizontal alignment relatively straightforward, as each plank locks into the one below it, automatically creating consistent spacing and the characteristic shiplap shadow line.
5. Finishing the Top Edge with Trim
After several hours of cutting, fitting, and nailing—which turned into almost a full day of dedicated work—our shiplap installation was complete! To give the wall a polished and finished look at the very top, where the planks meet the ceiling, we added a strip of quarter round molding. This small detail effectively fills any minor gaps and creates a clean transition, making the entire wall appear intentionally designed.
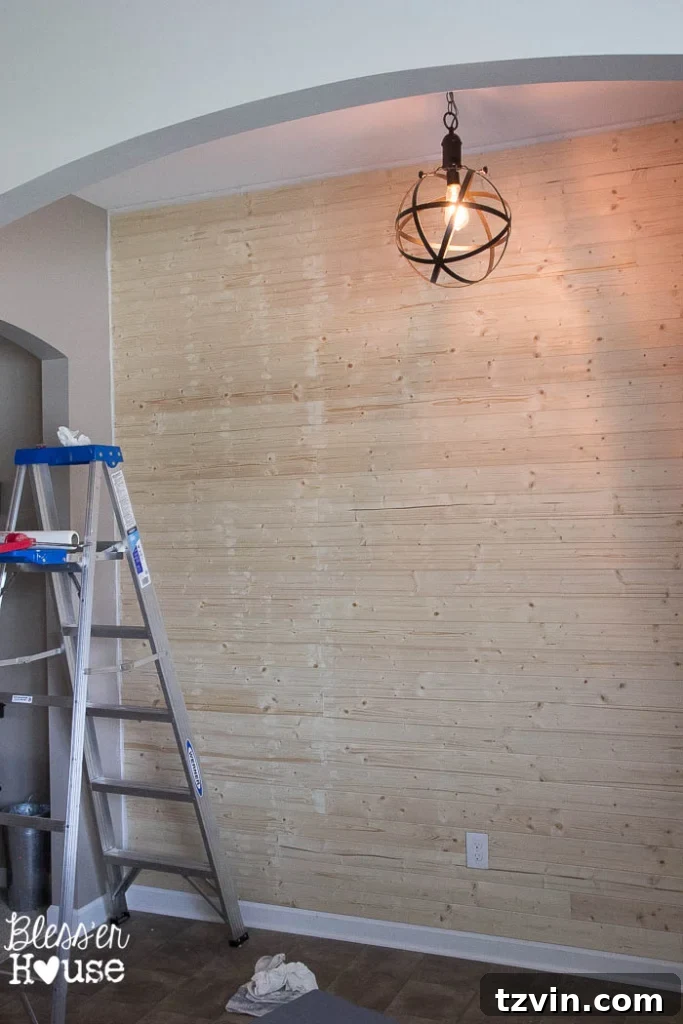
The Final Touches: Spackling, Caulking, and Painting
1. Achieving a Flawless Surface: Spackling Nail Holes
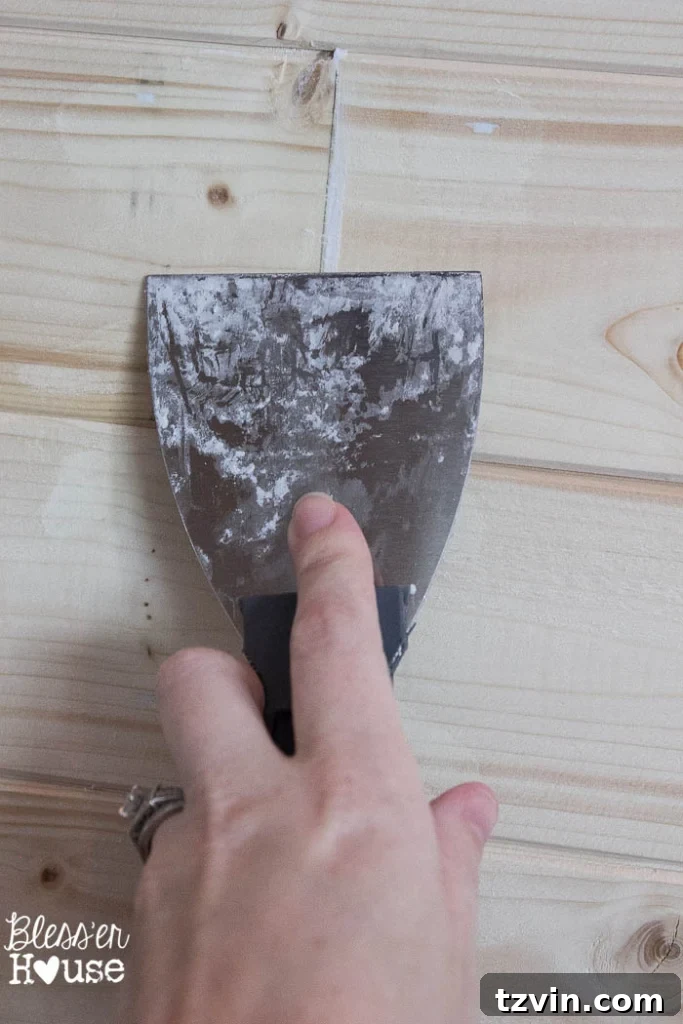
With all the planks securely in place, the next step is to address the nail holes. We applied spackling paste to all visible nail holes. This seemingly small step is crucial for achieving a smooth, professional finish. Once the spackling was dry, I carefully smoothed it out with a putty knife and lightly sanded any rough spots to ensure the surface was perfectly even, ready for paint.
2. Sealing Gaps: The Power of Caulk
To further enhance the finished look and seal any tiny gaps, we applied caulk along all the edges of the wall – where the shiplap met the baseboards, the ceiling trim, and the corners. Caulk creates seamless transitions and prevents dust and debris from settling into crevices, resulting in a cleaner, more polished appearance.
3. Brightening Up: Priming and Painting for Lasting Beauty
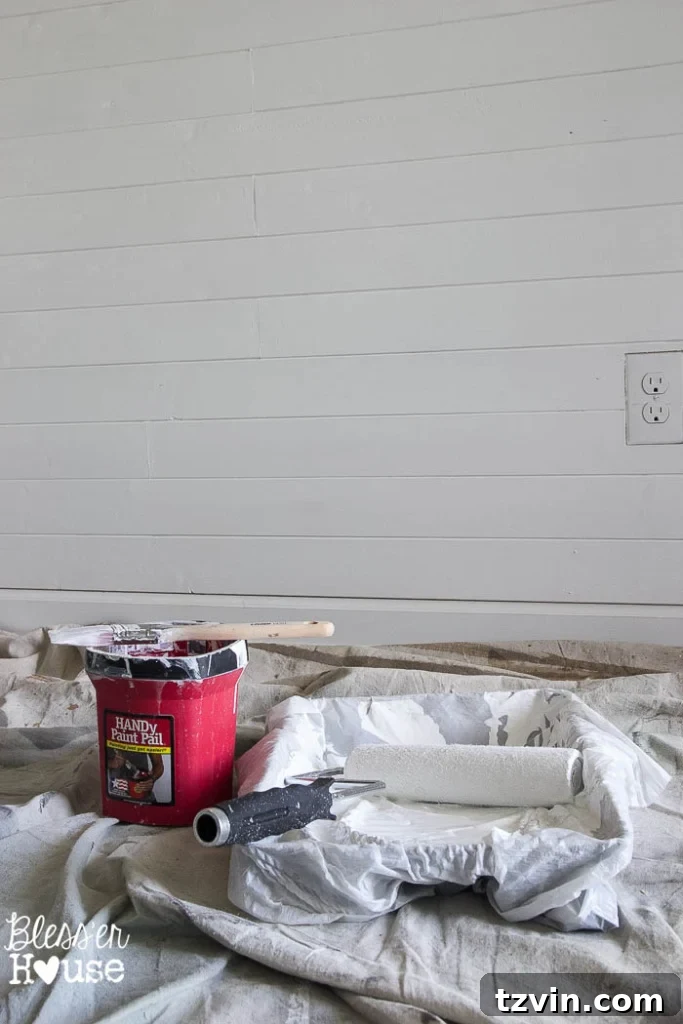
Finally, it was time to paint! We applied two coats of paint-and-primer-in-one to our shiplap wall. The specific color I chose was Sherwin Williams Pure White, mixed into a Valspar base. This crisp, clean white is perfect for reflecting light and making the foyer feel larger and more inviting. Using a paint with built-in primer ensures excellent adhesion and coverage, especially on new wood surfaces. I ended up using less than half a gallon for the entire project, proving that a little paint goes a long way in creating a dramatic impact.
The Grand Reveal: A Foyer Transformed!
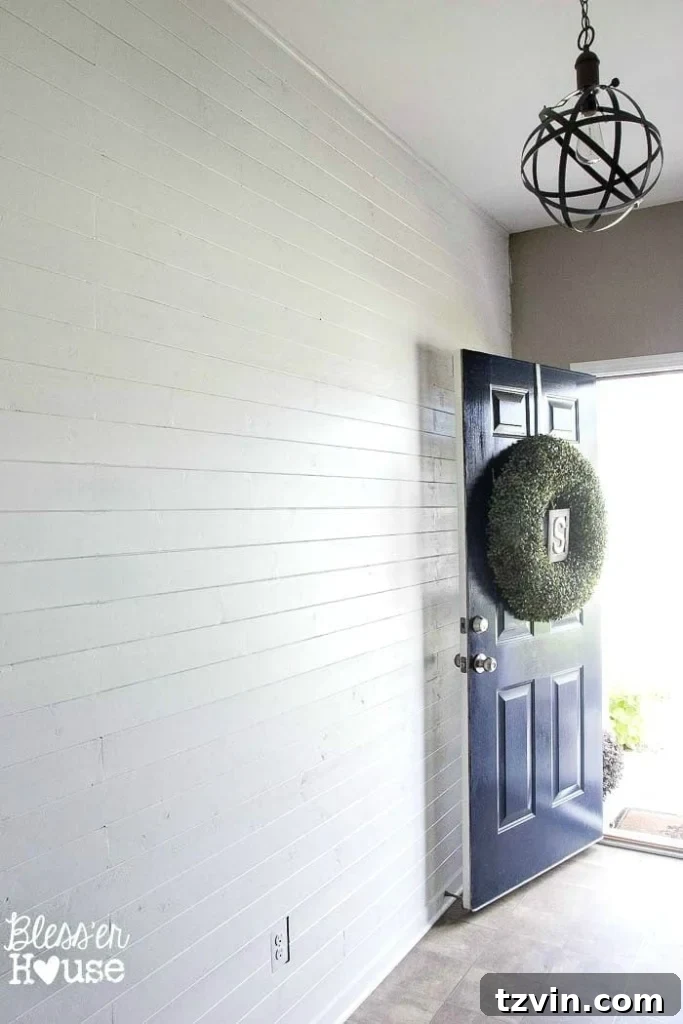
After three days of dedicated work—nailing, cutting, caulking, and painting—the faux shiplap wall in our foyer was complete, and the results are incredibly rewarding! While photography in this particular foyer is always a challenge, making it difficult to fully capture the beautiful definition and texture of the shiplap, in person, the space has brightened up dramatically. The white planks reflect light beautifully, creating an illusion of spaciousness and warmth that was previously missing.
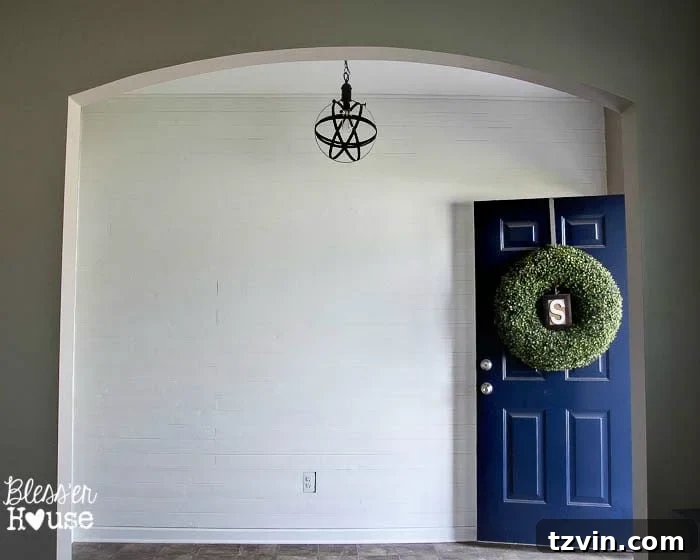
The added texture and character of the shiplap truly elevate the entire entrance. It feels more inviting, more polished, and perfectly embodies the modern farmhouse aesthetic we cherish. Now that the hard work of installation and finishing is behind us, the real fun of decorating and styling this refreshed space can begin. We can’t wait to introduce new decor elements that will complement the shiplap and further enhance the foyer’s welcoming ambiance.
Keep an eye out for an upcoming post where we’ll share the fully styled and completed foyer makeover. We’re thrilled with how this DIY faux shiplap project turned out and highly recommend it for anyone looking to add character and brightness to their home.
Ready to Transform Your Home with Faux Shiplap?
Are you inspired to tackle your own DIY faux shiplap wall? Whether it’s for a foyer, bedroom, or bathroom, tongue-and-groove planks offer a fantastic way to achieve that sought-after farmhouse charm. Have you already experimented with shiplap in your home, perhaps even the authentic kind? Share your experiences and tips in the comments below! We love hearing about your home improvement adventures.

Follow Bless’er House for More DIY Inspiration:
Facebook | Pinterest | Instagram | Twitter | Google+ | Bloglovin | Hometalk