Transform Your Ceiling: How to Create Faux Wallpaper with Vinyl Decals for a Stunning Block Print Look
Are you looking to infuse dramatic flair into a room without the commitment or cost of traditional wallpaper? Discover how to create a breathtaking faux wallpaper effect on your ceiling using simple vinyl decals. This innovative DIY method, inspired by classic block print styles, offers a high-impact design solution that is both budget-friendly and remarkably easy to execute. Say goodbye to dull ceilings and hello to an unexpected focal point that will captivate anyone who enters the room.
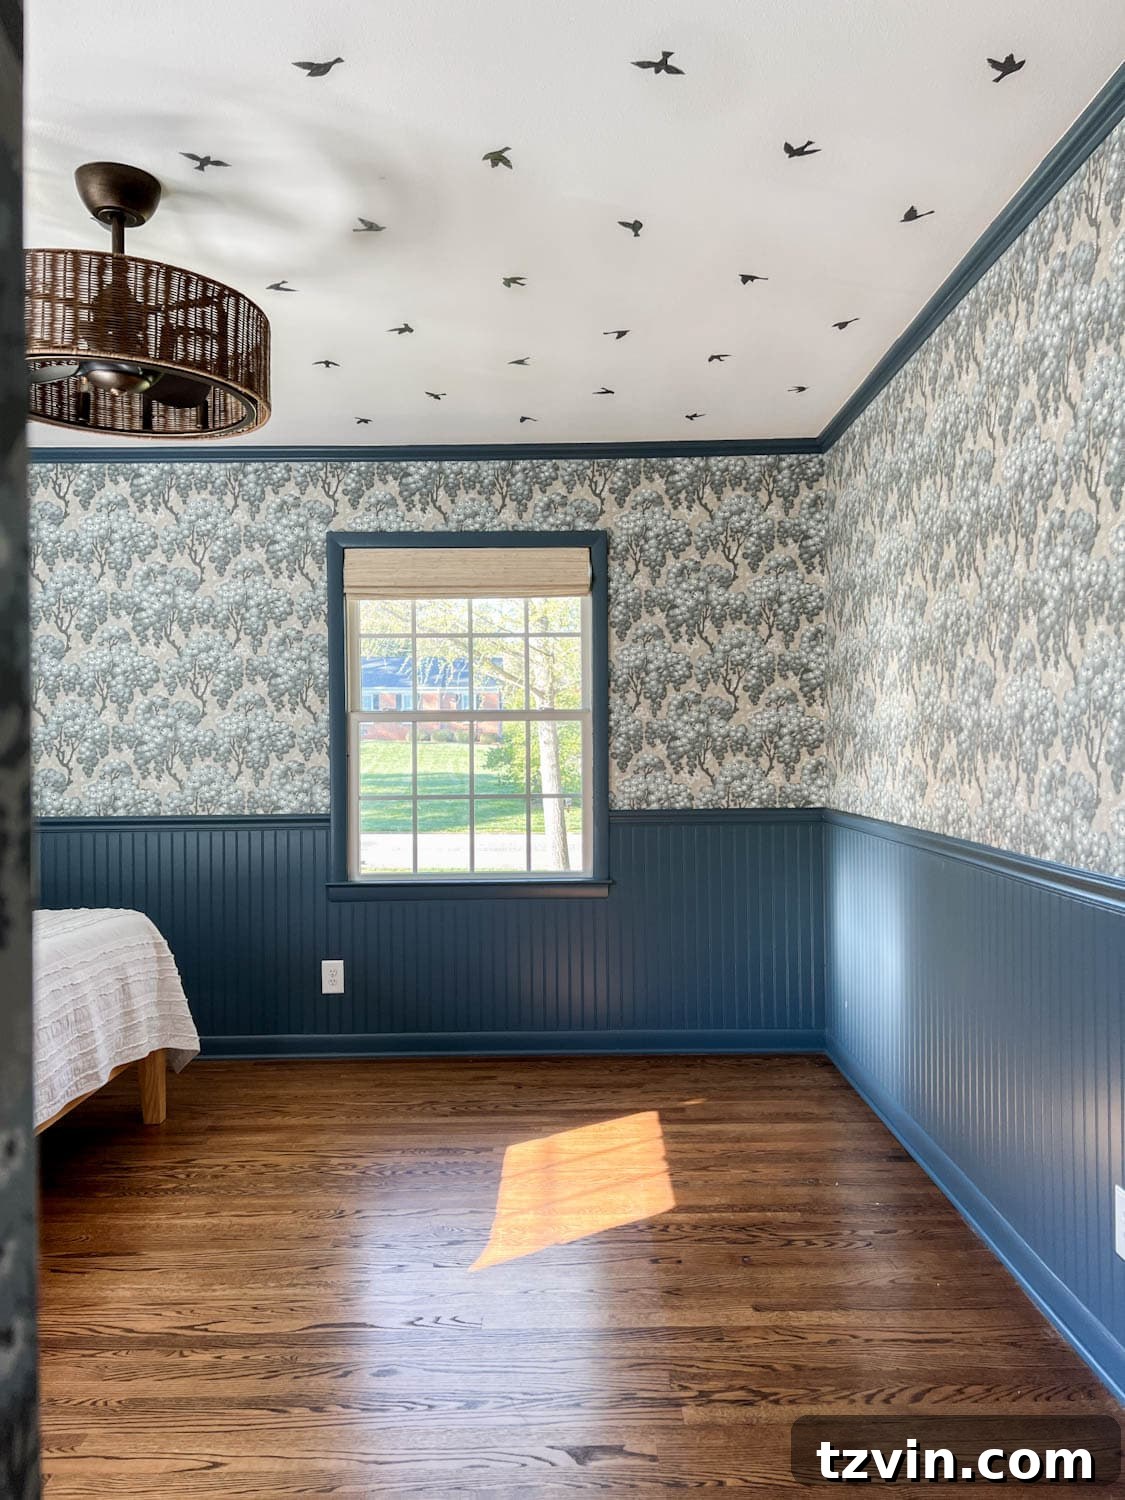
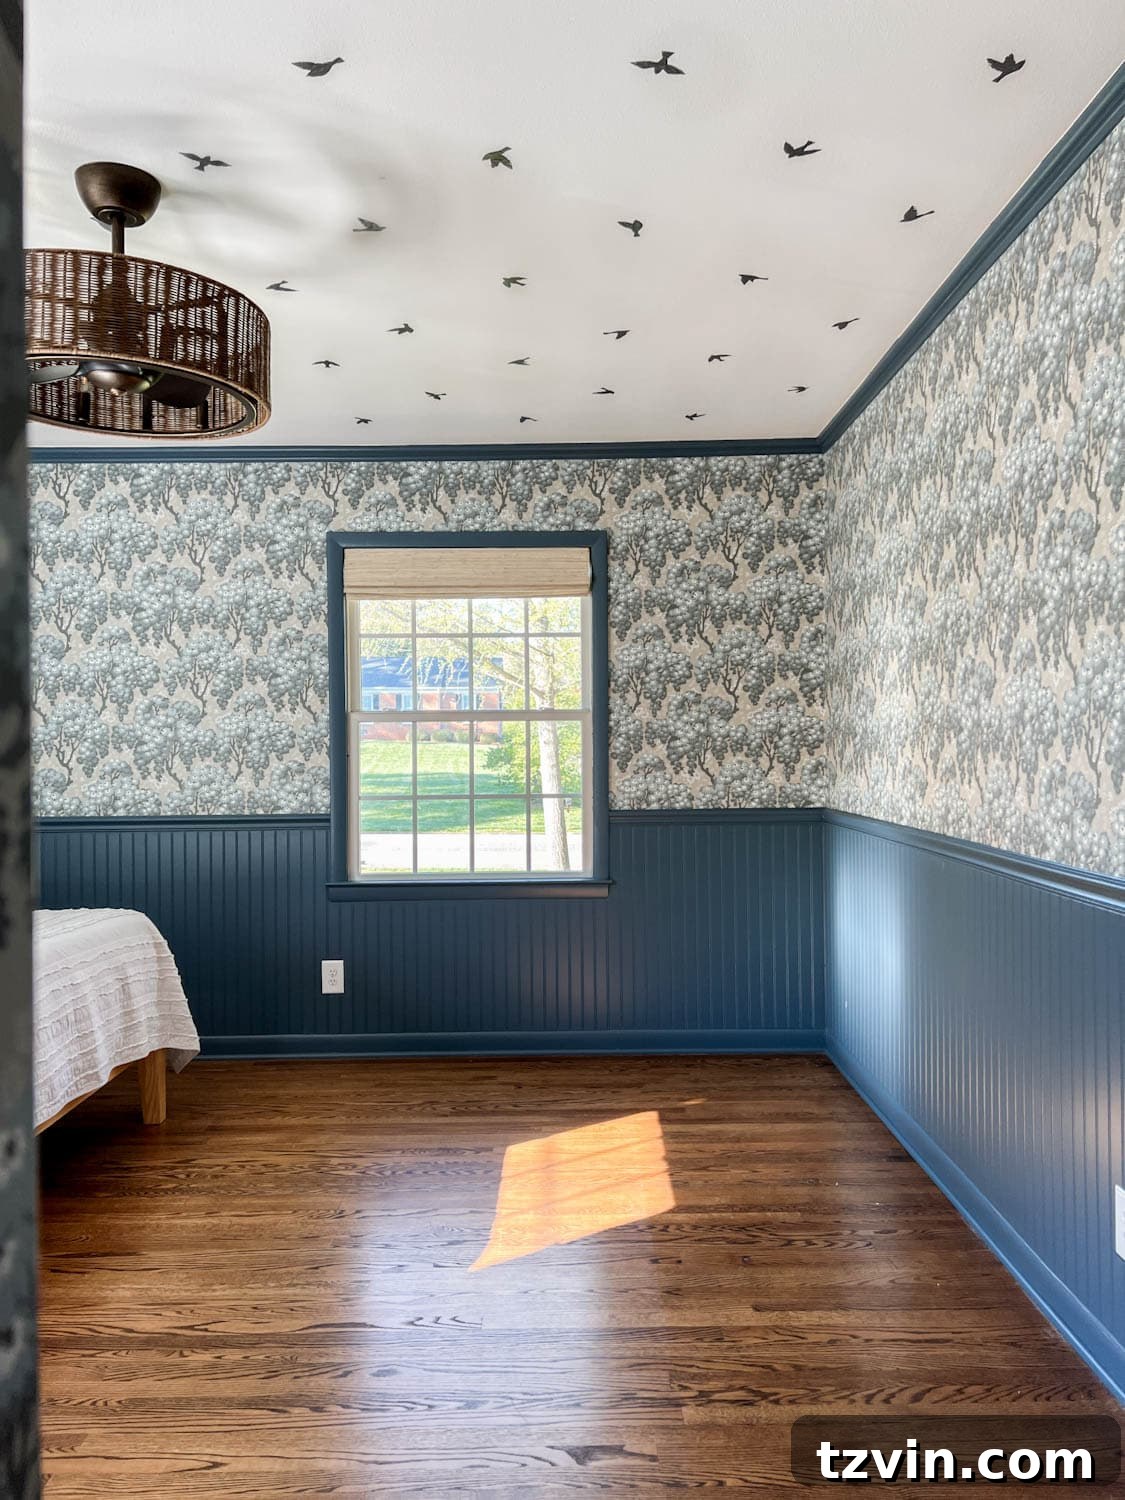
Our daughter’s “preteen” bedroom makeover is a testament to bold design choices, embracing a maximalist aesthetic that is anything but boring. From vintage Swedish wallpaper to a unique basketweave fandelier and the sophisticated Smoky Blue paint, every element contributes to a vibrant, personalized space. The latest addition, a DIY bird wallpaper ceiling created using a clever faux method, ties everything together with whimsical charm, proving that dramatic design doesn’t have to break the bank. We achieved this stunning ceiling transformation for just $67!
Elevate Your Space: Choosing the Perfect Room for a Wallpapered Ceiling
Adding wallpaper or a faux design to a ceiling is an incredibly creative way to “wallpaper” the often-overlooked “fifth wall,” introducing color, texture, and pattern into a room. This unique design approach can dramatically elevate the overall aesthetic, making a powerful statement that draws the eye upward.
While a wallpapered ceiling can enhance almost any room, a bedroom is arguably the ideal location to experiment with this trend. Think about it: where else in your home do you spend so much time gazing at the ceiling, especially when lying in bed? A captivating ceiling design transforms this often-blank canvas into a piece of art, offering a soothing or stimulating visual experience. Instead of simply counting sheep, Olivia will now be able to count the charming birds adorning her ceiling, adding a personalized touch to her restful space.
For Olivia’s bedroom, we fully embraced a maximalist decor approach, layering vibrant patterns and rich textures to reflect her “more-is-more” personality. This faux DIY wallpaper ceiling project, featuring block print vinyl sticker decals, perfectly complements the room’s existing drama. However, its versatility means it can also bring a touch of subtle sophistication to a more minimally decorated space. The beauty of this technique lies in its adaptability; you can easily customize the tutorial to incorporate any decal shapes – stars, butterflies, geometric patterns – to match your unique style and vision.
Smart Decorating: The Benefits of Peel and Stick Faux Wallpaper for Ceilings
When considering ceiling treatments, peel and stick faux wallpaper decals offer numerous advantages over traditional wallpaper methods. From significant cost savings to easier application and removal, this DIY option stands out as a superior choice for both seasoned decorators and first-time DIYers.
Exceptional Cost Savings
The allure of a designer look often comes with a hefty price tag. For instance, I was captivated by a beautiful sparrow wallpaper from Lulu and Georgia, but its cost of $198 per roll was prohibitive. To cover the entire 13’x13′ ceiling with that wallpaper would have required four rolls, totaling a staggering $792. By opting for high-quality bird vinyl decals to create this faux wallpaper effect, the entire project cost a mere $67. This massive saving allows for achieving a high-end aesthetic without compromising your budget, making stylish decor accessible to everyone.
Significantly Reduced Labor and Effort
Installing traditional pasted wallpaper or a peel-and-stick mural on walls can be challenging enough, often requiring specialized tools, precise measurements, and a steady hand. Attempting this on a ceiling, where you’re constantly working against gravity and battling awkward angles, amplifies the difficulty exponentially. This often leads to frustration, mistakes, and the need to hire a professional contractor, which adds further to the overall expense.
Faux wallpaper decals, however, simplify the process dramatically. Their peel-and-stick nature means less mess, fewer specialized tools, and a significantly reduced physical strain. This makes it an achievable project for most DIY enthusiasts, saving both time and the expense of professional installation.
Flexible and Temporary Design
Commitment can be a daunting word, especially in decor. If you’re hesitant to commit to permanent pasted wallpaper, which is notoriously difficult and time-consuming to remove, peel and stick faux wallpaper decals are the perfect solution. They offer the flexibility to change your design as your tastes evolve or if you move to a new home. The ease of removal makes them ideal for renters or anyone who enjoys refreshing their decor frequently, allowing for stylistic updates without the laborious process associated with traditional wallpaper removal.
Seamless Application on Textured Ceilings
Many homes, especially older ones, feature ceilings with some degree of texture, such as a slight popcorn finish. Traditional wallpaper often struggles to adhere smoothly to such surfaces, leading to bubbles, peeling, and an uneven finish. This bedroom’s ceiling, for example, has a subtle popcorn texture that would pose a challenge for conventional wallpaper.
Remarkably, vinyl decals adhere beautifully to slightly textured surfaces. Their flexible nature allows them to conform to minor irregularities, providing excellent adhesion without the need for extensive surface preparation. This makes faux wallpaper decals a fantastic option for transforming ceilings that might otherwise be deemed unsuitable for wallpaper.
DIY Mastery: How to Add a Faux Wallpaper Ceiling Using Vinyl Sticker Decals
While it might not be a high-end Lulu and Georgia roll, this charming faux bird wallpaper ceiling exceeded all expectations. The result is a sweet, bespoke look that could also be adapted for a stunning accent wall. Follow these steps to create your own personalized ceiling masterpiece.
Gather Your Supplies
Before embarking on your DIY journey, ensure you have all the necessary tools at hand. Proper preparation is key to a smooth and successful project:
- Bird Vinyl Sticker Decals: I used three packs for a 13’x13′ room. Consider other shapes like stars, butterflies, or geometric patterns to match your desired aesthetic.
- Sturdy Ladder: For safe and easy access to your ceiling.
- Sharp Scissors: To precisely cut out individual decals.
- Two Tape Measures: Essential for accurate grid layout and placement.
- Laser Level or Laser Measuring Tool: Crucial for ensuring straight lines and consistent spacing. An alternative for larger spaces is a chalk line.
- Fine-Tip Marker or Pencil: For discreetly marking placement points on the ceiling.
- Calculator: To double-check your measurements and ensure accuracy, especially when dealing with repetitive spacing, as numbers can become dizzying!
- Soft Cloth or Smoothing Tool: To apply decals smoothly and remove any air bubbles.
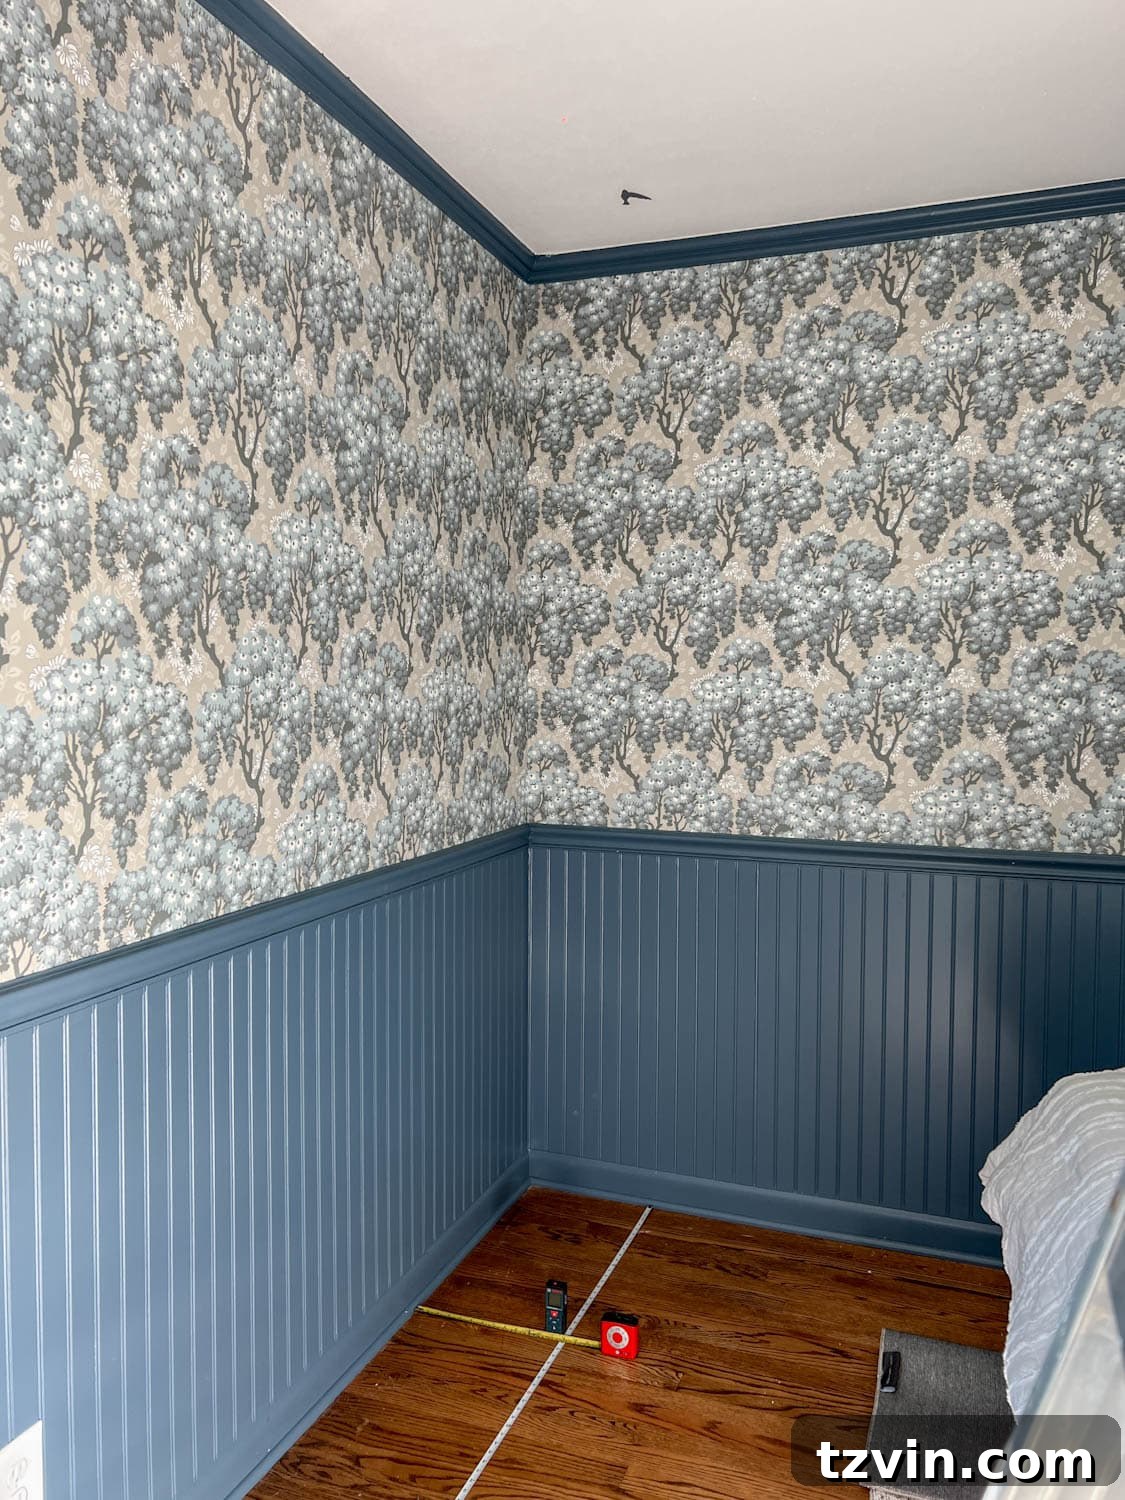
Step 1 – Strategic Planning: Decide Your Measurements and Layout
The first and most critical step is planning your layout. Begin by accurately measuring the entire length and width of your room. This will help you determine the ideal spacing for your sticker decals, ensuring that your pattern ends cleanly without awkward, partially cut decals in the final rows. Consider the size of your decals and the overall effect you want to achieve – a dense pattern or a more open, airy feel.
For this 13′ x 13′ (156″ x 156″) bedroom, I decided on a 12-inch spacing between the birds. To create a dynamic block print look, I opted for an alternating pattern in each row, preventing a monotonous grid. This staggered approach adds visual interest and mimics the organic feel of hand-printed wallpaper. Take your time with this step, visualizing the pattern and adjusting spacing as needed to fit your room’s dimensions.
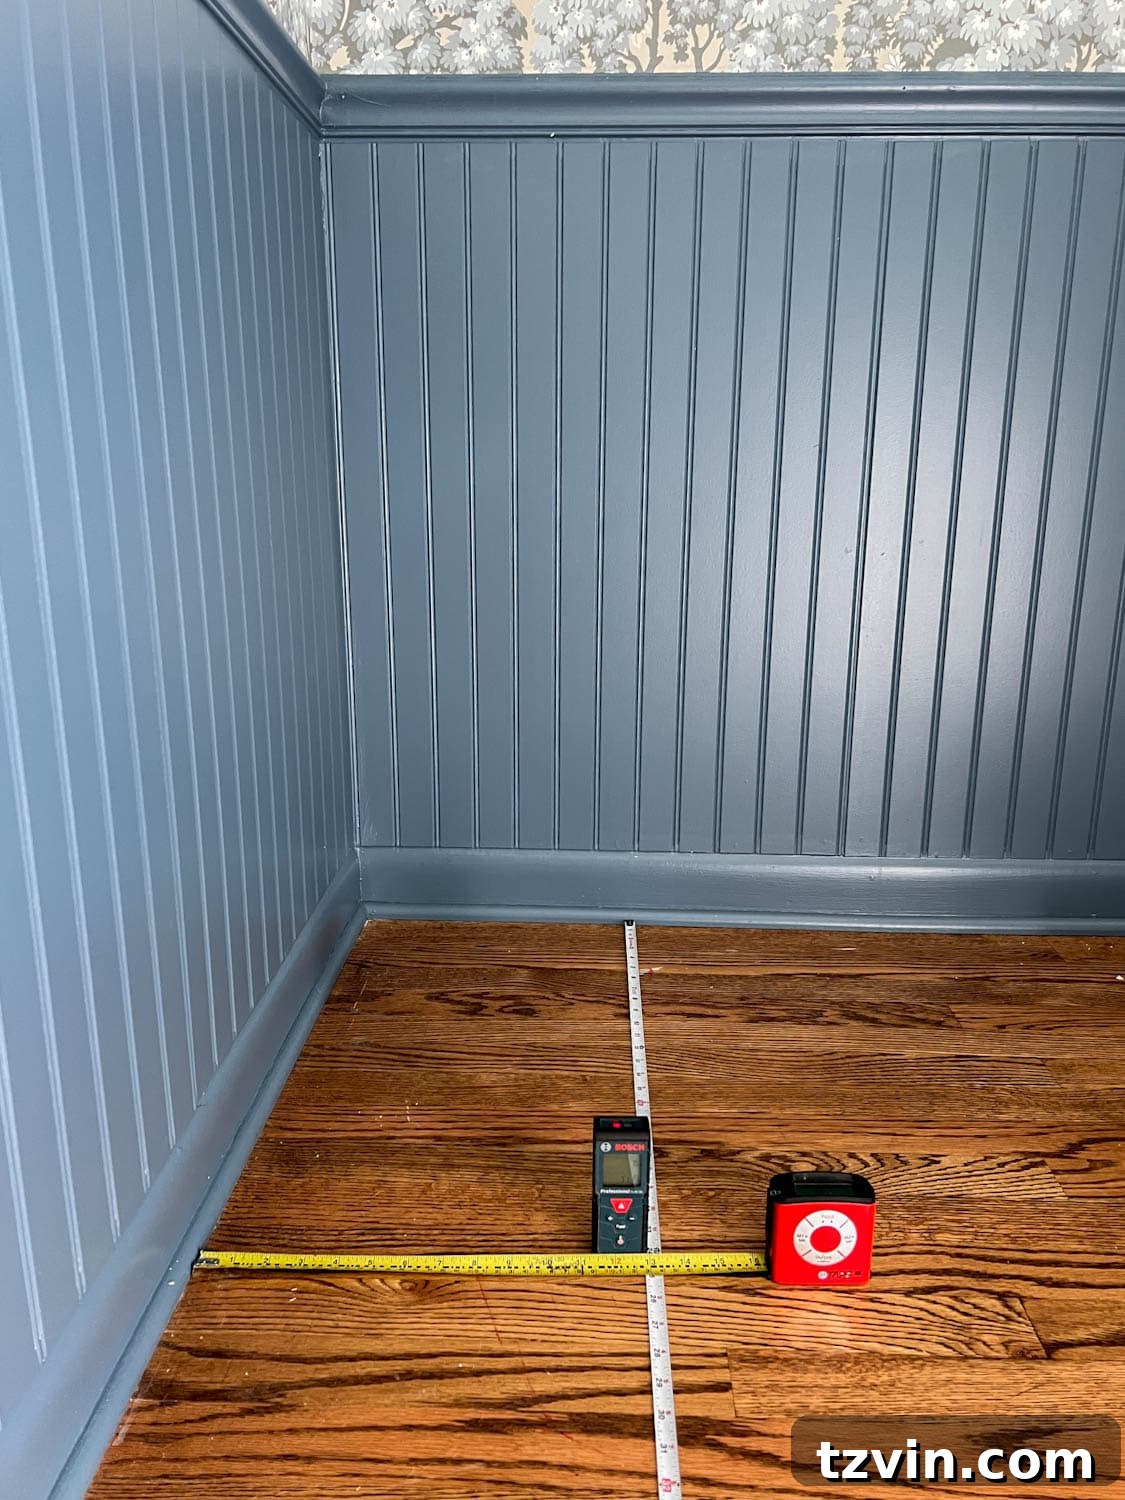
Step 2 – Precision Marking: Create Your Ceiling Grid
Once your measurements are finalized, it’s time to mark the placement points on the ceiling. Accuracy in this step will ensure a professional-looking finish:
- Establish Your First Parallel Line: Stretch your first tape measure across the room, parallel to one of the walls. I positioned my first tape measure 12 inches from the wall to begin the pattern with adequate spacing. Secure it with painter’s tape if needed.
- Determine Your Starting Point: Position your second tape measure perpendicular to the first, aligning it at the precise spot where you intend to place your very first decal. For my design, this was 12 inches from the adjacent wall.
- Project and Mark: Place your laser level flat on the floor directly beneath the intersection of the two tape measures. Angle the laser so it projects a clear dot onto the ceiling. Carefully mark this laser dot with your marker or pencil. This is your first decal placement point.
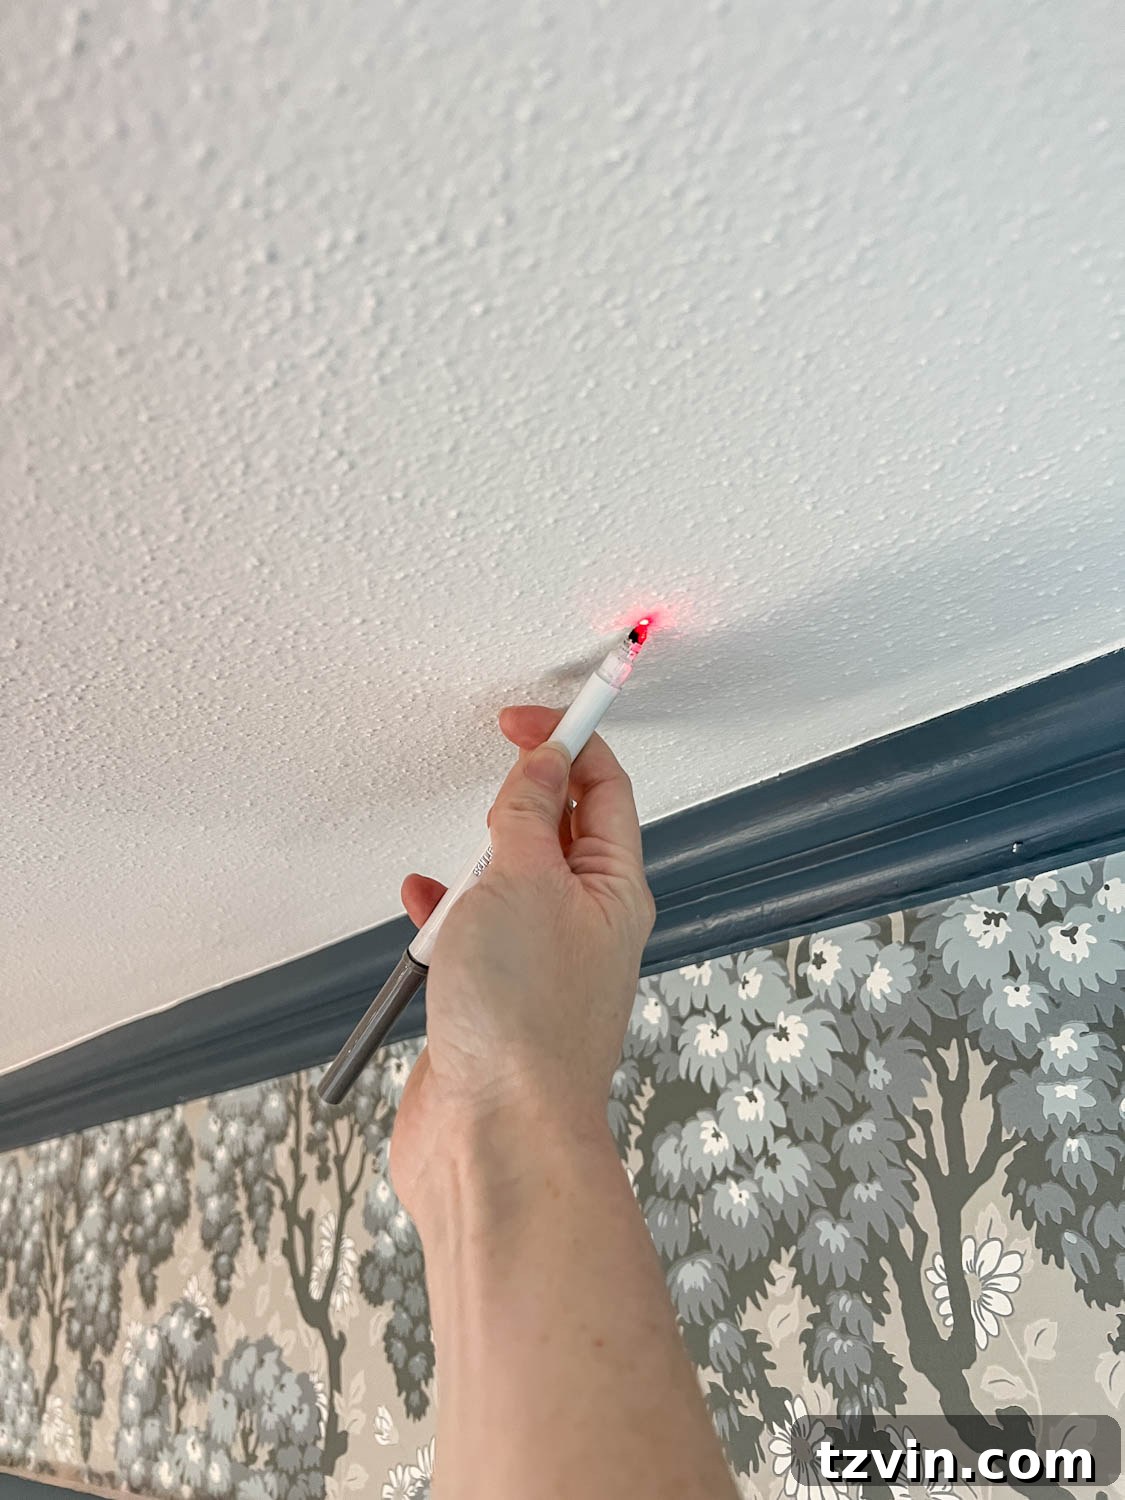
Step 3 – Grid Creation: Mark Subsequent Rows and Columns
Now, build out your grid systematically. This process involves repetitive marking, so patience and precision are key:
- Complete the First Row: Keeping the first tape measure (the parallel one) in place, carefully slide the second (perpendicular) tape measure along it to your next desired marking point. For my 12-inch spacing, this meant moving it to the 24-inch mark (12 + 12). Reposition the laser level, project the dot, and mark the ceiling. Continue this process, marking a dot every 24 inches along the first tape measure (e.g., 12″, 36″, 60″, 84″, 108″, 132″, 156″). This creates your first complete row of decal placement points.
- Mark the Second, Alternating Row: Once the first row is complete, slide your *first* tape measure (the parallel one) over by 12 inches (or your chosen half-interval) from its original position. Now, repeat the marking process, but this time, start your measurements 24 inches from the edge of the wall (or your adjusted starting point) to create the alternating pattern. This means your second row’s marks will fall at measurements like 24″, 48″, 72″, 96″, 120″, 144″. This staggered pattern is crucial for achieving the block print effect.
- Repeat for Entire Ceiling: Continue alternating these two sequences of measurements for subsequent rows until your entire ceiling is marked. Double-check your measurements periodically, especially if you start feeling fatigued or confused. A calculator can be a surprisingly helpful tool here to keep your numbers straight!
First Row Marked Measurements (Example for 13’x13′ room with 12″ initial offset and 24″ intervals): 12″, 36″, 60″, 84″, 108″, 132″, 156″
Second Row Marked Measurements (Alternating pattern, 24″ initial offset and 24″ intervals): 24″, 48″, 72″, 96″, 120″, 144″
The consistent repetition of these two row sequences ensures a uniform and visually appealing block print design across your entire ceiling.
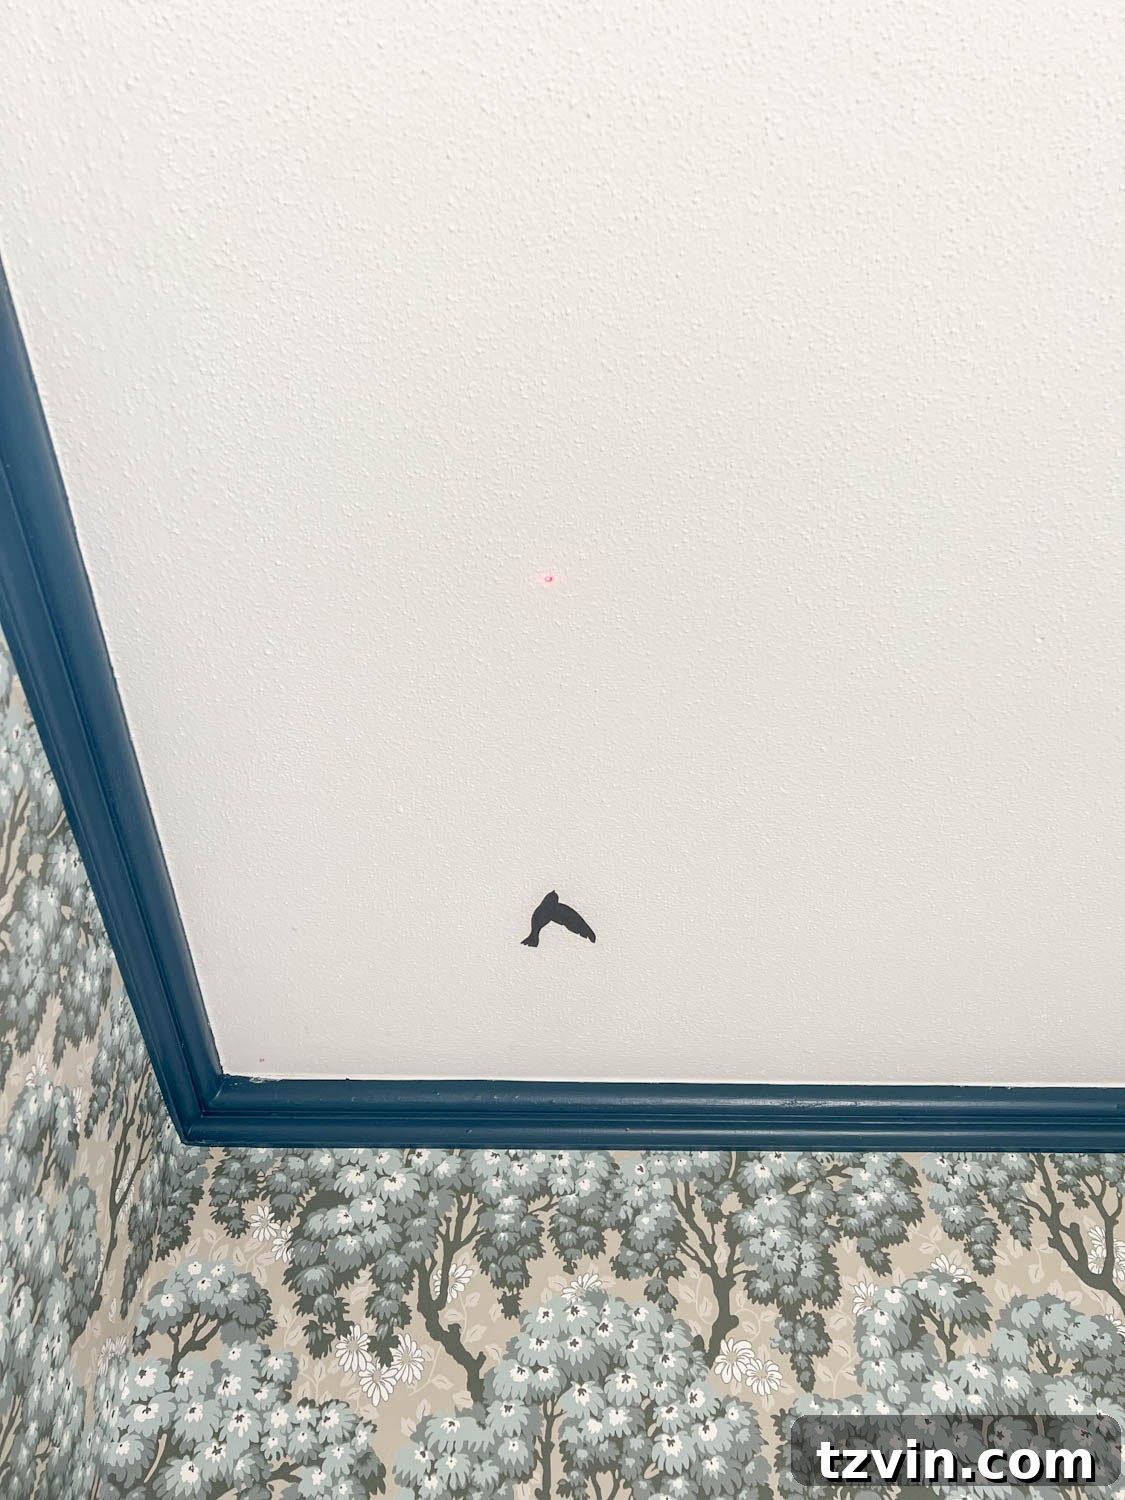
Step 4 – Artistic Application: Place Your Vinyl Sticker Decals
With your ceiling meticulously marked, it’s time for the most rewarding part: applying the decals. This is where your faux wallpaper truly comes to life:
- Prepare Decals: Carefully use scissors to cut out each vinyl decal individually from its sheet. This makes handling and placement much easier.
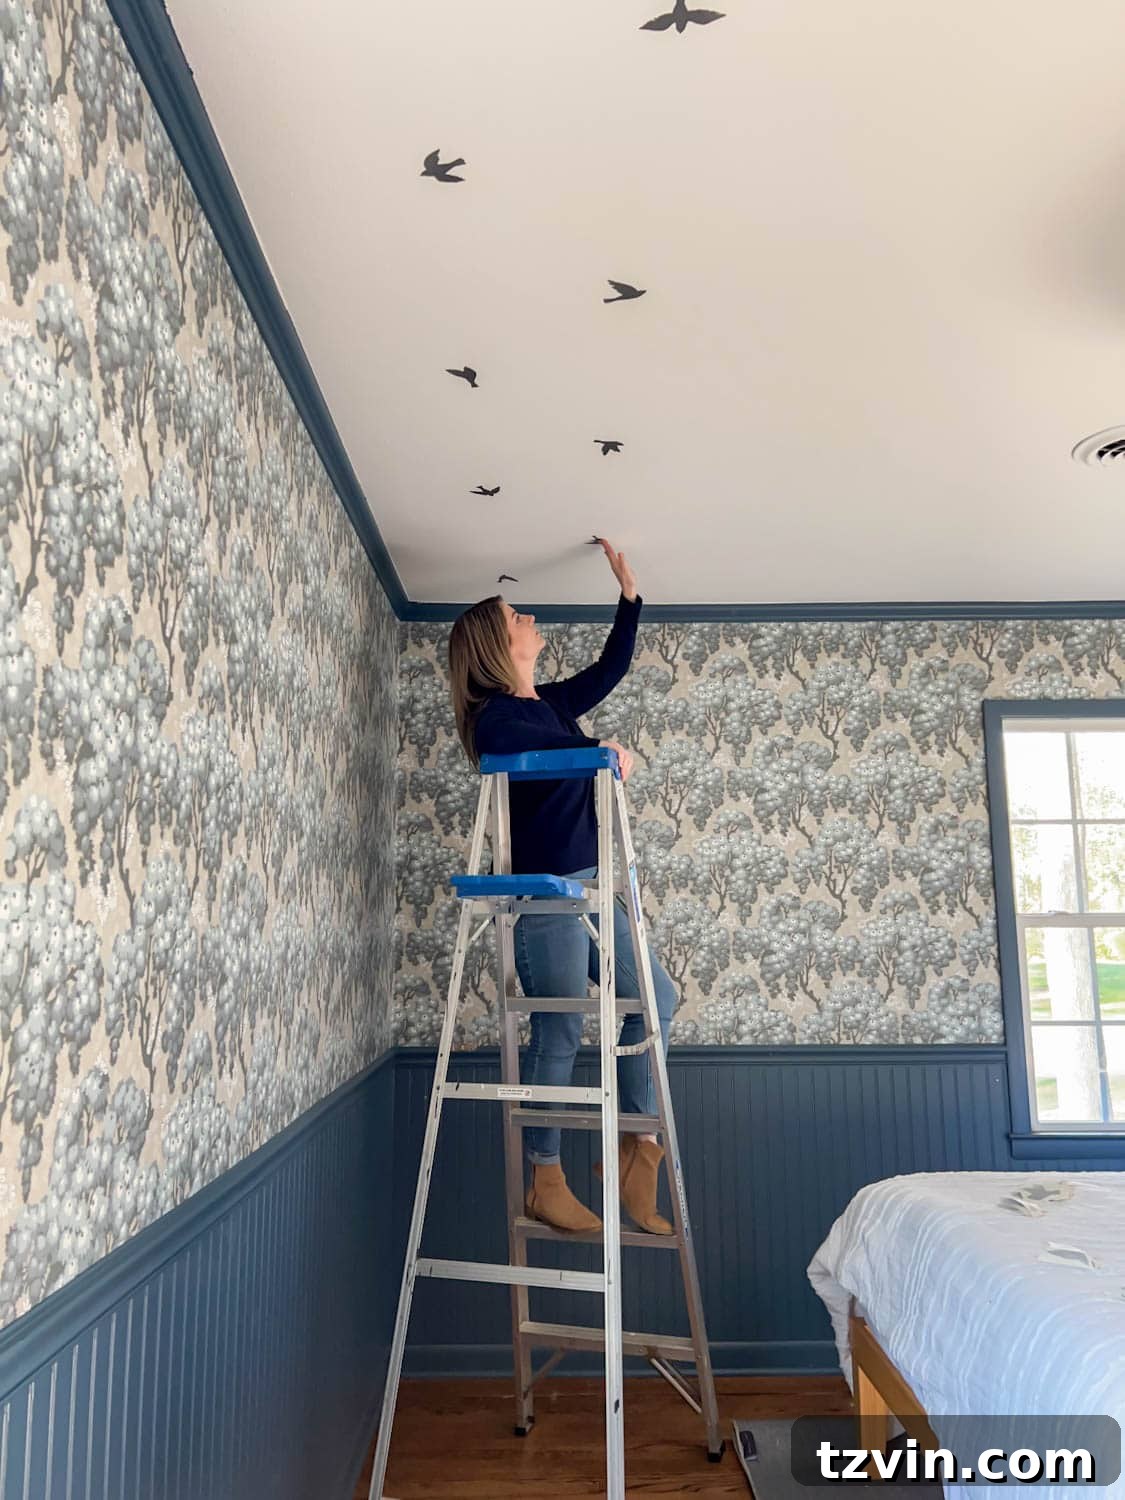
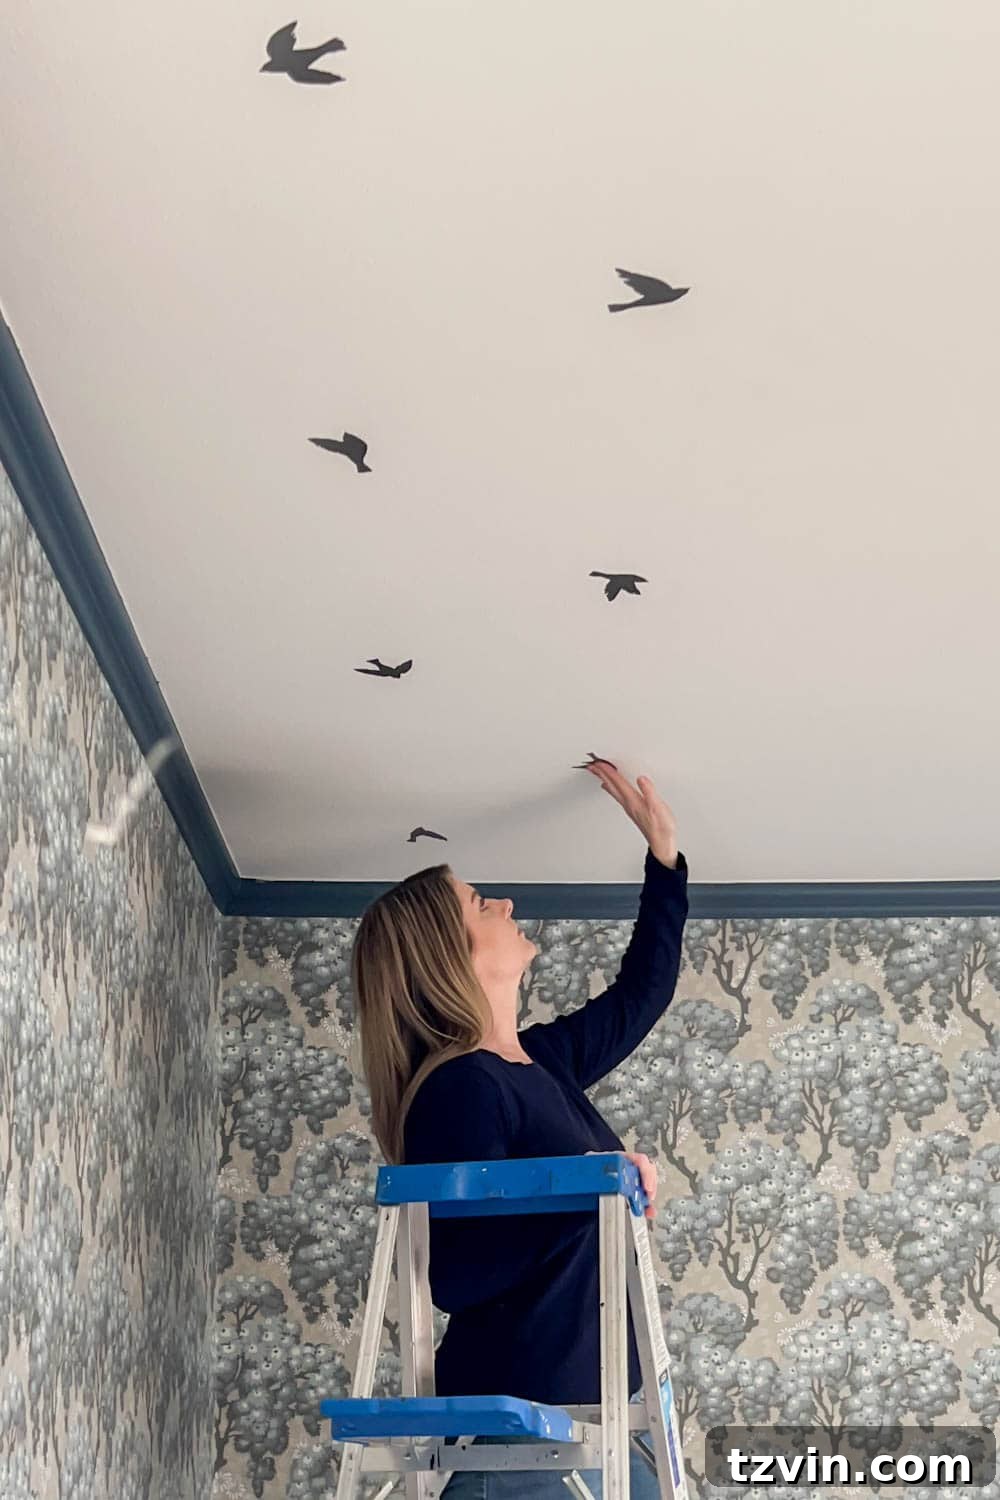
- Strategic Placement: Peel the backing from each decal and align it precisely over the marked spot on the ceiling. Apply gentle pressure from the center outwards to smooth out any air bubbles and ensure firm adhesion.
- Vary Orientation for Natural Look: To emulate the organic, handcrafted feel of block print wallpaper, avoid placing identical birds (or other shapes) in direct proximity and vary their orientation. I consciously turned the bird decals in different directions and alternated their various shapes to mimic the charming irregularity often found in high-end sparrow wallpapers like the one from Lulu and Georgia. This creates a more natural, less manufactured appearance.
- Systematic Progress: Continue measuring, marking (if you didn’t mark the whole ceiling in advance), and placing decals systematically until your entire ceiling is adorned with your beautiful faux wallpaper design. Take breaks as needed, as working overhead can be tiring.
The Finished Bird Wallpaper Ceiling: A Whimsical Dream Come True
Truth be told, this DIY project was less about technical difficulty and more about sheer endurance. The repetitive motions of moving tape measures, double-checking calculations (especially as the numbers started to swim in my head), and the constant up-and-down of the ladder made it quite a tedious endeavor. Yet, as with most passion projects, the effort poured in made the final reveal all the more satisfying. 🤪
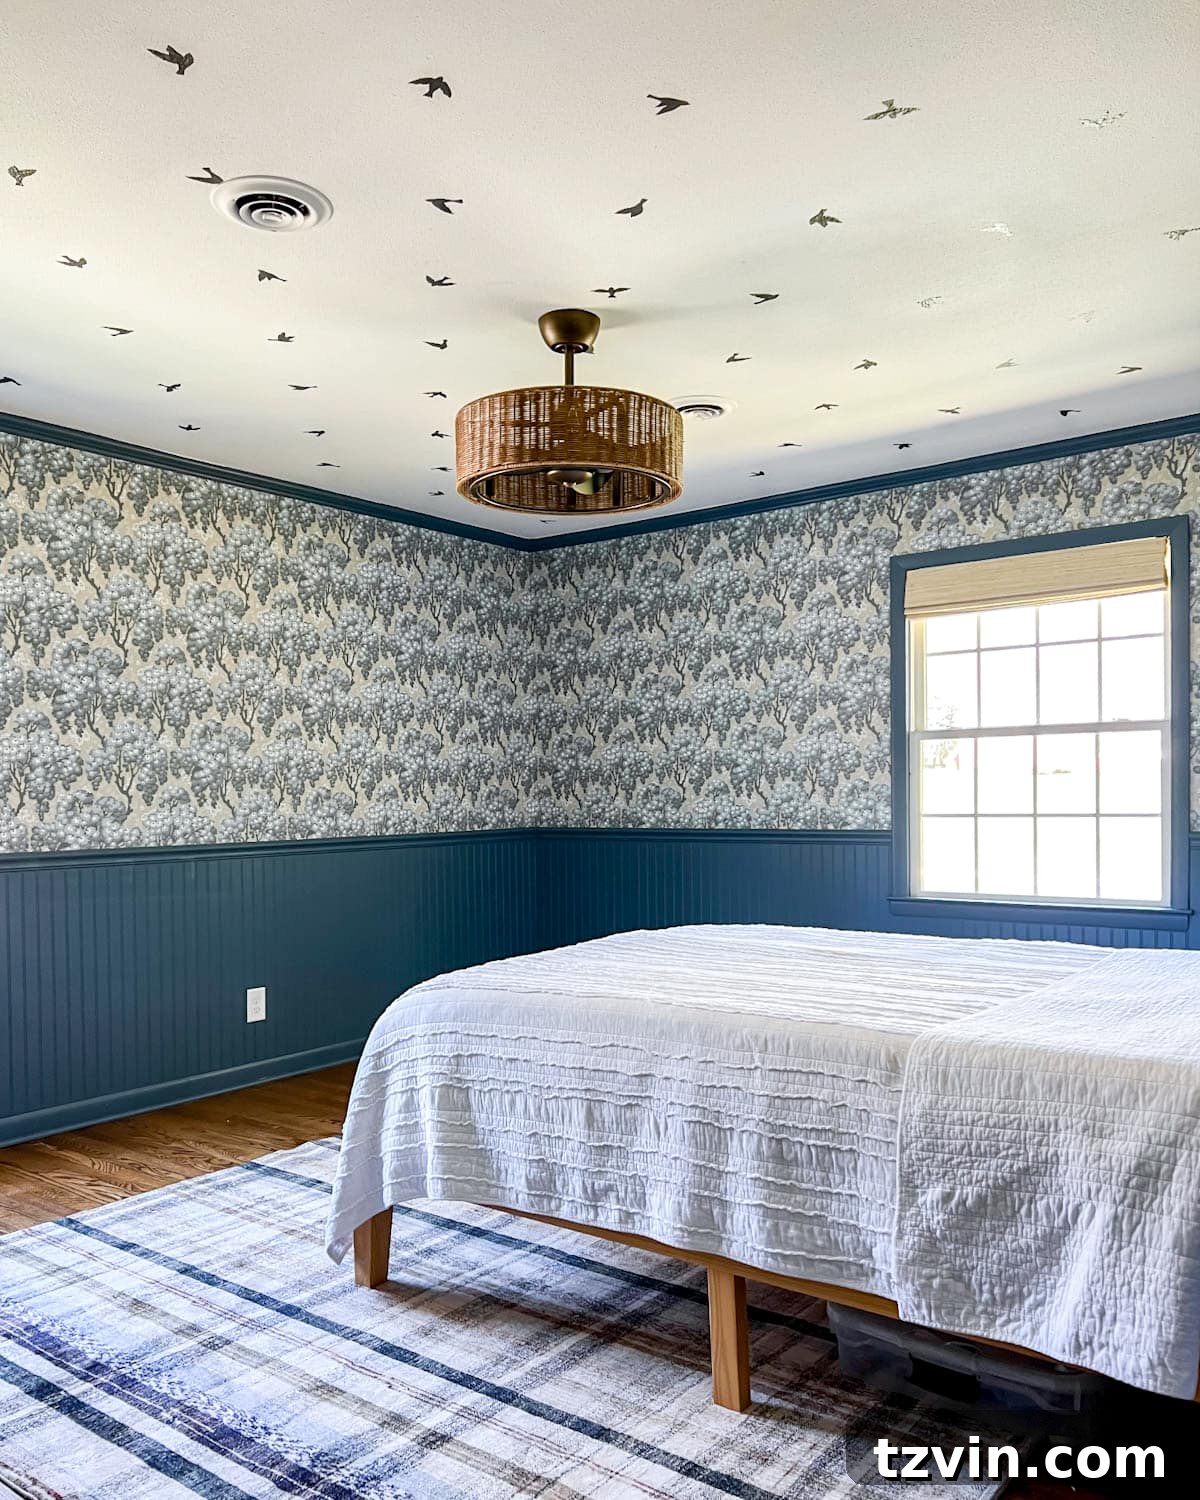
I am absolutely enamored with how this whimsical ceiling turned out! Despite the physical demands (a chiropractor visit might be in order!), the end result was unequivocally worth every moment. It has transformed Olivia’s room into a truly unique and enchanting space, perfectly embodying the maximalist vision we set out to achieve.
For our family, birds hold a particularly deep and sentimental meaning, making this specific design choice incredibly poignant:
- Olivia’s grandfather is a talented artist renowned for his hand-carved and painted bird sculptures, which adorn our home.
- The theme of my and Robert’s wedding was birds, symbolizing love, freedom, and new beginnings.
- When we first brought Olivia home in 2012, her nursery, located in my parents’ spare room, was lovingly decorated with a charming bird motif.
So, a decade later, adding these beautiful bird decals to her ceiling feels like a profound “full circle moment” – a beautiful continuation of a cherished family theme, weaving together memories and creating new ones in her evolving space. 🥹 This project proves that decor can be more than just aesthetics; it can be a reflection of personal history and enduring love.
If you’re inspired to add a unique, budget-friendly, and personal touch to your home, consider the transformative power of faux wallpaper decals on your ceiling. It’s a project that delivers dramatic results with surprising ease and endless customization possibilities.
Expand Your Creativity: More Budget Decorating Ideas
Looking for more ways to infuse style into your home without breaking the bank? Explore these additional budget-friendly DIY projects that offer creative solutions for transforming various spaces:
- Innovative Window Film Ideas to Create Decorative Glass Around Your Home for Less
- Craft Your Own: DIY Floral Block Print Outdoor Rug and How to Make a Stencil with Cricut
- Beyond the Canvas: 20 Creative DIY Wall Decor Ideas for Your Blank Walls