Transform Your Outdoor Dining Table: A DIY Faux Driftwood Makeover Inspired by Serena & Lily
Have you ever looked at a piece of furniture you own and thought, “Why haven’t I tackled this project sooner?” For many of us, the idea of updating old, weathered outdoor furniture can feel daunting, leading to months, or even years, of walking past an eyesore. But what if I told you that achieving a high-end, designer-inspired look for your outdoor dining area could be surprisingly simple and incredibly rewarding? This is precisely one of those projects – a transformation so impactful, yet so straightforward, you’ll wonder why you waited so long!
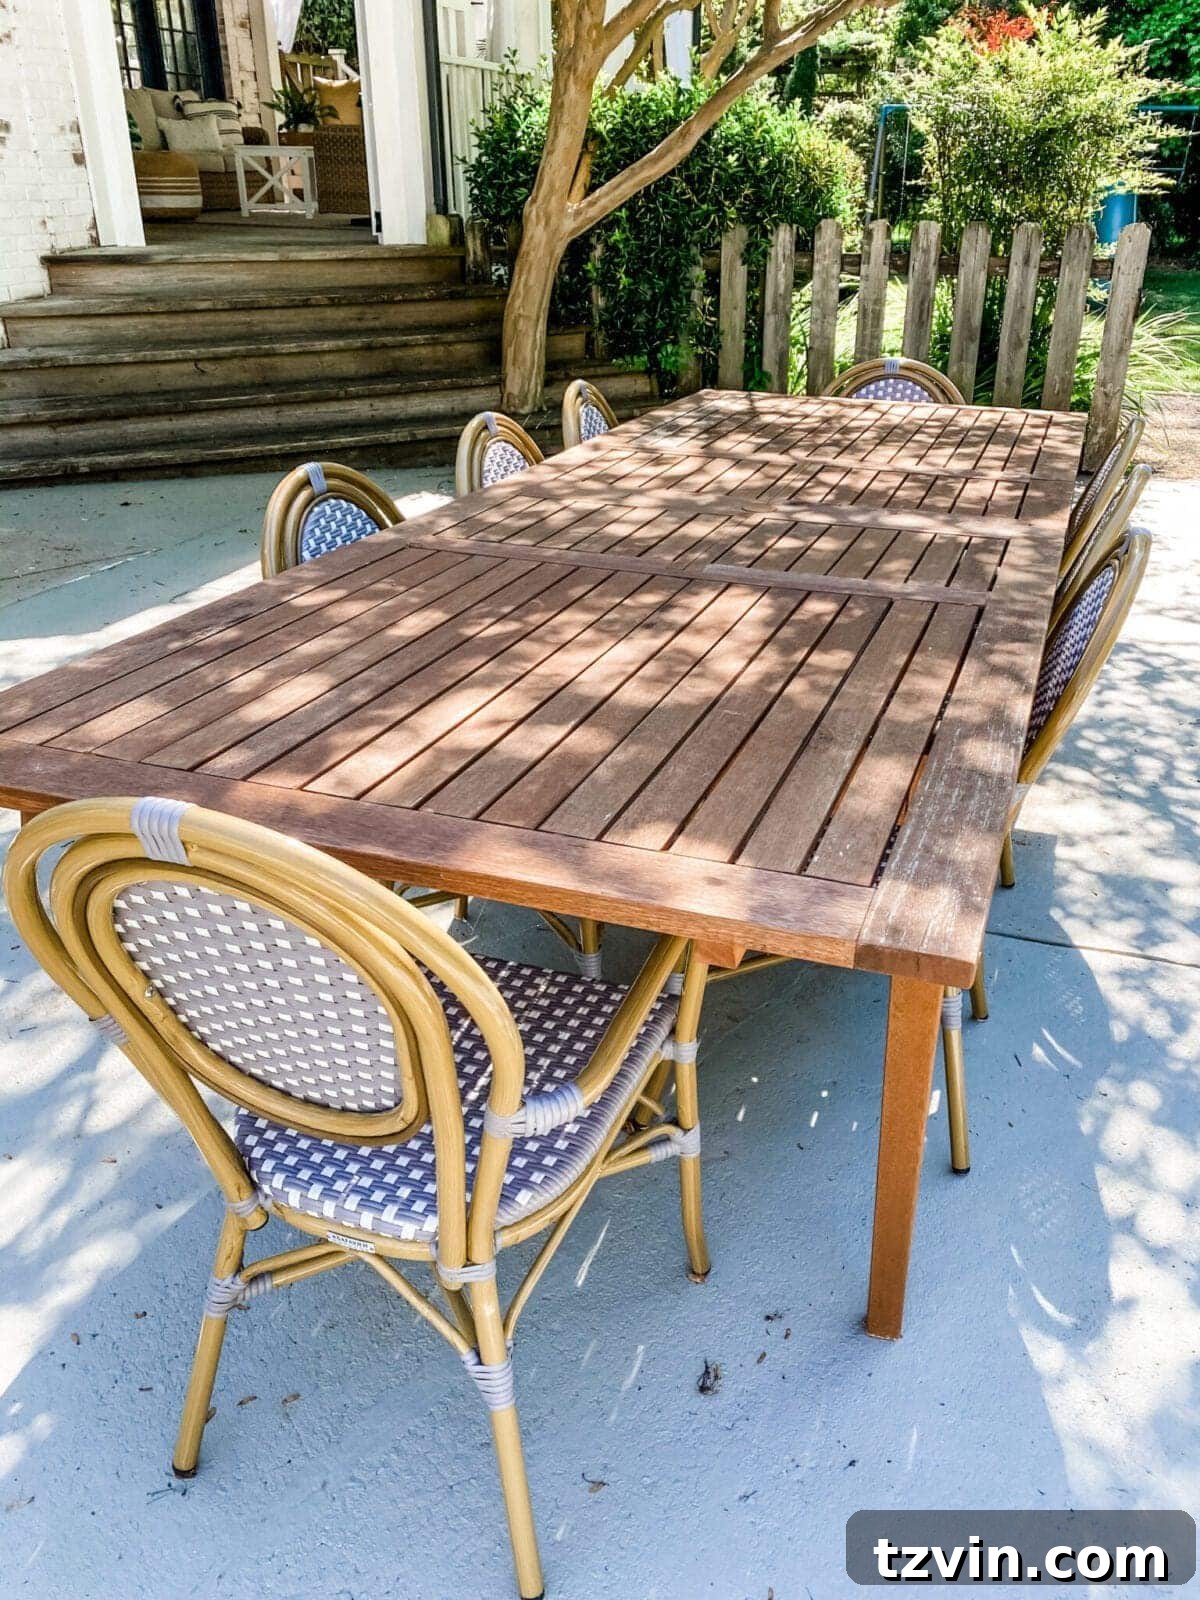
Our tired outdoor dining table was definitely in need of a serious intervention. It had seen better days, showing all the signs of enduring countless seasons, from scorching sun to heavy rains. Its faded, peeling finish was a stark contrast to the inviting oasis we envisioned for our backyard. Rather than splurging on a brand new, expensive piece, we decided to embark on a budget-friendly DIY journey to give it a complete facelift.
The inspiration for this project came from the elegant, coastal-chic aesthetic of Serena & Lily. Their outdoor dining tables, often featuring beautiful driftwood finishes, exude a relaxed sophistication that perfectly captures the essence of breezy summer living. However, with prices easily soaring into the thousands – like this stunning example – purchasing one wasn’t a practical option for our budget. This challenge sparked the idea: could we replicate that coveted driftwood look using simple, accessible materials and a bit of elbow grease? The answer, as you’re about to discover, is a resounding yes!
This comprehensive guide will walk you through transforming your own old outdoor dining table into a stunning, Serena & Lily-inspired masterpiece with a faux driftwood finish, all achieved with the power of spray paint. Get ready to revitalize your outdoor space and impress your guests with a beautifully updated table that looks far more expensive than it actually was to create.
Essential Supplies for Your Driftwood Table Makeover
Before diving into the creative process, gathering the right tools and materials is crucial. Planning ahead ensures a smooth and efficient project. Here’s a list of everything you’ll need to achieve that perfect faux driftwood effect:
- Fine-Grit Sandpaper: Essential for smoothing rough surfaces and ensuring proper paint adhesion. Look for 180-220 grit for a gentle but effective sanding.
- Orbital Sander with Pads: (Optional but highly recommended if you have large areas to sand) If you already own one, this will significantly speed up the initial sanding process. Just ensure you use appropriate sanding pads.
- Drop Cloth: Protect your surrounding area from overspray. A large canvas or plastic drop cloth is ideal.
- Kilz Original Spray Primer: (We used 4 cans) This oil-based primer is a powerhouse for blocking old stains and ensuring your new paint adheres perfectly without bleed-through. Its spray format makes application quick and even.
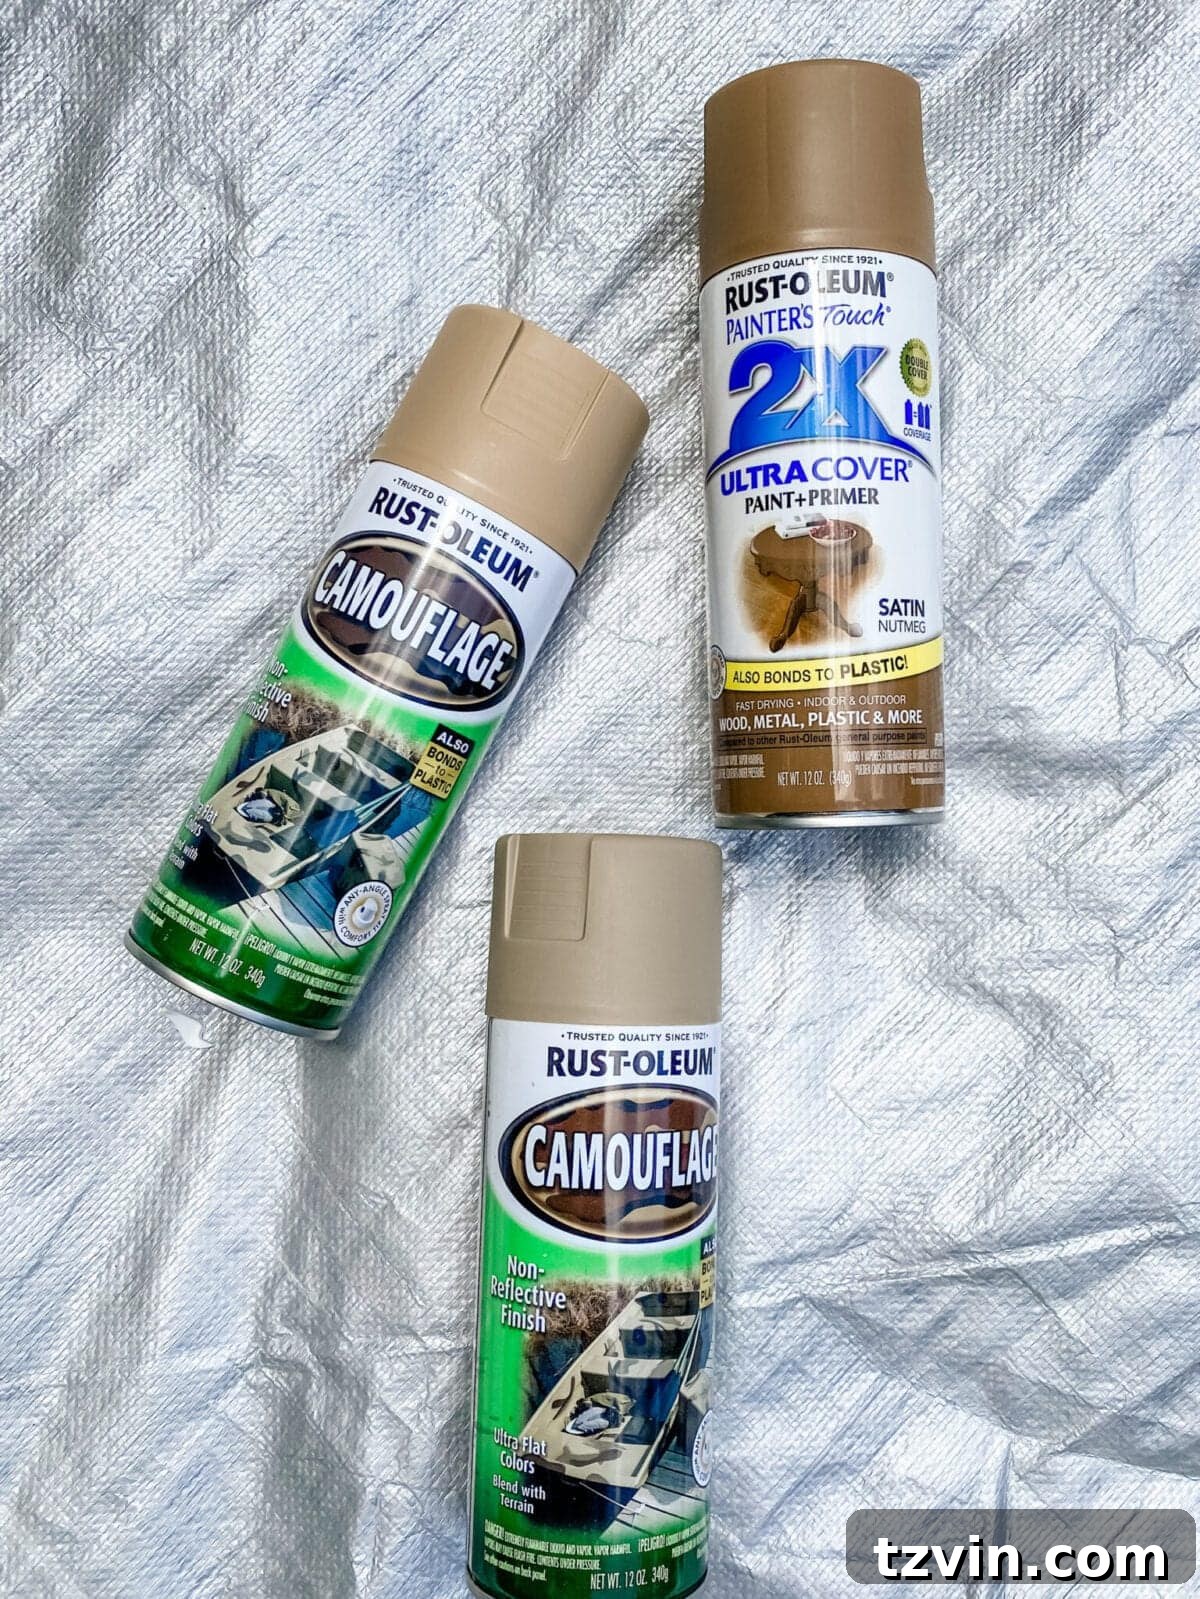
- Rustoleum Ultra Flat Khaki Camouflage Spray Paint: (We used 4 cans) This will serve as your primary base color, providing the essential muted tone for a realistic driftwood effect. The “ultra flat” finish is key to avoiding an unnatural sheen.
- Rustoleum Ultra Flat Sand Camouflage Spray Paint: (1 can) This lighter shade will be used for subtle layering, adding depth and variation to the driftwood texture.
- Rustoleum Satin Nutmeg Spray Paint: (1 can) A slightly richer, warmer brown that will provide the final, nuanced layer, bringing out the “wood grain” character of the faux finish.
- Spray Paint Grip: (Not strictly necessary but highly recommended for comfort and even application on larger surfaces) This attachment clips onto your spray paint can, providing a comfortable trigger handle and reducing hand fatigue, which is invaluable for a project of this scale.
Having these items ready before you begin will make your DIY outdoor dining table makeover a seamless and enjoyable experience.
Step-by-Step Guide to Your Faux Driftwood Finish
Let’s transform that tired table! Follow these detailed steps to achieve a stunning, high-end driftwood look that will elevate your outdoor living space.
Step 1: Preparation is Key – Sanding the Surface
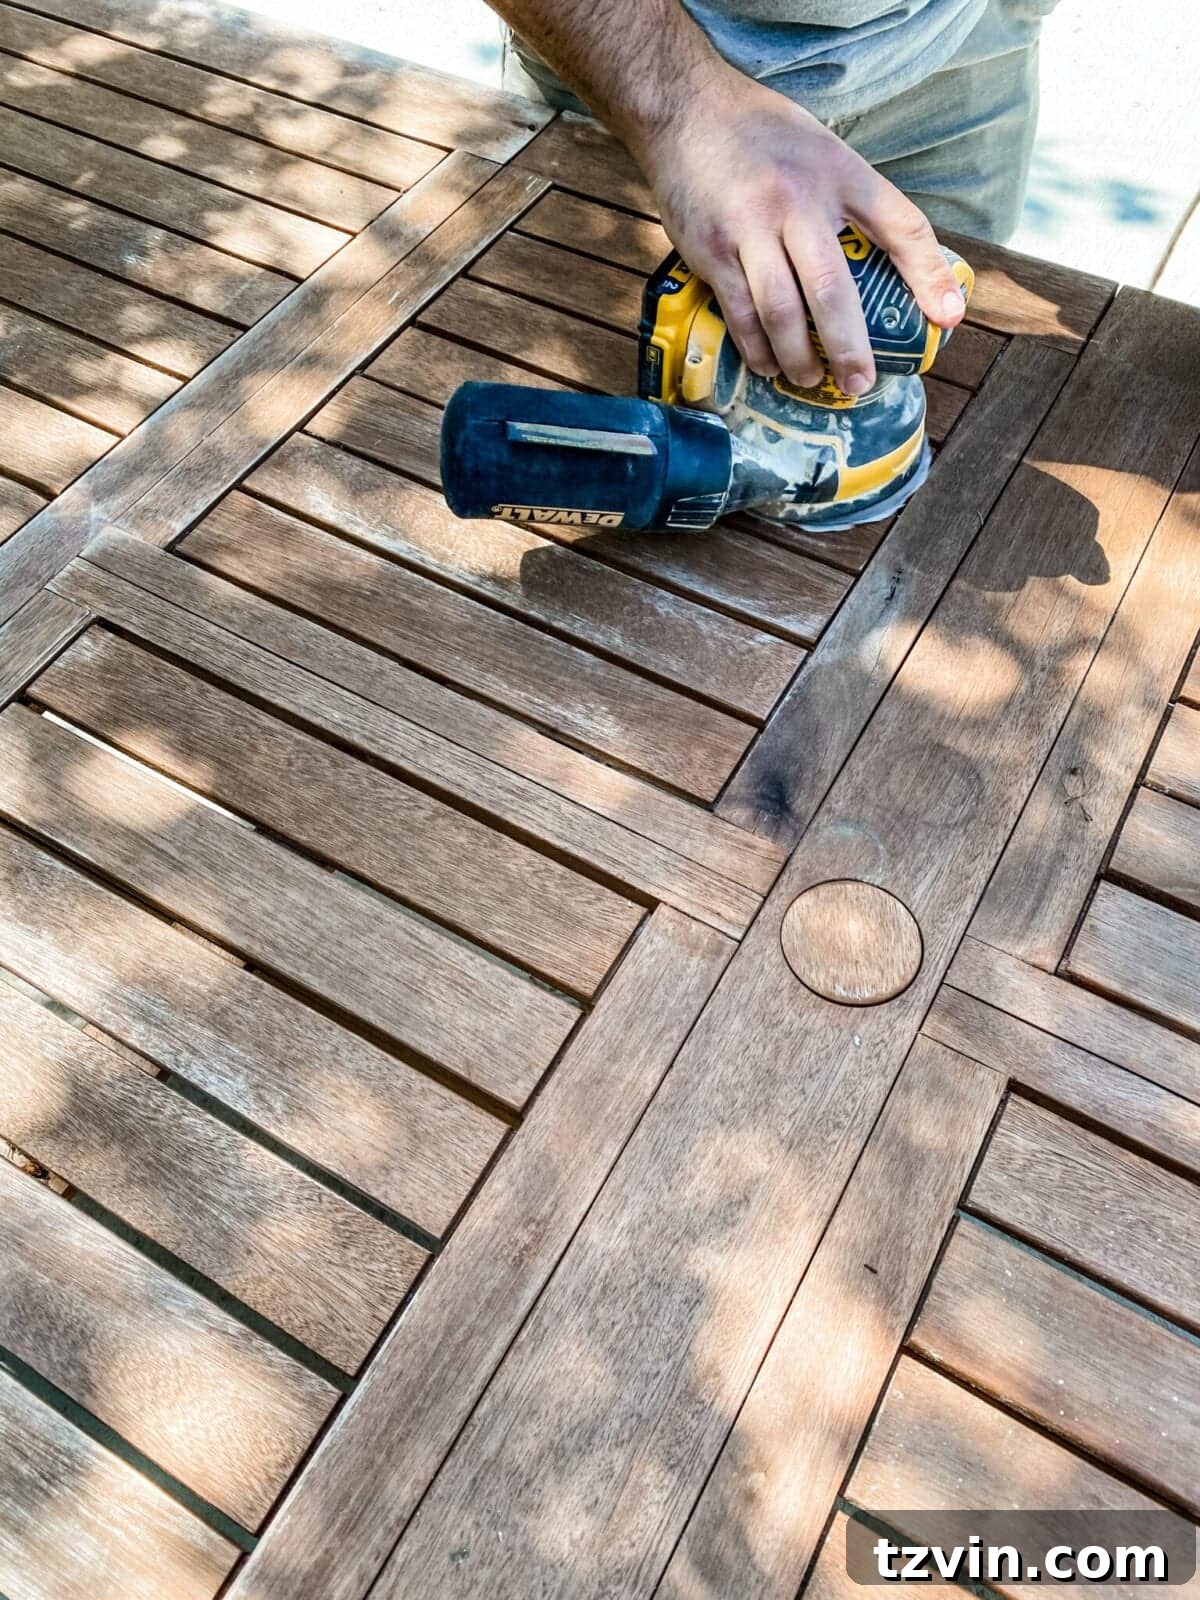
The first crucial step to any successful paint project is proper surface preparation. Begin by thoroughly cleaning your outdoor dining table to remove any dirt, grime, or loose debris. Once clean and dry, it’s time to sand. We focused on lightly sanding any rough spots and removing loose, flaking finishes from the tabletop and legs. This creates a smooth base and helps the new primer and paint adhere better.
While fine-grit sandpaper (180-220 grit) will work perfectly for minor imperfections, if your table has significant peeling or rough patches, an orbital sander can be a real time-saver. My partner, Robert, was quick to bust out the power tools, making quick work of smoothing the surface before I even had a chance to grab the manual sandpaper! Remember, the goal isn’t to strip the table completely, but to create a uniform, slightly scuffed surface for optimal paint adhesion.
Step 2: Priming for Perfection – Blocking Stains and Ensuring Adhesion
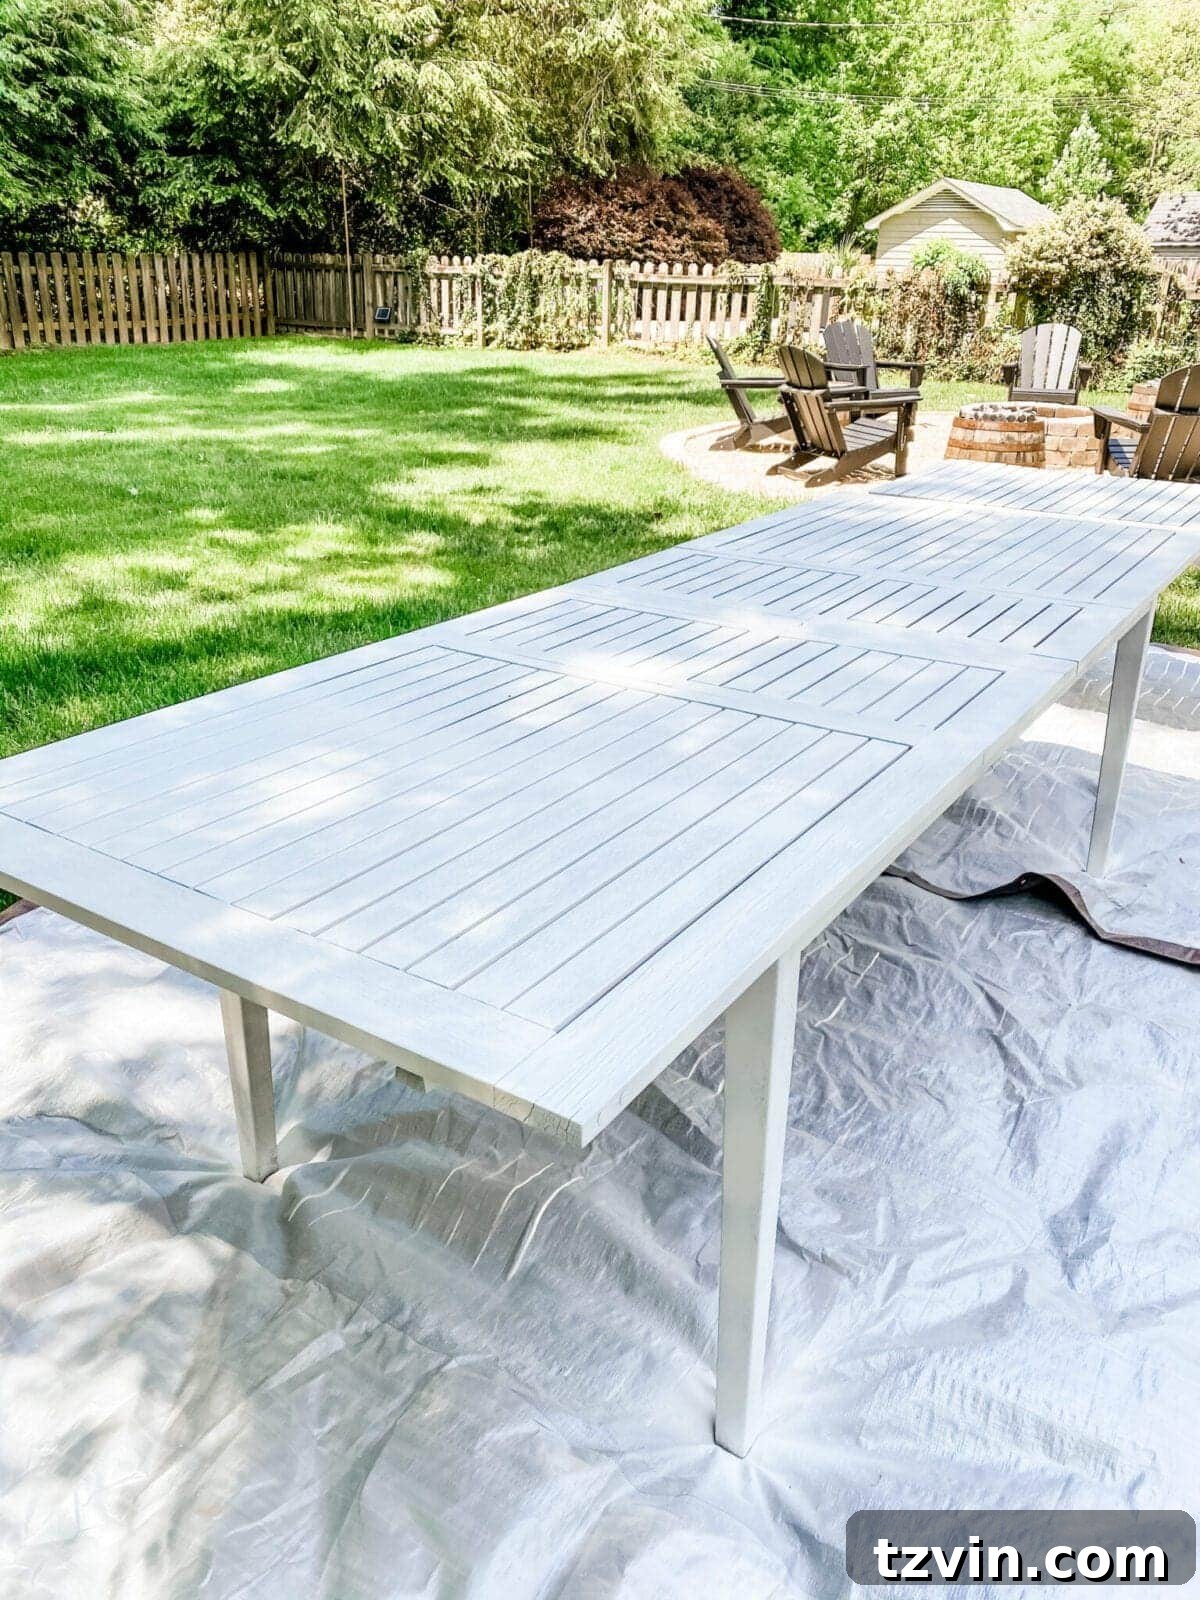
Once your table is sanded and wiped clean of any dust, lay down your drop cloth to protect the surrounding area. Then, it’s time to prime. We generously applied a coat of Kilz Original spray primer over the entire table. This step is non-negotiable, especially for older furniture that might have hidden stains or wood tannins that could bleed through your new paint colors, ruining your beautiful finish. Kilz primer is excellent for blocking these issues, providing a clean, consistent canvas for your faux driftwood look.
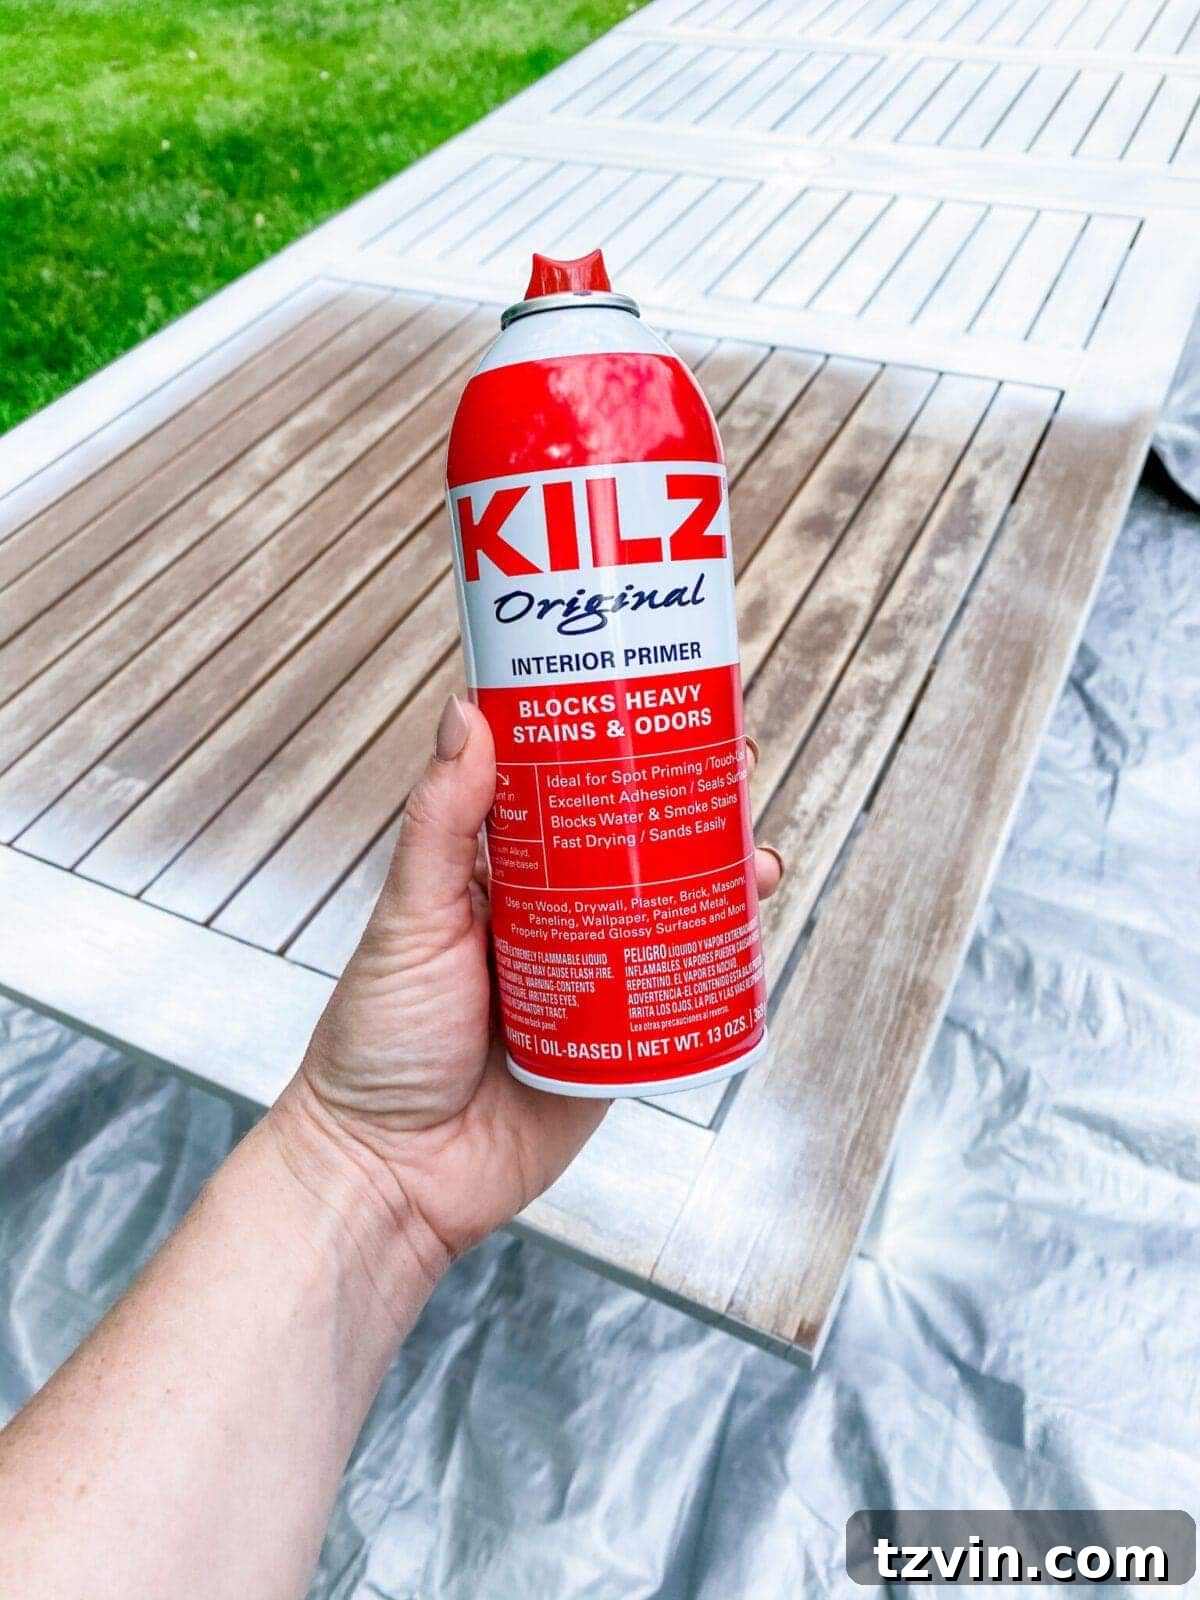
Allow the primer to dry completely according to the manufacturer’s instructions. You might be tempted to stop here and just paint the table white, as I initially considered. However, I knew our pool deck area would be dominated by grays and whites (from the fence, cabana, and concrete), and a touch of natural wood tone would add much-needed warmth and contrast. Plus, keeping a pure white outdoor table pristine can be a constant battle against dirt and weather, whereas a driftwood finish embraces natural variations.
The key to a convincing faux driftwood finish lies in creating dimension, not just a flat, single-color surface. This is why we carefully selected three distinct, yet harmonious, light brown spray paint colors. These shades will be layered to mimic the natural variations and weathered appearance of genuine driftwood.
Step 3: Laying the Foundation – The Khaki Base Coat
With the primer dry, we moved on to our base color. We applied two light, even coats of the Rustoleum Ultra Flat Khaki Camouflage paint to the entire table. When spray painting, always maintain a consistent, sweeping motion, moving the can past the edges of the furniture at the beginning and end of each pass. Avoid stopping the spray directly over the surface, as this can lead to drips and uneven application. Multiple thin coats are always better than one thick coat, allowing for better adhesion and a smoother finish. Using a comfort grip attachment during this step significantly helps in achieving an even spray and prevents hand cramping, especially on larger surfaces like a dining table.
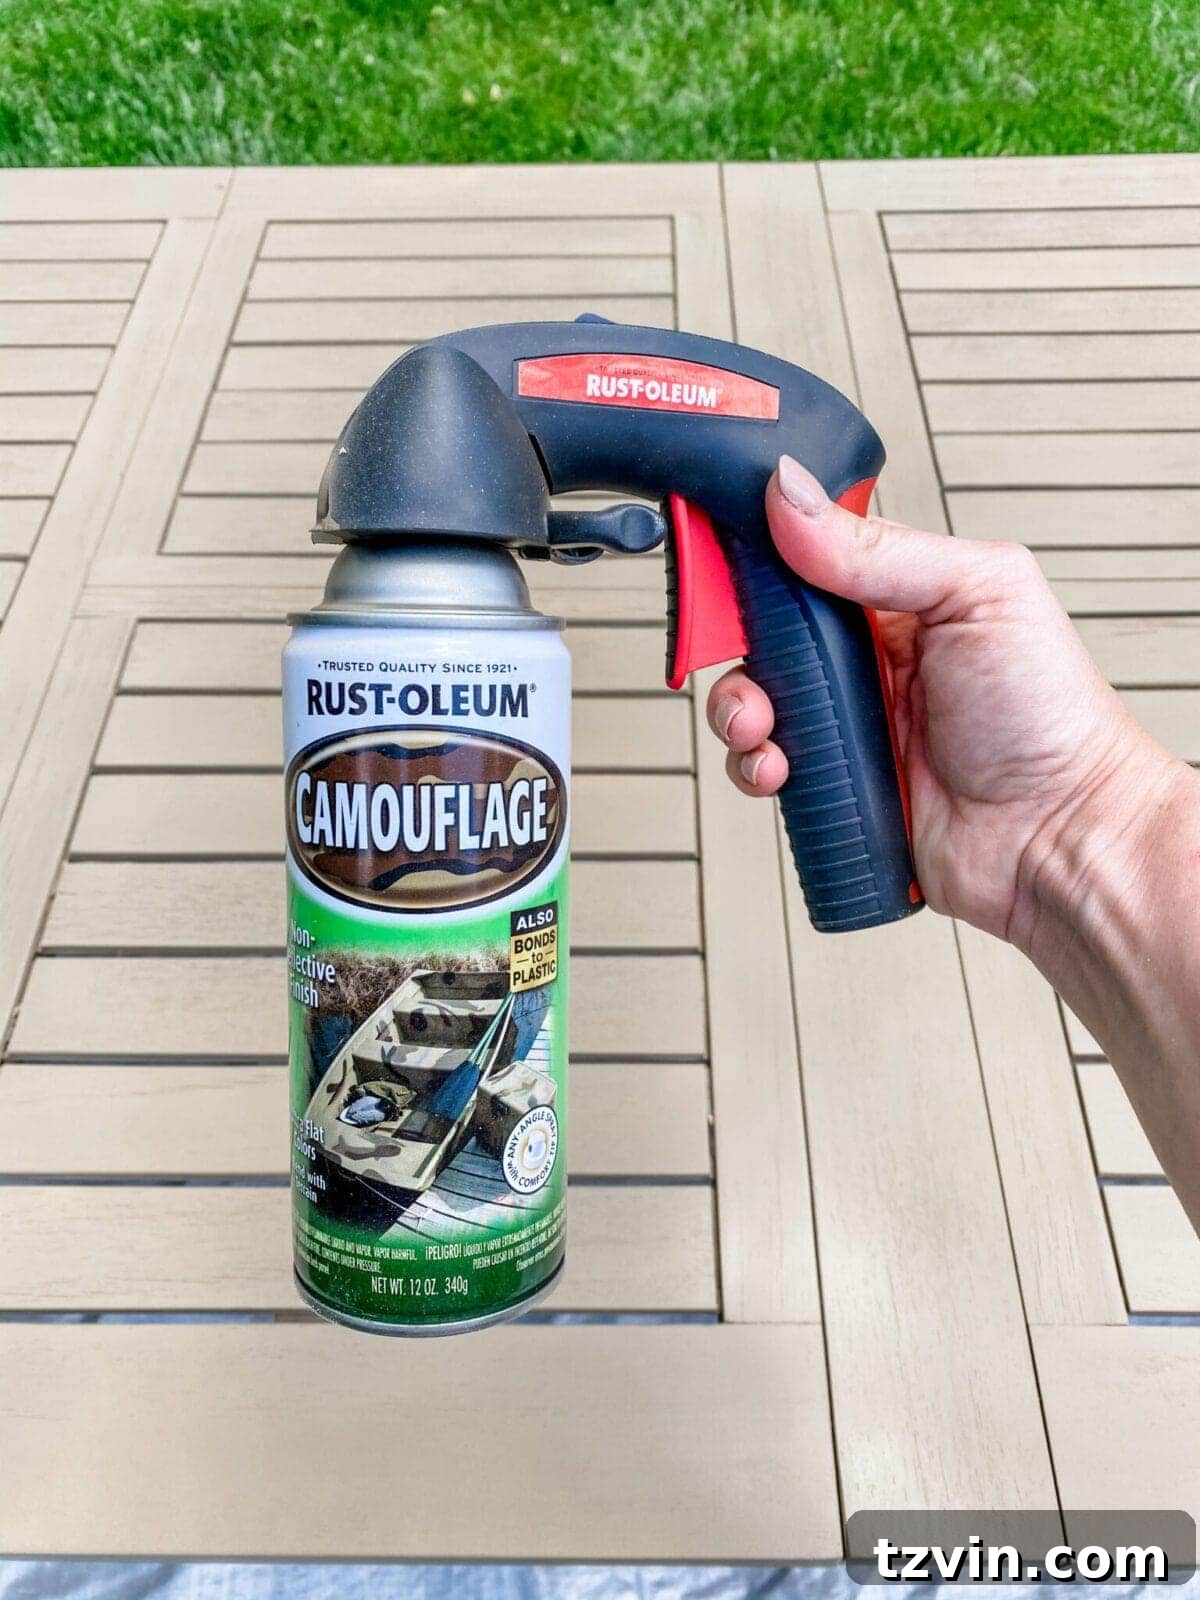
Allow each coat to dry to the touch before applying the next. This khaki shade forms the perfect neutral backdrop, setting the stage for the authentic driftwood texture we’re aiming for.
Step 4: Creating Depth and Texture – Layering the Colors
This is where the magic truly happens and the driftwood effect comes to life! Once the khaki base was completely dry, we began layering the lighter and warmer tones. For this step, it’s crucial to hold the spray paint can further away than the recommended distance – about 20 inches from the surface. This technique allows for a very light, almost dusty application, preventing harsh lines and creating a soft, natural blend.
First, take your Rustoleum Ultra Flat Sand Camouflage spray paint. Holding it far away, lightly dust the entire surface of the table. Think of it as a very subtle misting, aiming for gentle variation rather than full coverage. The goal is to let the underlying khaki show through, while adding highlights. Once satisfied with the “sand” layer, repeat the process with the Rustoleum Satin Nutmeg spray paint. Again, hold the can far away and apply an extra light layer, focusing on random areas to mimic the natural grain and aged look of driftwood. The nutmeg adds a touch of warmth and richness that completes the weathered appearance.
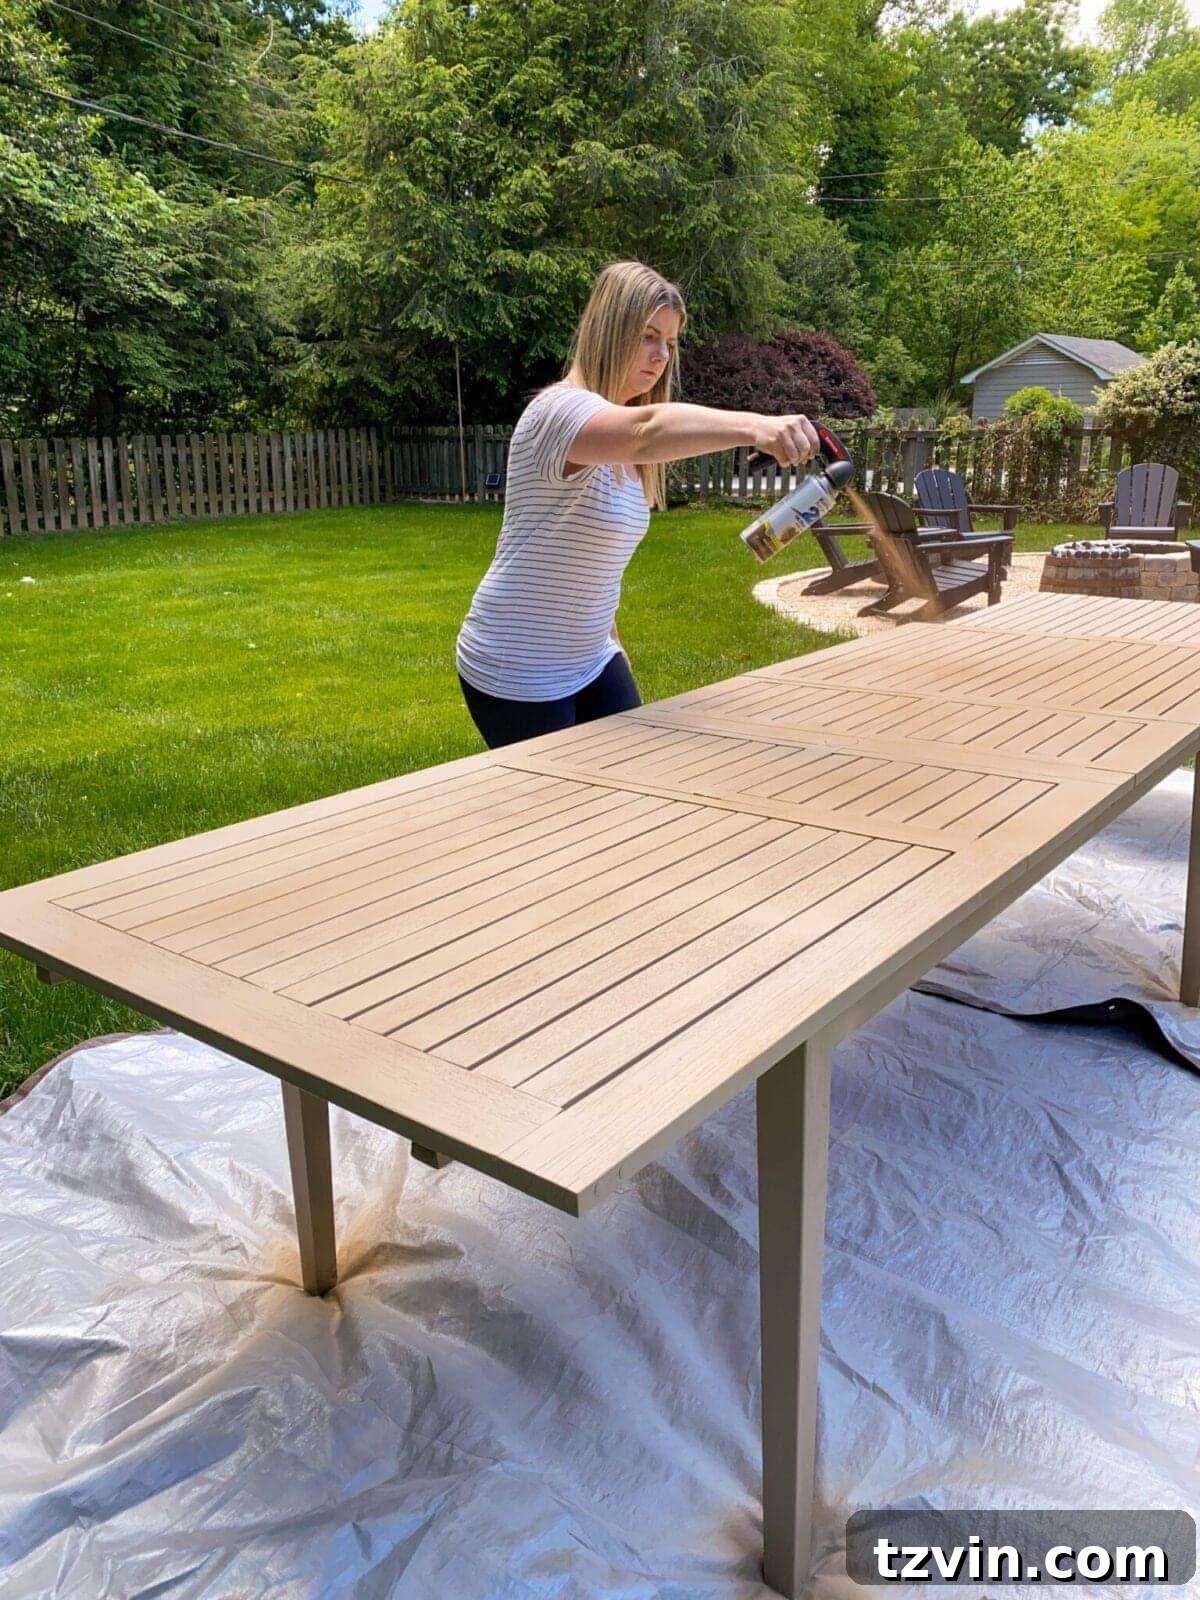
The beauty of this technique is that there’s no right or wrong way – aim for an organic, slightly imperfect look, as true driftwood isn’t uniform. Step back frequently to assess the overall effect and add more layers as needed until you achieve your desired level of depth and texture. Once satisfied, allow the table to dry completely, ideally for at least 24 hours, before placing anything on it.
The Stunning Reveal: Your Transformed Outdoor Dining Space
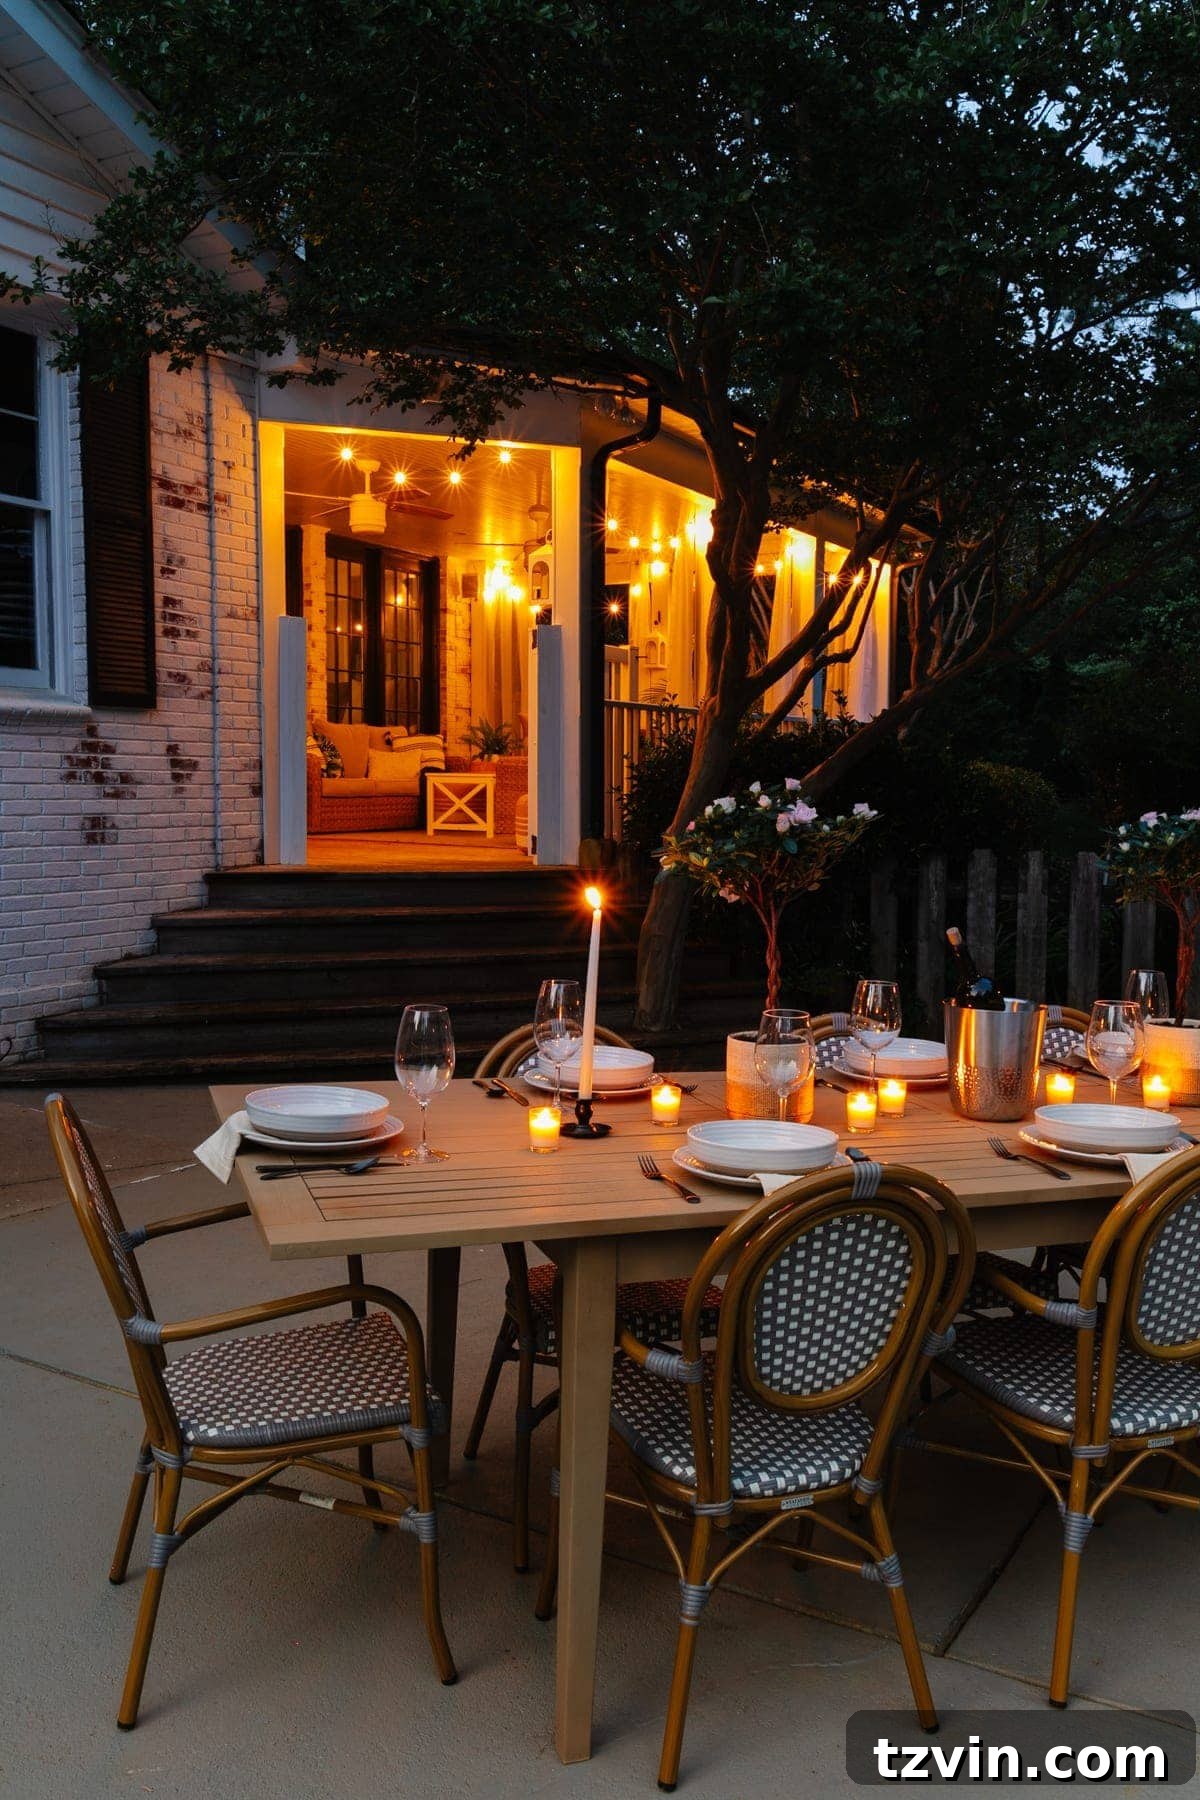
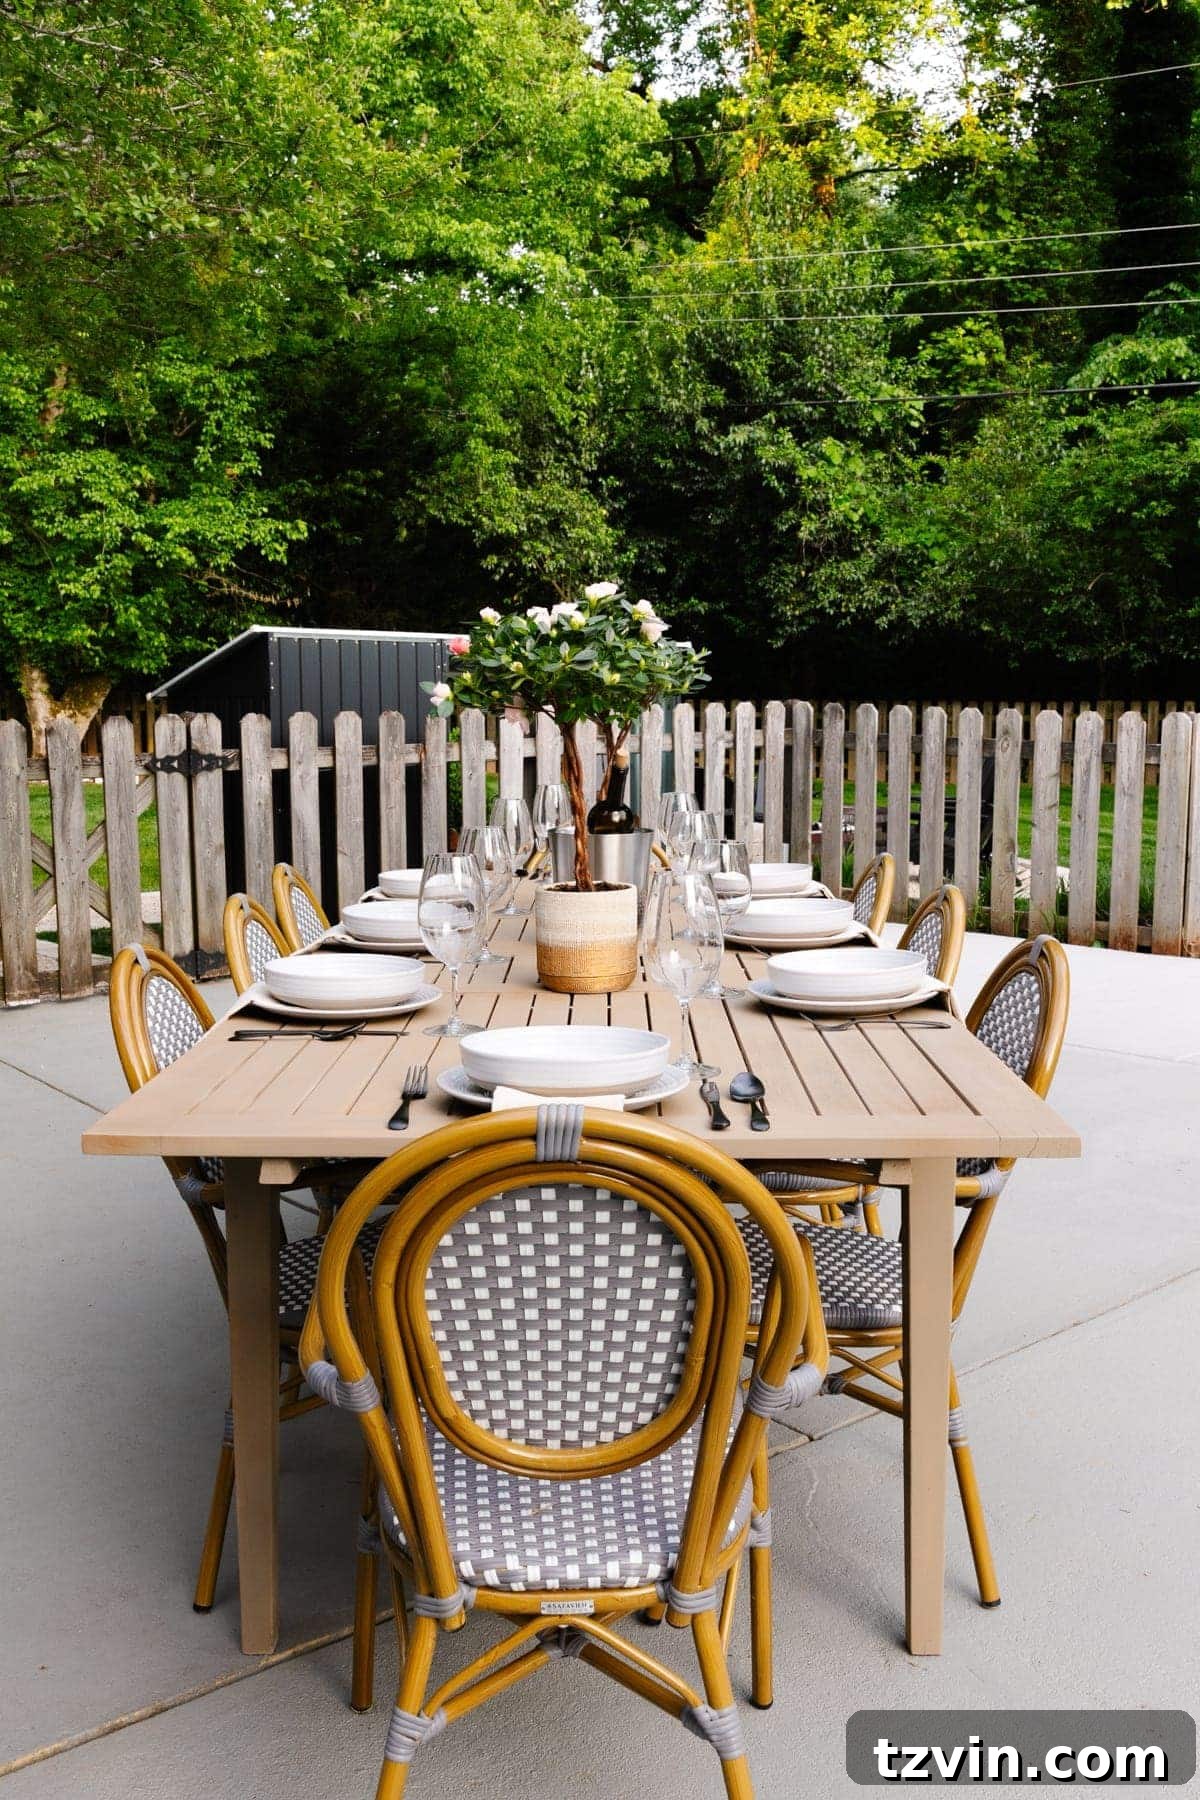
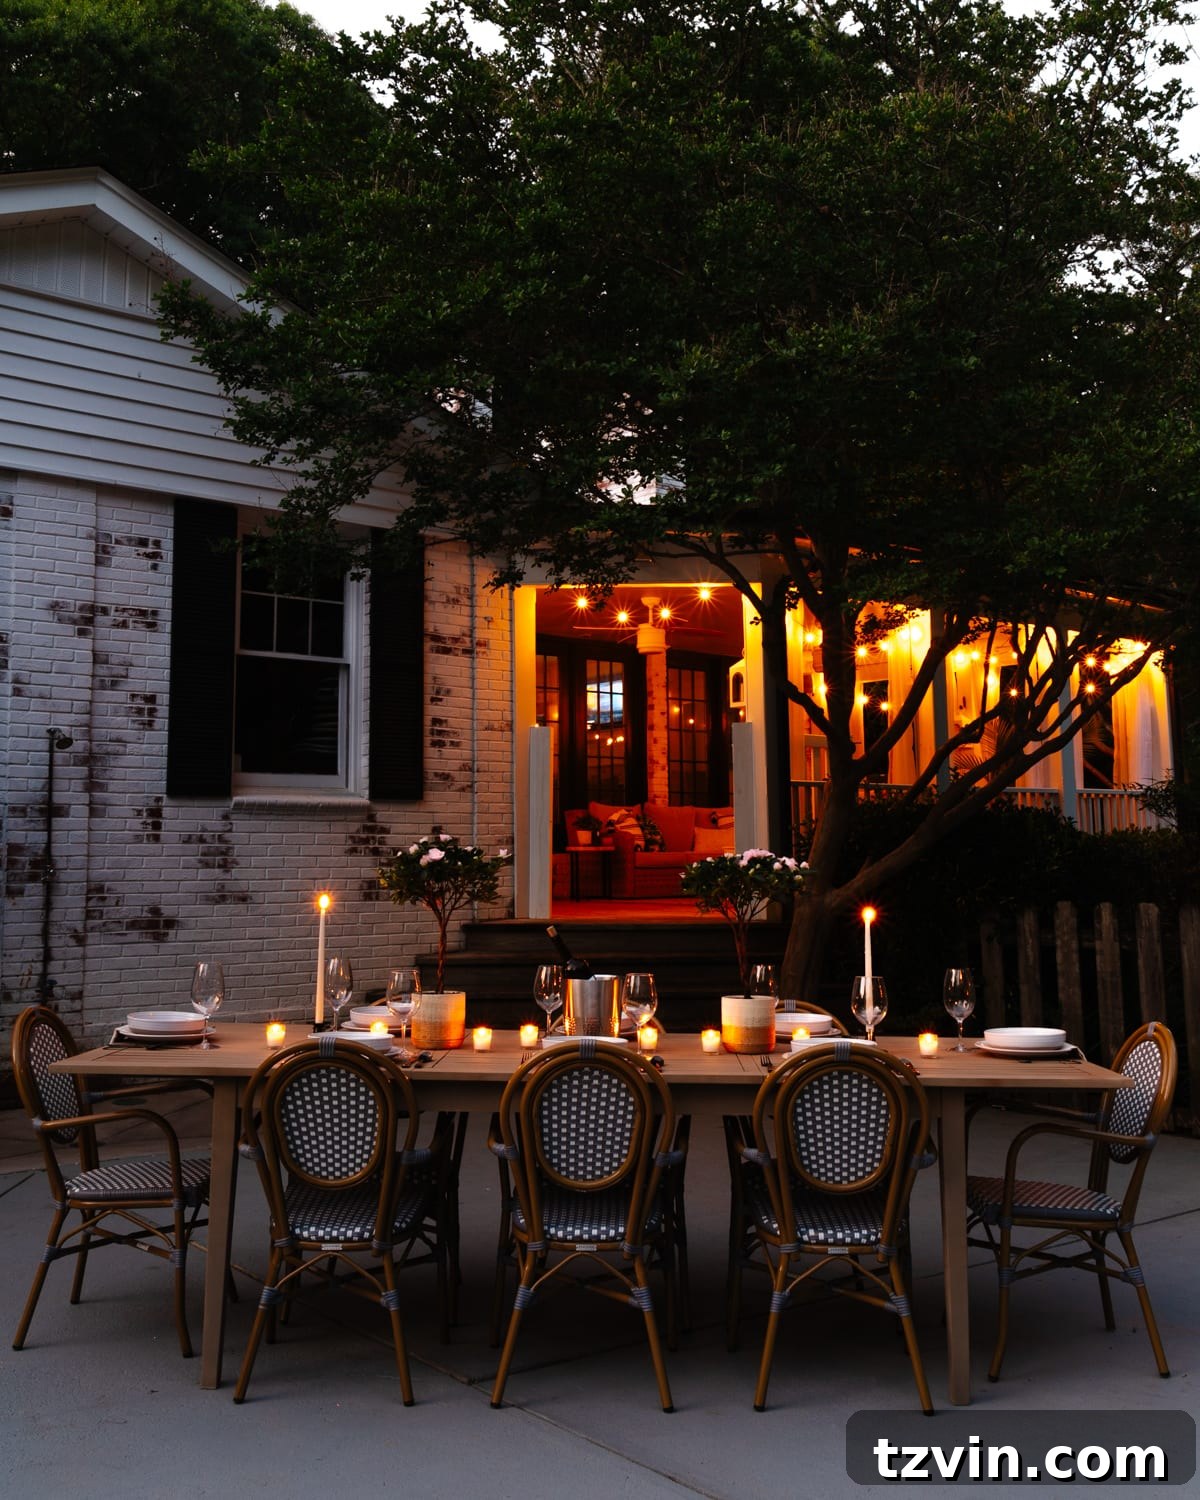
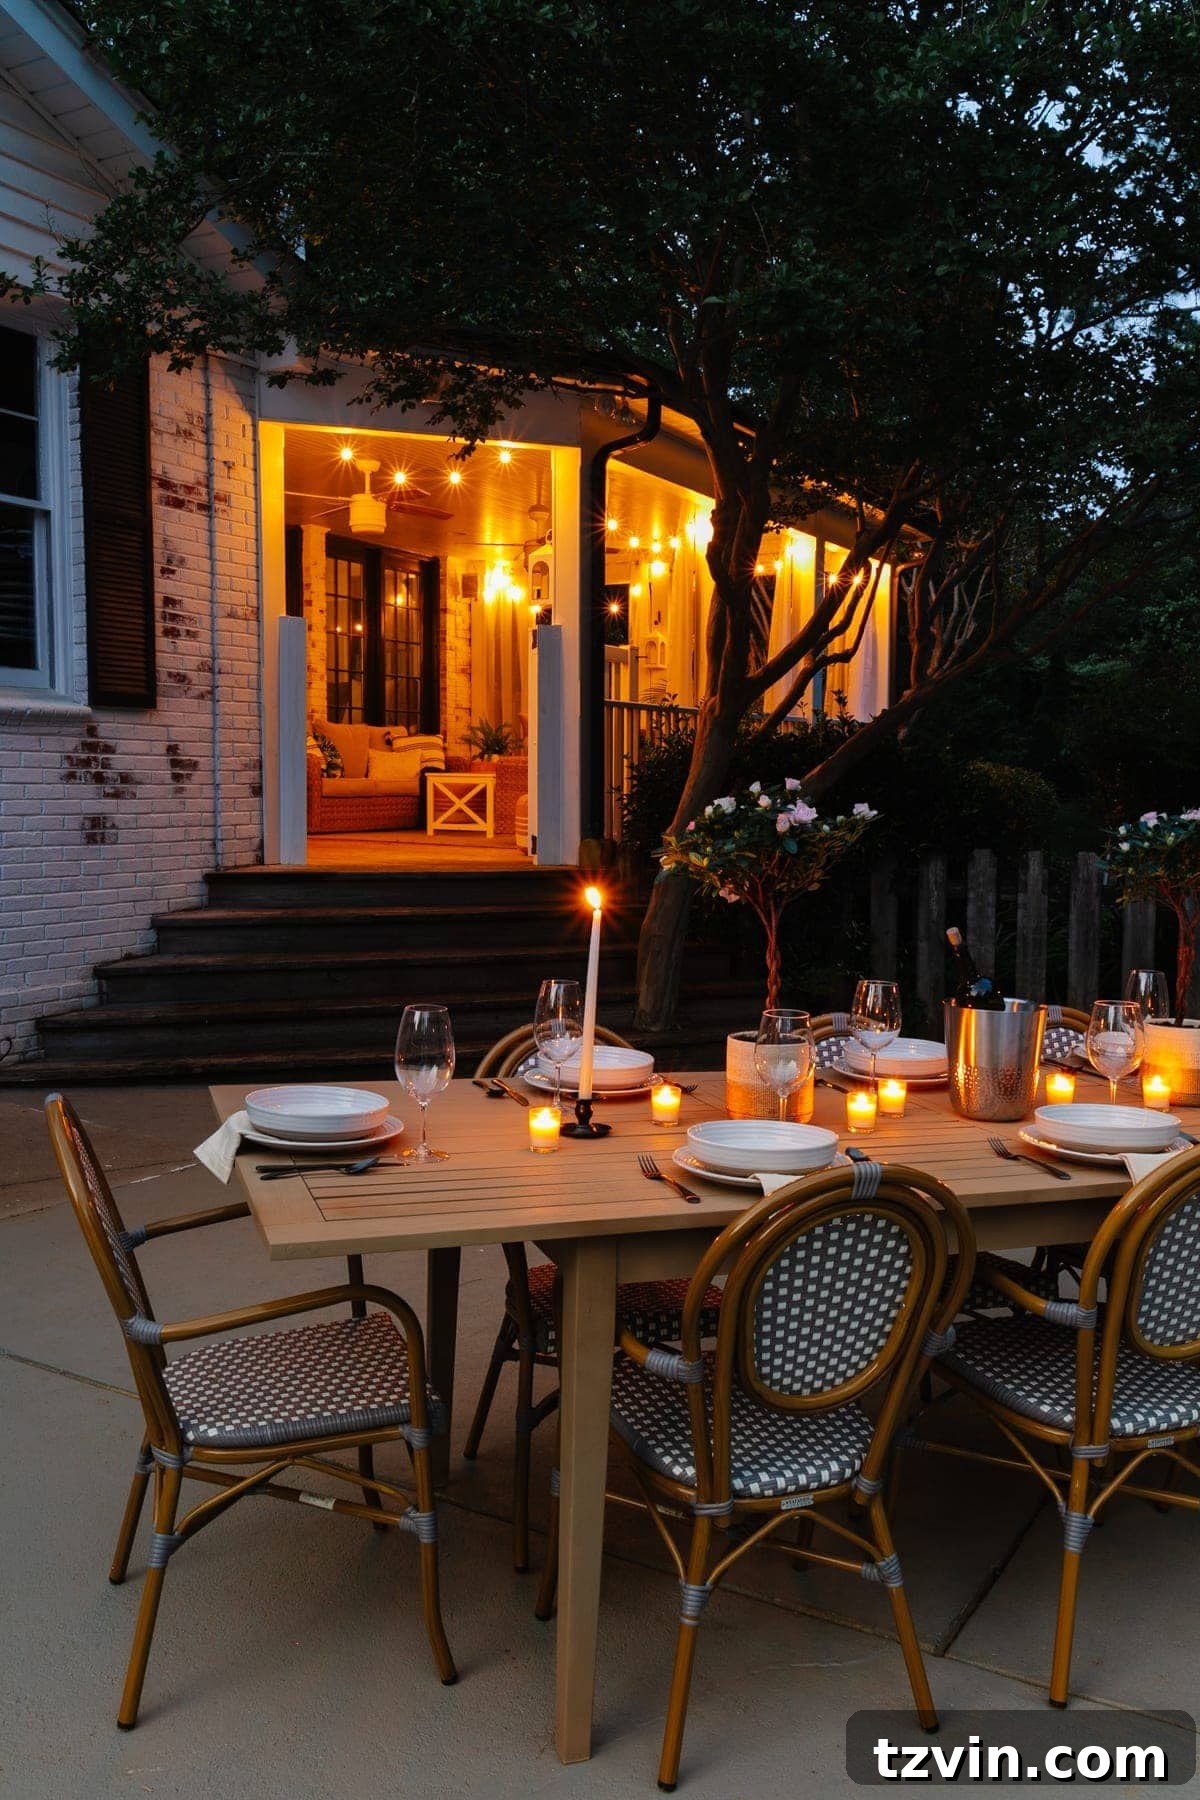
The transformation was truly remarkable! Once the paint layers had dried, in the gentle light of the evening, we set up our newly revived outdoor dining table just in time for a backyard cookout. The faux driftwood finish instantly elevated the entire patio, creating that effortlessly chic, coastal vibe we had envisioned. It perfectly complements our outdoor French bistro chairs, completing the look.
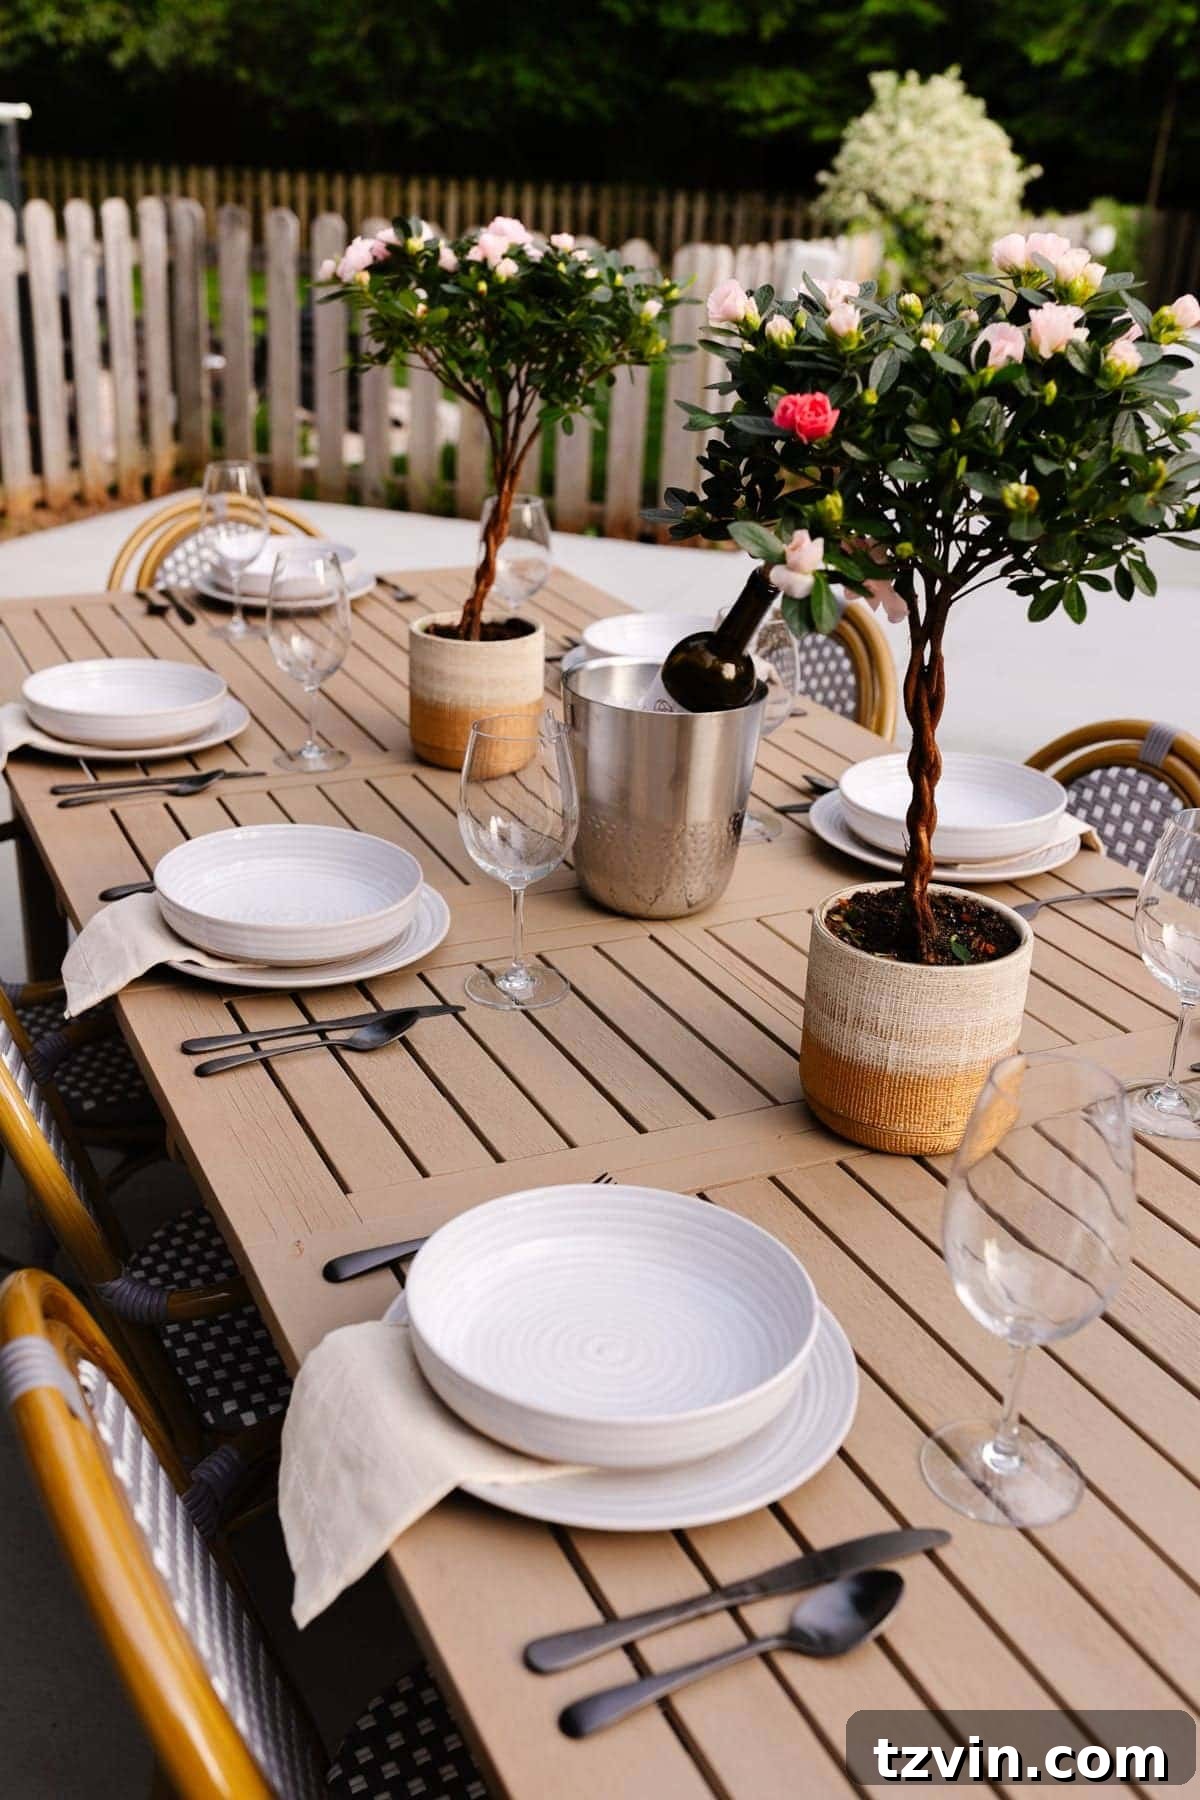
The occasion also happened to be my birthday! So, here’s to turning 34 and to the incredible power of a simple paint makeover. It truly feels wonderful to celebrate with friends and family around a table that looks brand new, without the hefty price tag. The rich, multi-toned finish truly mimics the aged beauty of genuine driftwood, bringing a serene, natural element to our outdoor living area.
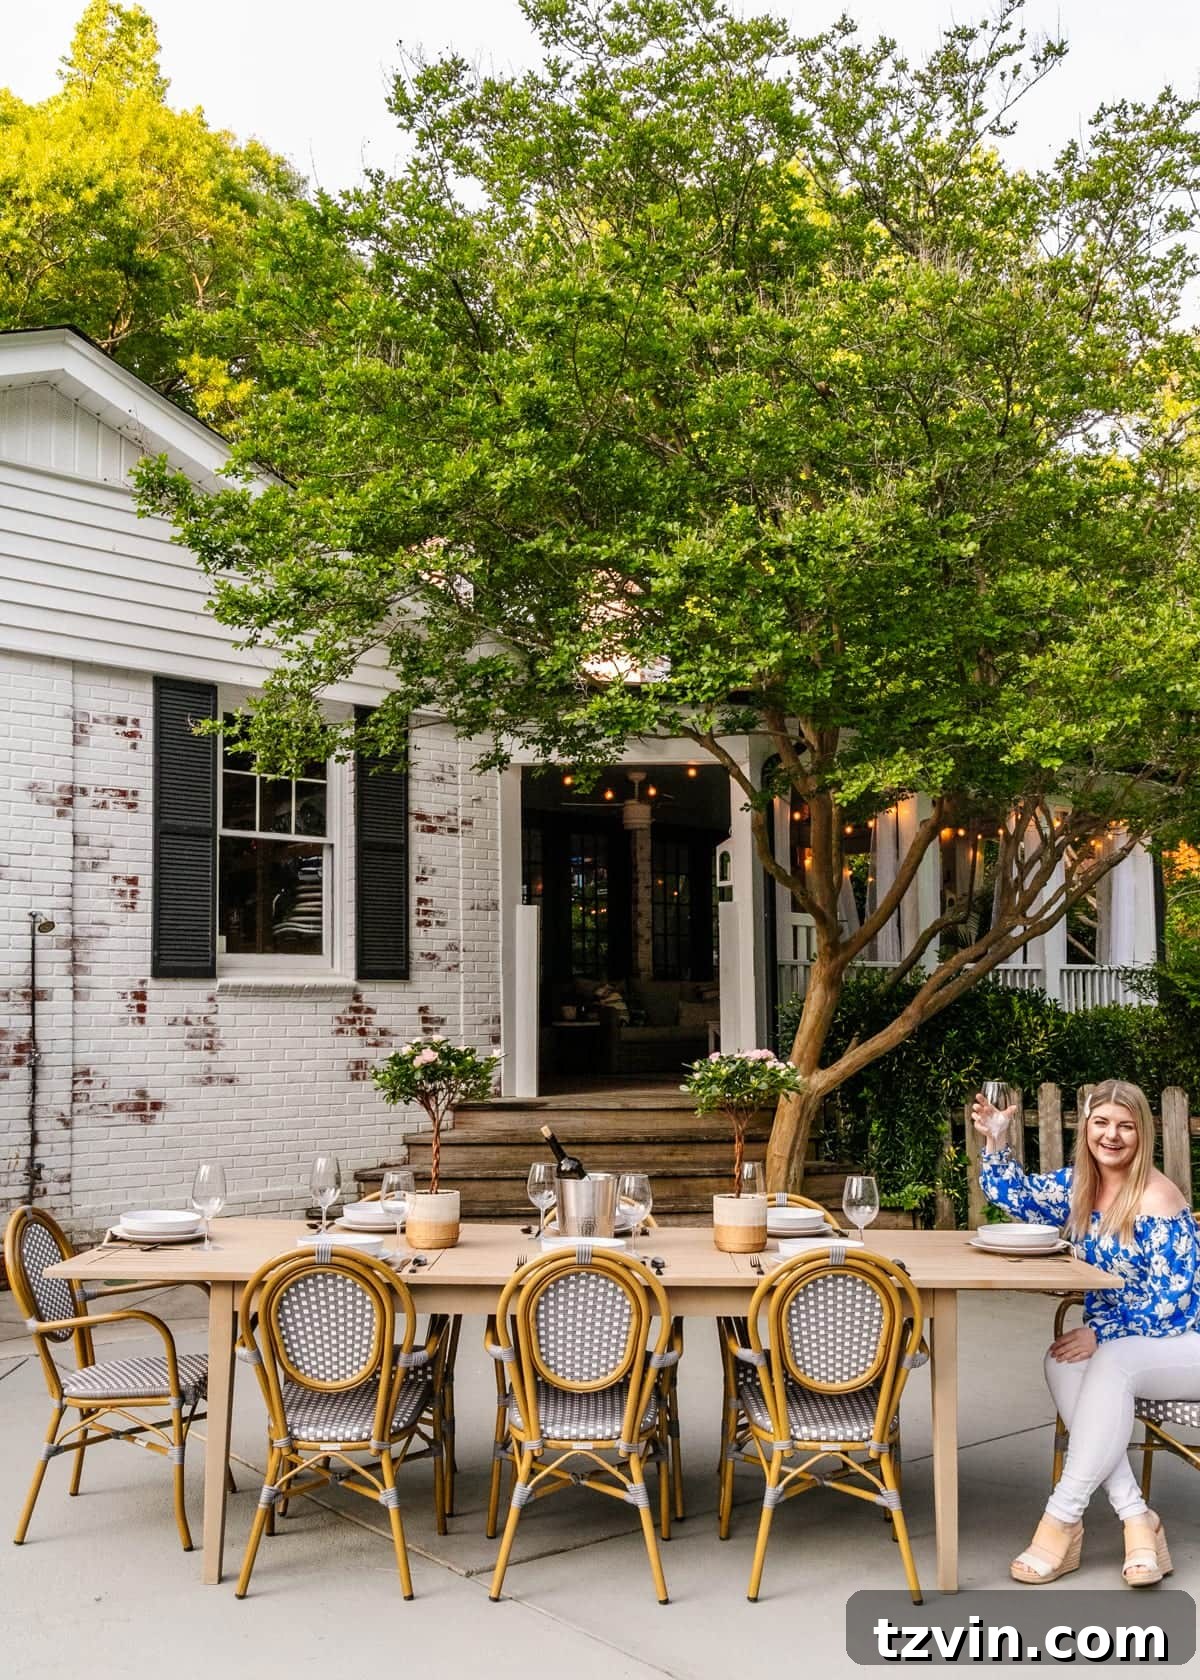
I am absolutely thrilled with how this outdoor dining table turned out. The depth created by the layered spray paints is fantastic, giving it an authentic, weathered appearance. I’m contemplating adding a clear matte glaze for an extra layer of protection and to potentially highlight the natural cracks and imperfections in the wood beneath, further enhancing that aged driftwood look. However, even without it, the transformation is a huge improvement from its “before” state. It perfectly blends durability with high-end style, making our outdoor space feel more cohesive and inviting.
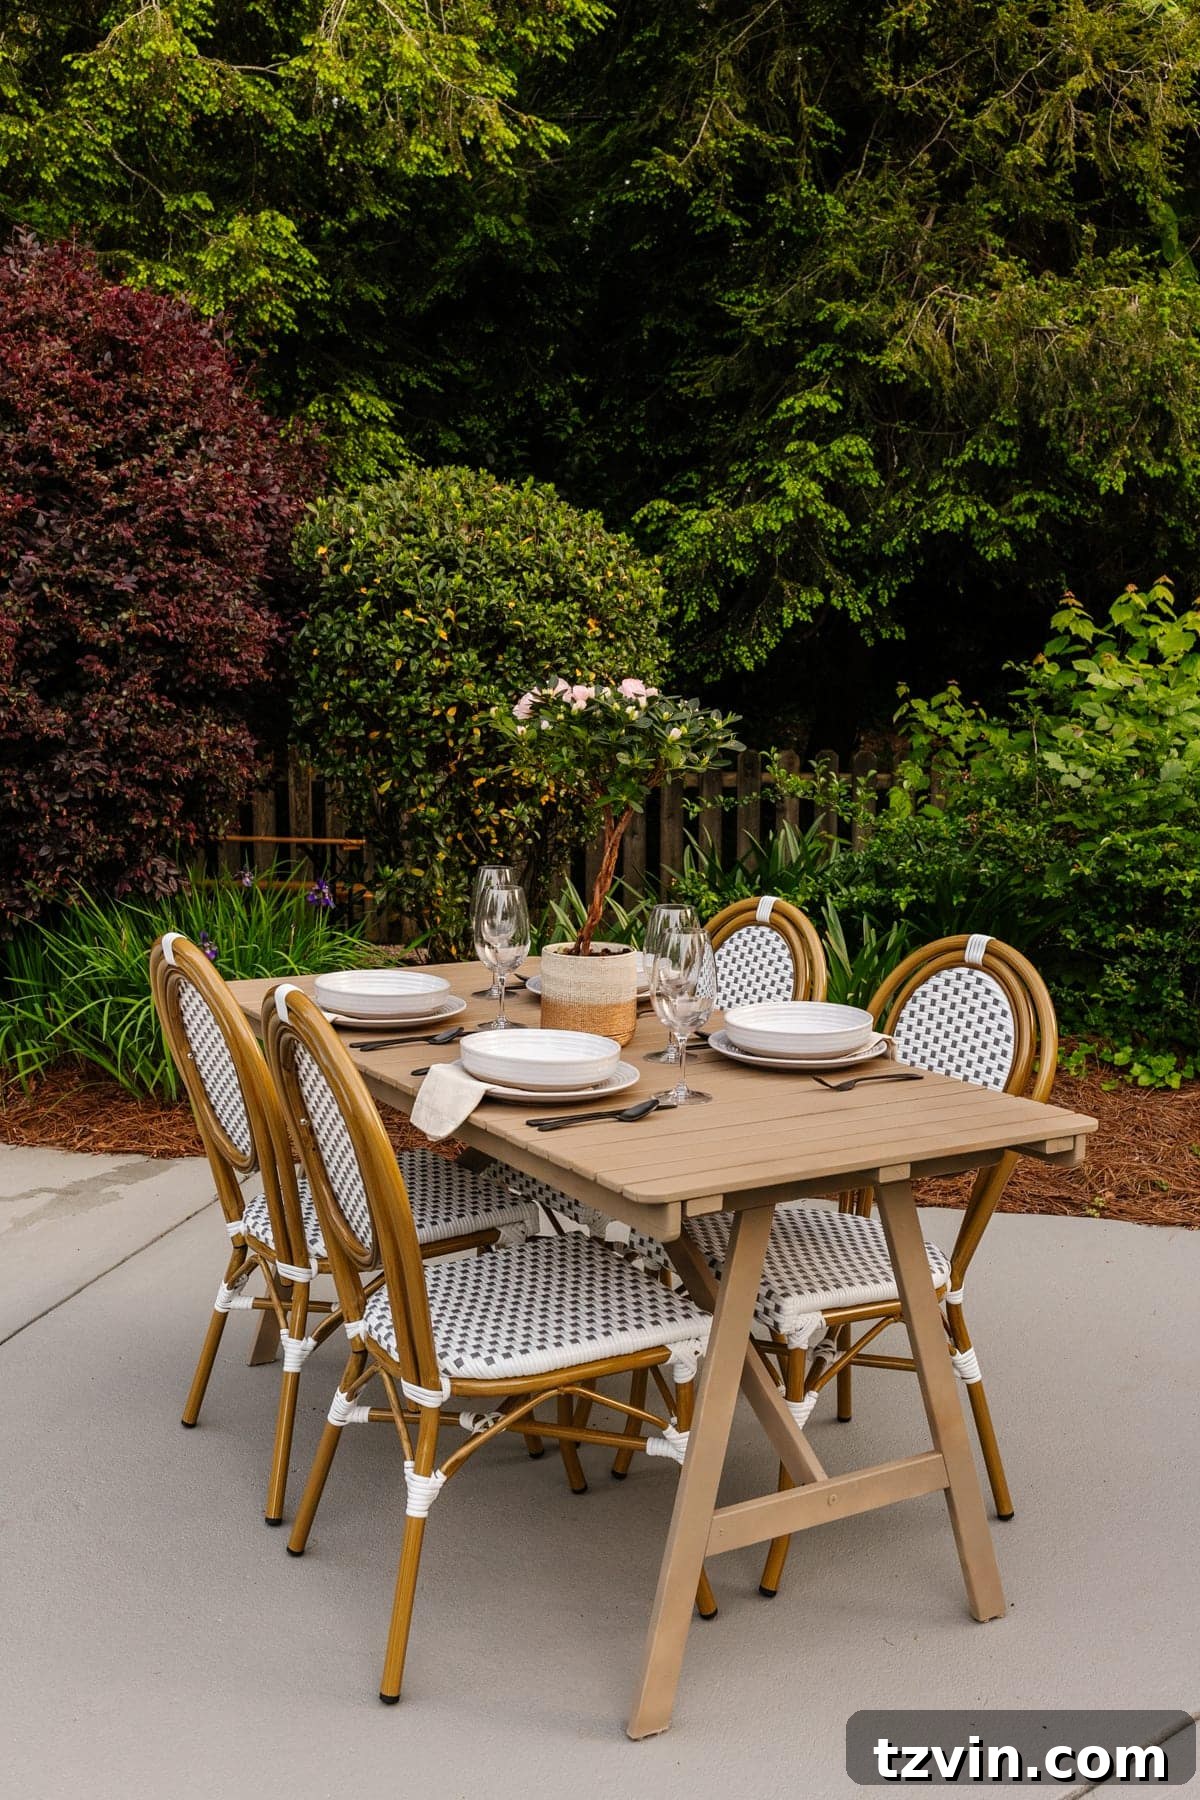
While we were in the midst of this exciting makeover, we couldn’t resist giving an old outdoor IKEA table the same treatment. The beauty of this faux driftwood technique is its versatility, making it perfect for coordinating multiple pieces of outdoor furniture. Now, both tables are refreshed and ready for a summer filled with al fresco dining, lively conversations, and countless memorable moments under the stars.
The soft glow of string lights and candlelight further enhances the relaxed ambiance of our backyard patio, turning it into a truly magical place for entertaining or simply unwinding after a long day. This project proves that with a little creativity and some spray paint, you can achieve remarkable results that dramatically improve your living spaces without breaking the bank.
Shop the Look:
Outdoor Bistro Chairs | Outdoor Table (similar) | Bowls | Plates | Flatware | Linen Napkins | Outdoor Wine Glasses | String Lights | Candle Holders | Votives
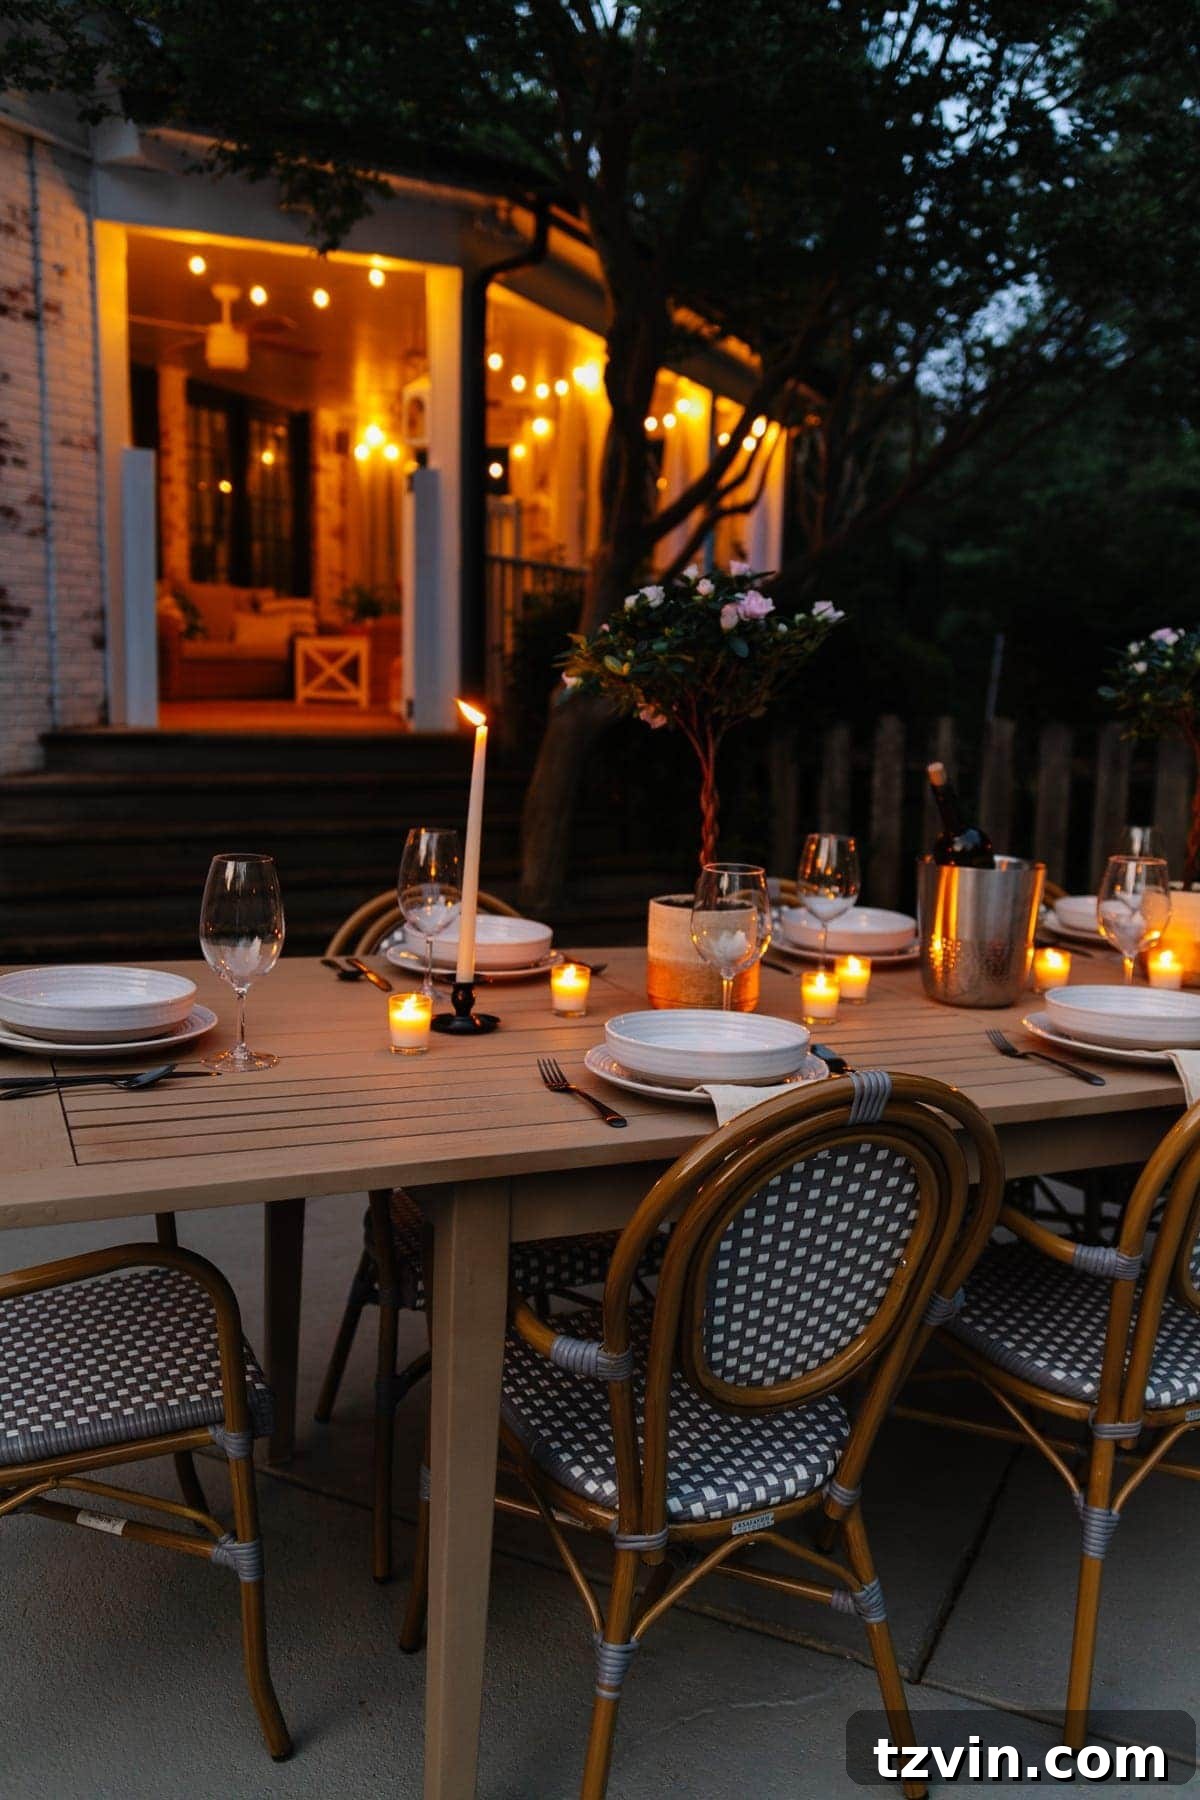
Looking ahead, our backyard transformation is far from complete. We’re excited about the prospect of building a dedicated cabana and a functional outdoor kitchen right next to that fence, which is also due for replacement. This summer promises to be filled with even more exciting DIY projects and significant landscaping changes. Each step brings us closer to creating our dream outdoor retreat, and projects like this dining table makeover make the entire journey incredibly rewarding.
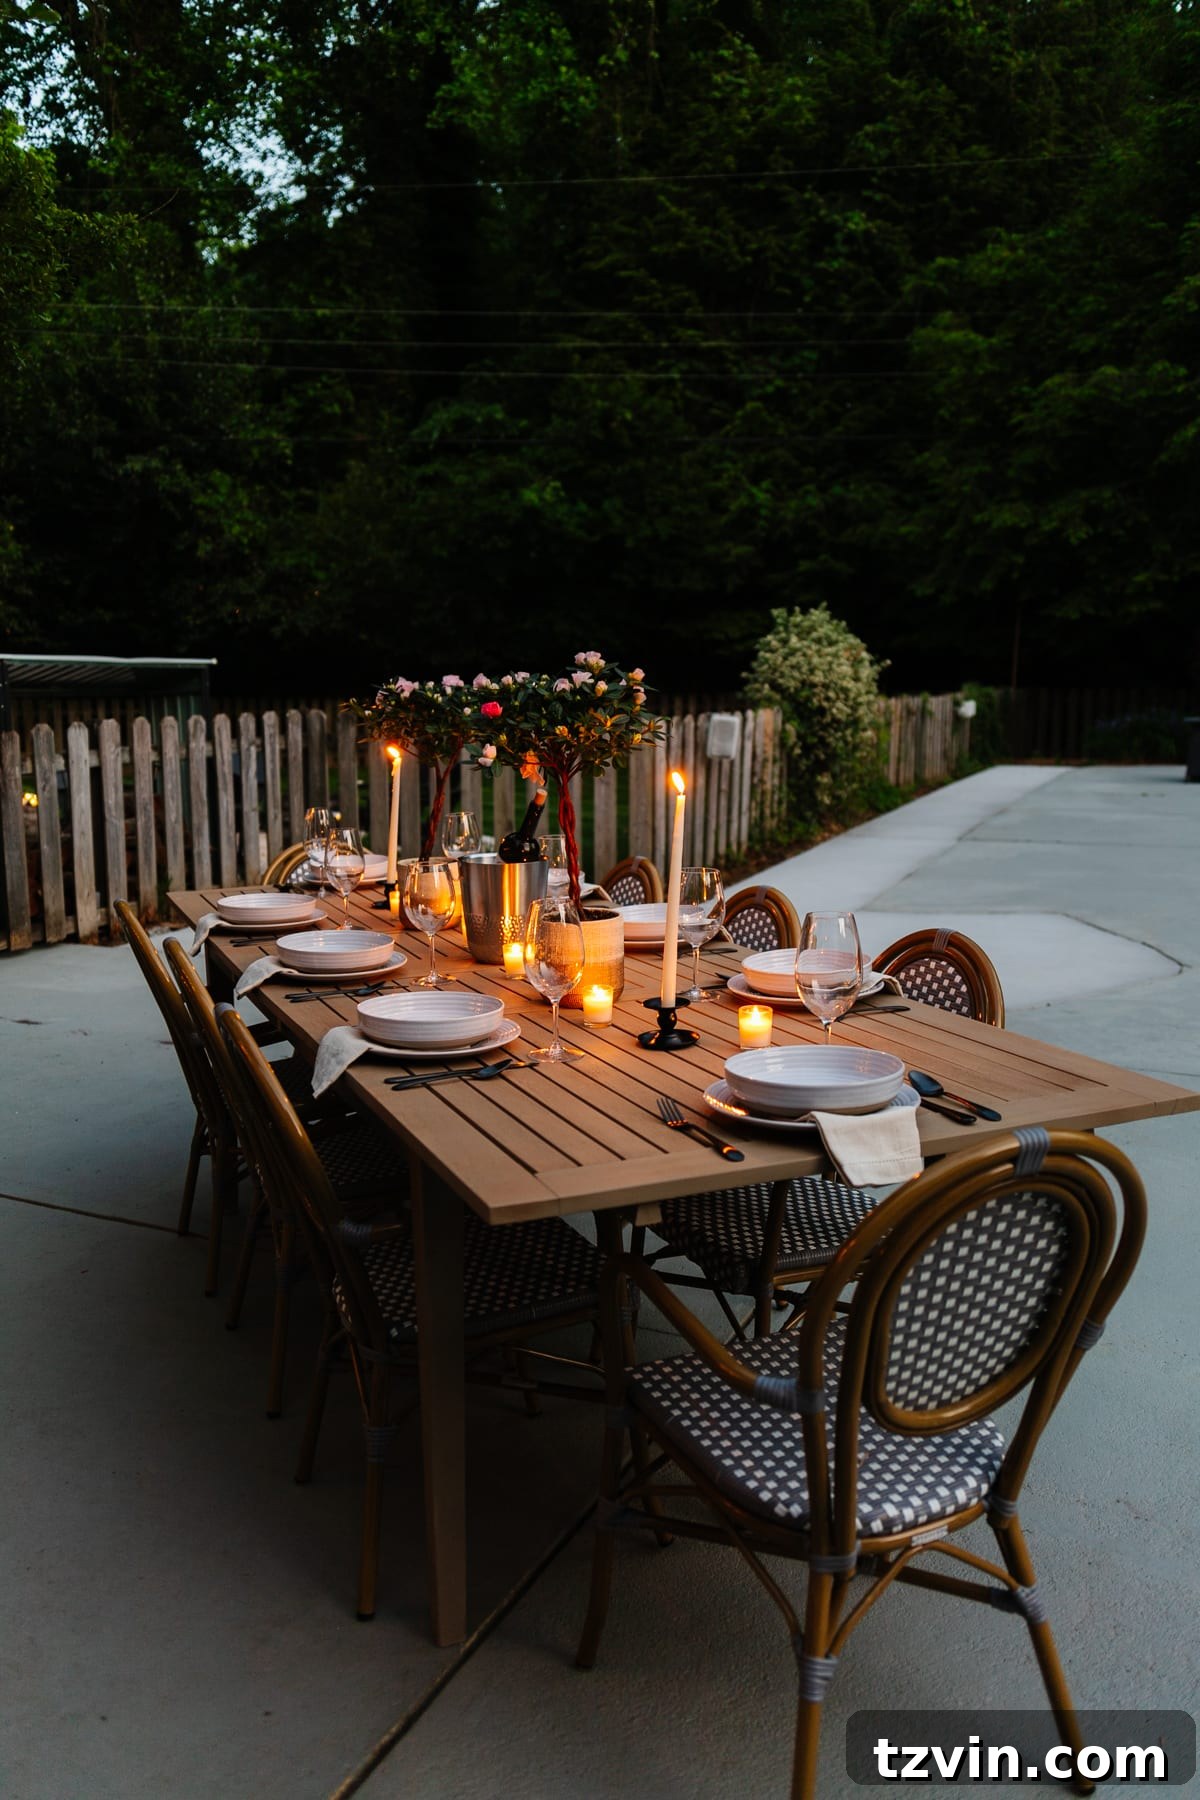
Our backyard has truly been a labor of love, a continuous journey of design and renovation. While there’s still much to do, this beautiful view, with our newly transformed dining table at its heart, makes every ounce of hard work feel incredibly worth it. It’s amazing how a single DIY project can breathe new life into an entire space and inspire further creativity.
Continue Your Home Transformation Journey: Related Projects
If you’re inspired by this project and looking for more ways to enhance your home, especially your outdoor areas, here are some related transformations we’ve tackled:
- Our Limewashed Brick: Learn how we achieved a classic, aged look for our home’s exterior.
- Back Porch Makeover: Discover tips and ideas for refreshing your back porch for ultimate relaxation.
- Painted Concrete Pool Deck: See how we revitalized our pool deck with a simple paint job.
Looking for more furniture makeover inspiration? Explore these ideas:
- Unfinished Work Table Makeover: Turn a basic piece into a custom statement.
- Hale Navy IKEA Cabinet: Elevate IKEA furniture with a touch of sophisticated color.
- Footed Grasscloth Buffet Makeover: Add texture and elegance to a plain buffet.
- DIY Caned Nightstand: Achieve a trendy, custom look with cane webbing.
- How to Restore Wood Outdoor Furniture: Essential tips for bringing wood back to life.
We hope this guide inspires you to tackle your own outdoor furniture makeovers. It’s amazing what a few cans of spray paint and a creative vision can accomplish. Happy DIYing!