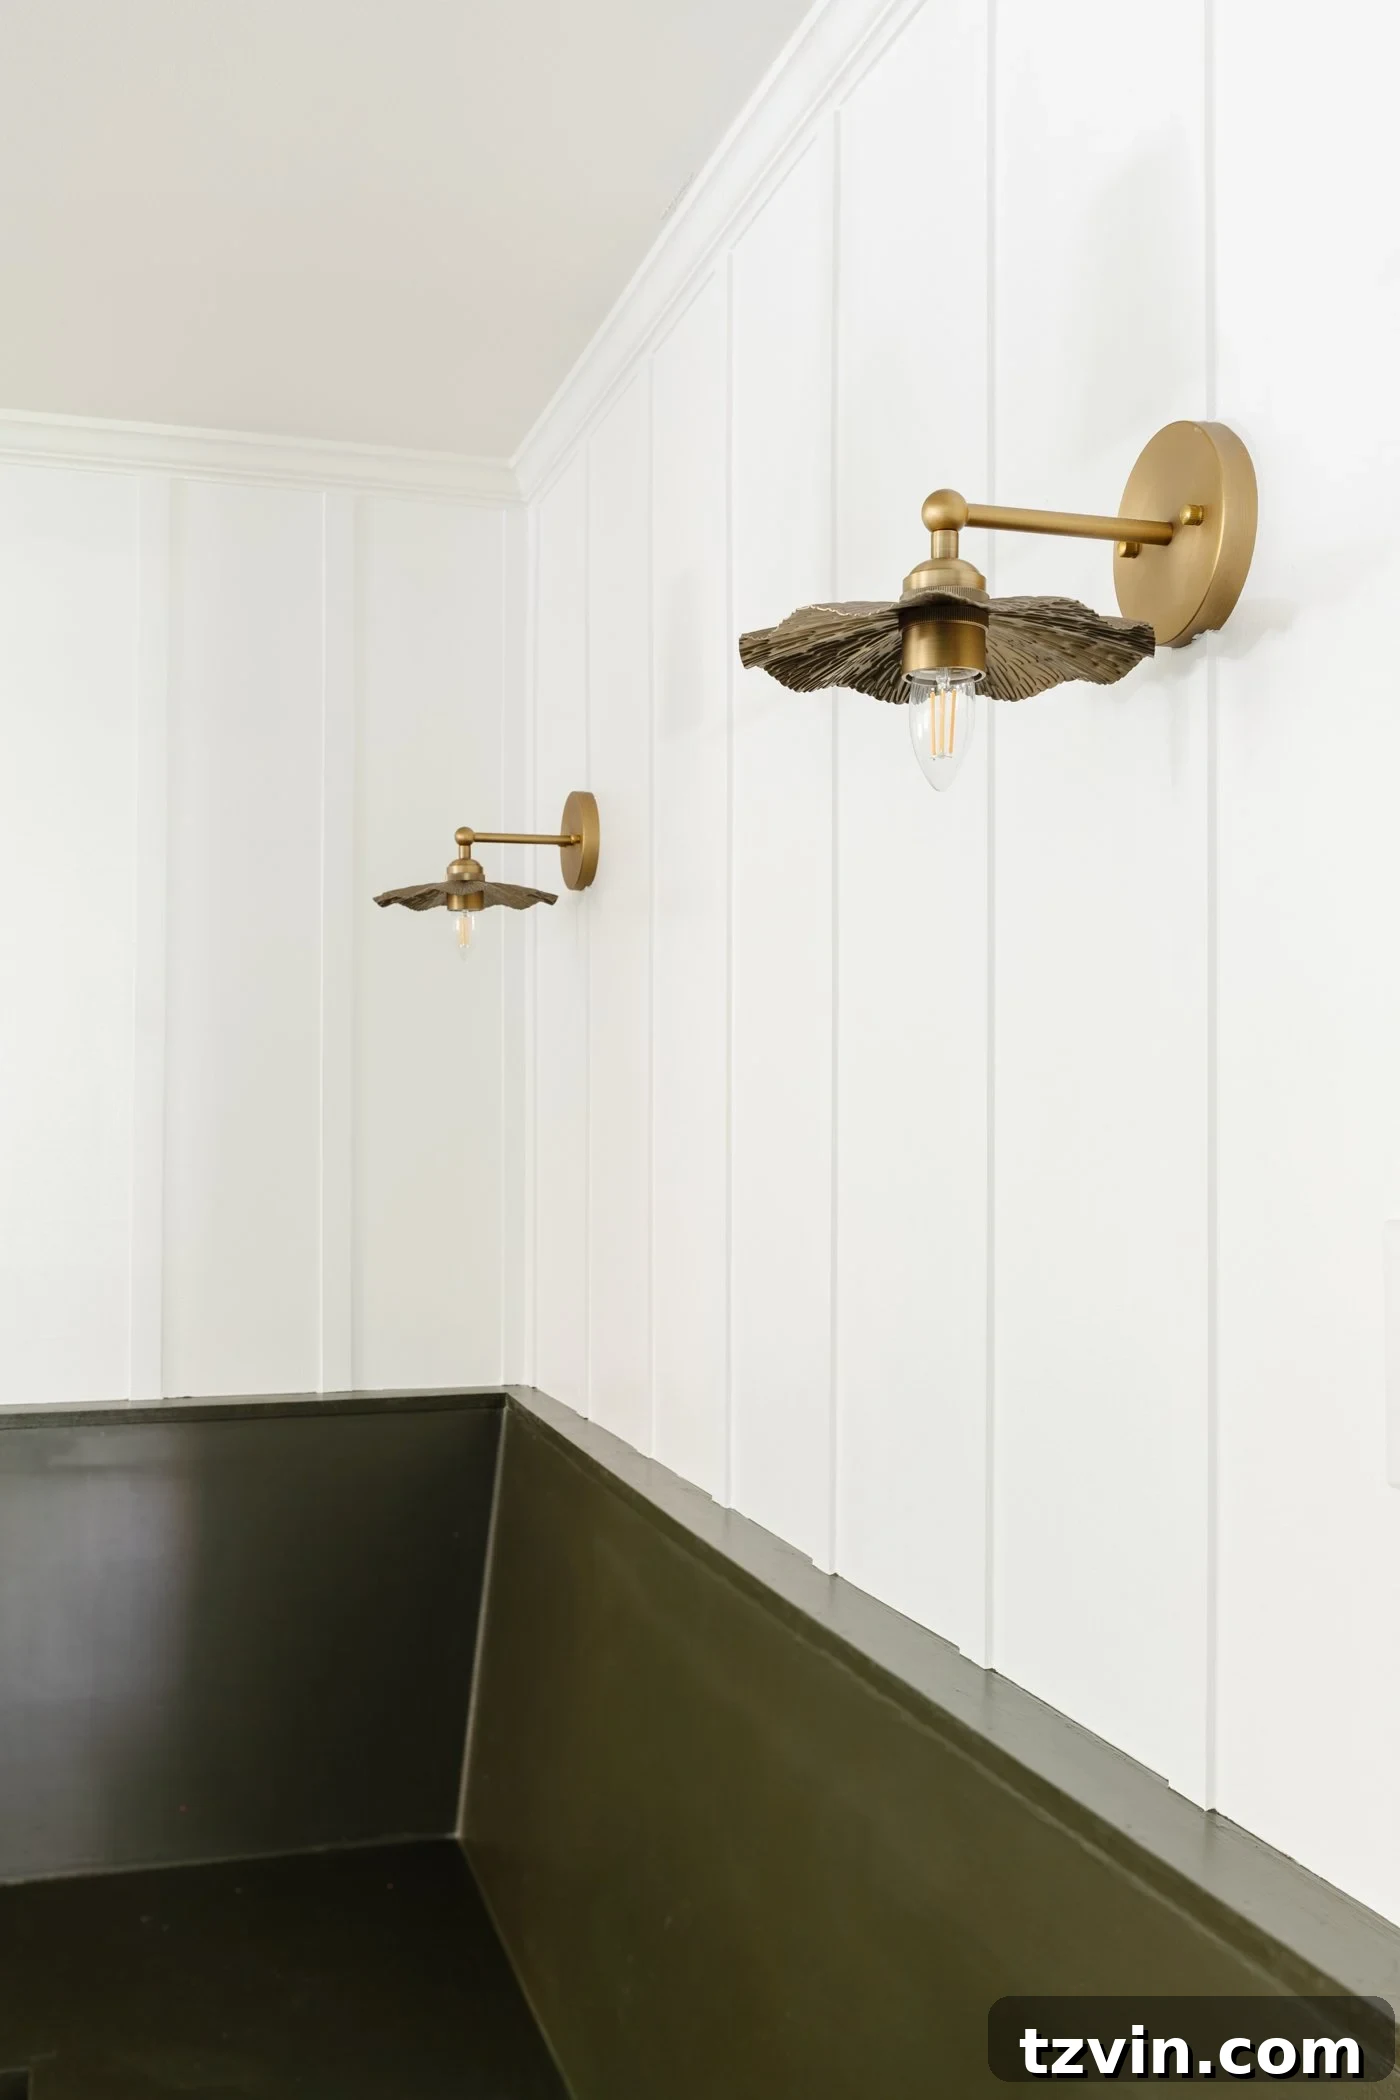
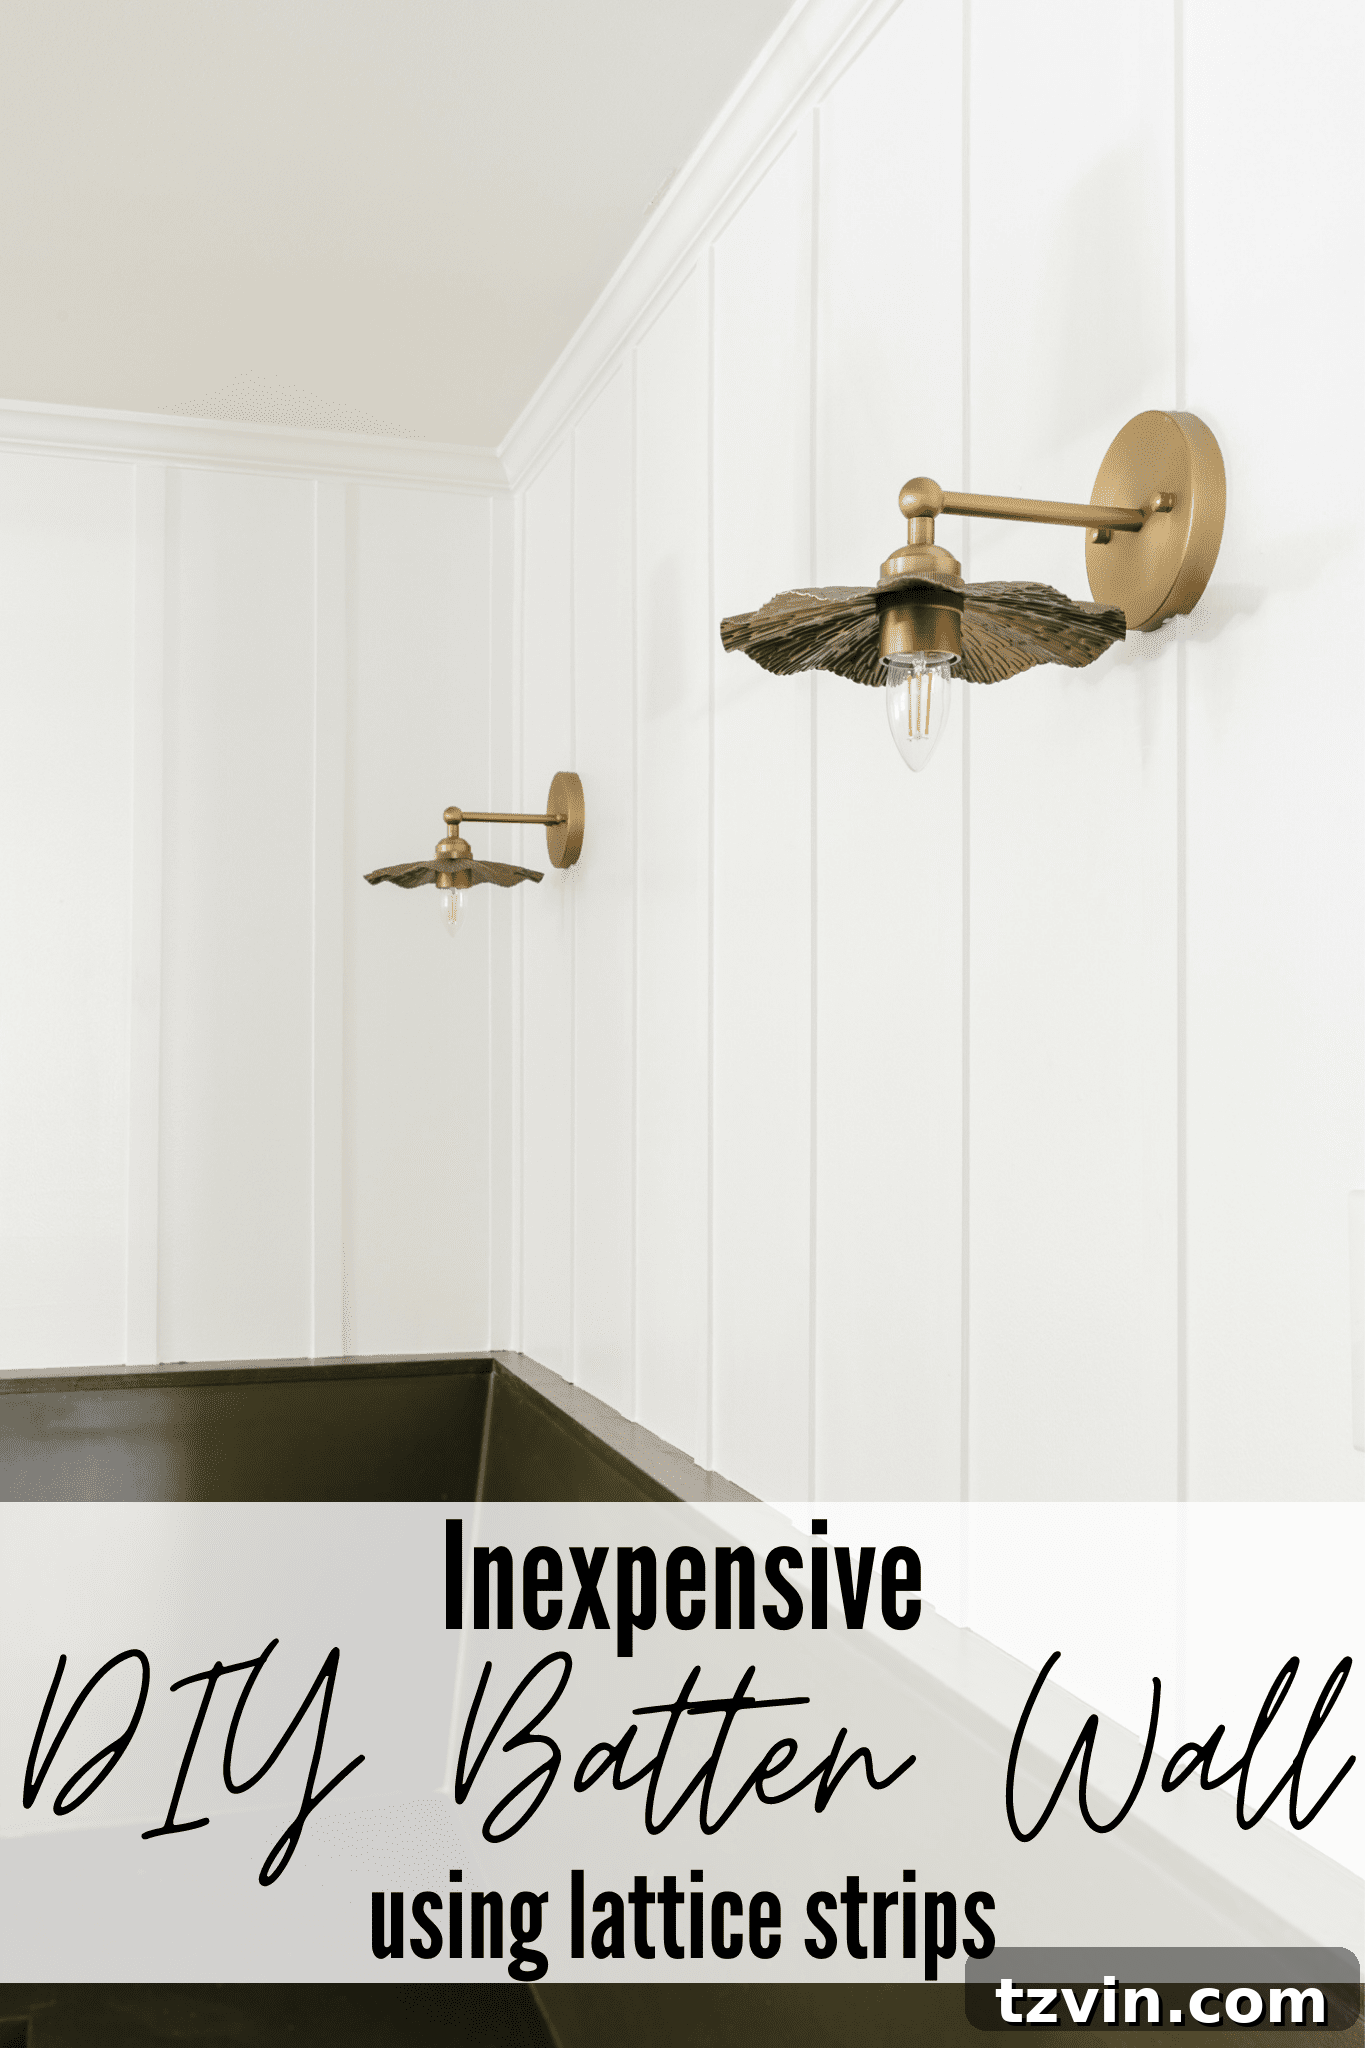
Tutorial: How to use lattice strips as an easy, inexpensive alternative to install a DIY batten wall for adding vintage character to plain walls.
Transforming a dull, flat wall into a feature that exudes vintage charm and sophistication might seem like an expensive and complicated endeavor. However, with a clever and budget-friendly secret weapon – lattice strips – you can achieve a stunning DIY batten wall that looks custom-made without breaking the bank or your back. These unassuming strips of wood are the unsung heroes of countless home improvement projects, proving their versatility time and again. From framing creative shower curtain art to crafting intricate molding designs, lattice strips consistently deliver high impact on a modest budget. This time, their moment in the spotlight arrived in our breakfast nook, where we aimed to infuse character and warmth into an otherwise plain space.
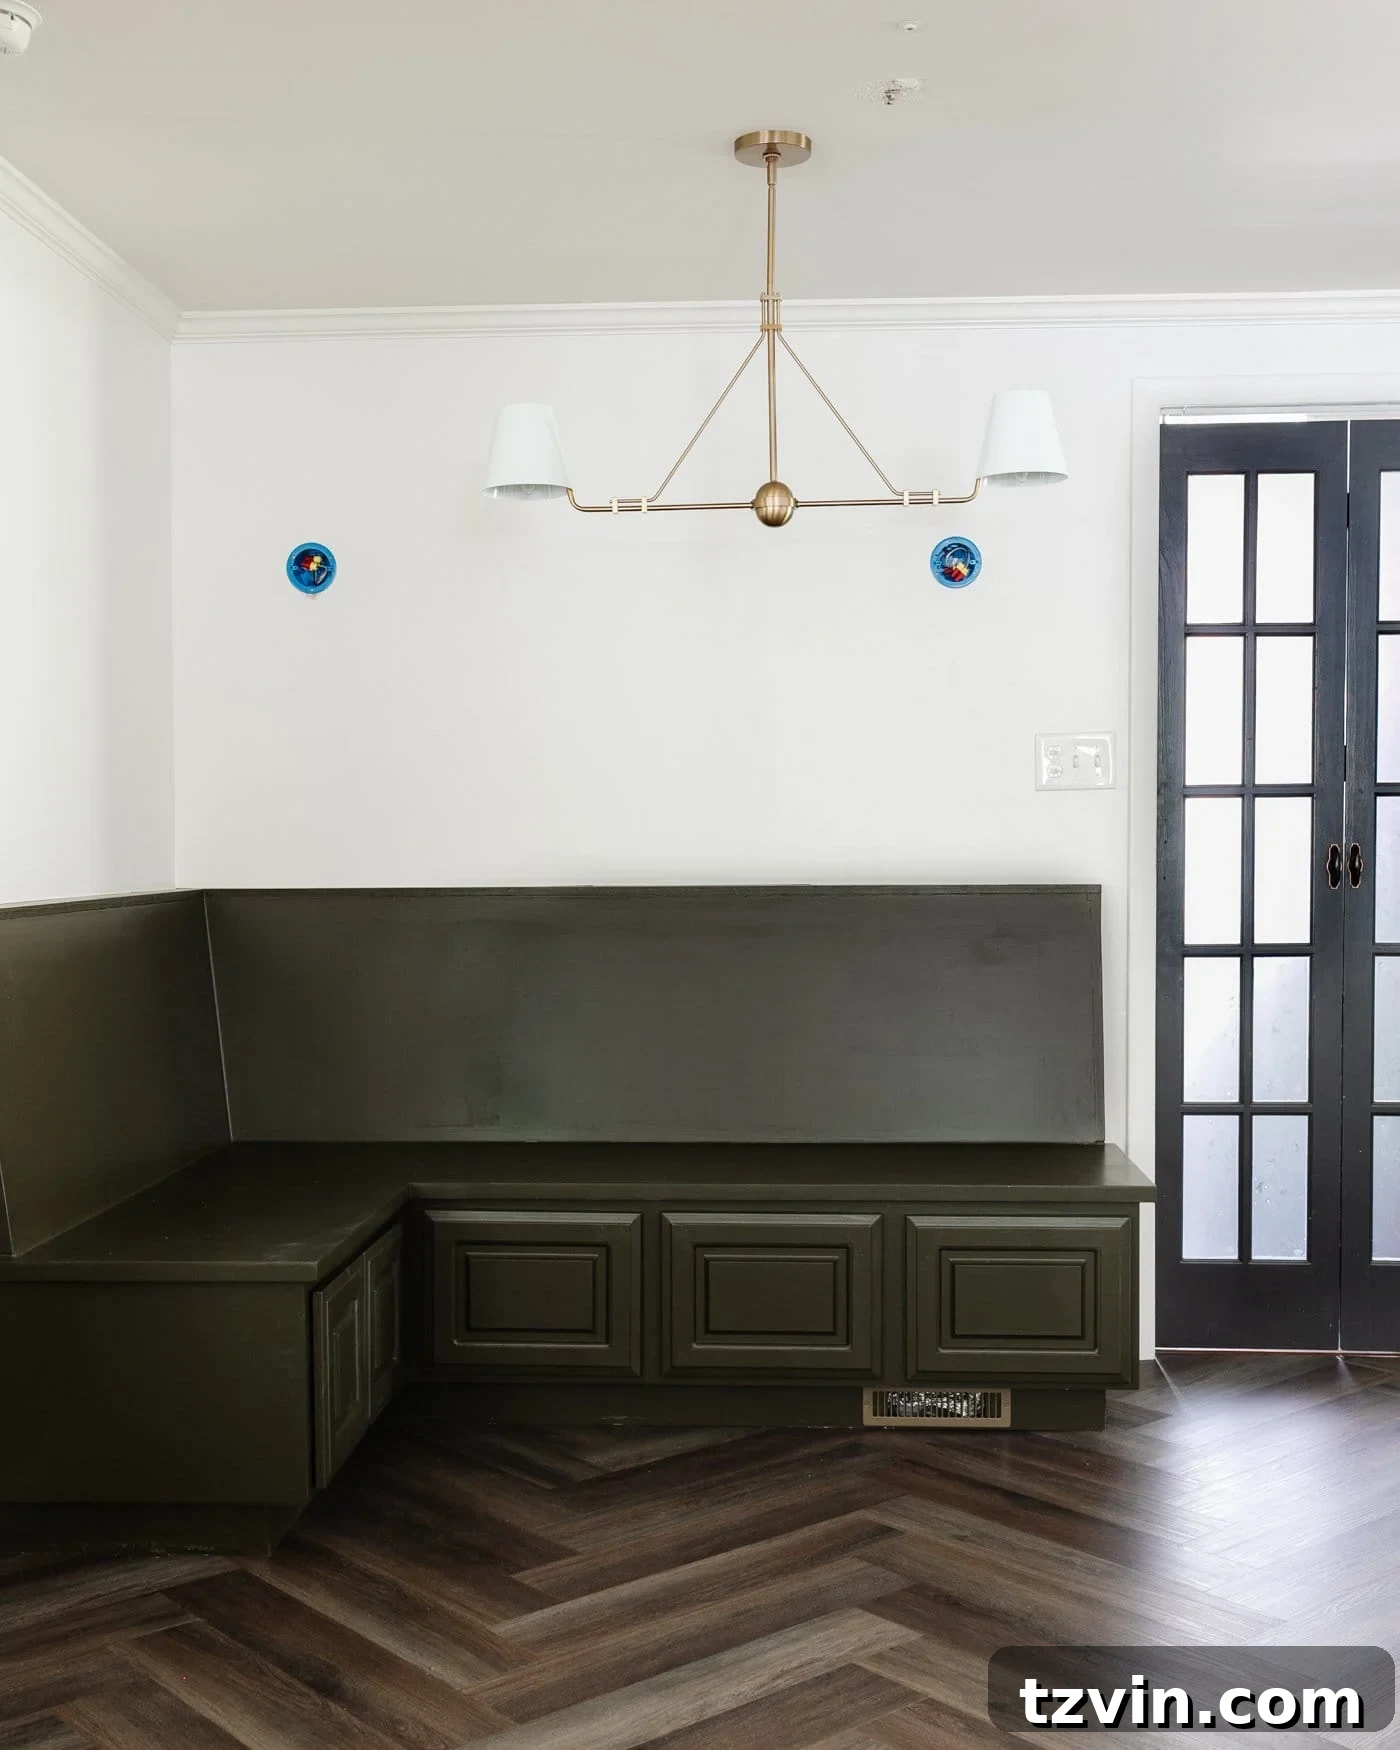
Our household has developed a deep affection for intricate wall molding. It’s a design element that instantly elevates a room, adding architectural interest and a bespoke feel. So, it came as no surprise that after we meticulously installed and painted our Facebook Marketplace banquette in the breakfast nook, a sense of something missing lingered. Robert and I shared a knowing glance, echoing the same thought: “These smooth walls need more character!” We envisioned a solution that would complement the cozy new seating area, and lattice strips emerged as the perfect, inexpensive answer to our craving for stylish wall decor. Molding, in its various forms, remains one of our absolute favorite strategies for making a house look significantly more luxurious without the hefty price tag.
What is Lattice? Unveiling the DIY Secret Weapon
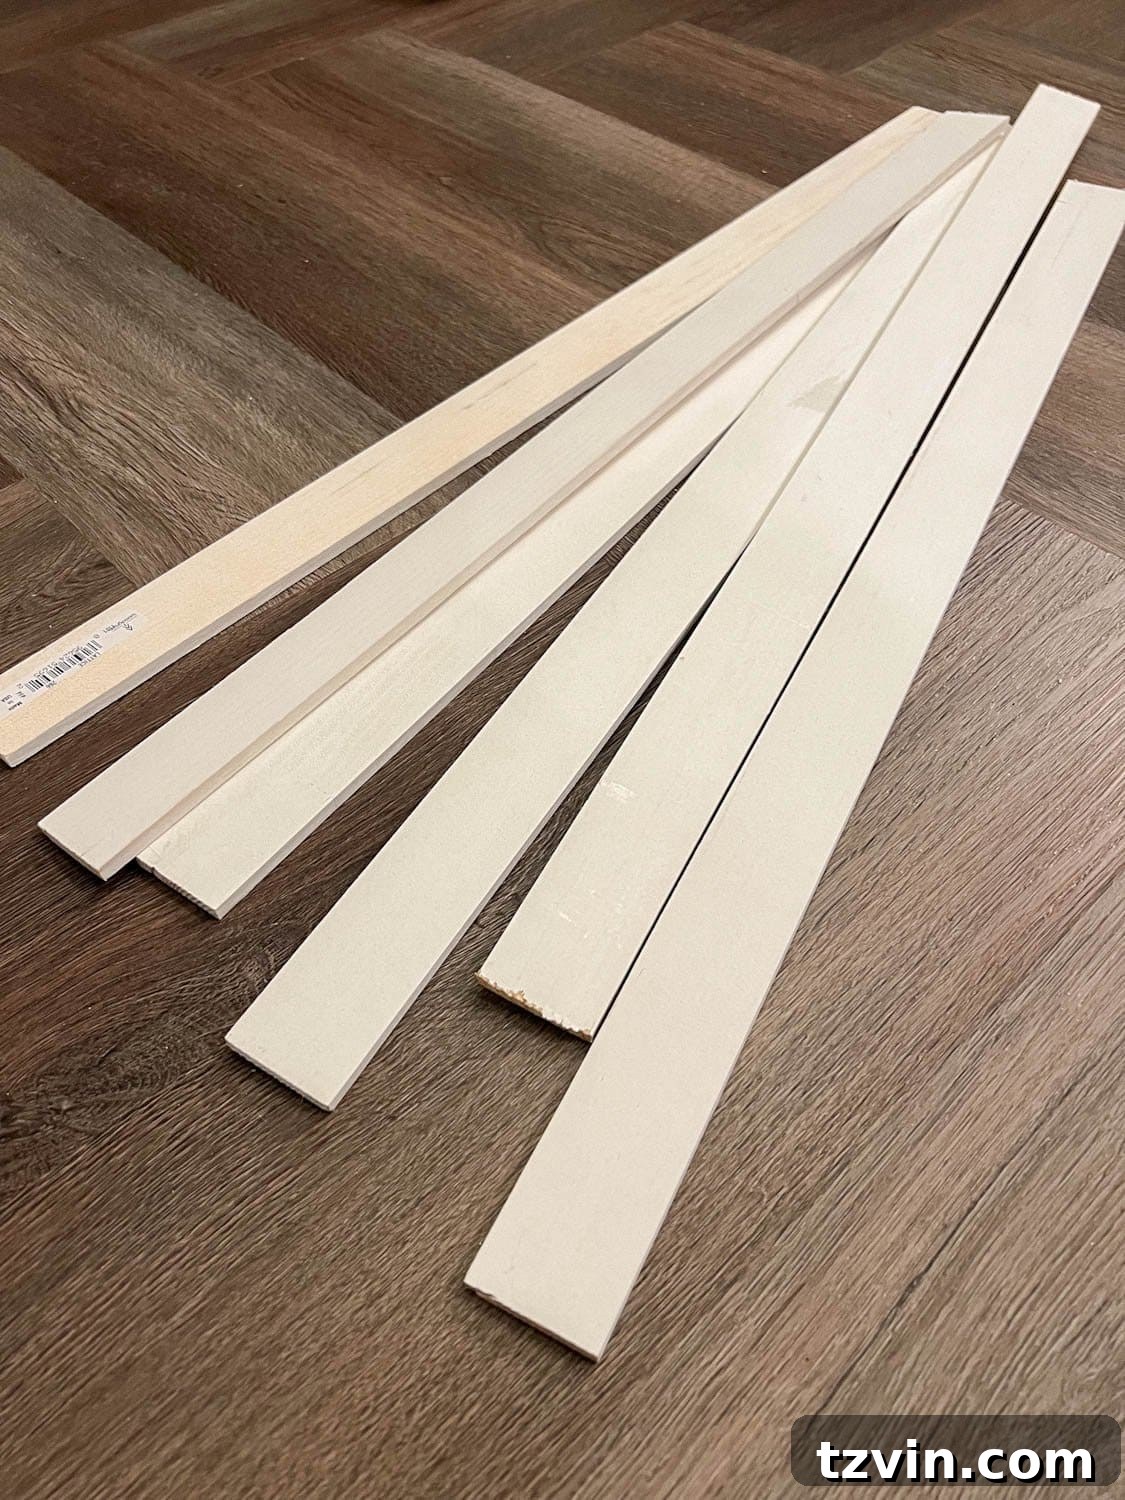
Often overlooked in interior design circles, lattice is a material composed of thin, narrow strips of wood, typically arranged in a criss-cross or diagonal pattern. Its most common applications are found outdoors, where it serves as trellises to support climbing plants in gardens, adds decorative flair to fences, or functions as attractive skirting for porches and decks. However, the inherent properties of lattice – its slim profile, light weight, and affordability – make it an exceptional candidate for a variety of indoor DIY projects, particularly for creating simple yet impactful wall molding designs. Think of it as a more legitimate, tactile alternative to temporary tricks like Sharpie shiplap, offering genuine dimension and architectural detail.
In today’s market, the cost of traditional molding and other home improvement supplies has seen a significant surge. This makes finding clever, cost-effective alternatives more crucial than ever for budget-conscious DIYers. We discovered that lattice strips, priced at an astonishingly low $1.28 per linear foot, provide an incredible way to replicate the high-end look of traditional batten wall molding for a mere fraction of the usual expense. This makes them not just an alternative, but a superior choice for achieving that coveted luxurious aesthetic without the financial strain.
For those new to the world of molding installation, a DIY batten wall using lattice strips is an ideal beginner project. Unlike bulkier 1×2 boards, lattice strips are much thinner, allowing them to sit flush directly on top of your existing baseboards without requiring complex miter cuts. This simplified approach eliminates one of the most intimidating aspects of traditional molding installation, making it accessible to anyone armed with a tape measure, a saw, and a desire to elevate their home decor. The result is a seamless, professional-looking finish that belies the project’s simplicity and affordability.
How to Create a Stunning Batten Wall Using Inexpensive Lattice Strips
The beauty of a batten wall lies in its incredible versatility. You’re not limited to a single design or application. You could opt for this vertical batten pattern to span an entire room, creating a sophisticated wainscoting effect, or you could focus on a single wall to create a dramatic board and batten accent wall. Depending on your aesthetic, you might choose to leave the newly paneled walls plain for a sleek, minimalist approach, allowing the architectural texture to speak for itself. Alternatively, layer it with carefully curated art and decor for an even richer, more personalized character. Beyond traditional walls, consider adding this charming detail to a plain kitchen island or the front of a built-in cabinet for an instant upgrade.
A crucial consideration for this project is your wall texture. If you have smooth walls, you’re in for a straightforward installation. However, if your walls are textured (e.g., orange peel or knockdown), the process will require an extra step to ensure a smooth, professional finish. For textured surfaces, you’ll first need to apply thin MDF panels to the wall using a combination of strong liquid nails adhesive and brad nails. These panels create the smooth base necessary for the lattice strips to sit flush and achieve that high-end look.
Essential Supplies for Your Lattice Batten Wall Project
Gathering the right tools and materials before you begin is key to a smooth and successful DIY project. Here’s what you’ll need to create your beautiful batten wall:
- 1/4″ x 1 1/2″ Pre-primed Wood Lattice Moulding: The star of our project. Pre-primed strips save you a significant step, making painting easier and ensuring a better finish.
- Brad Nailer: While a hammer and finish nails can work in a pinch, a brad nailer makes the installation process incredibly fast, efficient, and ensures a more secure, discreet hold.
- 1 inch 18-gauge Brad Nails: These small nails are ideal for securing the lightweight lattice strips without leaving large, noticeable holes.
- Jig Saw: Essential for making precise cuts to your lattice strips. Ensure your blade is suitable for wood to get clean edges.
- Tape Measure: For accurate measurements of your walls and lattice strips, ensuring even spacing and perfect fit.
- Pencil: For marking measurements and layout directly on the wall.
- Level: Non-negotiable for ensuring your vertical battens are perfectly straight and plumb. A long level is especially helpful.
- Paintable Caulk: Crucial for filling any gaps between the lattice and the wall, creating a seamless, professional finish. Choose a paintable acrylic latex caulk.
- Wood Filler: Used to fill the small nail holes left by the brad nailer, ensuring a smooth surface ready for paint.
- Interior Paint of Your Choice: We recommend a satin sheen for wall molding, as it offers durability and a subtle, elegant gleam that highlights the architectural detail.
- Fine Grit Sandpaper: For smoothing out wood filler and any rough edges. An orbital sander can significantly speed up this process, especially for larger projects.
Step-by-Step Guide to Crafting Your Batten Lattice Wall
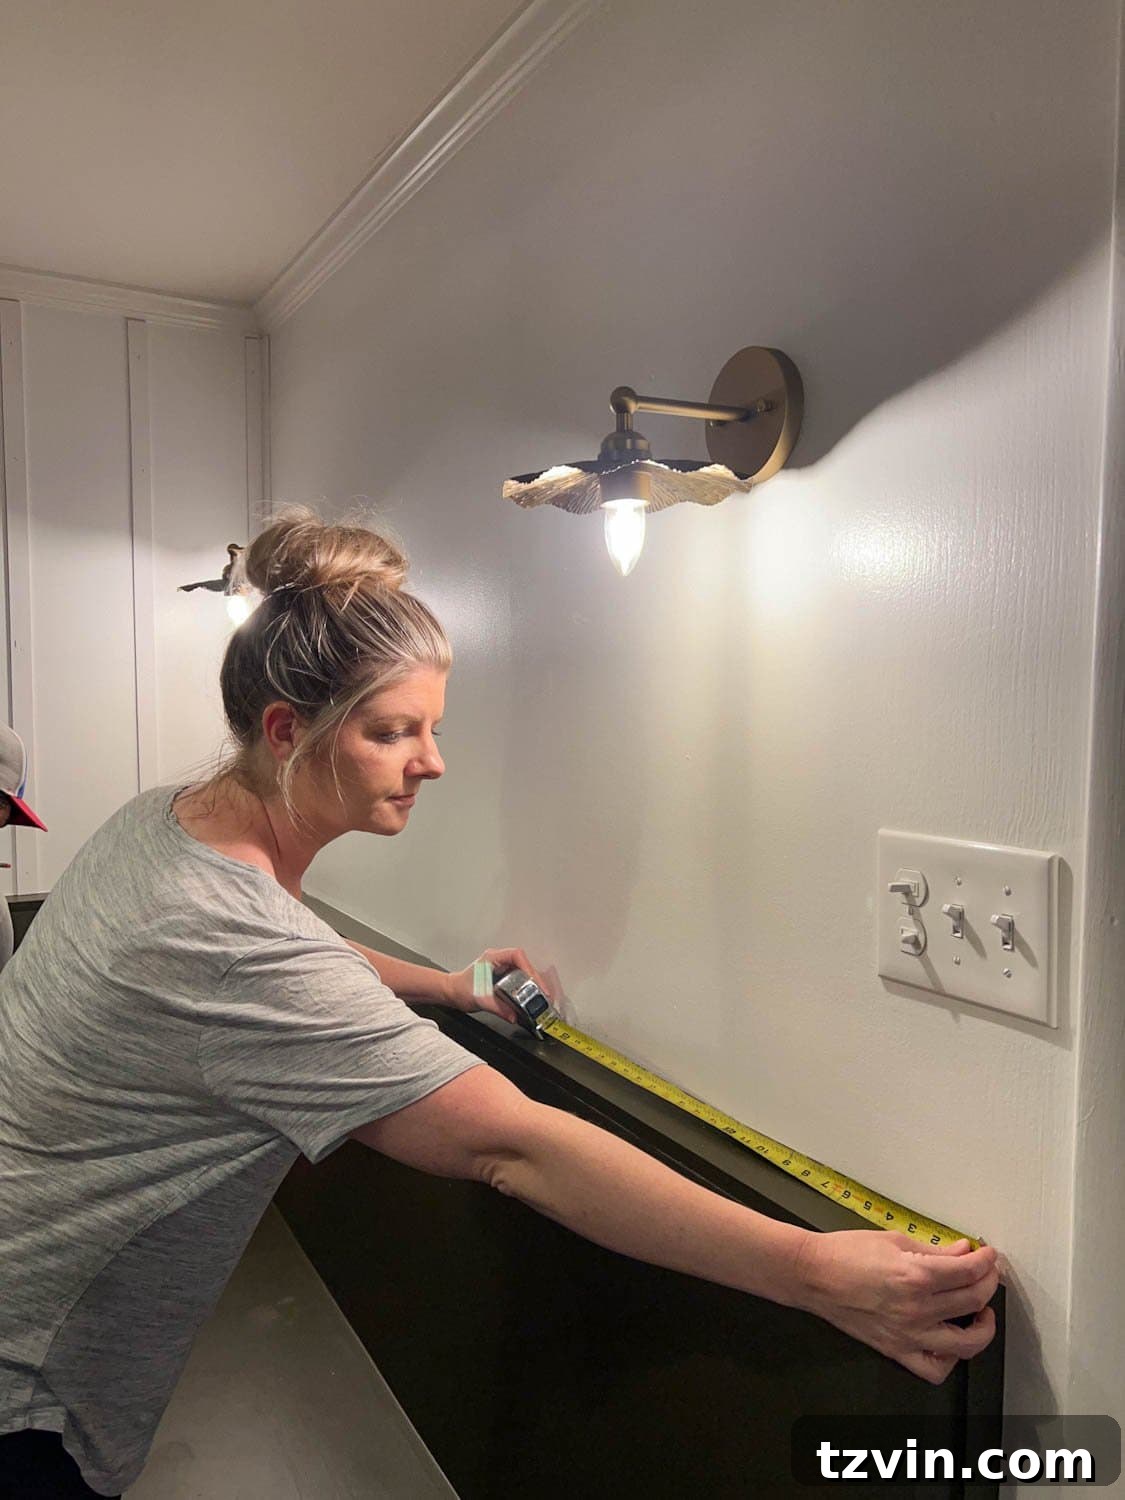
Step 1 – Measure and Strategize Your Layout
Begin by measuring the entire width of your wall. This initial measurement is vital for planning your batten placement. Next, decide on the desired spacing between your vertical lattice strips (the battens). This spacing significantly impacts the final look of your wall; closer spacing creates a more traditional, intricate feel, while wider spacing leans towards a modern, minimalist aesthetic. Using a pencil, mark the precise placement of each batten on your wall. Remember that lattice strips are typically 1 1/2″ wide, so factor this dimension into your spacing calculations. For our project, we opted for an 8 1/2″ gap between each batten, creating a balanced and visually appealing pattern. Take your time with this step, as meticulous planning will ensure a symmetrical and professional result.
Step 2 – Precisely Cut Your Lattice Strips to Length
Measure the height of your wall from the top of your existing baseboard to the crown molding (or ceiling line). Use this measurement to cut your first lattice strip to the exact needed length with a jigsaw. It’s crucial to remember that very few walls are perfectly uniform in height across their entire span. Therefore, resist the temptation to cut all of your lattice strips based on that initial measurement. Instead, measure each individual section where a batten will be placed and cut each strip to its specific height. This attention to detail will prevent frustrating gaps or overlaps later in the installation process and ensure a custom fit for every piece.
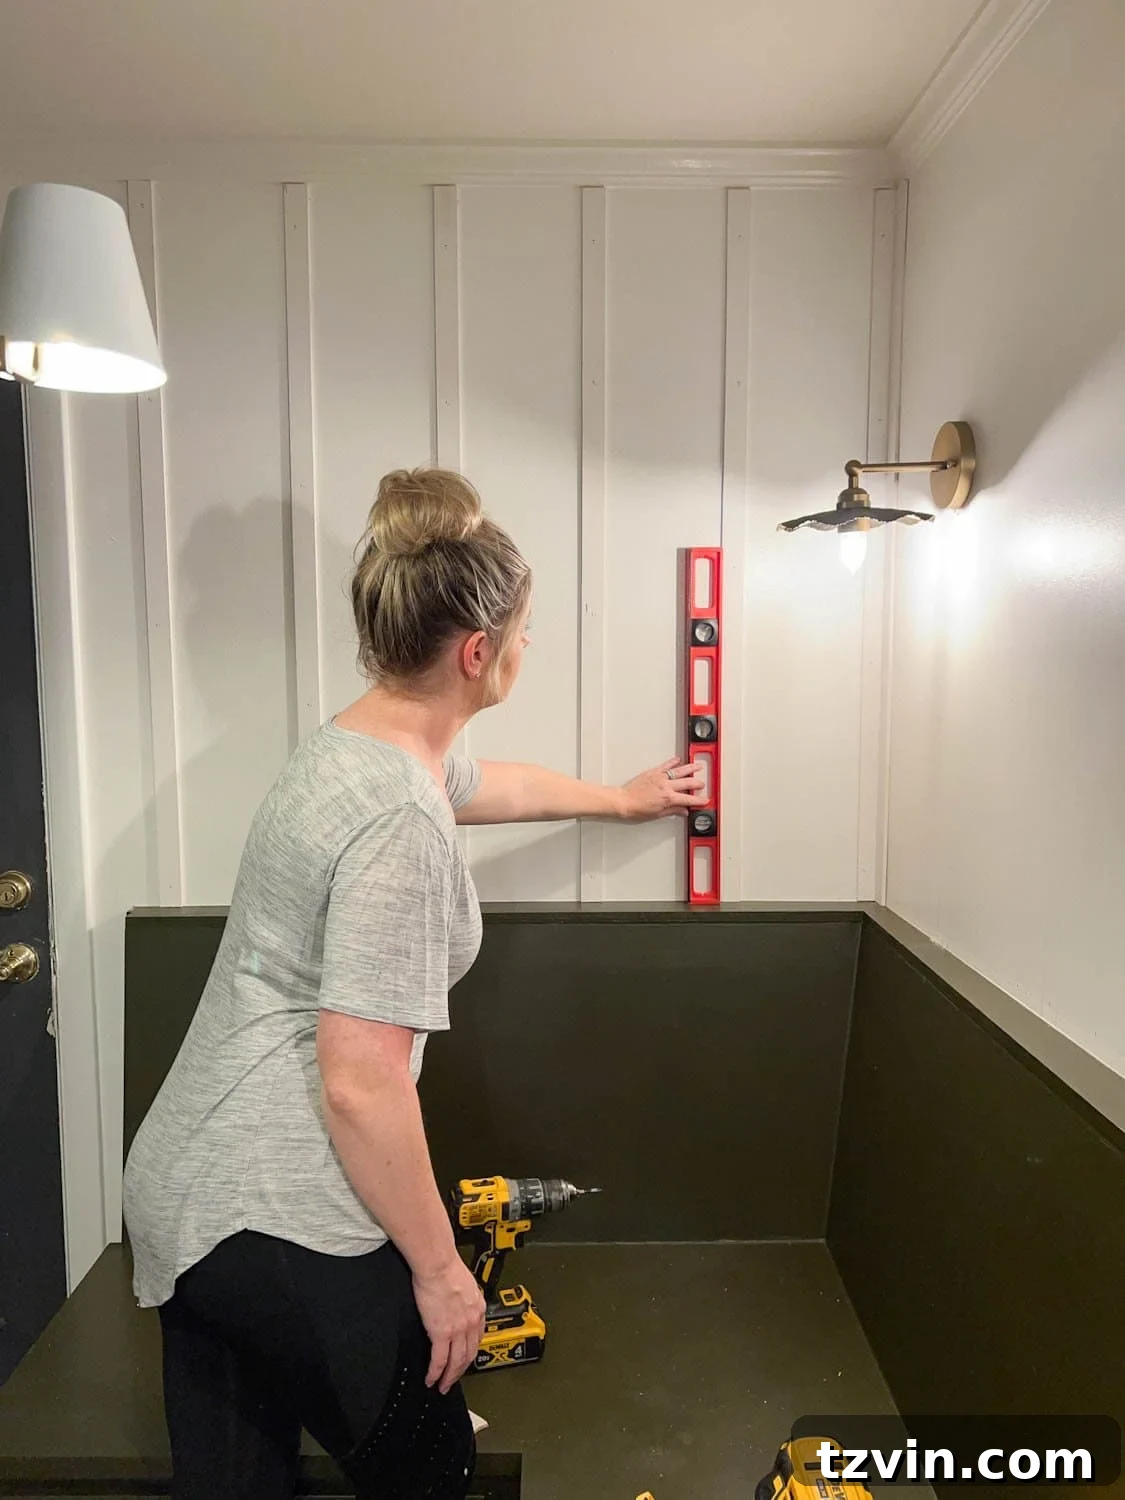
Step 3 – Dry Fit and Verify Placement with a Level
Before permanently attaching anything, it’s essential to “dry fit” your first cut lattice strip. Place it against the wall in its intended position and use a reliable level – ideally a long one – to confirm it is perfectly straight and plumb. This step is critical; even a slight tilt will become glaringly obvious once the project is complete and painted. Adjust the strip until your level confirms it is absolutely vertical. This simple verification process saves significant headaches down the line.
Step 4 – Secure Your Lattice Strips
Once you are completely satisfied with the straightness and placement of your first lattice strip, it’s time to secure it to the wall. Using your brad nailer (or a hammer and 1-inch 18-gauge finish nails if you don’t have a nail gun), carefully nail the lattice strip into the wall. Aim for studs where possible for maximum hold, but given the lightweight nature of lattice, hitting studs isn’t strictly necessary for every nail. Place nails every 12-18 inches along the strip. While optional, you could also apply a thin bead of construction adhesive to the back of the lattice strip before nailing for an even stronger bond. However, consider that if you ever decide to remove the batten wall in the future, omitting the adhesive will make the removal process significantly easier and less damaging to your walls.
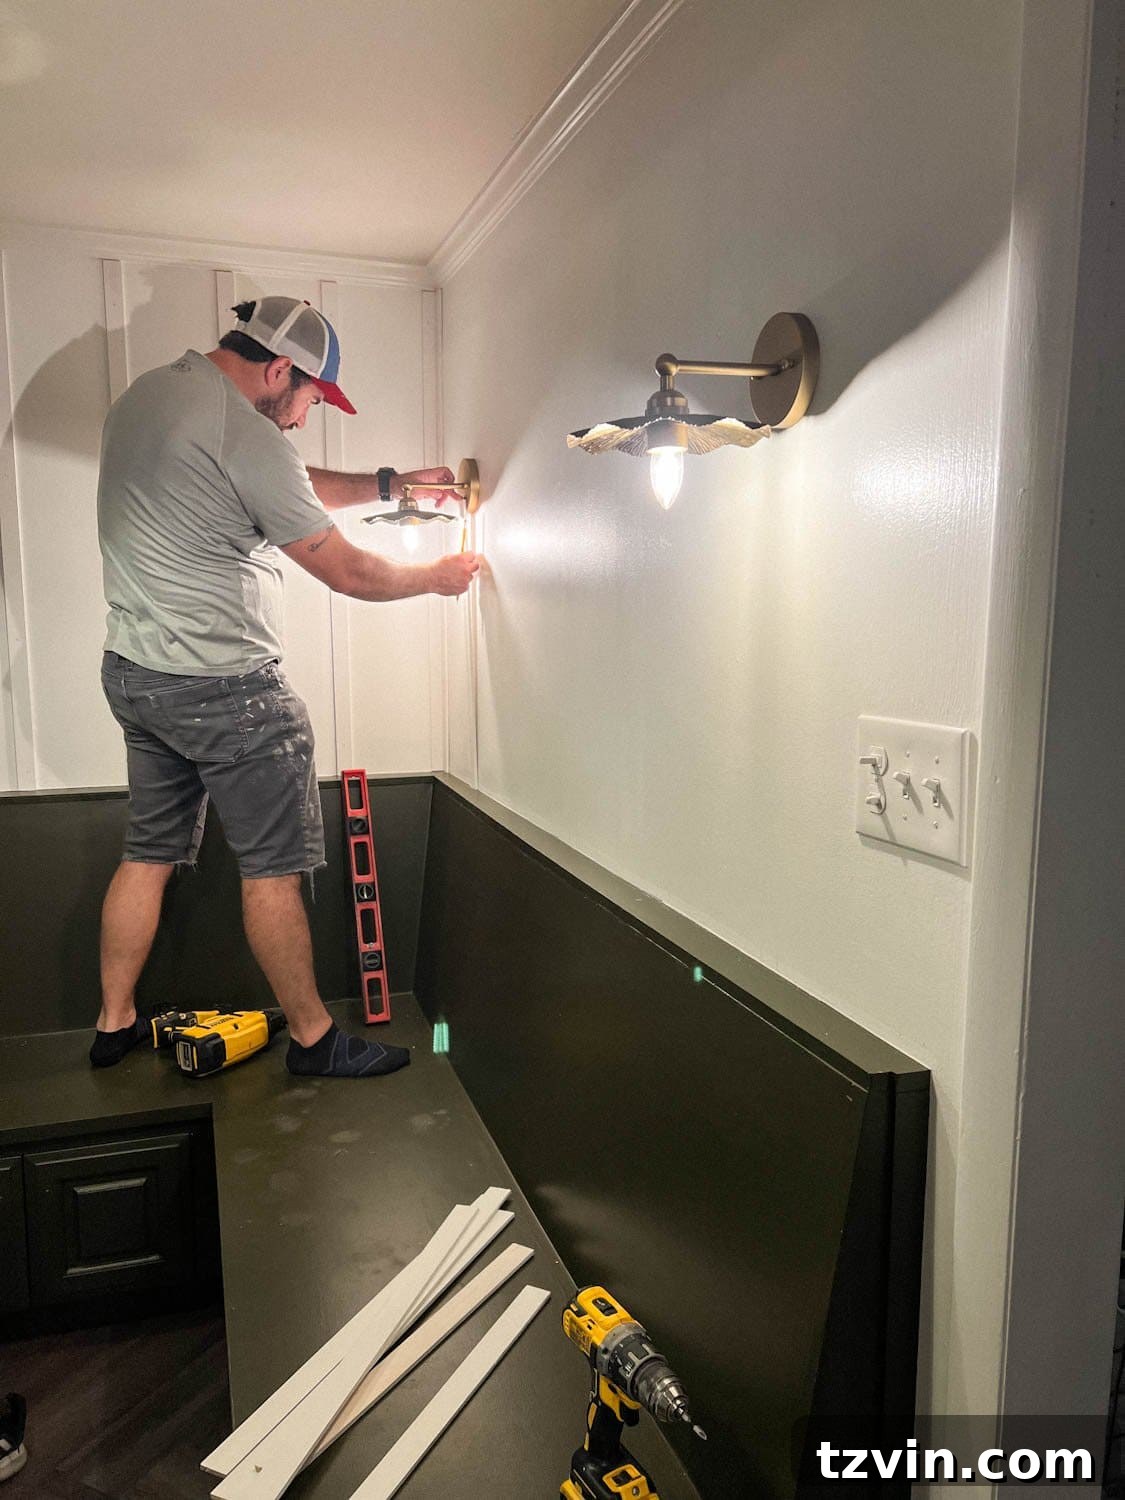
Step 5 – Systematically Repeat the Process
With your first batten securely in place, continue repeating Steps 2-4 for the remainder of your wall. For each subsequent strip, remember to:
- Measure individually: Re-measure the exact height for each new section to account for any variations in your wall.
- Cut precisely: Use your jigsaw to cut the lattice to the new measurement.
- Dry fit and level: Always perform a dry fit and use your level to confirm perfect vertical alignment before nailing.
- Secure carefully: Nail the strip into place, ensuring it aligns with your pre-marked pencil lines.
This systematic approach ensures consistency and accuracy across your entire batten wall, resulting in a cohesive and professional finish.
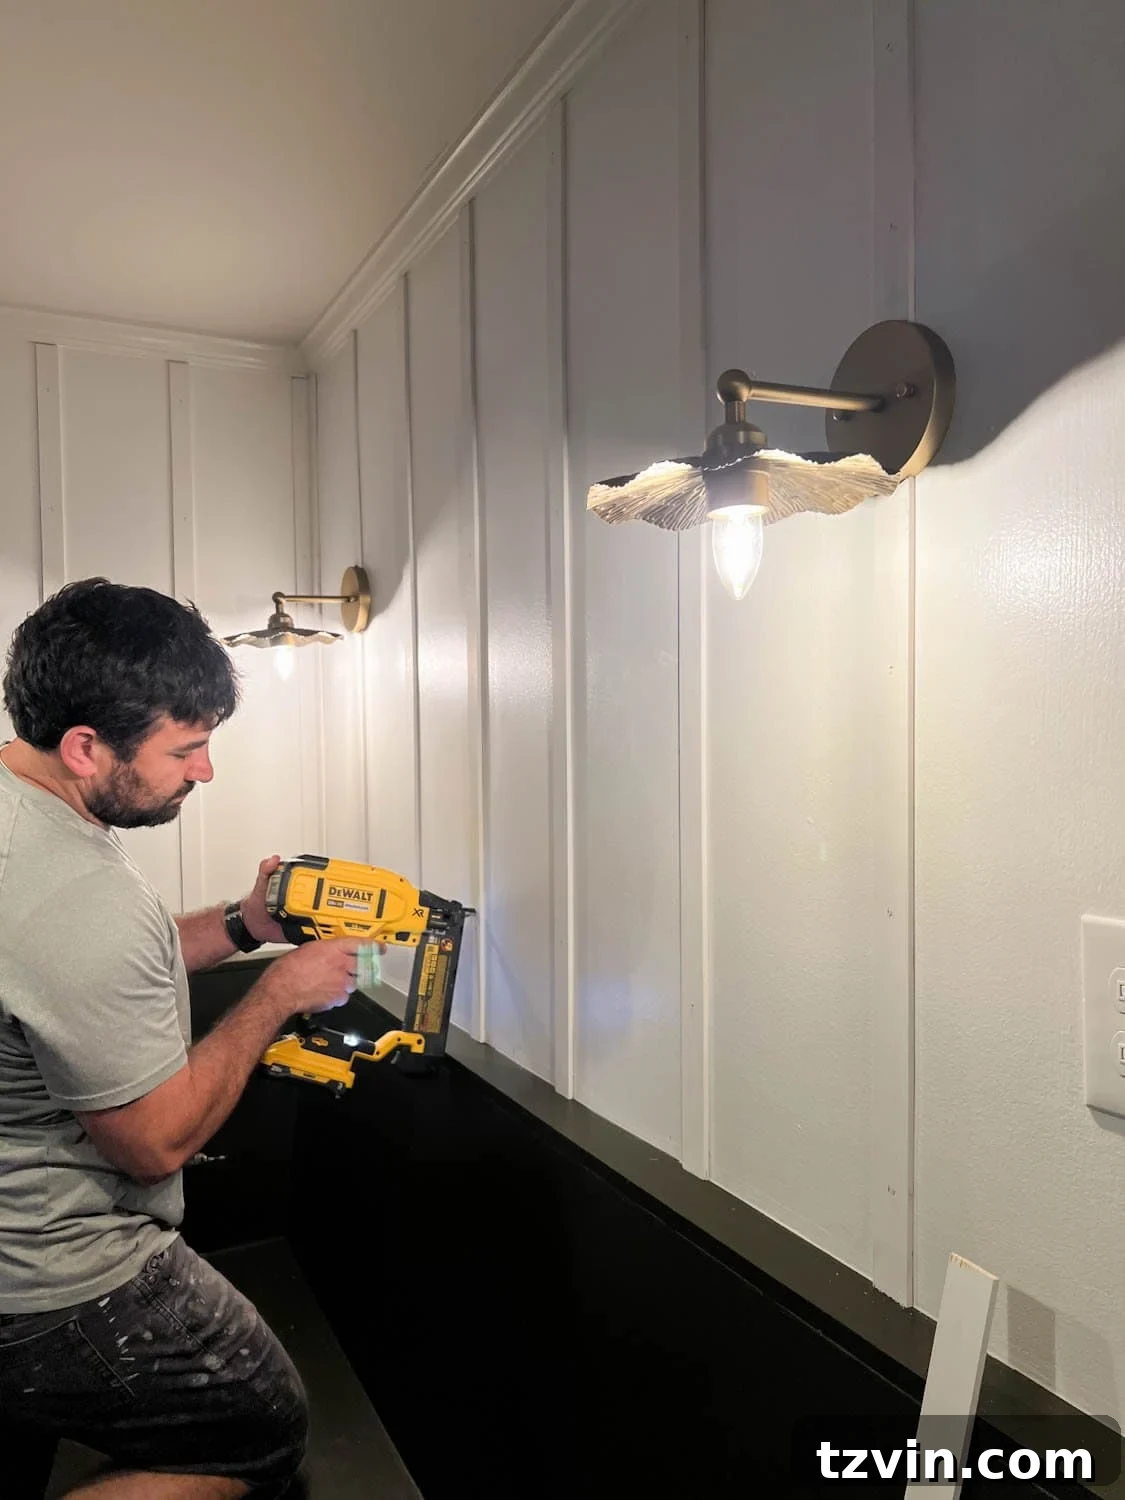
Step 6 – Caulk Cracks and Fill Nail Holes for a Flawless Finish
This step is where your DIY project truly transforms into a professional-looking installation. Take your paintable caulk and apply a thin, continuous bead along all the edges where the lattice strips meet the wall. Use a wet finger or a caulking tool to smooth the caulk, pushing it into any gaps and creating a seamless transition between the lattice and the wall surface. This step is crucial for preventing shadows and ensuring a truly finished look. Next, use wood filler to meticulously fill all the small nail holes left by the brad nailer. Apply a small amount, ensuring the hole is completely filled, and smooth the surface with your finger or a putty knife. Allow both the caulk and wood filler to dry completely according to manufacturer instructions, which can take several hours.
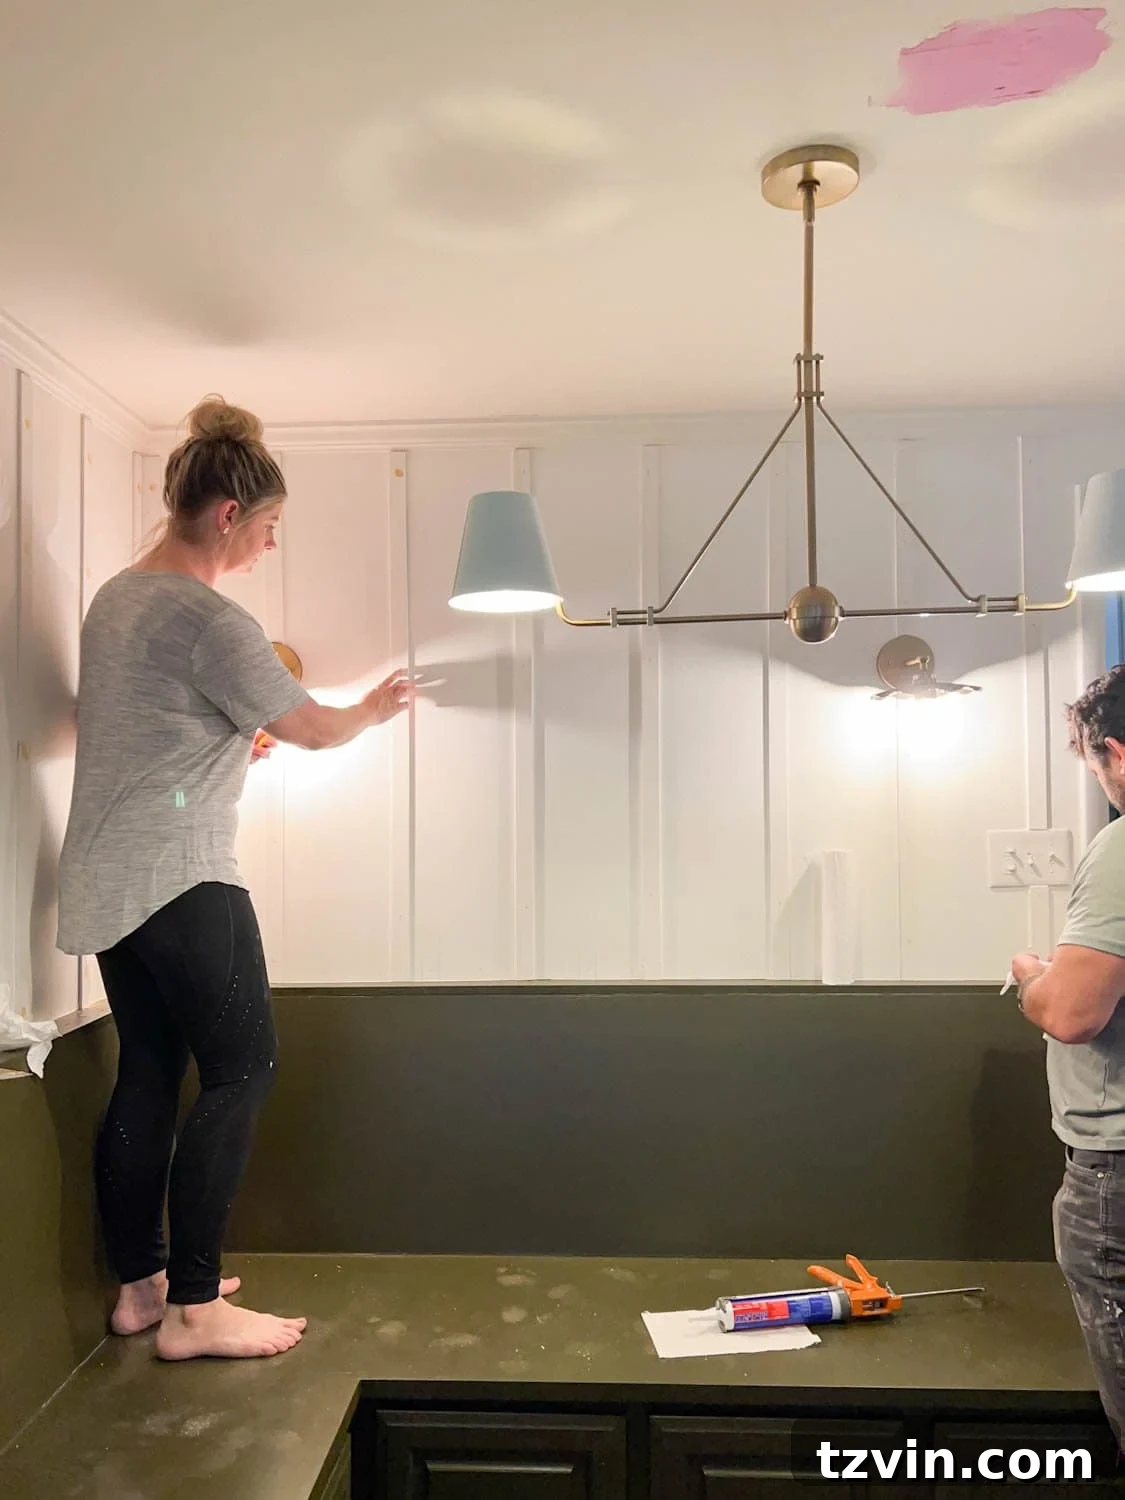
Step 7 – Smooth with Sandpaper
Once the wood filler is fully dry and hardened, it’s time to sand. Using fine-grit sandpaper (around 180-220 grit), gently sand all the areas where you applied wood filler until they are completely smooth and flush with the lattice strip. The goal is to make the filled areas invisible to the touch and eye. For larger projects or to speed up the process, an orbital sander fitted with fine-grit sandpaper can be a fantastic time-saver. After sanding, meticulously brush away any sanding dust from the lattice strips and the wall. A slightly damp cloth can also be used to wipe down the surfaces, ensuring they are perfectly clean and ready for paint.
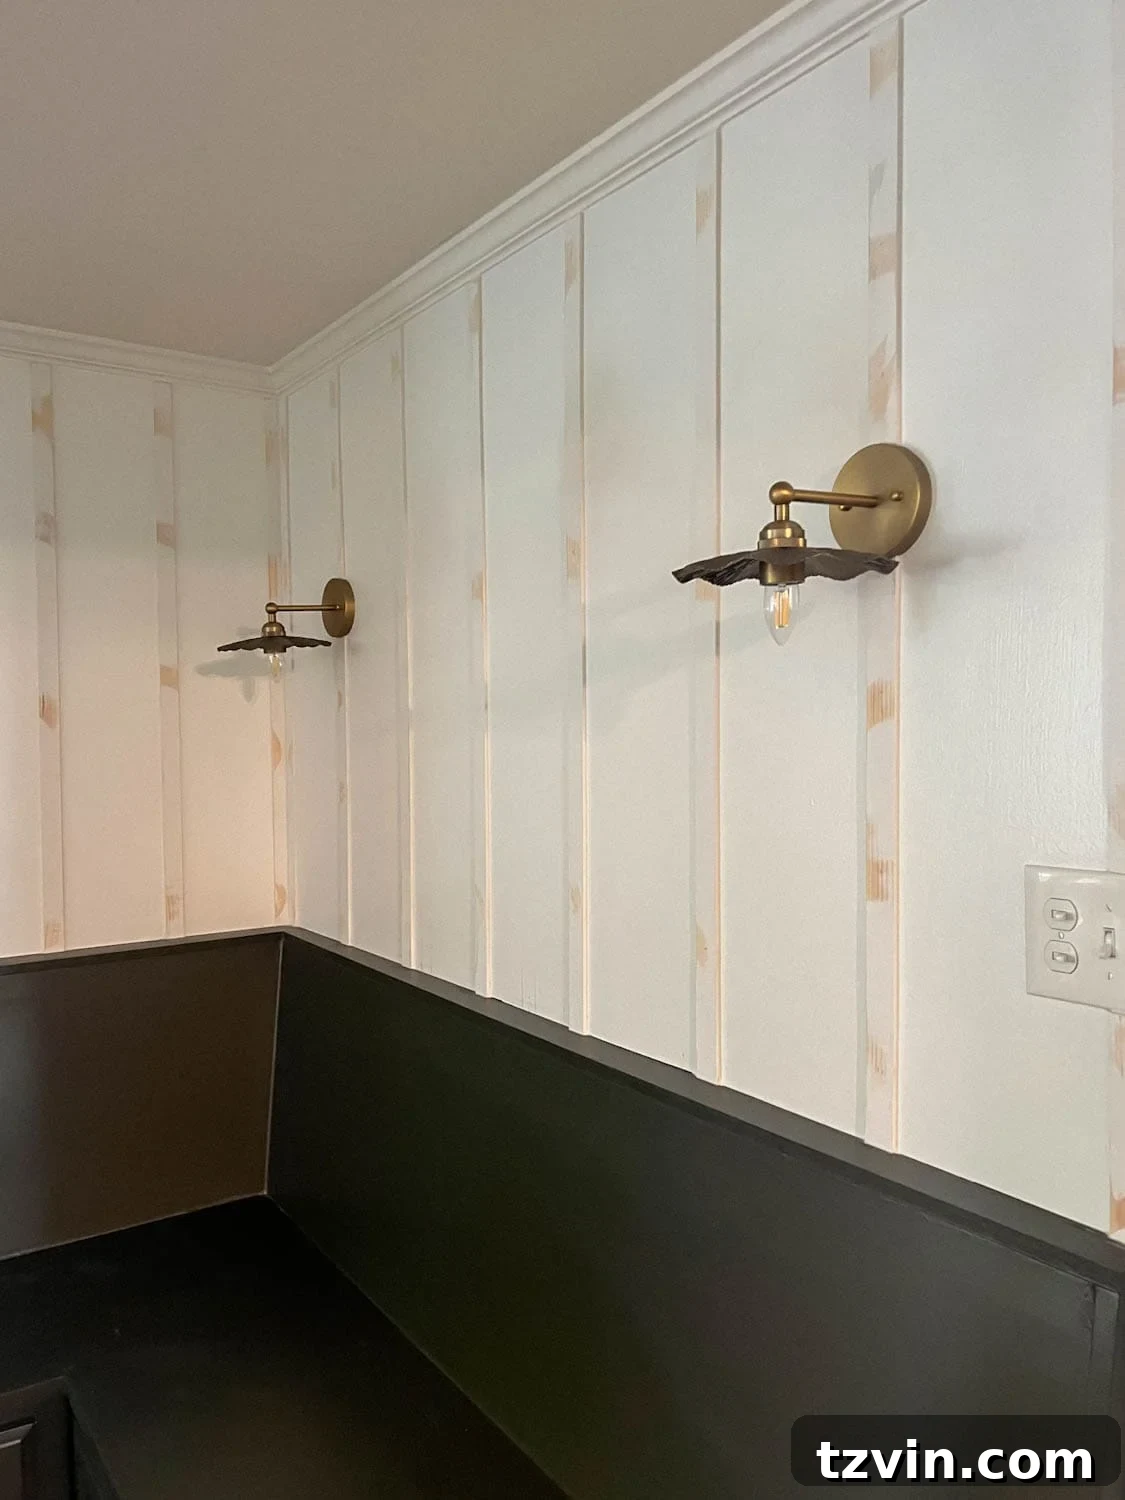
Step 8 – The Finishing Touch: Paint Your Masterpiece
The final step brings your batten wall to life! Apply a fresh, even coat of your chosen interior paint to the entire batten wall – both the lattice strips and the wall sections between them. For a truly professional and time-saving approach, we recommend painting the entire wall surface with your chosen color *before* installing the lattice strips. This way, after installation, you only need to paint the lattice strips and touch up any areas, rather than painstakingly painting around each individual strip. This method significantly reduces the amount of detailed brushwork required. We personally prefer a satin sheen for wall molding, as it offers a subtle luster that enhances the architectural detail while also being highly durable and easy to clean. Once the paint is dry, stand back and admire your handiwork – your stunning, character-rich DIY batten wall is complete!
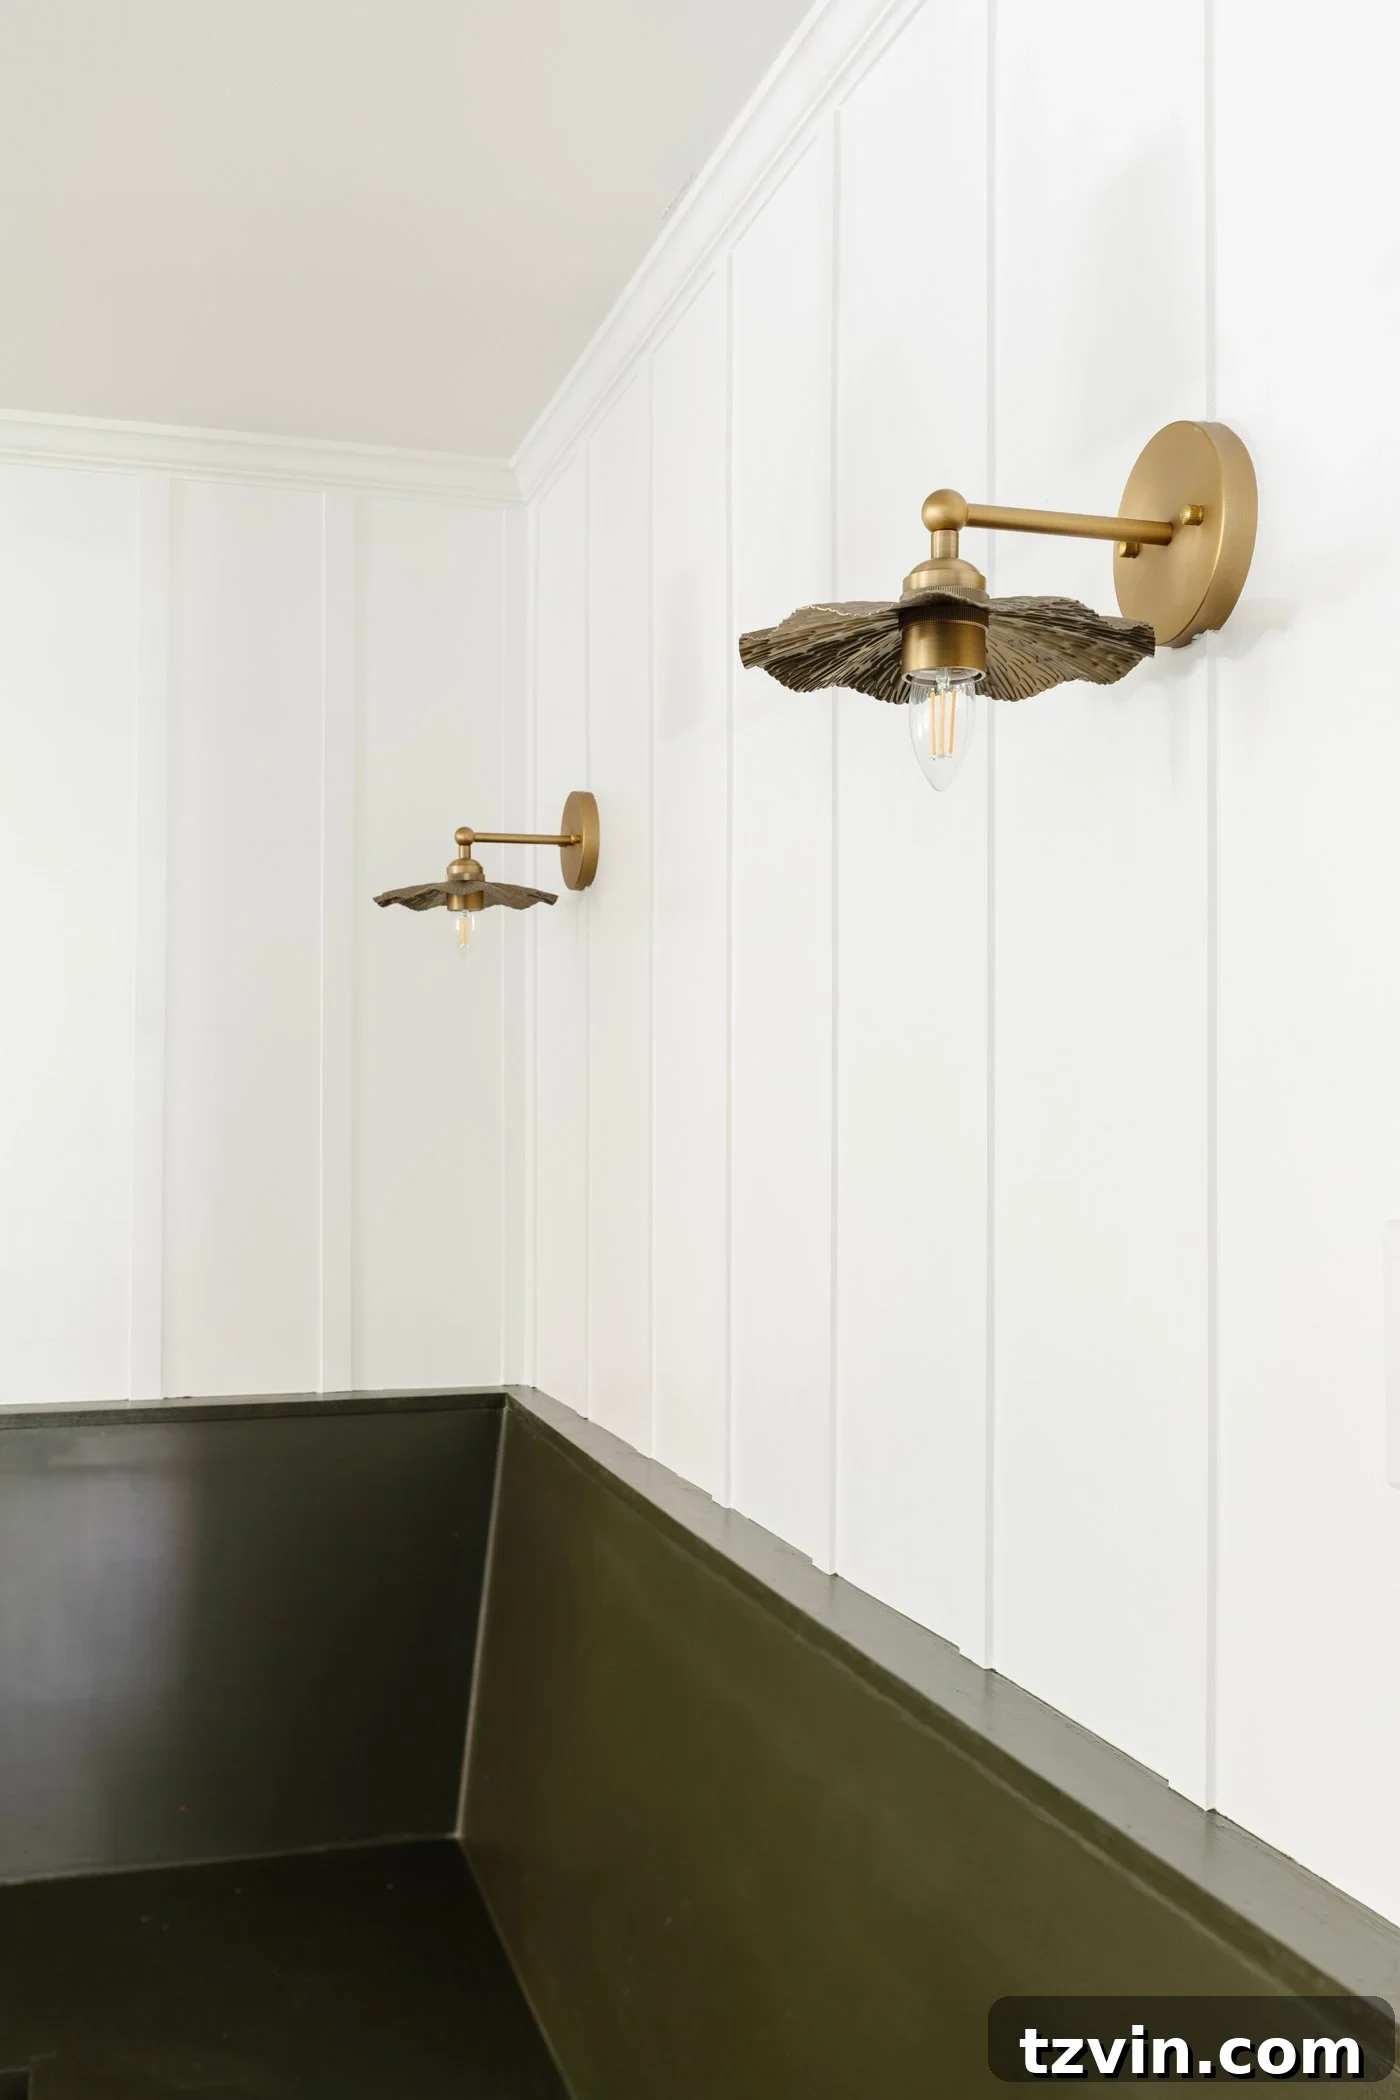
The Finished Batten Wall: A Touch of Timeless Elegance
The transformation is truly remarkable. These two newly installed batten walls have injected an incredible amount of depth, texture, and sophisticated charm into our little breakfast nook corner. The once plain walls now tell a story, adding a layer of architectural interest that feels both custom and timeless. It’s a detail that elevates the entire space, making it feel more intentional and beautifully designed. To further enhance this windowless area, we strategically added these vintage-style sconces, which cast a warm, inviting glow, perfectly complementing the new wall treatment. What do you think of the added light and character?
The brass finish of the sconces creates a beautiful contrast and pop against the crisp white of the batten wall, painted in the classic Benjamin Moore Chantilly Lace. This bright, clean white enhances the illusion of space and reflects light beautifully. The sconces also harmonize wonderfully with our linear chandelier, which introduces a touch of modern design, creating an appealing blend of old and new. The overall effect is a breakfast nook that feels curated, welcoming, and undeniably stylish.
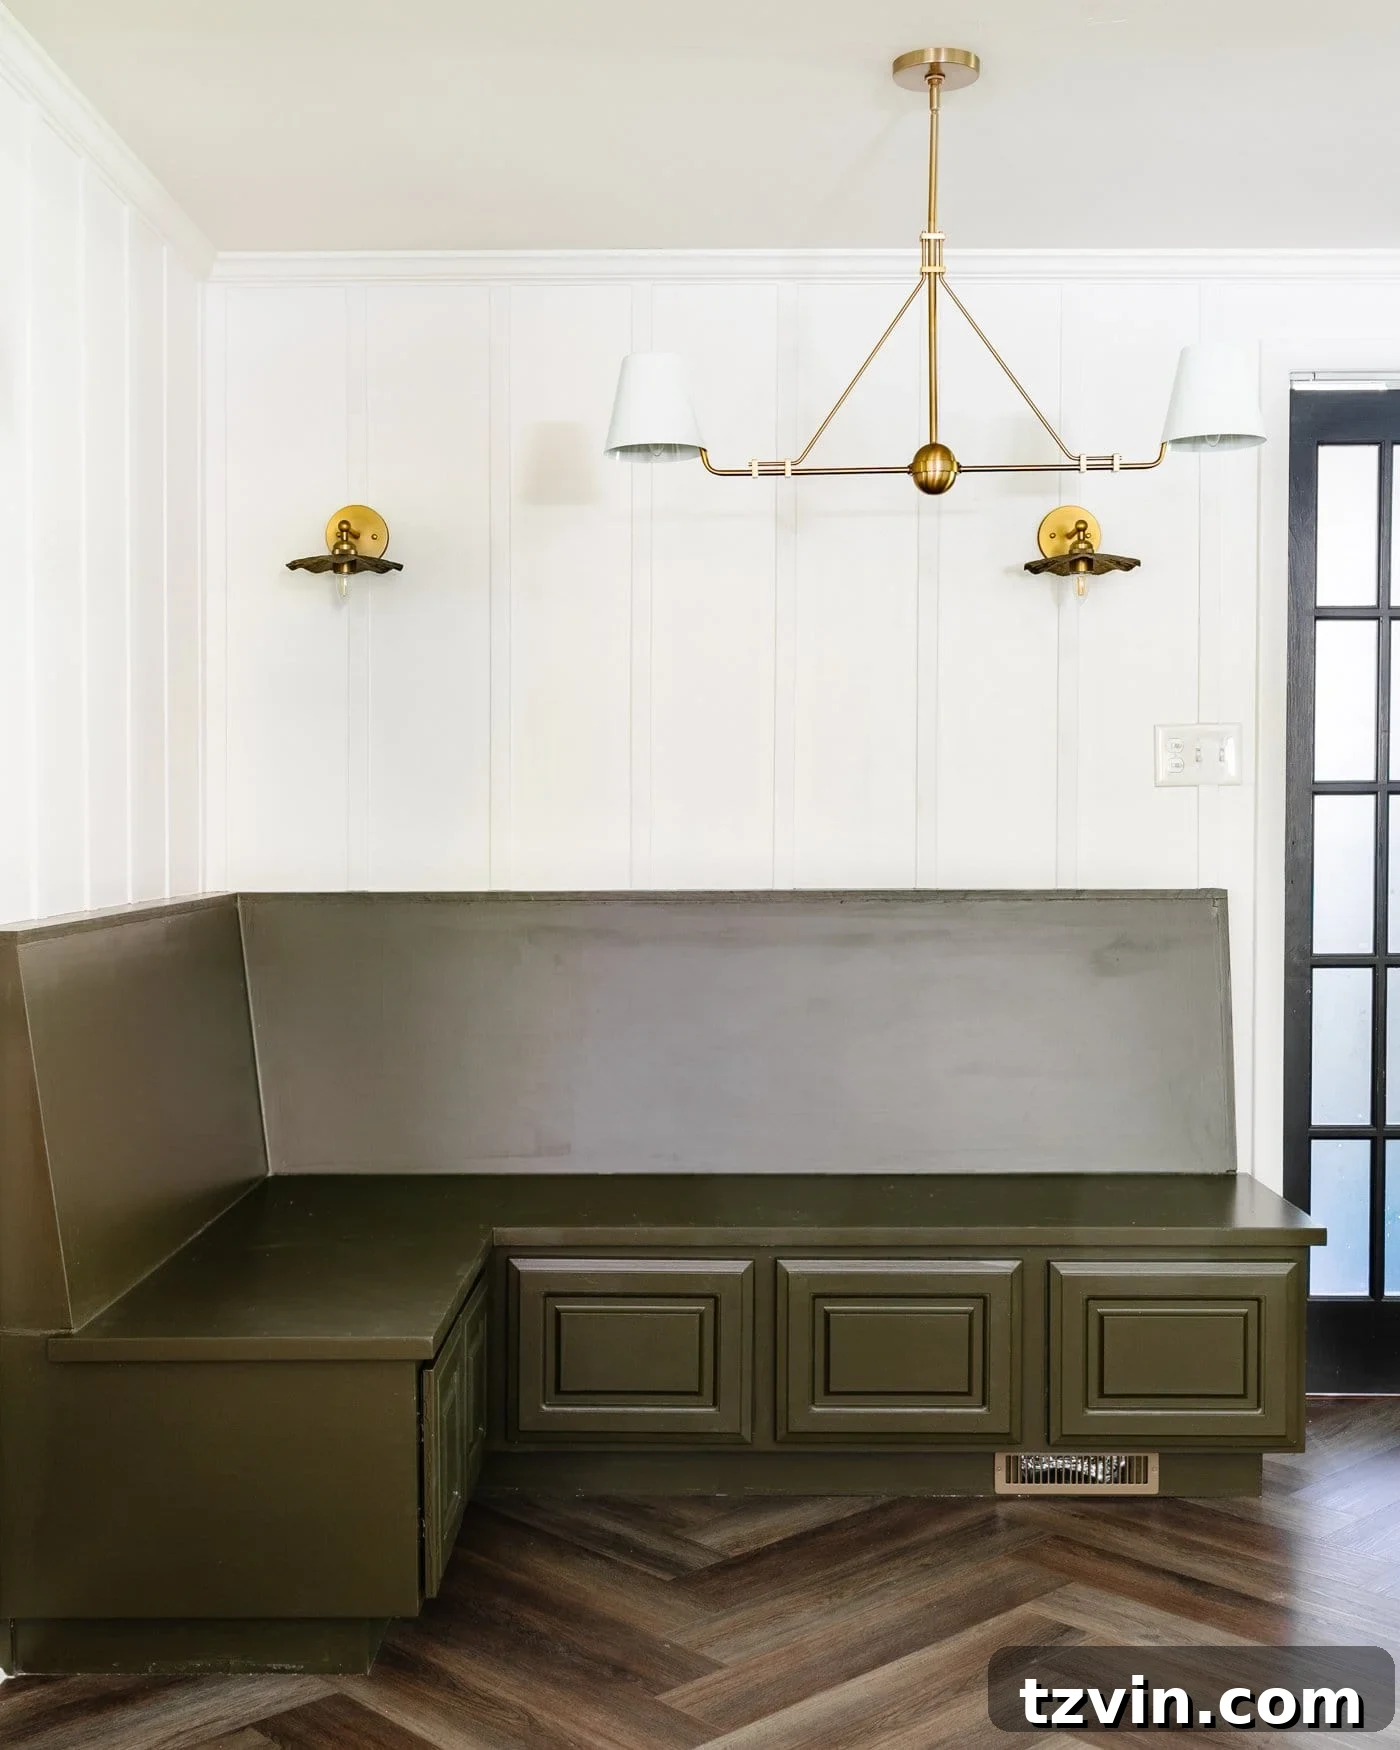
Wrapping Up Breakfast Nook Details: A Continuous Journey of Design
While the batten walls are a significant milestone, our breakfast nook’s transformation is an ongoing journey with a few more exciting details left to tackle. My immediate plans include painting the air vent to seamlessly blend with the newly finished walls and adding beautiful knobs to the banquette cabinet doors for both functionality and aesthetic appeal. I must confess, the paint I had to use on the banquette itself wasn’t my first choice, a direct consequence of recent supply chain issues that unfortunately left my favorite cabinet paints out of stock. But, as with any DIY project, flexibility is key, and if that’s our biggest hurdle, we’re doing pretty well!
The excitement continues to build, as I just received the wonderful news that our newly reupholstered cushions are now finished! These custom cushions will soon complete the banquette seating, bringing an added layer of comfort and style. The DIY herringbone LVP floors, which we painstakingly installed just a few weeks ago, continue to look absolutely stunning, proving to be a durable and visually striking foundation for the space. Next on our project list is building a custom table that perfectly fits the nook, refinishing some charming secondhand dining chairs for the opposite side of the table, and, of course, the thrilling hunt for vintage art and unique decor finds to truly personalize the space. Every detail is carefully considered to ensure this nook becomes as charming and inviting as we envision, a perfect blend of functionality and character.
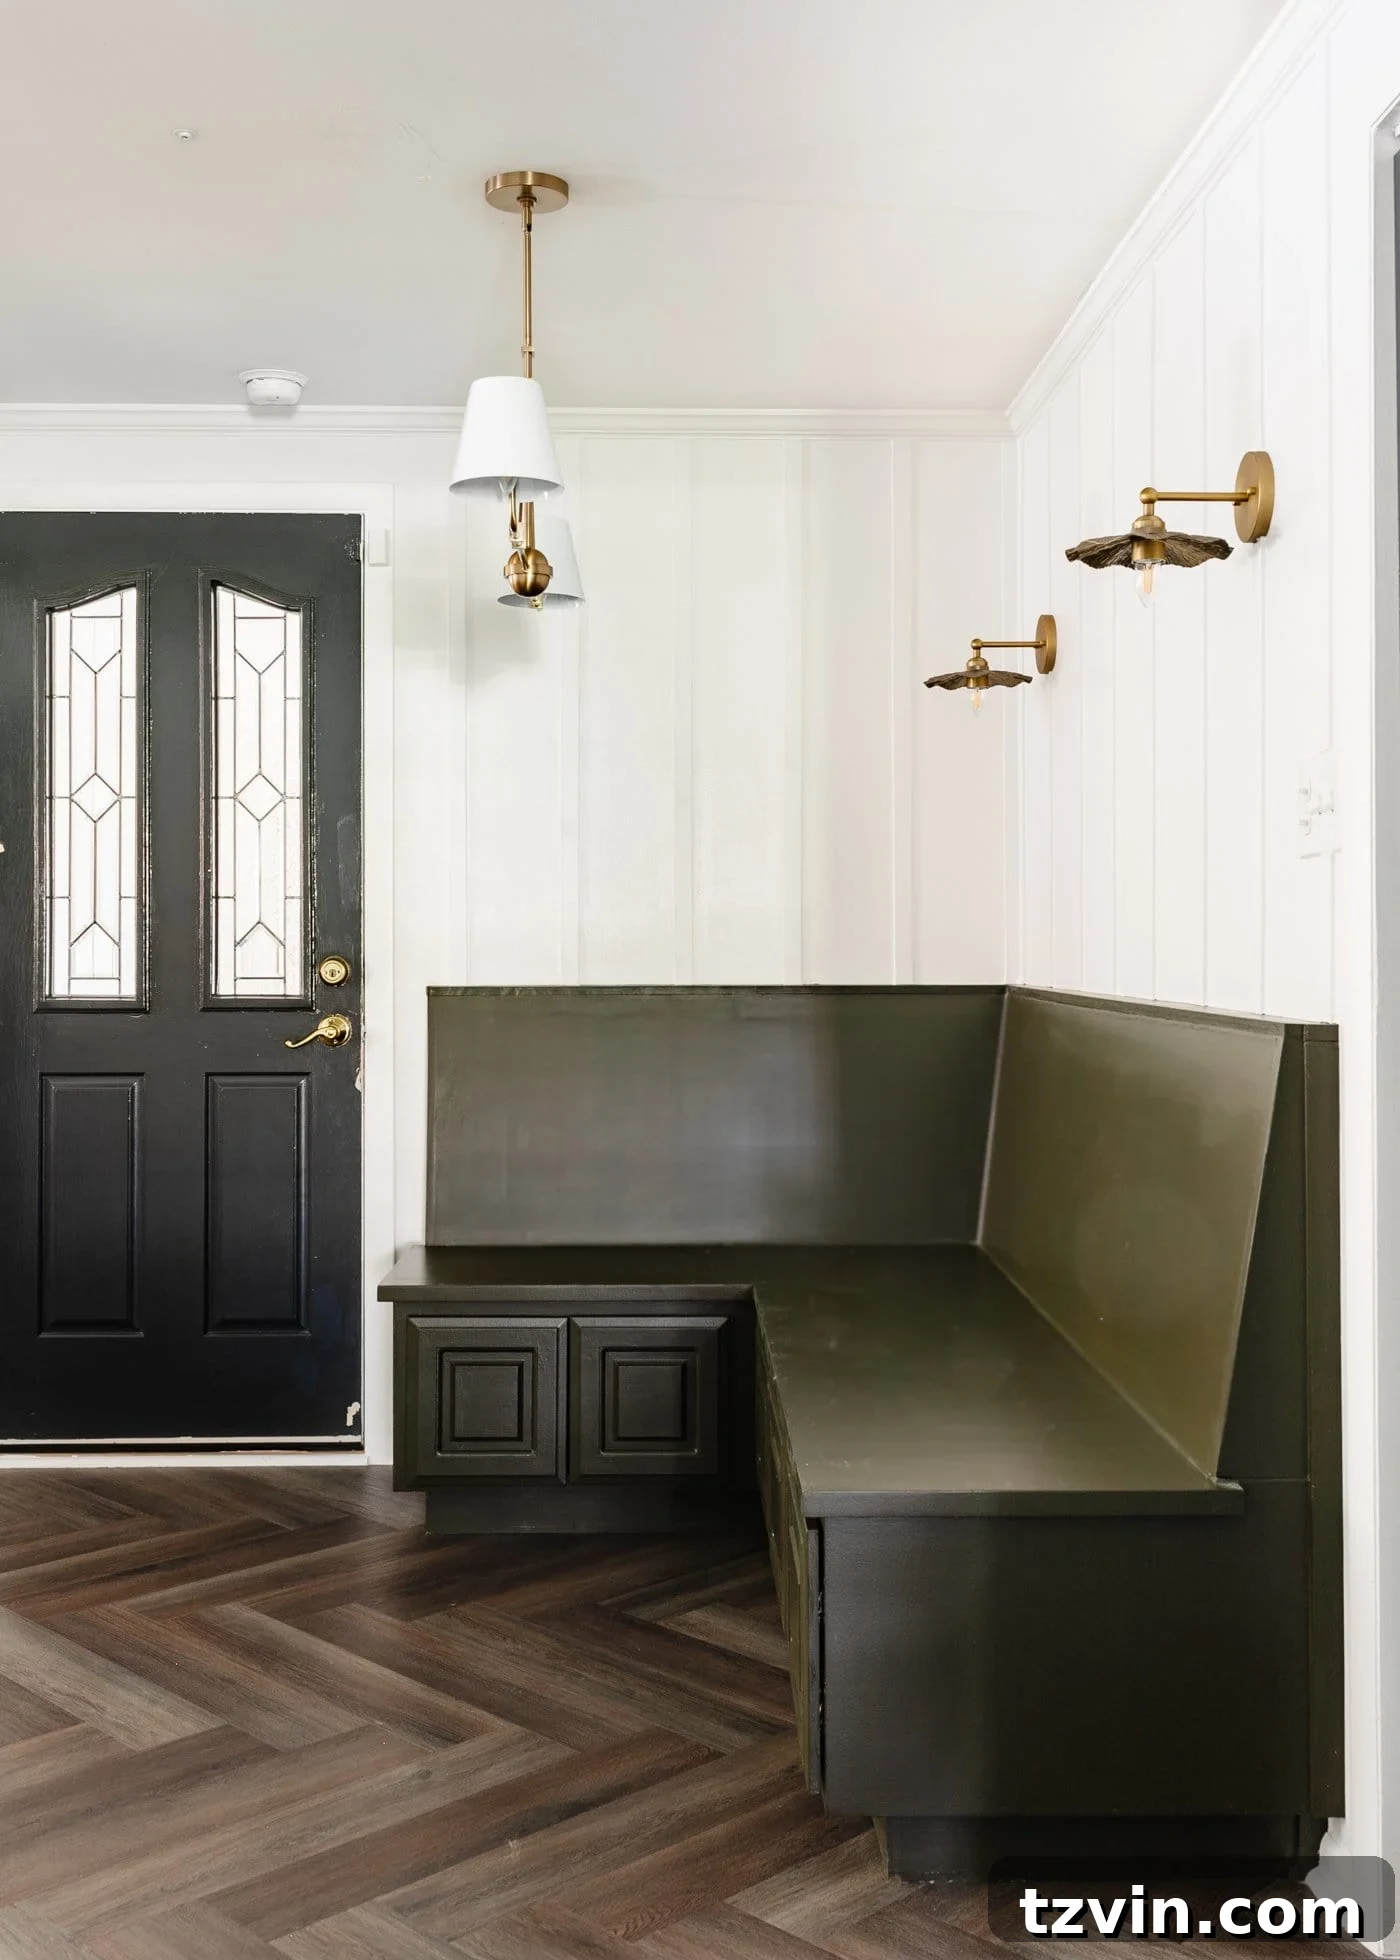
Have you ever taken on the rewarding challenge of a DIY batten wall? Or perhaps you’ve discovered an ingenious new use for simple lattice strips in your own home projects? We’d love to hear about your creative endeavors! These humble strips are truly remarkable for their versatility and potential to transform spaces.
More Creative Project Ideas Using Lattice Strips
Inspired by the power of lattice? Here are a few more ways these versatile strips can be used to add character and style throughout your home:
- DIY Large Scale Wall Art from a Shower Curtain
- DIY Industrial Factory Window Shower Door
- DIY Canvas Frame Vintage Art from Old Farmhouse Signs
- DIY Large Wall Art and Winter Landscape Printable
If you’re still craving more inspiration for adding architectural interest to your walls, explore these additional DIY wall molding ideas:
More Inspiring DIY Wall Molding Ideas to Elevate Your Home
- Easy DIY Vertical Shiplap Wainscoting
- DIY Faux Wall Planking – for $20 for a Whole Room!
- The Cheapest and Easiest DIY Board and Batten Wall
- DIY Traditional Grid Molding Focal Wall
- DIY Picture Frame Molding