
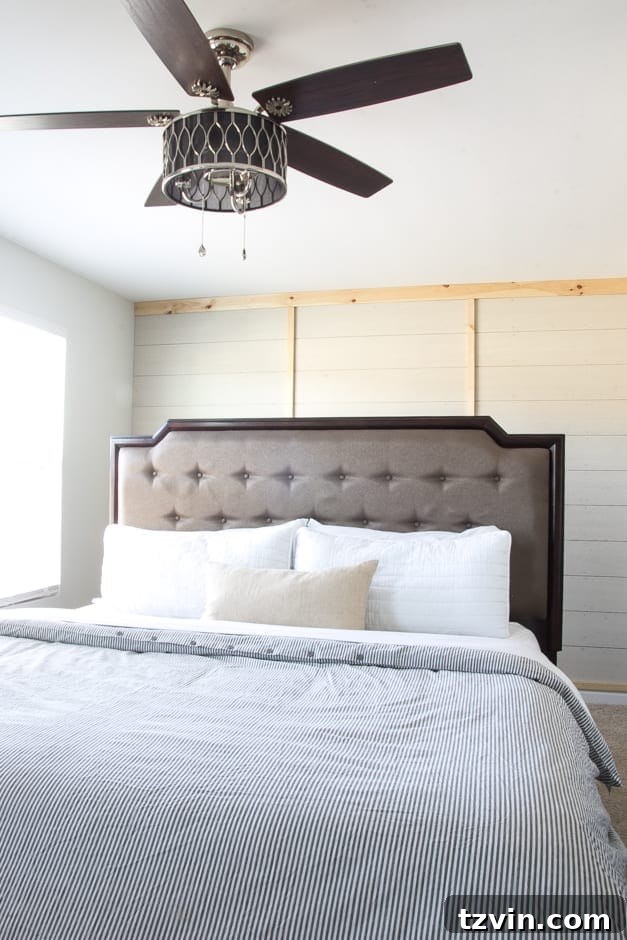
Transform Your Bedroom: A DIY Planked Board and Batten Accent Wall Makeover (Part 1)
The journey of transformation, be it personal growth or a home renovation, often begins with a beautiful struggle. It’s a pain that eventually blossoms into something truly rewarding. As the new year unfolded, I found myself embarking on two parallel paths of change: getting back into a healthy lifestyle and diving headfirst into a significant home improvement project. The parallels between lacing up running shoes for a morning jog and picking up power tools for a DIY project are striking. Both demand effort, commitment, and push you out of your comfort zone, but the eventual satisfaction and the tangible results make every drop of sweat and every challenging moment undeniably worth it. Just like savoring a plate of broccoli or completing that millionth jumping jack, building a stunning accent wall is tough, but the feeling of accomplishment and the joy of a refreshed space are unparalleled.
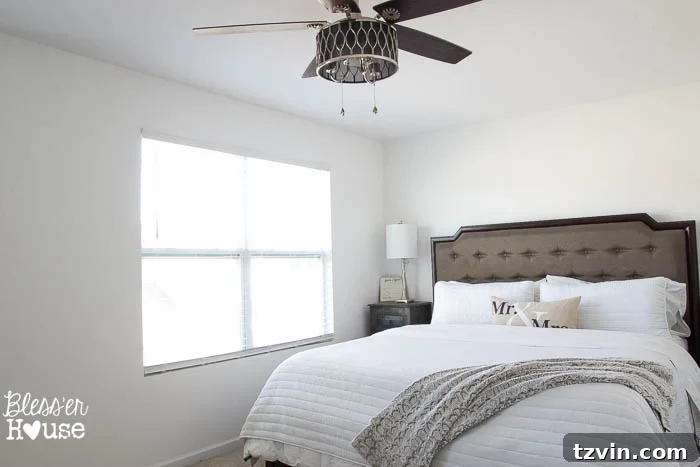
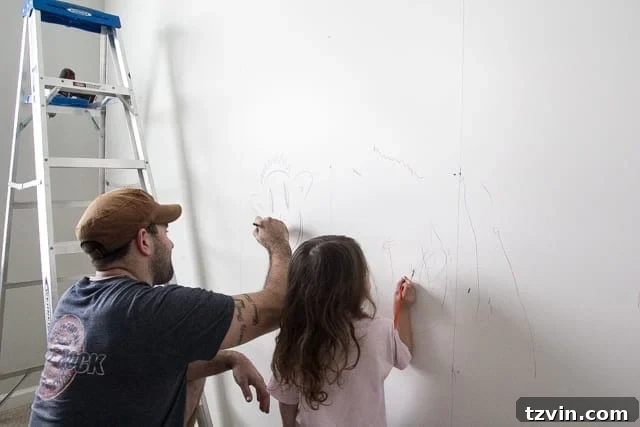
A couple of months ago, I enthusiastically shared our ambitious design plans for our master bedroom. The vision was clear, the mood board was set, but it wasn’t until last week that we truly started to roll up our sleeves and flex our DIY muscles in this space. And by “flexing our DIY muscles,” I mean we… uh… artistically colored on our walls with our kiddo, embracing the chaos and creativity that comes with any major renovation. It’s always an adventure when tiny hands join the creative process!
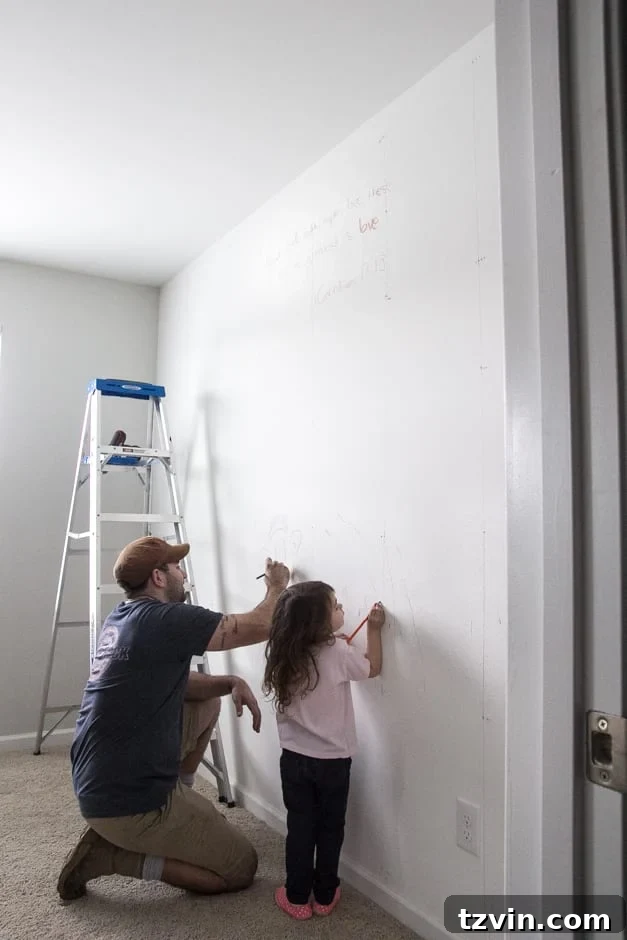
We’re pretty hardcore when it comes to transforming spaces, even if it starts with a little bit of playful anarchy. There’s something liberating about marking up a blank canvas, knowing that soon it will be something completely new and beautiful.
UPDATE: See our full master bedroom makeover reveal here!
Designing Our Dream Bedroom Accent Wall
From the very beginning, visualizing our master bedroom’s transformation, I knew one element was non-negotiable: an accent wall that would introduce significant architectural interest. A feature wall can completely elevate a room, adding depth, character, and a focal point that draws the eye. The challenge was choosing the right style to complement our desired modern rustic aesthetic.
I explored several popular and timeless options for creating a statement wall:
Considering Classic Wall Treatments: Shiplap, Board and Batten, and Grids
There was the ever-popular farmhouse standby, the DIY shiplap wall. Shiplap offers a clean, horizontal line pattern that evokes a cozy, coastal, or rustic charm. It’s incredibly versatile and adds texture without being overwhelming. We’ve used it before, and it always delivers a beautiful, classic look.
Another strong contender was the classic floor-to-ceiling board and batten. This style provides a more formal and structured look, with vertical planks (battens) spaced over larger panels (boards), creating a sophisticated and enduring aesthetic. It’s fantastic for adding a sense of grandeur and height to a room, often seen in more traditional or transitional interiors.
And then there was the elegant board and batten grid. This variation creates a more geometric, panelized effect, offering a contemporary twist on the classic board and batten. It can be incredibly striking and adds a modern architectural detail that’s both clean and impactful.
After much deliberation, I stumbled upon a truly inspiring project from Jenna Sue Design. It was then that the perfect vision for our master bedroom’s accent wall clicked into place: a beautiful hybrid that would combine elements of all three styles. We decided on a planked wall as the base, topped with a board and batten treatment. This approach would give us the rustic texture of shiplap (but with planks!) and the architectural elegance of board and batten, creating a unique and captivating focal point behind our bed.
Essential Supplies for Your DIY Planked Board and Batten Wall
To recreate this sophisticated yet rustic wall treatment, here’s a comprehensive list of the tools and materials we used. Planning your supplies beforehand ensures a smooth and efficient DIY process.
- 3- 1/8″ primed hardwood plywood (We opted for primed plywood to save a step in painting later. These were precisely cut into 8″ wide strips using a table saw. The 8-inch width provides a substantial plank look without being too narrow or too wide, striking a perfect balance for visual appeal.)
- 1- 1″x4″x12″ pine board (This will form the top cap or simple crown molding of our accent wall, providing a finished edge.)
- 4- 1″x2″x8″ pine boards (These narrower boards will serve as the battens, creating the vertical divisions and covering the plank seams for that classic board and batten effect.)
- Pneumatic nail gun and compressor (An absolute game-changer for speed and efficiency in securing the boards. We highly recommend this one for its reliability and ease of use.)
- 2″ finishing nails (Perfect for securing the planks and battens firmly to the studs without leaving large, visible holes.)
- Jigsaw (Indispensable for making precise cuts around electrical outlets and other wall fixtures, ensuring a professional finish.)
- Studfinder (Crucial for locating wall studs, providing a secure anchoring point for your boards and ensuring the stability of your accent wall.)
- Level (Essential for ensuring all planks and battens are installed perfectly straight, preventing a crooked appearance that can detract from the overall look.)
- Quarters or spacers of your choosing (Small, consistent spacers are key to achieving uniform gaps between your planks, creating a neat and intentional planked look. Quarters are a readily available and perfect size for this purpose.)
The DIY Planked Board and Batten Installation Process (Part 1)
Embarking on a large-scale DIY project requires careful planning and execution. Here’s how we began transforming our master bedroom wall into a captivating feature.
Step 1: Locating and Marking Wall Studs
Before we even thought about cutting wood or grabbing the nail gun, our very first and most critical step was to mark all of the studs in the wall using our reliable studfinder. This step is non-negotiable for any wall-mounted project. Nailing directly into studs provides the strongest, most secure anchor for your wood, preventing any future sagging or detachment. We marked the stud locations clearly with a pencil, ensuring visibility throughout the installation process.
Step 2: Installing the Top Header Board
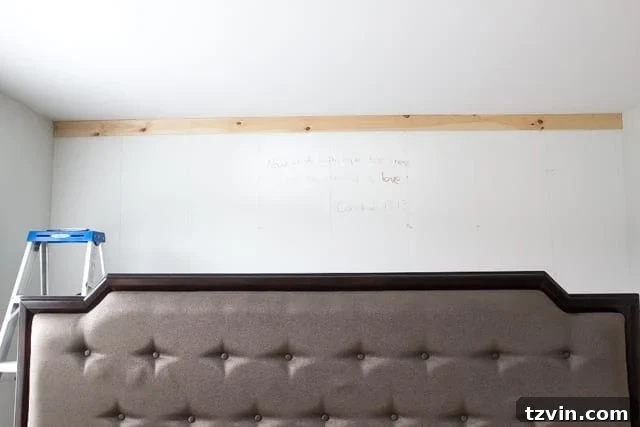
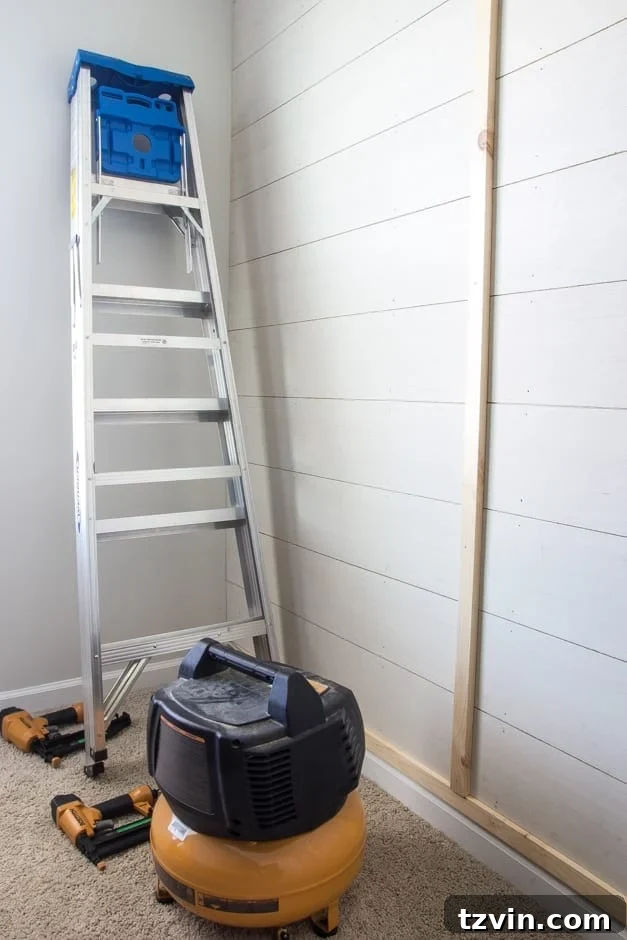
With the studs identified, we started by nailing up the 1x4x12 pine board at the very top of the wall. This board serves multiple purposes: it acts as a foundational element for our simple crown molding, creates a clean line at the top of the accent wall, and provides a sturdy frame for the planks to follow. Using our level was paramount here to ensure this initial board was perfectly horizontal, as it would dictate the alignment for everything else below it.
A Personal Touch: A Message Above Our Bed
Before Robert got completely lost in his carpenter-happy zone, he took a moment to personalize our space in a truly meaningful way. He wrote 1 Corinthians 13:13 above our bed. It was a sweet, thoughtful gesture, a little hidden blessing for our room. Moments like these remind me that DIY isn’t just about building, but about infusing our home with love and personal stories. Dawww. I love him for those touches.
Step 3: Attaching the Plywood Planks
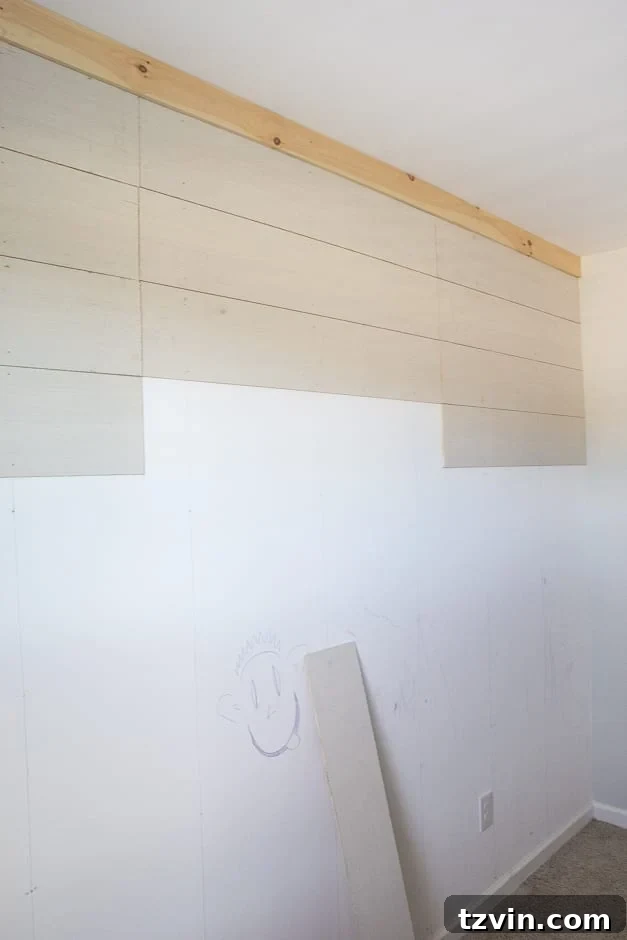
Now for the planking! Our 1/8″ primed hardwood plywood was pre-cut into 8″ wide strips, ready for installation. To create the desired visual balance, we decided to section the wall into thirds. This division helps in planning the plank lengths and the placement of our vertical battens later. We meticulously measured the length of each section to cut our plywood strips to fit perfectly.
As we nailed each plank to the wall using our pneumatic nail gun and 2″ finishing nails, we used quarters as consistent spacers between each strip. The humble quarter is an ideal, uniform spacer that creates a subtle yet noticeable gap, mimicking the look of traditional shiplap or V-groove paneling. While we aimed for precision, we also understood that absolute perfection wasn’t necessary at this stage. The beauty of this design is that the vertical battens would eventually cover the seams between the planks, forgiving any minor imperfections in spacing or alignment. This approach made the process less stressful and more enjoyable.
Step 4: Cutting Around Outlets with a Jigsaw
An important consideration when planking a wall is working around electrical outlets. For these areas, we carefully measured the dimensions of the outlet box and marked its position on the plywood plank. We then used our jigsaw to cut out the precise opening. Remember, safety first: always turn off the power to the outlet at your breaker box before working on or around it. This careful step ensures a clean, custom fit around all wall fixtures, maintaining the seamless look of the planked wall.
Step 5: Installing the Bottom Base Boards
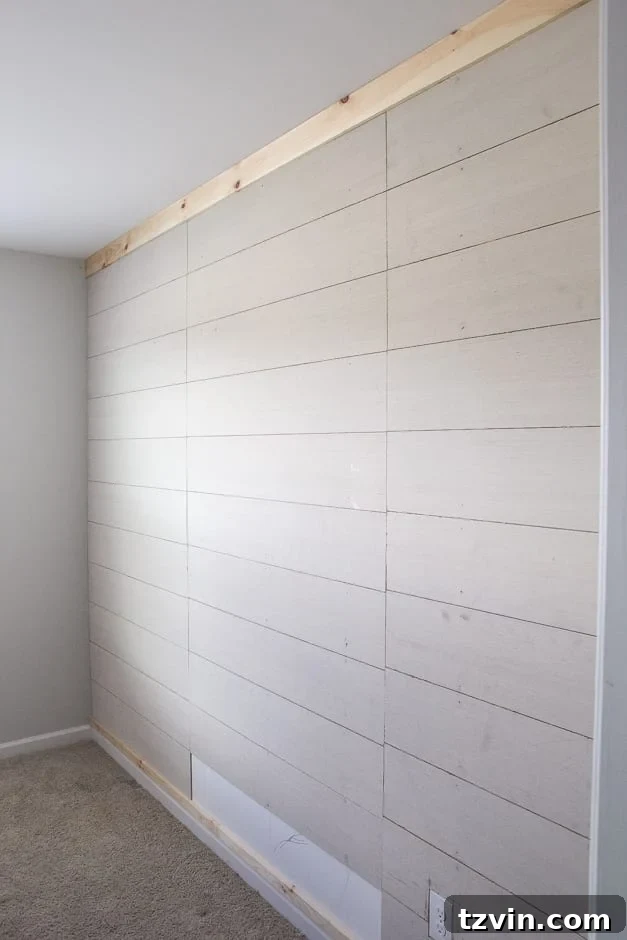
Once all the vertical planks were securely in place, we moved on to establishing the base of our board and batten. We nailed up 1×2 pine boards along the bottom of the wall. These boards serve as the horizontal base for our battens, providing a robust frame and visually grounding the entire accent wall. Just like the top board, a level was indispensable here to ensure a perfectly straight line, contributing to the professional finish of the project.
Step 6: Adding the Vertical Battens
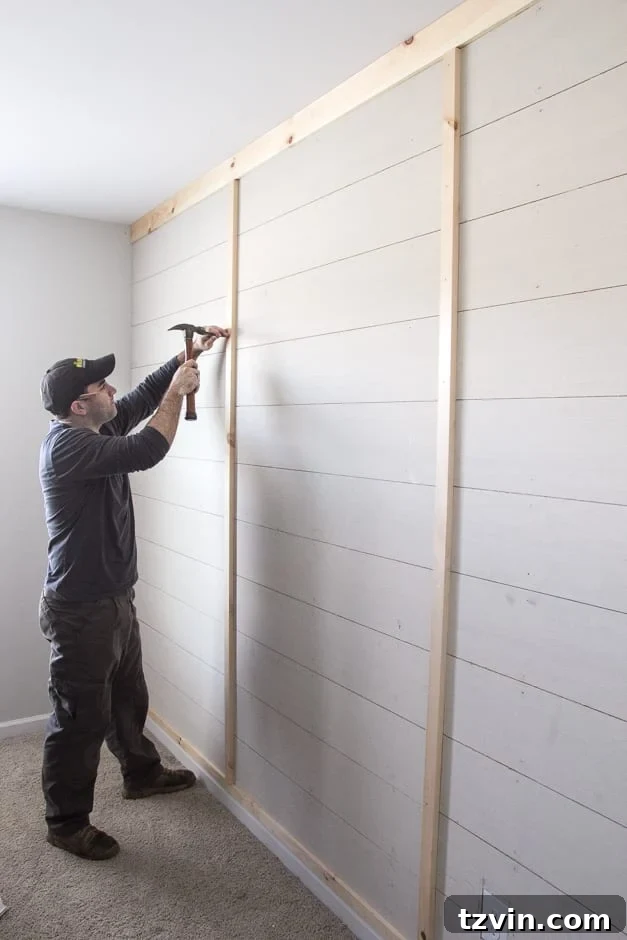
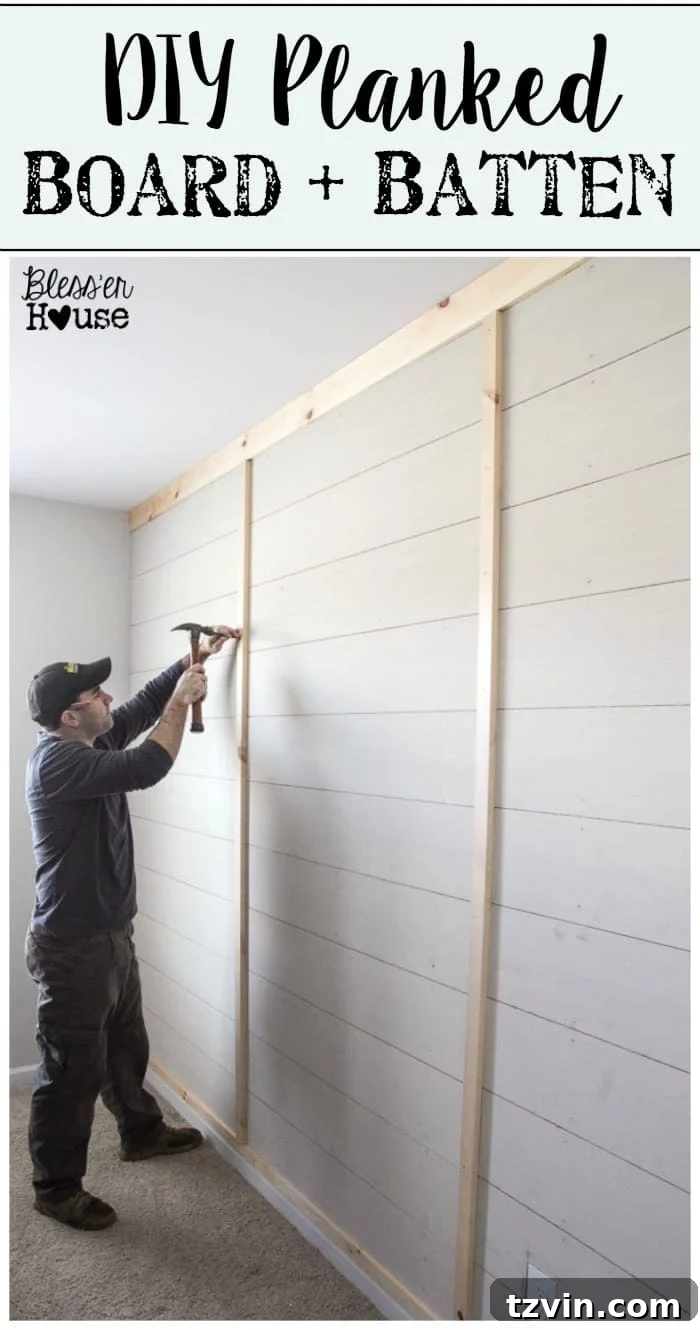
With the planks and base in place, it was time to add the “batten” part of our board and batten. We carefully positioned two more 1×2 pine boards directly on top of the plank seams. These vertical battens are crucial for achieving the classic board and batten look, as they cover the underlying plank seams and create the distinct raised panel effect. Again, using a level was absolutely essential to ensure each batten was perfectly plumb (vertically straight). Robert, being a bit old school at heart, opted for a traditional hammer for this step, methodically securing each batten. The contrast between the planks and the raised battens immediately brought a new dimension to the wall, hinting at the finished architectural beauty.
The Accent Wall Takes Shape!
And just like that, we now have a distinctive accent wall taking shape! Even though it’s not totally finished, the transformation is already incredible. The added texture and architectural interest are exactly what we envisioned for our master bedroom. It’s truly inspiring to see a design plan come to life, piece by piece.
The next crucial steps involve preparing the wall for its final reveal. This week, I’ll be focusing on the essential finishing touches like filling nail holes, caulking all the seams for a smooth, professional look, and, of course, adding the perfect coat of paint. These details might seem minor, but they are what truly elevate a DIY project from good to absolutely stunning. Paint, in particular, will completely transform the raw wood into the cohesive, elegant backdrop we’re dreaming of.
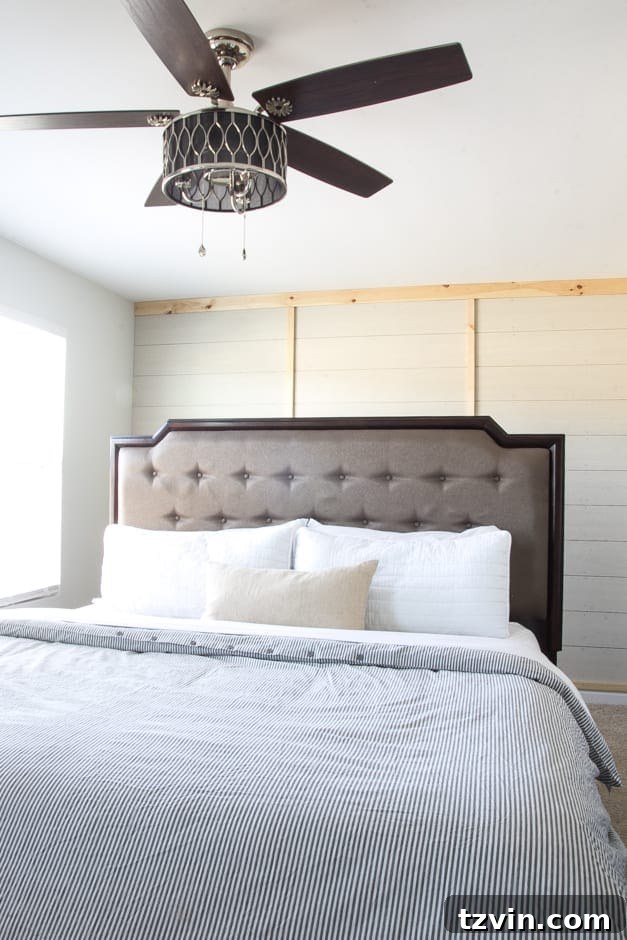
I’m already seeing this room come to life, evolving from a simple design plan into a beautiful reality. The anticipation of seeing the final result is incredibly motivating, and I can’t WAIT to tackle more of it, adding layers of decor and personal touches that will make this master bedroom truly ours. This DIY planked board and batten accent wall is just the beginning of a magnificent transformation!
Explore More of Our Master Bedroom Makeover Journey
UPDATE! You can check out more about all of the projects and makeovers that went into our master bedroom here:
- Master Bedroom Design Plan
- How to Get Designer Paint Colors on the Cheap
- DIY Planked Board and Batten Focal Wall Reveal
- Quick and Easy Dresser Makeover
- 3 Tricks to Upgrade Plain Windows for a Custom Look
- Choosing the Perfect Blue Vintage Rug to Anchor the Space
- DIY Metal Industrial Initial Sign for Personalized Decor
Embracing the Beautiful Pain of Change
Oh, and remember that whole “change is a beautiful pain” thing I mentioned at the beginning? Well, transforming a room, especially a master bedroom, comes with its own unique set of challenges and temporary chaos. Exhibit A, my friend, is the reality behind every gorgeous “after” photo:
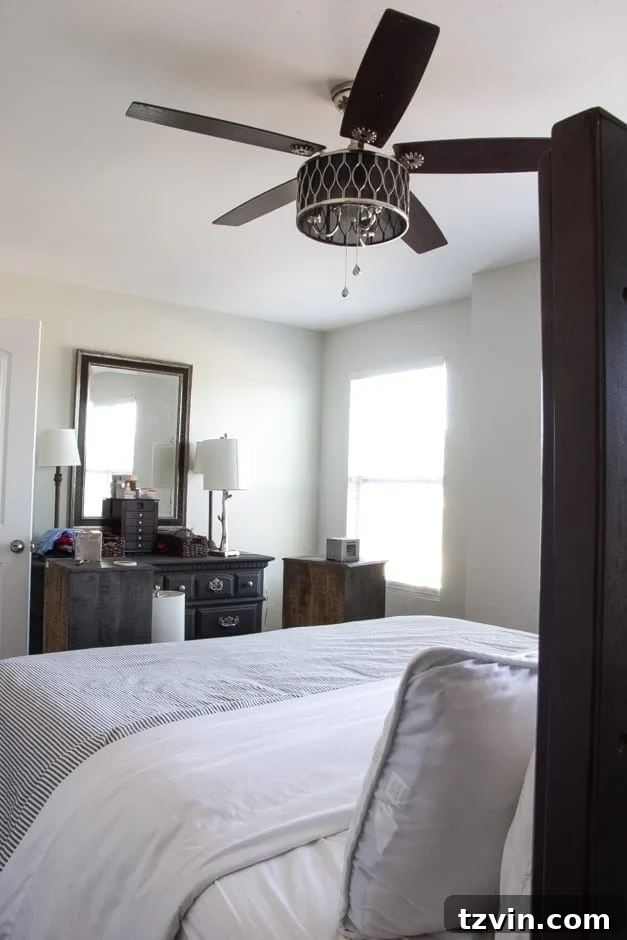
Navigating my way around all of that furniture crammed at the foot of our bed in the dark every single night has certainly been an “interesting” experience, to say the least. It’s a testament to the temporary upheaval that accompanies significant home improvement projects. And just so you know, whenever we have a big project like this one happening, it seems the rest of our house mysteriously goes down with the ship in the tidiness department. It’s absolute pandemonium around here – tools, dust, moved furniture, and displaced everyday items are the norm.
But despite the mess, the inconvenience, and the occasional frustration, I hold firm to the belief that it’ll all be incredibly worth it. That’s what Jillian Michaels keeps shouting at me from the TV during my 30 Day Shred workouts every morning, and it’s a mantra that applies perfectly to DIY. The effort, the sweat, and yes, the temporary chaos, will undoubtedly culminate in a master bedroom that is not only beautiful but also deeply personal and a true reflection of our style. The end result, a stunning DIY accent wall, will be the ultimate reward, proving that a little bit of beautiful pain can lead to extraordinary change.
If you feel inspired to tackle a DIY planked board and batten accent wall for yourself sometime, be sure to pin this project for later reference and easy access to the step-by-step guide!
Are you as excited as I am to start seeing things truly taking shape in here? Or perhaps you’re also kickin’ your booty into workout gear, chasing your own version of “beautiful pain” this year? I’d love to hear about your transformative journeys!

Follow us for more DIY projects, home decor ideas, and renovation updates:
Facebook | Pinterest | Instagram | Twitter | Google+