
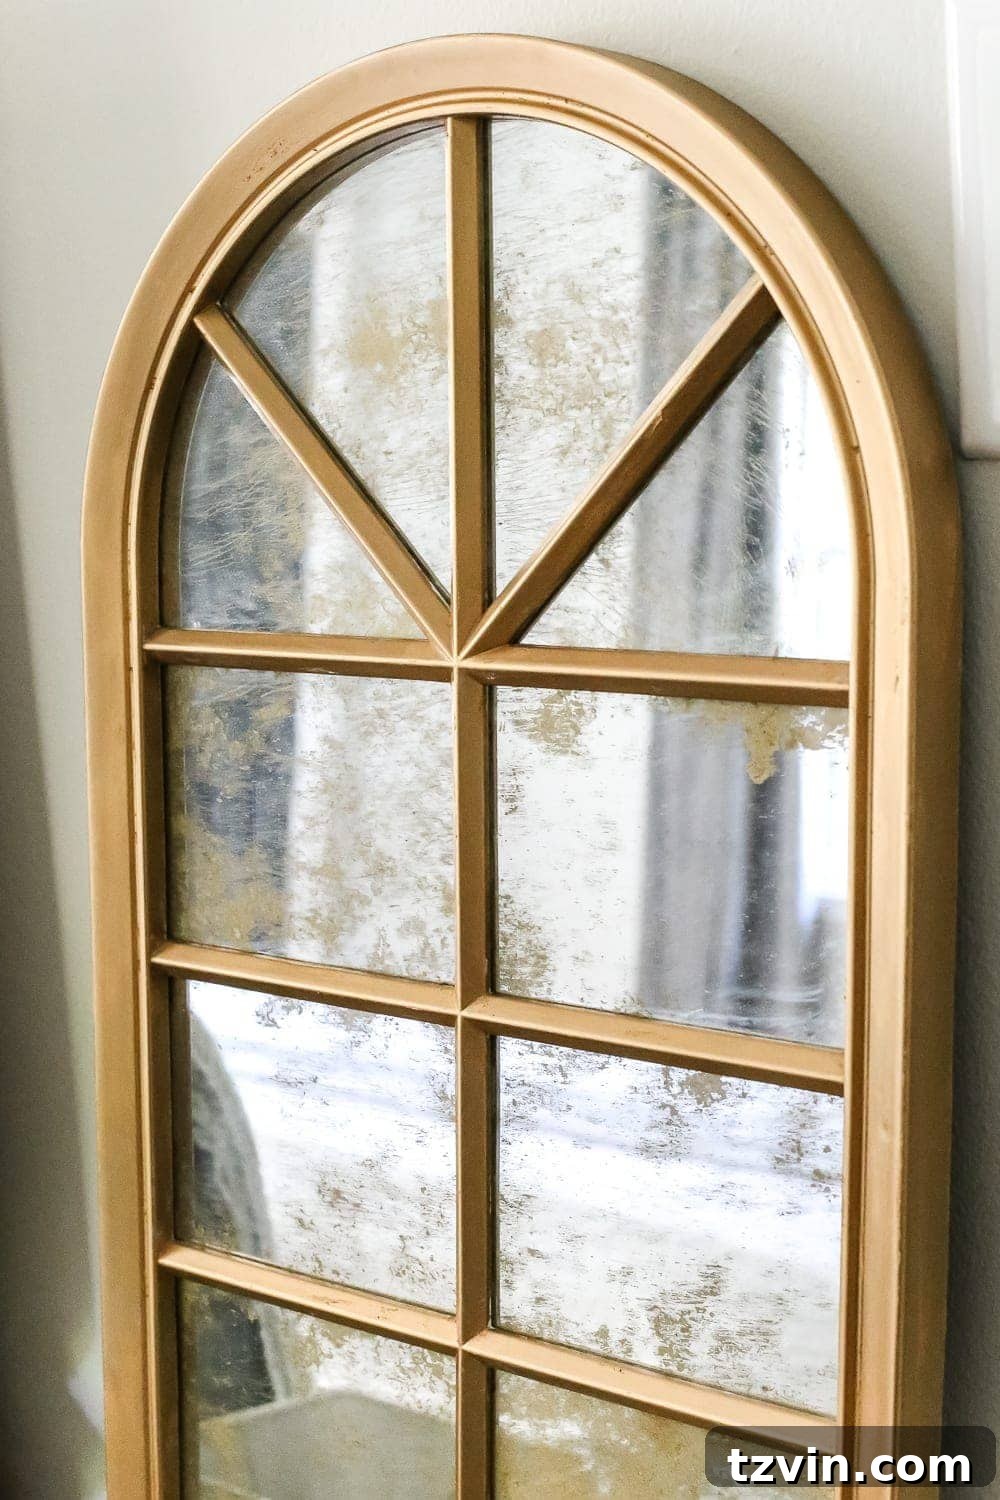
DIY Antique Gold Mirror Makeover: Elevate Your Home Decor
Gold has captured my heart lately! It’s that kind of love that comes unexpectedly and sweeps you off your feet. While I still appreciate my friends like oil-rubbed bronze, gold has taken center stage in my decor.
This infatuation with gold started with a powder room makeover that sparked a passion for brass and gold. It’s now flowing into other areas of my home. I recently purchased some plain white plastic mirrors, and knew they needed a touch of antique gold glamor to fit the new aesthetic.
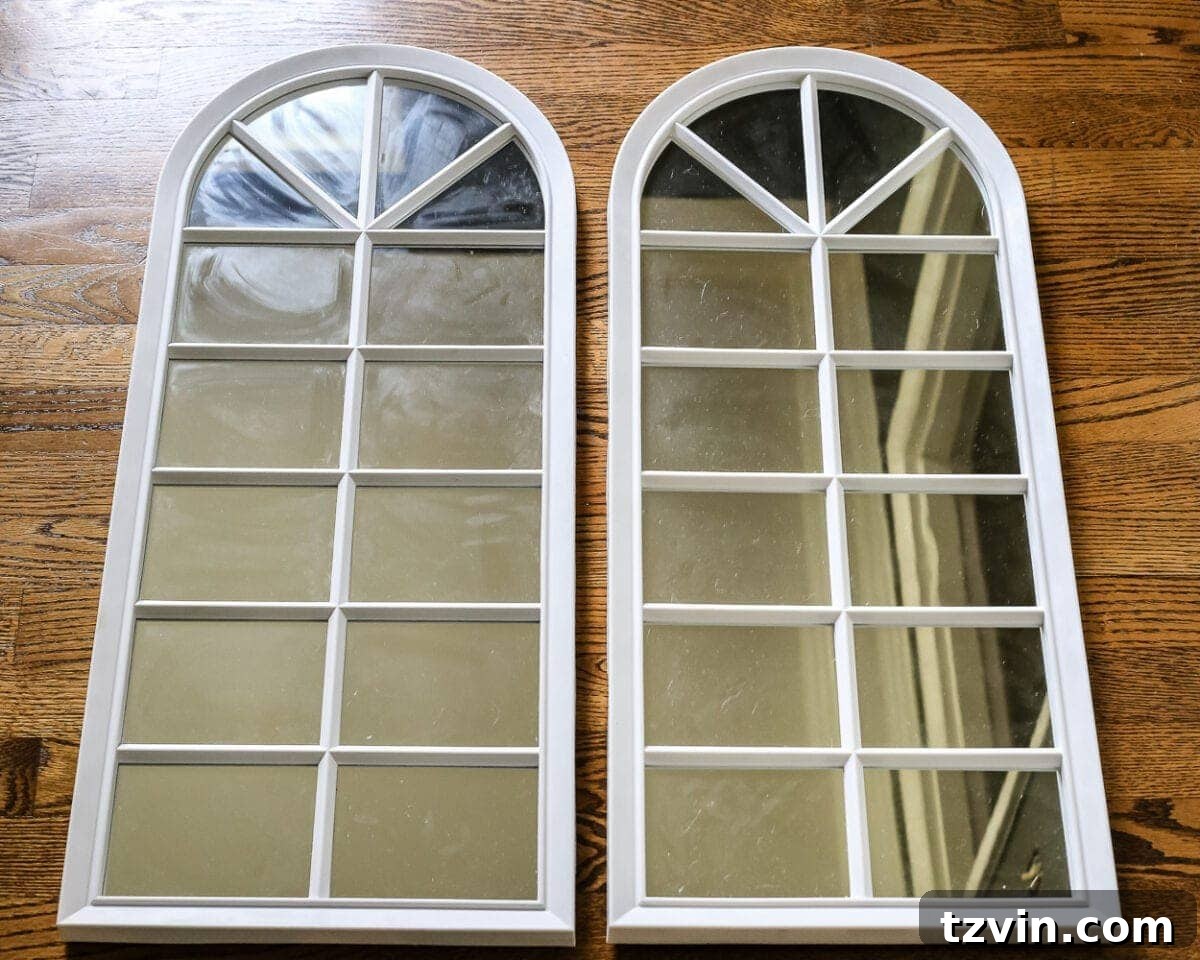
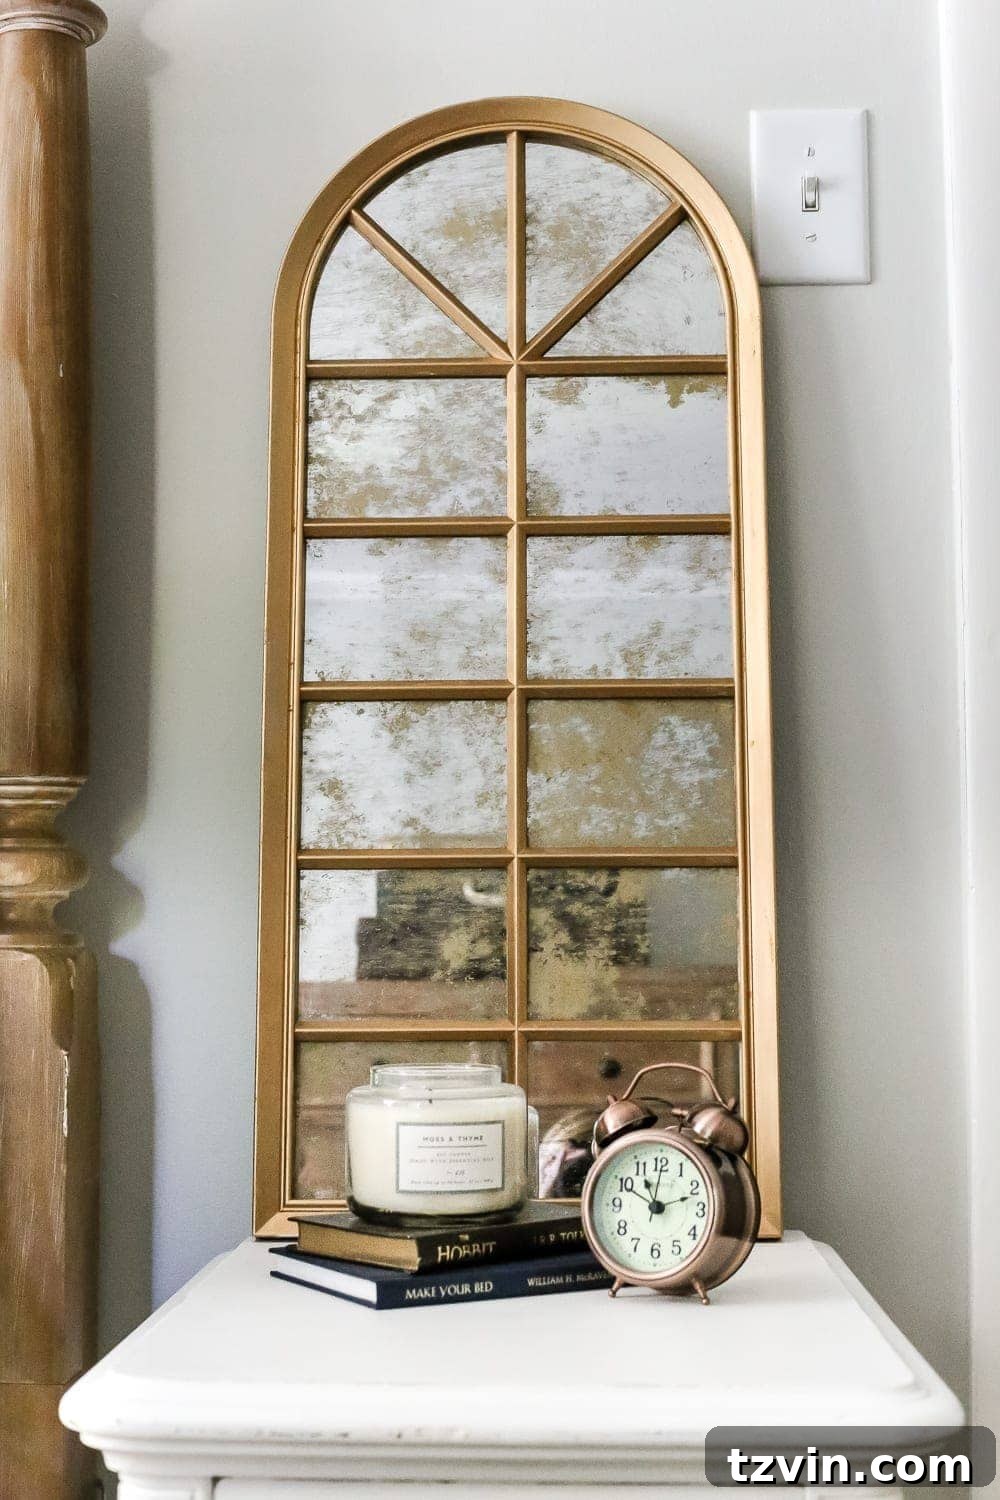
Initially, I wasn’t thrilled with the mirrors when they arrived. I found them a bit underwhelming. However, the transformation has been amazing! They look significantly more expensive than their original price.
If you have a mirror that could use a touch of antique glamour, this project is perfect for you. Follow along to learn how to achieve this stunning look!
What You’ll Need for Your DIY Antique Gold Mirror
Here’s a list of supplies to gather before you start:
- A mirror of your choice (These were from TJ Maxx)
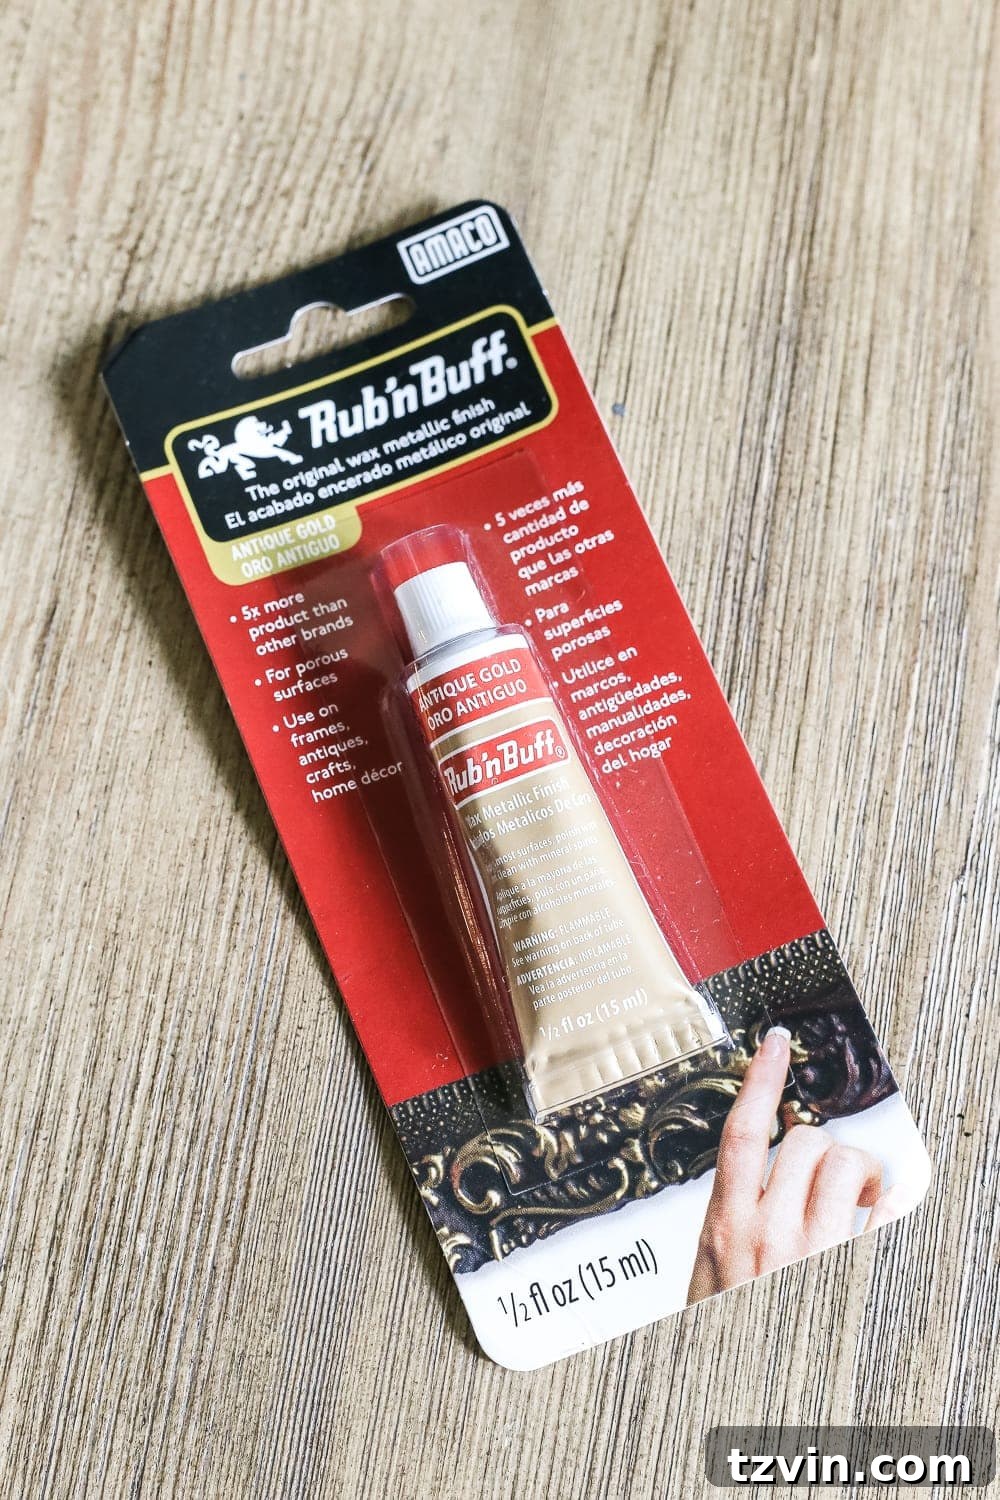
- Rub ‘n Buff in Antique Gold
- Small artist brush
- Small screwdriver
- Drop cloth or protective surface
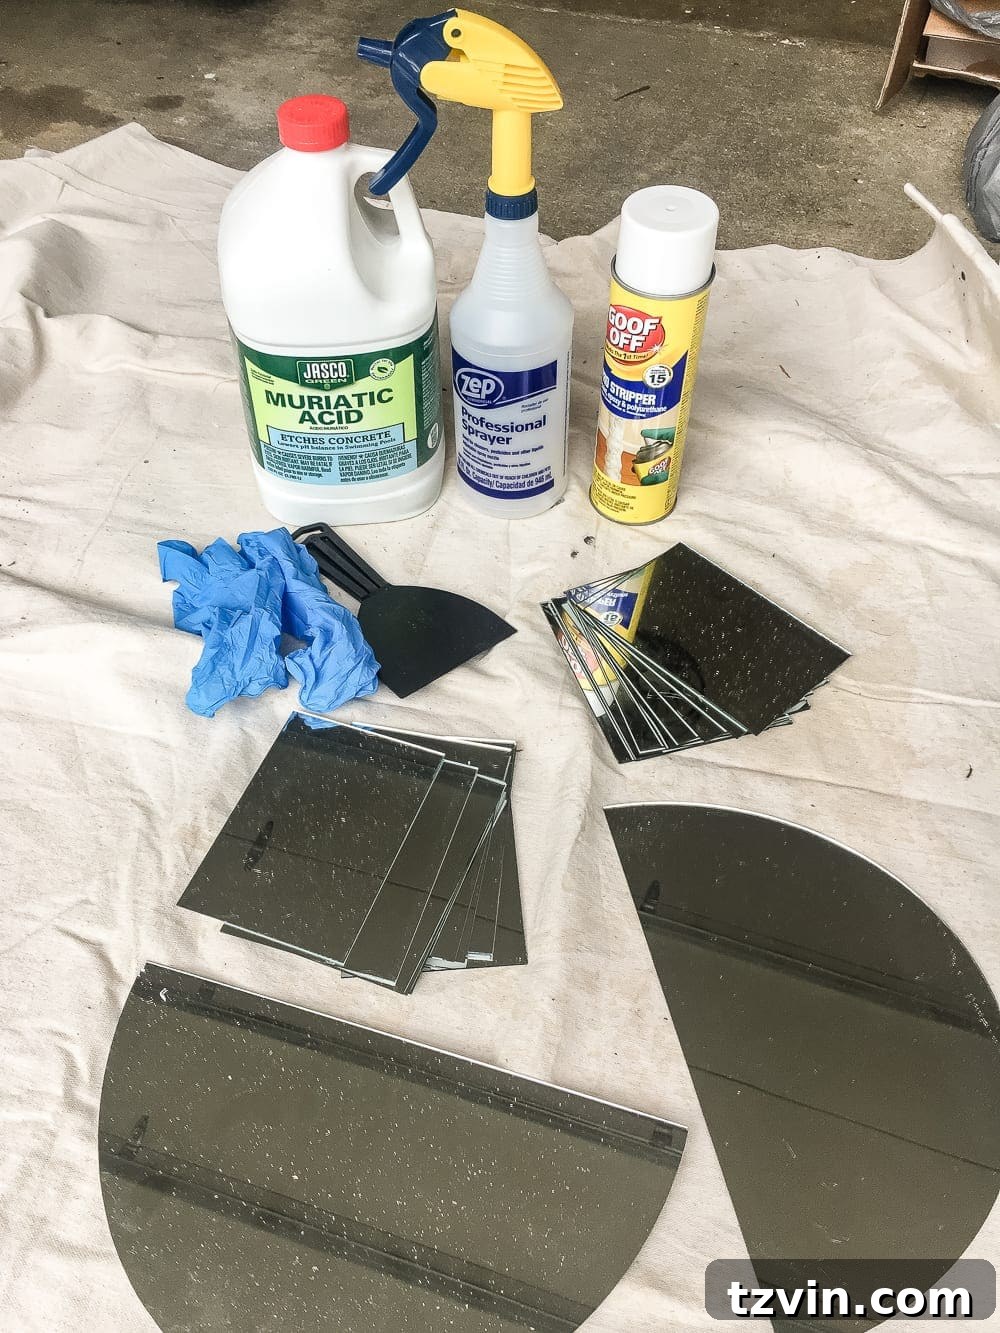
- Muriatic acid (for the mirror antiquing, *optional*)
- Champagne gold spray paint (for the mirror antiquing, *optional*)
- Aerosol paint stripper (use this for removing the original paint from the frame)
- Plastic putty knife
- Clean, dry rags
- Funnel
- Spray bottle
- Chemical resistant gloves
- Safety goggles
- Ventilation mask
Note: Some links above are affiliate links, which means I may earn a small commission if you make a purchase at no extra cost to you.
I’m officially hooked on Rub ‘n Buff! It is a fantastic product. I’m already brainstorming other projects where I can incorporate it.
Step-by-Step Instructions
Here’s how to create your own antique gold mirror:
- Prepare the Mirror: Use the screwdriver to remove the backing from the mirror. Carefully set aside the glass mirror pieces and screws.
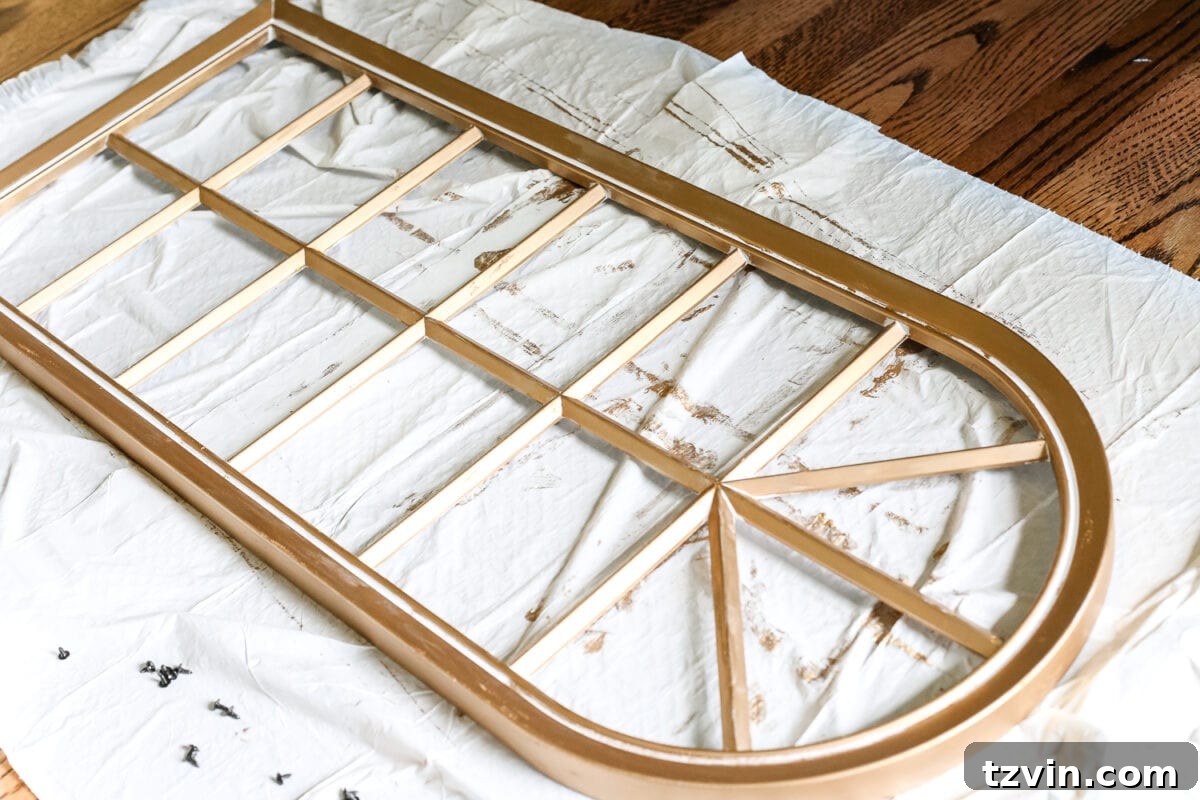
- Protect Your Work Surface: Place the mirror frame on a drop cloth or a large plastic bag to protect your surface from mess.
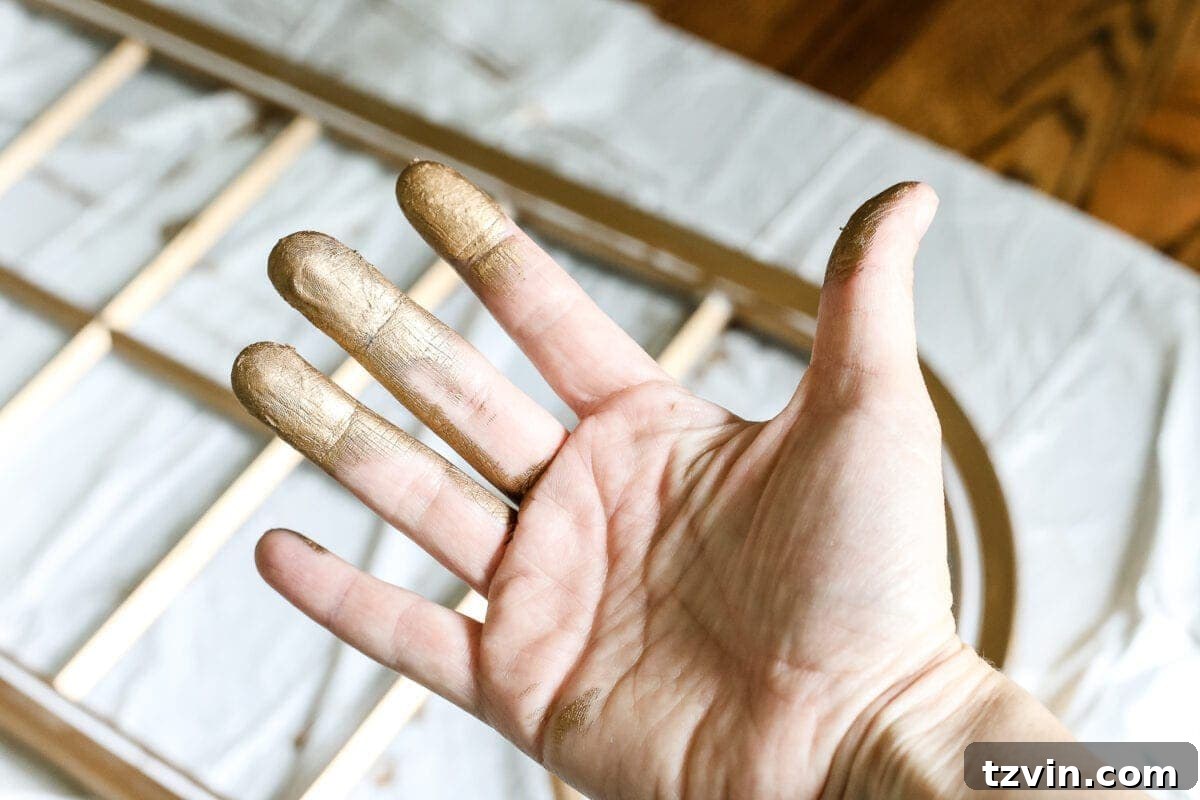
- Apply Rub ‘n Buff: Using your fingers, rub the Antique Gold Rub ‘n Buff all over the mirror frame, working in sections. Apply a generous amount for best results.
- Detailing: Use a small artist brush to apply Rub ‘n Buff to hard-to-reach corners and small details.
- Optional: Antique the Mirror Glass: (See the full tutorial by The Lettered Cottage. This step requires muriatic acid, champagne gold spray paint, and paint stripper.)
- Let it Dry: Allow the Rub ‘n Buff to dry completely. Follow the product instructions.
- Reassemble the Mirror: Once everything is dry, reassemble the mirror, carefully placing the glass back into the frame and securing the backing.
- Admire Your Creation! You’ve successfully transformed a plain mirror into a stunning antique gold masterpiece!
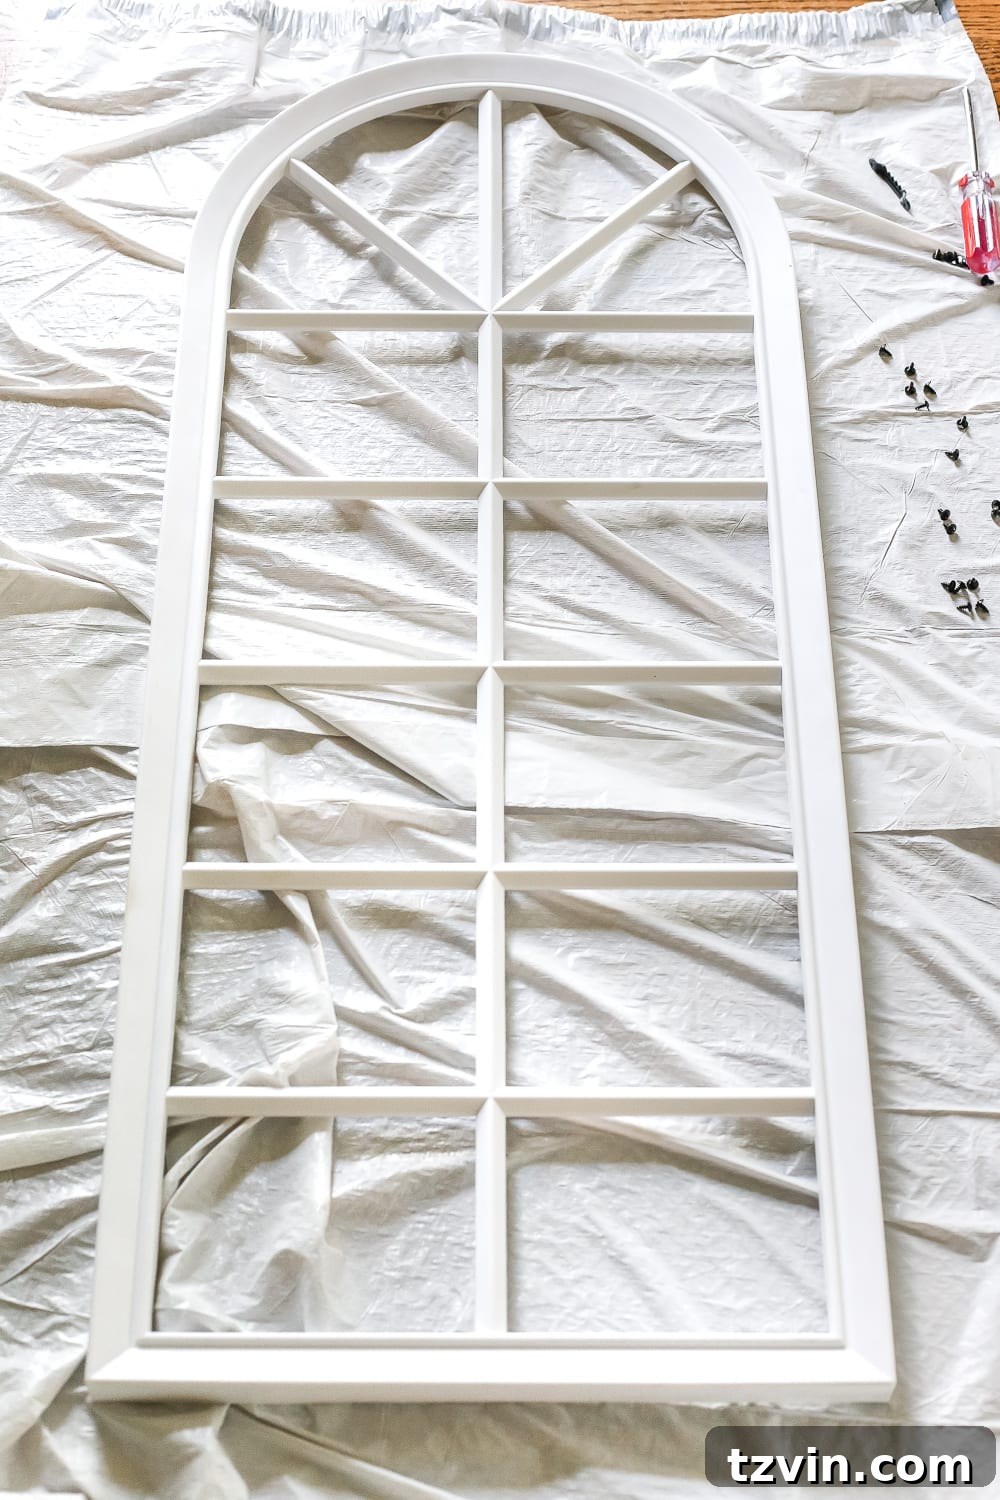
The application of Rub ‘n Buff is straightforward. The most important thing is to make sure you have adequate coverage and get into all the details of the frame. Don’t be afraid to be a little messy!
For antiquing the mirror, I followed Layla Palmer’s (The Lettered Cottage) instructions.
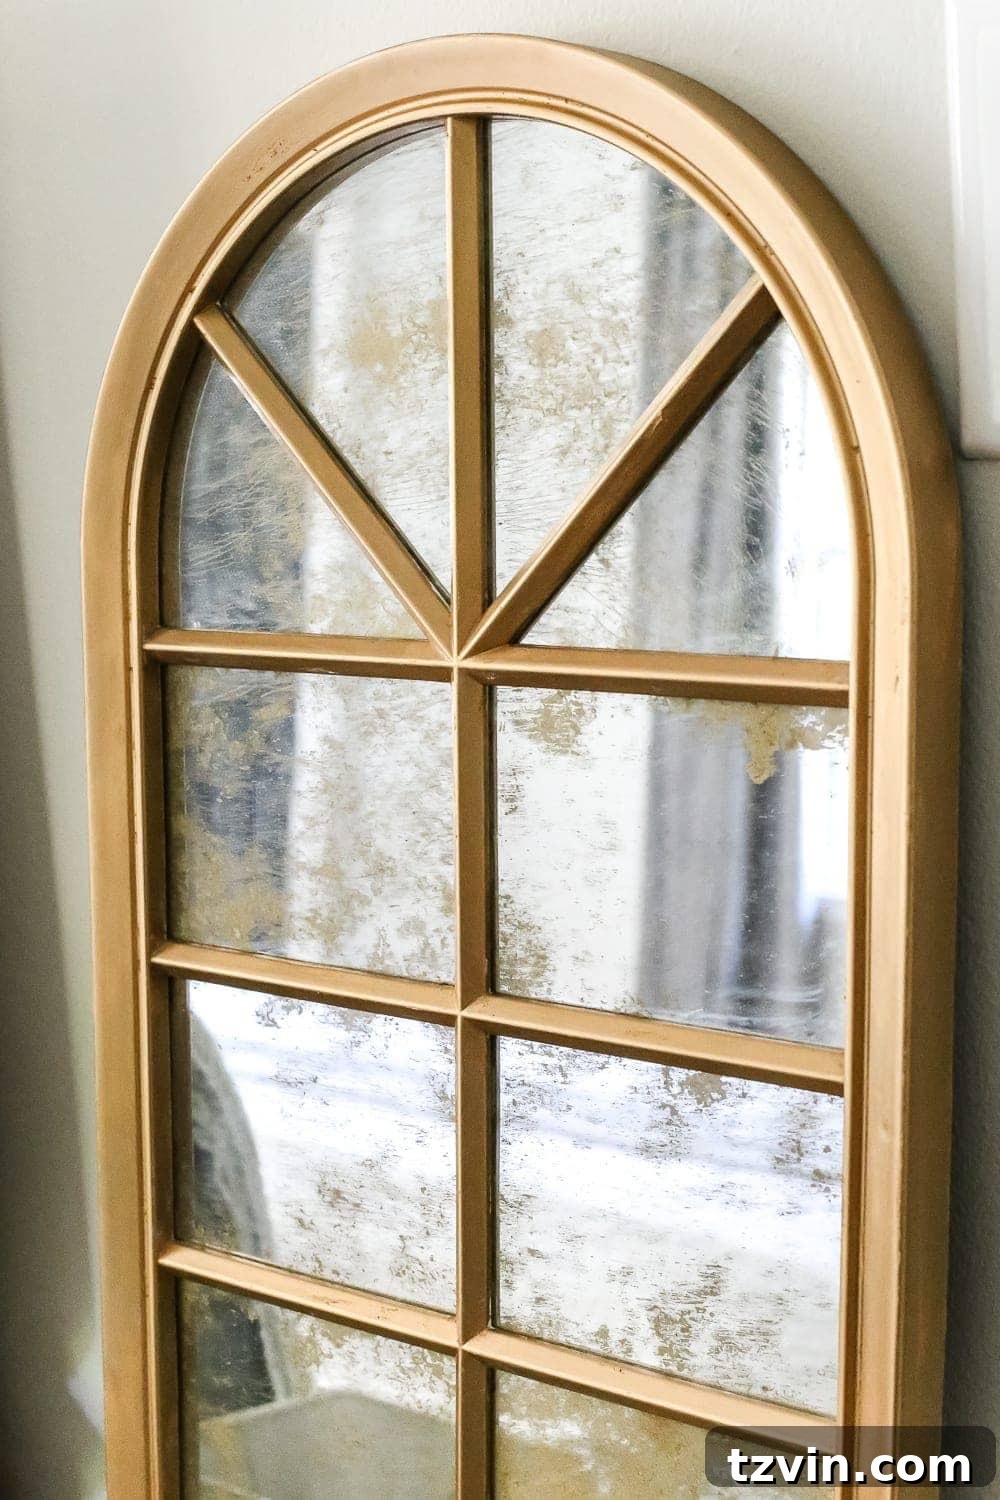
While this process takes some patience, the final results are truly worth it. The mirrors now have a beautiful, aged patina that makes them look professionally designed.
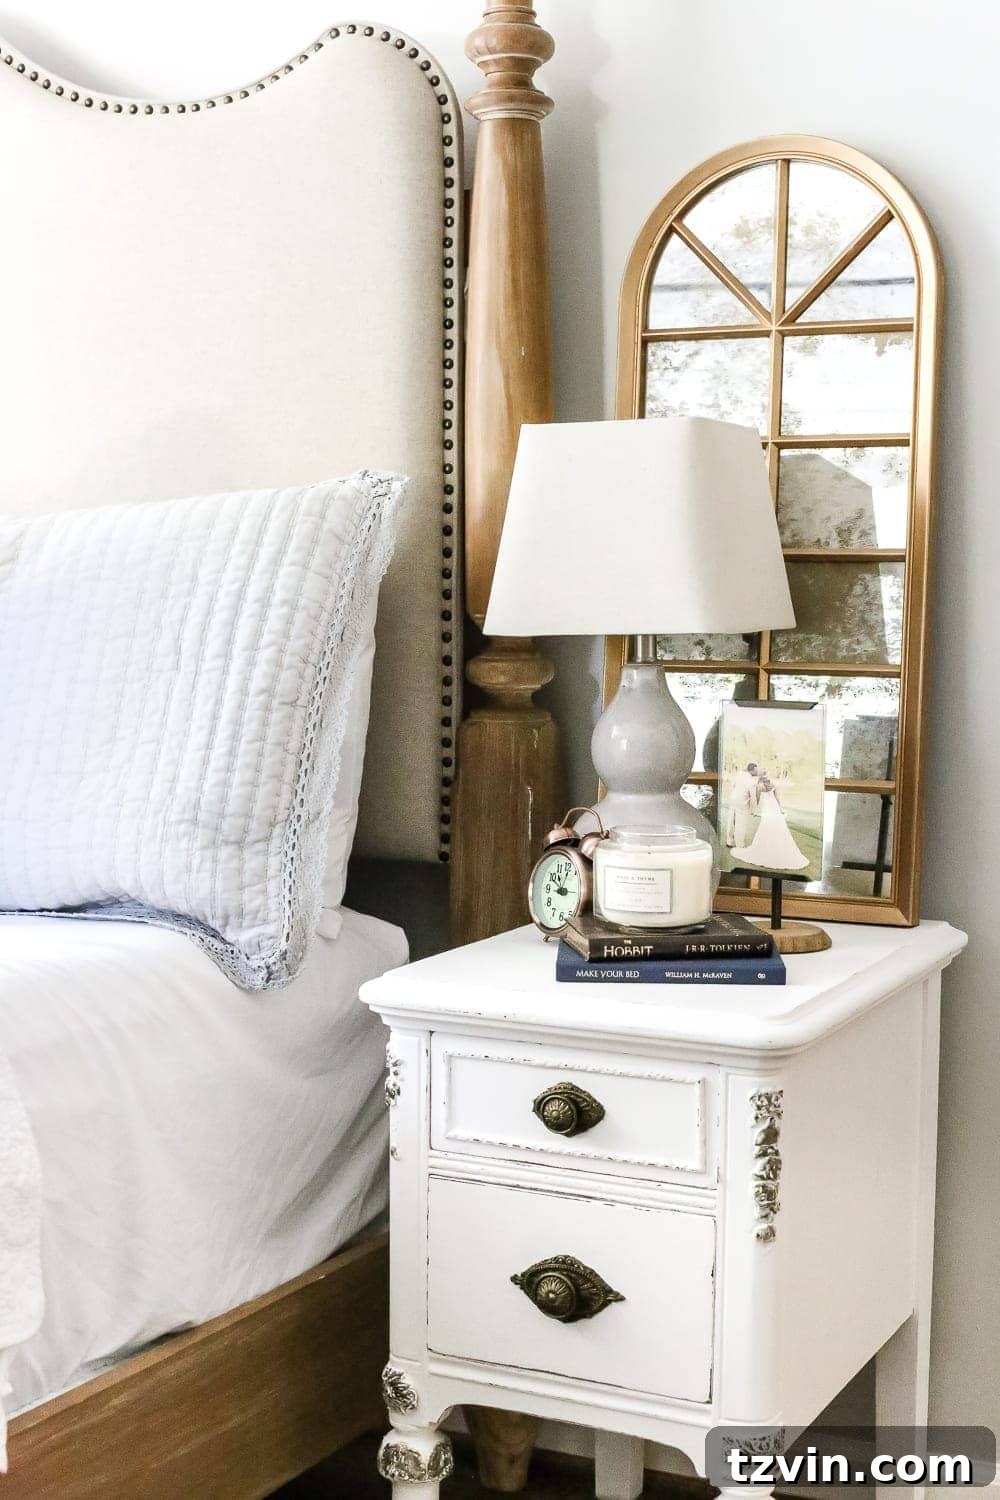
These once-inexpensive plastic mirrors now look like they came straight from Restoration Hardware or Anthropologie! It’s amazing what a little DIY magic can do. The transformation is incredible!
Before, they were just basic, functional mirrors. Now, they add a touch of sophistication and design to the space.
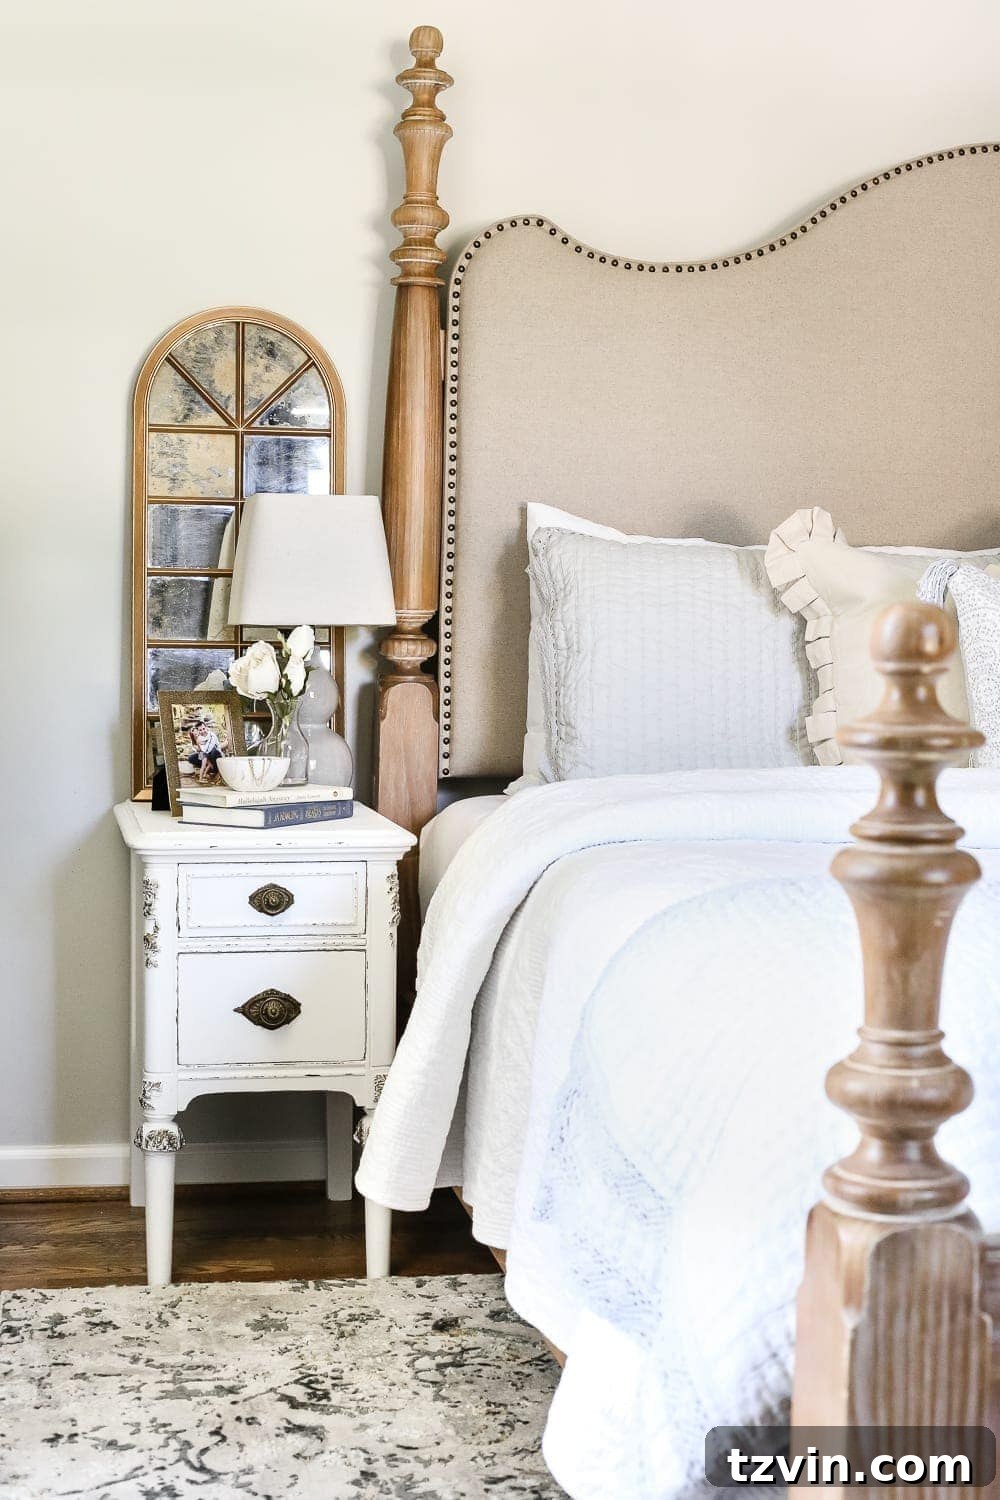
Of course, I have a matching mirror on my side of the bed as well, to create a coordinated look.
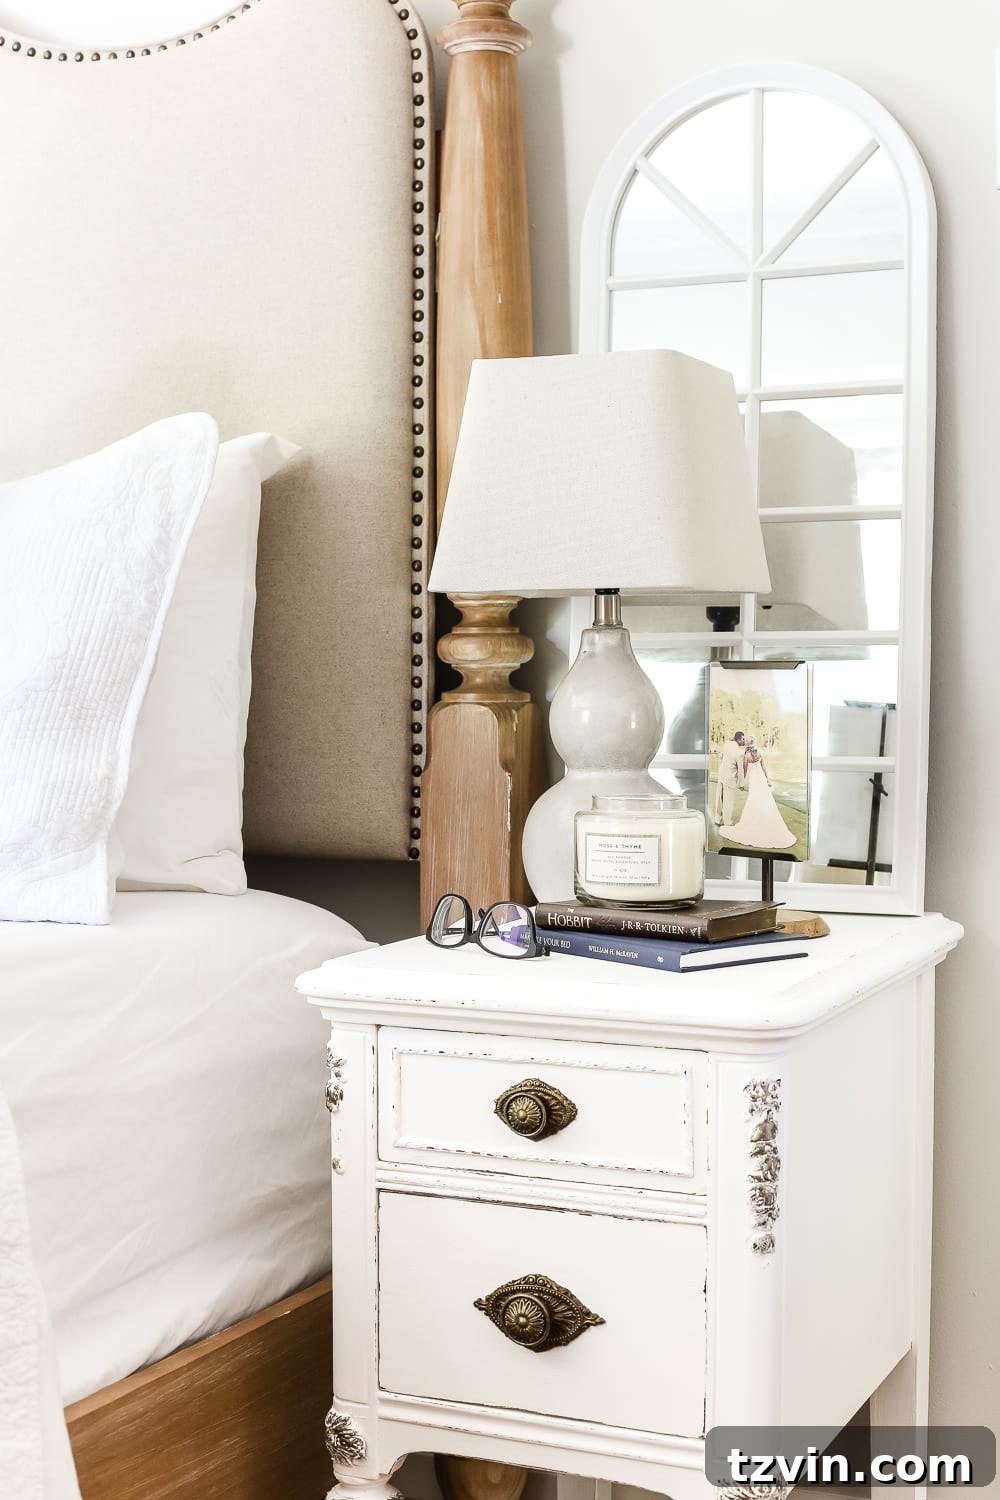
Bedroom Sources & Inspiration
Since you often ask about sources, here’s a quick list of some of the other items in my bedroom:
- Bed (similar, mine was from a local shop on clearance)
- Nightstands (DIY tutorial)
- Ceramic Lamps
- Antique-style Alarm Clock
- Photo Frame Stand
- Antique Gold Frame
- Marble Jewelry Bowl
- White Coverlet (similar)
- Gray Quilt Set (similar)
Have you used Rub ‘n Buff before? I’m curious to hear about your experience! Have you also painted plastic to make something look more expensive? Share your thoughts in the comments below!
If you enjoyed this project and want to save it for later, be sure to pin it!

