
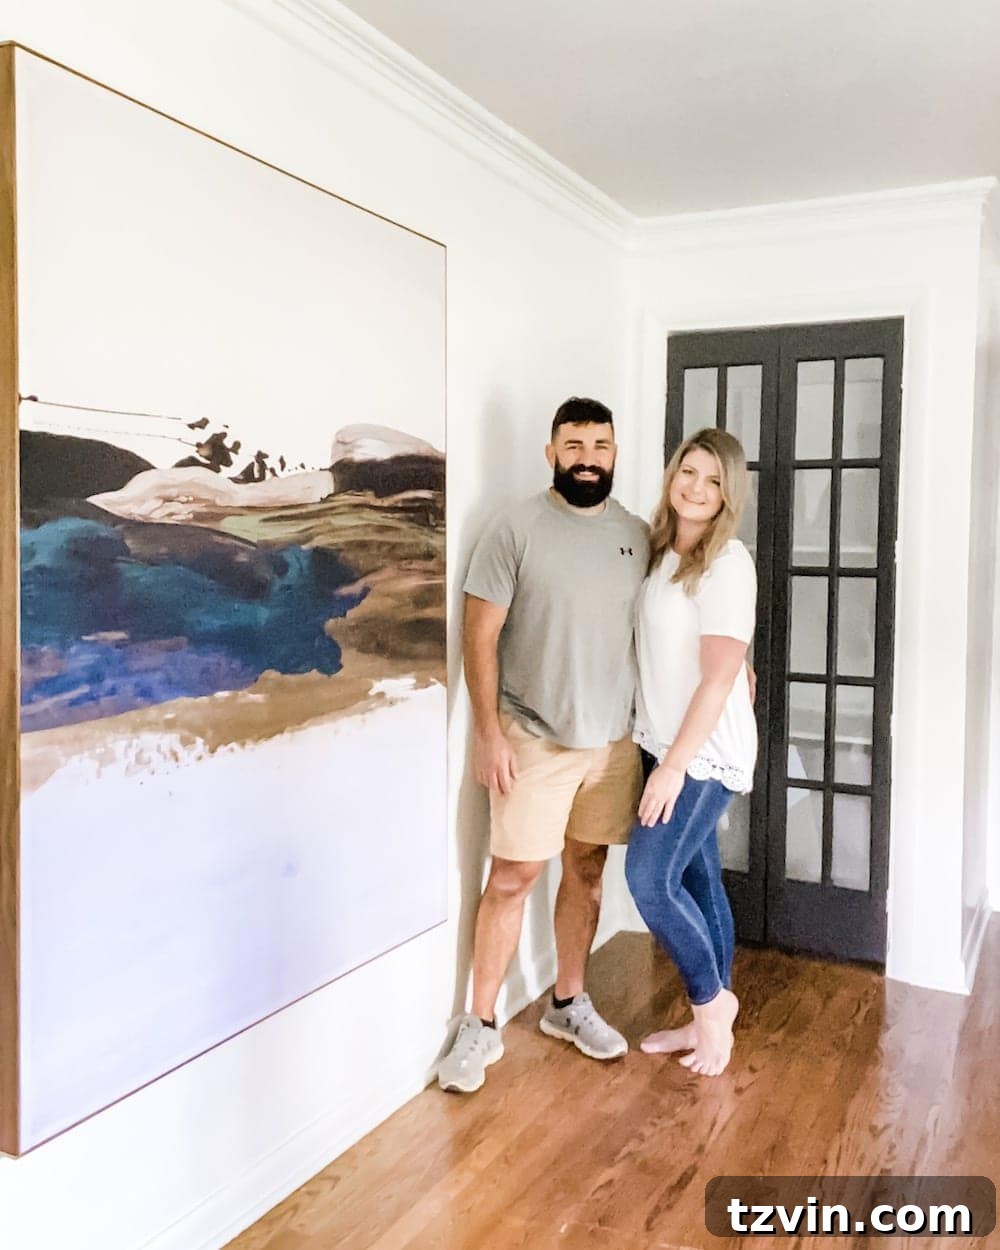
Transform your living space with breathtaking, large-scale wall art without breaking the bank! Discover how to create your own impressive masterpiece using a simple shower curtain, all for under $100. This comprehensive guide also includes a curated selection of stunning shower curtain designs perfect for your next art project.
This innovative DIY project has quickly become one of our all-time favorite art creations, a significant statement considering the countless art projects we’ve tackled over the years. The sheer impact and affordability of this technique make it an absolute game-changer for anyone looking to elevate their home decor on a budget.
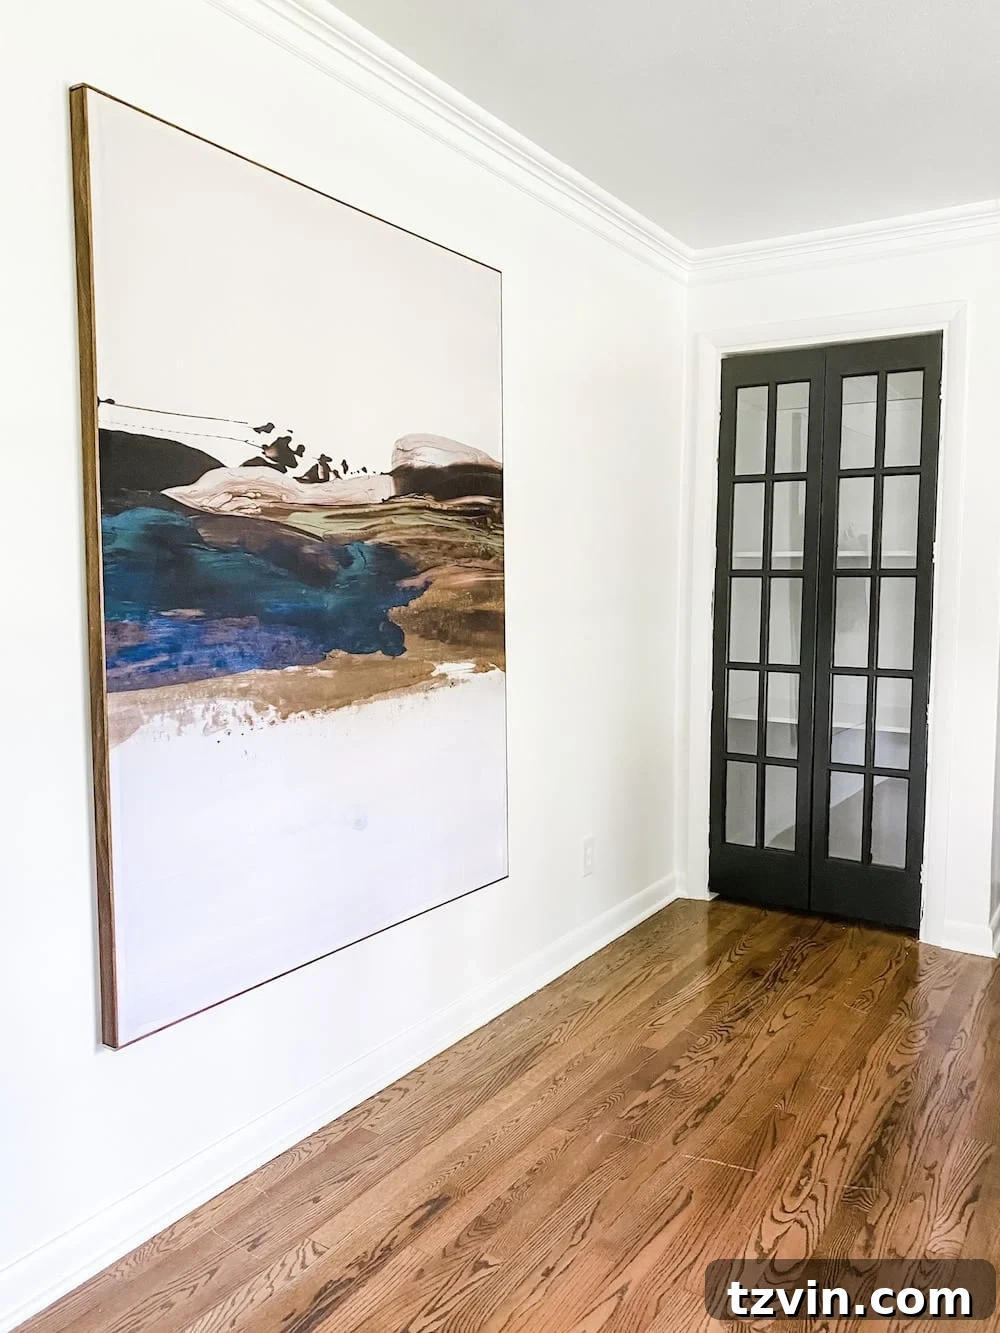
DIY Large-Scale Wall Art from a Shower Curtain: The Ultimate Budget-Friendly Decor Hack
While printing high-resolution images at home or getting inexpensive engineer prints from a local print shop can be great for smaller pieces, these solutions typically max out around 24″x36″. When you crave truly impactful, oversized art that commands attention, traditional options often come with a hefty price tag. Custom large canvases or framed prints from retailers can easily run into hundreds, if not thousands, of dollars. That’s where this brilliant shower curtain art hack steps in to revolutionize your decorating possibilities.
Using this clever method, we crafted a magnificent 5’x4′ stretched canvas for less than $60, thanks to finding a beautiful shower curtain on sale for just $40! Imagine the dramatic transformation this can bring to your living room, bedroom, or office, all while keeping your budget firmly intact. This project isn’t just about saving money; it’s about unlocking creative potential and achieving a high-end look with accessible materials.
We owe immense credit to the trailblazers at House of Jade Interiors and Angela Rose Home for popularizing this ingenious concept. Their original vision paved the way for countless DIY enthusiasts to create stunning, affordable oversized art. This project truly embodies the spirit of smart, stylish, and sustainable home decor.
Beyond using decorative shower curtains, this versatile technique can also be adapted for other large fabric pieces. If you’re an aspiring artist looking to create your own large-scale painted canvas, you could easily construct an inexpensive frame using this method and stretch a plain canvas drop cloth over it. The possibilities for customization are endless, allowing you to tailor your art to perfectly match your aesthetic vision.
Related: 28 Creative DIY Wall Decor Ideas for Your Blank Walls
Ready to embark on your own large-scale art adventure? Here’s a detailed, step-by-step guide to help you create a stunning focal point in your home.
(Please note: Some affiliate links are provided below to help you easily find the exact materials used in this project. Full disclosure here.)
Essential Supplies for Your Shower Curtain Wall Art Project
Gathering all your materials before you begin will ensure a smooth and enjoyable crafting experience. Here’s everything you’ll need for this affordable large wall art project:
- 5 – 1″x2″x8′ Boards: These standard lumber pieces will form the sturdy internal frame of your canvas. Their lightweight yet robust nature makes them ideal for this purpose, providing excellent support without adding excessive weight to your finished art. You might choose pine or another economical wood type. Find them here.
- 4 Lattice Strips: These thinner strips of wood will serve as the decorative outer frame, giving your artwork a polished, professional edge. They are easily stainable and can be cut to fit precisely around your canvas.
- Shower Curtain with Design of Your Choice: This is the star of the show! Select a shower curtain with a design, pattern, or abstract art that resonates with your personal style and complements your home decor. Look for high-quality printing and durable fabric. We chose this beautiful abstract landscape one, and I’ve included a roundup of other fantastic options at the end of this post.
- Power Drill & Bits: Essential for creating pilot holes and driving screws, ensuring secure connections for your frame. A cordless drill offers greater flexibility. Shop for one here.
- Hand Saw or Miter Saw: You’ll need a saw to accurately cut your 1×2 boards and lattice strips to size. A miter saw provides more precise, angled cuts, but a hand saw can certainly get the job done for a more basic approach. Consider a miter saw for cleaner cuts.
- Staple Gun: A heavy-duty staple gun is crucial for securely attaching the shower curtain to the wooden frame, ensuring a taut and wrinkle-free finish. Stock up on plenty of staples. Grab a reliable staple gun.
- Hammer or Brad Nail Gun: Used to attach the decorative lattice strips to the frame. A brad nail gun offers quick, almost invisible fastening, while a hammer and brad nails work just as well with a little more manual effort. Check out brad nail gun options.
- Brad Nails: For securing the lattice strips.
- 6 Wood Screws: To reinforce the corners and joints of your main frame, providing robust structural integrity.
- Staples: For your staple gun, choose staples appropriate for wood and fabric.
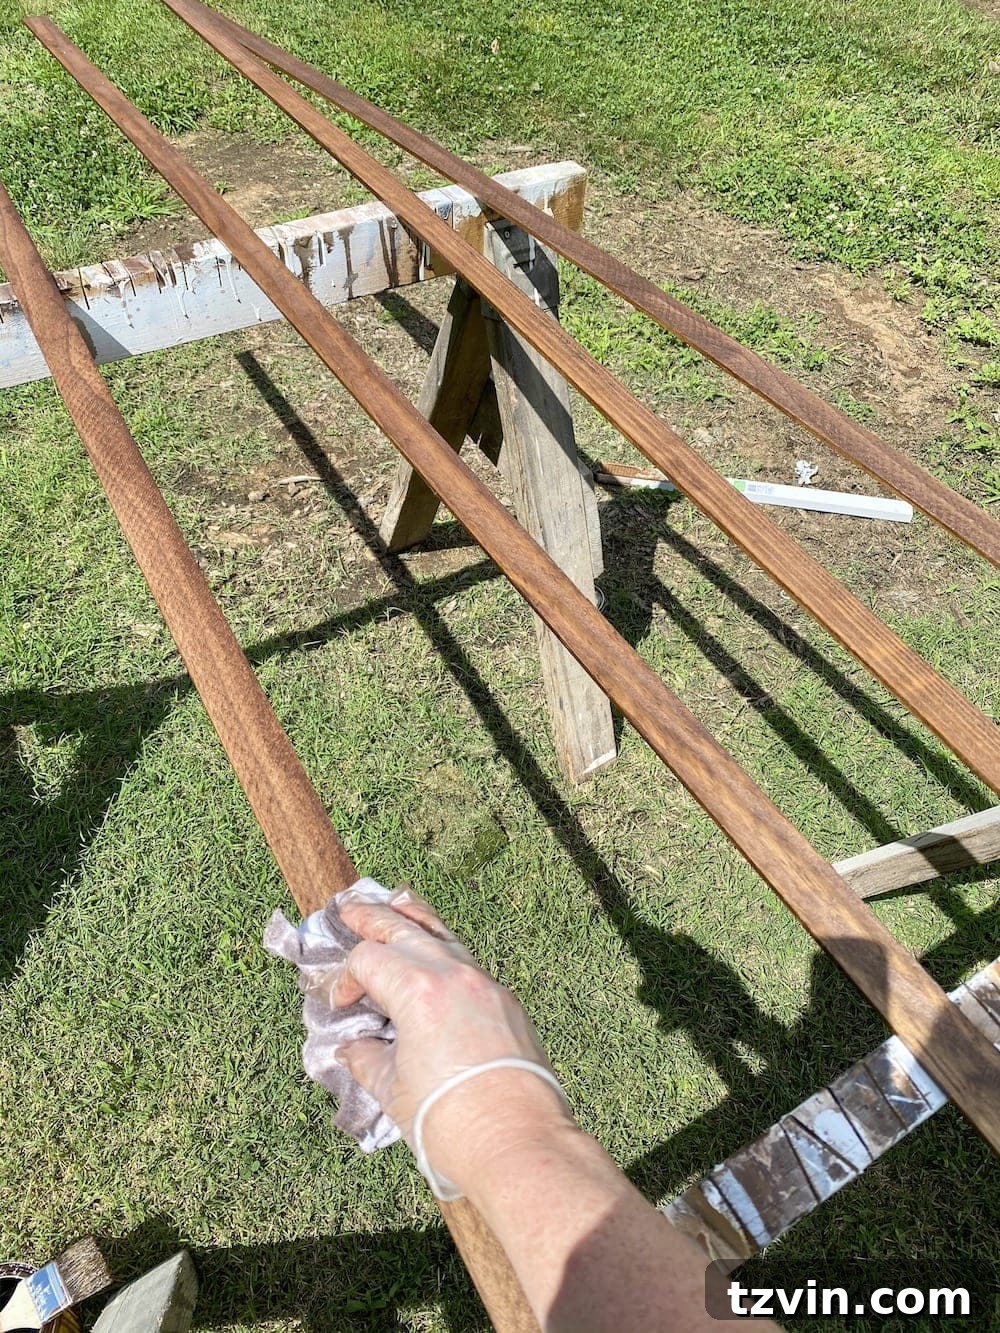
- Wood Stain: Select a wood stain that complements your shower curtain design and overall home decor. This will be applied to the lattice strips to give them a finished look. I used the warm and rich color Minwax Special Walnut.
Related: DIY Large Wall Art Magnetic Memo Board
Step 1 – Stain Lattice Strips for a Professional Finish
Begin your project by staining the four lattice strips. These strips will form the outer border of your finished artwork, so staining them now ensures they are ready to install once the canvas is assembled. Apply your chosen wood stain evenly, following the manufacturer’s instructions for application and drying times. This step is crucial for achieving a polished and cohesive look for your DIY large wall art. Allow the strips to dry completely while you proceed with the subsequent steps of building the frame and stretching the canvas. Adequate drying time will prevent smudges and ensure a durable finish.
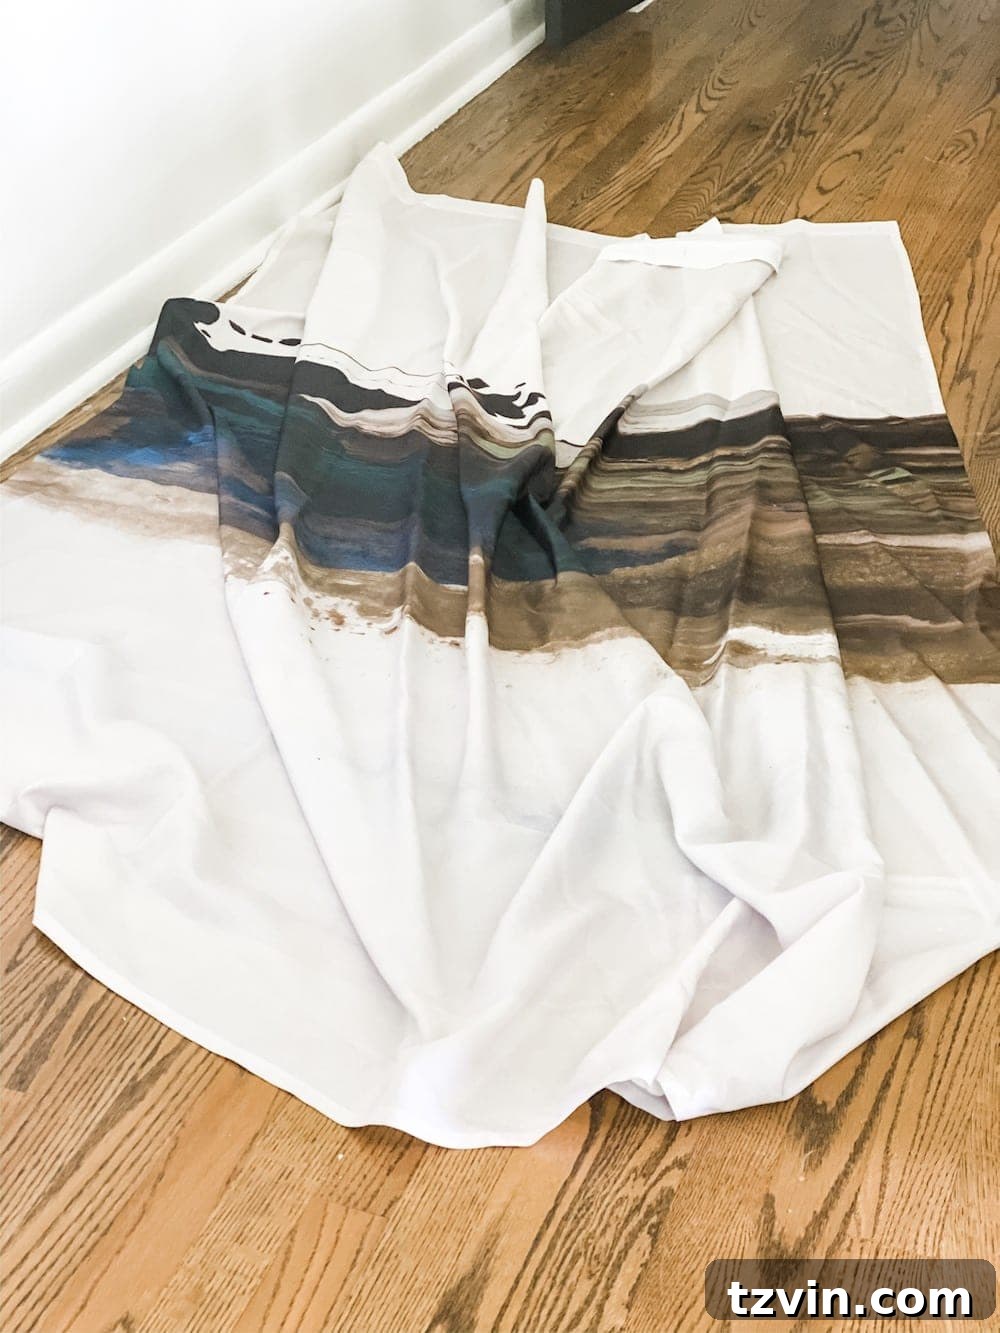
Step 2 – Measure & Trim Your Shower Curtain
Carefully determine the desired final dimensions for your large wall art. Lay out your shower curtain flat and measure it. Remember to factor in an additional 3-4 inches of excess fabric on all sides. This extra material is essential for wrapping around the wooden frame and securing it tightly, ensuring a clean and professional edge. For our project, we decided on an impressive 5’8″ x 4′, providing ample room for stretching and trimming. Trim the shower curtain to your calculated dimensions, ensuring straight cuts for easier alignment later.
Step 3 – Cut Your 1×2 Boards for the Frame
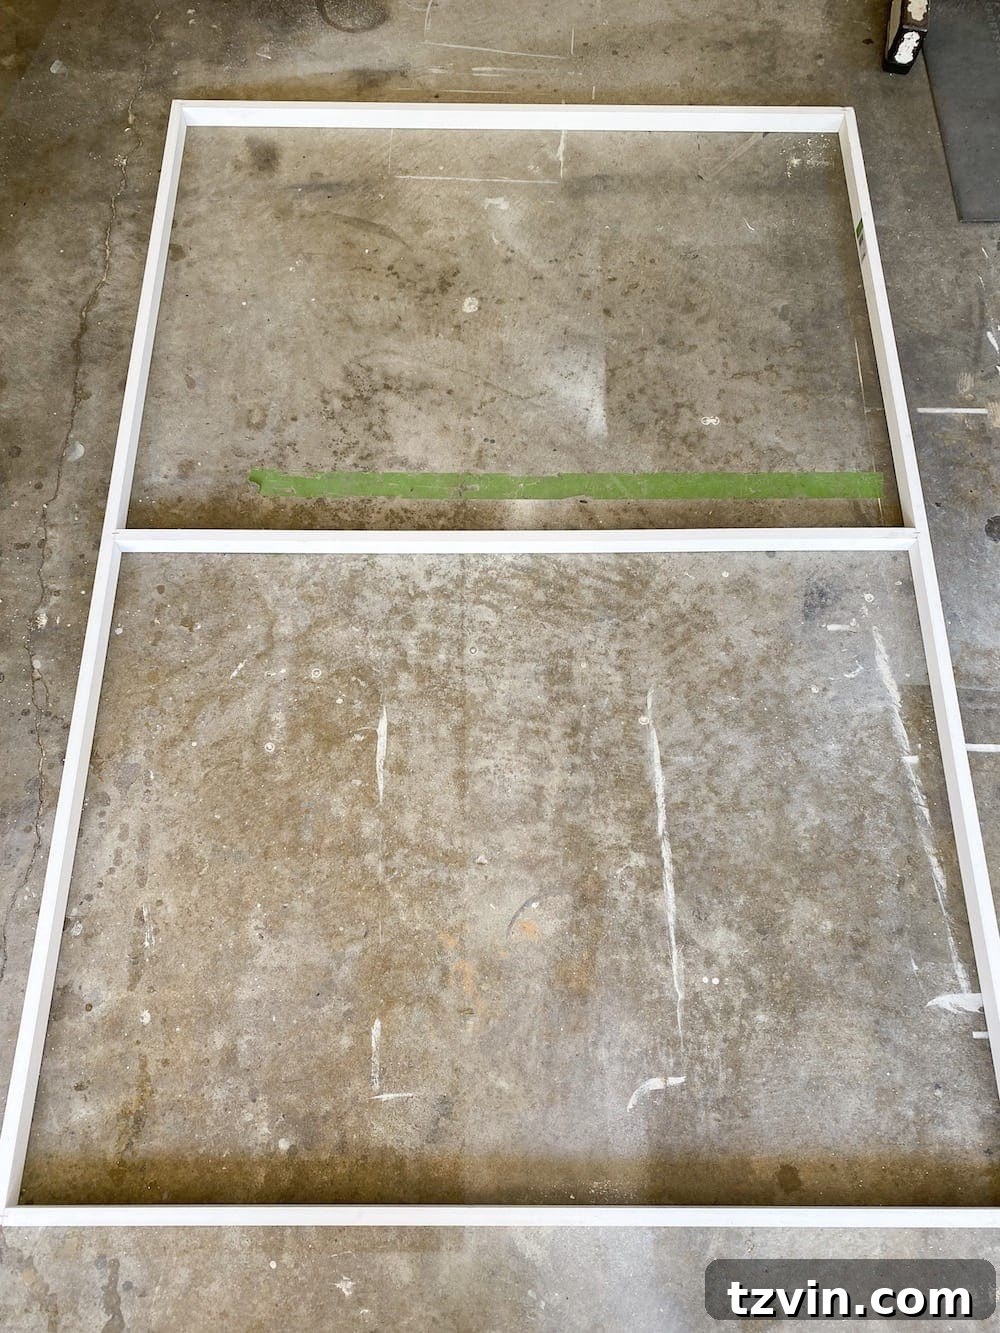
Now, it’s time to build the internal frame for your large-scale canvas. Using your chosen dimensions from Step 2, measure and mark your 1″x2″ boards. You’ll need four boards for the perimeter of the frame (two for the length and two for the width) and one or two additional boards for crucial middle support. For larger canvases like ours (5’8″x4′), two middle support beams running parallel to the shorter side are recommended to prevent sagging and maintain the canvas’s integrity over time. Cut each board precisely, ensuring all angles are square for a sturdy frame. A miter saw will provide the cleanest and most accurate cuts, but a hand saw can be used with careful measuring.
Step 4 – Assemble and Secure the Frame
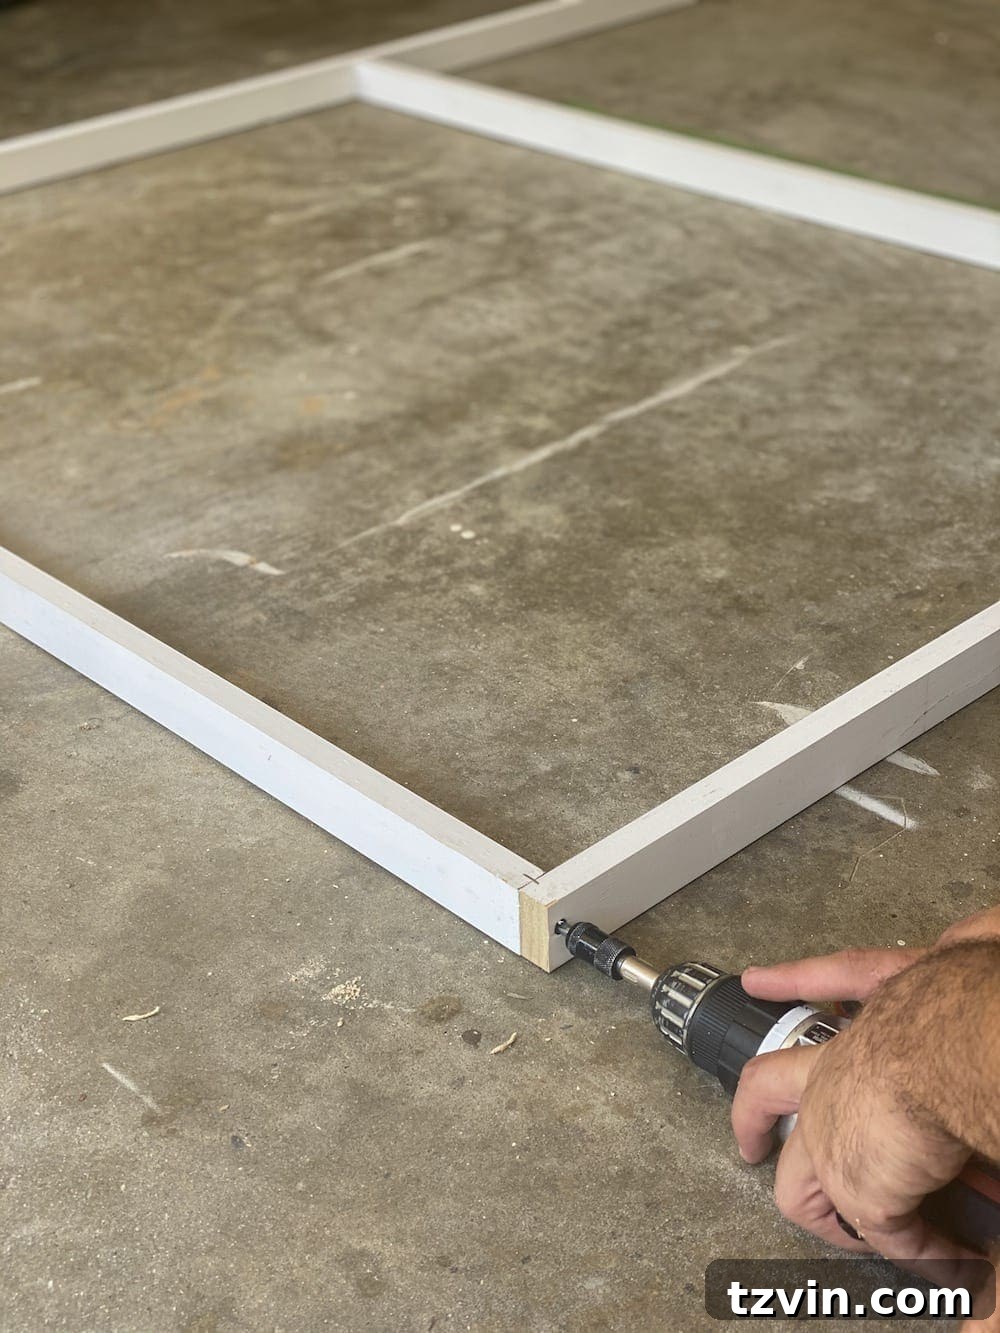
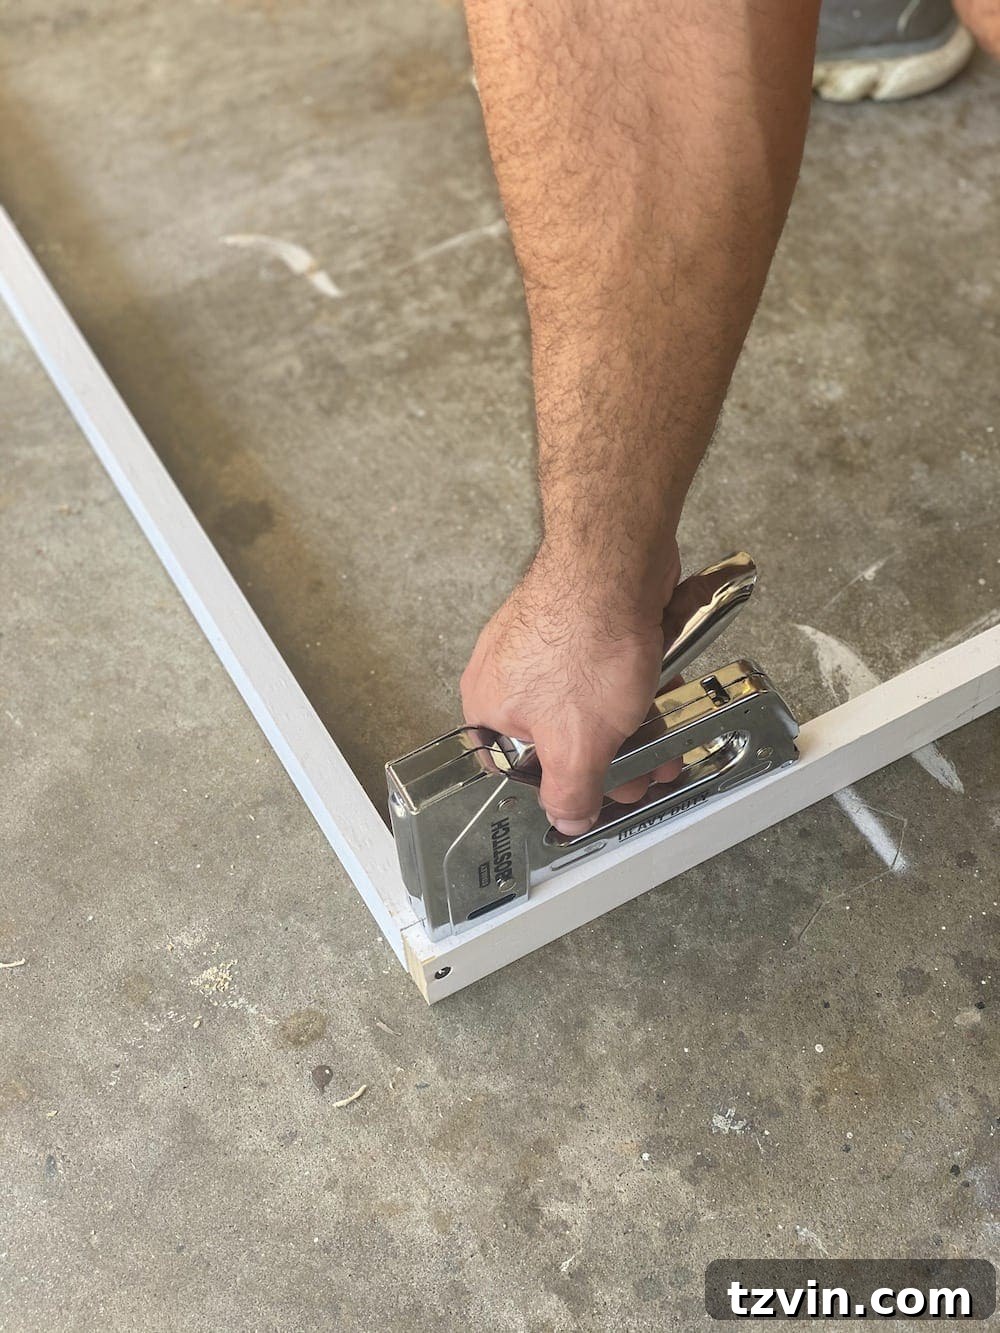
With all your frame pieces cut, it’s time to assemble. Lay out your perimeter boards on a flat, protected surface to form a rectangle. Position your middle support boards evenly within the frame. Before driving screws, use your power drill to create pilot holes at each corner where the boards meet. Pilot holes prevent the wood from splitting and make driving the screws much easier. Once the pilot holes are drilled, drive in the wood screws to firmly attach the boards at all joints. For added stability and to prevent any movement, apply staples at each seam using your staple gun. This combination of screws and staples ensures a robust and durable frame that will hold your shower curtain taut for years to come.
Step 5 – Precisely Align Your Shower Curtain
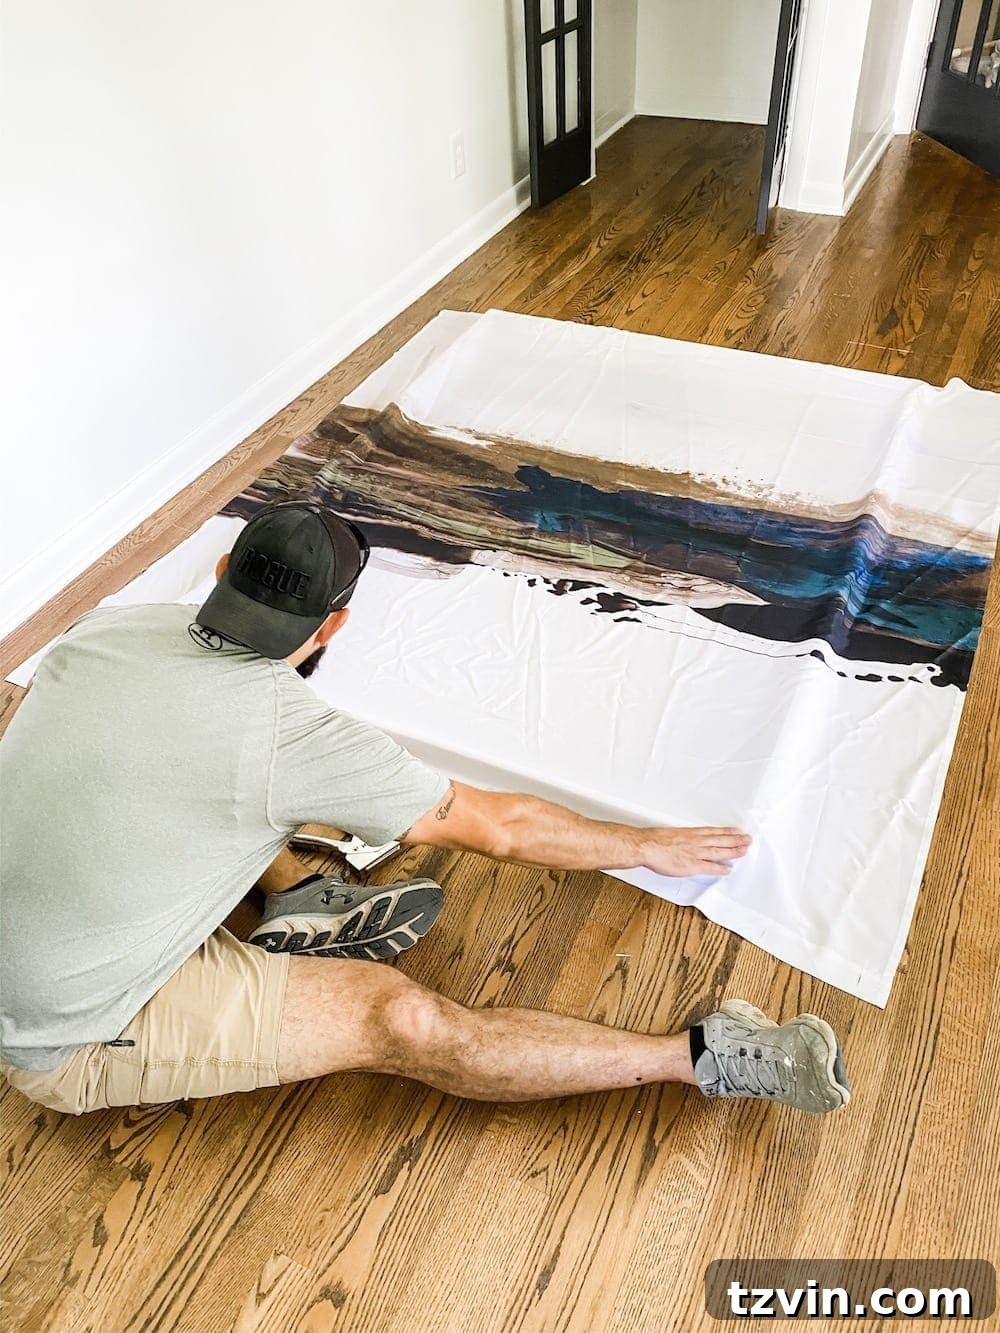
Lay your assembled wooden frame on a clean, flat surface. Carefully place your trimmed shower curtain on top of the frame, ensuring the design is centered and aligned exactly as you want it to appear on your finished art. Take your time with this step, stepping back to view the alignment from different angles to ensure the pattern is perfectly positioned. Once satisfied with the placement, secure the top edge of the shower curtain to the frame with a couple of staples. These initial staples will hold the curtain in place, allowing you to flip the frame without the fabric shifting, which is crucial for achieving a smooth, wrinkle-free stretch.
Step 6 – Prepare to Secure the Curtain to the Frame
With the top of the curtain lightly stapled, carefully flip the entire canvas frame over. The shower curtain should now be facing down, with the wooden frame resting on top of it. This orientation makes it much easier to wrap the fabric around the frame and staple it from the back. Ensure your work surface is clean to avoid any marks or dirt transferring to the front of your shower curtain. This preparation sets you up for the critical stretching and stapling process that will create a taut and professional-looking canvas.
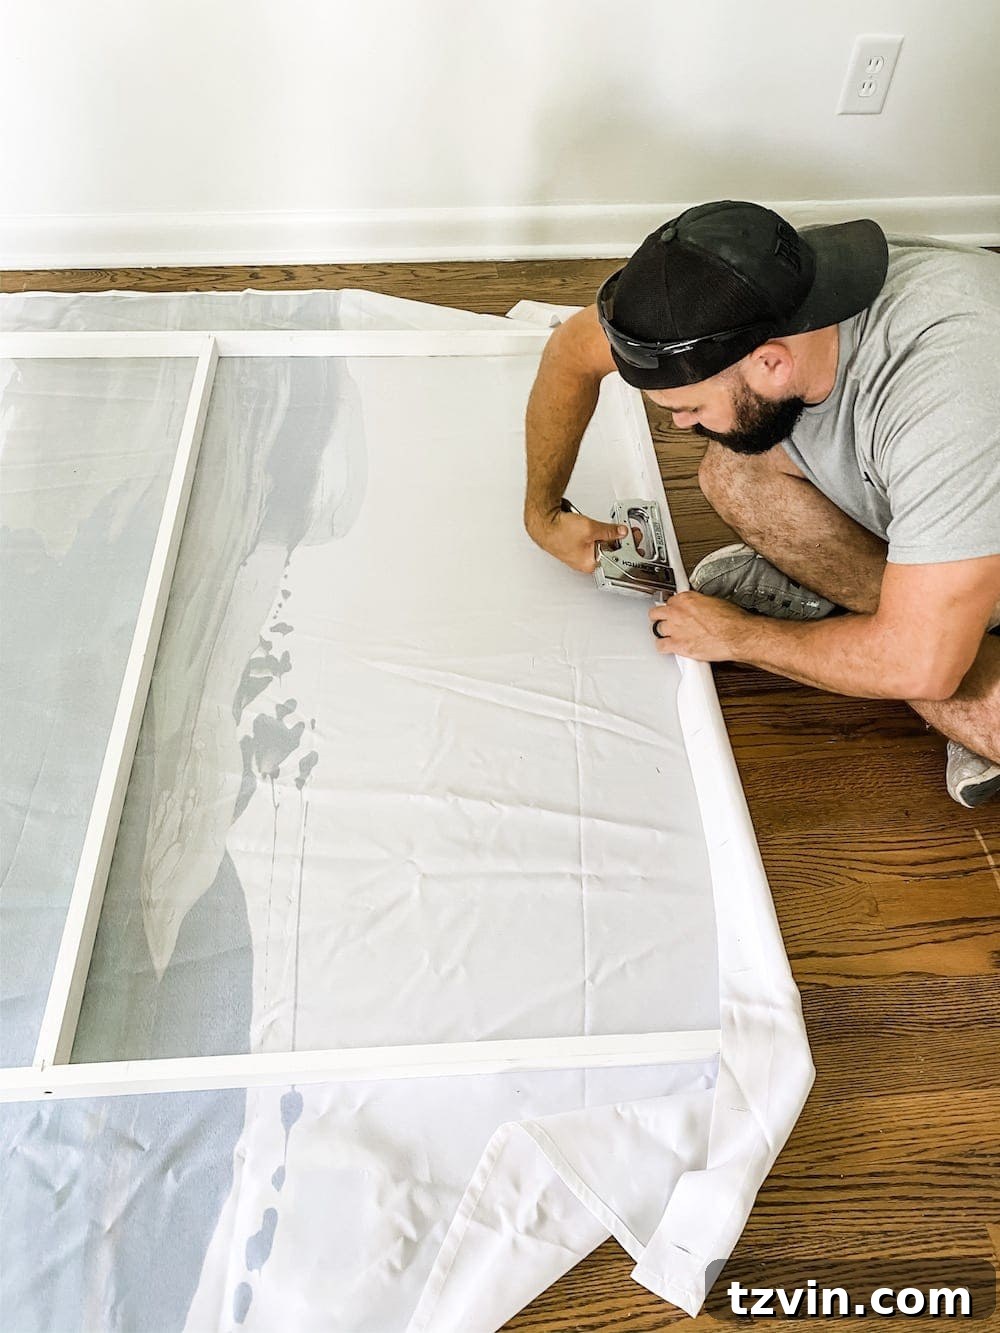
Step 7 – Begin by Securing the Top Edge of the Curtain
Starting with the top edge (where you placed the initial staples), gently pull the excess fabric over the wooden frame. Work your way across the entire length, smoothing the fabric along the board as you go. Ensure there are no wrinkles or bunching on the front side of the curtain. Once smoothed, use your staple gun to securely attach the fabric to the back of the wooden frame. Place staples every few inches along the entire top edge, making sure they penetrate firmly into the wood. This first secured edge will provide a stable starting point for stretching the rest of the fabric.
Step 8 – Stretch and Secure the Bottom Edge
Move to the opposite, bottom edge of the shower curtain. This is a critical step for achieving a professional, taut canvas. Firmly stretch the fabric across the frame, pulling it tightly to eliminate any wrinkles, slack, or ripples on the front of the art. The goal is a smooth, drum-tight surface. As you stretch, staple the fabric to the back of the bottom frame board, mirroring the process you used for the top edge. Work from the center outwards, pulling and stapling incrementally to ensure even tension across the entire width. This creates the primary tension for your large-scale art.
Step 9 – Secure the Side Edges for Full Tension
Once the top and bottom edges are securely stapled and taut, repeat the stretching and stapling process for both side edges of the shower curtain. Again, pull the fabric firmly but carefully to stretch out any remaining wrinkles or looseness. Work your way down each side, stapling every few inches. Pay close attention to maintaining consistent tension across the entire surface. A well-stretched canvas will look crisp and professional, giving your DIY art a high-quality finish comparable to store-bought pieces.
Step 10 – Neatly Fold and Secure the Corners
The corners are where attention to detail truly pays off. Once all four straight edges are stapled, carefully fold each of the four corners of the shower curtain. Aim for a neat, mitered fold similar to how a canvas is traditionally stretched. Trim any excessive bulk if necessary, ensuring the fabric lies as flat as possible against the frame. Then, securely staple each folded corner to the back of the wooden frame. This step not only tidies up the edges but also contributes to the overall tautness and professional appearance of your large wall art.
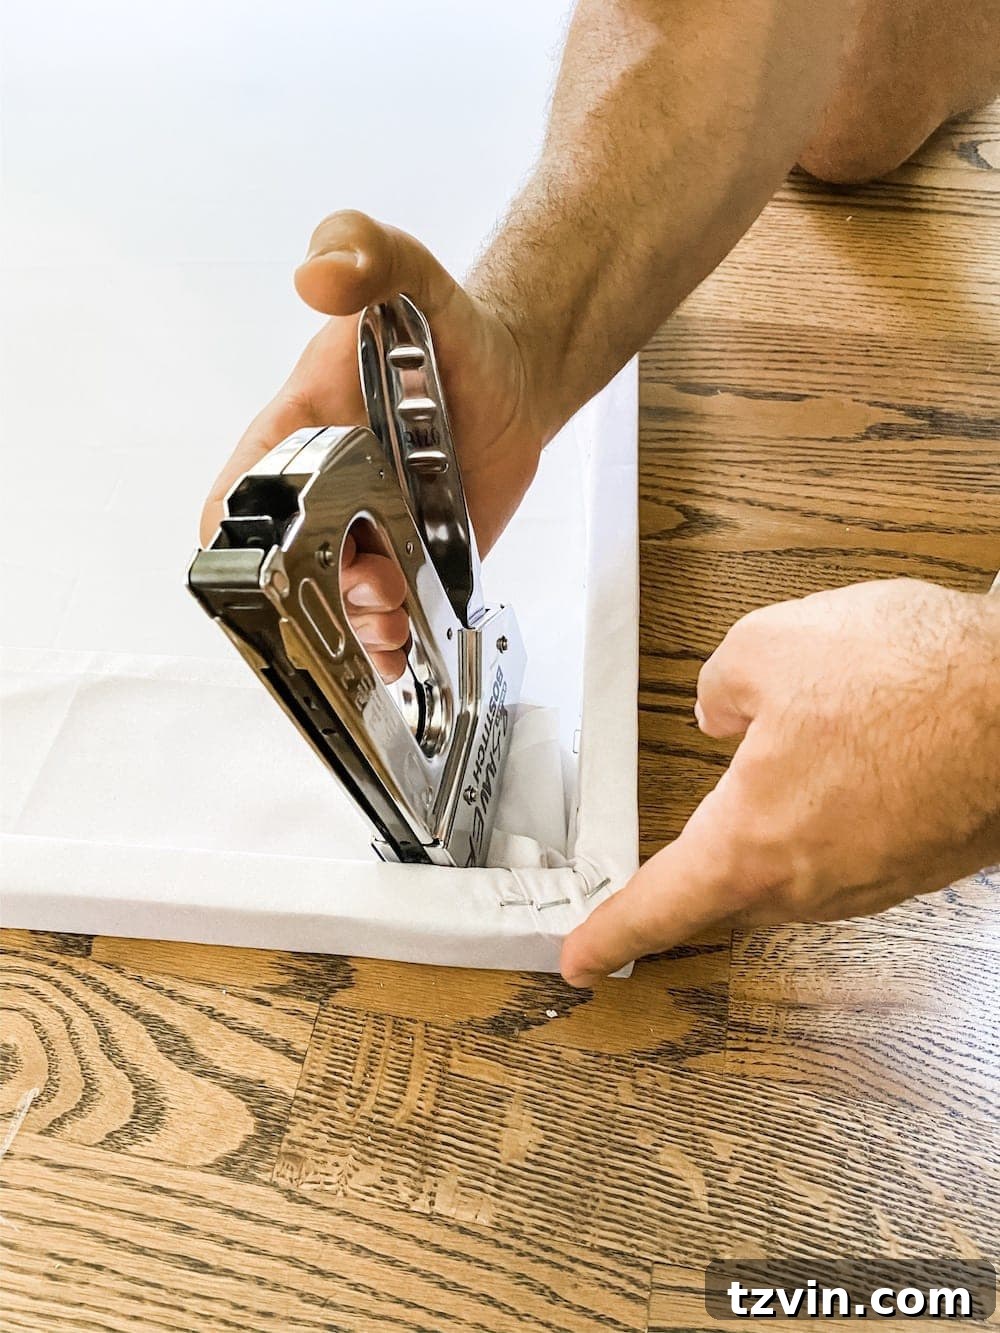
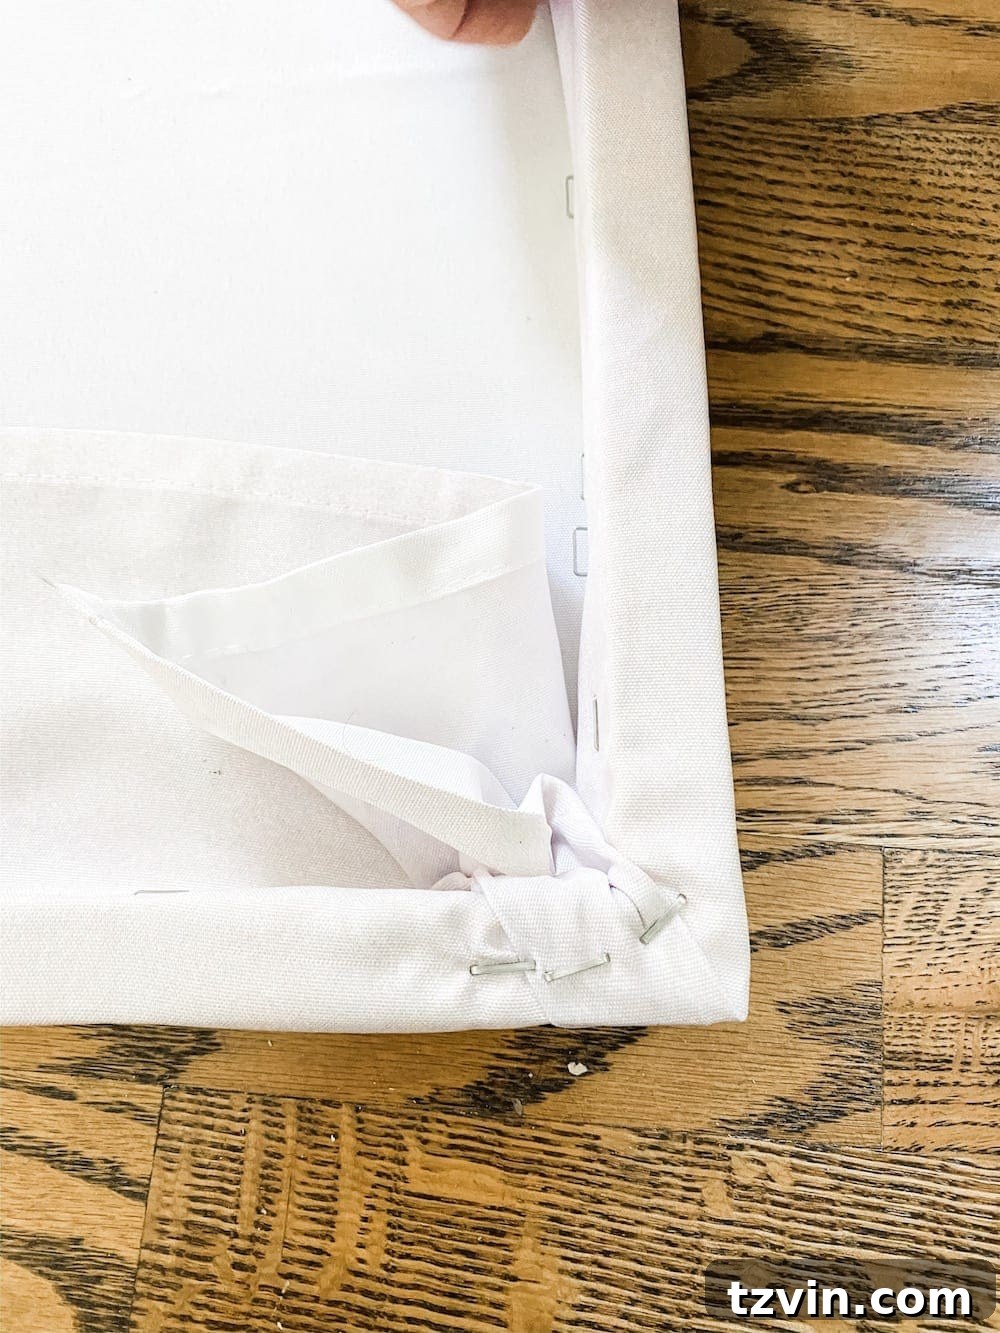
Step 11 – Manage and Conceal Any Excess Fabric
After securing the main edges and corners, you might find some remaining excess fabric on the back of your frame. To ensure a tidy finish and prevent any bulk from showing through, staple any loose or extra fabric to the internal wooden boards. Trim away any truly unnecessary bulk with scissors, making sure not to cut too close to the staples. The goal is to create a clean, flat back, which will allow your art to hang flush against the wall and look professional from all angles. This attention to detail contributes significantly to the overall quality of your DIY large wall art.
Step 12 – Cut and Attach Top and Bottom Lattice Strips
Retrieve your stained lattice strips. Measure and cut two of these strips to precisely fit the length of the top and bottom edges of your newly stretched canvas. These strips will form the decorative outer frame, giving your artwork a finished, gallery-wrapped look. Once cut, carefully position them along the top and bottom edges, ensuring they are perfectly flush with the canvas and cover the raw edges of the shower curtain. Use your brad nail gun (or hammer and brad nails) to attach these strips securely to the canvas frame. Space your nails evenly for a strong hold and clean appearance. The stained wood adds a sophisticated contrast and frames the art beautifully.
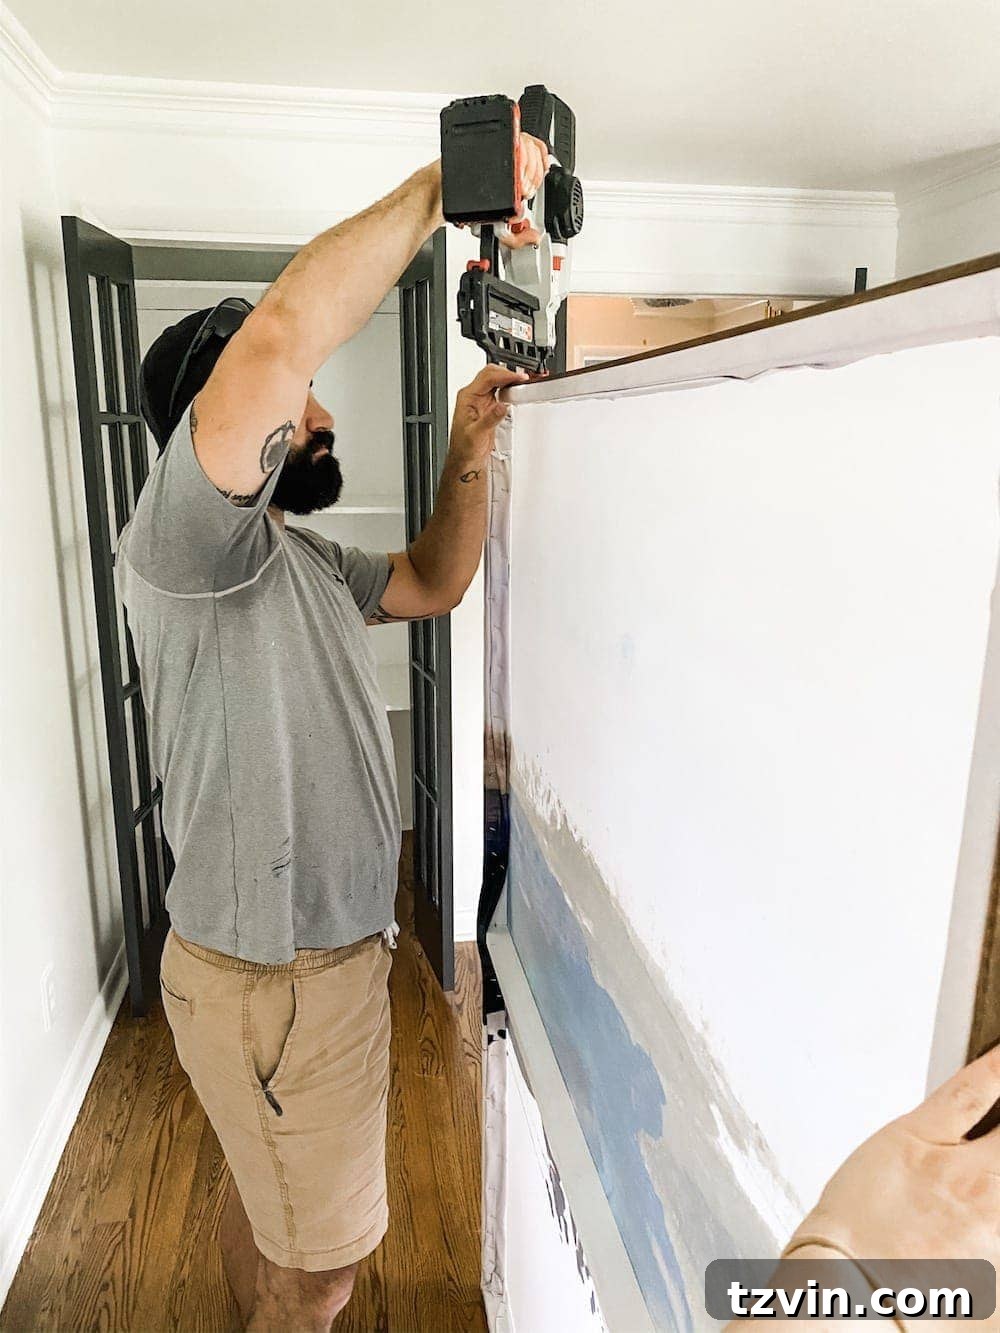
Step 13 – Attach Side Lattice Strips for a Complete Frame
Now, repeat the process for the remaining two lattice strips, which will form the side edges of your frame. It’s crucial to measure these side strips carefully, taking into account the thickness and width of the top and bottom lattice strips you just installed. This ensures a snug and seamless fit around all four sides of your art. Once measured and cut, position these side strips and attach them with brad nails, just as you did for the top and bottom. The result will be a beautifully framed piece of art, where the shower curtain design is elegantly bordered by the stained wood, enhancing its visual appeal and giving it a professional, custom-made feel.
Step 14 – Hang Your Stunning New Wall Art
Congratulations, your DIY large wall art is complete! The final step is to proudly display your creation. Choose the perfect spot on your wall where your oversized art can make a dramatic impact. Use a level to mark the desired hanging points. Install a couple of sturdy wall anchors and screws, making sure they are spaced appropriately to support the weight of your canvas frame. Carefully lift and hang your artwork onto the screws. Step back and admire your handiwork! This project demonstrates how a little creativity and effort can transform an ordinary shower curtain into an extraordinary focal point, proving that stylish home decor doesn’t have to be expensive.
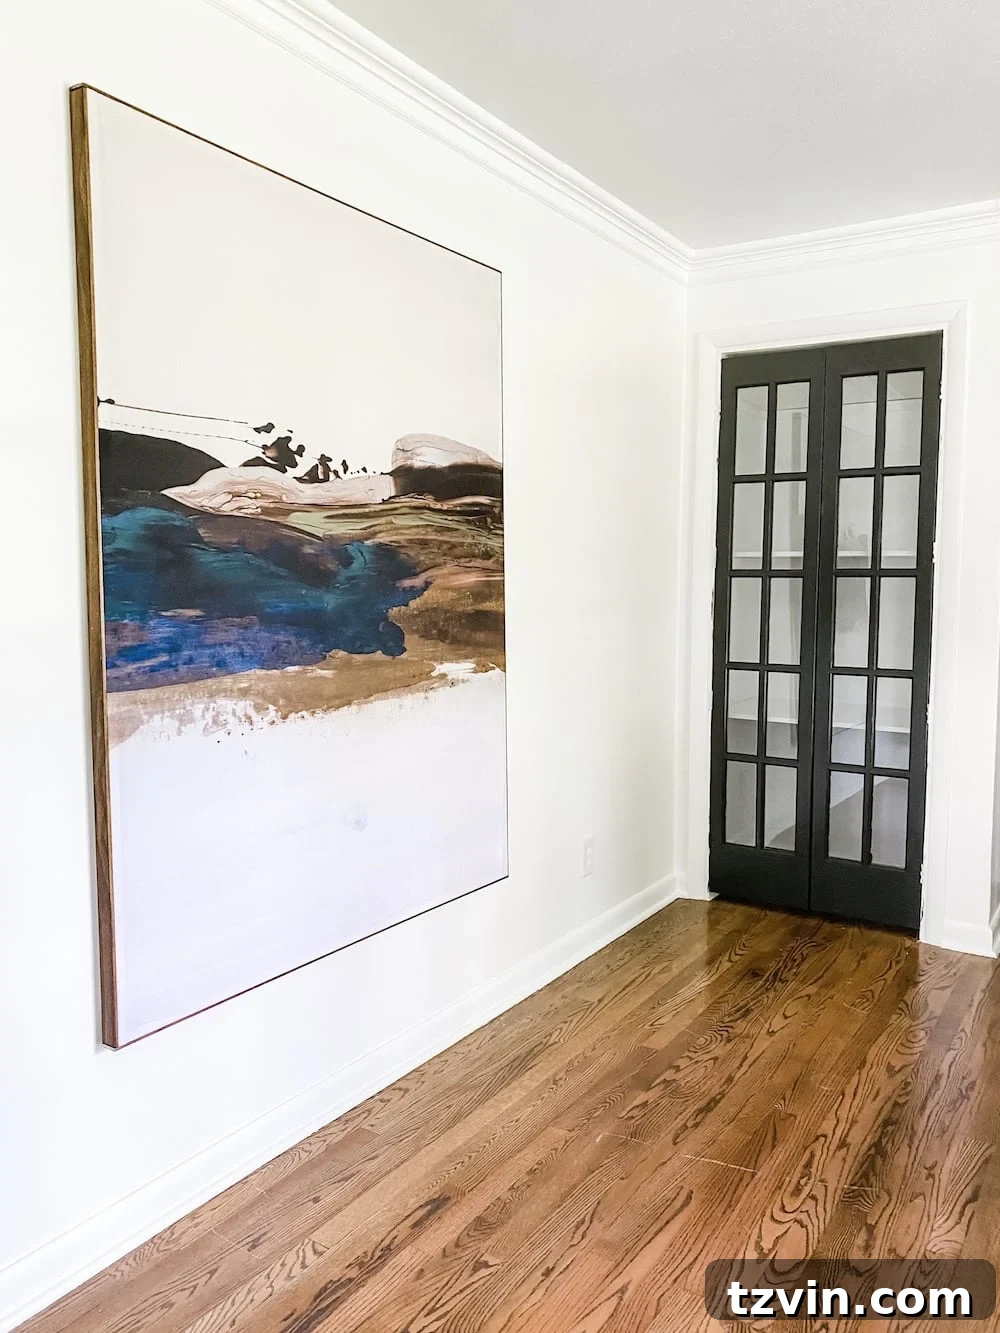
This entire project took less than two hours to complete and has already made an incredible impact in our home office makeover! The scale and visual interest it adds are truly transformative, making the space feel more curated and complete. It’s a fantastic way to fill a large blank wall without the financial commitment usually associated with oversized art.
My husband, Robert, is so impressed that he’s already planning to create another one. He envisions a giant world map design for our garage, which he humorously considers his “office.” It seems everyone appreciates the value of personalized, budget-friendly decor! Perhaps a man cave is in his future after all.
Related: DIY Large Wall Art and Landscape Printable
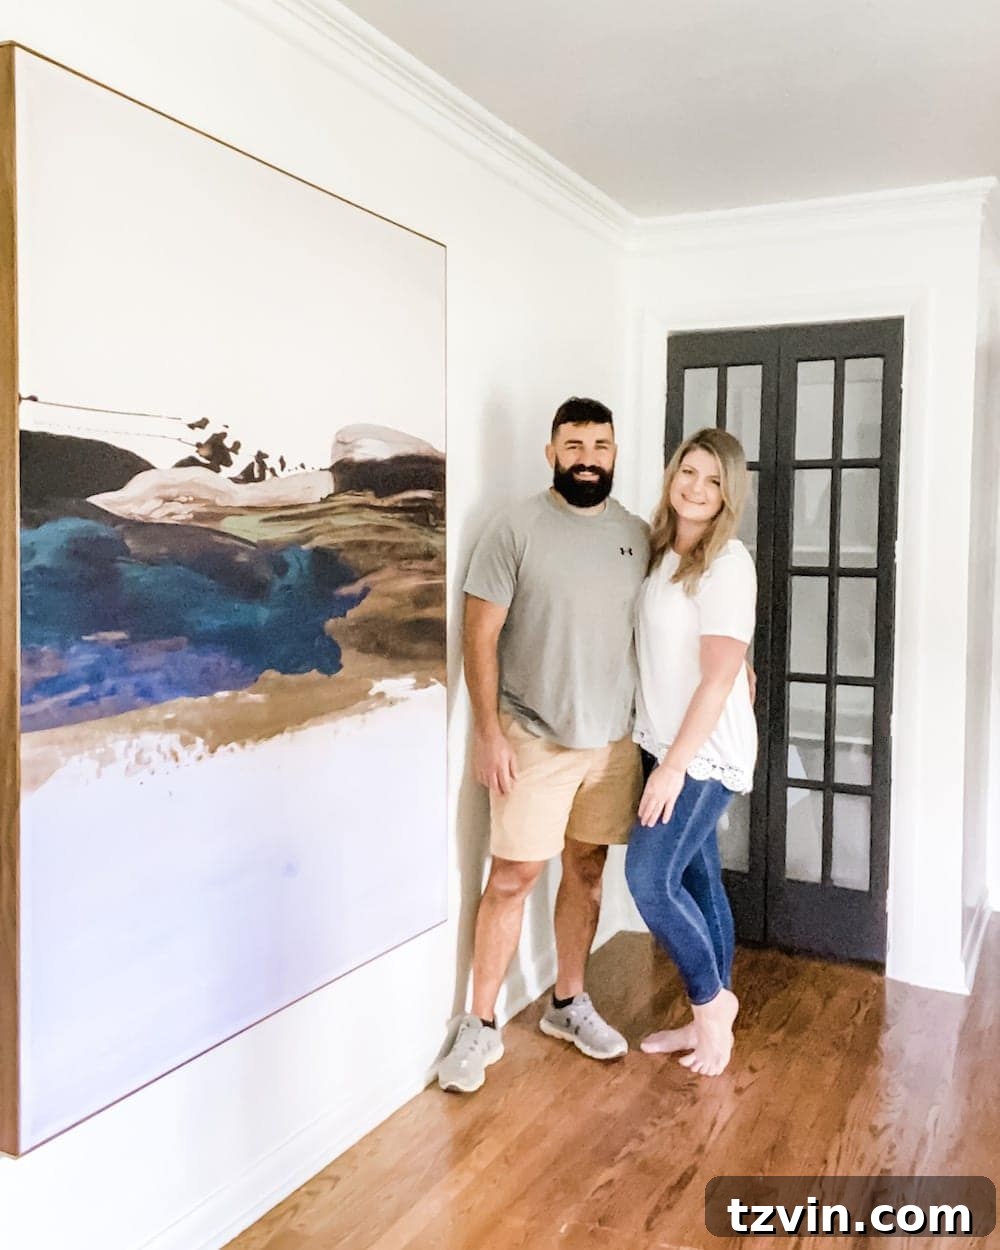
What are your thoughts on this brilliant DIY art hack? The possibilities for creativity are truly boundless with the vast array of shower curtain designs available. Choosing just one was a challenge, as many patterns and prints by various artists would make genuinely gorgeous, impactful art pieces. Look for abstract designs, scenic landscapes, or unique geometric patterns that align with your personal aesthetic and the overall style of your home. A large-scale pattern often has the most dramatic effect.
If you’re eager to explore more DIY art ideas to refresh your living spaces, you can find a wealth of inspiration here. Unleash your inner decorator and transform your home with custom, budget-friendly masterpieces!
Discover More Inspiring DIY Art Ideas
28 Creative DIY Wall Decor Ideas for Your Blank Walls
The Secret to Find Free Printable Wall Art Online