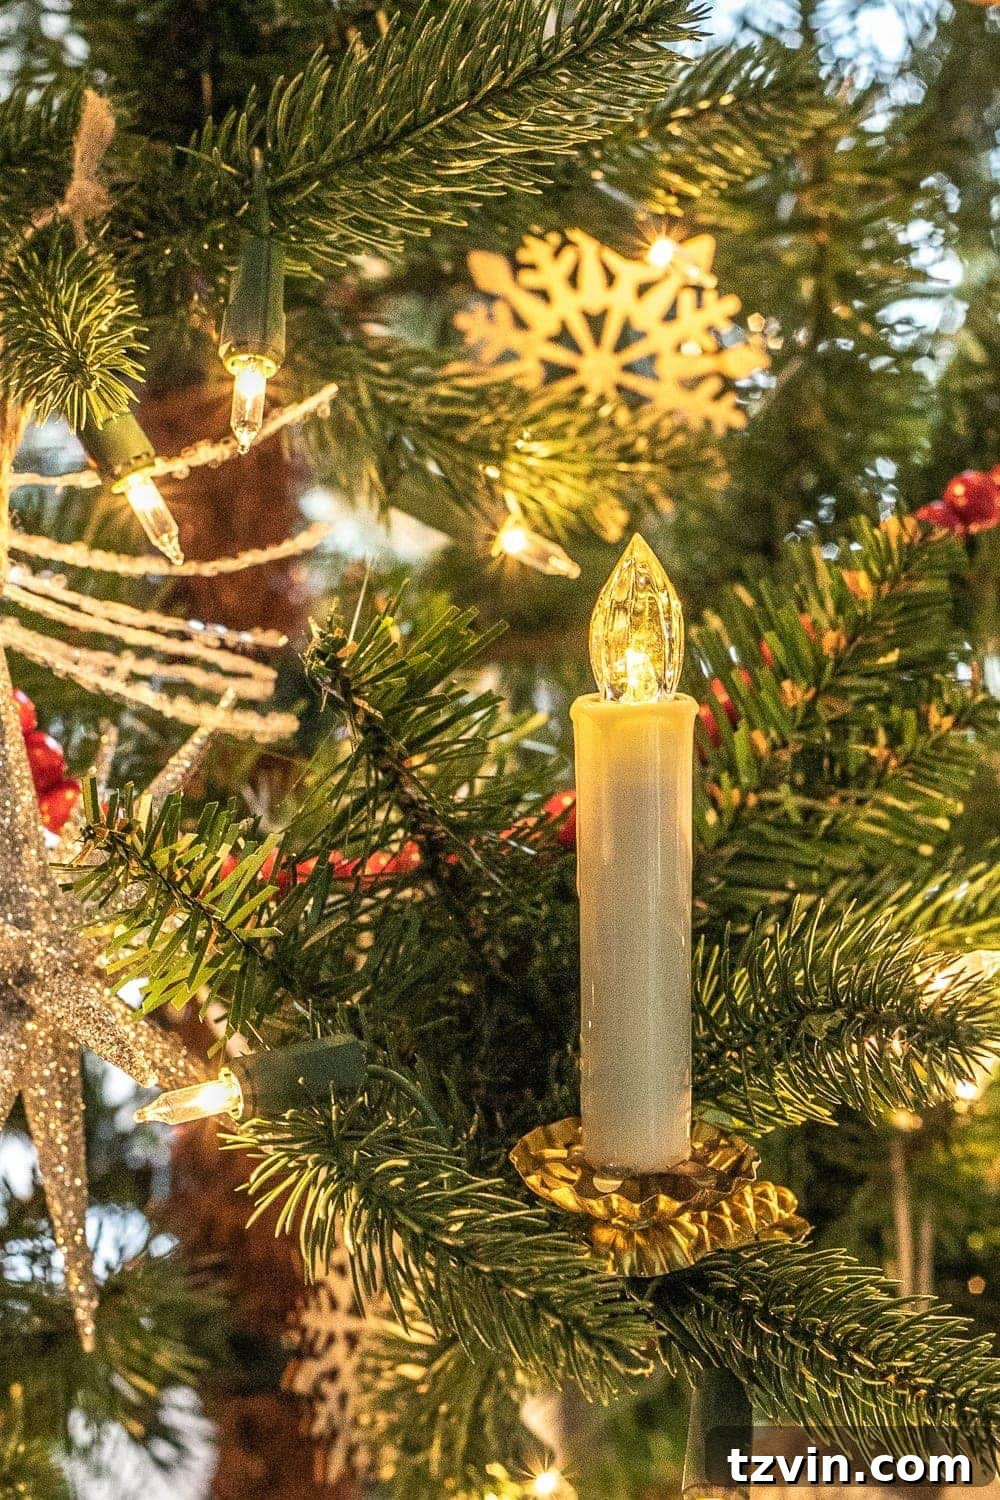
Achieve the enchanting look of antique Christmas tree candles with this detailed step-by-step tutorial. Learn how to craft stunning DIY candle holder clips using readily available battery-operated lights, bringing timeless elegance and safety to your holiday decor.
The magic of Christmas often lies in the glow of festive lights, and for many, more is truly merrier during the holiday season! This year, if you’re dreaming of a Christmas tree adorned with the classic, nostalgic charm of traditional candles but are wary of fire hazards and dripping wax, you’ve come to the right place. Imagine recreating that beloved vintage aesthetic with a modern, safe, and incredibly easy DIY project.
DIY Antique Christmas Tree Candles: Vintage Charm, Modern Safety
There’s an undeniable allure to Christmas trees illuminated by the soft, flickering light of candles, reminiscent of bygone eras. For generations, traditional candles were the primary method of lighting a Christmas tree, particularly in European countries like Germany and Sweden. While incredibly beautiful, these real flame candles pose significant fire risks and create messy wax drips, making them impractical for most modern homes. Thankfully, with advancements in battery-operated lighting, we can now capture that desired antique aesthetic without compromise.
This year, our goal was to infuse our Christmas tree with an antique sensibility, perfectly complementing our rustic Swedish Christmas decor theme. The vision included the classic look of brass candle holders clinging to the branches, evoking a sense of timeless tradition. If you, like us, adore the authentic appearance of traditional candles with elegant brass holders but prioritize safety and cleanliness, this innovative Christmas candle holder idea is remarkably simple to execute and delivers stunning results.
Why Choose DIY Antique Christmas Tree Candles?
Opting for a DIY approach to your Christmas tree lighting offers a multitude of benefits:
- Unmatched Safety: Eliminate the fire hazard associated with open flames. Battery-operated candles provide peace of mind, especially in homes with children, pets, or dry Christmas trees.
- No Mess, No Fuss: Say goodbye to dripping wax, soot, and the tedious cleanup that comes with real candles. These DIY alternatives keep your tree, floor, and other decorations pristine.
- Reusable & Durable: Once crafted, these candle holder clips can be used year after year, making them an economical and sustainable decor choice. Minor re-gluing might be needed over time, but the core components last.
- Customizable Aesthetic: While we’re aiming for an antique look, the basic technique can be adapted. You can choose different styles of battery candles or metal clips to match various holiday themes, from rustic farmhouse to elegant Victorian.
- Affordable Elegance: Achieve a high-end, bespoke look without the hefty price tag of specialty antique lighting fixtures. Most supplies are budget-friendly and widely available.
- Effortless Operation: Many battery-operated candles come with remote controls and timer functions, allowing you to light up your tree with ease and consistency.
(Some affiliate links are provided below to help you find the right supplies. Full disclosure here.)
Essential Supplies for Your Antique Christmas Candles
Gathering your materials is the first exciting step in bringing your vintage Christmas tree vision to life. The beauty of this project lies in its simplicity; you won’t need an extensive list of tools or expensive components. Here’s what you’ll need:
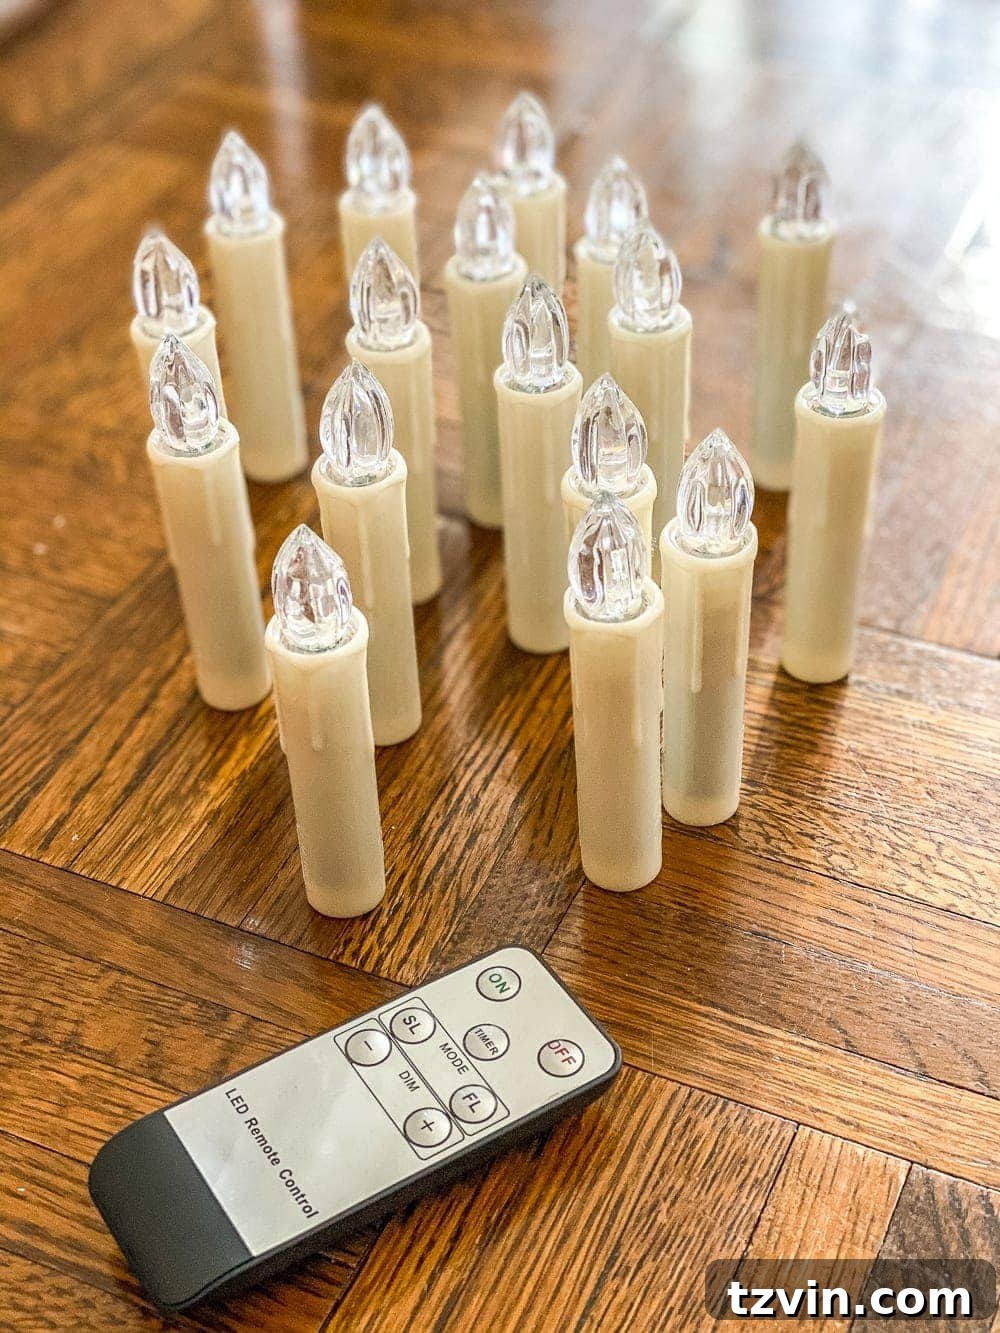
- Battery-Powered Remote Controlled Christmas Tree Candle Lights: These are the core of your flameless candles. Look for ones with a warm, flickering glow to mimic real flames. Remote control functionality is a huge plus for convenience!
- Hot Glue Gun and Hot Glue Sticks: A reliable hot glue gun with high-temperature settings is crucial for a strong, lasting bond. Stock up on glue sticks; you’ll need enough to fill the metal clips.
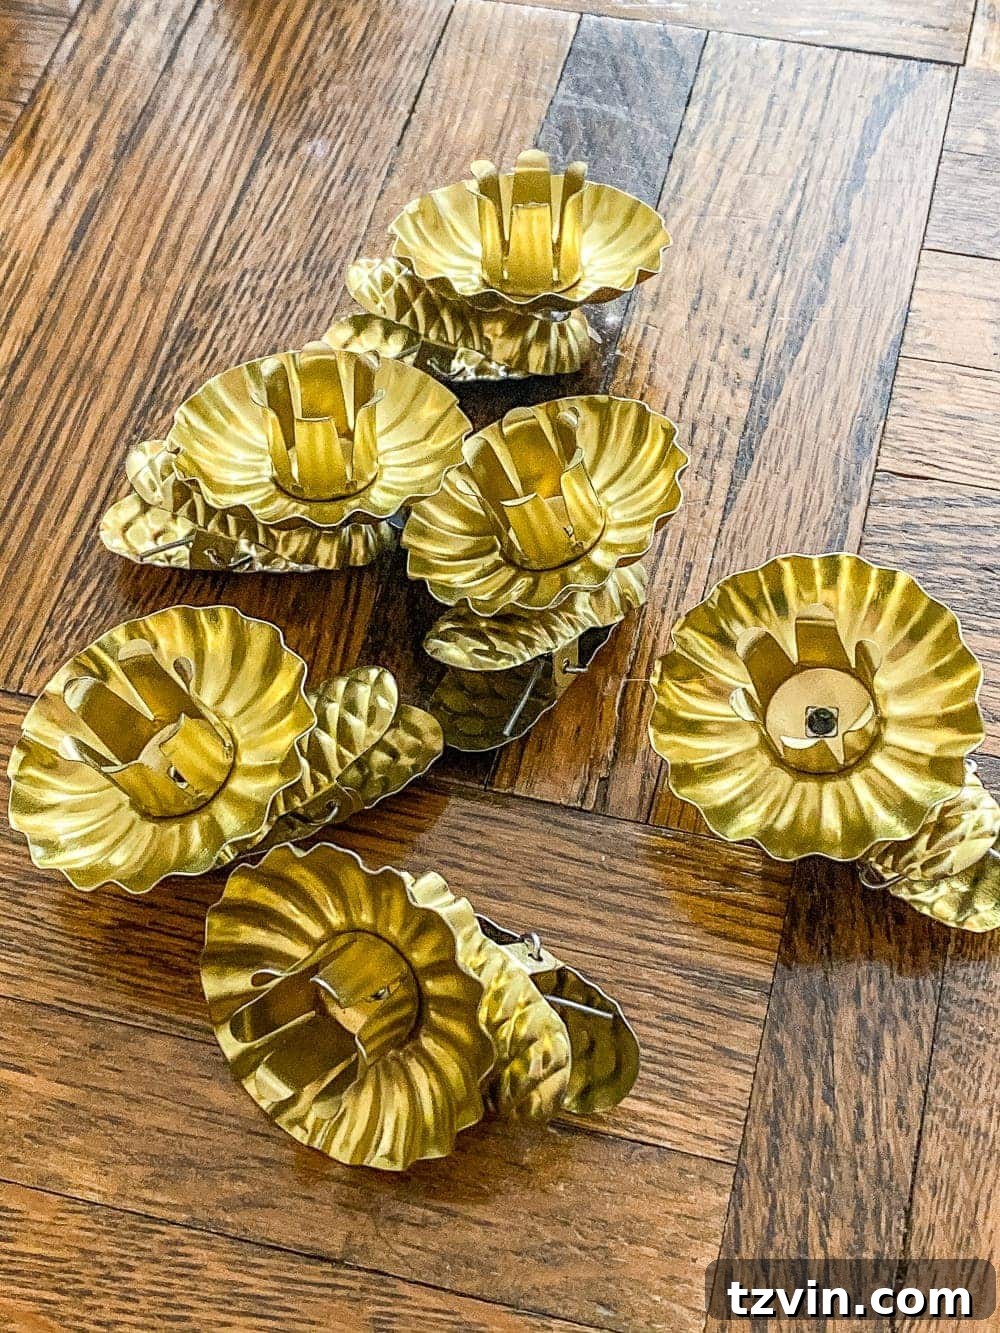
- Metal Clip-On Candle Holders (Antique Brass Style Recommended): These are the key to achieving the antique aesthetic. The metal clips are designed to hold traditional taper candles, but we’ll be repurposing them. Their pliability is important for this project.
Initially, I sourced battery-powered candle lights that came with their own plastic clips. While functional, these plastic attachments lacked the elegant, antique appearance I envisioned. The solution? Upgrading to classic metal clip-on candle holders and integrating them with the modern battery lights for a seamless, vintage-inspired look.
The Simple Steps to Crafting Your Vintage-Inspired Lights
Step 1 – Prepare Your Battery-Operated Candles
Before you begin the assembly process, it’s a good practice to prepare all your battery-operated candles. Insert the required batteries into each candle. This small step ensures that all your candles are ready to go once assembled and saves you from fiddling with batteries after they’re glued into their new holders. More importantly, test each candle with its remote control to confirm it functions correctly. There’s nothing more frustrating than completing a DIY project only to find a faulty component at the end!
Step 2 – Modify the Metal Candle Clip Prongs
Take one of your chosen metal clip-on candle holders. You’ll notice it has small prongs or tabs designed to hold a traditional candle securely. For our purpose, we need to flatten these prongs to create a stable base for the battery-operated candle. The metal used for these clips is typically quite pliable. With just your fingers, gently bend the prongs inward and downward until they are as flat as possible against the inside of the holder. You’re essentially creating a level surface to which the battery candle will be glued. No special tools are needed for this step, making it incredibly accessible.
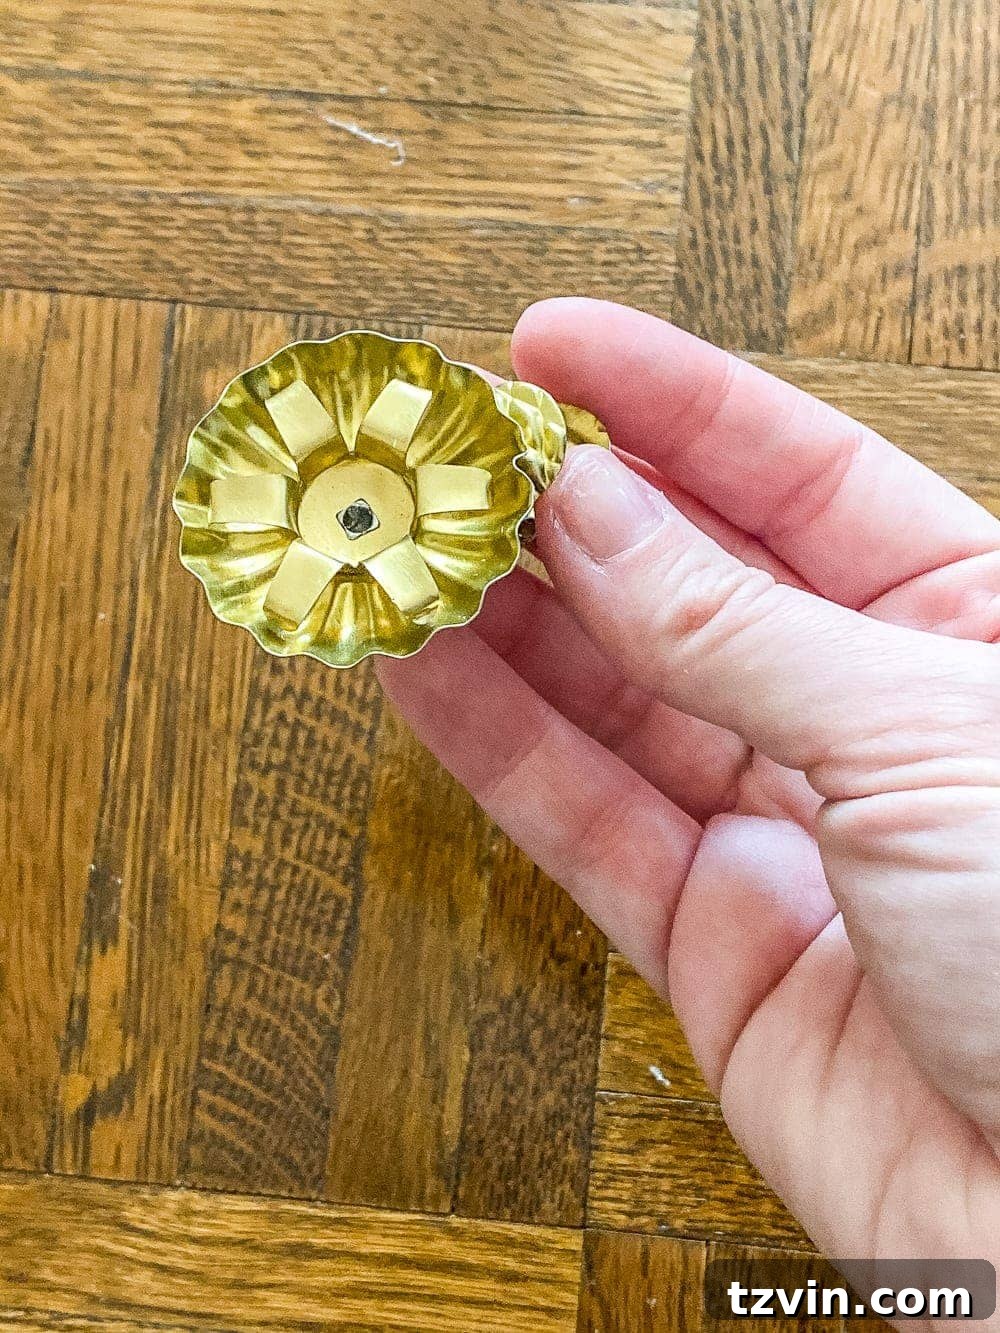
Step 3 – Secure with Hot Glue
With your metal clip prepared, it’s time to introduce the hot glue. Ensure your hot glue gun is fully heated (a high-temperature setting is recommended for a stronger bond). Carefully fill the entire inside space of the metal clip – the area where you just flattened the prongs – with hot glue. You want a generous amount of glue, creating a thick, solid bed for your battery candle. This will provide the necessary adhesion and structural support to keep the candle upright and secure.
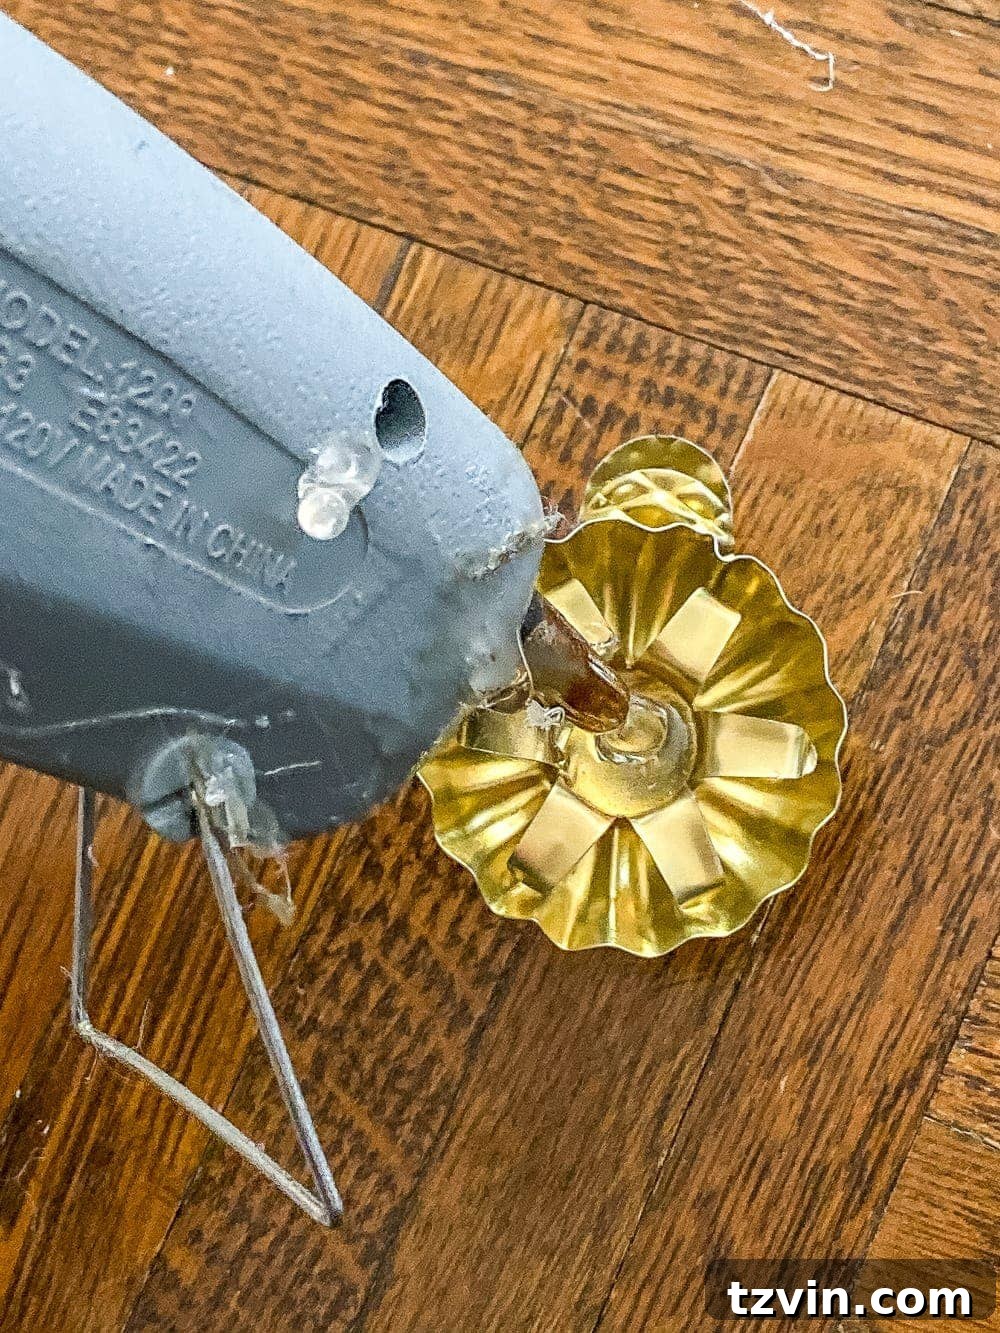
Step 4 – Mount the Battery Candle
Immediately after applying the hot glue, take one of your prepared battery-powered candles. Gently press the base of the candle into the molten hot glue within the clip. The crucial part here is to ensure the candle is standing perfectly upright in the holder. Hold it firmly in this position for approximately one minute, or until the glue has cooled sufficiently and begun to set. This initial holding period is vital for securing a straight and stable attachment. Once the glue is firm, you can release your grip. Repeat this process for all the candles you wish to create.
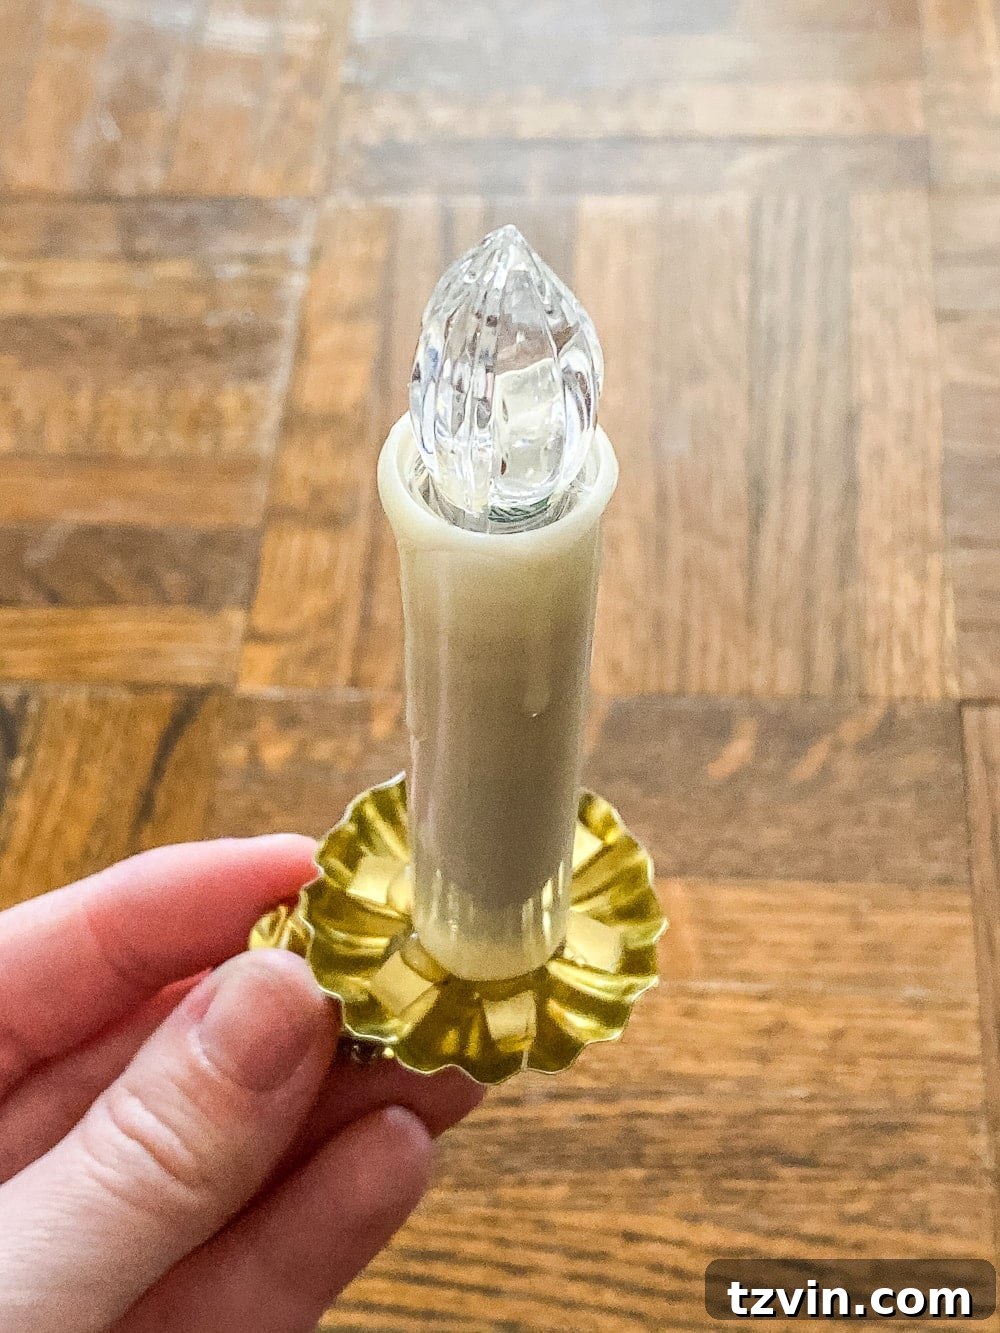
And just like that, your exquisite antique-style Christmas tree candles are complete! It’s a project so straightforward, it barely requires a “tutorial,” yet the impact on your holiday decor is truly remarkable.
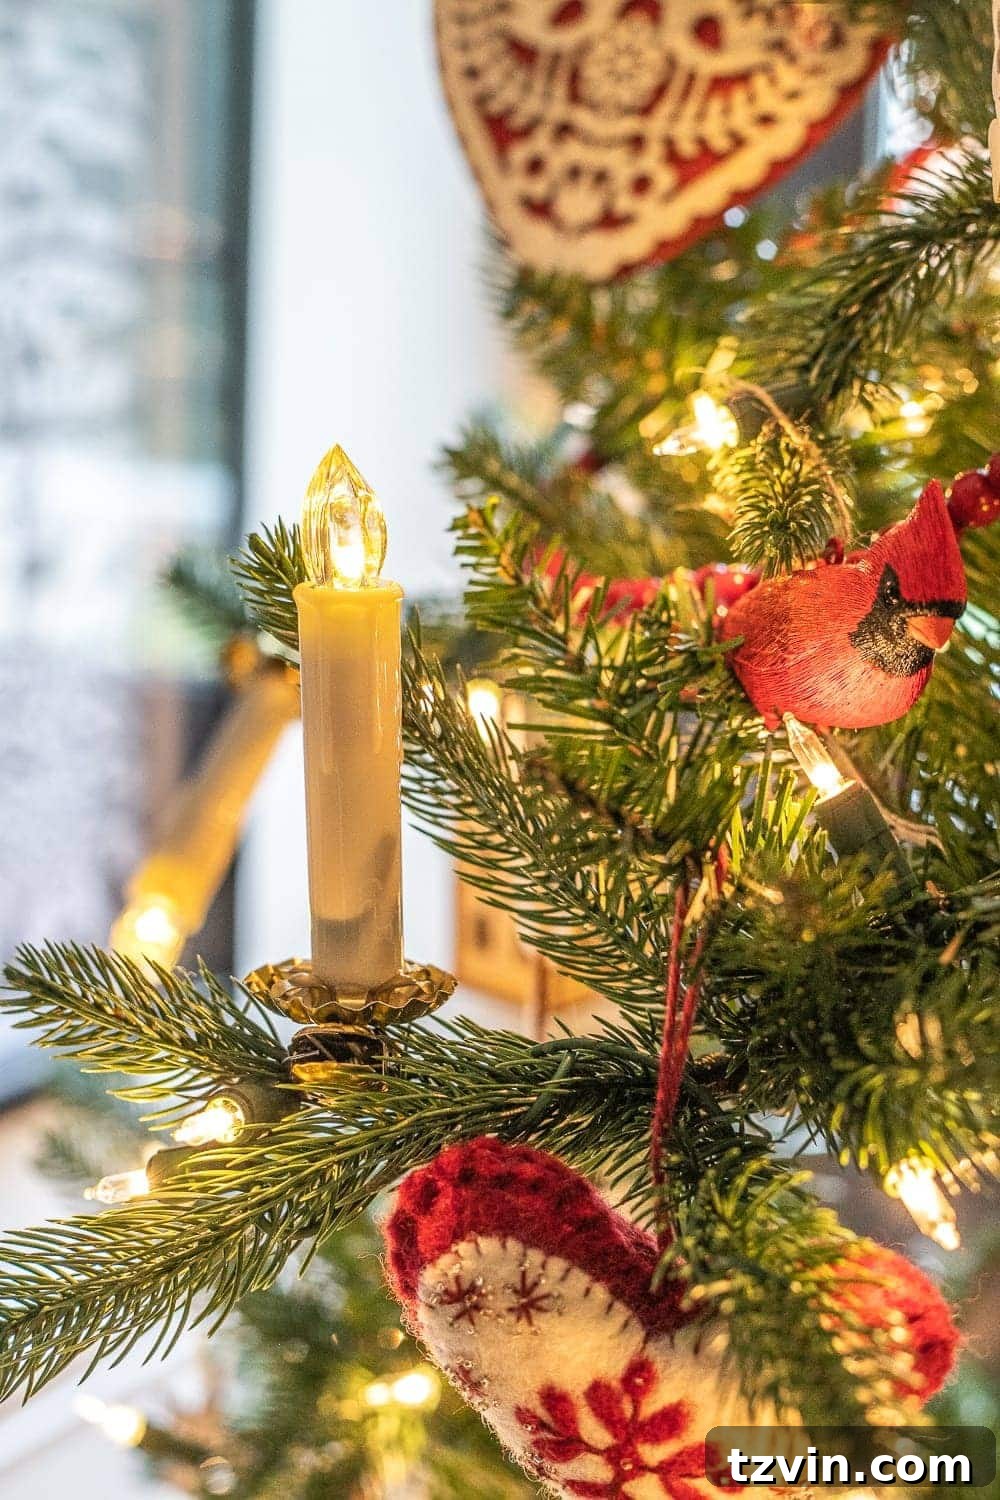
Styling Your Christmas Tree with Vintage Charm
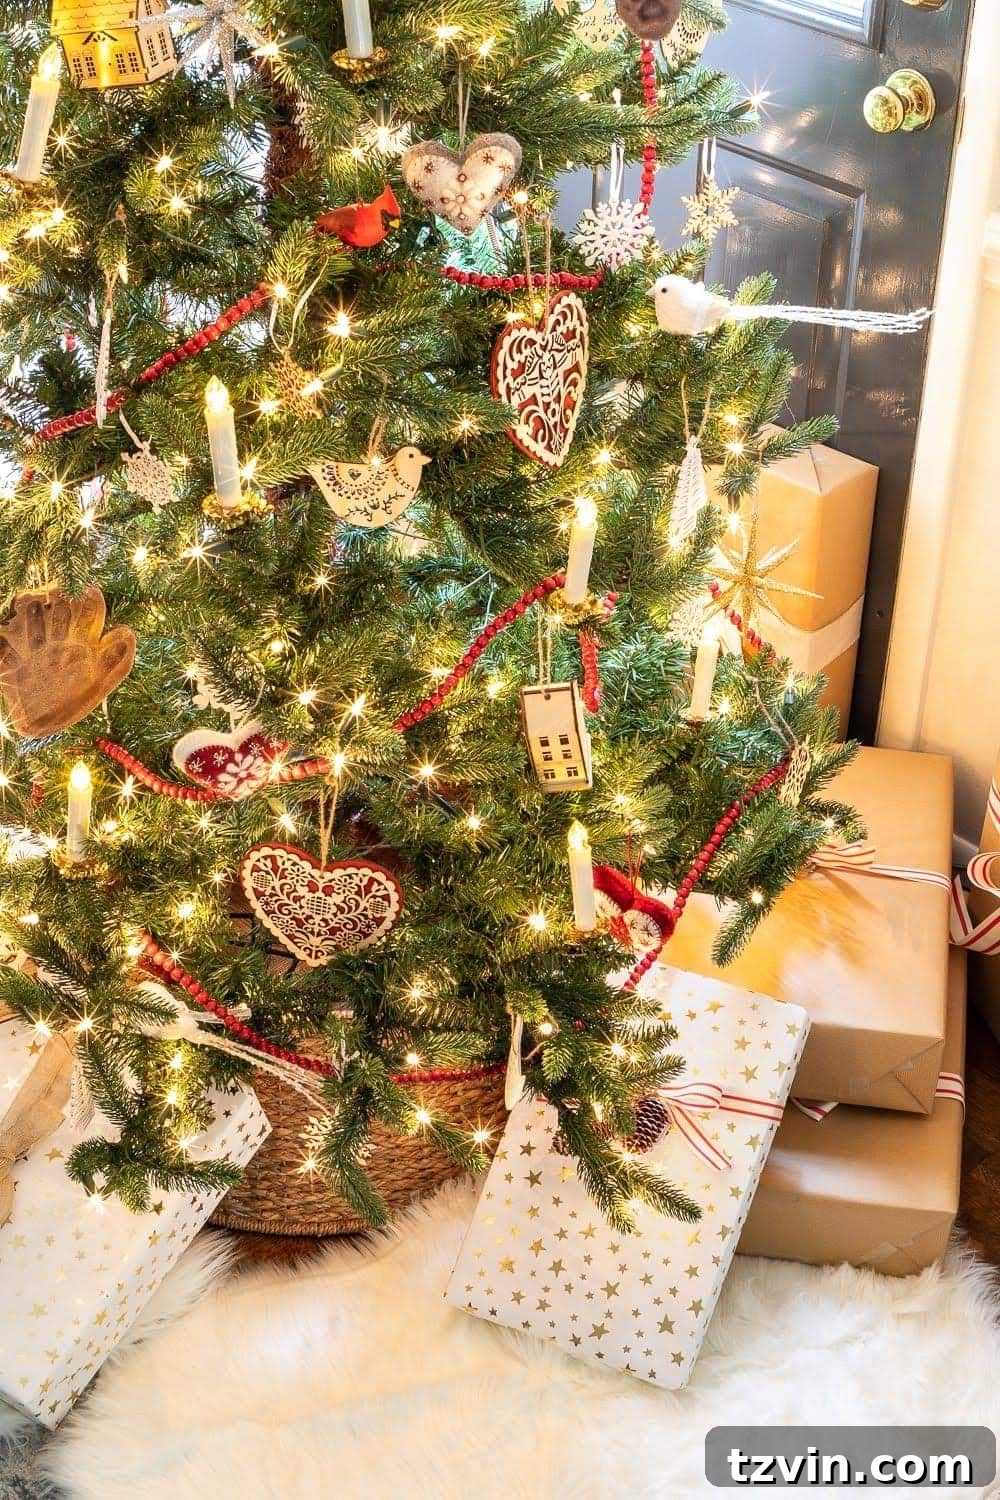
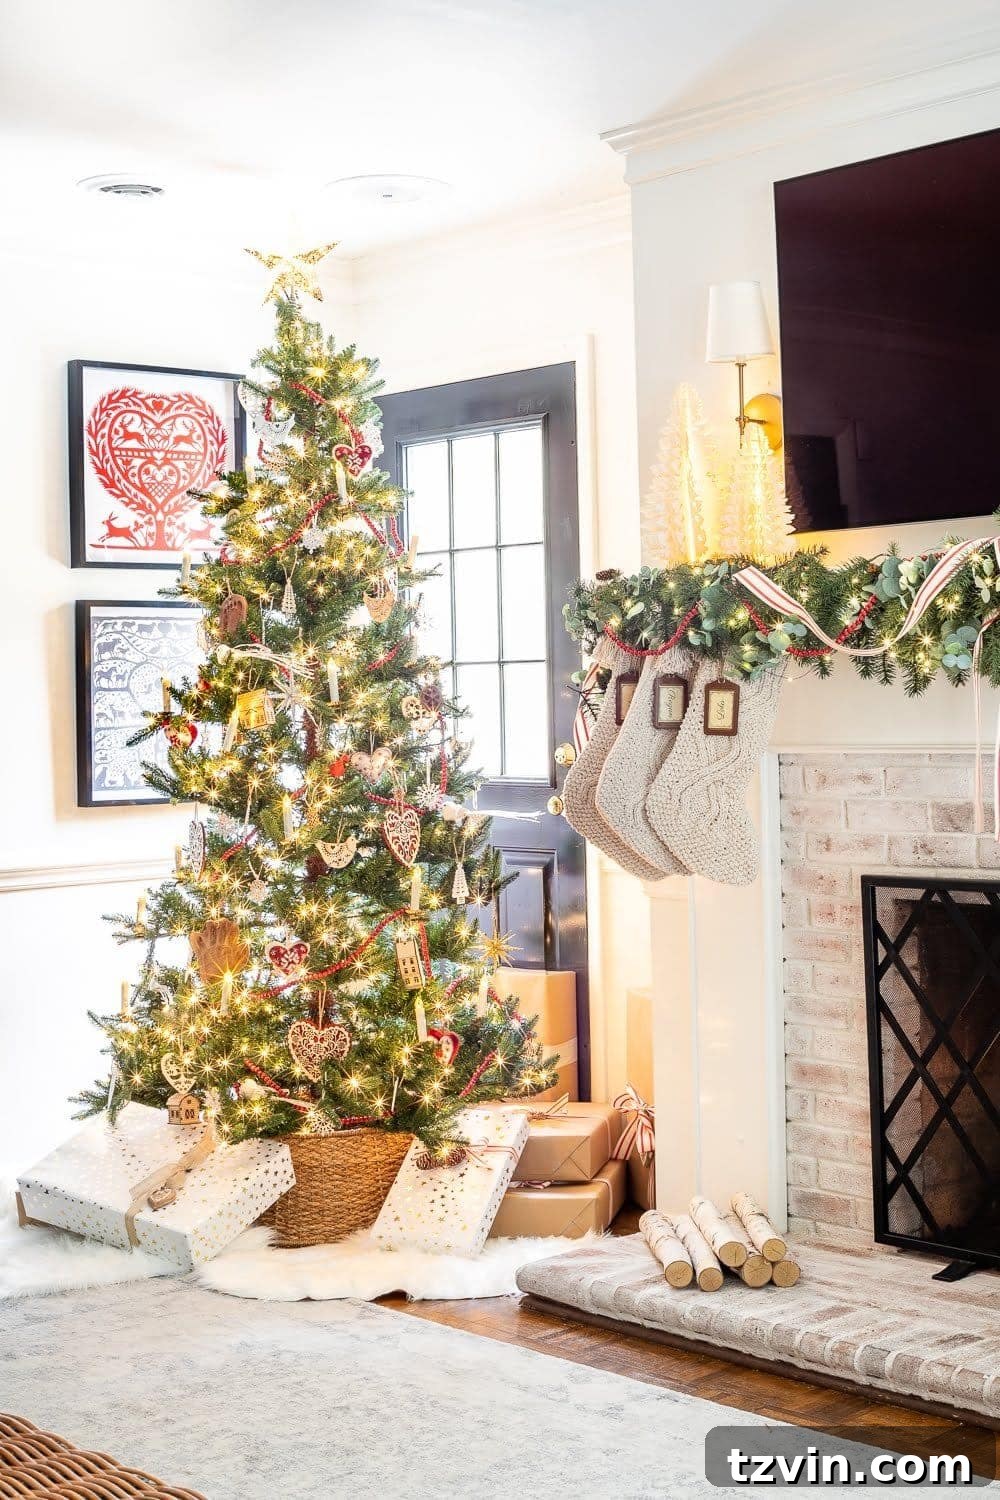
With your new DIY antique candles ready, it’s time to adorn your Christmas tree and watch it transform. These flameless candles bring a touch of antique nostalgia without any of the inherent fire risks associated with real traditional German or Swedish-style taper candles. Scatter them evenly throughout the tree, placing them on branches where their warm glow can truly shine. They look particularly stunning nestled amongst natural elements like pinecones, dried orange slices, or handmade ornaments, enhancing that rustic, homespun feel.
Consider arranging them to highlight specific ornaments or to create depth within your tree. The brass clips themselves add an authentic vintage detail, making the illusion of real antique candles even more convincing. Whether your theme is a cozy Scandinavian hygge, a classic Victorian parlor, or a simple woodland wonderland, these DIY lights will elevate your decor with their timeless appeal. They also pair wonderfully with other traditional elements such as red ribbons, gingerbread ornaments, or delicate glass baubles.
Long-Term Enjoyment: Maintaining Your DIY Christmas Candles
UPDATE: We’re thrilled to report that four years later, these DIY candle holder clips are still going strong and remain a cherished part of our holiday tradition! Like any well-loved decor, they may require a tiny bit of seasonal TLC. We’ve found that sometimes, during storage, the hot glue bond can weaken or separate slightly from the battery candle. This is perfectly normal and incredibly easy to fix. Each year, as we prepare to decorate, we simply add a fresh, small dab of hot glue to any candle that feels loose, re-securing it firmly in its clip. This quick touch-up takes mere seconds and ensures they’re robust and ready to be clipped right back onto the tree, looking as beautiful as the day they were made. This minor maintenance ensures their longevity and continued festive magic.
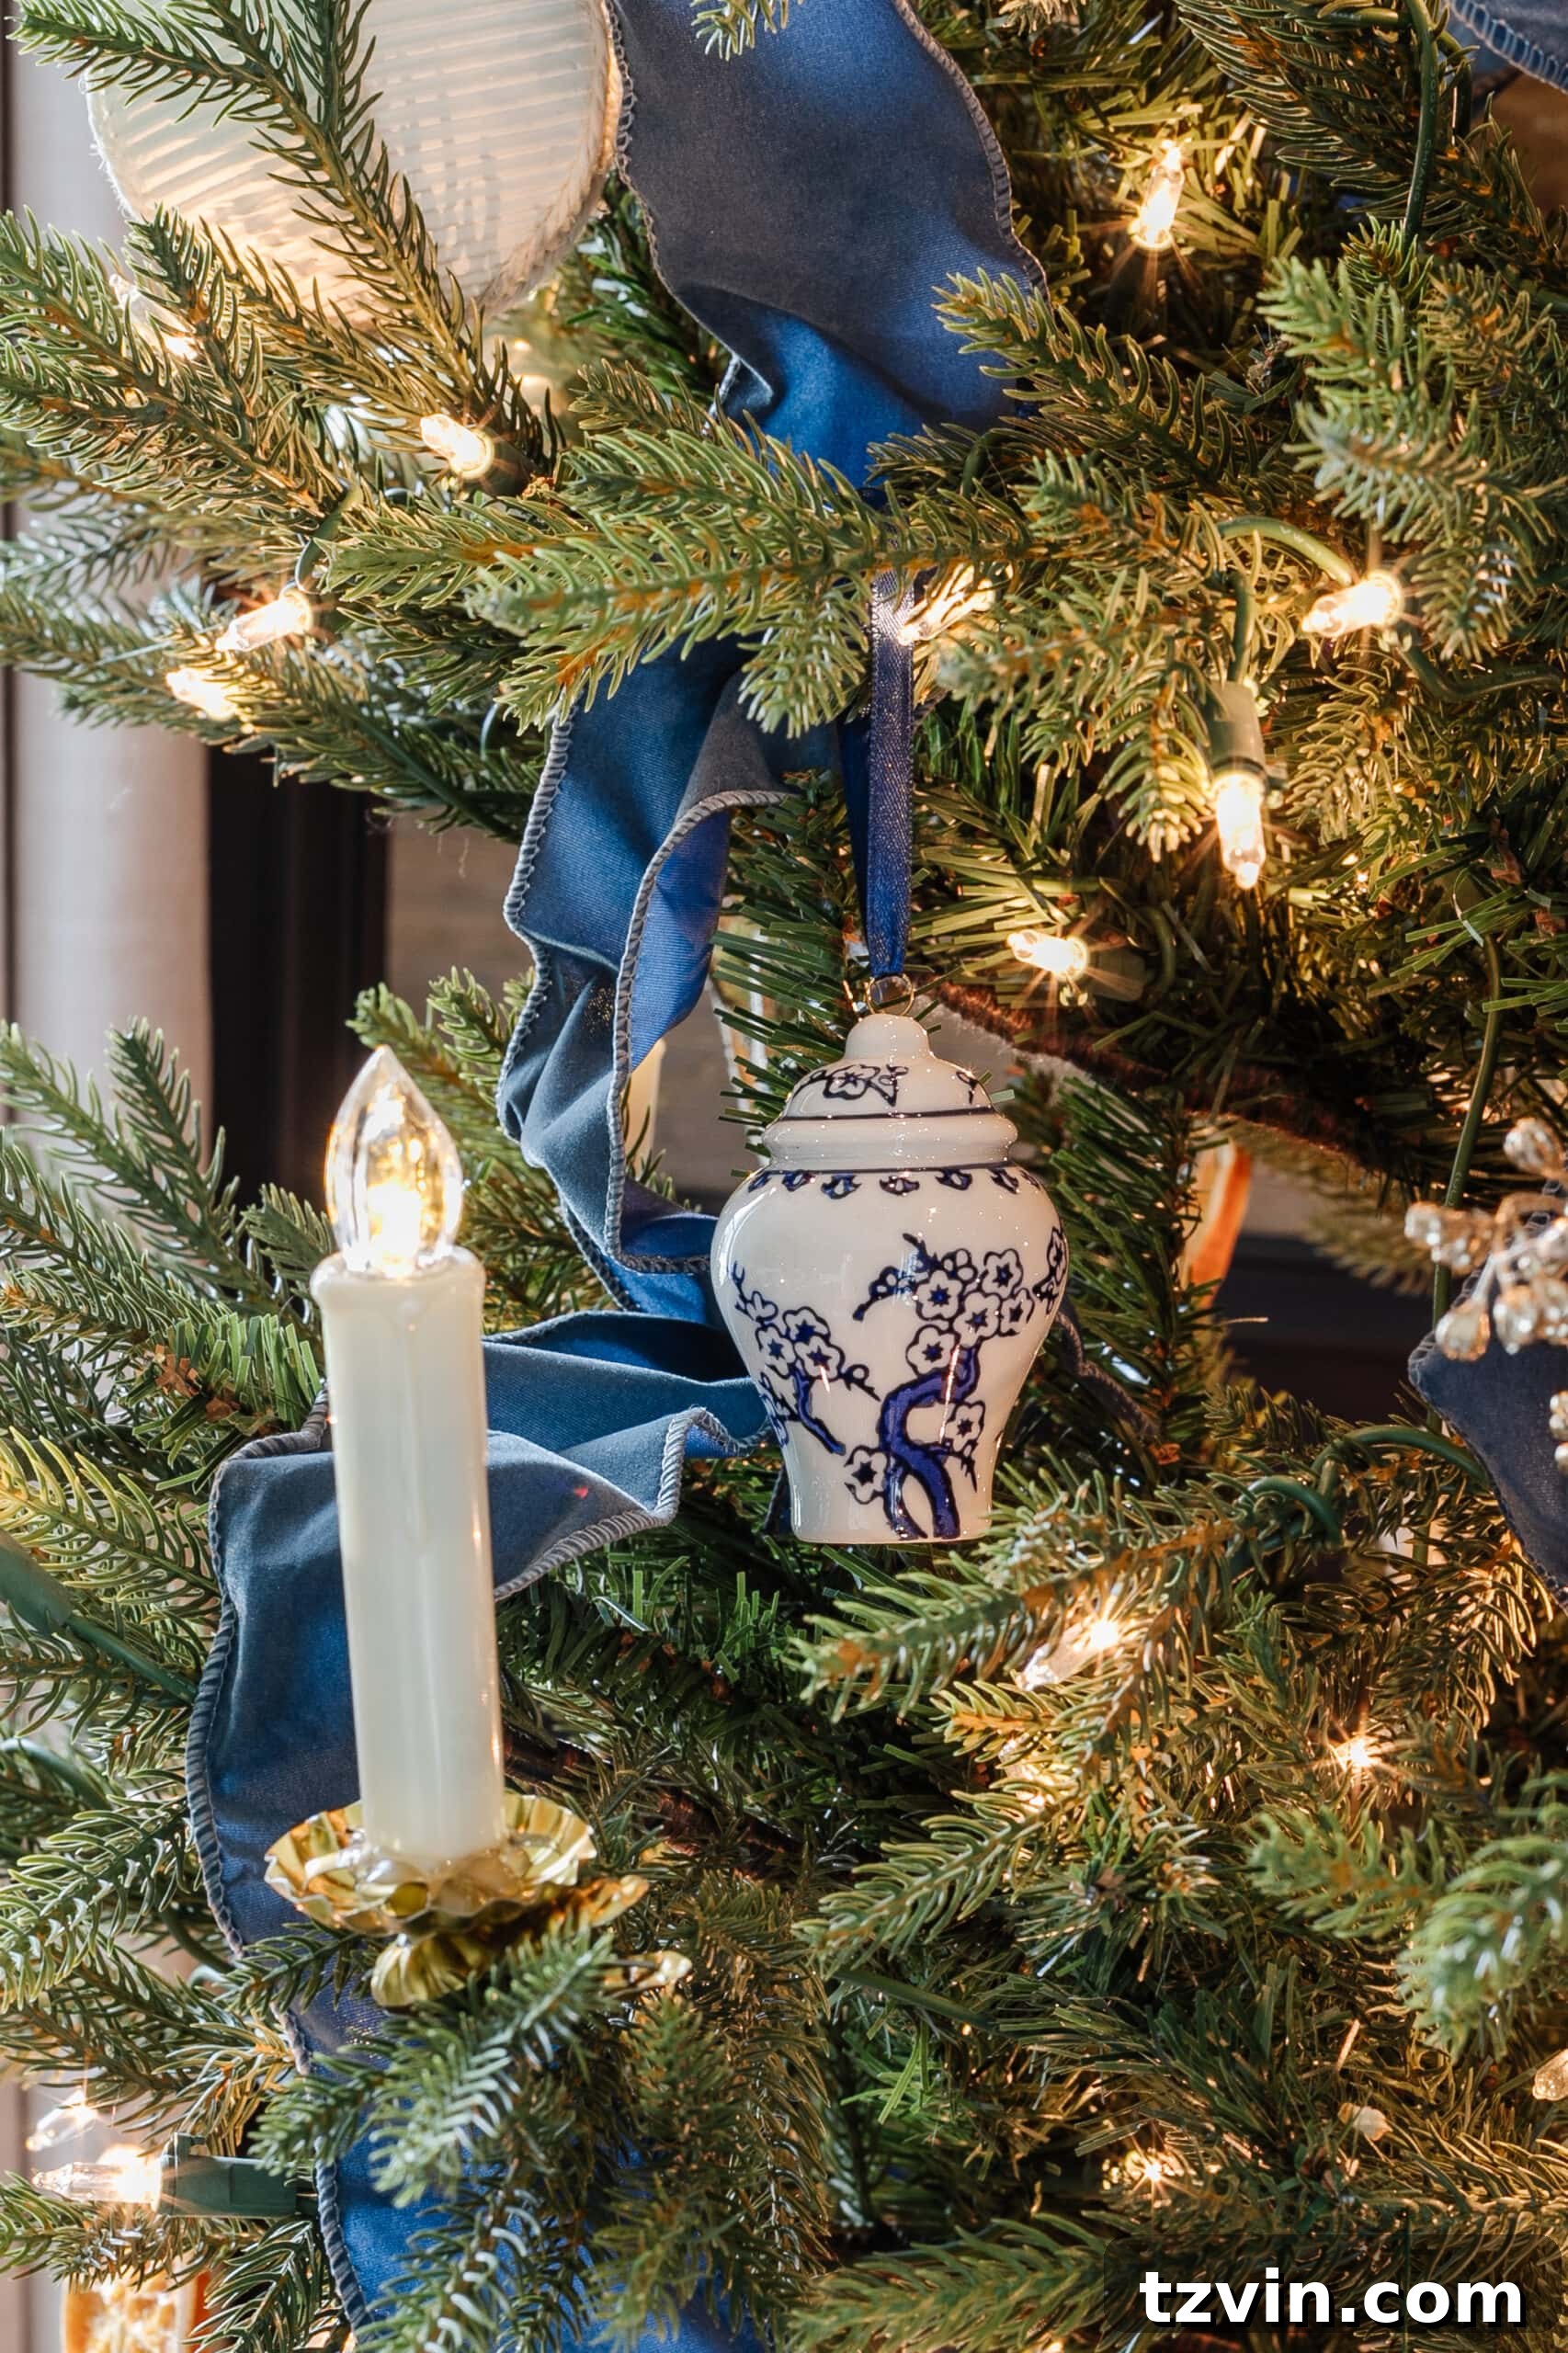
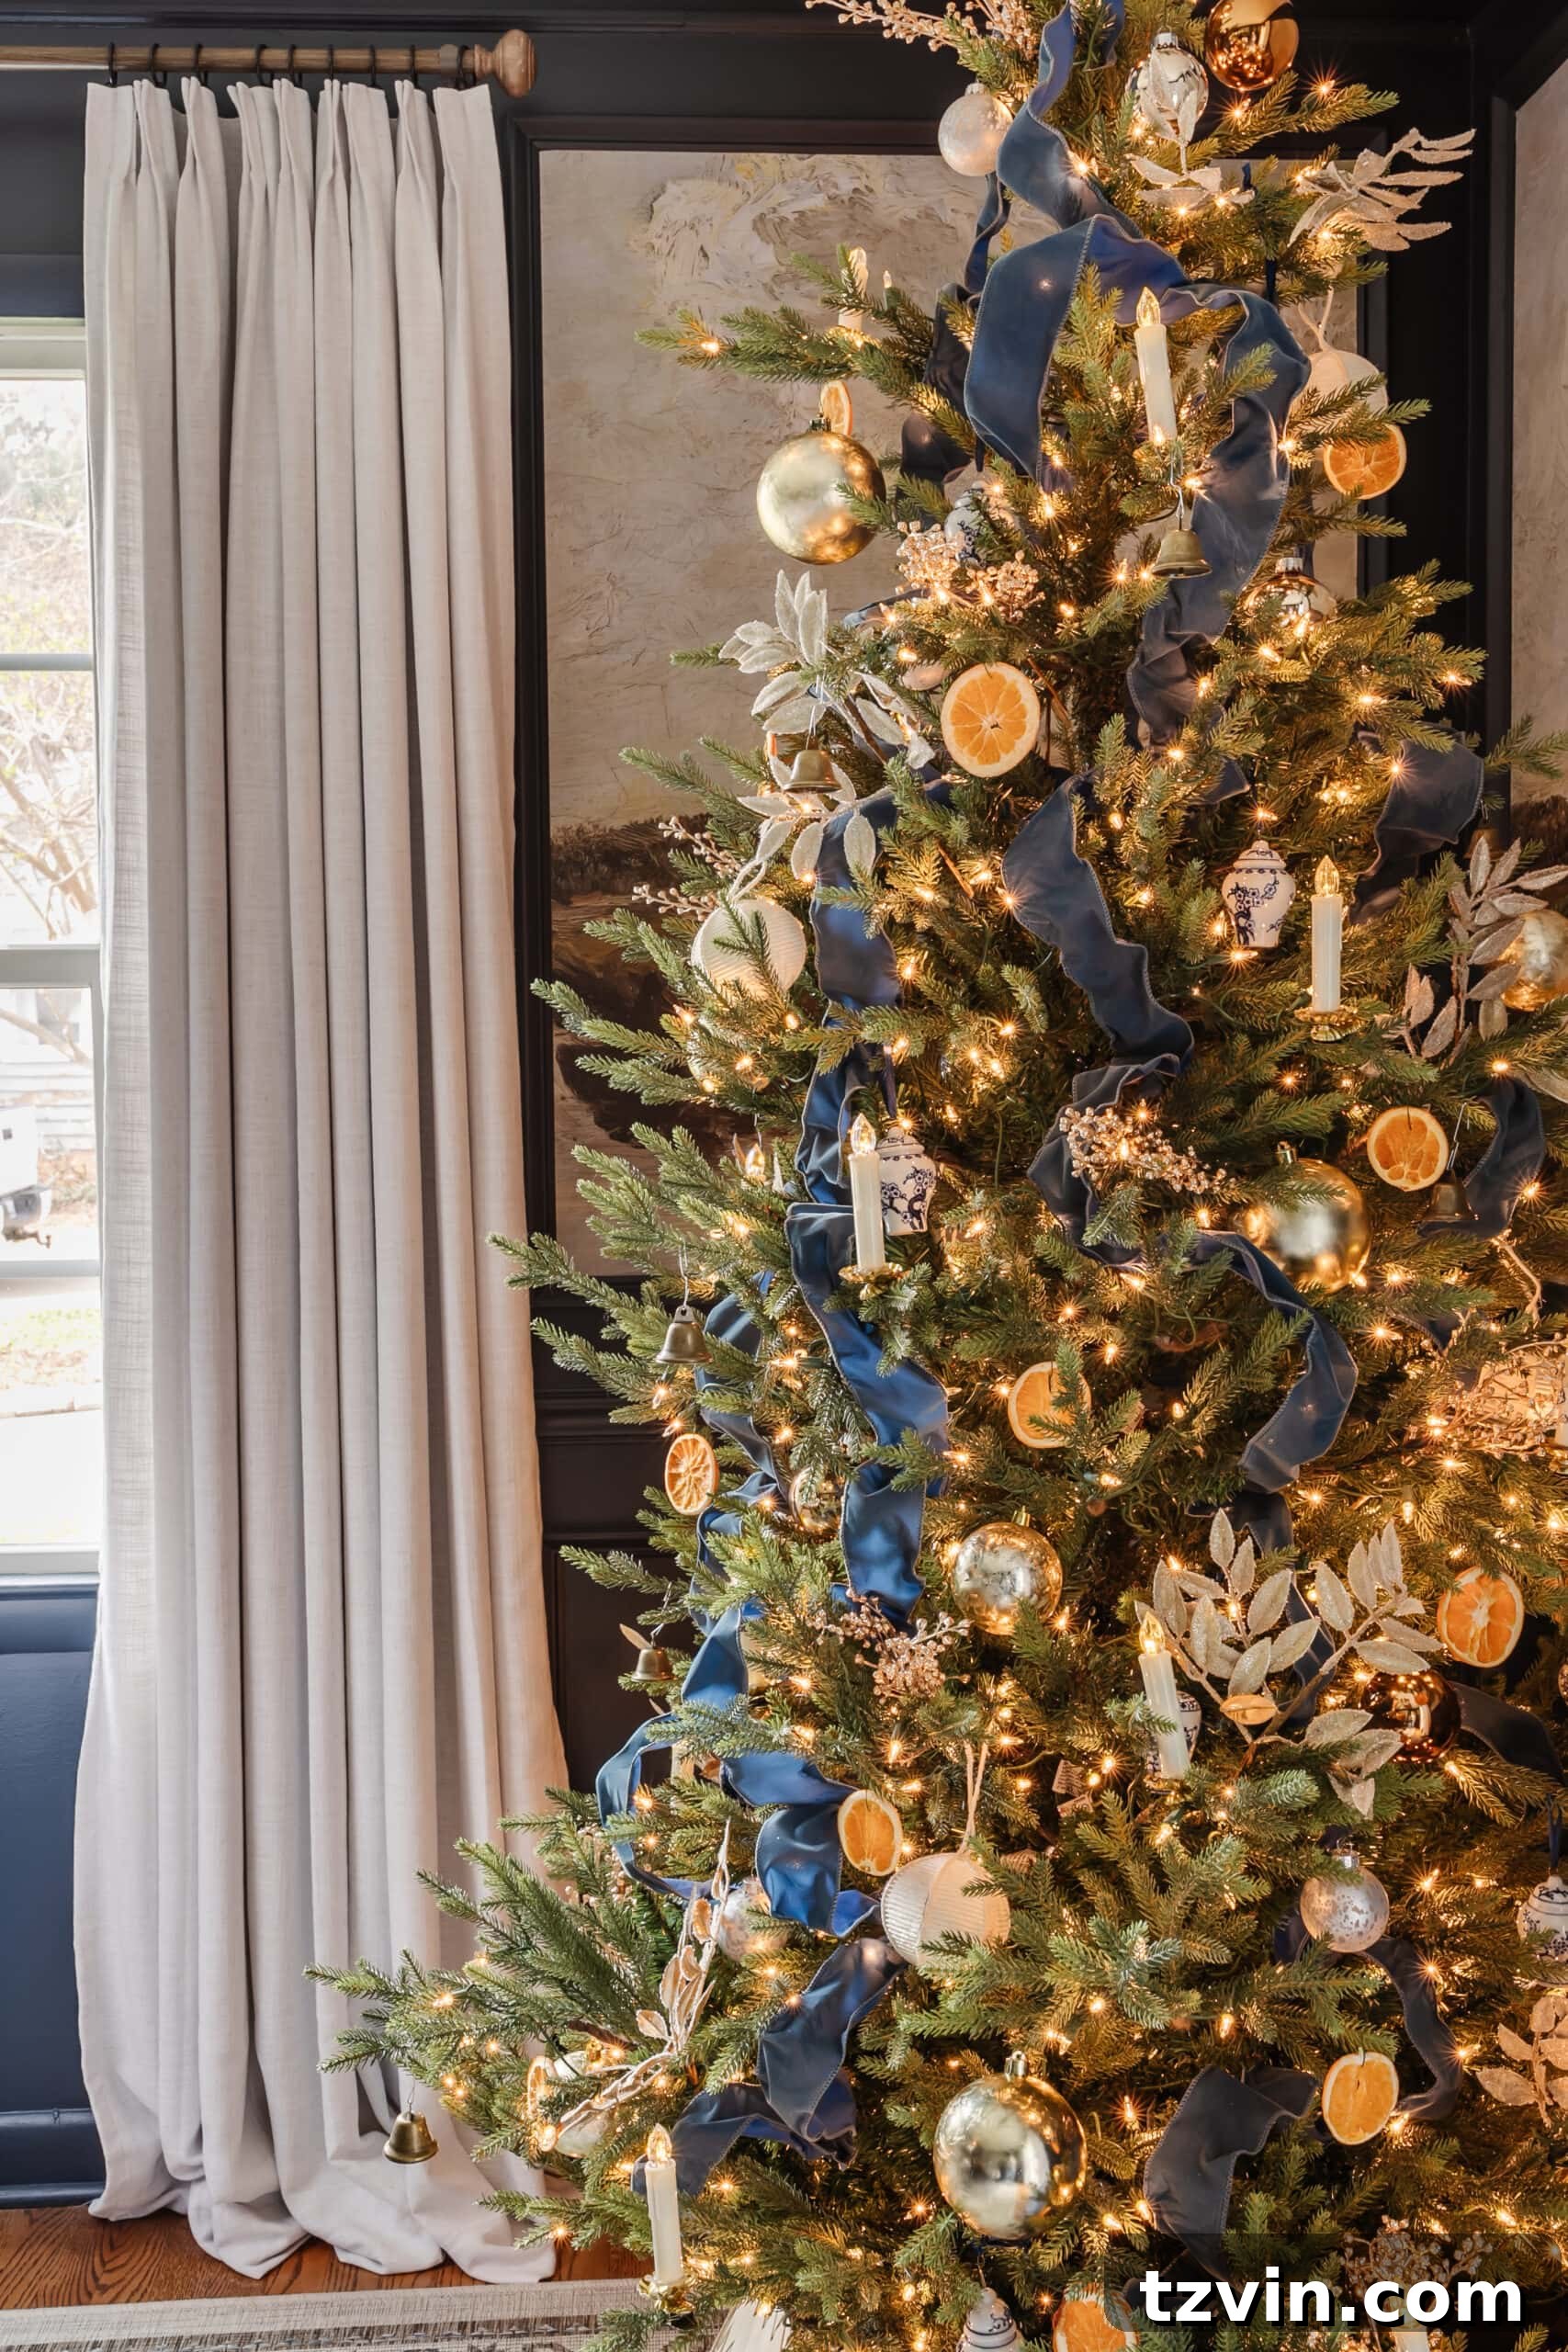
The results are truly enchanting, aren’t they? The soft, ambient glow these candles cast is simply stunning. Once you see them on your tree, you might find yourself, like us, wanting to adorn other wreaths, garlands, and mini trees around your home with this charming DIY. This simple project is a fantastic way to extend that antique, cozy feeling throughout your entire holiday display.
Are you ready to embrace the warmth and classic beauty of these DIY antique Christmas tree candles this season? Give this project a try and transform your holiday decor with a touch of timeless elegance!
More Festive DIY Christmas Decor Ideas to Inspire You
Looking for more ways to infuse your home with handmade holiday cheer? Explore these additional DIY Christmas decor ideas to make your season even more special and personalized:
- 24 Thrifty Christmas Decorating Ideas: Discover creative and budget-friendly ways to decorate your home for the holidays, utilizing everyday items and clever repurposing techniques.
- 18 Christmas Wall Decor Ideas and Holiday Art Printables: Spruce up your walls with festive artistry! Find inspiration for stunning holiday wall displays, including a collection of beautiful printable art.
- DIY Cinnamon Salt Dough Ornaments: Create aromatic and charming ornaments that double as delightful scent diffusers for your tree. This classic craft is fun for all ages!
- DIY Candle Holder from a Thrifted Brass Canister: Repurpose an old brass canister into an elegant candle holder, adding a touch of vintage sophistication to your mantel or tabletop.
- Christmas Wall Decor: Sheet Music Art Gallery Wall: Transform old sheet music into a unique and charming gallery wall that sings the praises of the holiday season, perfect for music lovers and vintage enthusiasts.