Effortless French Door Painting & Exterior Door Replacement: A Comprehensive Guide
Unlock the secrets to beautifully painted French doors without the hassle of scraping or taping. Discover an incredibly efficient method and get a clear understanding of exterior door replacement costs to transform your home.
Our home is a testament to the timeless elegance of French doors. From the moment we first stepped inside, their presence captivated us, transforming mere walls into luminous expanses of glass. These beautiful architectural features, abundant throughout the house, were a key reason we fell in love with this place. They invite an incredible amount of natural light, create an open, airy feel, and seamlessly connect indoor and outdoor living spaces, truly making our home a French door paradise.
Transforming Your Home: The Exterior Door Replacement Journey
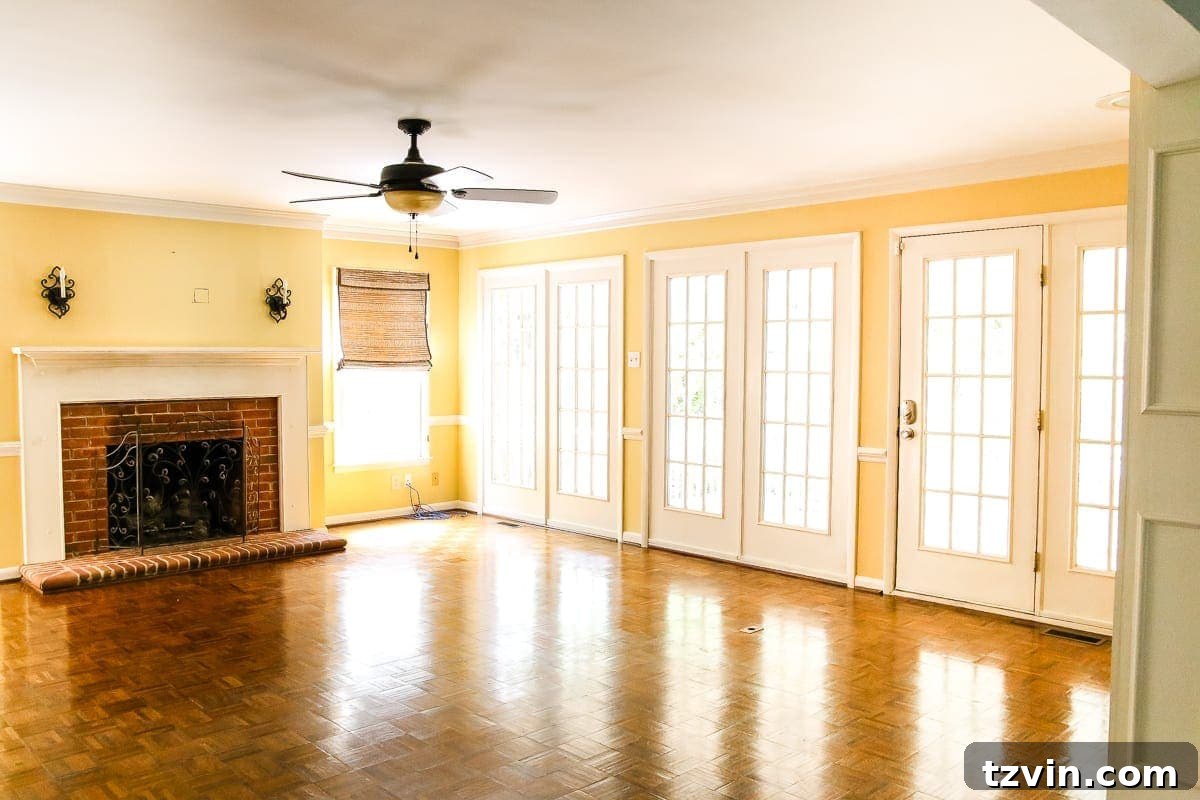
Despite our adoration for these doors, one particular set stood out as a persistent eyesore and an unfortunate design flaw. Unlike its functional counterparts, this door was an outlier – screwed shut by previous homeowners years ago, rendering it completely useless. For far too long, this corner of our living room remained isolated, functioning merely as an oversized window, denying us easy access to our charming side deck.
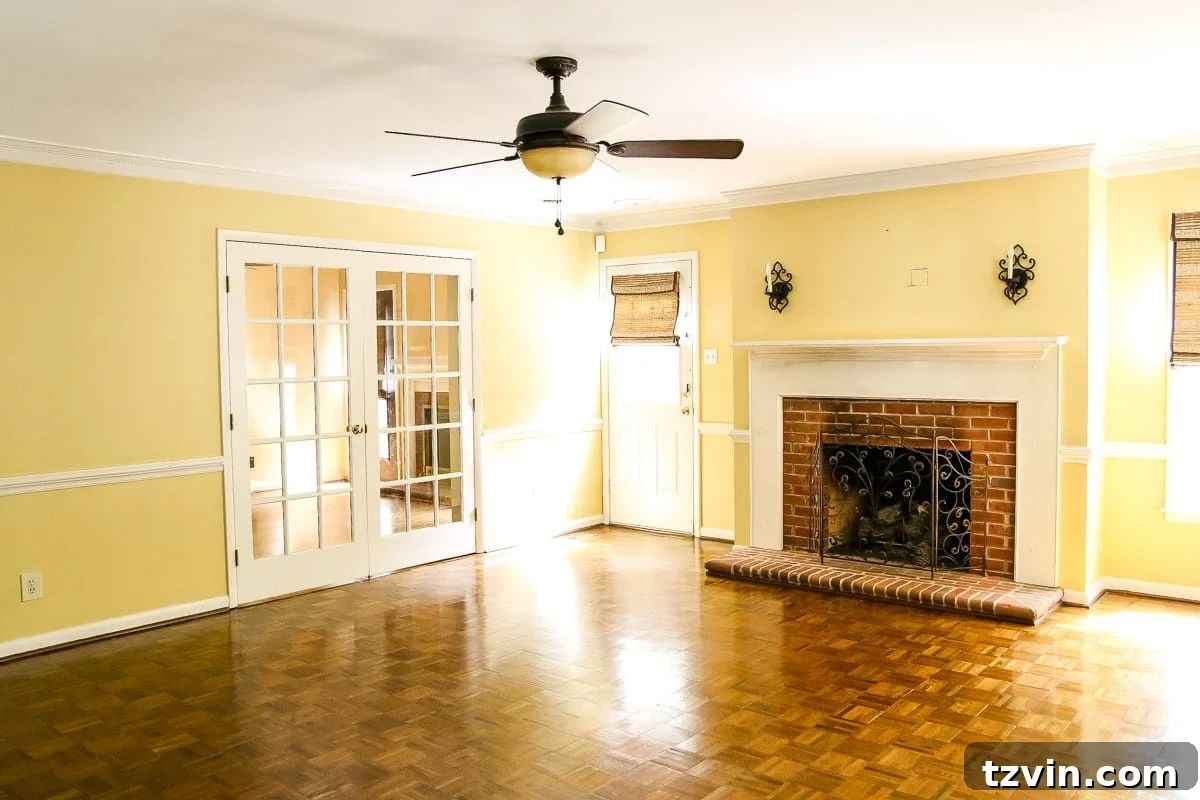
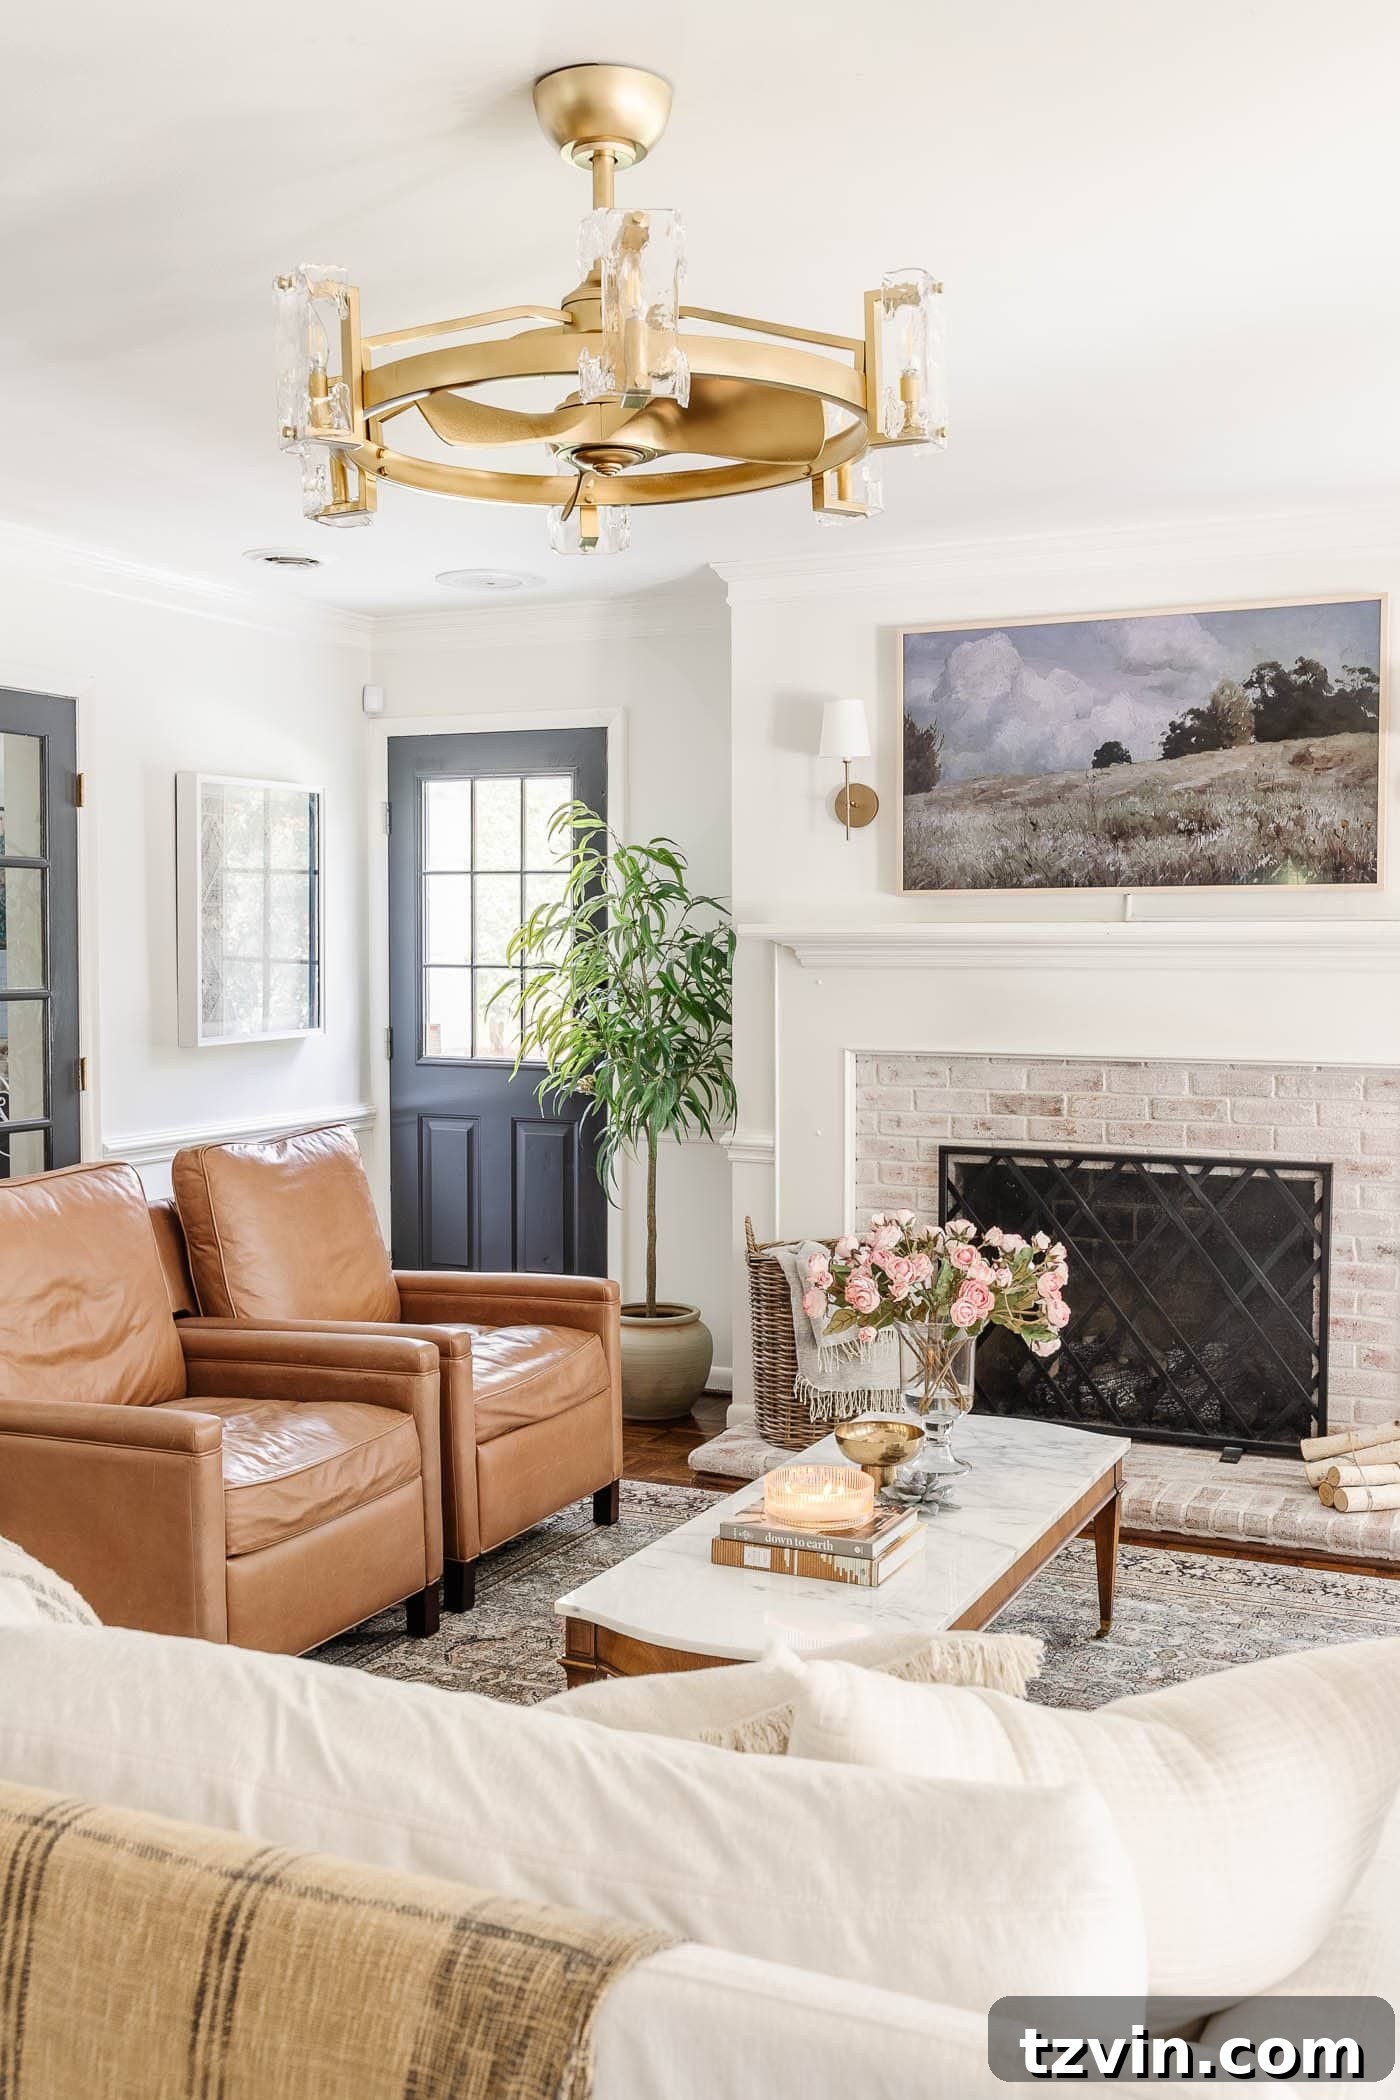
Six years passed, a testament to the slow, evolving nature of homeownership. It’s easy to feel the pressure of an endless to-do list, constantly striving for a “finished” home. Yet, experience has taught us that a home is a journey, not a destination. It’s a gradual process of making thoughtful decisions, allowing spaces to evolve, and ensuring they truly reflect the family living within them. This patient approach eventually led us to tackle that long-neglected door.
To our pleasant surprise, this exterior door replacement proved to be far less daunting and expensive than anticipated, completed efficiently in a single day. Such projects not only enhance the daily functionality and enjoyment of your home but can also significantly boost its resale value – a welcome benefit, even if selling isn’t on the immediate horizon.
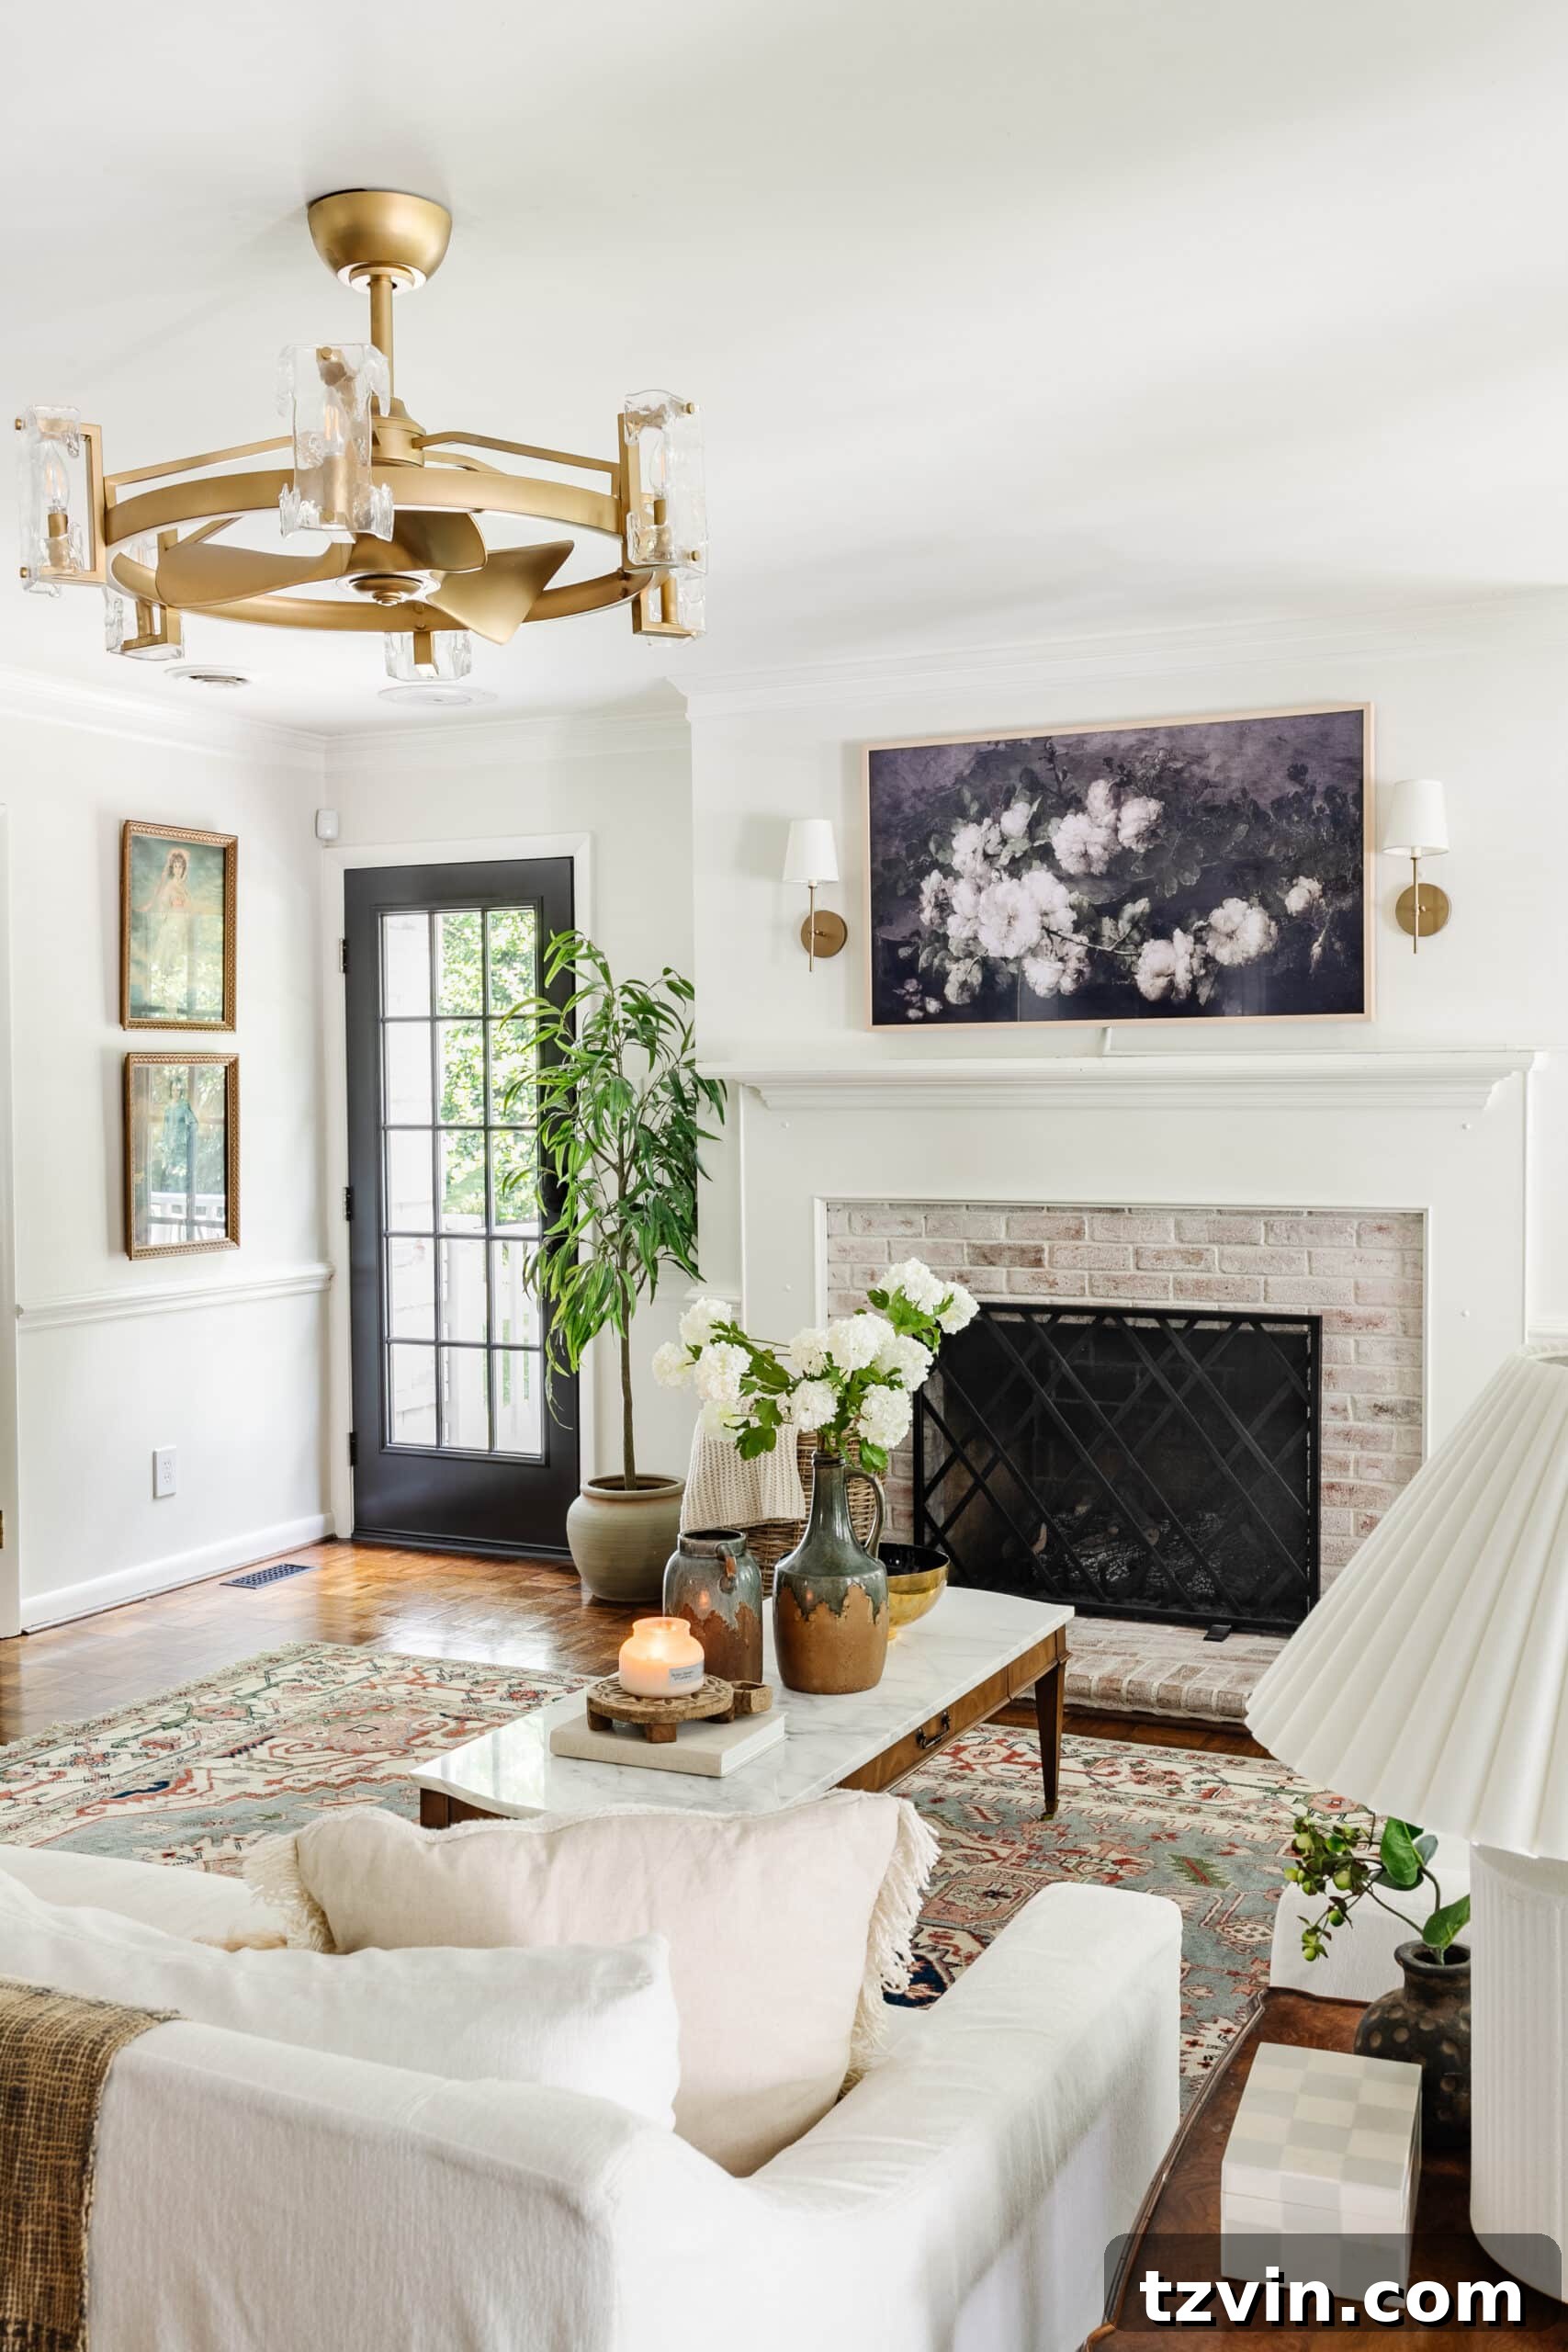
Understanding Exterior Door Replacement Costs: What to Expect
One of the biggest deterrents for many homeowners considering a door replacement is the perceived cost. We initially harbored similar concerns, expecting a hefty price tag for transforming our non-functional door into a beautiful, operational exterior French door. Imagine our relief to discover the project came in at less than $1,000! Had we known this sooner, this essential upgrade would have been completed years ago, greatly improving our home’s flow and accessibility.
Our total investment was slightly elevated due to a deliberate choice to upgrade the hardware. We opted for a smart Wi-Fi deadbolt, which offers the convenience of locking and unlocking the side door remotely via our phones or with a numerical keypad. This modern addition not only streamlines daily life but also provides an enhanced layer of security, offering peace of mind against tampering or forced entry.
Here’s a detailed breakdown of the material costs for our exterior French door replacement:
- Therma-Tru Benchmark Door – $398
- Schlage Encode Smart Wi-Fi Deadbolt – $269
- Schlage Passage Georgian Knob with Camelot Trim – $24.20
- Benjamin Moore Advance paint – $30.99
- JASCO Liquid Mask & Peel – $28.76
TOTAL: $750.95
Most exterior doors, especially French doors, are sold as pre-hung units rather than slab doors, simplifying the installation process. If you can carefully remove your existing trim, it’s often reusable after the new door jamb is securely screwed into the door frame. For those inclined towards DIY, a comprehensive door replacement tutorial can guide you through these steps effectively.
Should you opt for professional installation, labor costs typically range from $300 to $800. This average price can fluctuate based on your geographical location, the specific size of the door, and whether the existing door frame requires replacement or repair. More complex installations, such as front doors with decorative sidelights and transoms, or custom-designed doors, will naturally incur higher labor costs. We opted for a standard 15-pane French door, keeping the design classic and cost-effective.
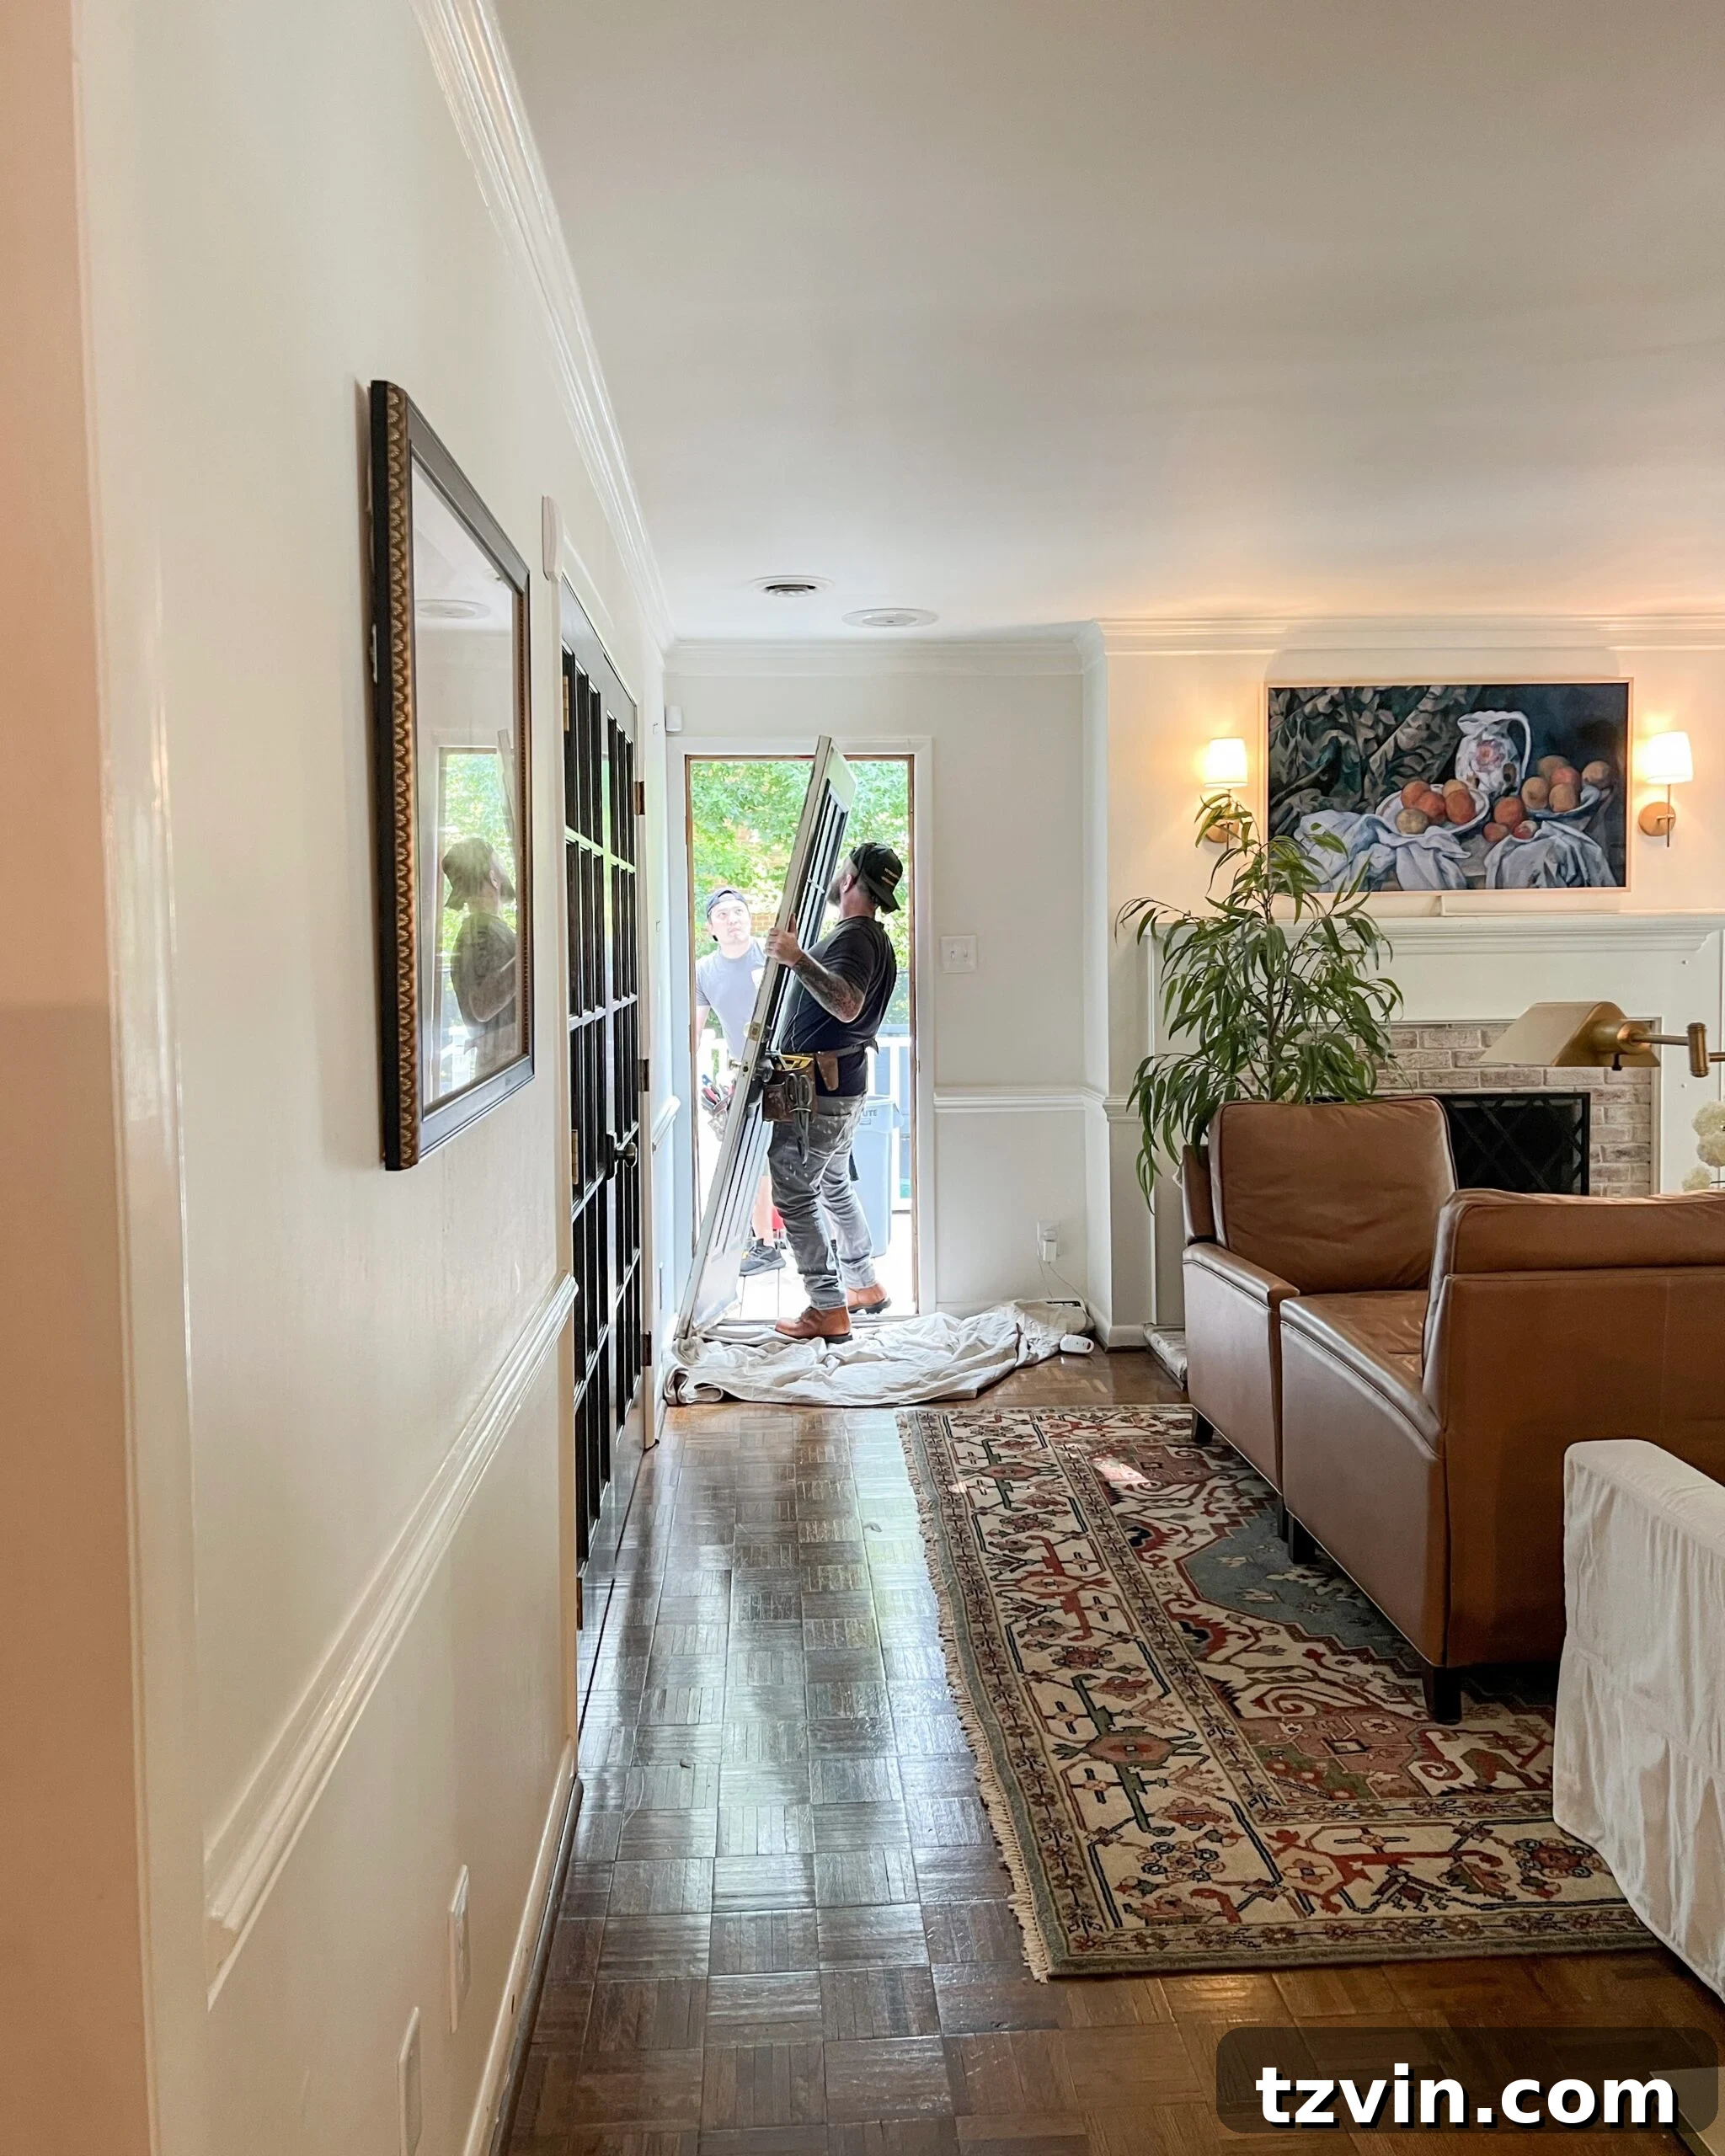
With the expert help of Robert’s friend, a seasoned windows and doors contractor, the entire installation was completed in just a few hours. This expedited process allowed us to quickly move on to the next crucial step: painting the new door to match its surroundings.
*A vital safety tip for any DIY door replacement: always ensure the hinges are on the interior side of the door. This simple precaution significantly reduces the risk of a potential break-in.
With the door installed, it was our turn to tackle the painting. Having numerous French doors – nine in the living room alone, plus four more in our playroom and office – we’ve become quite adept at finding the most efficient painting methods. Our early attempts involved days of meticulous taping, scoring, and scraping, often accompanied by a good deal of frustration. While the results were beautiful, the process was undeniably laborious. That’s why discovering a truly effortless method was a game-changer.
The Ultimate Hack: Easiest Way to Paint French Doors Flawlessly
For years, painting French doors felt like an endless battle against time and precision. We experimented with various techniques: painstakingly taping off each individual glass pane, or boldly painting over the glass and then scraping off the excess with a razor blade. Both methods were incredibly time-consuming, tedious, and often resulted in imperfect lines or splotchy finishes. Desperate for a better solution, I scoured contractor forums, seeking wisdom from the seasoned pros. And that’s where I found it: the absolute best door painting trick, a method so ingenious it makes painting French doors genuinely enjoyable.
The secret weapon? Masking liquid! This incredible product has earned a permanent spot in our garage. We always keep a quart of Mask & Peel or Masking Liquid on hand because it’s simply unparalleled for painting French doors and windows with grids. A little bit goes a very long way, making it an economical and highly effective solution.
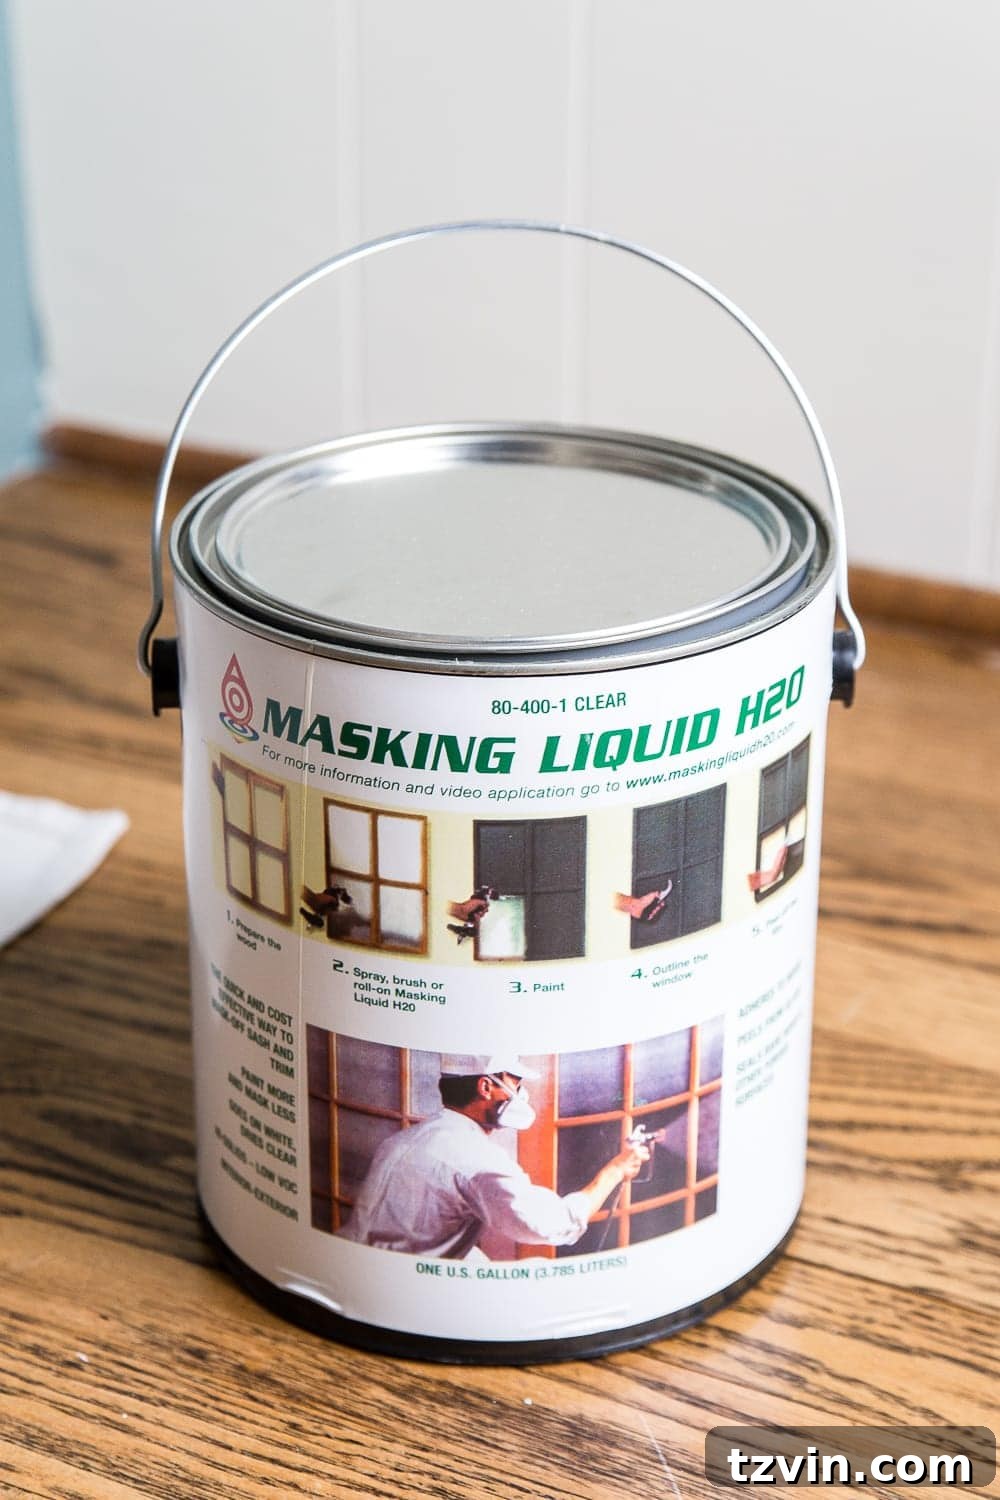
*Just to be clear, this isn’t a sponsored endorsement. This is purely a genuine recommendation from one homeowner to another. This masking liquid technique is such a fantastic time-saver and delivers such pristine results that it felt wrong not to share it, especially for anyone tackling French doors or windows that need a paint refresh.
Mastering Masking Liquid: A Step-by-Step Guide for Perfect Paint Lines
Using masking liquid is surprisingly straightforward and incredibly satisfying. Follow these steps to achieve professional-looking paint lines on your French doors or gridded windows.
Step 1 – Apply a Generous, Thick Layer
Begin by applying a generous, thick layer of masking liquid to all the glass window panes. I find a 3-inch angled brush works perfectly for this task, allowing for quick and precise application. For an entire French door, this step typically takes me only about 10-15 minutes per door, a stark contrast to the hours taping would demand.
Initially, the liquid will appear white, resembling Elmer’s glue. Don’t be concerned if you accidentally get some on the door grids or frame; masking liquid has an interesting property. When it comes into contact with wood, metal, or fiberglass sections of a door, it acts as an effective primer, preparing the surface for paint without any adverse effects.
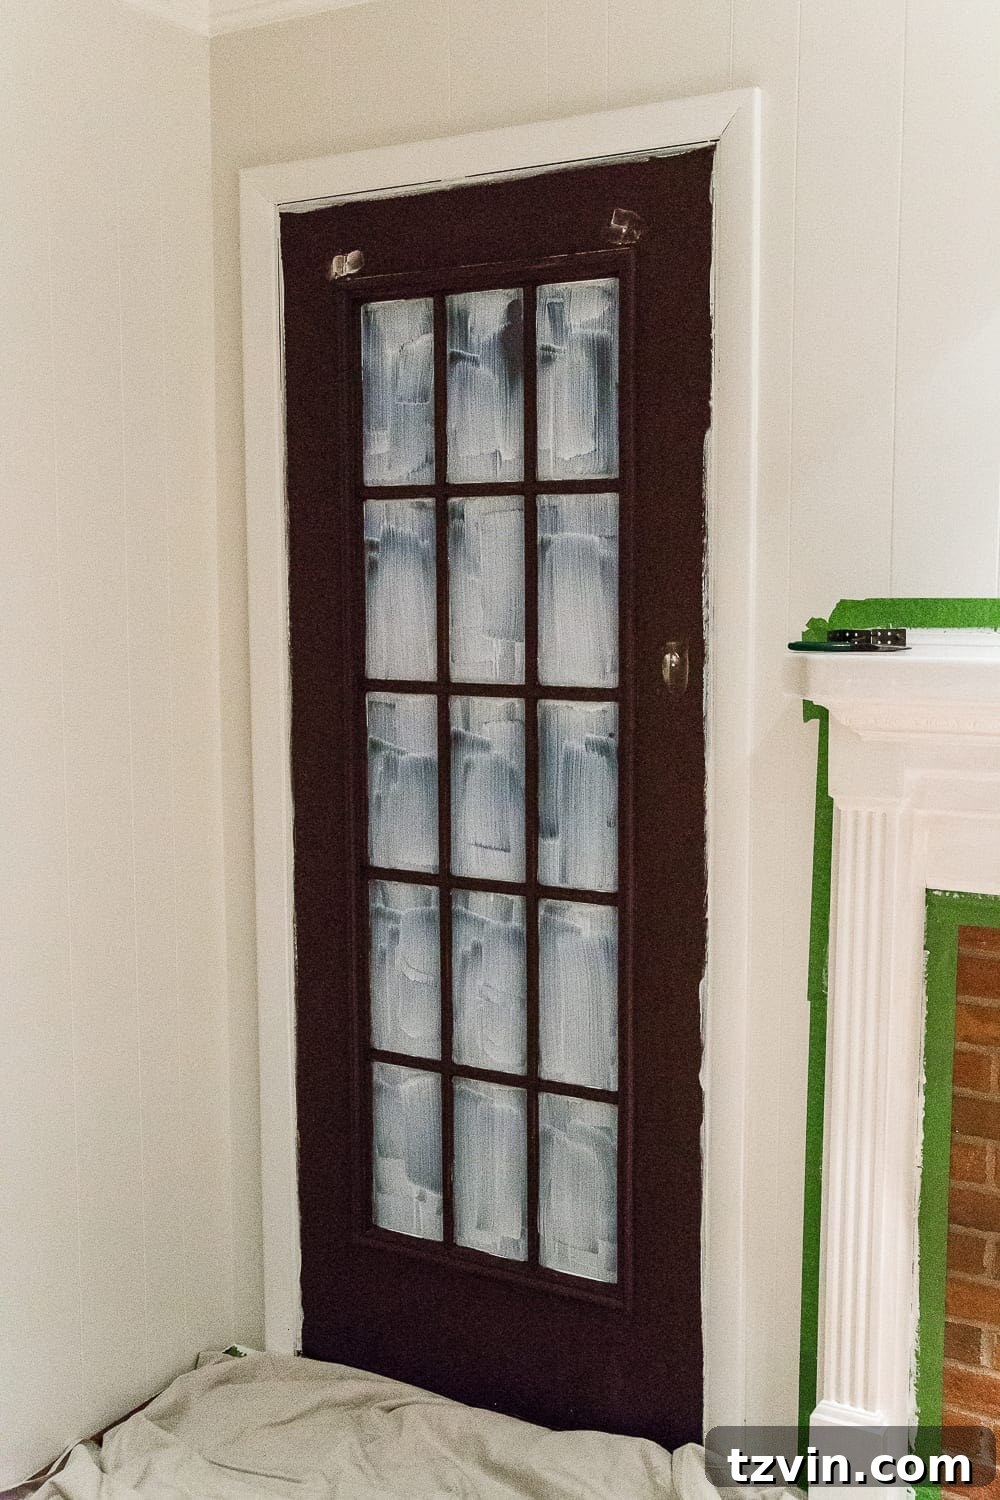
Step 2 – Allow for Complete Drying
After application, the masking liquid needs ample time to dry thoroughly. Over a few hours, the white film will gradually transform into a clear, flexible film. To ensure it’s completely dry and ready for the next step, you’ll likely need to allow a full 24 hours. Rushing this stage can compromise the integrity of the film and the ease of peeling later on.
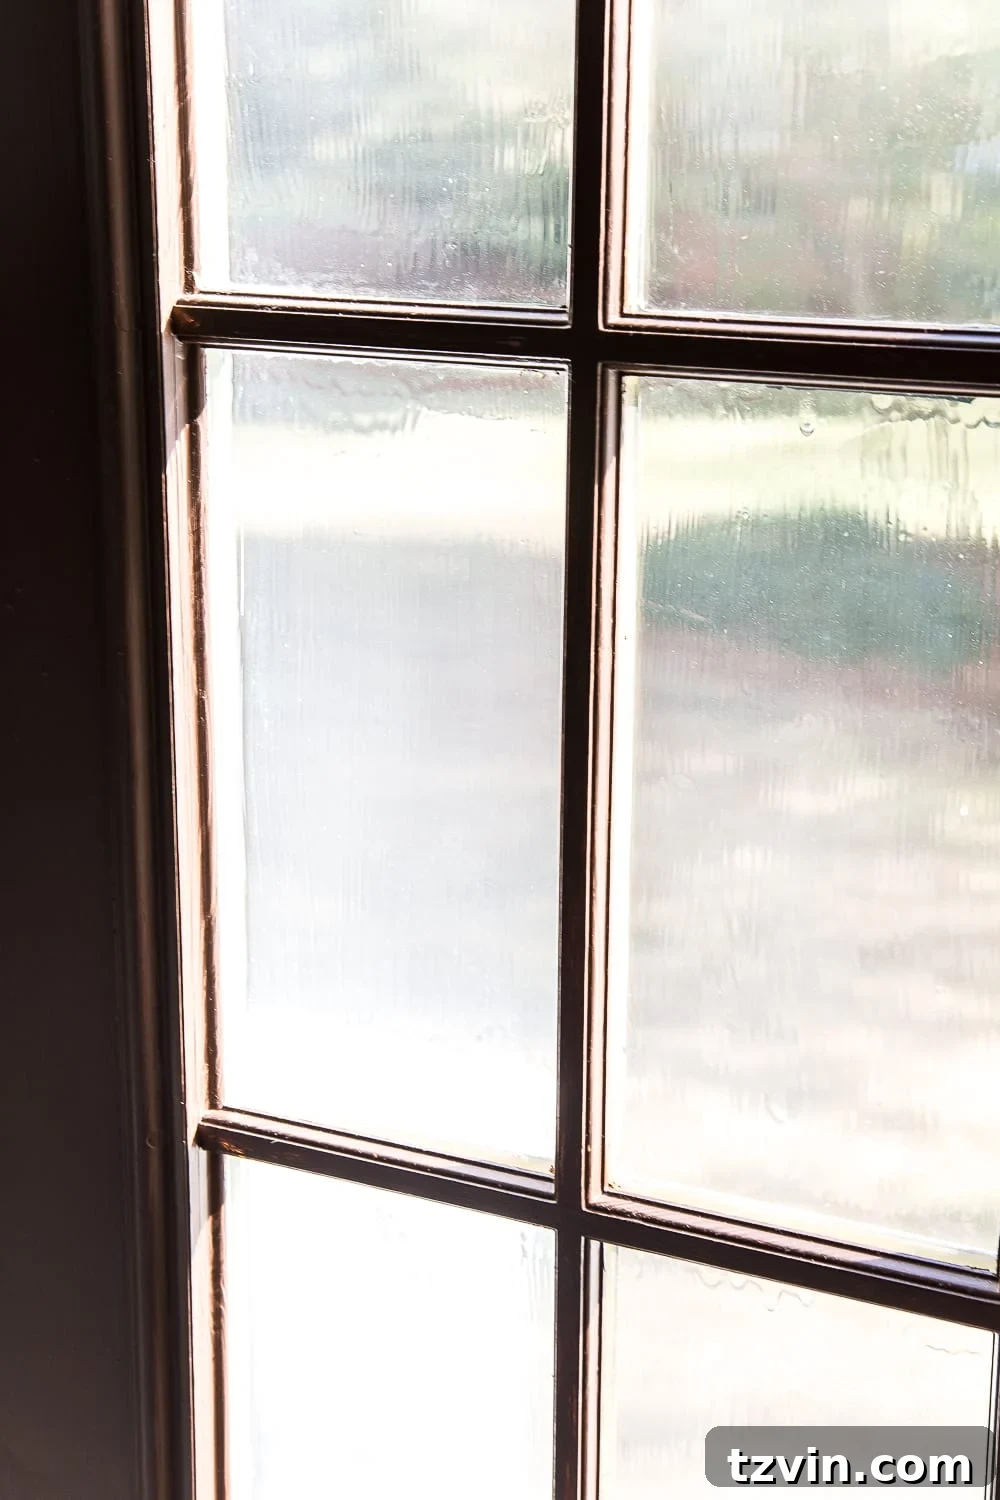
Step 3 – Prime and Paint with Confidence
Once the masking liquid has dried to a clear film, you’re ready to prime and paint the door. If your door is unprimed or previously painted with a low-quality finish, priming is a crucial step for durability and adhesion. For existing doors, I always recommend a high-quality bonding primer like INSL-X STIX primer. For the topcoat, Benjamin Moore Advance paint is our go-to, known for its exceptional hardness and resistance to peeling and scratches, ensuring a long-lasting, beautiful finish. For this newly replaced door, it came pre-primed, so we went straight to painting with our preferred color, Benjamin Moore Wrought Iron.
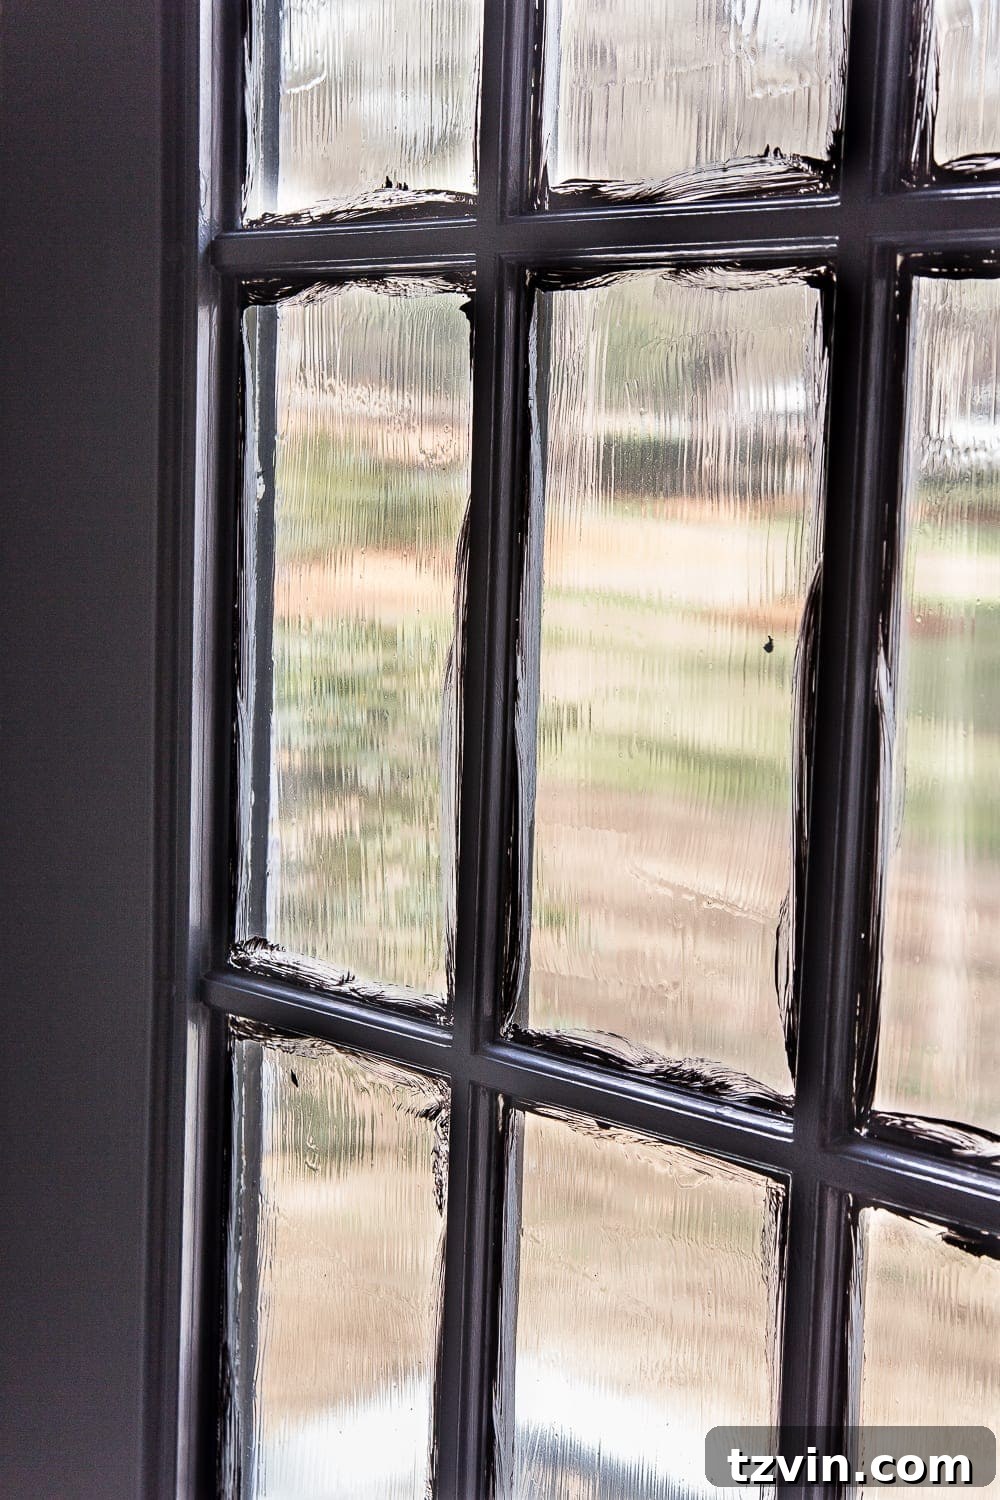
Step 4 – Score the Edges for a Clean Break
Allow the paint to dry completely according to the manufacturer’s instructions. Once dry, carefully score the edges of the window panes where the paint meets the masking liquid. Use a sharp utility knife or razor blade for this. The goal is to create a clean break in the paint film along the glass, preventing the paint from peeling off with the masking liquid from the door frame itself. This step ensures crisp, professional-looking lines.
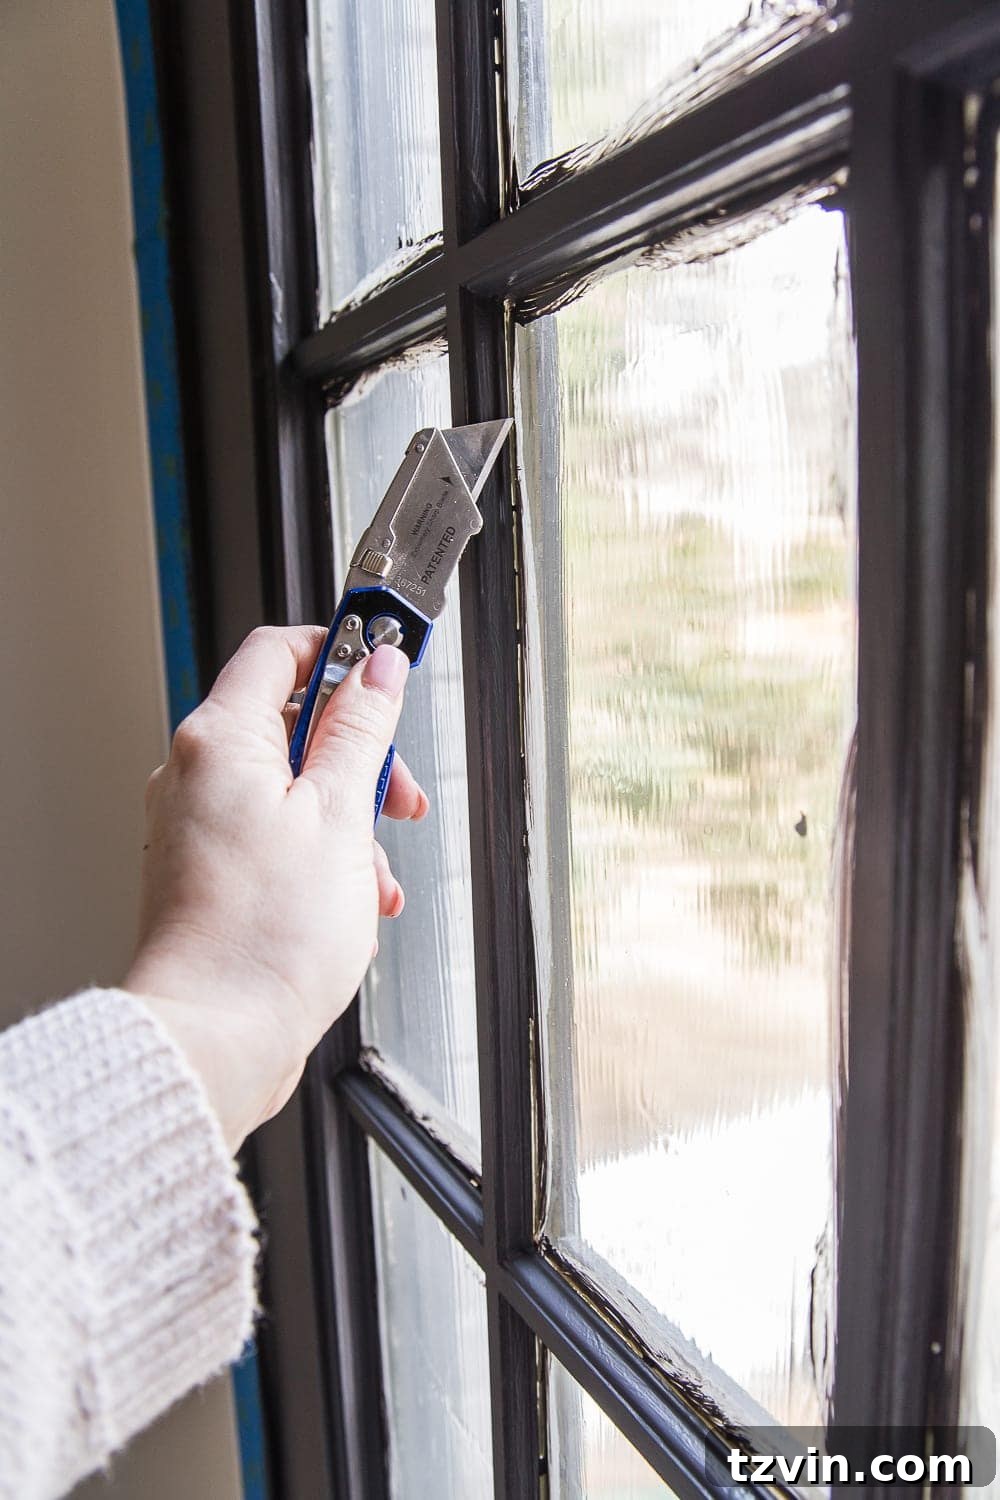
Step 5 – The Joy of Peeling
Now for the most satisfying part! Gently lift a corner of the dried masking liquid film on a glass pane and slowly peel it away. If you applied a thick layer in Step 1, the film should come off in a single, clean sheet, leaving behind perfectly painted lines and spotless glass. It’s crucial to remove the Mask and Peel within approximately 48 hours of application; beyond this timeframe, it can become significantly harder to peel off, making the process less enjoyable.
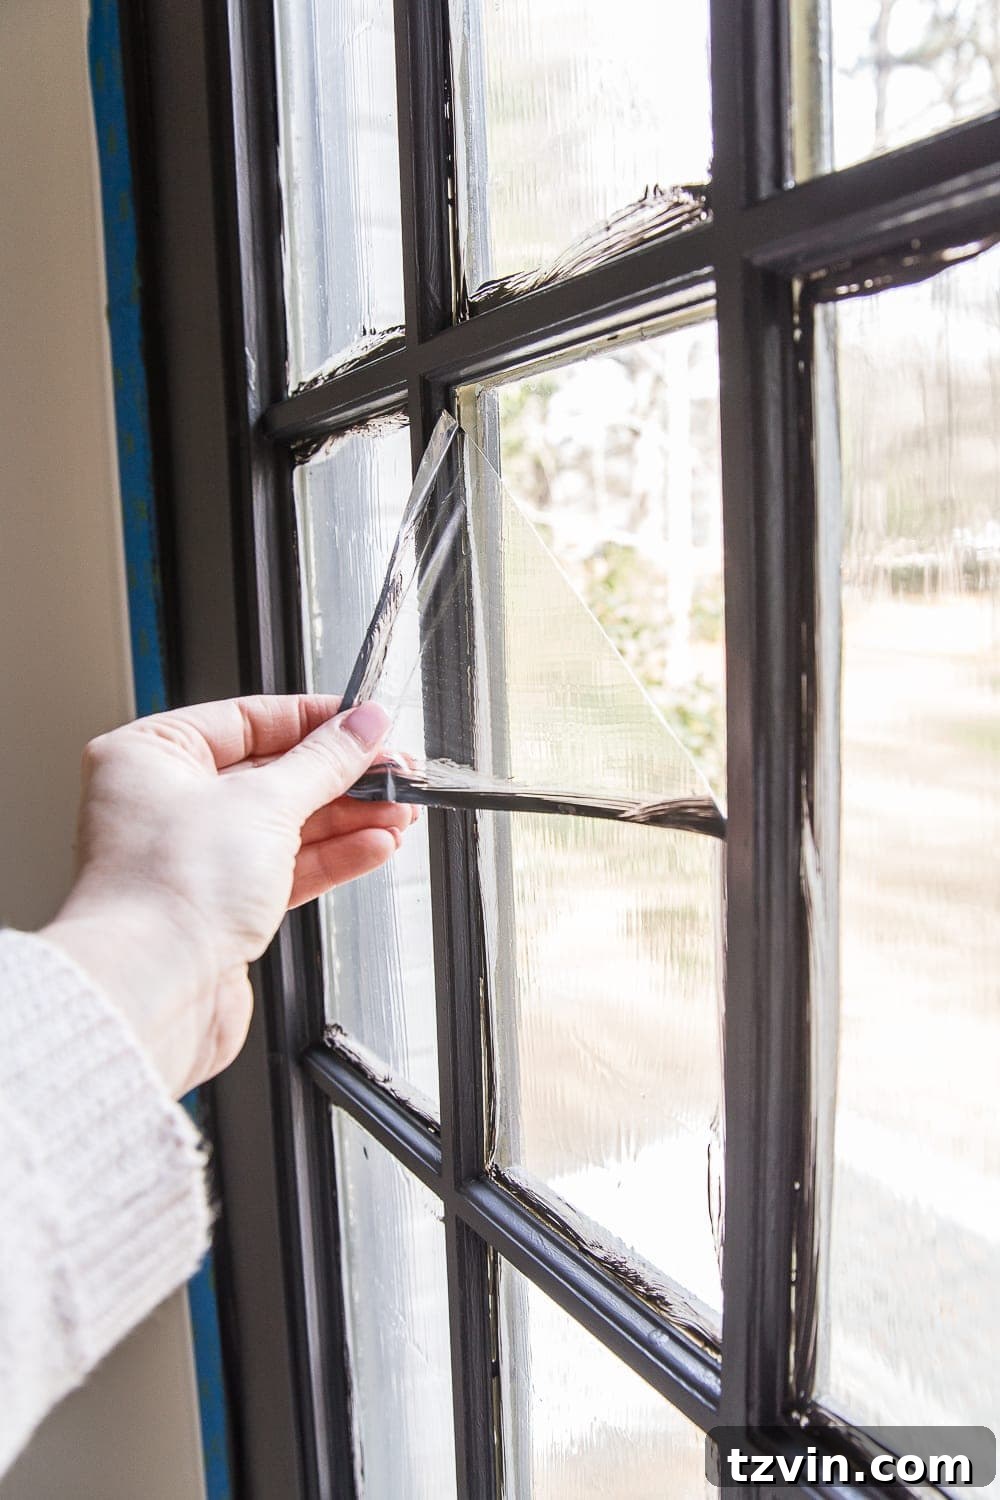
Believe me when I say this step is oddly satisfying, almost on par with the cathartic experience of power washing concrete! You’ll be amazed at how effortlessly the film detaches, revealing perfectly painted grids. This entire peeling process took me just about 10 minutes per door, yielding flawless results without any of the frustrating clean-up typically associated with painting French doors.
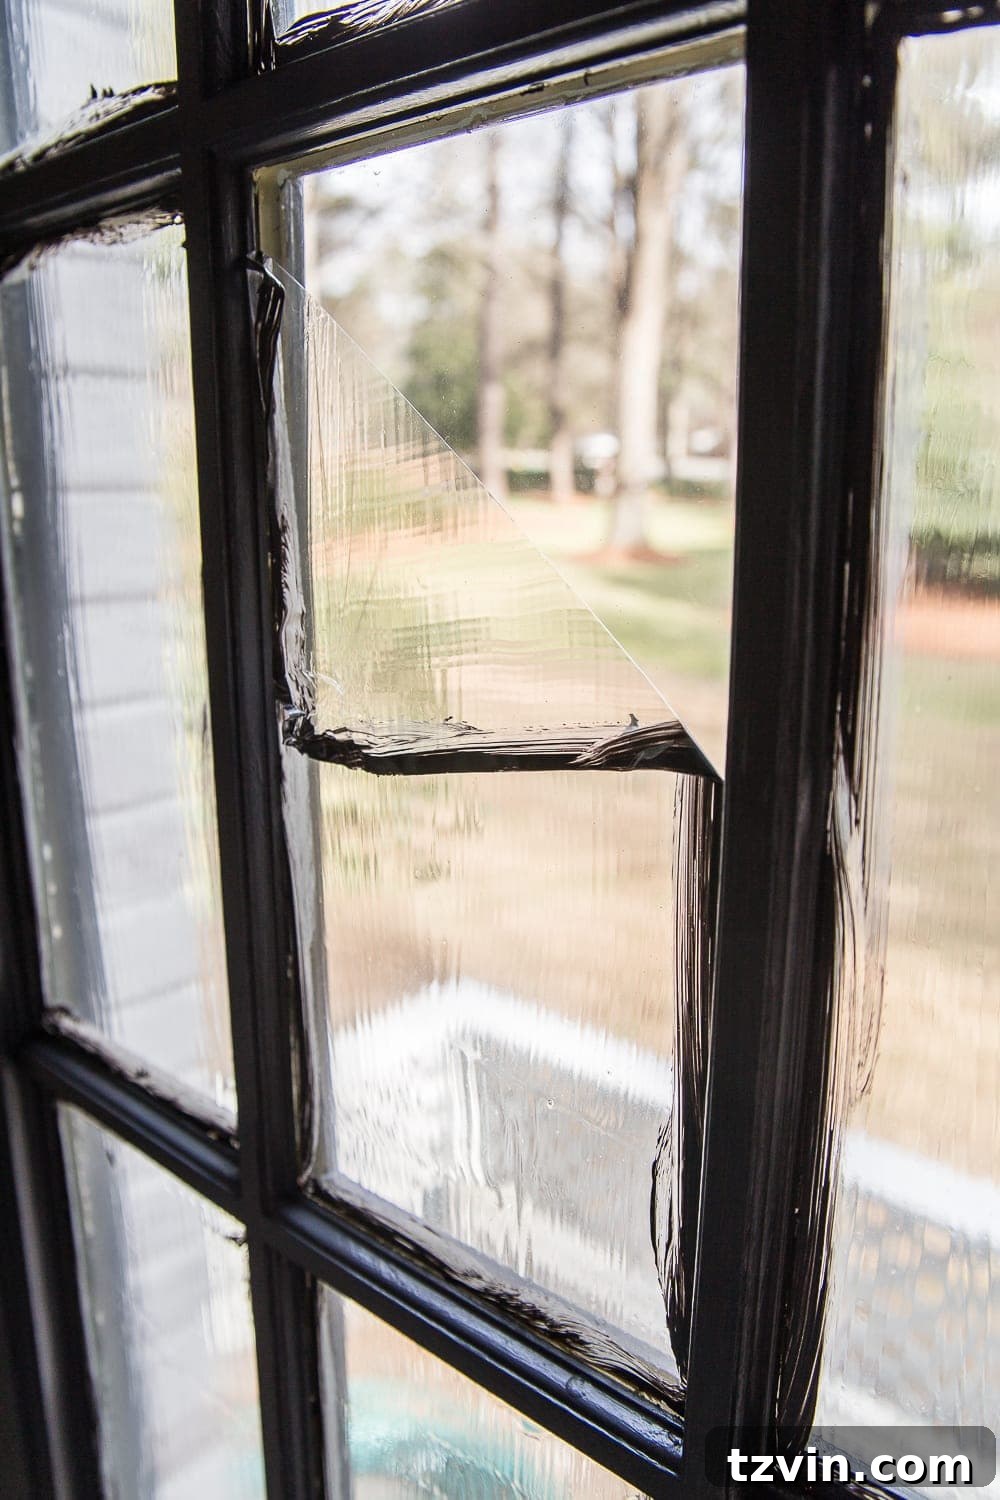
The Stunning Transformation: Our New Painted French Door
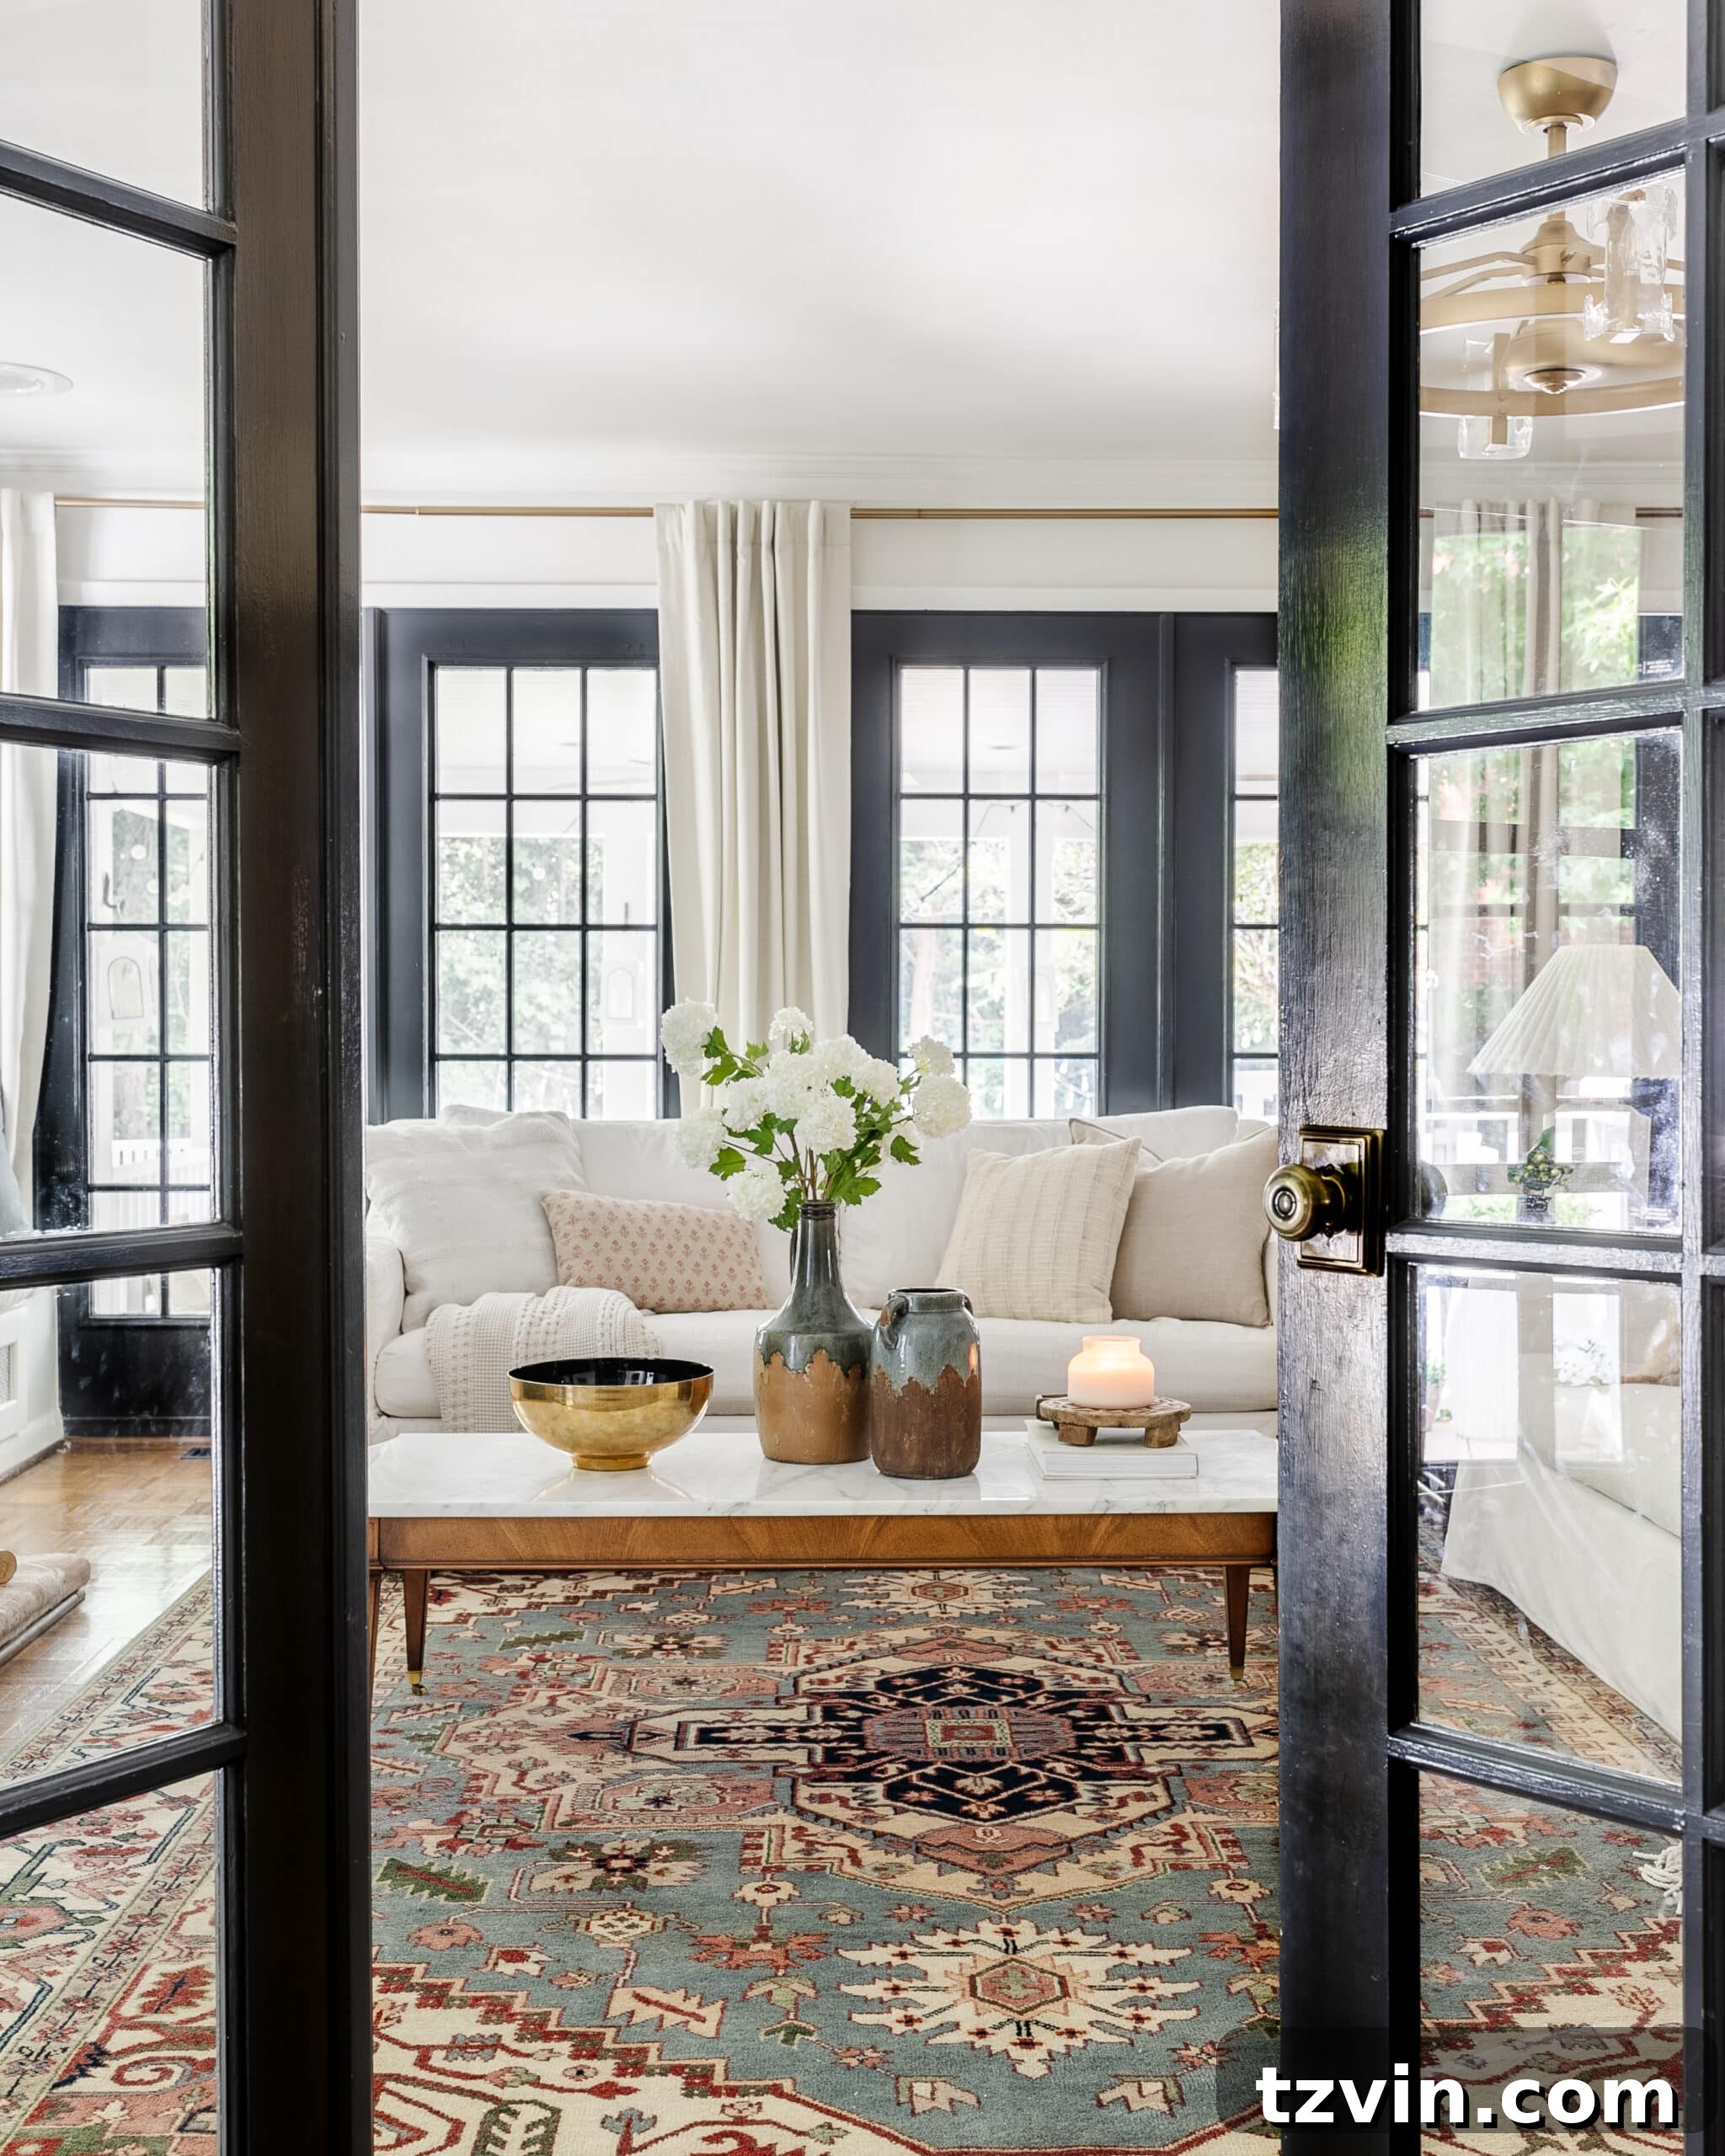
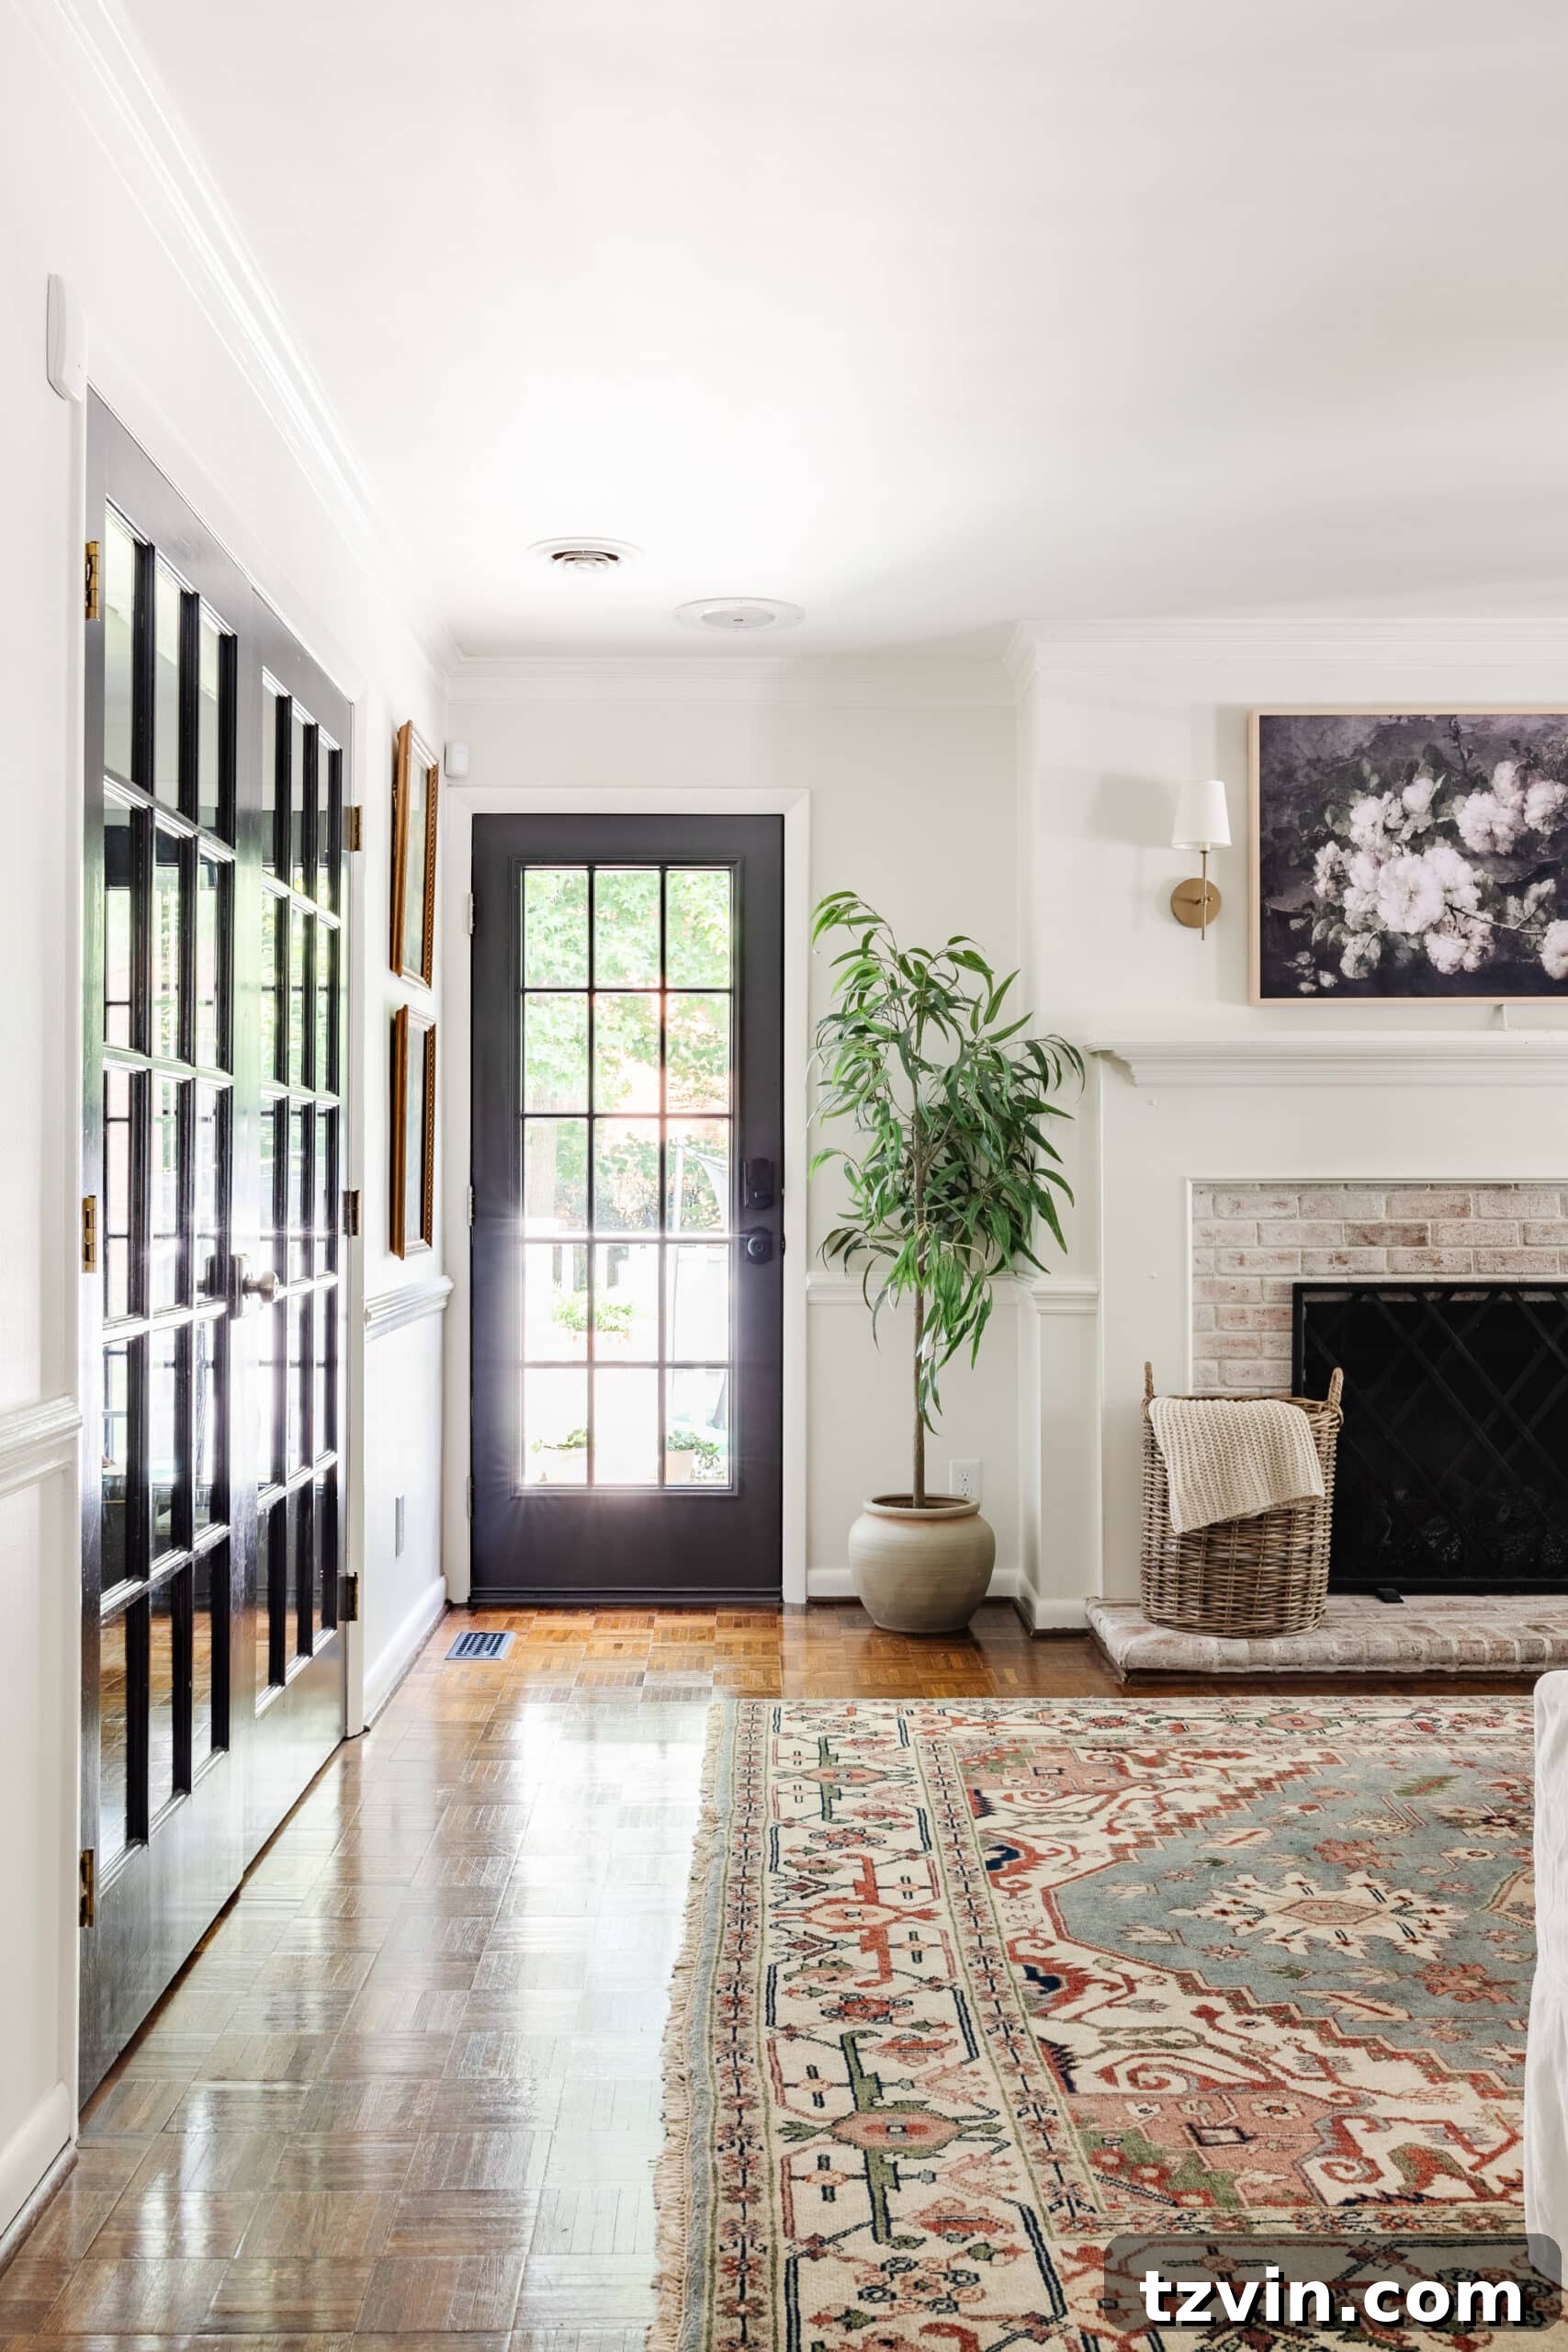
Reflecting on the sheer efficiency of this masking liquid method, I truly regret not discovering it sooner. What once took us roughly 48 hours to paint eight French doors in our living room now takes a mere 45 minutes for a single door. The time saved is invaluable, and the frustration eliminated is even more so. The new exterior French door, now perfectly painted to match its counterparts, has completely transformed this corner of our living room.
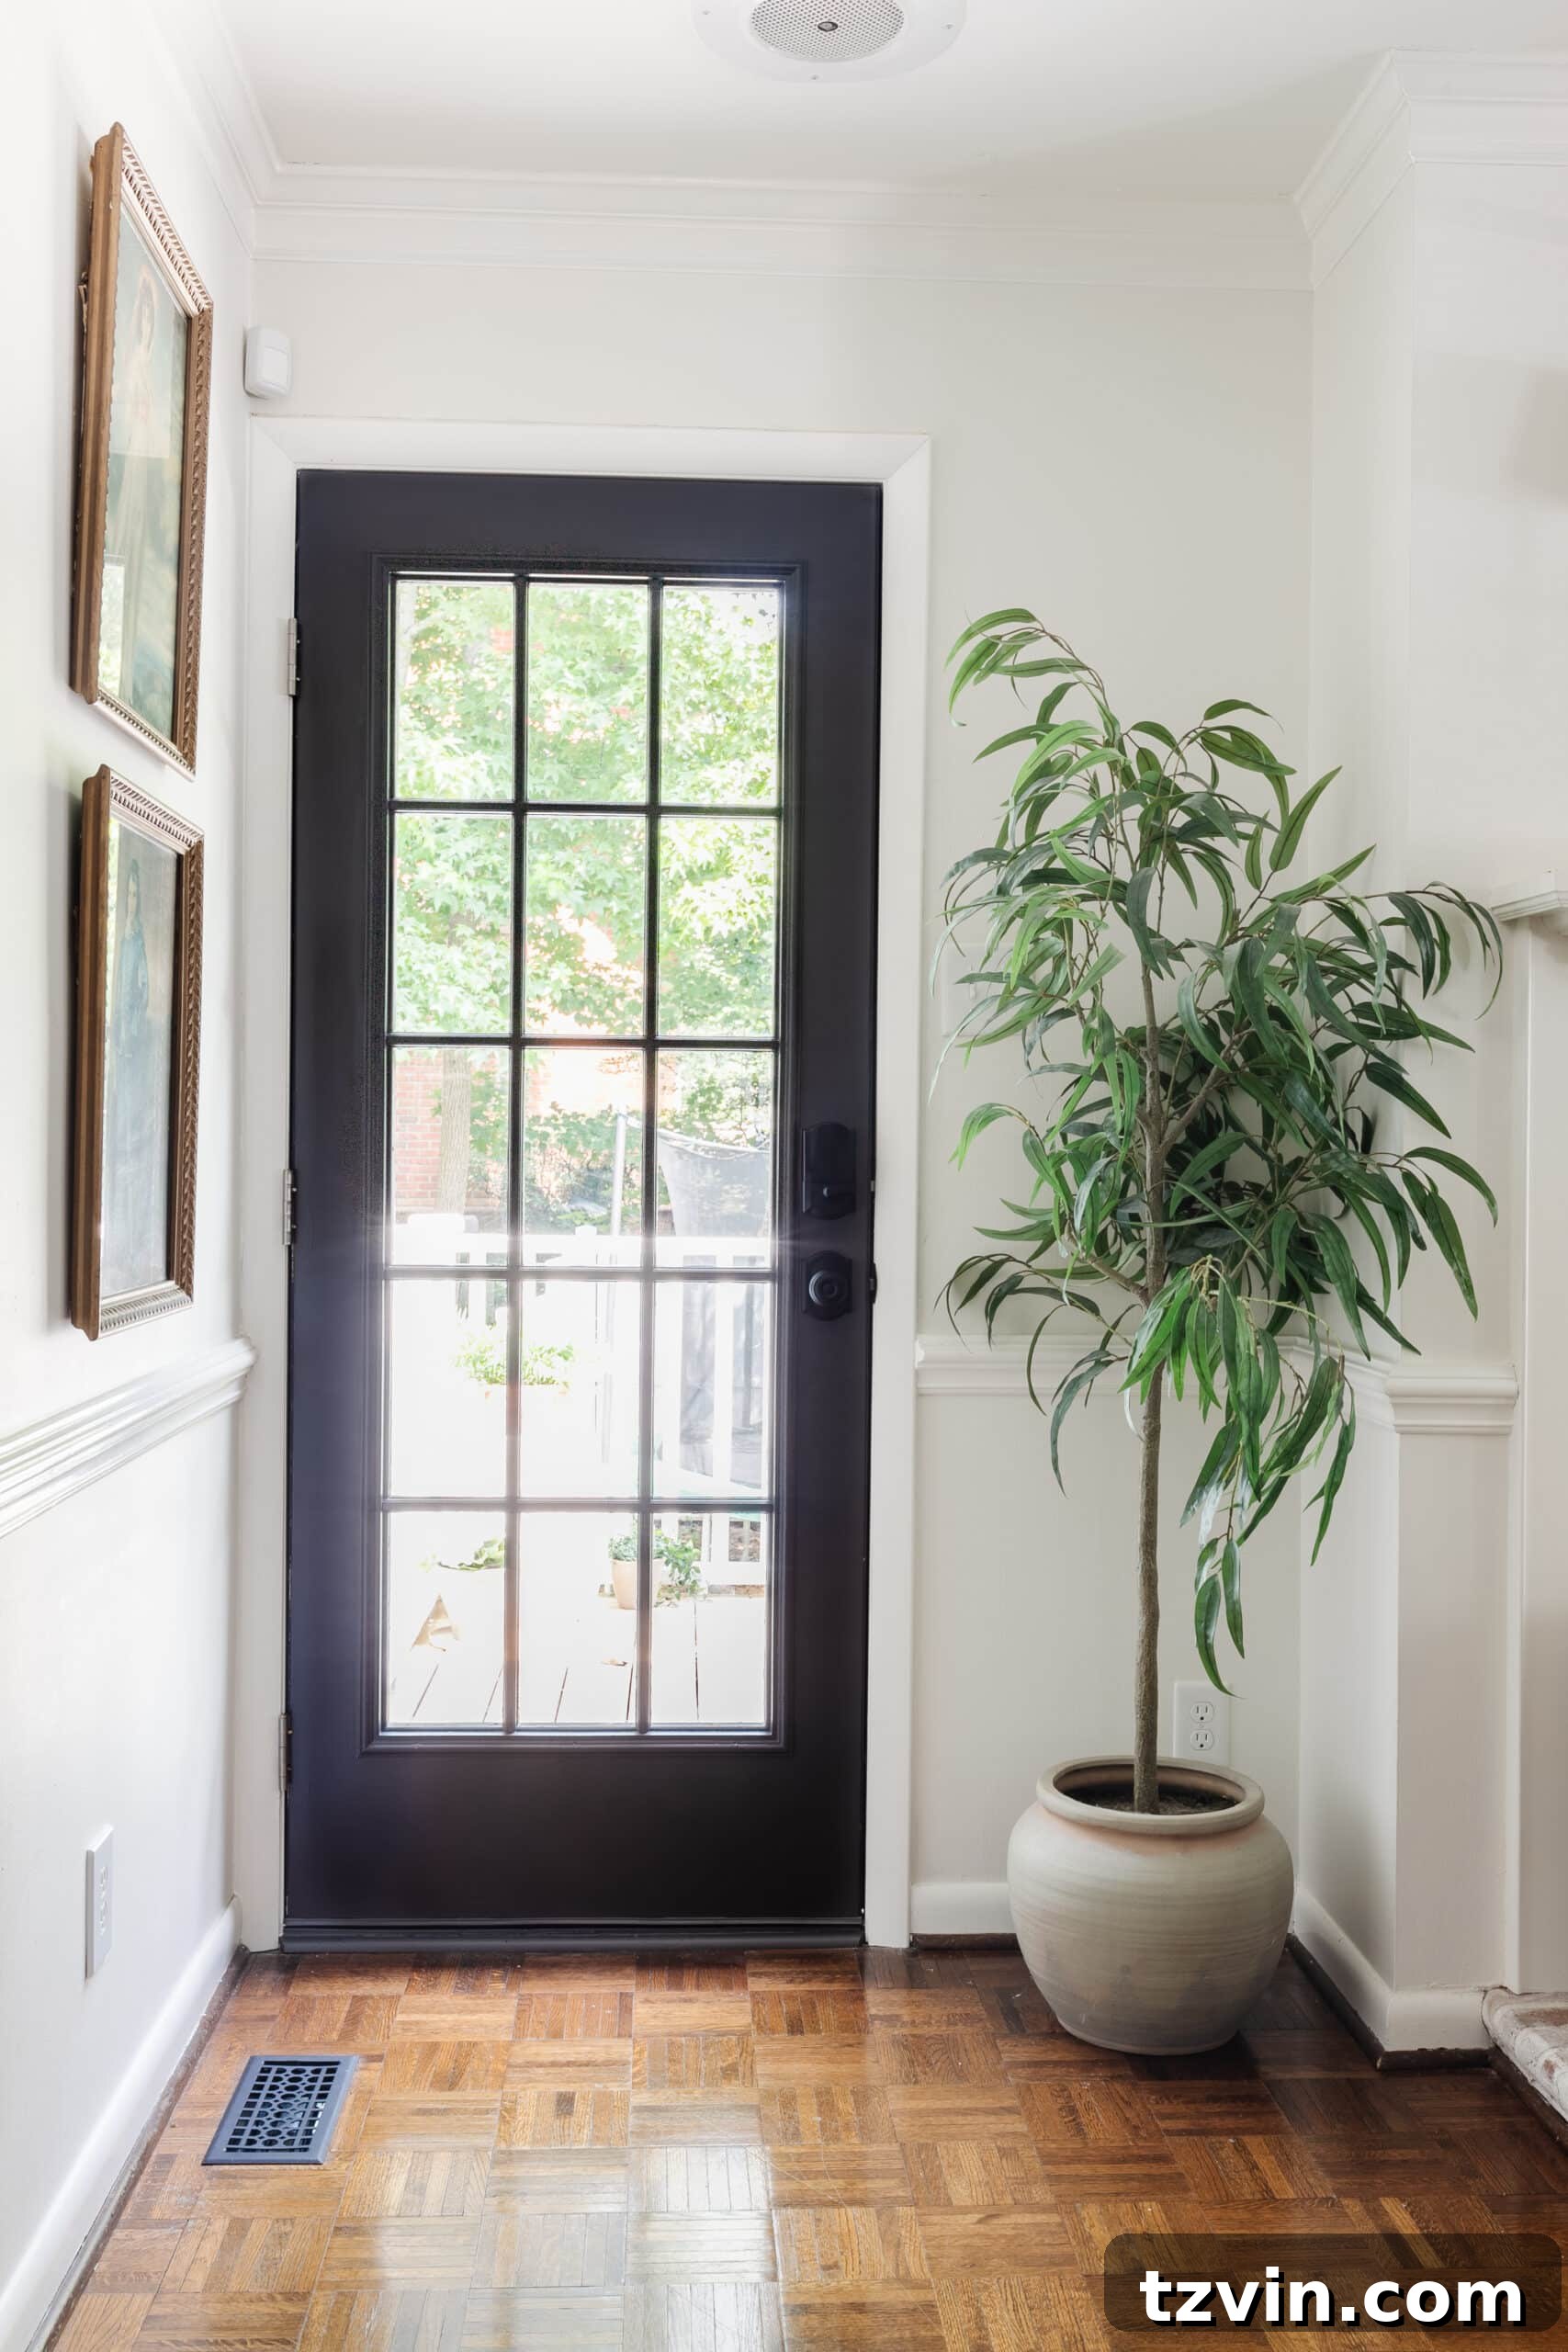
Beyond the aesthetic upgrade, the true victory lies in its restored functionality. We now have effortless access to our side deck, making our home far more livable and enjoyable. The kids can freely move between the living room and their side yard play area without the convoluted detour around the back porch. It’s a seemingly simple change that has made a profound difference in the daily dynamics and flow of our home.
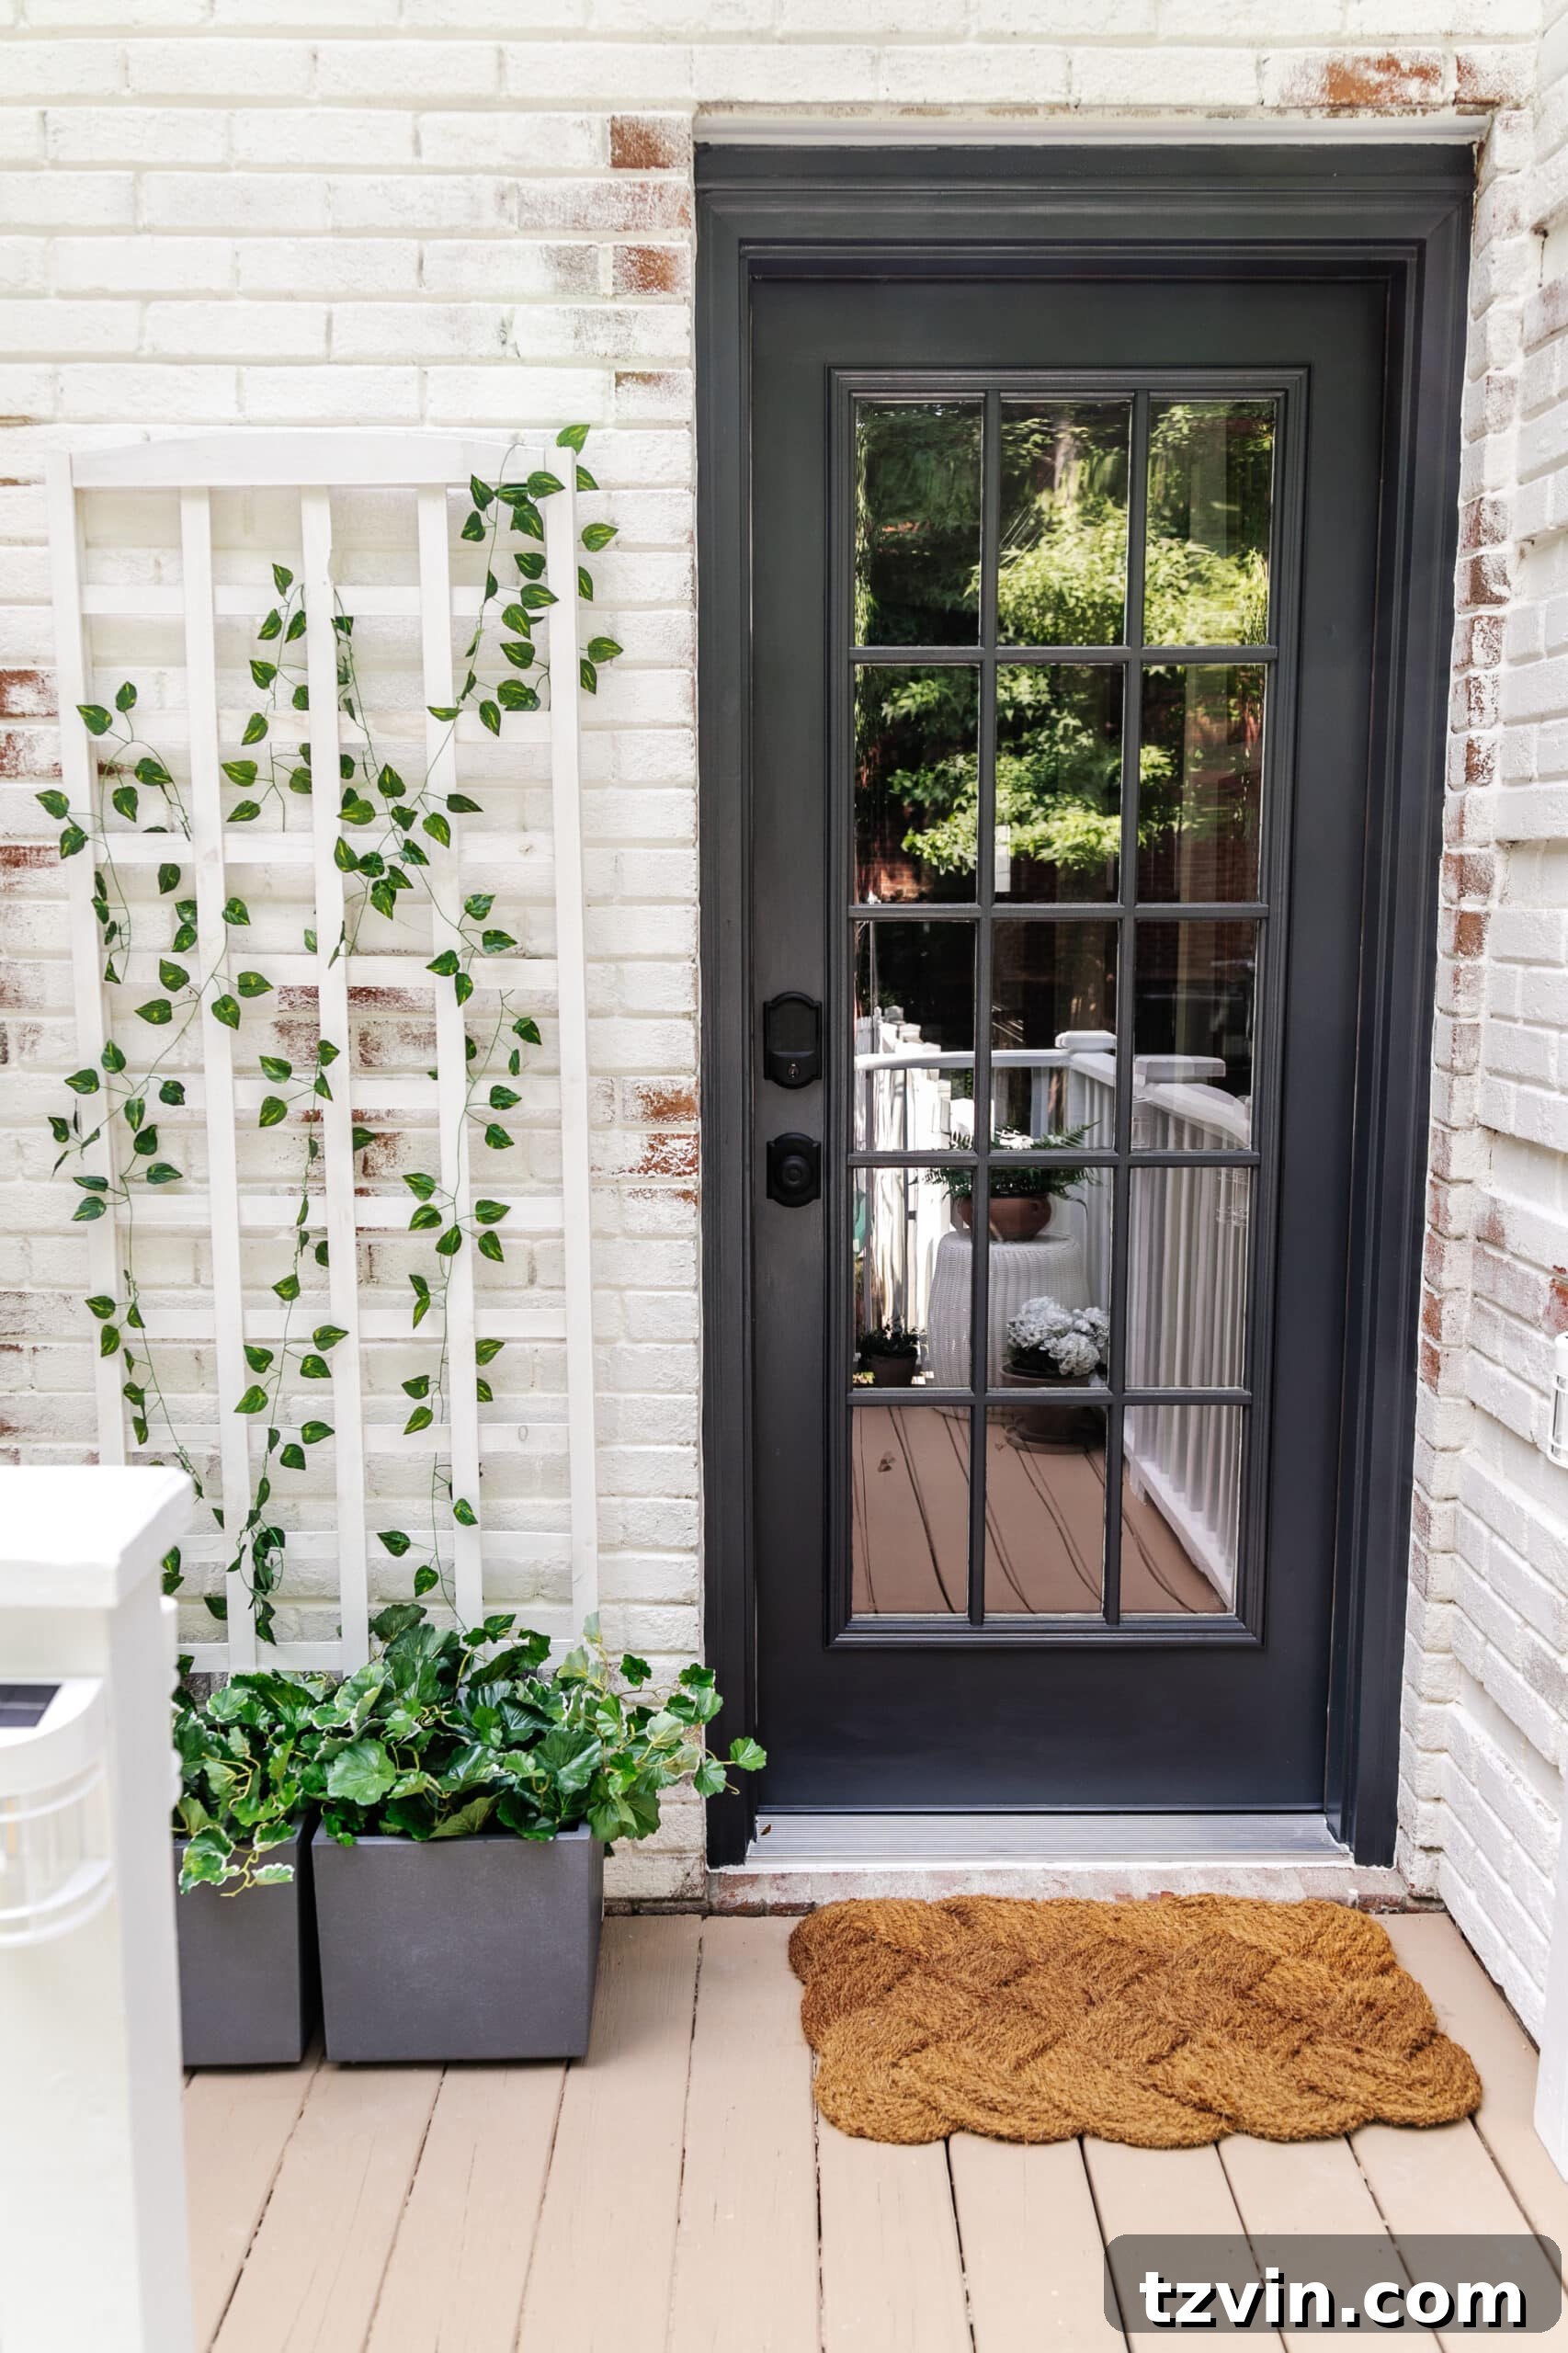
While this new door offers wonderful access, we’ll likely keep it locked during the holiday season. Our living room layout dictates that this corner remains the prime spot for our Christmas tree for about a month each year. It’s a small compromise for the immense improvement in functionality the rest of the year!
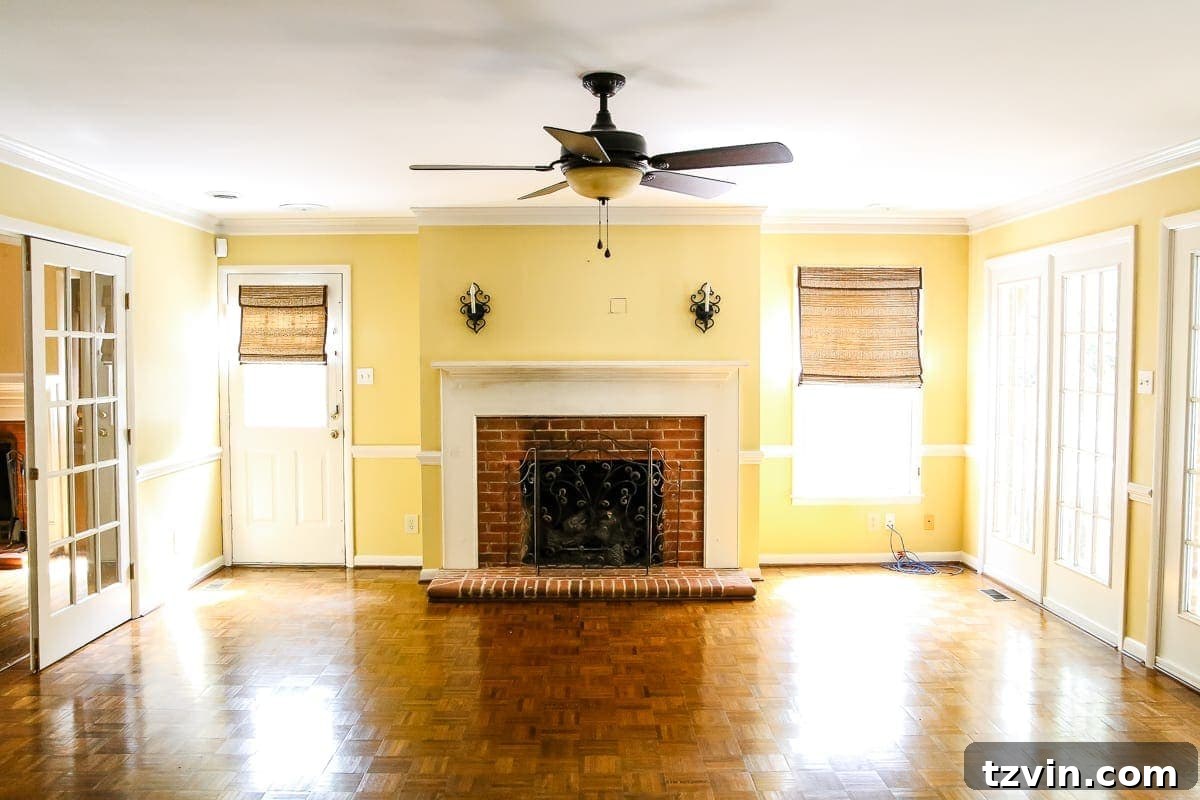
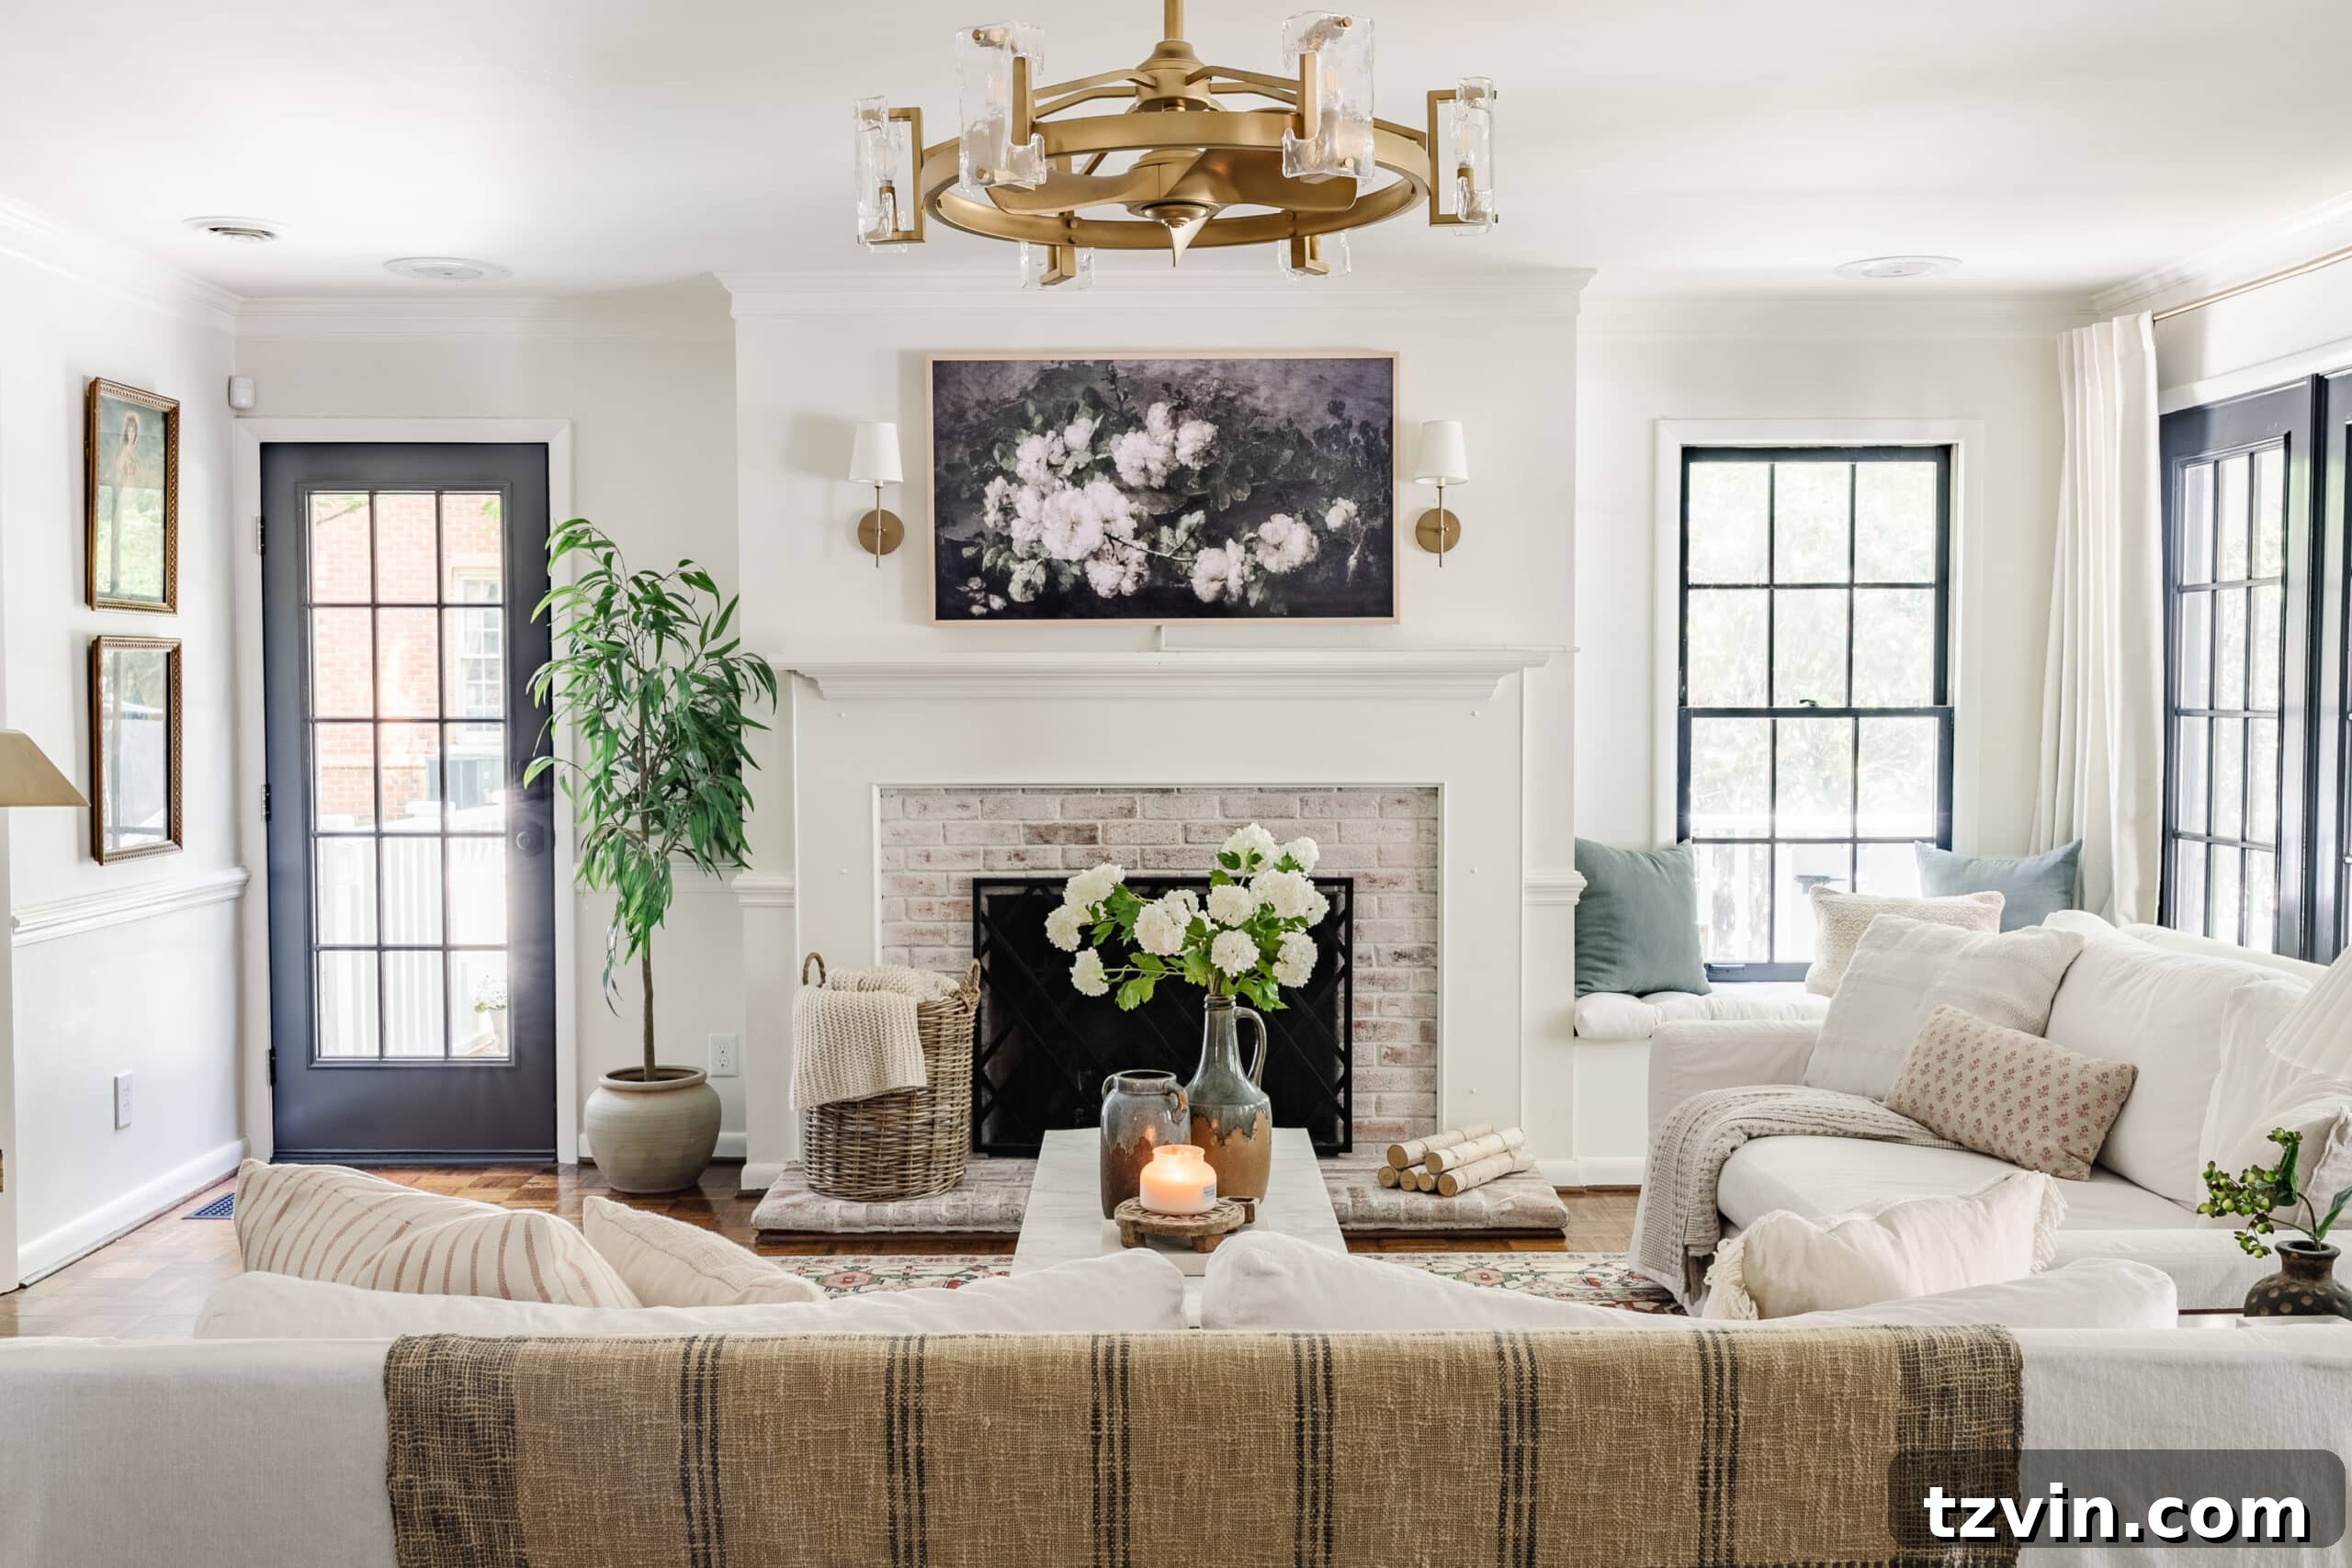
This project has fueled our inspiration for future home improvements. One day, we hope to tackle our front door, which currently has its own set of functional issues, and further enhance our home’s curb appeal. But for now, we’re relishing the transformation of our living room and the rediscovered joy of our functional French doors.
Living Room Design Sources & Recommendations
For those interested in replicating elements of our living room’s refreshed look, here’s a comprehensive list of paint colors, DIY tutorials, and trusted furniture and decor sources, along with some honest reviews:
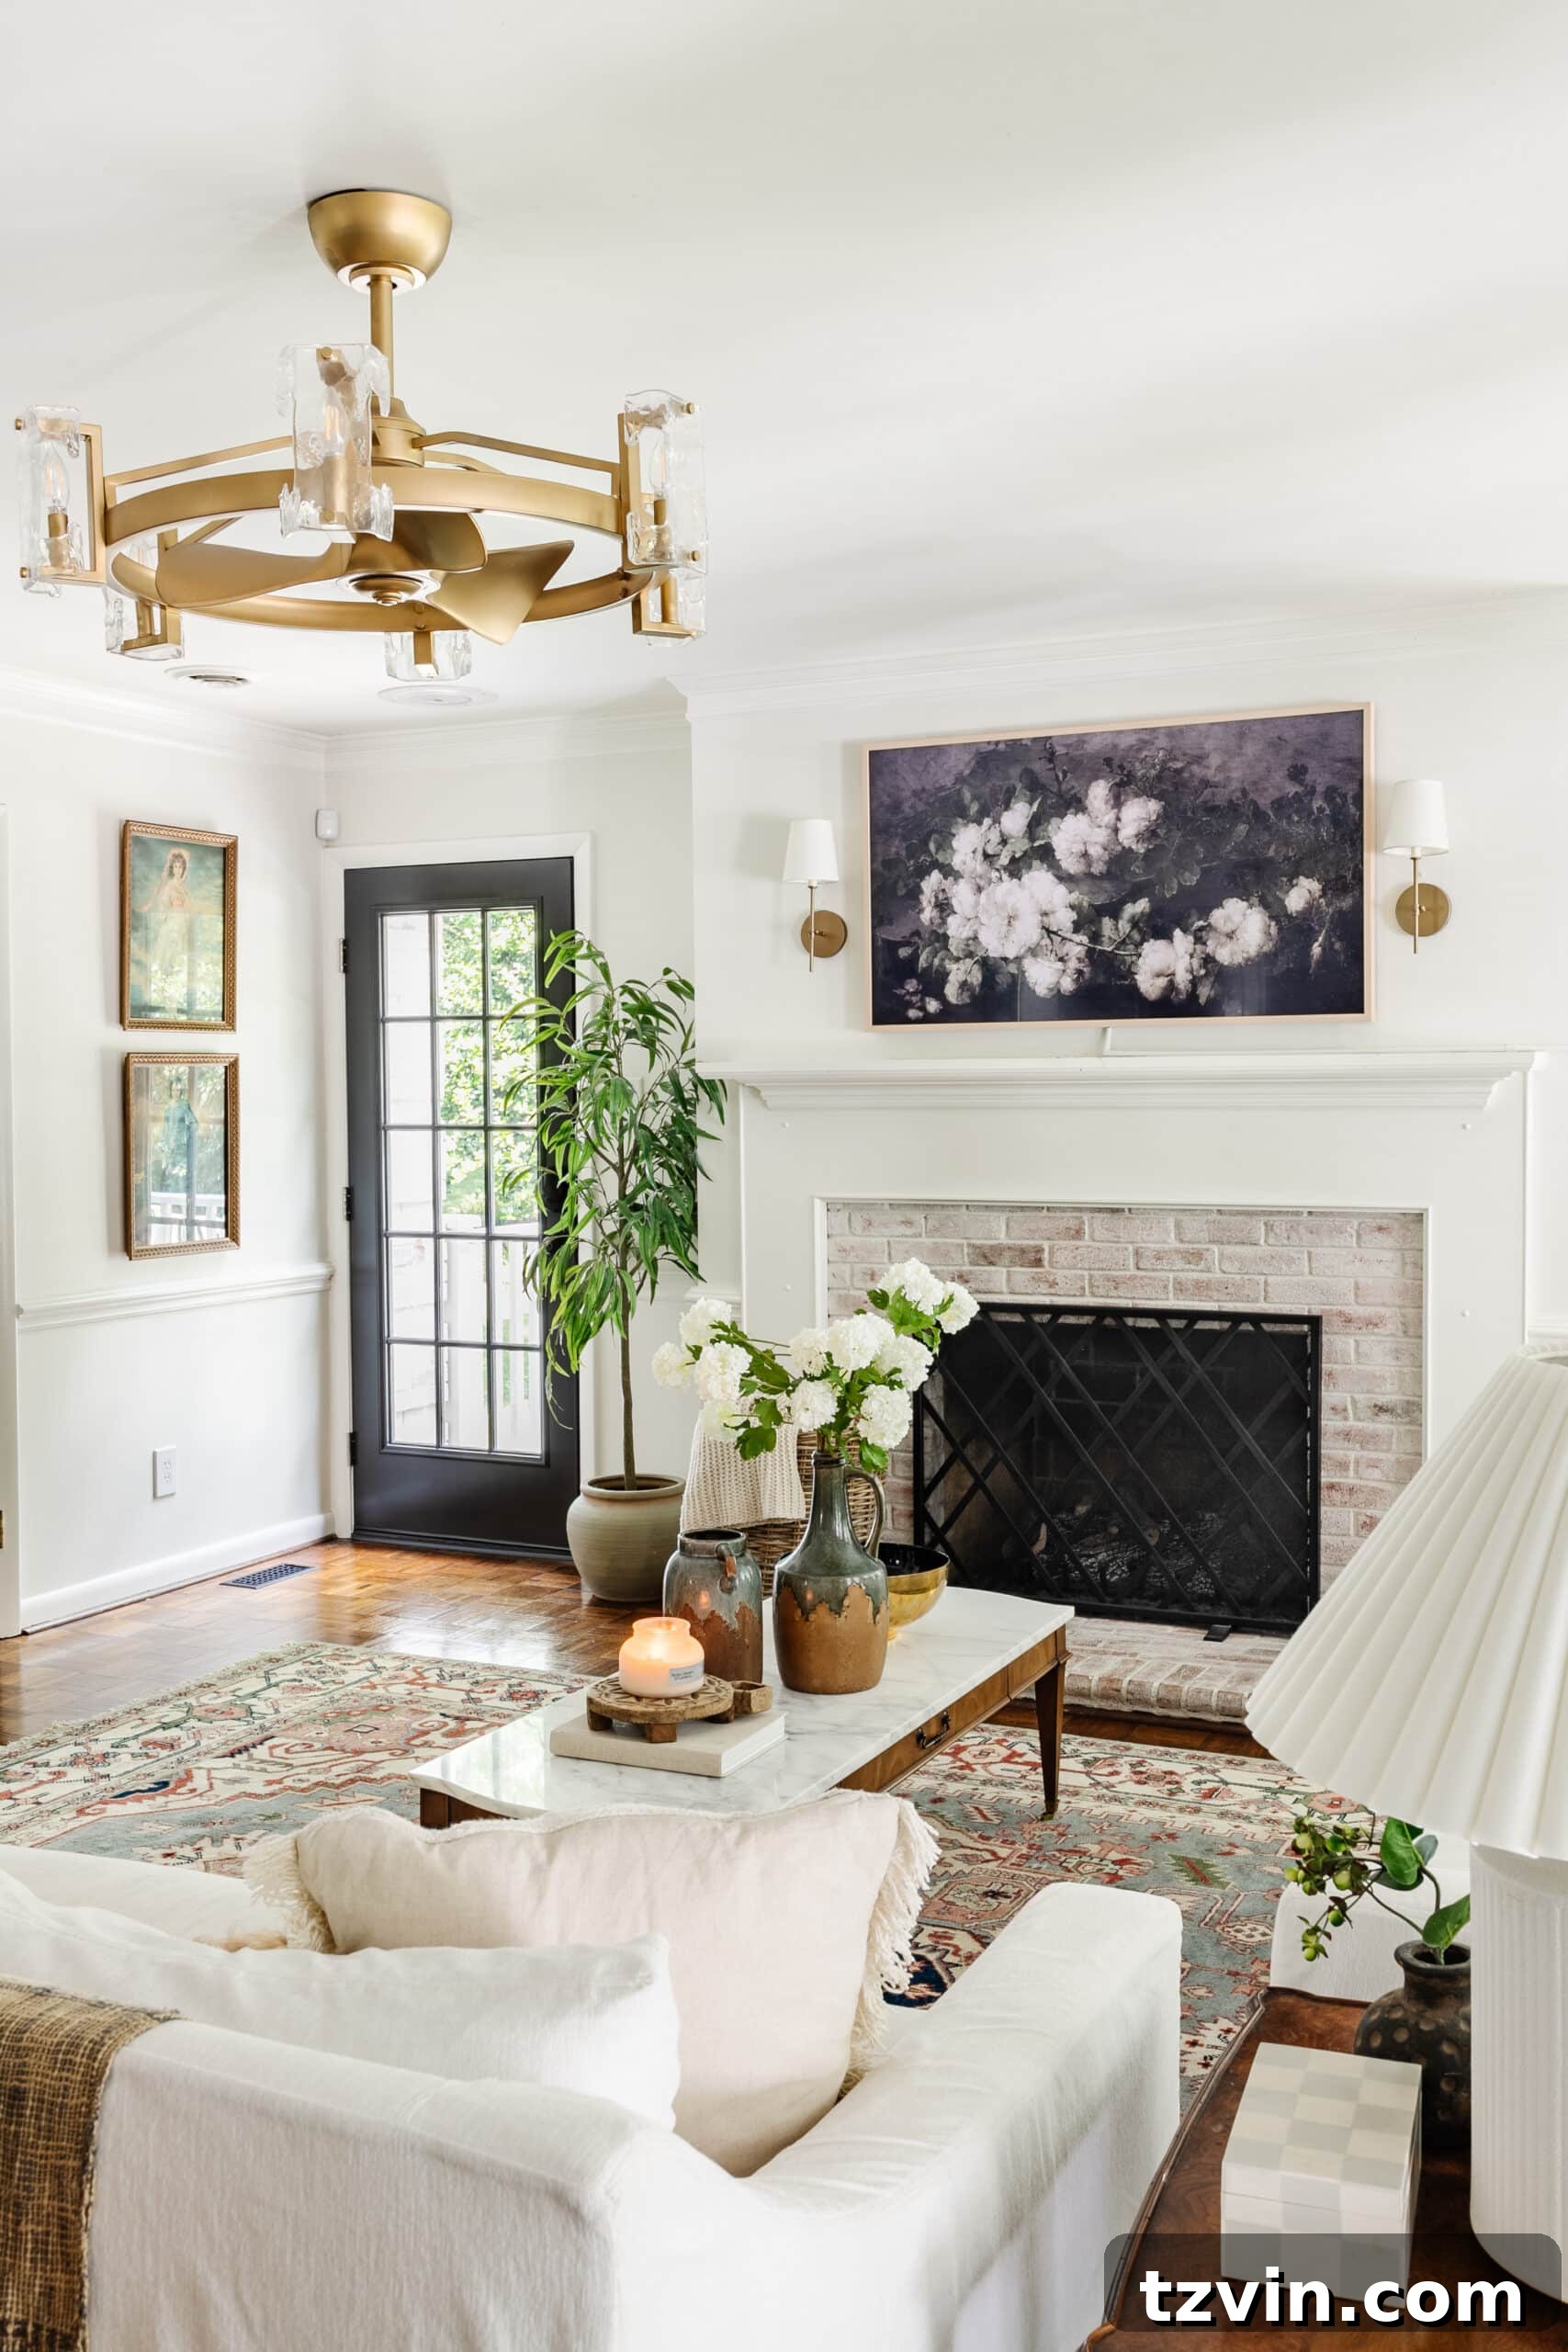
- Walls: Benjamin Moore Swiss Coffee
- Trim and Ceiling: Benjamin Moore Simply White
- Doors: Benjamin Moore Wrought Iron
- Sofas (Our review)
- Leather recliners (Our brutally honest review)
- Coffee table (Secondhand score & favorite marble tables)
- Frame TV (Unbiased, brutally honest review)
- Fandelier (Best rated & painting guide)
- Window Seat (DIY from a kitchen cabinet)
- Limewashed Brick Fireplace (DIY tutorial)
- Artificial Tree (Similar, ours is discontinued)
- Sconces
- Back of Sofa Blanket
- Faux Hydrangeas
- Faux Linen Curtains
- Curtain Rod
- Floor Lamp
- Table Lamp
- Table Lamp Shade
- End table (Similar, ours is thrifted)
- Fireplace Screen
- Basket (Similar, ours is discontinued)
- Pinkie Art
- Blue Boy Art
- Rug (Similar, ours is vintage)