Revive Your Outdoor Oasis: A Complete Guide to Restoring a Glass Patio Table
Is your once-charming outdoor glass patio table looking more like a forgotten relic than a centerpiece for summer gatherings? Don’t despair! Many of us have inherited or purchased outdoor furniture that has seen better days. The good news is, with a little determination and the right approach, you can transform that weathered piece into a sparkling highlight of your backyard. This comprehensive guide will walk you through a step-by-step cleaning, priming, and painting process to restore your glass patio table, making it look as good as new and ready for countless memorable moments.
I know the feeling of looking at a rusted, grimy table and thinking it’s destined for the dump. I’ve been there myself, staring down a neglected glass patio table that had clearly weathered many seasons. It sat on our patio long before we moved in, a silent testament to the elements. My initial thought, like many, was to haul it away. But then, a stubborn glimmer of hope sparked an idea: what if this forgotten table just needed a new lease on life? What if it could be a beautiful, functional addition to our outdoor space without breaking the bank on a brand new set?
This project might involve a bit of muscle, perhaps a humorous struggle or two (as I learned firsthand while wrestling a surprisingly heavy glass top with “spaghetti arms”), but the reward is immeasurable. Not only will you save money and contribute to sustainability by repurposing, but you’ll also gain immense satisfaction from seeing a stunning transformation unfold before your eyes. Get ready to turn that rusty, cloudy mess into a dazzling focal point for your outdoor entertaining.
Why Restore Your Glass Patio Table?
Beyond the simple desire for a cleaner table, there are several compelling reasons to embark on a glass patio table restoration project:
- Cost-Effectiveness: New patio sets, especially those with glass tops, can be quite expensive. Restoring your existing table is a fraction of the cost.
- Environmental Impact: By repurposing and renovating, you’re keeping furniture out of landfills and contributing to a more sustainable lifestyle.
- Personalization: A DIY project allows you to choose your own paint colors and finishes, perfectly matching your outdoor decor vision.
- Durability: Properly cleaning and painting the metal frame can extend the life of your table by preventing further rust and deterioration.
- Sense of Accomplishment: There’s a unique satisfaction in transforming something old and worn into something beautiful and functional with your own hands.
This particular table, a robust glass dining table perfect for warm summer nights by the pool, seemed like an ideal candidate. Patio tables of this size and quality can easily cost several hundred dollars. Investing a few hours and minimal supplies to bring it back to life was certainly worth the effort. The transformation was so dramatic, I could hardly believe it was the same table!
How to Restore a Glass Patio Table: A Step-by-Step Guide
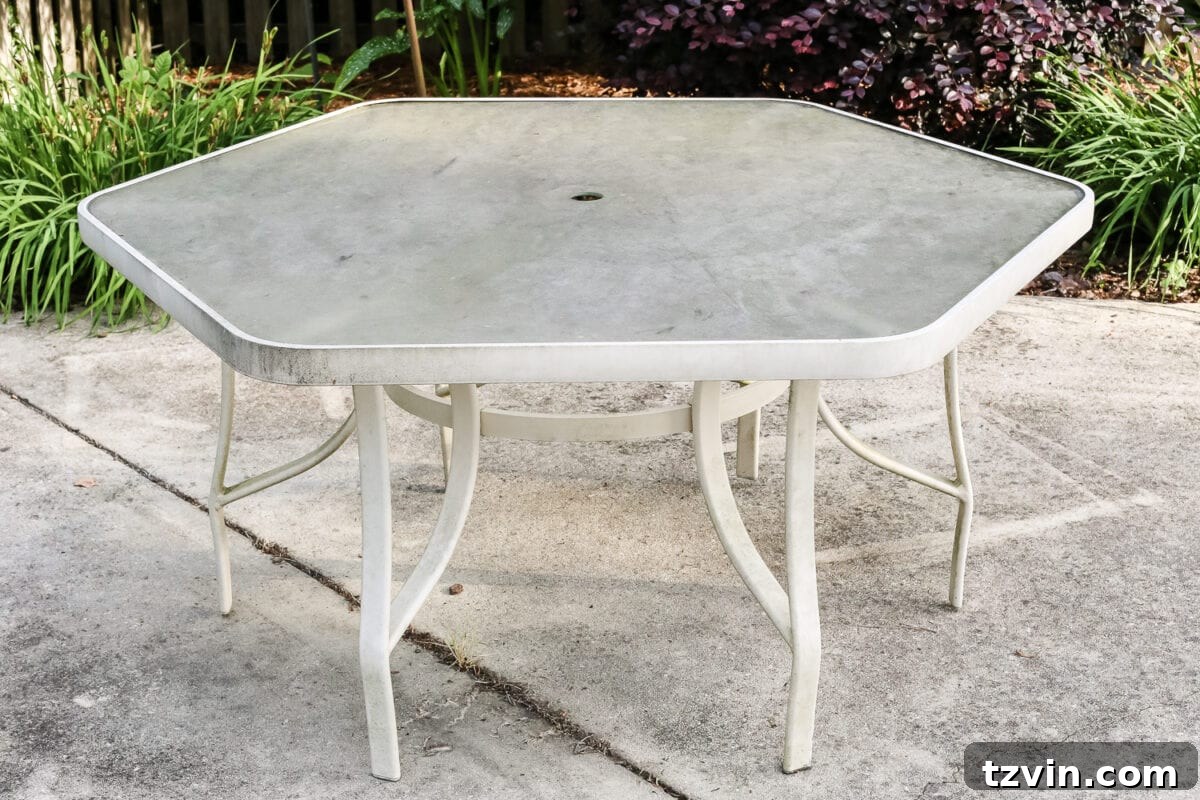
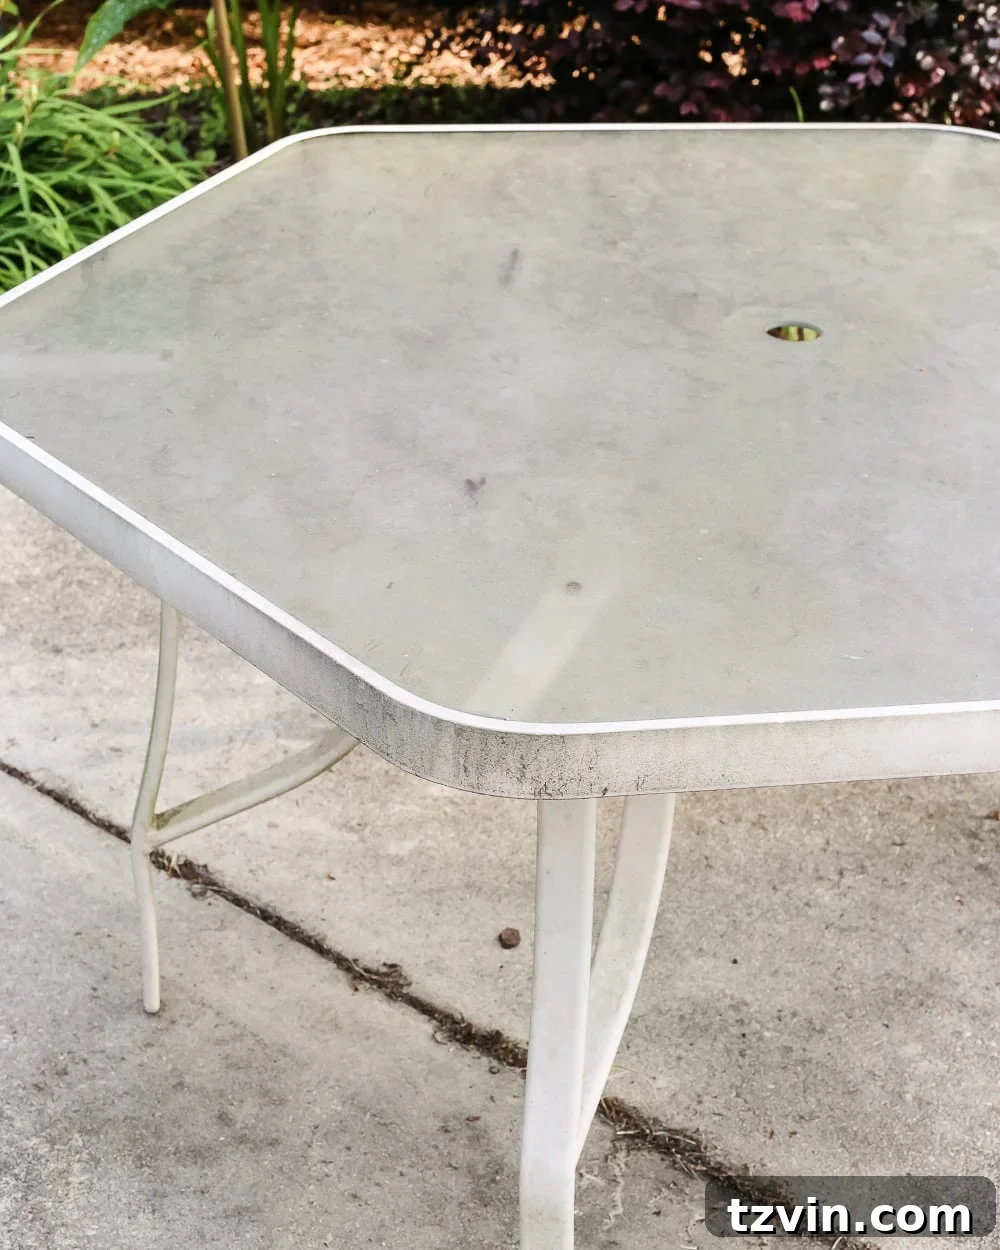
The “Little Table That Could” indeed needed a significant amount of elbow grease. When I first encountered it, the glass tabletop was so covered in grime and hard water stains that I genuinely thought it was a solid gray surface. This detailed tutorial will show you exactly how to tackle the toughest dirt and rust, ensuring your glass furniture, whether indoors or out, achieves a sparkling, like-new finish.
Supplies You’ll Need
Gathering all your materials beforehand will ensure a smooth and efficient restoration process. Here’s a detailed list of what you’ll need:
- Large bowl or bucket: For mixing your cleaning solution.
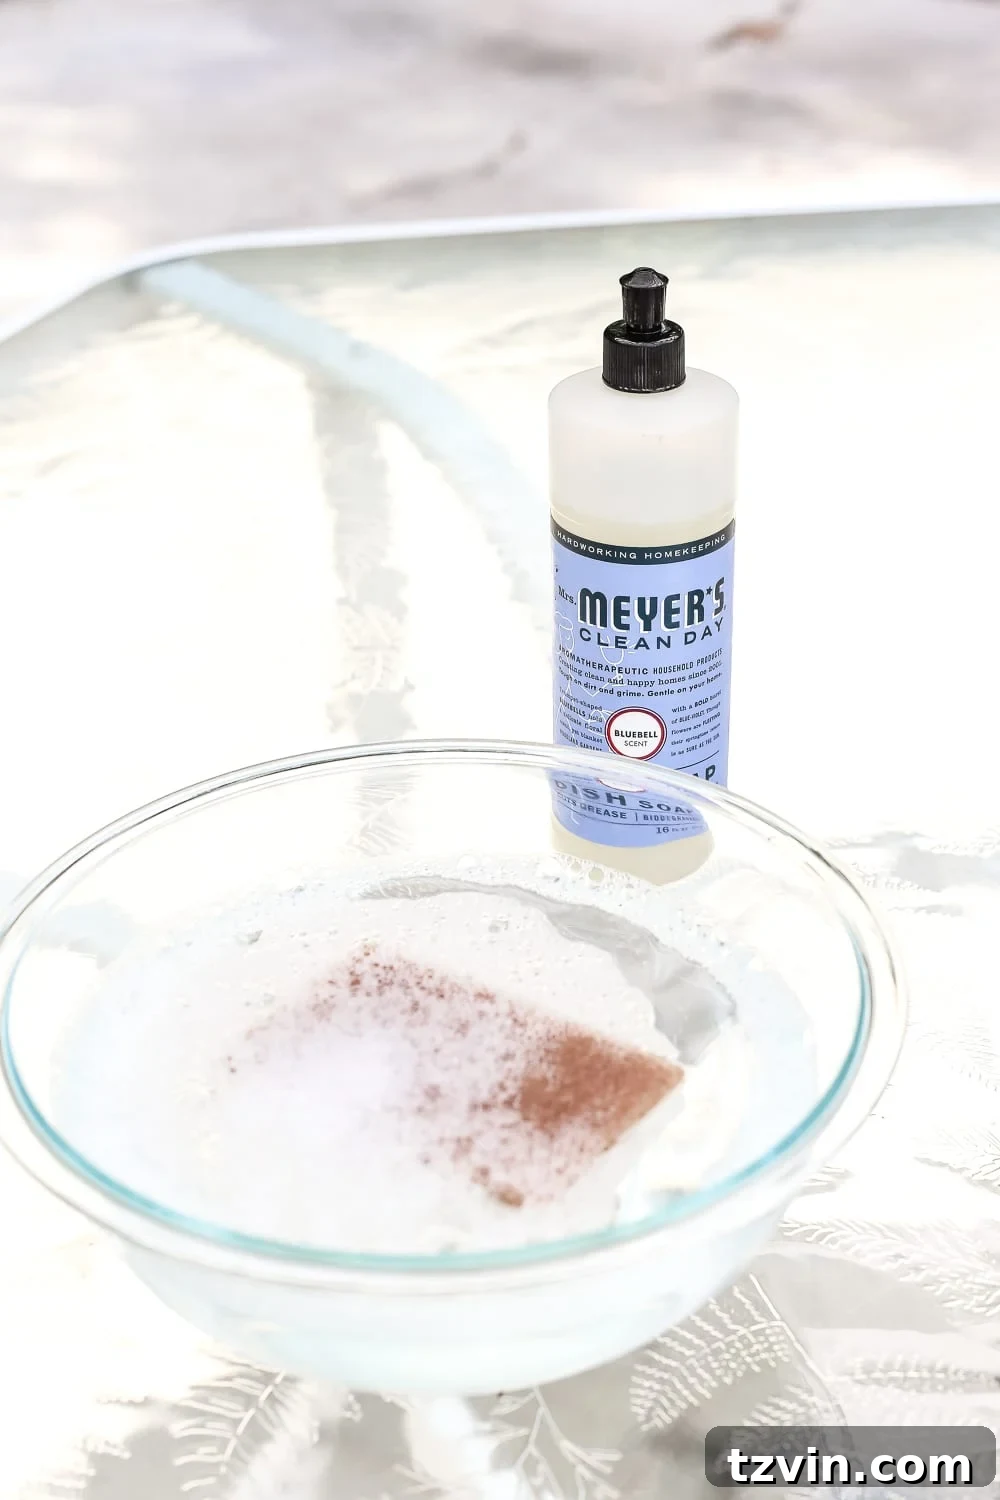
- Liquid dish soap: Approximately 1 tablespoon. Any reputable brand will do; a gentle, grease-cutting formula works best. (e.g., Mrs. Meyers, Dawn).
- Scrub sponge or non-abrasive scrubber: For effectively removing grime without scratching the glass or metal.
- Rubber gloves: To protect your hands from cleaning solutions and paint.
- Garden hose with spray nozzle: Essential for rinsing off cleaning solutions and loose debris.
- Screwdriver (Phillips and/or flathead): For disassembling the table, depending on the type of fasteners used.
- Drop cloth or old sheets/cardboard: To protect your work surface from paint overspray.
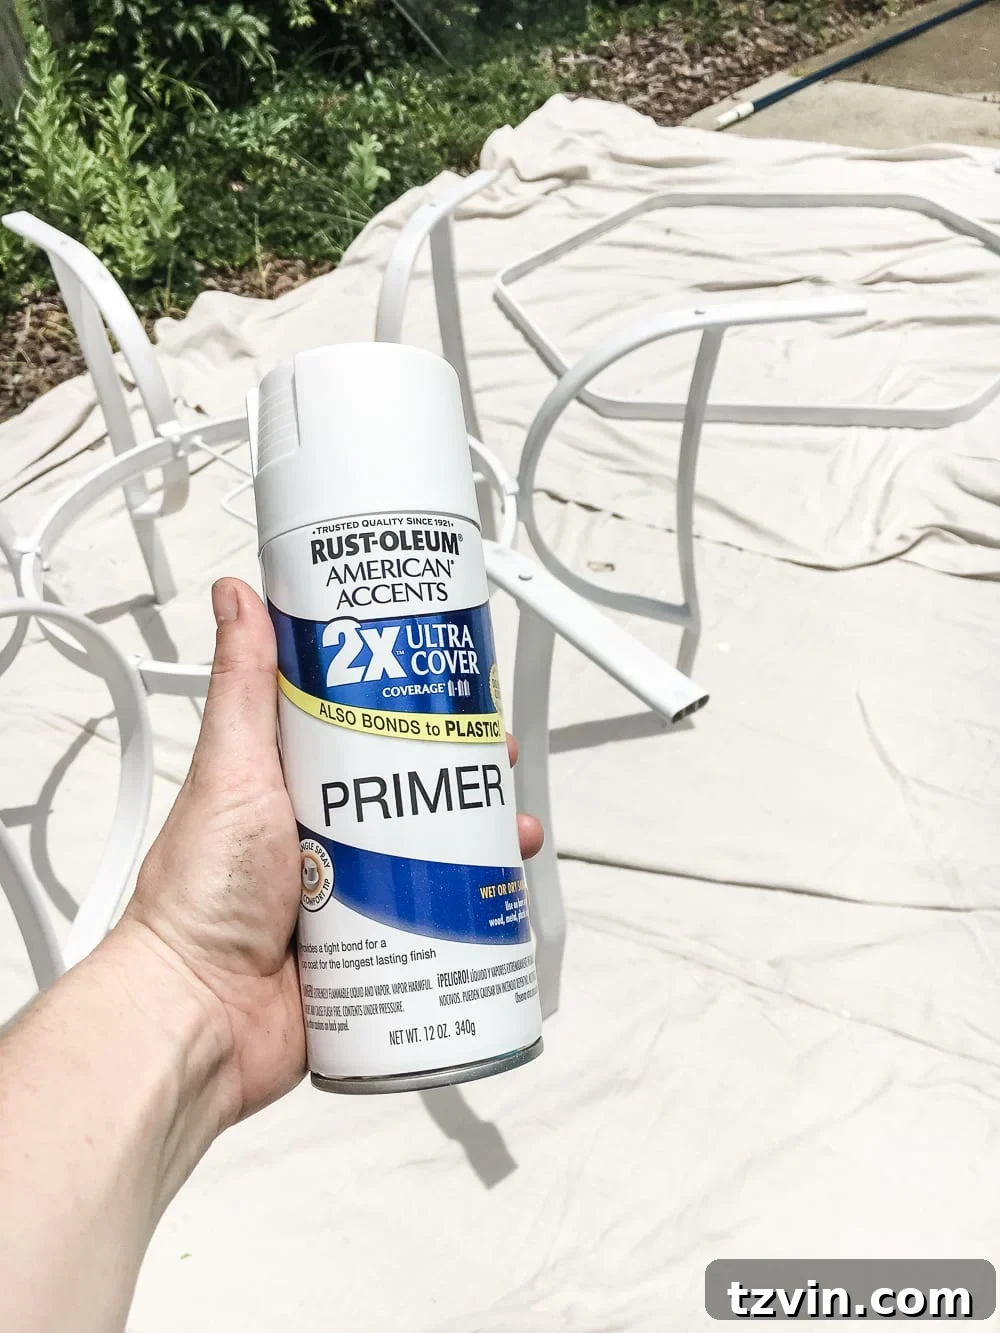
- 2 cans of spray primer: Look for a primer specifically designed for metal and outdoor use, offering rust inhibition (e.g., Rust-Oleum Universal Bonding Primer).
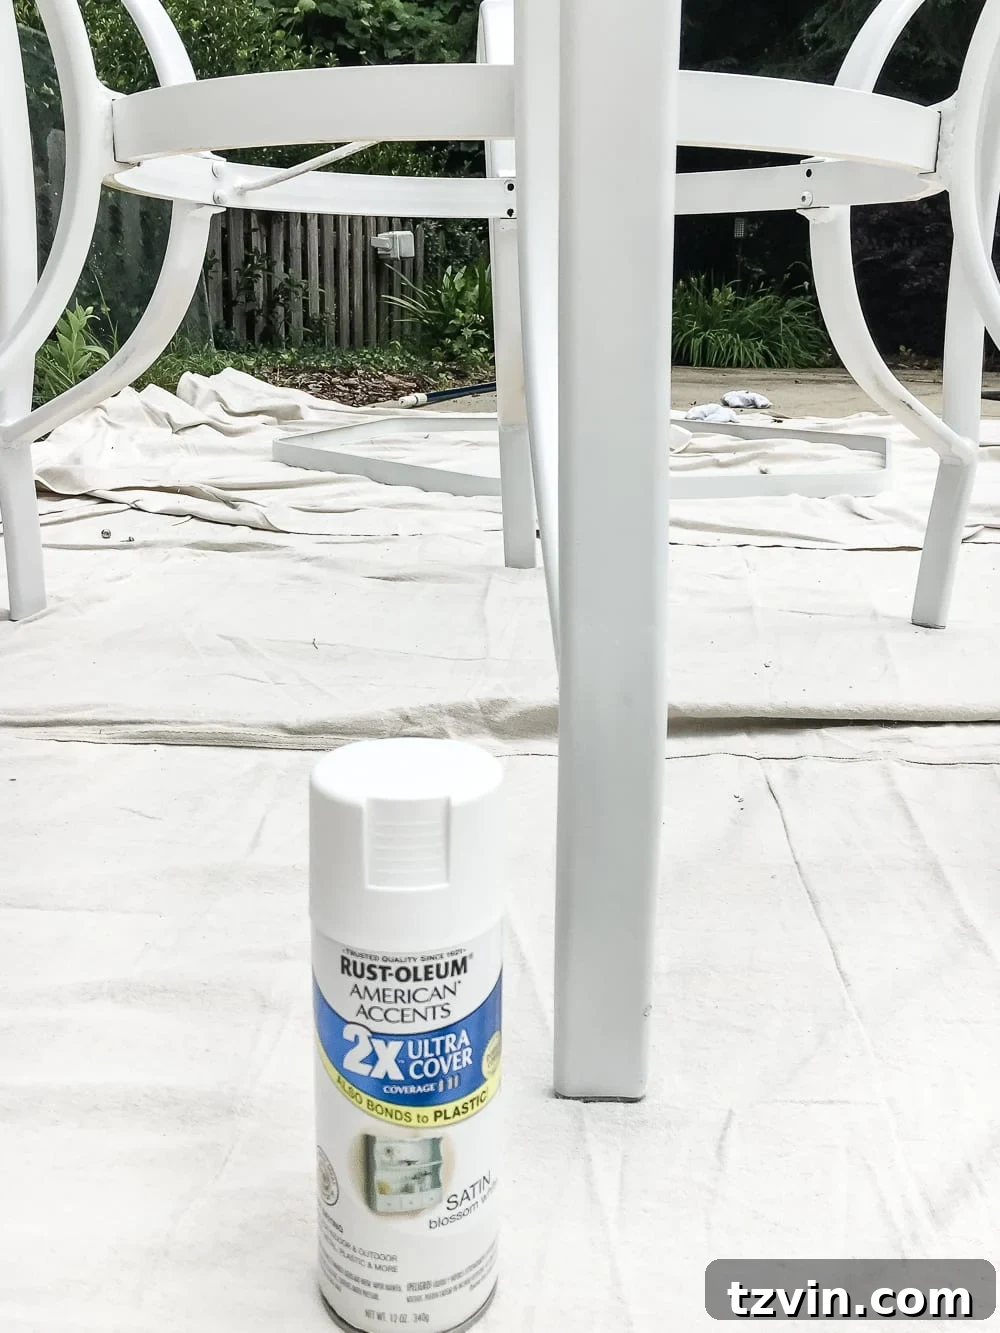
- 2 cans of outdoor spray paint: Choose a durable, weather-resistant paint suitable for metal. A semi-gloss or gloss finish often works well for outdoor furniture (e.g., Rustoleum Painter’s Touch Semi-Gloss in White or your preferred color).
- Paper towels or clean microfiber cloths: For drying and polishing.
- Optional: White vinegar (distilled): For a streak-free shine on the glass.
- Optional: Empty spray bottle: To apply vinegar solution.
- Optional: Safety glasses: Always a good idea when working with tools and spray paint.
- Optional: Wire brush or steel wool: For stubborn rust on the metal frame (use with caution).
Step 1 – Deep Clean the Glass Surface
The first and most crucial step is to tackle the accumulated grime, mildew, hard water spots, and general dirt that has obscured the beauty of your glass tabletop. This seemingly daunting task is surprisingly simple with the right approach.
Begin by mixing approximately one tablespoon of liquid dish soap into a large bowl or bucket of hot water. The hot water helps to loosen stubborn dirt and grease, while the dish soap’s degreasing properties will cut through the layers of grime. Don your rubber gloves to protect your hands.
Using a scrub sponge or a non-abrasive scrubber, generously apply the soapy solution to the entire glass surface. Work in circular motions, applying only minimal effort. You’ll be amazed at how quickly the caked-on dirt begins to lift away. Ensure you scrub both the top and, importantly, the underside of the glass, as grime often accumulates there unnoticed. Traditional store-bought glass cleaners often fall short against this level of embedded dirt; the dish soap method is far more effective.
Once you’ve thoroughly scrubbed the glass, use your garden hose to rinse the entire surface. Make sure all soap residue is completely washed away. You should already see a significant improvement, with the glass starting to regain its clarity. In my case, a pattern on the glass that was previously invisible suddenly revealed itself!
Dealing with Haze and Water Spots
For an extra layer of sparkle and to eliminate any lingering haze or stubborn water spots, a white vinegar solution is incredibly effective. Pour a small amount of distilled white vinegar into an empty spray bottle. Spritz the glass surface lightly and wipe it down immediately with a clean microfiber cloth or even old newspaper. Newspaper is a classic trick for streak-free glass because its fibers are tightly woven and don’t leave lint behind. Avoid using abrasive cleaners or scrubbers at this stage, as they can scratch the glass and cause permanent damage.
Within just 5-10 minutes of dedicated cleaning, your glass tabletop should be sparkling clean and look virtually brand new, revealing its original luster and any previously hidden details.
Step 2 – Safely Disassemble the Glass Table for Painting
To achieve a professional and even paint finish on the metal frame, disassembling the table is highly recommended. This ensures you can access all parts of the frame without getting paint on the clean glass and allows for a more thorough job. However, this step requires careful handling and, ideally, an extra pair of hands!
Caution: Tempered glass tabletops, while strong, can be incredibly heavy and cumbersome. Attempting to lift or maneuver them alone can be dangerous, potentially leading to injury or shattering the glass. If possible, enlist the help of a muscular friend or family member. Seriously, learn from my experience – my “spaghetti arms” struggled, leading to some colorful language and near-accidents. Safety first! If you don’t have help, wait for someone to assist you.
To begin, flip the table over so its top rests gently on a soft, protective surface like a blanket or a section of your drop cloth. Locate the screws or bolts that attach the legs and any support brackets to the base of the table. Using your screwdriver, carefully unscrew all fasteners. Keep track of all screws and small parts by placing them in a small container or bag – this will make reassembly much easier.
Once the frame components are loosened, carefully lift the tempered glass tabletop away from the metal surround. This is the moment where an extra set of hands is invaluable. Move the glass top to a safe, stable location where it won’t be disturbed or accidentally damaged while you work on the frame. Ensure it rests on a flat, padded surface.
Step 3 – Thoroughly Clean the Table Base
With the glass safely removed, you can now focus on preparing the metal base for priming and painting. A clean surface is paramount for paint adhesion and a long-lasting finish.
Place the disassembled metal base pieces onto your canvas drop cloth or protected work area. Using the same hot water and dish soap solution from Step 1, or simply hot tap water and a squirt of dish soap, thoroughly scrub all parts of the metal frame. Pay close attention to any areas with visible rust, old paint flakes, dirt, or mildew.
For stubborn rust spots, you might consider using a wire brush or steel wool. However, do so gently to avoid scratching the metal excessively, as this could show through the new paint if not properly primered. The goal here is to remove all loose debris and ensure the surface is as clean as possible.
After scrubbing, rinse the metal pieces completely with your garden hose, ensuring no soap residue remains. It’s crucial that the metal is absolutely dry before proceeding to the next step. Any moisture trapped under the paint can lead to bubbling, peeling, or even new rust formation. Allow the pieces to air dry completely in the sun, or wipe them down with clean cloths to speed up the process. A perfectly clean, dry base is essential for a durable and professional paint job.
Step 4 – Prime and Paint the Table Base
With a clean and dry metal base, you’re now ready for the transformation through priming and painting. This step not only adds aesthetic appeal but also provides essential protection against the elements.
Priming for Success
Begin by applying a coat of spray primer. Primer is not just an extra step; it’s a critical foundation for a lasting finish. It helps the paint adhere better to the metal, prevents rust, and ensures a uniform color, especially if you’re changing the base color dramatically or covering rusted areas. Shake the primer can vigorously for at least one minute after the mixing ball begins to rattle.
Hold the can about 8-12 inches away from the surface and apply a thin, even coat using a steady, sweeping motion. Avoid holding the can in one spot for too long, as this can cause drips. It’s better to apply several thin coats than one thick one. Ensure all surfaces, including the undersides and crevices, are lightly covered. Let the primer dry completely according to the manufacturer’s instructions on the can, which usually takes 15-30 minutes.
Painting for Perfection
Once the primer is dry to the touch, it’s time for the spray paint. Again, shake the paint can well. Apply the first coat of spray paint using the same technique as with the primer: thin, even, sweeping strokes from 8-12 inches away. White is a classic choice for outdoor furniture, offering a fresh and clean look that brightens any patio. However, feel free to choose any color that complements your outdoor decor.
Allow the first coat of paint to dry thoroughly. Drying times vary based on humidity and temperature, but typically range from 1 to 4 hours. Once dry, assess if a second coat is needed for full coverage and color saturation. Most projects benefit from two thin coats of paint. If applying a second coat, follow the same technique and allow it to dry completely before handling or reassembling.
Ensure you’re working in a well-ventilated area, preferably outdoors on a non-windy day, and wear safety glasses and gloves to protect yourself from overspray.
Step 5 – Reassemble and Admire Your Refurbished Table
After all the paint has thoroughly cured – typically 24-48 hours, depending on the paint and weather conditions – it’s time to reassemble your beautiful, refreshed patio table. Patience here is key; rushing this step can lead to smudges or damage to your fresh paint job.
Carefully bring the painted metal base pieces back to your work area. Now, it’s time to reattach the sparkling clean glass top. This is another moment where having a helper is highly recommended, especially if your glass top is large or heavy. Gently slide the glass top back into its designated metal surround or onto the frame supports. Ensure it sits evenly and securely.
Once the glass is in place, flip the table over (again, with caution and help) and reattach the legs and brackets to the base using the screws you set aside in Step 2. Make sure all fasteners are securely tightened, but avoid over-tightening, which could strip the screws or potentially stress the frame. Double-check that the table is stable and wobble-free.
Finally, flip the table back upright. Step back and admire your handiwork! You’ve successfully transformed a neglected, possibly discarded, piece of outdoor furniture into a brand-new-looking centerpiece. The satisfaction of seeing the gleaming glass and fresh paint is truly rewarding.
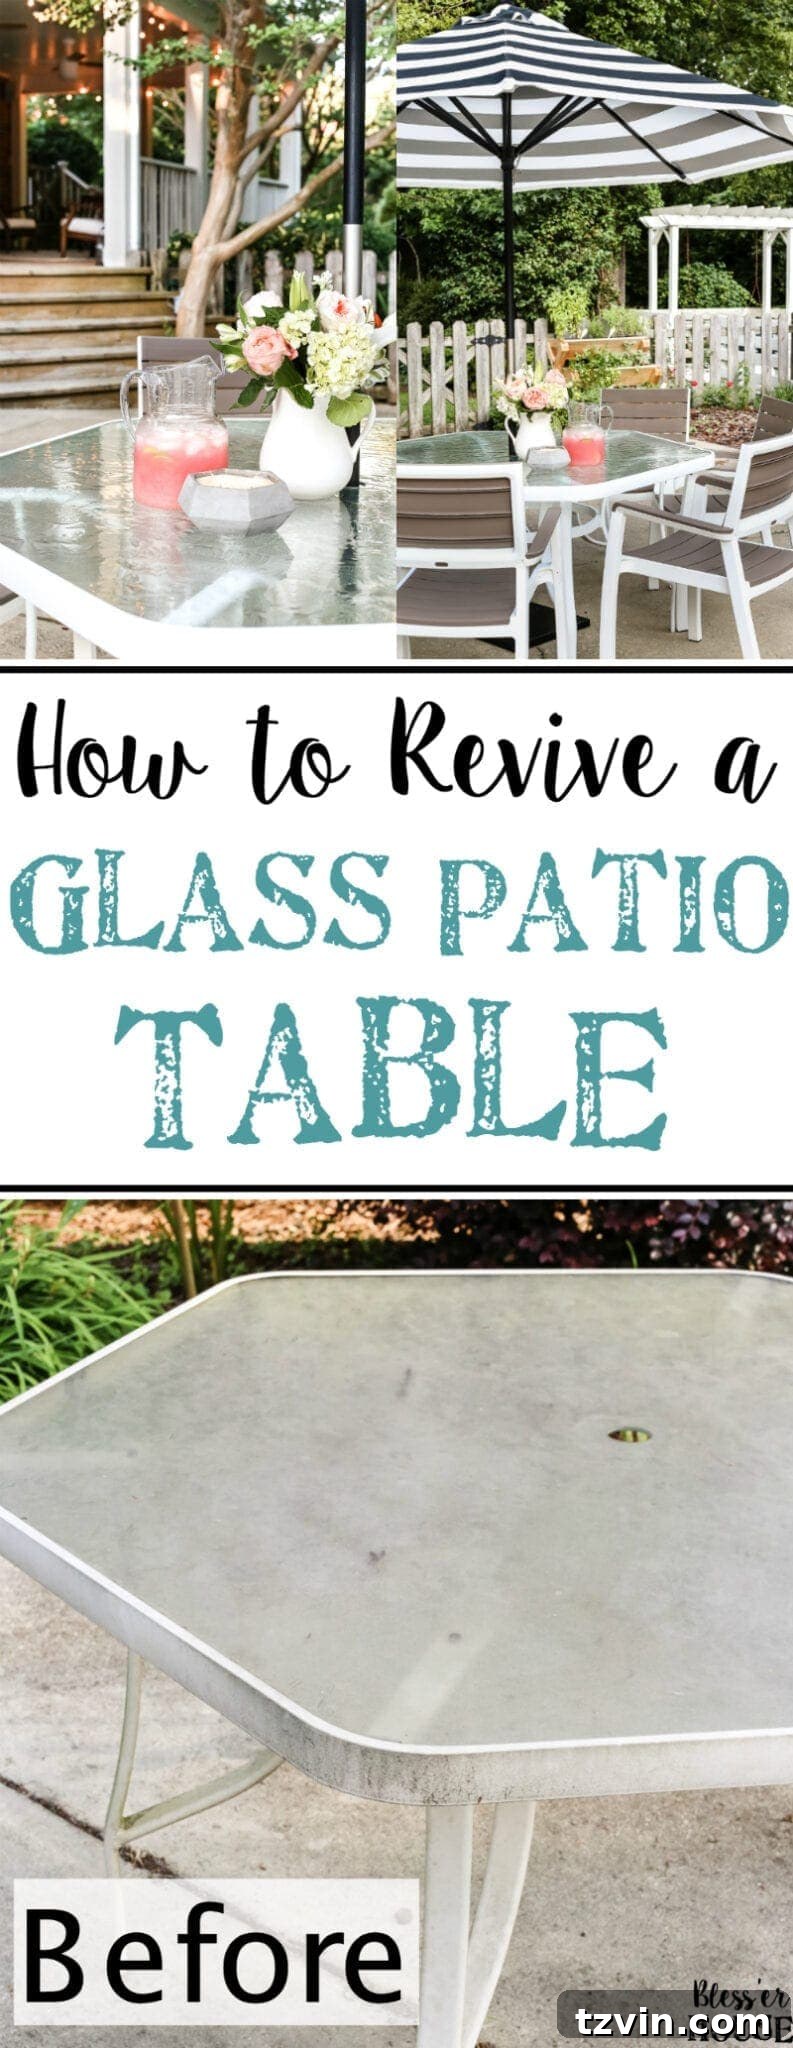
The Stunning Glass Patio Table Makeover: Before & After
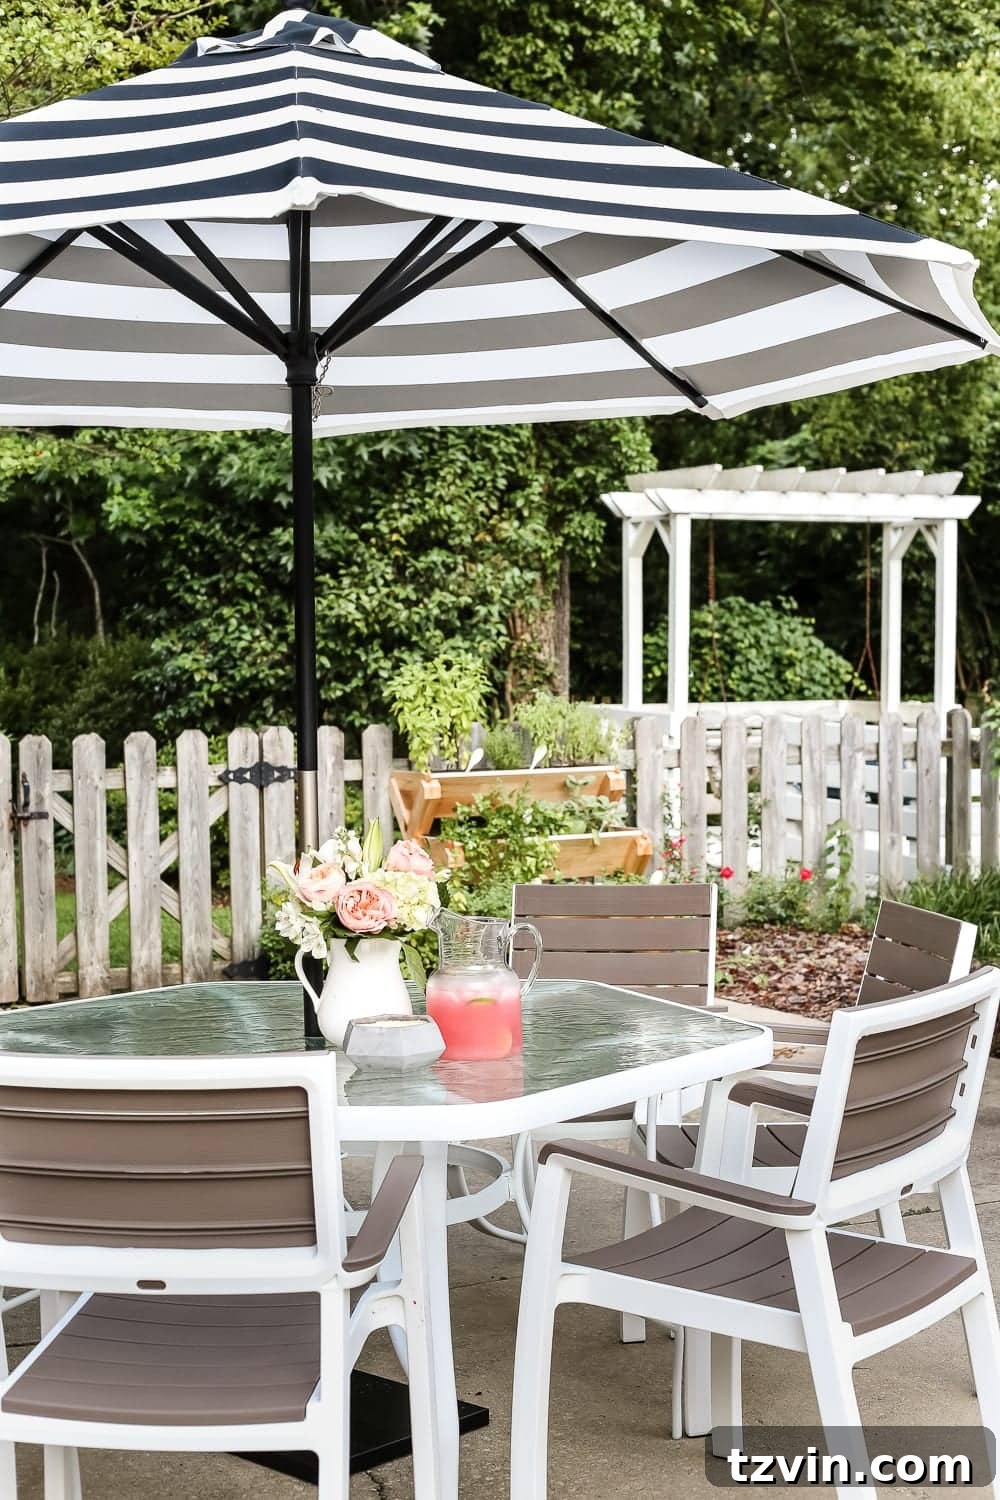
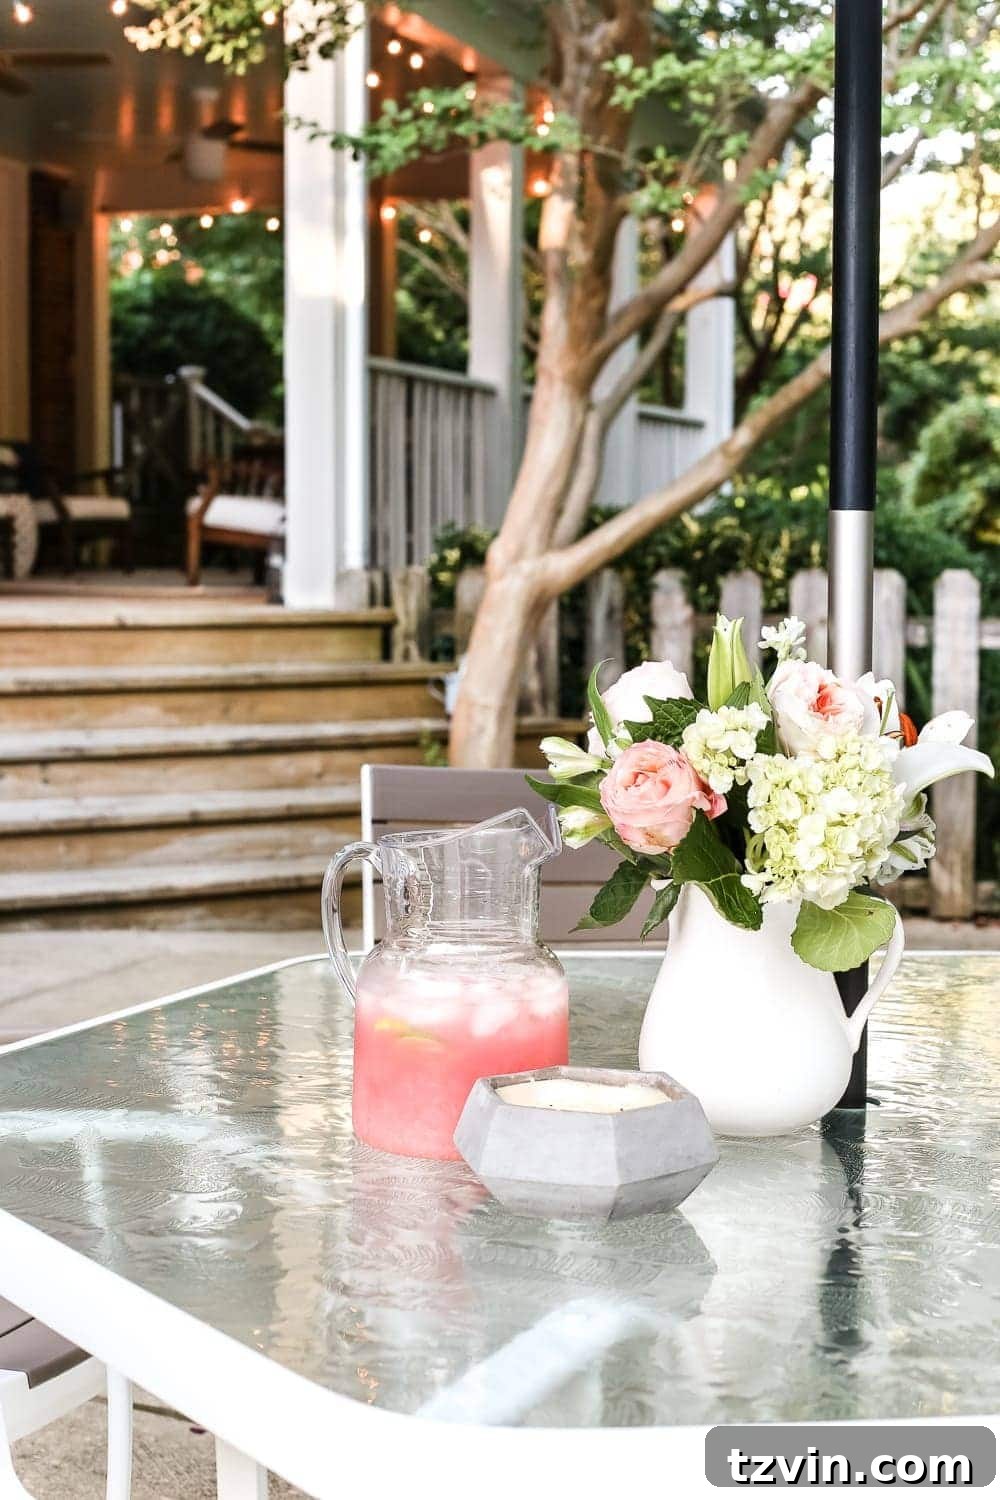
The transformation is truly astounding. What began as a forgotten, rusted, and grimy outdoor table has been reborn as a stylish and functional piece of furniture. The impact of a couple of cans of spray paint and a thorough cleaning is nothing short of miraculous, breathing new life into your outdoor living space.
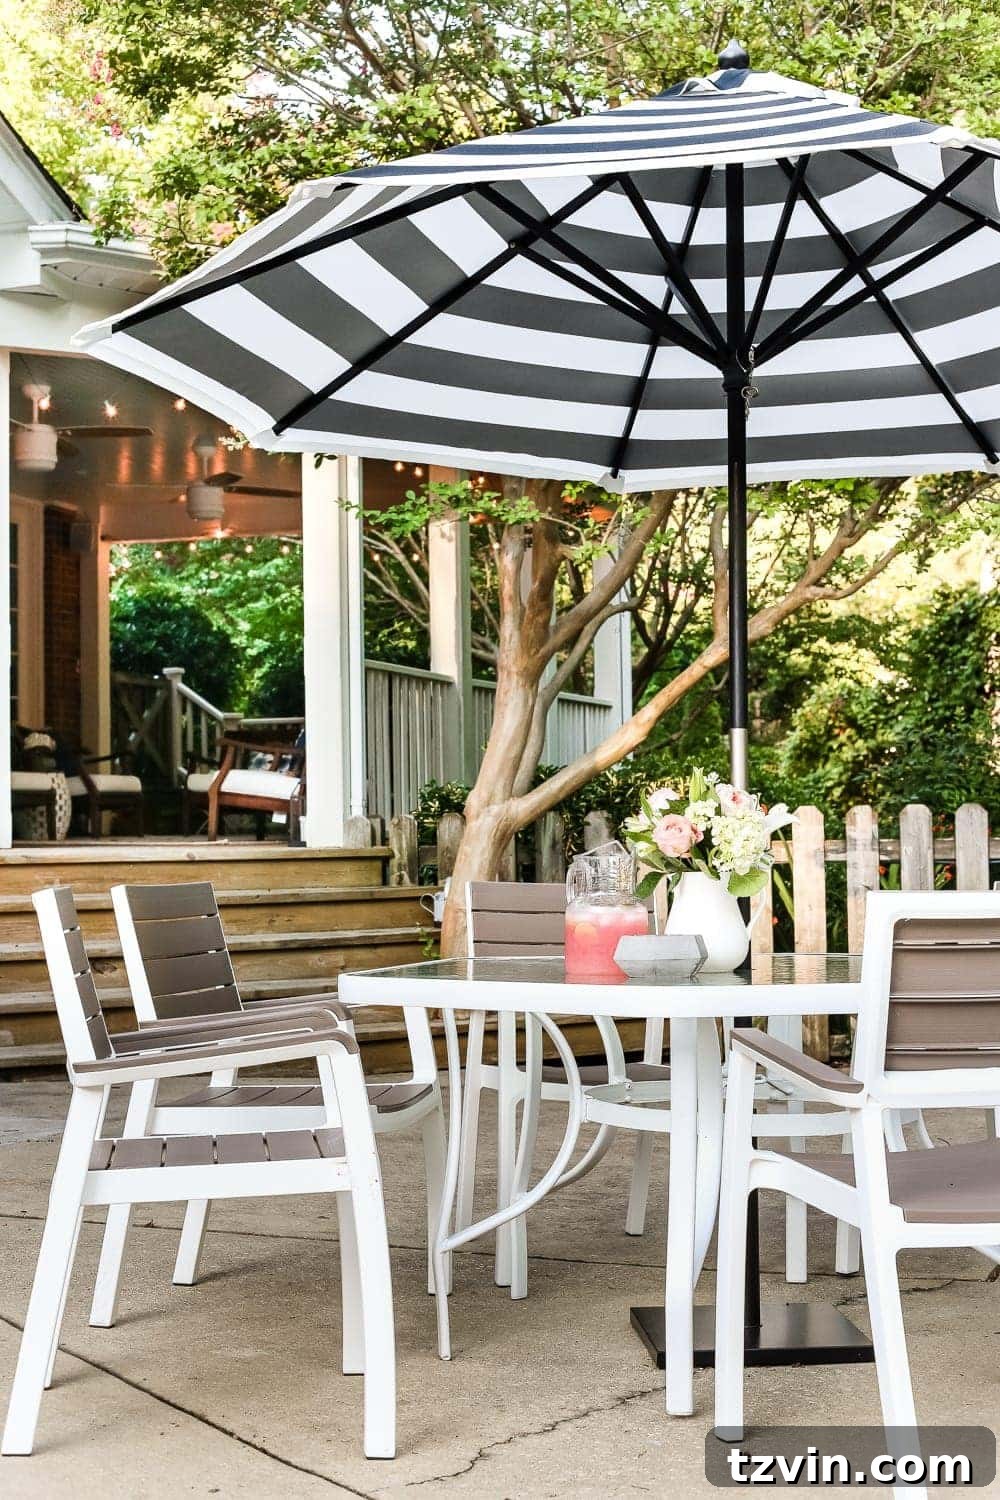
To complete my outdoor dining setup, I decided to pair my newly restored table with a charming black and white awning stripe umbrella, found on sale at World Market. For seating, I chose these comfortable and elegant white and wood-look resin patio chairs from Wayfair, each costing a mere $39 during a sale. The overall cost was significantly less than purchasing a brand-new patio set, yet the result is a cohesive and inviting outdoor dining area that looks completely bespoke.
Doesn’t it look absolutely brand new? I’m consistently amazed at the power of DIY and how a little investment of time and effort can yield such dramatic results. This project truly showcases how easy it is to revive outdoor furniture and save it from the landfill, giving it a stylish second act.
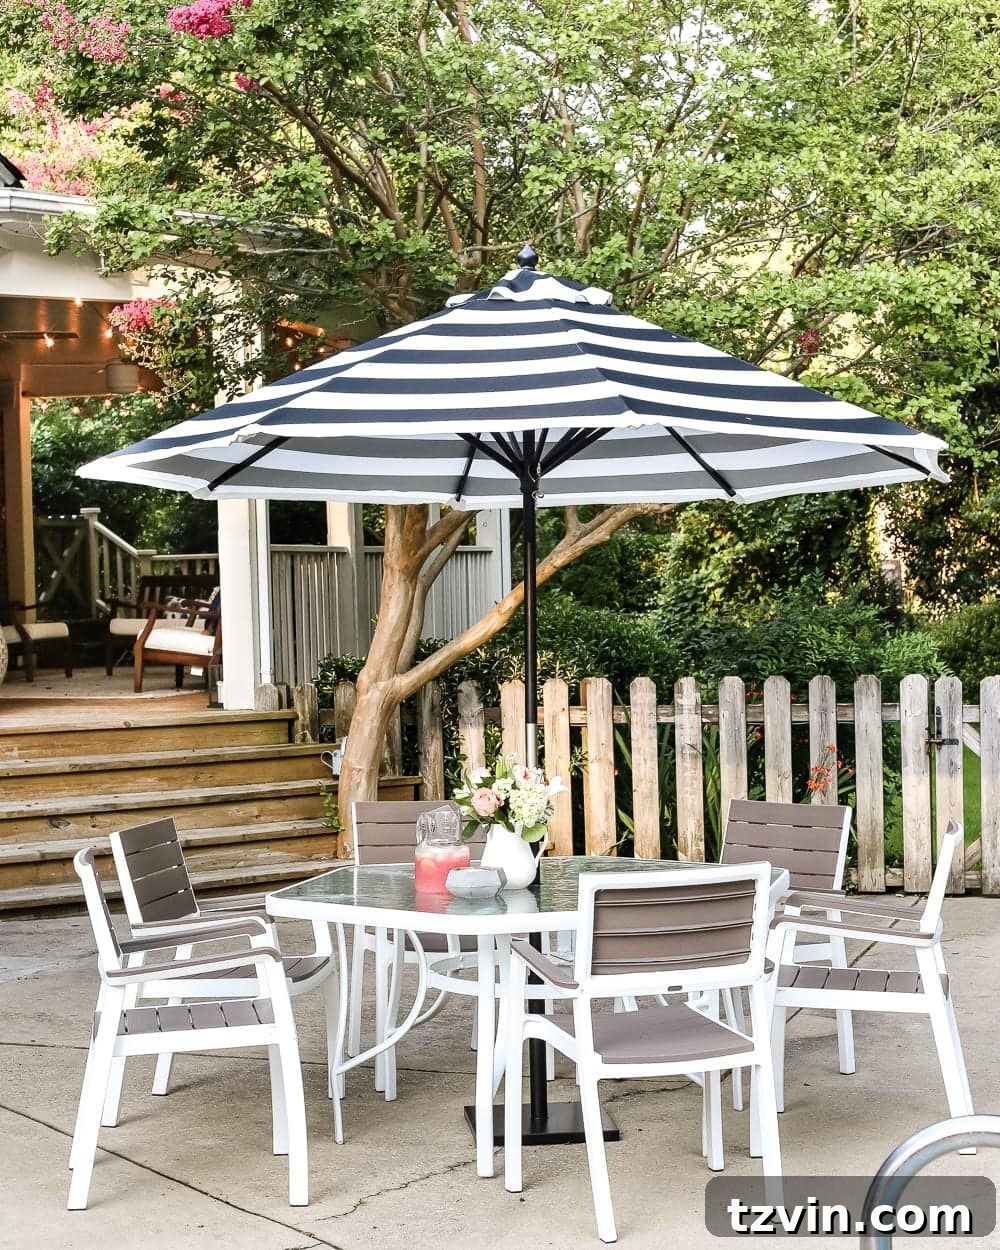
Our newly refinished glass-top table has already become the heart of our outdoor space. It has hosted two lively family reunions and countless evening dinners, transforming our patio into an inviting haven. I plan to soak in every moment, enjoying the beauty and functionality this unexpected addition brings to our home.
Are you amazed by the transformation? If you have a shabby patio table lurking in your backyard, don’t write it off just yet. With this guide, you can give it a second chance and keep it out of the landfill, turning it into a beautiful, functional piece that enhances your outdoor living experience for years to come. It’s a wonderful feeling to know that our once-forgotten table now has a vibrant new life!
More Outdoor Furniture Cleaning & Sprucing Tips
Elevate your entire outdoor space with these additional guides for cleaning and restoring various types of outdoor furniture and preparing your patio for the season.
How to Restore Wood Outdoor Furniture
Wood outdoor furniture, like its metal and glass counterparts, can suffer from exposure to the elements. Learn how to clean, sand, stain, or paint your wooden pieces to bring back their natural beauty and protect them for future seasons.
How to Clean Outdoor Cushions and Patio Furniture
Don’t stop at just the table! Your outdoor cushions and other patio furniture can also accumulate dirt, mildew, and stains. This guide provides effective methods for deep cleaning cushions and general patio furniture, ensuring your entire outdoor lounge area is fresh and inviting.
Backyard Patio Spring Cleaning Checklist
For a complete overhaul, consult our ultimate spring cleaning checklist for your backyard patio. From sweeping and decluttering to detailed cleaning and arrangement, this guide will help you prepare your outdoor space for maximum enjoyment all season long.