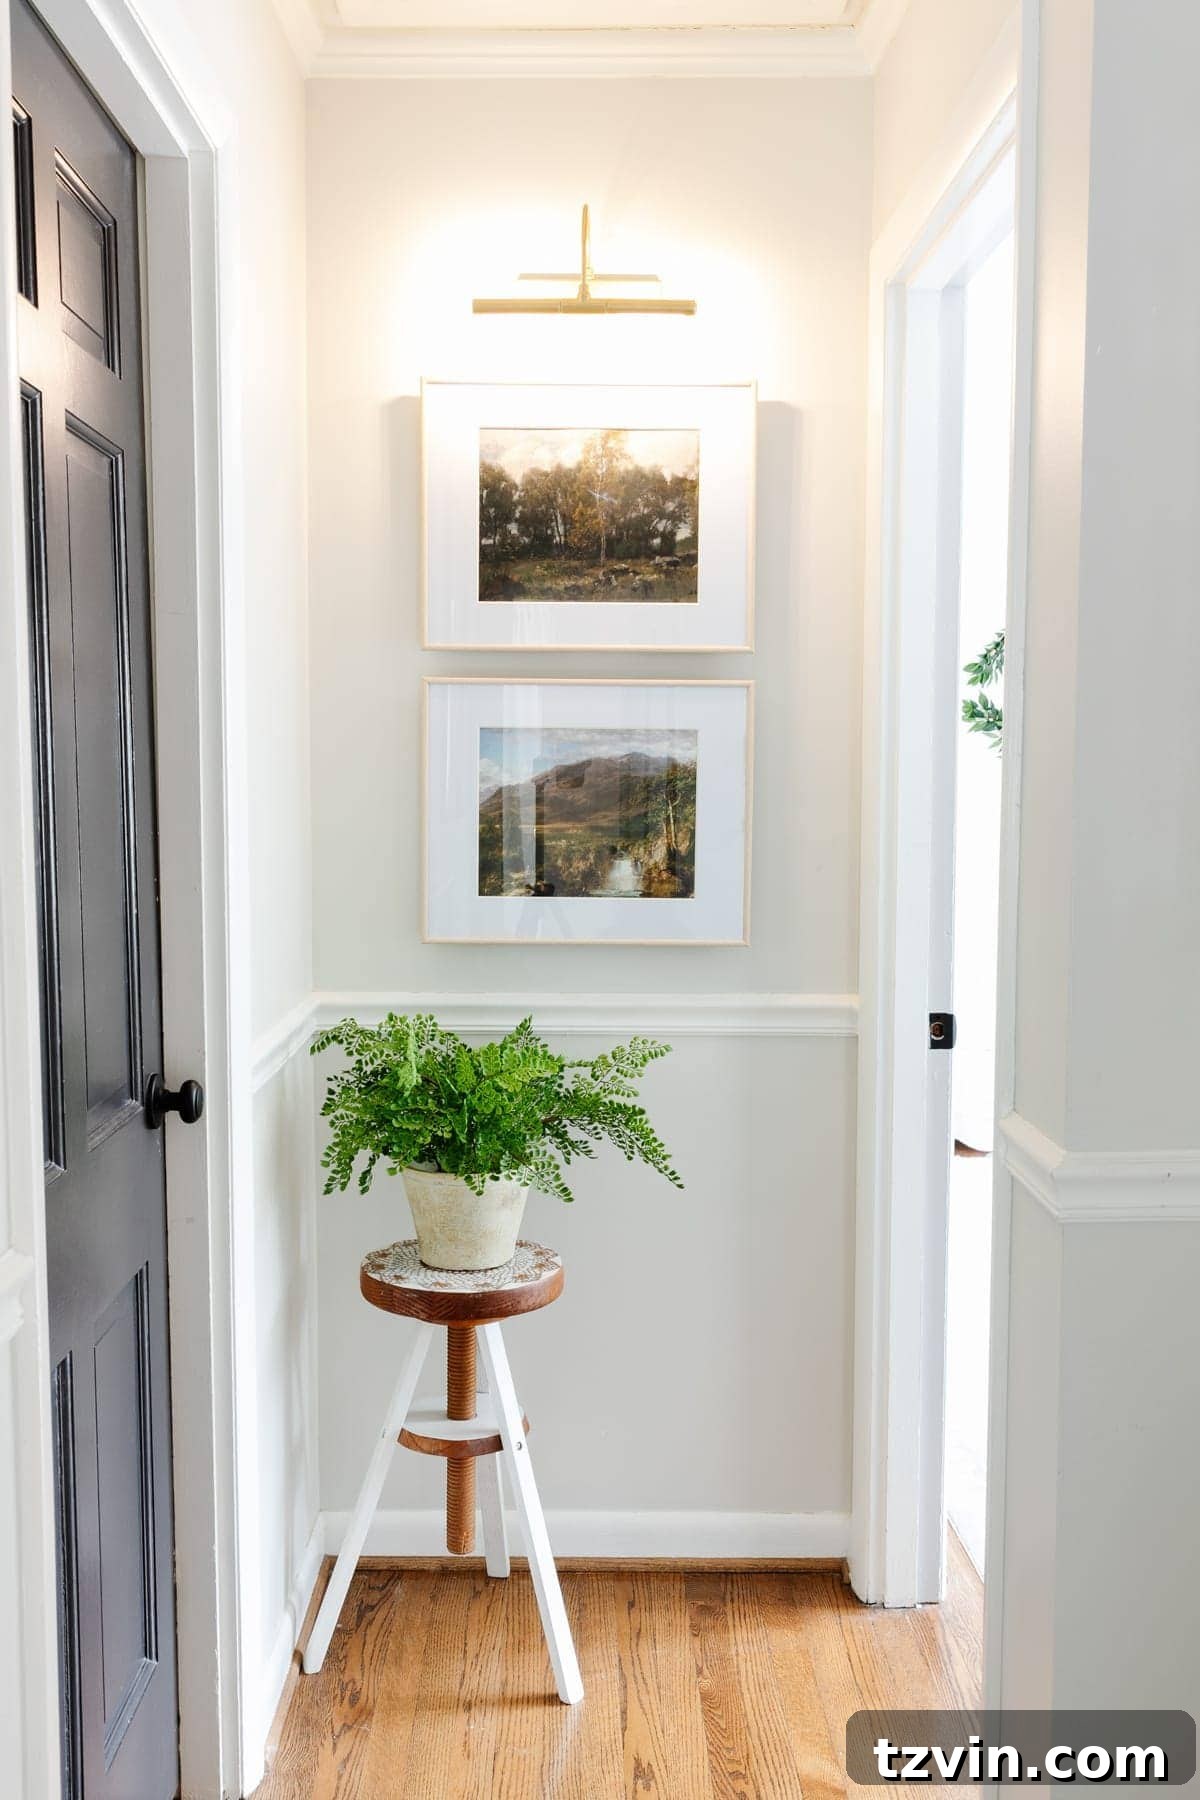
Transform your cherished artwork and elevate your home’s ambiance with expertly placed lighting. Discover two innovative, DIY-friendly methods to install stunning picture lights without the need for complex electrical work or costly electricians. Unleash the full potential of your art collection and add a touch of sophistication to any room, effortlessly.
Few elements breathe as much personality and soul into a living space as a well-chosen piece of art. Whether it’s a vibrant painting, a captivating photograph, or a treasured antique print, art has the power to tell a story, evoke emotion, and define the character of a room. We’ve previously explored how to discover beautiful free printable wall art online and where to find affordable vintage art to adorn your walls. But what truly elevates these charming pieces from simple decoration to luxurious, focal points?
The secret lies in the strategic use of a picture light—also known as an art light. This often-overlooked detail can dramatically enhance your artwork, drawing the eye and adding a layer of sophisticated warmth to your home decor. Imagine your favorite print, no matter how humble, bathed in a soft, directed glow, instantly transforming into a gallery-worthy display.
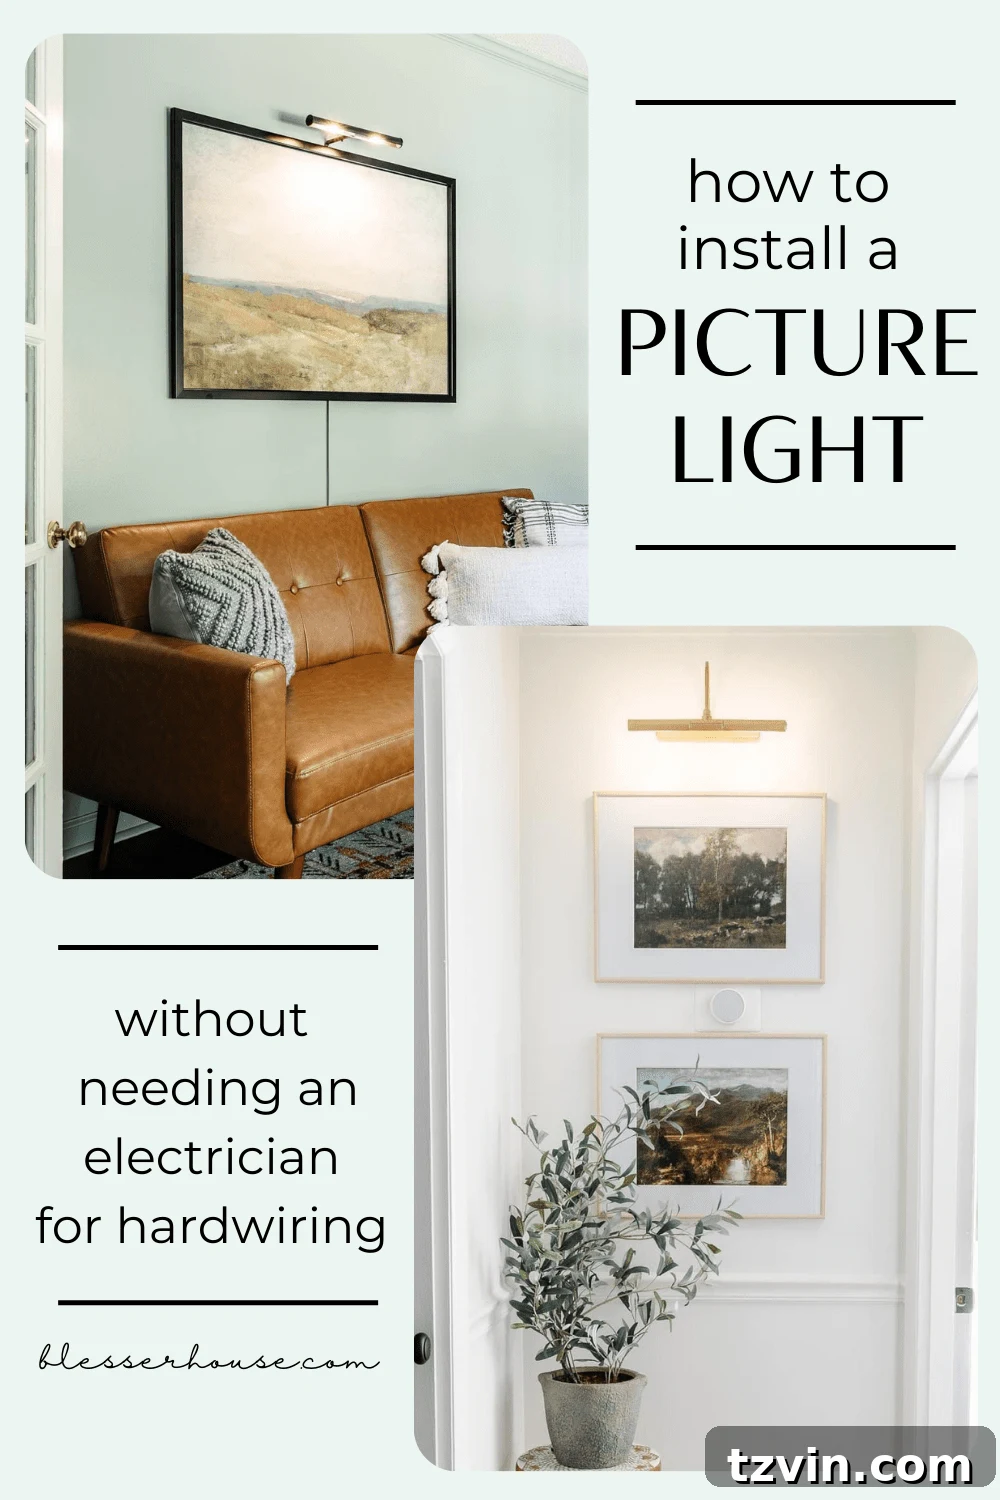
Why Traditional Hardwired Picture Lights Aren’t Always the Ideal Solution
While the allure of perfectly lit art is undeniable, the traditional method of installing picture lights often comes with significant drawbacks. Most conventional art lights require hardwiring, which means professional electrical installation. This presents several challenges for the average homeowner:
- High Costs: Hiring a licensed electrician can be expensive, adding a substantial fee to the price of the light fixture itself.
- Lack of Flexibility: Hardwired lights are permanent. If you like to rearrange your art collection, redecorate, or simply change your mind about a piece’s placement (a common desire for those who love to refresh their spaces!), you’re stuck. Moving a hardwired fixture involves more electrical work and potential wall repairs, making it an impractical long-term commitment.
- Complex Installation: The process typically involves cutting into walls, running wires, and connecting to your home’s electrical system, which is not a DIY-friendly task for most and can be disruptive to your home.
For these reasons, many homeowners shy away from picture lights, missing out on their incredible aesthetic benefits. However, over the past year, we’ve discovered and refined two distinct, DIY-accessible methods to install wireless picture lights that eliminate the need for an electrician or any complicated hardwiring. You can easily mount these yourself in 30 minutes or less, transforming any piece of art into a masterpiece while simultaneously adding a sophisticated layer of wall lighting and ambient glow to your room.
Two Easy Ways to Install a Picture Light Without Hardwiring
Achieving beautifully lit art doesn’t have to be a daunting task. Here are two practical and simple approaches to installing picture lights, tailored to different needs and preferences, all without touching a single electrical wire beyond plugging into an existing outlet.
Method 1: Plug-In Art Lighting – The Seamless Solution for Accessible Outlets
The plug-in method offers a fantastic balance of consistent illumination and straightforward installation. This approach is perfect for spaces where an electrical outlet is conveniently located nearby, allowing for a steady power source without the hassle of batteries. When we designed our home office lounge area, for instance, we wanted a large art piece to be a dominant feature, but also needed the light above it to serve a dual purpose as a bedside lamp for guests using the convertible sofa. A plug-in picture light proved to be the ideal solution, providing both targeted art illumination and practical ambient lighting.
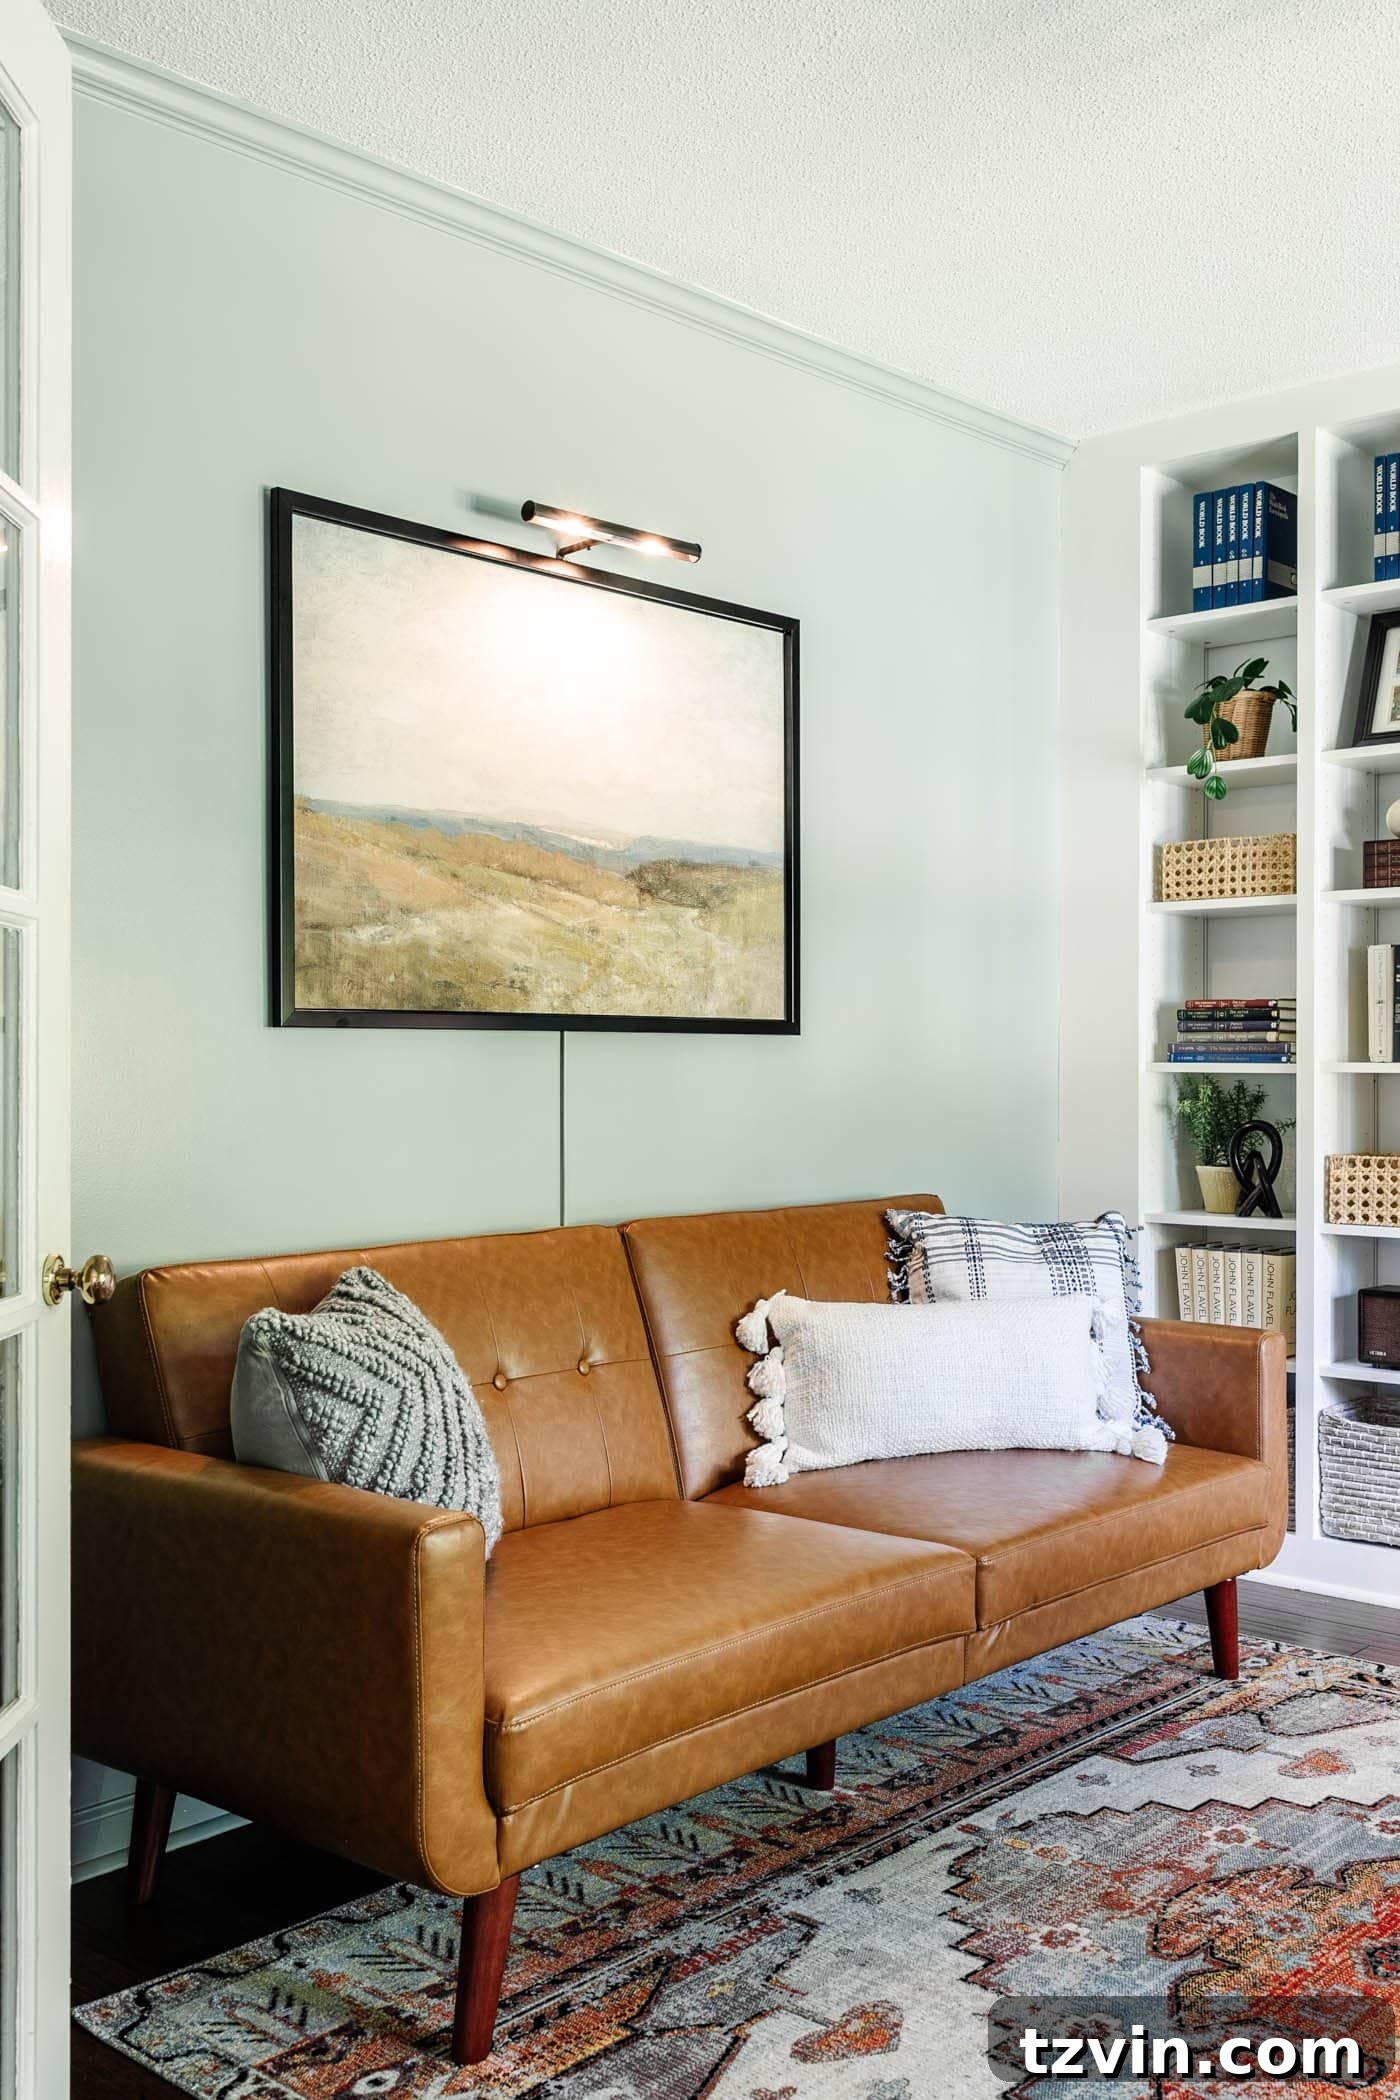
Discover more details about our space: Home Office Setup Quick Tips to Improve Your Workspace + Office Reveal!
Supplies Needed for Plug-In Installation
- Plug-in art lamp: Choose a style and finish that complements your art and room decor.
- Level: Essential for ensuring your light and cord covers are perfectly straight.
- Cord covers: These are key to hiding the power cord for a clean, integrated look.
- Paint that matches the wall: To make the cord covers truly disappear.
- Small sash brush: Ideal for painting cord covers neatly.
- Pencil: For marking placement accurately.
- Drill and appropriate bits (optional, depending on wall type and light fixture mounting).
Step 1 – Precisely Mount Your Artwork First
Before installing the picture light, ensure your artwork is securely mounted in its final desired position. This crucial first step guarantees that your light will be perfectly centered and proportioned above the art. A good general rule of thumb for hanging art is to ensure the center of the piece is approximately 60 inches from the floor, placing it at average eye level. Use a measuring tape and level to achieve accurate placement.
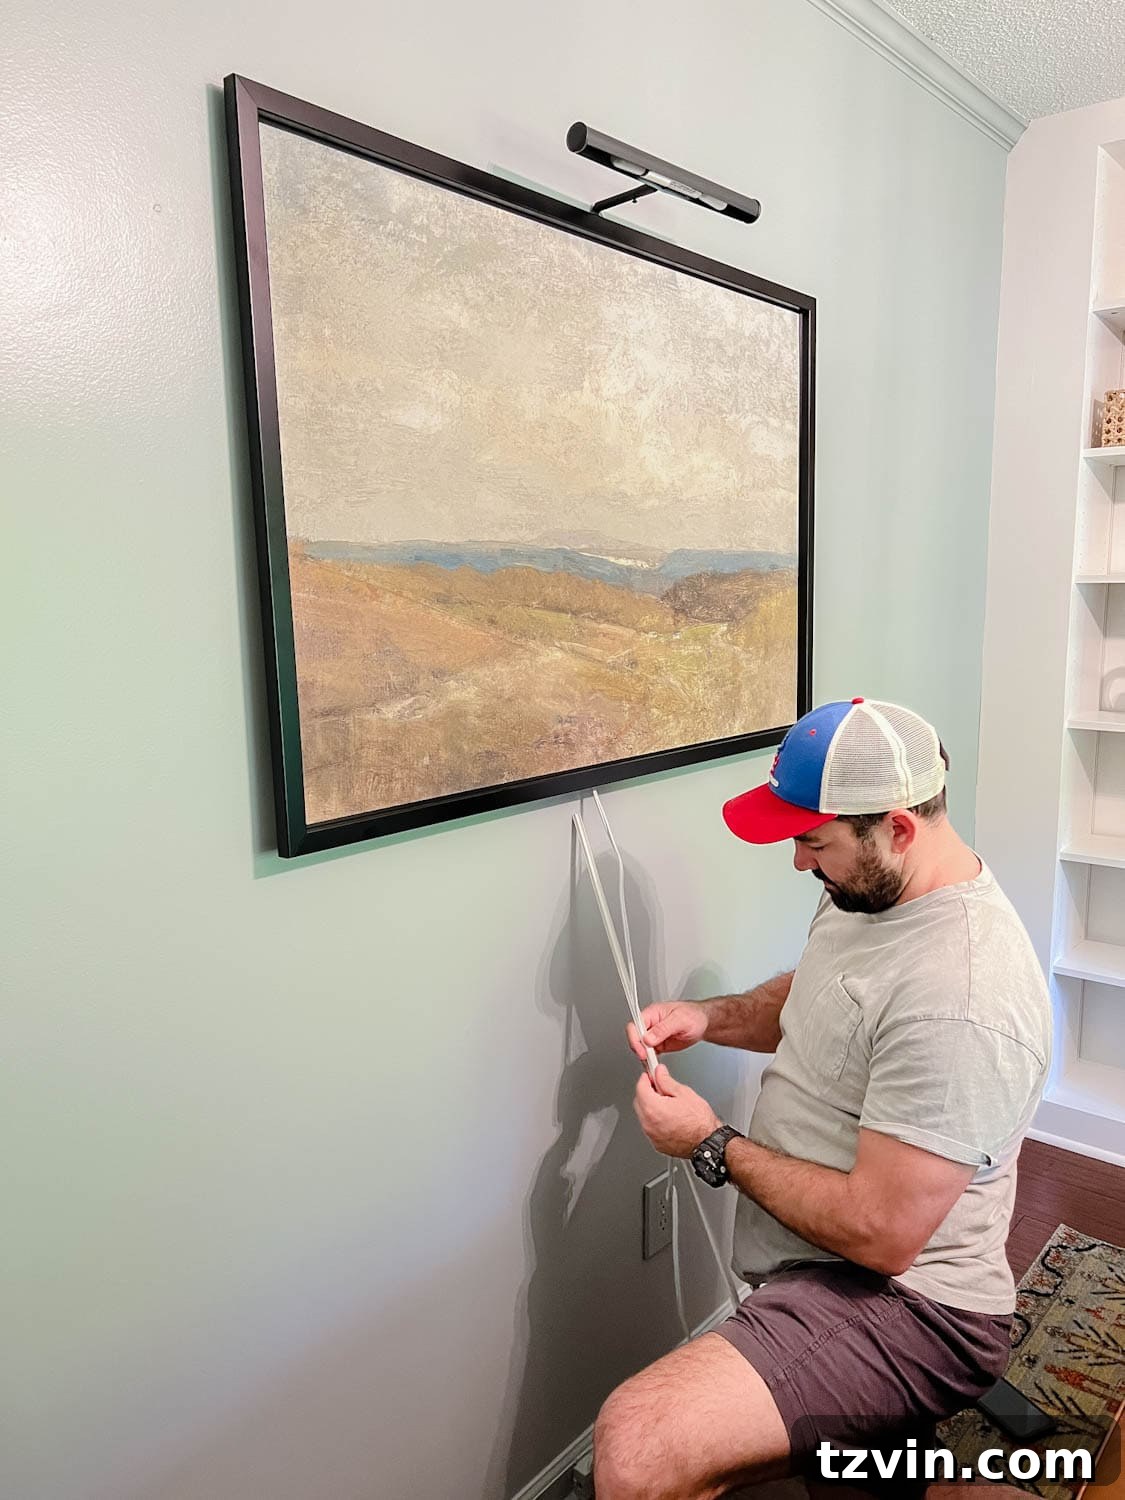
Step 2 – Securely Screw the Plug-In Picture Light Above the Art
Once your artwork is in place, position the plug-in picture light directly above it, ensuring it is perfectly centered horizontally. The ideal vertical distance between the top of your art frame and the bottom of the light fixture is typically 5-7 inches, but this can vary based on the size of your artwork and personal preference. Mark the precise mounting points on the wall with a pencil. Carefully remove the art from the wall to avoid damage during installation. Using the provided screw kit with your art lamp, attach the mounting bracket or base plate to the wall at your marked points. Always use a level during this step to ensure the light fixture is perfectly straight. Replace the artwork on the wall once the light is securely mounted.
Step 3 – Neatly Conceal the Cord with a Cord Cover System
Identify the nearest electrical outlet you plan to use for your picture light. Carefully run the light’s power cord down the wall towards the outlet. To achieve a sleek, wire-free look, wrap the cord within adhesive cord covers. These are typically self-adhesive channels that adhere directly to the wall. Peel the backing away from the adhesive strip on the cord cover and firmly press it to the wall, making sure it aligns perfectly straight (use your level!). You may need to cut the cord covers to length using a utility knife or saw, and use corner pieces for turns if routing the cord horizontally. The goal is to create a discreet pathway for the cord that blends seamlessly with your wall.
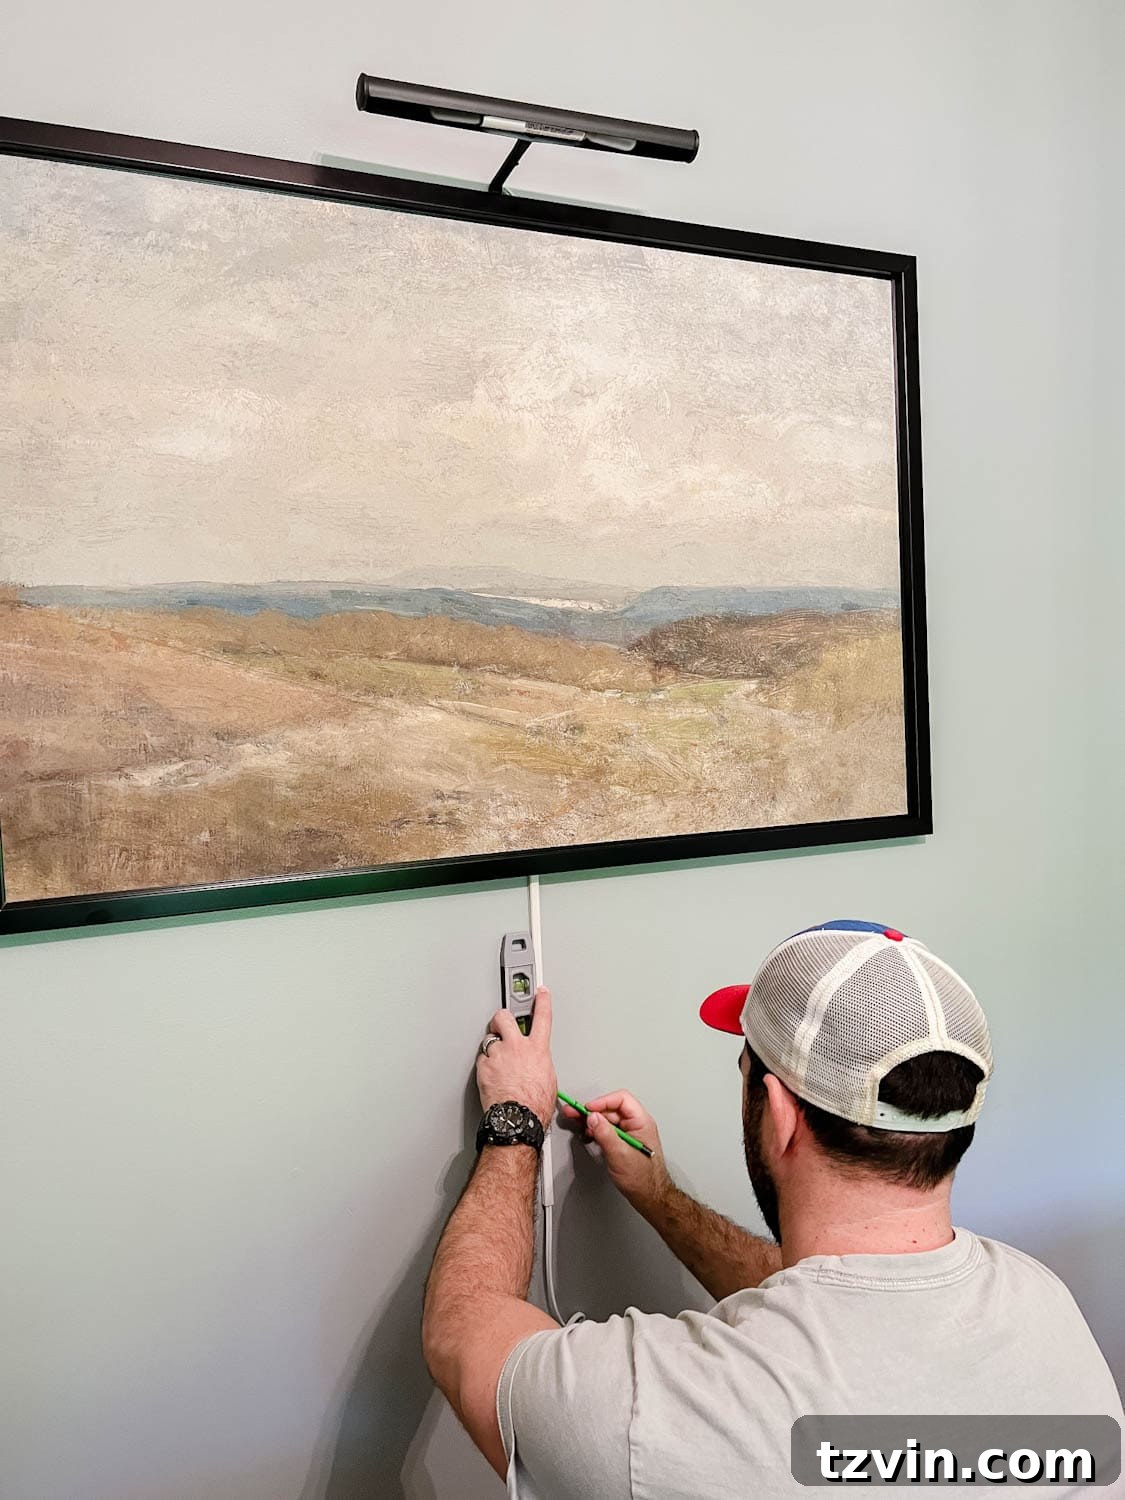
Step 4 – Paint the Cord Cover for an Invisible Finish
The final step to truly disguise your plug-in picture light installation is to paint the cord covers the exact same color as your wall. Using an angled sash brush allows for precision and helps achieve a smooth finish. Apply several thin coats of paint, allowing each to dry thoroughly, until the cord cover visually disappears into the wall. This simple trick transforms a potentially unsightly cord into an almost invisible detail, giving your plug-in light the polished appearance of a professionally hardwired fixture.
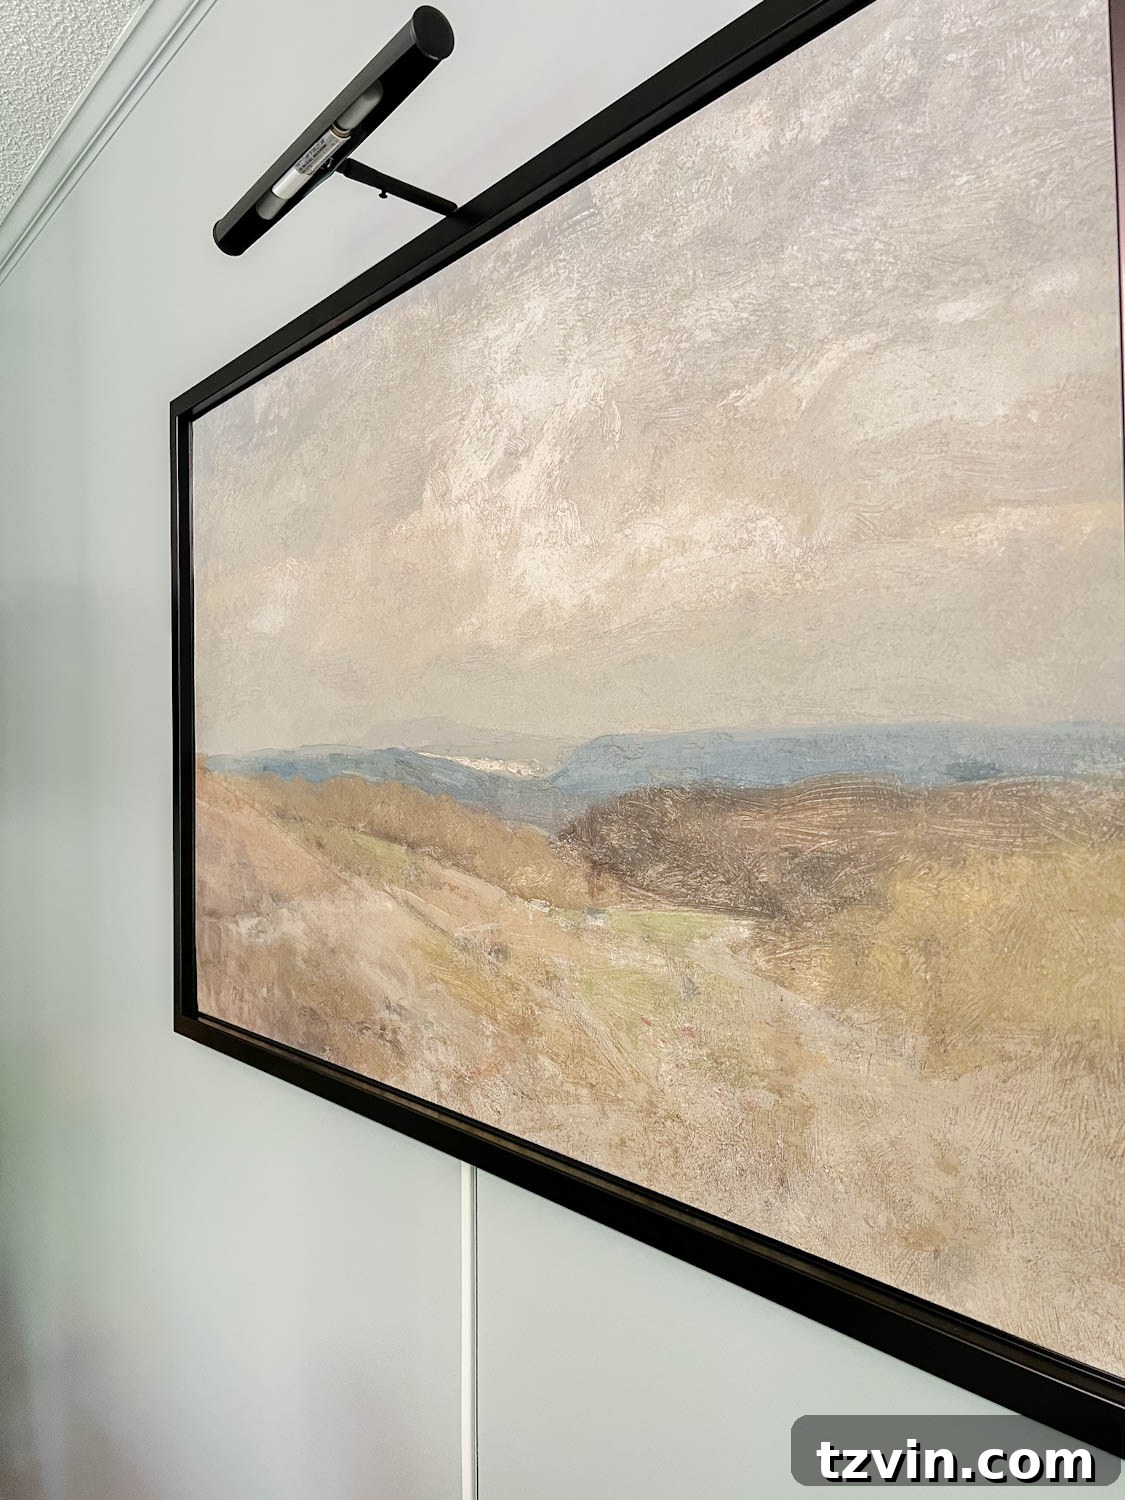
And just like that, you’ve added a cozy, professional ambiance to your room without a single visit from an electrician! We’ve also utilized cord covers in other areas of our home, like under the TV above our home office’s coffee bar, showcasing their versatility as one of our favorite tricks to hide unsightly cables and clutter.
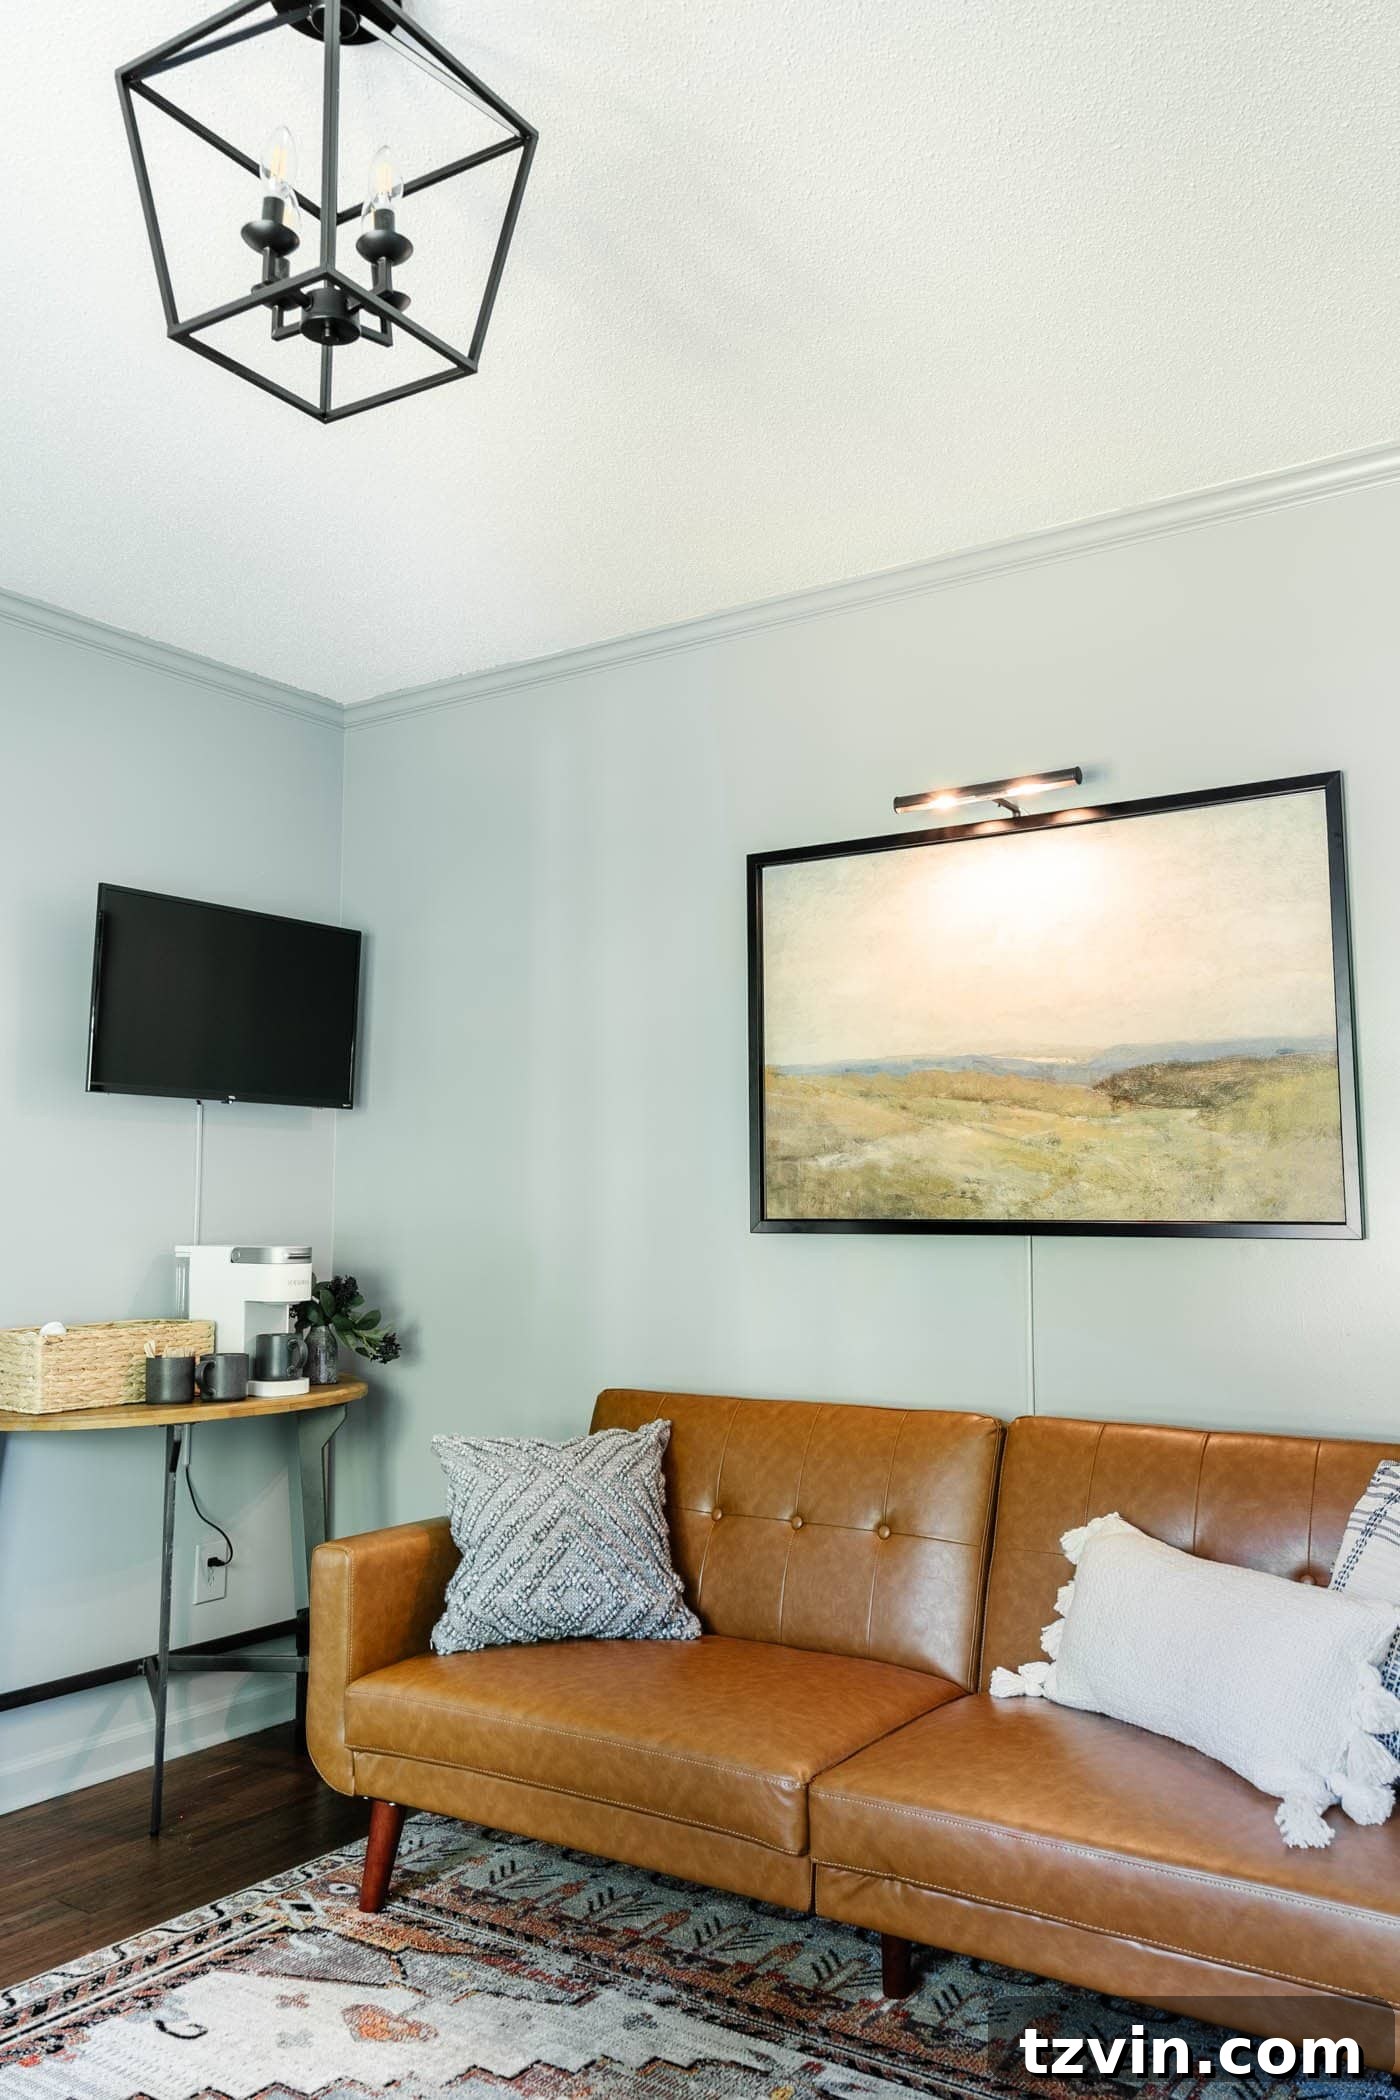
Method 2: Wireless (Battery-Operated) Picture Lights – Ultimate Flexibility and a Pristine Finish
When an electrical outlet isn’t accessible, or you desire an absolutely pristine, cord-free aesthetic, wireless picture lights are your ultimate solution. These battery-powered fixtures offer unparalleled flexibility, allowing you to illuminate artwork on any wall, regardless of its proximity to power sources. They are truly a game-changer for homeowners and renters alike, opening up endless possibilities for art display in hallways, bedrooms, or even temporary setups.
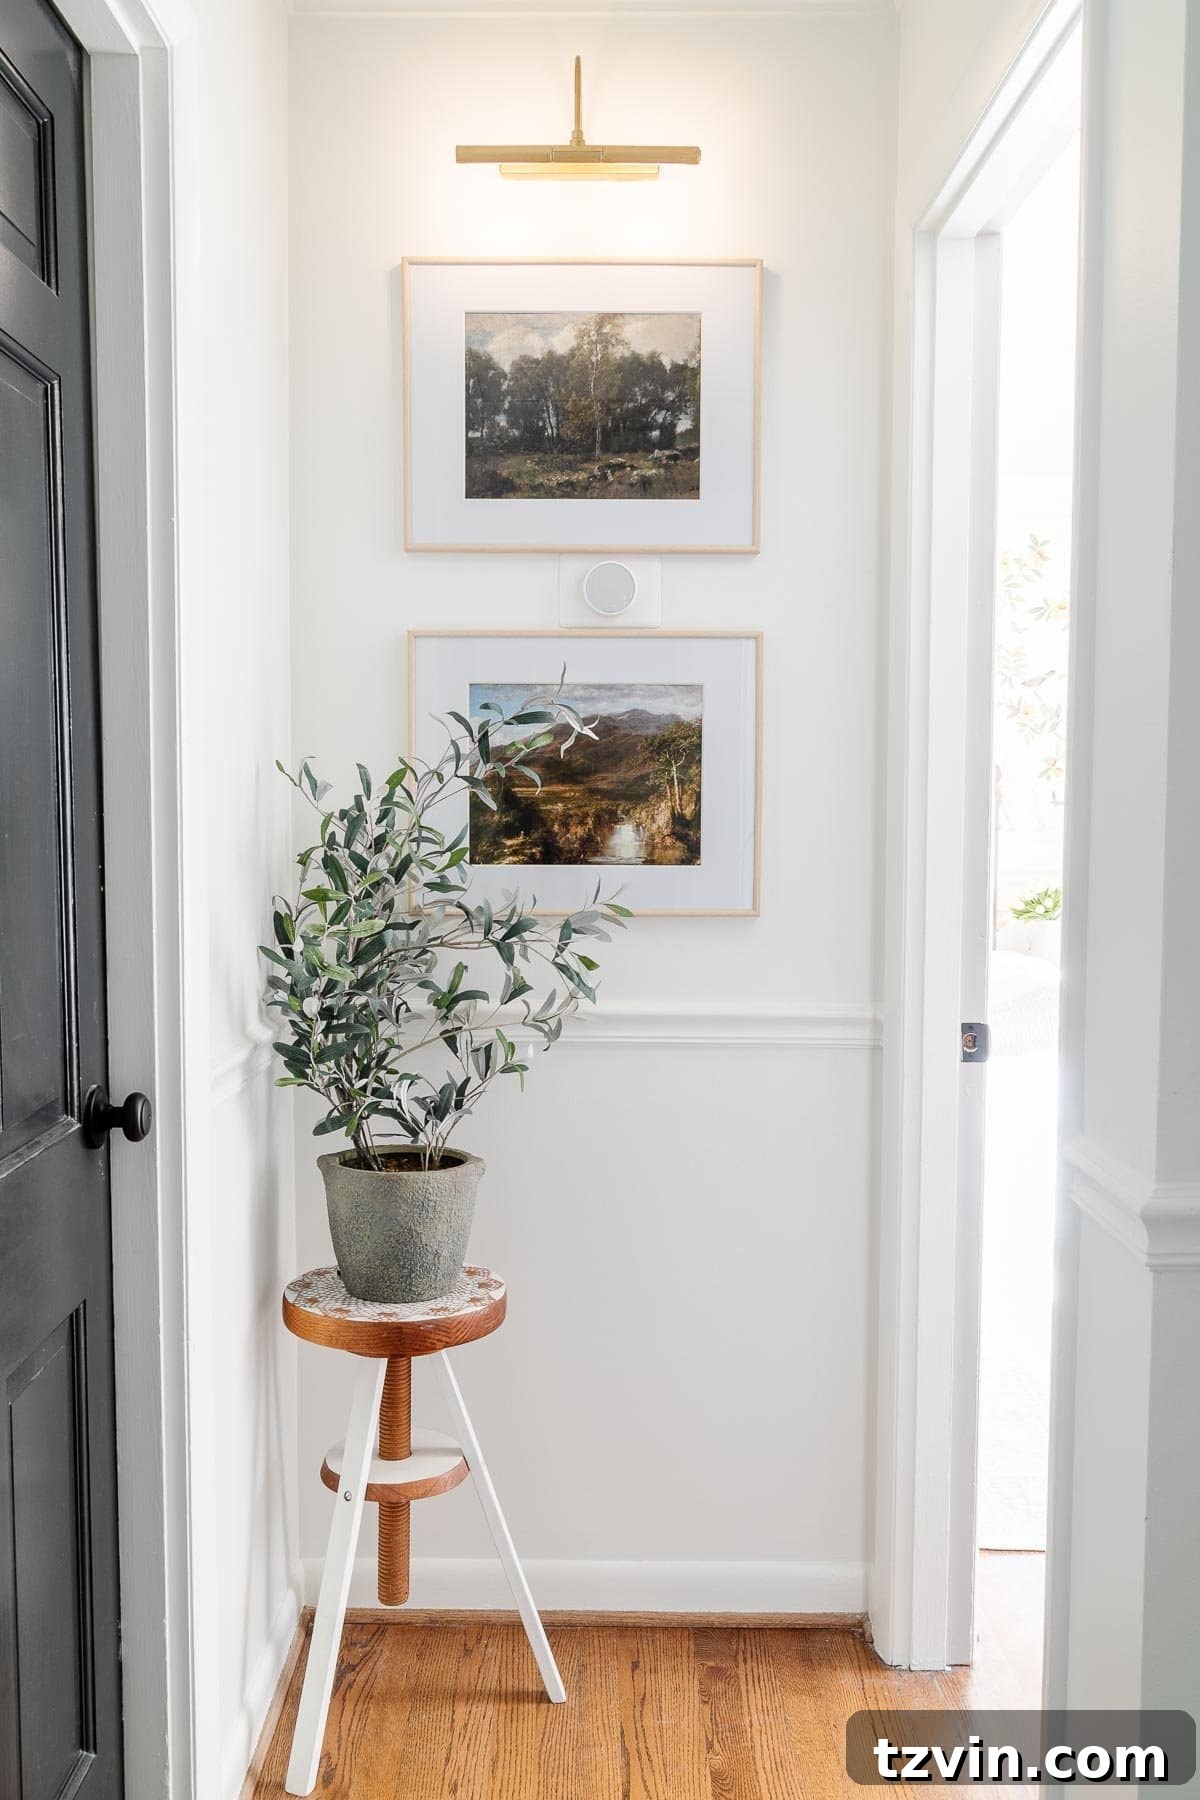
One of our top finds in wireless lighting is this battery-powered remote control picture light. It’s incredibly versatile and boasts features like a daily timer, adjustable brightness levels, and selectable light temperatures (daylight or soft light), giving you complete control over the mood and focus of your display. For an added touch of vintage elegance, we often apply Rub ‘n Buff to the plastic casing of these lights, enhancing their appearance to mimic older, more traditional metal fixtures.
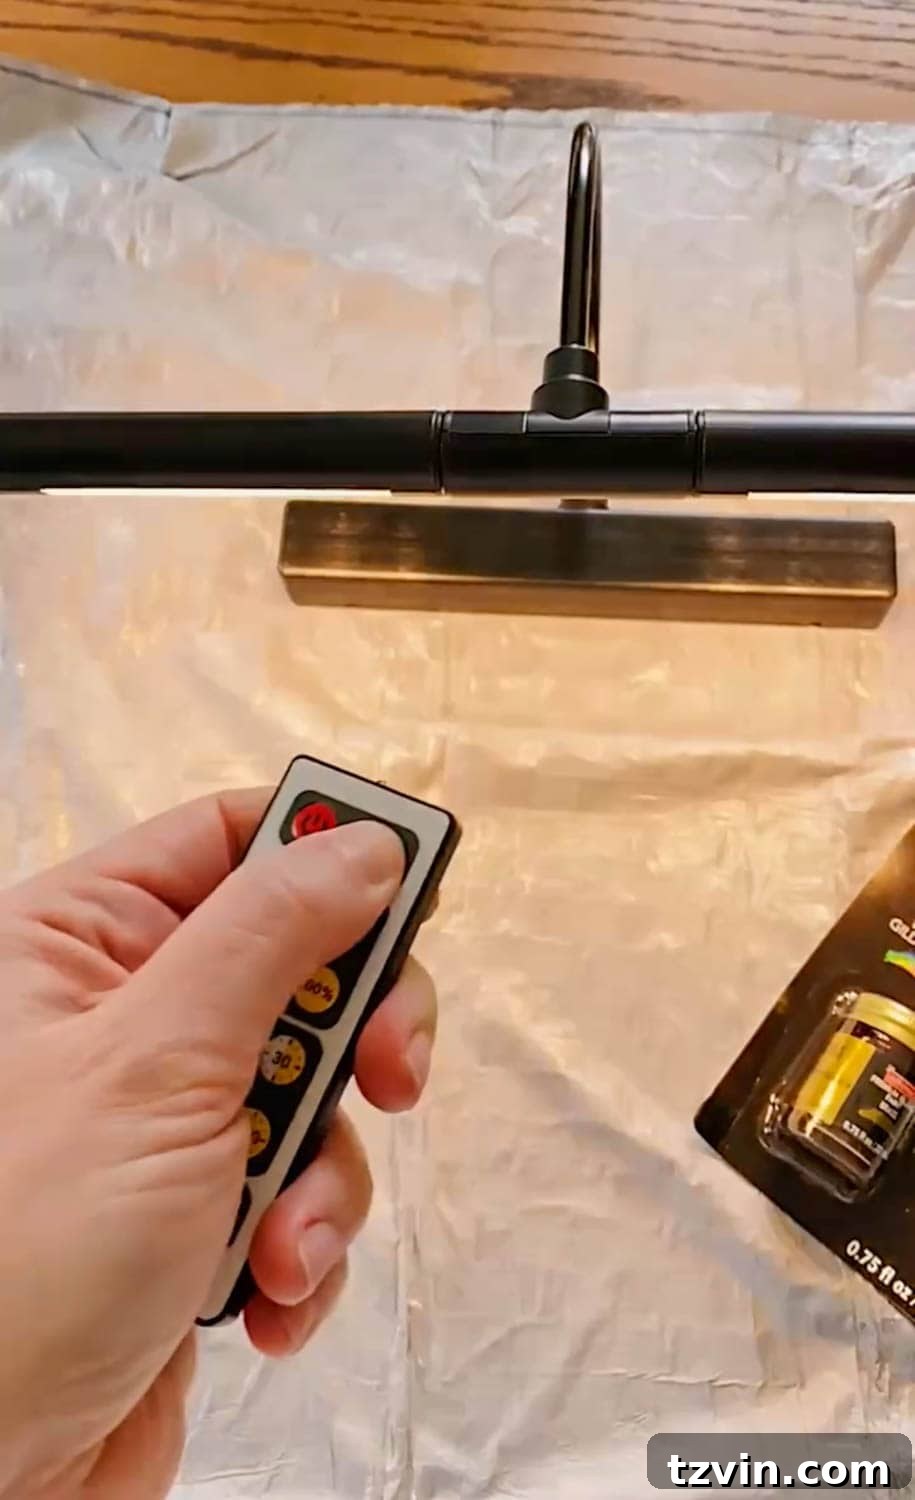
Step 1 – Effortlessly Mount Your Wireless Picture Light Using the Template
Installing a wireless picture light is incredibly straightforward. Many models, including our recommended choice, come with a convenient mounting template. This guide allows you to precisely mark the screw locations on the wall above your artwork without needing complex measurements. Simply tape the template to the wall, mark your drill points, and then screw the mounting plate into place. Once the plate is secure, the light fixture typically slides or clips onto it, making the process quick and foolproof. Always ensure your artwork is already hung and centered before you begin to mark for the light.
Step 2 – Customize Your Lighting with Timer and Remote Settings
One of the significant advantages of wireless picture lights is their advanced control options. Once mounted, use the remote control to set your preferred daily timer, brightness level, and light color temperature. For a warm and inviting atmosphere, we often opt for the soft light setting, which emits a slightly yellow hue. Experiment with different brightness levels to best highlight your art without glare. The duration you choose for the light to be on each day will directly impact battery life. For example, with our lights set to illuminate from 6:00 pm to 9:00 pm daily, we typically find ourselves changing the batteries approximately once a month. To minimize waste and long-term costs, we highly recommend using high-quality rechargeable batteries.
Choosing the Right Picture Light: Key Considerations
To ensure your picture light perfectly complements your art and space, consider these factors:
- Size and Proportion: The light fixture should typically be about half to two-thirds the width of your artwork (including the frame). Too small, and it won’t illuminate effectively; too large, and it can overwhelm the piece.
- Finish and Style: Picture lights come in various finishes like brass, bronze, nickel, and black. Choose one that harmonizes with your artwork’s frame, your room’s existing hardware, and your overall decor style (e.g., modern, traditional, industrial).
- Light Temperature: Many modern lights offer adjustable color temperatures. Warm white (2700K-3000K) is excellent for creating a cozy, inviting ambiance and is often preferred for traditional art. Cool white (4000K-5000K) provides a crisp, bright light, ideal for contemporary pieces or when you want to emphasize true colors.
- Brightness (Lumens): Consider the size of your artwork and the desired impact. Adjustable brightness features on wireless lights are particularly useful.
- Power Source: Decide between plug-in (for consistent power and less maintenance) or battery-operated (for ultimate flexibility and a completely wire-free look).
Styling and Maintenance Tips for Your Picture Lights
- Layered Lighting: Picture lights are part of a layered lighting scheme. Combine them with ambient (overhead), accent (spotlights), and task lighting (lamps) to create a dynamic and functional room.
- Artwork Selection: While all art benefits from illumination, textured pieces like oil paintings or pieces with intricate details truly shine under a dedicated light.
- Regular Cleaning: Dust can accumulate on the light fixture and the top of the art, dulling the effect. A quick wipe down regularly will maintain optimal illumination.
- Battery Management: For wireless lights, invest in a good set of rechargeable batteries and a charger. Keep a charged spare set ready for quick swaps, ensuring your art is never left in the dark.
Our Favorite Plug-In and Wireless Picture Lights
Beyond the specific models we’ve highlighted, there’s a wide array of fantastic art lights that don’t demand hardwiring. When selecting your perfect fixture, look for features like adjustable arms or heads to direct light precisely, dimmable options for mood control, and robust construction that aligns with your home’s aesthetic. Here are a few examples of the types of innovative, easy-to-install options available:

(Click any image in the gallery below to shop.)
Have you ever considered adding picture lights to your home? They offer such a significant impact for a relatively small effort and investment. It’s time to let your beautiful artwork truly shine in the spotlight it deserves, enhancing your home’s beauty and ambiance one illuminated masterpiece at a time.