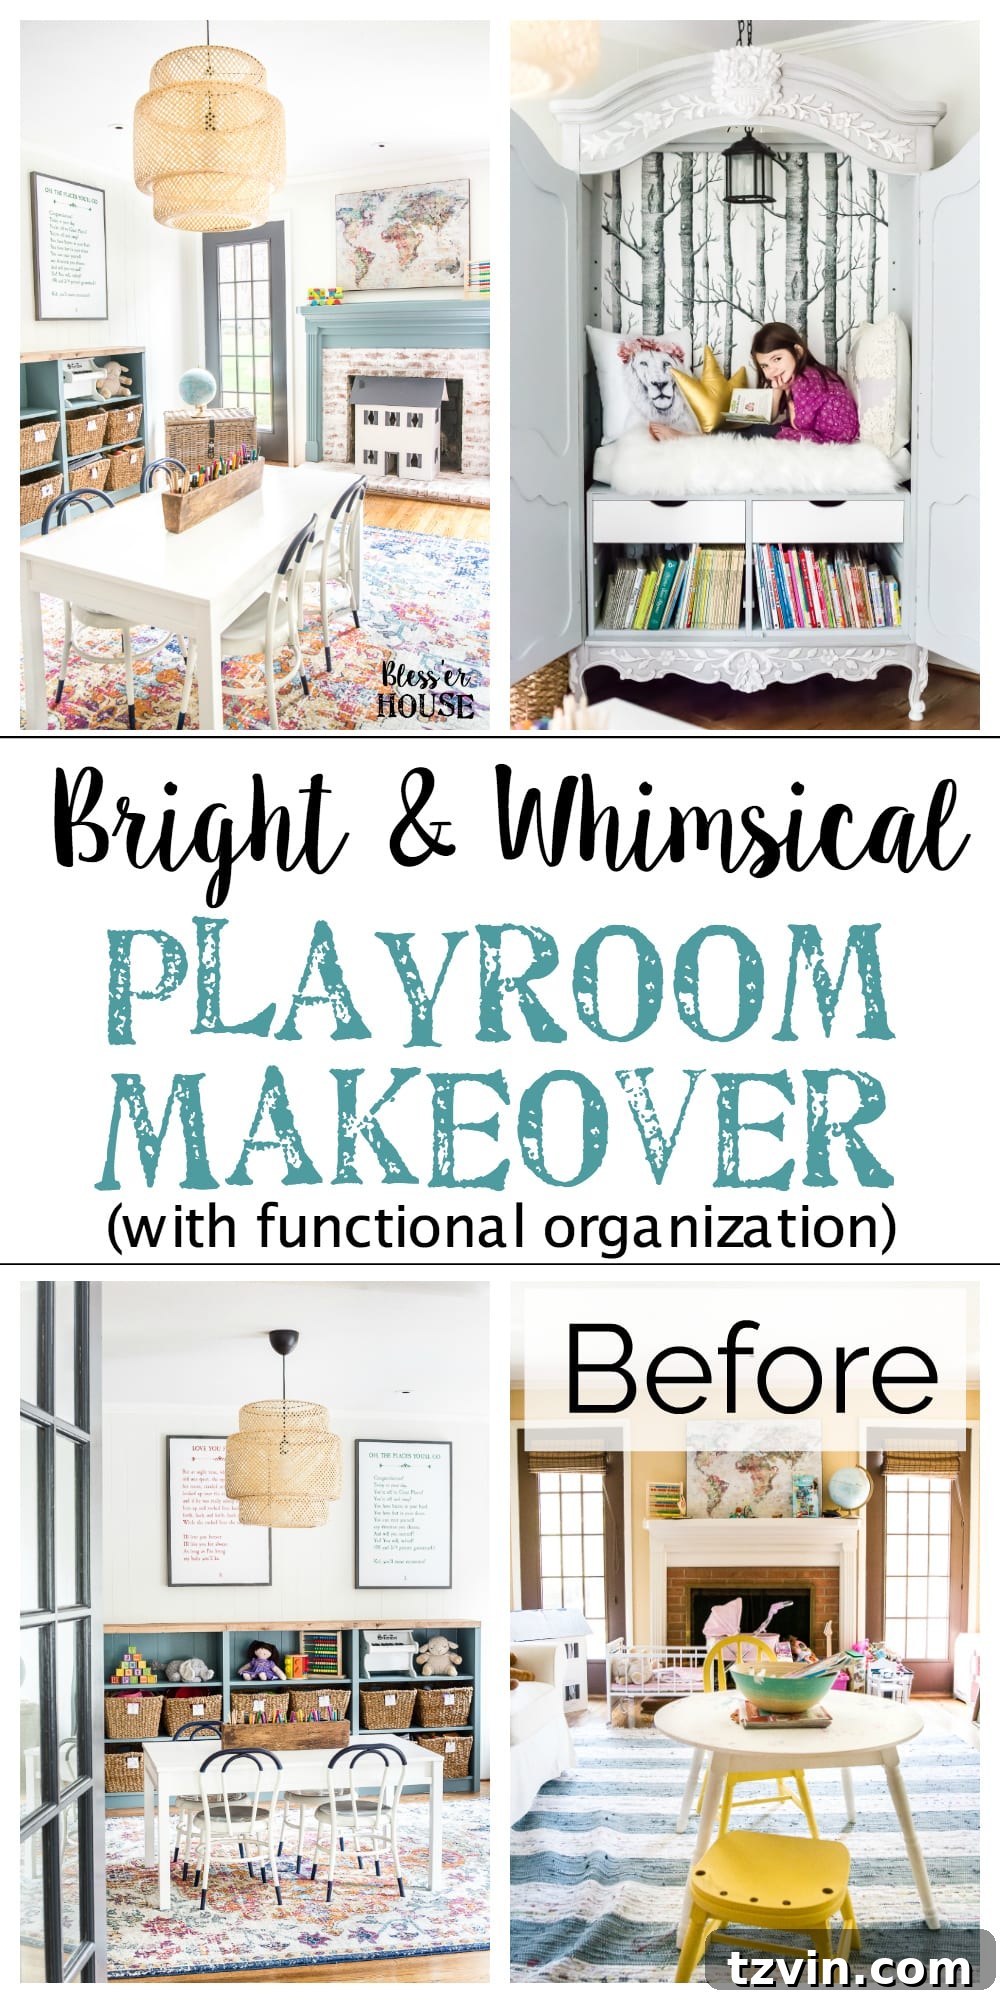
Playroom Makeover: From Dated to Delightful
We did it! The playroom is finally complete, and just in the nick of time. It feels amazing to have crossed the finish line.
My husband, Robert, and I set a goal at the beginning of the year to have this room finished by March. It’s a fantastic feeling to have accomplished that! This space feels so different from the rest of our home. It’s a bit more modern and far more colorful, which is perfect for a little girl (and a new baby on the way!). It’s a playful contrast to the other rooms we’ve renovated.
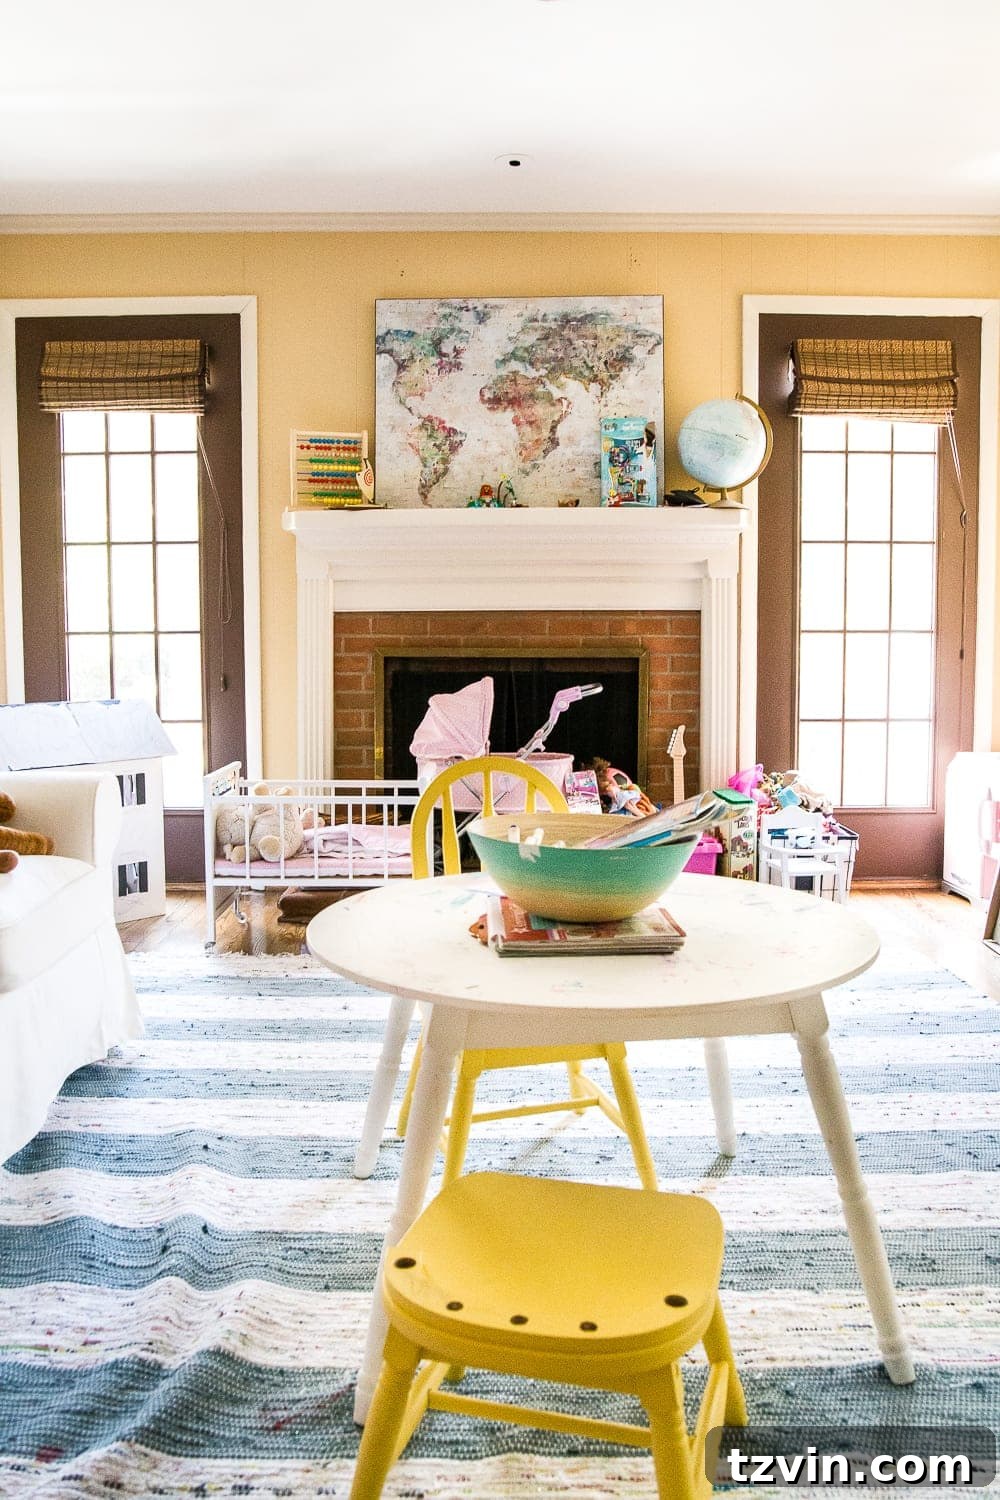
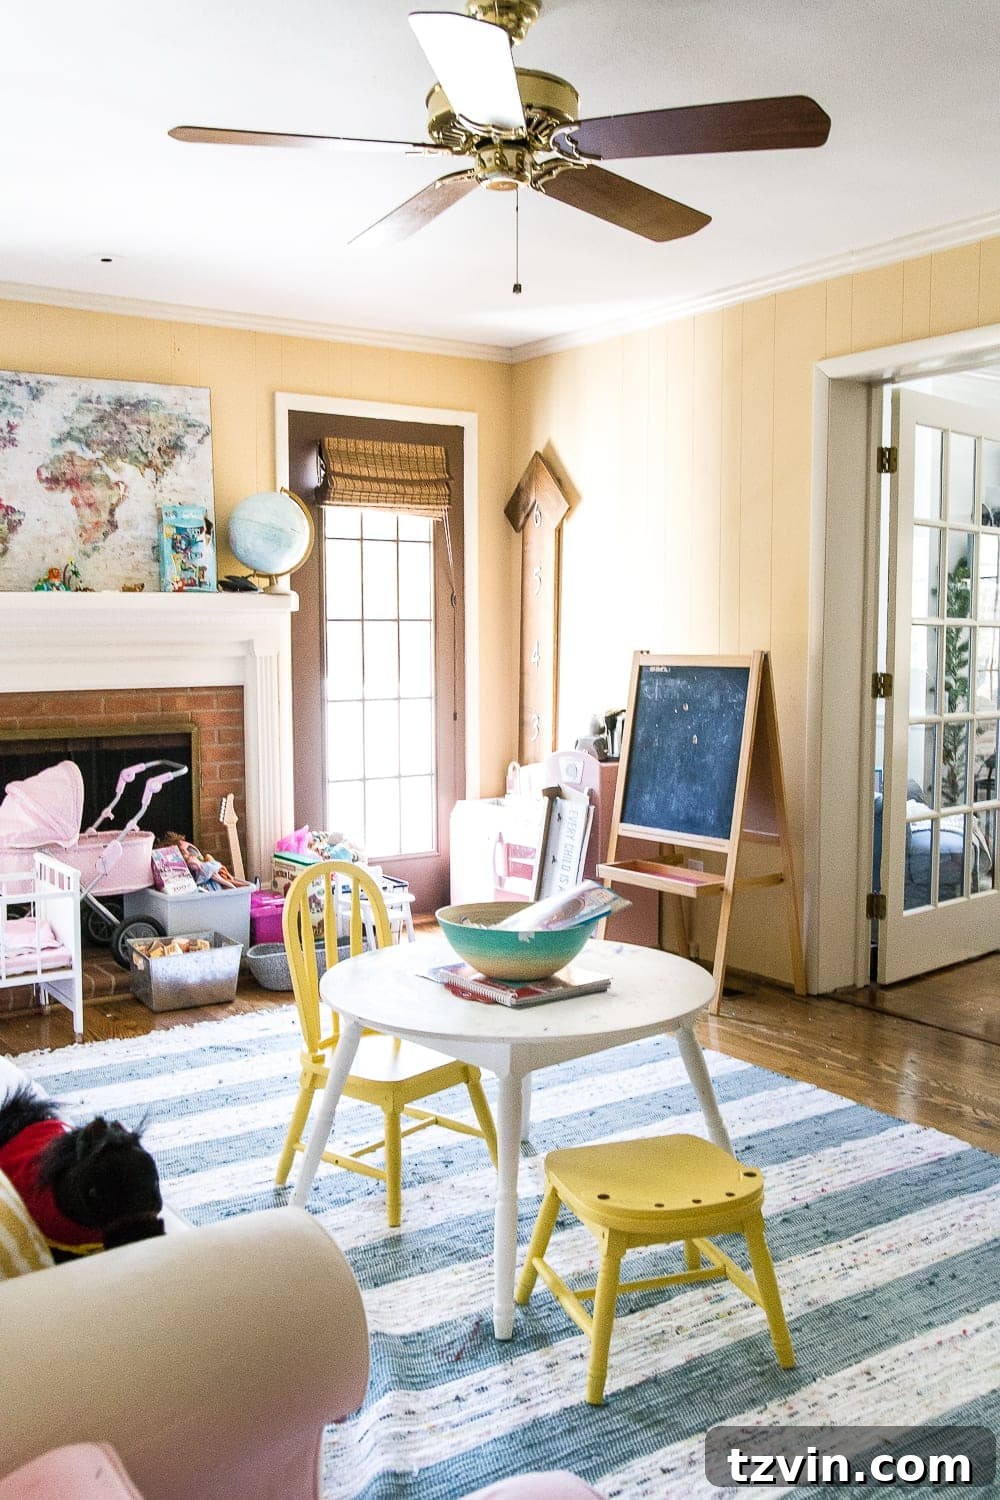
It’s certainly a departure from the bright yellow it used to be, but it’s a great improvement!
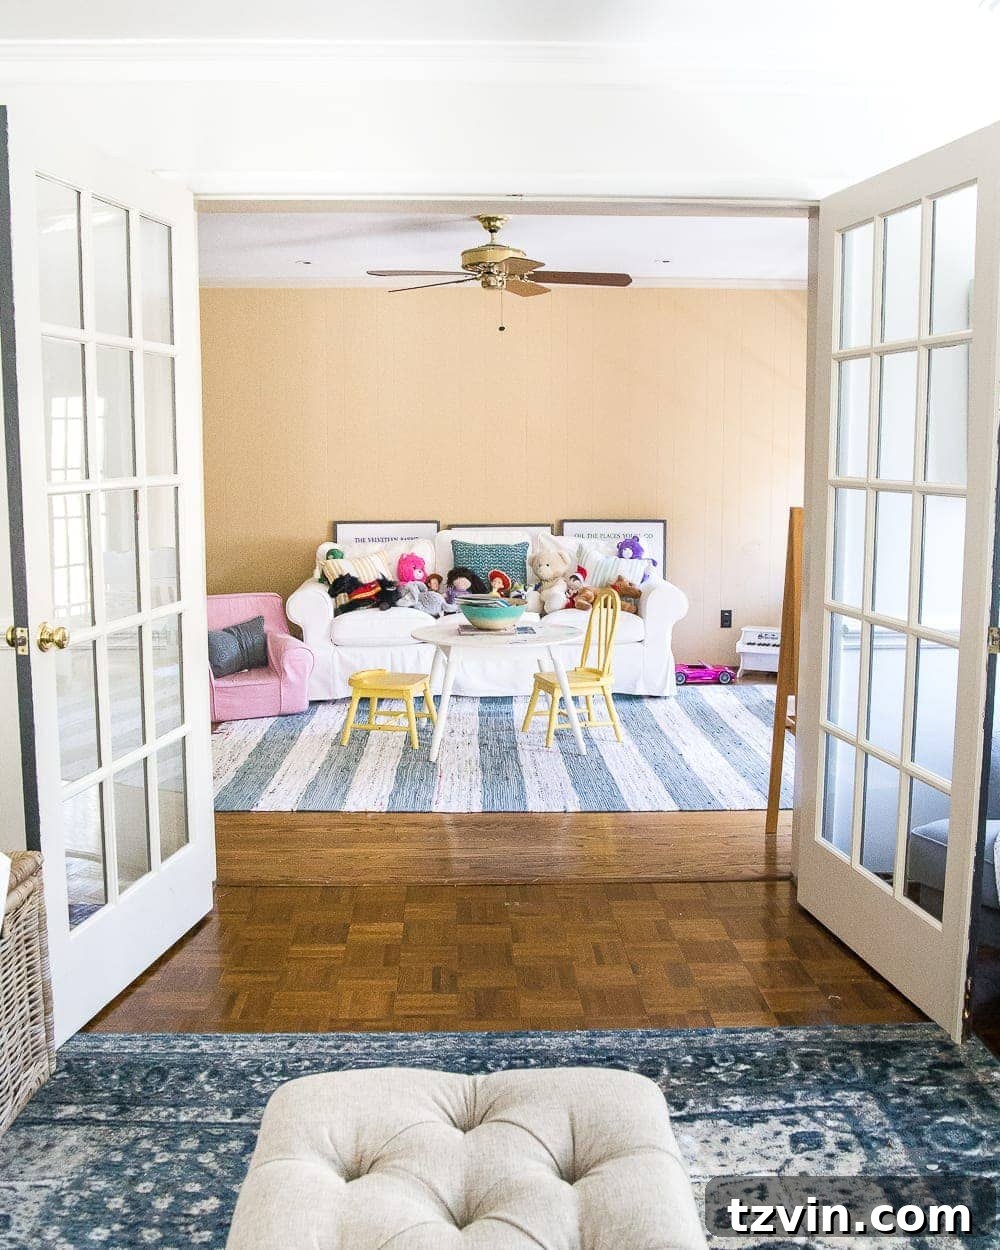
After we decluttered the space, removed the old sofa (which mostly served as a stuffed animal holder!), painted the walls, built some much-needed storage, and established a better flow, this room has become a lifesaver for my sanity.
Everything now has its place, and we’re no longer overwhelmed by toys!
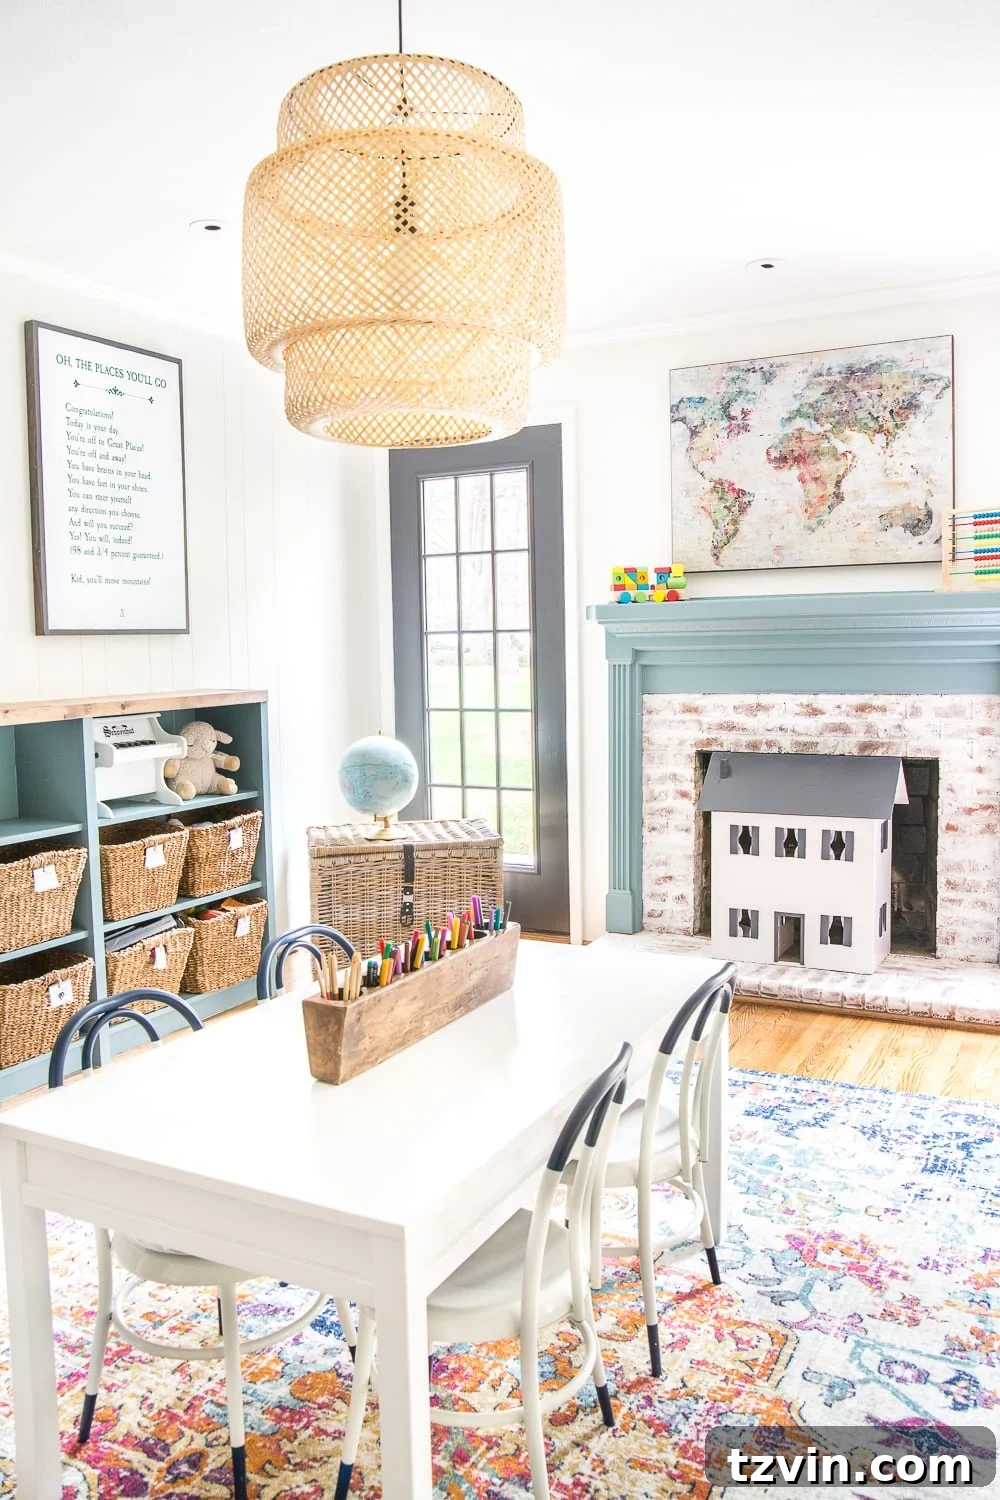
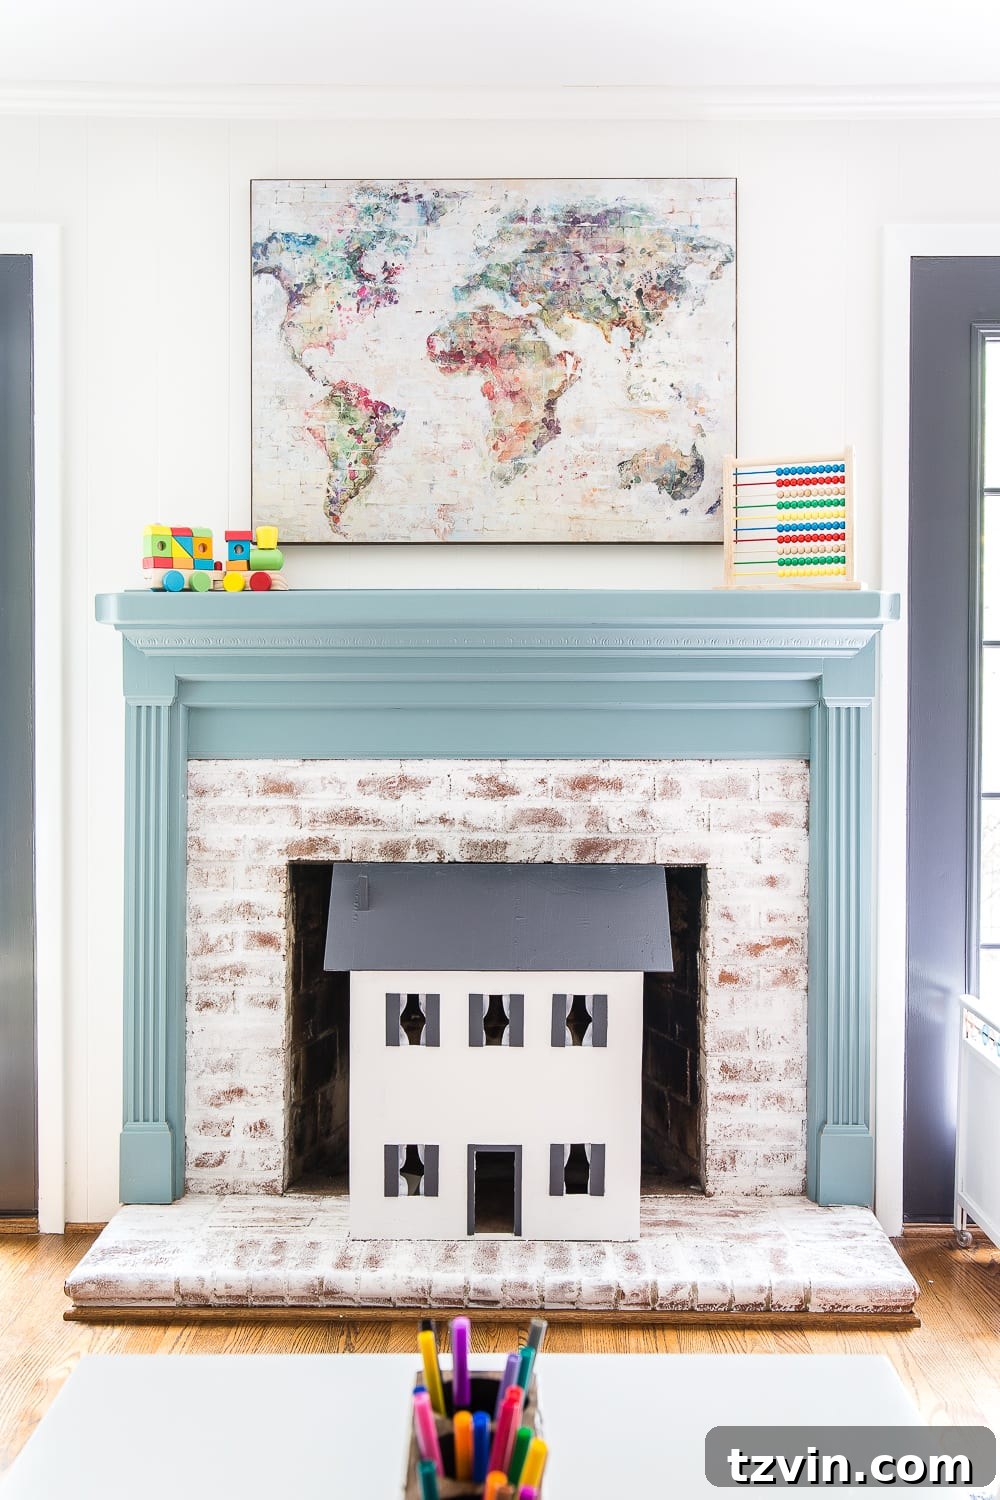
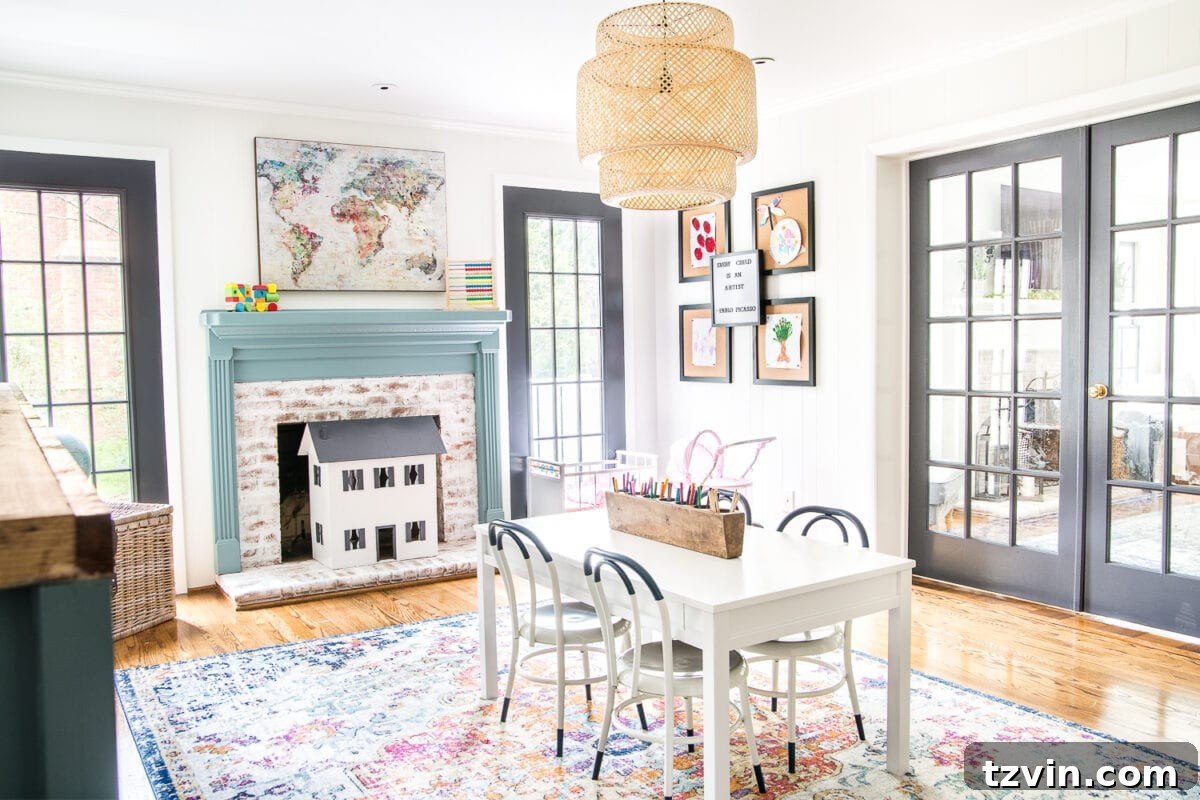
I finally found the energy to lime wash the fireplace in here, too. This playroom was originally the living room when our house was built in the 1960s. The current living room was added in the 1980s, so that left us with a unique fireplace in the playroom.
We didn’t want to completely seal off the fireplace. It’s in good shape and could be a selling point if we ever move. Instead, I simply placed Olivia’s little $10 dollhouse in front of it (a thrift store find that I fixed up!).
(When the baby arrives in the fall, I might add a metal fireplace screen with alphabet magnets or a chalkboard to keep the little one safe, but we’re not quite there yet.)
This corner of the room has been transformed thanks to good old-fashioned decluttering and organizing.
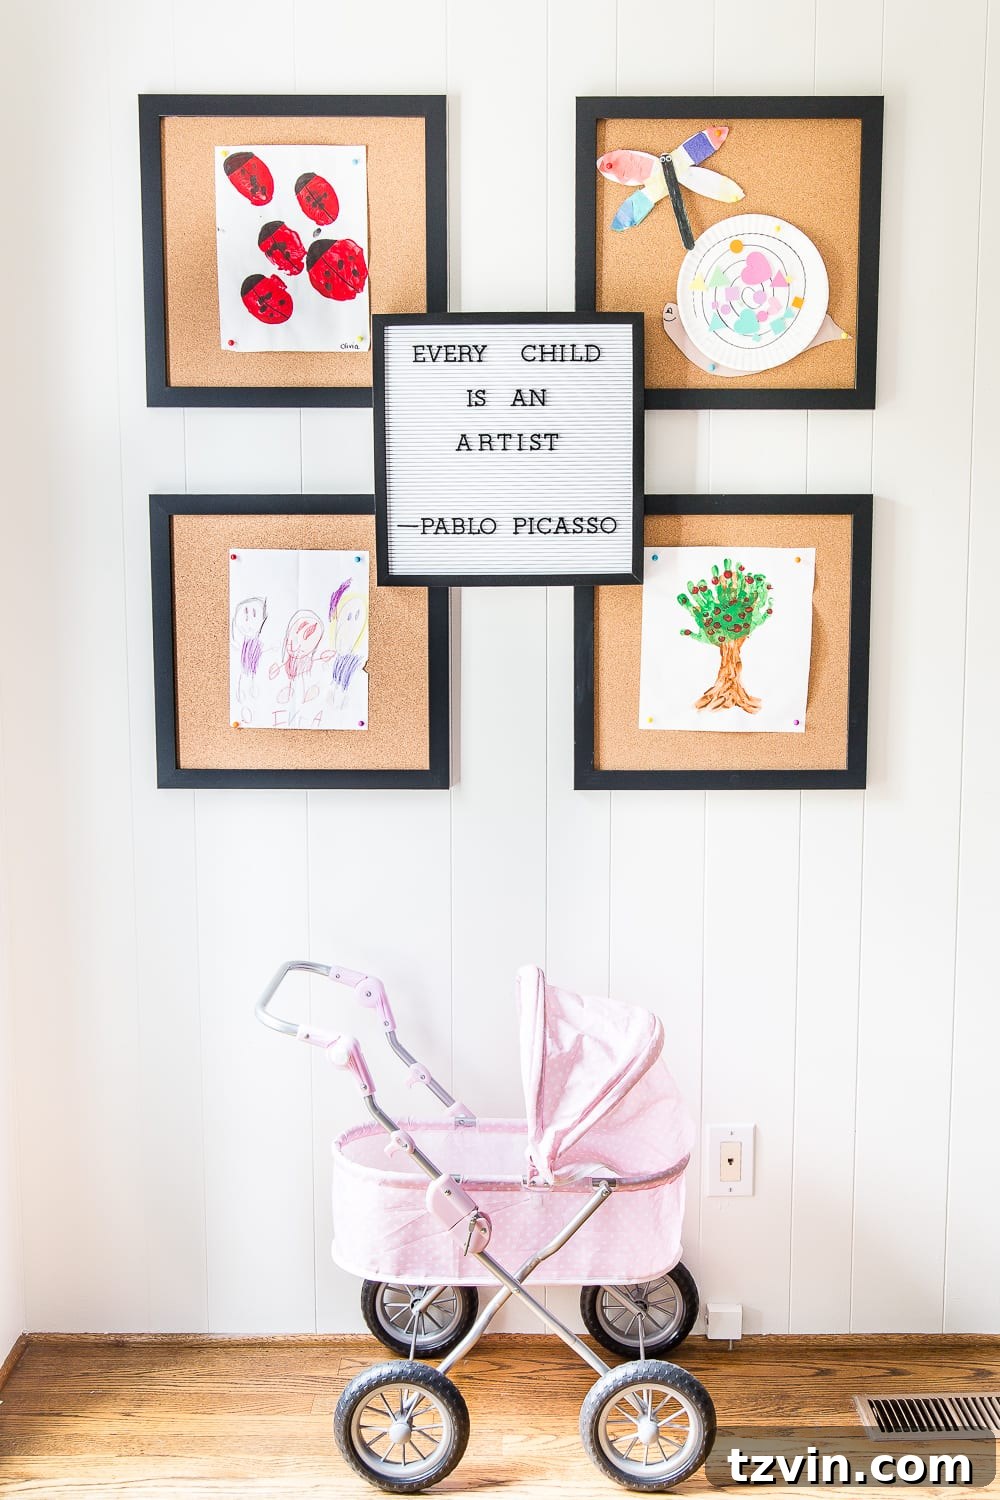
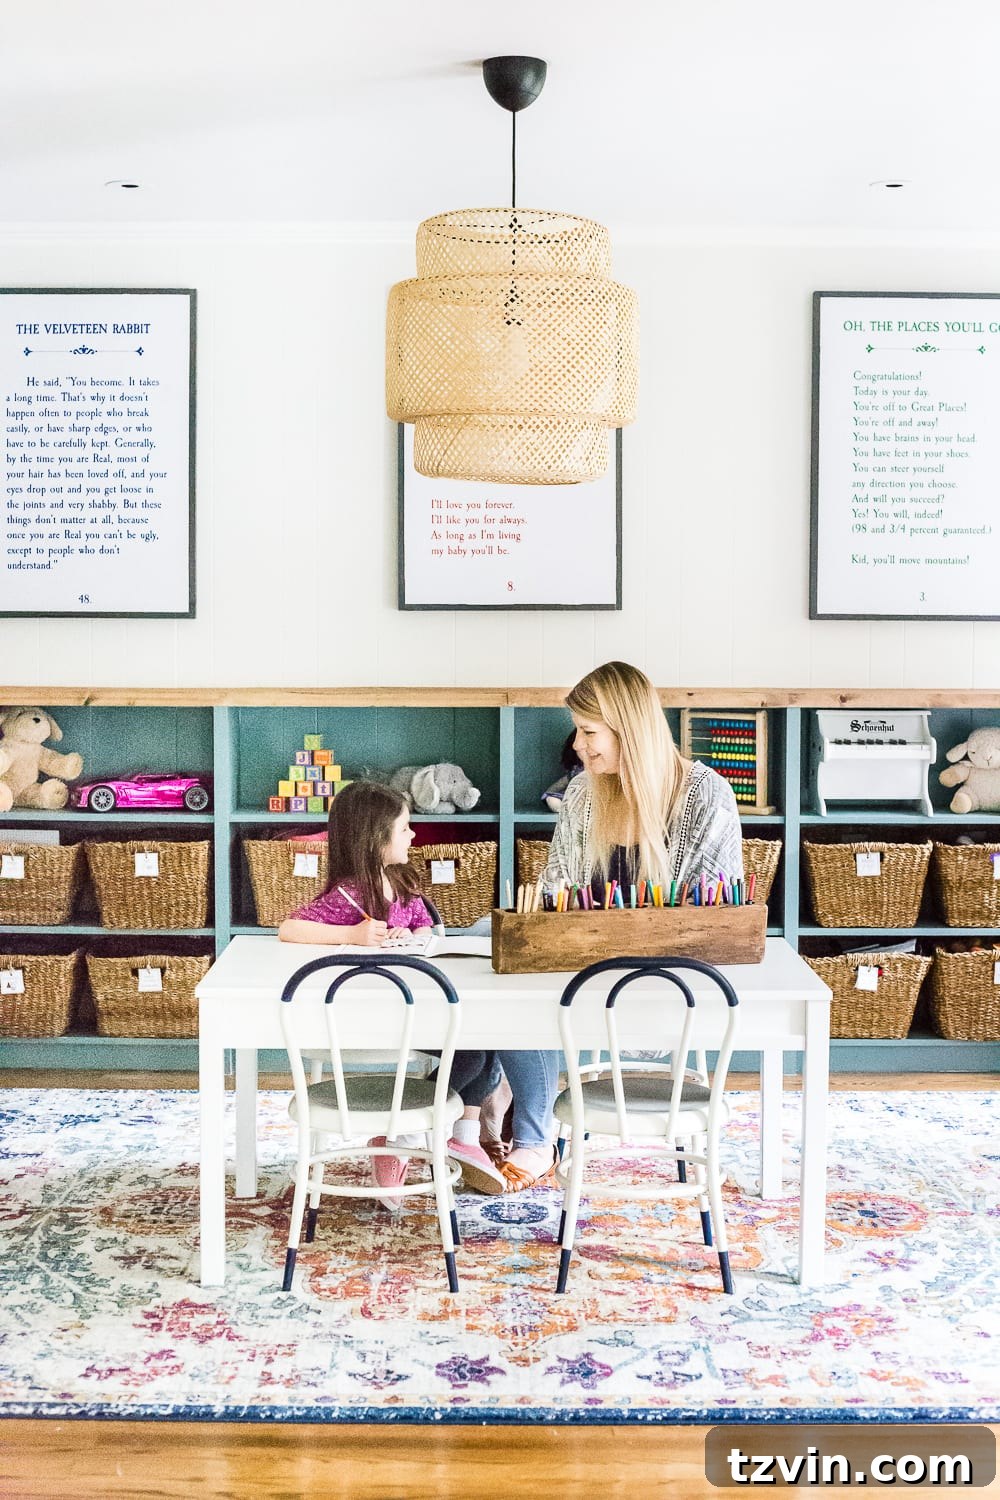
I also created some much-needed wall art, allowing Olivia to personalize the room and make it truly her own.
On the opposite side of the room, we had a bulky wall cabinet that likely used to be above a desk in a home office nook.
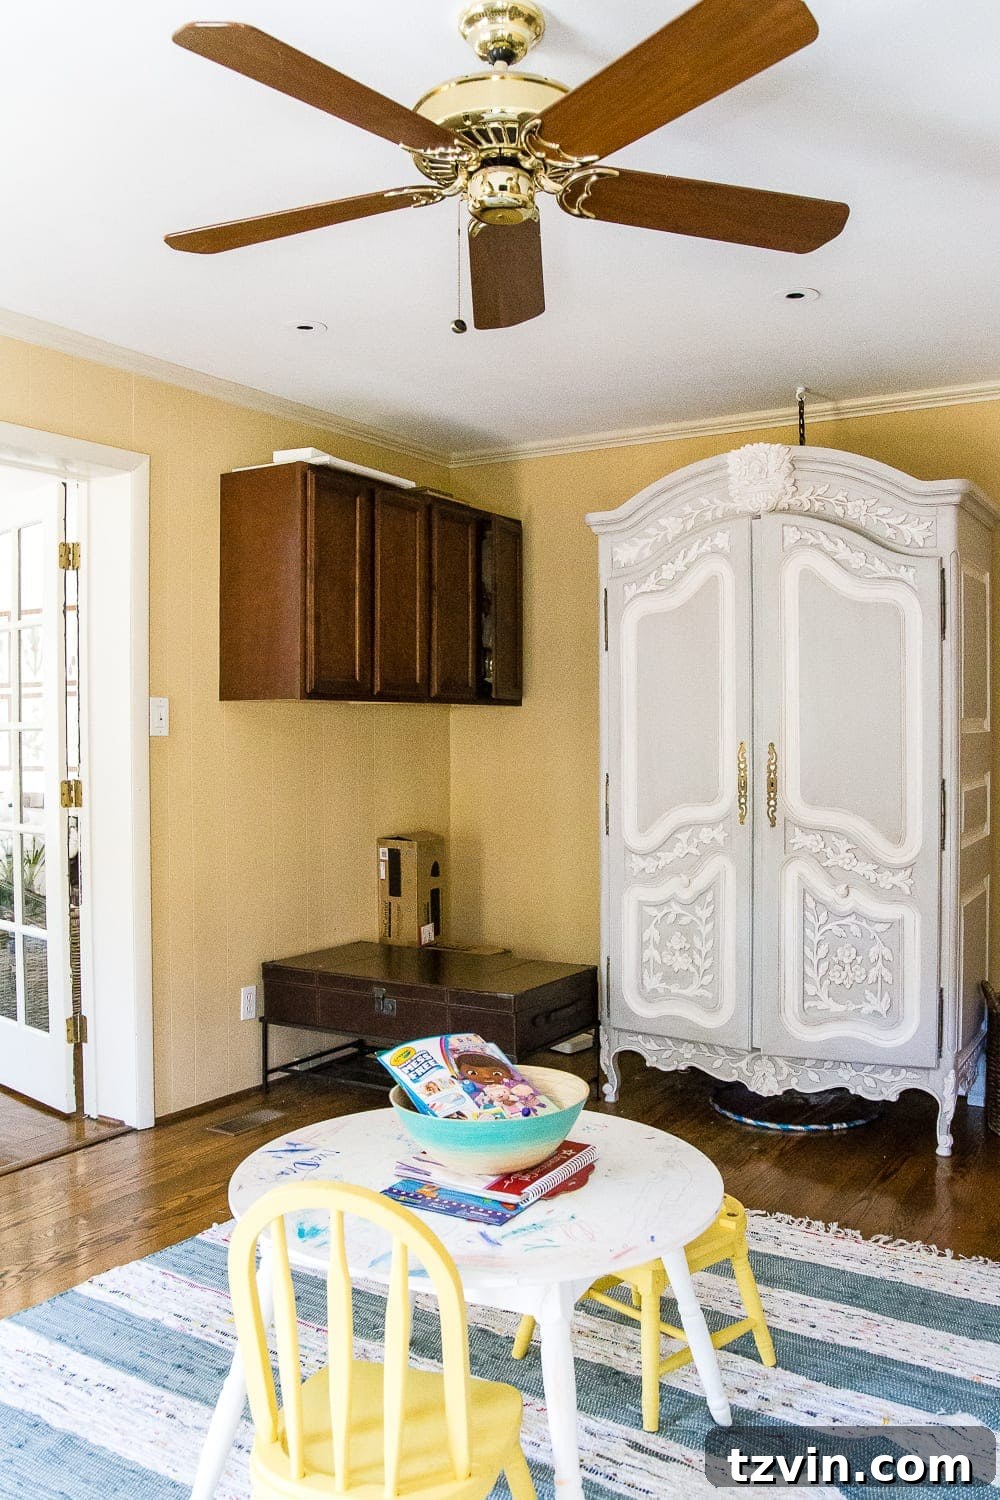
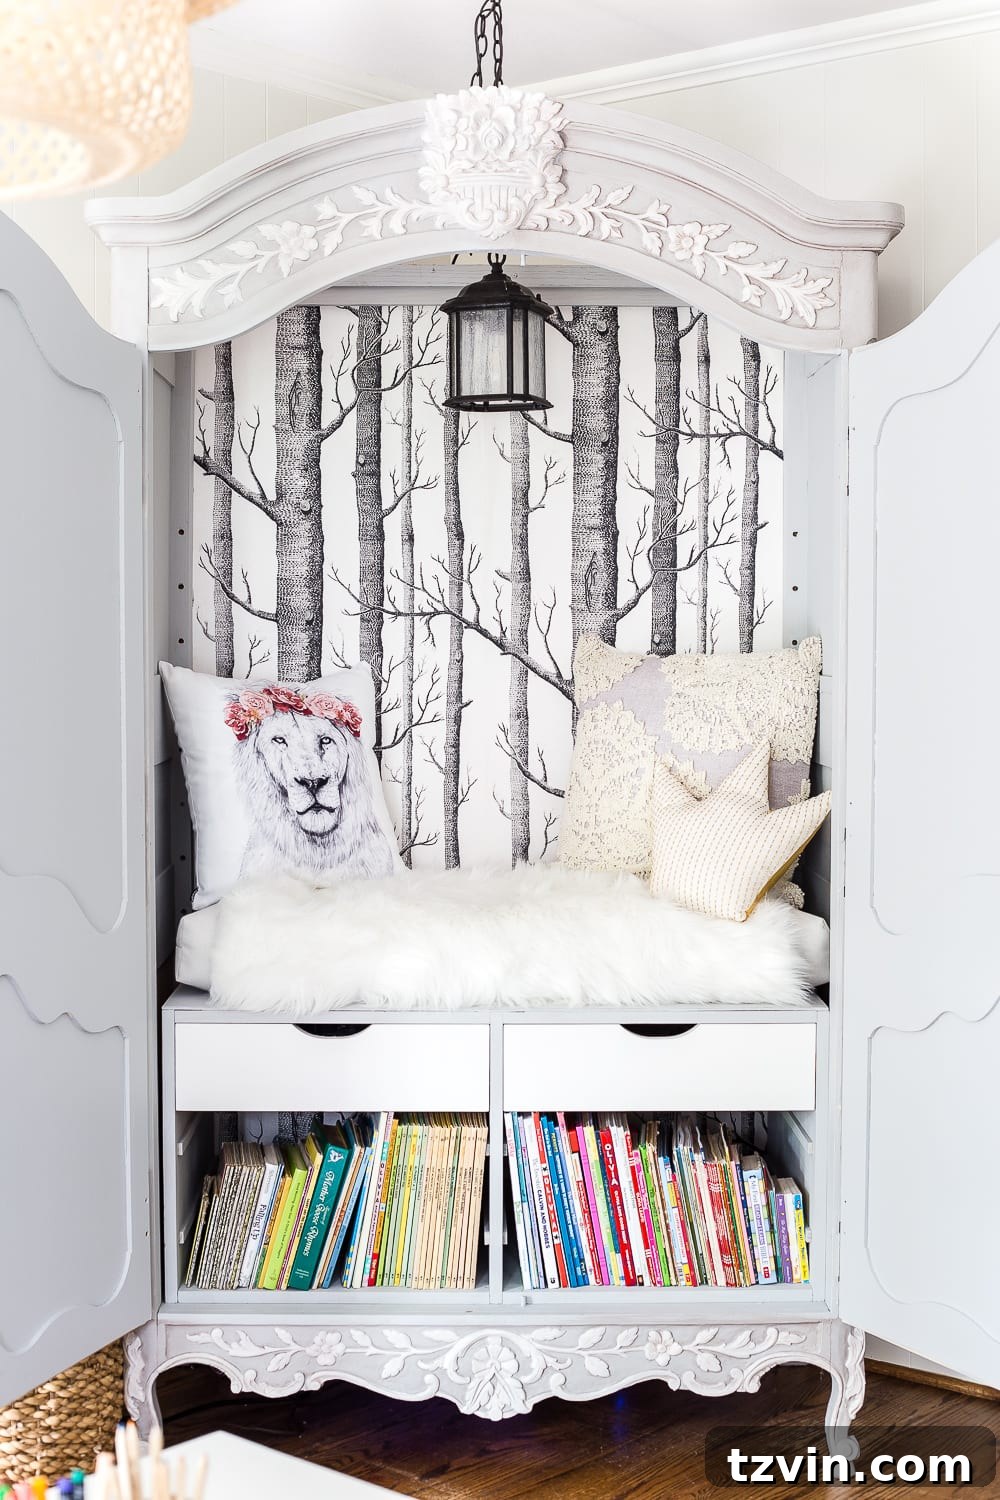
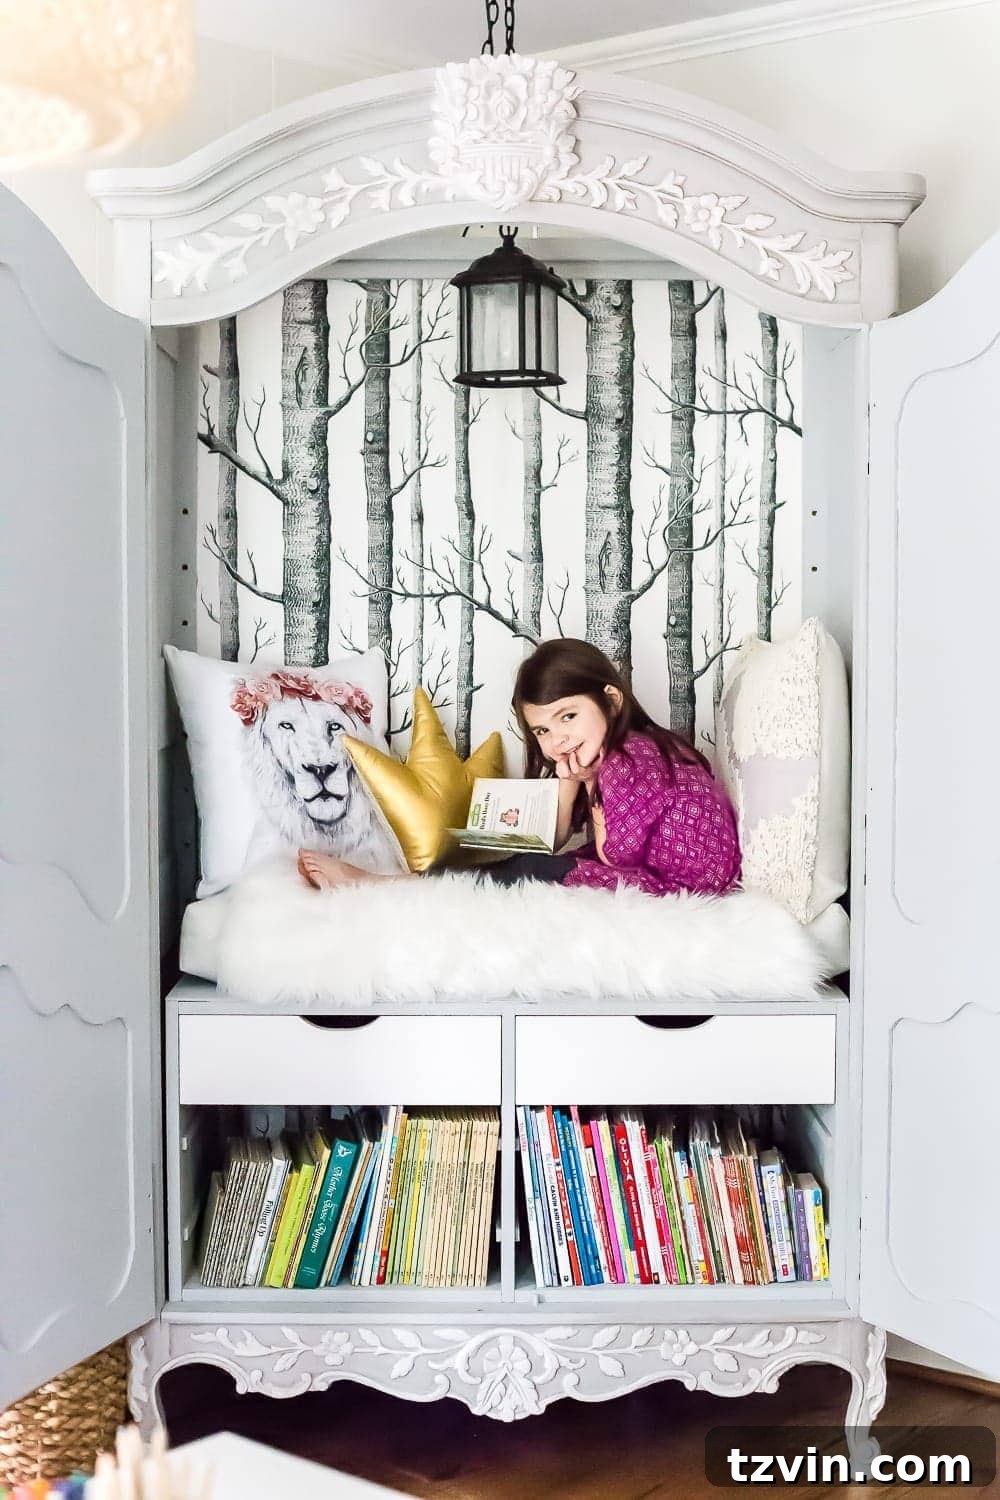
It wasn’t serving us well, so we removed it and anchored our DIY Narnia reading nook wardrobe in its place.
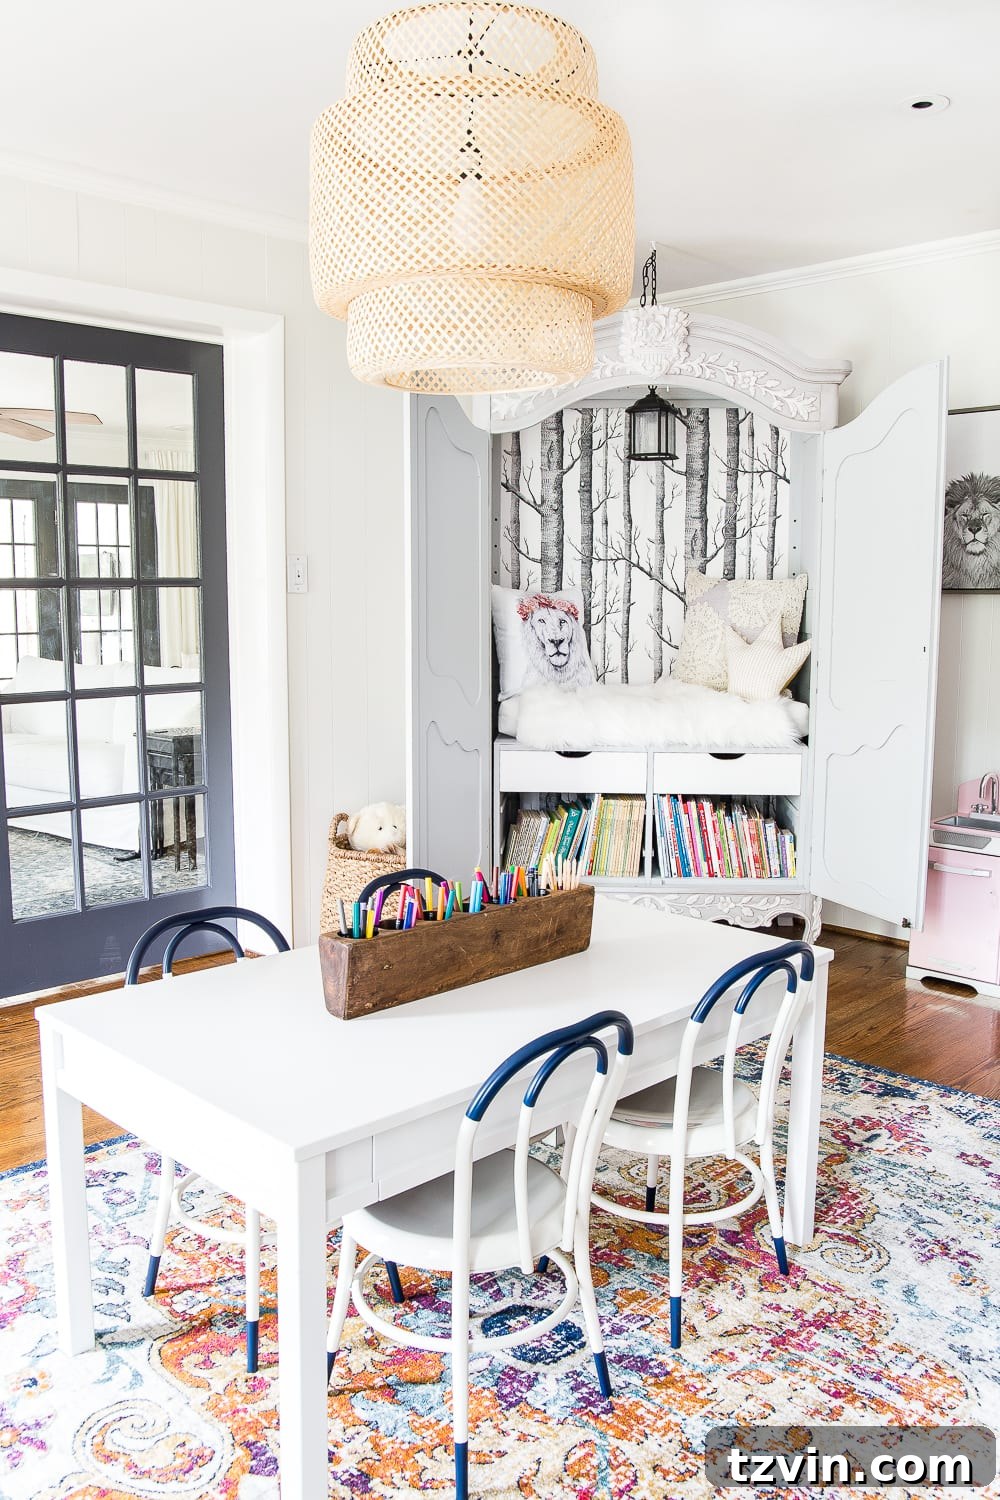
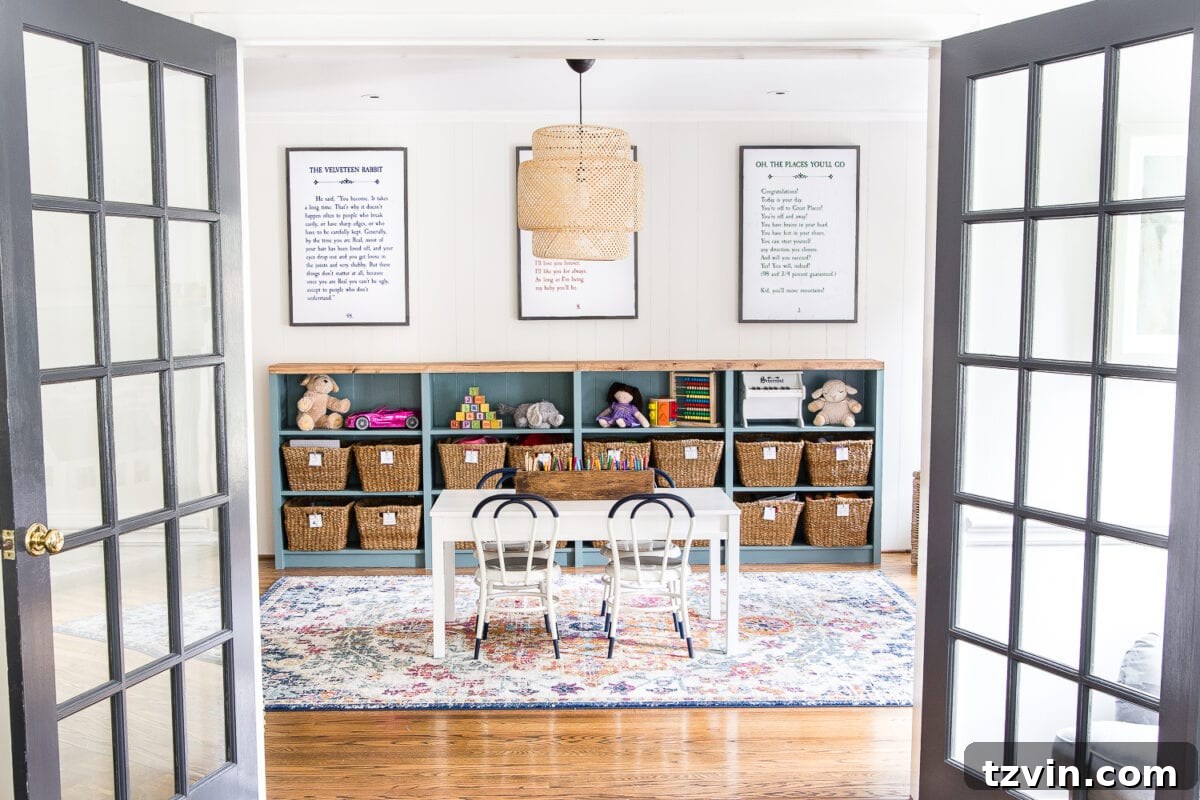
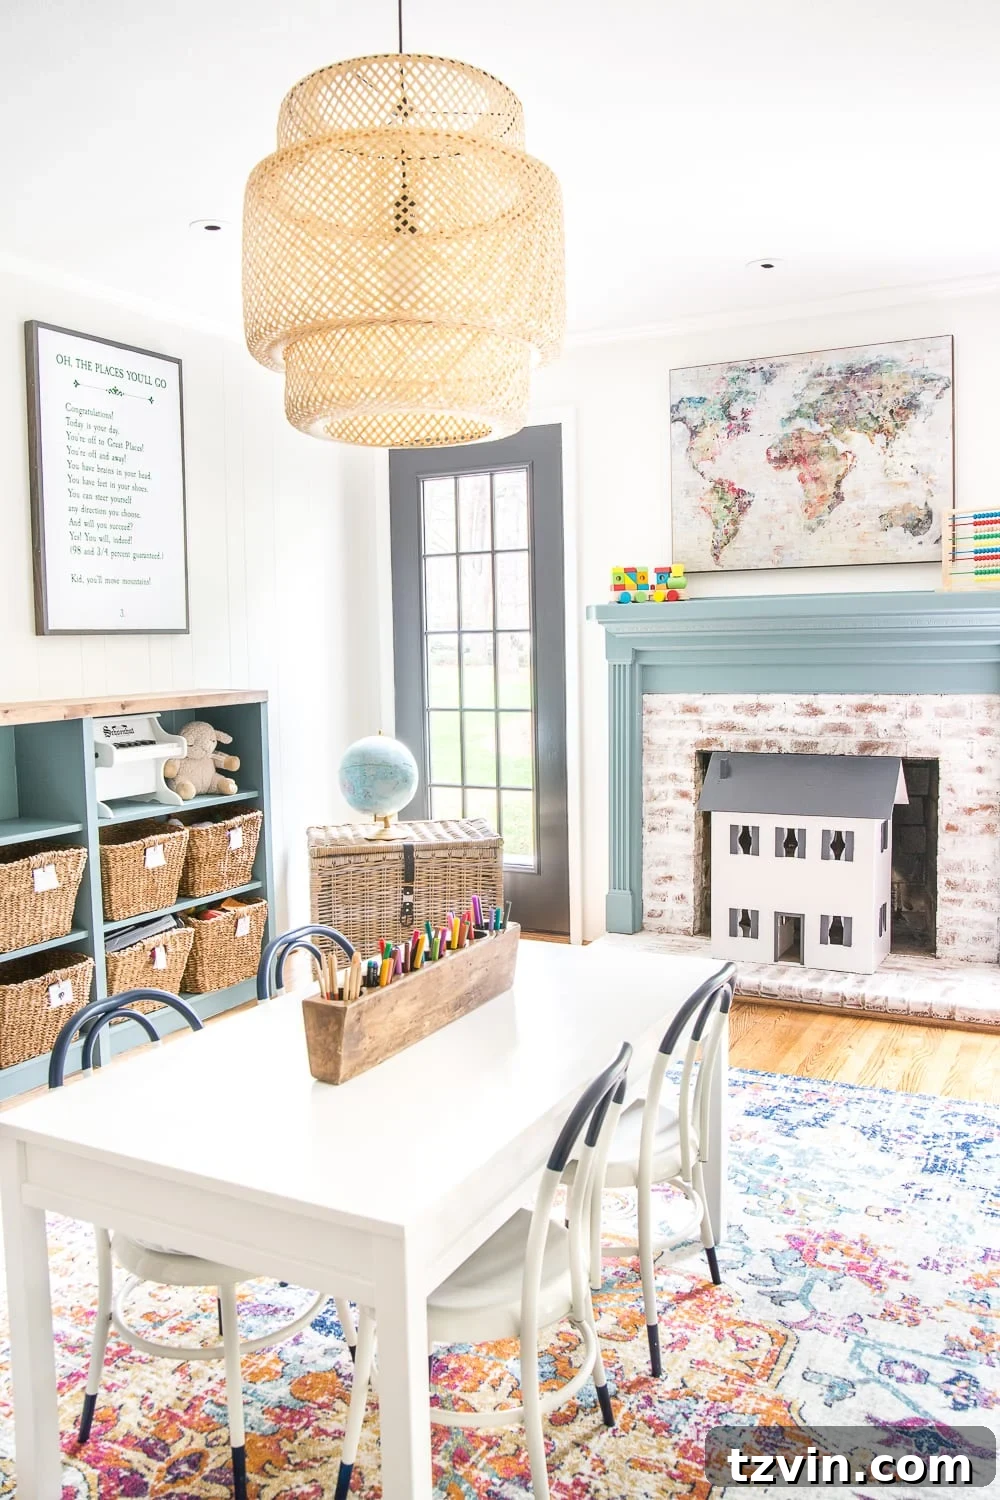
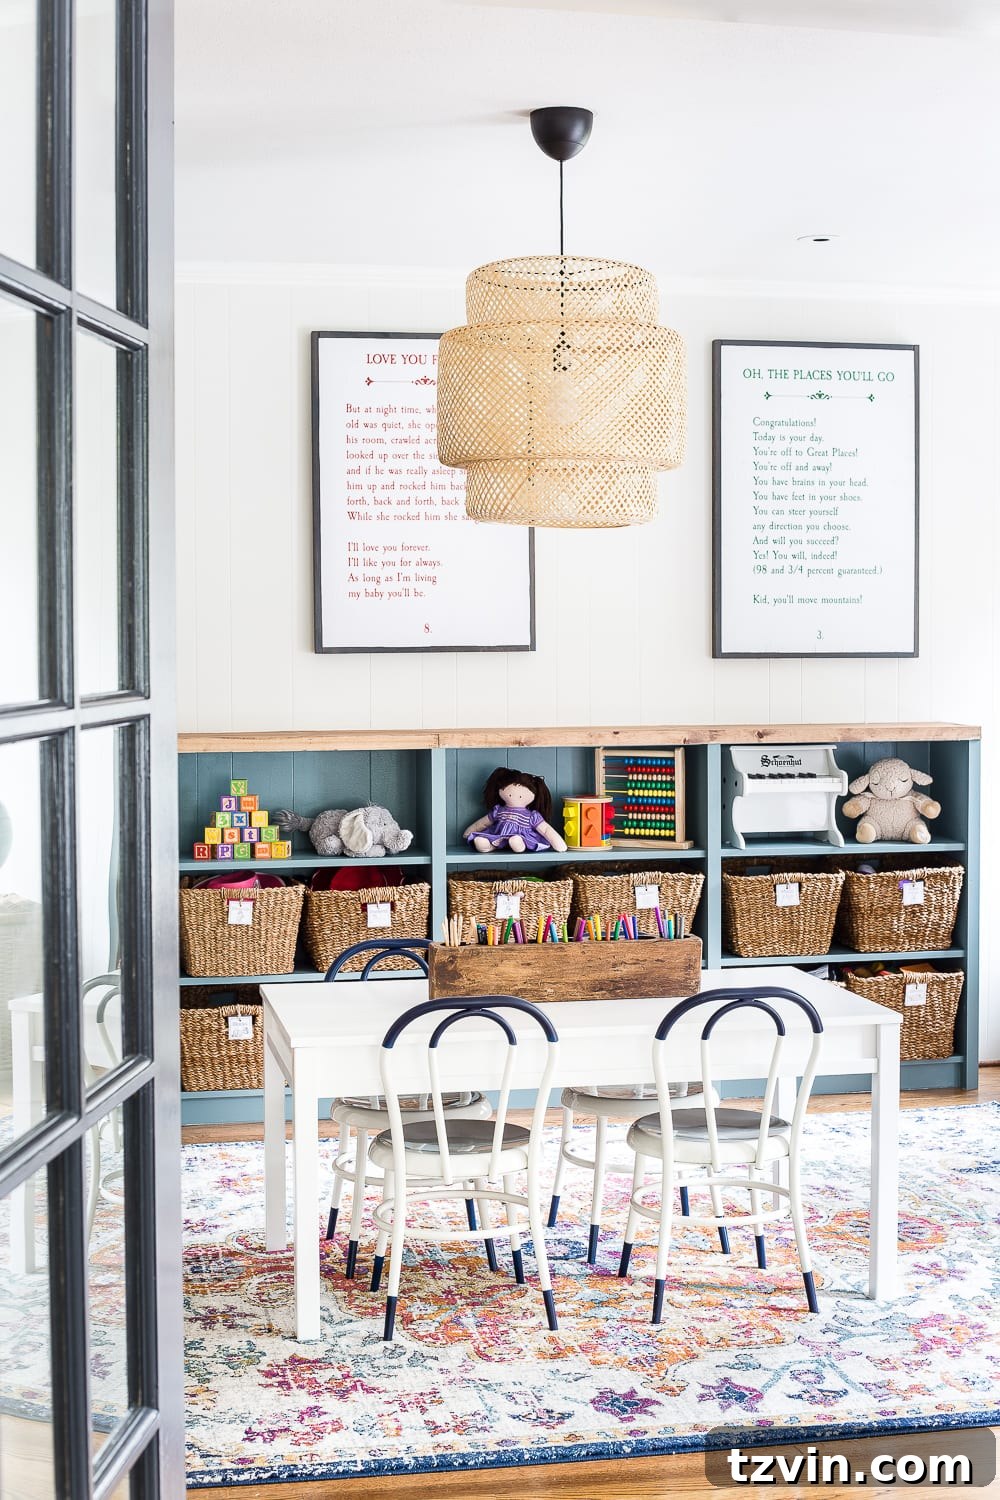
And those shelves we built from IKEA bookcases are perhaps the best thing we’ve ever done to help keep our house organized!
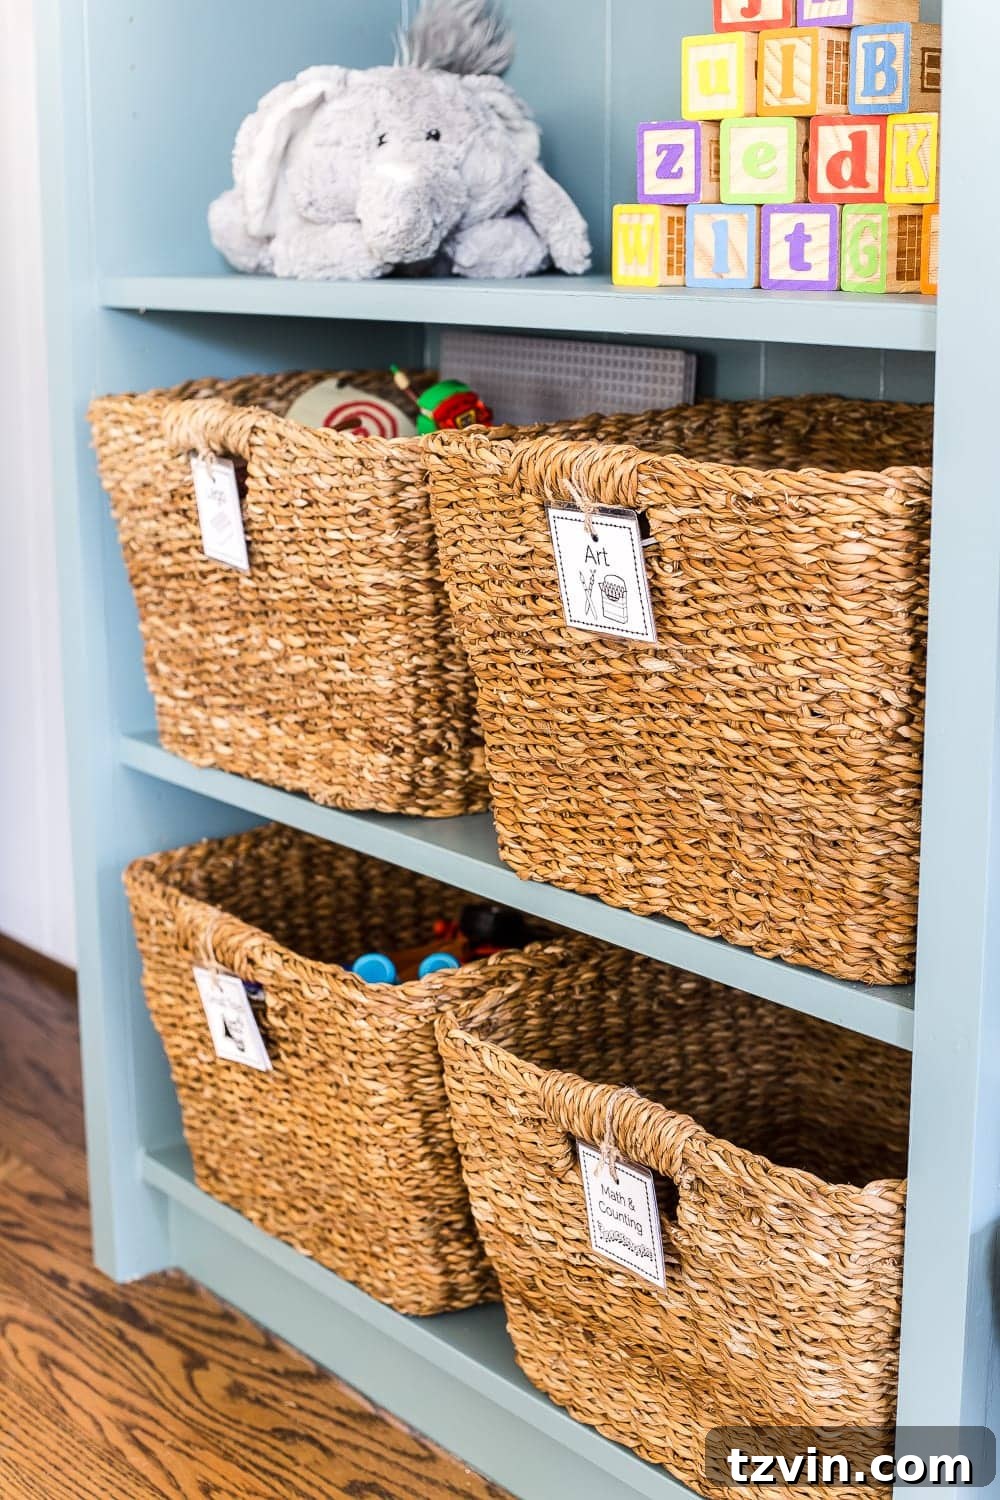
These baskets, along with these toy labels, are a game-changer! I tell Olivia to clean her playroom, and she finishes in minutes because she knows exactly where everything goes! It’s a huge win!
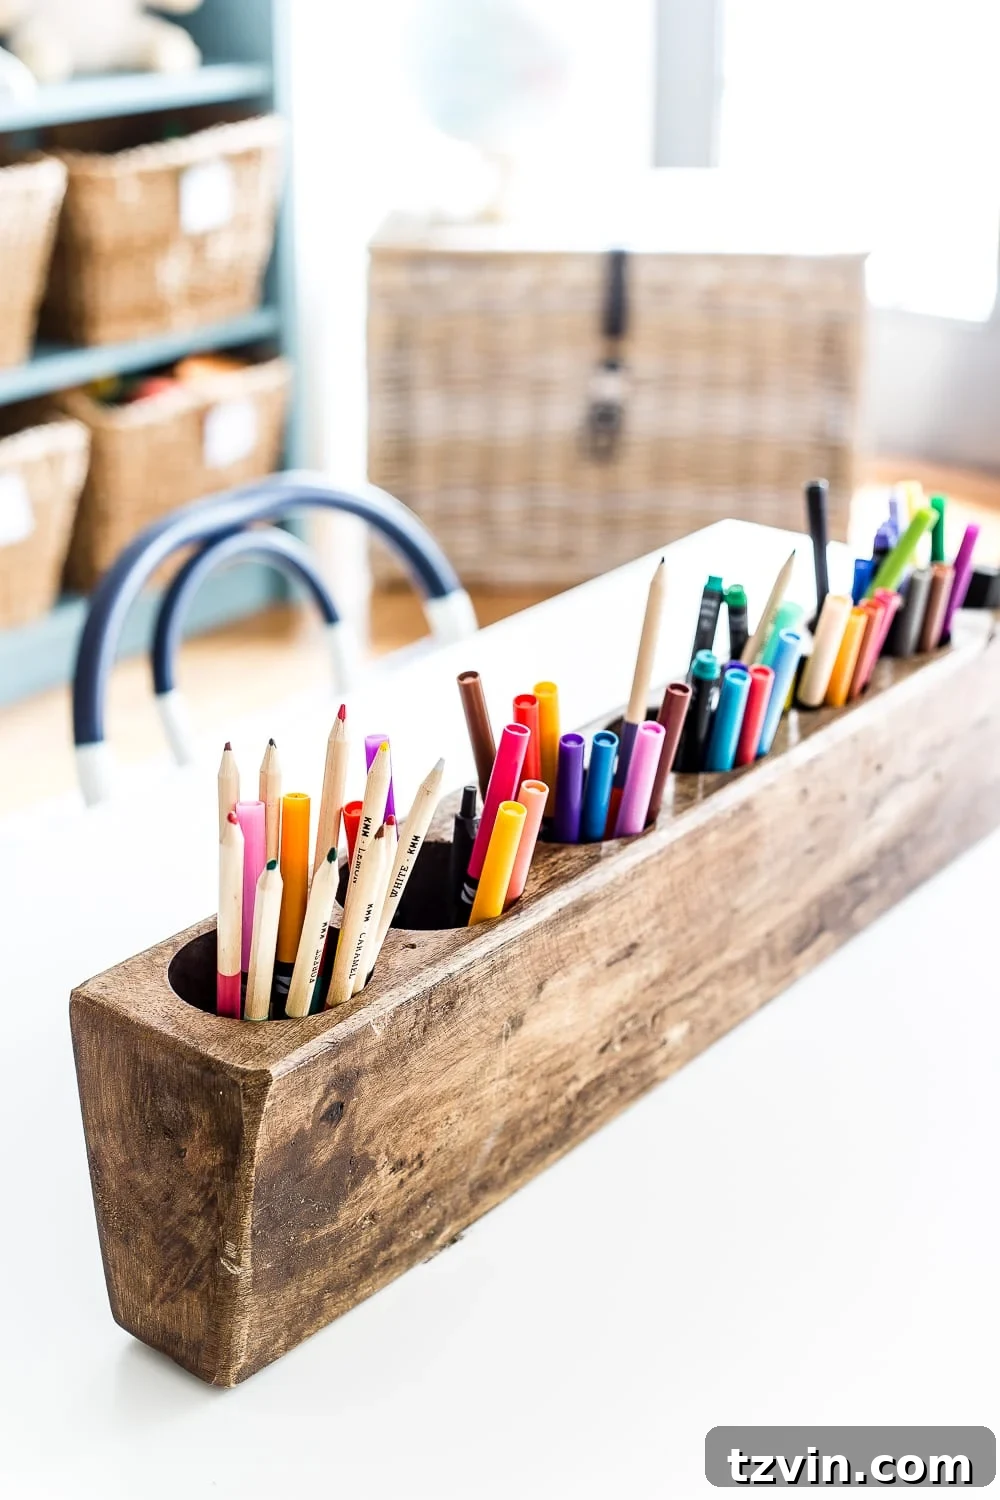
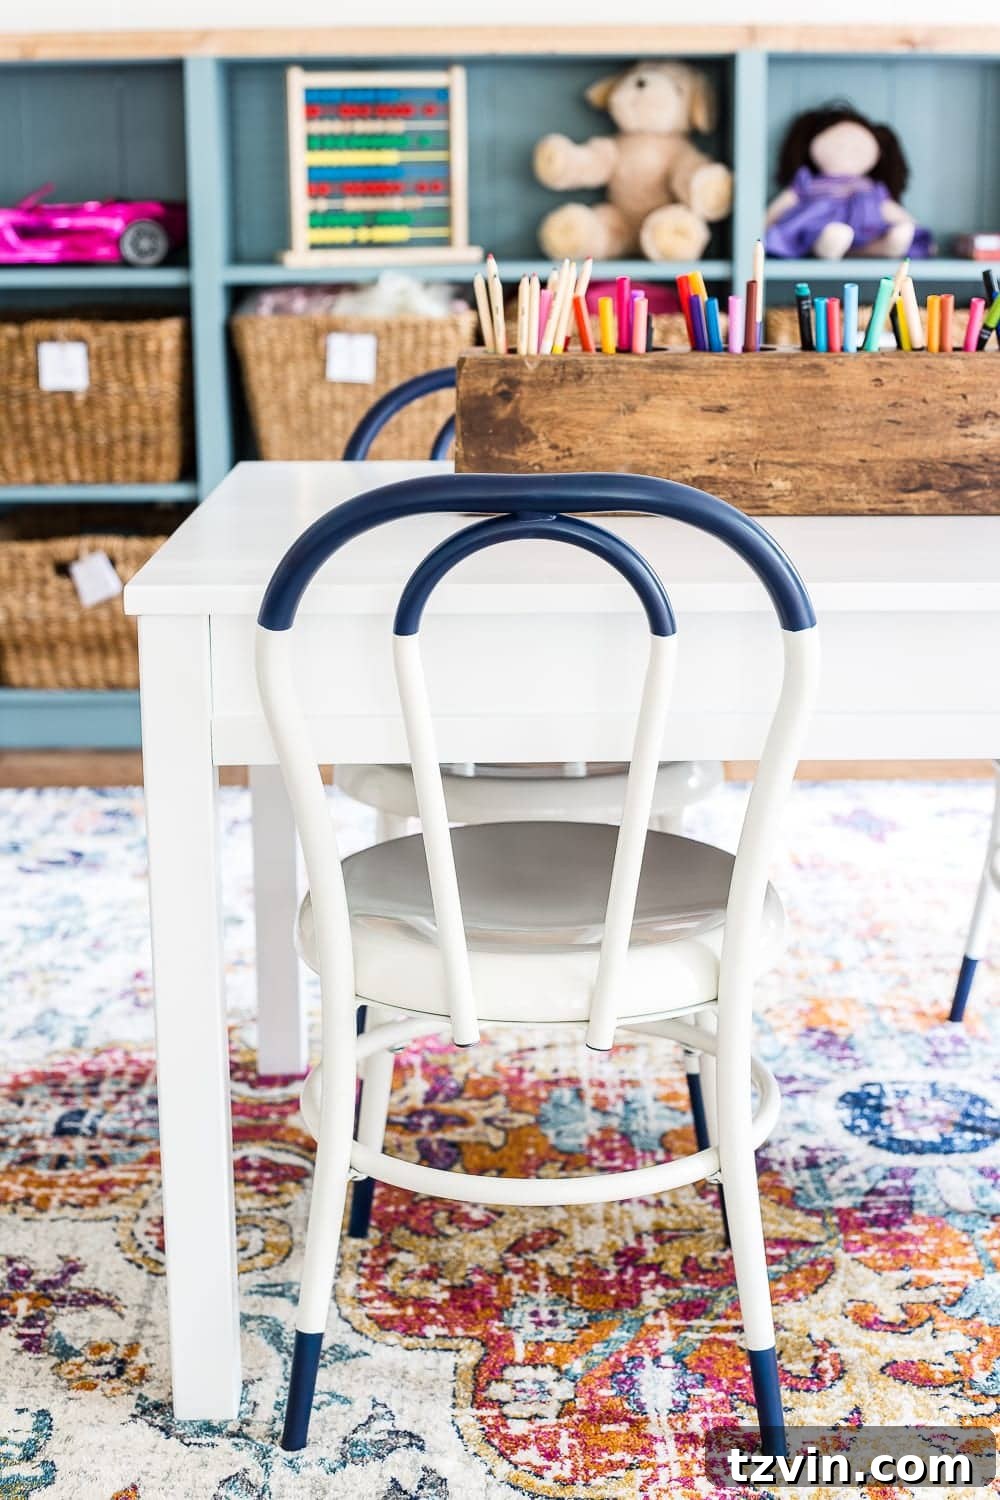
Adding a table and chairs, with plenty of space for art projects, was another great decision. Coloring and Play-Doh are daily activities for Olivia, and having a dedicated space for them is fantastic.
This playroom is already filled with so many sweet memories, and I can’t wait to see how it evolves with our little one(s) as the years go by.
Even when the room isn’t perfectly organized—when toys are scattered across the floor, crayons are spilled across the table, and I find slime in my hair—I’m grateful for the wild, chaotic stage of these early years. They pass so quickly, and I’ll cherish them for as long as I can.
If you’re interested in the sources or DIY projects used in this makeover, you can find the details below:
- Wall Color: Benjamin Moore Swiss Coffee
- Trim Color: Benjamin Moore Simply White
- Door Color: Benjamin Moore Wrought Iron
- Built-In & Mantel Color: Sherwin Williams Tree Swallow
- Rug
- Table with Adjustable Legs
- Metal Chairs
- Baskets
- Built-In Shelving
- Sugar Mold Marker/Crayon Holder
- Pendant Light
- DIY Narnia Reading Nook
- DIY Lime Washed Fireplace
- DIY Storybook Art
- Large Watercolor Map Art (Discontinued – similar one here)
- Letterboard
- 16″ Square Frames
- Cork Board
- Lion Pillow
- Crown Pillow
- Stuffed Animal Storage Basket
- Lion Art
- Goat/Lamb Art
It seems this is the year of kid spaces for us! Now that this project is complete, Olivia’s bedroom is next on the list, followed by the nursery! There’s going to be so much cuteness. My mama heart might not be able to handle it!
Want to save this post for later? Pin it here: