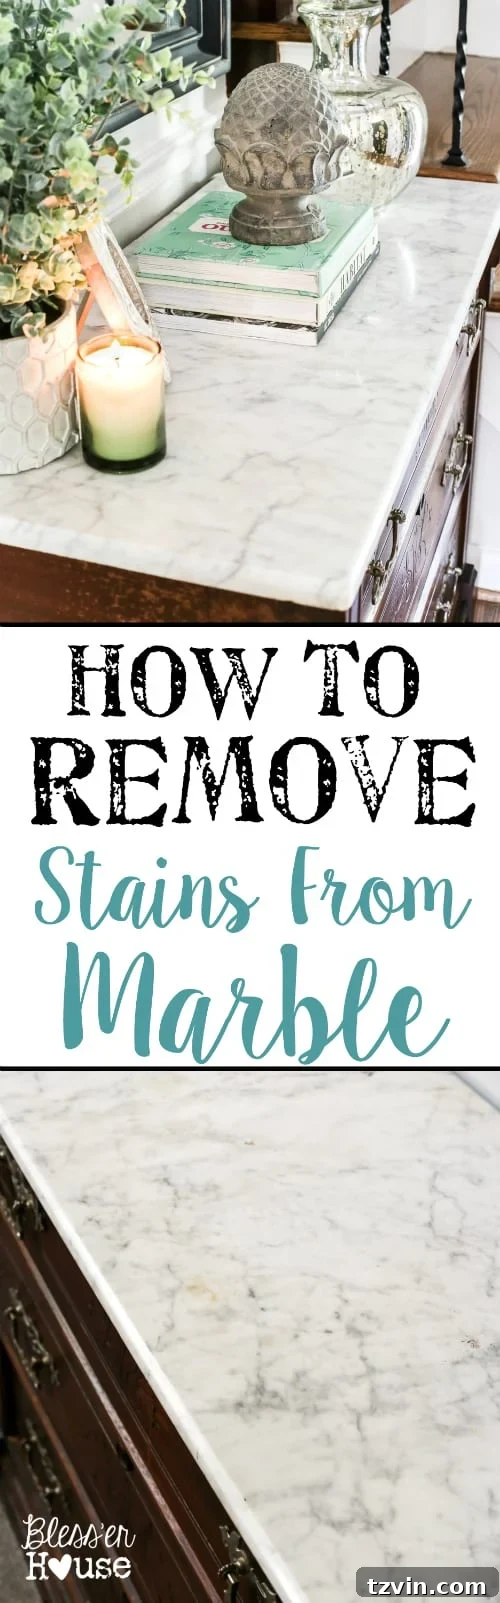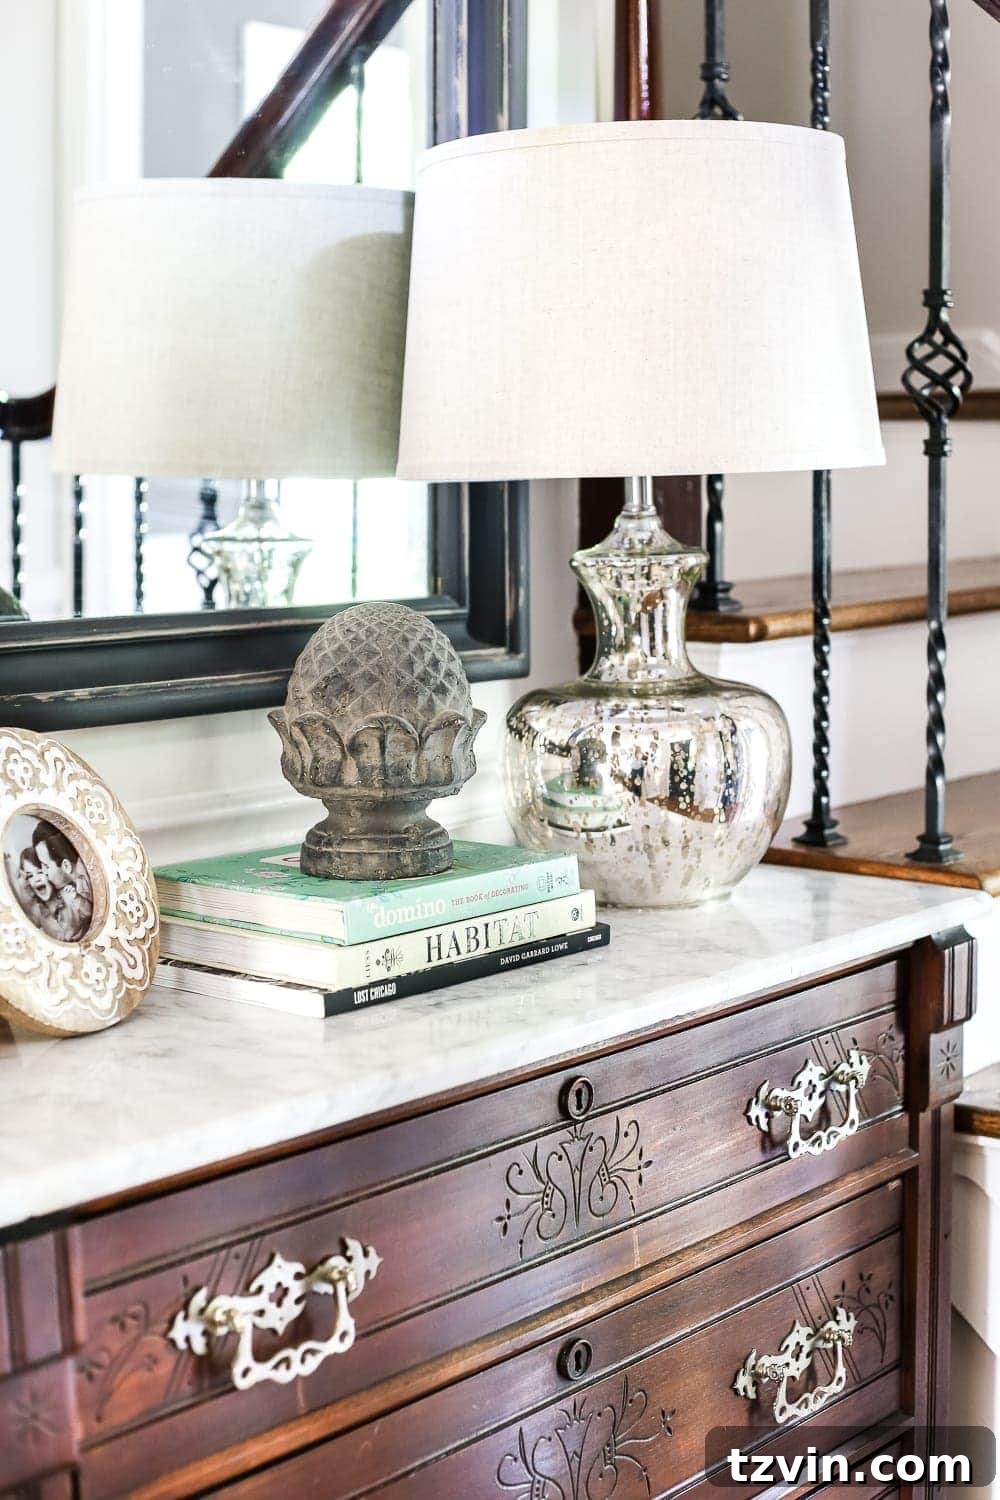
The thrill of discovery, the hunt for a hidden gem, and the satisfaction of transforming something forgotten into a centerpiece – these are the joys that far outweigh any large furniture shopping spree. There’s a unique magic in finding a diamond in the rough, especially when it costs a mere fraction of its true value. This story begins with just such a discovery: a magnificent Victorian marble-top chest that quickly became the star of our foyer.
Discovering a Diamond in the Rough: Our Victorian Marble-Top Chest
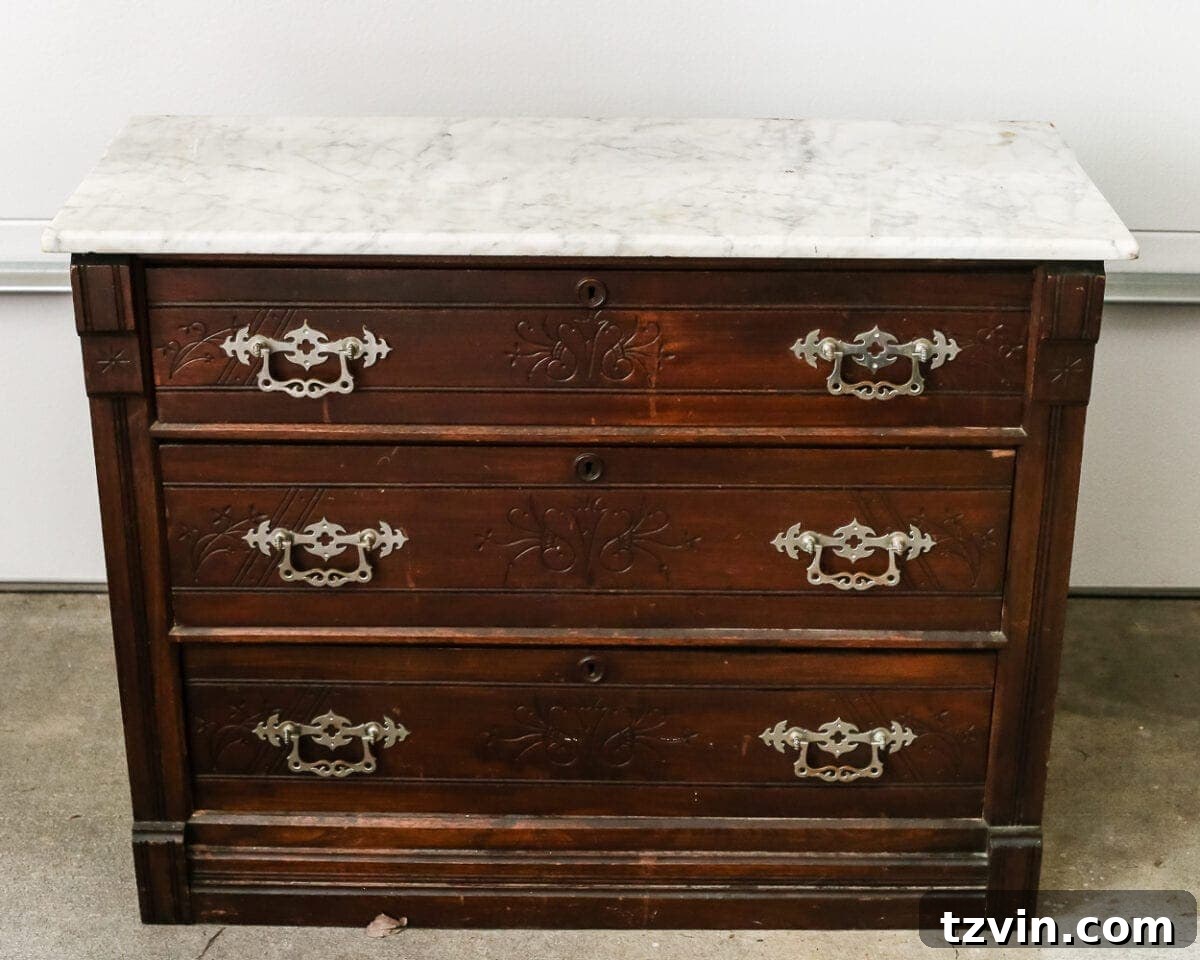
My husband, Robert, and I stumbled upon this stunning Victorian spoon-carved marble-top chest on Craigslist, securing it for an incredible $125. This wasn’t just any piece; it was a testament to historical craftsmanship, a tangible link to an era of intricate detailing and enduring design. Even in its initial state, its potential was undeniable.
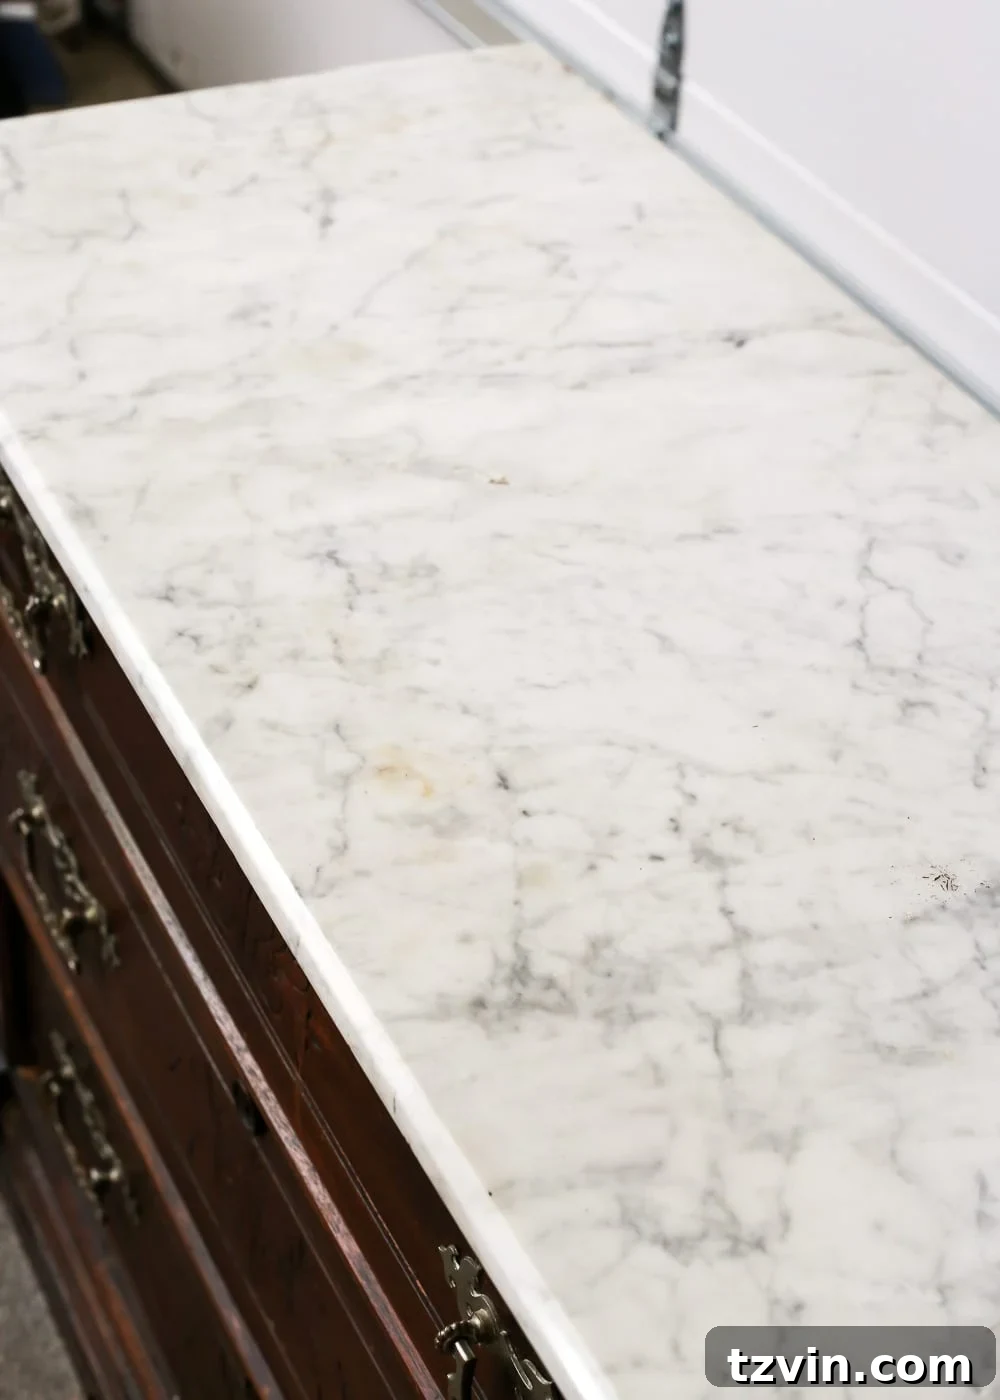
While she possessed undeniable charm, the chest arrived with a few challenges. The elegant wood finish had seen better days, showing signs of wear and tear, and the pristine white marble top was marred by mysterious yellowy-brown stains. Despite these imperfections, her inherent beauty shone through. Identifying the exact nature of the stains on the marble was crucial for proper restoration, so I embarked on an online quest for solutions. My goal was to leverage common household and first-aid supplies already on hand, hoping to restore its former glory without resorting to harsh chemicals or expensive professional treatments. Spoiler alert: the simple methods worked wonders!
Here’s the complete process I followed to rejuvenate this magnificent piece, breathing new life into both its exquisite wood and its once-stained marble surface.
Mastering Marble Stain Removal: A Simple & Effective DIY Guide
Marble, a beautiful and luxurious natural stone, can unfortunately be prone to staining. However, with the right approach and readily available supplies, most common stains can be effectively removed. My Victorian chest’s marble top had mysterious yellow-brown discoloration, likely from prolonged exposure to moisture or an acidic substance. Understanding the stain type can sometimes guide your choice of cleaner, but for general discoloration, a two-step approach often proves successful.
Essential Supplies for Your Marble Restoration Project:
Gathering these items before you start will ensure a smooth and efficient restoration process. You’ll likely find most of these in your kitchen, cleaning cupboard, or first aid kit, making this a truly budget-friendly DIY project.
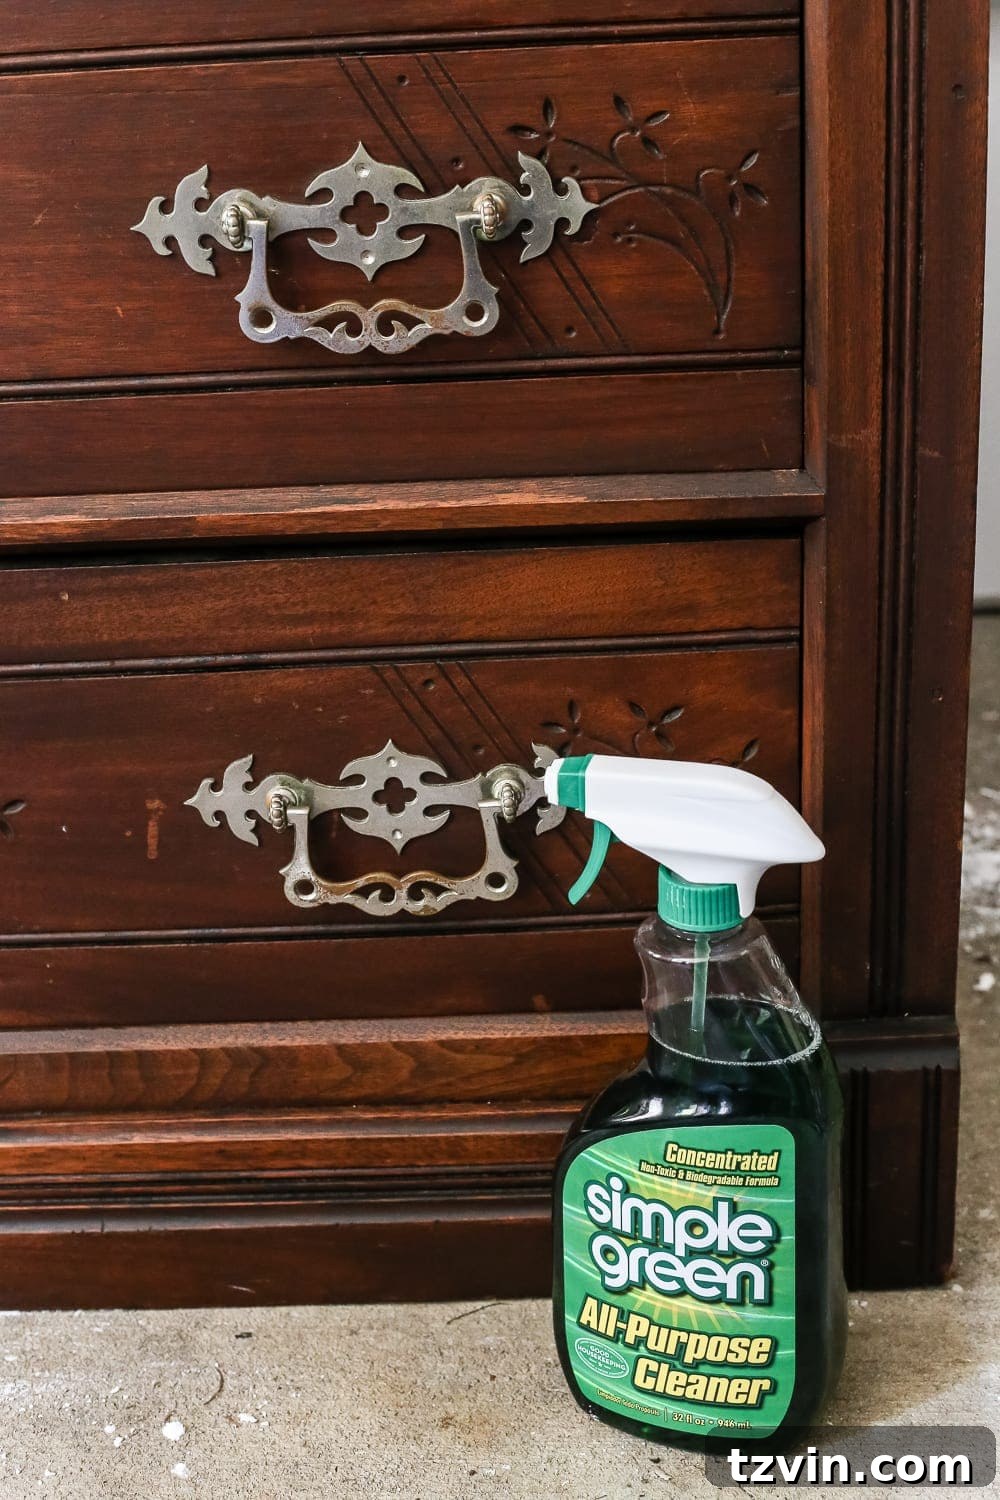
- Simple Green All-Purpose Cleaner (or a similar gentle wood cleaner): This is perfect for safely cleaning the wooden elements of your furniture without causing damage.
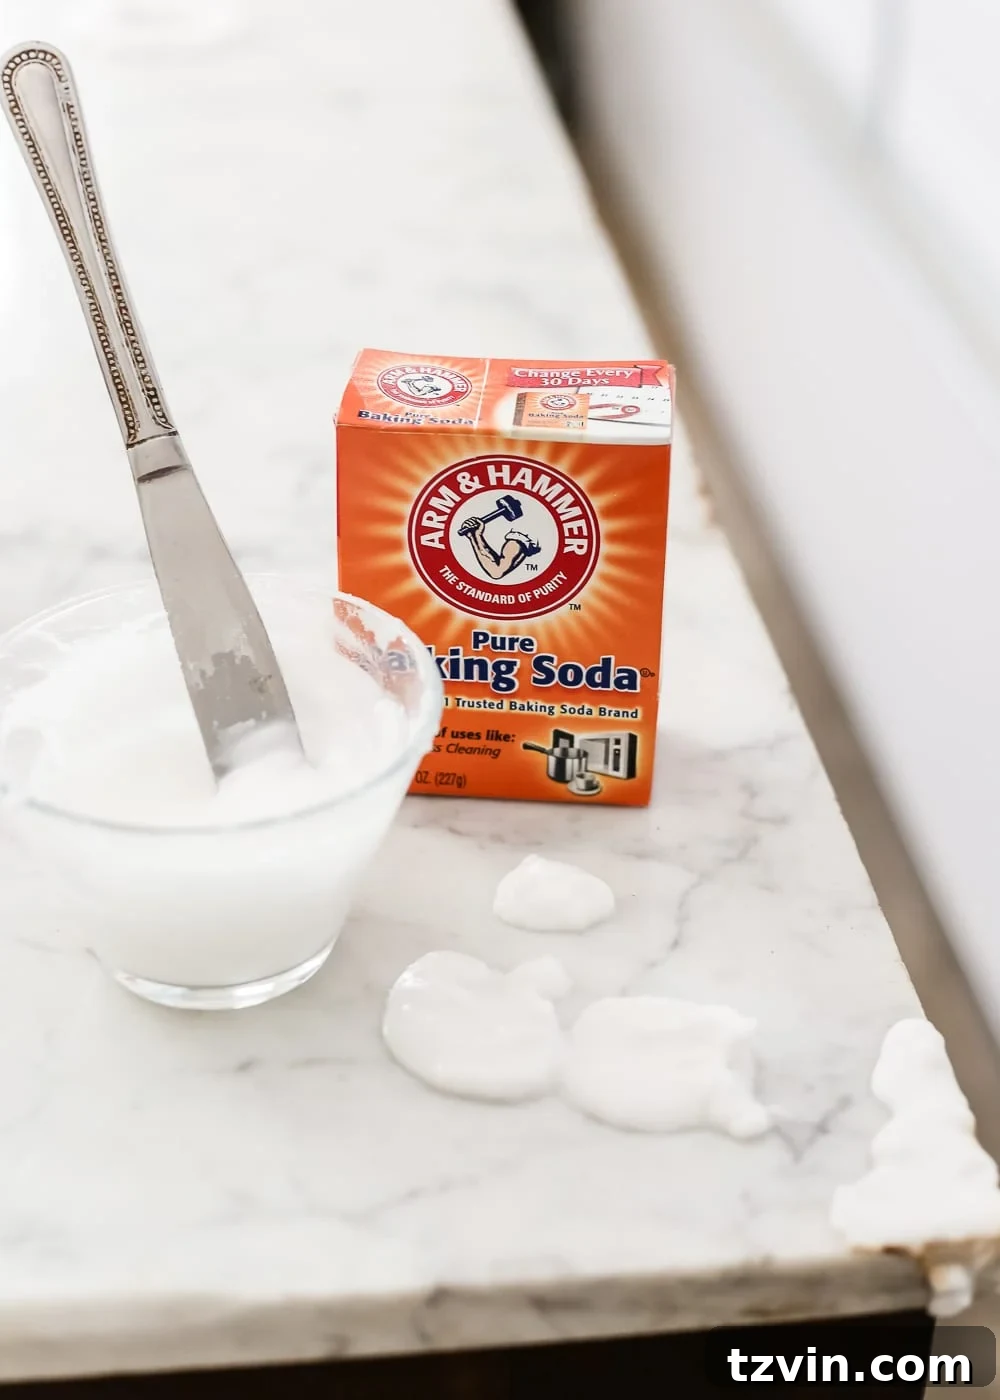
- Baking Soda: A mild abrasive and alkaline substance, baking soda is excellent for drawing out stains from porous surfaces like marble.
- Water: Used to create a paste with baking soda.
- A Cup or Small Bowl: For mixing your cleaning paste.
- Hydrogen Peroxide (3% solution, common household strength): An effective bleaching agent for persistent organic stains (like those caused by food, coffee, or rust), safe for white marble when used correctly.
- Plastic Wrap: Essential for keeping the cleaning pastes moist and in contact with the stains for extended periods, allowing them to work more effectively.
- Clean Rags or Microfiber Cloths: For wiping away paste, cleaning surfaces, and drying.
- Cotton Balls: Ideal for applying hydrogen peroxide directly to smaller, more stubborn stained areas.
Step-by-Step Marble Stain Restoration:
-
First Application: The Baking Soda Poultice
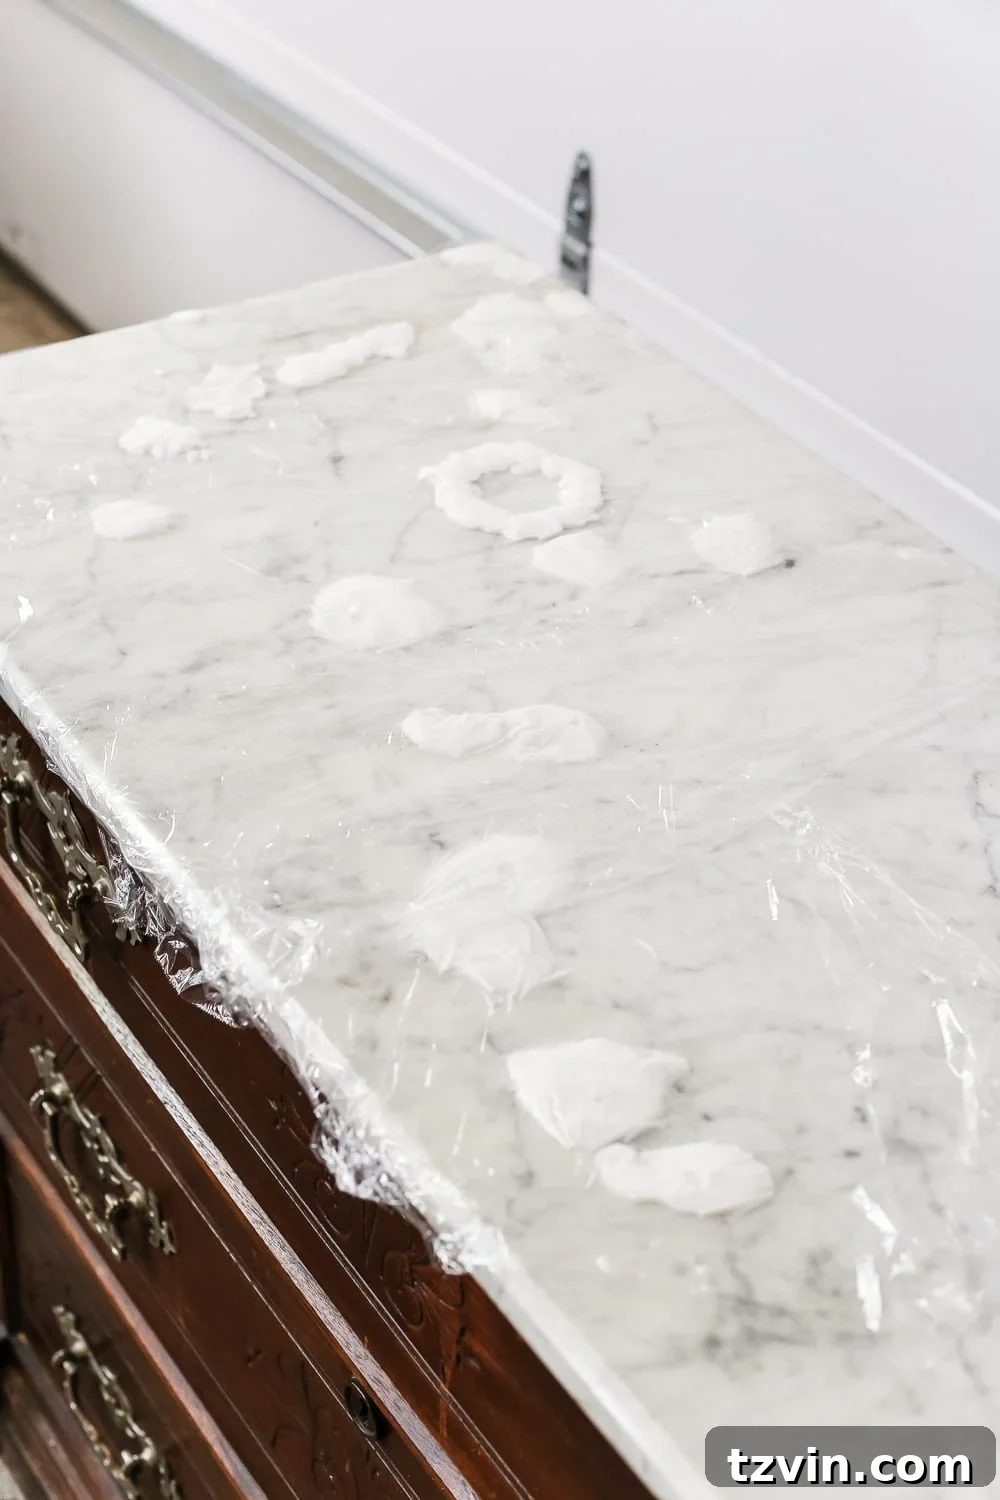
Begin by creating a thick paste using baking soda and a small amount of water. The consistency should be similar to pancake batter – thick enough to cling to the marble but still spreadable. Generously apply this paste directly over all visible stains on the marble surface. Once applied, carefully cover the entire treated area with plastic wrap. This step is crucial as it prevents the paste from drying out too quickly, allowing the baking soda sufficient time to draw out the discoloration. Let this poultice sit undisturbed for a full 24 hours.
-
Second Application: Hydrogen Peroxide for Stubborn Stains
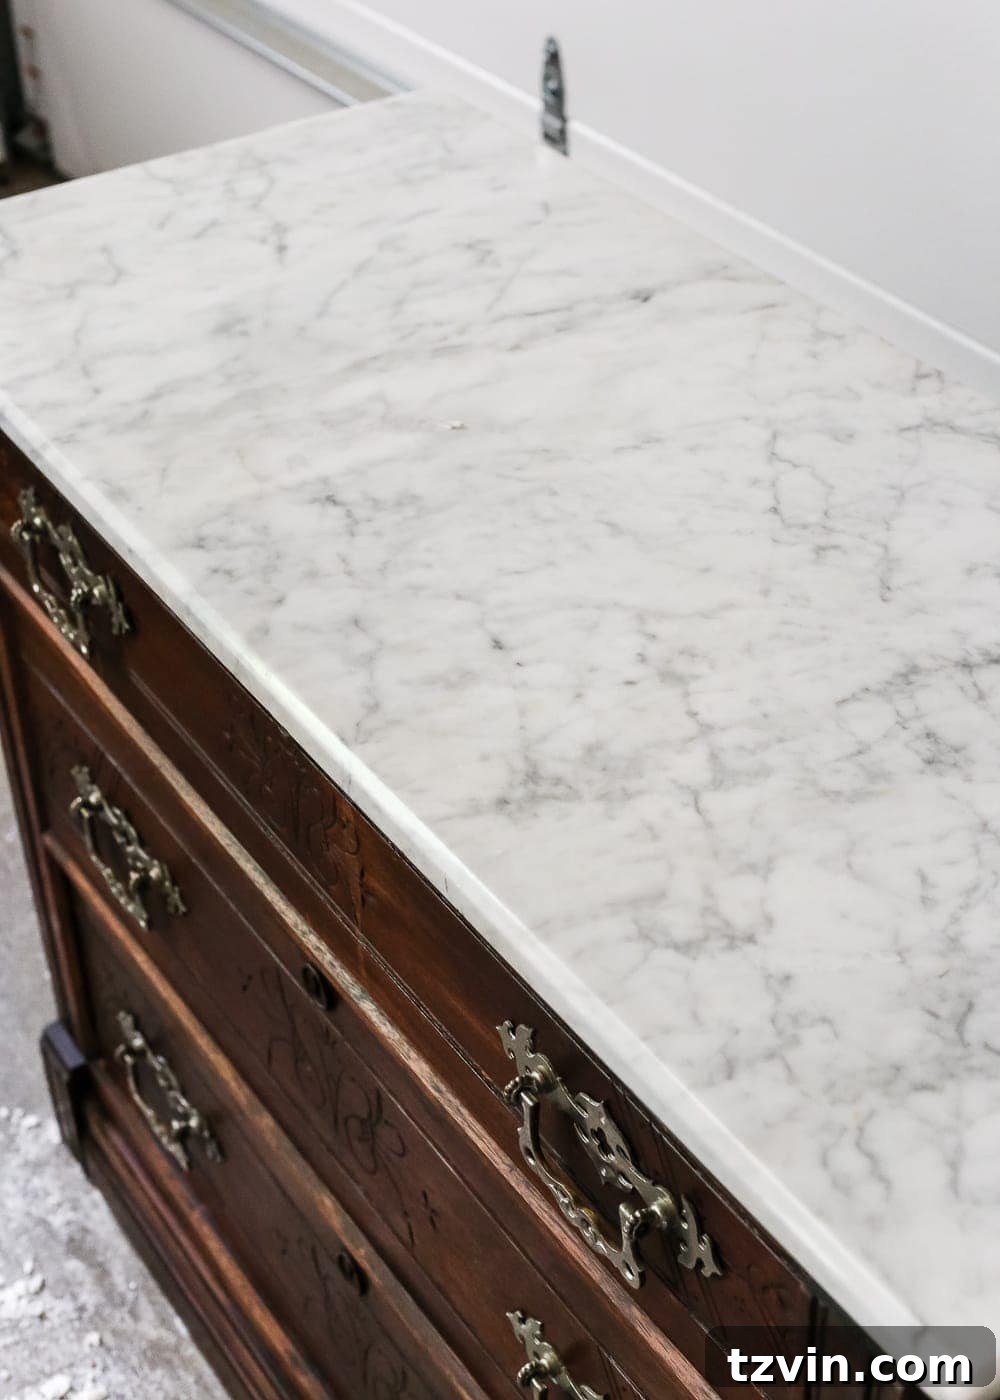
After 24 hours, gently remove the plastic wrap and wipe away the baking soda paste with a clean, damp rag. You’ll likely notice a significant improvement, as I did. In my case, the marble was at least 10 times better, but a few faint, persistent stains remained. For these stubborn spots, I soaked several cotton balls in hydrogen peroxide. Place these saturated cotton balls directly onto the remaining stains, ensuring complete coverage. Just as before, cover these areas with fresh plastic wrap to maintain moisture and allow the hydrogen peroxide to work its magic. Allow this to sit for another 24 hours.The next day, upon removing the plastic wrap and cotton balls, the marble was flawlessly clean and looked brand new. This two-step process proved incredibly effective for removing even deep-set discolorations from the white marble. The results were truly amazing!
-
Wood Refurbishment: Simple Green and Preservation
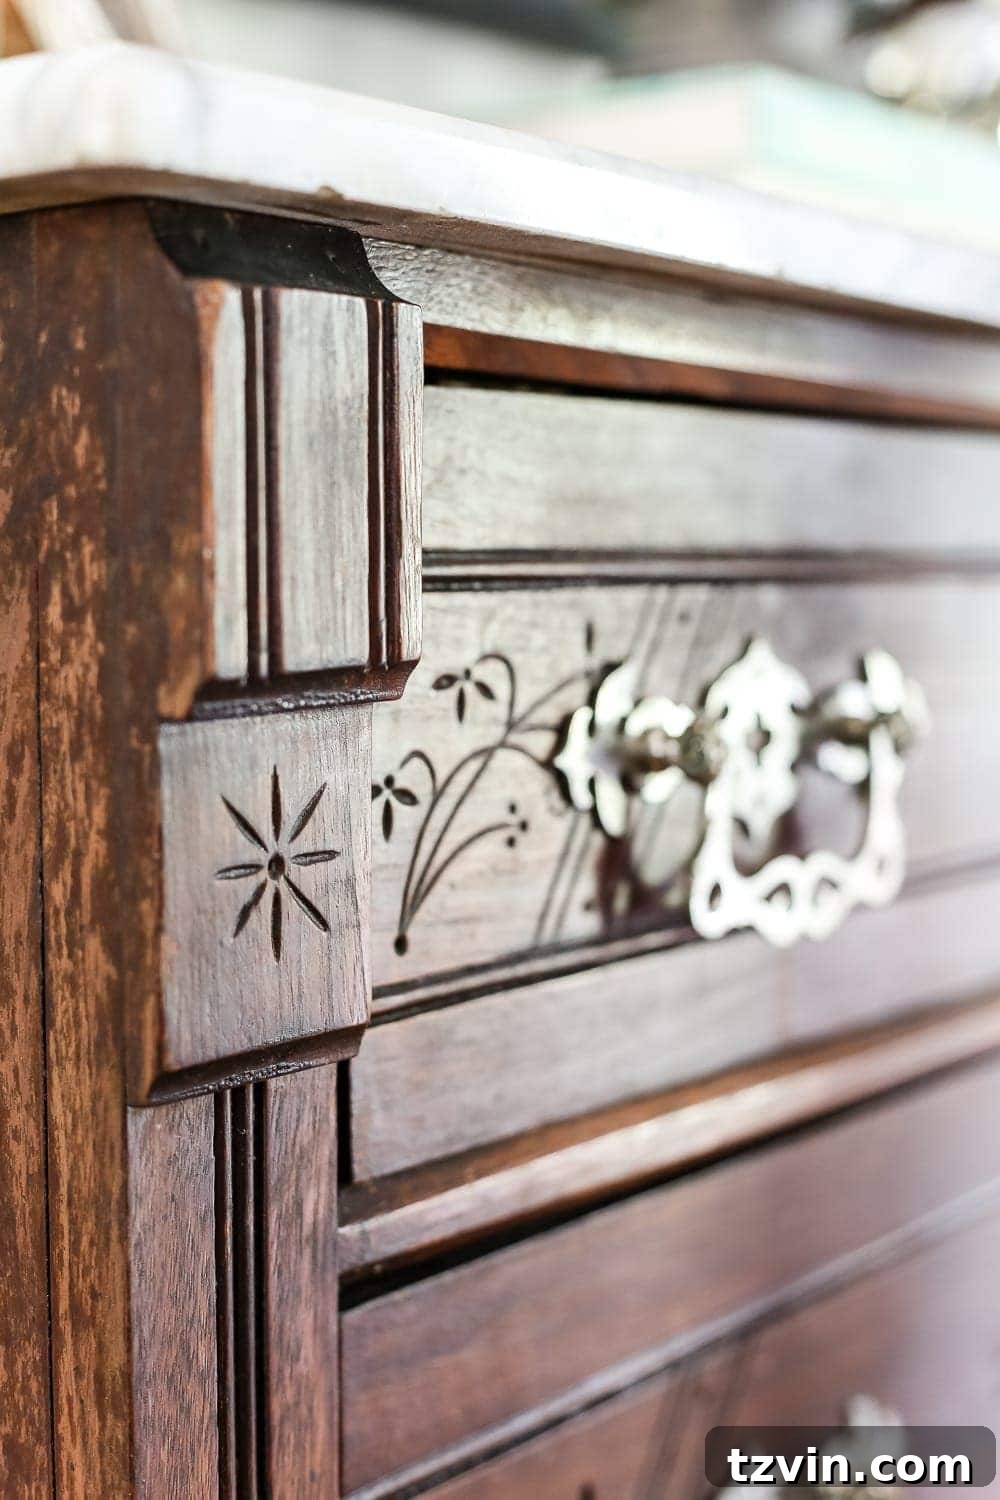
With the marble gleaming, it was time to address the wood. I gave the entire wooden chest a thorough but gentle wipe-down using Simple Green. This cleaner is effective yet mild enough not to damage antique finishes. While a few minor spots could benefit from a touch-up with wood stain in the future, I was so captivated by the chest’s natural beauty that, for the first time ever, I decided against painting it. Its original dark wood, with its intricate spoon carvings, felt too precious to cover. This decision allowed the rich history and craftsmanship of the Victorian piece to truly shine through, contrasting beautifully with the now immaculate white marble.
A Grand Entrance: Styling Our Newly Transformed Foyer
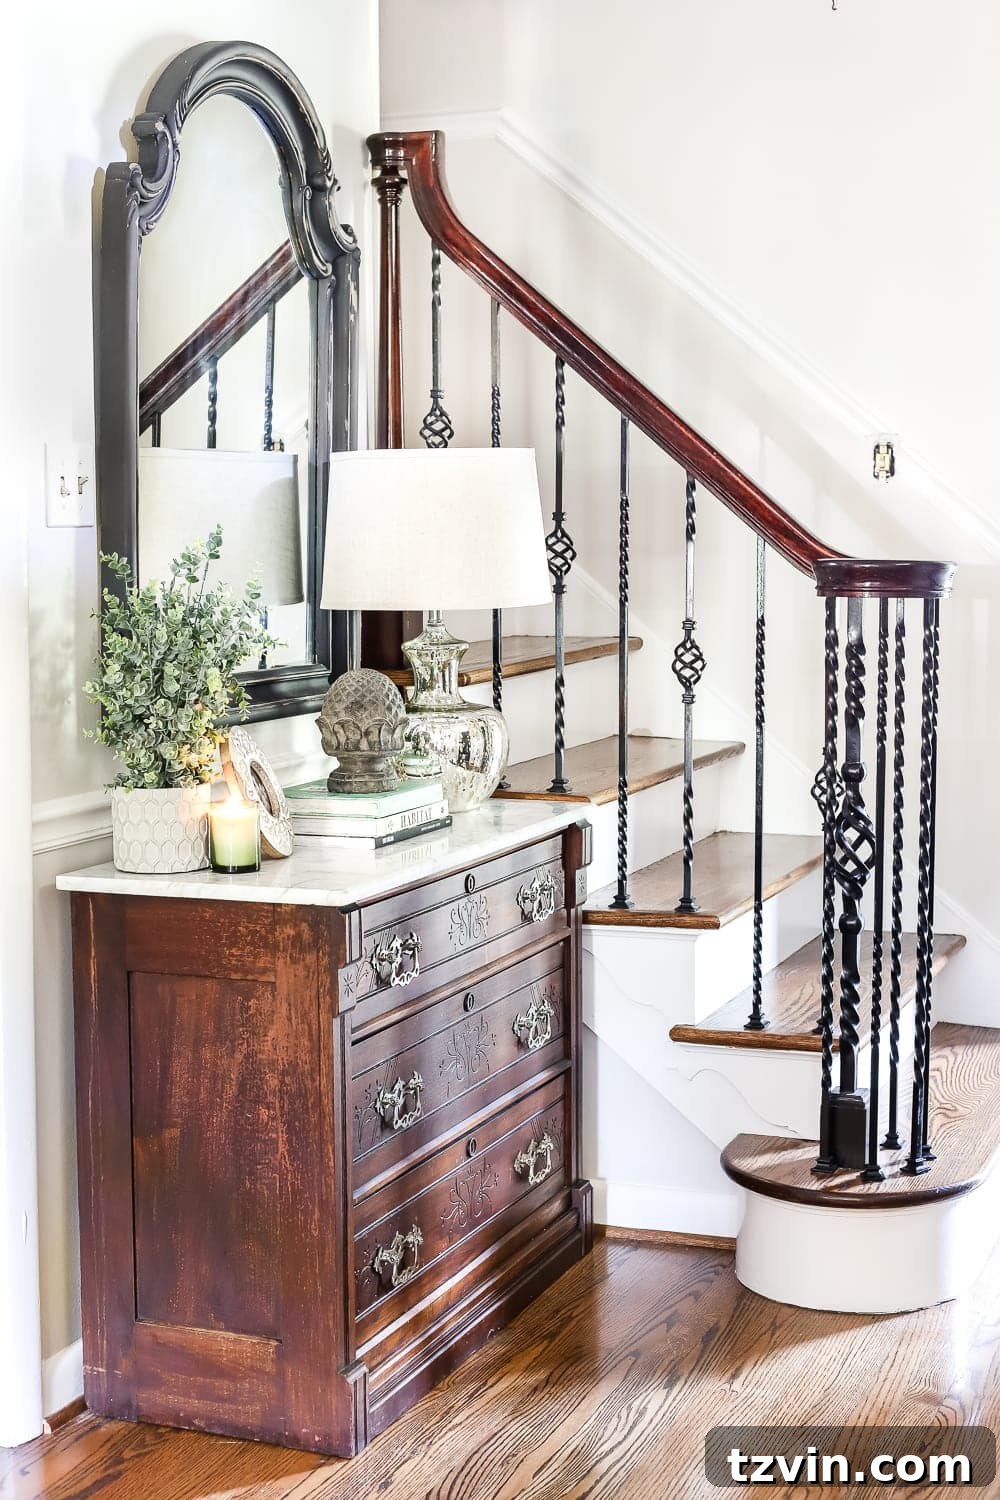
Once restored, Robert and I carefully moved the chest into our newly painted foyer. The impact was immediate and profound. I found myself repeatedly wandering into the entryway, drawn by its charm, admiring its stately presence. It’s not often a piece of furniture evokes such a strong emotional response, but this chest truly does. Its character and history seamlessly blend with the updated space, creating a welcoming and sophisticated first impression.
This stunning chest fits perfectly in the alcove beside our staircase. It’s as if this specific spot was waiting for it all along—a moment of true design destiny. The scale, the color, the elegance—it all aligns beautifully, transforming a formerly overlooked corner into a focal point.
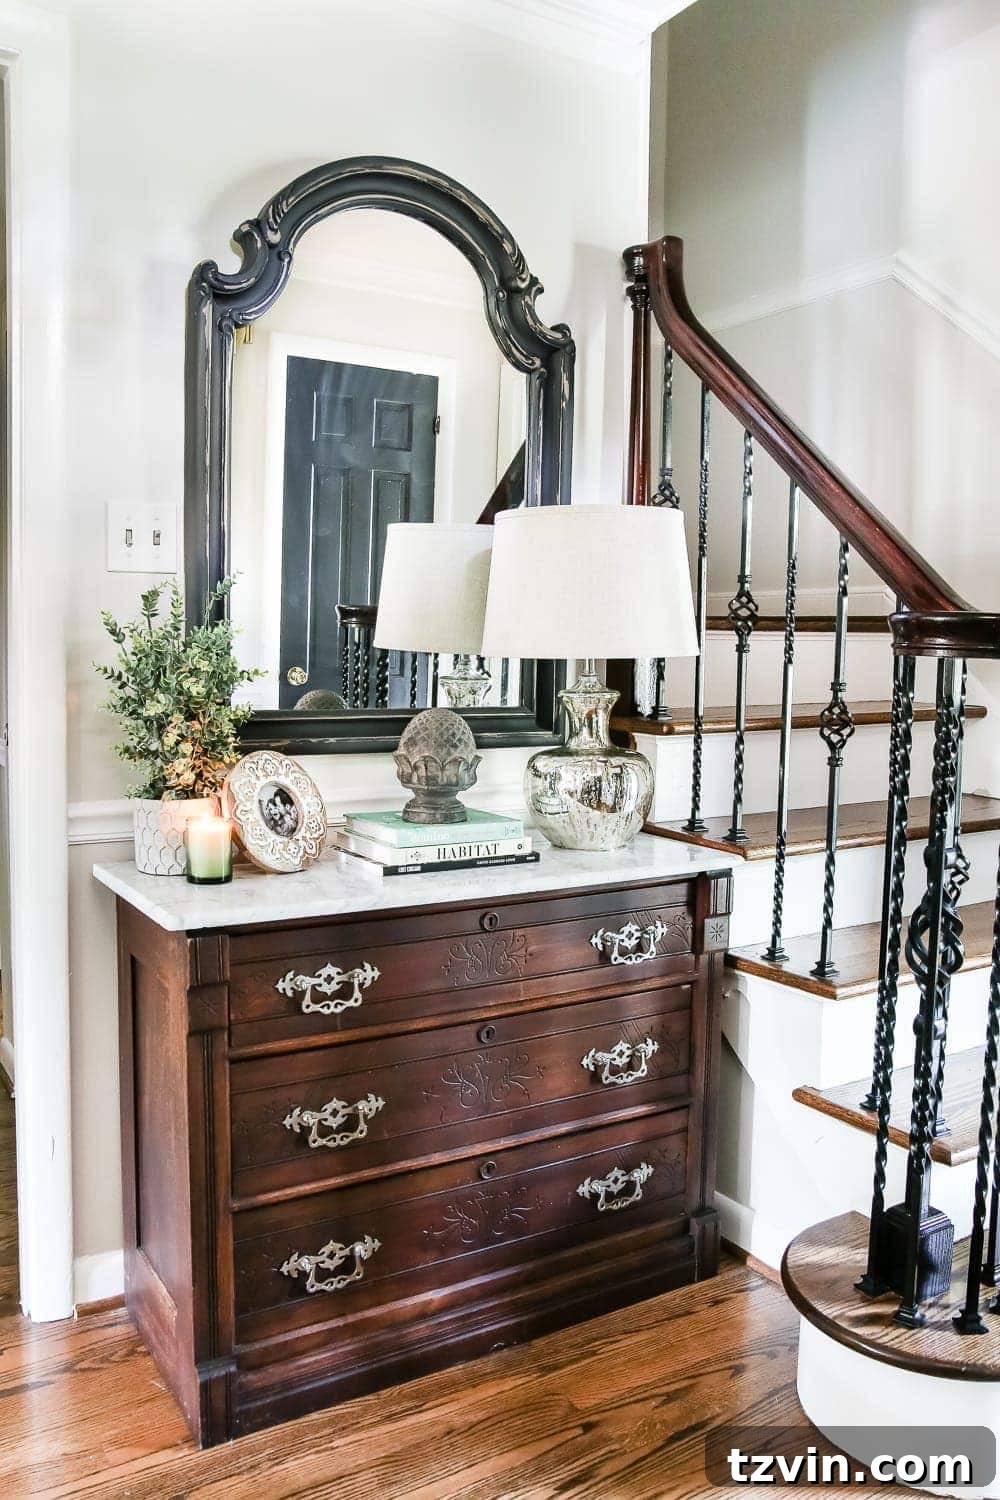
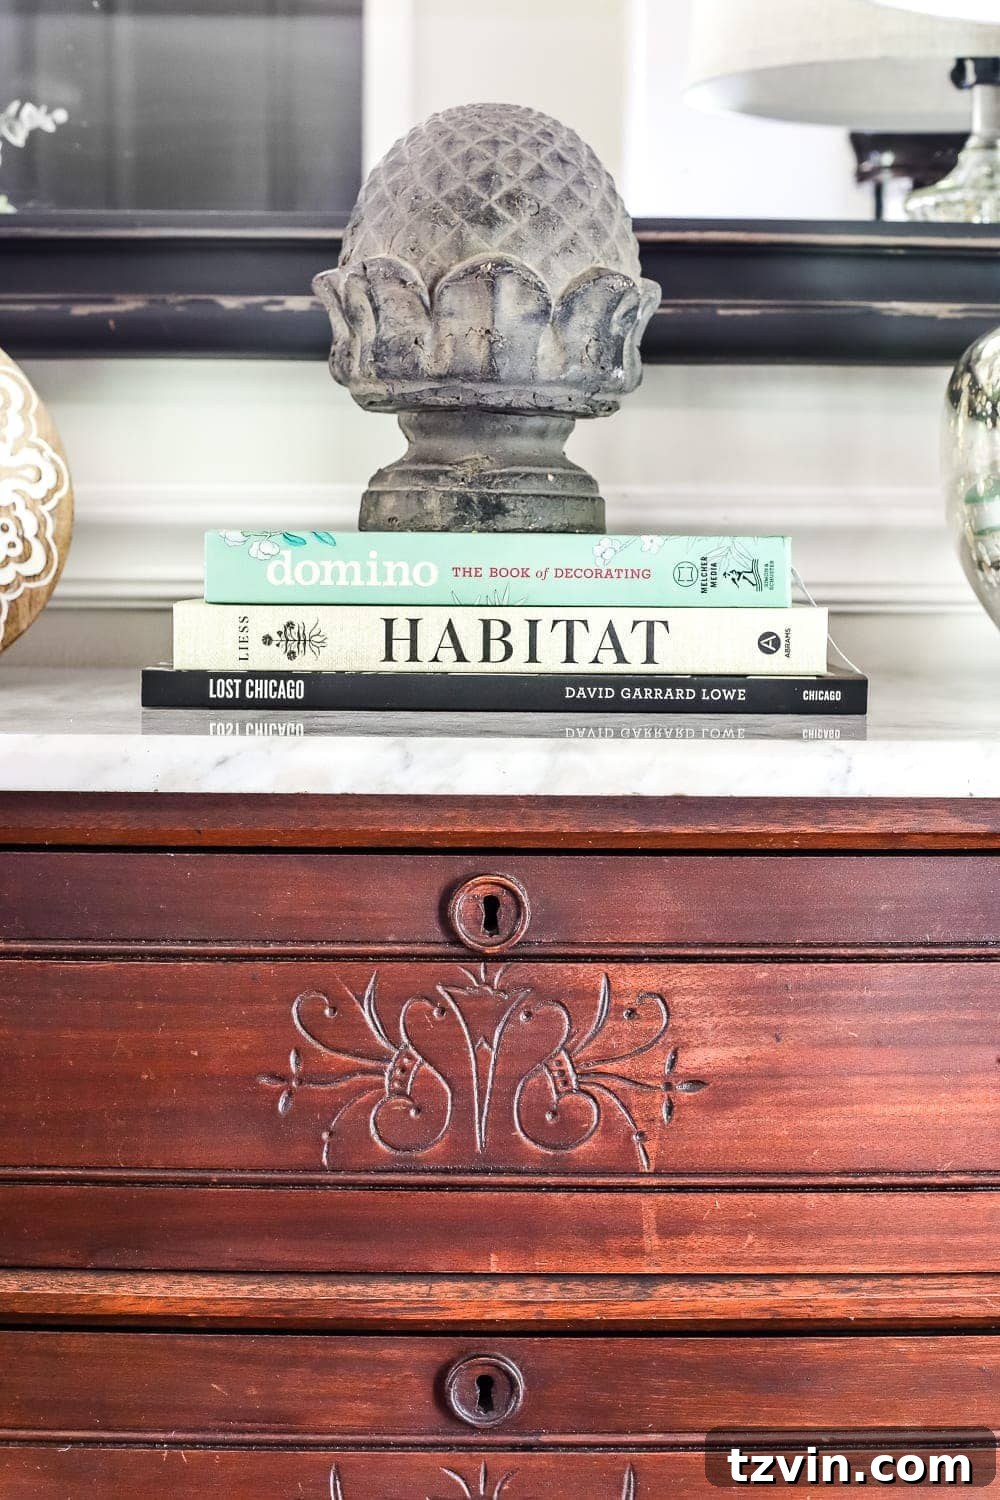
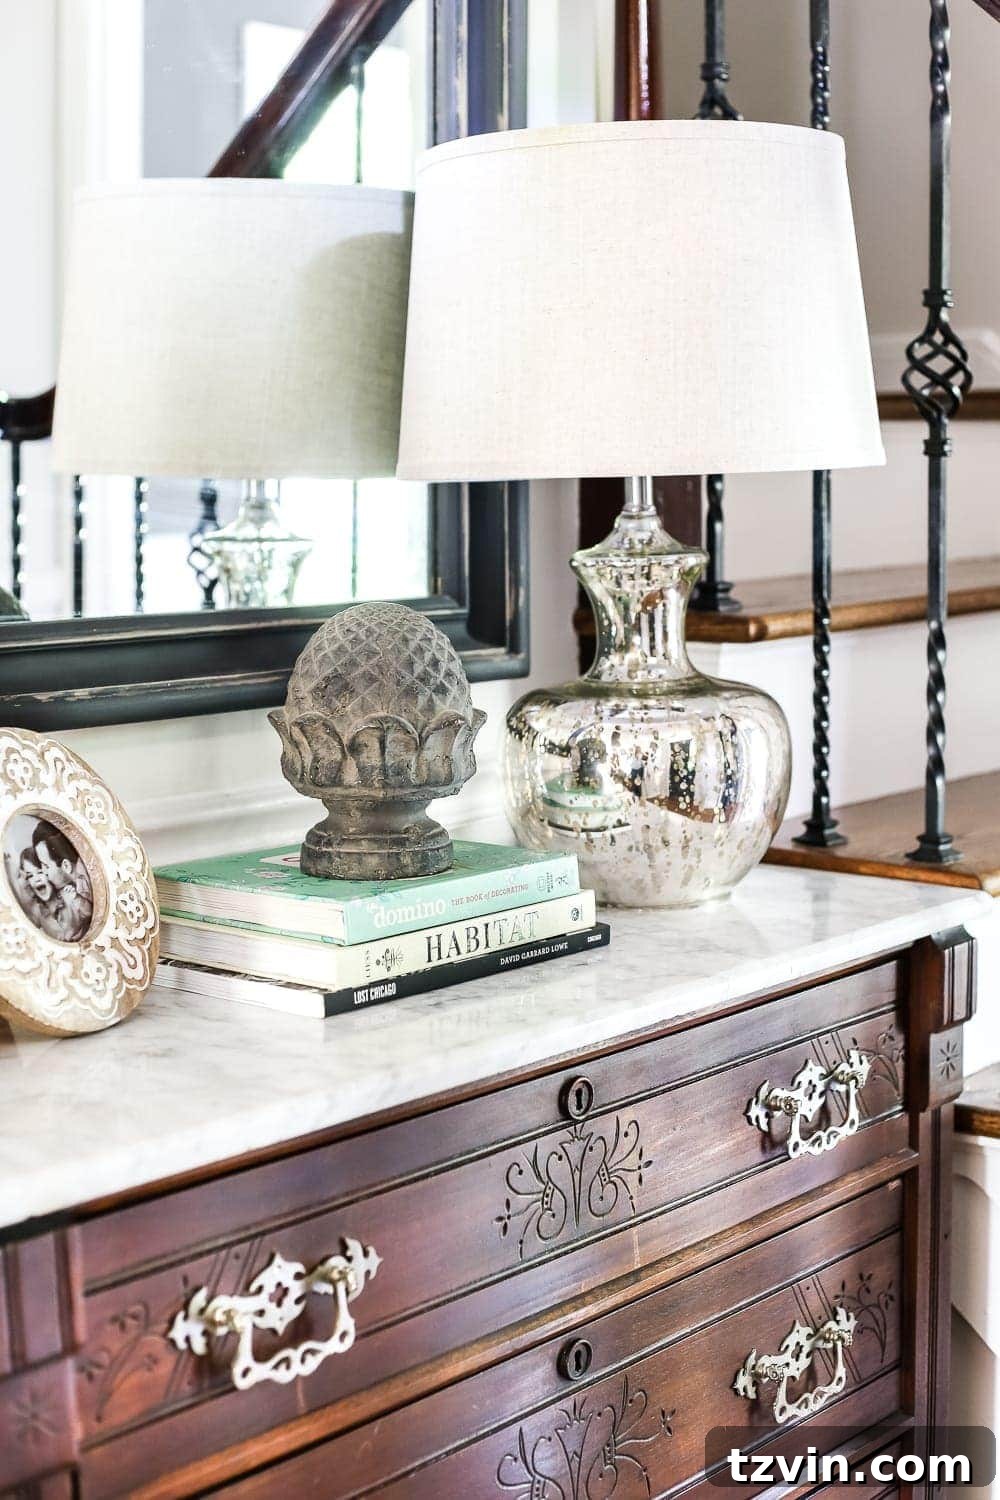
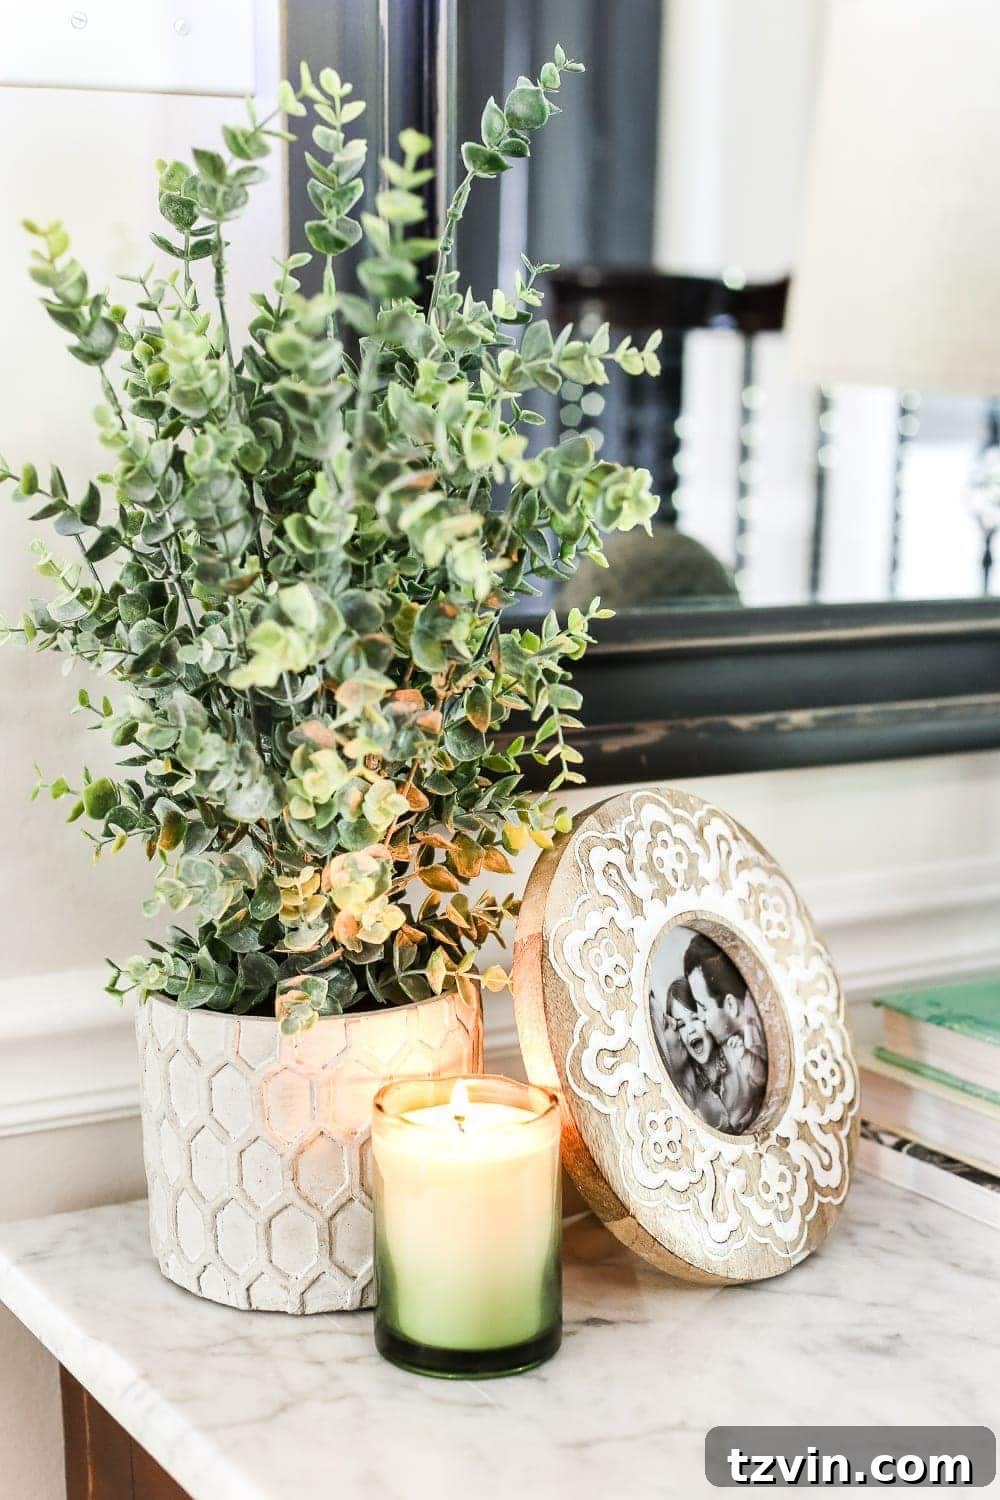
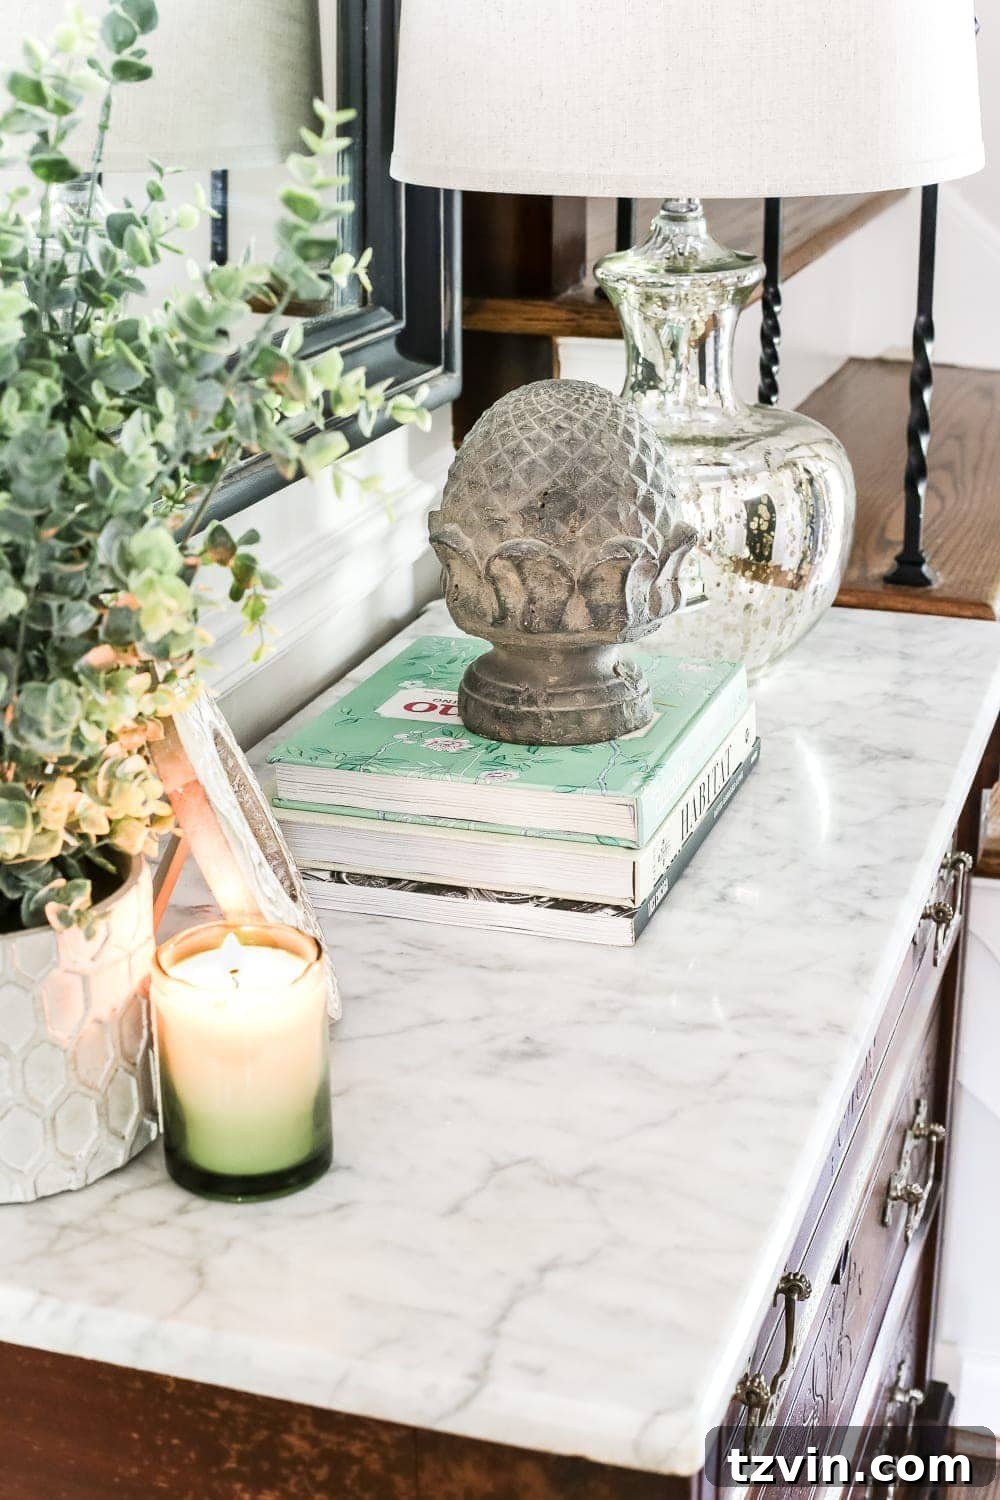
To style the marble top, I opted for a minimalist approach, allowing the chest itself to be the star. I arranged a few treasured books alongside a quirky concrete statuette. I’ve always been fond of its unique texture, a $2 thrift store find from years ago. Whether it’s an artichoke, pineapple, or acorn remains a mystery, but its organic shape provides a lovely contrast to the smooth marble.
Above the chest, a large mirror, another fantastic $10 thrift store score, adds depth and reflects light, making the foyer feel more expansive. Last year, I gave it a distressed charcoal finish, which complements the chest’s dark wood beautifully. (And yes, a quick clean with Windex is definitely in order for that mirror! #reallife perfection is overrated.)
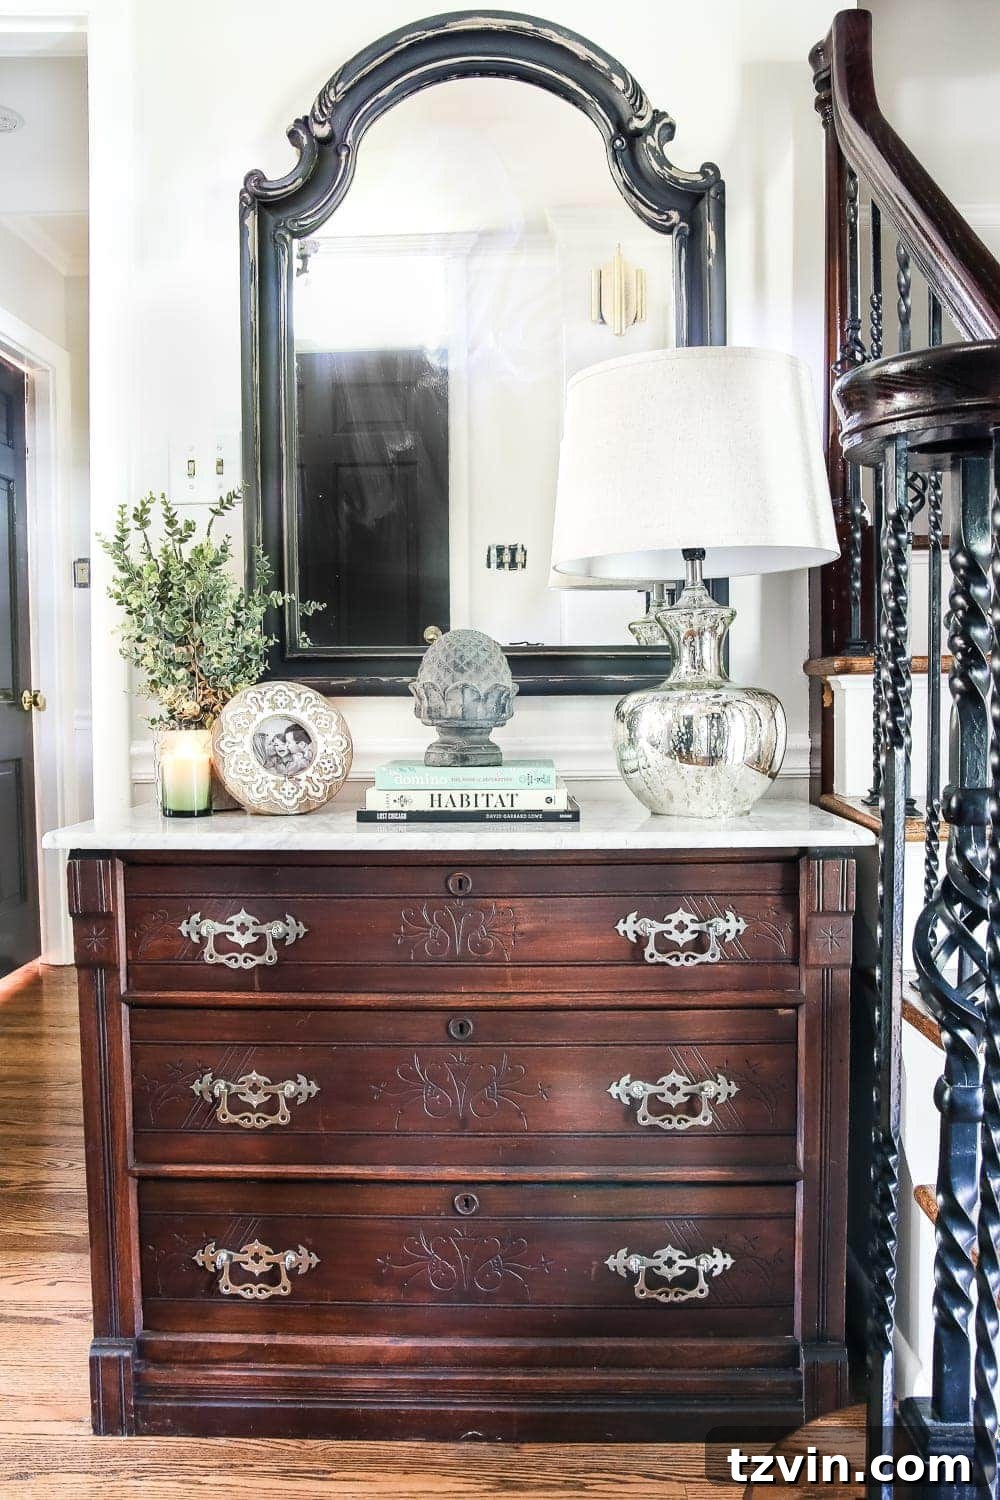
Rounding out the decor, I picked up a lovely lamp during a Memorial Day sale at Target, adding a warm glow to the space. The artificial plant and picture frame were budget-friendly finds from TJ Maxx, bringing a touch of greenery and a personal element to the arrangement.
The Foyer’s Financial Story: A Budget Breakdown
One of the most satisfying aspects of this foyer makeover is how much style and elegance we achieved on a modest budget. Opting for vintage finds and carefully selected new accents made a significant difference. Here’s a transparent look at the costs involved in bringing this entryway to life, demonstrating that beautiful design doesn’t have to break the bank:
- Wall color: Benjamin Moore Classic Gray
- Trim color: Benjamin Moore Simply White
- Ceiling color: Benjamin Moore Simply White
- Marble top Victorian chest: $125 (a truly incredible find!)
- Mirror: $10 from a local thrift store (Similar options available here)
- Concrete statuette: $2 from a thrift store
- Mercury glass lamp: $36.09
- Linen lamp shade: $19.99
- Artificial plant: $12 from TJ Maxx (Find similar styles to bring greenery indoors)
- Picture frame: $8 from TJ Maxx (Explore similar frames for your photos)
- Candle: $10
Total Investment: $312.05 (This includes the cost of three gallons of paint for the walls, trim, and ceiling). Considering the dramatic transformation, this is an incredibly cost-effective way to revitalize an entire space. It proves that with patience, creativity, and a keen eye for deals, you can achieve a high-end look without a high-end price tag.
Future Visions: Completing Our Foyer’s Transformation
Our foyer, once a blank canvas, now feels lived-in and inviting, far from its lonely past. This space has evolved organically; I’ve been “winging it” rather than adhering to a strict design plan, allowing the pieces to dictate the direction. There are still some practical matters to address, such as completing electrical work – many outlets and switch plates are currently without covers.
I still contemplate whether to restore the wood finish on one exposed side of the chest. It was the “rougher” side, and my eagerness to integrate the chest into the foyer meant I opted for a quick clean rather than a full restoration at the time. Interestingly, the side facing the staircase, which is less visible, is in pristine, like-new condition, a testament to Murphy’s Law!
Now that the chest is in place, I can clearly visualize the next steps for this space. A beautiful rug will anchor the room, adding warmth and defining the entryway. A new light fixture will replace the existing chandelier – while charming, I’m not entirely convinced it’s “the one” for this particular aesthetic. Additionally, some curated wall decor along the staircase will add personality and visual interest. Perhaps even a runner for the staircase one day? The possibilities are exciting!
The Enduring Appeal of Vintage Finds and DIY Success
This chest undoubtedly ranks among our most cherished Craigslist finds, alongside our famous “magic wagon” bench and our ingenious DIY faux planked card catalog coffee table. The joy of bringing these pieces back to life is unparalleled. If you’re eager to embark on your own treasure hunt, be sure to check out our expert Craigslist shopping tips for discovering your next “diamond in the rough.”
The marble top now glistens, a brilliant white that perfectly complements the rich, dark wood of the chest. Its transformation is a striking example of how simple DIY methods can yield professional-grade results.
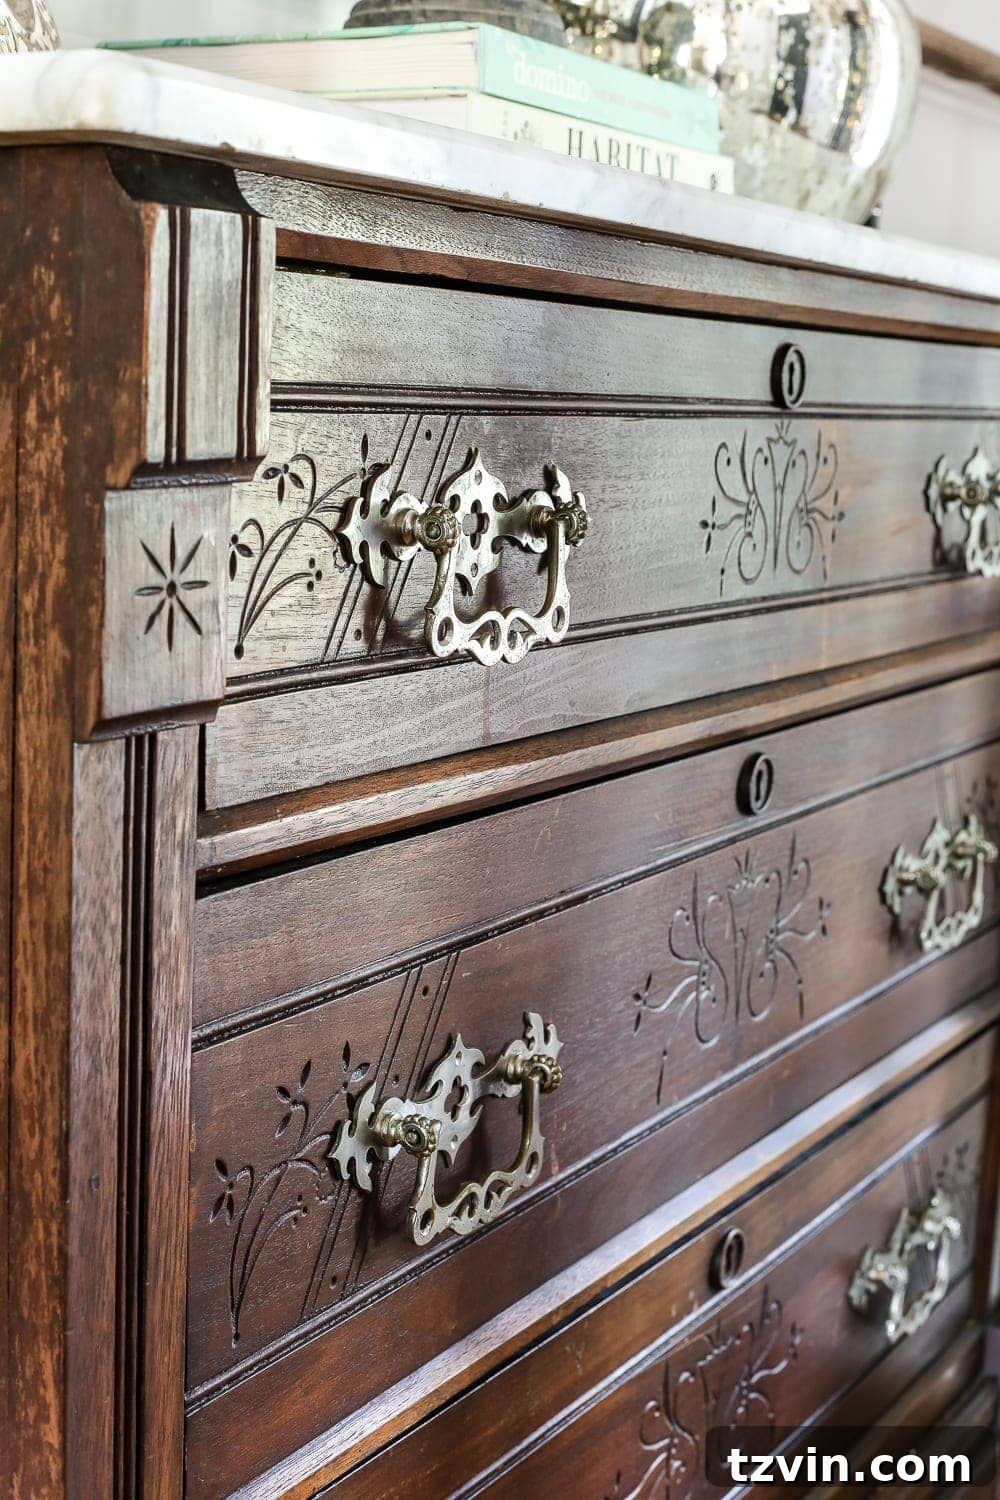
The intricate spoon-carved designs in the wood captivate me, reminiscent of delicate Scandinavian patterns. As my great-grandfather emigrated from Sweden, I confess to a touch of “geekiness” whenever I encounter anything that evokes a subtle Swedish aesthetic. This connection makes the chest even more special, intertwining personal heritage with antique charm.
It’s been an exceptionally long time since I felt compelled to leave a piece of furniture in its natural wood state, untouched by paint. This chest, with its stunning grain and detailed carvings, simply commanded it. Covering such natural beauty with paint would feel like a disservice to its history and craftsmanship. I simply couldn’t bring myself to do it.
While the foyer currently features a significant amount of wood, I anticipate that introducing a rug will soften the space, adding texture and warmth, and beautifully balancing the rich tones. It’s an evolving space, and each new addition brings it closer to its final, cohesive vision.
Have you ever experienced the sheer magic of a Craigslist treasure hunt, stumbling upon an unexpected find that completely transforms a room? Or do you possess a “stone cold stunner” of your own that you find yourself admiring whenever you pass by, perhaps even giving it an affectionate pat? Rest assured, you’re not alone in that delightful obsession!
Loved this transformation? Pin it for later inspiration and share with fellow DIY enthusiasts!