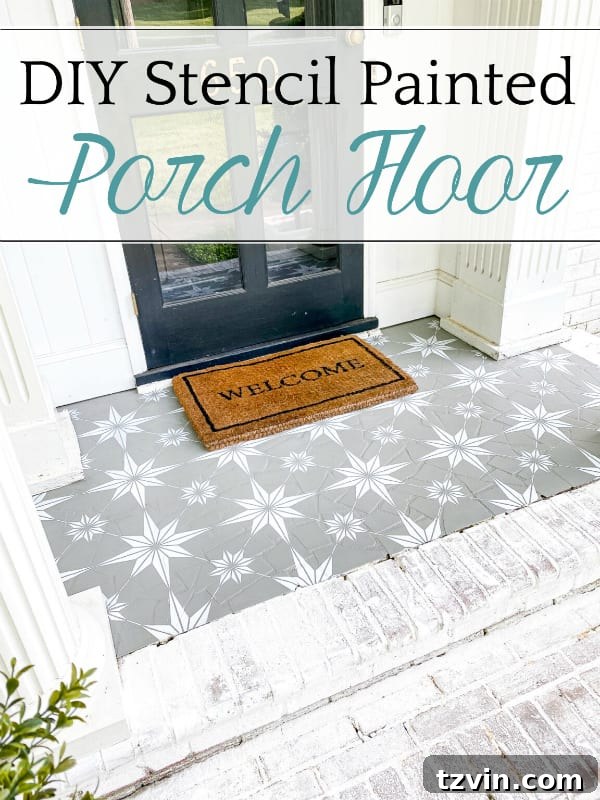
There’s an undeniable satisfaction in finally tackling those home improvement projects that have been lingering on our to-do lists. While some days might call for embracing relaxation, other moments spark a creative surge, compelling us to dive into transformative DIYs. This particular story begins with a beloved front porch, a space that truly sets the first impression for our home, yet was admittedly in need of a significant refresh. Join us as we recount the journey of revitalizing this important exterior space, from tackling grime to applying a beautiful, durable stencil finish to the porch floor.
Our front porch, like many outdoor areas, bears the brunt of the seasons, accumulating dirt, mildew, and general wear and tear over time. Before any aesthetic upgrades could begin, a thorough cleaning was paramount. This critical first step not only prepares the surface for subsequent treatments but also immediately elevates the appearance of the entire entryway. The transformation started with our limewashed brick and the concrete steps leading up to the porch.
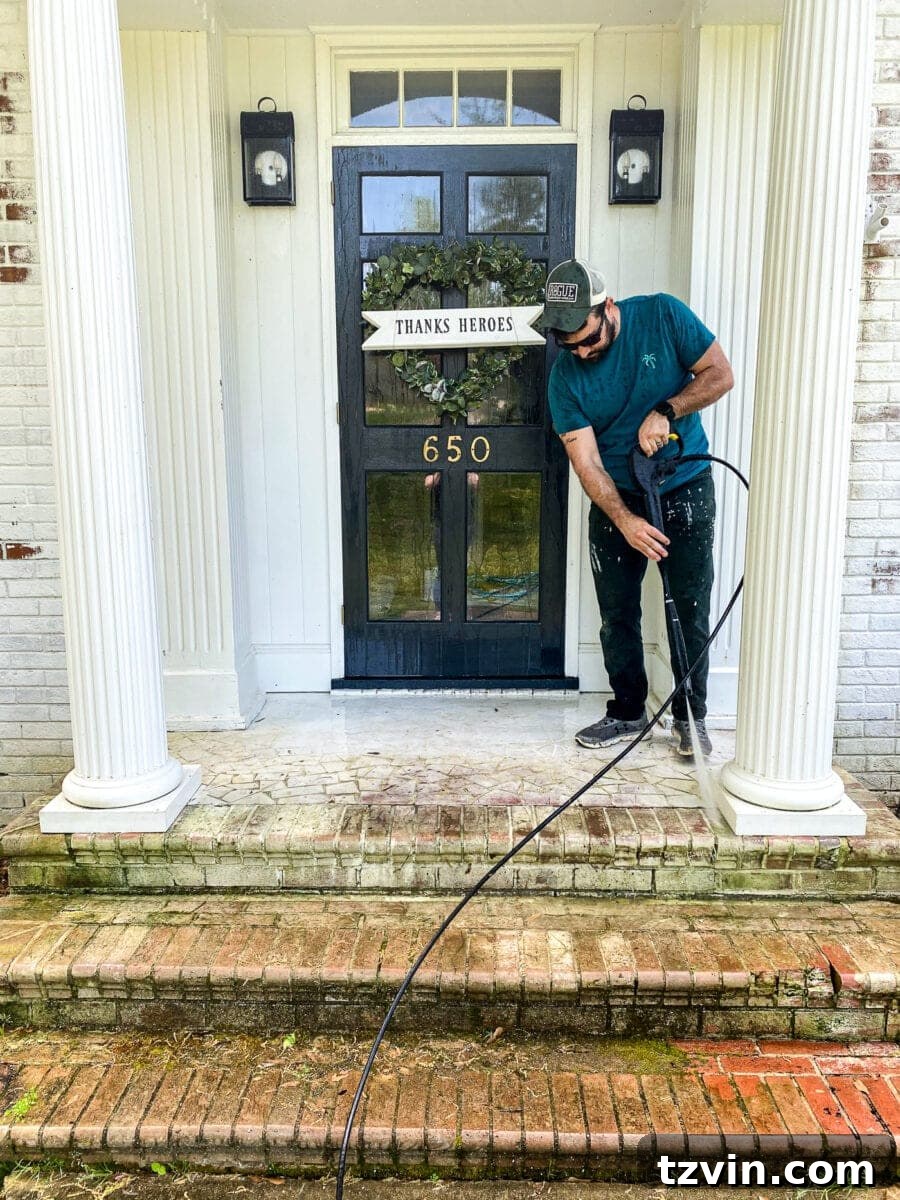
For those familiar with limewashed brick, you know its unique charm, but also that it requires specific care to maintain its pristine look. My husband, Robert, took on the task of cleaning our limewashed brick with a pressure washer. The key here is using a low-pressure setting to avoid damaging the delicate limewash finish. This method effectively removes accumulated dirt, algae, and mildew without stripping away the architectural character. It’s truly amazing how satisfying it is to watch years of grime vanish under the precise stream of water, revealing the clean, bright surface underneath. If you’re looking to clean your limewashed brick, a quality pressure washer used carefully is an indispensable tool.
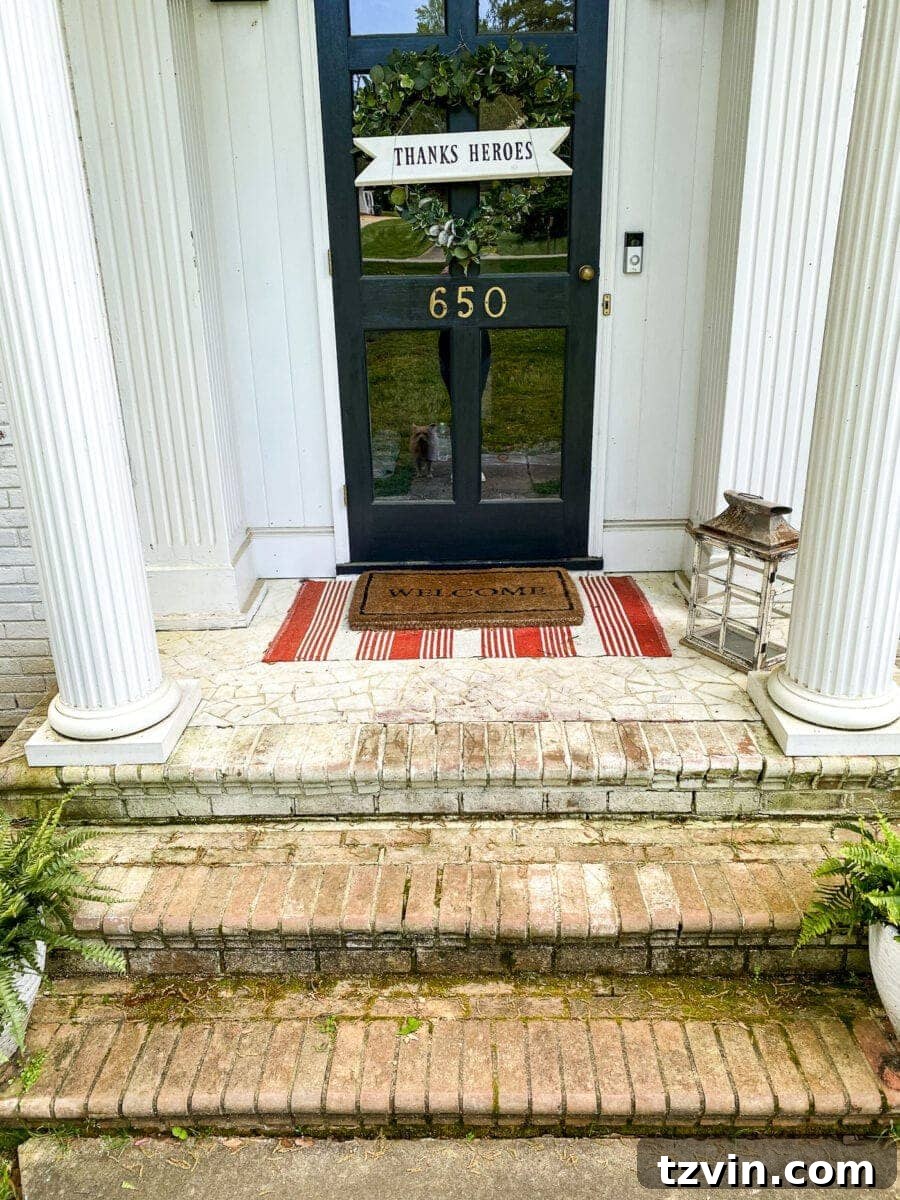
Once all the stubborn winter remnants—the grody mildew, moss, and other grubby accumulations—were thoroughly blasted away, I set about reapplying fresh limewash to the brick steps. This step ensured a cohesive and refreshed look for the entire entryway. With the brick work gleaming, our attention then shifted to the centerpiece: the terracotta tile porch floor. This surface, while charming, presented its own unique set of challenges.
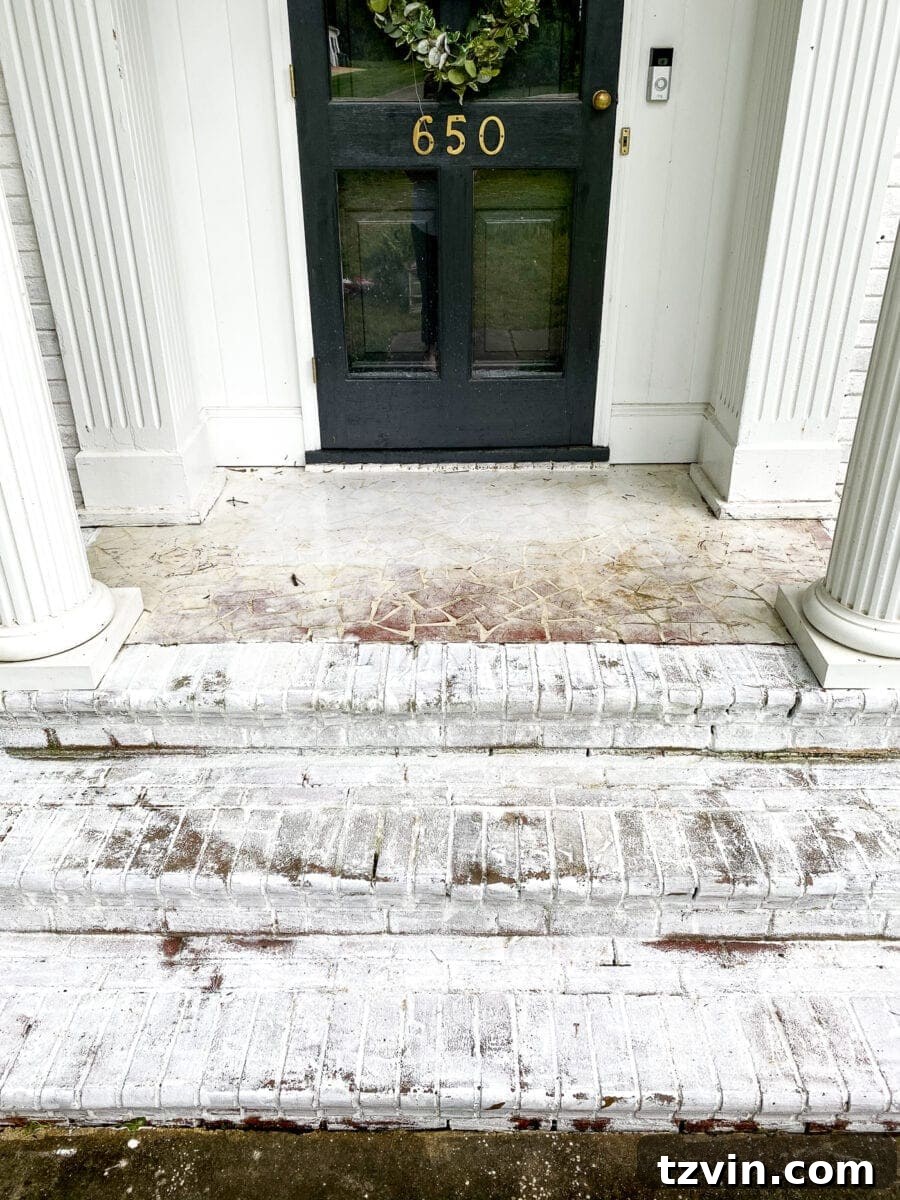
Two years prior, when our entire house received a limewash treatment, we extended it to the porch floor. However, we quickly learned that limewash, while beautiful on vertical surfaces, is not ideally suited for high-traffic floor areas. Its delicate nature meant it wouldn’t withstand the constant foot traffic, changing weather, and general wear that a porch floor endures. We knew an alternative, more durable solution would eventually be needed to protect and beautify this space. The idea of adding a decorative stencil to our porch floor had always captivated me, offering a chance to add personalized charm and character. There’s truly no better time than the present to embark on such a creative endeavor. So, if your porch is yearning for a stylish upgrade and a fresh lease on life, here’s a comprehensive guide to achieving a stunning DIY stencil painted porch floor.
DIY Stencil Painted Porch Floor: A Complete Guide to a Stunning Makeover
Transforming your porch floor with a custom stencil and durable paint is an incredibly rewarding project that significantly boosts your home’s curb appeal. This guide will walk you through every step, ensuring a beautiful and long-lasting finish. By carefully selecting the right materials and following detailed instructions, you can create an inviting and unique entryway that reflects your personal style. From initial cleaning and preparation to the final protective seal, we cover everything you need to know for a successful porch floor renovation.
(Some affiliate links are provided below to help you find the exact products we used and recommend. Full disclosure here.)
Essential Supplies for Your Stenciled Porch Floor Project
Gathering the right tools and materials before you start is crucial for a smooth and efficient DIY project. Investing in quality products specifically designed for exterior use will ensure the longevity and durability of your stenciled porch floor. Here’s a detailed list of what you’ll need, along with explanations of why each item is important:
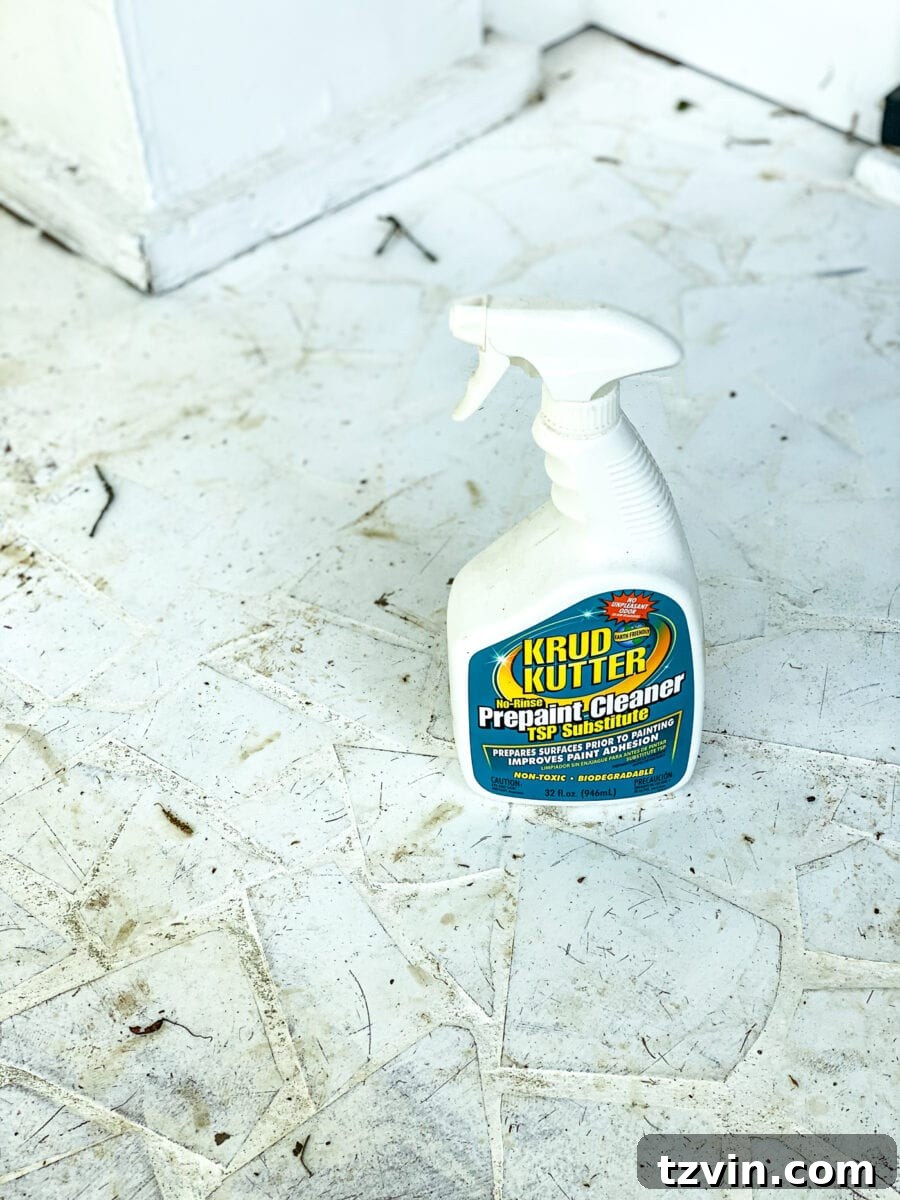
- Krud Kutter Prepaint Cleaner: This heavy-duty cleaner is indispensable for properly degreasing and cleaning surfaces before painting. It removes dirt, grease, oil, and mildew stains, creating an ideal surface for paint adhesion and ensuring a lasting finish.
- Rags: Essential for applying cleaner, wiping down surfaces, and cleaning up any spills throughout the process.
- Broom: For initial sweeping to remove loose debris, dust, and leaves. A clean starting point is vital.
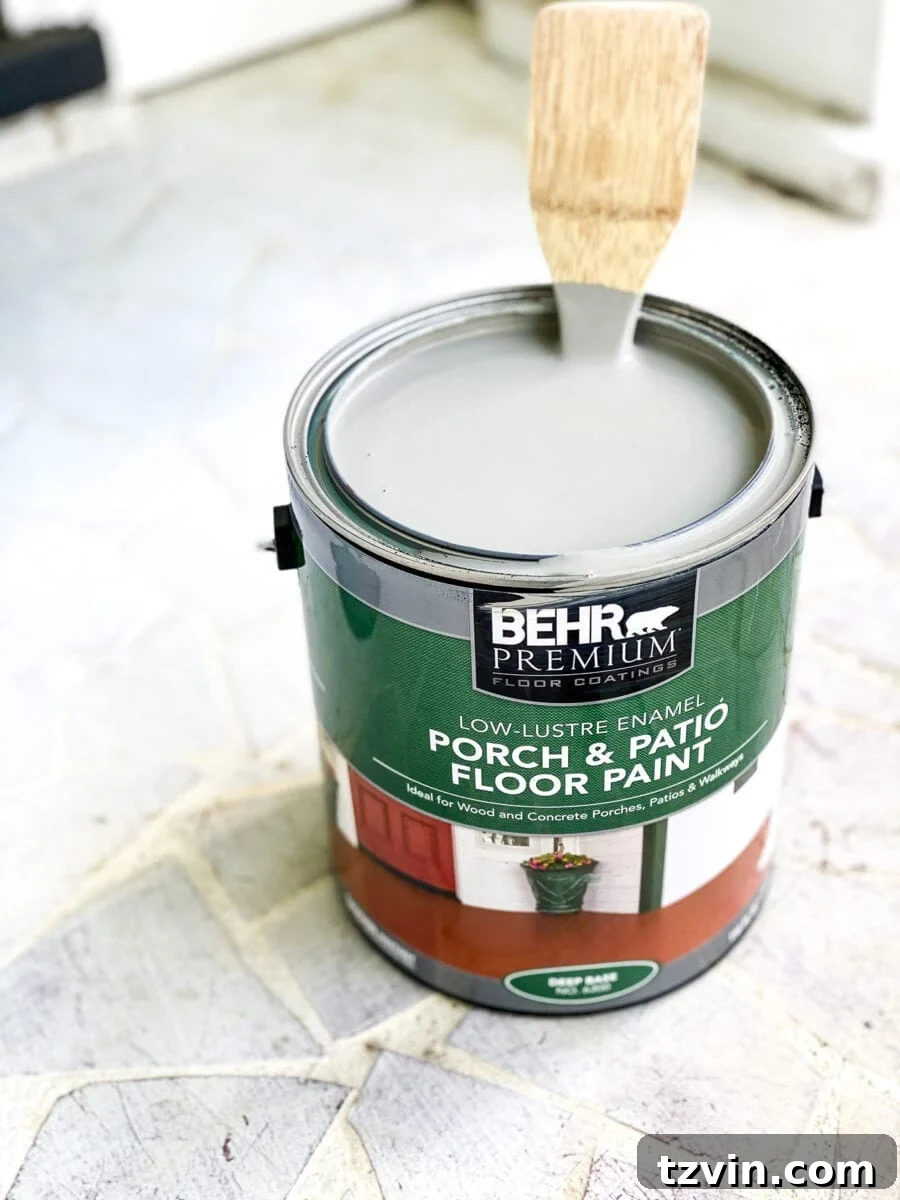
- Behr Porch & Patio Floor Paint Low-Lustre Enamel: This specialized paint is formulated for high-traffic outdoor surfaces, offering excellent durability and resistance to fading, scuffing, and cracking. I used “Battleship Gray” for the base coat and “Ultra Pure White” for the stencil. A quart of each color should be more than enough, as this paint goes a very long way, providing superb coverage.
- Large Angled Paint Brush: Perfect for applying the base coat of paint, especially useful for cutting in edges and corners for a clean, professional look.
- Stencil Paint Brush: Designed for stencil work, these brushes typically have flat, stiff bristles ideal for dabbing paint onto the stencil without bleeding underneath.
- Paper Towels and a Paper Plate: Used for dabbing off excess paint from your stencil brush, crucial for preventing paint bleed and achieving crisp stencil lines.
- Stencil: The star of your design! Choose a stencil that complements your home’s aesthetic. I personally used this particular design, which offers a timeless and elegant pattern.
- Painter’s Tape: Essential for securing your stencil firmly in place, preventing shifting and ensuring accurate placement.
- Seal-Krete Clear-Seal Low-Gloss Sealer: A high-quality sealer is critical for protecting your painted and stenciled floor from the elements, abrasion, and wear, significantly extending its lifespan. A quart is generally sufficient, as a little goes a long way.
- Scissors: Useful for cutting the stencil into smaller pieces for easier application in tight corners and edges.
The Transformation Process: Step-by-Step Instructions for Your Stenciled Porch Floor
With your supplies ready, it’s time to bring your vision to life. Follow these steps carefully to ensure a stunning and durable finish for your DIY stencil painted porch floor.
1. Thorough Surface Preparation: Sweeping and Cleaning
Begin by completely sweeping the porch floor. Remove all dust, leaves, cobwebs, and any other loose debris. A truly clean surface is the foundation for any successful painting project, as it ensures optimal adhesion of the subsequent layers. After sweeping, take your cleaning efforts to the next level.
2. Deep Cleaning with Krud Kutter
Next, thoroughly wipe down the entire porch floor with Krud Kutter Prepaint Cleaner. This powerful cleaner is specifically designed to remove stubborn grime, grease, mildew, and any other contaminants that can prevent paint from adhering properly. Apply it with rags, scrub any particularly dirty spots, and then allow the surface to dry completely. Proper drying time is crucial before moving on to painting, ensuring no moisture is trapped underneath the paint.
3. Applying the Durable Base Coat
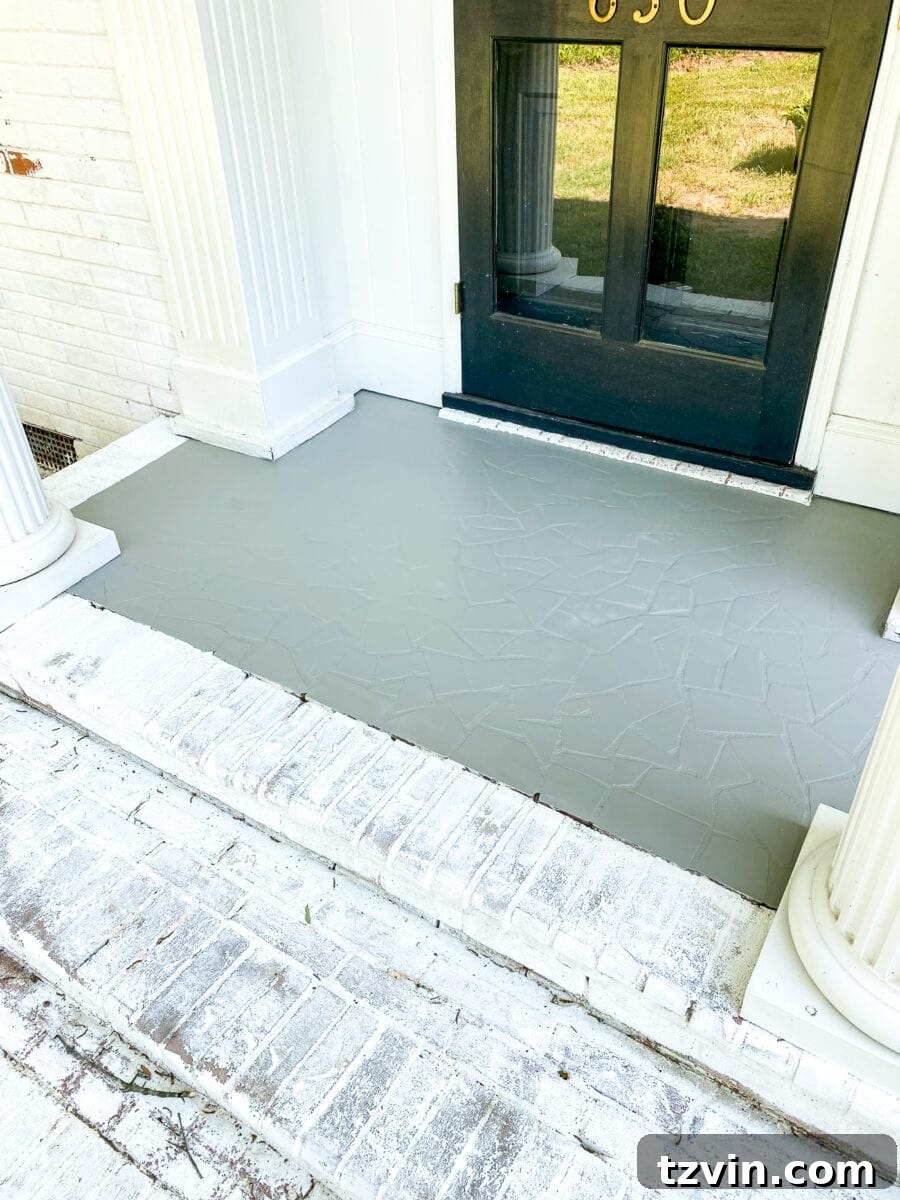
Using a large angled brush, apply a single, even coat of Behr Porch & Patio Floor Paint in Battleship Gray. This paint is renowned for its exceptional durability and coverage, specifically formulated to withstand outdoor conditions and heavy foot traffic. You’ll likely be impressed by how well it covers the previous surface in just one coat. For stirring the paint, if you find yourself without a stir stick, a wooden cooking spoon can be a handy substitute in a pinch! The robust nature of this paint makes it an excellent choice for a long-lasting base.
The coverage of this paint is truly remarkable; a single coat creates a beautifully uniform and durable surface. It might even tempt you to stop there, given how fresh and clean it looks. However, the allure of a personalized stencil design called for a little extra effort, promising an even more sophisticated and unique finish.
4. Precision Stenciling: Bringing Your Design to Life
Once the gray base coat is completely dry, carefully position your chosen stencil. For a visually appealing result, I centered the star design of my stencil directly on the front door, creating an impactful focal point. Secure the stencil firmly in place with painter’s tape to prevent any movement during application, which is crucial for sharp lines.
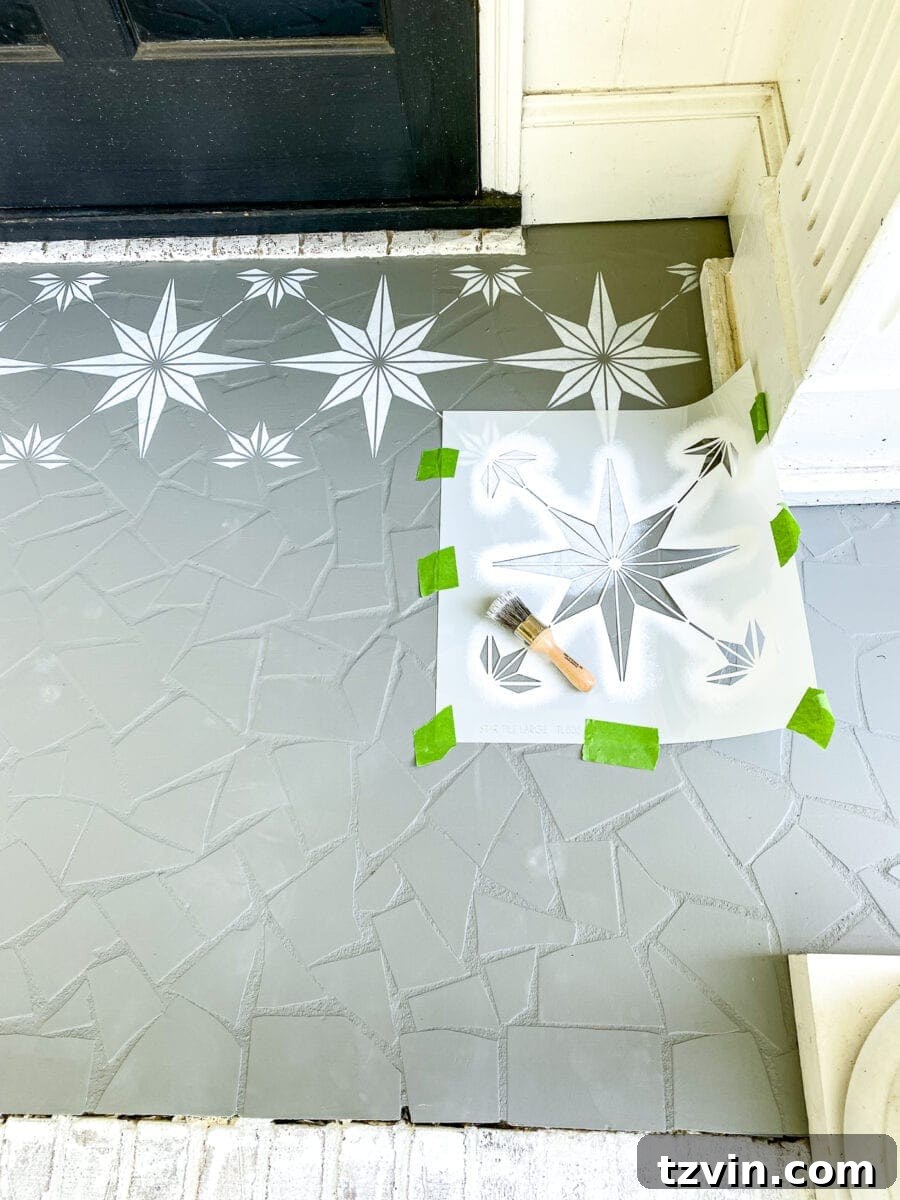
5. Loading Your Stencil Brush Correctly
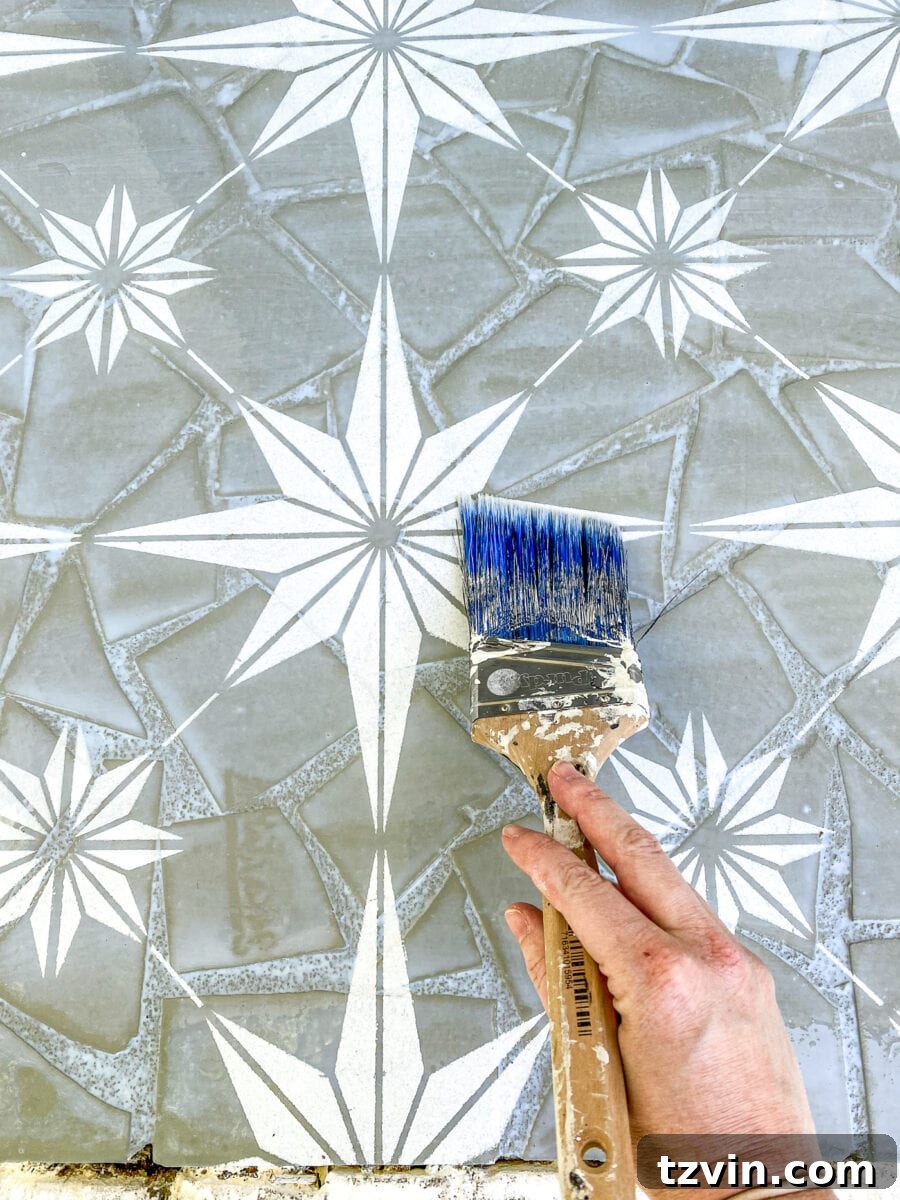
To load your stencil brush, dip only the very tips of the bristles into the “Ultra Pure White” paint. The most important step here is to dab off any excess paint onto paper towels placed on a paper plate. This technique is vital; having too much paint on your brush is the primary cause of paint bleeding underneath the stencil, leading to blurry lines.
6. Applying Paint with a Dabbing Motion
Apply the paint to the stencil using a distinct dabbing or pouncing motion, rather than a brushing stroke. This vertical application method helps prevent paint from seeping under the stencil edges. Work steadily across the stencil, ensuring even coverage without overloading the brush.
7. Handling Edges and Corners with Flexibility
When you reach the edges of your porch or any challenging corners, you can gently bend the stencil to conform to the shape of the area. This flexibility allows you to extend your design seamlessly to the very edges of the floor, creating a complete and polished look.
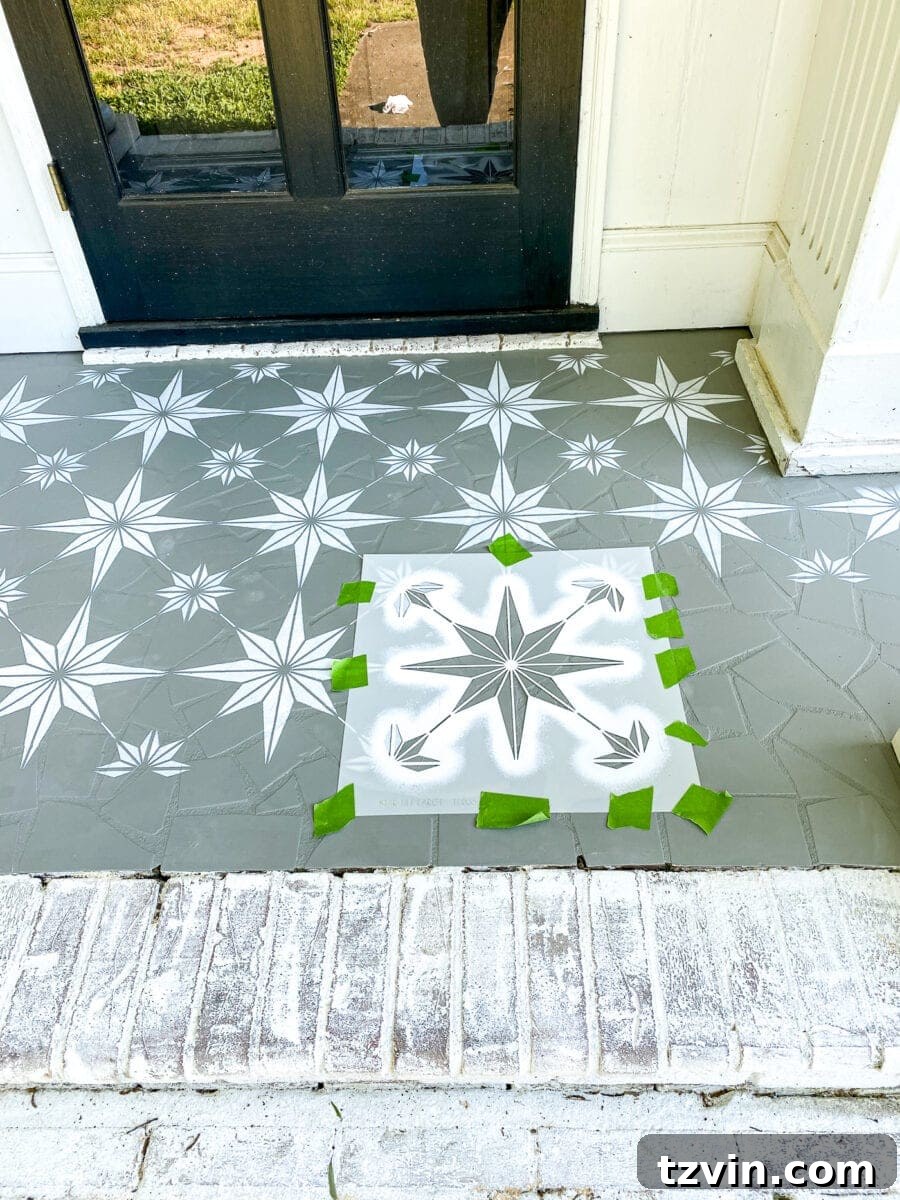
8. Finishing Touches: Cutting the Stencil for Tight Spots
Once the main stenciling is complete, you might find some small corners or intricate edges that were difficult to reach with the full stencil. This is where scissors come in handy. Carefully cut sections of your stencil into smaller, more manageable pieces. This allows you to easily maneuver them into tight spots, ensuring every part of your design is perfectly executed and your stenciled pattern extends cleanly to all boundaries.
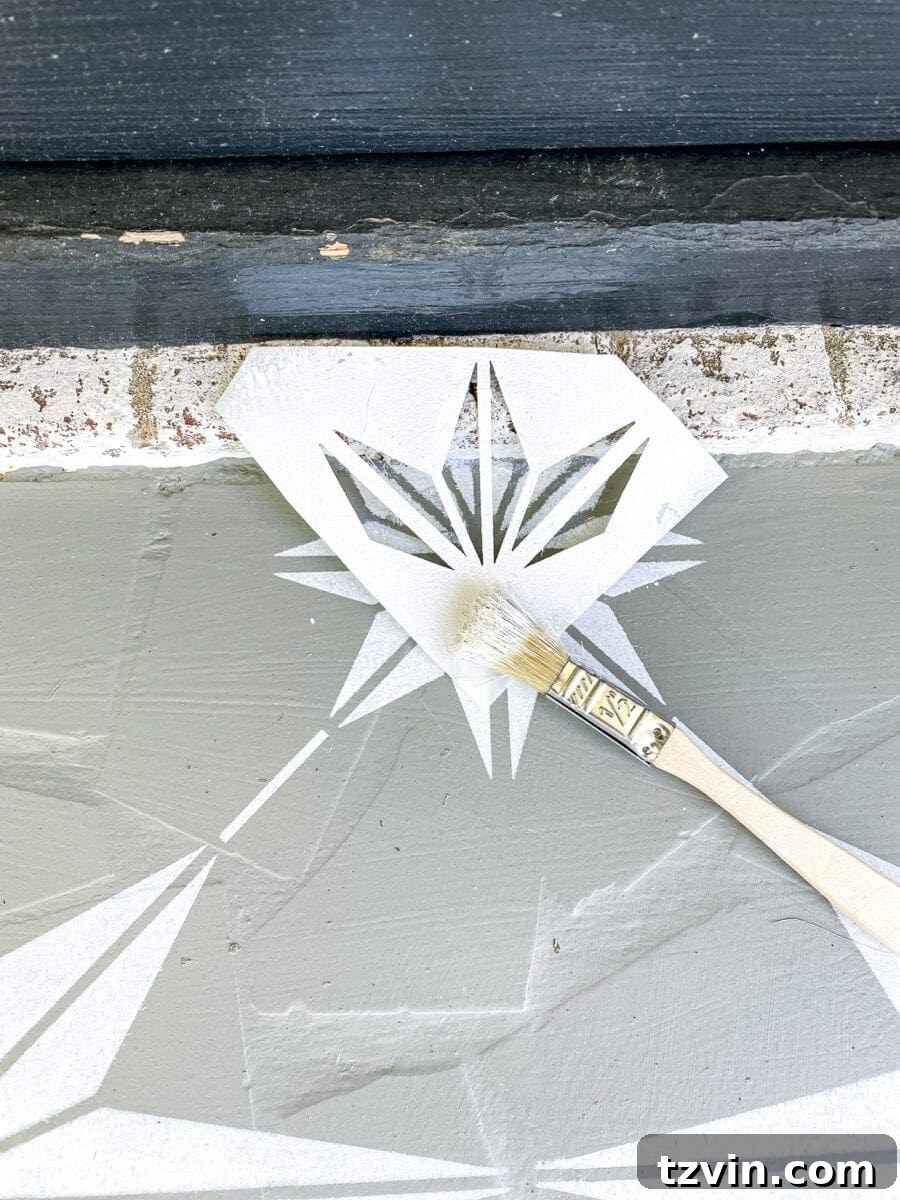
9. Sealing for Superior Durability and Protection
After the stenciled design is completely dry—allowing ample time for curing is essential—apply two coats of Seal-Krete Clear-Seal Low-Gloss Sealer. This step is non-negotiable for protecting your hard work. The sealer creates a durable, protective barrier against moisture, UV rays, scuffs, and general wear and tear, ensuring your beautiful design lasts for years. Allow the sealer to dry and cure for a full 24 hours before walking on the porch. This curing period is critical for the sealer to achieve its maximum protective properties. I was genuinely surprised by how little of the gallon I used; a quart would have been perfectly sufficient.
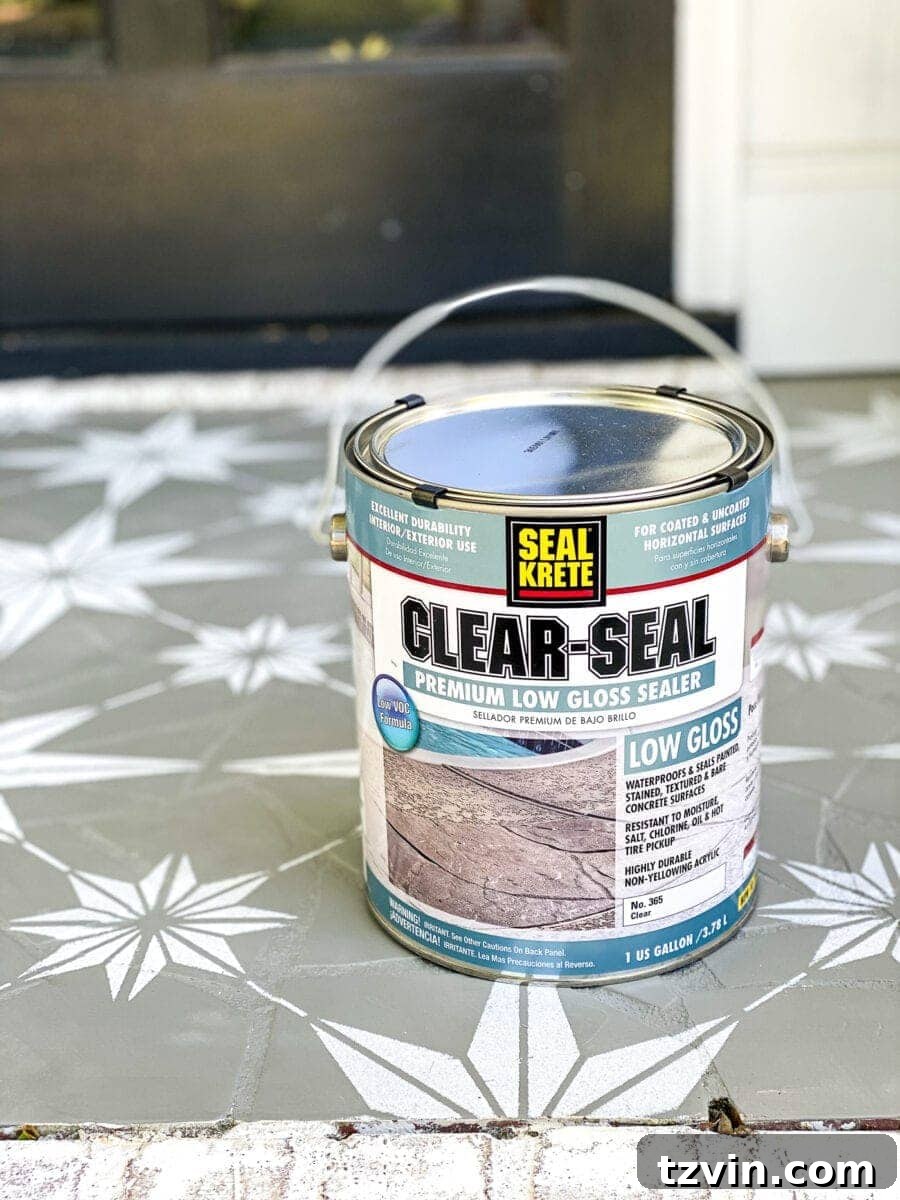
This final protective layer is what truly makes your DIY porch floor project a lasting success. Once fully cured, the sealer creates a resilient surface that stands up remarkably well to daily use and the elements. I even tried scratching a few spots with my fingernail and scuffing it, and the finish didn’t budge. This robust protection gives me immense confidence in the longevity of this beautiful porch floor makeover.
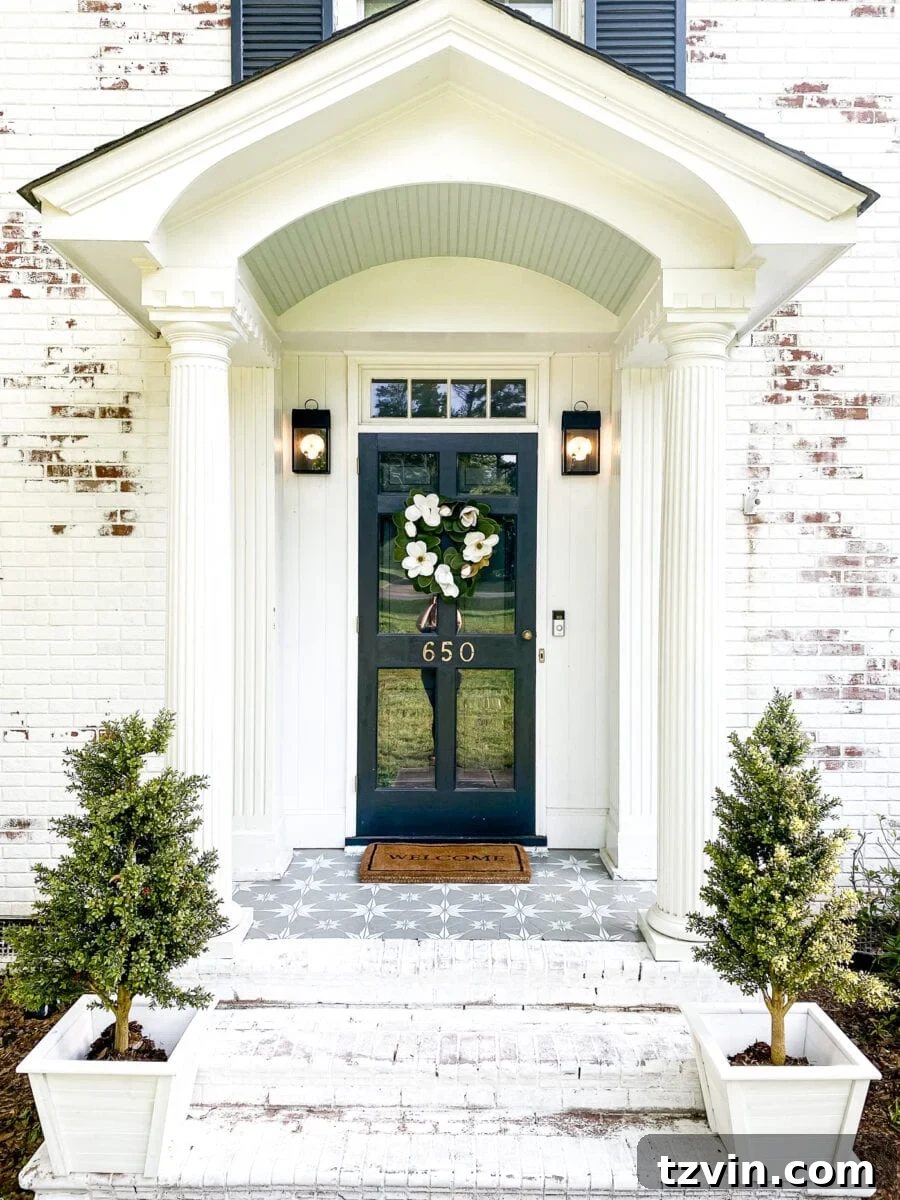
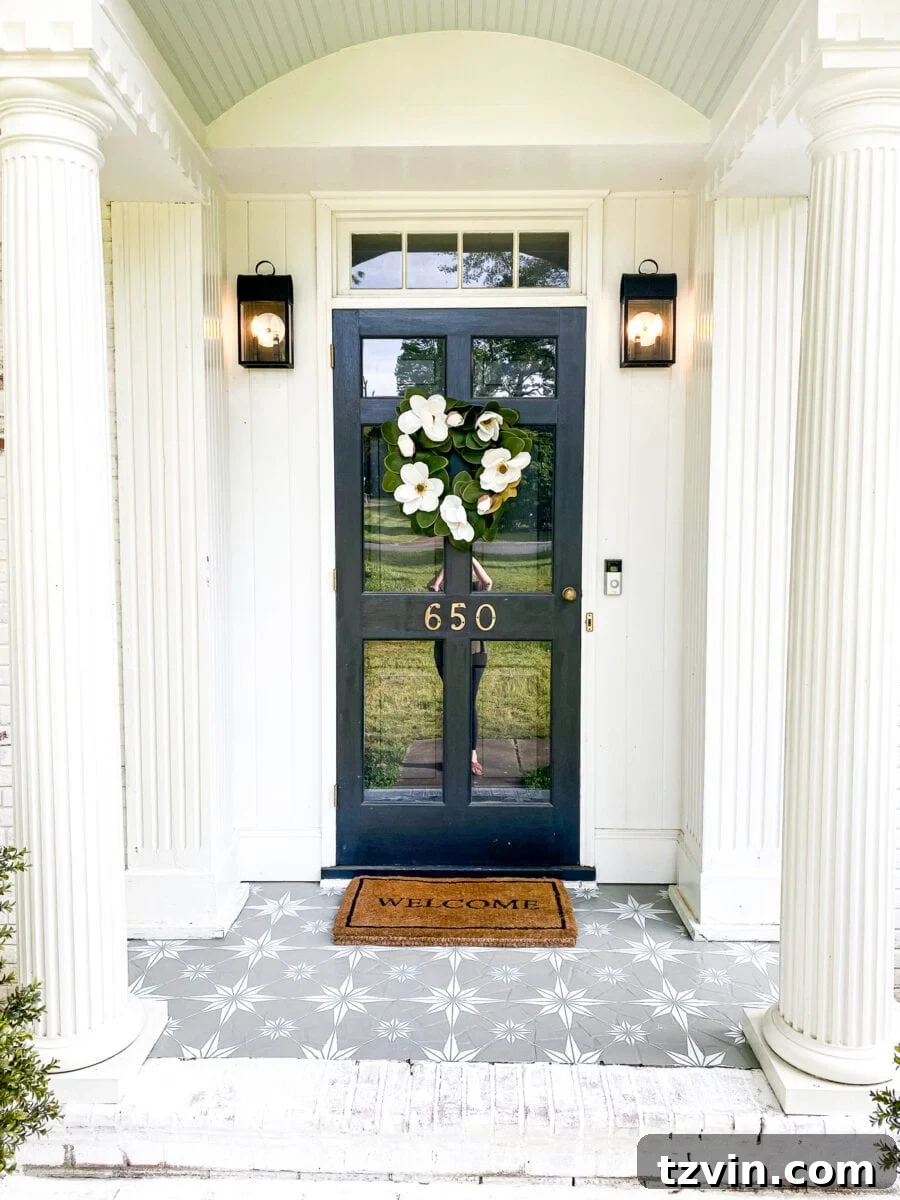
And just look at the stunning result! The transformation is truly incredible. The crisp, clean lines of the stencil pattern against the sophisticated gray base coat have elevated the entire front porch, giving it a fresh, inviting, and personalized feel. This makeover brings a smile to my face every time I approach our front door.

While visitor traffic might be light these days, the joy it brings to me daily is undeniable. I hope our wonderful USPS delivery person enjoys the refreshed view as much as I do! It’s these small, personal touches that make a house feel truly like a home, creating a welcoming atmosphere for everyone who steps foot on the property.
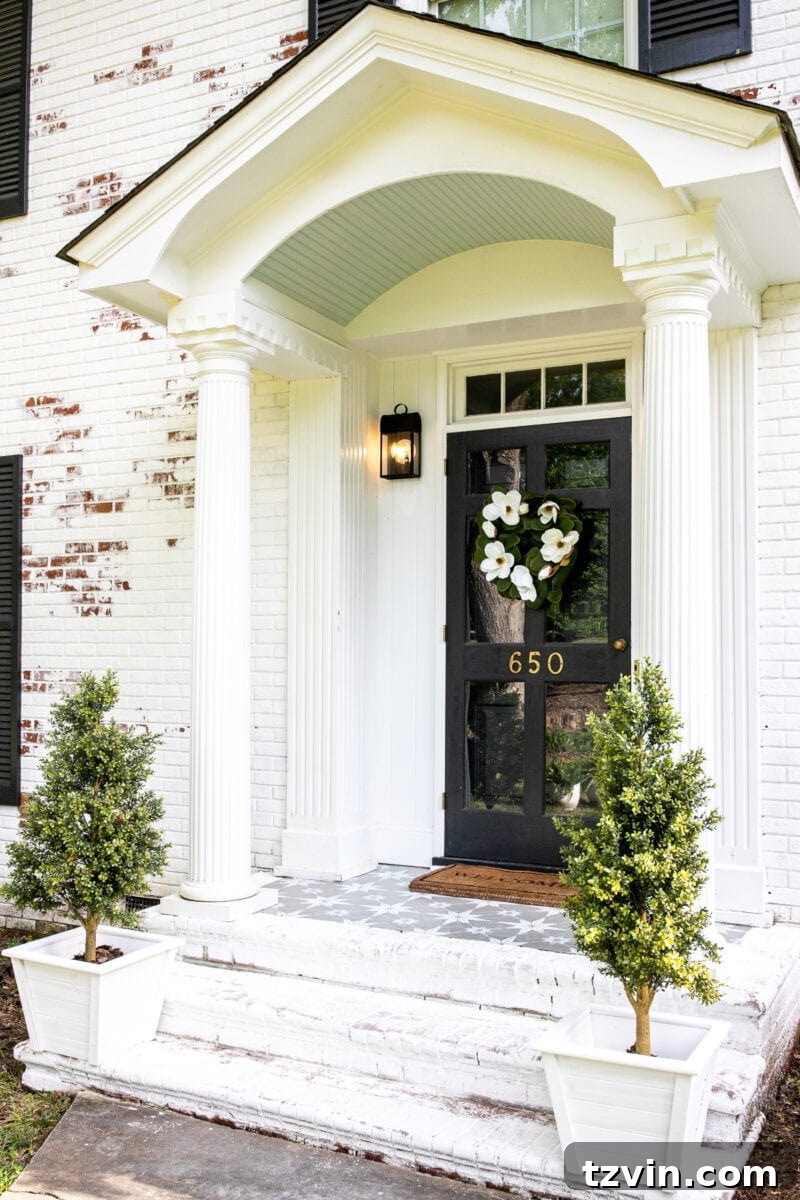
One of the unexpected bonuses of this project is that I have nearly an entire gallon of each paint and sealer leftover. This means I have plenty of materials for another creative endeavor somewhere else around the house. It’s always a good feeling to have supplies on hand for future DIY inspiration!
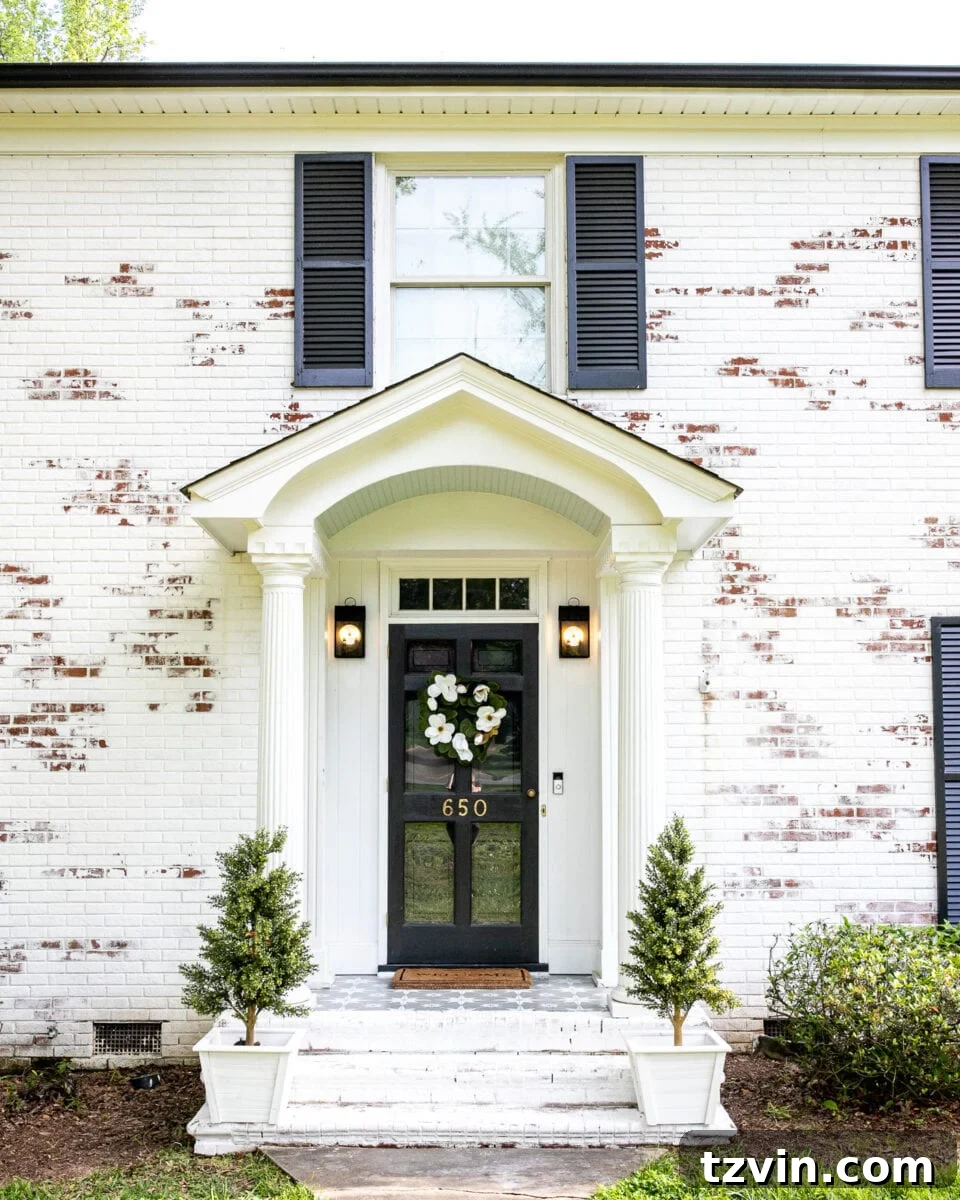
What are your thoughts on the chosen stencil design? It was a collective decision, with so many of you voting and helping me decide on Instagram, so a huge thank you to everyone who weighed in! Your input made this project even more special and truly reflective of a shared vision.
If you’re curious about the rest of the decor elements that complete our charming front porch, here’s a list of sources and similar items:
- Ceiling Color – Benjamin Moore Palladian Blue (This is my absolute favorite “haint blue” color, perfect for adding a subtle, welcoming touch to porch ceilings.)
- Porch Lights (similar style)
- Magnolia Wreath (a classic and elegant touch for any front door)
- Welcome Mat (essential for both functionality and curb appeal)
- Planter Boxes (similar options for adding greenery and dimension)
- Boxwood Trees (similar to ours, which were a great find from IKEA a few years ago – perfect for year-round greenery)
By the way, if you have any questions or want to learn more about limewashed brick and its care, you can find all of our comprehensive FAQs about it here. It’s a topic we’ve covered extensively, and there’s a wealth of information available to help you maintain this beautiful exterior finish.
If you found this DIY guide inspiring and want to revisit it later or share with others, be sure to save this post by pinning it: