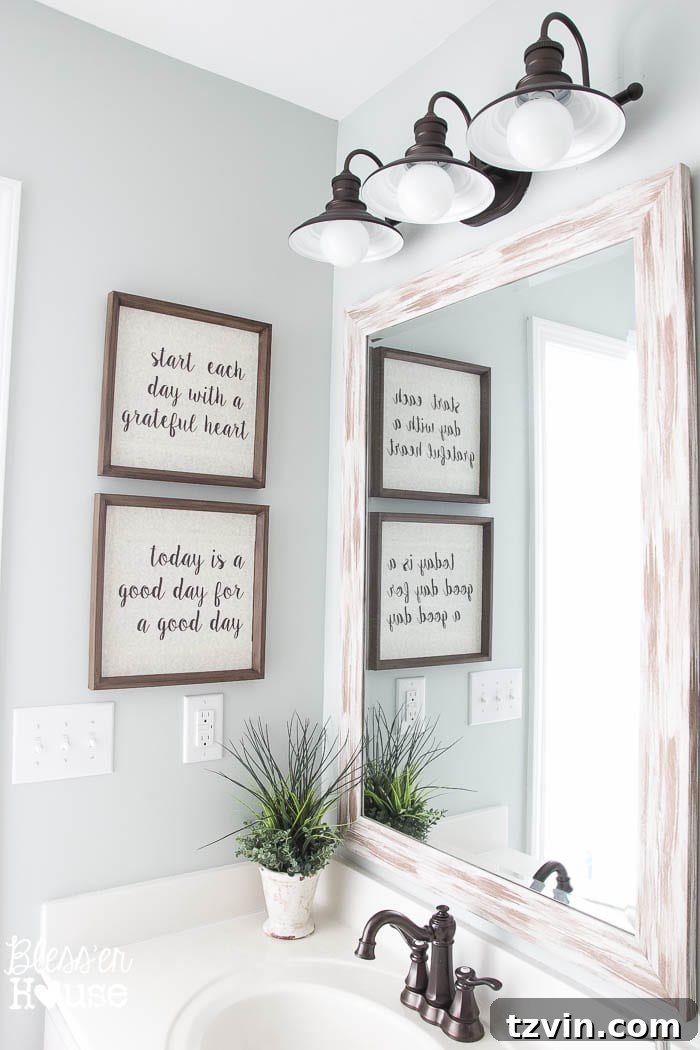
DIY Typography Signs: Turning Trash into Treasure
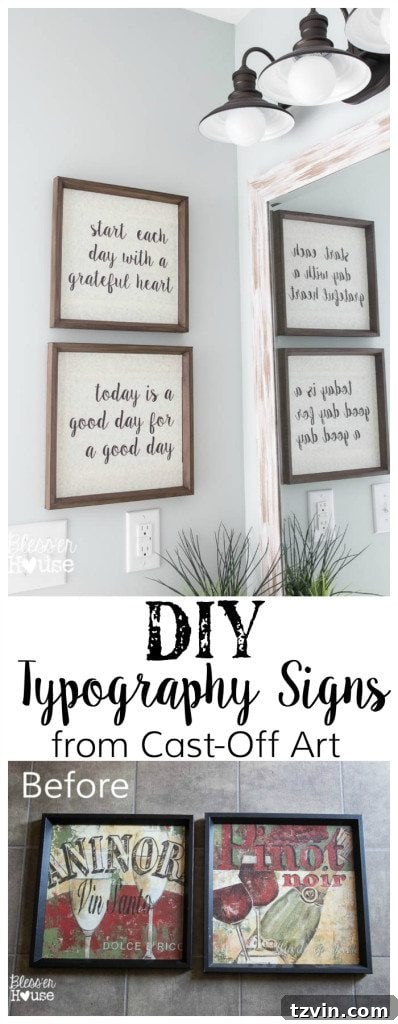
It seems I’m stuck in a delightful loop! For my recent “Trash to Treasure Tuesdays,” I’ve unknowingly revisited my former decor style. This time, it involved breathing new life into some old wine-themed art, transforming them into fresh, stylish typography signs.

Each month, I team up with some talented blogger friends for our Trash to Treasure challenge. We each take on a thrift store find or something from our own “donate” piles and give it a makeover. This time, I dug into my storage and found an old pair of wine art pieces that were a remnant of my early married life.
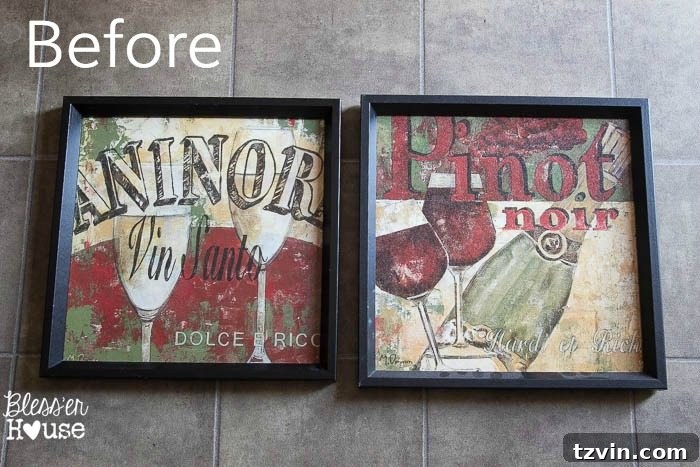
I realized I’m evolving away from that style. I adore typography signs and decided to give these frames a makeover.
Here’s how I created these DIY typography signs:
Supplies You’ll Need:
- Annie Sloan Chalk Paint in Coco (or a similar dark neutral color)
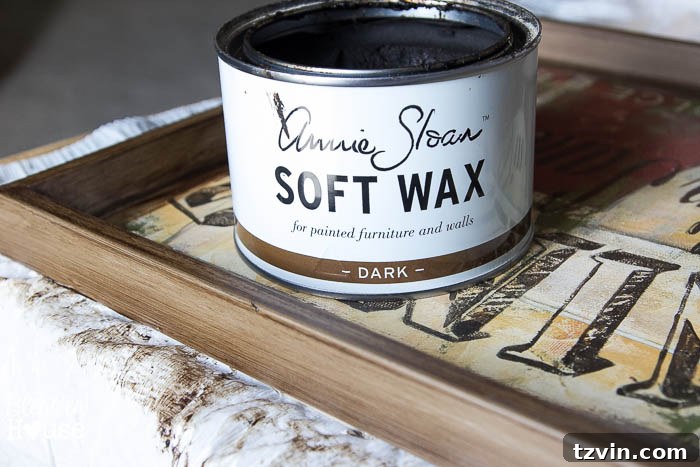
- Annie Sloan Dark Soft Wax
- Chip brush
- Clean, lint-free rag
- Computer & inkjet printer
- Parchment printer paper
- Scissors
- Mod Podge in matte
- Sponge applicator brush
Step-by-Step Instructions:
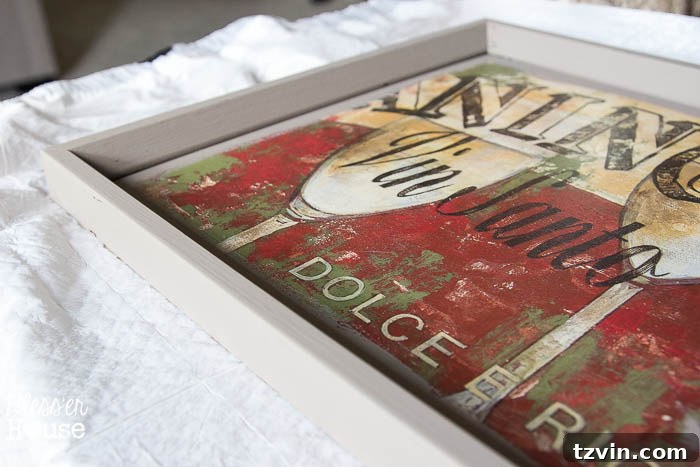
1. Prep the Frames:
I started by giving the frames a good cleaning. Dust and grime are the enemy of a good paint job! Then, using a chip brush, I applied two coats of Annie Sloan Chalk Paint in Coco. This created a lovely base for the next steps.
2. Add a Weathered Wood Look:
Once the paint was completely dry, I worked in sections, applying Annie Sloan Dark Wax with a chip brush and immediately wiping it back with a clean rag. This technique is great for achieving a rustic, weathered wood effect.
I love this method, and I’ve used it on various projects, including an industrial laundry hamper, an office supply organizer, and even a pumpkin terrarium. It’s a versatile way to add character and depth.
3. Print and Apply the Typography:
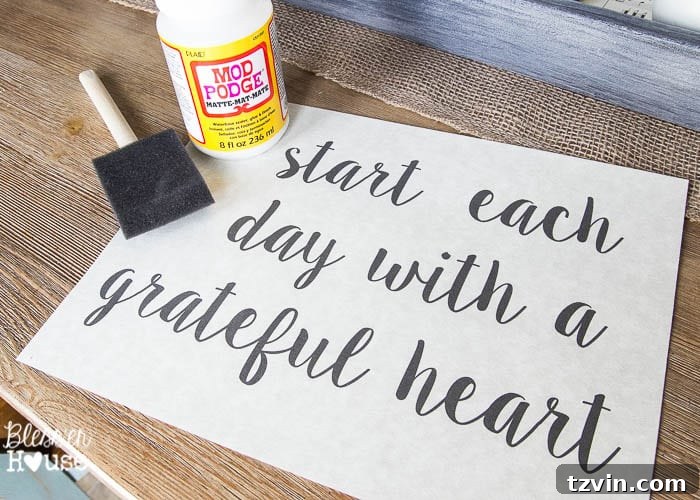
After the wax dried, I printed my chosen typography designs onto parchment printer paper. You can download the printables I used here:
Start Each Day Printable
Today is a Good Day Printable
4. Adhere the Printables:
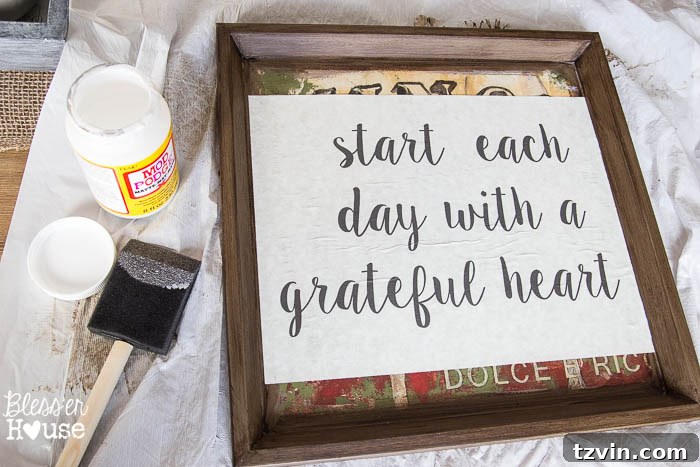
I applied a coat of Mod Podge to the picture area of the frames and carefully placed the printables where I wanted them. I used a credit card edge to smooth out any air bubbles, ensuring a seamless finish. I also cut strips of blank parchment paper to Mod Podge over the exposed edges.
5. Seal and Finish:
Once the initial layer of Mod Podge was dry, I sealed everything with another coat. This protects the printables and gives the signs a polished look.
The finished signs have a lovely rustic feel, and the entire project was incredibly budget-friendly.
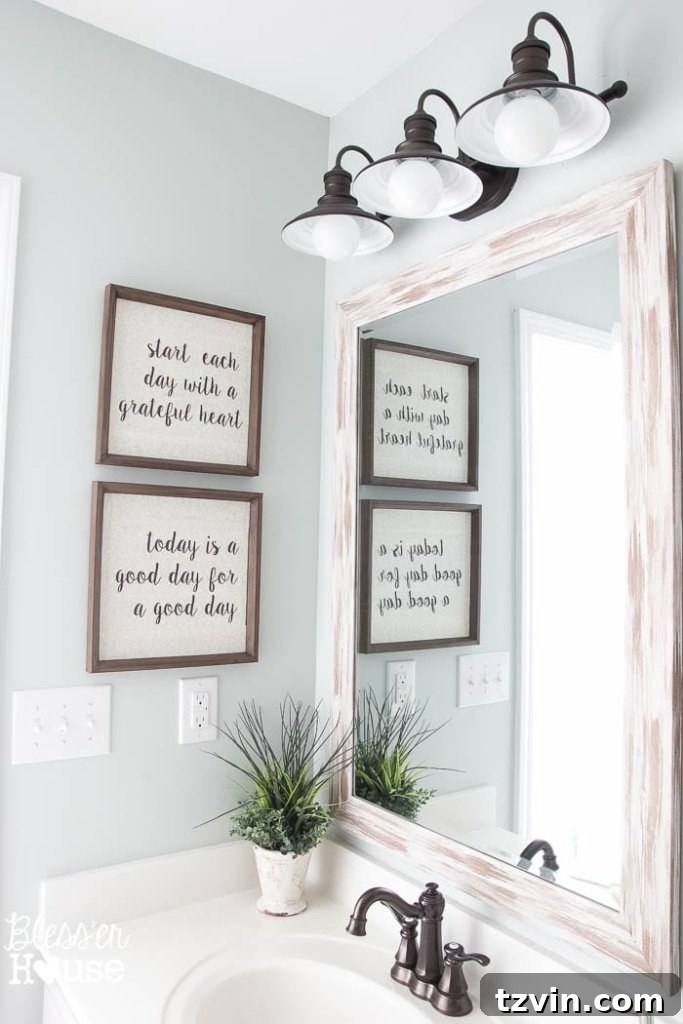
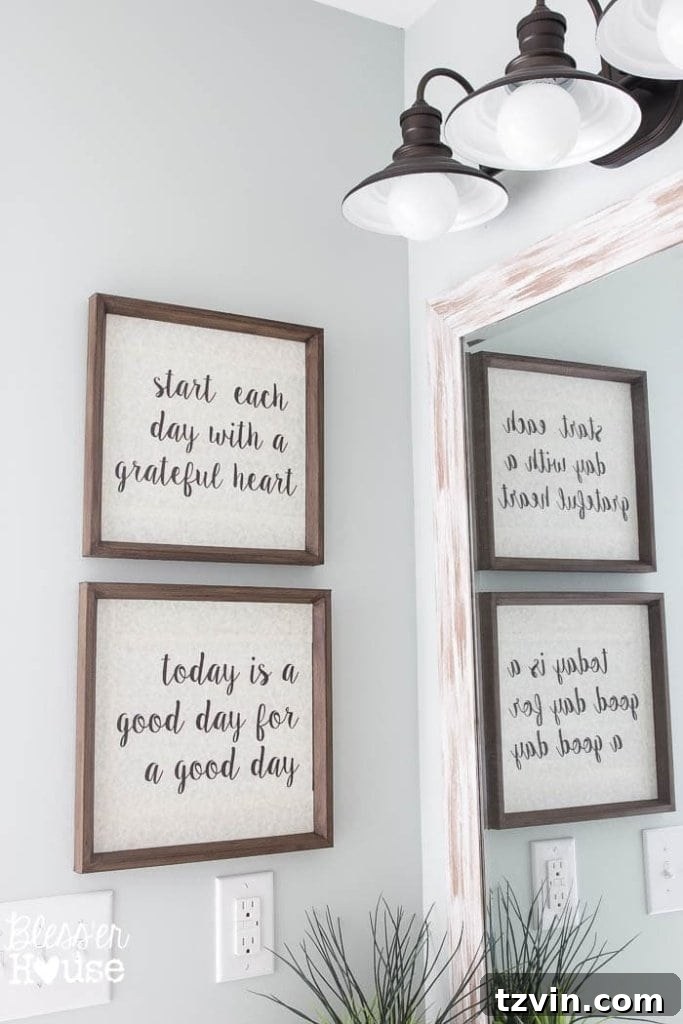
I’m so pleased with how these signs turned out! They were an easy and inexpensive way to update some old art and add some positive messaging to my home.
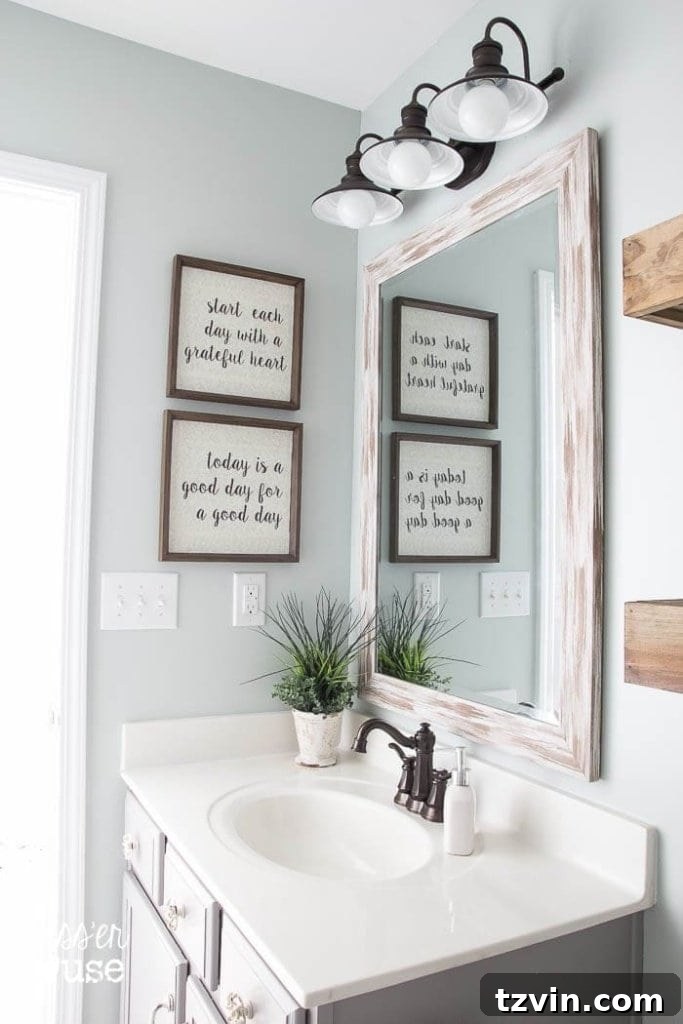
If you’re looking for a fun and easy DIY project, I highly recommend giving this a try! This project is perfect for adding personalized decor to your home without breaking the bank. It’s a great way to recycle and repurpose old frames.
Be sure to visit my Trash to Treasure teammates for more amazing upcycled projects!
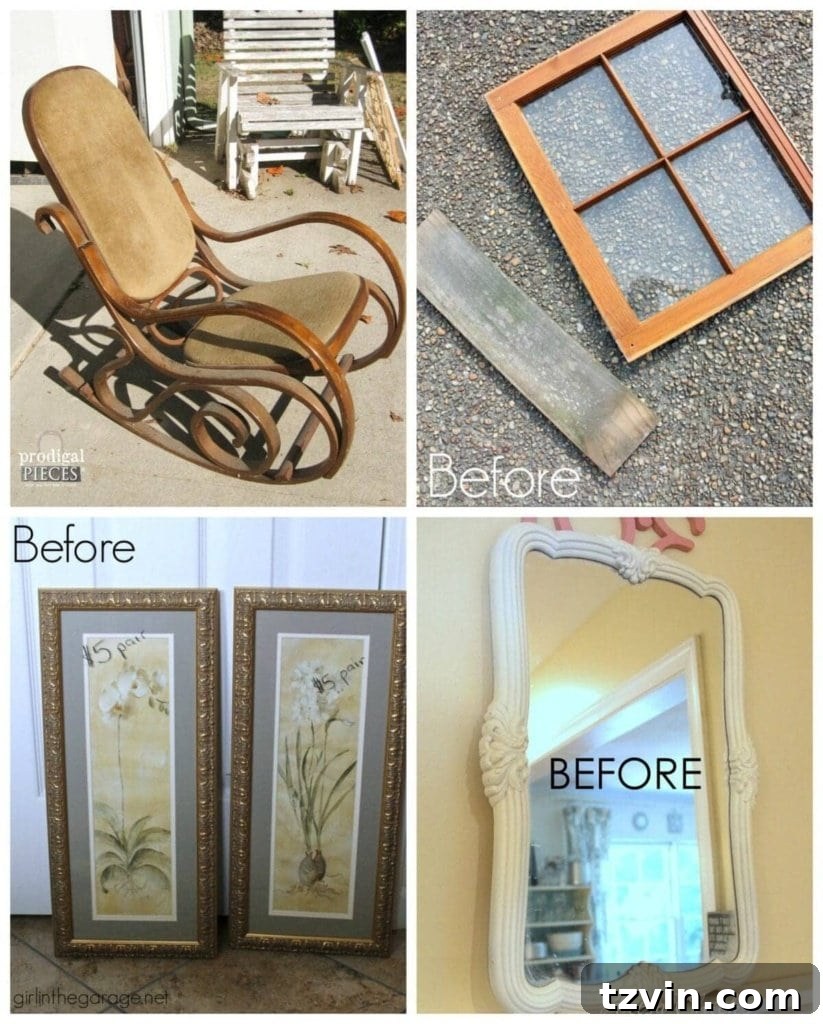
Prodigal Pieces
Girl in the Garage
Artsy Chicks Rule