Craft Your Own Backyard Oasis: A Comprehensive Guide to Building a DIY Fire Pit & Pea Gravel Patio
Transforming your outdoor space into a cozy haven for relaxation and entertainment doesn’t have to be a monumental task. Imagine evenings spent under the stars, gathered around a crackling fire with loved ones, making memories that last a lifetime. This dream can become a reality faster than you think, even for a beginner DIYer. In this detailed guide, we’ll walk you through how to construct a beautiful and functional backyard fire pit, complete with a charming pea gravel patio, in as little as a single weekend!
For many homeowners, the addition of an outdoor fire pit is more than just a home improvement project; it’s an investment in quality time, comfort, and creating a focal point for outdoor living. While some might exchange traditional gifts for special occasions, our family found the ultimate present in our DIY fire pit – a gift that truly keeps on giving, season after season.
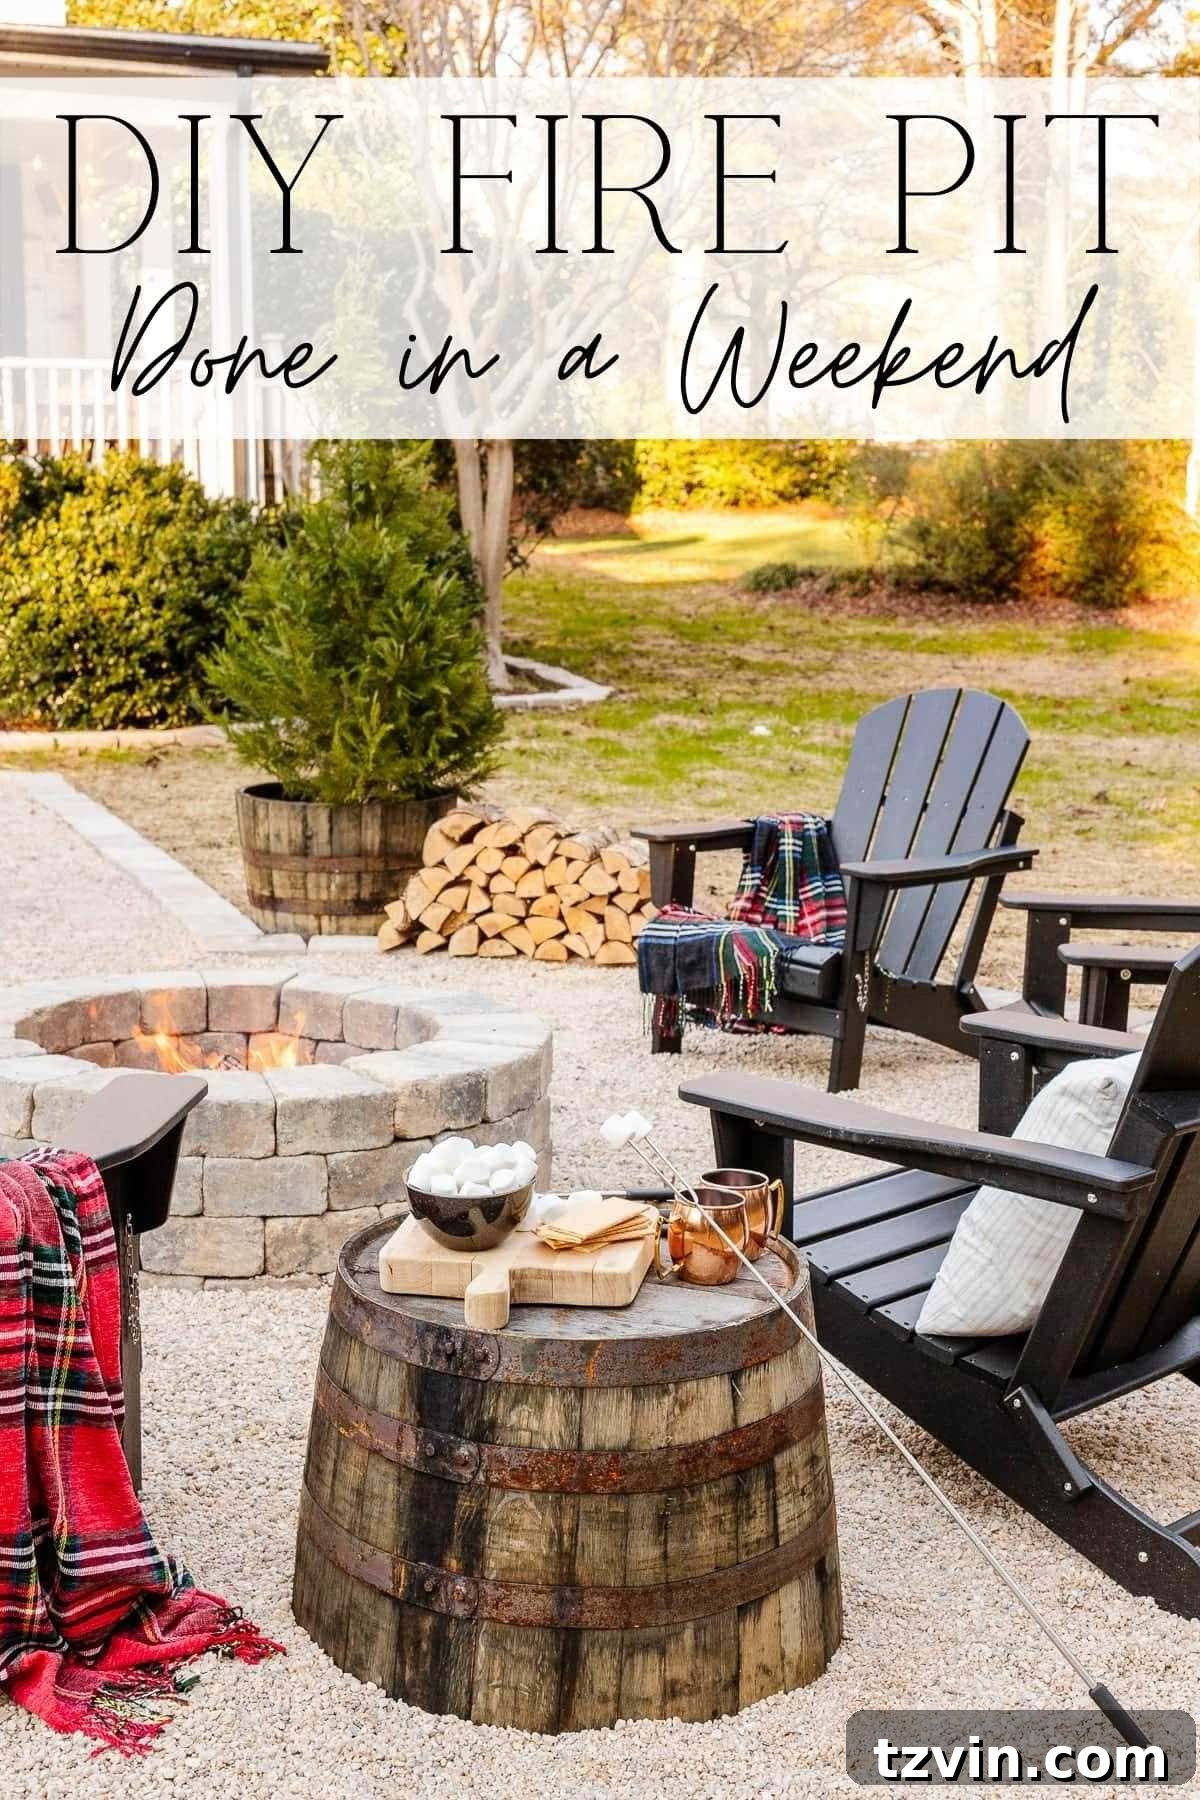
Our own journey to building this backyard retreat surprisingly took only about nine hours of active work. The main delay was simply waiting for our pea gravel delivery on day two. By leveraging powerful tools like the STIHL Yard Boss, we streamlined the process, completing what often seems like a daunting project with remarkable speed. We were genuinely amazed at how quickly we brought this vision to life, proving that even ambitious outdoor endeavors can be surprisingly efficient.
If you’ve been dreaming of a designated outdoor gathering space, this tutorial is your ultimate resource. A pea gravel patio with a built-in fire pit offers an elegant, durable, and cost-effective alternative to traditional paver or brick patios. It’s perfect for those seeking a stylish outdoor solution without the extensive time commitment or significant expense associated with laying individual bricks or large pavers. A truckload of pea gravel provides an instant upgrade, creating a welcoming area without complex masonry work.
Inspired by Design? Explore: 15 Gorgeous Fire Pit Decorating Ideas
Essential Site Preparation for Your Pea Gravel Fire Pit Patio
Before diving into construction, thoughtful site preparation is paramount for the longevity and enjoyment of your fire pit and patio. Our own backyard underwent a significant transformation prior to this project. We tackled issues like a deteriorating fence, a rotting wooden pergola, scattered bricks, and overgrown shrubs that had taken over the space. Achieving a “blank slate” was crucial, providing us with the necessary room to design a comfortable conversation area.
The most critical step in preparation is ensuring the ground is level and that you select an area in your yard that naturally drains well, avoiding spots prone to water puddling. Proper drainage prevents issues like moss growth, shifting gravel, and potential structural problems over time. Creating a stable, even base is fundamental for both safety and aesthetics.
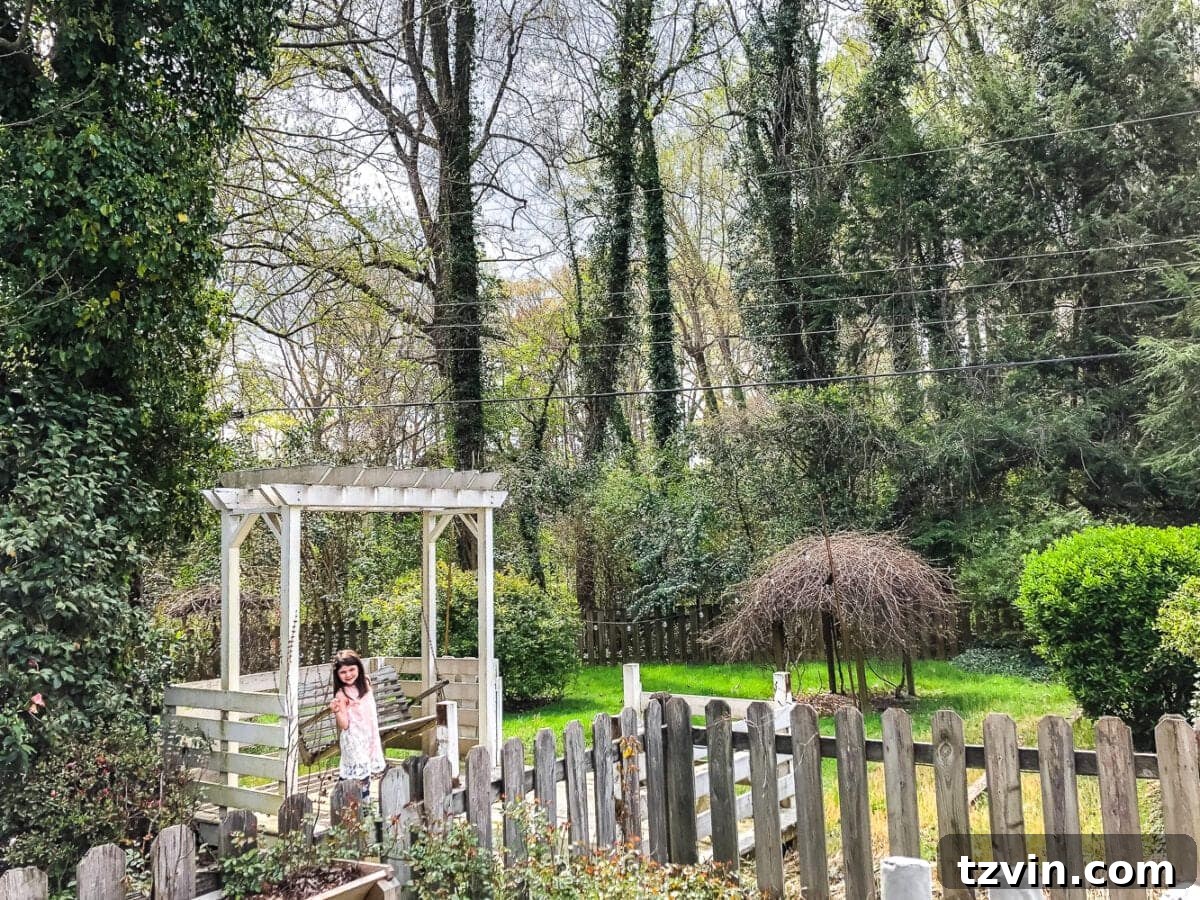
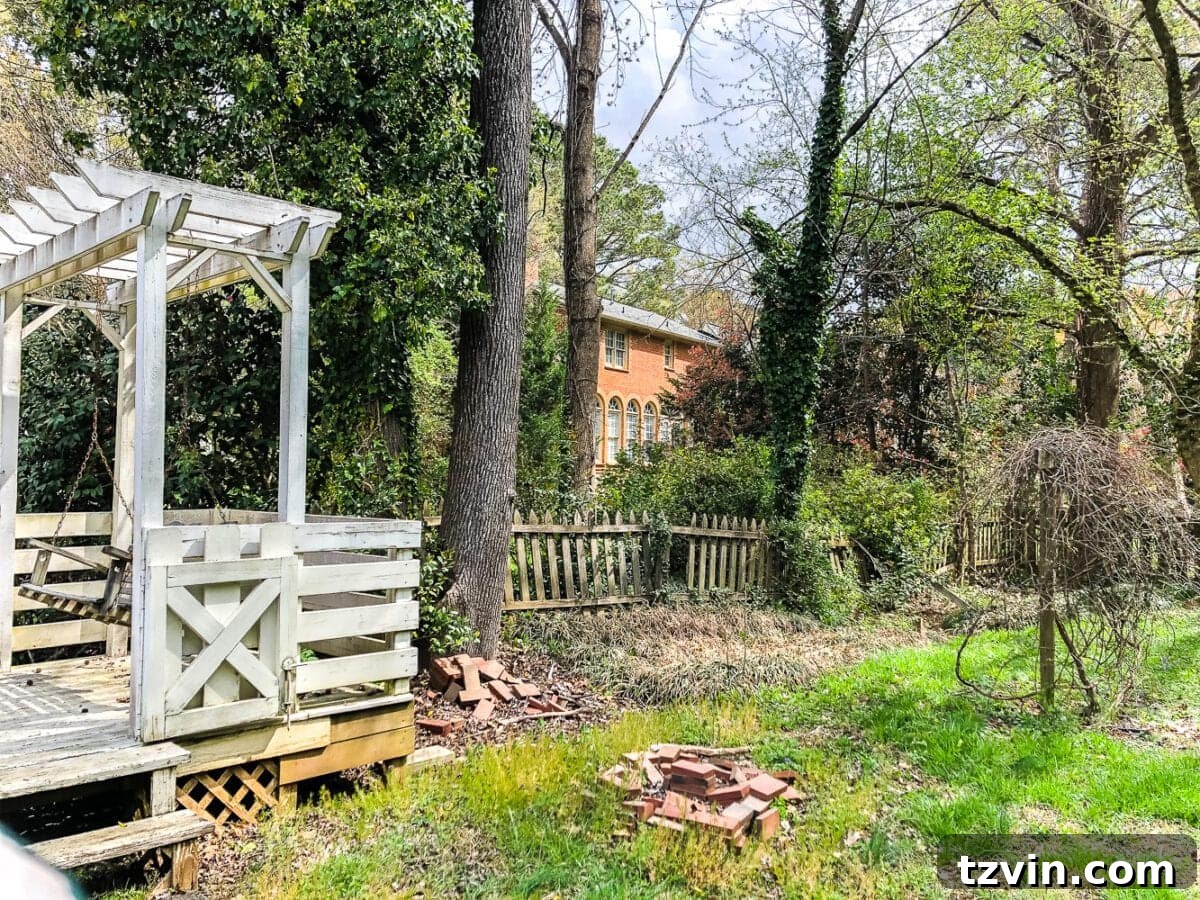
Our journey began with a significant clearing effort. My husband, Robert, and a close friend skillfully demolished the old fence and pergola several years ago. Following that, we brought in professionals for extensive tree and shrub removal, along with grading and seeding the area. This meticulous groundwork transformed our once-neglected space into a wide-open canvas, ready for family enjoyment and our exciting new fire pit project.
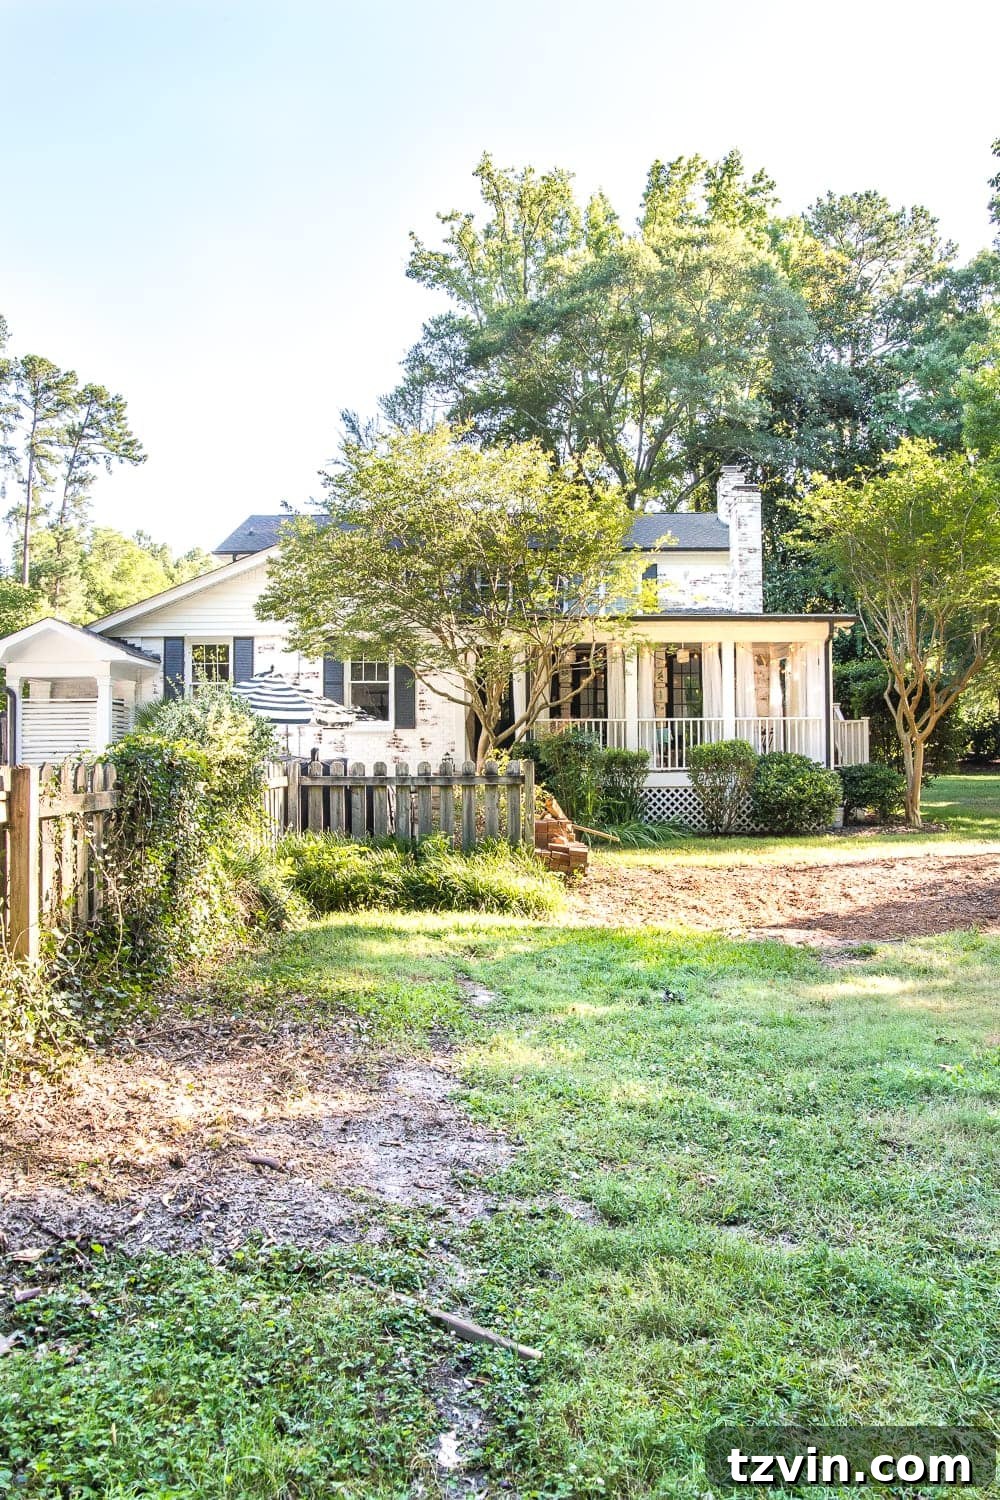
While the grass was still establishing itself during the initial construction, the vision for a lush, green outdoor space was clear. Come spring, this outdoor area blossomed into a vibrant, refreshed landscape, providing the perfect backdrop for our new fire pit and patio.

The Ultimate Backyard Transformation: Our Completed DIY Fire Pit
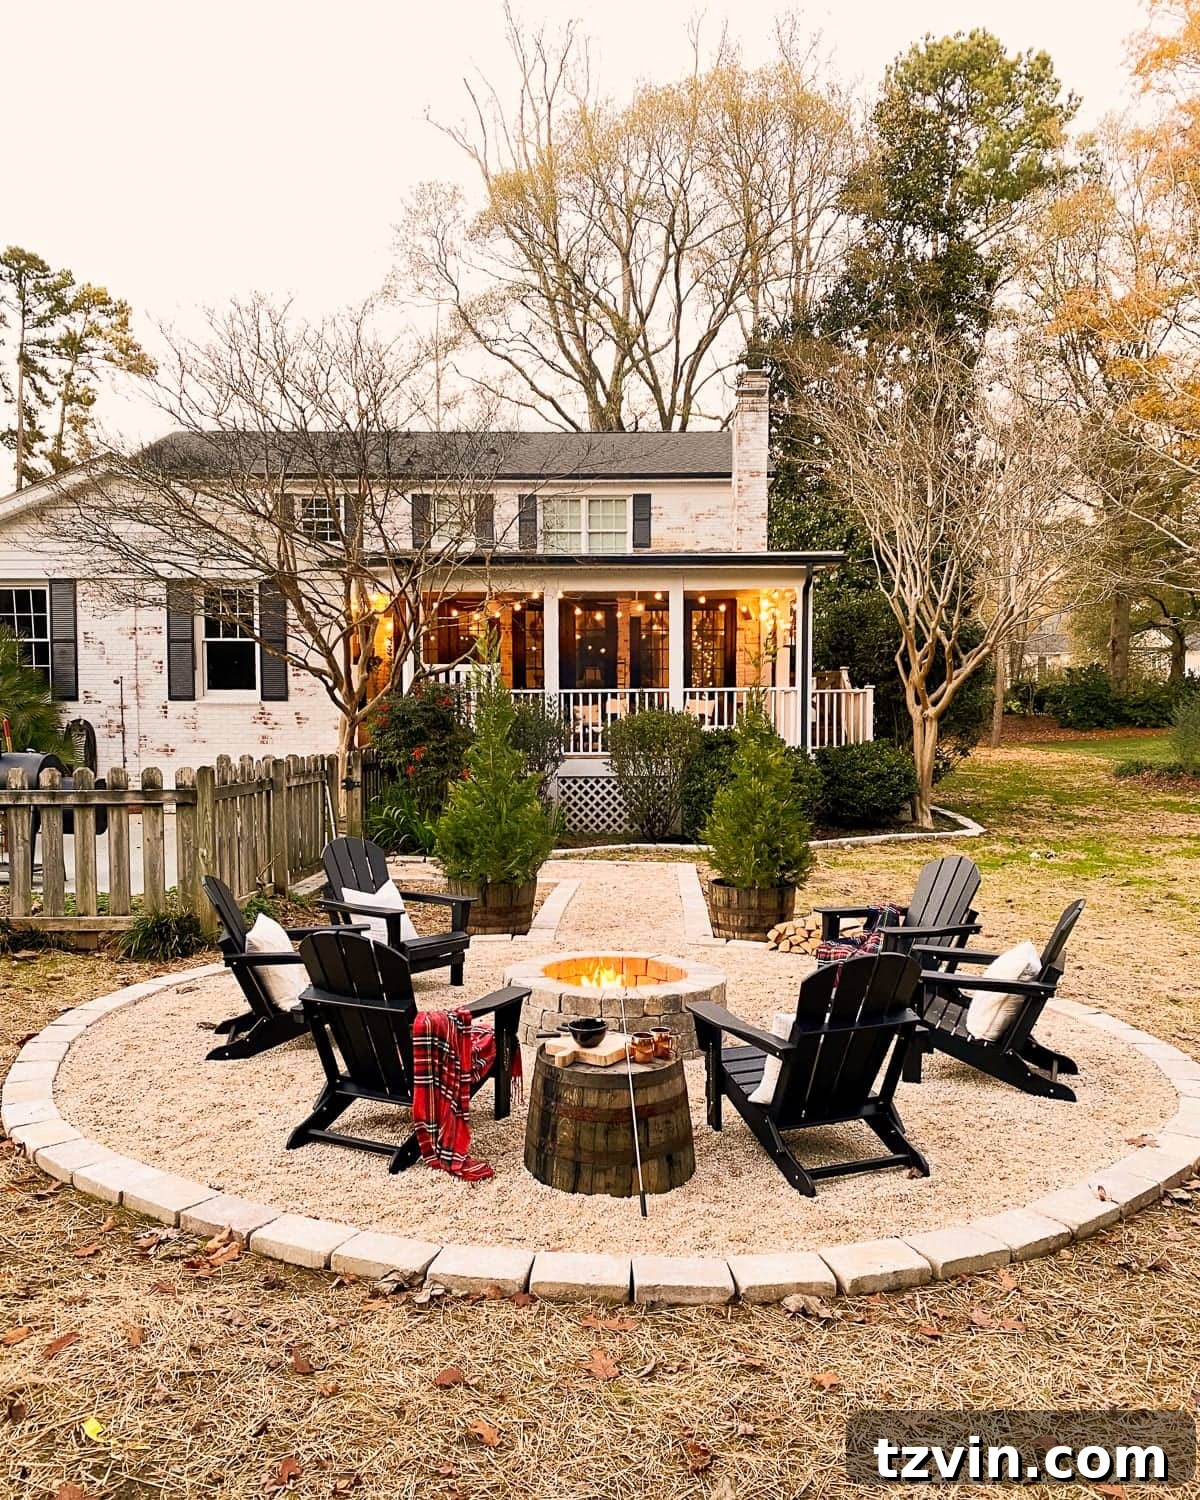
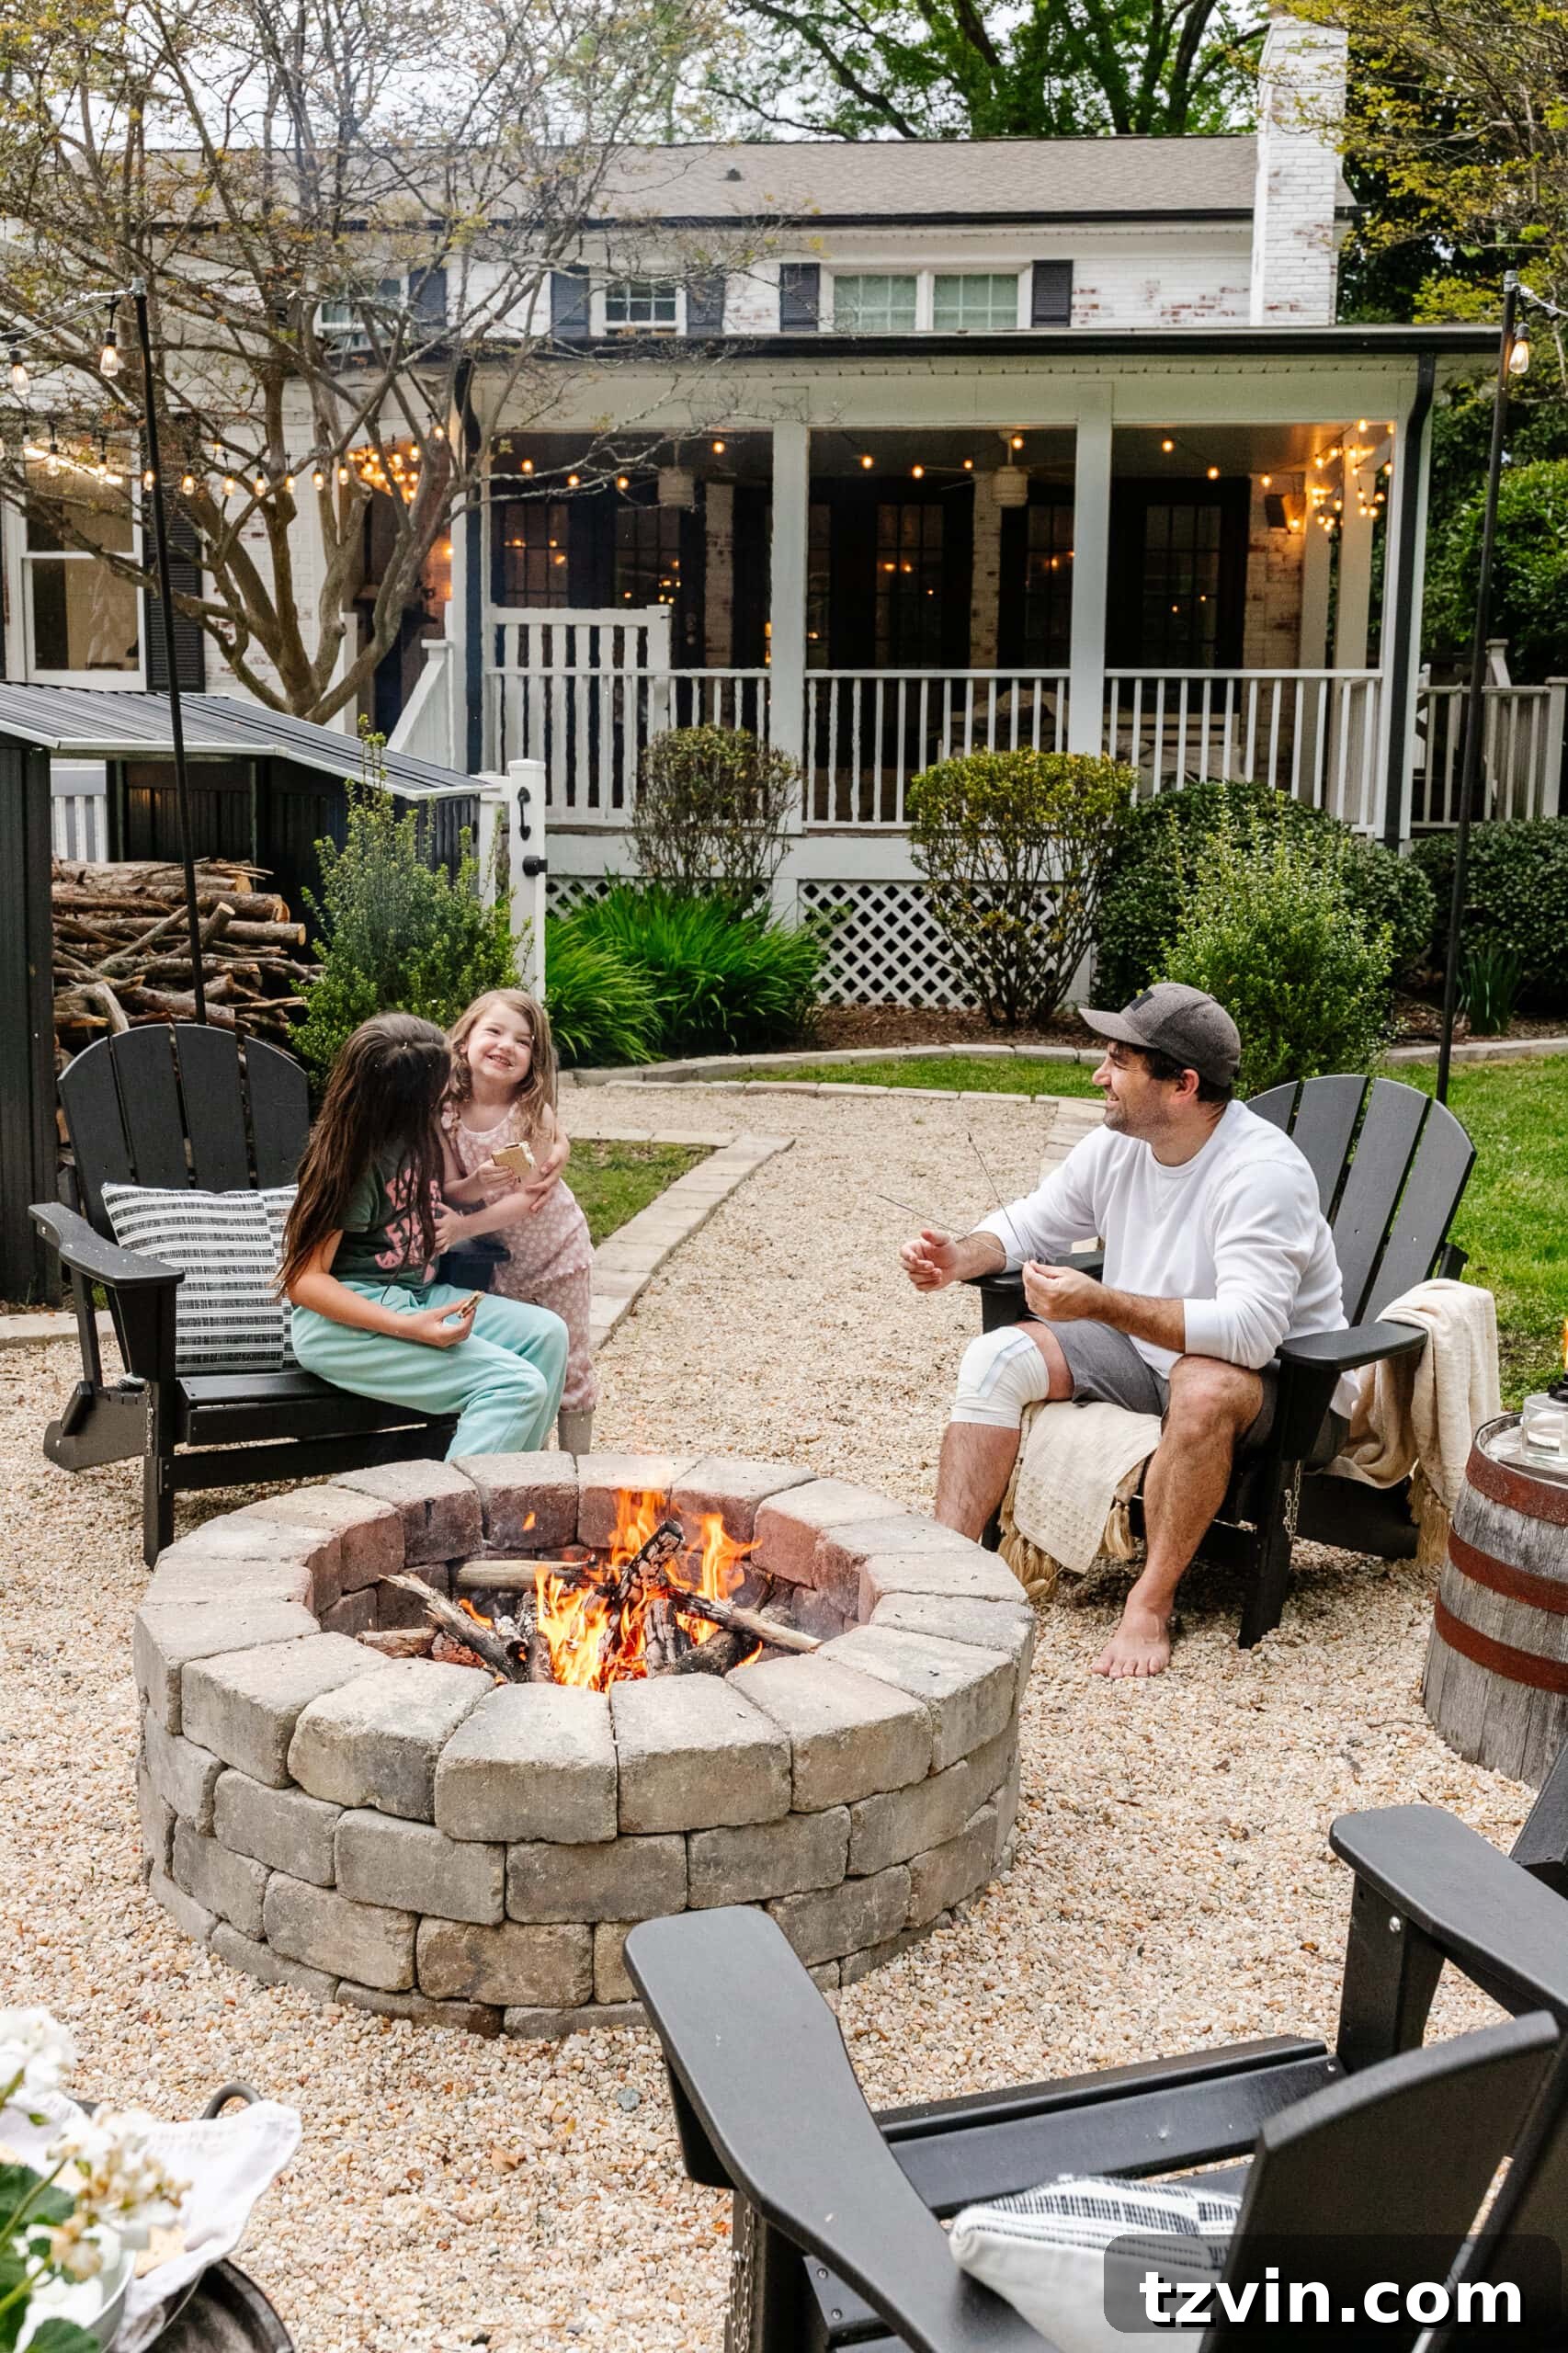
With careful planning and a bit of elbow grease, our backyard has been utterly transformed. What was once an overlooked space is now a stunning, functional fire pit area that invites relaxation and social gatherings. Below, you’ll find an inspiring look at the finished project, a testament to what’s achievable with this comprehensive DIY guide.
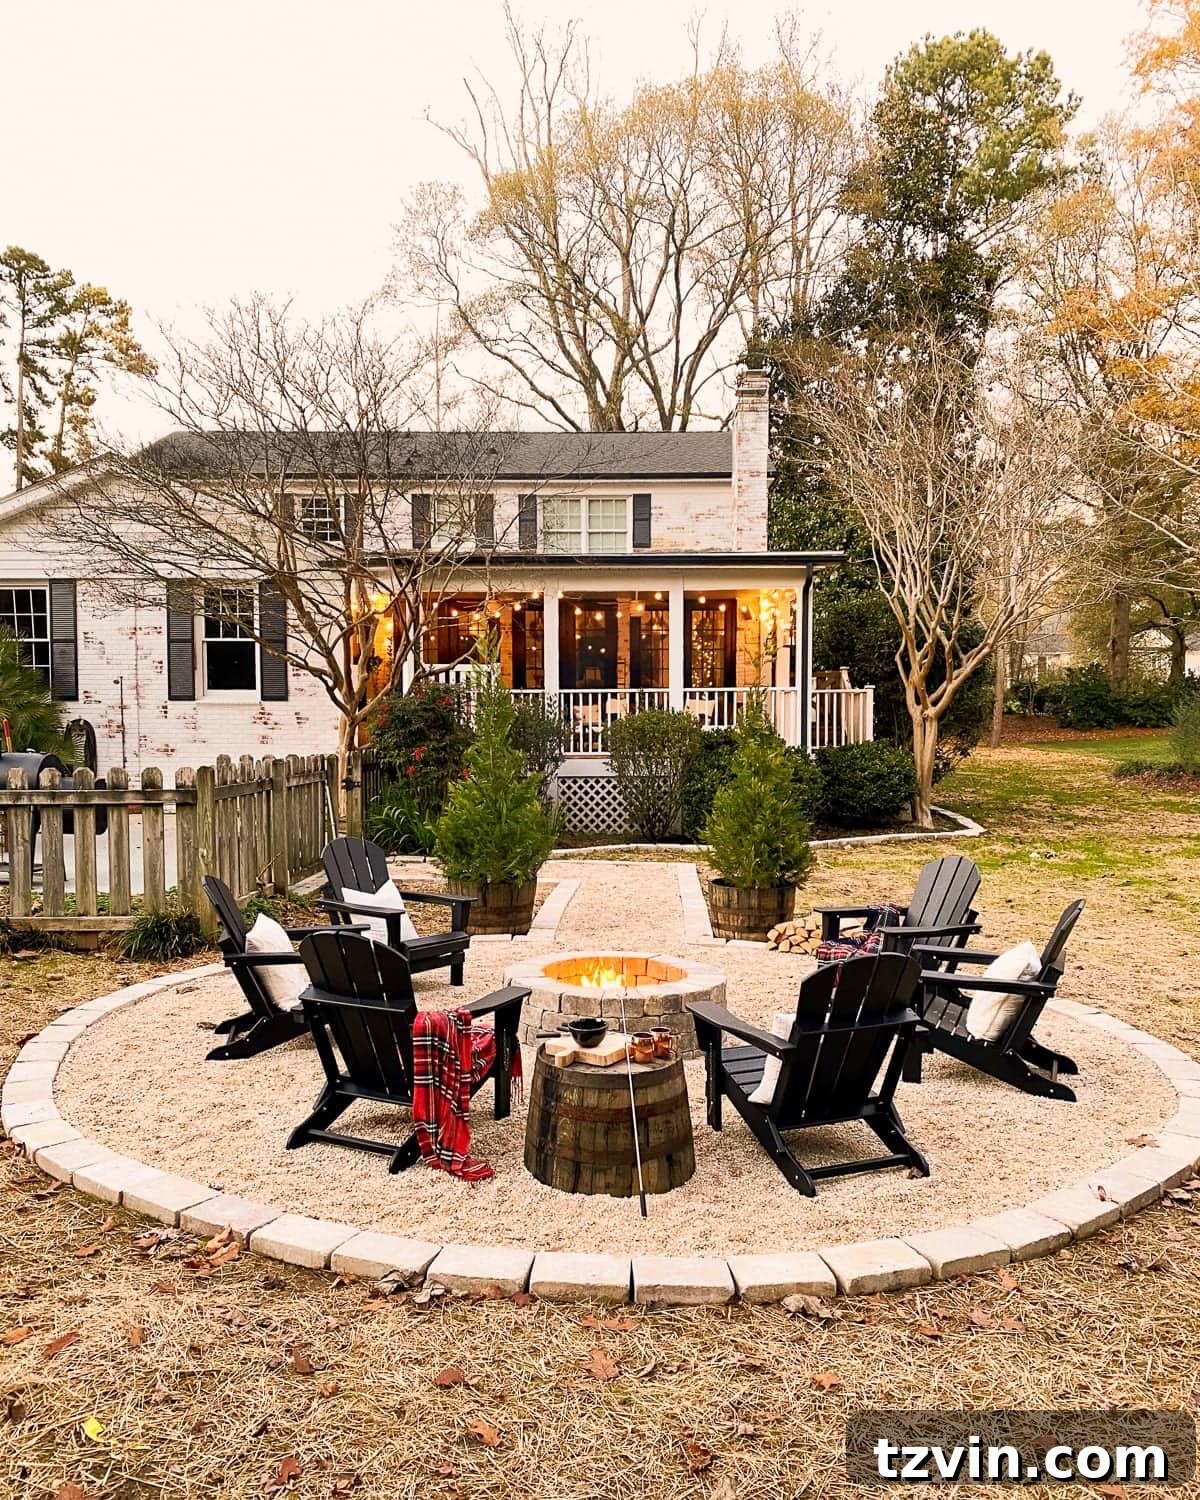
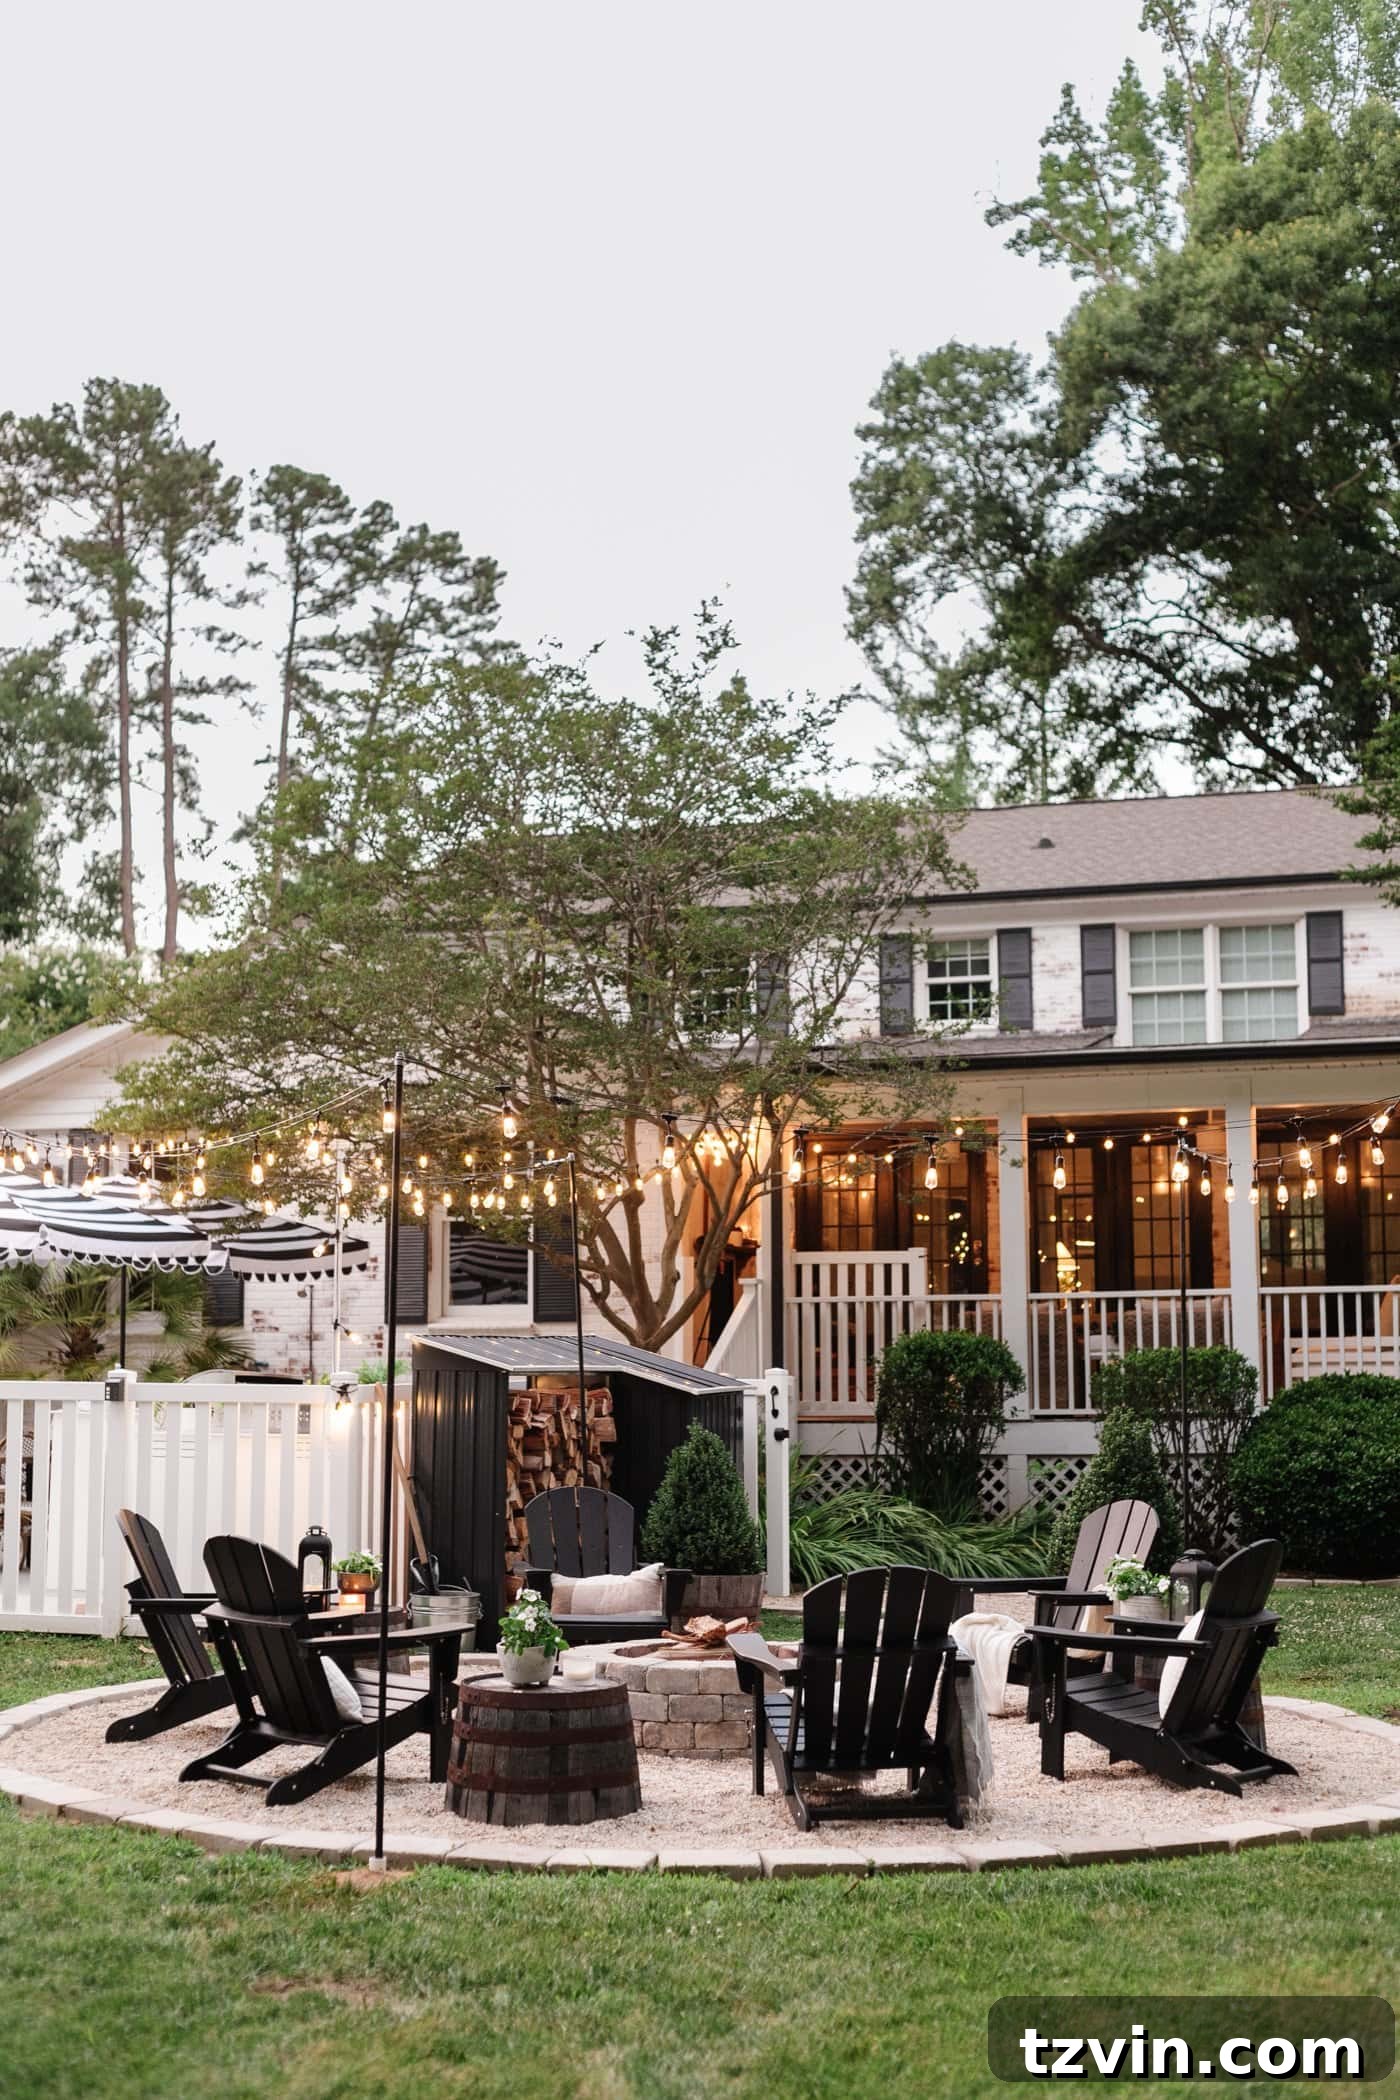
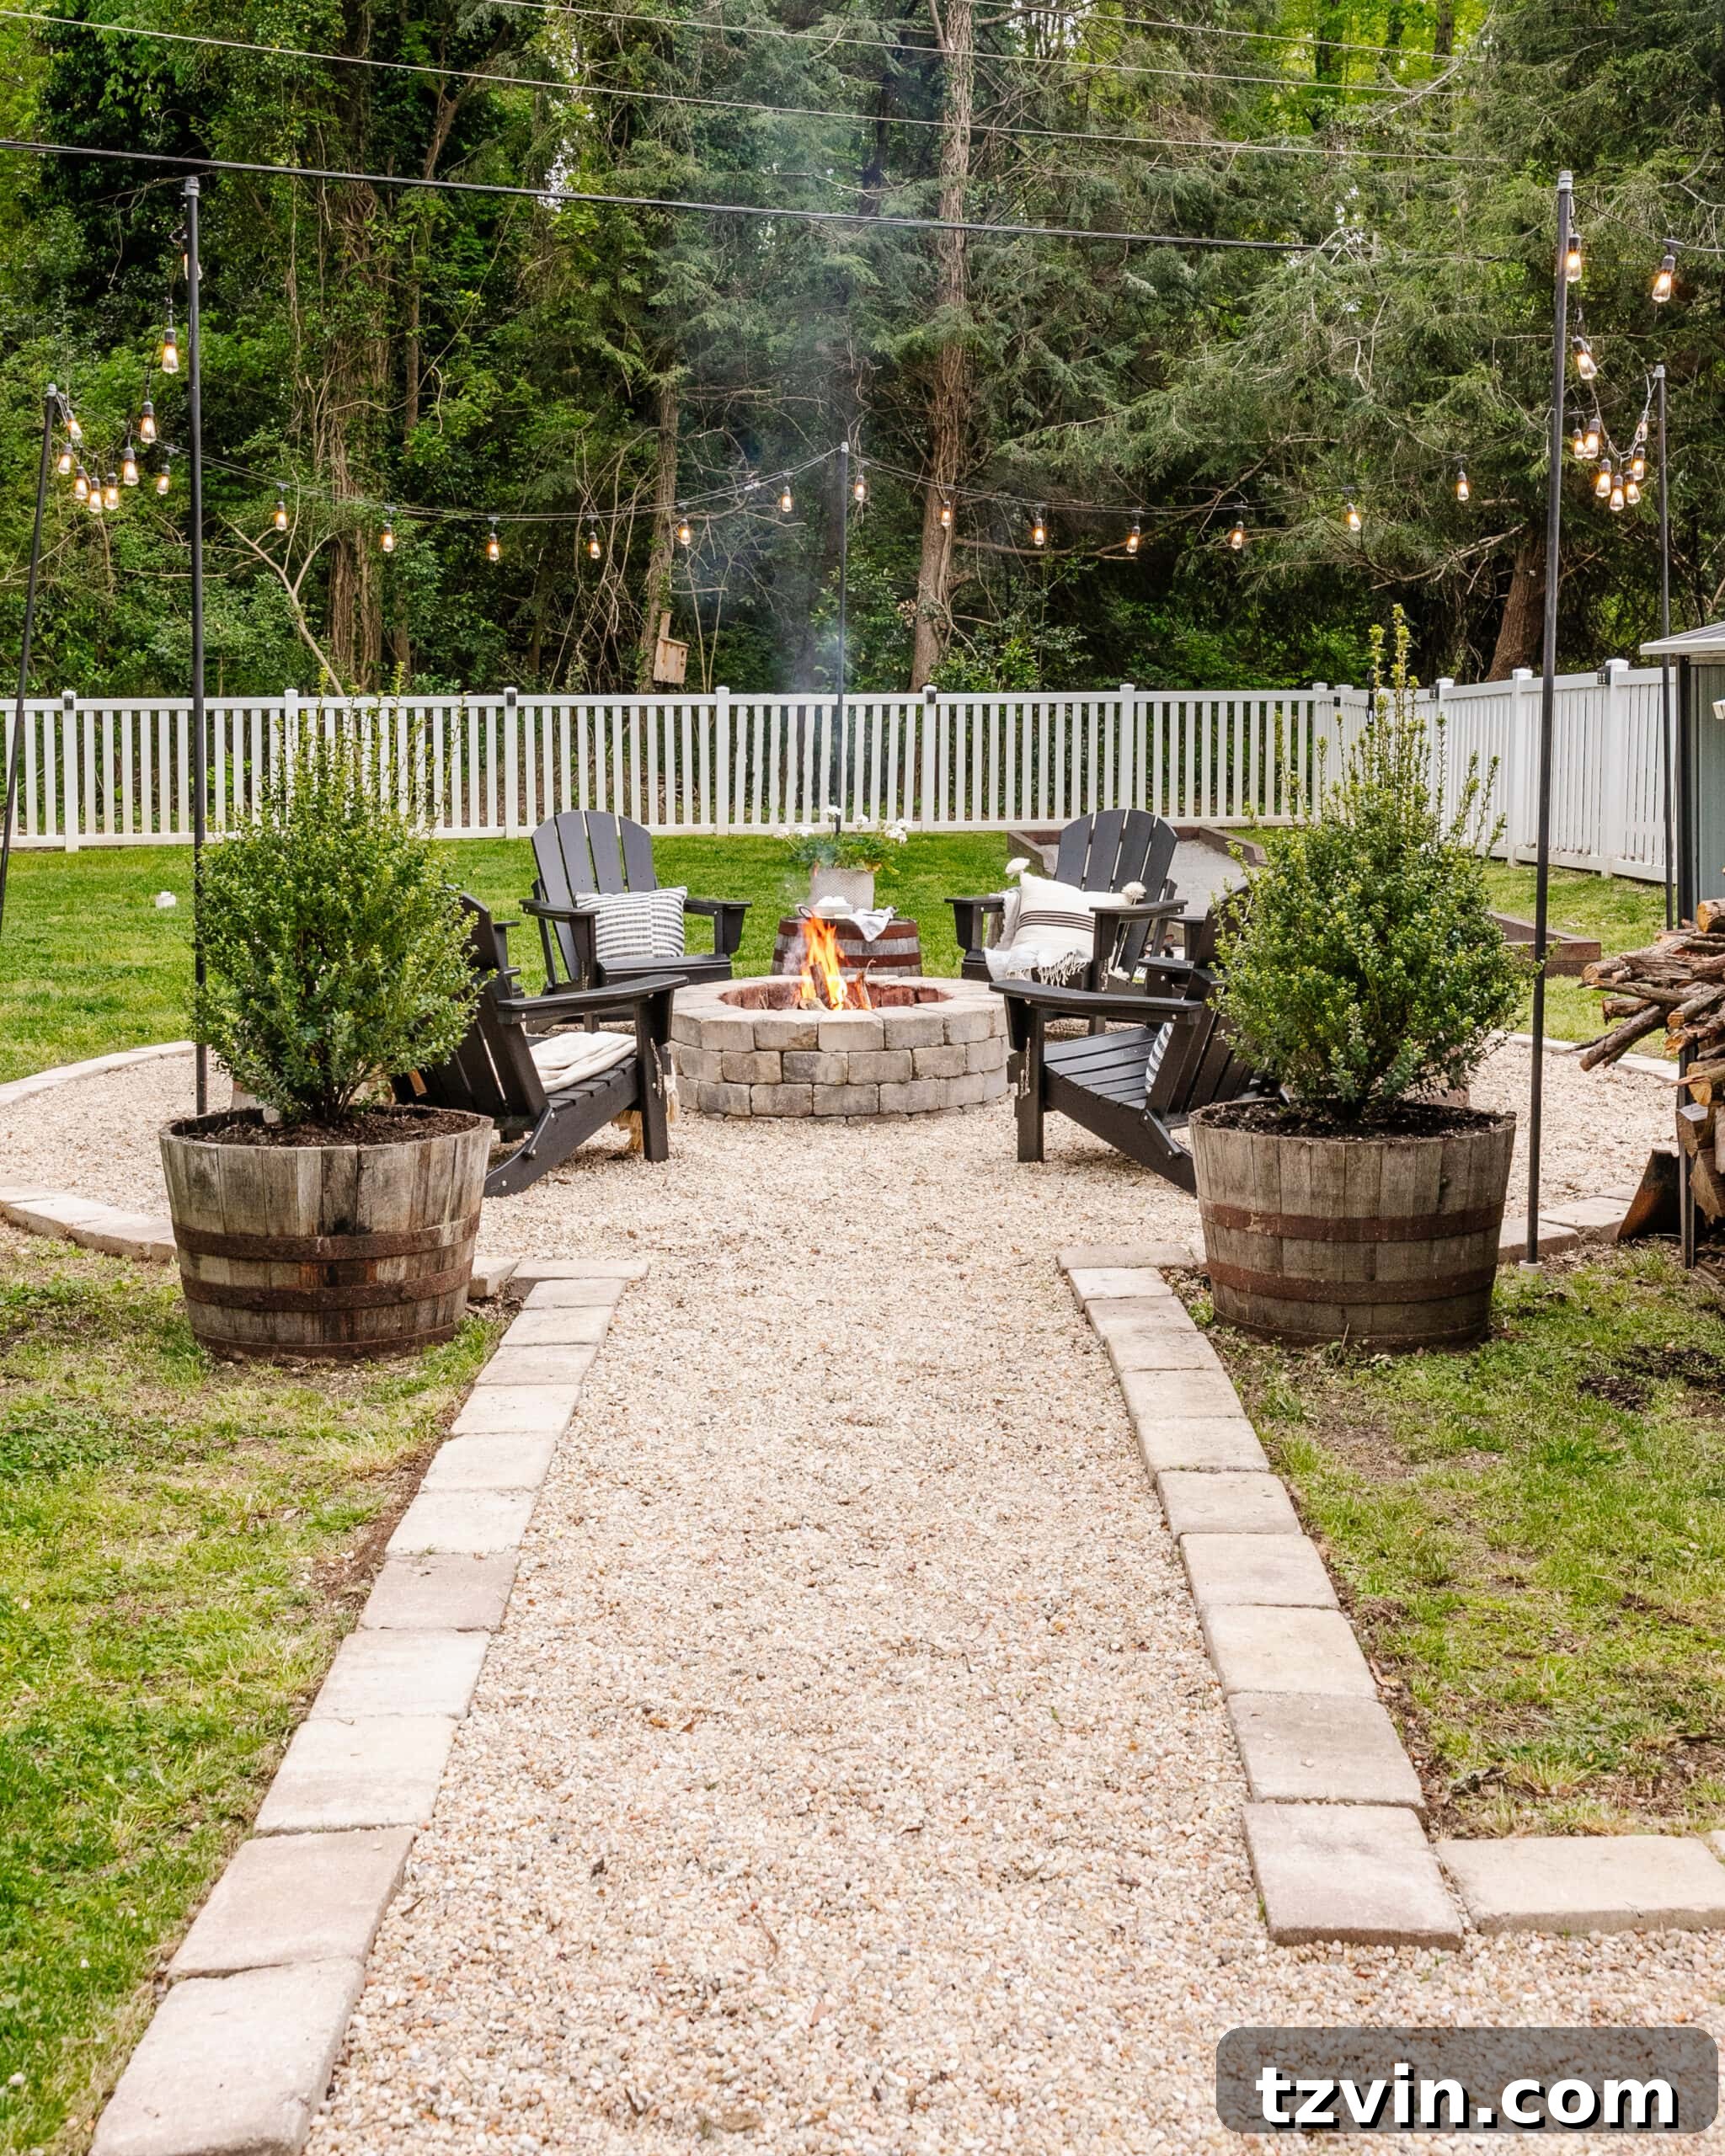
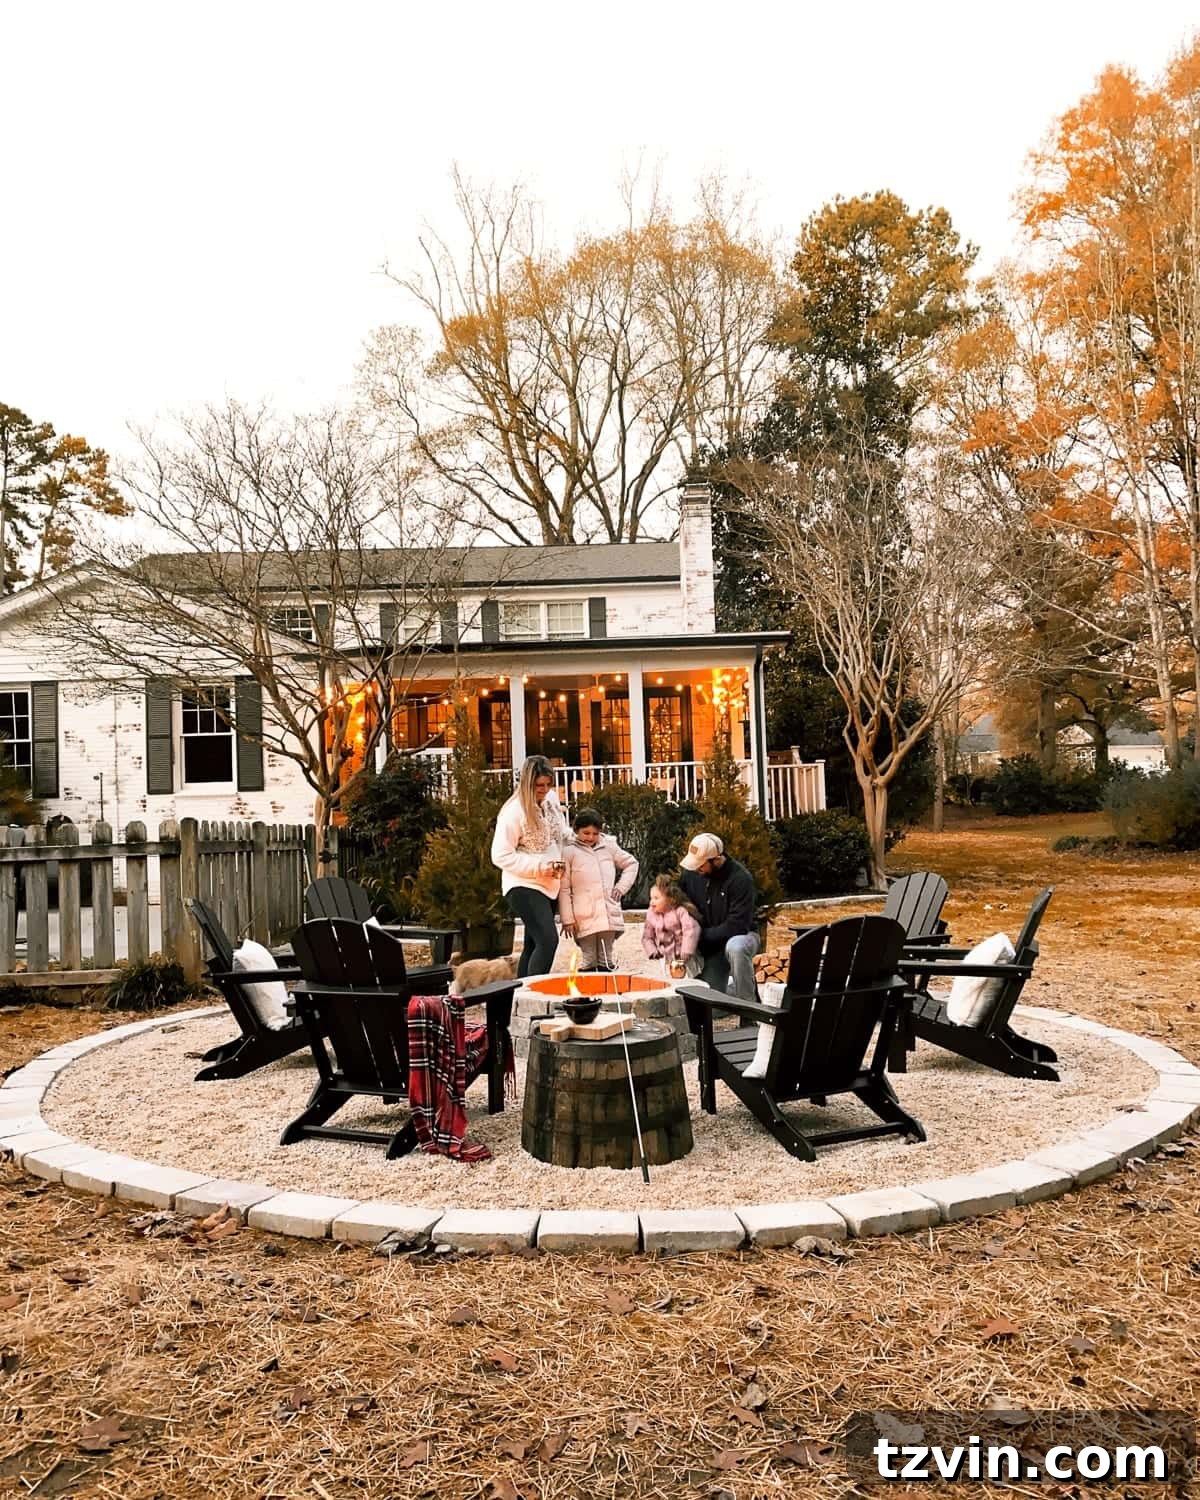
Fast forward three years, and our backyard has matured beautifully. The once-newly seeded grass has filled in, creating a vibrant, inviting landscape. The addition of string lights around the fire pit instantly elevated the ambiance, casting a warm, magical glow over countless evenings. We’ve created so many cherished memories here, enjoying laughter and conversation with family and friends.
Enhance the Ambiance: How to Hang Outdoor String Lights Anywhere in a Backyard
Your Step-by-Step Backyard DIY Fire Pit Tutorial
Ready to build your own backyard haven? This section outlines the straightforward steps we followed to construct our fire pit and pea gravel patio quickly and efficiently. While it involves some physical labor, the process is designed to be manageable for even a novice DIY enthusiast. Let’s gather your materials and get started!
Supplies You’ll Need
- Tape Measure: For precise planning and marking.
- Can of Spray Paint: For outlining your design clearly on the ground.
- Flag Markers: To visualize the layout before permanent marking.
- Heavy Duty Weed Block Fabric: Essential for preventing weed growth through your pea gravel.
- Landscape Fabric Staples: To securely fasten the weed fabric to the ground.
- Mallet: For driving in landscape staples and gently seating stones.
- Scissors and/or Utility Knife: For cutting landscape fabric to shape.
- Wooden Stake & String: For creating perfect circular outlines.
- Heavy Duty Construction Adhesive: To bond fire pit stones and edging for stability.
- Caulk Gun: For easy application of construction adhesive.
- Landscape Edging (optional but highly recommended): To provide long-term stability and prevent stones from shifting. Metal or heavy-duty plastic options work well.
- Fire Pit Stone Kit: We used a Tremron Munich stone kit in the color Sand for a cohesive look. Choose a kit that complements your outdoor aesthetic.
- Edging Stone: We used Tremron Munich Sand wedge blocks, chosen to match the fire pit kit and define the patio perimeter.
- Pea Gravel: We opted for Colonial Grits pea gravel for its smooth texture and appealing color.
Essential Tools for the Job
- STIHL Yard Boss: A versatile power tool that significantly speeds up site preparation.
- STIHL Yard Boss Edger Attachment: For creating sharp, clean edges around your planned patio.
- STIHL Bolo Tines Cultivator Attachment: Ideal for efficiently breaking up and removing grass and topsoil.
- Large Shovel: For digging and moving soil or gravel.
- Wheelbarrow: Indispensable for transporting heavy loads of gravel, dirt, and stones.
- Rake: For spreading and leveling pea gravel and grading the base.
- Leaf Blower: Useful for clearing debris and keeping the area tidy.
Step 1 – Plan and Precisely Mark the Fire Pit Perimeter
Begin by meticulously planning your outdoor space. Consider the ideal location for your fire pit, ensuring it’s a safe distance from your home, fences, and overhanging trees. Visualize your pathway and the circular fire pit area using flag markers. We decided on a spacious 314 square foot patio, making the entire area a generous 20 feet in diameter to comfortably accommodate seating and movement. When planning, always keep the length of your chosen edging stones in mind (e.g., 6 inches), allowing you to lay them without needing to cut many pieces, which saves time and effort.
Step 2 – Dry Fit Your Fire Pit Kit Stones
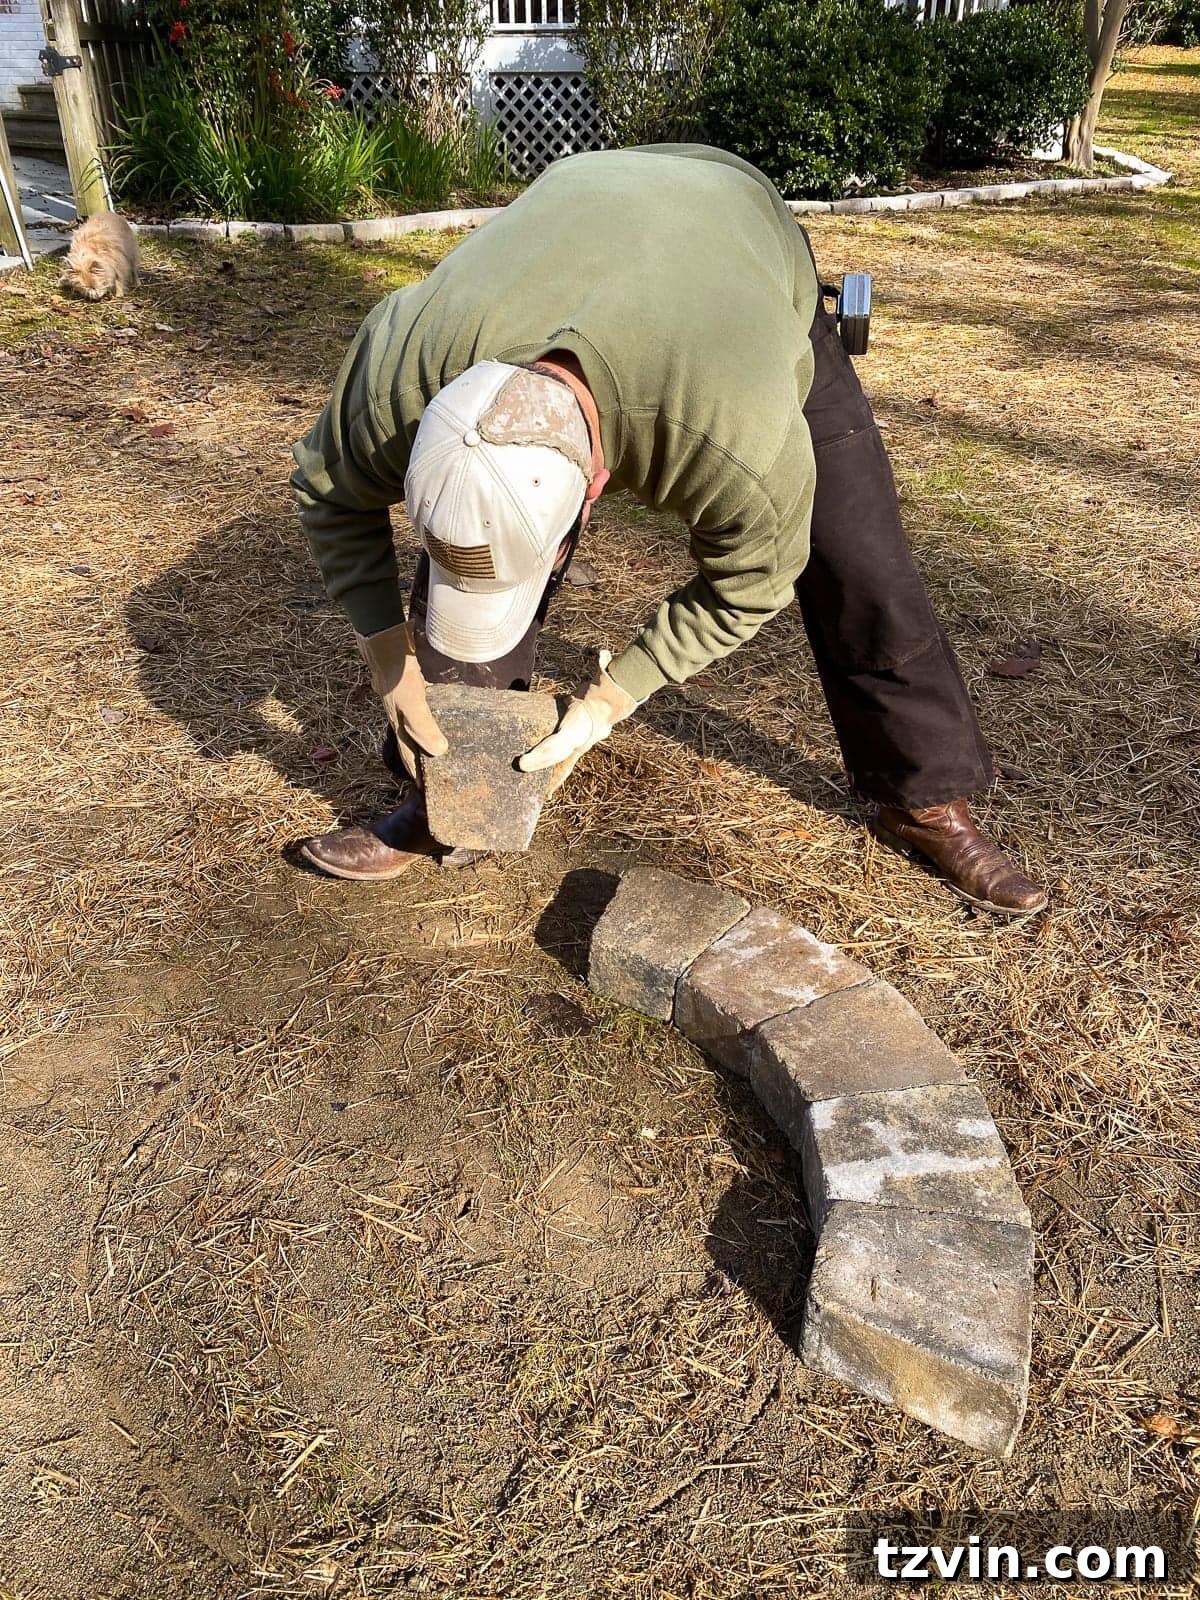
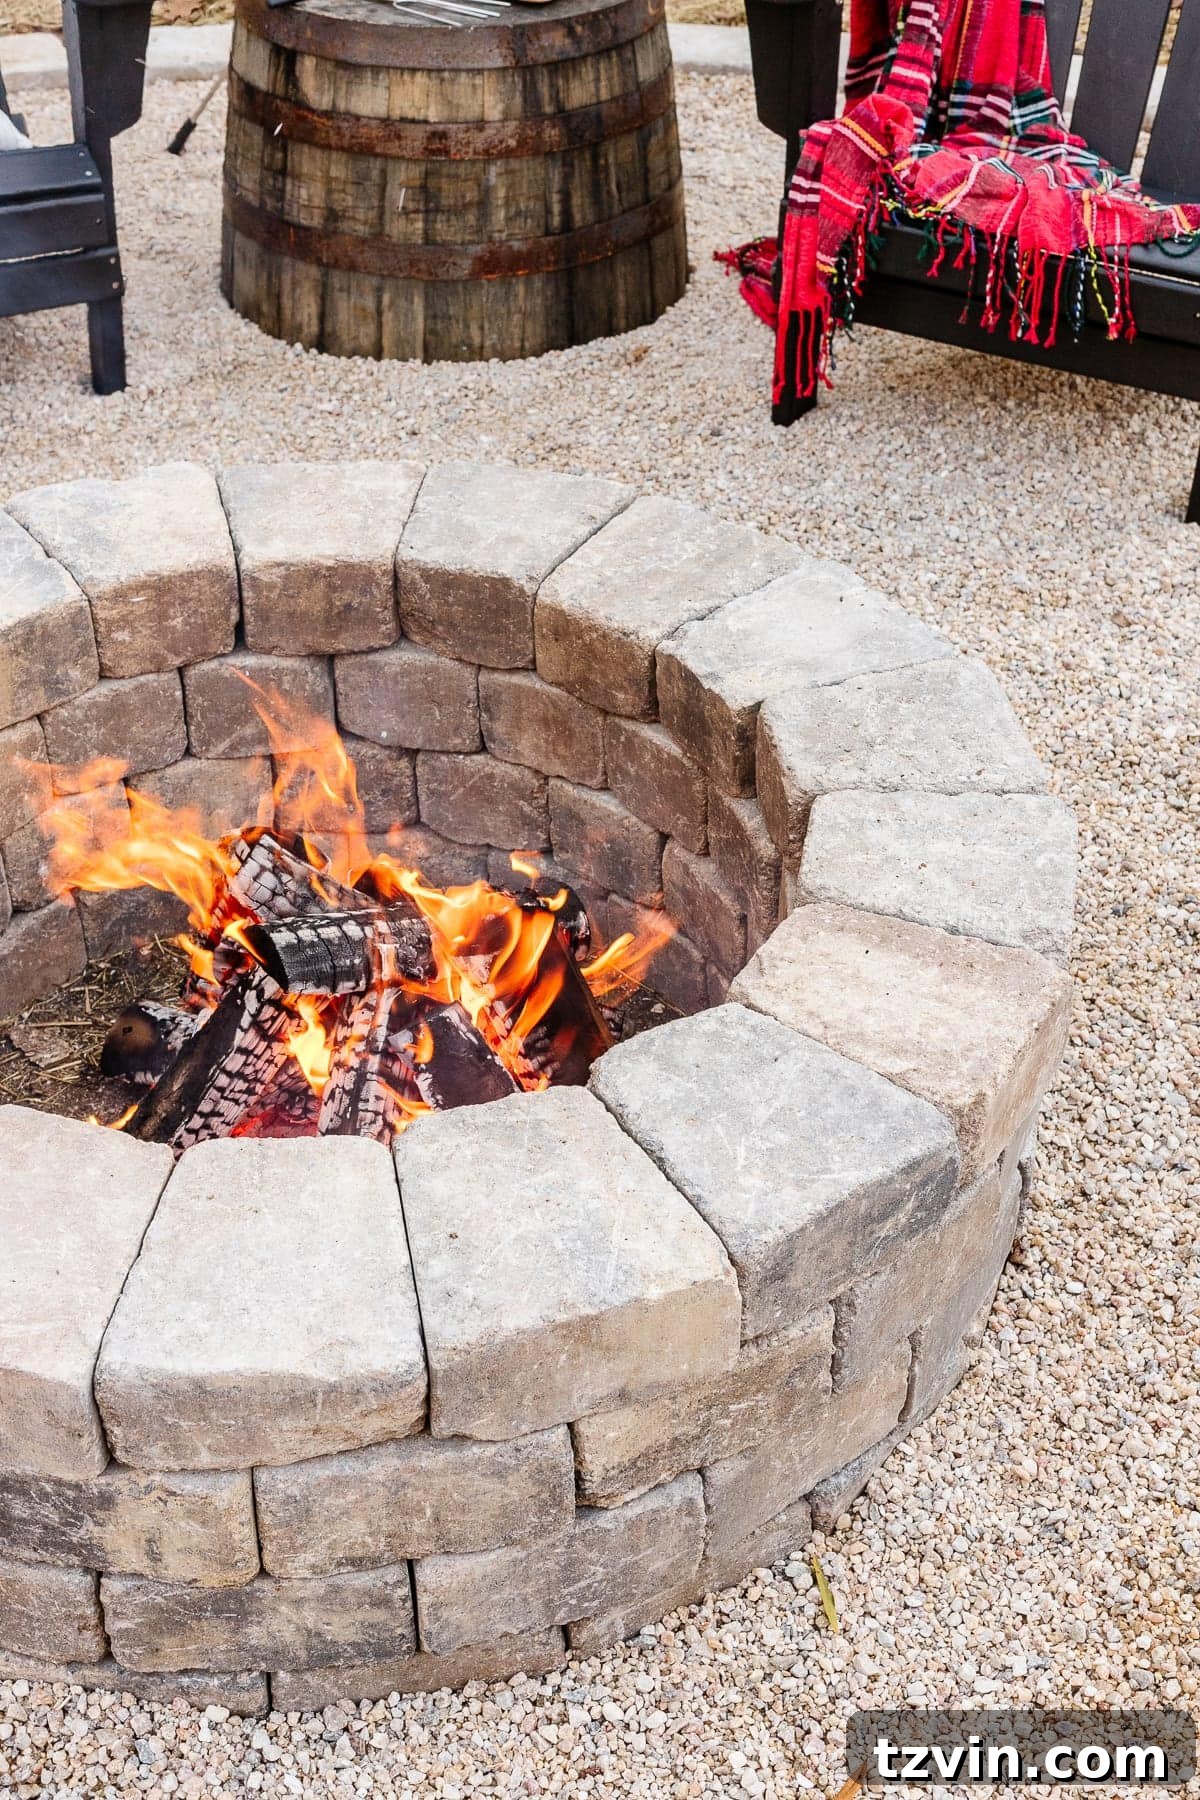
Before any permanent installation, dry-fit your stone fire pit kit directly in its intended location. This crucial step allows you to confirm the size, ensure all pieces fit together correctly, and verify that the surrounding area is ample for chairs and comfortable foot traffic. Our fire pit measures 4 feet in diameter, which provided a good balance for heat and proximity to seating. Dry fitting helps you make any necessary adjustments to your layout before committing with adhesive.
Step 3 – Accurately Mark the Circular Seating Area
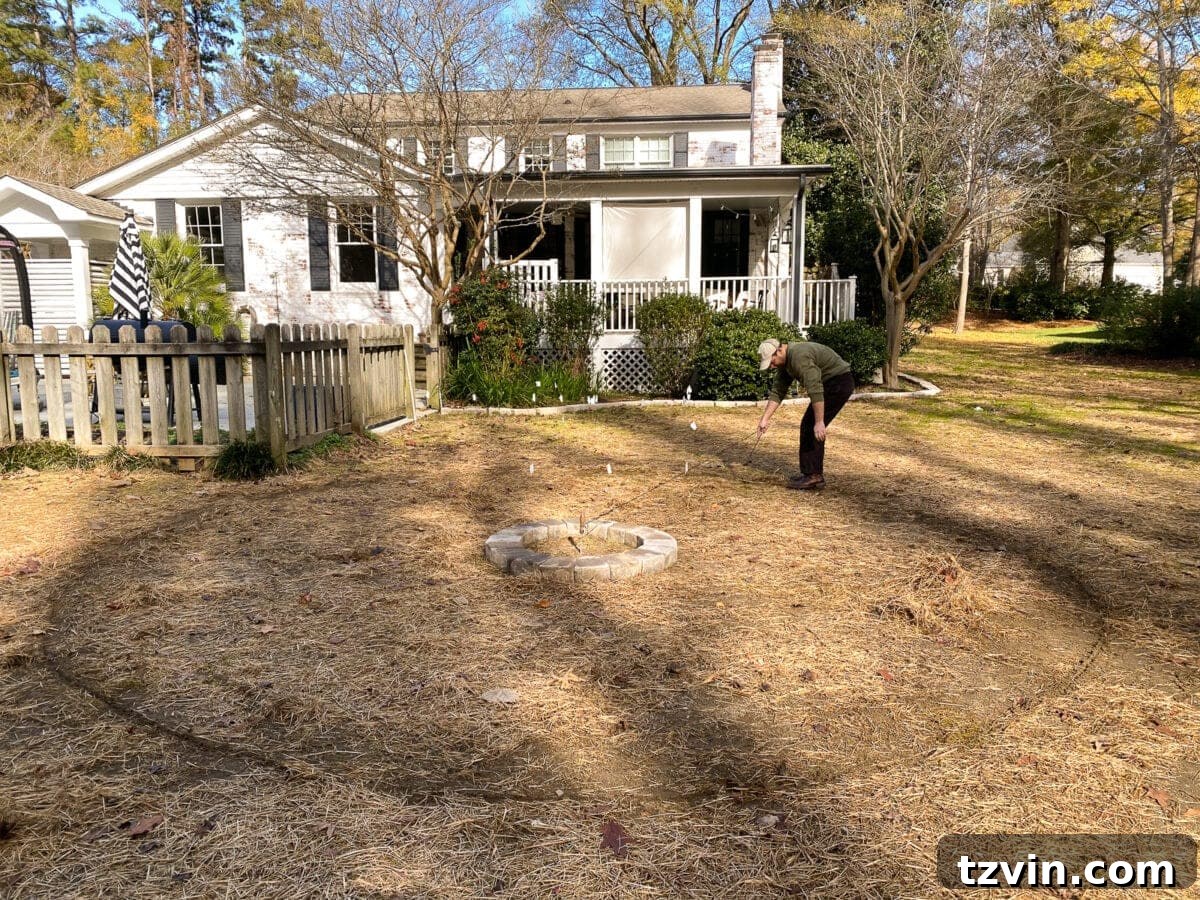
To achieve a perfectly circular patio outline, employ a simple yet effective method. Drive a wooden stake firmly into the precise center point of your planned fire pit area. Tie a sturdy string to the stake, extending it out to the desired radius of your patio (in our case, 10 feet for a 20-foot diameter). Keeping the string taut, walk in a full circle, using the flags to mark the perimeter. This ensures a consistent, aesthetically pleasing round shape for your seating area.
Step 4 – Clearly Spray Paint the Outline
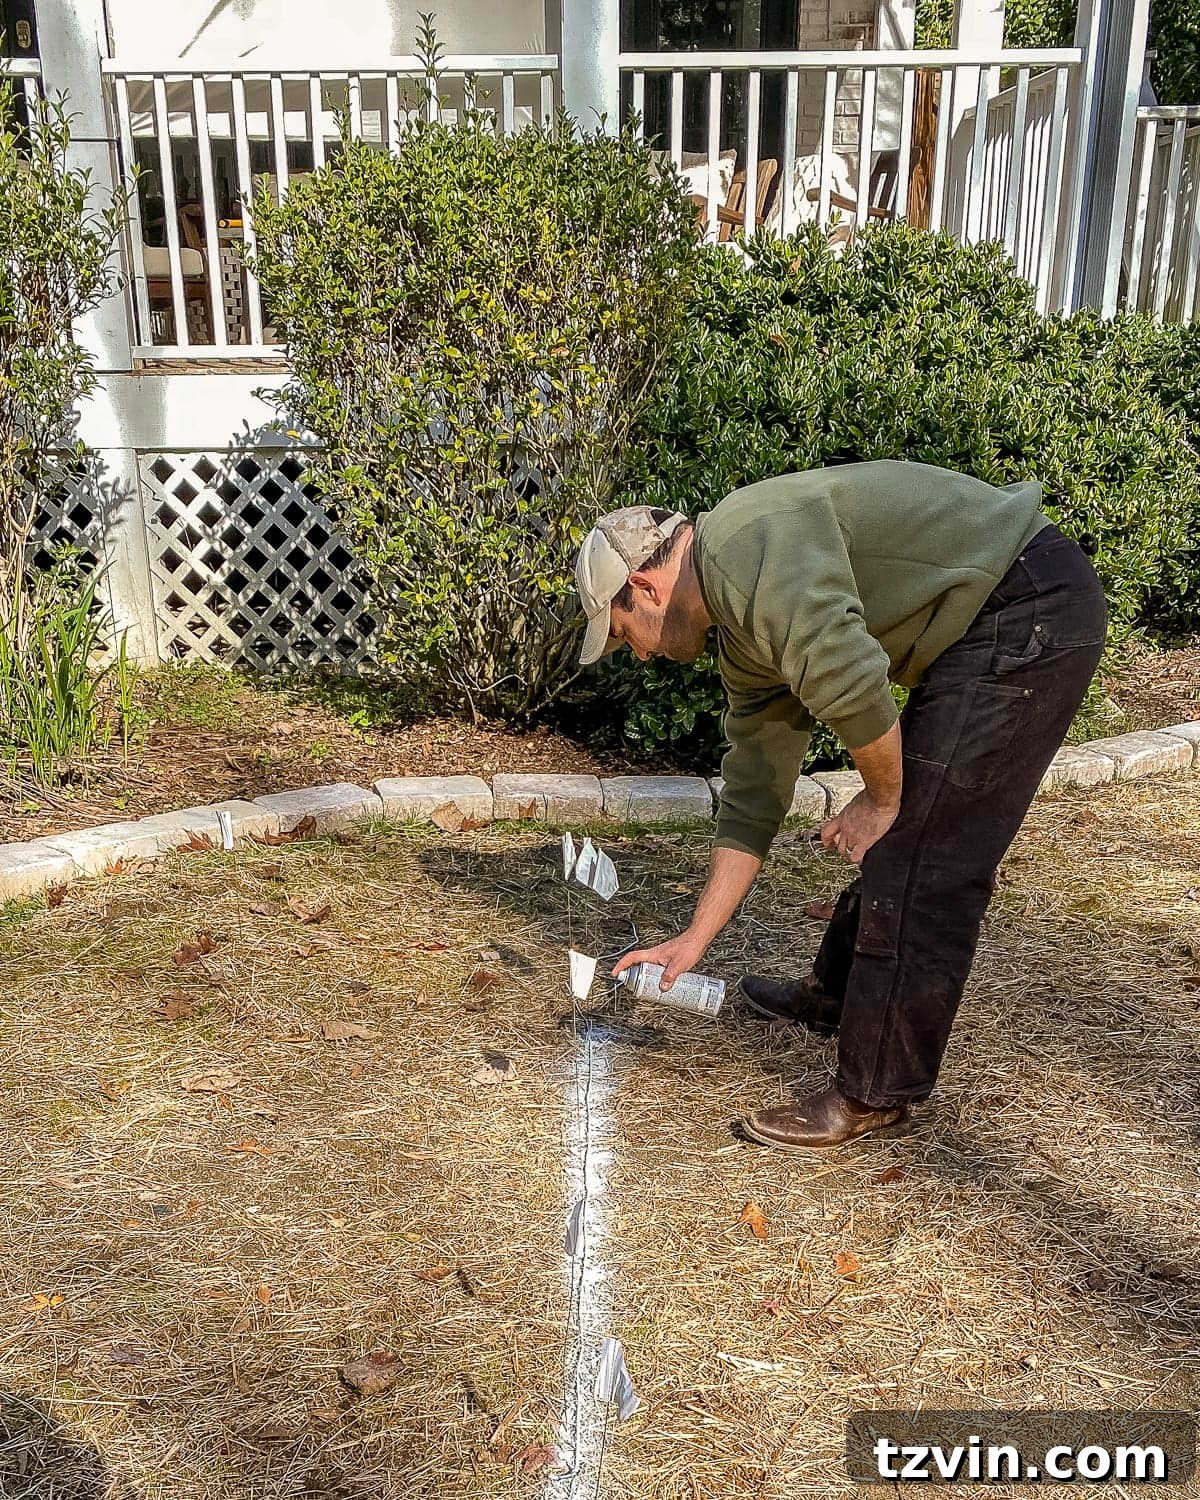
Once you are completely satisfied with the flagged layout, use a can of bright, contrasting spray paint to draw a clear, continuous line along the outer edge of your marked circle. This creates a durable guide that will remain visible throughout the excavation and construction process. After the lines are clearly painted, you can remove the flag markers, leaving a precise blueprint for your patio.
Step 5 – Create a Clean Edge Along the Painted Lines
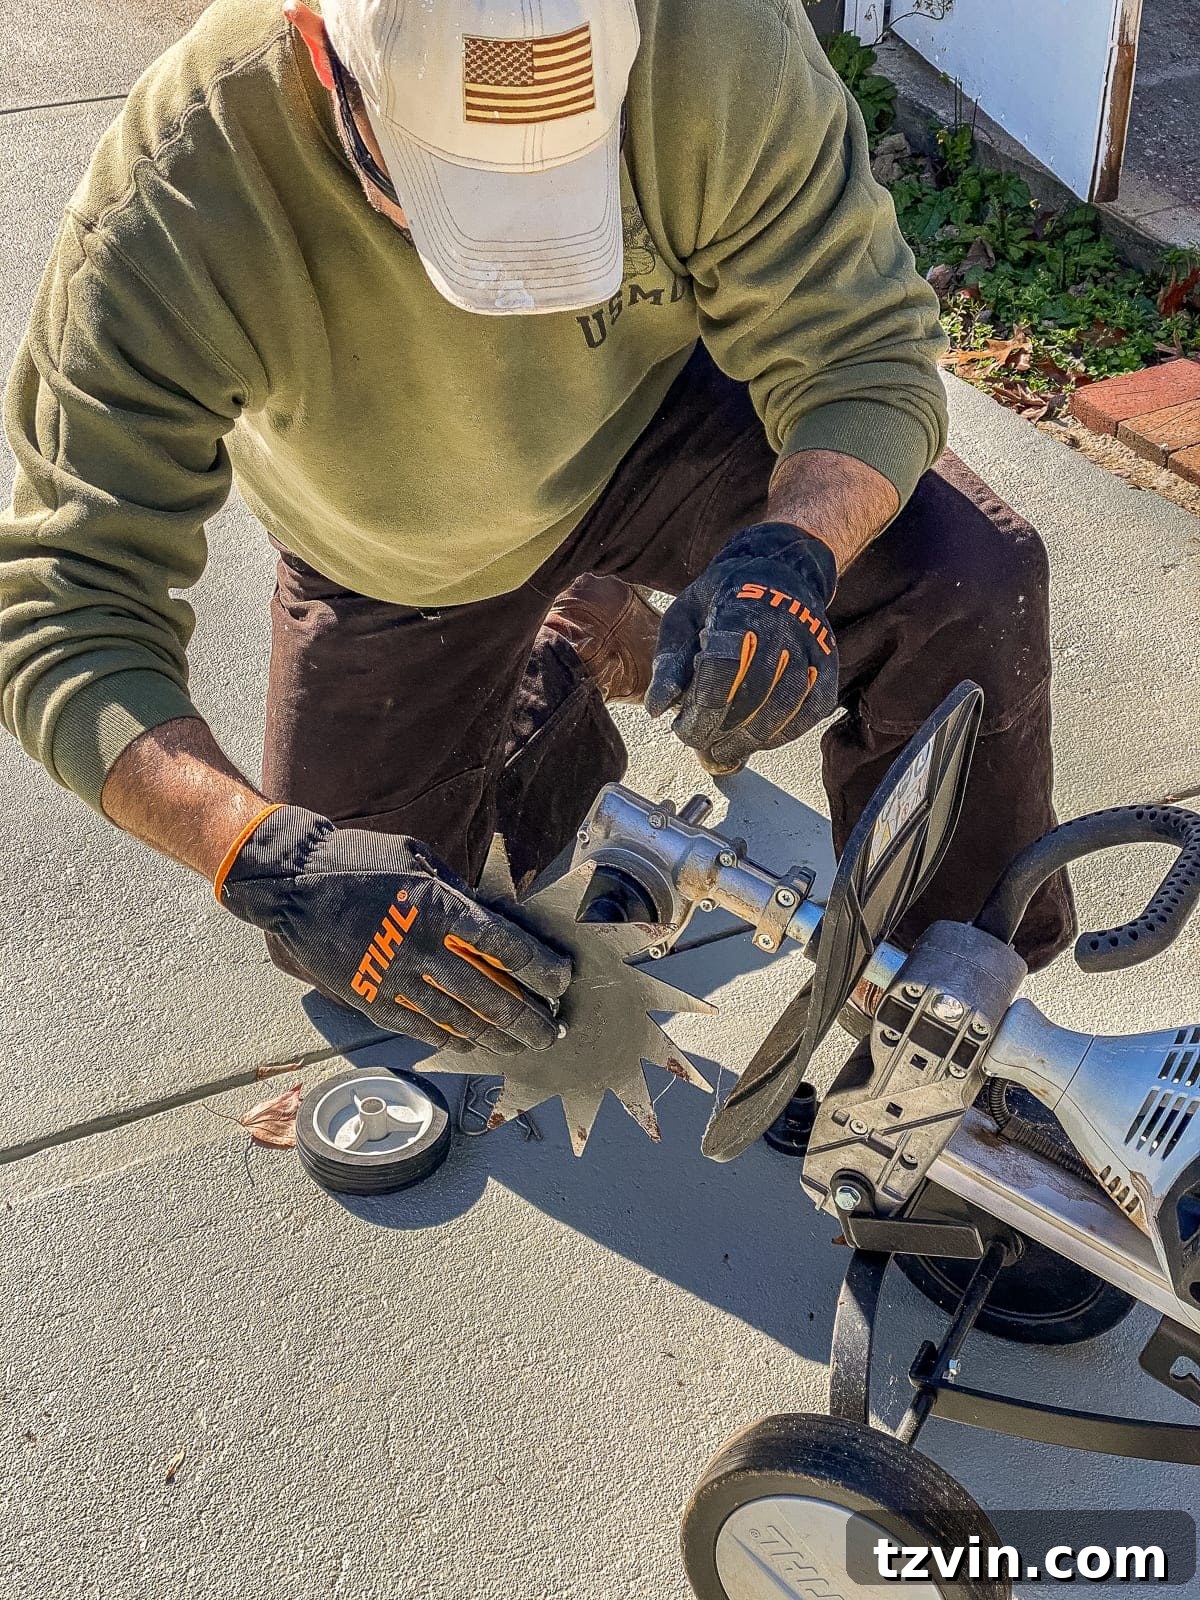
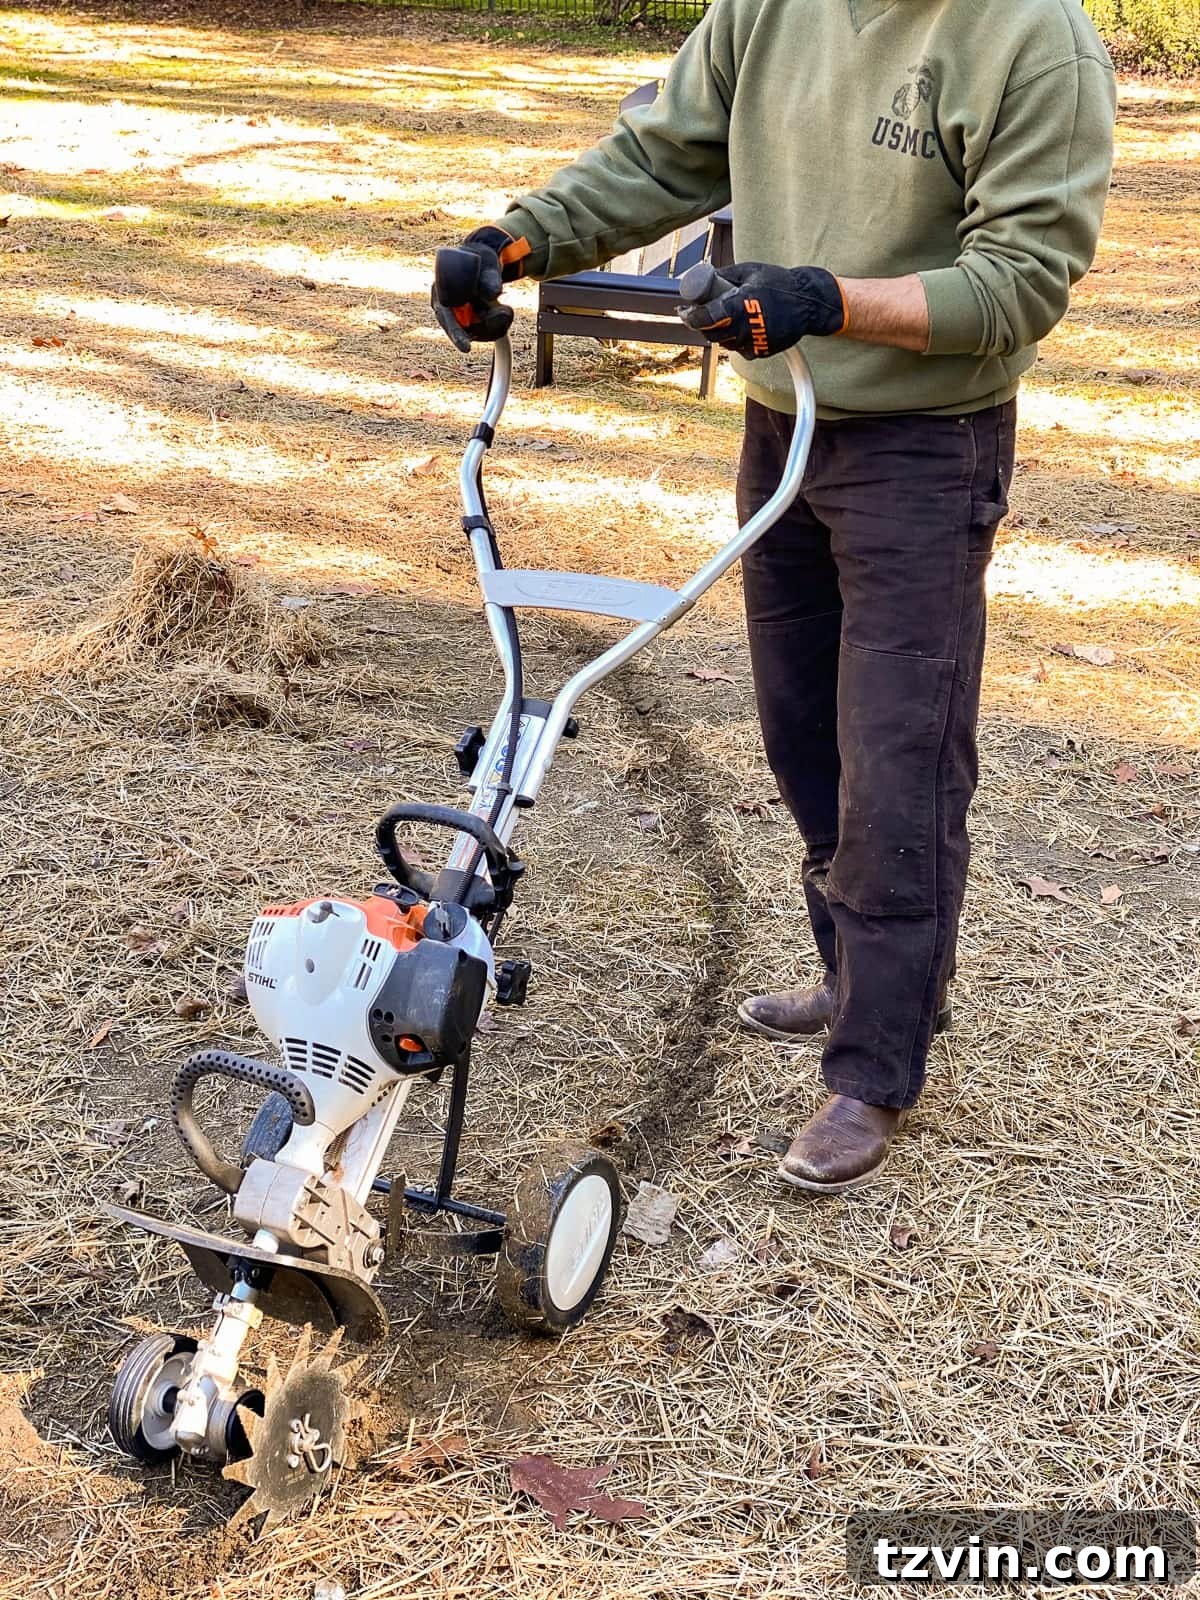
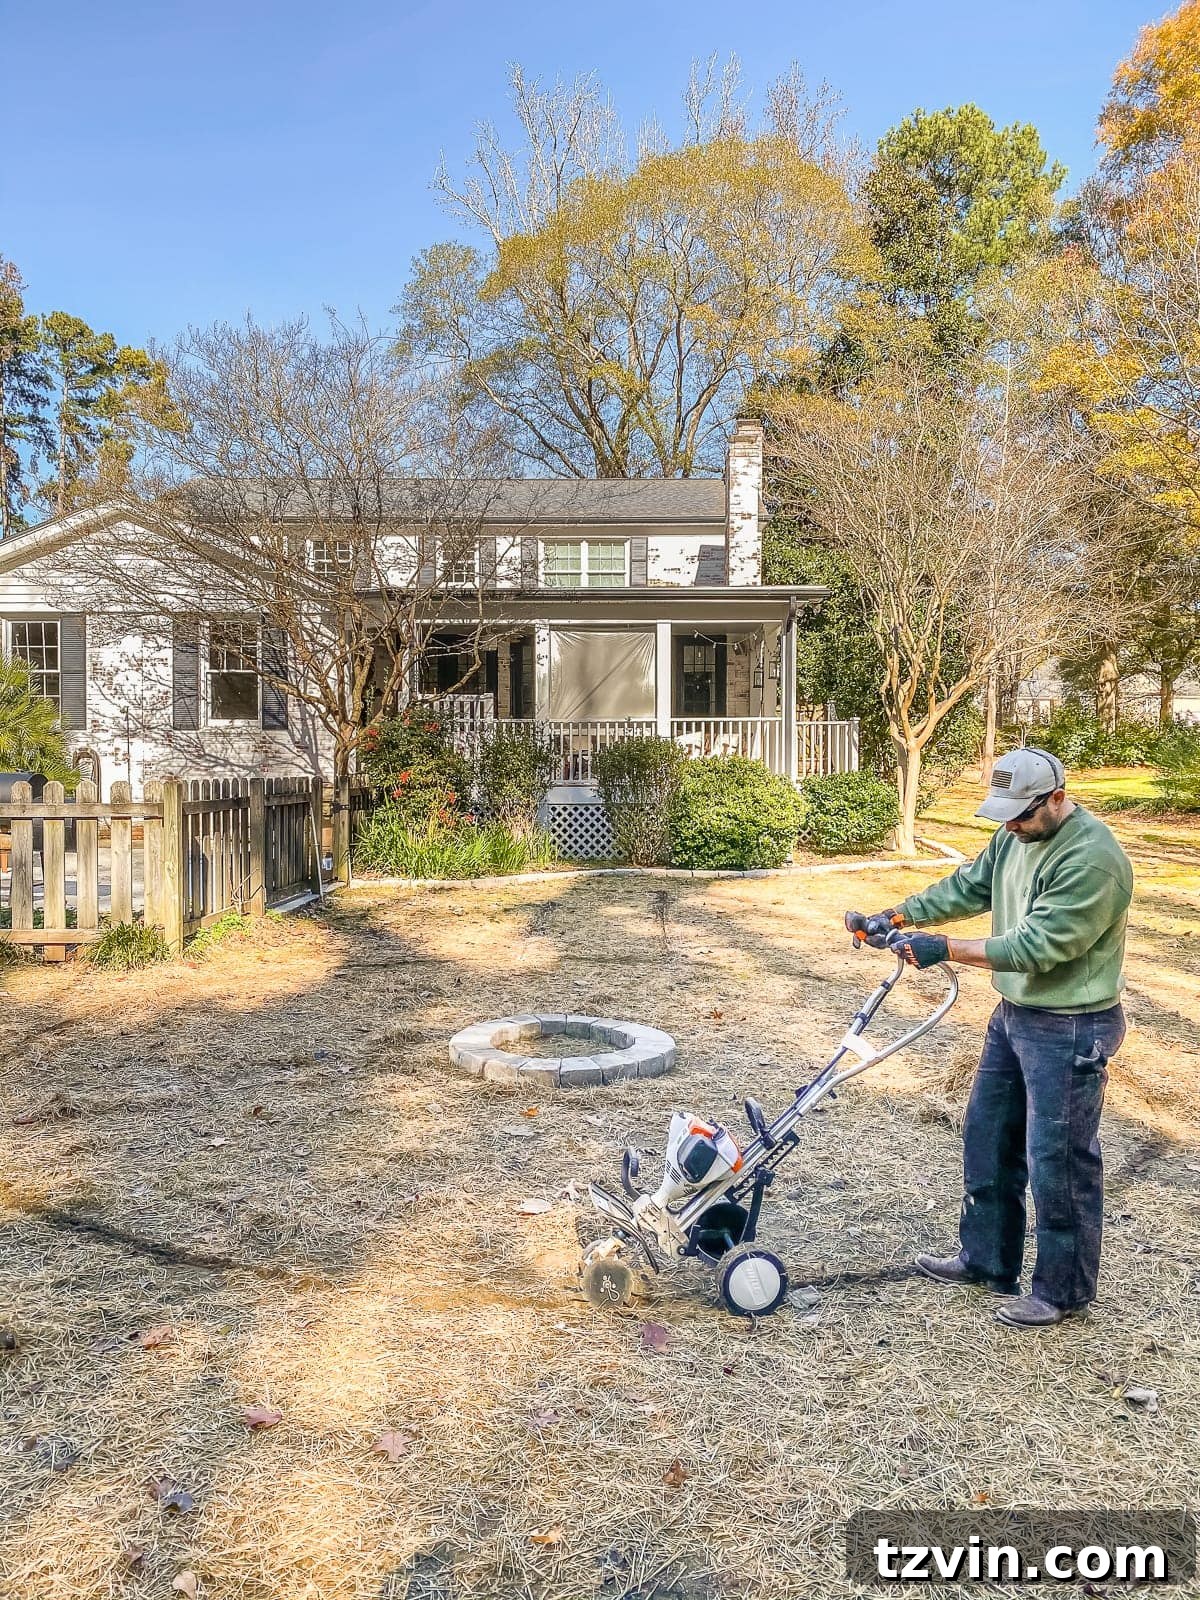
To establish a crisp, defined boundary for your pea gravel patio, use the STIHL Yard Boss equipped with the Edger Attachment. Robert carefully walked along the spray-painted lines, creating a neat, shallow trench. This step is vital for containing the pea gravel and providing a solid, clean edge against your lawn, preventing gravel from migrating into surrounding areas and giving your patio a professional finish.
Step 6 – Efficiently Remove Grass and Prepare the Base with a Cultivator
With the edges defined, the next step is to remove all grass and topsoil from within your marked patio area. This is where the STIHL Yard Boss with the Bolo Tines Cultivator Attachment truly shines. Go over the entire area, allowing the cultivator to break up the grass and loosen the soil. Once the grass layer is effectively removed, use a shovel and rake to clear it away, creating a smooth, even dirt surface. This ensures a stable foundation for your landscape fabric and pea gravel, preventing future grass regrowth and settling issues. Always remember to wear appropriate protective equipment and review your instruction manual before operating any power tools.
Step 7 – Install and Secure Heavy-Duty Landscape Fabric
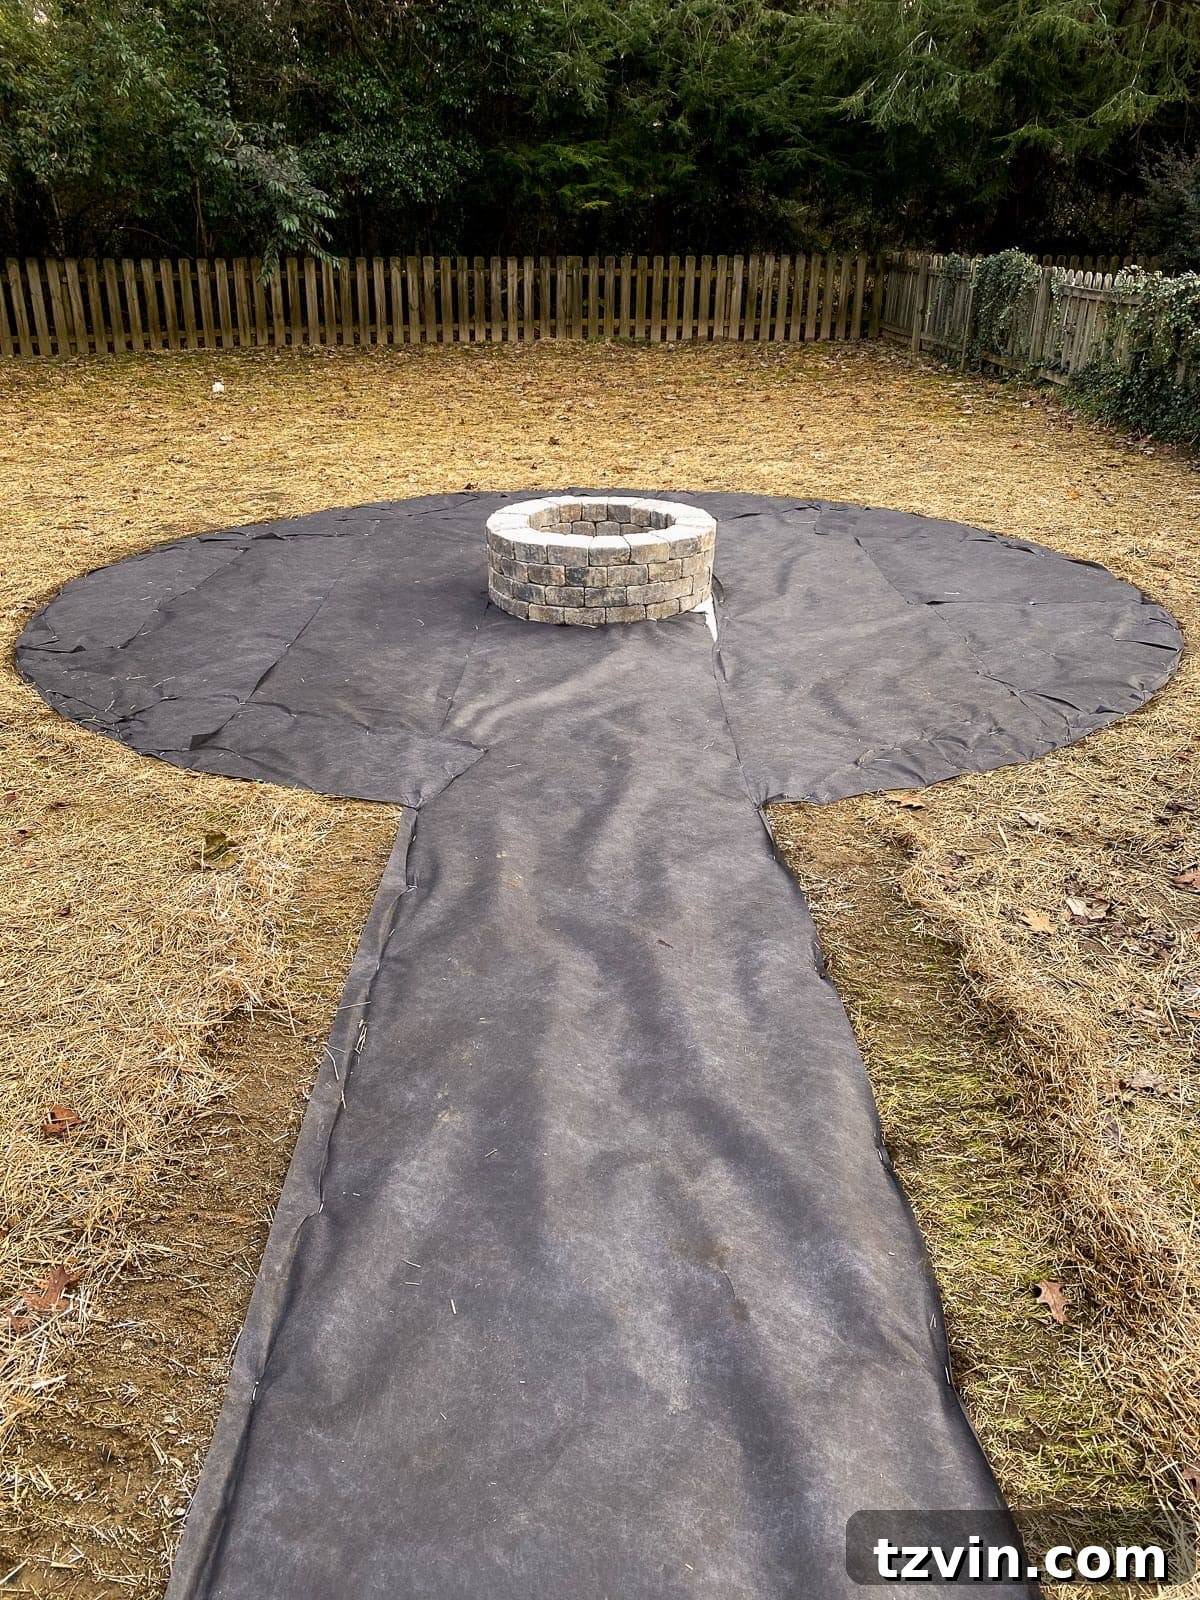
Once your dirt base is clean and level, it’s time to roll out the heavy-duty landscape fabric. Cut the fabric to precisely match the size and shape of your patio area. This fabric acts as a crucial barrier, preventing weeds from growing up through your pea gravel while still allowing water to drain effectively. Overlap any seams by at least 6-12 inches to ensure comprehensive coverage. Secure the fabric firmly to the ground using landscape staples, spaced every few feet, and drive them in with a mallet. Remember to leave a central hole in the fabric, corresponding to the footprint of your actual fire pit structure, as the fire pit itself will sit directly on the ground for stability. (As an added measure, we also used an old canvas painting tarp underneath the landscape fabric for an extra layer of weed protection.)
Step 8 – Place Edging Stones and Secure with Adhesive
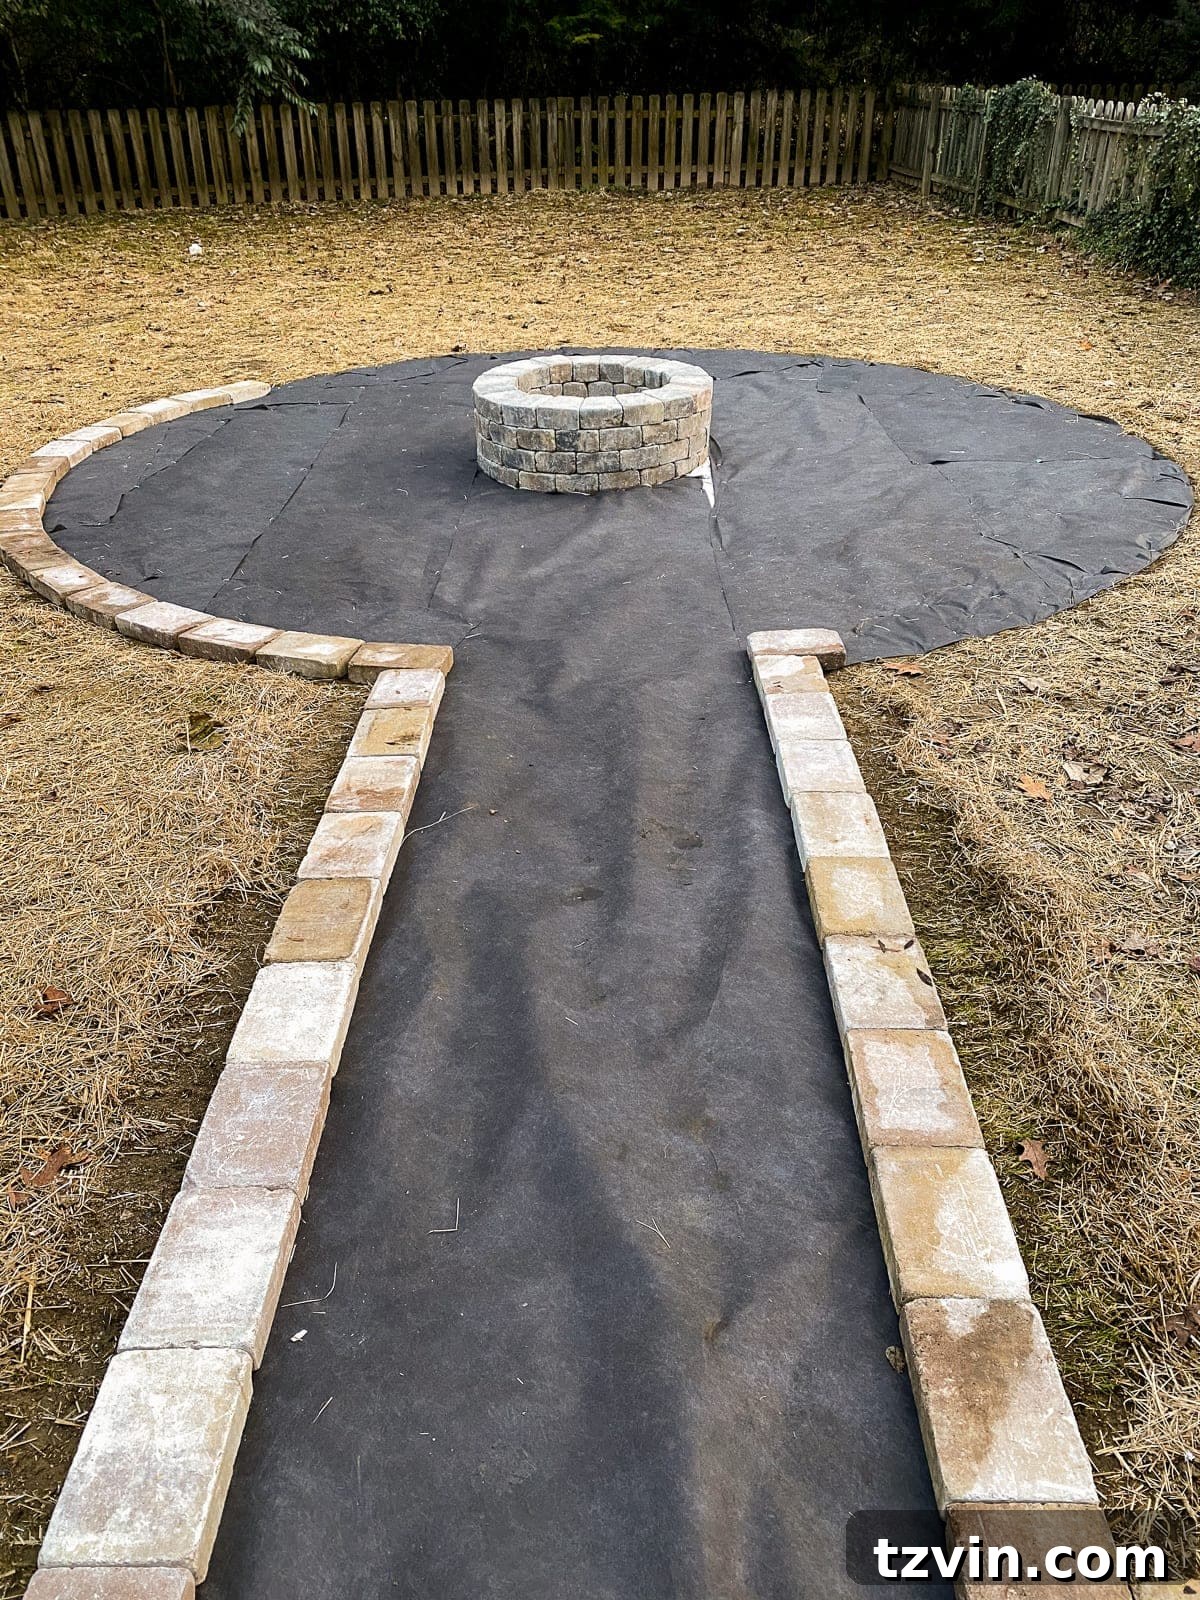
Next, carefully position your chosen edging stones around the entire perimeter of the landscape fabric, following your marked outline. Take your time to ensure the stones are level and evenly spaced for a polished appearance. Once you are completely satisfied with their placement and alignment, use heavy-duty construction adhesive to bond the stones to each other. This includes assembling the stones of your fire pit kit according to its instructions, applying adhesive between each layer. For enhanced long-term stability and to prevent the stones from shifting over time, we highly recommend installing metal landscape edging along the outer perimeter, tucked behind your edging stones. While we initially skipped this step, in hindsight, it’s a worthwhile addition to maintain the integrity and neatness of your patio for years to come.
Step 9 – Distribute and Level Your Pea Gravel
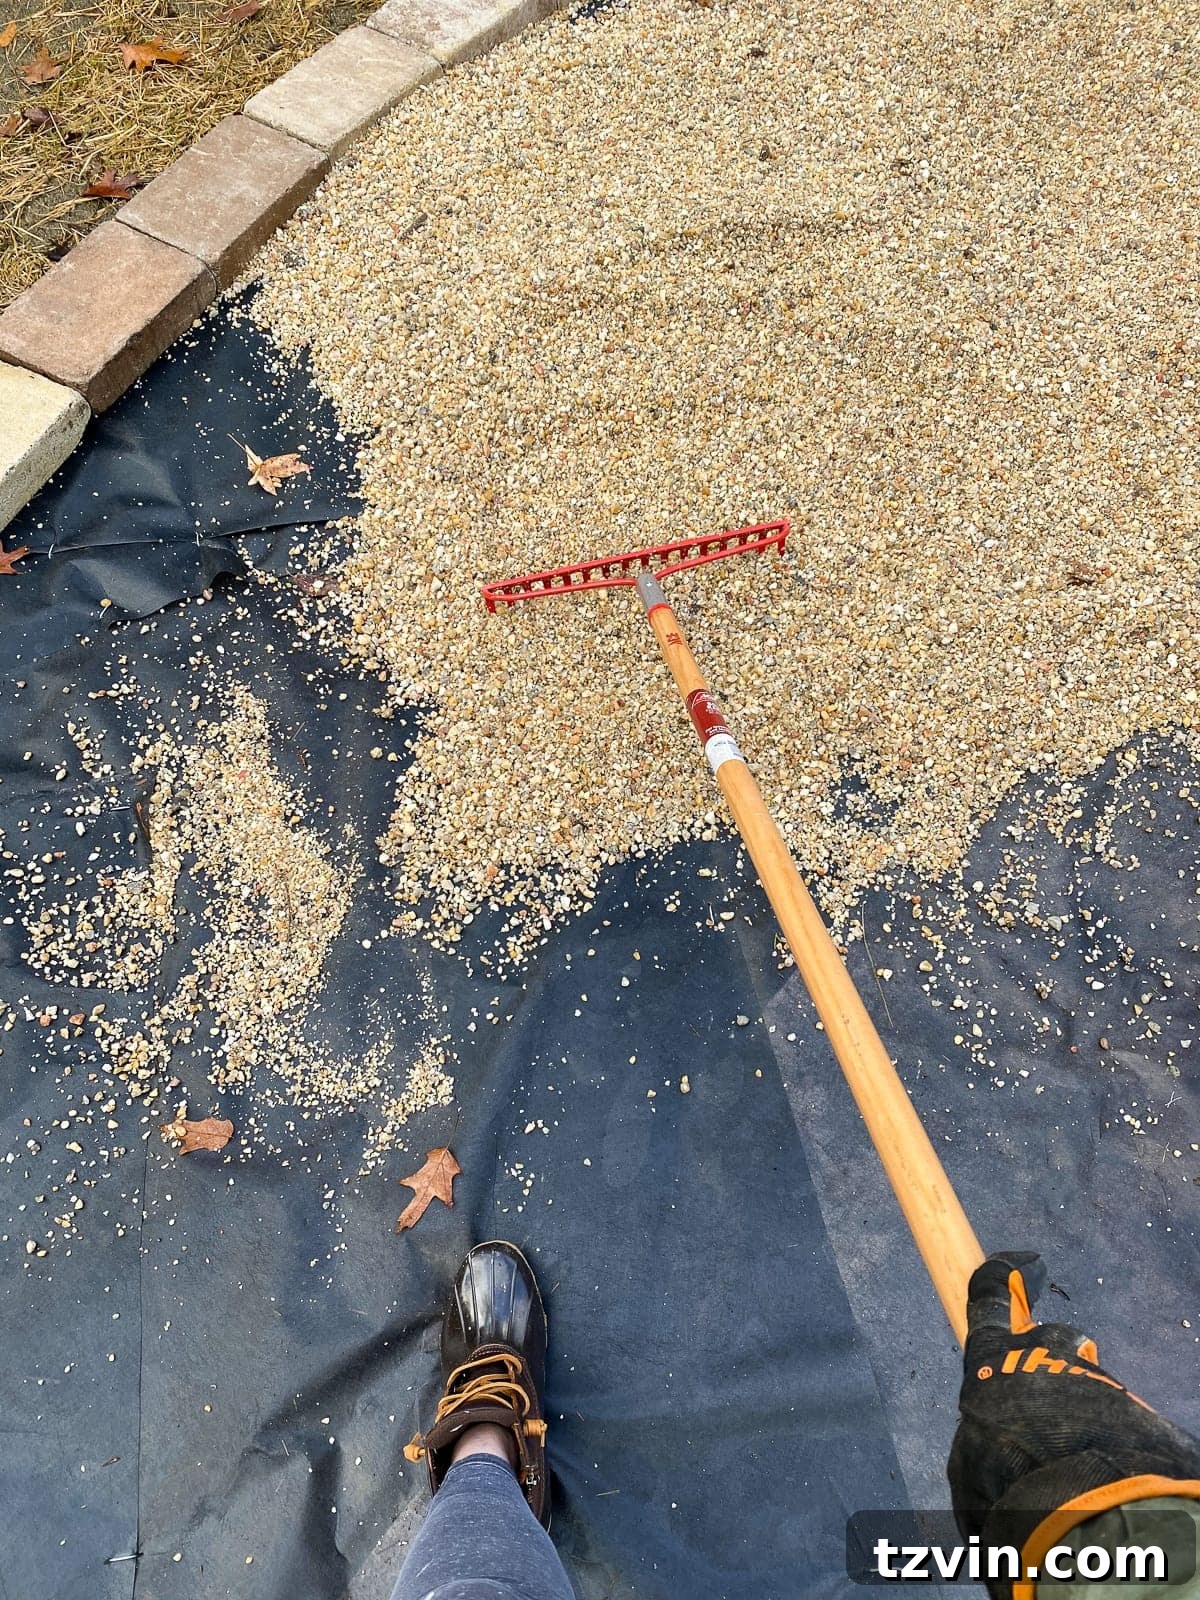
The final layer involves distributing the pea gravel. Using a wheelbarrow, transport the gravel to your patio area and carefully pour it over the landscape fabric surface. Aim for a consistent depth of approximately 2 to 2.5 inches across the entire patio. Use a rake to spread the gravel evenly, ensuring a smooth, level surface. To calculate the exact amount of pea gravel needed, measure the square footage of your patio and contact your local landscape supply store or stone yard. For reference, our 20-foot diameter fire pit area required 2.5 cubic yards of pea gravel. This handy gravel calculator can help you determine your precise requirements.
Step 10 – Light a Fire and Enjoy Your Backyard Fire Pit!
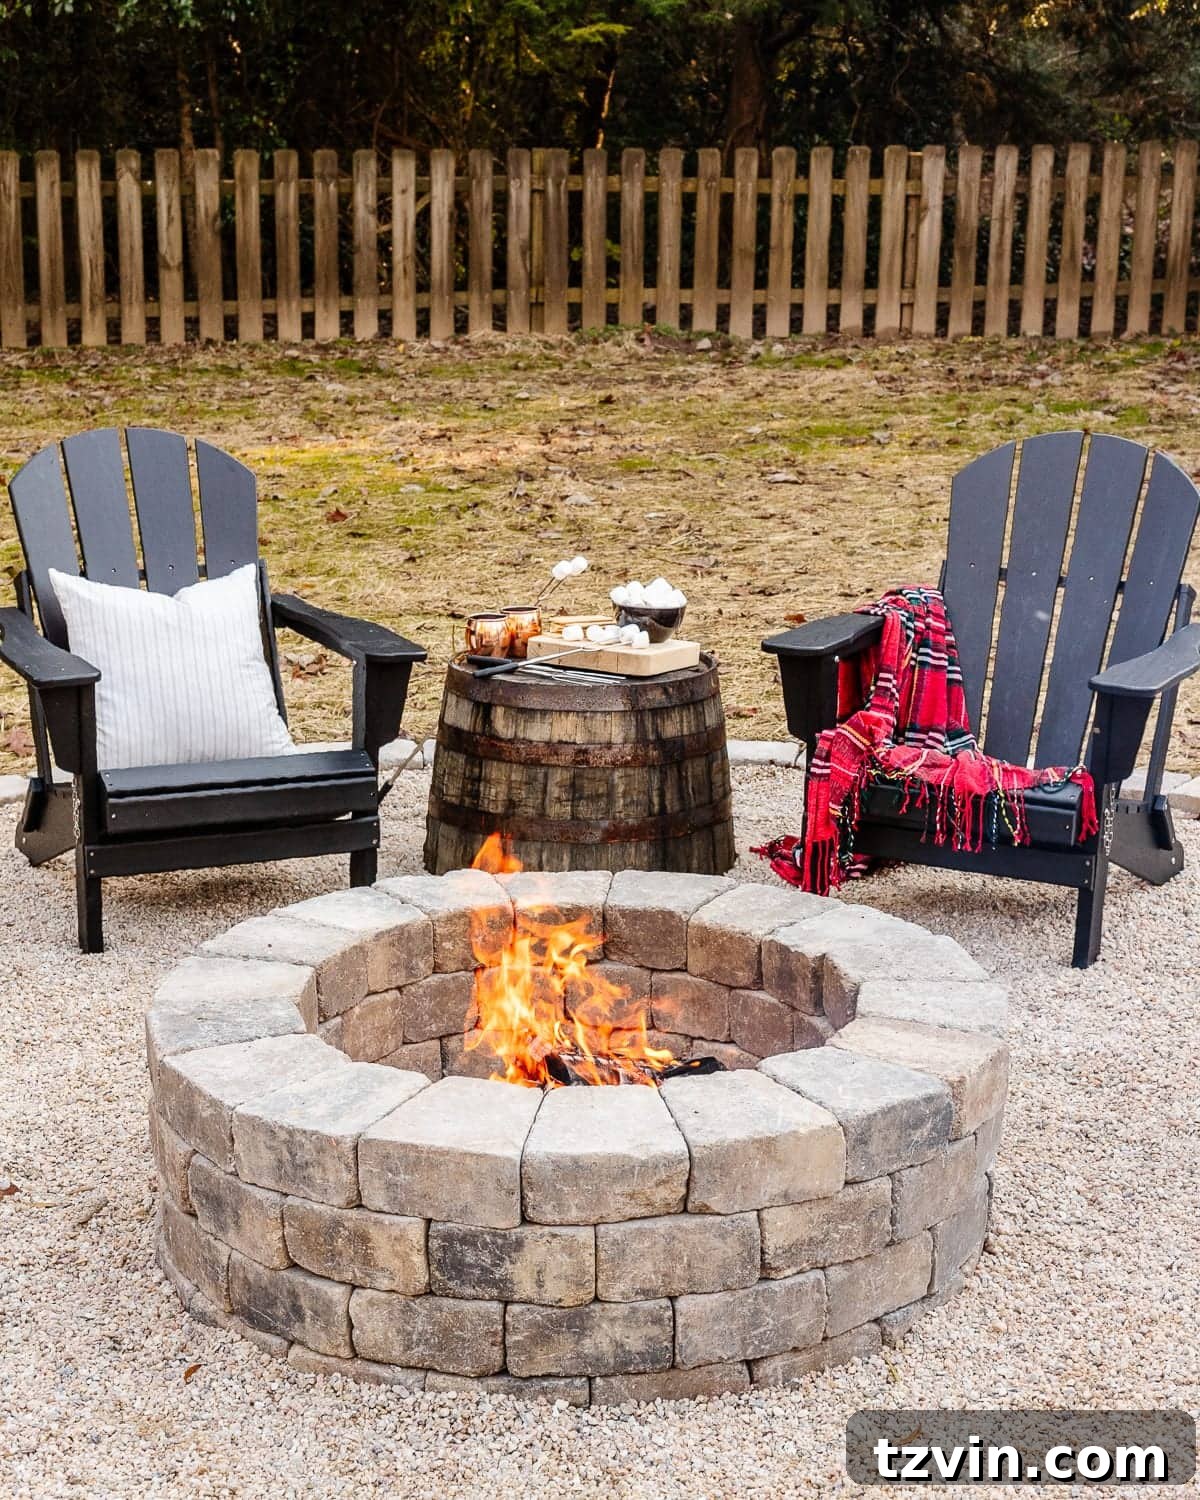
Congratulations! Your DIY fire pit and pea gravel patio are complete. Now comes the best part: lighting your first fire and enjoying the fruits of your labor. Arrange your seating, add some decorative touches, and gather around for a truly rewarding experience. Don’t forget the s’mores! 😉
Designing Your Backyard Fire Pit Retreat: Decor Ideas
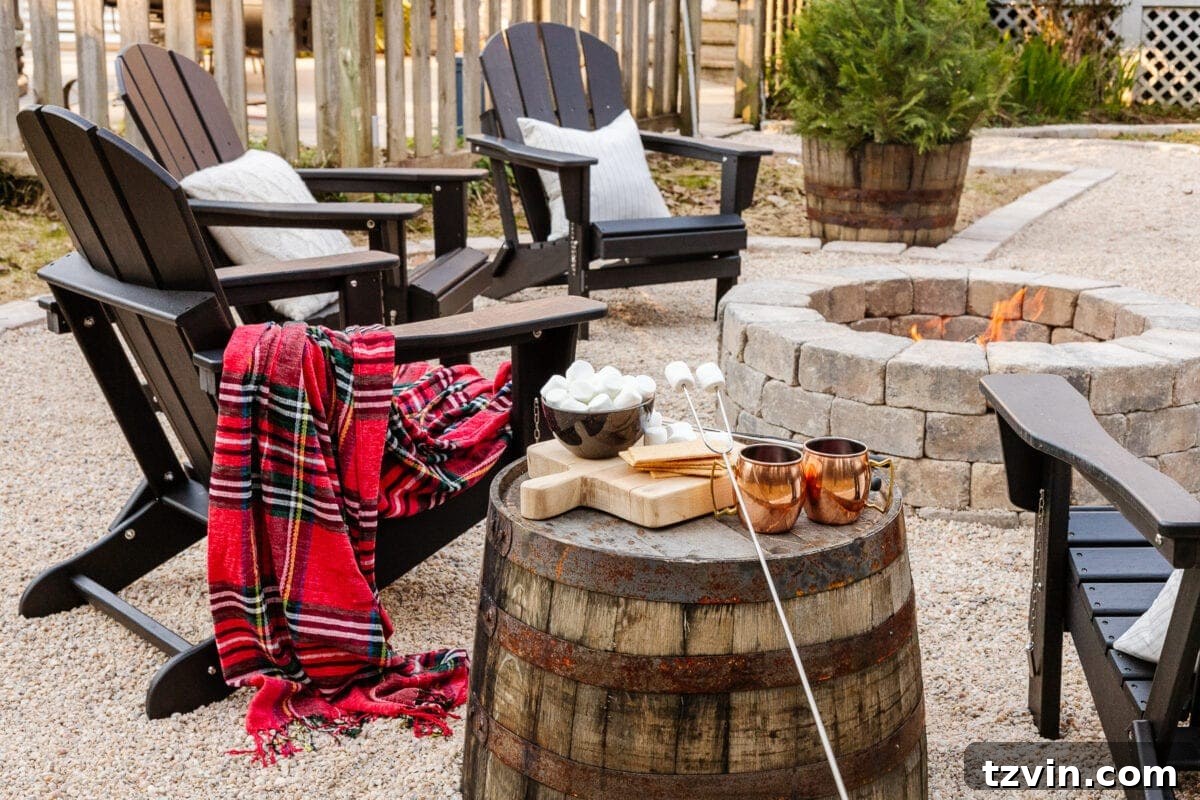
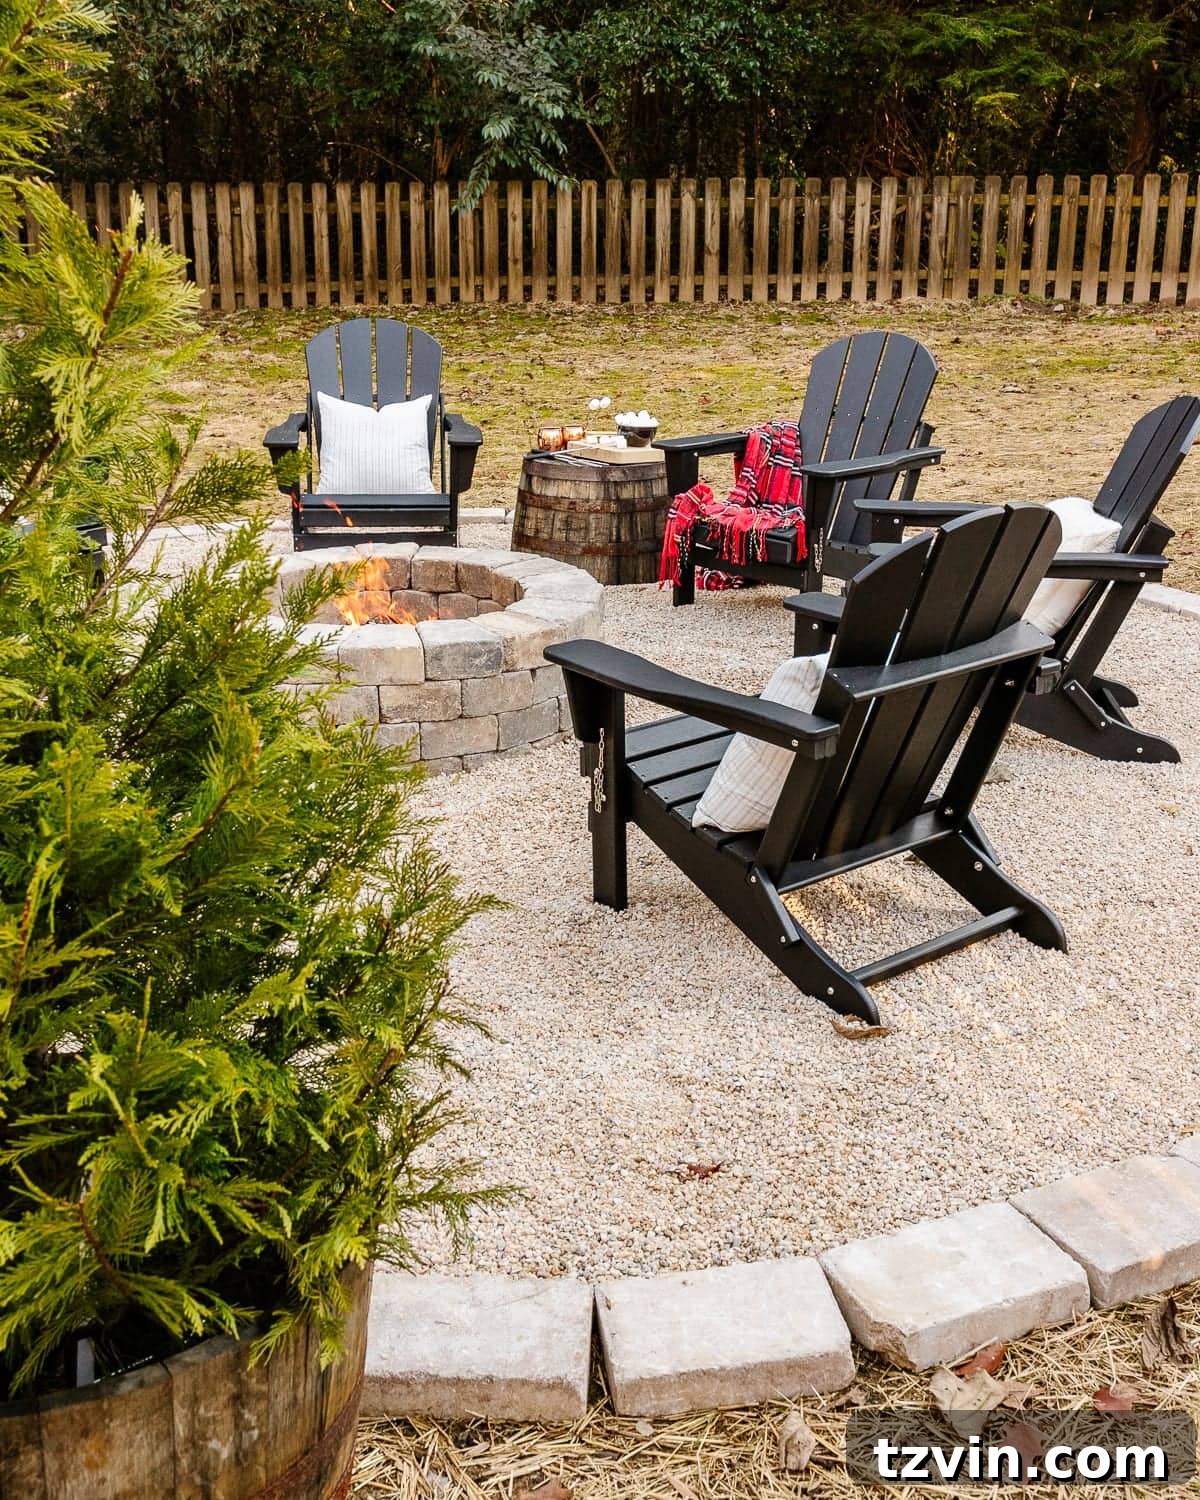
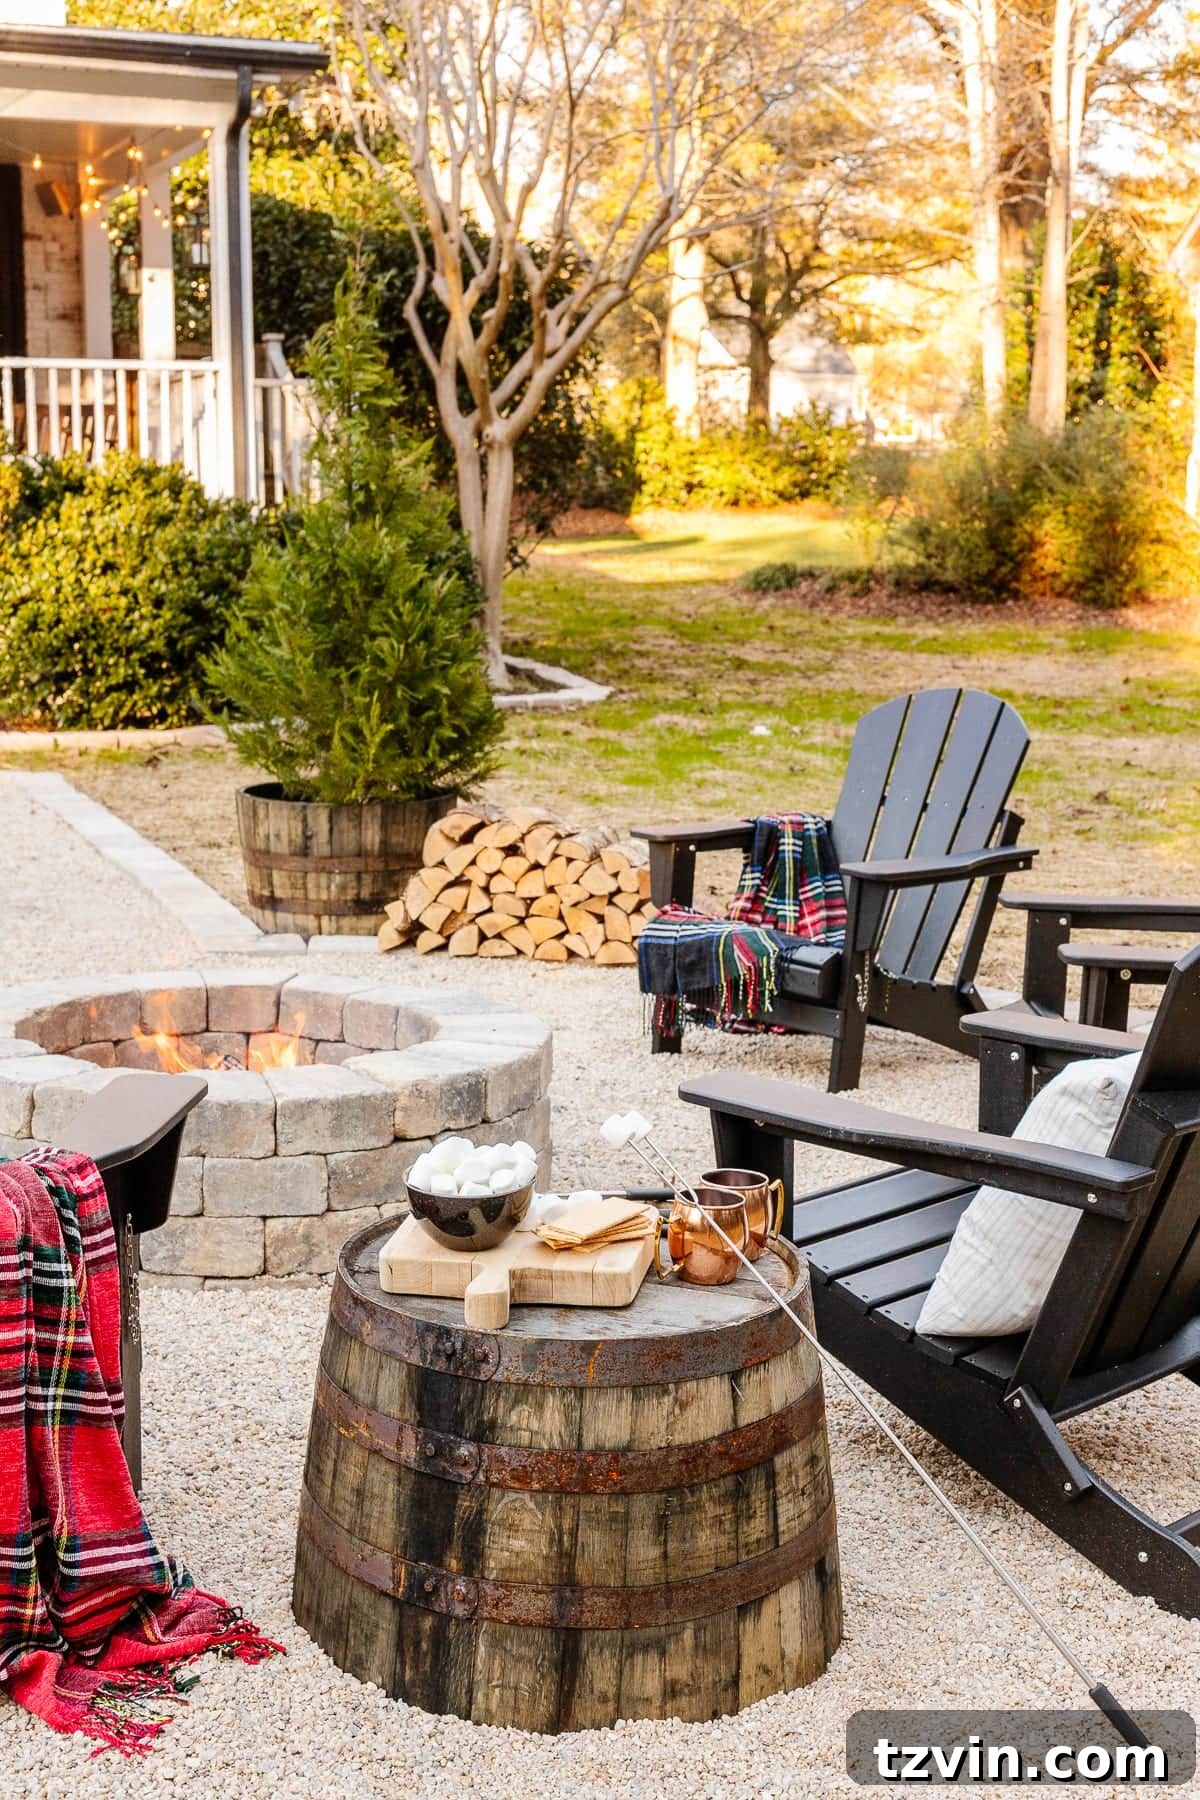
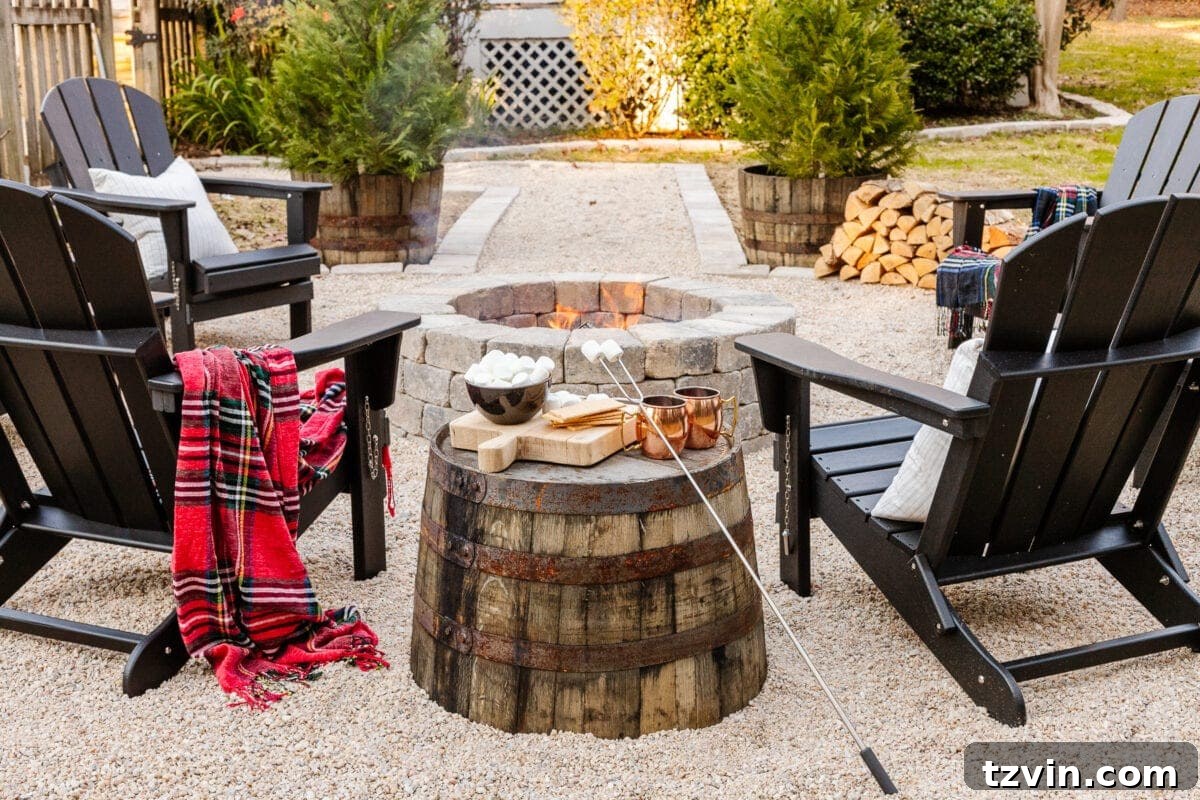
Once your fire pit is built, the fun of decorating begins! Thoughtful decor enhances the comfort and ambiance of your outdoor space, turning it into a true extension of your home. We opted for classic black Adirondack chairs, which offer both comfort and durability for long evenings by the fire. For a convenient surface to hold s’mores ingredients, drinks, or books, we repurposed a charming wooden barrel planter as a rustic side table, adding a touch of practical whimsy to the setup.
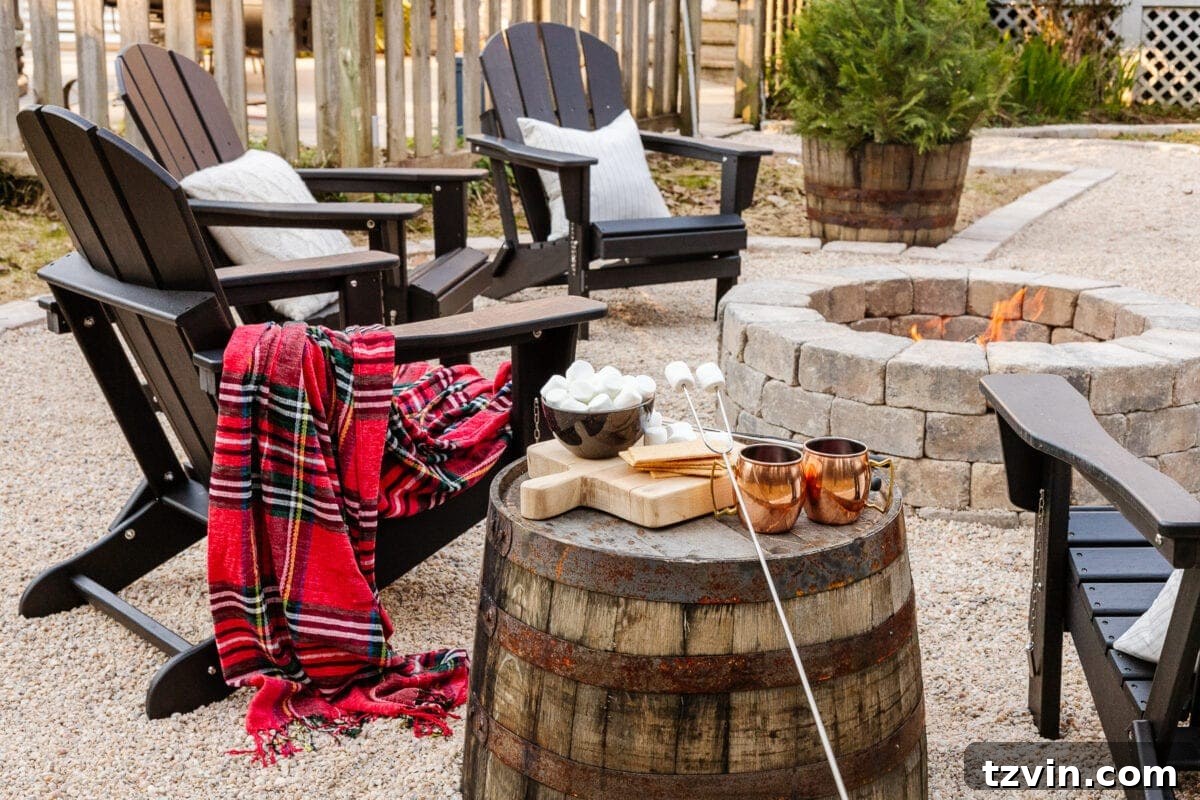
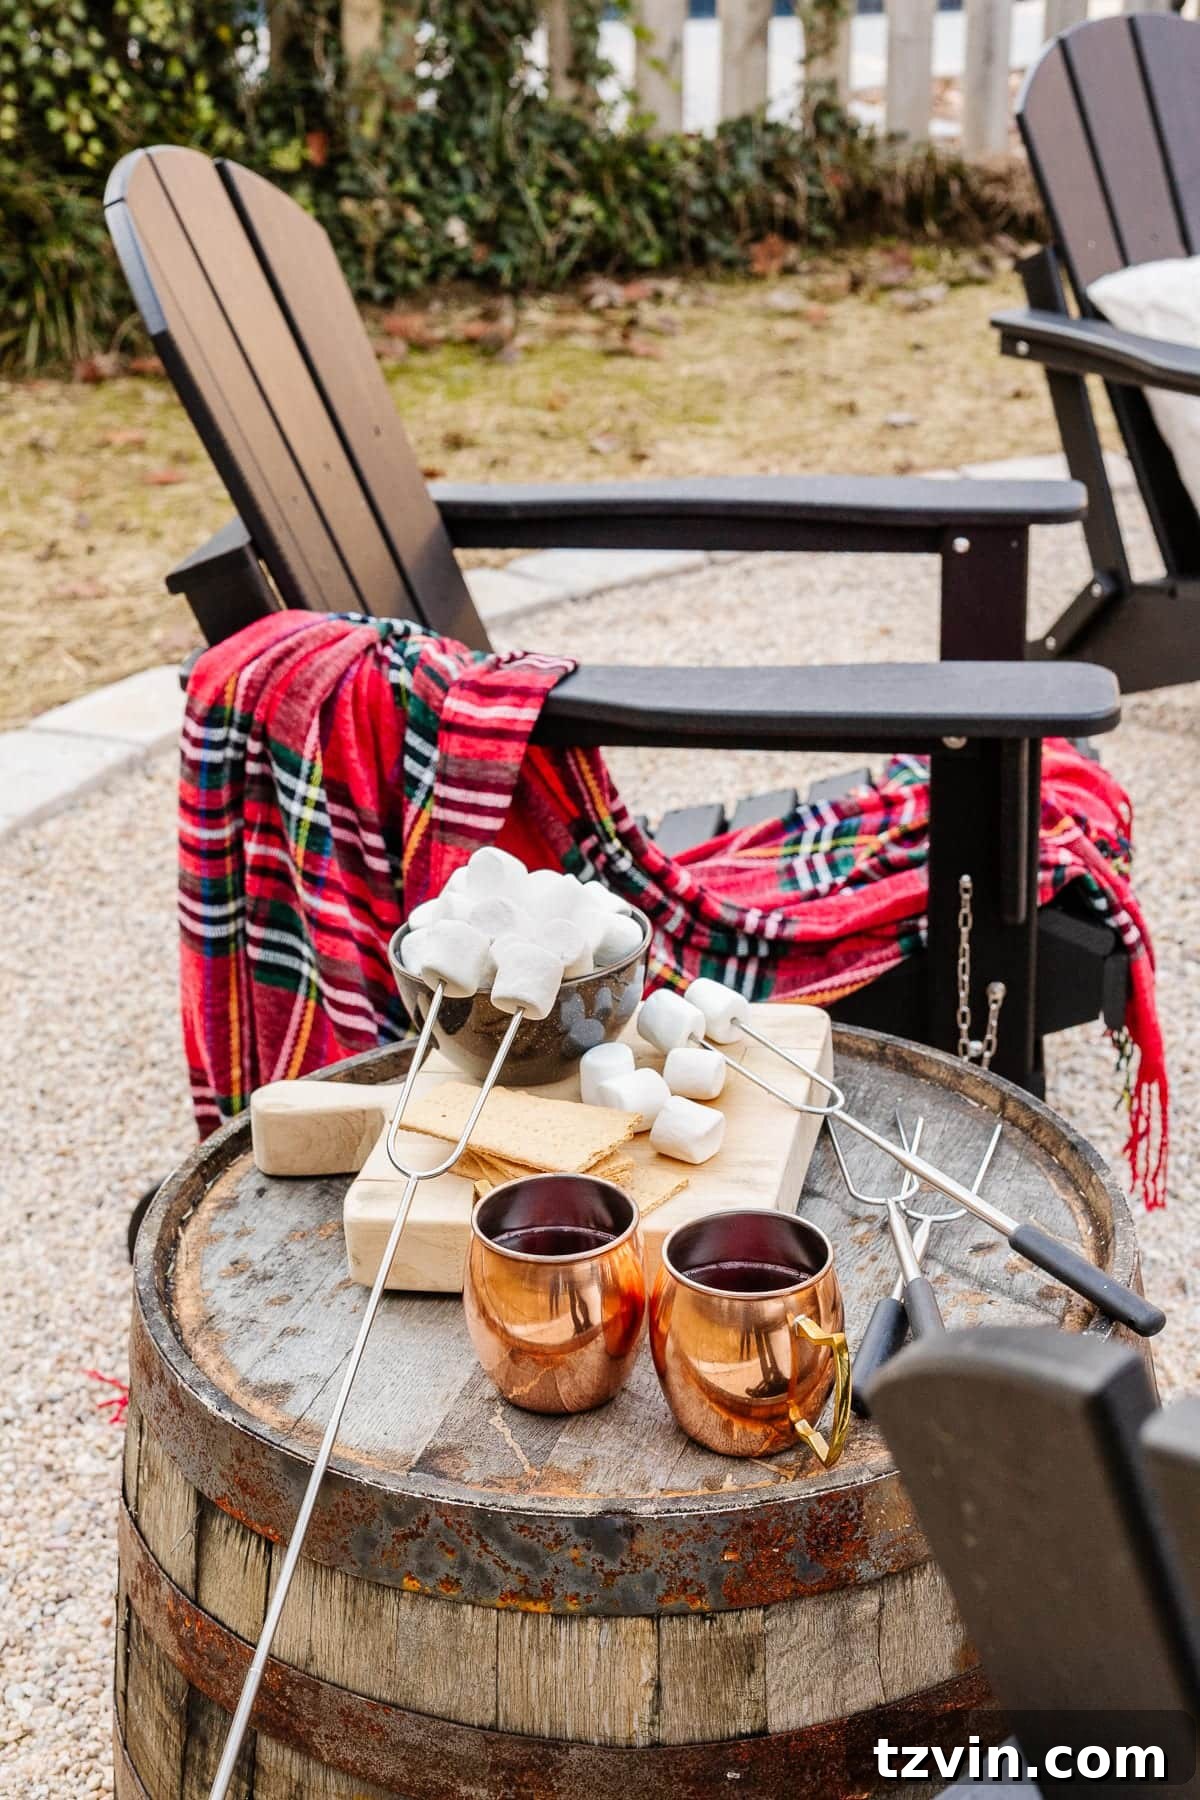
Seasonal touches can also make a big impact. We were fortunate to find adorable small Christmas trees at a local tree farm, which we placed in wooden barrel planters to add festive cheer. For year-round greenery and structure, we plan to swap these out for resilient boxwood shrubs, creating a timeless and elegant backdrop. Consider adding outdoor throw pillows and blankets for extra comfort, string lights for magical illumination, and practical accessories like fire pit tool sets or decorative lanterns to complete your inviting outdoor space.
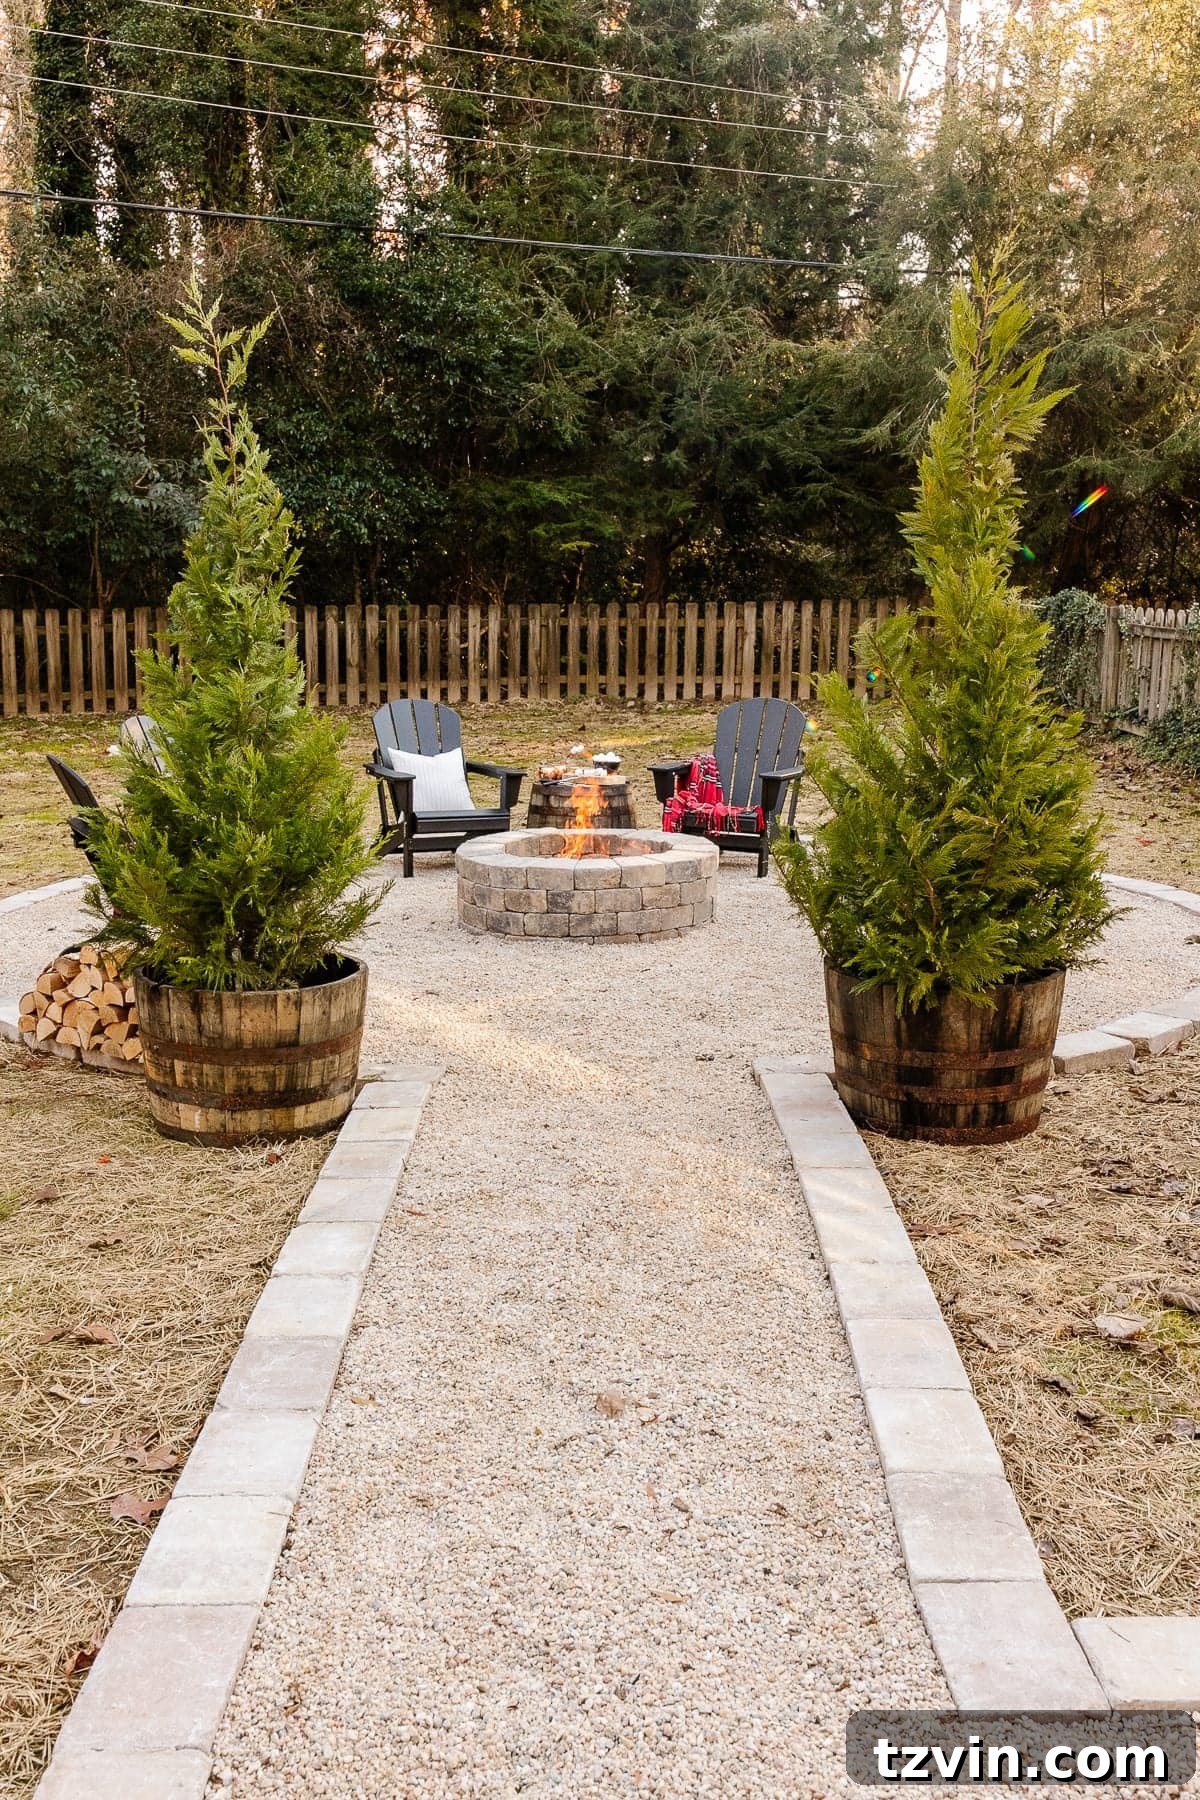
UPDATE: See how beautifully this fire pit and pea gravel patio have held up three years later! Its enduring appeal and minimal maintenance continue to make it our favorite outdoor feature.
Keeping Your DIY Fire Pit & Pea Gravel Patio Pristine: Maintenance Tips
UPDATE: 3 Years Later!
It’s been several years since we completed our backyard fire pit and pea gravel patio, and we couldn’t be happier with this space. It has consistently proven to be our favorite gathering spot for family, friends, and neighbors, and remarkably, it requires very little maintenance to keep it looking great.
Effortless Debris Removal
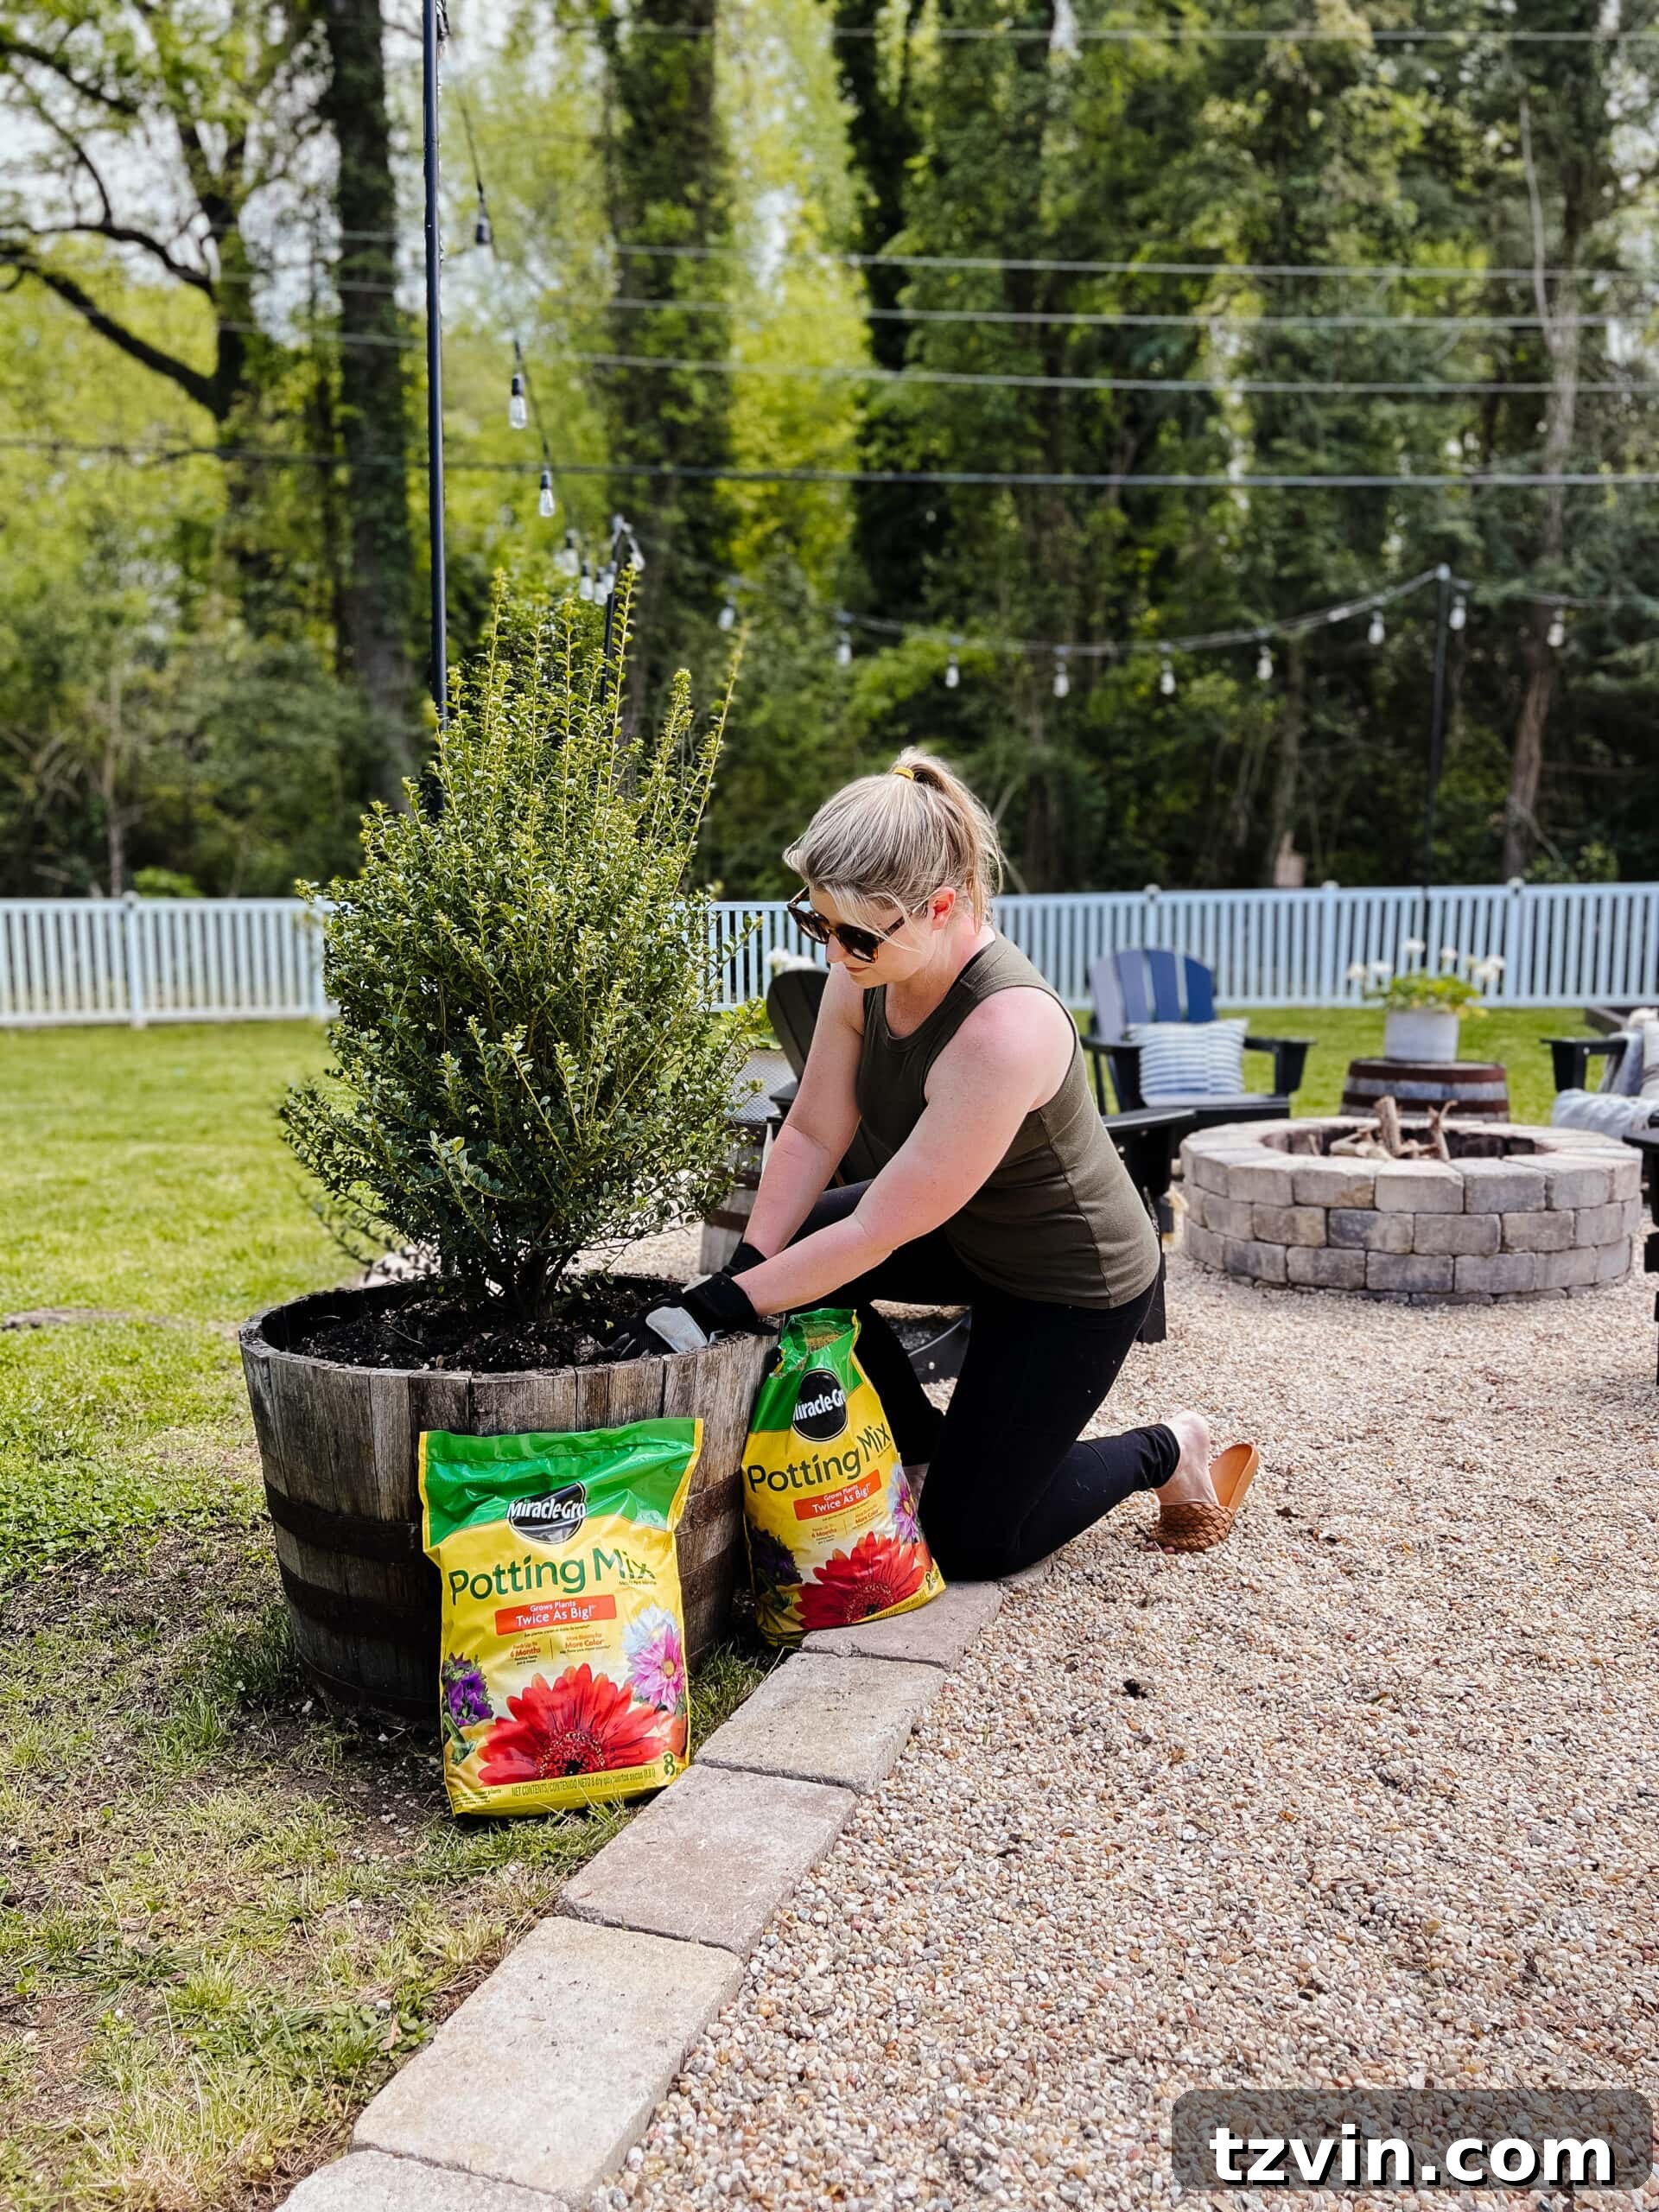
One of the great advantages of a pea gravel patio is how easily it can be maintained. When leaves and other debris fall onto the gravel surface, especially during autumn, we simply use a leaf blower to clear them away. The weight and rounded nature of the pea gravel ensure that it stays firmly in place while the debris is effortlessly blown off, keeping your patio tidy with minimal effort.
Simple Weed Control
Thanks to the heavy-duty landscape fabric installed beneath the gravel, weed growth is significantly minimized. In the spring, we typically apply a single treatment of a general weed killer across the gravel surface. This proactive measure usually keeps the area almost entirely weed-free for the remainder of the year, allowing you to enjoy your patio without constant weeding.
Long-Term Gravel Stability
While a small amount of gravel might occasionally get kicked out into the surrounding yard due to foot traffic, we have found that we’ve never needed to redress our patio with additional gravel. The initial layer has proven to be sufficiently durable. The smooth, rounded pebbles of pea gravel are also incredibly comfortable to walk on, even barefoot, making it an inviting surface for all your outdoor activities.
You truly have no idea how thankful we are to finally see our backyard take shape after years of dreaming and hard work. This fire pit is just one piece of our grand vision. We have mighty big plans for the rest of this backyard, crossing our fingers for future additions like a functional work shed, a vibrant play area for the girls, and a brand-new fence to complete our outdoor sanctuary.
Detailed Insight: See our full backyard transformation and cost breakdown here!
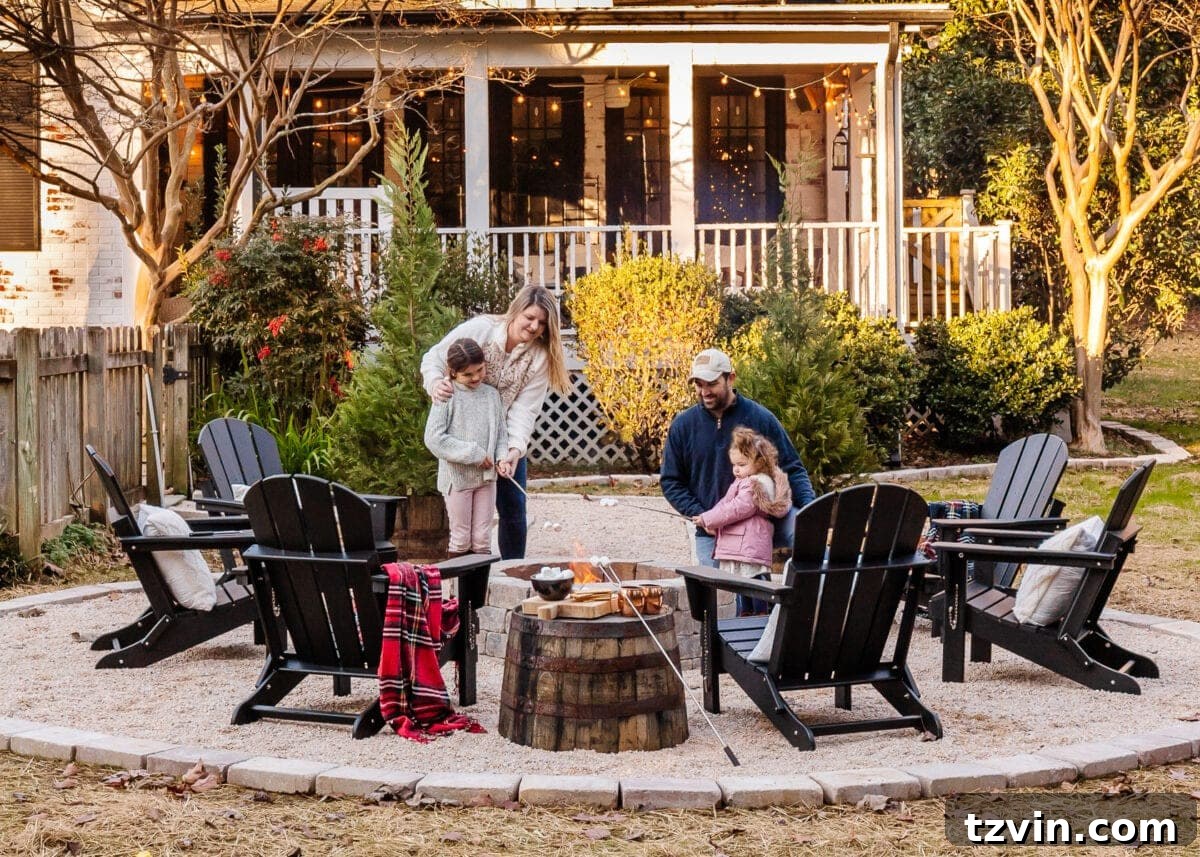
It’s been quite a journey, and the adventure is far from over. This backyard fire pit truly was one of the best gifts our family has ever given to ourselves, and we are so excited to continue enjoying it all year round, creating countless cherished moments.

Just as Rome wasn’t built in a day, a dream home and backyard are often a testament to ongoing effort and dedication. Our backyard stands as a beautiful witness to that journey.
Frequently Asked Questions About DIY Fire Pits
What are the dimensions of your fire pit and patio area?
Where is the best place to purchase pea gravel and pavers for a fire pit?
More Inspiring DIY Backyard Project Ideas
15 Gorgeous Fire Pit Decorating Ideas
How to Build a Luxurious DIY Backyard Pool Cabana Pergola
How to Build a DIY Bocce Ball Court in a Weekend
41 DIY Backyard Ideas on a Budget for Easy Outdoor Living