DIY Flower Bed Makeover: A Step-by-Step Guide to Boost Your Home’s Curb Appeal
Over the past few years, our focus has largely been on transforming the interior of our home with various room makeovers. Life also brought its own set of beautiful challenges, from welcoming a new baby to navigating sleepless nights and postpartum recovery. Understandably, during this period, our front yard landscaping began to show signs of neglect, particularly our flower beds.

While we’ve made significant strides in improving our home’s exterior—including a beautiful limewashed brick transformation, the strategic removal of dead trees and overgrown brush, and a charming refresh of our front porch—one major project consistently eluded us: revitalizing the neglected flower beds.
Our lawn had become a battleground against persistent weeds, and the flower beds were an unruly mess of scraggly bushes. We were absolutely ready to tackle this challenge head-on and reclaim our outdoor space.

The results of this DIY flower bed makeover have truly amazed us. Before we reveal the stunning “after” pictures, we want to share the practical tips and essential tools that made this challenging project much smoother and ultimately successful. Transforming your flower beds from drab to fab is not just about aesthetics; it’s about increasing your home’s curb appeal and creating a welcoming outdoor environment. Let’s dive into how you can achieve similar results for your own yard.
Essential Tools and Supplies for Your Flower Bed Makeover:
Embarking on a significant landscaping project requires the right tools to ensure efficiency and safety. Here’s a comprehensive list of what we used to achieve our desired flower bed transformation, along with why each item was crucial:
- Tape Measure: Crucial for accurate planning and marking bed dimensions.
- White Spray Paint: Used to clearly mark the new outlines of the flower beds, ensuring precise edging.
- STIHL Yard Boss: A versatile multi-task gardening tool that forms the base for various attachments, making it incredibly useful for diverse landscaping jobs. Its adaptability streamlines multiple steps of the project.
- STIHL BK-MM Bolo Tines Cultivator Attachment: Ideal for breaking up hardened soil and preparing the ground for planting, saving significant manual labor.
- STIHL FC-MM Bed Edger Attachment: Creates clean, crisp edges for flower beds, providing a professional finish and containing mulch effectively.
- STIHL MM Wheel Kit: Enhances maneuverability and ease of use for the Yard Boss and its attachments, particularly for precise edging.
- STIHL MS 171 16 in. Gas Chainsaw: Essential for quickly breaking down large, overgrown shrubs and trimming tree limbs safely and efficiently. Remember to always prioritize safety when operating a chainsaw.
- Landscape Fabric: A vital barrier to suppress weeds, reduce soil erosion, and keep mulch separate from the underlying soil.
- Garden Staples: To firmly secure the landscape fabric in place, preventing it from shifting or lifting.
- Utility Knife: Handy for cutting the landscape fabric to accommodate new plants.
- Brown Rubber Mulch: Chosen for its longevity, color retention, and weed suppression benefits.
- Edger Stones: Defines the borders of the flower beds, adding a polished look and practical separation from the lawn.
- Woodcutter Chaps: Essential safety gear when using a chainsaw, protecting legs from potential accidents.
- Work Gloves: Protect hands from thorns, blisters, and dirt throughout the project.
- Safety Glasses: Crucial eye protection from flying debris during demo, edging, and tilling.
- Hearing Protectors: Recommended when operating noisy power tools like chainsaws and tillers.
- Shrubs/Flowers of Choice: We opted for low-maintenance varieties like boxwoods, azaleas, hydrangeas, and camellias, selected for their beauty and suitability for our climate.
- Garden Hose: For watering new plants and keeping the area clean.
The Step-by-Step DIY Flower Bed Makeover Process:
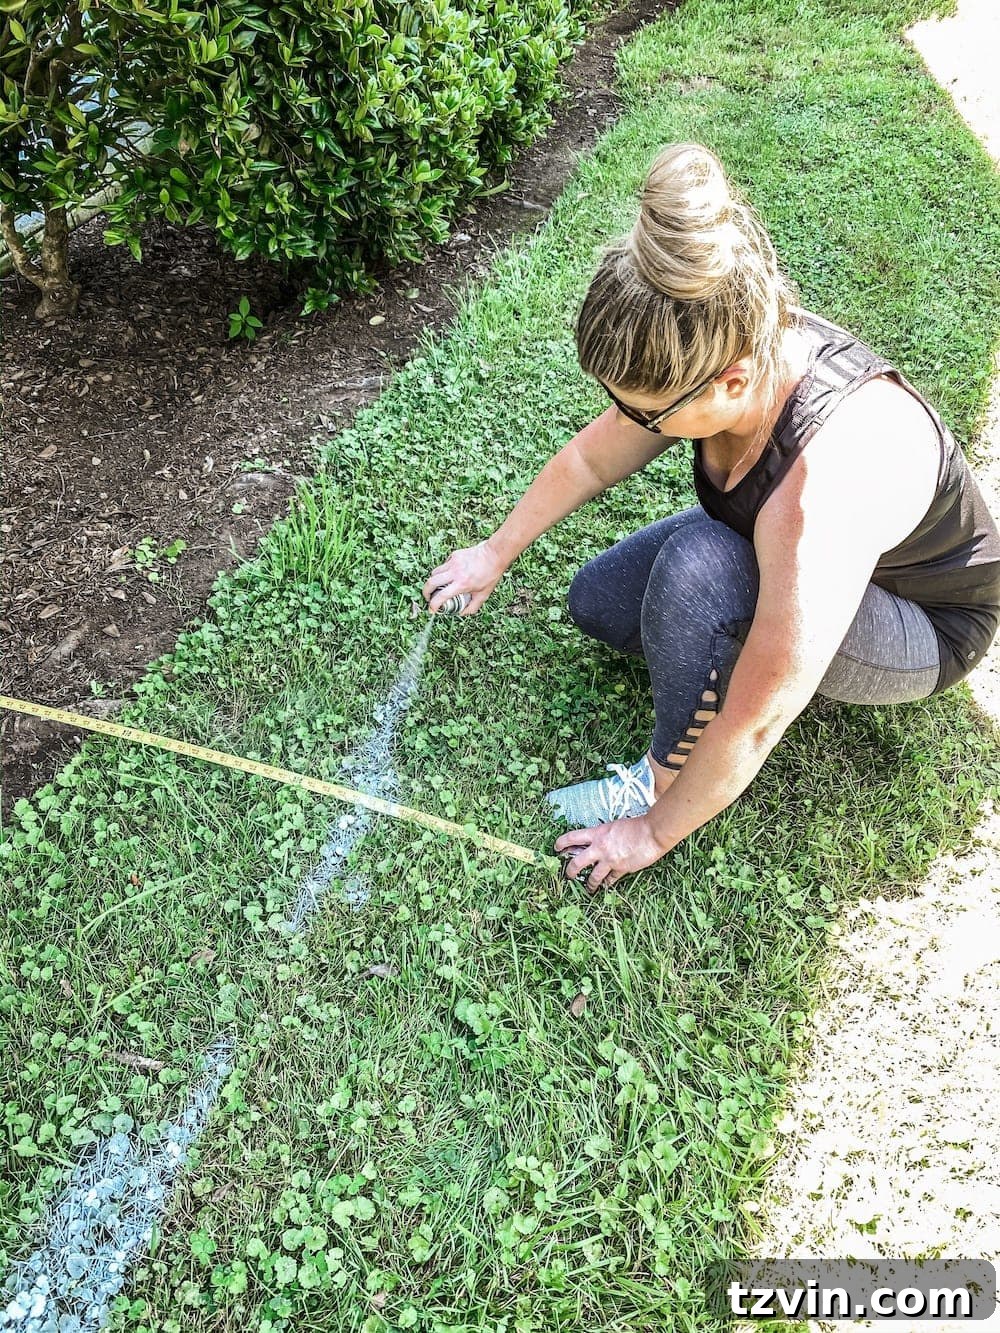
1. Plan, Measure, and Mark Your New Flower Beds
The first and arguably most critical step in any successful landscaping project is thorough planning. We carefully measured the desired dimensions and shape for each new flower bed. Visualizing the layout is key; using white spray paint to mark these new edges on the ground allowed us to clearly see the future boundaries and make any adjustments before any digging began. This initial visual layout helps prevent costly mistakes and ensures the new beds complement the overall aesthetic of your home and yard.
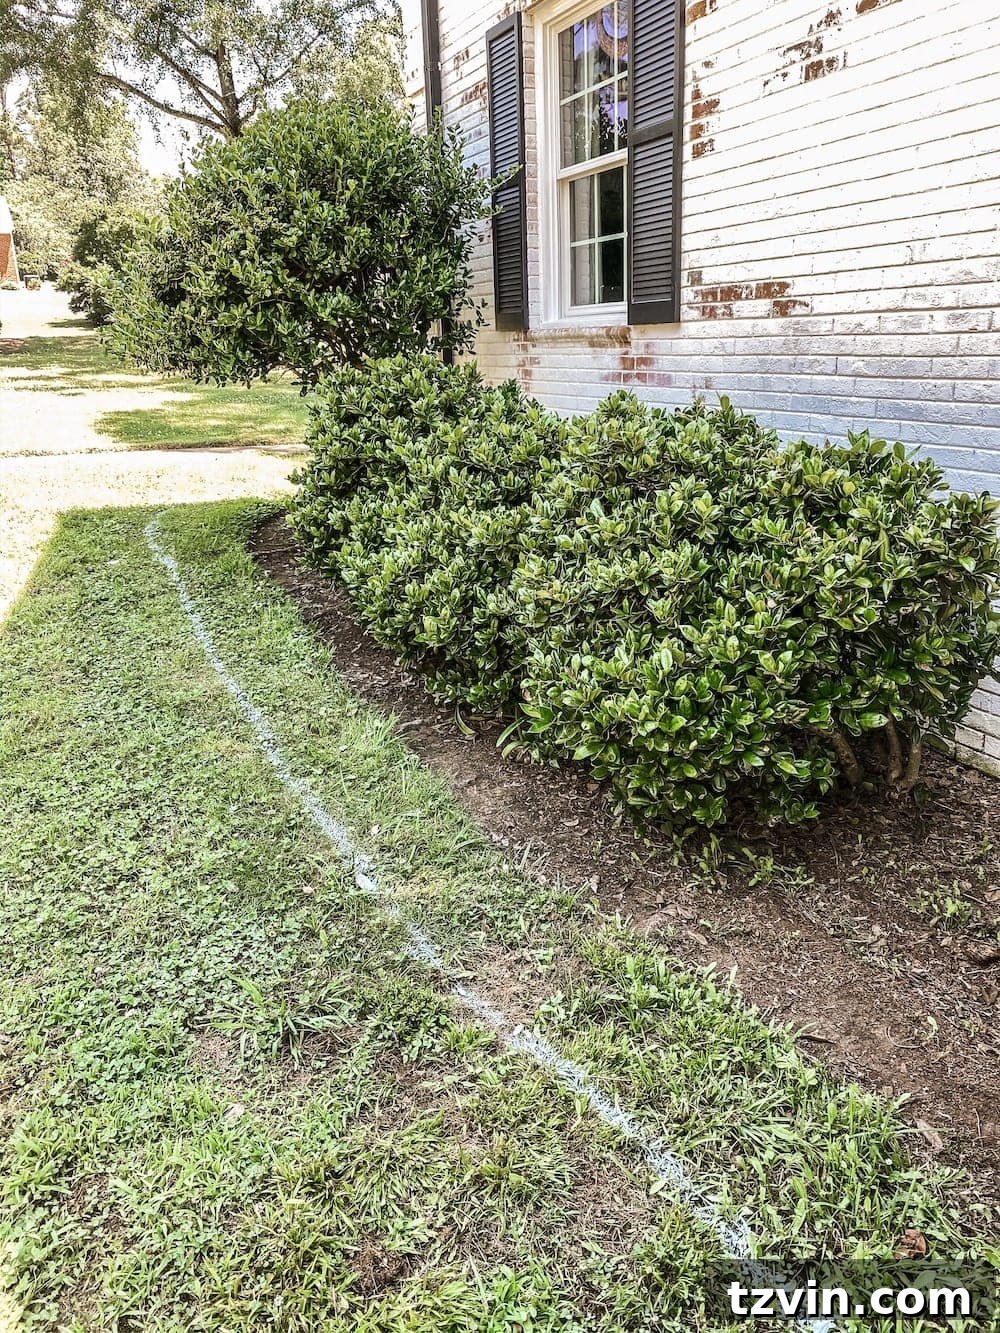
2. Demolition: Clearing the Old and Overgrown
With our new layout defined, it was time for demolition. Robert used a powerful chainsaw (always wearing appropriate safety gear, including woodcutter chaps, safety glasses, and hearing protection) to cut down any large, established shrubs. This made the subsequent task of removing their deep root systems significantly easier. While we were at it, we also took the opportunity to trim back any overgrown tree limbs that were encroaching on the space or blocking sunlight. It’s crucial to dig up as much of the root system as possible for all removed plants; otherwise, they are likely to regrow and undo all your hard work.
3. Create Crisp, Defined Edges
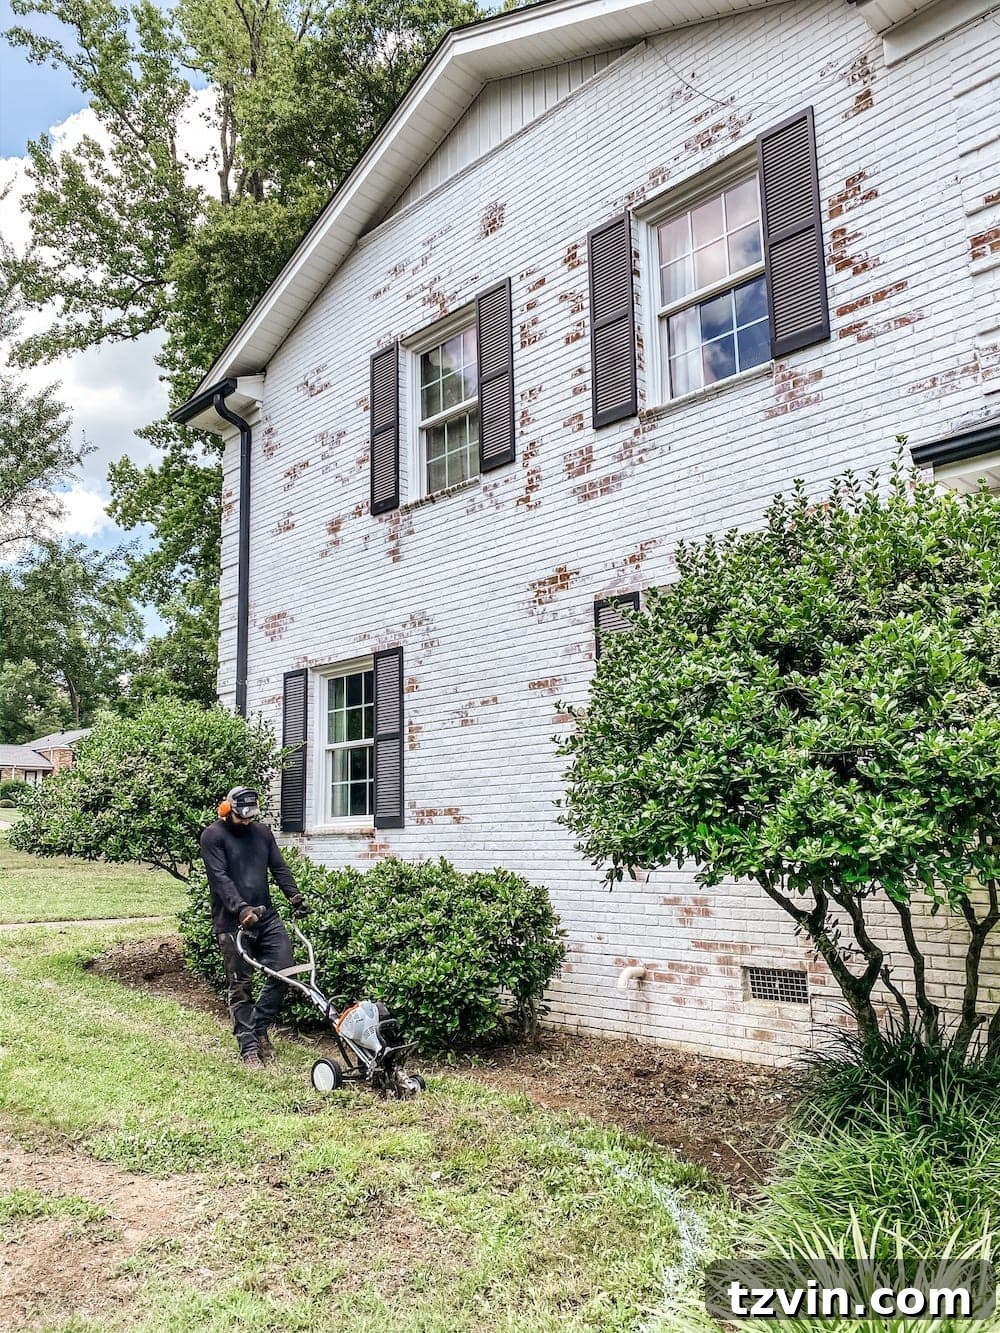
Once all unwanted vegetation was removed, we turned our attention to defining the new flower bed edges. For this, we utilized the incredibly versatile STIHL Yard Boss. This multi-task gardening tool, with its various attachments, is a game-changer for many landscaping jobs. For precision edging, we attached the STIHL FC-MM Bed Edger Attachment, supported by the STIHL MM Wheel Kit for smooth maneuverability. Running the edger blade precisely along our pre-marked spray paint lines eliminated any guesswork, resulting in perfectly crisp and professional-looking borders. Remember to consult your instruction manual for required personal protective equipment.
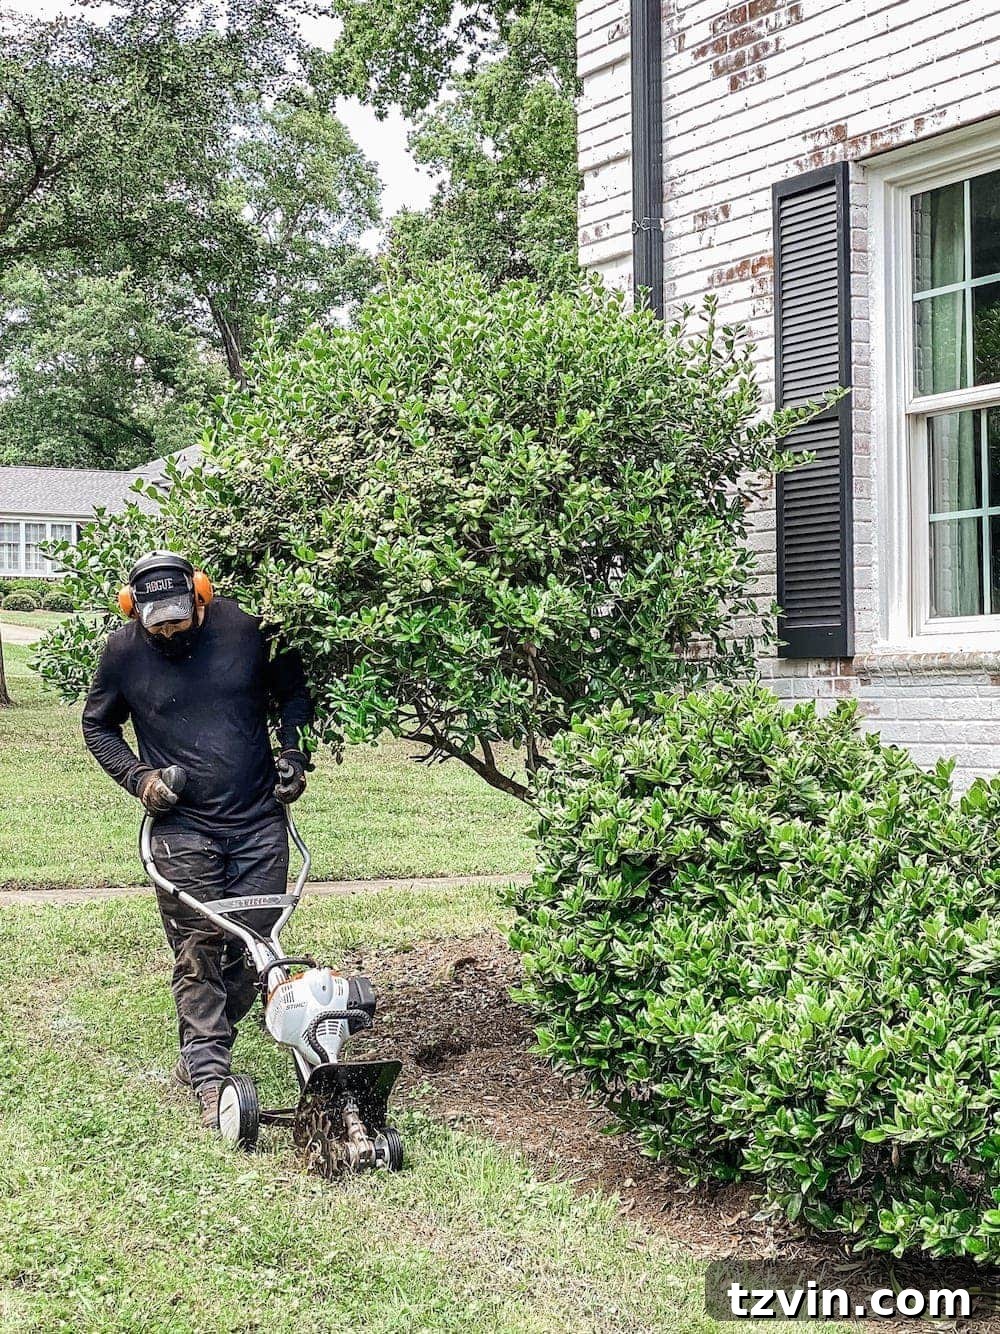
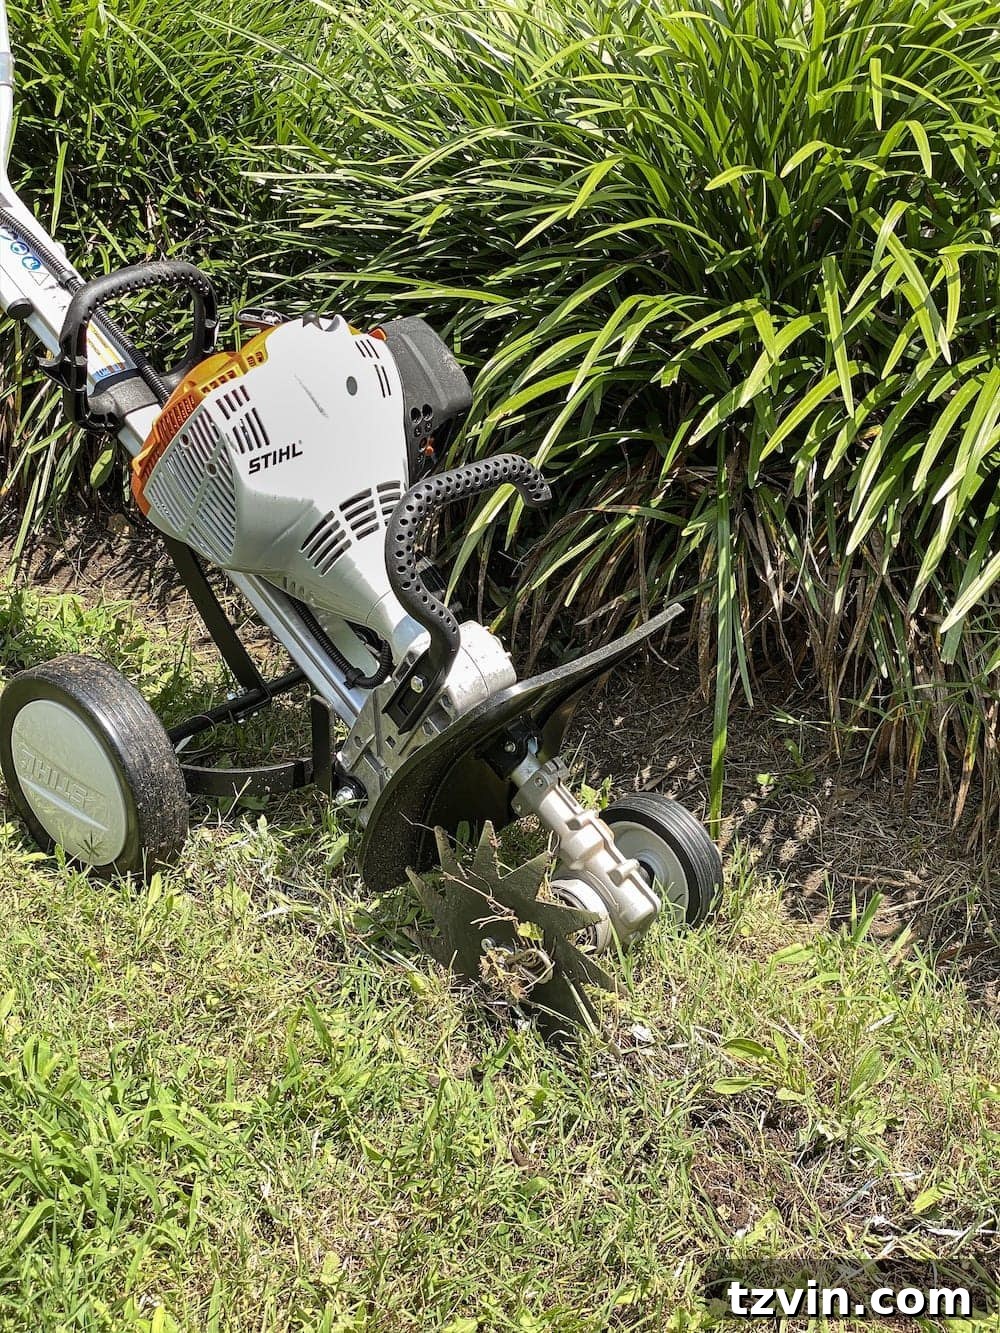
4. Till and Aerate the Soil for Optimal Growth
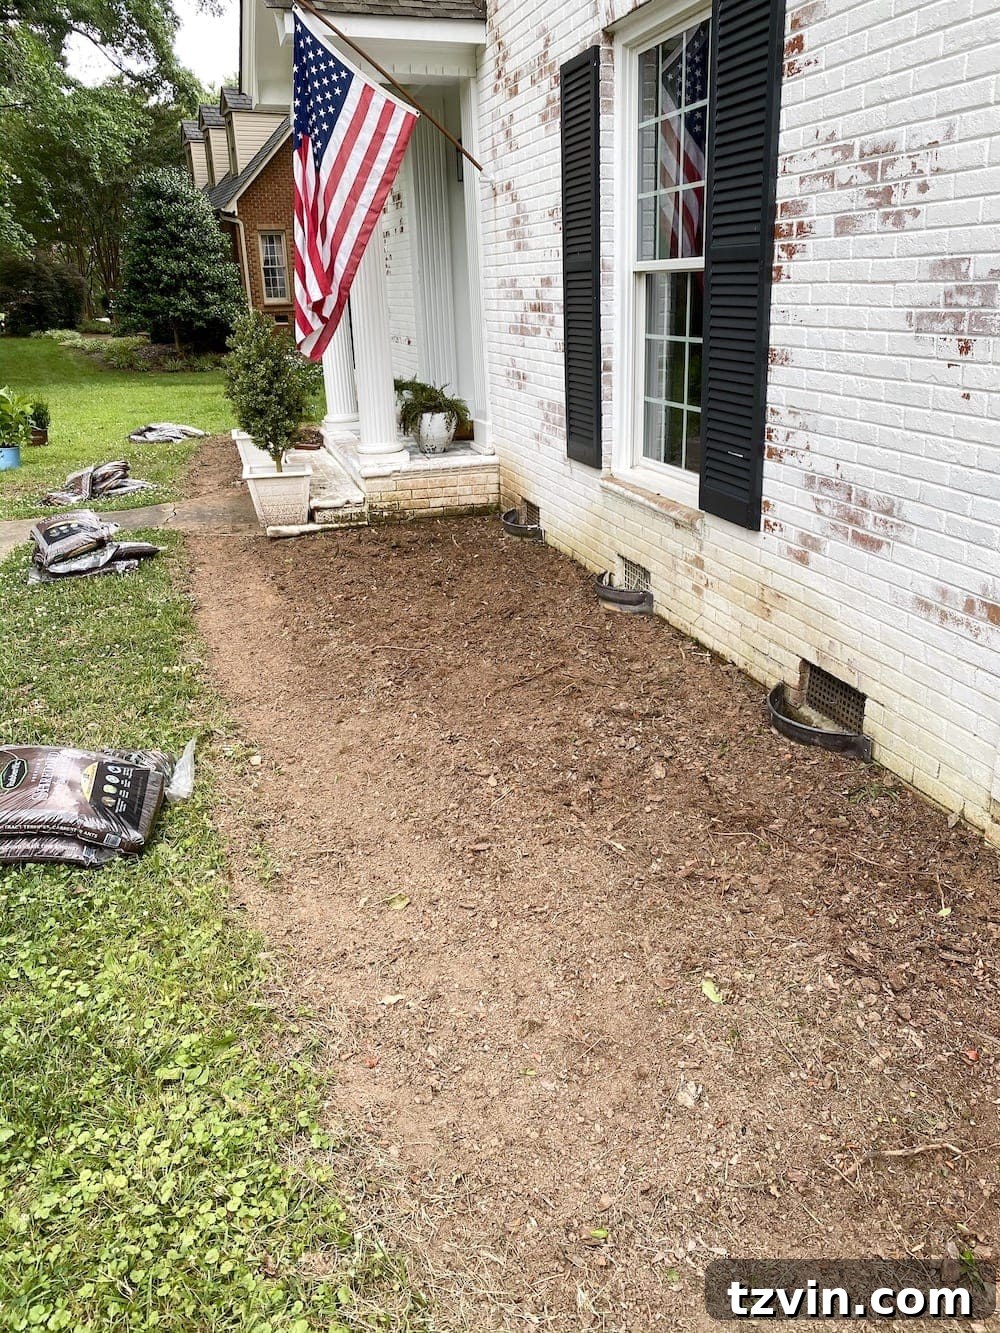
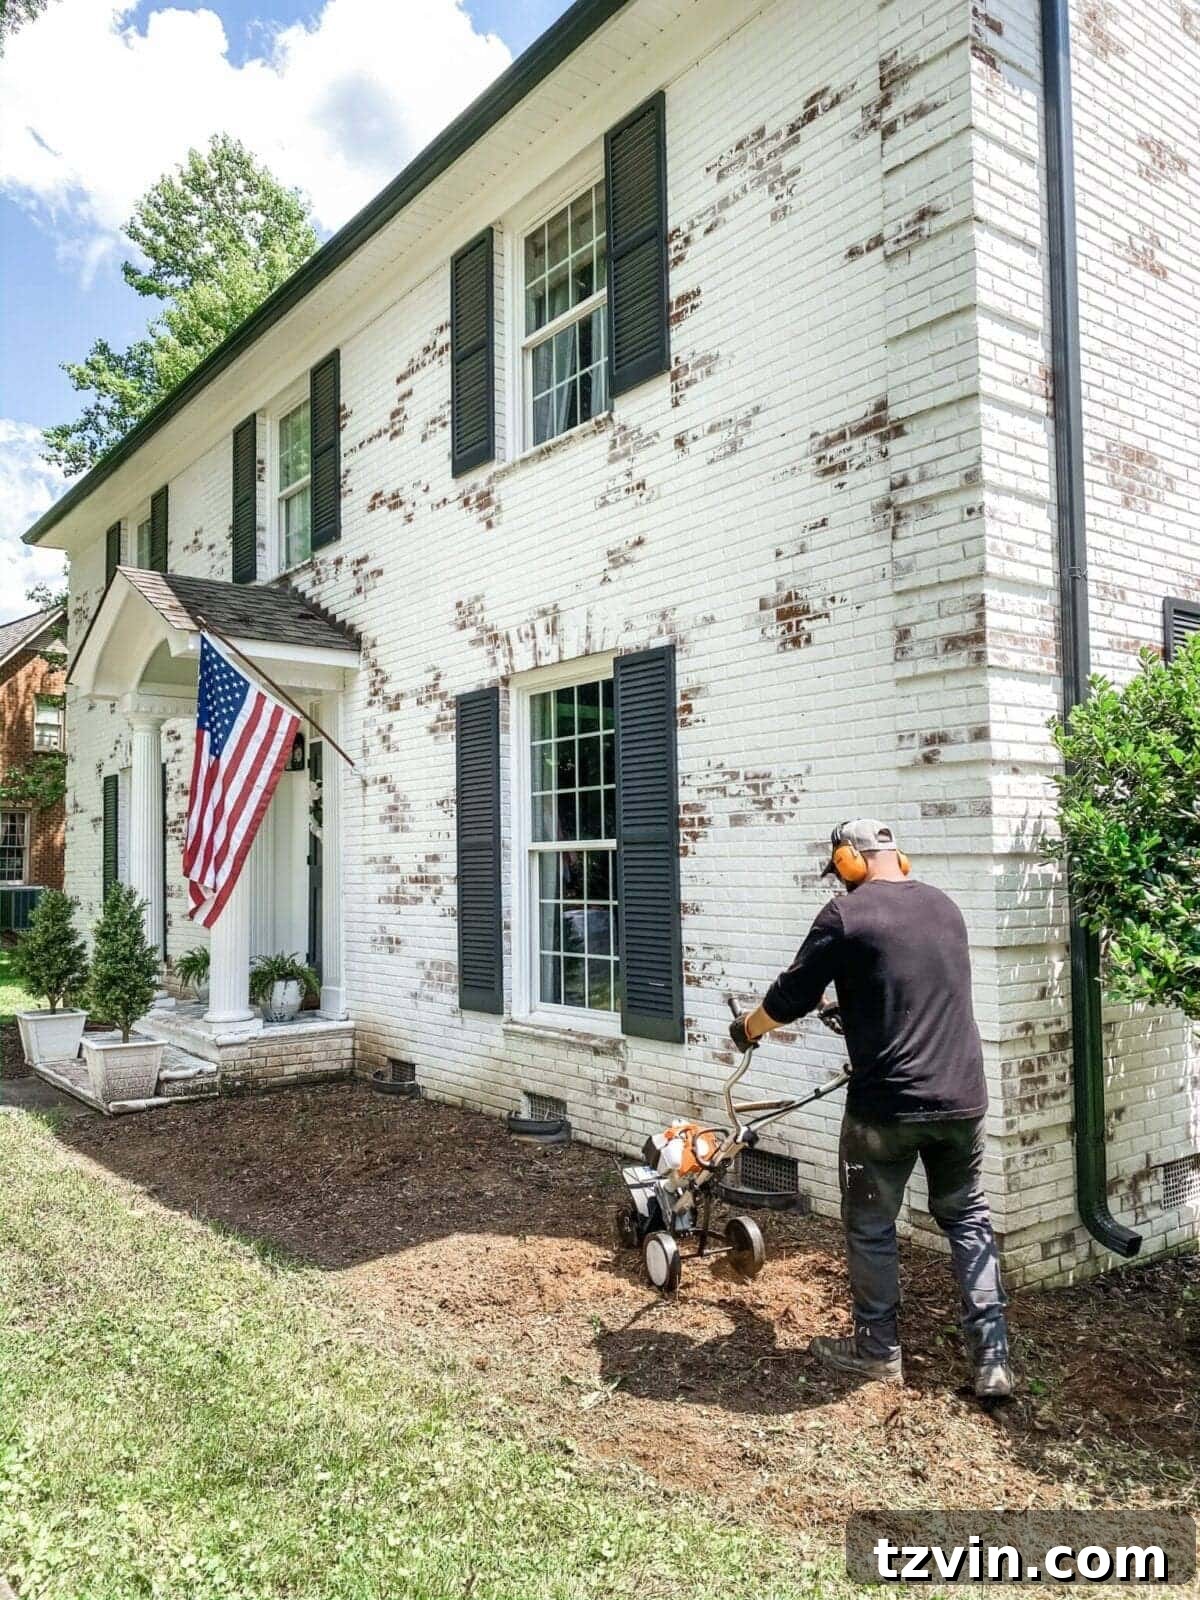
After establishing the clean edges, our next step was to prepare the soil. The ground in the existing flower beds was quite compacted and hard. To break it up and create a healthier environment for new plants, we swapped out the edger attachment on the STIHL Yard Boss for the Bolo Tines Cultivator Attachment. Tilling the soil significantly improves its aeration, water drainage, and nutrient absorption, which are all vital for robust plant growth. There’s also a surprising therapeutic benefit to tilling a garden; it’s a fantastic way to relieve stress and connect with the earth. It truly makes a tangible difference in the quality of the soil, ensuring your new plants have the best possible start.
5. Install Landscape Fabric for Weed Suppression
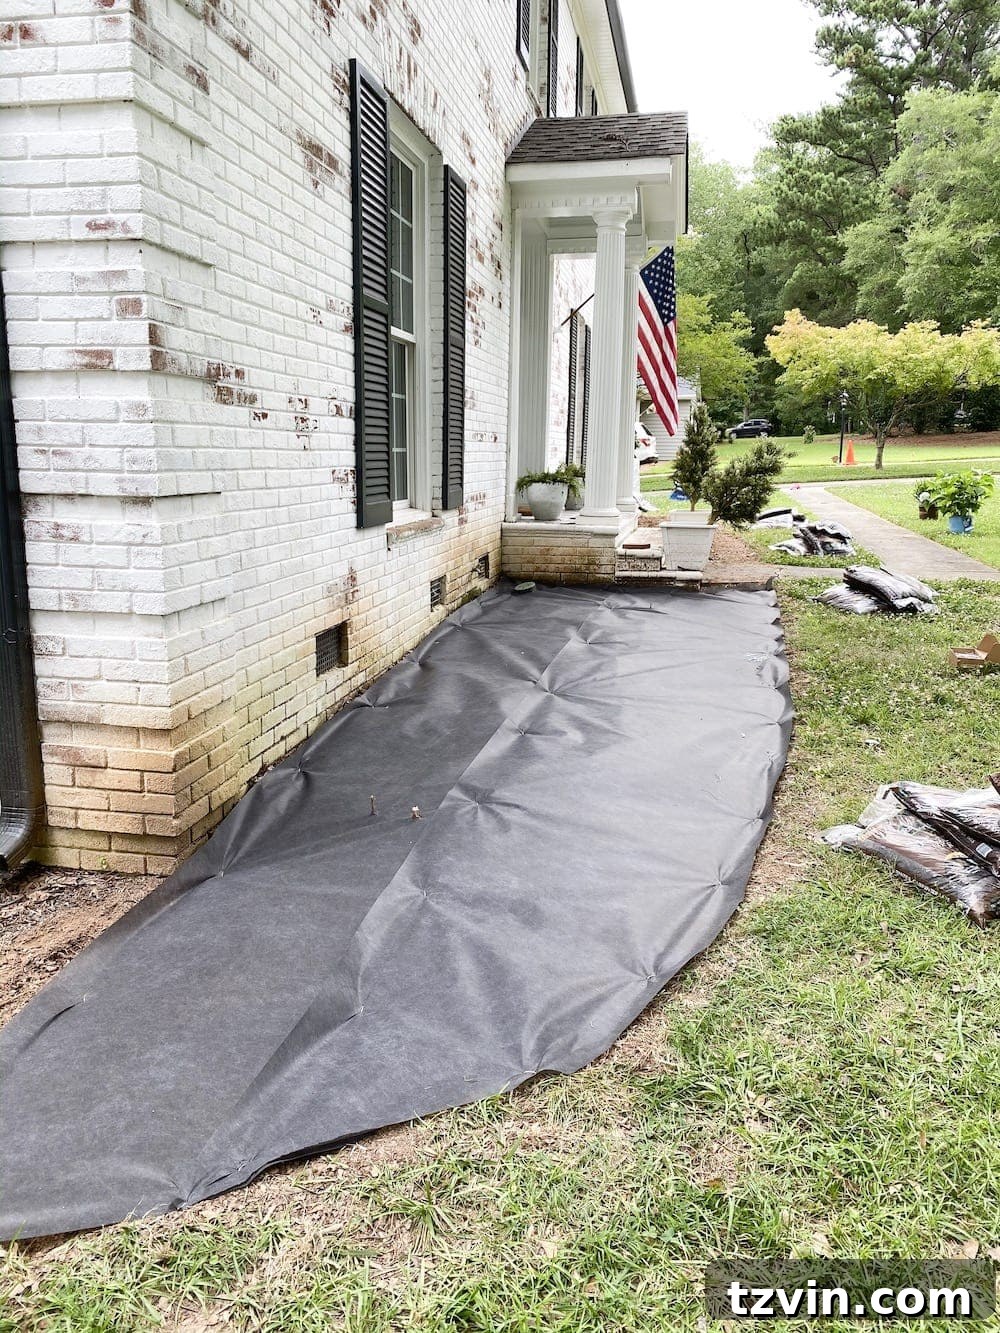
Once the soil was thoroughly tilled and all remaining weeds and roots were meticulously removed, we laid down landscape fabric. This step is crucial for long-term weed control and maintenance. We rolled out the fabric, ensuring it covered the entire bed, and secured it firmly in place with garden staples. Landscape fabric acts as an effective barrier, preventing new weeds from sprouting through the mulch while still allowing water and nutrients to reach the plant roots. It also helps to keep the mulch layer clean and separate from the underlying soil, preventing it from mixing in and looking messy over time.
6. Strategic Planting: Choosing and Placing Your Greenery
With the landscape fabric in place, it was time for the exciting part: planting! Using a utility knife, we carefully cut ‘X’ shapes in the fabric where we intended to place our new shrubs and flowers. We then dug holes deep enough to comfortably accommodate the root balls of our chosen plants, ensuring they would sit at the appropriate level. Before making any plant purchases, it’s vital to conduct thorough research. Consider factors such as the amount of sunlight your yard receives, soil drainage, and the mature size of each plant. Planning for their future growth ensures a lush, healthy, and non-overcrowded garden.
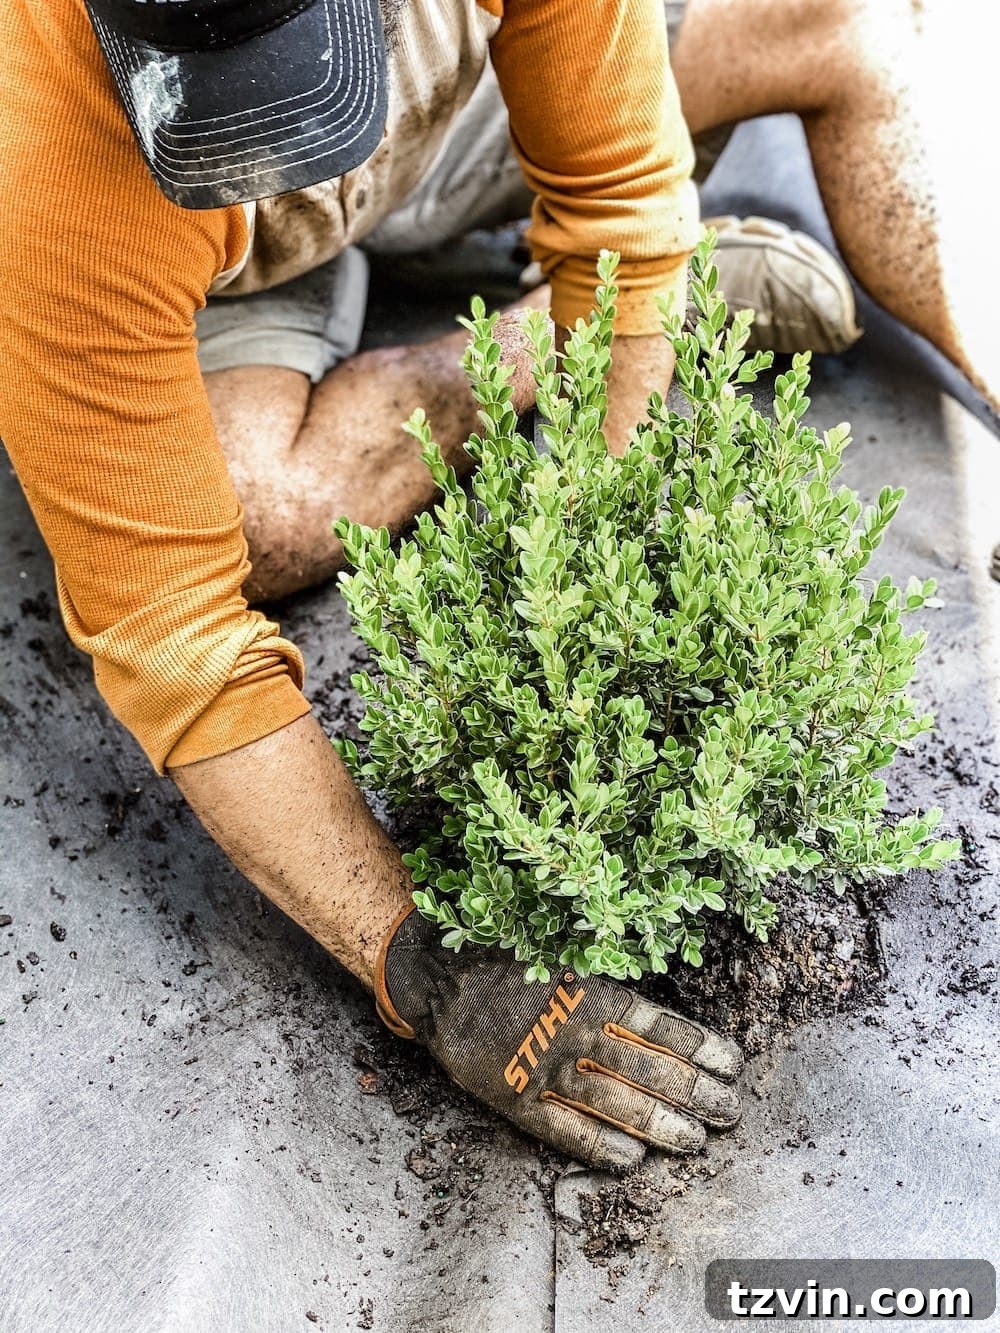
For our flower beds, we selected a variety of plants known for their beauty and relatively low maintenance:
- Limelight Hydrangea
- Original Hydrangea
- Baby Light Hydrangea
- Baby Gem Boxwood
- Autumn Moonlight Azalea
- White Camellia
- Primrose
Each of these shrubs requires approximately 2-3 feet of space to allow for healthy growth and spread as they mature, an important consideration for spacing during planting.
7. Soak the Roots: Giving New Plants the Best Start
Immediately after planting each flower and shrub, we gave their roots a deep and thorough soak with water. This crucial step helps to settle the soil around the roots, eliminate air pockets, and provide essential moisture for the plants to begin establishing themselves in their new environment. While the ideal times for planting are typically spring and fall due to more moderate temperatures, we took a calculated risk by planting in the summer. We are eagerly crossing our fingers that with diligent watering and care, our new additions will thrive and adapt well to their new habitat, despite the warmer conditions.
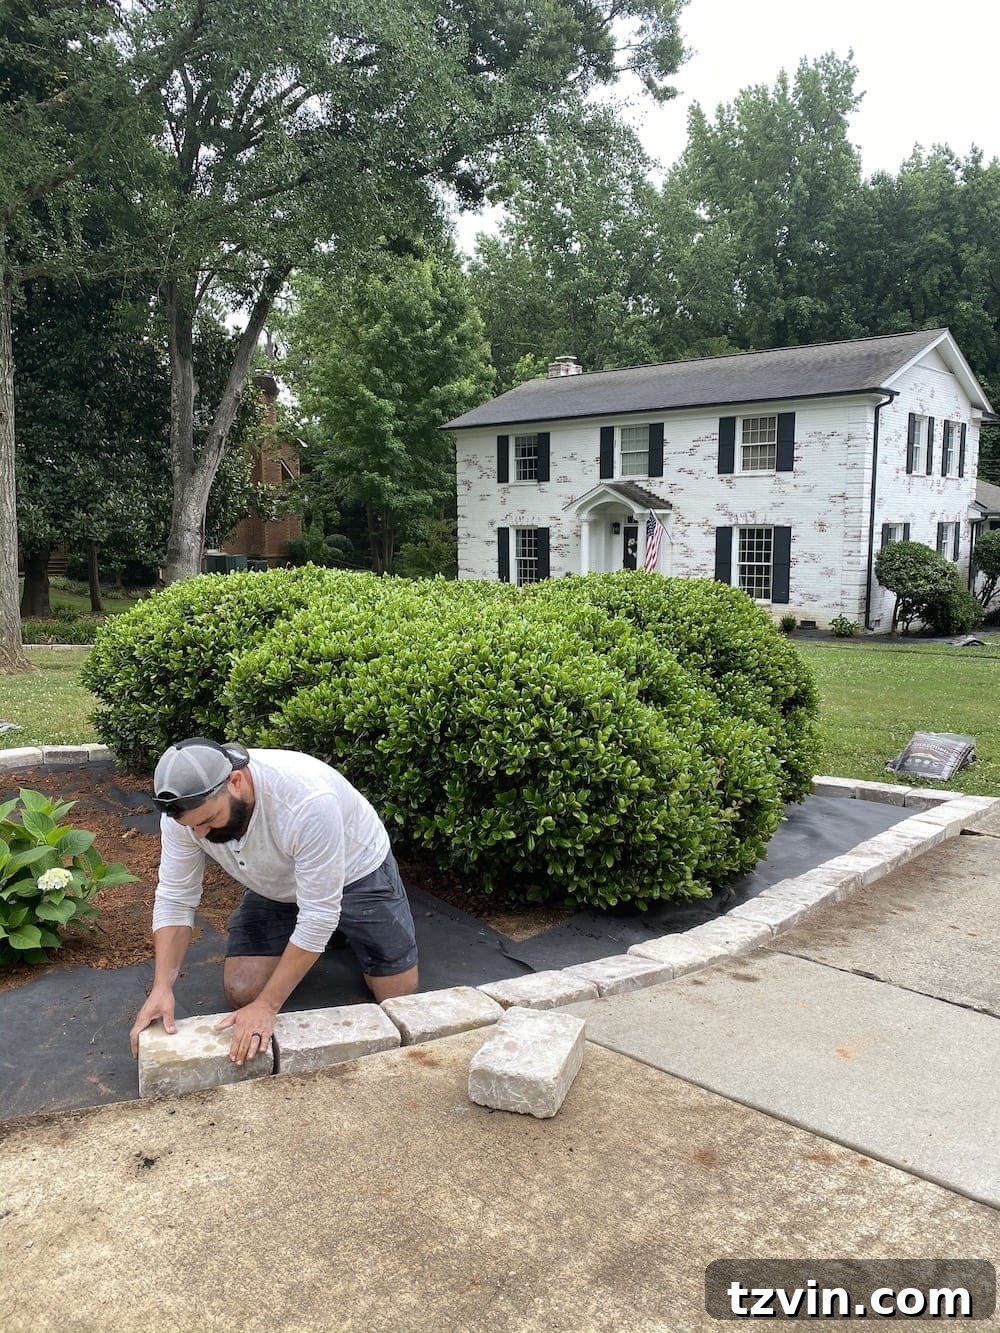
8. Lay the Decorative Edger Stones
This stage was incredibly satisfying, as it was when all our strenuous hard work truly began to pay off visually! We opted for Tremron Munich stone blocks in the color Sand Dune, which beautifully complement our limewashed brick exterior. Edger stones not only provide a clean, finished boundary for the flower beds but also help contain the mulch and prevent soil erosion. While we chose a specific stone for its aesthetic appeal, you certainly don’t need to go overly elaborate. Simple edging strips or more basic stone options will work just as effectively if you prefer a more understated look.
9. Mulch: For Beauty, Weed Control, and Moisture Retention
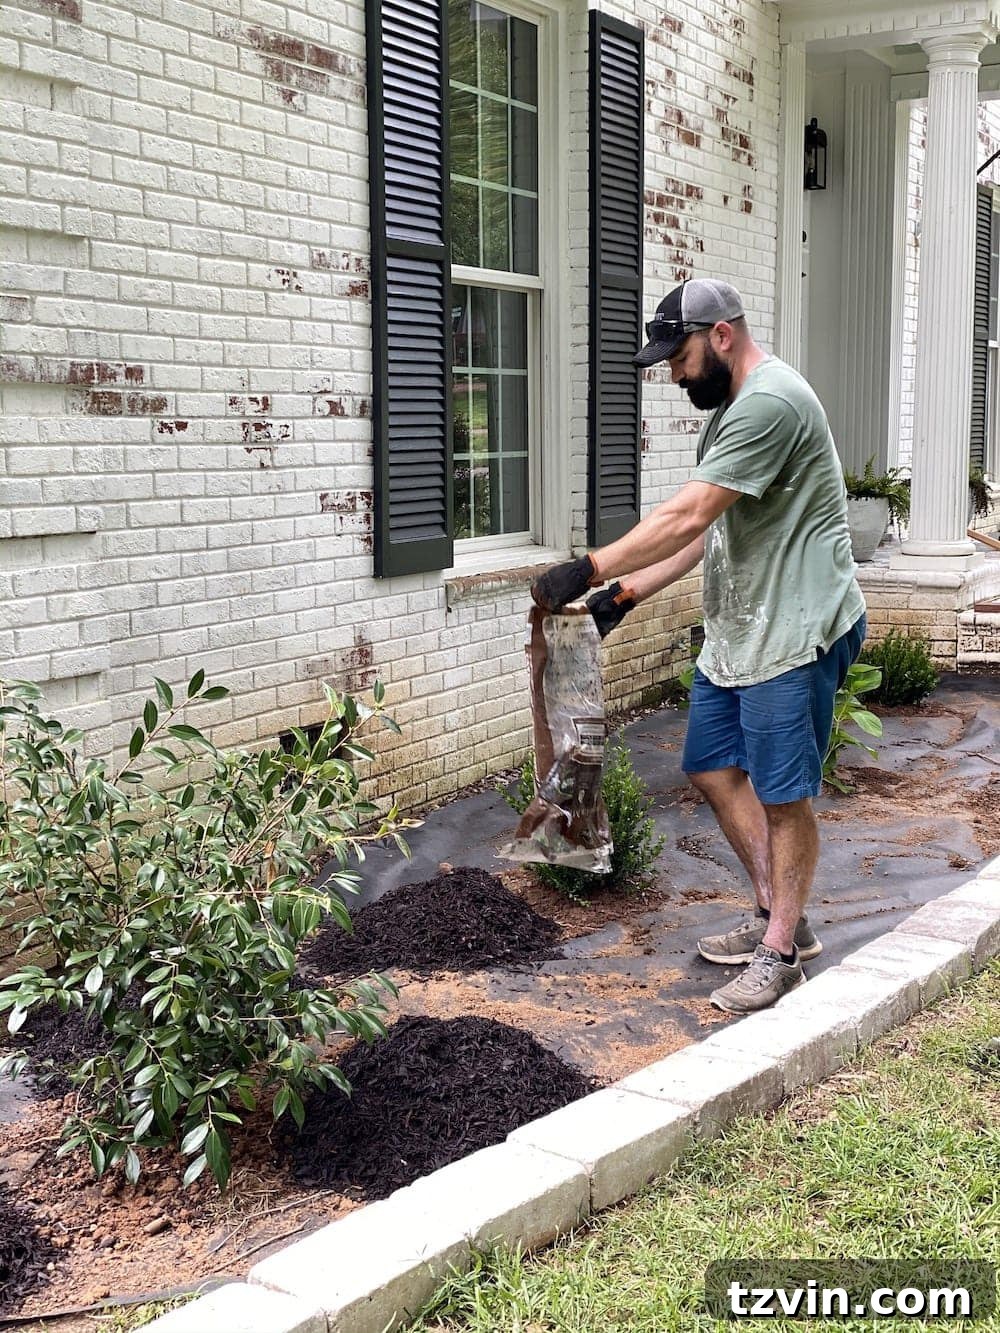
The final touch for our flower beds was adding mulch. We conducted extensive research on various types of mulch before making our decision. While rubber mulch typically costs more than traditional wood mulch, its benefits often outweigh the initial investment. Rubber mulch can last more than twice as long as wood varieties, and its color holds up significantly better, resisting fading over time. Crucially, mulch serves multiple practical purposes: it acts as an additional layer of weed suppression, helps retain soil moisture, regulates soil temperature, and prevents dirt from splashing up onto our white brick during rain. This final layer pulls the entire look together, adding a polished and tidy finish to the beds.
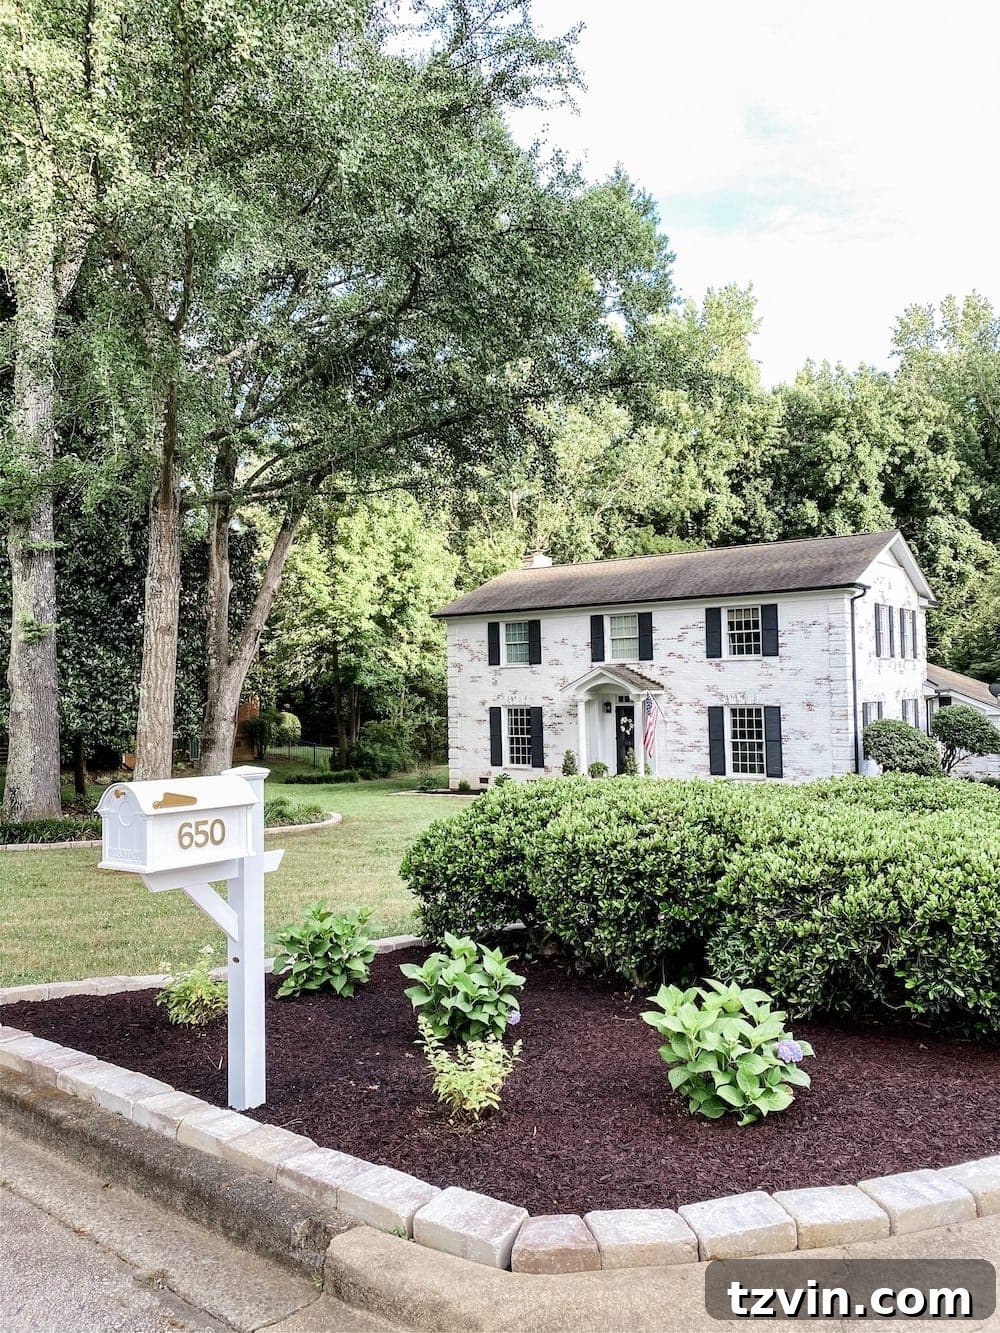
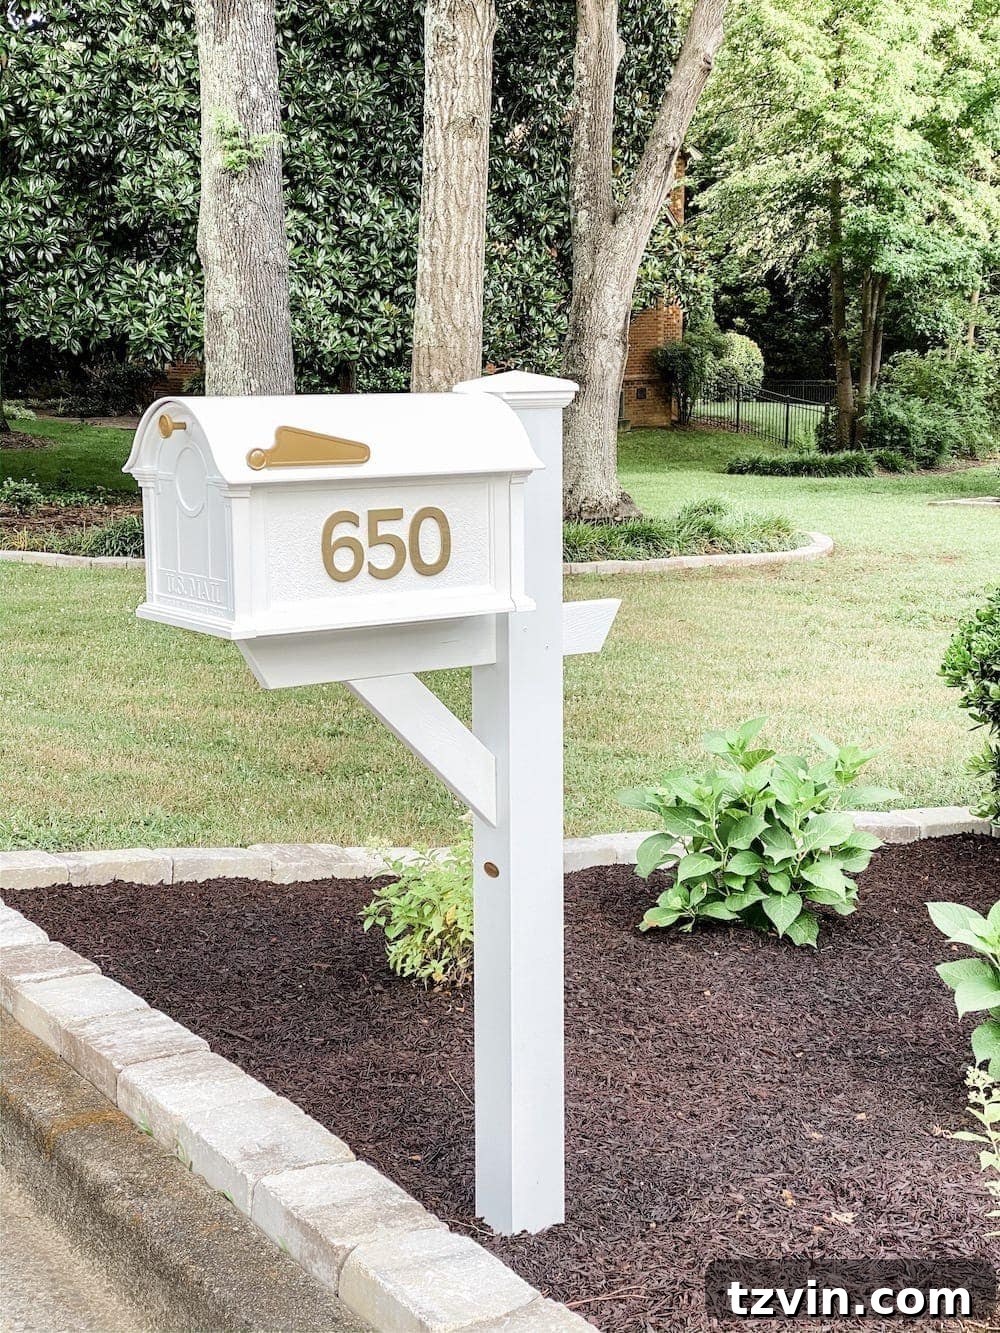
As the “cherry on top” of our exterior refresh, we also replaced our old, faded plastic mailbox with a gorgeous die-cast white mailbox. This small detail made a surprising difference in the overall curb appeal, adding a touch of classic elegance to the newly transformed front yard.
Before and After: A Dramatic Curb Appeal Transformation
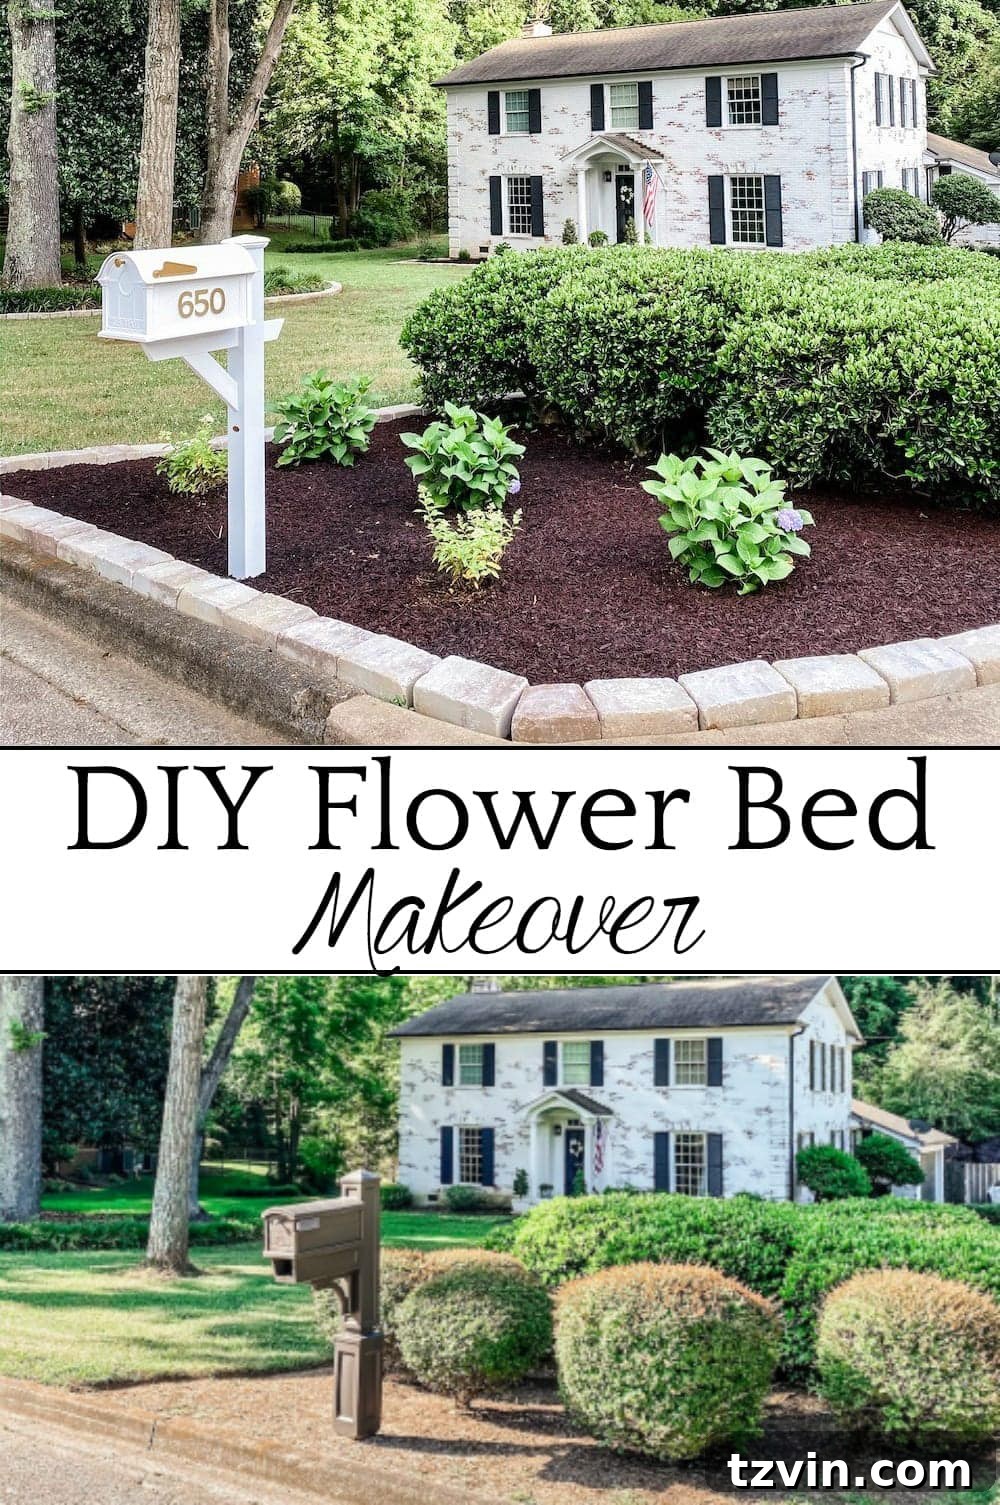
The transformation of our front yard is truly astounding! What once felt neglected and overgrown now boasts a vibrant, well-maintained appearance that significantly enhances our home’s curb appeal. The difference is night and day.
Here’s a look at what our yard resembled when we first moved in, highlighting the long journey of our home’s exterior evolution:

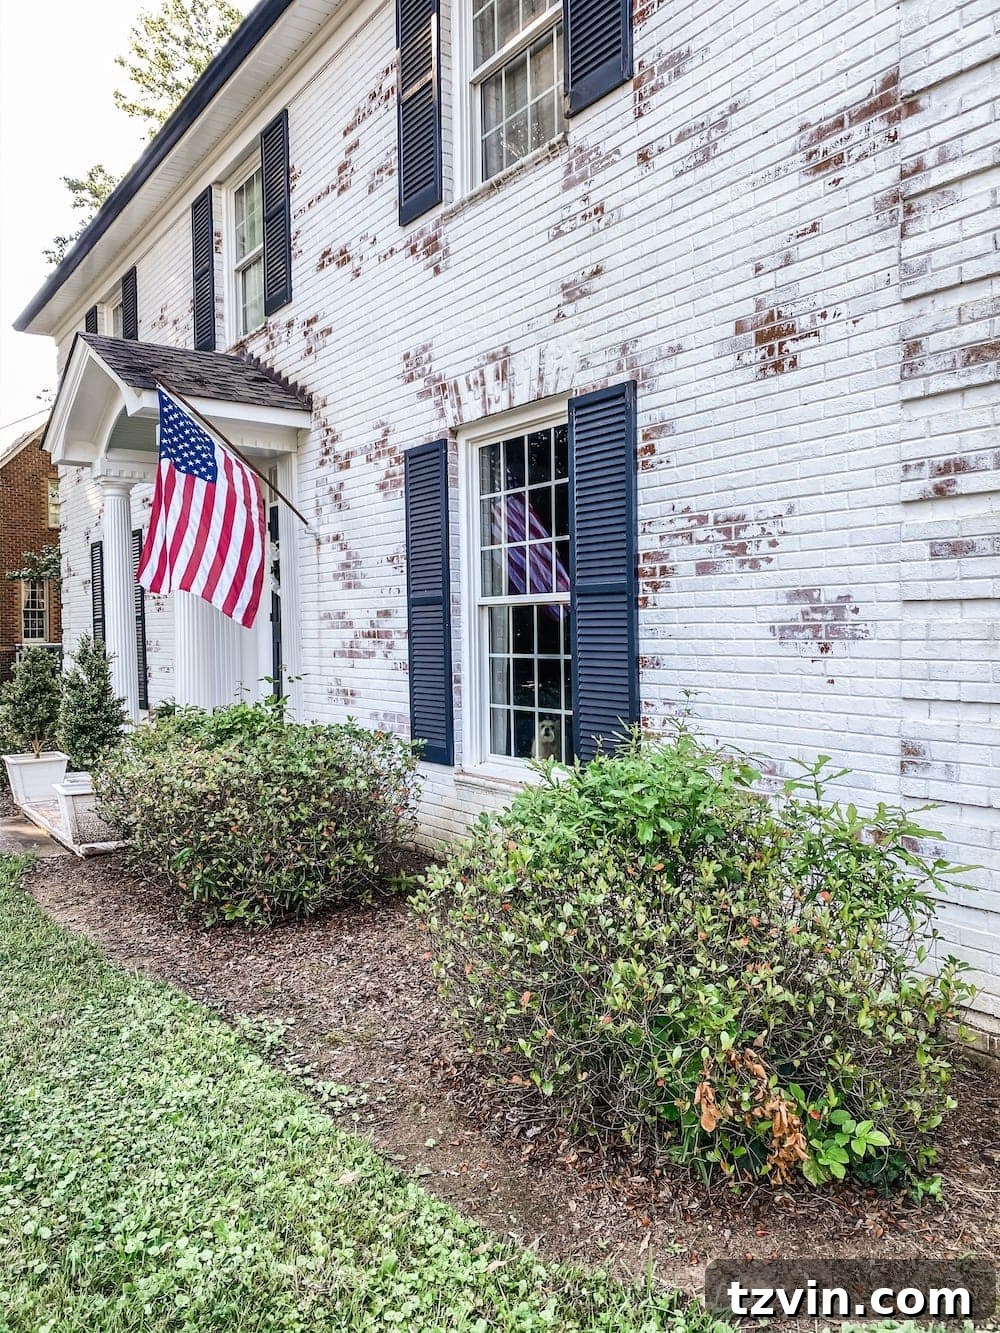
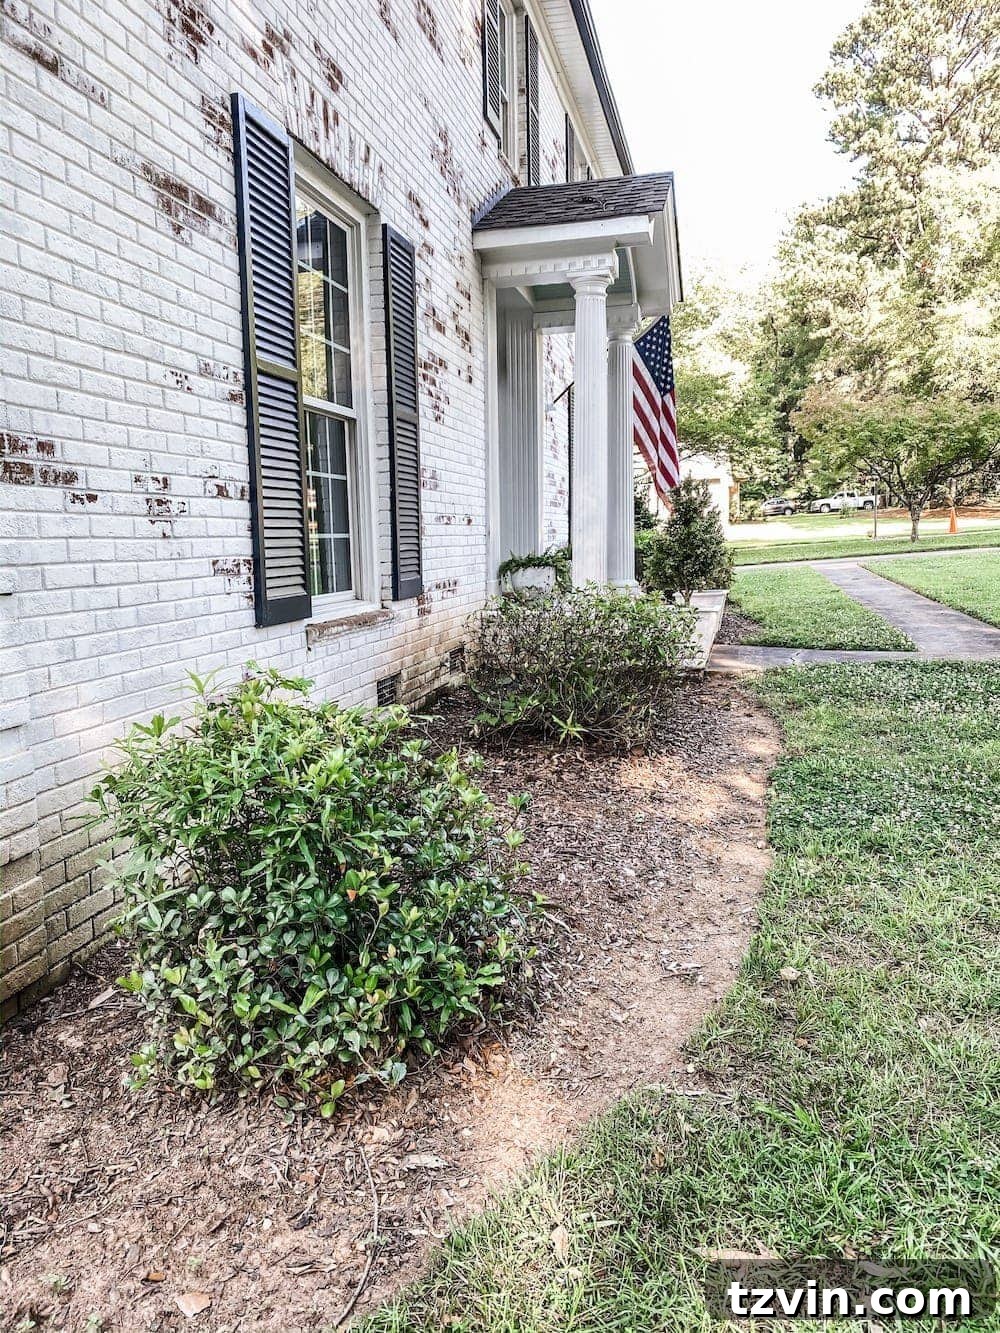
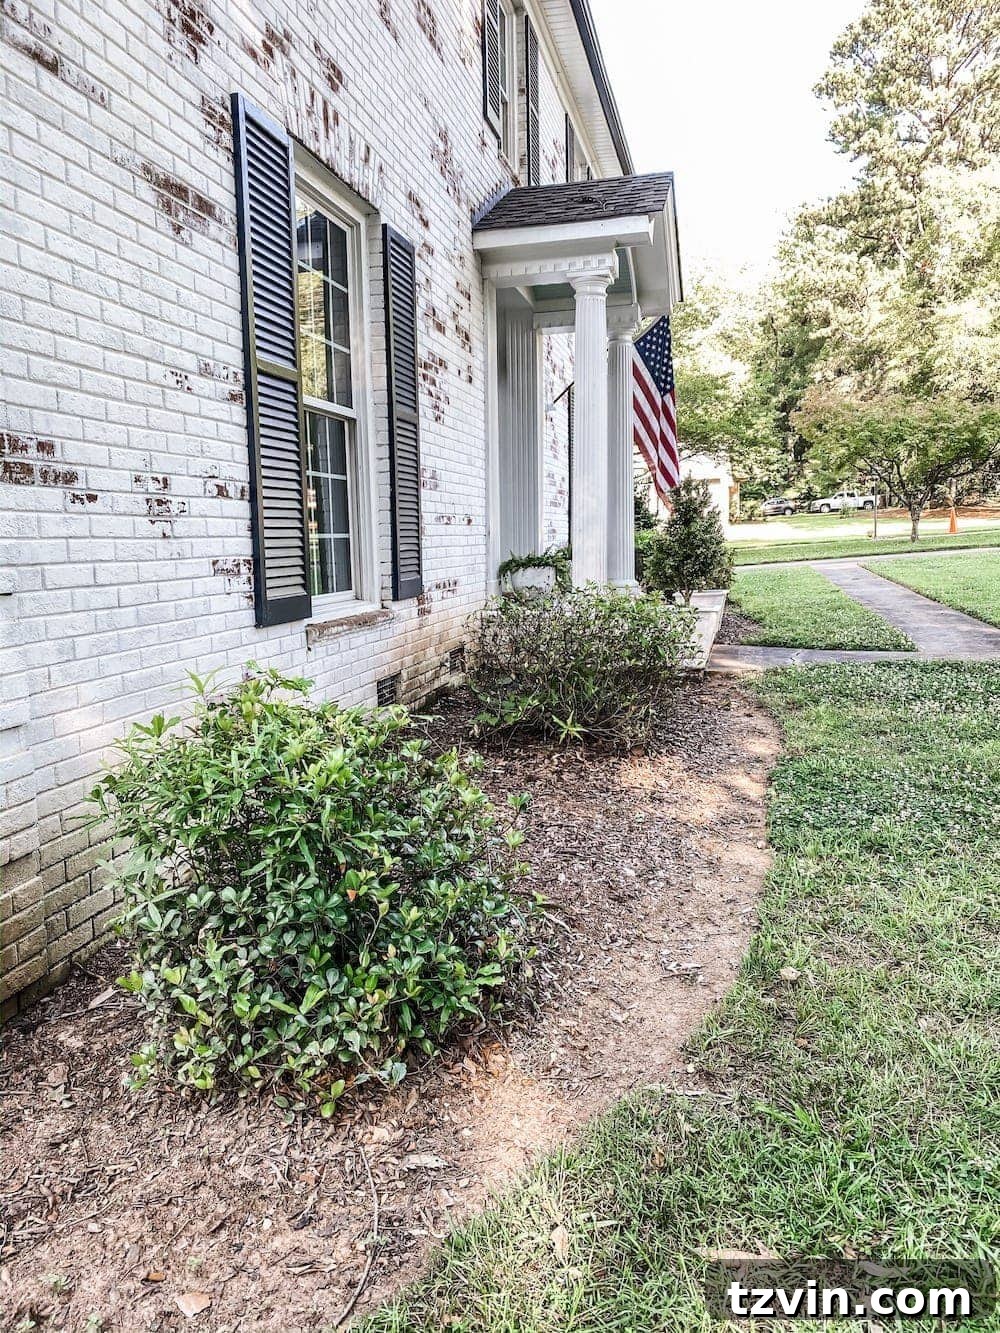
And here’s how the flower beds looked just before we embarked on this comprehensive makeover, emphasizing the extent of their disrepair:

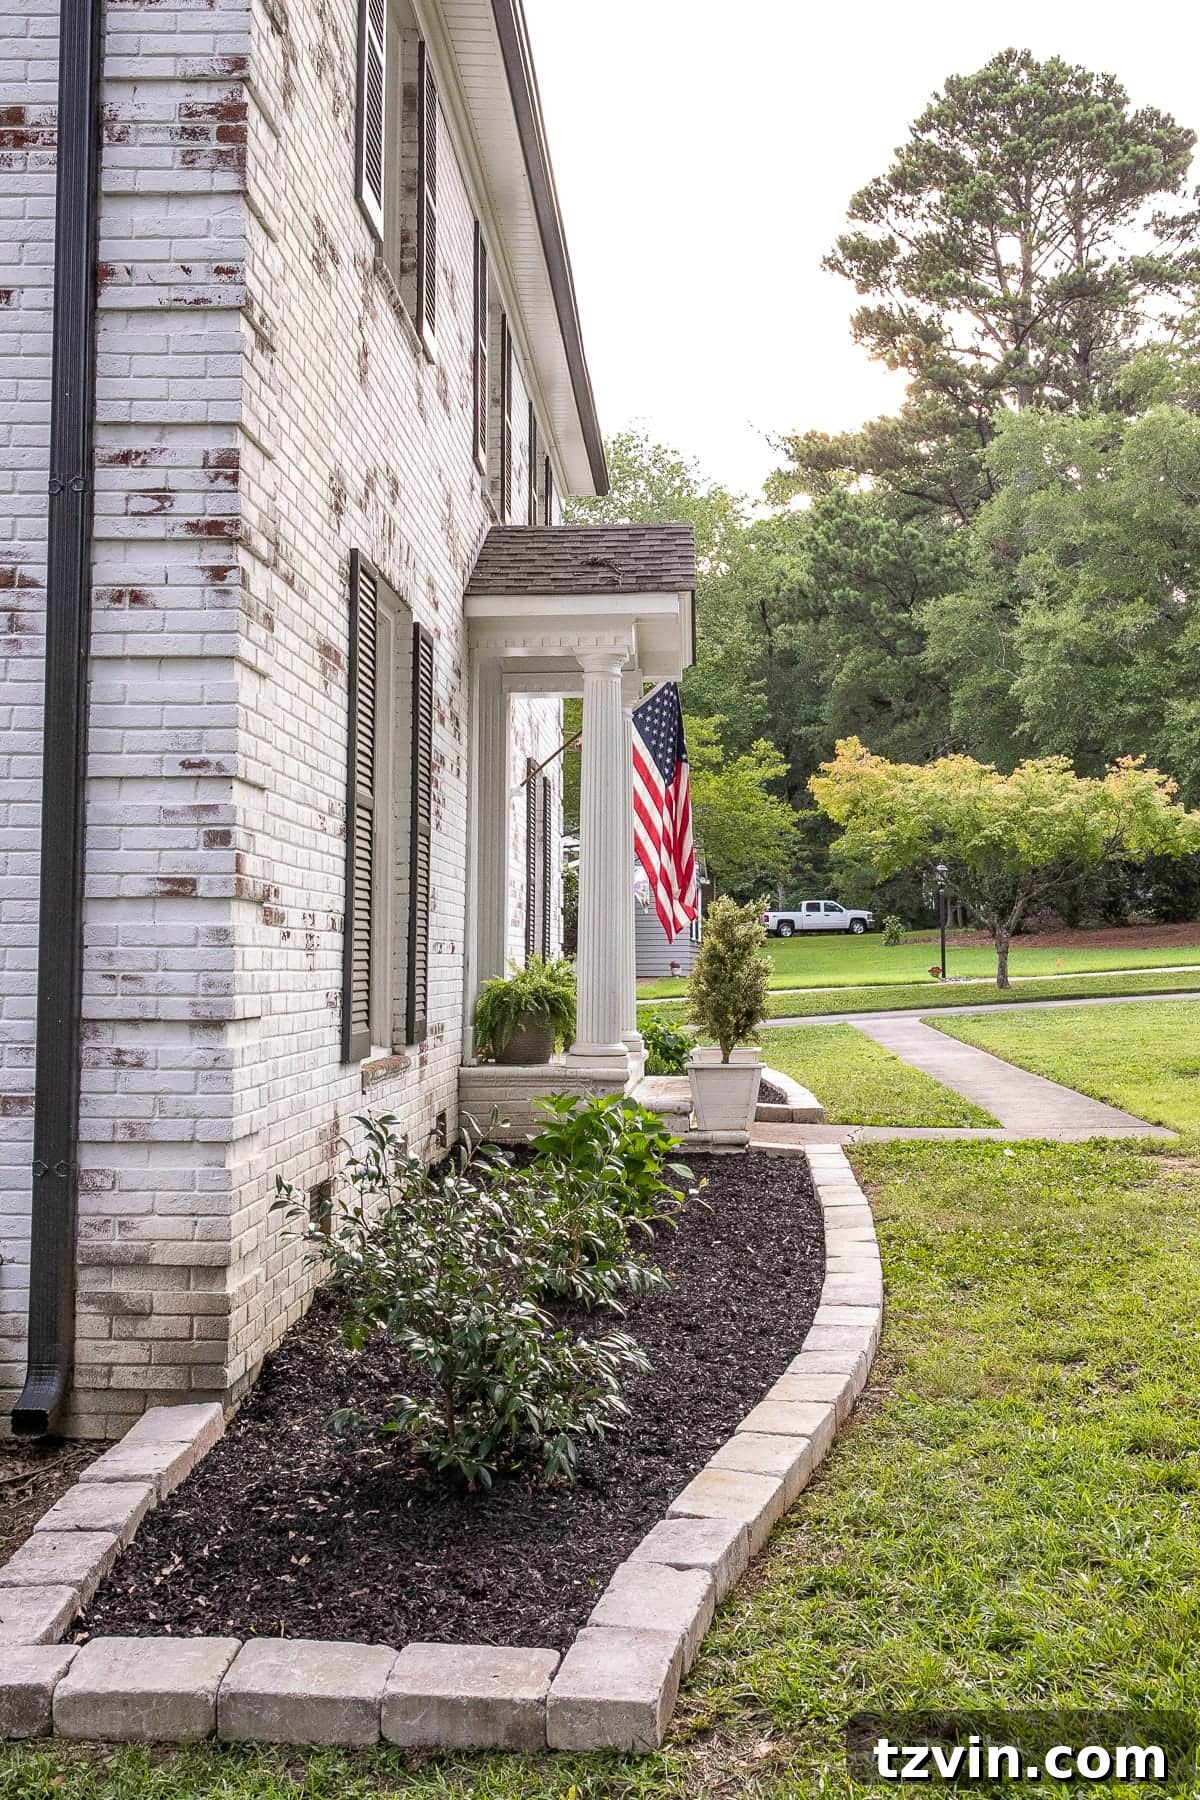
And now, witness the spectacular results of our dedicated efforts!
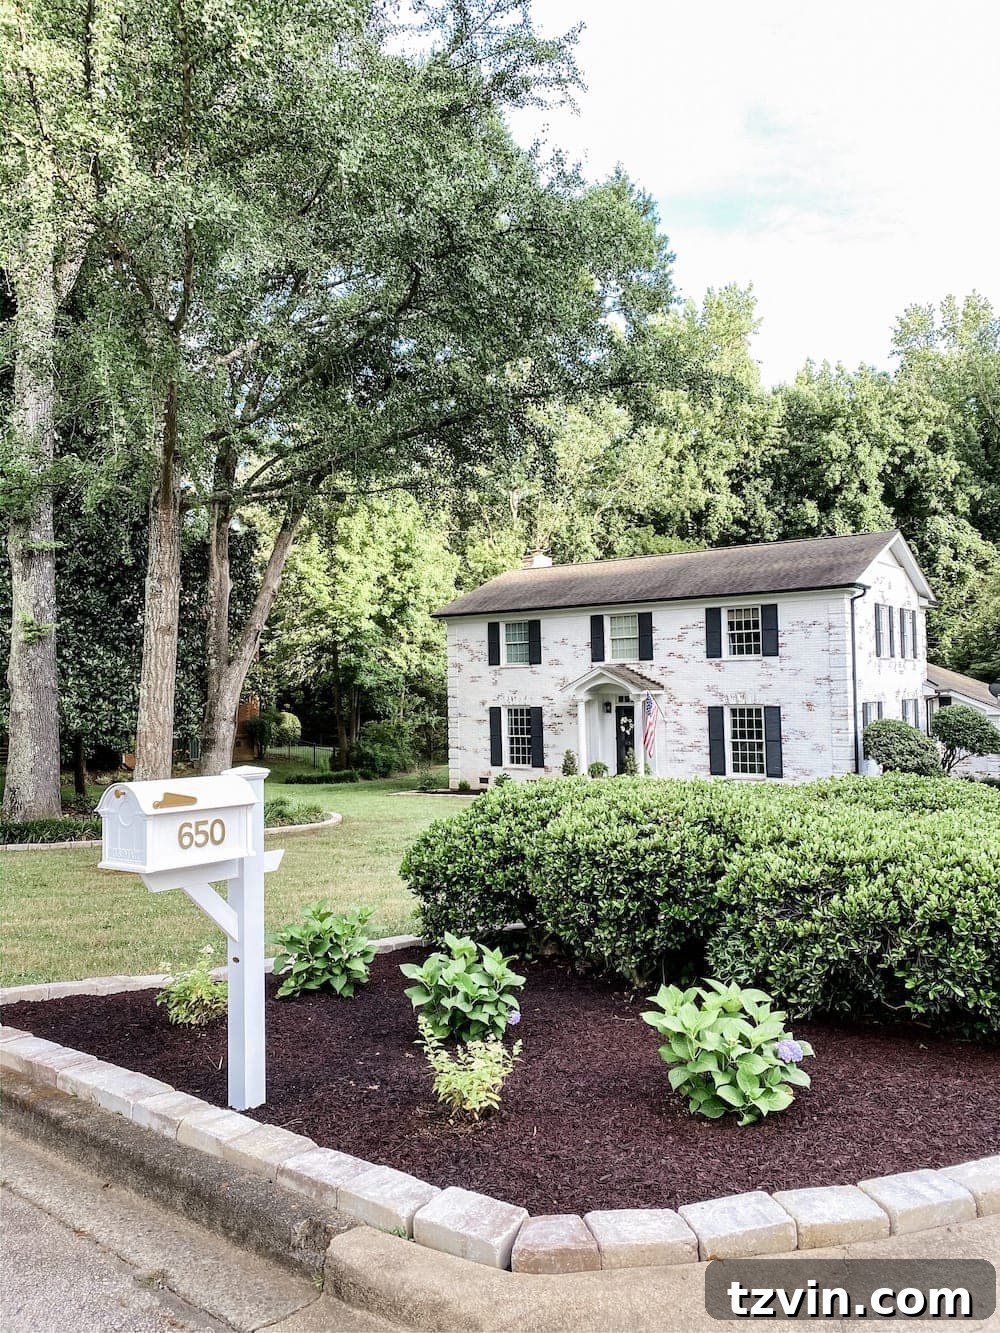
We still have plans to address two sweet gum trees in this section of our yard that are becoming problematic, but the immediate impact of adding new azaleas and fresh mulch has already made a profound difference. The area looks much cleaner and more intentional.

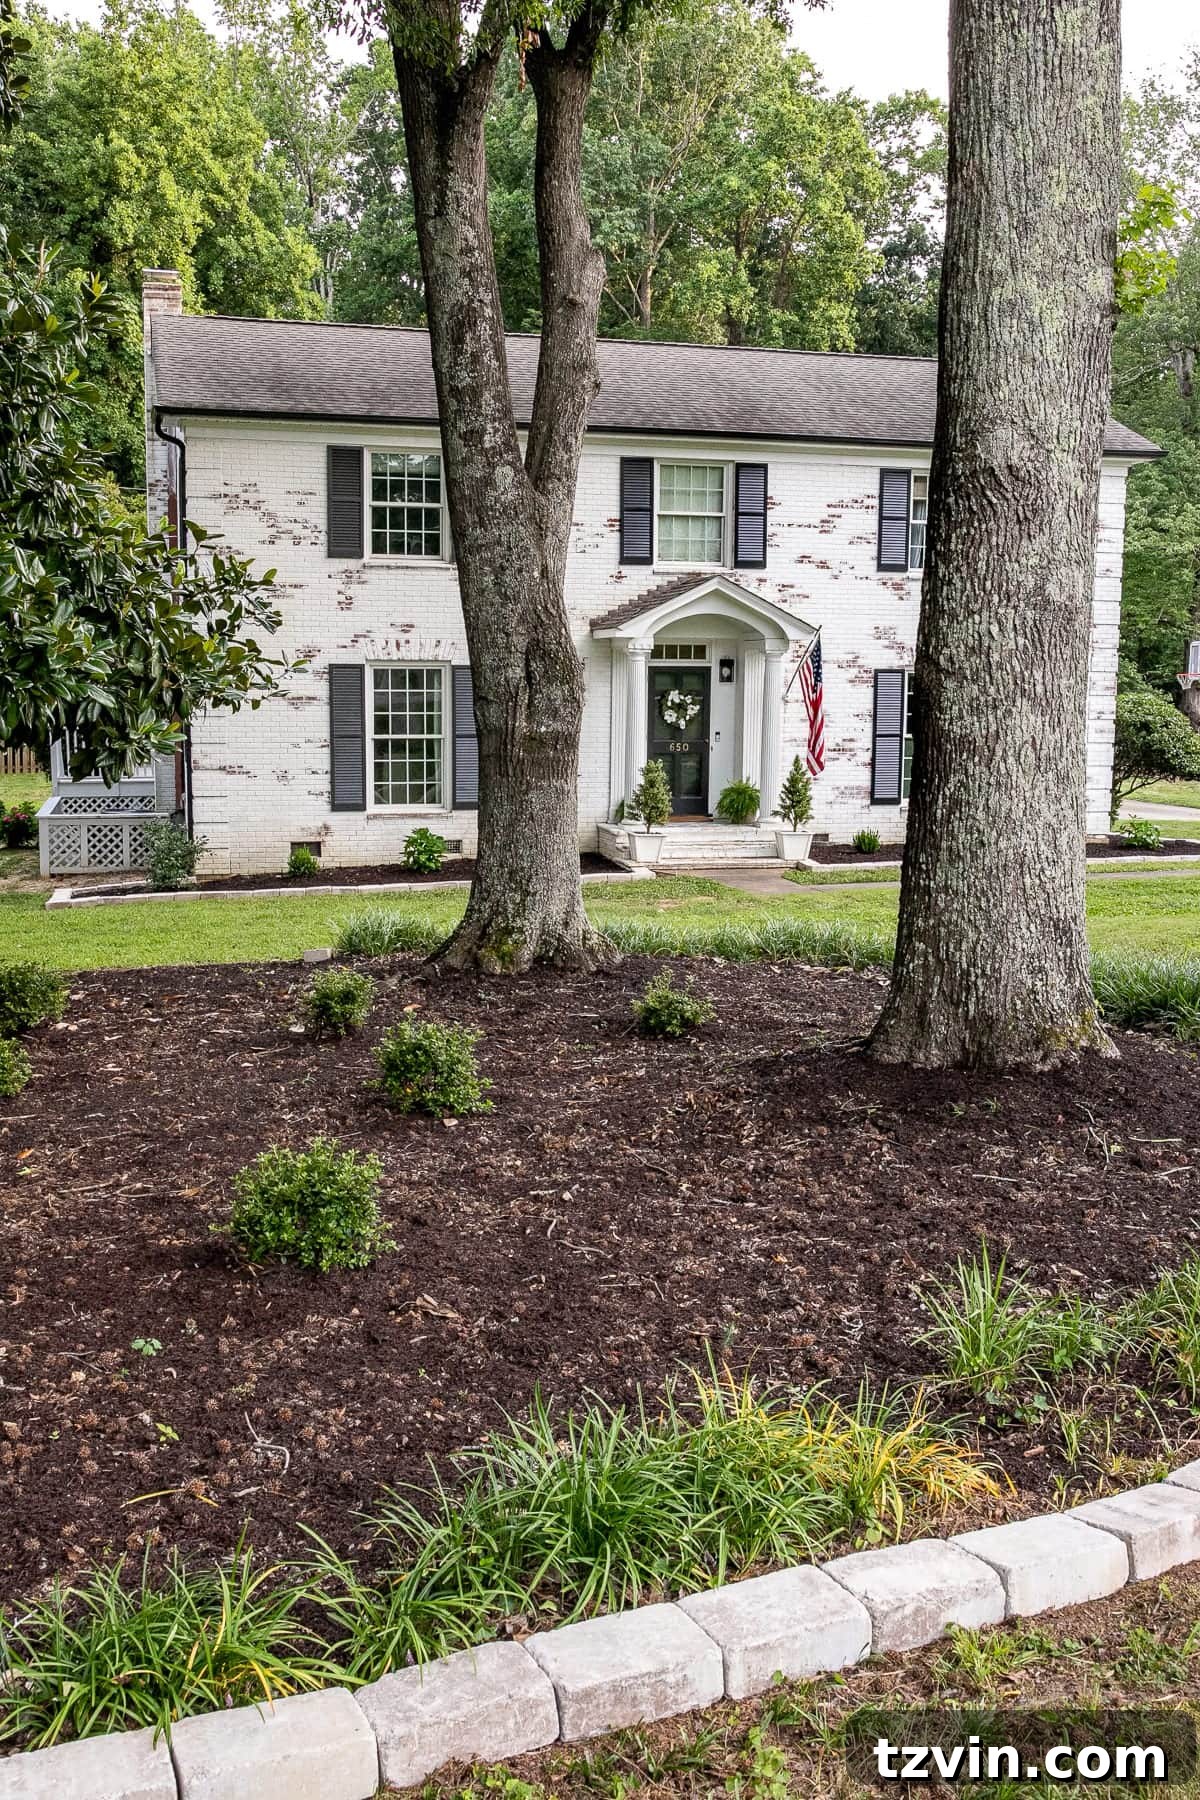
The newly planted shrubs directly in front of our house currently appear quite understated. However, we anticipate that by next year, they will begin to fill out beautifully, eventually growing to a stately 3-4 feet tall as they mature, creating a lush, green foundation for the house.
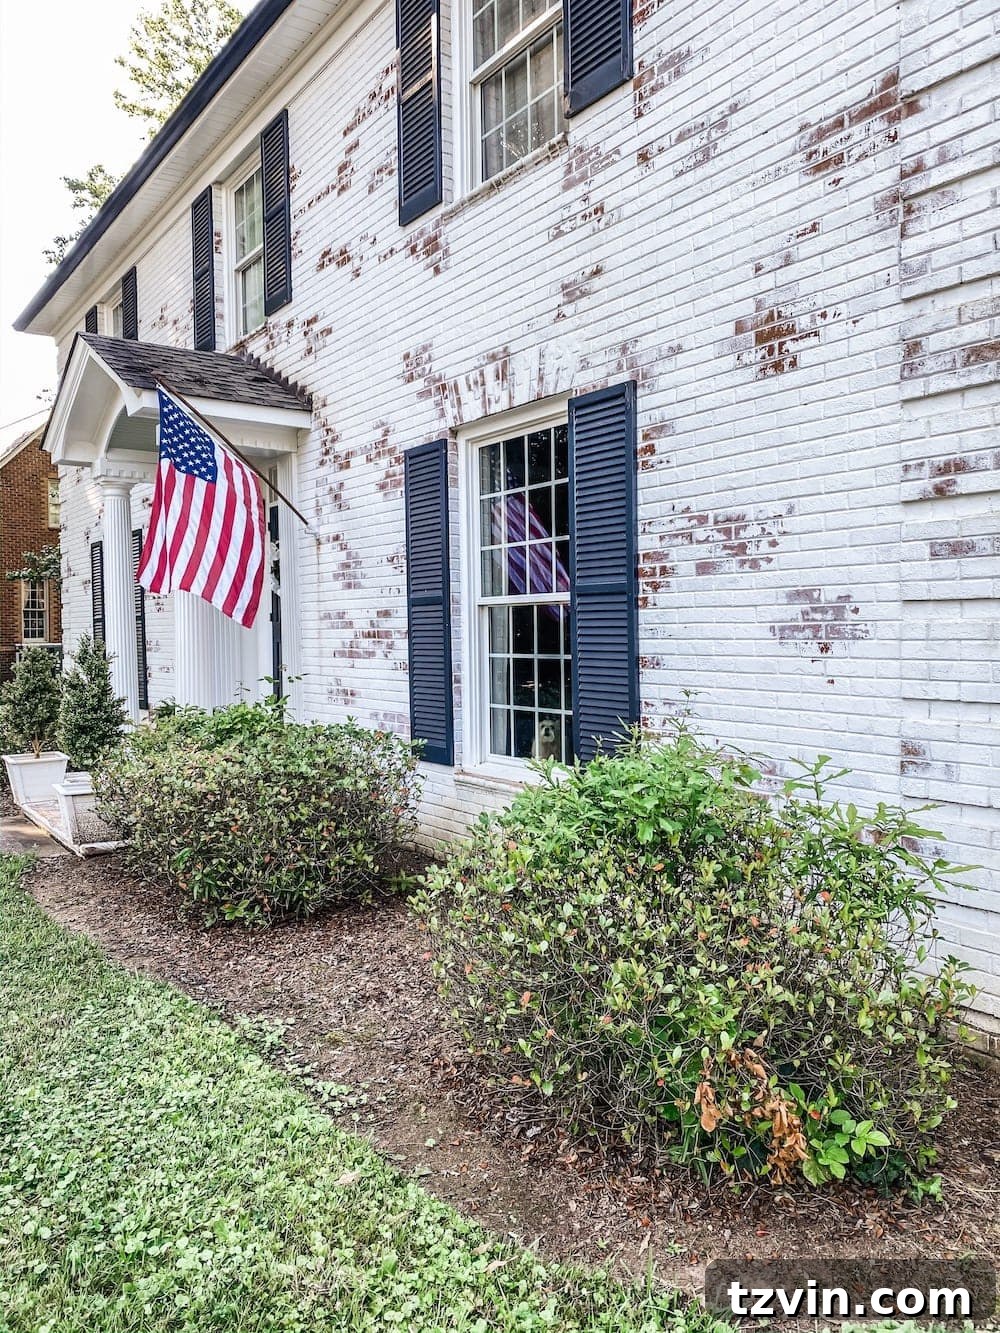
We’re contemplating adding seasonal flowers later, but for now, we’ll observe how the shrubs establish and grow before making further decisions. The beauty of gardening is its continuous evolution.
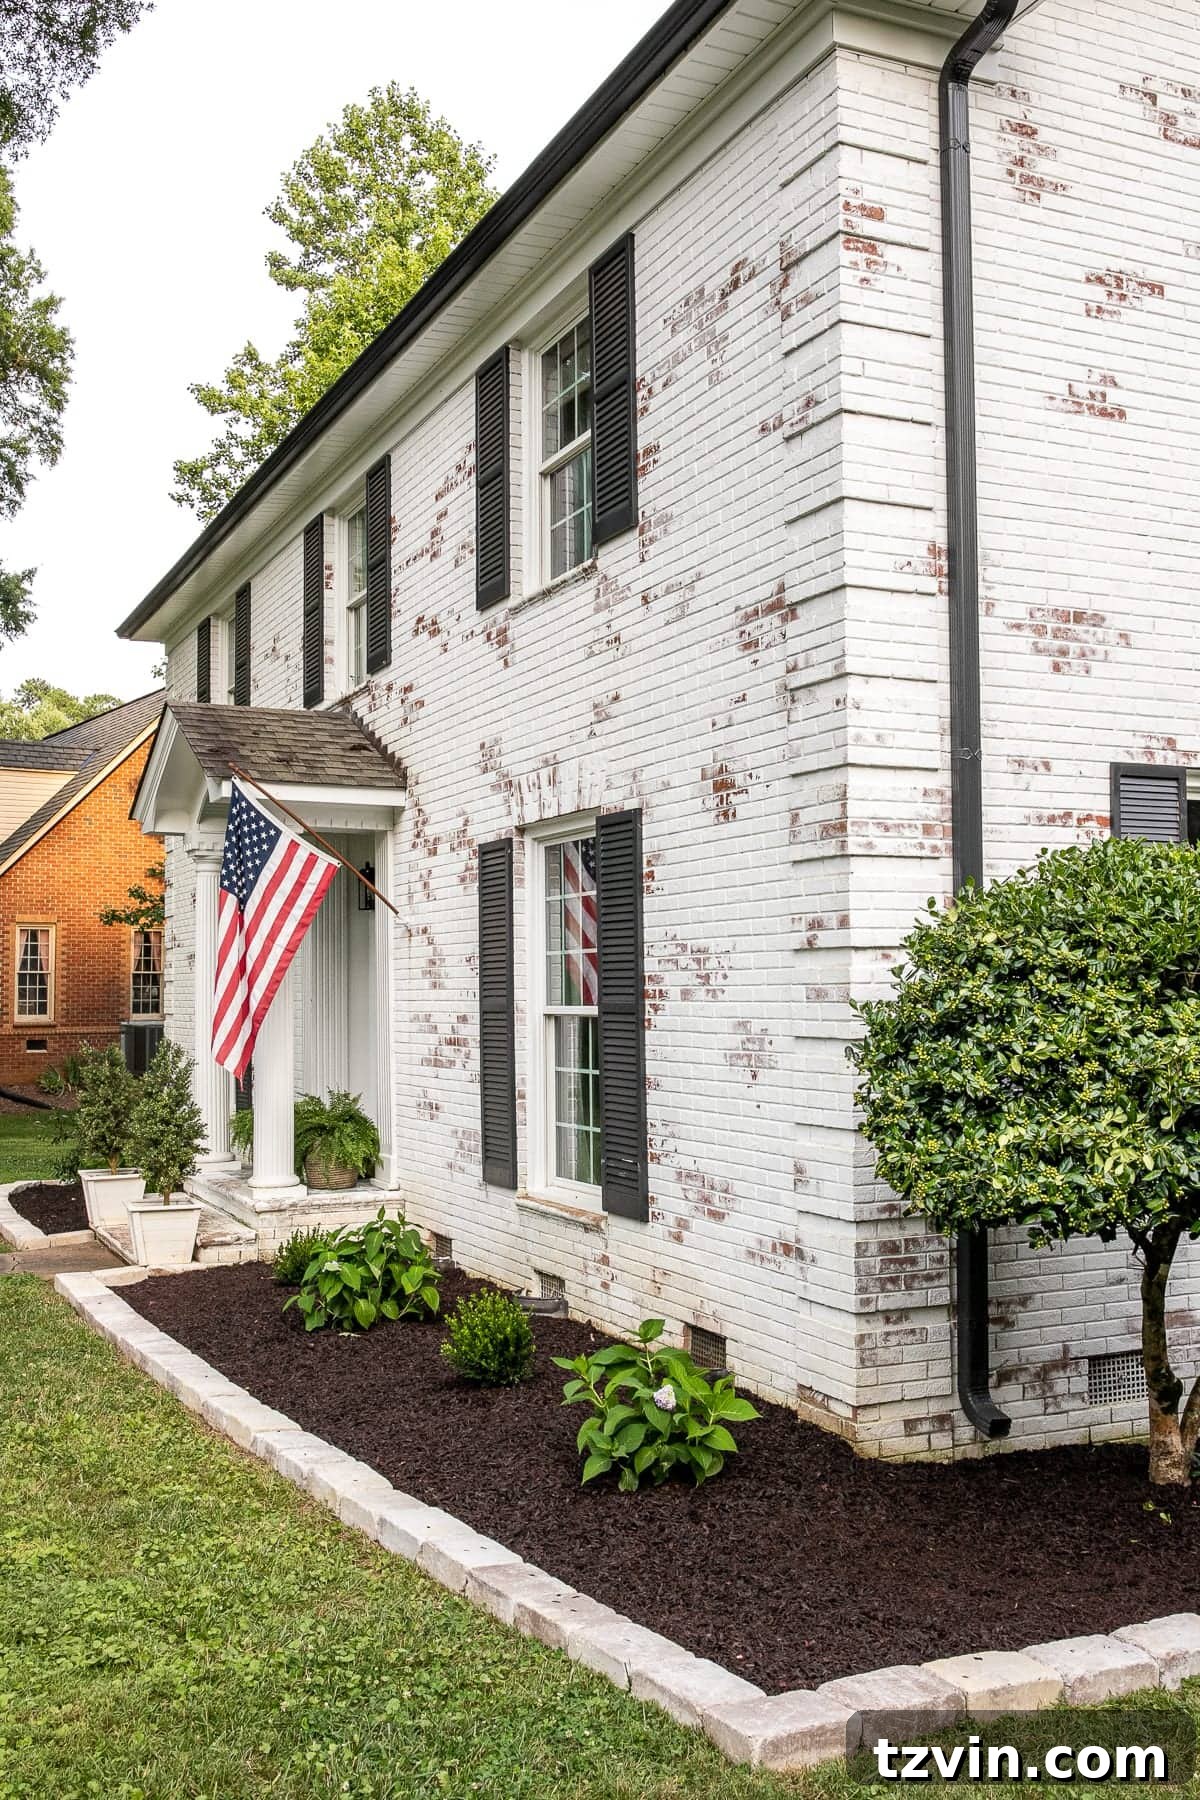
Additionally, the small Camellia tree on the side of our house is strategically placed. As it grows, it will gracefully help to conceal some of the utility boxes and pipes, further enhancing the neatness and overall appeal of our home’s exterior.
Looking ahead to the fall, our plans include a comprehensive lawn care routine: de-weeding, aeration, and applying grass seed and fertilizer. This will provide the much-needed nourishment and attention our lawn still requires to truly flourish. The backyard also has some exciting projects lined up for the coming months, promising even more outdoor transformations.
It’s truly incredible to reflect on the progress made in just three years. The journey of home improvement, especially exterior landscaping, is a continuous labor of love.

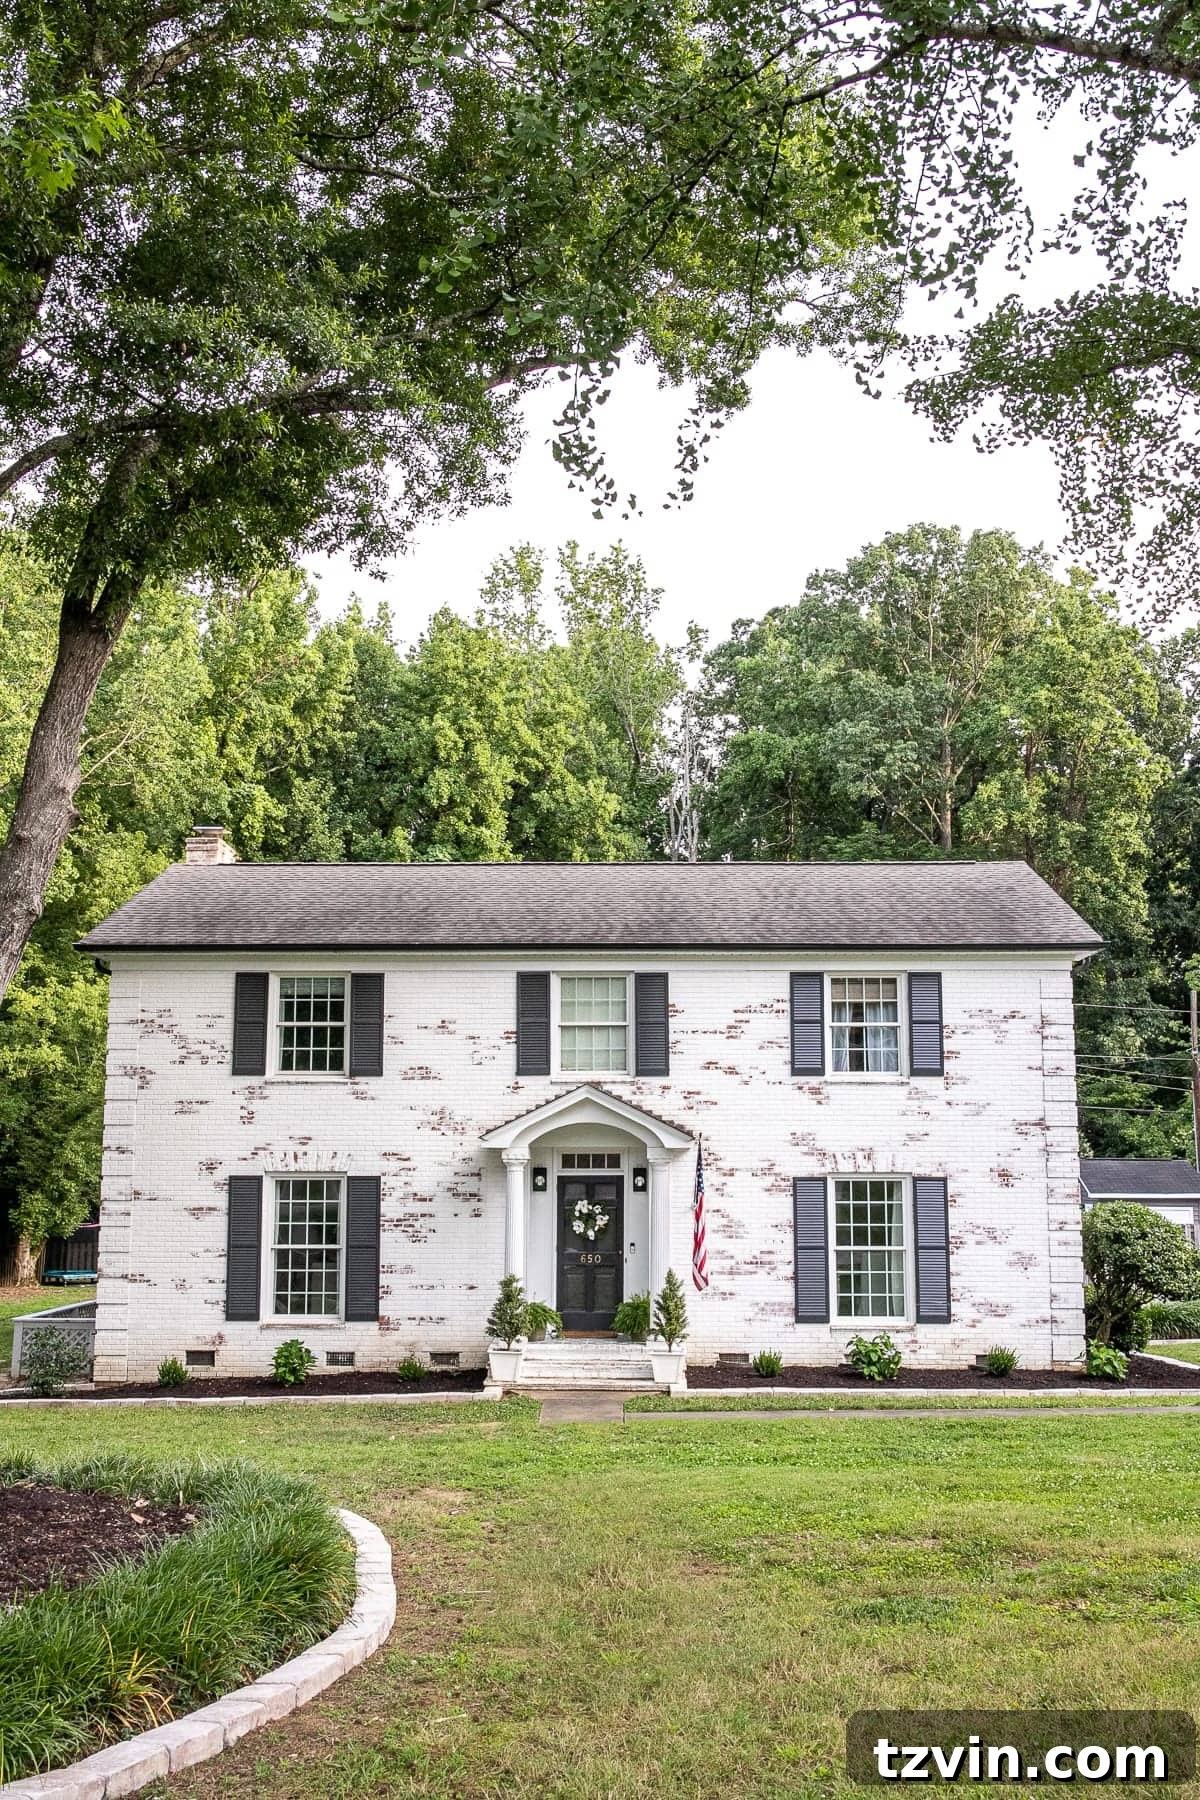
We’re confident that with continued effort, our home will look even more spectacular in another year or two. If you’ve ever felt intimidated by the prospect of tackling a flower bed project, please don’t be! Despite a few days of hard work, we genuinely wish we had started ours sooner. It’s a remarkably rewarding project that continues to give back in beauty and satisfaction for a very long time.
For more of our exciting outdoor home improvement projects and landscaping ideas, you can explore them all here.
If you found this DIY flower bed makeover guide helpful and want to save it for future reference, you can pin it here: