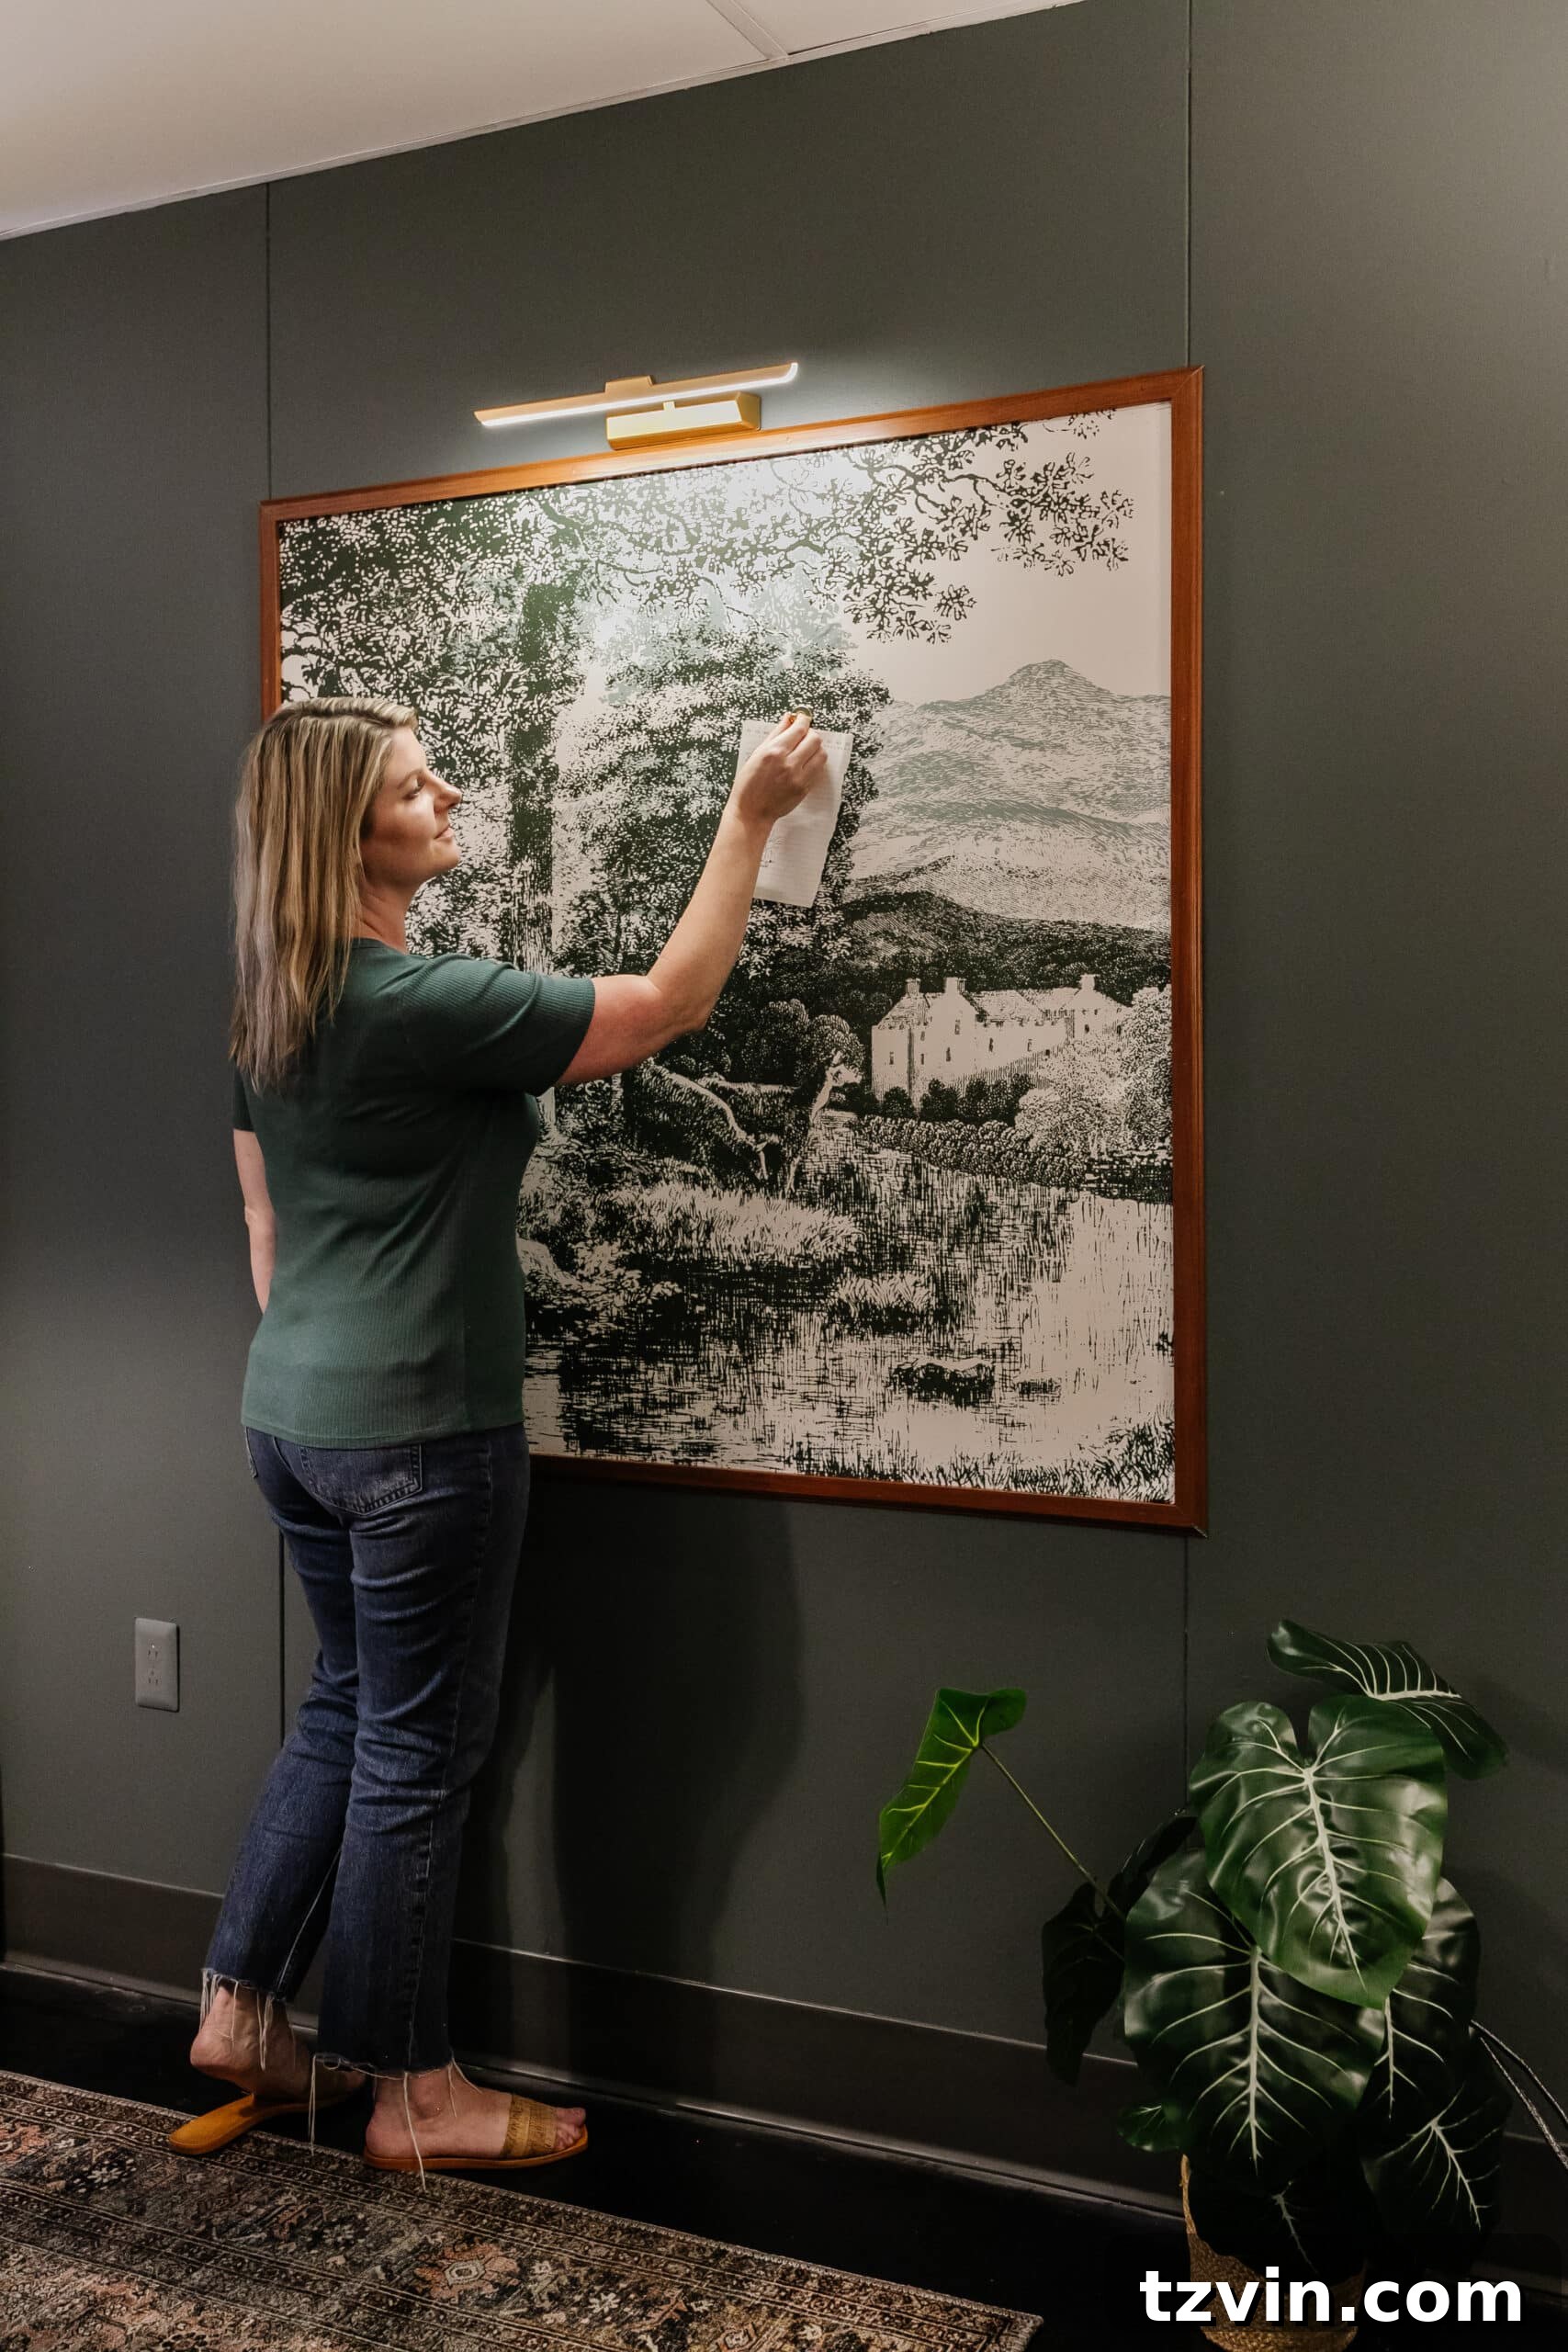
Transform a simple magnetic memo board into stunning, large-scale wall art with a touch of vintage charm using this easy-to-follow DIY guide. Perfect for adding functional elegance to your office, entryway, or any space needing stylish organization.
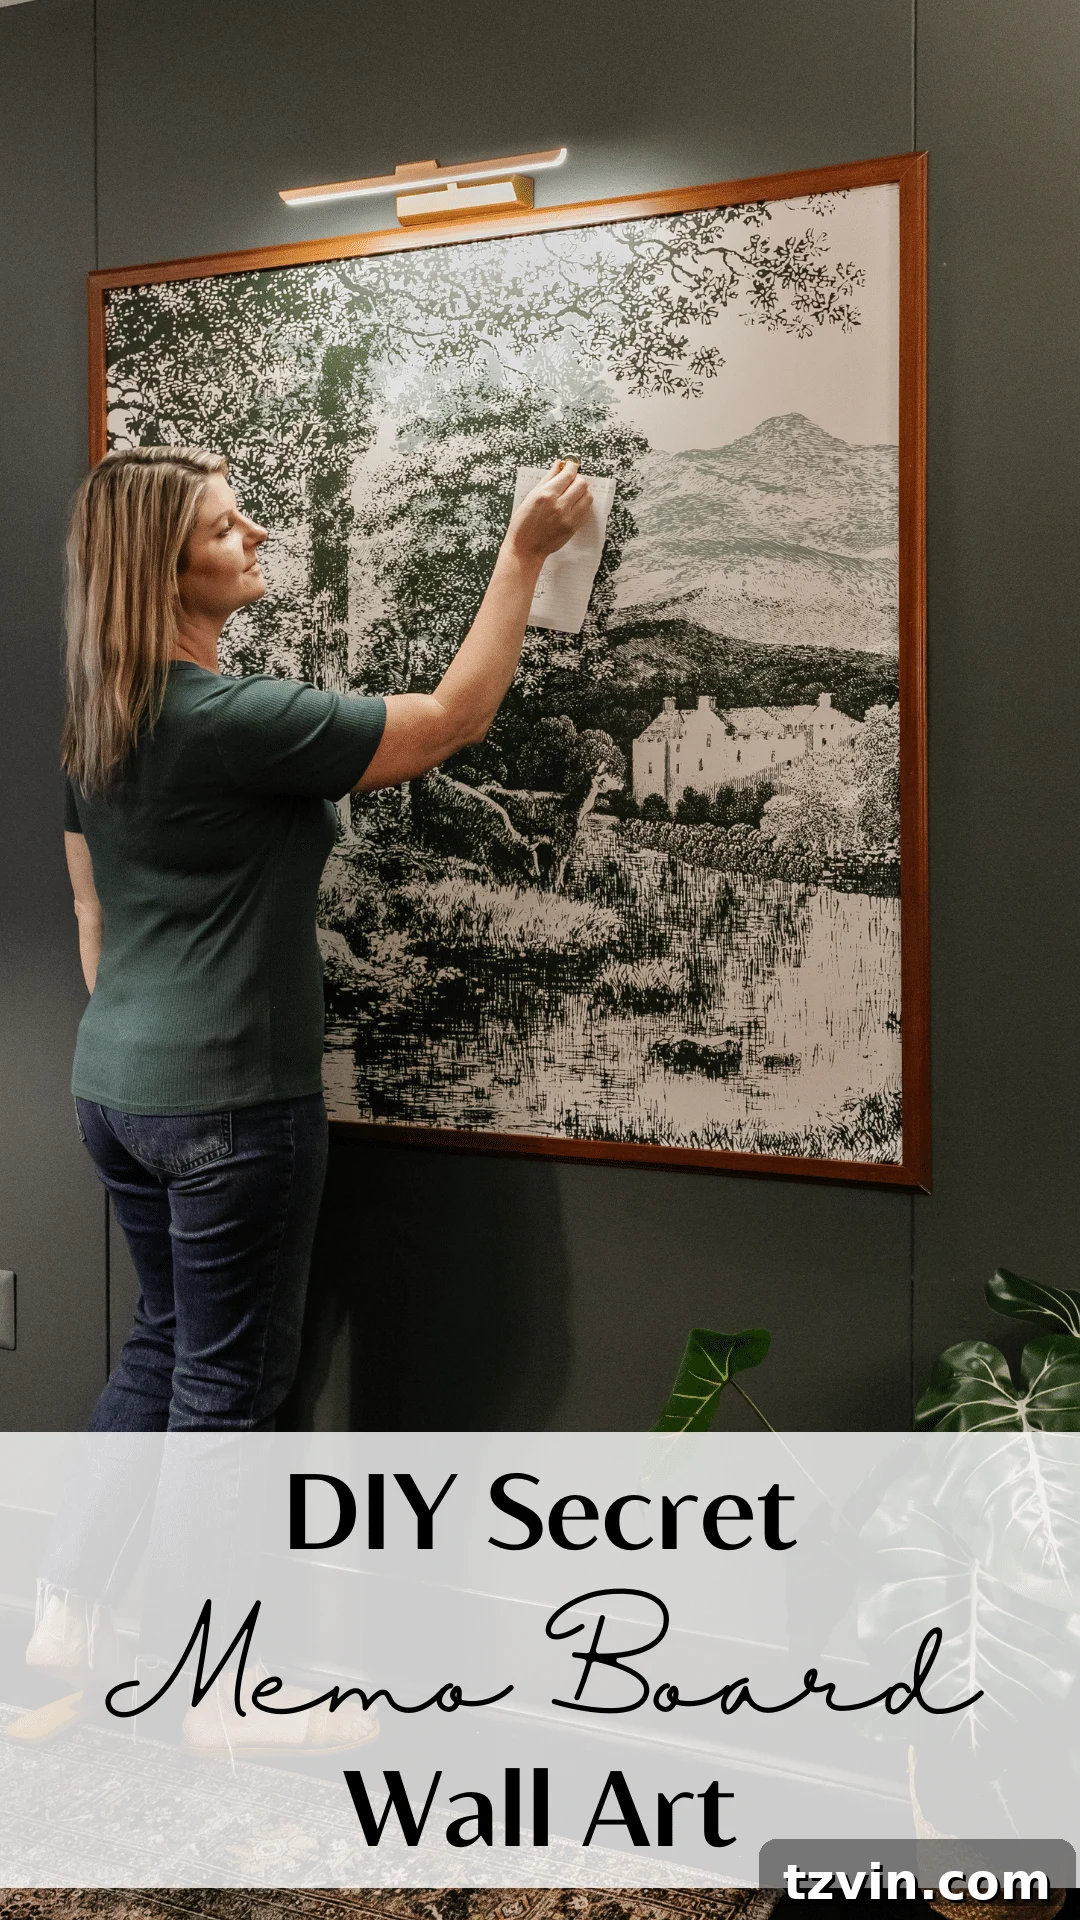
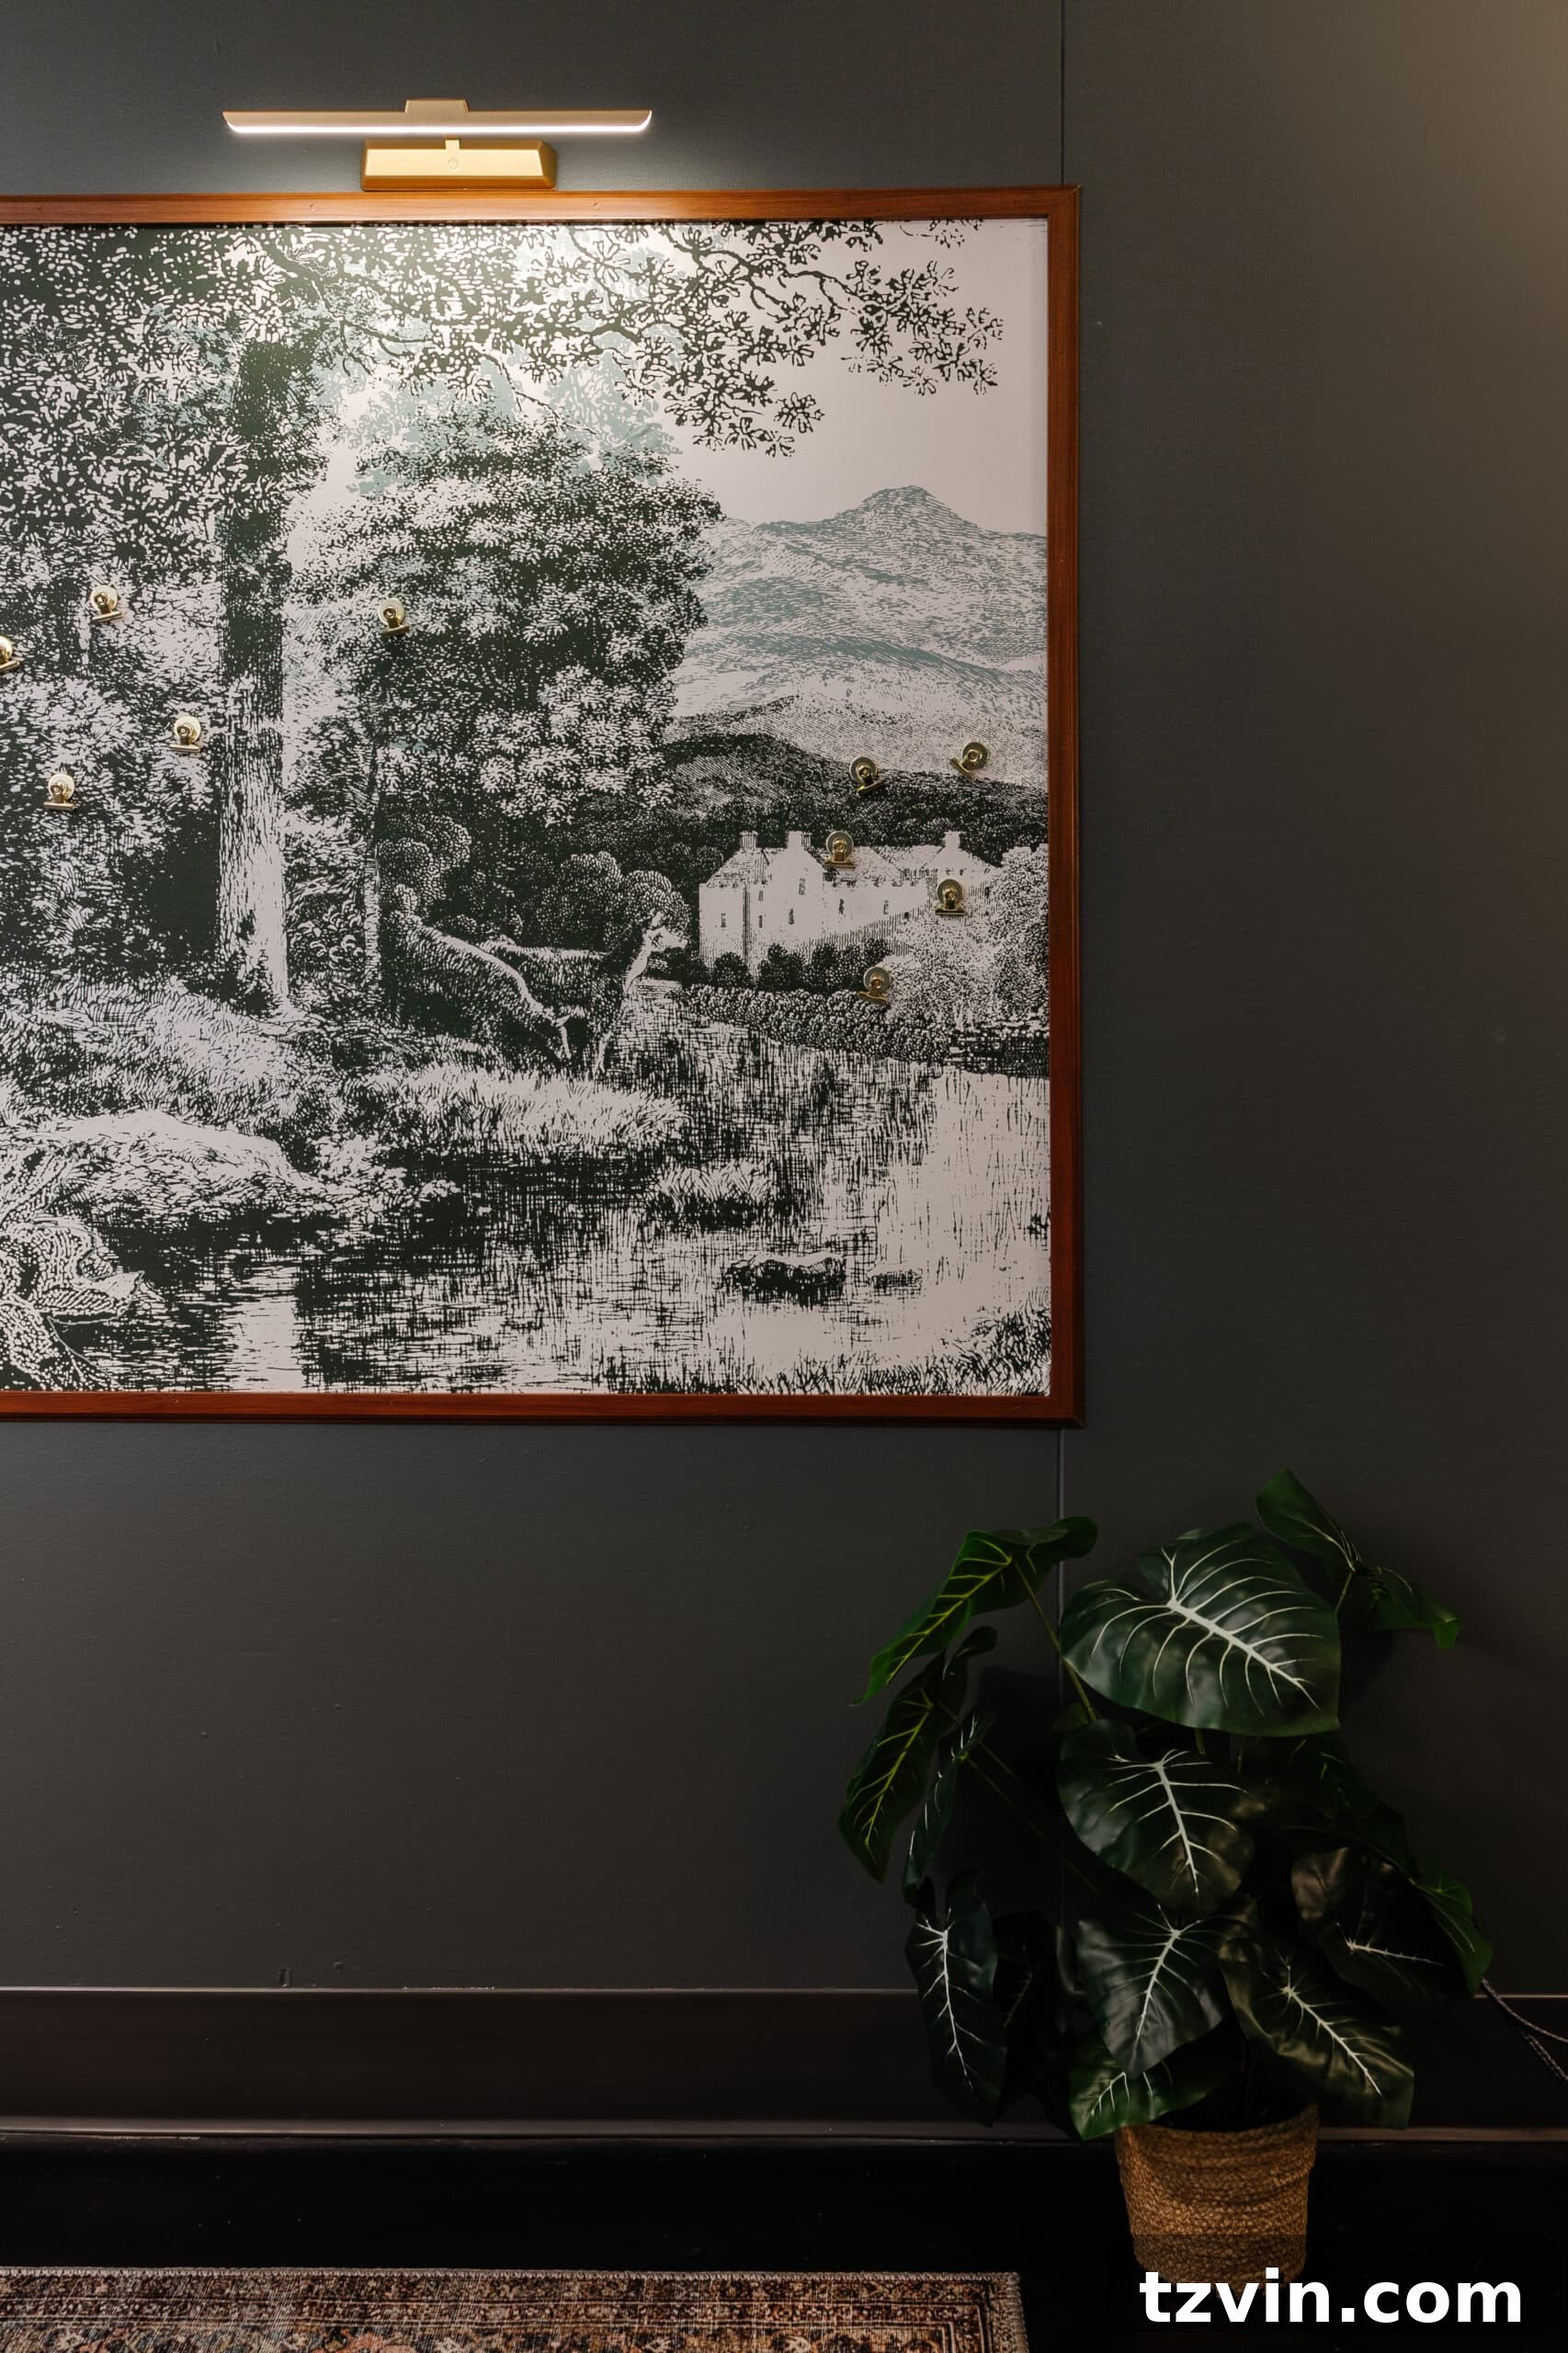
Imagine a piece of art so captivating it serves a dual purpose: a beautiful focal point and a hidden hub for your daily notes and reminders. The concept of disguising a functional magnetic memo board to resemble a high-end, framed art piece might sound ambitious, but it’s an innovative design secret we’re thrilled to share. This clever trick allows you to maintain a sophisticated aesthetic without sacrificing practicality, making it an absolute game-changer for home organization.
This brilliant idea first took shape during the design planning for the conference room at The Cottage. My vision was to create not just a functional space, but one that exuded a sense of calm and inspiration for the ladies at the shelter. The goal was twofold: to provide large-scale wall art that brought peacefulness and to integrate a practical system for posting important announcements and notes. Traditional bulletin boards often detract from a room’s decor, but I was determined to find a solution that elevated the space. Countless searches online yielded no existing tutorials for what I envisioned, so we embraced the challenge and embarked on a creative journey, hoping our experiment would yield beautiful results. And indeed, it did!
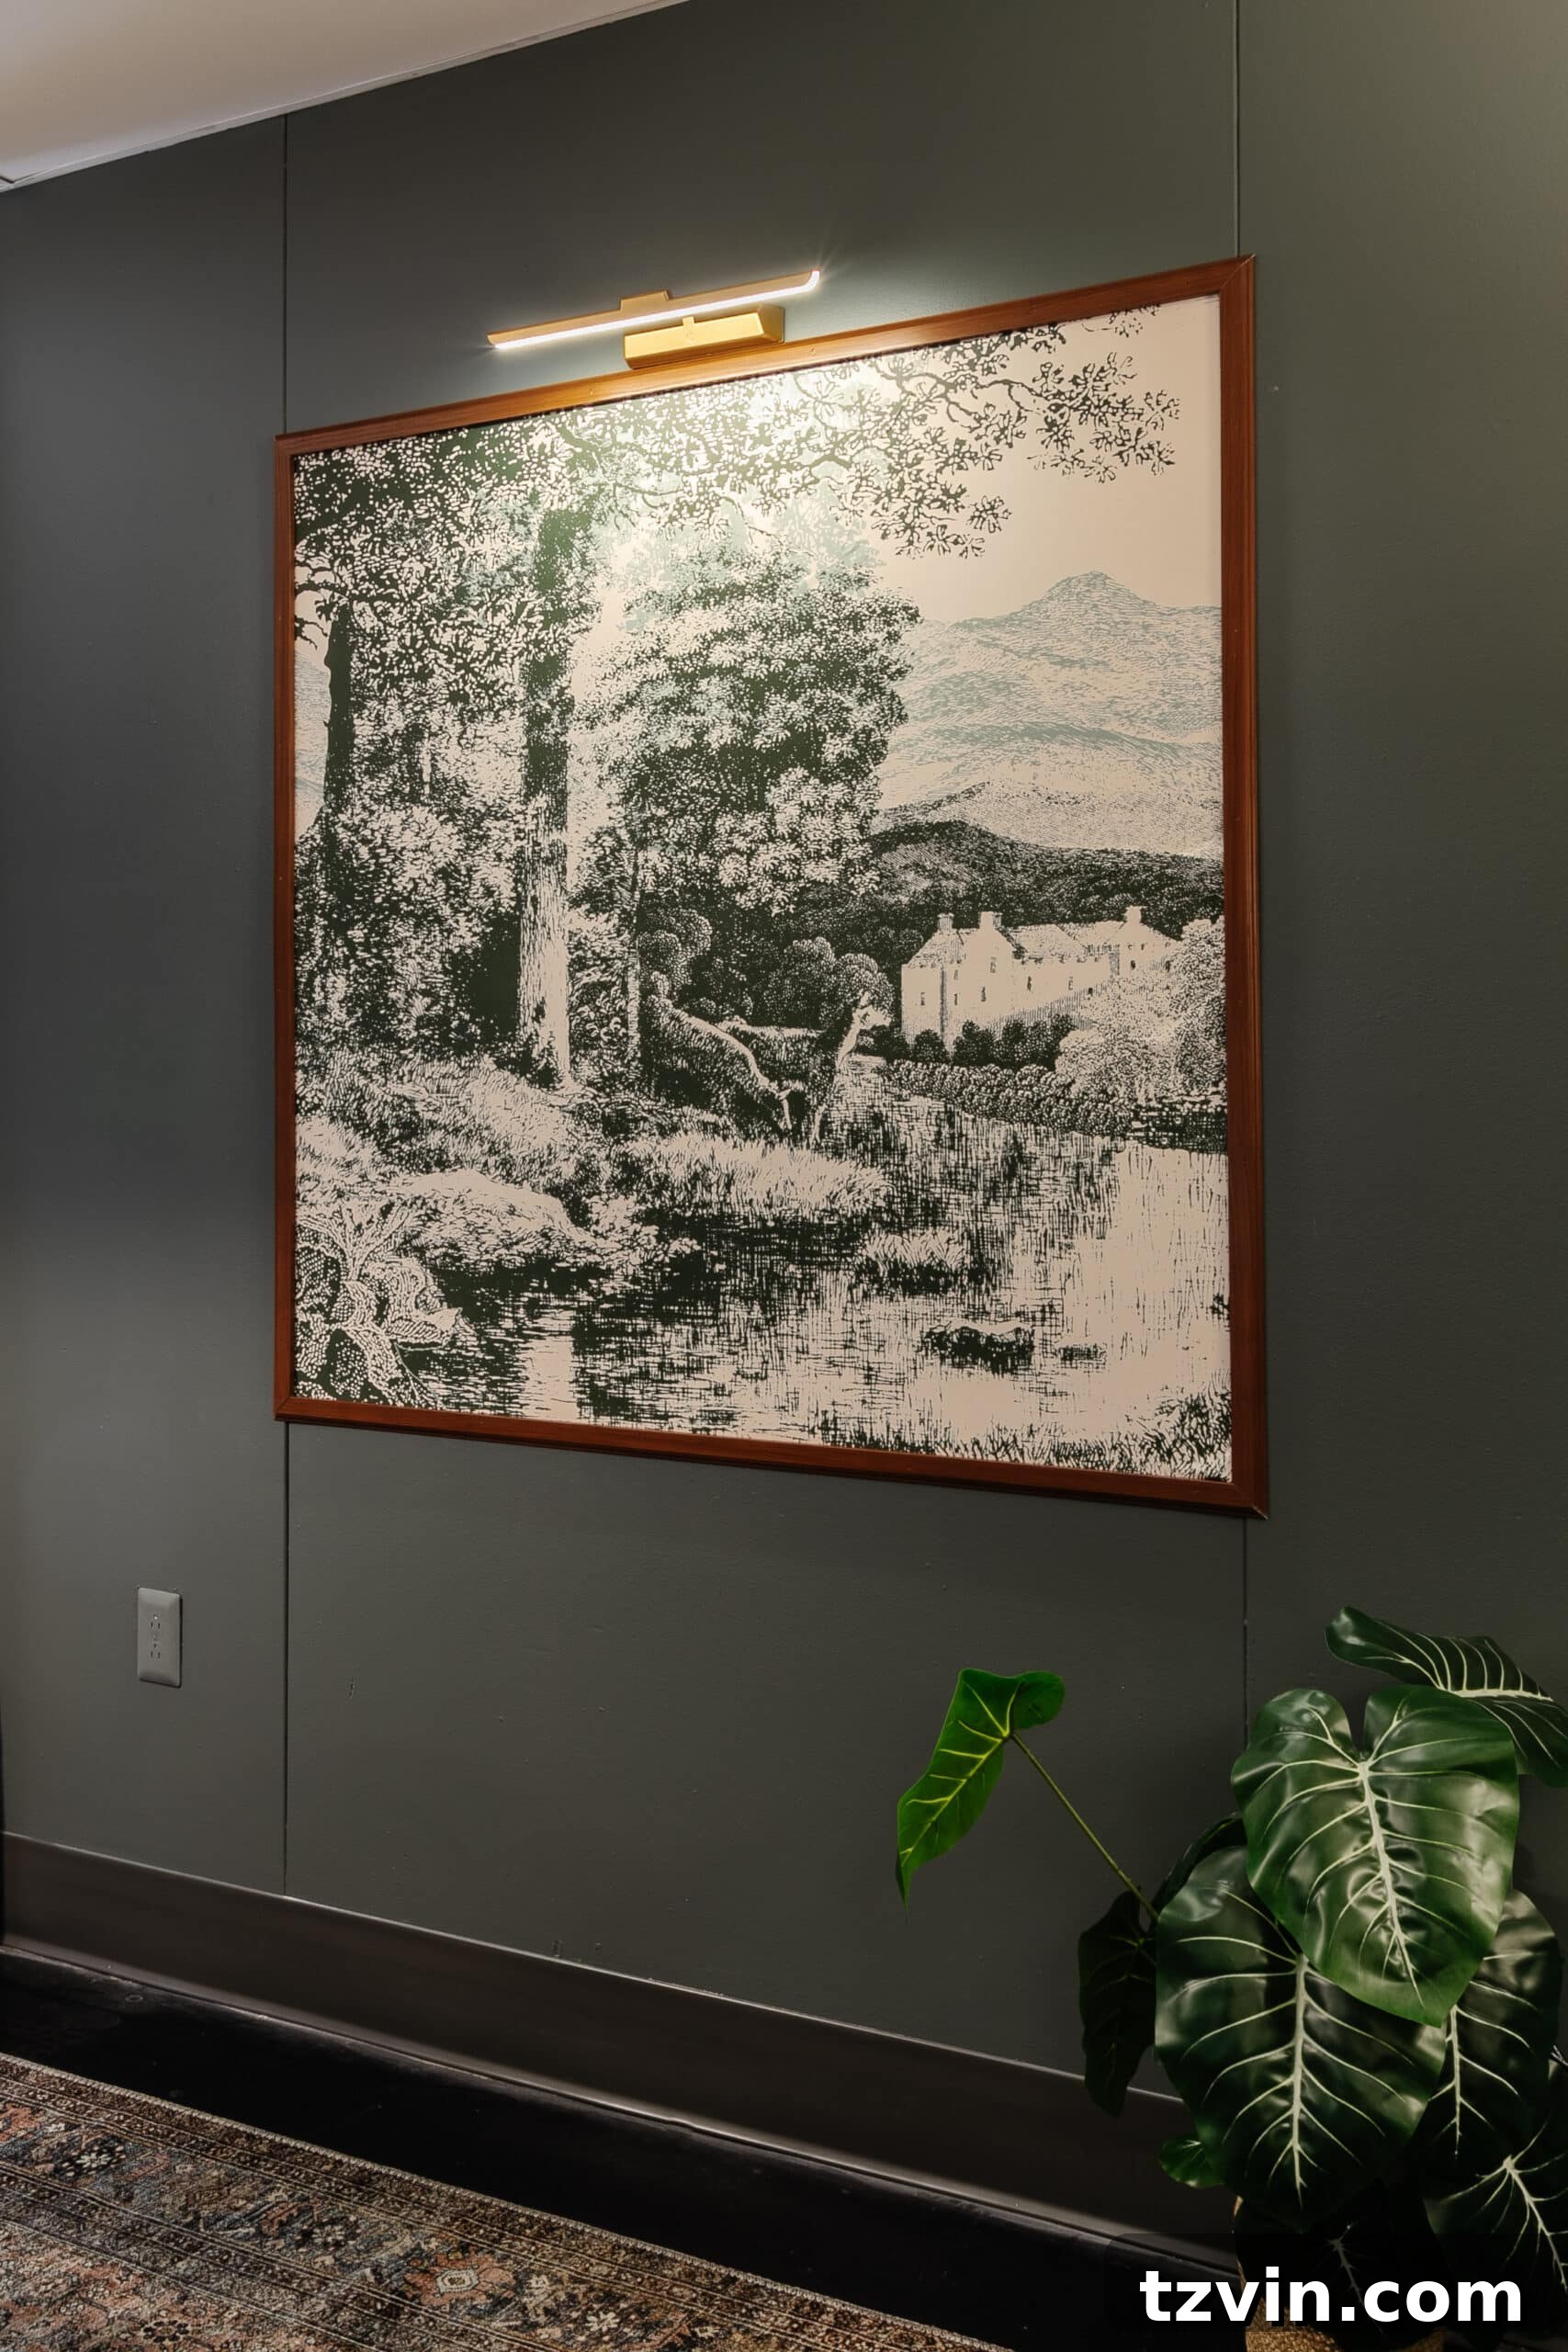
The beauty of this project lies in its seamless integration. Without any visible magnet clips or notes, the finished piece effortlessly blends into the decor, appearing as nothing more than a carefully chosen piece of wall art. This subtle functionality makes it an ideal addition to any room where you want to keep clutter out of sight but vital information close at hand. It’s truly a testament to the power of thoughtful design, turning an everyday utility item into an extraordinary design element.
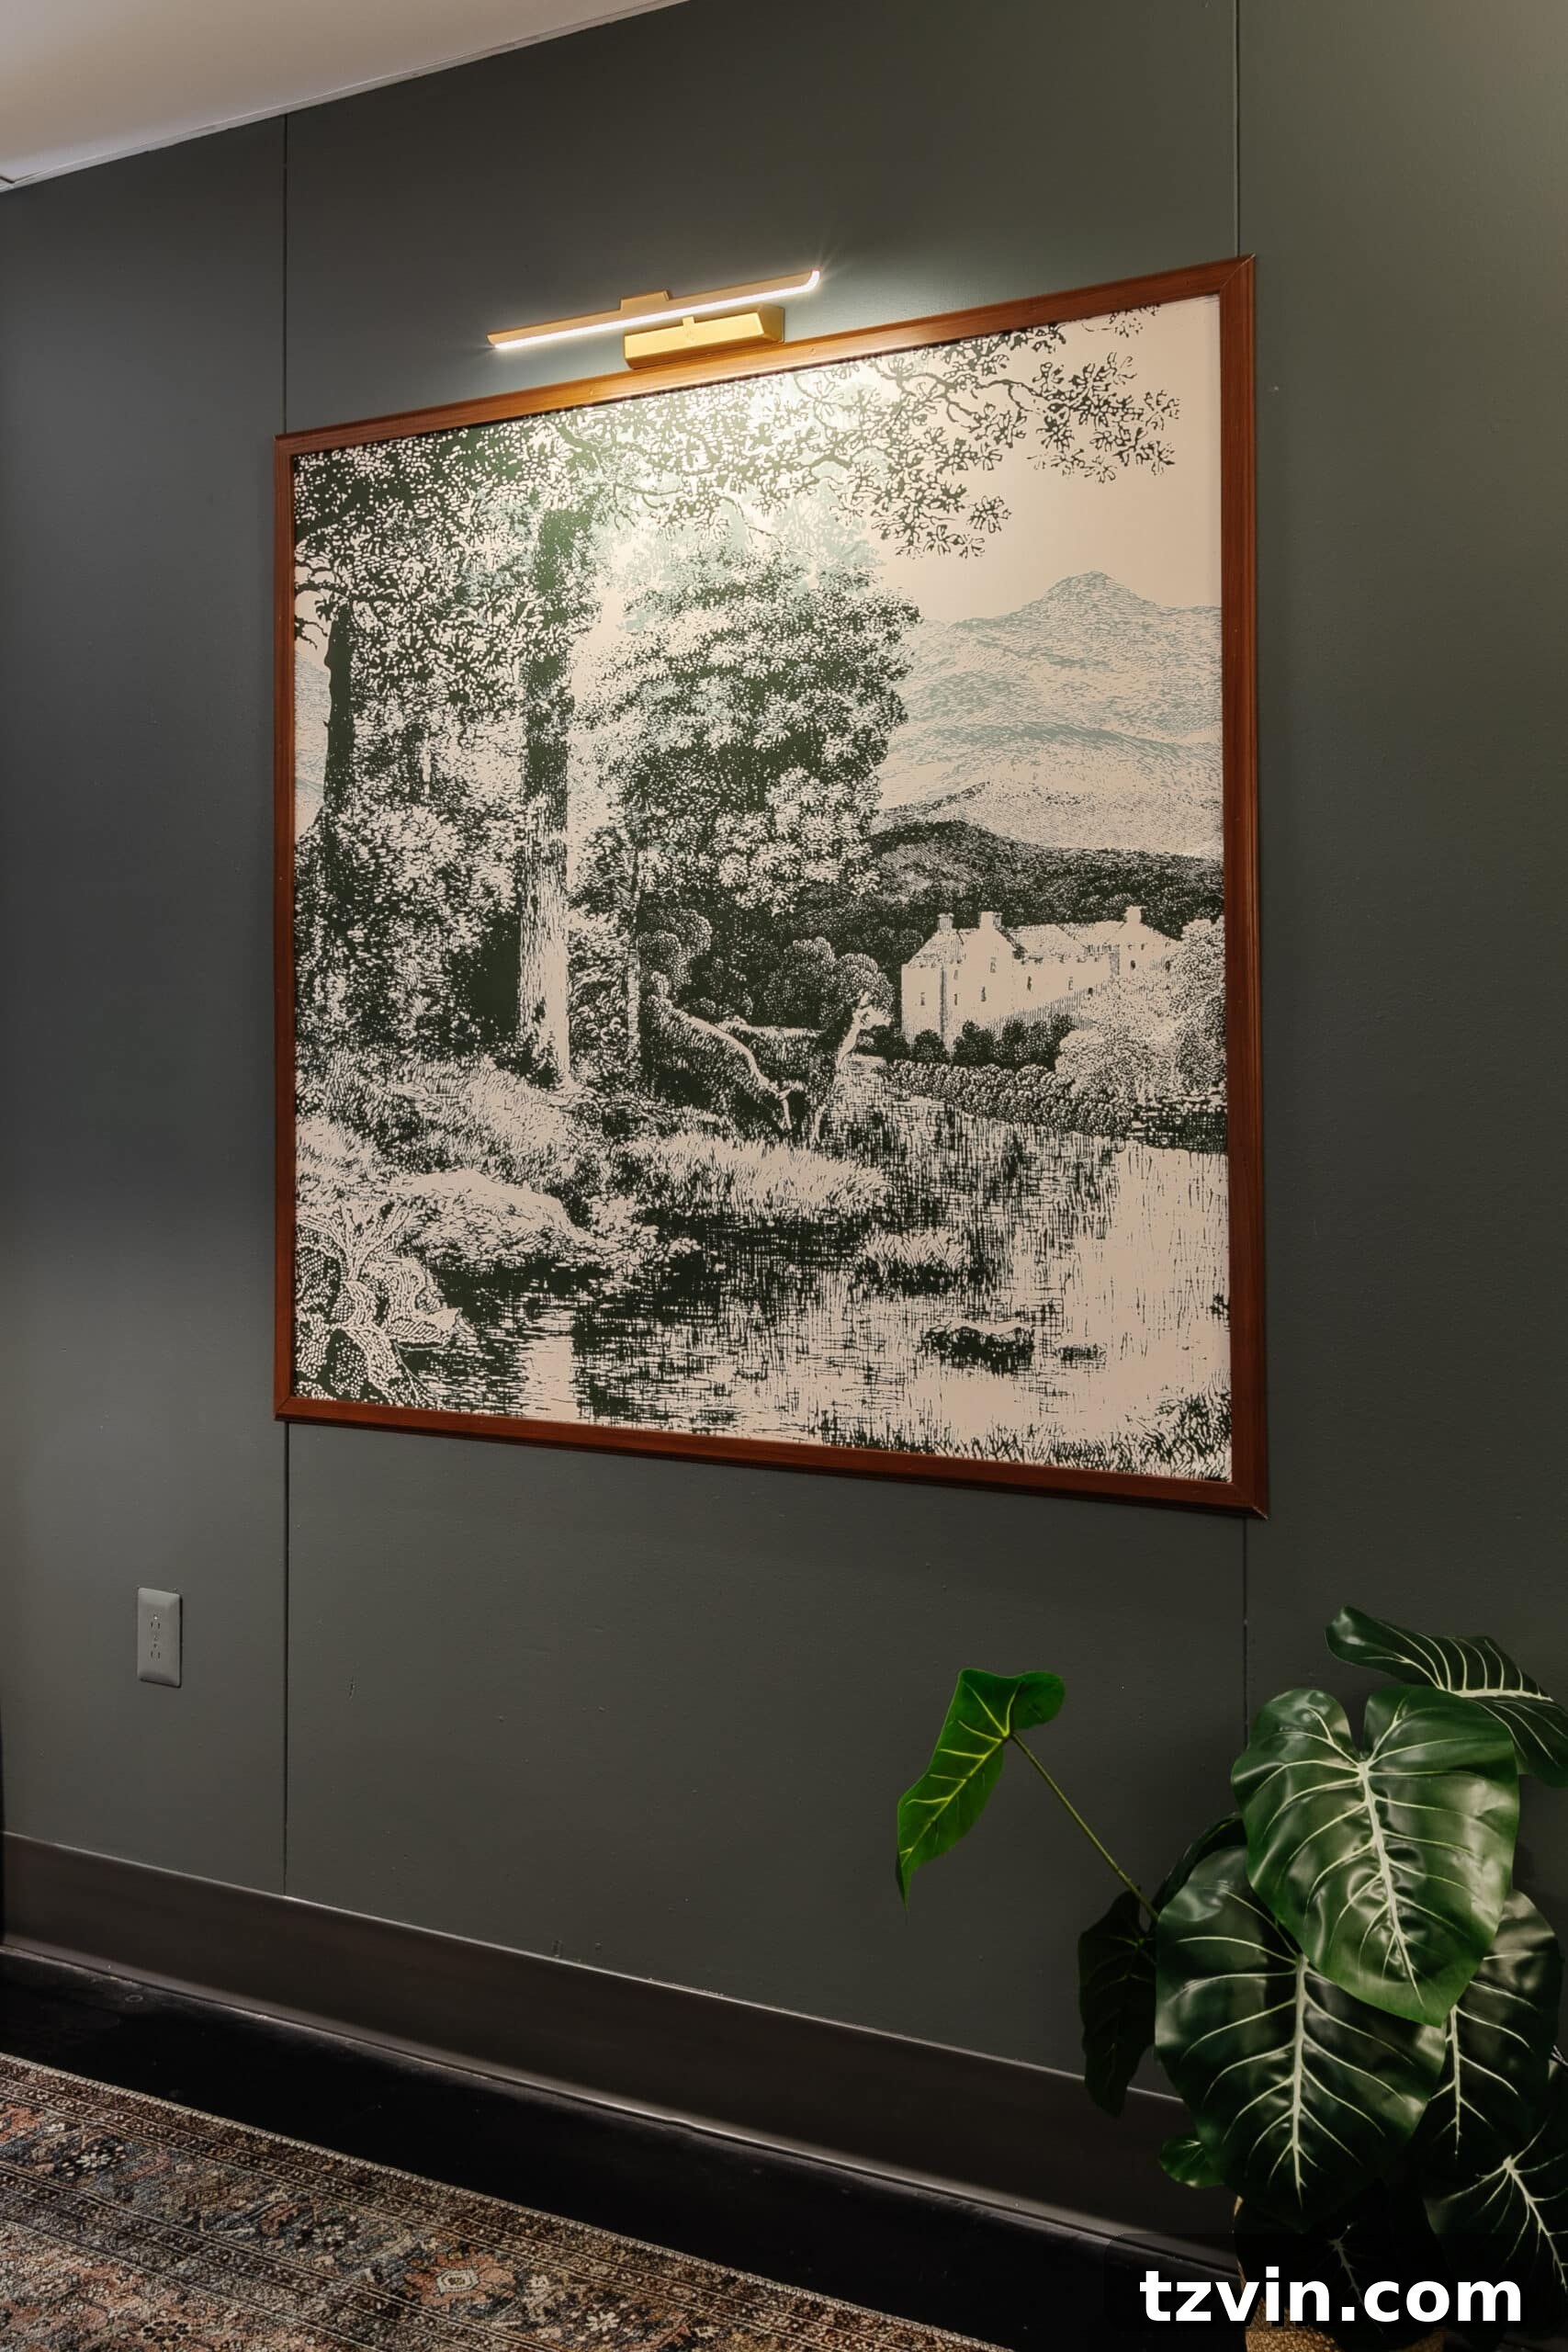
Where to Integrate Your Stylish Magnetic Memo Board
The versatility of this DIY large wall art magnetic memo board makes it an excellent addition to almost any room in your home or office. It’s a fantastic DIY wall decor project idea that marries aesthetics with practical organization. Here are some prime locations where this elegant solution can truly shine:
- Entryway: Create a sophisticated command center right as you walk in. Keep track of keys, mail, grocery lists, or important reminders for family members as they head out the door. Its artistic appearance ensures your entryway remains welcoming and uncluttered.
- Home Office: Boost productivity and maintain a professional look. Pin up project deadlines, brainstorming notes, inspirational quotes, or client contacts without resorting to unsightly corkboards. The large scale provides ample space for all your organizational needs.
- Kitchen: A busy hub deserves smart organization. Use it for meal planning, recipes, shopping lists, children’s schedules, or even sweet notes from loved ones. The vintage art style can beautifully complement various kitchen aesthetics, from farmhouse to modern classic.
- Playroom or Kid’s Bedroom: Offer a creative display for your children’s artwork, school assignments, or party invitations. Unlike traditional bulletin boards, it eliminates the need for pins, making it a safer option for younger kids while still allowing them to proudly showcase their creations.
- Conference Room or Shared Workspace: As demonstrated in our project for The Cottage, it’s perfect for professional environments. Display meeting agendas, announcements, motivational messages, or upcoming events in a way that enhances rather than detracts from the room’s design.
The beauty of this project is its complete customizability. Whether you need a small notice board for a tight nook or a sprawling piece to anchor a large wall, you can tailor the size to perfectly fit your space. The choice of decorative overlay—be it a vibrant mural, a classic poster, elegant wallpaper, or a captivating art decal—allows you to match your board to your existing decor or introduce an entirely new style. This flexibility ensures your magnetic memo board is not just functional, but a true reflection of your personal taste and interior design vision.
Ready to create your own? Below, you’ll find the complete, detailed tutorial on how to craft this beautiful and functional DIY bulletin board art. Let’s get started!
Related: 7 Tips to Create an Organized Family Command Center
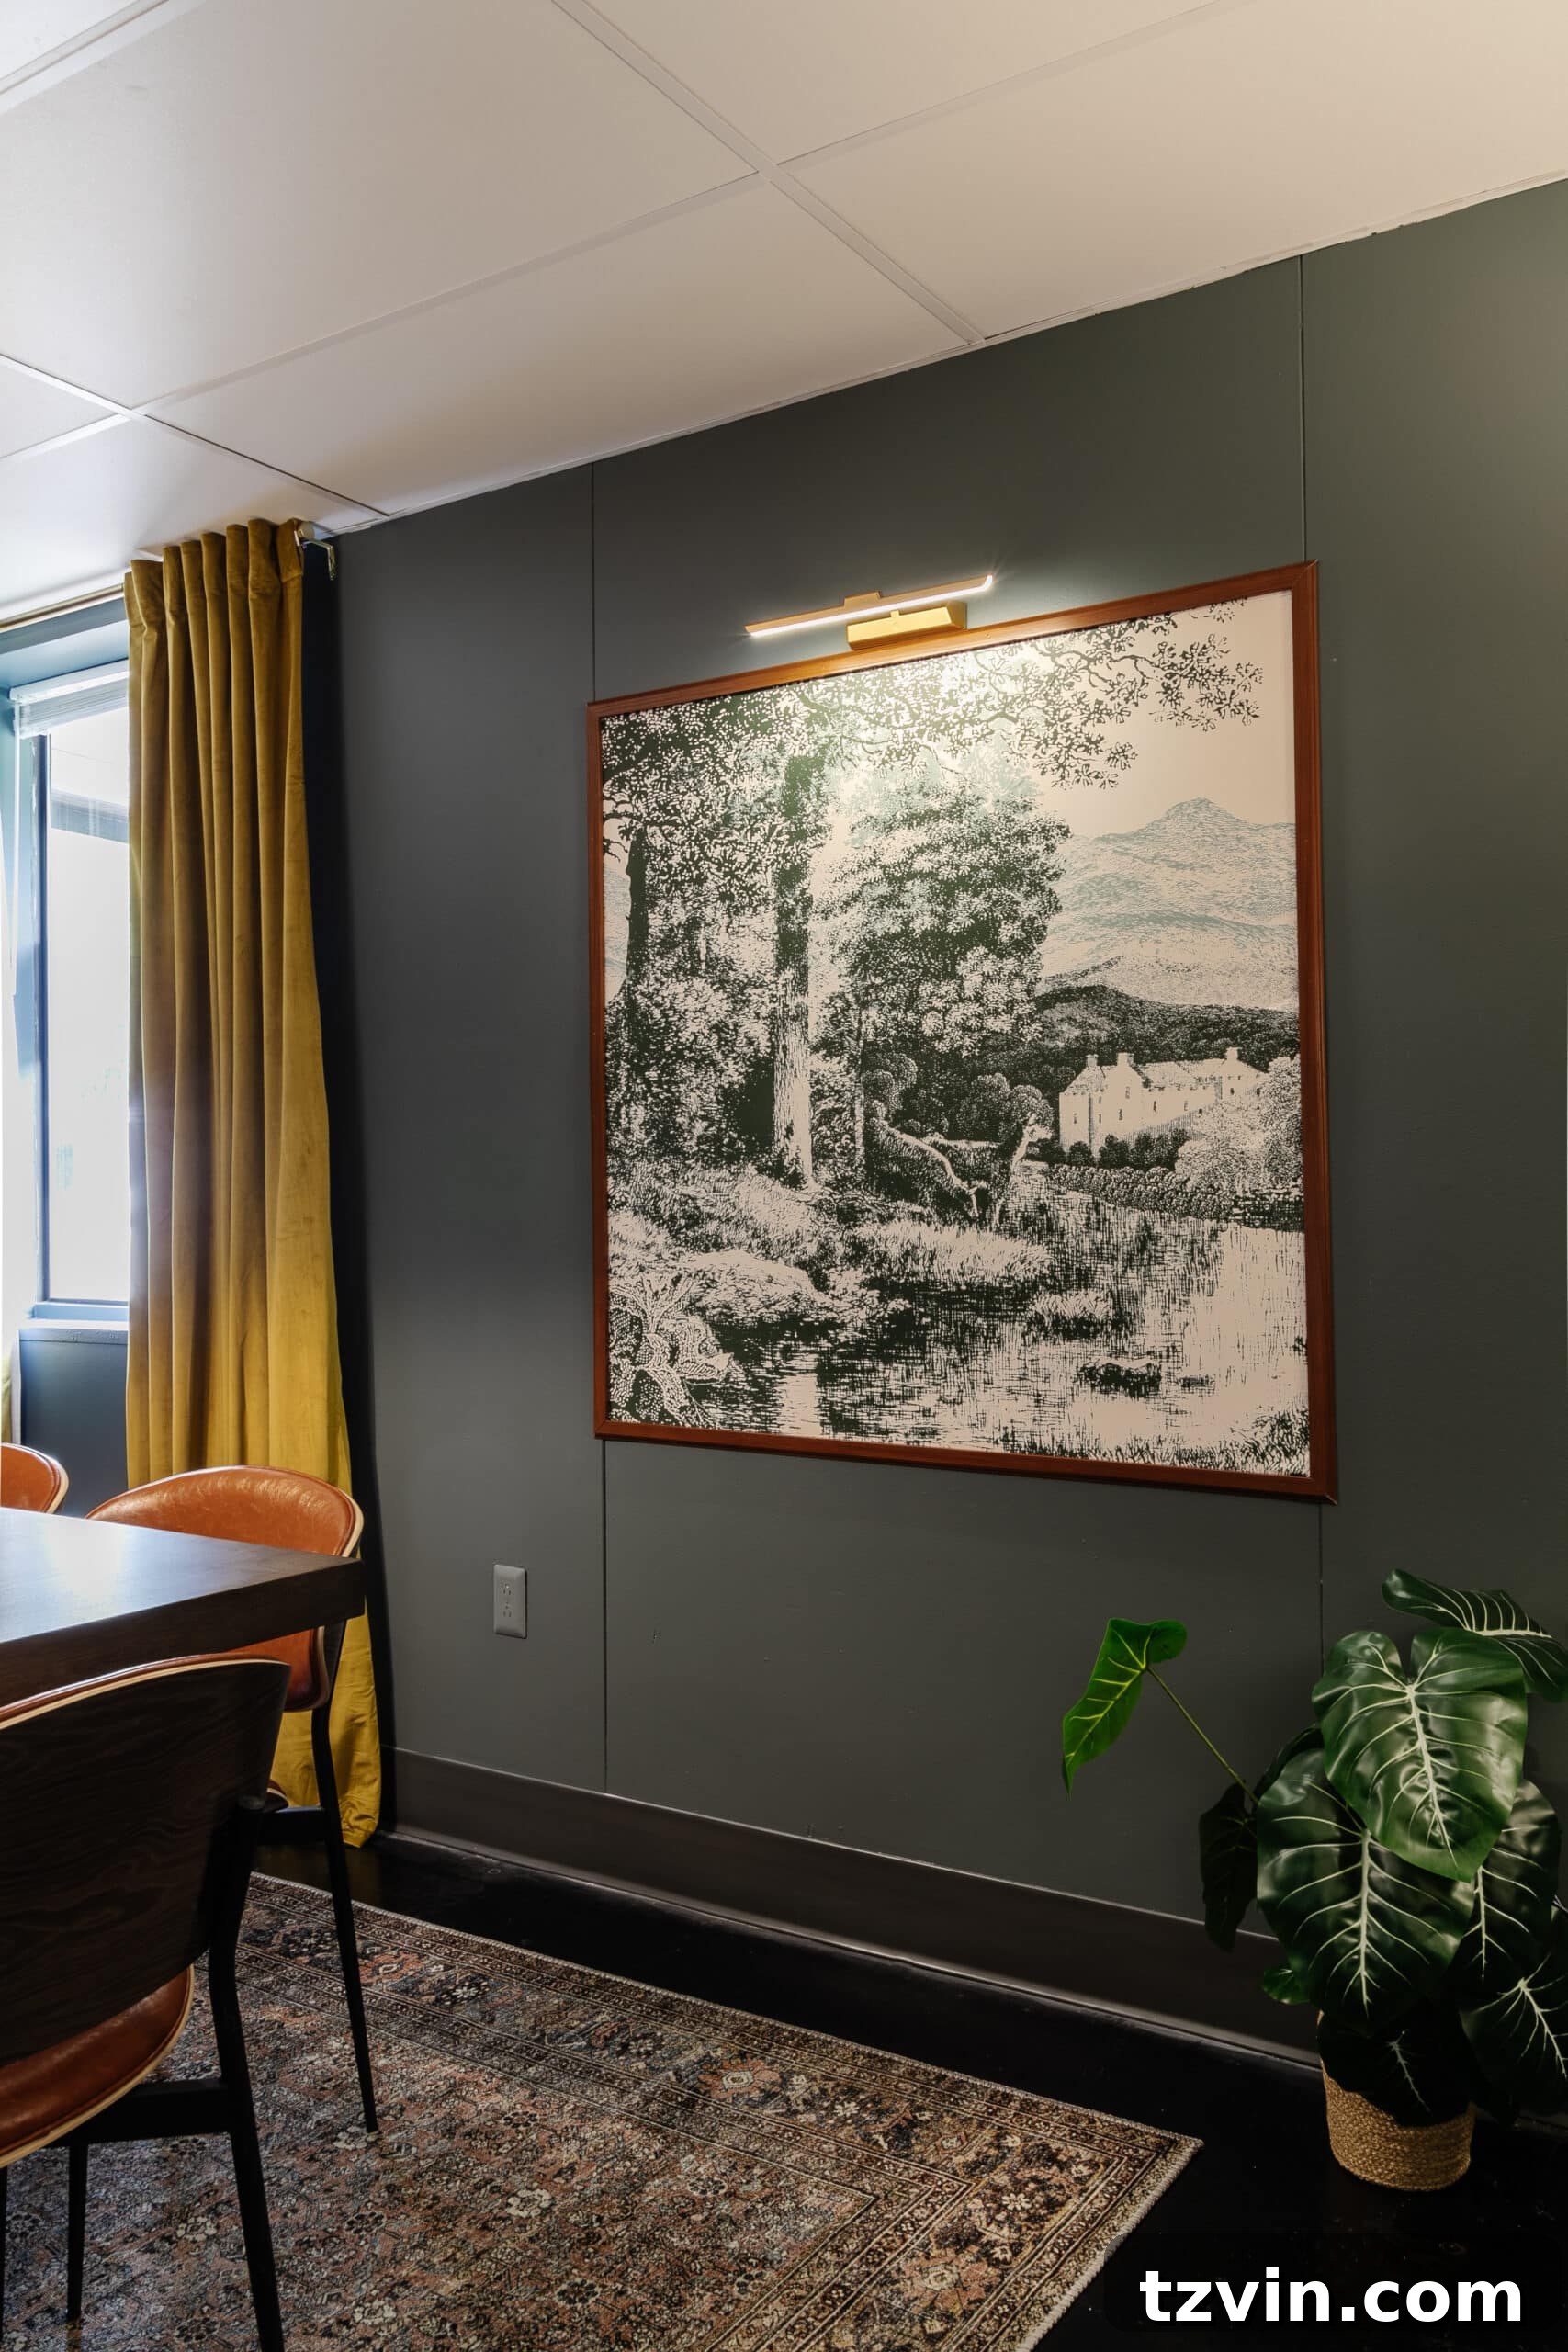
How to Create Your Own DIY Magnetic Memo Board Art
Creating this stunning and highly functional magnetic memo board is a rewarding DIY project that brings both beauty and organization to your space. With careful preparation and attention to detail, you’ll achieve a professional-looking result that will impress everyone. Before diving into the steps, let’s gather all the necessary supplies and tools to ensure a smooth crafting experience.
Supplies You’ll Need:
Choosing the right materials is crucial for both the functionality and aesthetic appeal of your magnetic memo board. Here’s a detailed list of what you’ll need:
- 26 Gauge Zinc-Plated Sheet Metal: This is the core of your magnetic board. Zinc-plated metal offers excellent rust resistance and magnetic properties. We opted for two 24″x48″ sheets placed side-by-side to create a substantial 48″x48″ piece of wall art. You can adjust the quantity and size to fit your desired dimensions.
- Mural / Poster / Wallpaper / Art Decal of your choice: This is where your creative vision comes to life! Select a design that complements your decor. For our project, we cut a scenic mural into coordinating portions to create two harmonious art pieces. Consider the overall scale and style you want to achieve.
- Wireless Picture Light: (Optional but highly recommended) This element adds an undeniable touch of sophistication, highlighting your “artwork” and instantly elevating its upscale appeal. It also provides practical illumination for reading notes.
- PVC Composite Molding: This material is ideal for framing due to its durability, light weight, and ease of cutting. Choose a style that matches your desired aesthetic, whether it’s a classic or contemporary look.
- Construction Adhesive and Caulking Gun: While not always essential for a single sheet, it’s highly beneficial when joining multiple metal sheets side-by-side. It ensures a secure, flat bond to the wall and minimizes bowing.
- Putty Knife: Essential for smoothing out any excess adhesive and ensuring clean lines.
- Fine Grit Sandpaper: Used to scuff the metal surface, creating a better grip for primer and adhesive, and smoothing any rough edges.
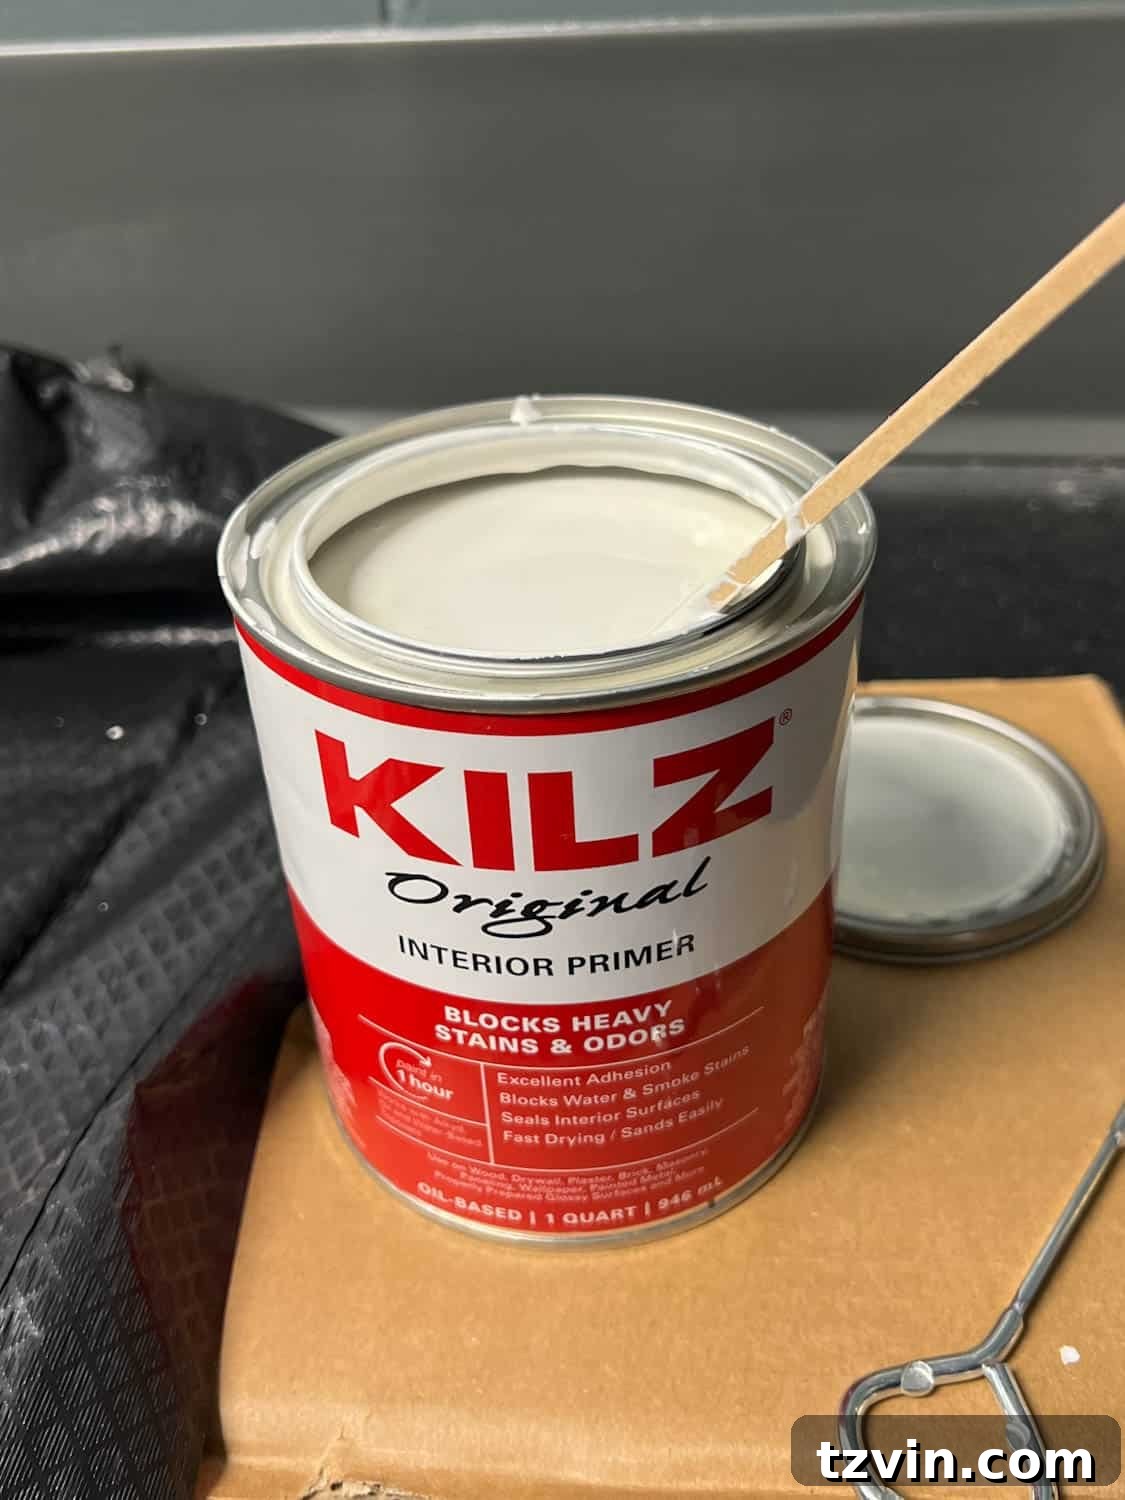
- Kilz Original or other Oil-Based Primer: Crucial for ensuring proper adhesion if you’re using a pre-pasted or paste-the-wall mural/wallpaper. Oil-based primers provide superior grip on slick metal surfaces.
- Paint Brush: For applying the primer evenly.
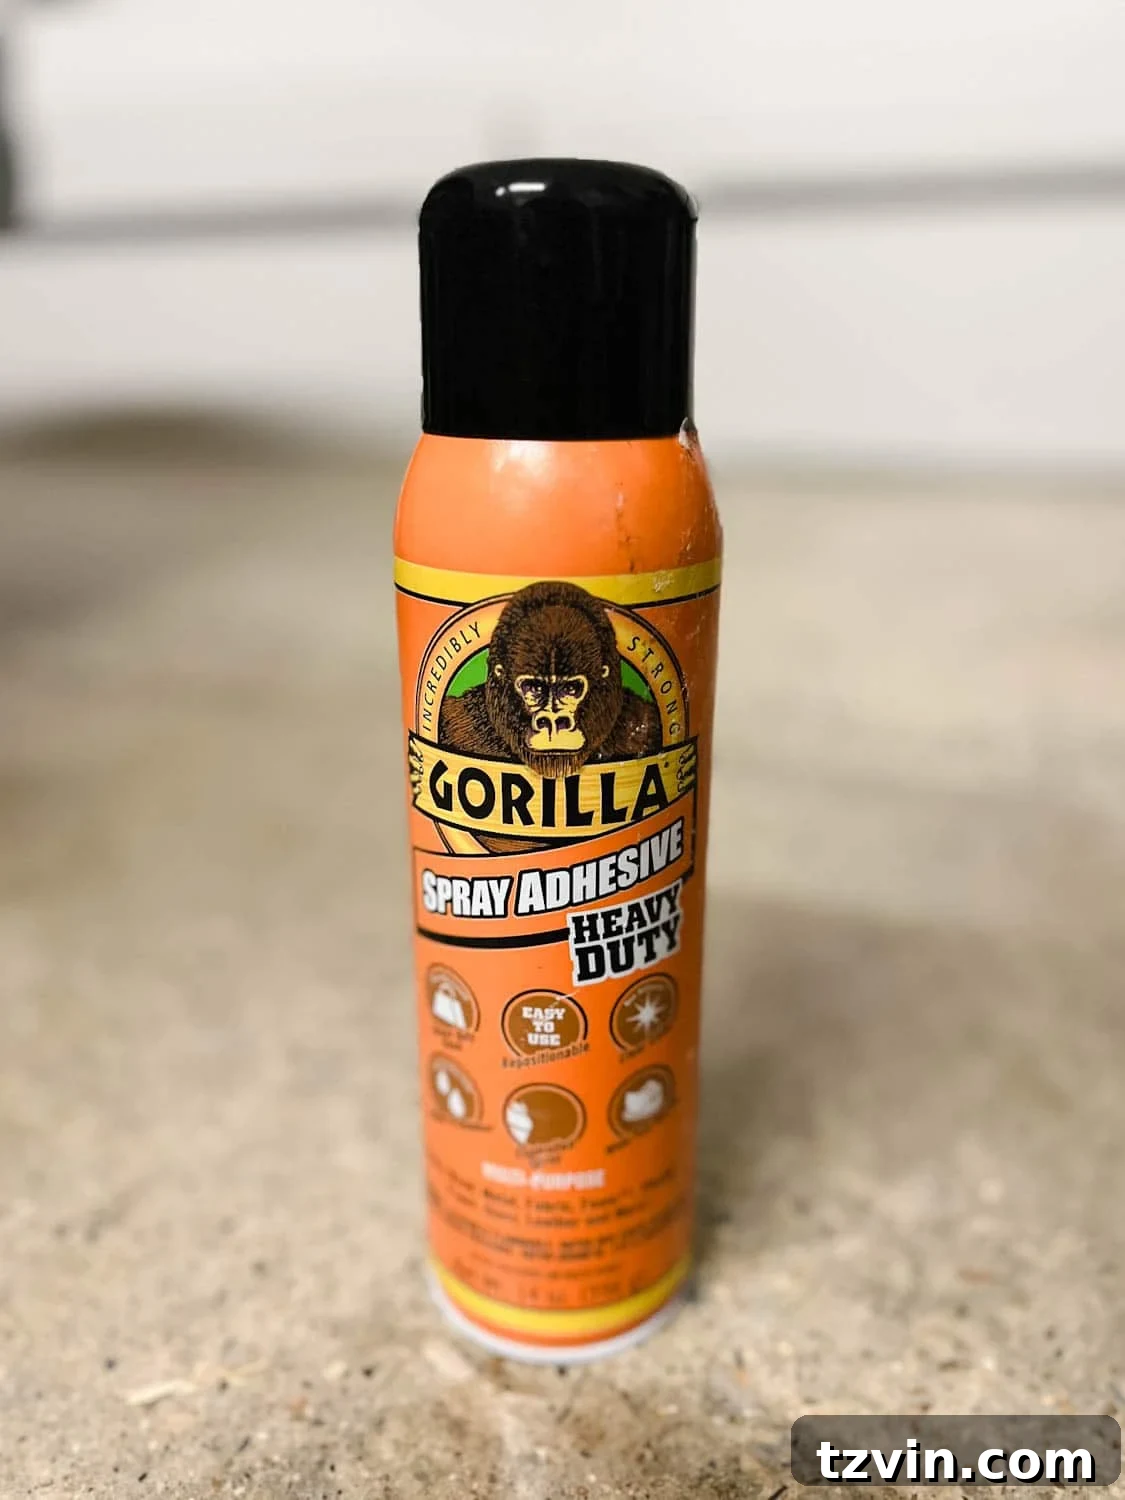
- Gorilla Heavy Duty Spray Adhesive: A powerful adhesive for firmly attaching your mural, poster, or wallpaper to the metal sheet.
- Heavy Duty Work Gloves: Non-negotiable for safety! Sheet metal edges can be extremely sharp.
- Multipurpose 1 1/2″ #8 Self-Drilling Screws: For securely fastening the metal sheets to wall studs.
Essential Tools:
Having the right tools will make this project much more manageable and help you achieve precise, professional results:
- Power Drill/Driver with Bits: For drilling pilot holes and driving screws into studs.
- Large Level: Absolutely essential for ensuring your magnetic board is perfectly straight on the wall.
- Pencil: For marking measurements and placement.
- Tape Measure: For accurate measuring of your wall space and materials.
- Scissors: For cutting your mural or wallpaper panels.
- Wallpaper Smoother Tool: Invaluable for achieving a perfectly smooth, bubble-free application of your mural or wallpaper.
- Miter Saw: (or a hand saw and miter box) For cutting the PVC molding at precise 45-degree angles to form perfect picture frame corners.
- Brad Nailer: (or a hammer and brad nails) For securely attaching the molding to create your frame. A brad nailer provides a cleaner, faster finish.
Step 1 – Precisely Mark the Placement on Your Wall
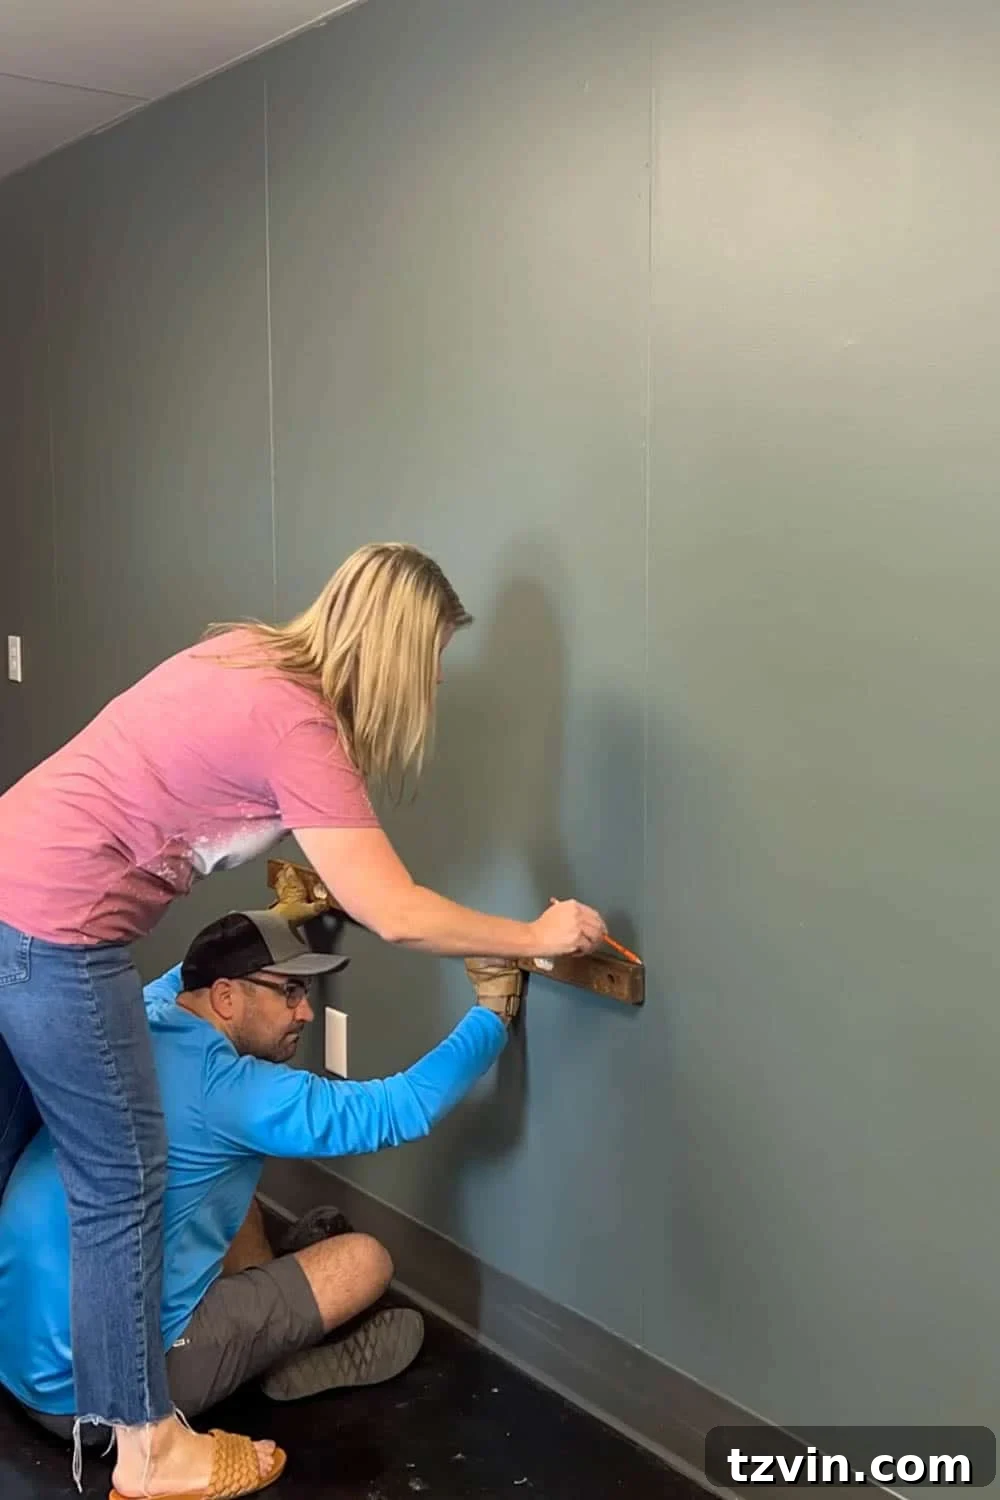
Careful planning is key to a perfectly centered and balanced art piece. Begin by identifying the ideal location for your magnetic memo board. Use a large level and a pencil to accurately mark where you intend to place your metal sheet(s). For optimal support, we highly recommend securing the sheets directly into wall studs. Before marking, use a stud finder to locate the vertical wooden supports behind your drywall. We strategically placed our board to span two studs, ensuring maximum stability for the relatively heavy sheet metal. When determining the height, a widely accepted guideline for hanging wall art is to aim for the center of the piece to be approximately 60 inches (about 152 cm) from the floor. This typically places the art at eye level for most adults, creating a comfortable viewing experience. Consider existing furniture and other wall decor to ensure your new art piece integrates harmoniously into the room’s overall design.
Step 2 – Drill Pilot Holes for Secure Mounting
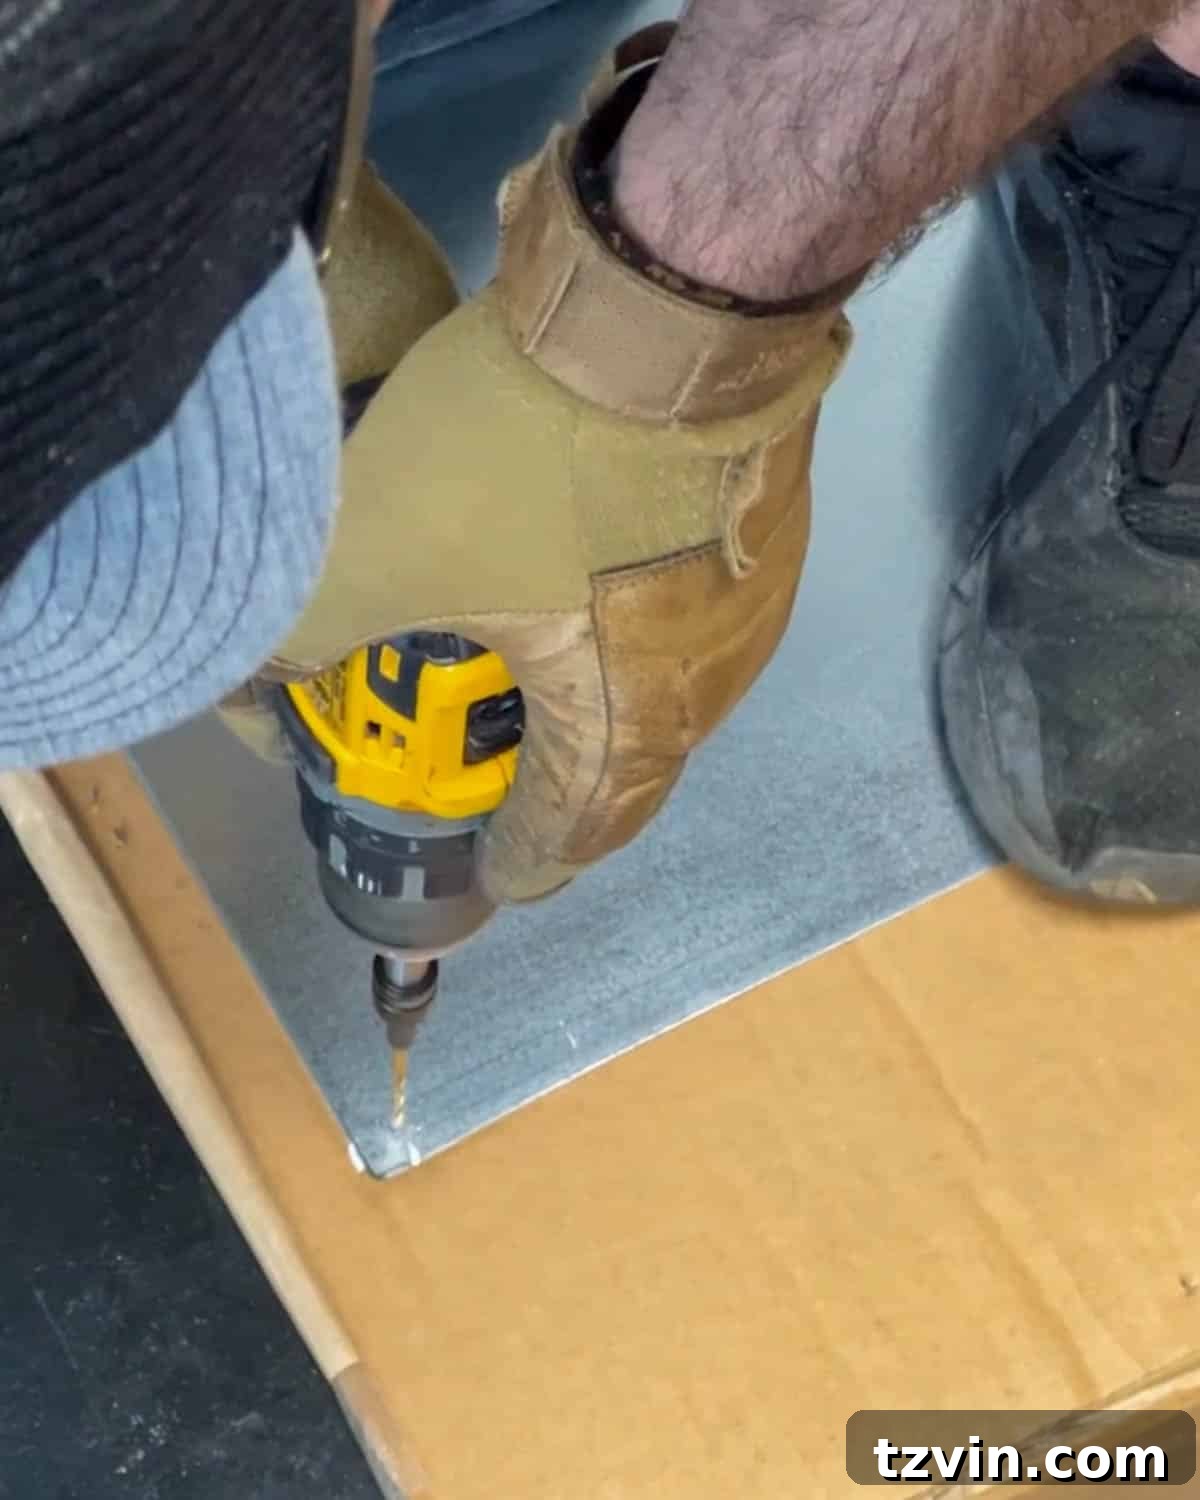
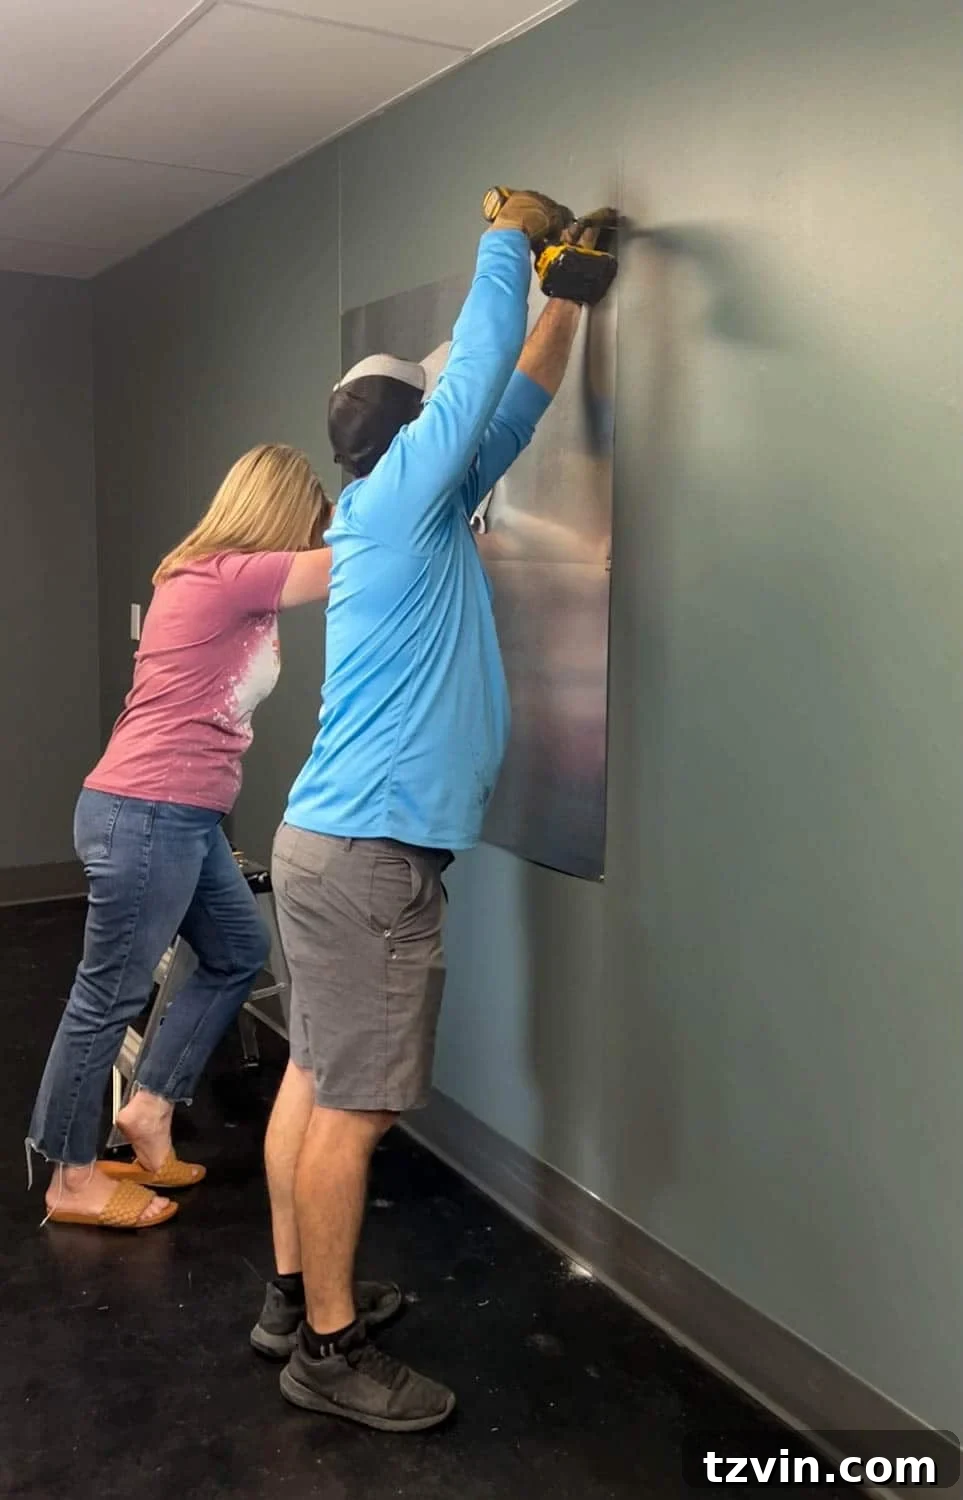
Once your placement marks are finalized, it’s time to prepare the metal sheets for hanging. Using your power drill, create a pilot hole at each corner of the metal sheet. If you’re securing the sheet to wall studs, align these pilot holes with your stud markings. Drilling pilot holes is a crucial step as it prevents the metal from deforming or bending when you drive screws through it, ensuring a clean and secure attachment. If securing to studs isn’t an option for your chosen placement, you can alternatively use heavyweight drywall anchors. Ensure these anchors are rated to support the weight of your sheet metal plus any items you plan to hang on your memo board. Always pre-drill the appropriate size hole for the anchors as well.
Step 3 – Safely Secure the Metal Sheets to the Wall
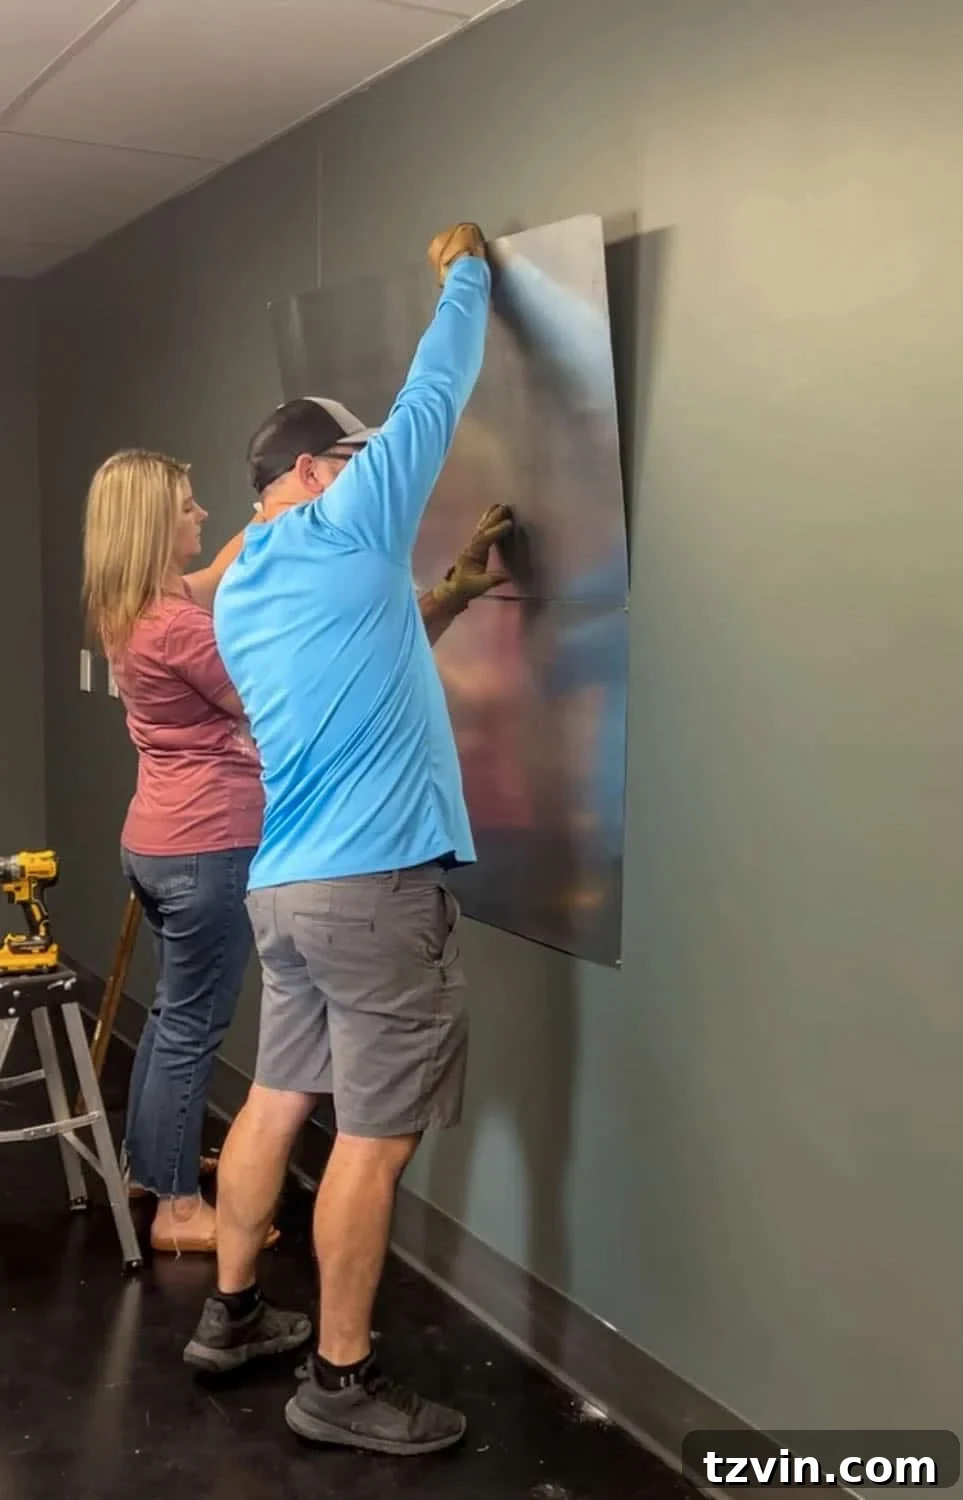
Safety is paramount when handling sheet metal. Its edges can be incredibly sharp, so absolutely do not skip wearing heavy-duty work gloves throughout this step and beyond. With your gloves on, carefully lift and align the first metal sheet with the placement marks you made in Step 1. Using your power drill, secure the sheet to the wall by driving screws through the pre-drilled pilot holes directly into the wall studs. Ensure the sheet is flush against the wall and level before proceeding. If you are creating a larger magnetic board using two or more metal sheets side-by-side, repeat this process for each subsequent sheet, carefully butting their edges together. Take your time to ensure all sheets are perfectly aligned both horizontally and vertically, as this will significantly impact the final appearance of your artwork.
Step 4 – Strengthen and Seal Seams with Construction Adhesive
When multiple metal sheets are joined, slight inconsistencies or bowing away from the wall can occur, creating undesirable gaps. To ensure a completely flush and secure surface, apply a line of heavy-duty construction adhesive, such as Liquid Nails, along the edge of each metal sheet where it meets another sheet or the wall. Press the sheets firmly into place, allowing the adhesive to create a strong bond. Immediately wipe away any excess adhesive with a putty knife and a damp rag to prevent it from drying on the surface. This step is particularly important for achieving a smooth, seamless look that mimics a single large piece of art. Allow the adhesive to fully cure for several hours, or as recommended by the manufacturer, before proceeding to the next step. For an ultra-permanent installation, you could apply construction adhesive to the entire back surface of the metal sheets before screwing them to the wall. However, be aware that this is a highly durable bond that would require replacing drywall if you ever decide to remove the board in the future.
Step 5 – Prepare the Surface by Sanding
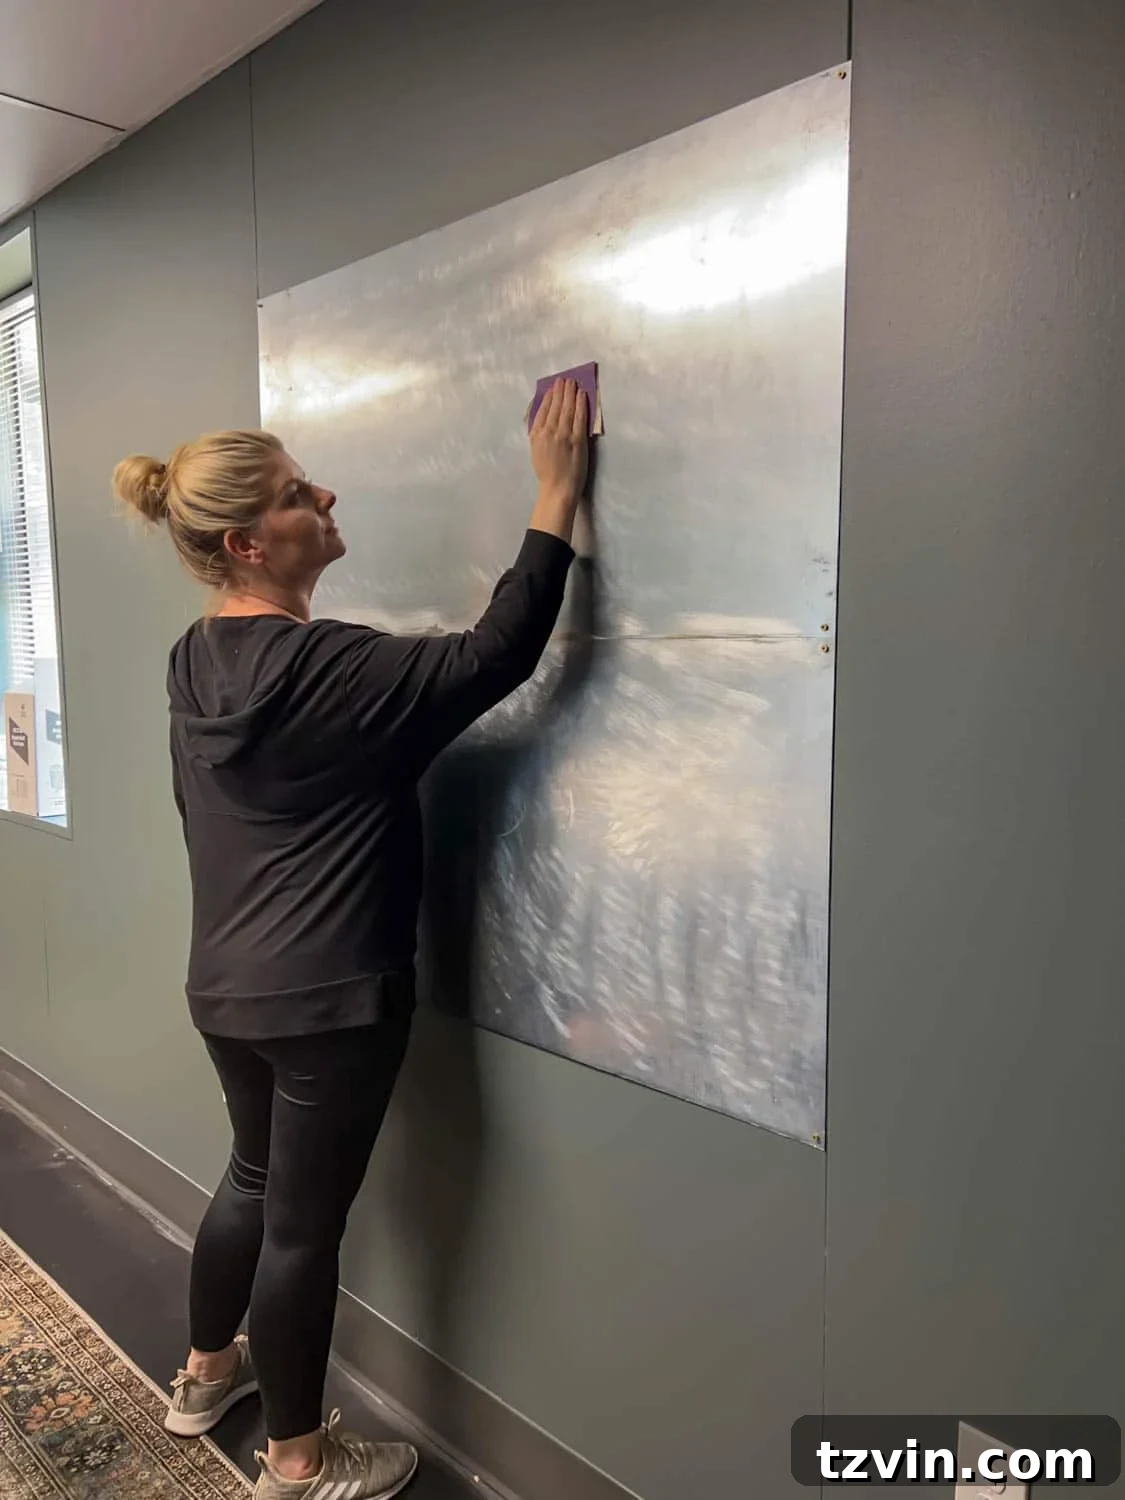
The smooth, slick surface of galvanized sheet metal doesn’t provide the best adhesion for paint or wallpaper. To ensure your chosen mural or wallpaper sticks firmly and lasts, gently scuff the entire metal surface with fine-grit sandpaper. This creates a microscopic texture, giving the primer and adhesive something to “grip” onto, which is crucial for preventing peeling or bubbling down the line. Pay extra attention to any rough spots or dried adhesive residue left from the previous step, sanding them smooth for a perfectly even canvas. A smooth base will ensure your art overlay looks flawless and professional.
Step 6 – Apply Primer for Optimal Adhesion
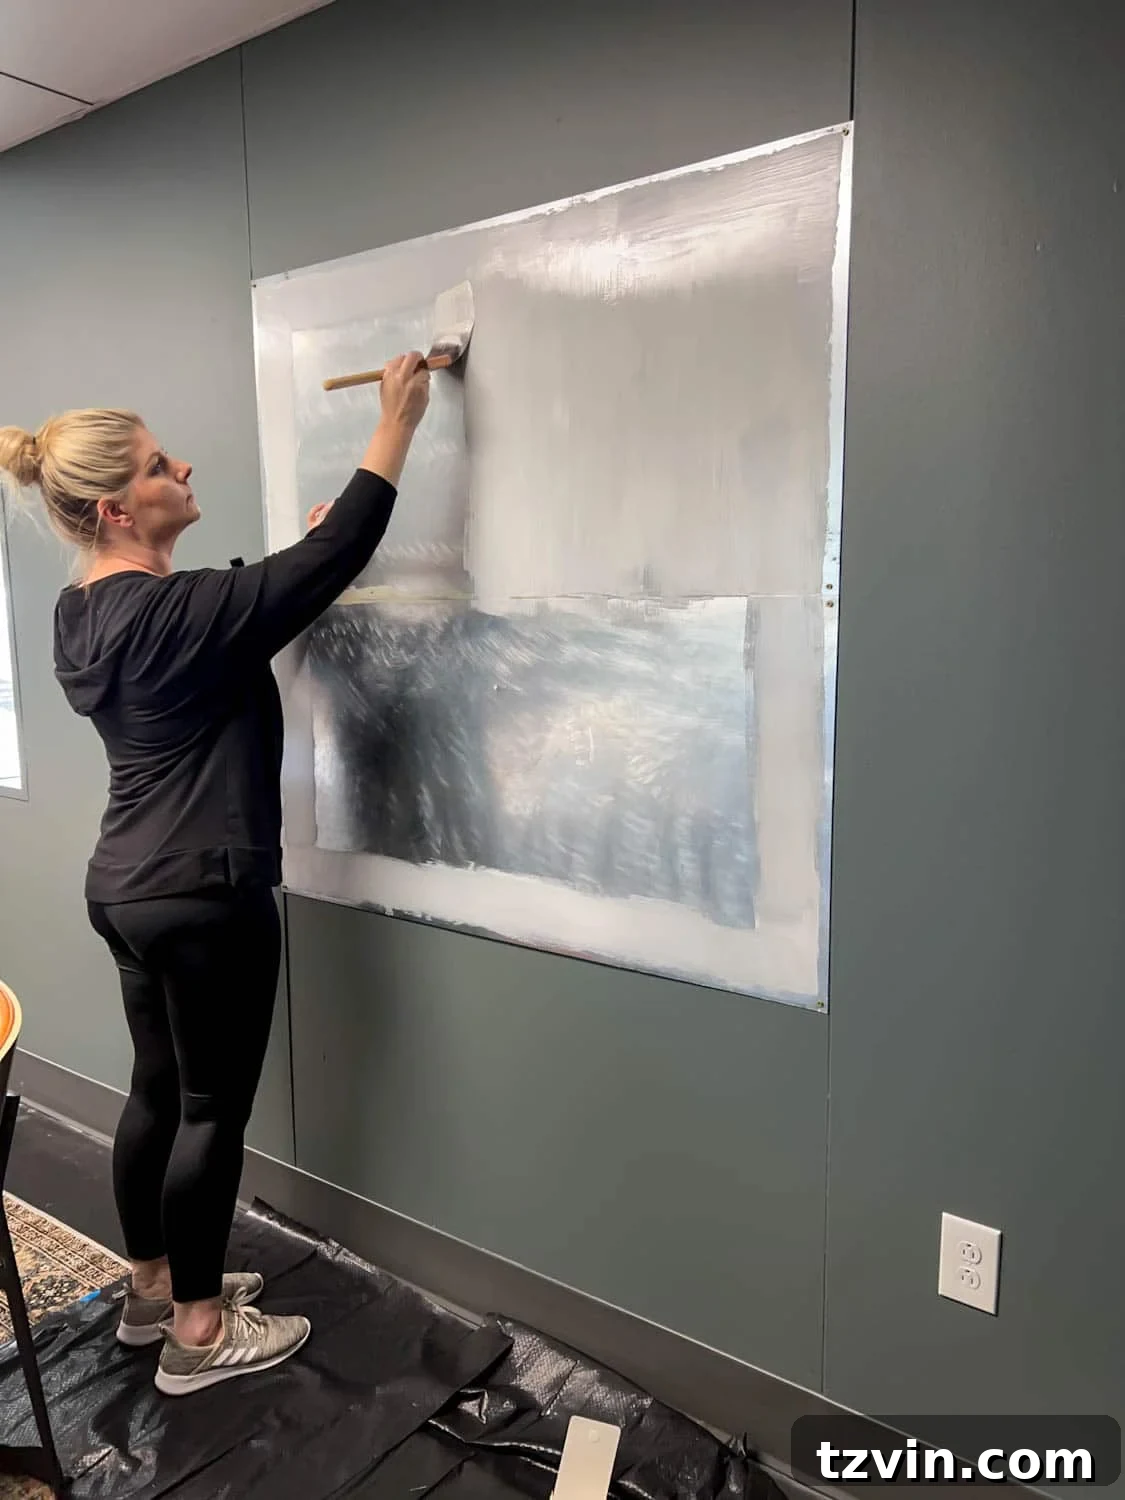
This is a critical step if you plan to use a pre-pasted or paste-the-wall mural or wallpaper. Do not skip it! An oil-based primer, such as Kilz Original, is absolutely necessary when applying traditional pasted wallpaper or murals to a metal surface. The oil base creates a strong bond that water-based primers cannot achieve on slick metal, preventing the wallpaper from failing over time. Simply brush on one even coat across the entire sanded metal surface. Oil-based primers typically dry much faster than water-based alternatives, but always refer to the product’s instructions for recommended drying times. If, however, you opt for a peel & stick wallpaper or a self-adhesive art decal, you can bypass this priming step entirely, making the process a bit faster.
Step 7 – Precisely Cut Your Mural or Poster to Size
Accuracy here is key to a polished finish. Begin by taking precise measurements of your installed sheet metal. From these measurements, subtract approximately one inch from both the width and the height. This intentional gap will create a small, exposed border of metal around your mural, providing a subtle, framed effect that will eventually be covered by the PVC molding. Next, carefully mark and cut your mural, poster, or wallpaper panels to these adjusted dimensions. If your chosen design is a multi-panel mural, pay close attention to the order and orientation of each panel to ensure the pattern aligns seamlessly when applied. Lay out your panels on a clean, flat surface to double-check the visual flow before cutting, and use a sharp utility knife and a straight edge for the cleanest cuts.
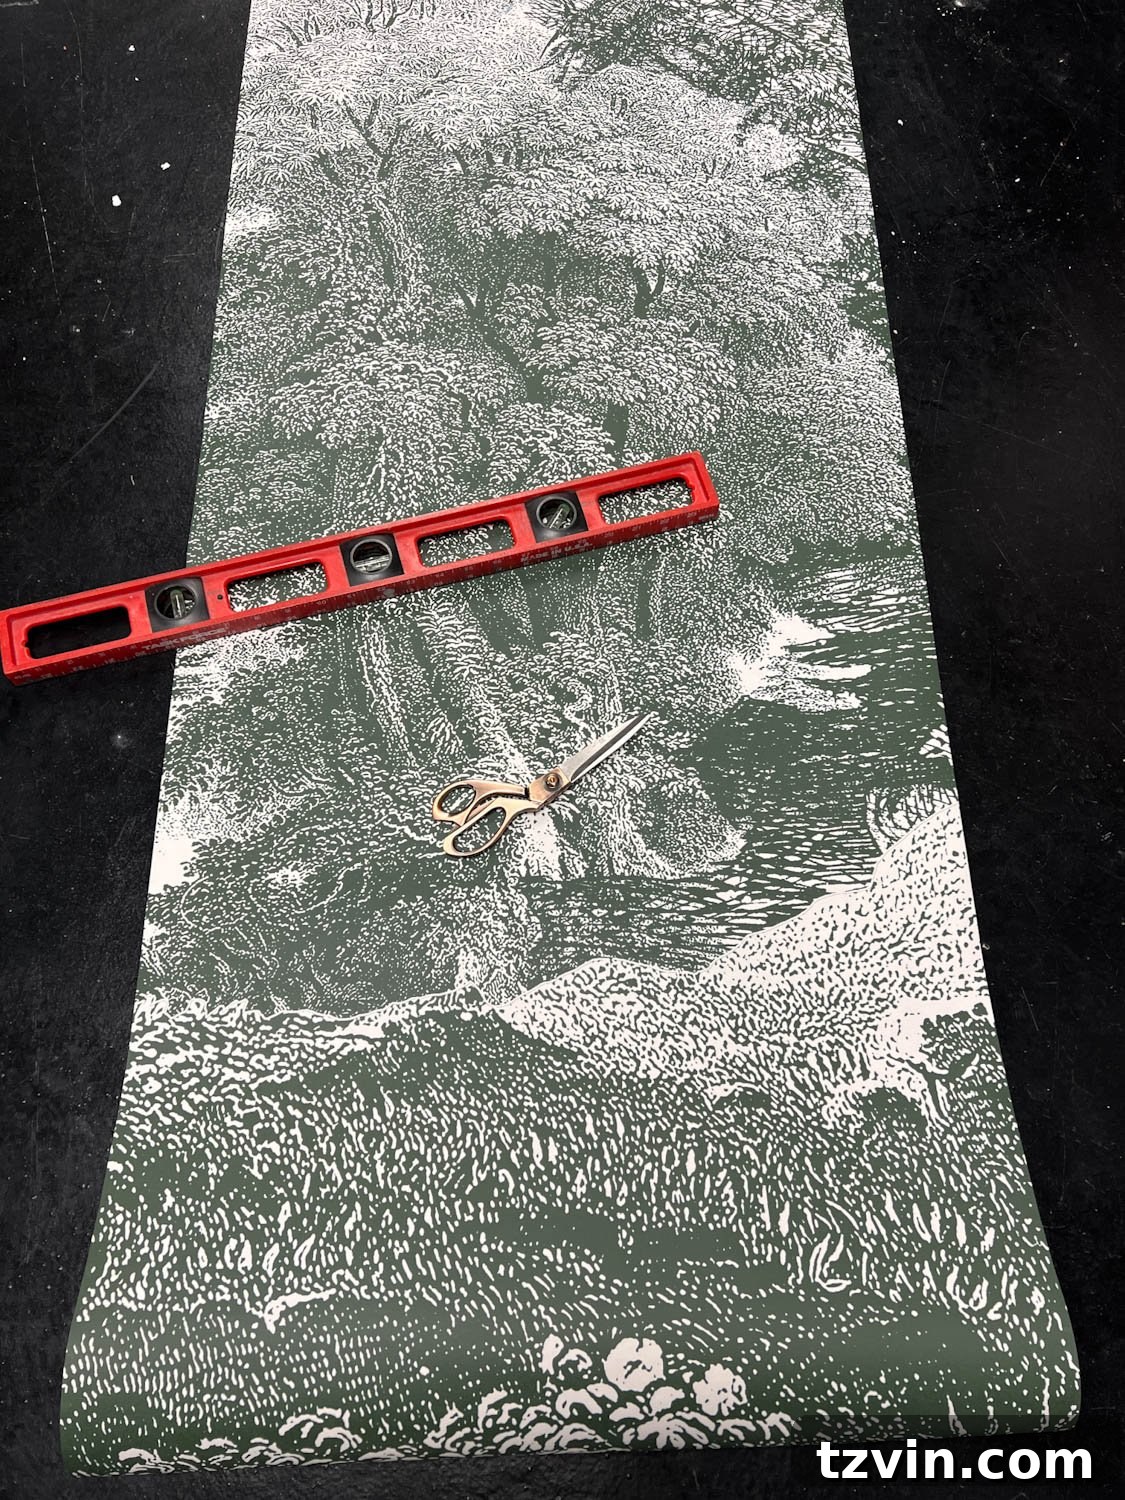
Step 8 – Apply a Generous Layer of Spray Adhesive
With your mural cut and ready, it’s time to prepare the metal surface for adhesion. Ensure the area is well-ventilated, and if possible, mask off surrounding walls to protect them from overspray. Apply a generous and even layer of heavy-duty spray adhesive directly onto the primed metal sheet(s). Aim for full coverage without creating excessive puddles. Allow the adhesive to become tacky for a minute or two, following the product’s specific instructions. This slight tackiness is crucial for a strong, instant grip when you apply the mural, preventing it from sliding around and making the next step much easier to manage.
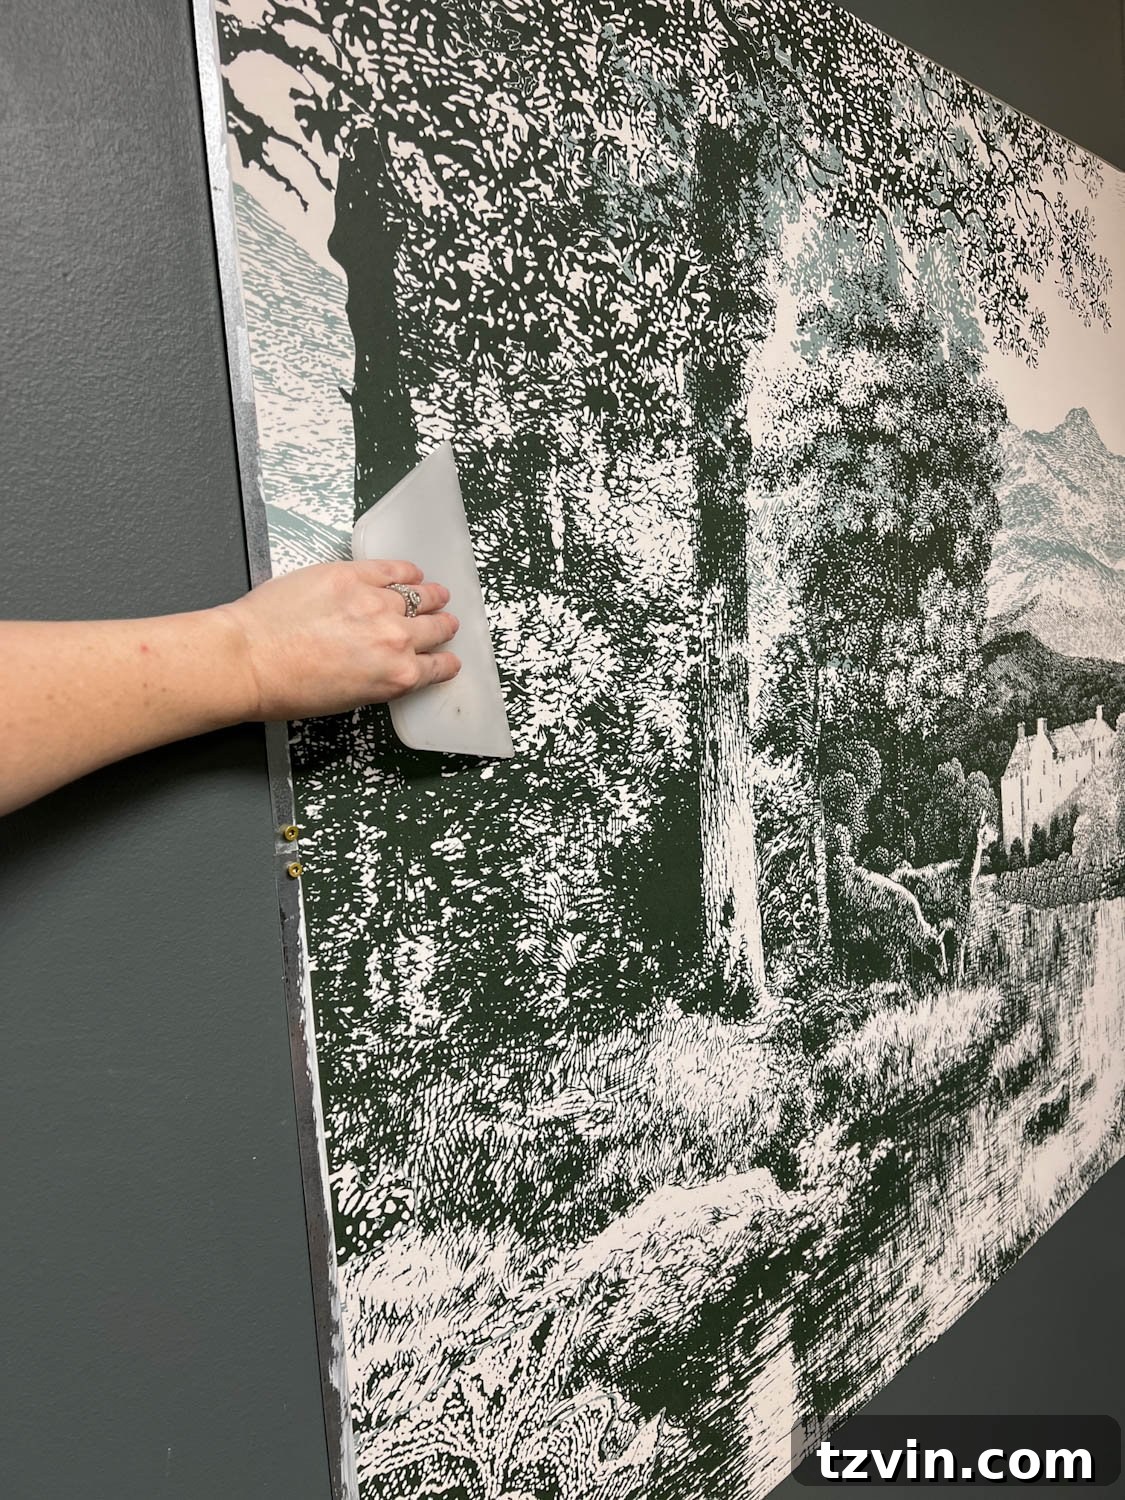
Step 9 – Carefully Adhere Your Mural or Poster
This step is significantly easier and yields better results if you have a partner to assist you. Begin by carefully aligning one edge of your mural panel or poster with the designated border area on the metal sheet. Smooth down that starting edge firmly, ensuring good initial contact with the adhesive. Have your partner gently hold the un-adhered side of the panel slightly lifted away from the metal surface. Working slowly and methodically, use a wallpaper smoothing tool to gradually press the panel into place, moving from the center outwards. This technique helps to push out any trapped air bubbles underneath the paper, ensuring a perfectly smooth and flat finish. If you’re working with multiple panels, repeat this process for each subsequent panel, paying meticulous attention to lining up the patterns at the mural seams to create a continuous, cohesive image. Take your time with this step, as a smooth, well-aligned application is key to achieving a professional, art-like appearance.
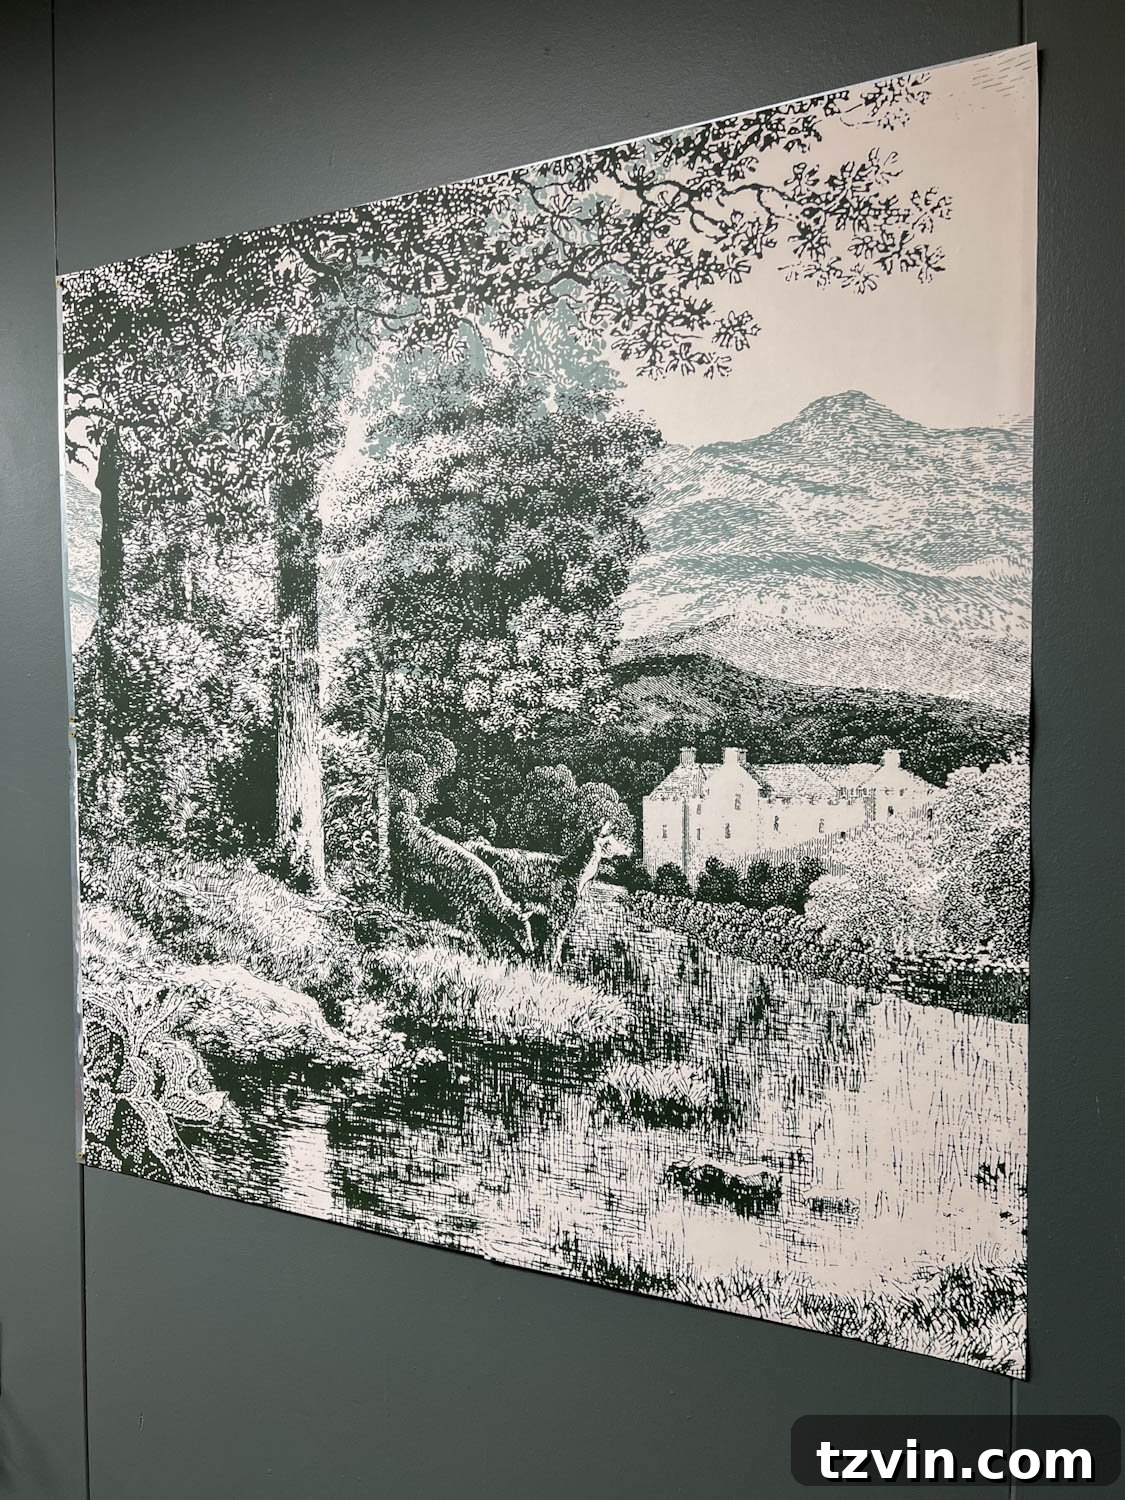
Step 10 – Craft and Attach Your Elegant Frame
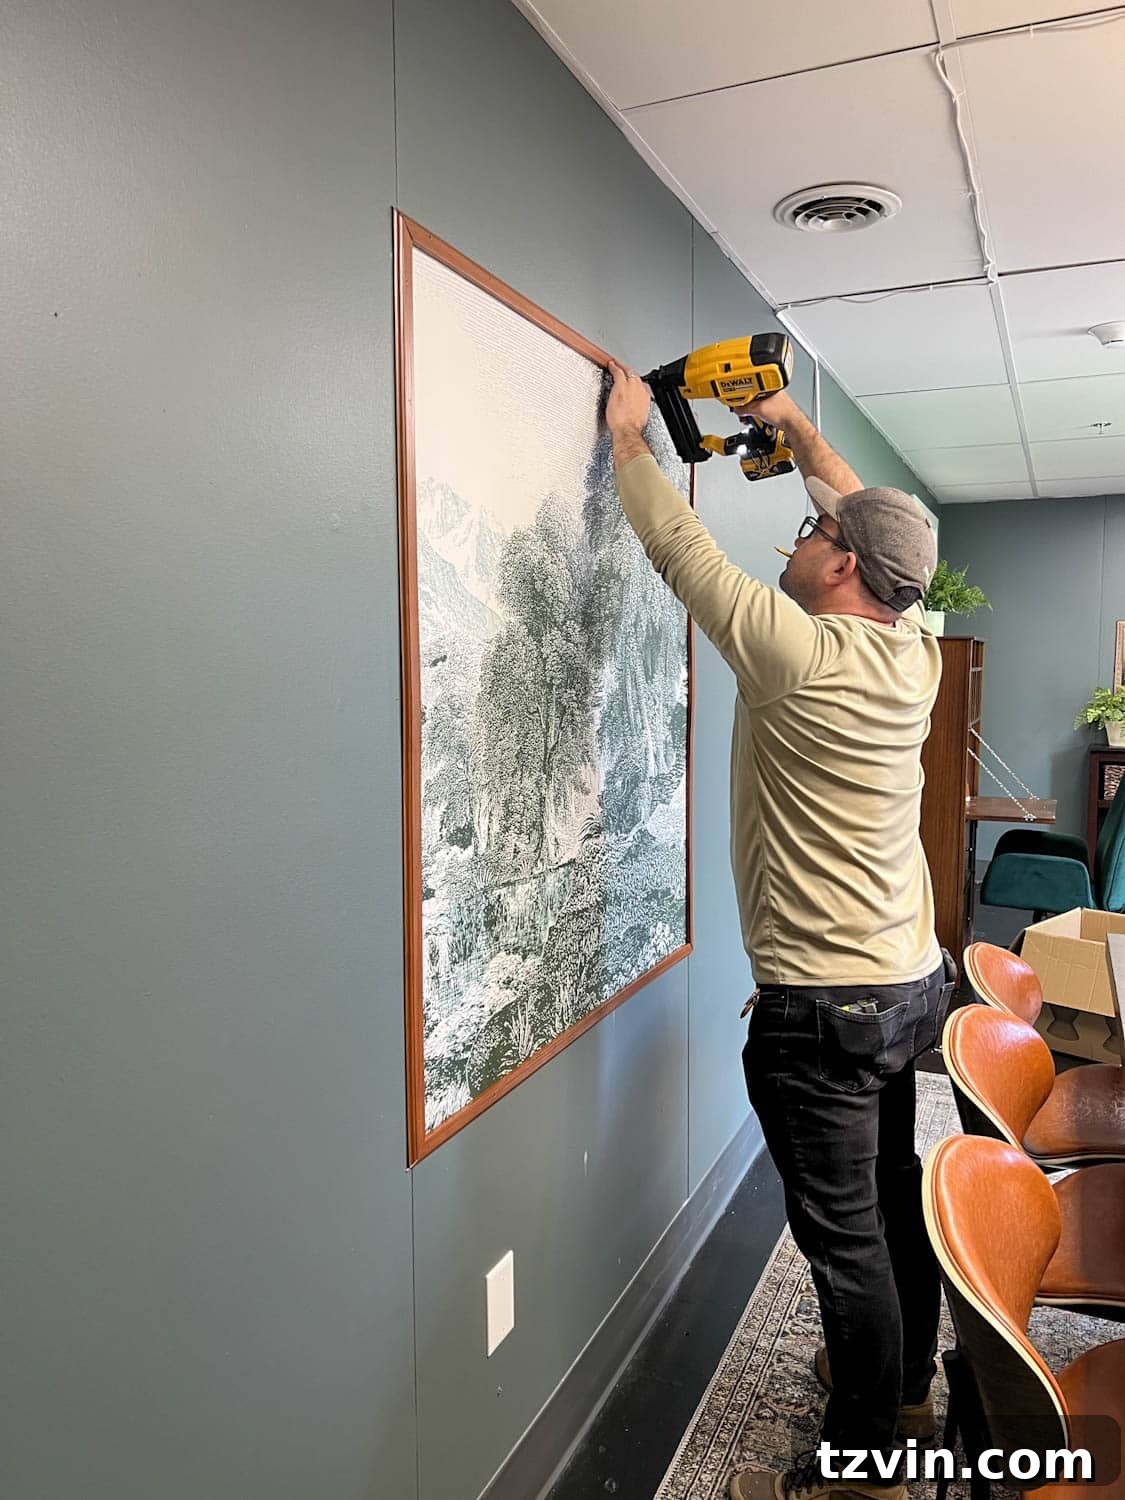
The frame is what truly transforms your memo board into a piece of art. Begin by accurately measuring the perimeter of your wallpapered metal sheet. Transfer these measurements to your PVC composite molding. Using a miter saw, carefully cut the molding pieces at precise 45-degree angles. This will allow the pieces to join together perfectly, forming clean, professional-looking corners, just like a traditional picture frame. A miter saw offers the most accurate cuts, but if you don’t have one, a hand saw with a miter box can achieve similar results with a little more effort. Once all your frame pieces are cut, position them around the perimeter of the metal sheet, ensuring the corners meet perfectly. Then, use a brad nailer to securely attach the molding strips to the wall, effectively framing your artwork. If you don’t own a brad nailer, a hammer and small brad nails will also work, just be mindful to hammer gently to avoid damaging the molding.
Step 11 – Install Your Optional Picture Light for Added Flair
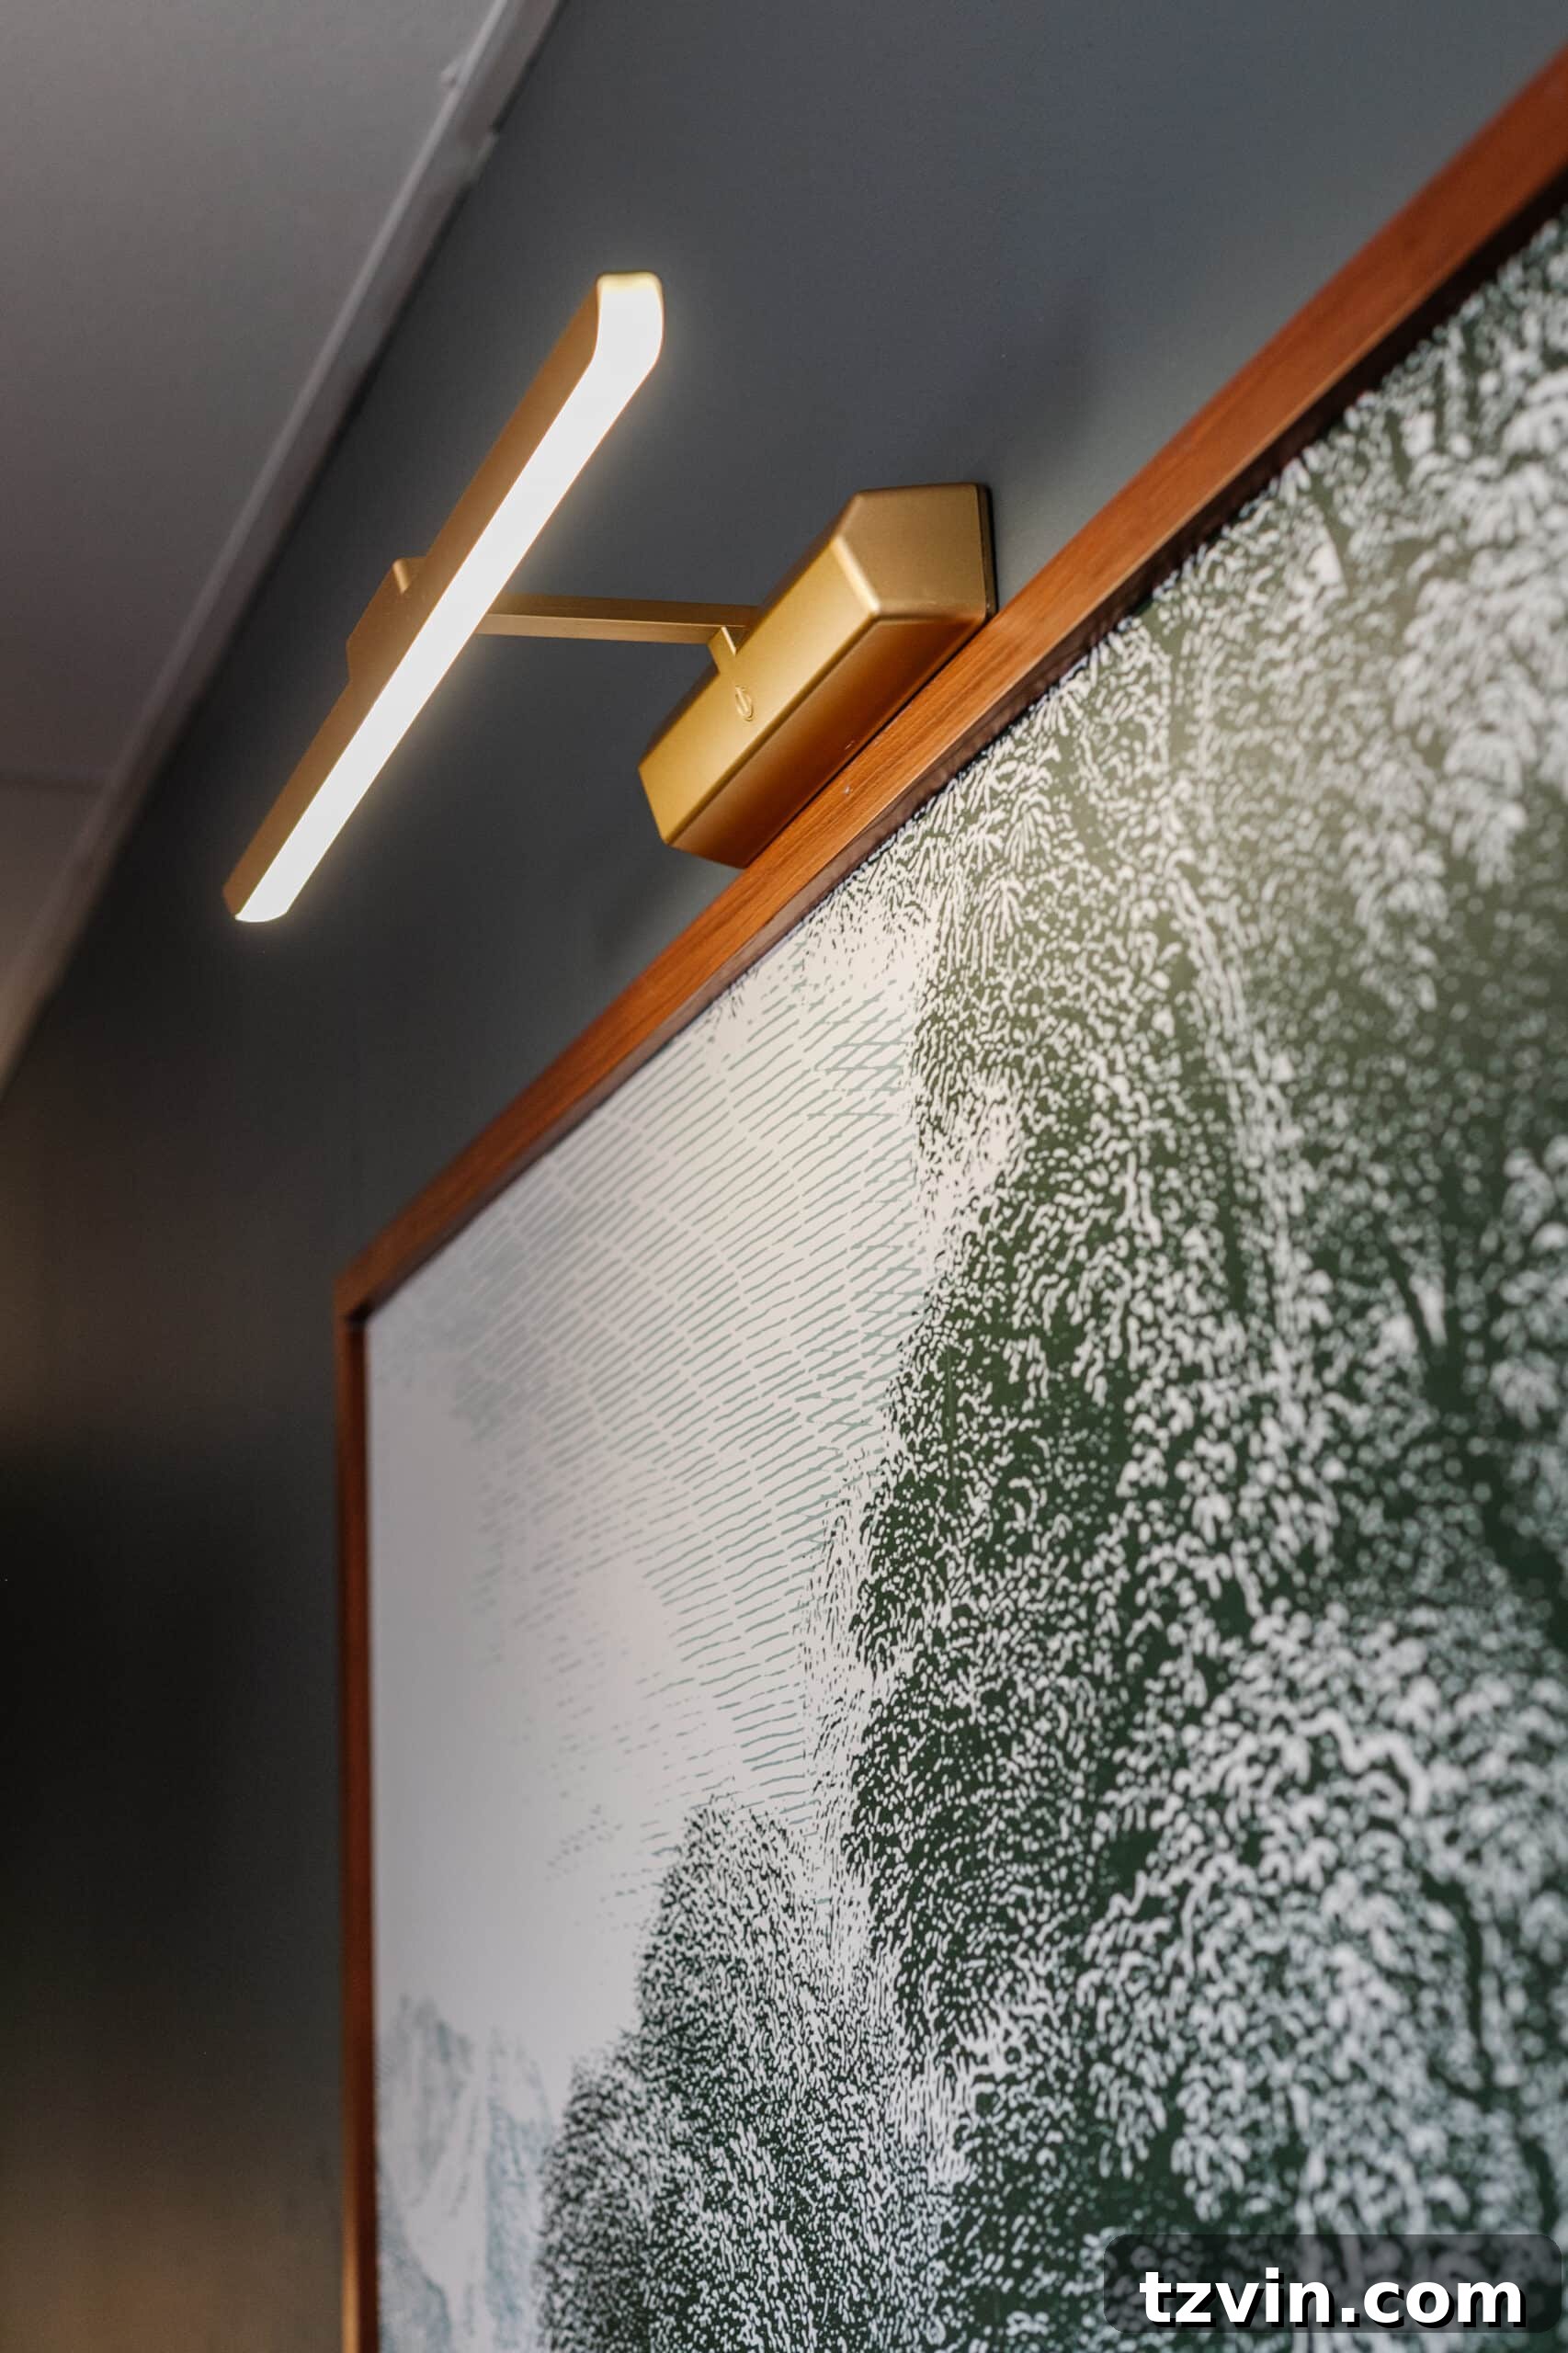
While optional, adding a picture light truly serves as the crowning touch, elevating your magnetic memo board from a functional item to a distinguished piece of wall art. There’s an undeniable charm and importance a picture light lends to any display. Beyond its aesthetic appeal, it also provides practical illumination, making any notes or documents posted on the board easier to read. For ultimate flexibility and ease of installation, consider a wireless picture light. When using wireless options, we highly recommend investing in rechargeable batteries to ensure continuous, eco-friendly operation. If you prefer the reliability of electricity but can’t hardwire a light, a plug-in picture light combined with cord covers offers a sleek solution, effectively concealing unsightly wires and maintaining a clean, integrated look. Choose a style and finish that complements your frame and the overall vintage aesthetic of your new functional art piece.
Explore the Convenience of Peel and Stick Wall Art
If the steps involving priming metal and meticulously cutting and adhering wallpaper panels seem a bit too daunting or time-consuming, there’s a fantastic, faster alternative: peel and stick wall art! This method simplifies the process considerably while still allowing for a highly customized and beautiful outcome. These self-adhesive wall stickers offer unparalleled convenience and come in an incredible array of designs.
Many options are available as vintage art reproductions from archives, printed as high-quality, self-adhesive decals. You can simply place these directly onto a plain metal sheet or even repurpose an existing memo board or old art canvas as a shortcut. This means less prep work, no messy adhesives to manage, and the ability to update your look with ease.
Beyond new installations, peel and stick art is an ingenious way to refresh existing decor. Do you have old farmhouse signs that no longer quite fit your evolving style? Instead of discarding them, simply stick these art decals directly on top of the signs. Instantly, you can transform dated pieces into fresh, stylish wall art, giving them a new lease on life and seamlessly integrating them into your refreshed aesthetic. This not only saves money but also promotes sustainable decorating practices by repurposing what you already own. The versatility of peel and stick art makes it an invaluable tool for quick, impactful decor transformations.

Shop the Art
And there you have it! This DIY magnetic memo board art project, while involving a few steps and some meticulousness, is incredibly rewarding and far less complicated than it might initially seem. Any “tedious” moments, particularly those involving wallpaper application, are well worth the effort for the stunning, functional result. The beauty of this piece lies in its hidden utility, allowing your space to remain elegant and uncluttered while still providing a convenient spot for all your important notes.
To complete the look and maximize functionality, I highly recommend these gold magnetic clips. They are not only incredibly pretty but also perfectly designed to hold your memos securely without detracting from the overall artistic aesthetic. Their sleek design integrates seamlessly, maintaining the upscale feel of your new wall art.
Completing this project has sparked a flurry of new ideas, prompting me to rethink other organizational areas in our home. Our existing kitchen notice board and command center wall are now under consideration for a similar artistic upgrade. Imagine integrating a dry erase board version by simply placing a sheet of plexiglass over the art? The possibilities for combining beauty and function are truly exciting, and I’m thoroughly enjoying exploring these innovative home decorating solutions. Perhaps a complete transformation is in order for our own command center. The creative wheels are definitely turning!
Discover More Inspiring DIY Large Wall Art Ideas
If you’re brimming with creative energy after this project and looking for more ways to enhance your home with custom, large-scale wall art, you’re in luck! Here are some additional DIY ideas that offer unique ways to fill your blank walls with personality and style:
- DIY Large Scale Wall Art from a Shower Curtain: An ingenious and budget-friendly way to create oversized art using beautiful shower curtain designs.
- DIY Wall Art on Scrap Plywood: Repurpose scrap materials into rustic or modern art pieces, often incorporating free printables for stunning results.
- Audubon Bird Art Gallery Wall: Curate a sophisticated gallery wall with timeless charm using free printable Audubon bird art, perfect for living rooms or studies.
- Antique Painting Mural Wallpaper in the Dining Room: Transform an entire room with the dramatic elegance of a large-scale antique painting mural.
- DIY Designer Knock-Off Textile Art from a Recycled Rug: Create high-end looking textile art by repurposing an old rug, adding texture and warmth to your walls.
- Mirror Gallery Wall from Thrifted Frames: Assemble a unique and reflective gallery wall by sourcing and revitalizing vintage or thrifted frames with mirrors.
- 20 Creative DIY Wall Decor Ideas for Your Blank Walls: A comprehensive collection of diverse and inspiring projects to tackle any empty wall space.
Stay tuned! In just a couple of days, we’ll be sharing the full reveal of this entire office and conference room makeover at The Cottage women’s shelter. It’s been a journey of passion and dedication, with a lot of hard work still ahead, but knowing the impact it will have makes every effort 100% worth it. I absolutely cannot wait to share the finished space with you!