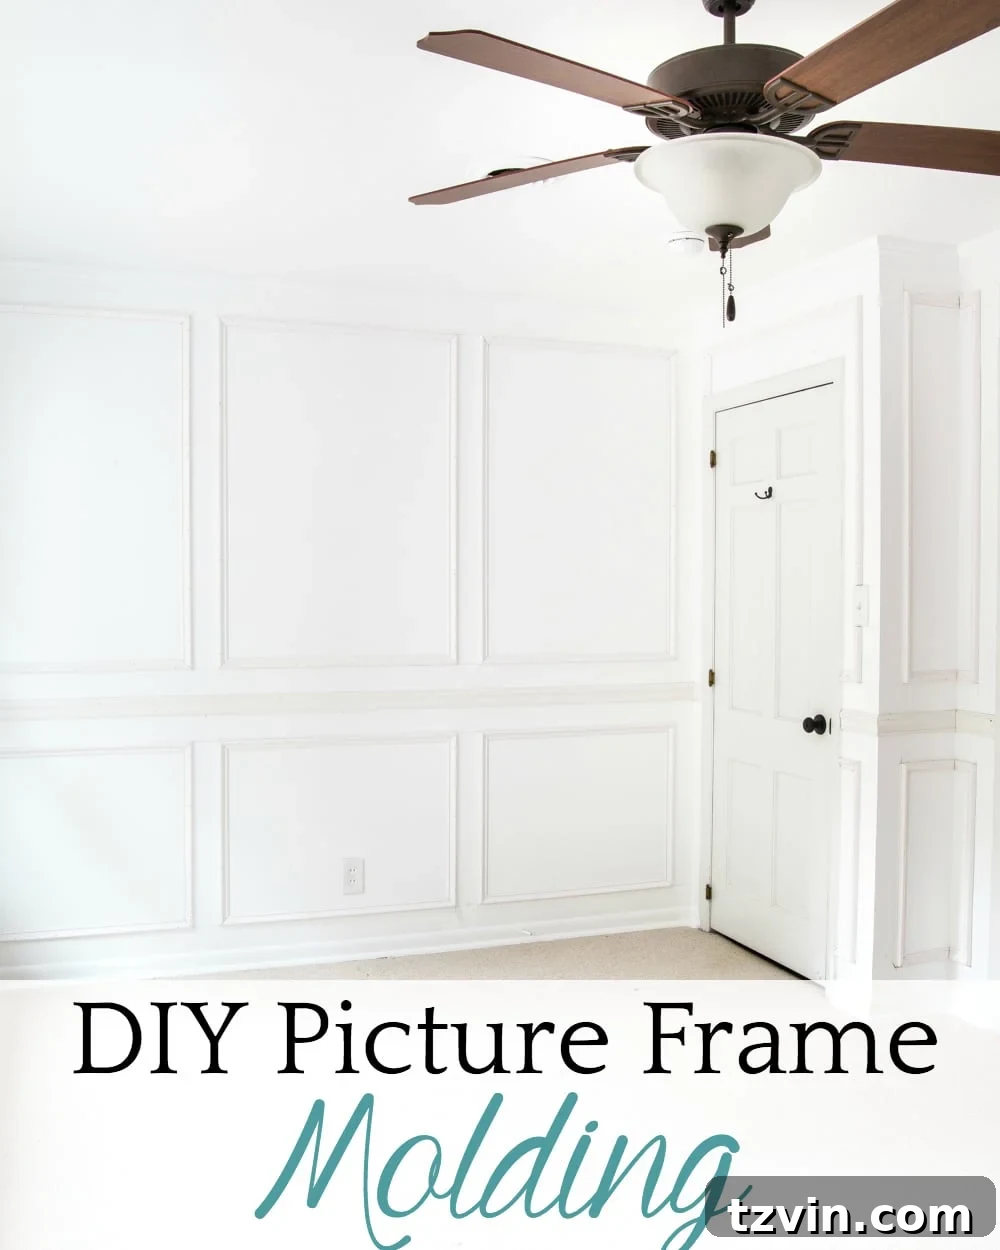
DIY Picture Frame Molding Wainscoting: A Comprehensive Step-by-Step Guide with Smart Shortcuts
Get ready, DIY enthusiasts! The much-anticipated nursery makeover has officially begun, and we’re diving straight into one of its most transformative elements: elegant picture frame molding wainscoting. This project promises to elevate any room, adding architectural interest and a touch of classic charm that feels both custom and high-end.
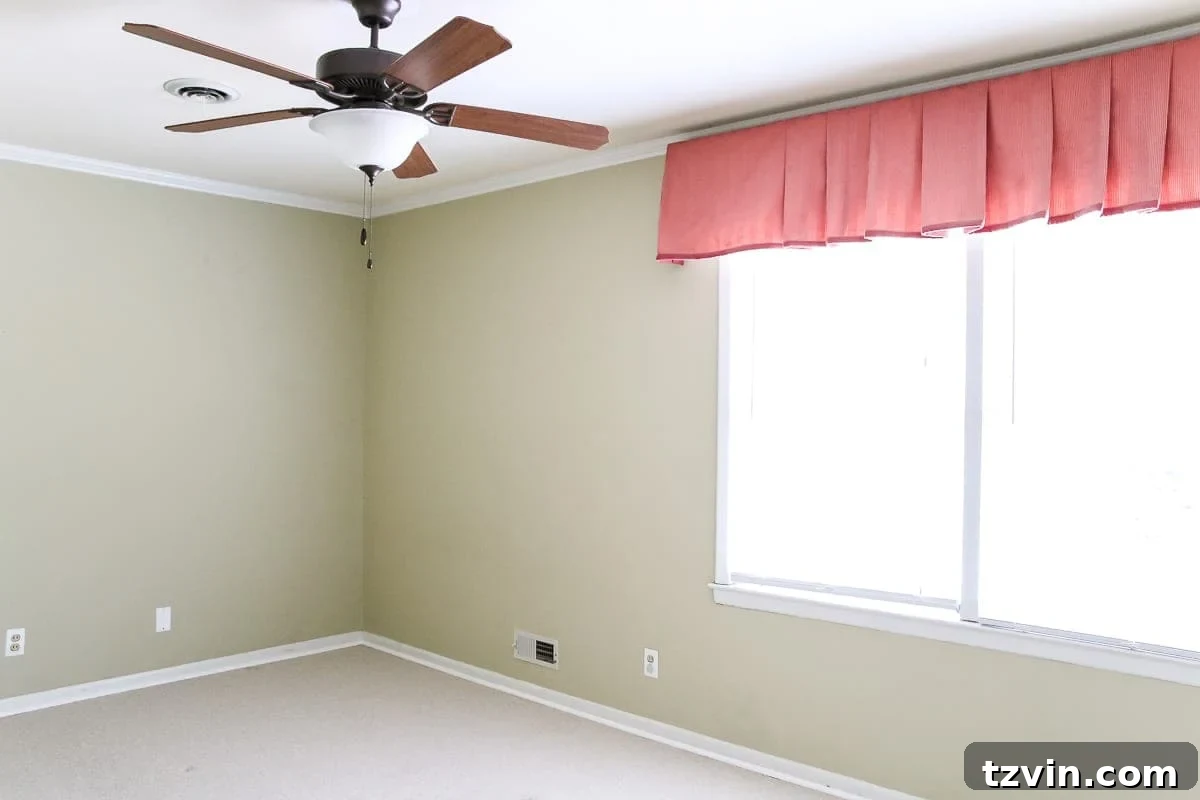
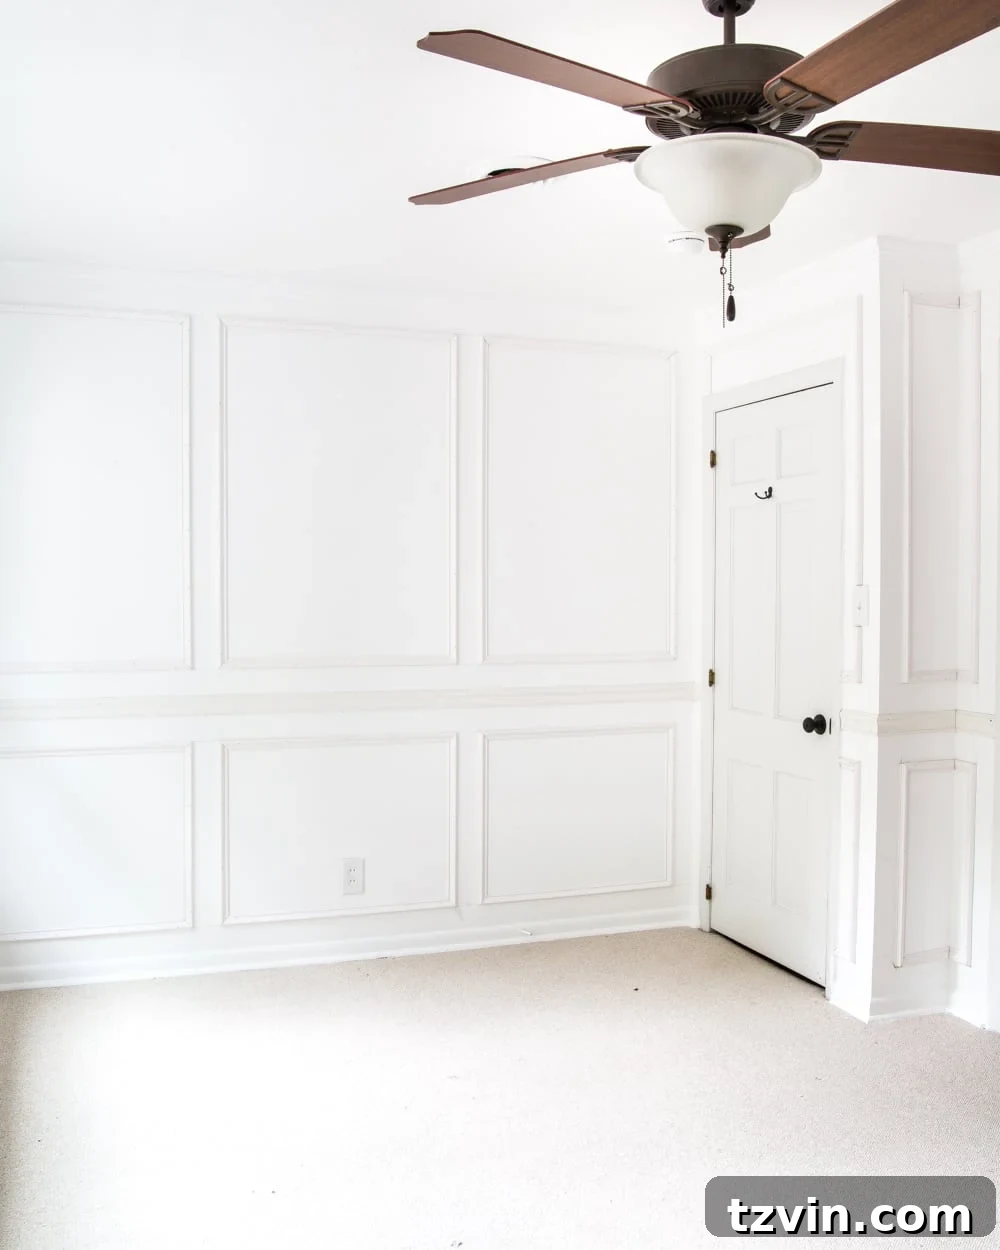
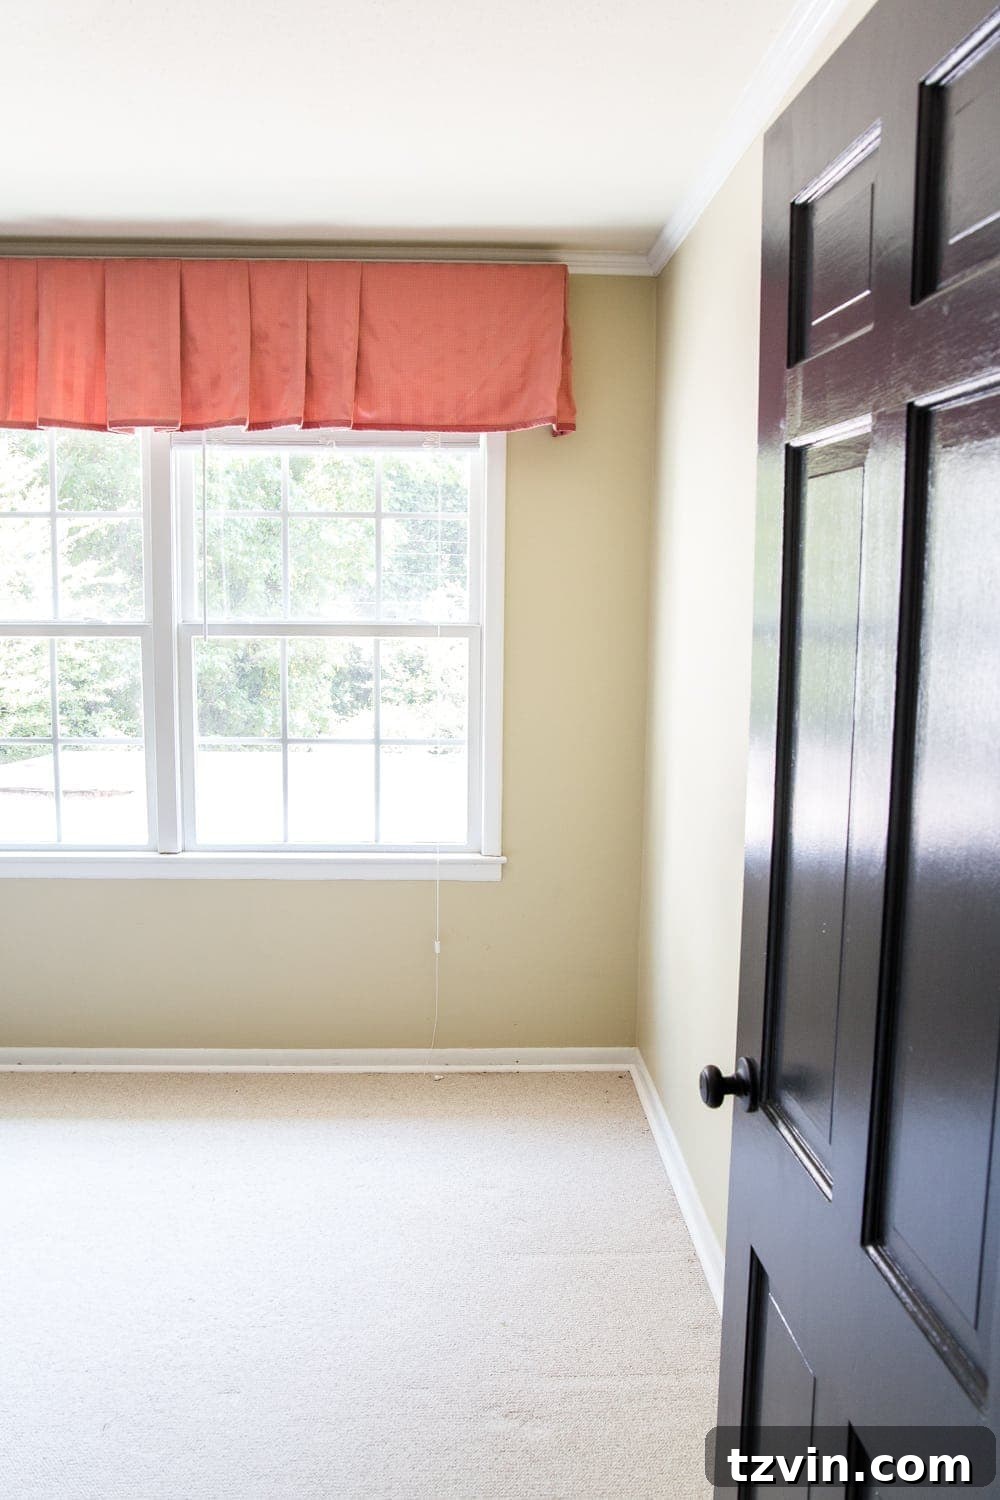
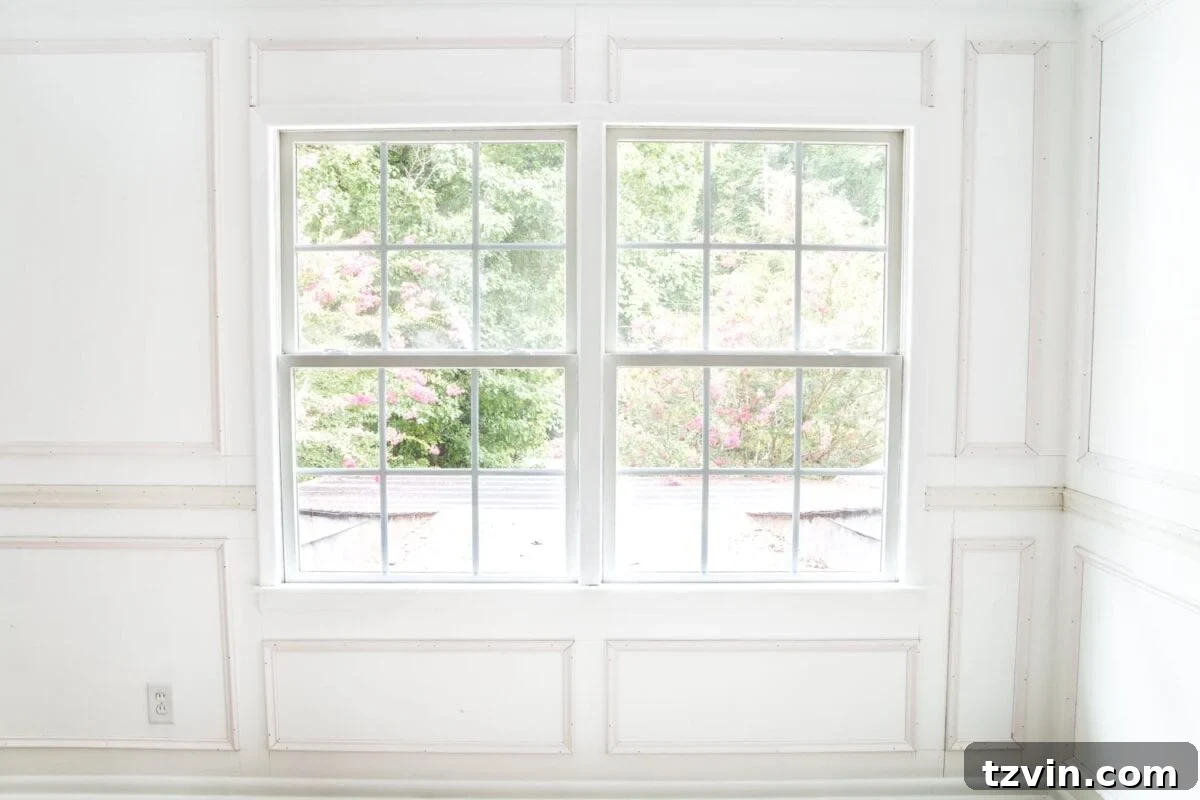
As I envisioned the perfect nursery space, crisp white picture frame molding (often referred to interchangeably with wainscoting) continuously played a starring role in my mind’s eye. It’s a design choice that brings sophistication and structure, turning plain walls into a canvas of refined beauty. The transformation is remarkable, as you can see from our “before” photos.
Confession time: I initially felt a significant wave of intimidation when contemplating this project. As a former English teacher, my relationship with numbers and precise measurements has always been… complicated, to say the least. And let’s be honest, molding installation requires a fair bit of mathematical precision! However, my husband Robert and I tackled this project together, and I’m thrilled to report that it was far less daunting than I had imagined. In just two days, we transformed the nursery walls, proving that with a clear plan and the right tools, anyone can achieve this stunning DIY.
Why Choose Picture Frame Molding Wainscoting?
Picture frame molding, or decorative wainscoting, offers numerous benefits beyond just aesthetics. It instantly upgrades a room, providing:
- Architectural Interest: It adds depth and character to otherwise flat walls, making a room feel more custom and thoughtfully designed.
- Visual Definition: It can clearly define the lower portion of a wall, creating a sophisticated backdrop for furniture and decor.
- Durability and Protection: The chair rail and lower molding panels offer a layer of protection against scuffs and daily wear, especially useful in high-traffic areas or a child’s room.
- Increased Home Value: Custom millwork and detailed trim work are highly sought after and can significantly boost the perceived value of your home.
- Versatility: While traditionally painted white, picture frame molding can be customized with various paint colors to match any interior design scheme.
Essential Tools and Materials for DIY Picture Frame Molding
Before diving into the steps, gathering all your supplies is crucial. Having everything on hand will ensure a smooth and efficient installation process. (Some affiliate links are provided below for your convenience.)
- Levels: A long level (4-6 ft) is indispensable for marking long horizontal lines, and a short level (2 ft) is perfect for smaller sections and individual frames. Accuracy here prevents crooked molding.
- Carpenter Pencil: For clear and visible markings on your walls.
- Spacer Board (3/8″x4″x2′): This is our secret weapon for a significant shortcut! While labeled 4 inches, this particular board is technically 3.5 inches wide, which we factored into our calculations. Using a consistent spacer eliminates guesswork and speeds up layout.
- Chair Rail Molding: Choose a profile and width that complements your room’s aesthetic. We opted for this specific design for its classic appeal.
- Coping Saw: Essential for creating seamless inside corners on your chair rail. It allows for a tight, professional fit that a simple miter cut can’t achieve on its own.
- Loctite Construction Adhesive: Provides a strong bond between the molding and the wall, reinforcing the brad nails and preventing future separation or gaps.
- 1 1/4″ Brad Nails: The primary fastener for securing the molding to the wall.
- 11/16″ x 1 3/8″ Finger-Jointed Molding: This is the specific trim we used for the “picture frames.” Finger-jointed molding is ideal as it’s less prone to warping and comes pre-primed, saving you a step.
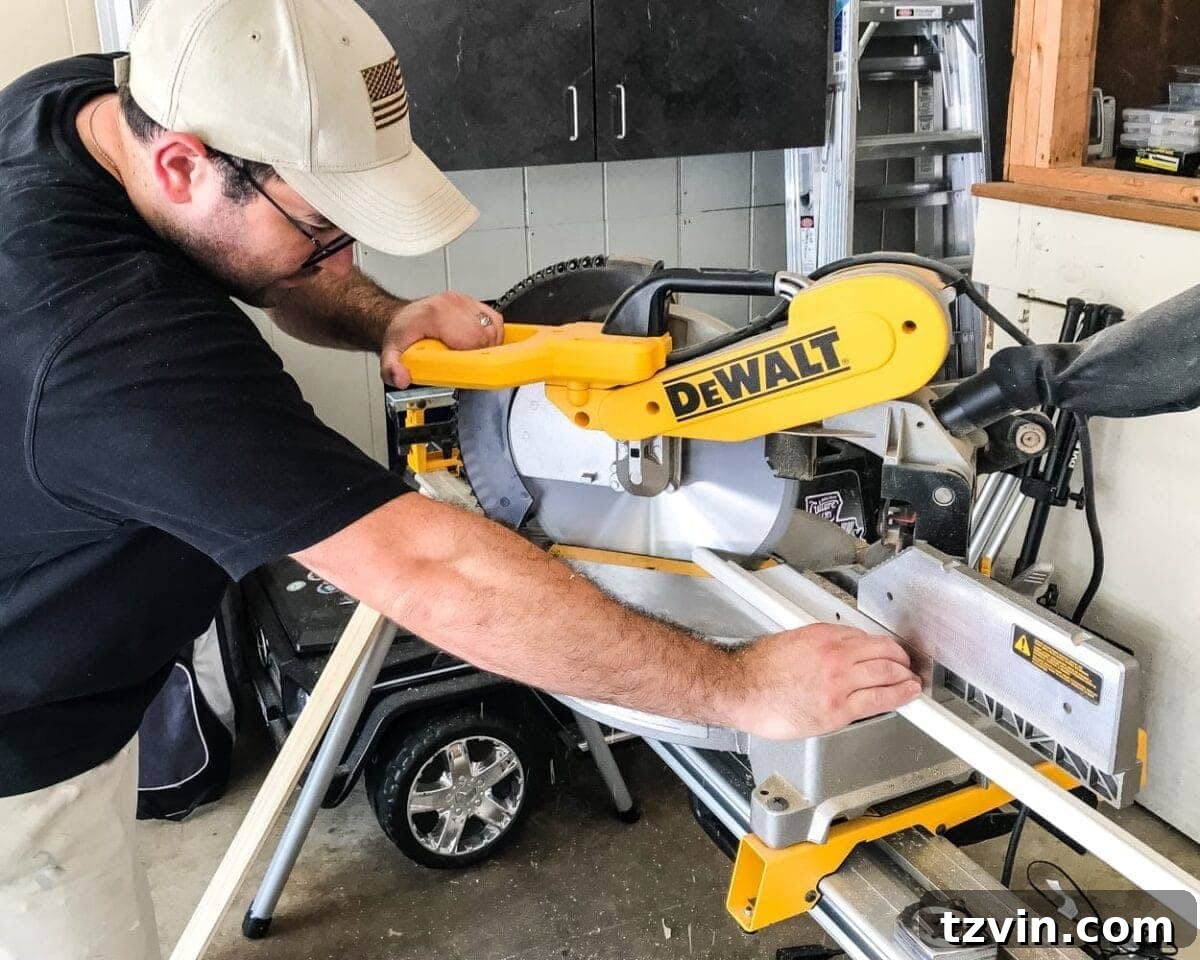
- Miter Saw: An absolute necessity for accurate, angled cuts. We highly recommend this model for its reliability and precision.
- Tape Measure: For all your precise length measurements.
- Pneumatic Brad Nailer: Speeds up installation considerably and provides consistent nail depth. We love ours for its ease of use.
- Safety Glasses and Hearing Protection: Always prioritize safety when using power tools.
- Caulk Gun and Paintable Caulk: For filling gaps and seams after installation, ensuring a flawless, professional finish.
- Wood Filler: To fill nail holes before painting.
Part 1: Installing the Chair Rail Molding
The chair rail acts as the top border for your wainscoting and sets the foundation for your picture frame molding. Precision here is key.
- Measure Wall Widths: Begin by carefully measuring the width of each wall where the chair rail will be installed. This helps in pre-planning your cuts and minimizing waste.
- Determine Chair Rail Height: We chose a standard height of 36 inches from the floor for our chair rail. Using your tape measure, mark this height at several points along each wall. Consistency is vital for a level installation.
- Draw a Level Line: Connect your height marks with a continuous, perfectly horizontal line using your long level and carpenter pencil. This line will guide the top edge of your chair rail around the entire room. Take your time to ensure this line is straight and true.
- First Chair Rail Piece – Straight Cut: For the first wall, measure the exact width and cut your chair rail piece straight (90-degree angle) on both ends using the miter saw. This piece often starts in a corner or butts against a door frame.
- Apply Adhesive and Position: Apply a continuous bead of Loctite construction adhesive to the back of the cut chair rail piece. Carefully align the top edge of the molding with the pencil line you drew on the wall and firmly press it into place.
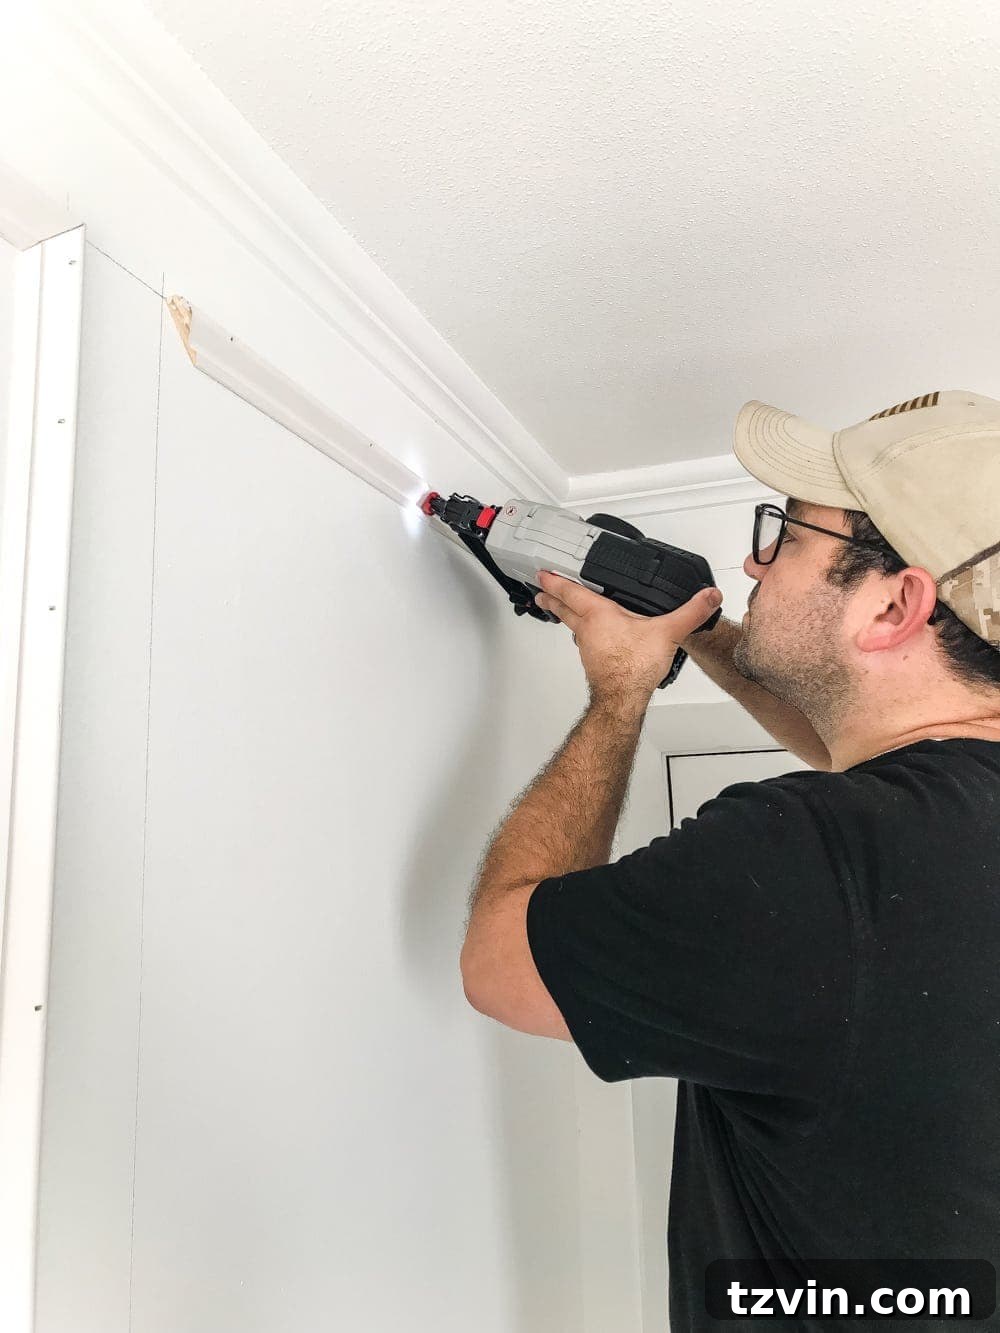
- Secure with Brad Nails: Using your pneumatic brad nailer, secure the chair rail to the wall, placing nails every 12-16 inches along the top and bottom edges. Ensure the nails penetrate into wall studs for the strongest hold, if possible.
- Next Chair Rail Piece – Miter and Cope: For subsequent pieces, especially those meeting an inside corner, Robert utilized a combination of miter and cope cuts for a superior fit. Measure the next wall segment. On one end, cut the chair rail at a 45-degree angle (usually an outside miter for an inside corner, or a straight cut if meeting a door frame).
- Coping the Joint: This is where the coping saw comes in. Instead of simply butting two 45-degree mitered pieces together in an inside corner (which often leaves gaps as walls are rarely perfectly square), coping involves cutting the profile of one piece to perfectly fit against the face of the adjoining piece. Robert carefully carved out the profile of the 45-degree cut using the coping saw, creating a snug, gap-free joint against the already-hung chair rail. This technique is a hallmark of professional trim work.
- Repeat Installation: Continue this process around the room: measure, cut (miter and cope where necessary), apply Loctite adhesive, and secure with the pneumatic brad nailer until all chair rail pieces are installed.
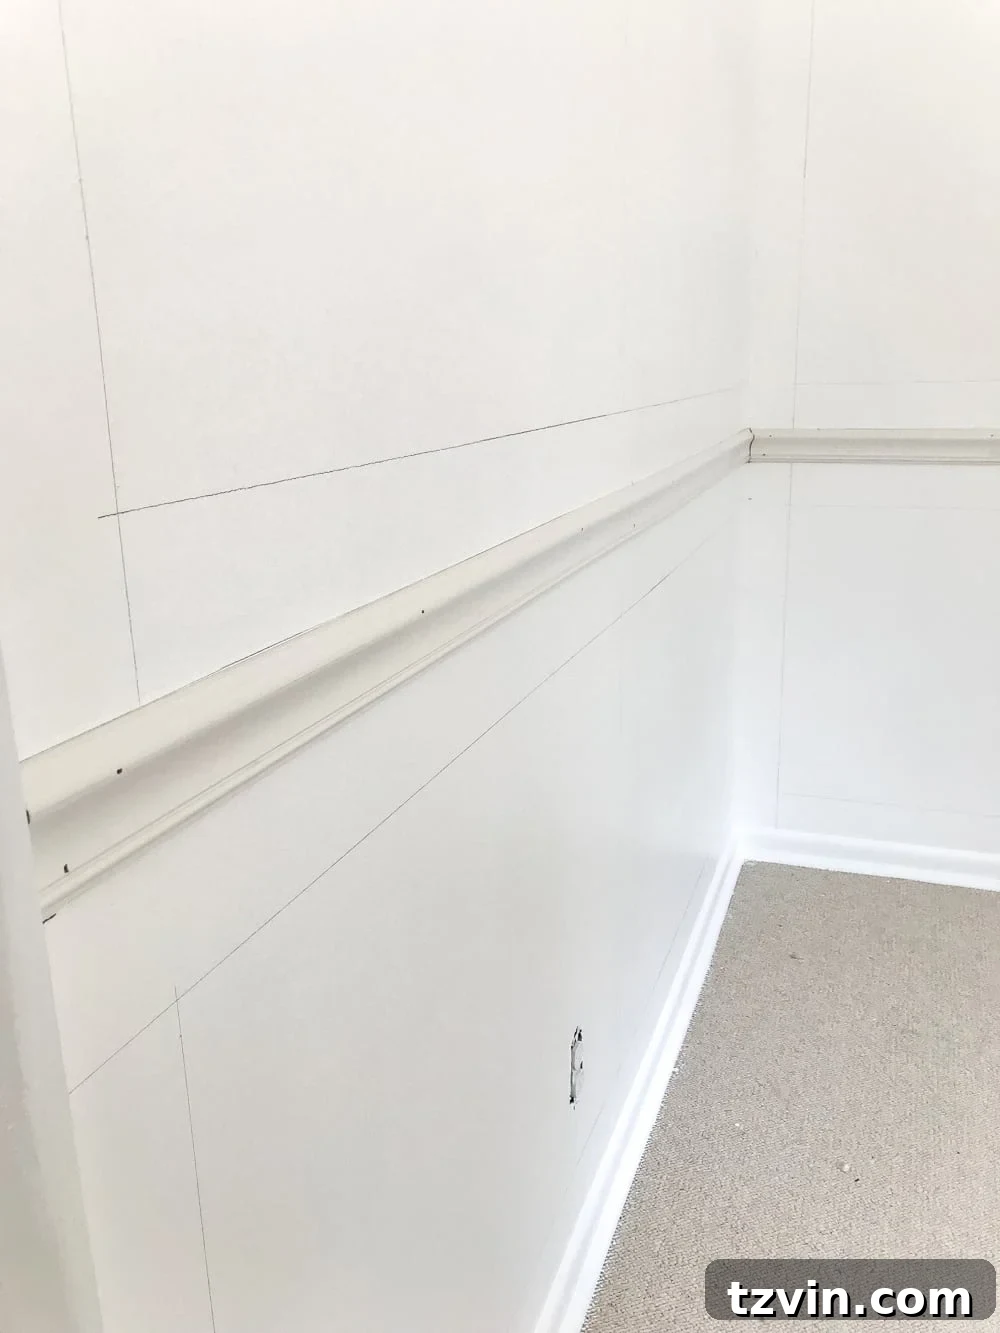
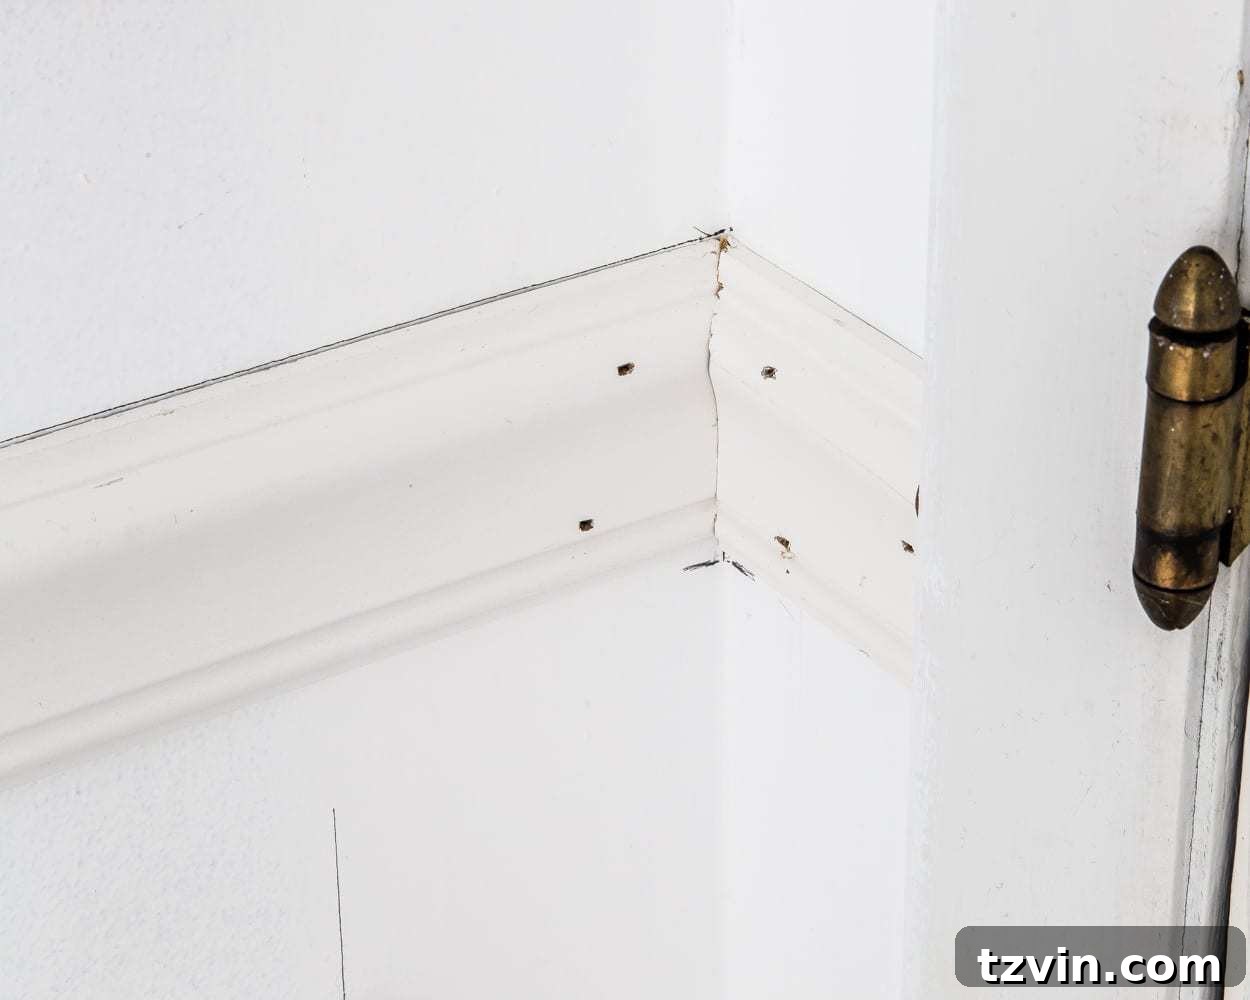
Part 2: Designing and Installing the Picture Frame Molding
Once your chair rail is firmly in place, it’s time for the decorative picture frames. This stage involves more layout and measurement, but our spacer shortcut will make it significantly easier.
- Determine Frame Layout per Wall: This is a crucial design step. Decide how many picture frames you want on each wall. While it’s ideal for frames to appear uniform, walls of different widths will necessitate slightly different frame dimensions. The goal is visual consistency rather than exact uniformity across every single frame in the room.
- For our 123-inch wall with 3 frames and 3.5-inch spacers (one on each end, two between frames = 4 vertical spaces):
123" - (3.5" x 4) / 3 = 123" - 14" / 3 = 109" / 3 = 36.3" per frame. - For an 81-inch wall with 2 frames (3 vertical spaces):
81" - (3.5" x 3) / 2 = 81" - 10.5" / 2 = 70.5" / 2 = 35.25" per frame. - For a 94-inch wall with 2 frames (3 vertical spaces):
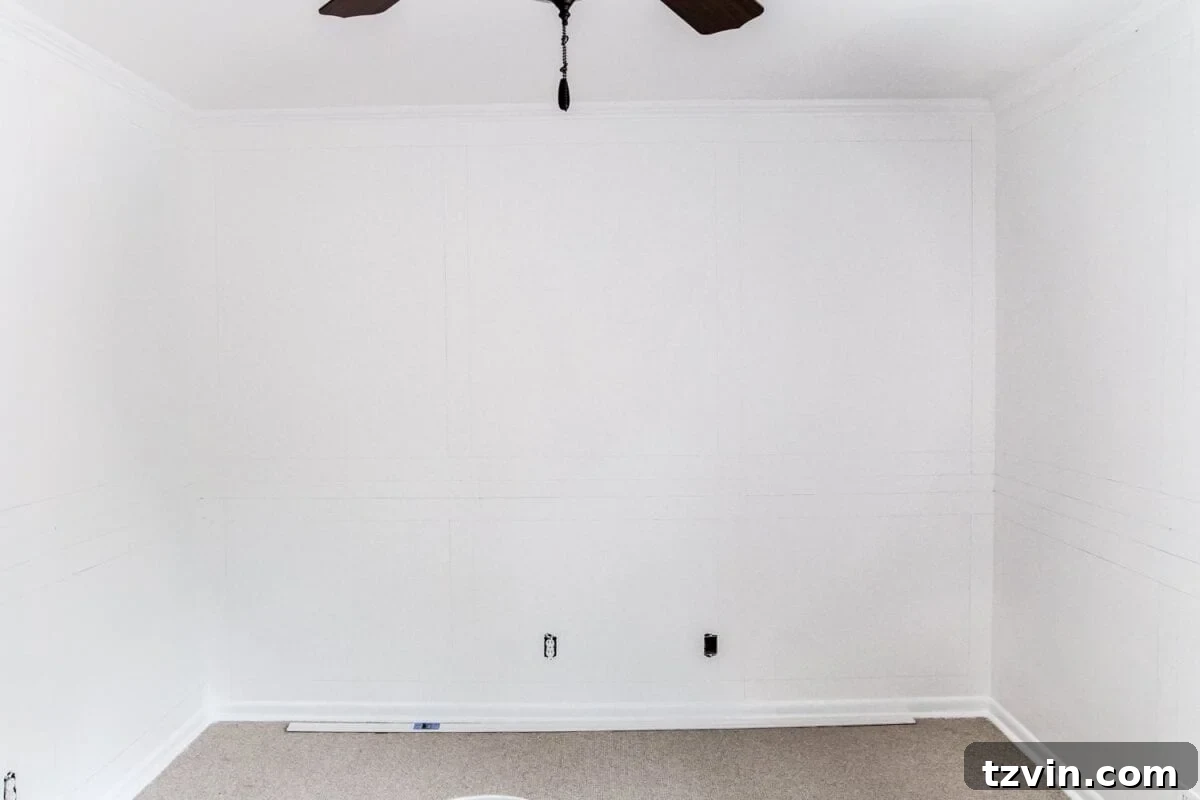
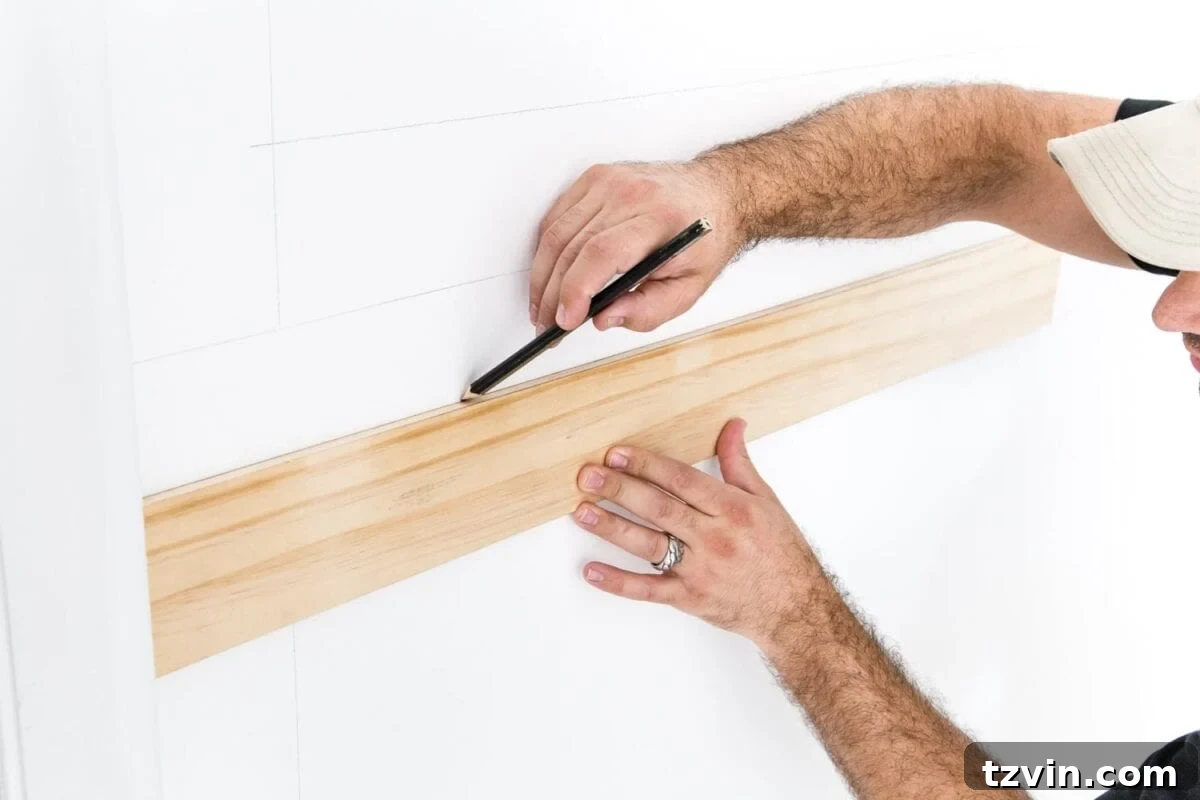
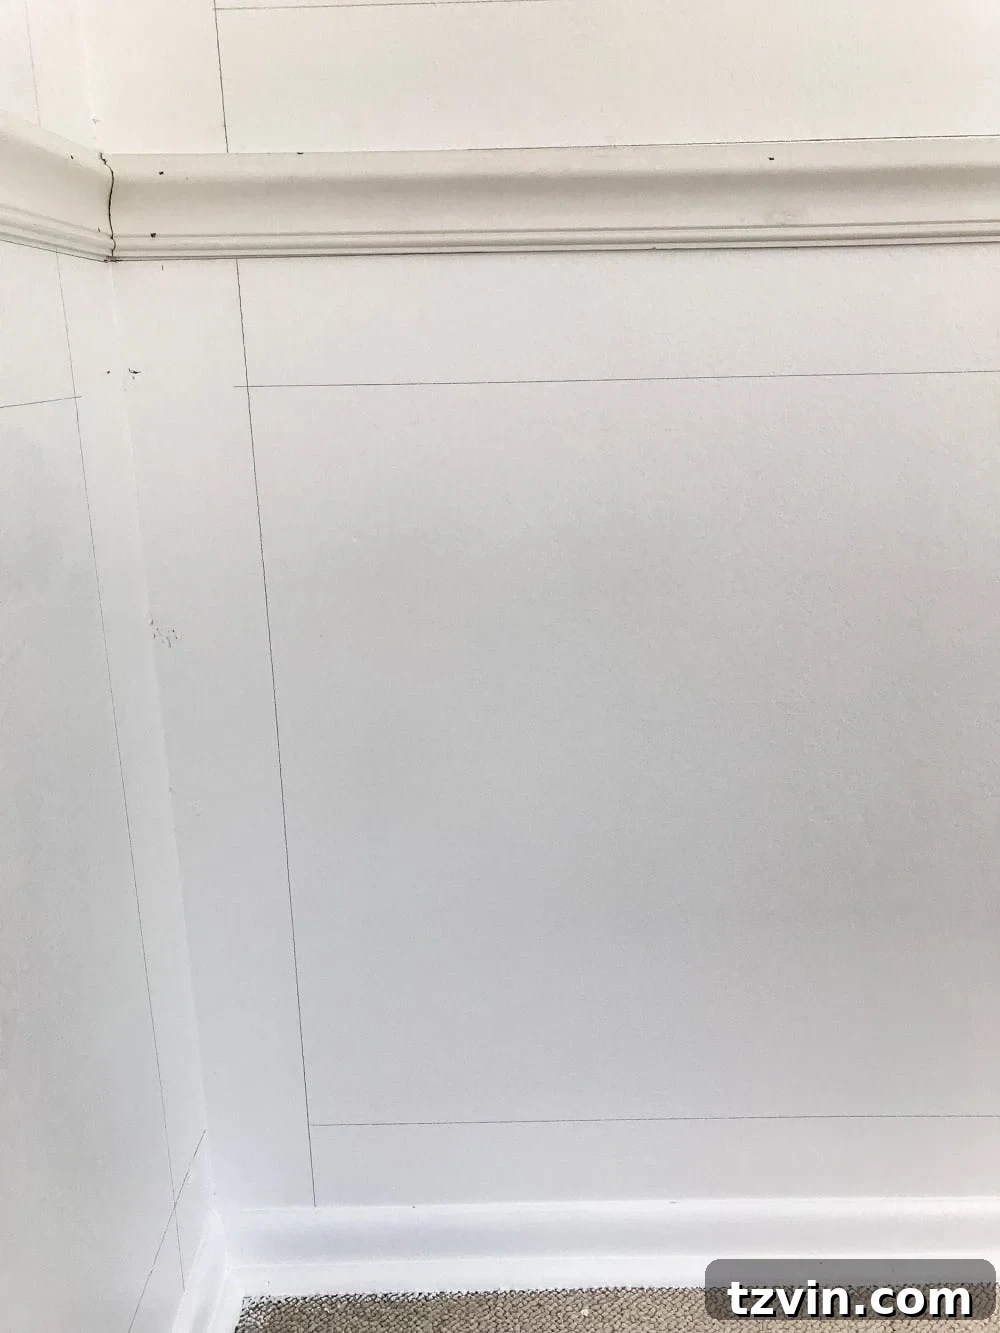
94" - (3.5" x 3) / 2 = 94" - 10.5" / 2 = 83.5" / 2 = 41.75" per frame. - Marking with the Spacer Shortcut: This is where our 3/8″x4″ (3.5″ actual width) spacer board becomes invaluable. Place the spacer board against the bottom of the chair rail, the top of the baseboard, and any corners of the room, drawing a pencil line along its edge. This instantly gives you consistent 3.5-inch margins for the top, bottom, and side edges of your frames without constant measuring.
- Marking Vertical Spaces Between Frames: To mark the vertical boundaries for your frames, take your calculated individual frame width for that wall (e.g., 36.3 inches). Measure and pencil a tick mark at intervals determined by your frame width plus the spacer width (e.g., 36.3″ + 3.5″ = 39.8″, then 39.8″ + 36.3″ + 3.5″ = 79.6″, and so on across the wall). Then, use your level to draw vertical lines at these tick marks, establishing the precise placement for each frame. You can also place the center of your spacer at the calculated tick mark, then draw lines on both sides to easily establish the 3.5-inch gap.
- Measure Frame Lengths: With all the frame outlines penciled on the walls, measure the exact length for each horizontal piece (top and bottom) of your picture frames. Double-check these measurements, as they are crucial for a tight fit.
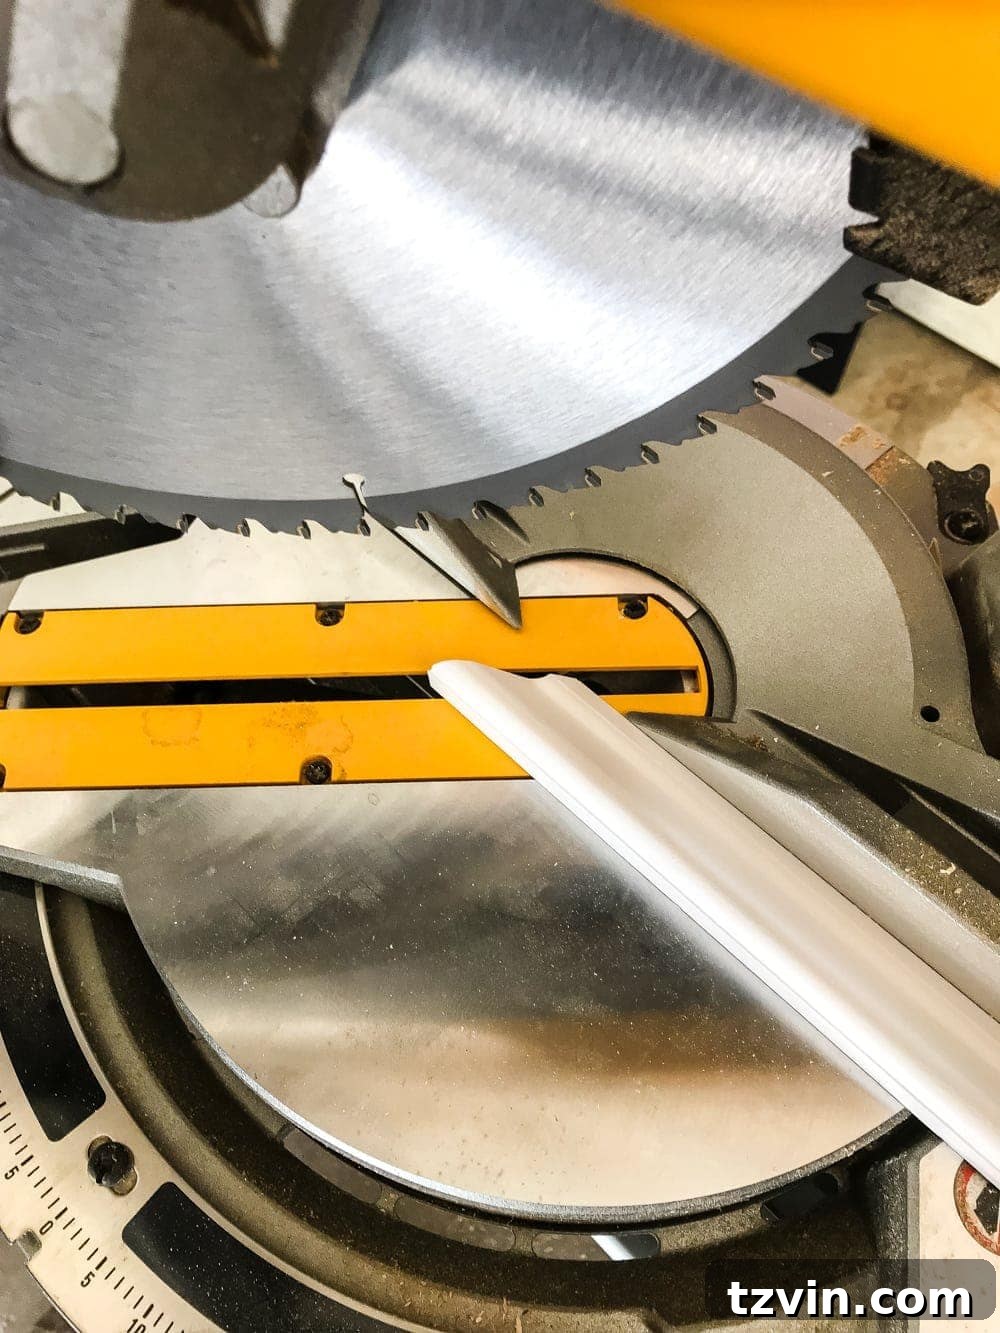
- Cut Horizontal Frame Pieces: Using your miter saw, cut each piece of finger-jointed molding to the measured lengths. Ensure you cut both ends at a precise 45-degree angle, forming the corners of your frames. For efficiency, consider cutting all the top lengths, then all the bottom lengths in batches.
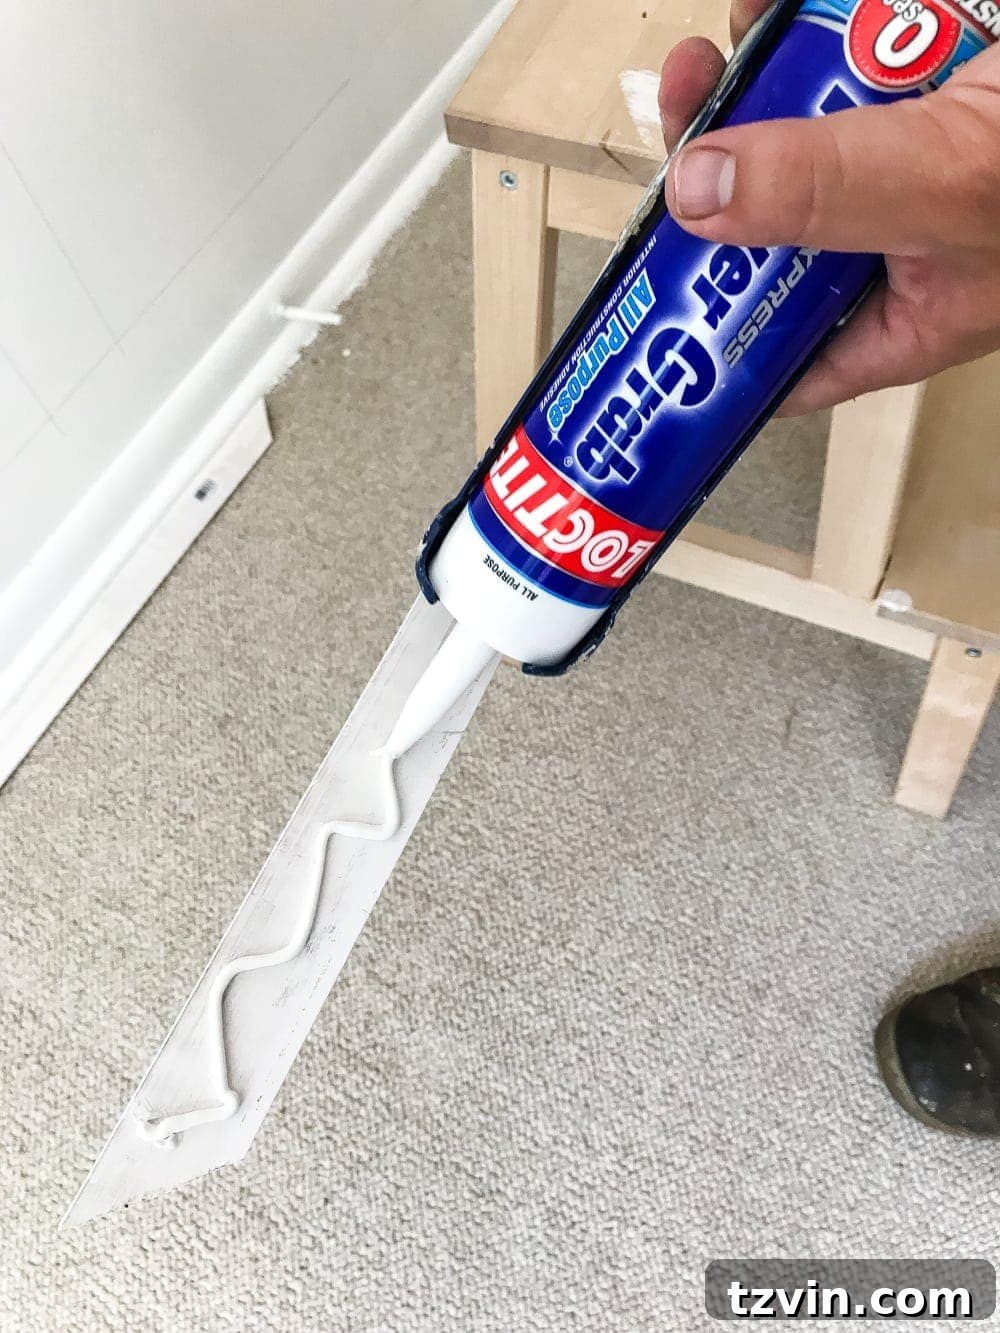
- Attach Horizontal Pieces: Apply a thin, continuous bead of Loctite construction adhesive to the back of each cut molding piece. Carefully align the piece with your penciled horizontal lines and press firmly onto the wall. Secure with your pneumatic brad nailer, placing nails strategically to hold it firmly in place.
- Measure, Cut, and Attach Vertical Pieces: Once all horizontal pieces are installed, measure the exact lengths needed for the vertical side pieces of each frame. Cut these pieces at 45-degree angles on your miter saw, ensuring they will create perfect corners with the horizontal pieces. Apply adhesive and brad nail them into place, completing each picture frame.
For example, our largest wall was 123 inches wide. We aimed for three frames. To maintain visual balance, we decided on 3.5-inch spaces between frames and from the corners/baseboards/chair rail. Remember, our “4-inch” spacer board is precisely 3.5 inches wide, which is critical for these calculations.
The essential formula for calculating individual frame width is:
[Total Wall Width] - ( [Spacer Width] x [Total Number of Vertical Spaces Between Frames] ) / [Total Number of Frames] = [Width of Each Individual Frame]
Let’s apply it:
While the widths (36.3″, 35.25″, 41.75″) are not identical, to the casual observer, they will appear very close and balanced on their respective walls.
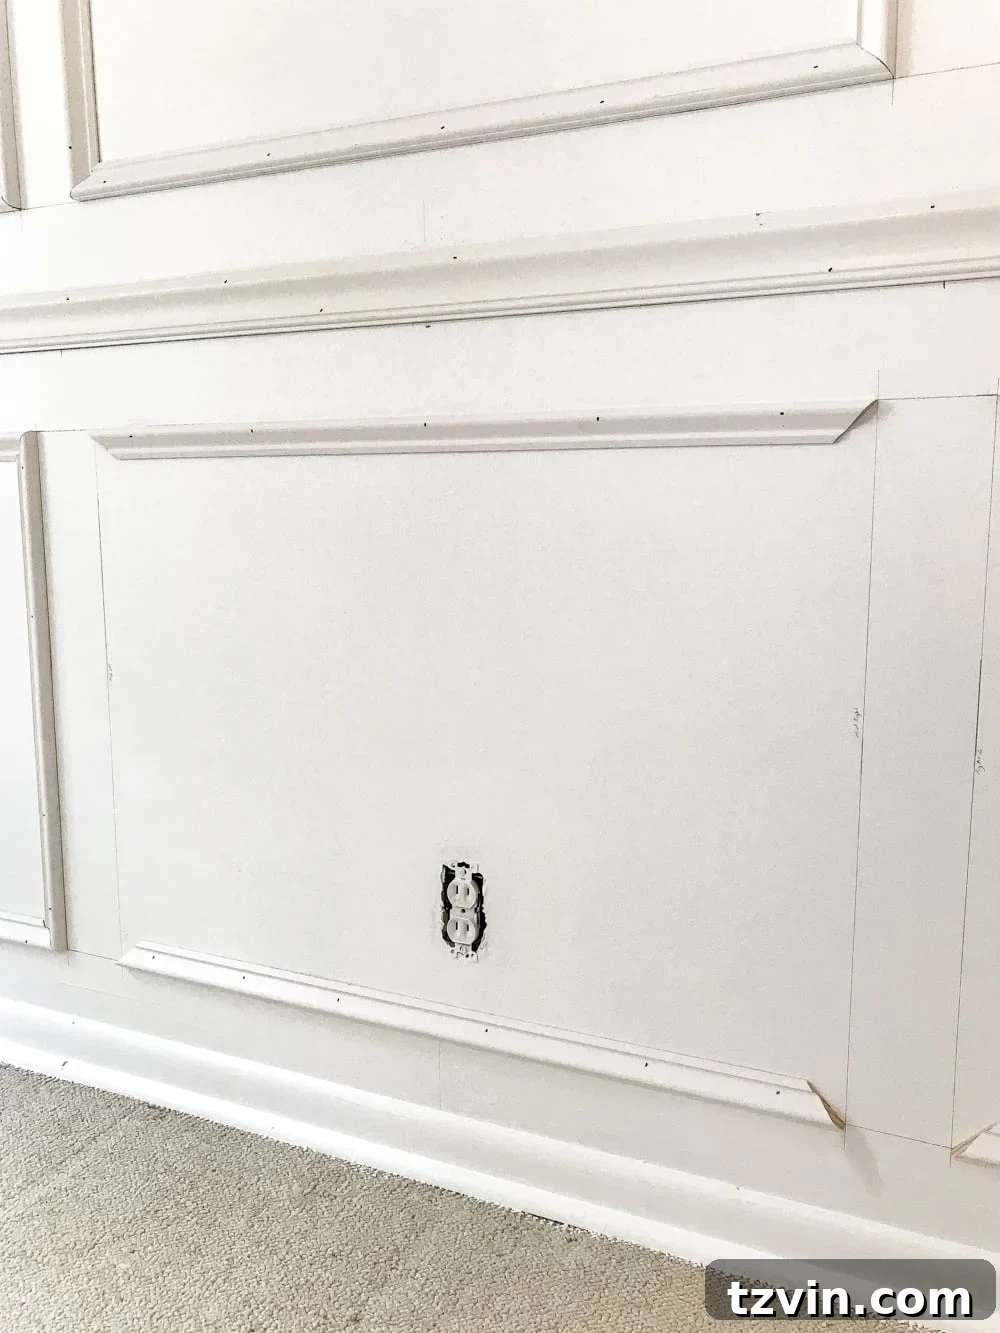
The Impact: Tedious but Tremendously Rewarding!
There’s no denying that this project involves a considerable amount of measuring, cutting, and careful installation. However, the satisfaction of seeing perfectly aligned chair rail and intricately designed picture frames emerge on your walls is immeasurable. Our clever use of a spacer board truly streamlined the marking process, significantly cutting down on the potential for errors and saving precious time.
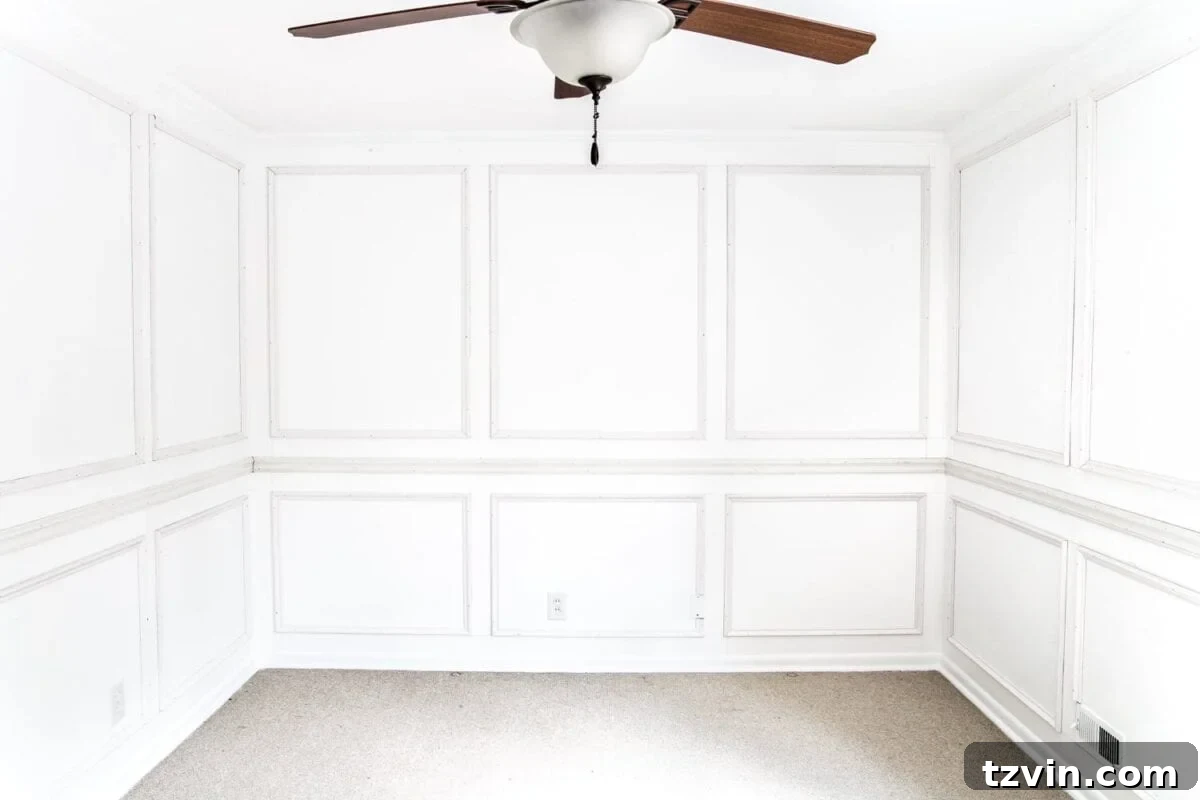
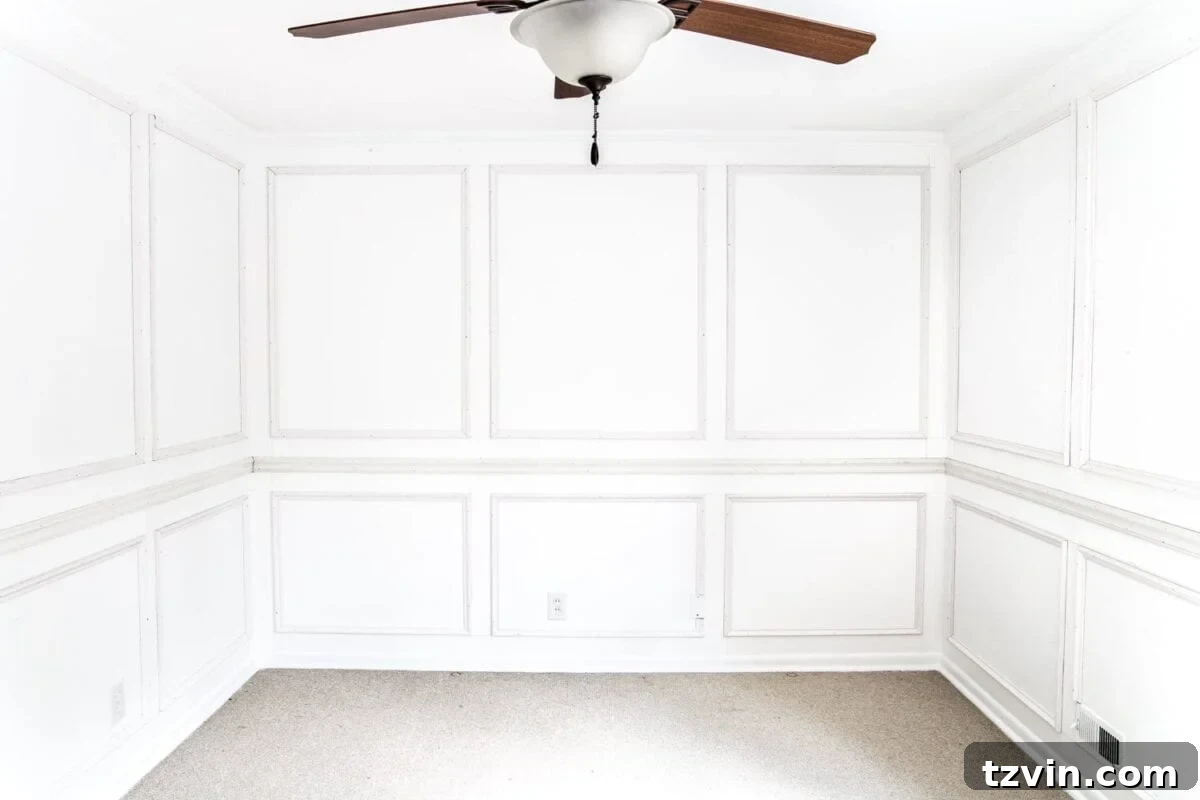
The entire process, though meticulous, was absolutely worth every second of effort. The resulting elegant wainscoting adds such a gorgeous, custom feel to the nursery. Ahhh, the transformation is truly stunning!
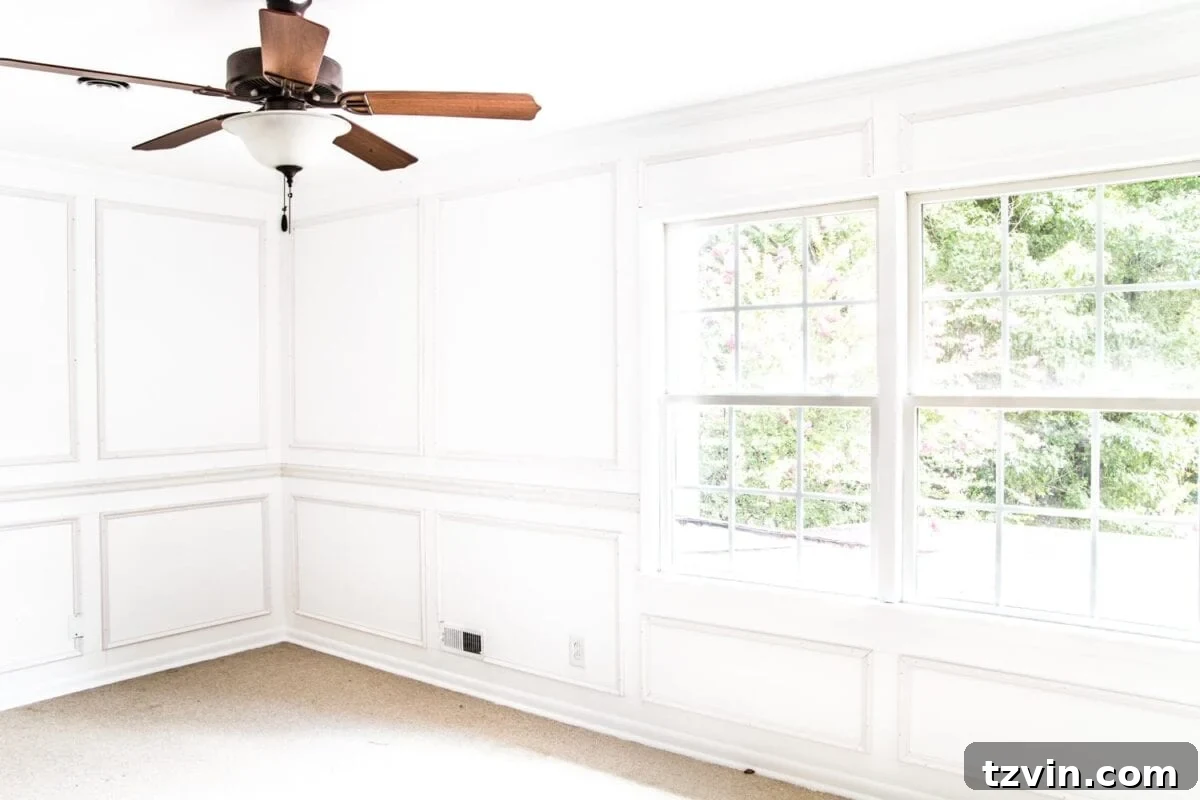
Before & After: Witnessing the Dramatic Change
Here’s a glimpse of the dramatic “before” alongside our current progress. The difference that carefully installed picture frame molding makes is truly night and day, setting a sophisticated foundation for the rest of the nursery’s design.
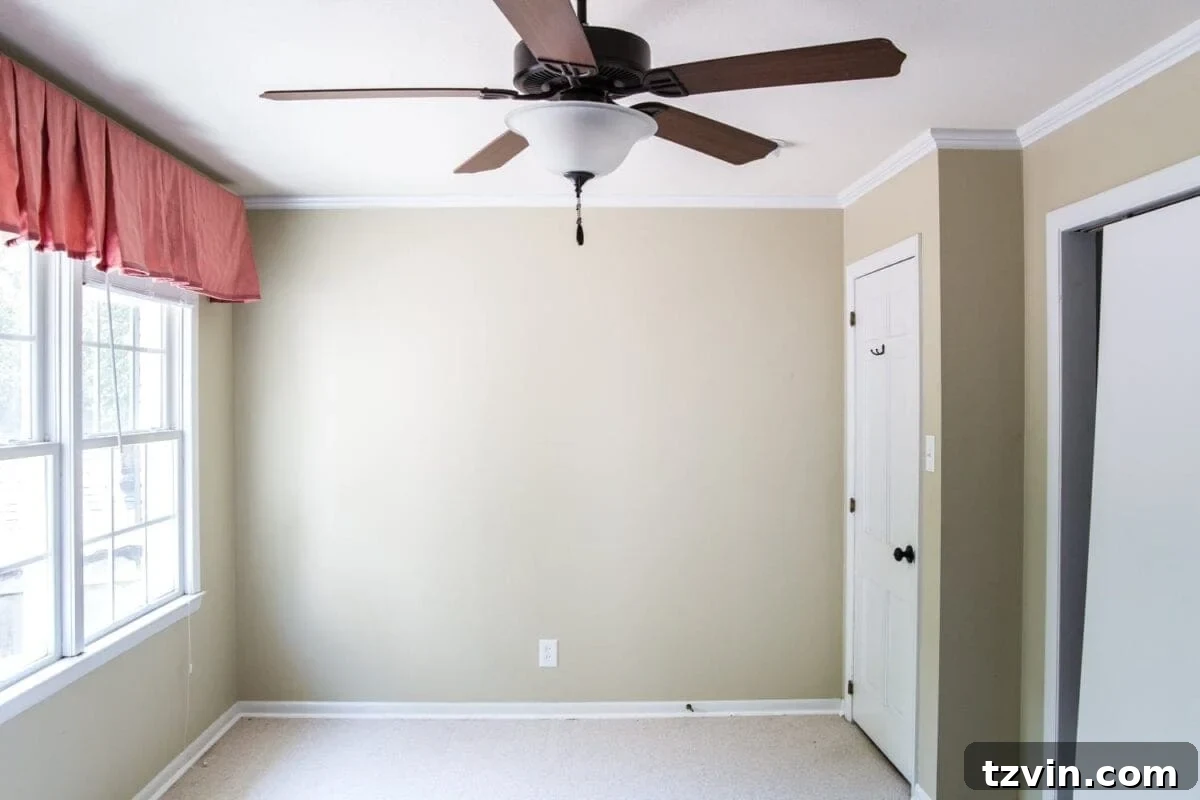
What’s Next for the Nursery Makeover?
Now that the entire room’s picture frame molding is up and proudly adorning the walls, our next major step is to meticulously caulk all the seams and nail holes, followed by a fresh coat of paint. This finishing work is vital for achieving that seamless, polished look that makes DIY molding truly shine. It’s often the most time-consuming part, but absolutely critical for a professional finish!
Beyond the trim, we’ll be ripping out the old carpet to reveal and refinish the beautiful hardwood floors hidden underneath. To complete the room’s elegant and feminine aesthetic, we’ll also be replacing the existing ceiling fan with a more stylish fixture. If you’re looking for us, chances are we’ll be armed with a caulk gun, ready to perfect every last detail for what feels like the next century!
We hope this comprehensive guide empowers you to tackle your own picture frame molding wainscoting project. It’s an investment of time and effort, but the sophisticated result is well worth it, adding enduring elegance and value to your home.
If you found this tutorial helpful and want to save it for future reference or share with others, please feel free to pin it: