Transform Your 80s Master Bathroom: A Budget-Friendly Refresh Plan for Beige Tiles & Outdated Fixtures
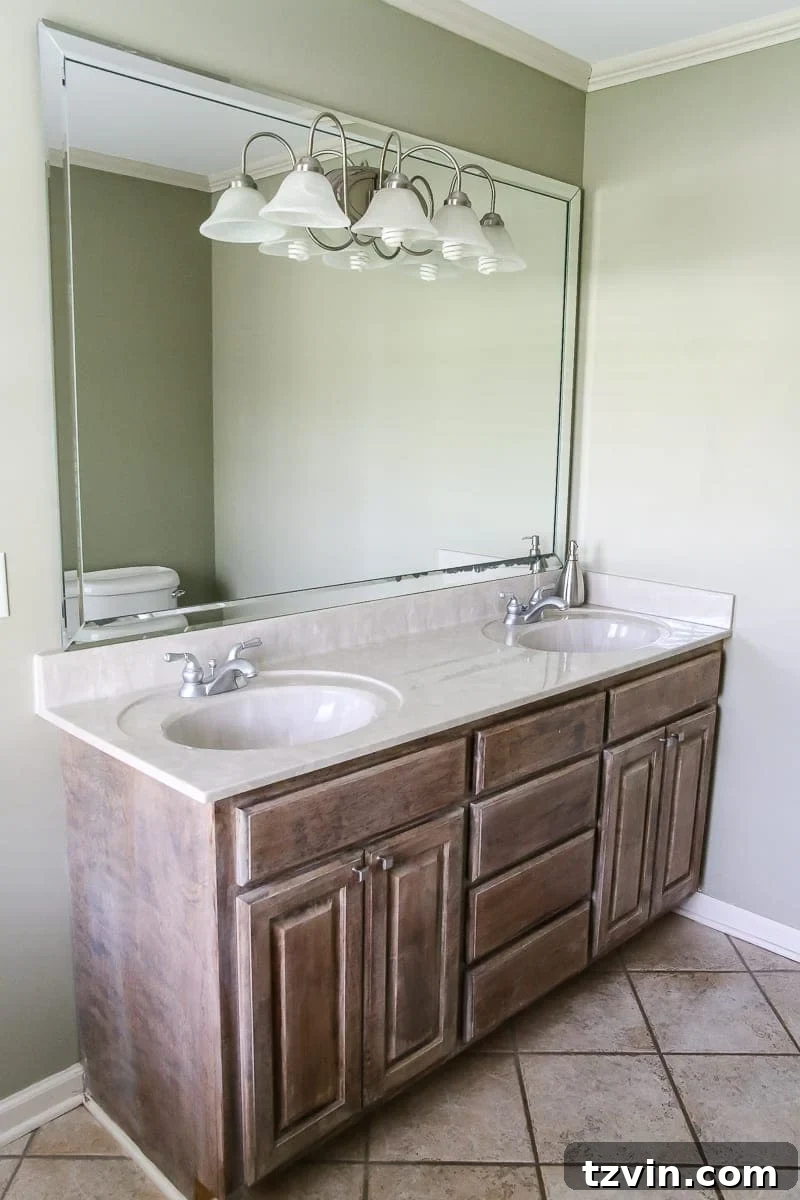
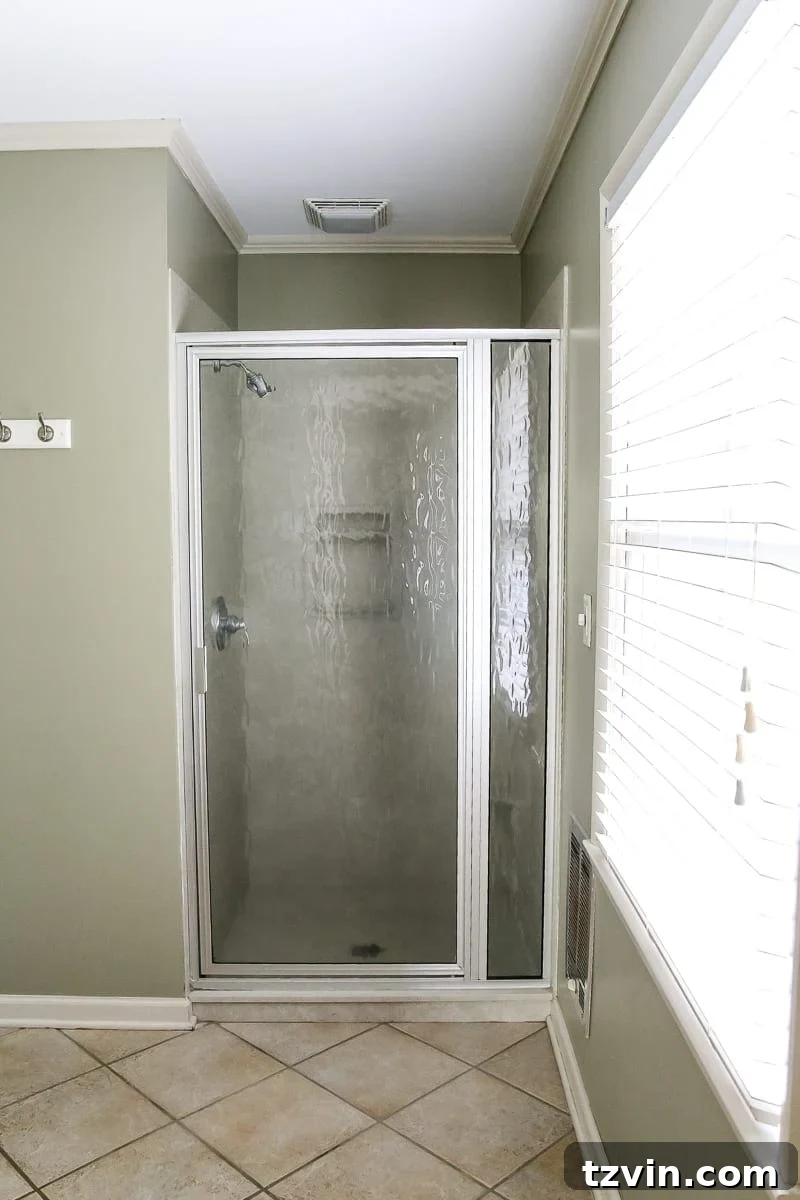
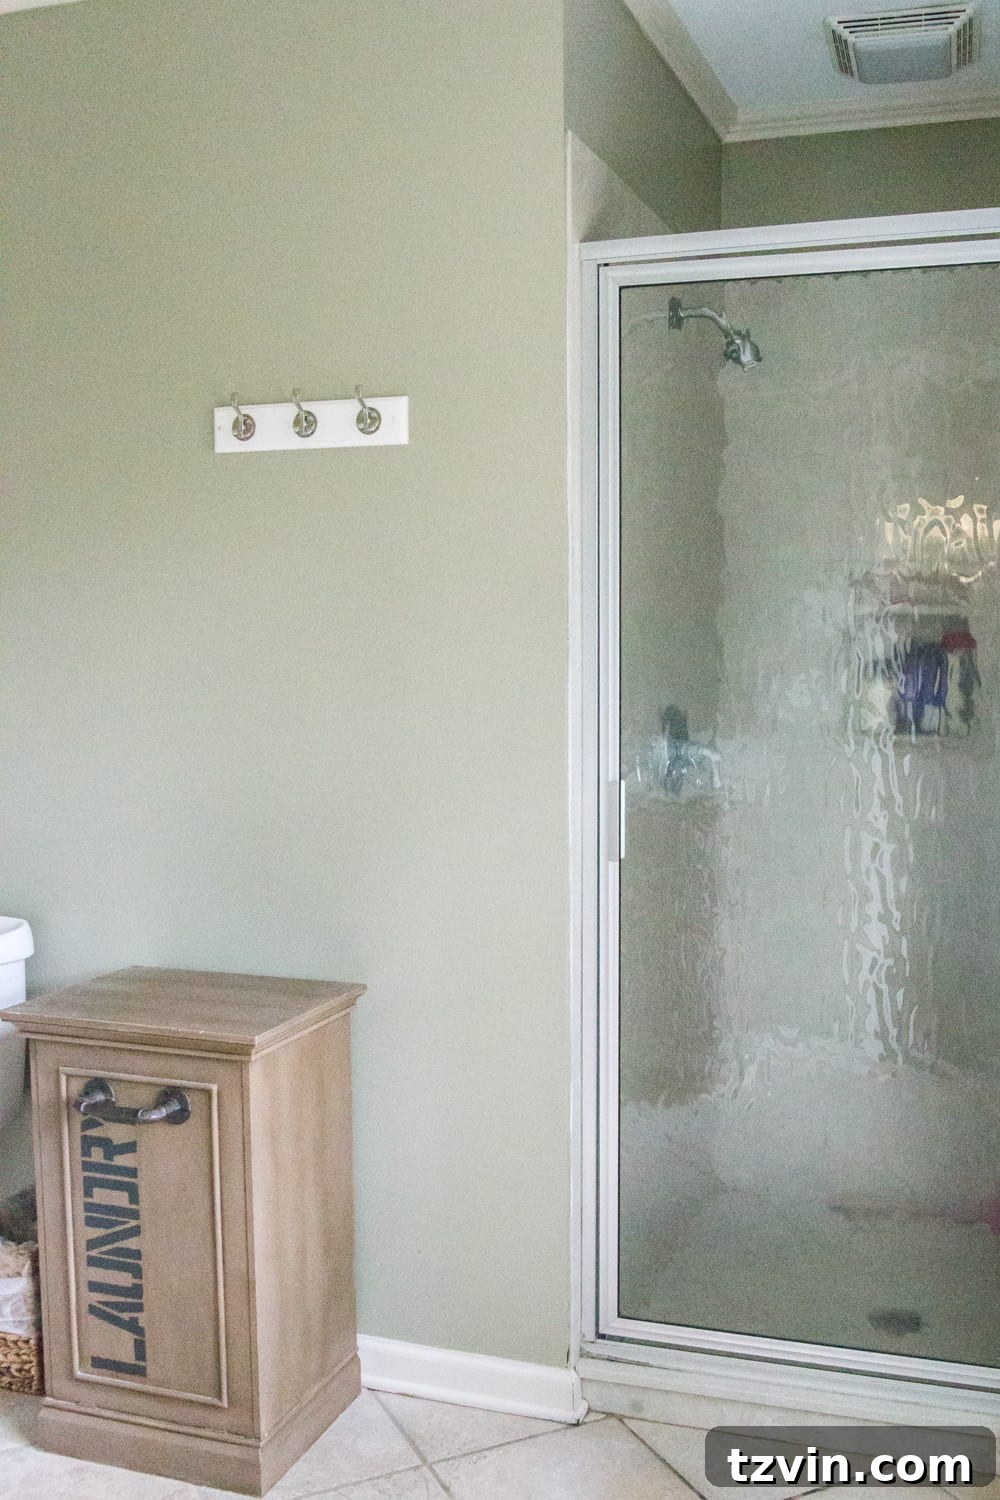
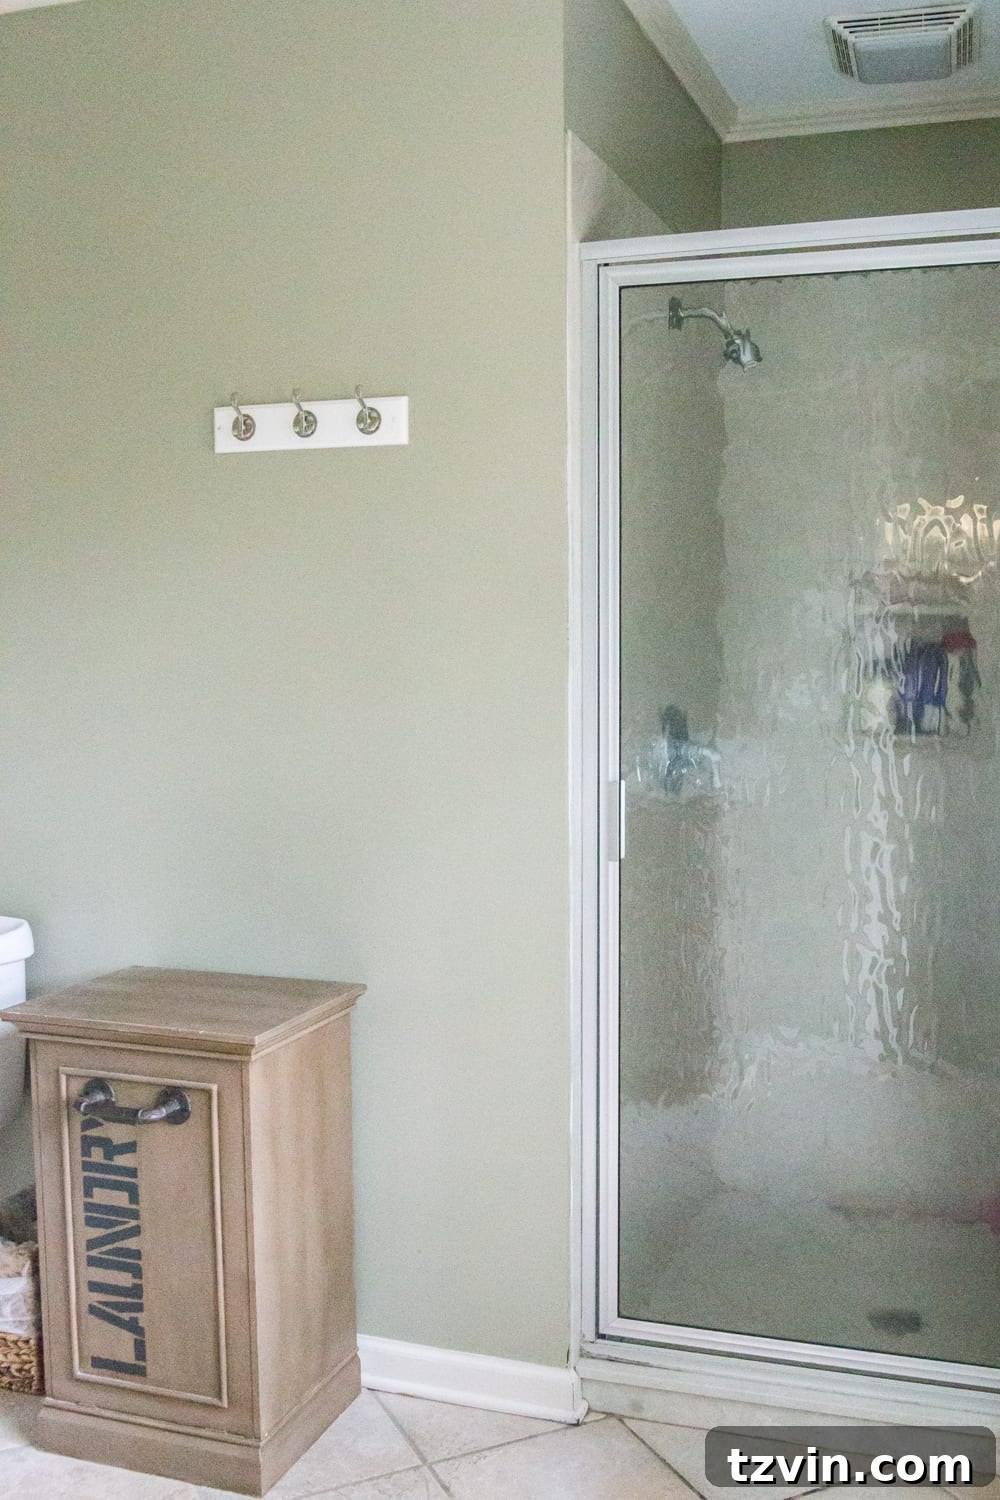
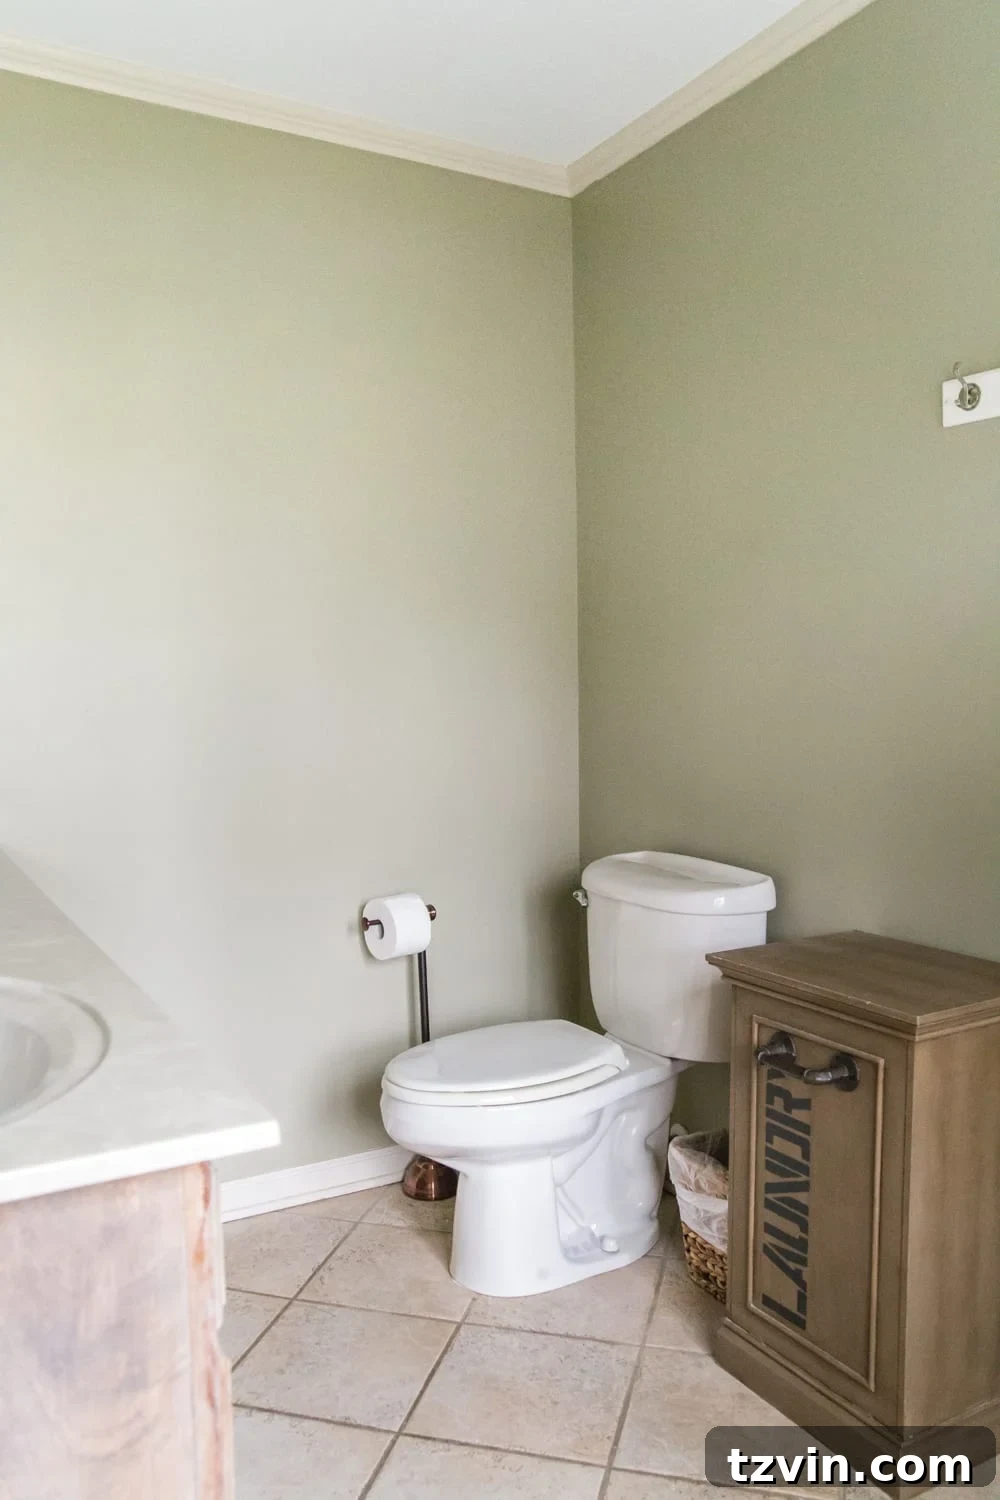
Stepping into our master bathroom each morning often feels less like a refreshing start to the day and more like a trip back in time – specifically, to the 1980s. This isn’t just a room; it’s arguably the most neglected space in our home, a testament to its “out of sight, out of mind” status. Yet, for Robert and me, it’s the very first room we encounter daily, setting the tone for our day. And frankly, the current muddy green walls, yellowed blinds, and particularly the well-worn ceramic tile floors and beige 80s shower and countertop, are far from inspiring.
The dream of a complete master bathroom overhaul, stripping everything down to the studs, is definitely on our long-term wish list. However, life, budget, and the current season we’re in dictate a more practical approach for now. A full gut renovation simply isn’t in the cards just yet, and that’s perfectly fine!
We’ve successfully tackled “Phase 1” budget room makeovers before, like the transformation of our hallway bathroom two years ago. That project proved just how much magic can happen with a limited budget, a few gallons of paint, and a healthy dose of DIY spirit. This master bathroom presents a similar, exciting challenge. We’re ready to roll up our sleeves and leverage smart design choices, cost-effective updates, and plenty of elbow grease to turn this unloved space into a functional, beautiful retreat.
(Some affiliate links are provided for convenience below. Full disclosure here.)
Our Vision: A Cohesive Master Bathroom Refresh Plan
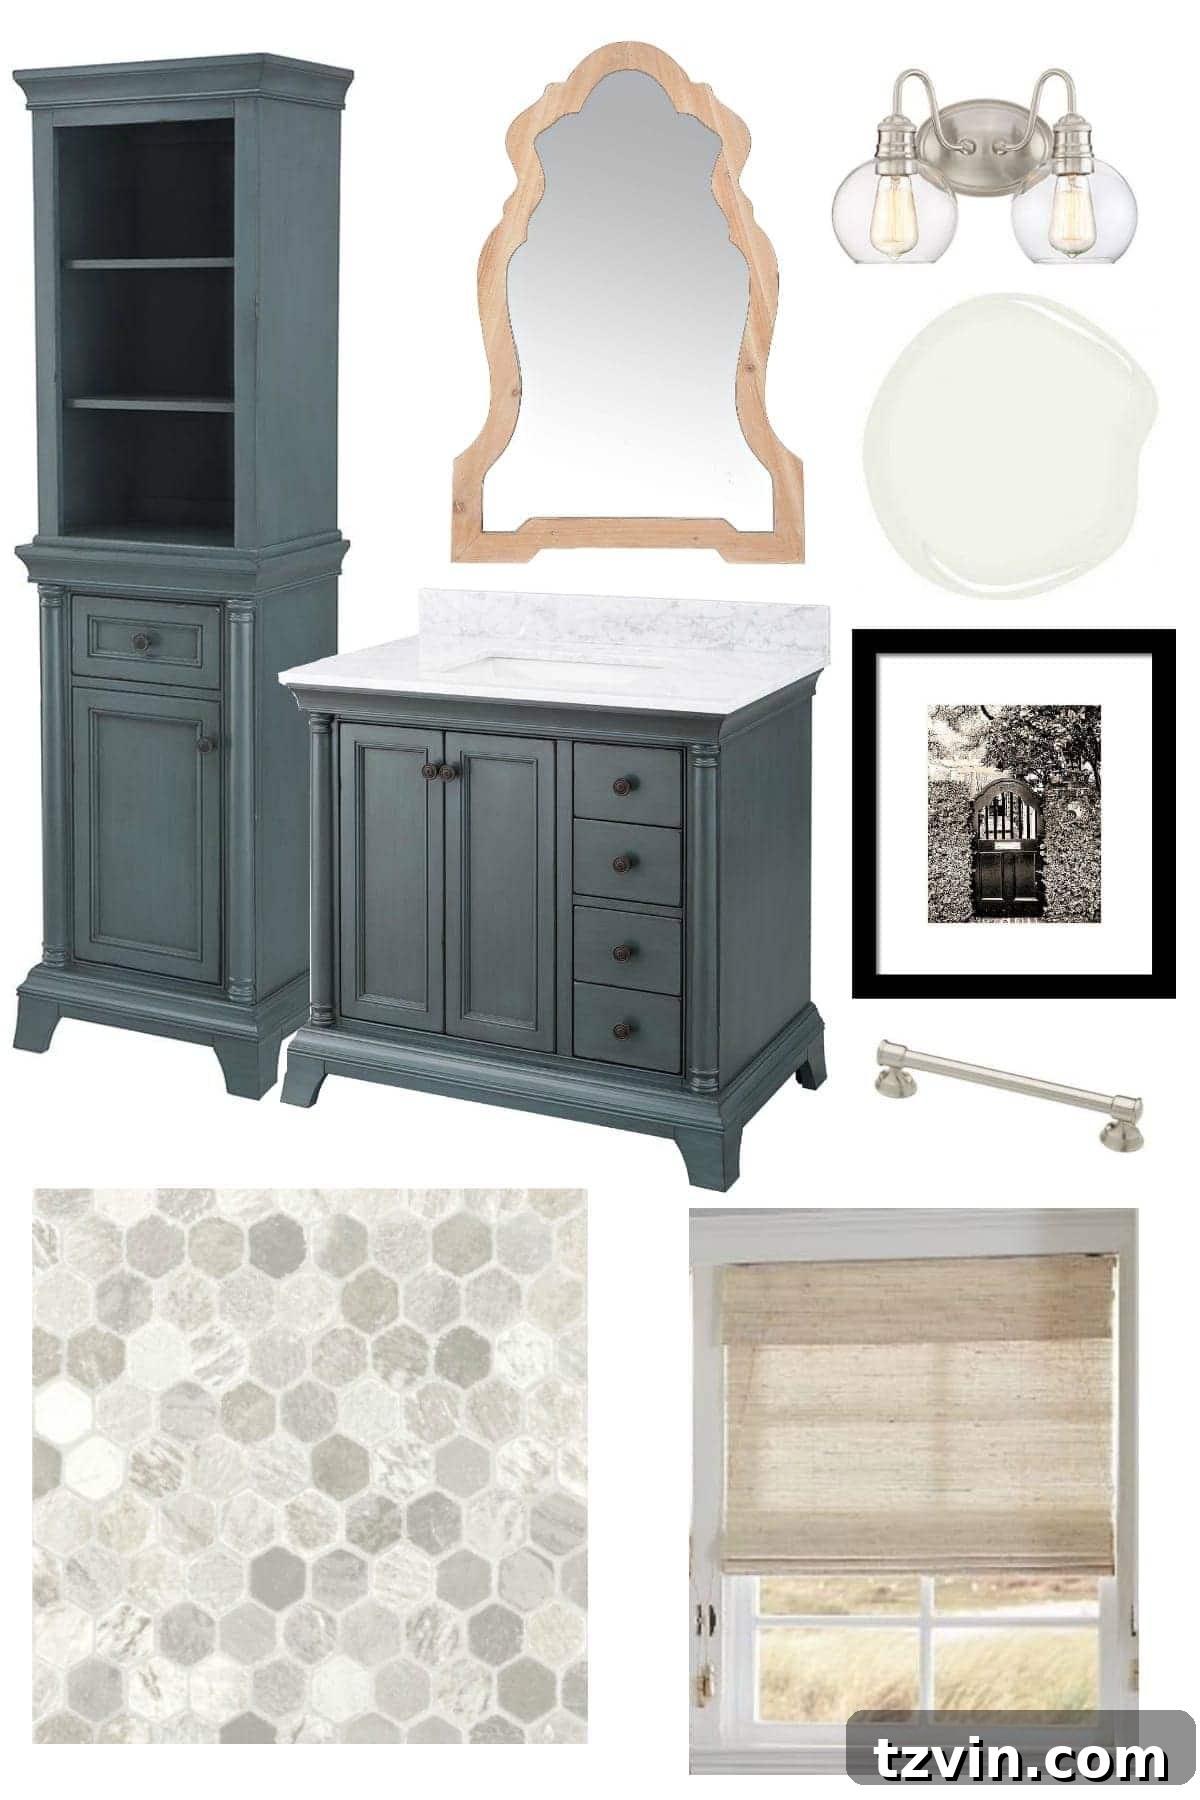
To guide our budget-friendly master bathroom transformation, I’ve created a detailed visual mood board. This essential design tool helps unify our ideas, visualize the aesthetic, and ensure every choice contributes to a cohesive and inviting space. It’s the blueprint for how we’ll blend new elements with the existing 80s beige and create a harmonious environment.
P.S. If you’re inspired to create your own design vision, learn how to make a mood board for your own home projects in this post.
1. The Statement Linen Cabinet: Storage & Style
One of the most pressing needs in this master bathroom is improved storage, along with a more efficient hamper solution. Our current setup, an old thrifted piece that received a DIY flip, has served its purpose but is ready for retirement. To maximize functionality and inject significant style, we’re bringing in this beautiful new linen cabinet. Not only does it offer ample shelving for fresh towels and toiletries, but we plan to ingeniously build a hamper directly into the cabinet, streamlining our routine and keeping clutter out of sight.
The rich, captivating color of this new cabinet is more than just a storage solution; it’s the cornerstone of our entire color scheme. It’s the splurge piece that dictates the sophisticated palette we’re introducing to the room, proving that even one carefully chosen item can redefine a space’s aesthetic. This strategic investment will serve as both a practical organizer and a stunning focal point, demonstrating that budget-friendly doesn’t mean sacrificing impact.
2. Revitalized Blue Cabinets: Working with Existing Beige
With the new linen cabinet setting the vibrant blue tone, our next step is to unify the space by extending this color to the existing vanity cabinets. Painting our current cabinets is a smart, budget-conscious decision that allows us to achieve a custom look without the expense of replacement. We’ll be using a technique involving paint and antique waxing to ensure they perfectly match the depth and character of our new linen cabinet, creating a cohesive and sophisticated built-in feel.
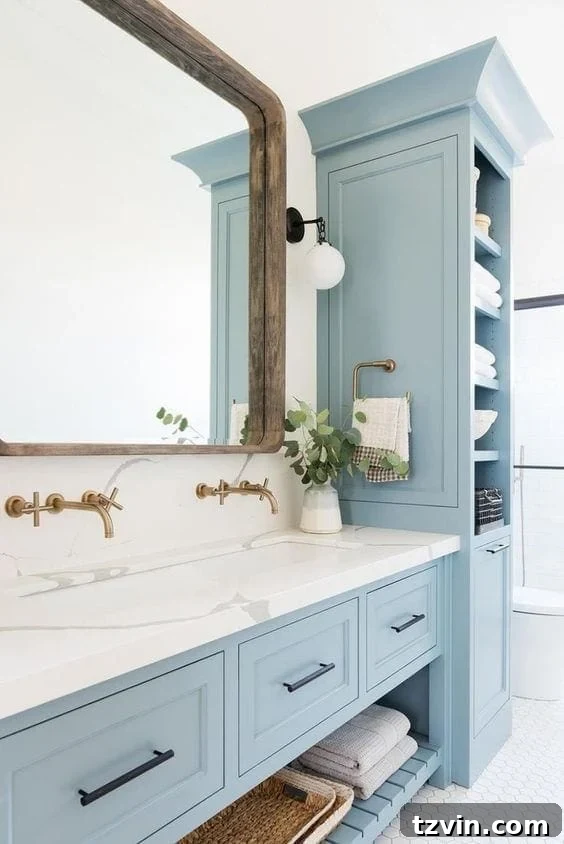
We’re embracing the challenge of working with the existing beige countertop and shower. Instead of fighting it, our design aims to integrate it seamlessly into the new scheme. An inspiring image from Studio McGee featuring a beautiful blend of blue, beige, white, and natural wood has been instrumental in guiding our vision. This approach confirms that these colors can coexist harmoniously, creating a fresh and elegant ambiance. Our blue will be a slightly darker, more antiqued hue, providing a timeless depth that elevates the entire bathroom.
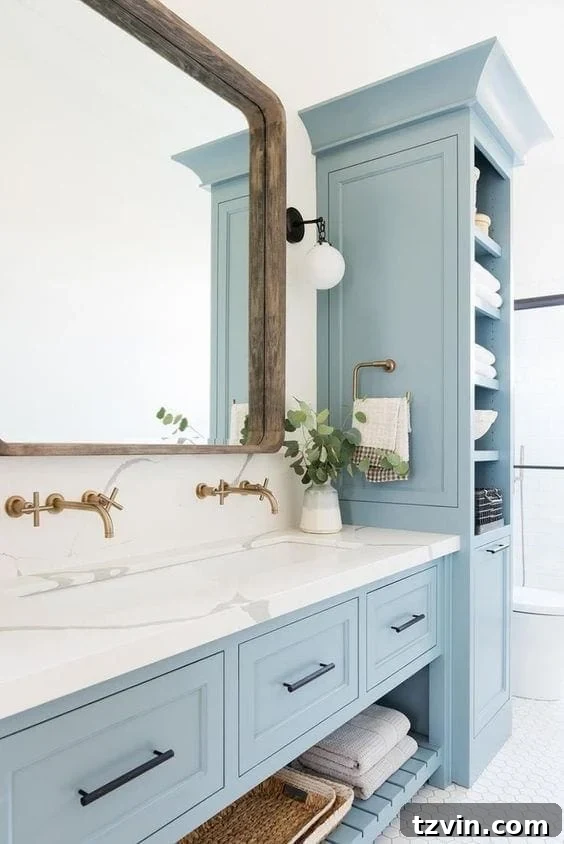
Source: Studio McGee
3. Dramatic Deep Charcoal Door: An Instant Upgrade
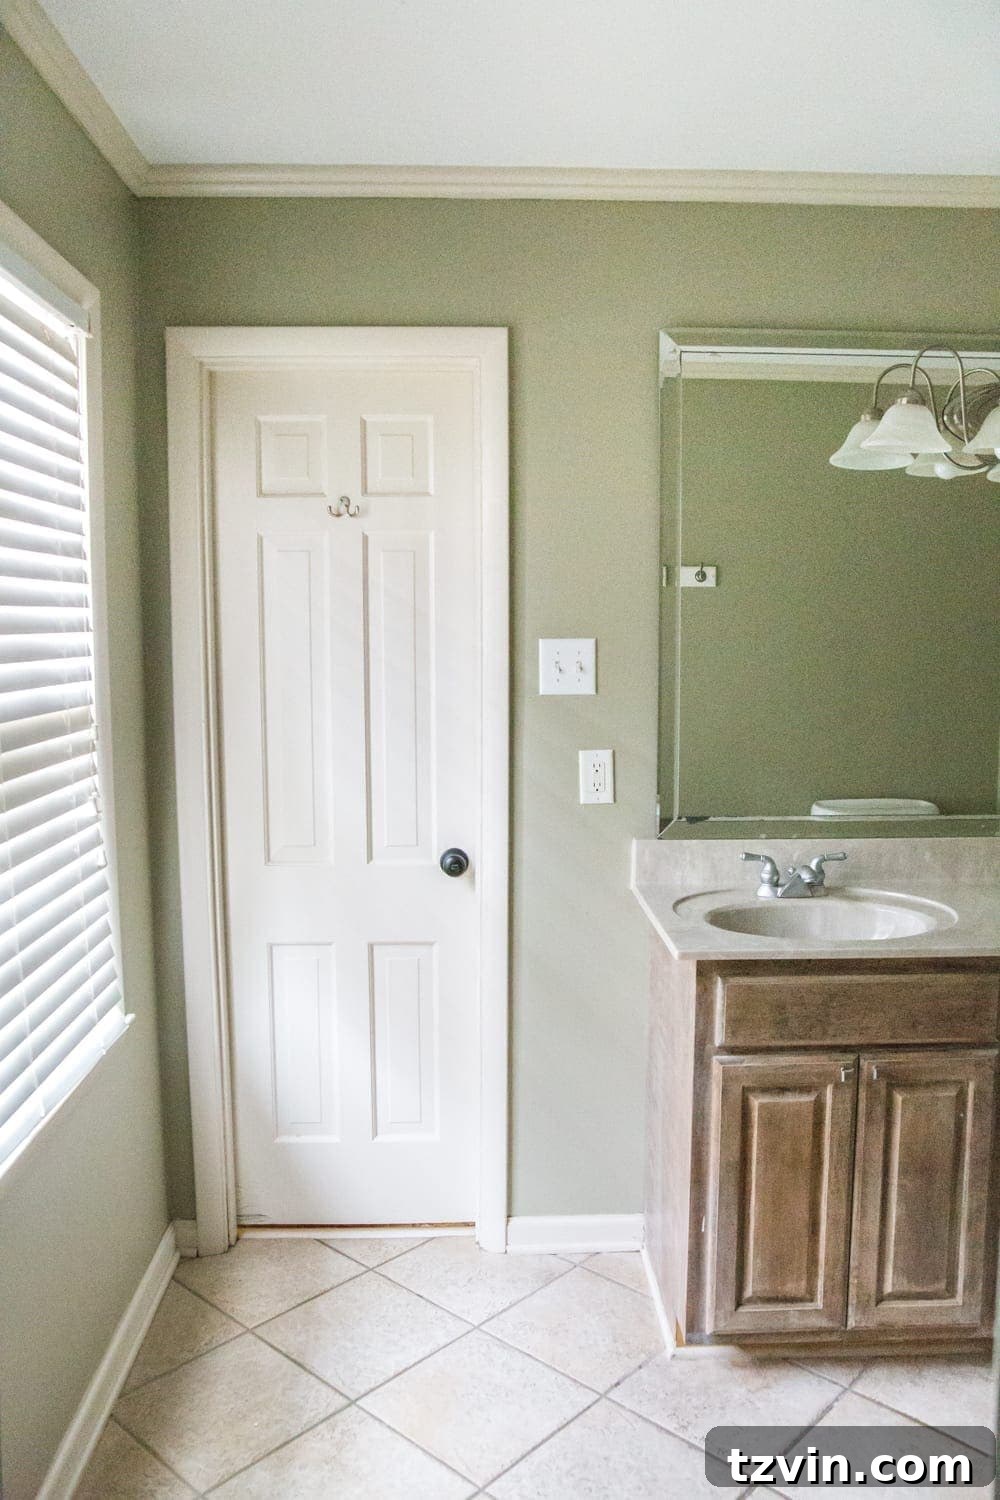
The impact of a freshly painted door is often underestimated. Currently, this master bathroom door is one of the few in our home that hasn’t received the transformative touch of Benjamin Moore’s Wrought Iron. This deep charcoal shade is a consistent favorite for a reason: it instantly elevates a space, adding a touch of high-end sophistication and creating a striking contrast against lighter walls. Painting this door will not only enhance the entryway to our newly refreshed bathroom but also provide a strong visual anchor that contributes to the overall refined aesthetic.
4. Natural Woven Window Shade: Privacy Meets Texture
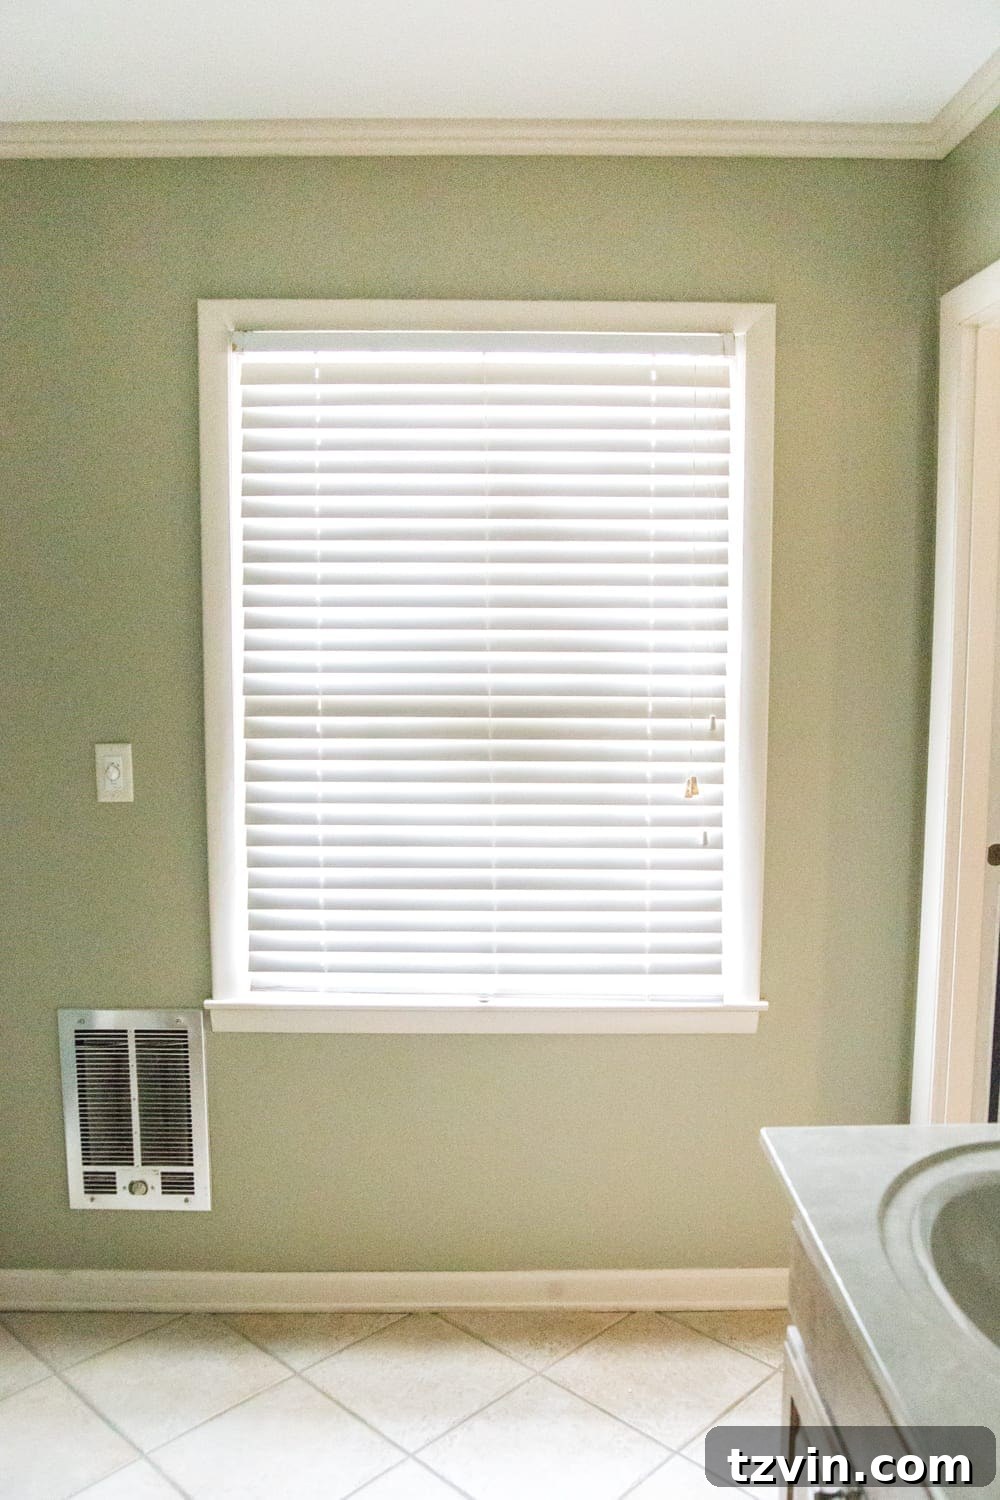
The existing window blind in our bathroom is far past its prime, displaying tell-tale signs of age with yellowing and scrapes. Given this bathroom’s location at the front of the house, privacy is paramount, making a replacement absolutely essential. We plan to swap out the old blind for a beautiful natural woven window shade. This choice isn’t just about functionality; it’s about introducing crucial texture and warmth to the space, contributing to a more organic and inviting atmosphere.
To ensure adequate privacy without compromising natural light, we’ll invest in a shade with a dedicated privacy liner. We’re considering shades similar to the “Bonaire Flaxen” ones we successfully installed in our nursery, which provide the perfect blend of natural aesthetics and practical shielding. This thoughtful detail will significantly improve both the look and usability of the bathroom.
5. Stenciled Walls: A Budget-Friendly Faux Wallpaper Effect
One particular blank corner in the bathroom presents an exciting opportunity to add visual interest and personality. Instead of expensive wallpaper, we’re exploring the idea of stenciling the walls to achieve a similar sophisticated, patterned effect on a much smaller budget. This DIY approach allows us to introduce intricate designs and a custom feel without the commitment or cost associated with traditional wallpaper installation.
We’re envisioning a look that mimics classic wallpaper, adding depth and a bespoke touch to the space. The chosen colors for the stencil – white, beige, and a deep teal blue – will seamlessly integrate with our new color scheme, pulling all the elements together. This technique offers an excellent way to elevate the room’s design while staying true to our budget-friendly goals. I’ve narrowed down my options to these three appealing stencil designs, and I’m eager to see which one best captures the elegant yet inviting feel we’re aiming for.
Imagine something with this level of visual impact:
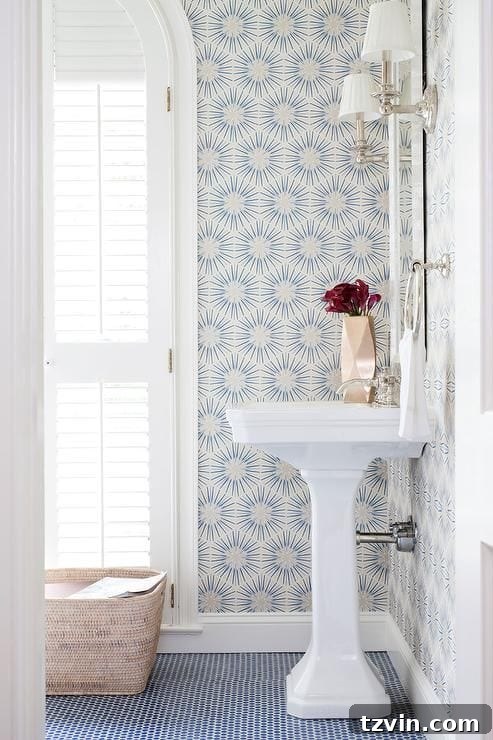
Source: Ella Scott Design
I’m loving the look of these three stencils so far, planning to use a combination of white, beige, and deep teal blue to tie into our overall palette:
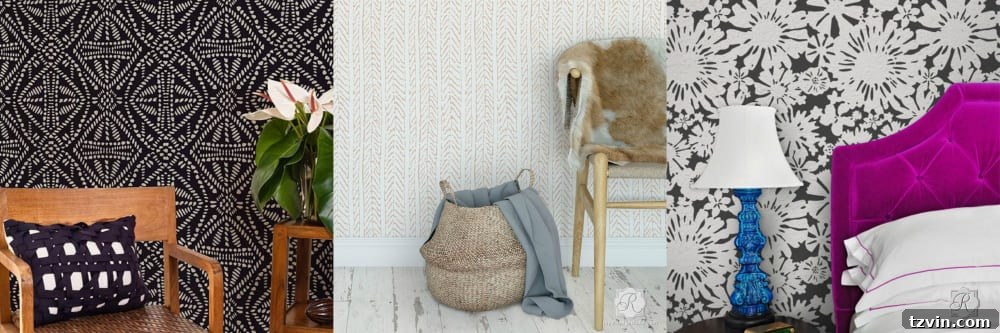
Stencil 1 | Stencil 2 | Stencil 3
6. Black and White Framed Art: Timeless Elegance
While the stenciling idea offers a bold statement, I’m also considering the timeless appeal of simple, elegant black and white framed art. This option provides a versatile way to add sophistication and personal touch to the walls, whether as an alternative to stenciling or as a complementary element. Black and white prints have a unique ability to feel both classic and modern, effortlessly integrating into almost any design scheme.
I have a collection of Carolina coastal photography printables that have yet to find their permanent home, and this bathroom could be the perfect spot. Personal artwork not only enhances the visual appeal but also imbues the space with character and a sense of history, making the master bathroom feel truly ours. The simplicity of black and white would provide a calming contrast to the bolder blues and deeper tones we’re introducing.
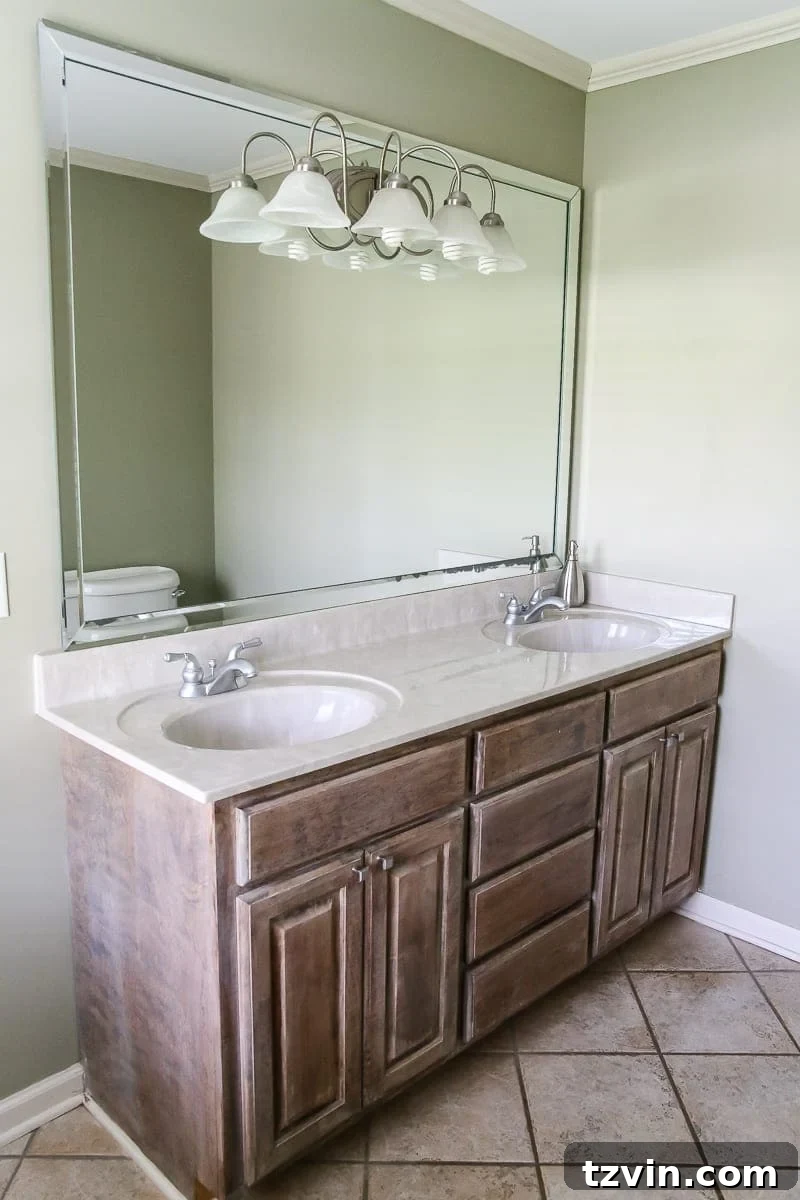
7. Updated Mirrors and Light Fixture: Brightness and Function
The existing mirror in our master bathroom suffers from significant wear, featuring several badly deteriorated spots that detract from its appearance and functionality. Similarly, the current light fixture has a broken socket, limiting its effectiveness and diminishing the overall brightness of the space. Replacing these key elements will deliver a substantial impact on both the aesthetics and practicality of the bathroom.
We plan to replace the single, worn mirror with two stylish wooden-framed mirrors, instantly adding warmth, character, and a touch of natural elegance. Complementing this, we’ll swap out the faulty light fixture with a new, not-too-pricey alternative that is fully functional and offers improved illumination. These updates, while seemingly minor, collectively contribute to a brighter, more polished, and highly functional master bathroom, proving that strategic replacements can make a world of difference.
8. Benjamin Moore White Dove: The Perfect Wall Color
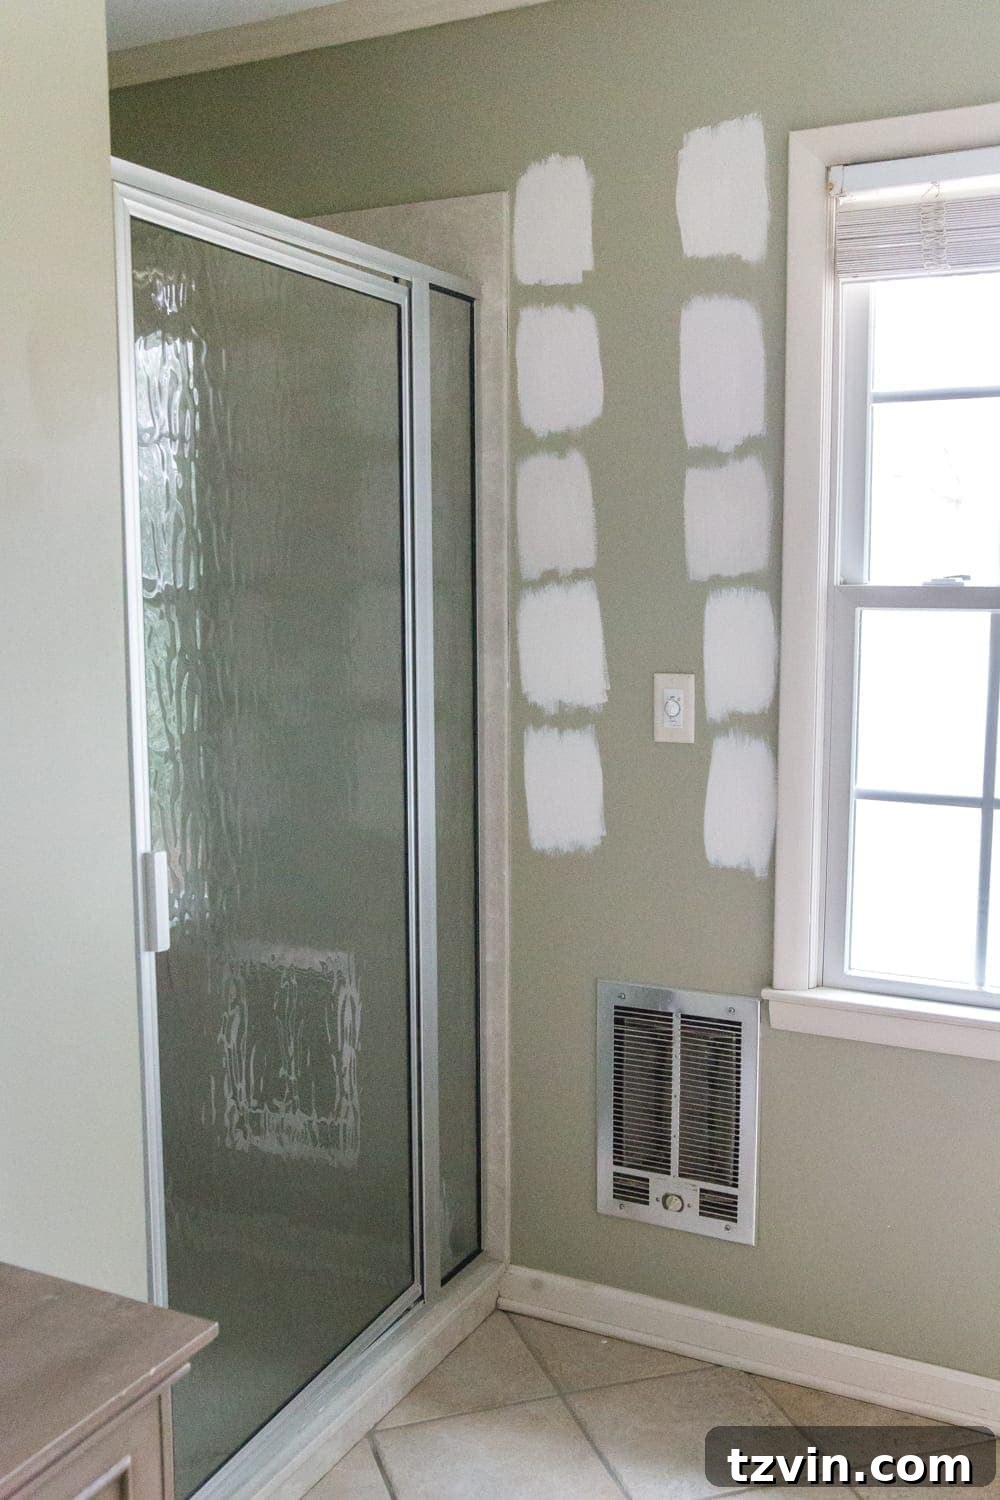
Selecting the perfect white paint can be surprisingly challenging, which is why I always advocate for testing numerous swatches directly on the walls rather than relying solely on paper samples. After careful consideration and extensive testing, Benjamin Moore White Dove emerged as the clear winner (it’s the very bottom swatch visible on the wall in the “before” image). This particular white strikes the ideal balance: it promises to make the room feel incredibly bright and impeccably clean, yet it possesses a subtle warmth.
This inherent warmth is crucial, as it allows the new wall color to harmonize beautifully with the existing beige elements of the shower and countertop. Rather than clashing, the White Dove will act as a gentle bridge, tying all the components together for a sophisticated and cohesive look. It creates a serene backdrop that will highlight our new blue cabinets and other design features without feeling stark or cold.
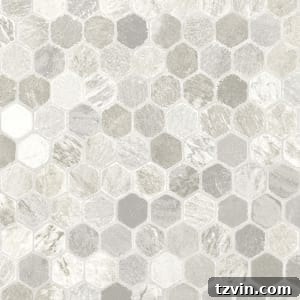
9. Budget-Friendly Vinyl Flooring: A Marble Hexagon Lookalike
The existing ceramic tile floor has seen better days, and truthfully, I believe it’s beyond the help of even my usual grout pen trick. Since a full tear-out isn’t feasible in this initial phase, we’ve found a truly ingenious solution: this gorgeous vinyl flooring. What makes it so remarkable is its incredible resemblance to high-end marble hexagon tile, offering a luxurious look without the hefty price tag or complicated installation.
This vinyl flooring will be laid directly over the existing tile, providing an instant, dramatic upgrade without any demolition. Its subtle grey and white tones are specifically chosen to beautifully integrate with the existing beige, white, and newly introduced blue elements. It acts as the perfect unifying force, making the 80s leftovers feel intentionally part of a modern, cohesive design. This clever flooring choice will carry us over until that distant day when a full-scale renovation finally becomes a reality, delivering a fresh, updated foundation for our refreshed master bathroom.
In essence, this entire master bathroom refresh project is designed to be completed efficiently and economically. We anticipate being able to crank out all these updates within a couple of weeks, with absolutely no demolition required, and well under the $1,000 mark. If this were a challenge on “Trading Spaces,” we’d absolutely knock it out of the park!
So, what do you think of our strategic and budget-conscious plan for transforming this outdated master bathroom? Are you as excited as we are to see the 80s beige integrated into a fresh, modern aesthetic? And a burning question we’d love your input on: for that blank corner, are you team “wall stencil” or “no wall stencil”? Inquiring minds (and a decision-making couple) want to know!