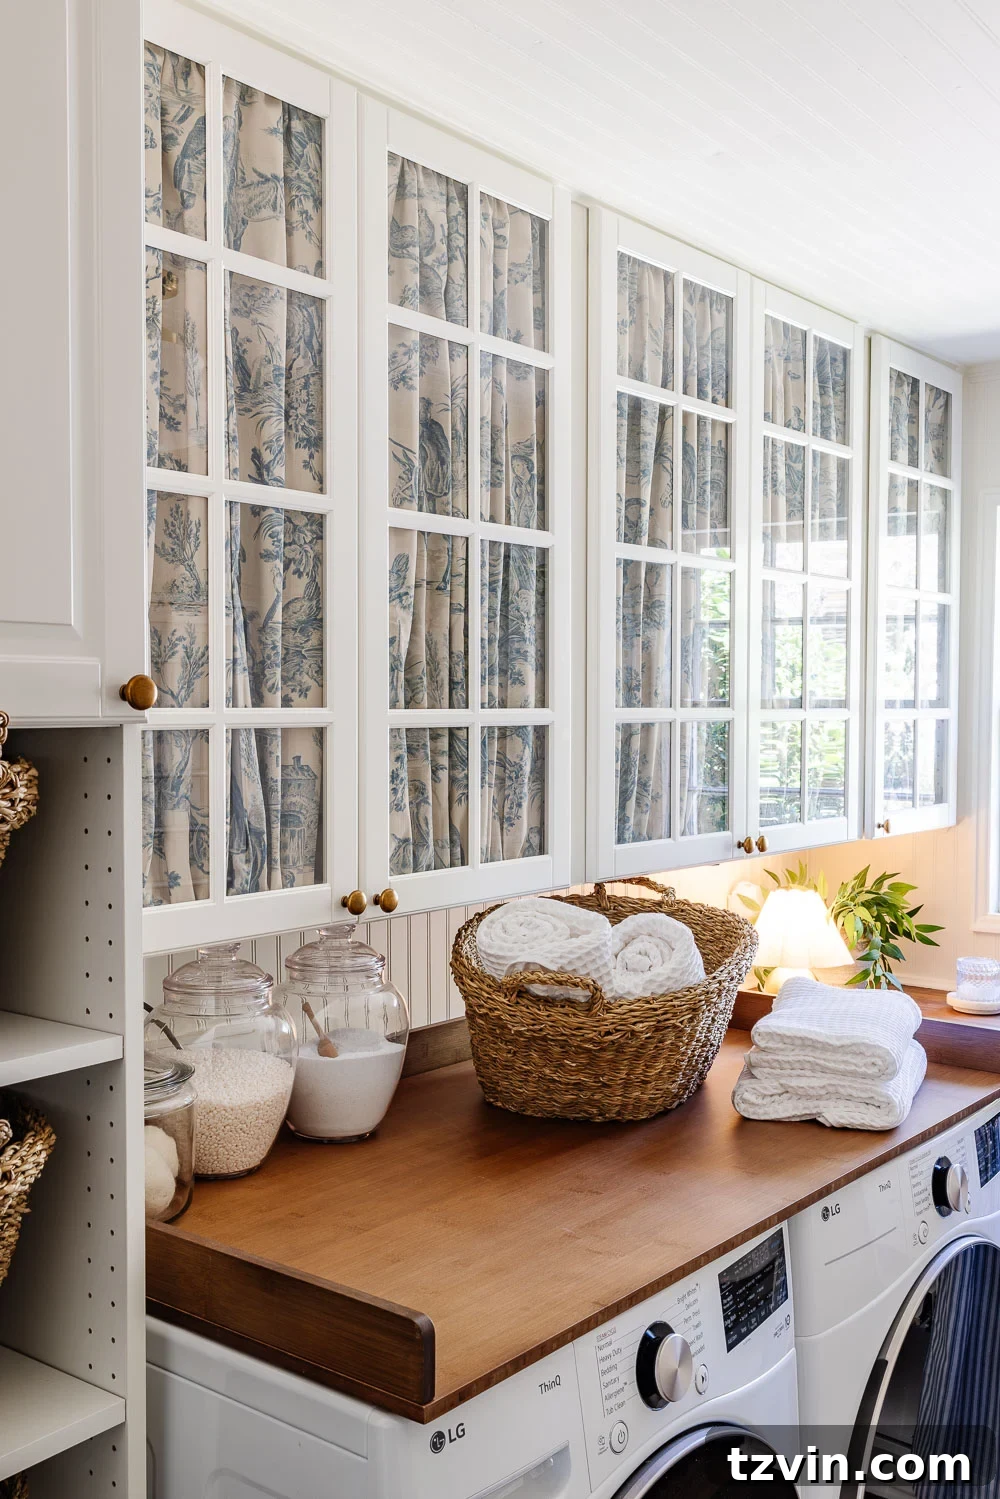
Transforming a house into a home often involves a series of intentional design choices, especially in spaces that blend utility with aesthetics. Our laundry room makeover has been a journey of crafting functionality with undeniable charm, and we’re thrilled with its progress. From meticulously reworking the layout to the foundational elements like installing beadboard paneling on the walls and expertly laying down Stainmaster luxury vinyl plank flooring in the inviting Olympia Oak shade, every detail has been thoughtfully considered. The addition of new IKEA cabinets has further solidified the room’s purposeful design, creating a space that feels both highly efficient and deeply personal.
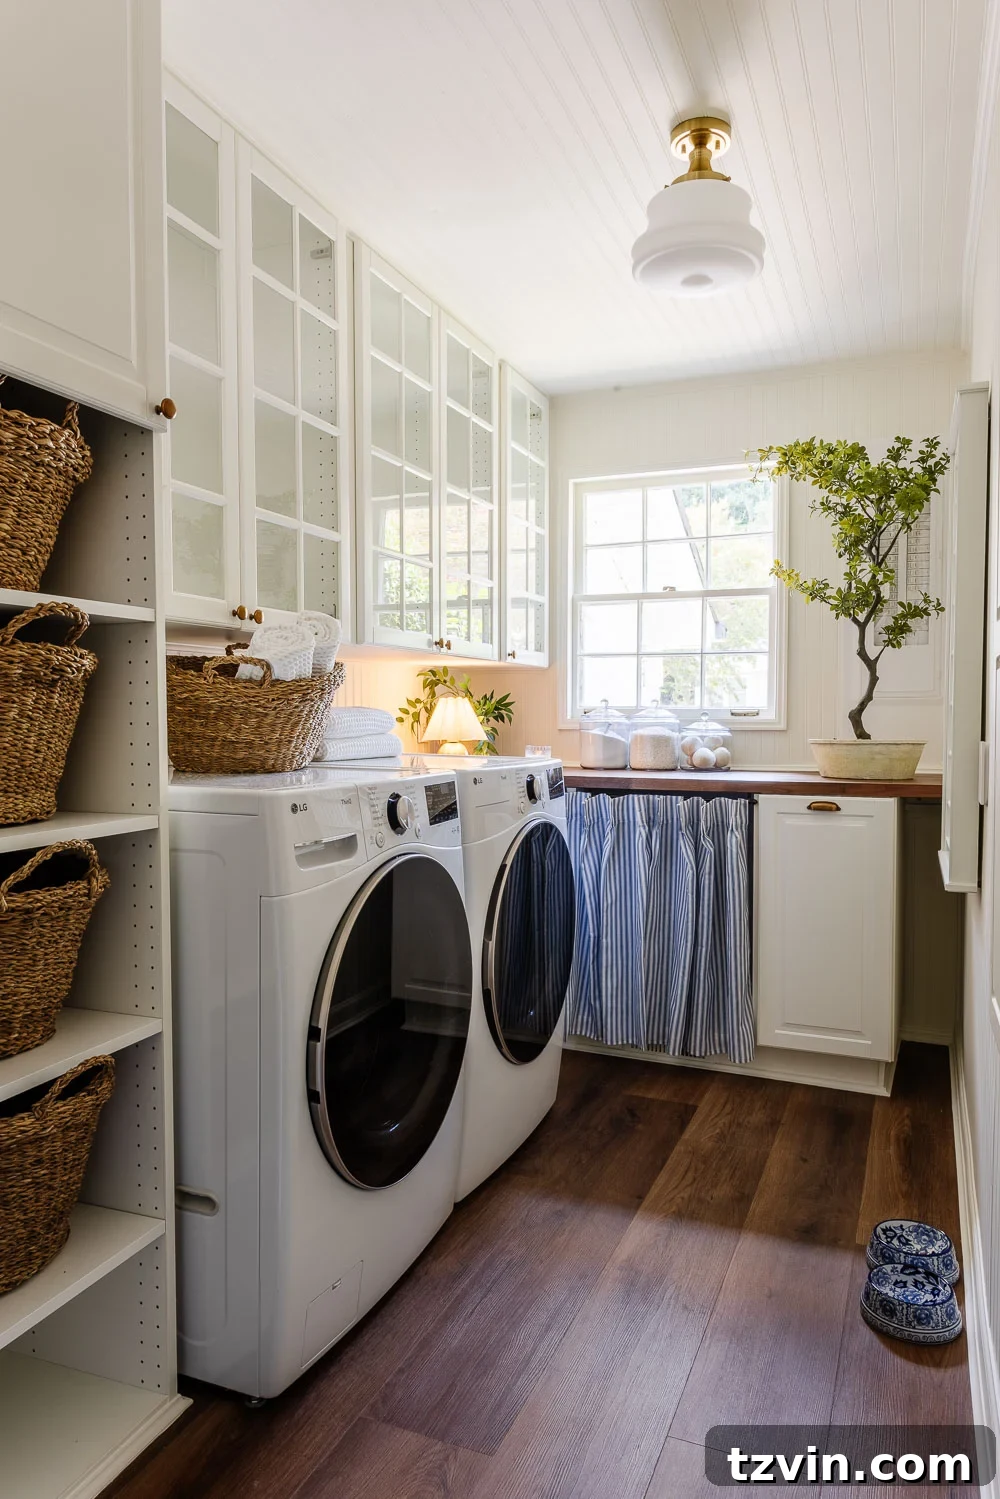
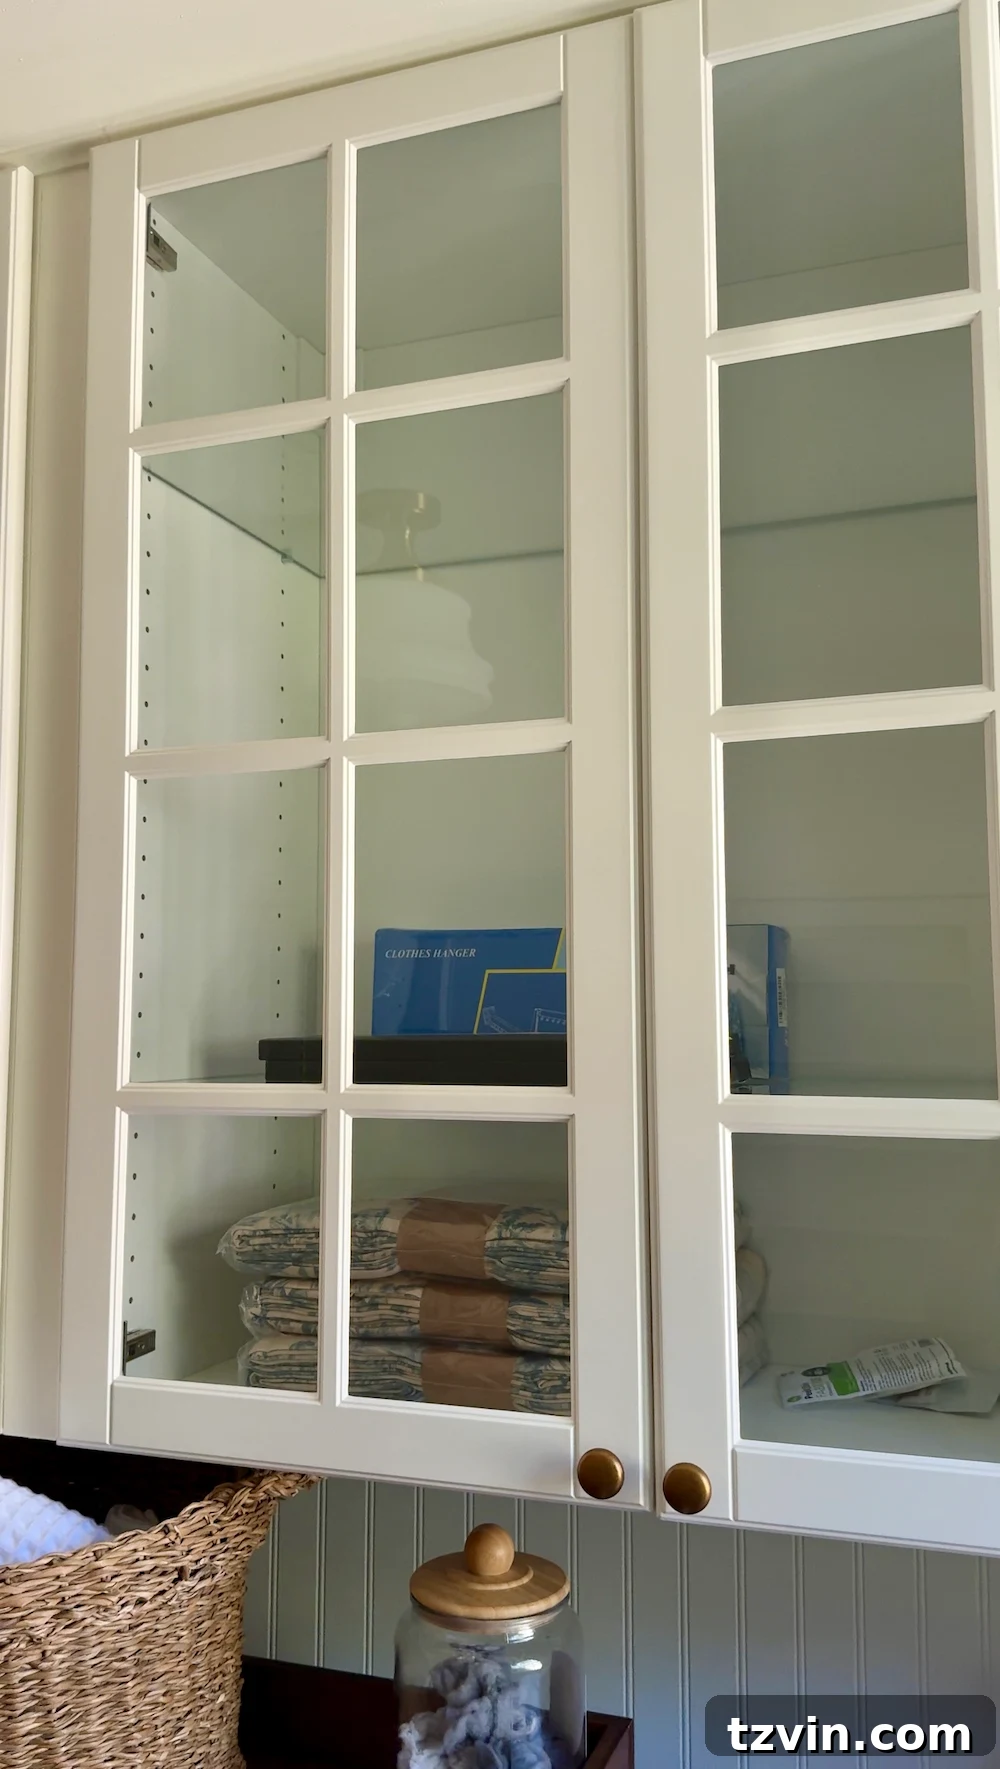
Among the design elements, glass doors on the upper cabinets were a non-negotiable for me. They inherently offer an airy, open feel, lending visual lightness to the room. However, I also recognized the practical need for a discreet way to conceal clutter. The reality of a working laundry room often involves a myriad of supplies that aren’t always picture-perfect. This led us to a delightful vintage-inspired solution: adding elegant fabric panels behind the glass cabinet doors. This simple yet effective trick allows us to enjoy the beauty of glass while maintaining a tidy appearance, blending practicality with a touch of timeless style.
Related: How to Cover Glass Doors With Window Film for Decorative Effect
As an Amazon Associate, I earn from qualifying purchases. full disclosure
Why You’ll Adore DIY Fabric Cabinet Panels: Blending Style with Functionality
Before diving into the detailed steps, let’s explore why this clever design hack has become one of my absolute favorites and why it might be the perfect solution for your home:
- Effortless Clutter Concealment: This ingenious method allows you to elegantly hide the items stored behind glass without sacrificing the visual lightness and sophistication that glass doors bring to a space. It offers the best of both worlds: open, airy aesthetics on the outside and organized privacy on the inside. No more worrying about perfectly arranged shelves or unsightly laundry essentials; simply close the door, and the fabric panel creates a beautiful facade.
- Unleash Your Inner Designer: Seasonal & Style Versatility: Fabric panels offer an unparalleled level of customization. You gain the freedom to easily swap out fabrics whenever your mood shifts, a new season arrives, or your design style evolves. This means your cabinets can transition from a crisp linen look in spring to a cozy tartan in winter, or from a classic toile to a modern geometric pattern, all without a major renovation. It’s a truly dynamic way to refresh your space on a whim.
- Infuse Character, Color, and Texture: What might otherwise be a uniform, perhaps even stark, wall of cabinets can be instantly transformed into a focal point rich with personality. Fabric introduces pattern, color, and texture, softening hard lines and adding a layer of warmth and bespoke charm that plain glass cannot achieve. It’s an opportunity to inject unique character and tell a story within your decor.
- Remarkably Simple & Fully Reversible: One of the greatest advantages of this DIY project is its accessibility. It’s surprisingly simple to execute, often requiring no sewing skills (especially with fabric fuse tape), and it doesn’t necessitate the removal of the glass itself. Furthermore, it’s easily reversible. Should your preferences change, you can simply remove the fabric panels, restoring your glass doors to their original clear state without any damage or permanent alteration. This makes it an ideal solution for renters or those who love to experiment with their decor.
Related: DIY Glass Closet Door Makeover With Antique Mirror Film
Gathering Your Toolkit: Essential Materials for Your DIY Fabric Panels
Embarking on this project is straightforward, especially with the right materials. Here’s a comprehensive list of what you’ll need to create your own stylish cabinet fabric panels. Keep in mind that you might already have some equivalents on hand, which can help streamline your budget:
- Medium Weight Woven Fabric: The choice of fabric is paramount. I opted for a single pair of these beautiful blue toile curtains, which provided enough material for all five of my cabinet doors. When selecting your fabric, look for something that strikes a balance—it shouldn’t be too sheer, as it needs to offer adequate coverage to conceal items, nor too stiff, as you want it to drape gracefully and create soft, appealing gathers. Consider patterns like classic toile, ticking stripes, subtle florals, or even solid textures that complement your existing decor.
- Measuring Tape: Accuracy is key in any DIY project. A reliable measuring tape will ensure your fabric panels are cut to the perfect dimensions, leading to a professional finish.
- Washable Marker: For marking your fabric clearly and precisely without leaving permanent traces.
- Fabric Scissors or Rotary Cutter: Clean, sharp cuts are essential for neat hems. A rotary cutter with a self-healing mat offers exceptional precision, especially for long, straight lines, but good quality fabric scissors will work just as well.
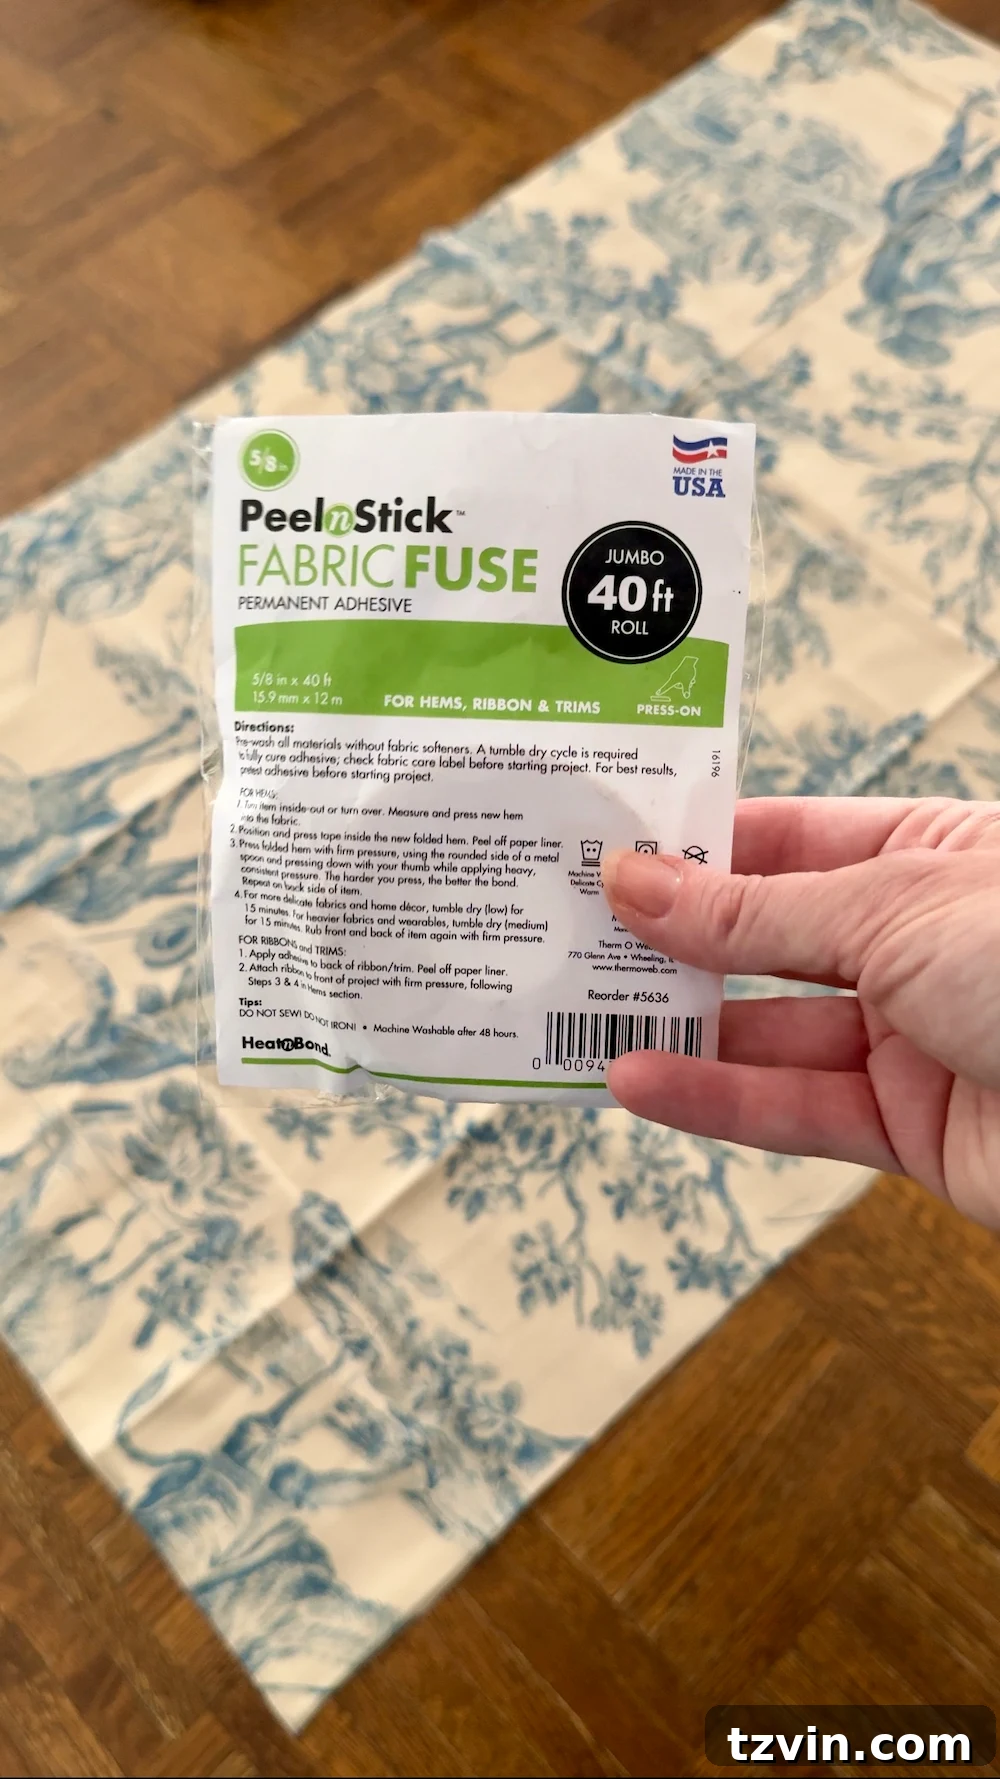
- Peel n Stick Fabric Fuse: This is a game-changer for a no-sew project. This adhesive tape provides a strong, durable bond for hems and channels, eliminating the need for a sewing machine.
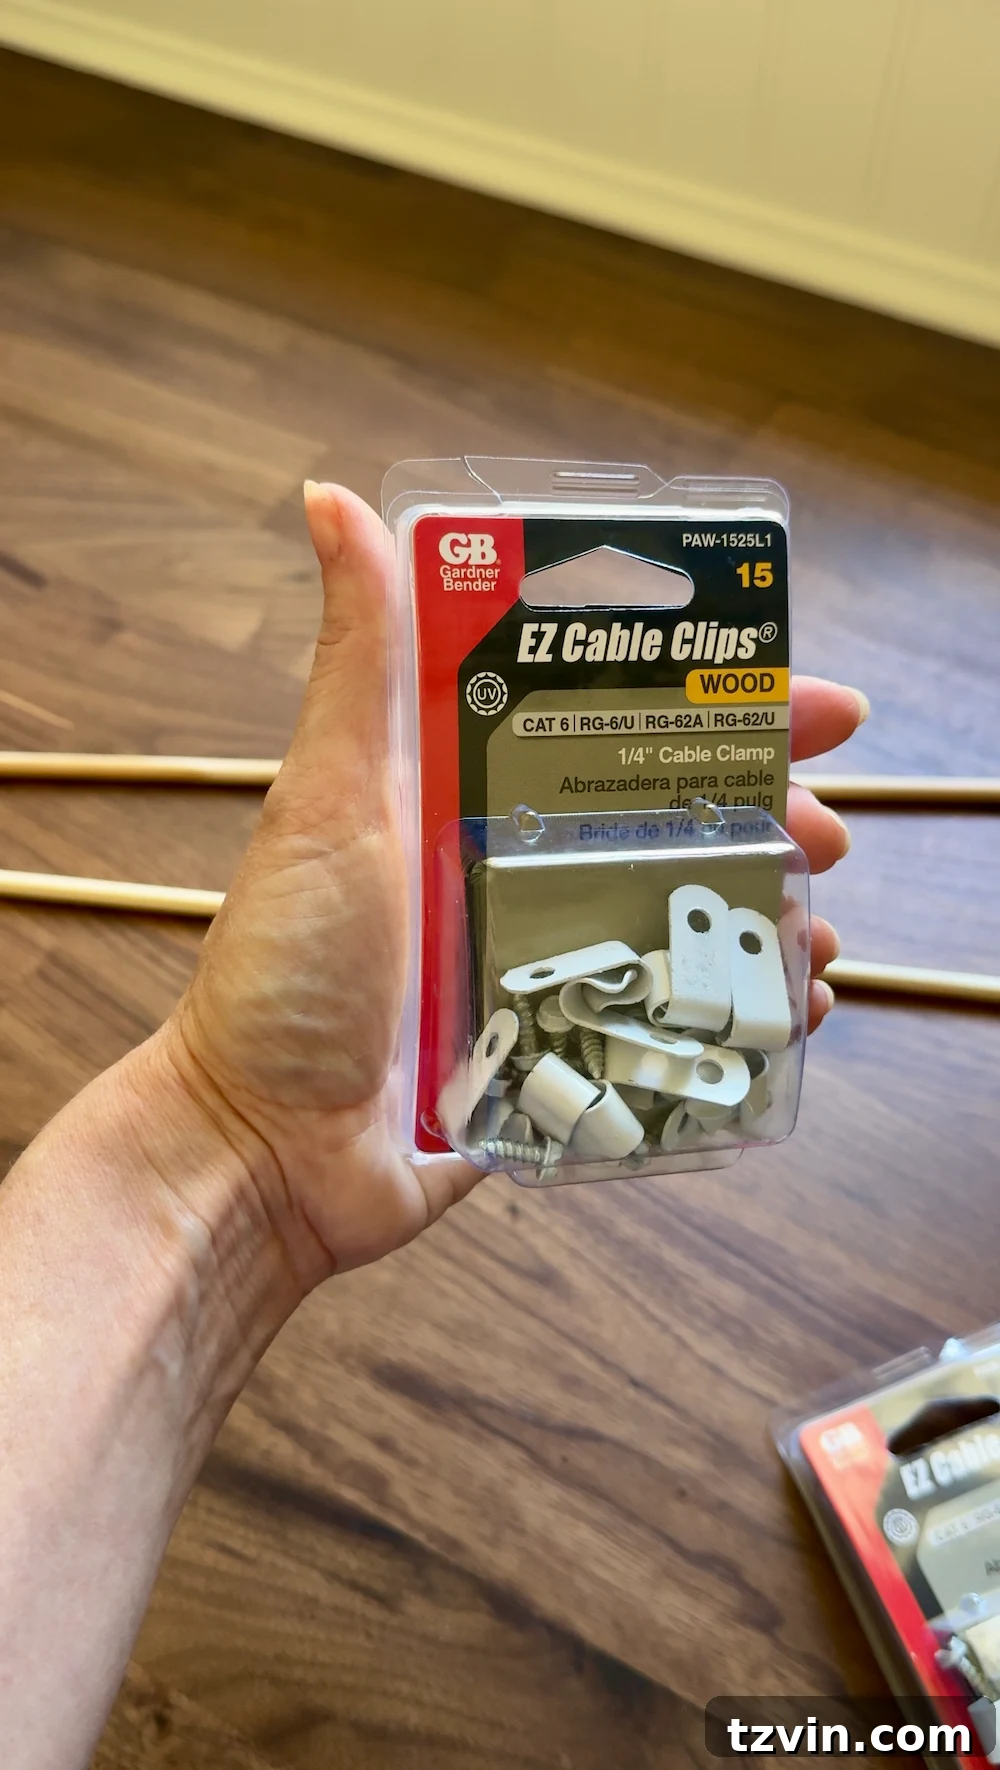
- EZ Cable Clips: These small but mighty clips will be used to secure the dowel rods inside your cabinet frame, holding the fabric panels neatly in place.
- 1/4″ Wooden Dowels: These thin wooden rods create the structure for your gathered fabric panels, allowing them to hang beautifully and evenly. Ensure they are long enough for your cabinet width.
- Metal Spoon: A simple metal spoon is surprisingly effective for firmly pressing the fabric fuse tape, ensuring a strong and lasting bond.
- Drill + Drill Bit: Essential for pre-drilling tiny pilot holes into the cabinet’s wood frame before screwing in the cable clips. Remember: Always drill into the wood frame, never directly into the glass.
Step-by-Step: Crafting Your Own Elegant Glass + Fabric Cabinet Panels
Here’s a detailed guide on how we brought this charming vintage trick to life in our laundry room, step by step. Follow these instructions for a beautiful and functional upgrade to your glass-front cabinets:
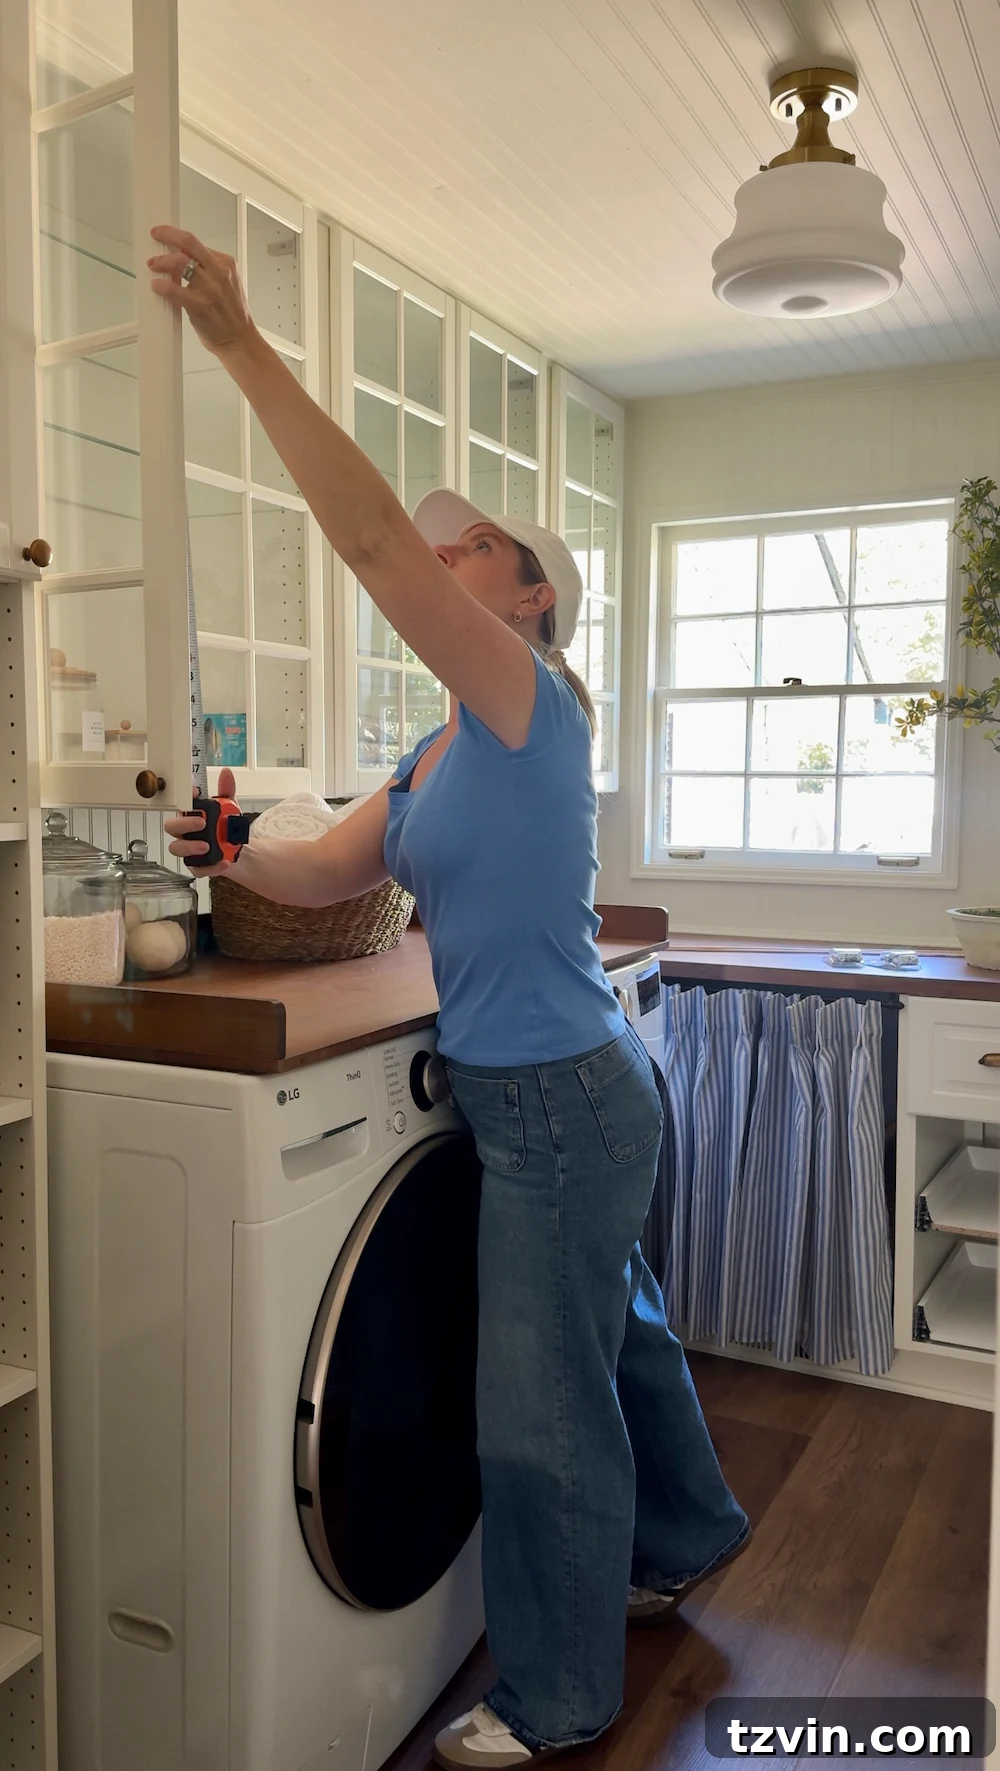
Step 1: Precisely Measure the Existing Glass Opening
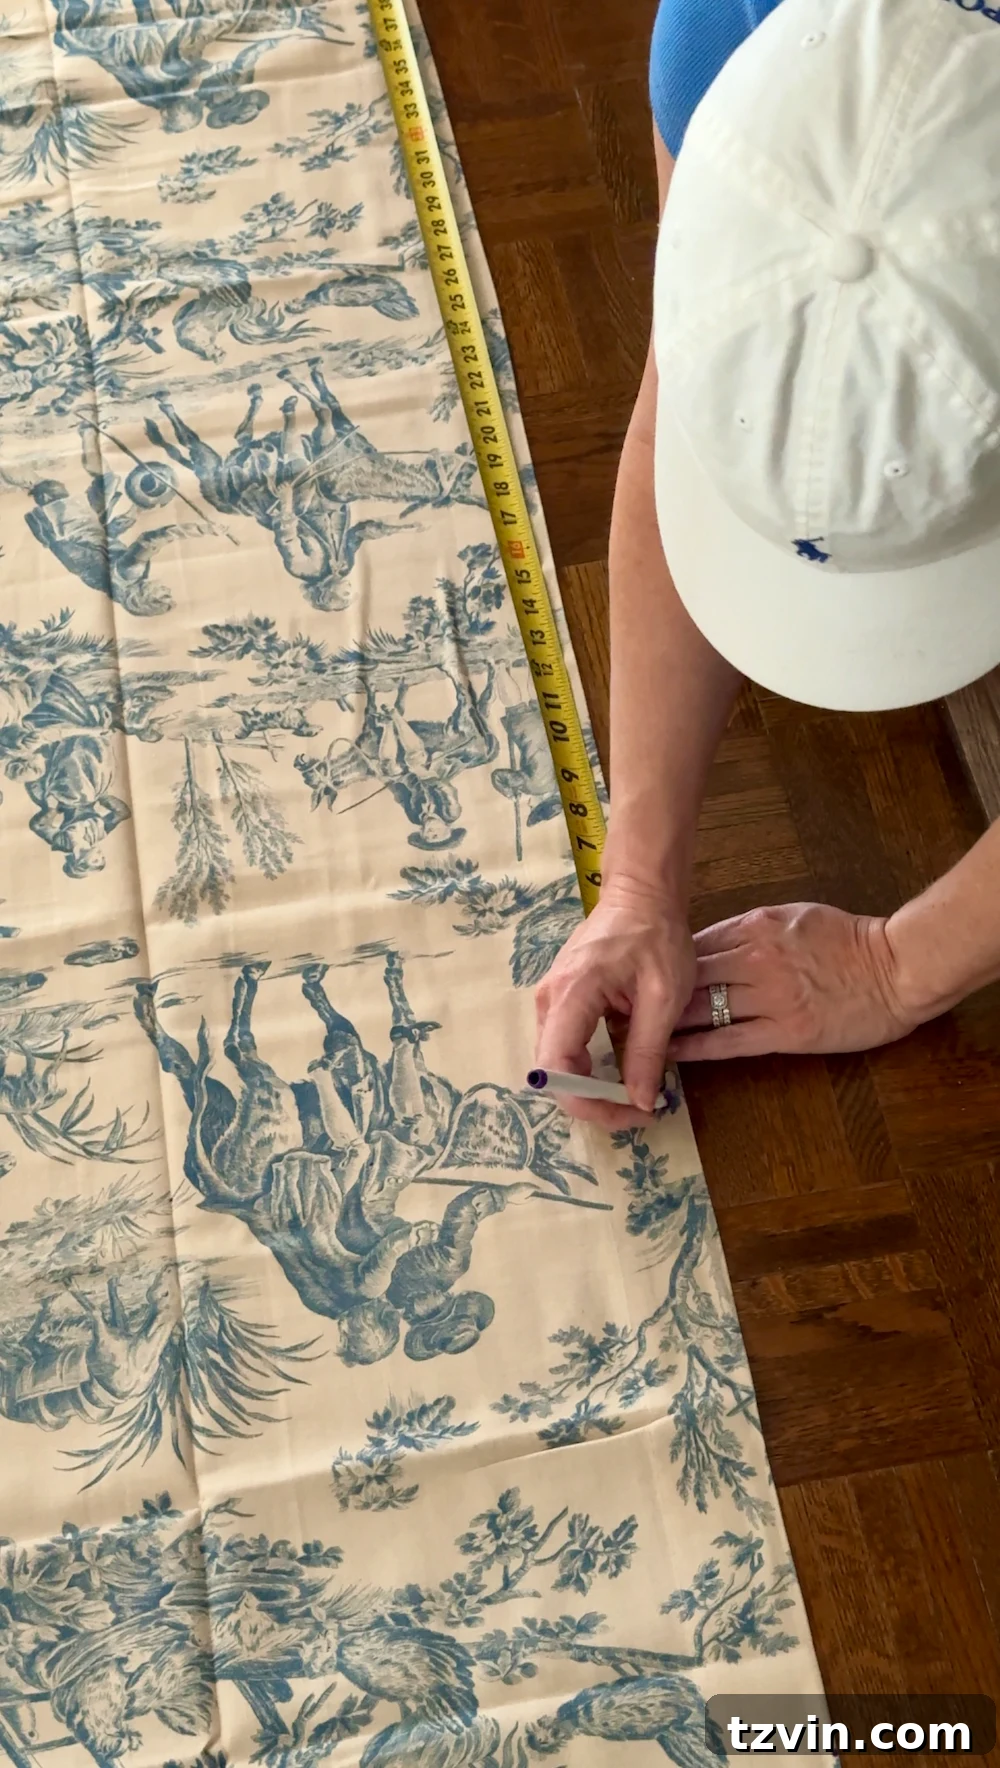
Begin by carefully measuring the visible glass area of your cabinet door. This will be your base dimension. To ensure the dowels are completely hidden when the door is closed and to create a nicely framed look, plan for your fabric curtain to extend approximately 1 1/2 inches past the glass on all four sides (top, bottom, left, and right). For the width, to achieve those desirable soft gathers and a full, luxurious look, multiply your desired finished width (glass width + 1.5 inches on each side) by 1.5 to 2 times. For example, if your finished fabric width needs to be 16 inches, your cut width for the fabric should be between 24 and 32 inches. This ensures ample material for beautiful, flowing folds.
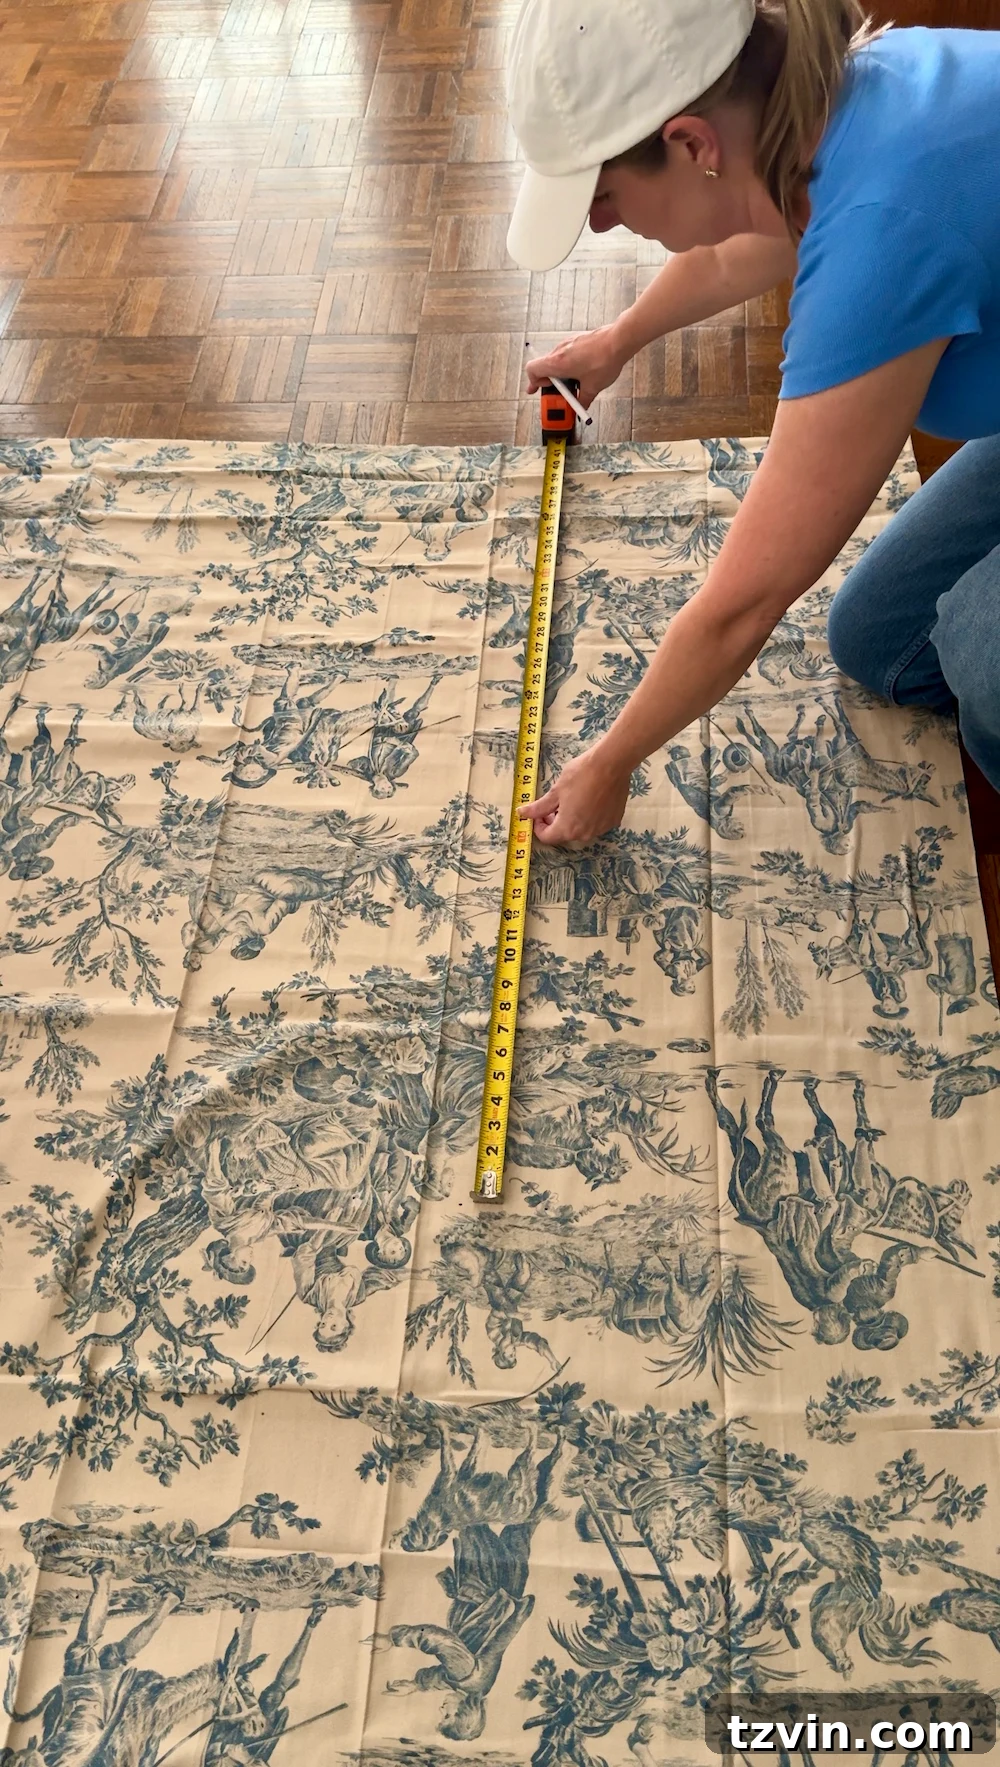
Step 2: Cut Your Fabric Panel, Accounting for Hems and Channels
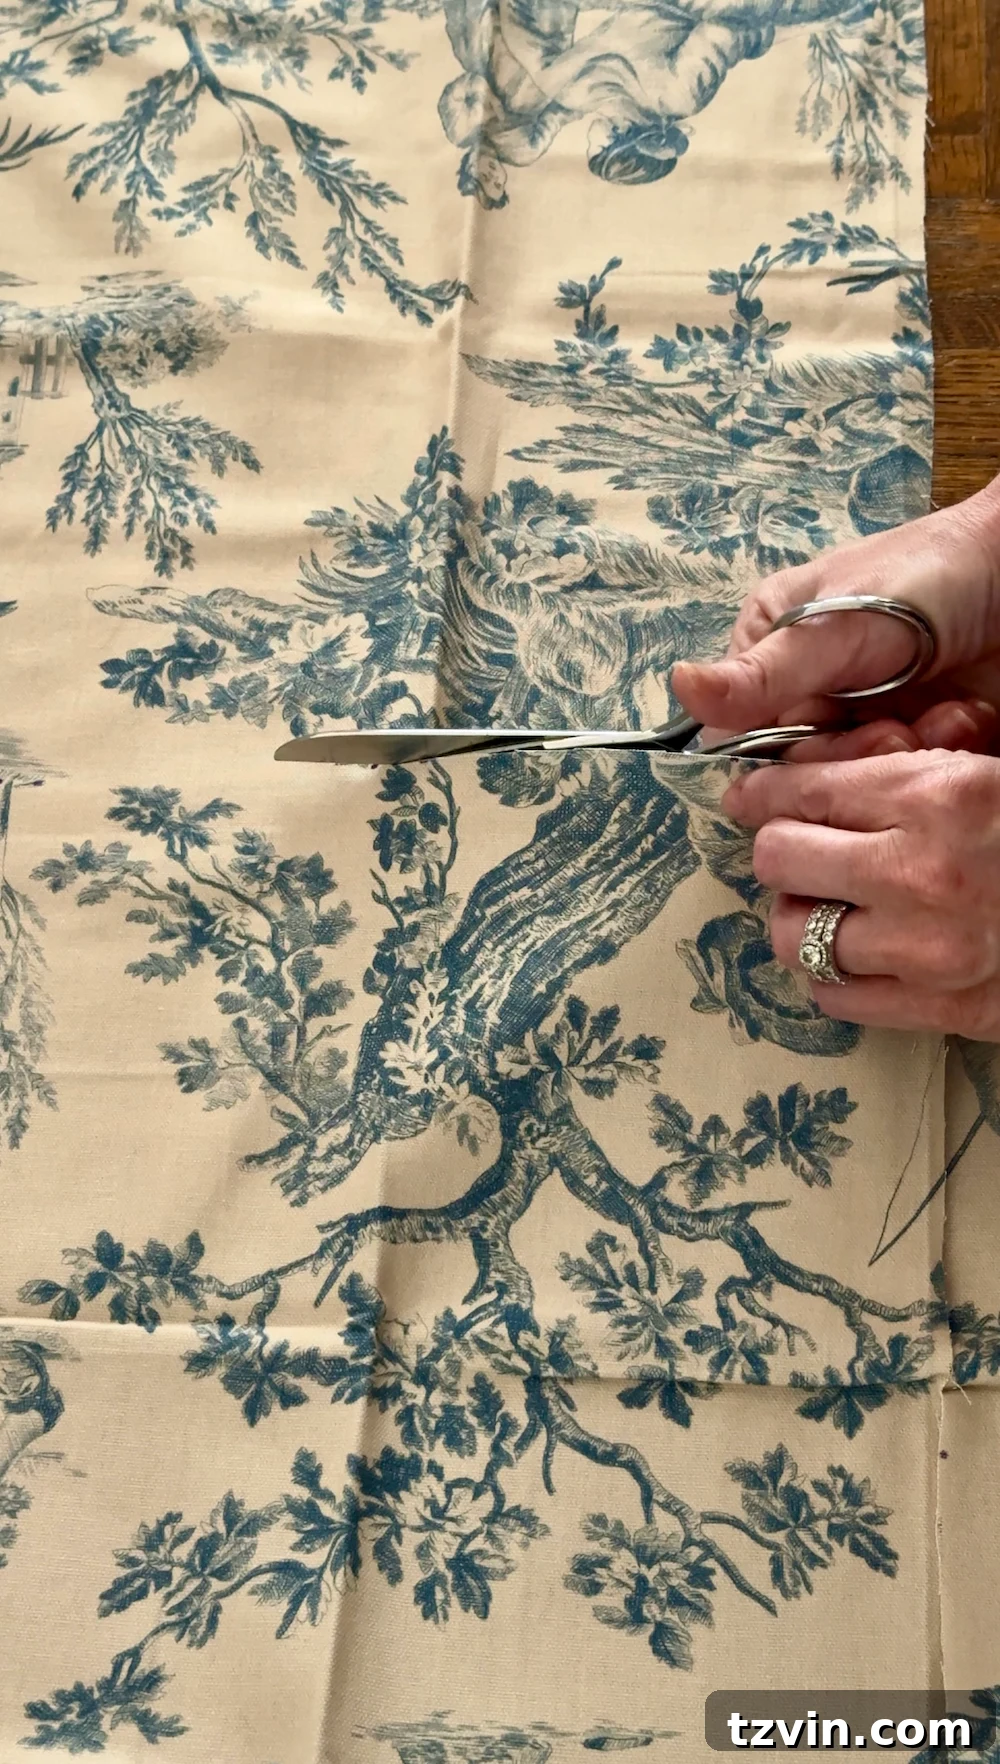
Once you have your measurements, carefully cut your chosen fabric into a single, continuous panel for each cabinet door. When determining your cut size, remember to include a few critical additions:
- Finished Dimensions: This is the measurement of the visible glass area plus the 1 1/2-inch extension on all four sides, as calculated in Step 1.
- Extra for Hems and Dowel Channels: You’ll need additional fabric for finishing the edges and creating the sleeves for your dowels. Plan to add approximately 1 1/2 inches to both the top and bottom edges for the dowel channels, and suitable allowance for side hems (as described in the next step). Precision here will contribute to a neat and professional finish.
Step 3: Hem the Side Edges Using Fabric Fuse
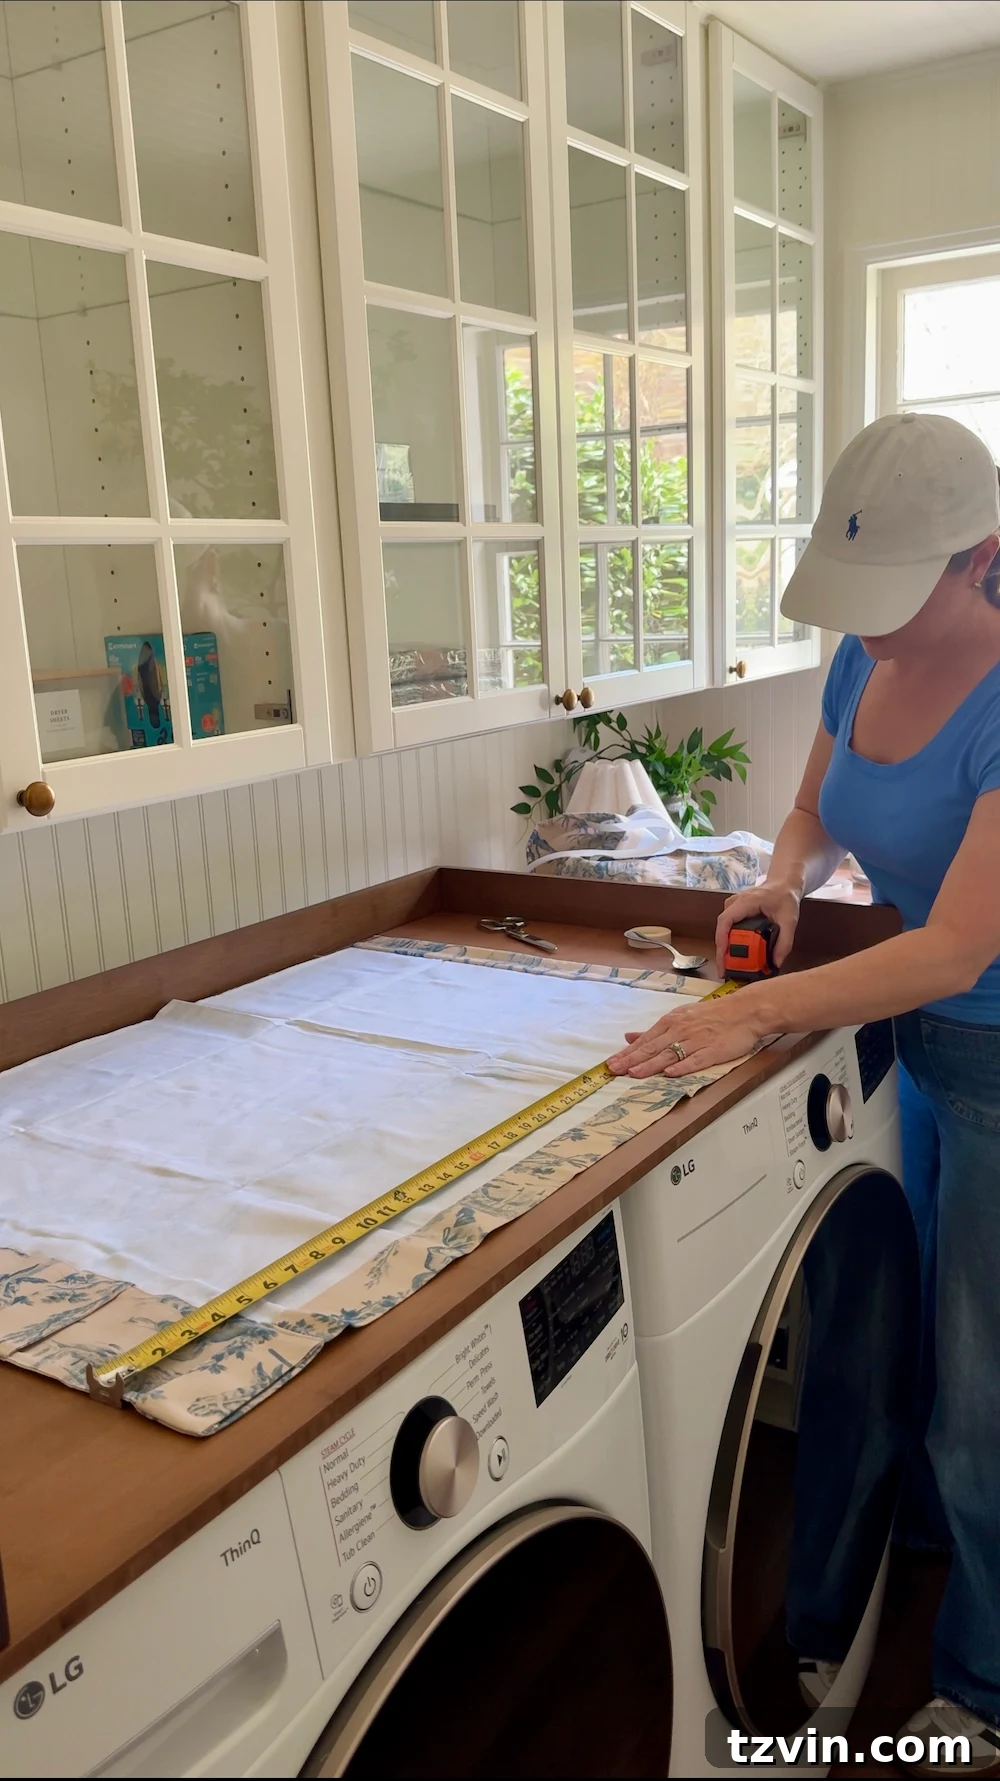
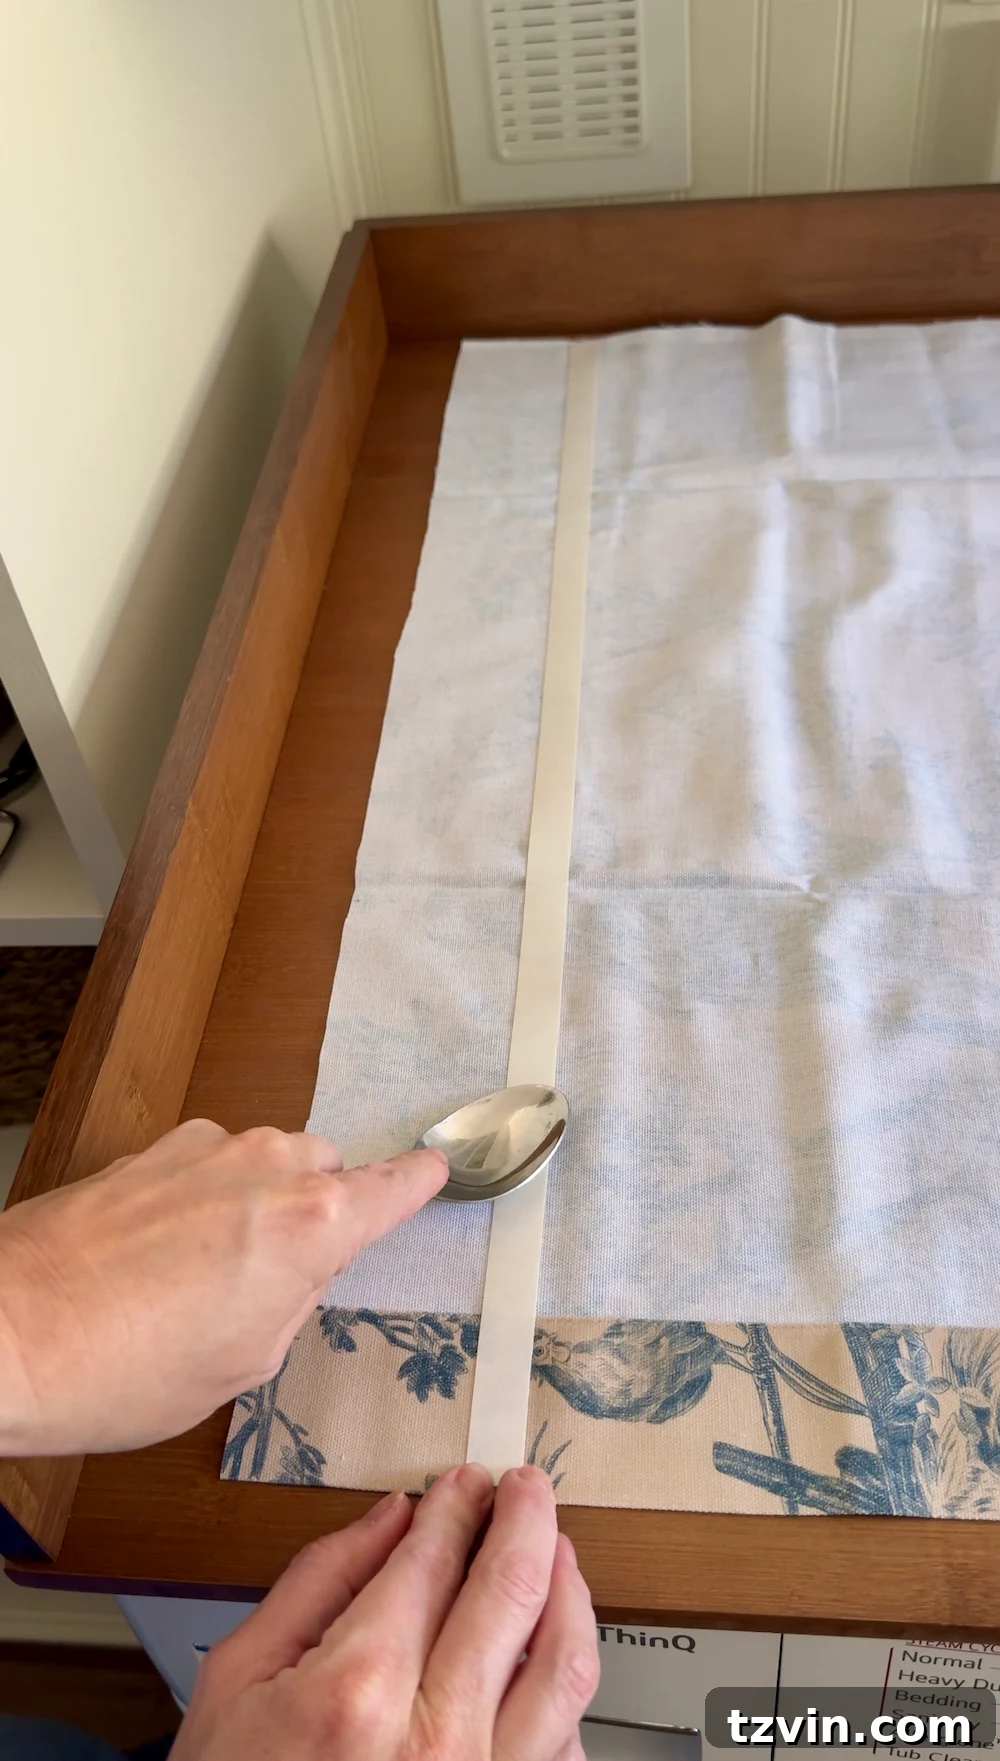
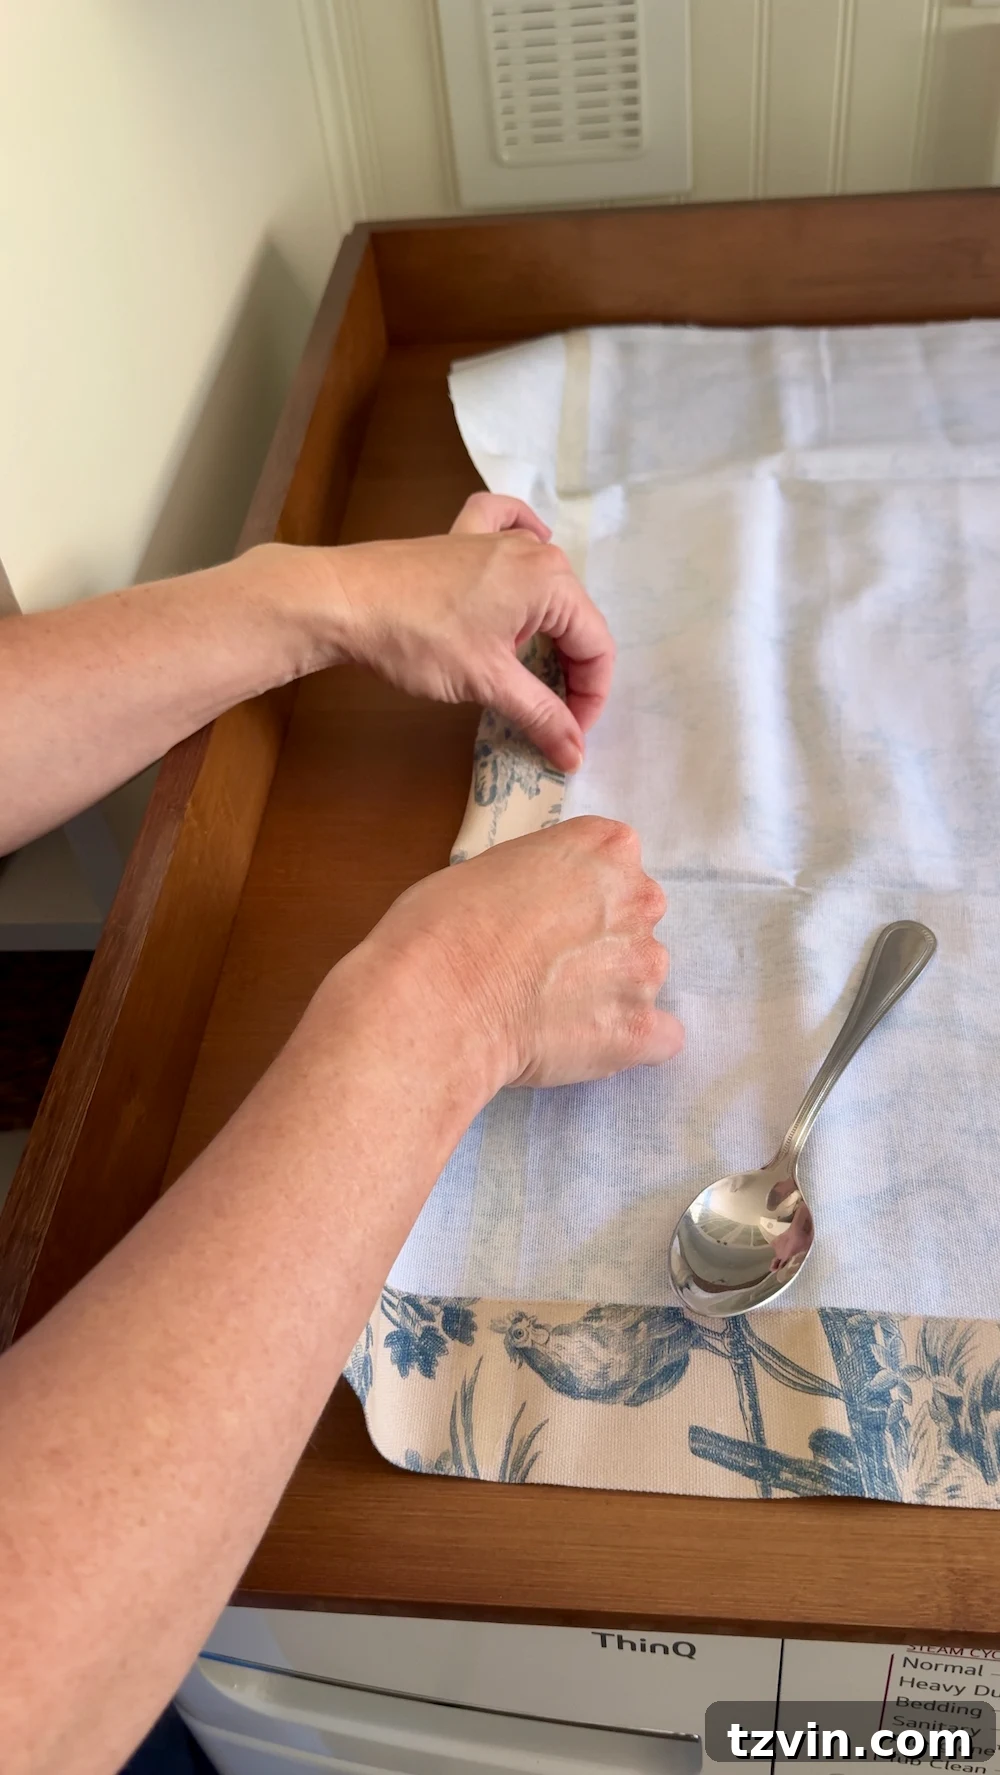
To give your fabric panel a clean, finished appearance and prevent fraying, begin by hemming the two long side edges. Fold the fabric under by approximately ¾ inch. Carefully apply the Peel n Stick Fabric Fuse tape along this folded edge, following the manufacturer’s directions for application. Once the tape is in place, use a metal spoon to firmly press down on the folded hem. This pressure helps to activate the adhesive and ensures a strong, lasting bond between the fabric and the tape, creating a crisp, neat edge without any sewing.
Step 4: Create the Dowel Channels at the Top and Bottom
Now, it’s time to create the “sleeves” or channels that will hold your wooden dowels at the top and bottom of your fabric panel. These channels are crucial for hanging the fabric and achieving those beautiful gathers. First, fold the fabric edge by ½ inch towards the back. Then, fold it over another 1 inch to create a channel. Secure this fold with the fabric fuse tape, applying it within the fold and pressing firmly with your metal spoon. Ensure the channel is wide enough to comfortably accommodate your ¼-inch wooden dowels. This method creates a neat, professional-looking casing without a single stitch.
Step 5: Install Your Cable Clips Inside the Door Frame
With your fabric panel prepared, it’s time to set up the hanging mechanism inside the cabinet door. Open your cabinet door wide and carefully mark the locations for your EZ cable clips. The clips should be placed at the very top and very bottom of the inside wood frame of the cabinet, aligning with the planned fabric overhang. For instance, if you designed your curtain to extend 1 1/2 inches past the glass on all sides, then place the clips precisely 1 1/2 inches from the visible glass edge. Before screwing in the clips, use your drill to create tiny pilot holes. This prevents the wood from splitting and makes installation easier. Secure the cable clips firmly into these pilot holes. Important: Always drill into the wood frame, never risk drilling into the glass itself. If your cabinet frame is not suitable for screws (e.g., metal or very thin particle board), consider using narrow tension rods instead, which can be held in place by pressure.
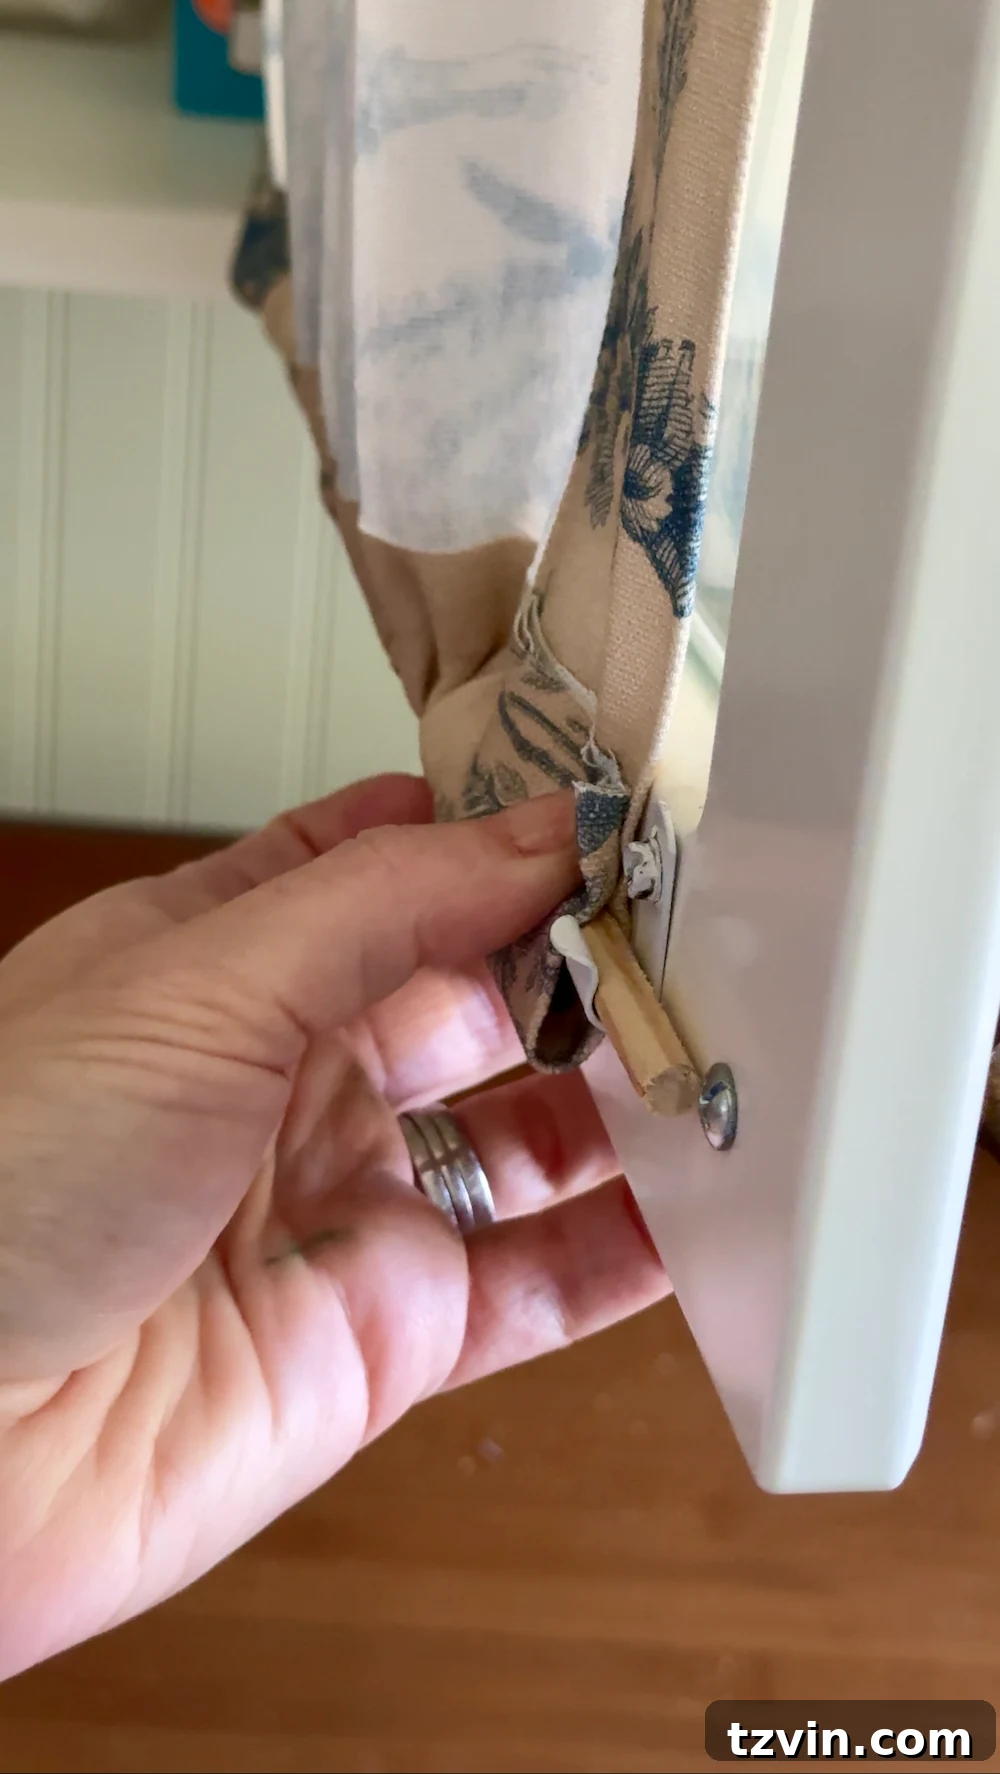
Step 6: Gently Slide the Fabric Panel into the Cabinet Door Frame
Now, carefully insert your fabric panel into the cabinet door. Begin by gently sliding one of your wooden dowels (or simply the hemmed edge if you’re not using dowels) into the top channel created by the cable clips. Once the top is secure, allow the rest of the fabric panel to hang down into the frame. Adjust the panel so that the sides and bottom align neatly within the frame. For the bottom, slide the second dowel (or the bottom hemmed edge) into the lower channel of the cable clips. Take your time during this step to ensure the fabric hangs straight and evenly, with the gathers distributing naturally.
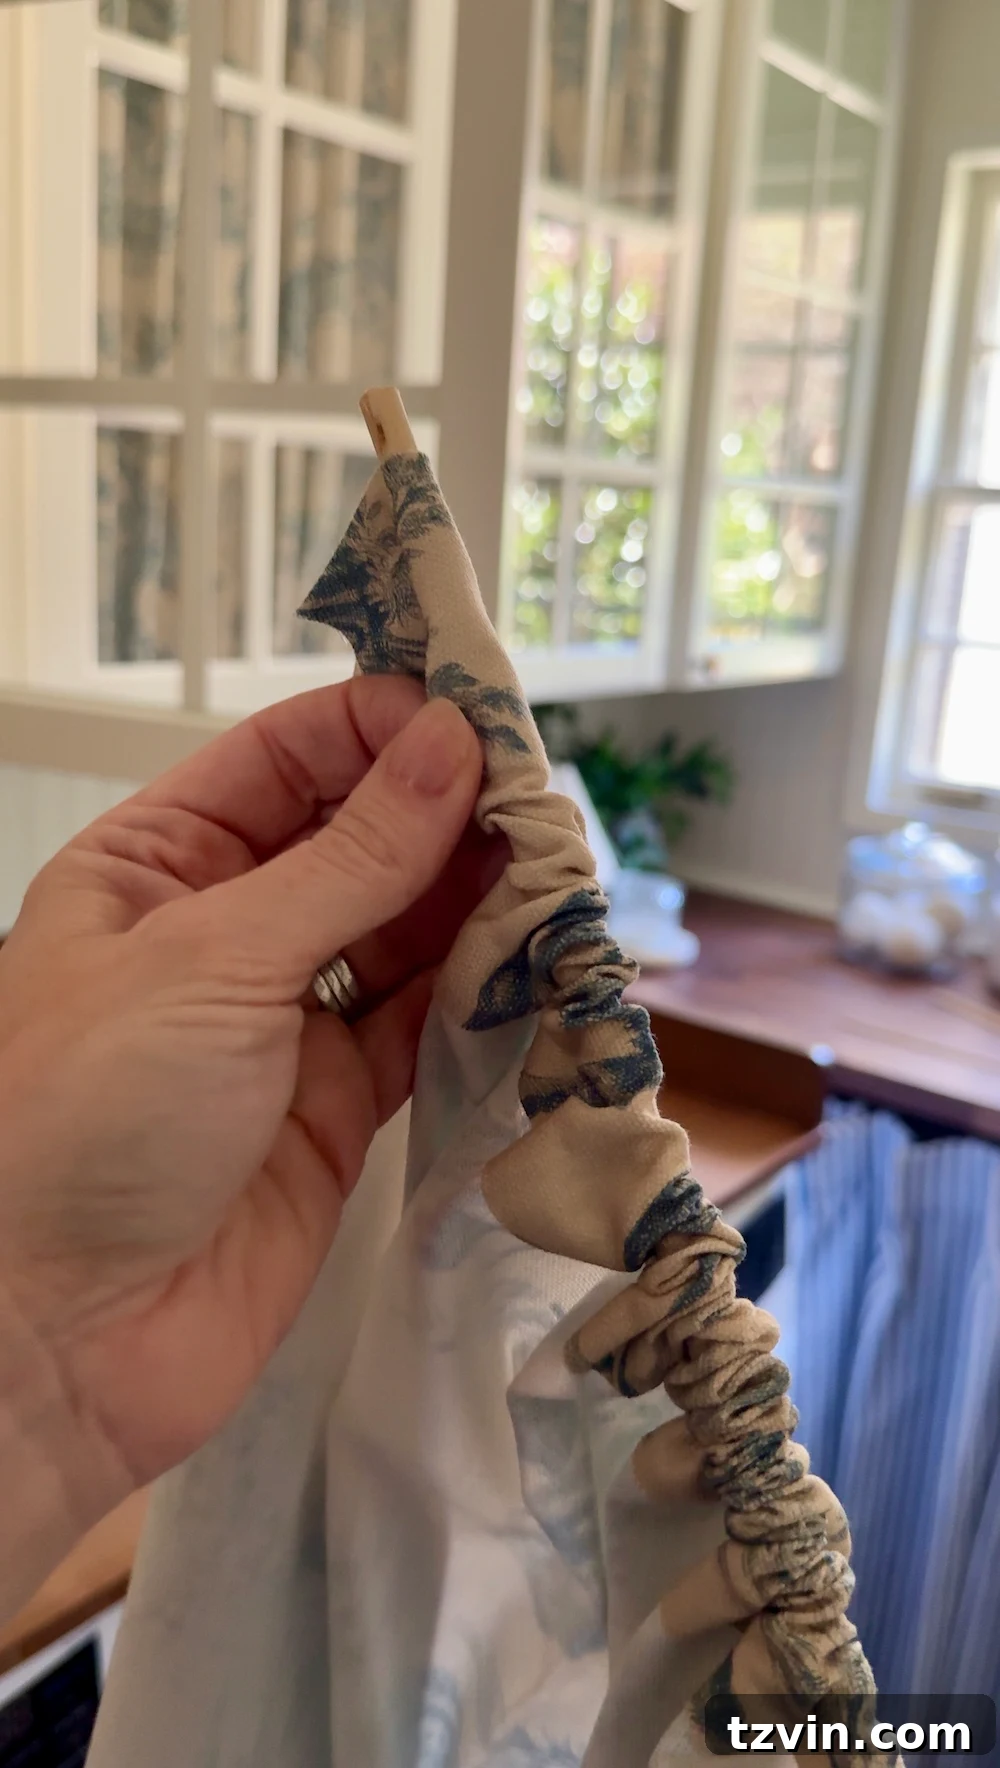
Step 7: Refine and Adjust the Fabric for Perfect Draping
With the fabric panel in place, this is the stage for fine-tuning. Take a moment to adjust the fabric, ensuring that the gathers are evenly distributed across the width of the door. Check carefully that the fabric’s edges are not pinched, dented, or creased by the cable clips, as this can lead to an uneven appearance. Smooth out any visible wrinkles or creases to achieve a pristine look. Confirm that the fabric provides full coverage, effectively obscuring the contents behind the glass and creating the desired aesthetic.
- Check that your fabric edge is not pinched or dented by the clips.
- At this stage, adjust tension, flatten any wrinkles, and confirm full coverage.
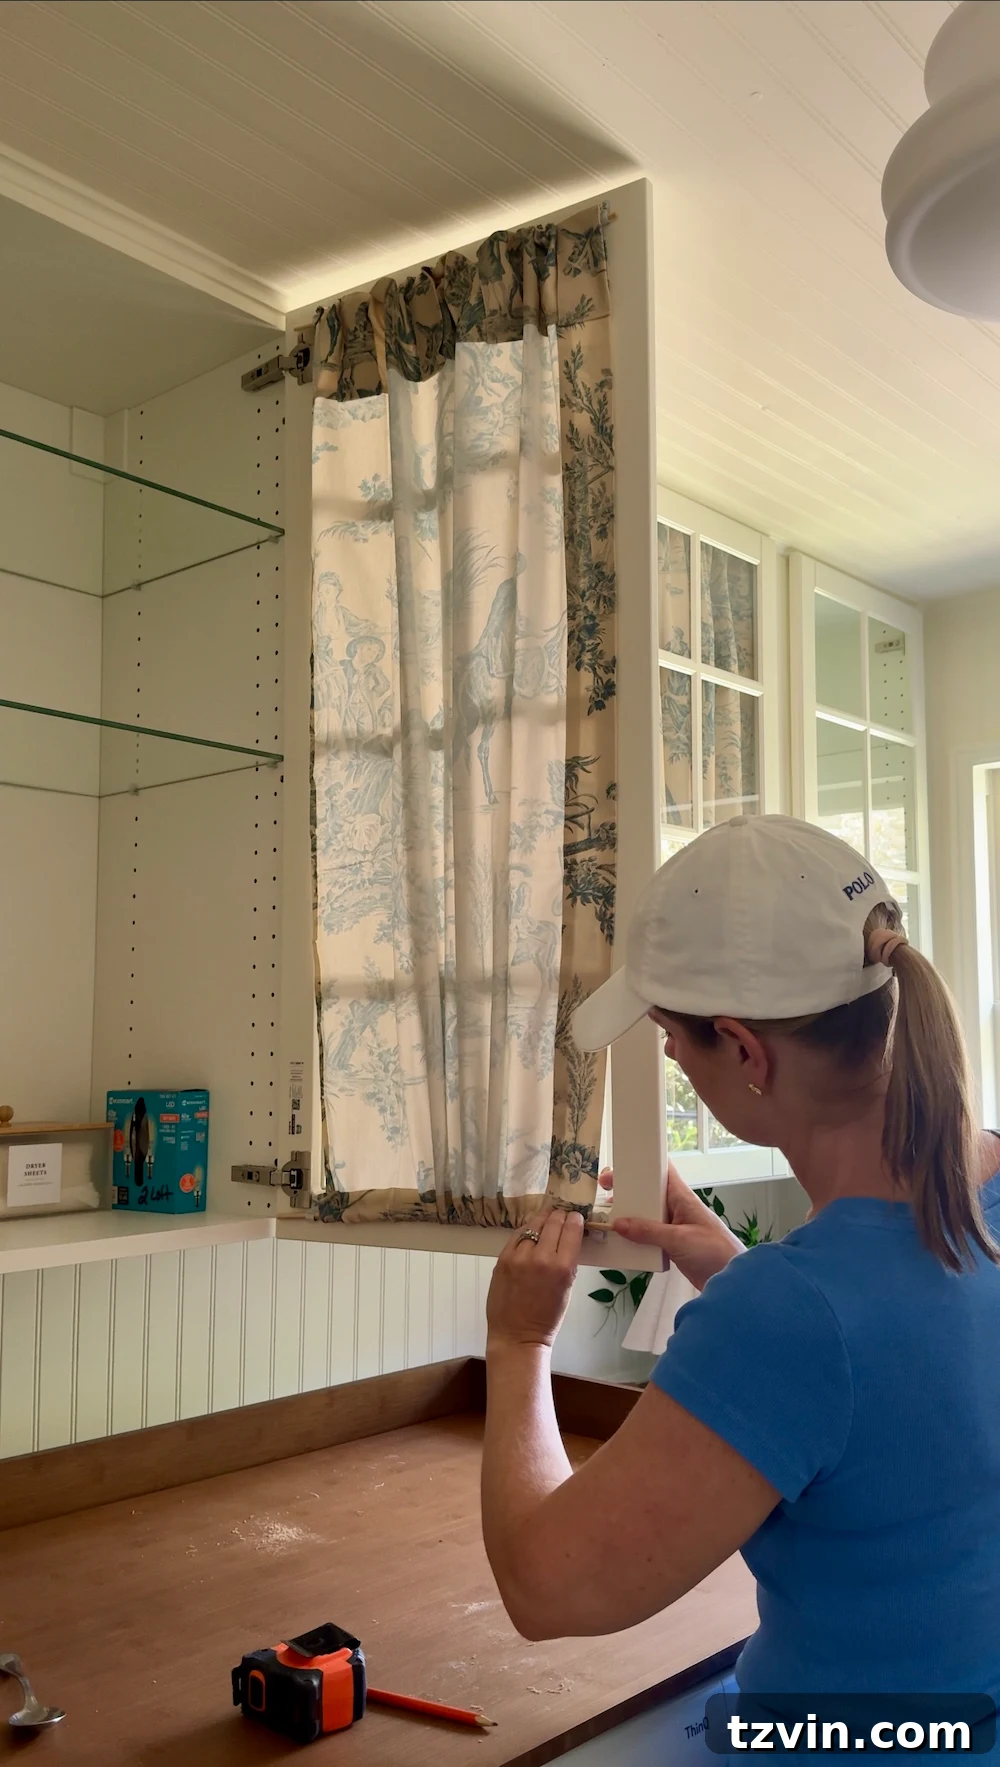
Step 8: Final Fine-Tuning and Trimming Excess Fabric
Once you’re satisfied with the initial positioning, perform a final inspection. If you notice any small puckers, rolls, or areas of uneven tension, gently ease them out by slightly loosening the dowel or carefully shifting the fabric panel. This attention to detail will elevate the overall finish. Critically, trim any excess fabric that might peek out when the cabinet door is open, especially along the inside edges, to maintain a clean and professional appearance. Finally, close the cabinet door gently and inspect your work from various angles and distances. You want to ensure even tension throughout the fabric, no sagging, and a consistently beautiful drape.
- If you see small puckers or rolls, ease them out by loosening the dowel or shifting the panel slightly.
- Trim any excess fabric within the frame that might peek out when the door is open.
- Close the door gently and inspect from different angles. You want even tension and no sagging.
Step 9: Repeat for All Glass Doors and Revel in Your Transformed Space!
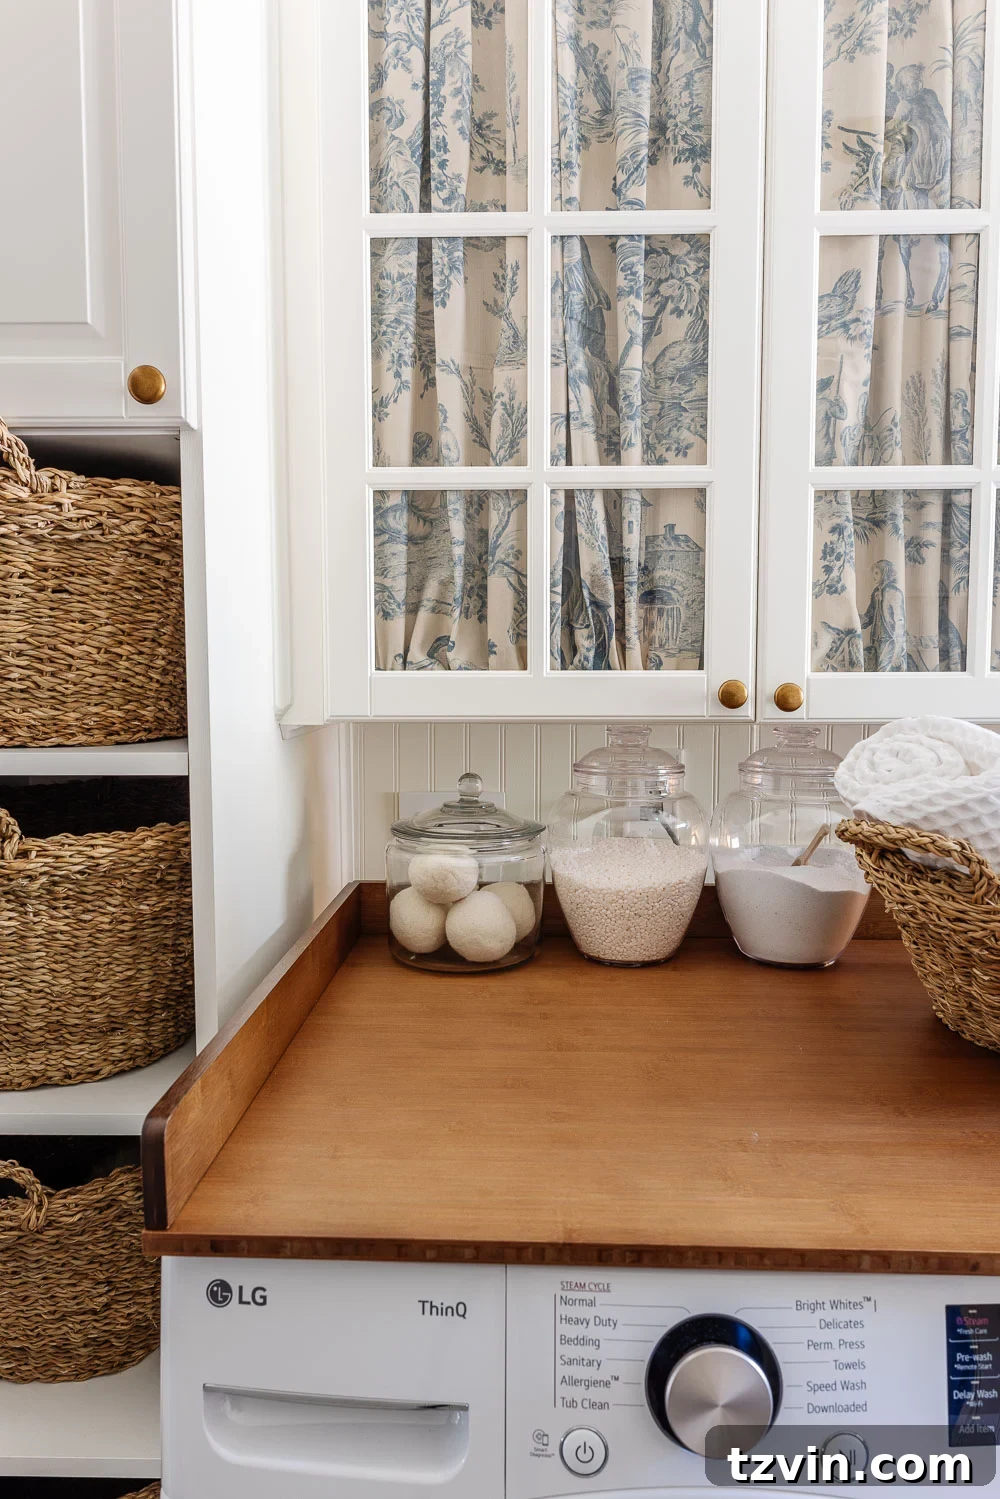
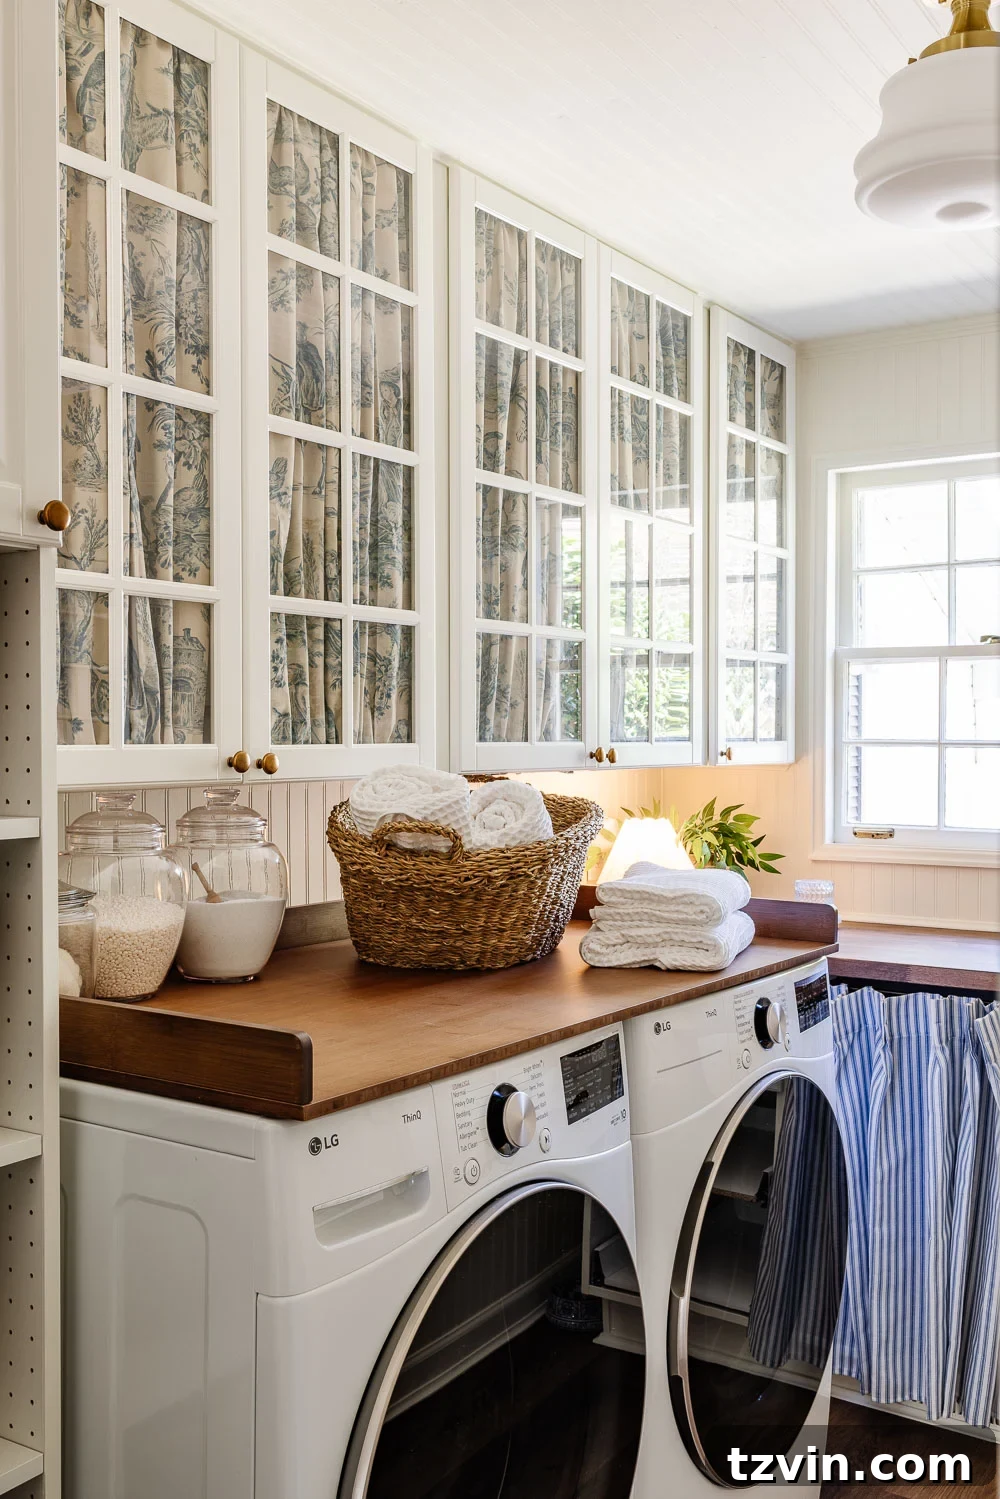
The first panel might take a little longer as you get the hang of the process, but rest assured, the subsequent panels will come together much faster. In our laundry room, I took extra care to ensure the pattern alignment and spacing were consistent across all the cabinet doors. This meticulous attention to detail helped create a beautifully cohesive and professional-looking wall of cabinets. While it’s true that I’m no professional seamstress, and there might be charming imperfections, it’s precisely these handcrafted touches that add to the unique character and warmth of the space. We further enhanced the functionality and aesthetic by adding this removable countertop and stylish acrylic jars for detergent, making the room even more efficient and visually appealing.
Expert Tips & Troubleshooting for Flawless Fabric Panels
Even with a straightforward DIY, a few expert tips can make all the difference in achieving a polished and lasting result. Here’s some advice and solutions for common challenges:
- Choose the Right Fabric Wisely: The type of fabric you select significantly impacts the final look and functionality. Heavier, high-quality woven fabrics will naturally show beautiful texture and drape elegantly, adding a sense of luxury. However, be cautious of fabrics that are excessively thick, as they might prove difficult to slide into the narrow frame channels or create too much bulk. Conversely, very sheer fabrics might not offer enough opacity to effectively hide clutter. Aim for a medium-weight fabric that provides good coverage yet retains a graceful flow.
- Exercise Gentle Handling with Clips: When working with the cable clips, be mindful and gentle. Over-tightening or forcing the fabric into the clips can potentially damage the delicate fabric edges or, in extreme cases, even stress or break your cabinet door frame. The goal is to secure the fabric firmly but without undue force.
- Ensure a Tiny Clearance Gap: Leaving a small gap, approximately ⅛ inch, between the fabric and the cabinet frame (or surrounding elements) is a subtle but effective technique. This tiny clearance helps prevent friction, allowing the cabinet doors to open and close smoothly without catching on the fabric. It also gives the fabric a little room to breathe and settle.
- Test Before Final Trimming or Securing: Before making any permanent cuts or tightly securing everything, it’s highly recommended to live with your fabric panel in place for a day or two. Observe how the fabric behaves—does it sag? Does it wrinkle in certain spots? Do the gathers maintain their form? This short “test drive” period allows you to make any necessary adjustments to tension or positioning before committing to final trims or permanent fixture, ensuring you’re completely happy with the outcome.
- Alternative Mounting Methods for Tricky Frames: If your cabinet frame proves challenging for dowels and cable clips (e.g., if it’s too thin, made of metal, or you prefer a completely non-invasive method), there are alternative solutions. A simpler, equally reversible method is to affix small strips of self-adhesive Velcro to the inside of the cabinet frame and corresponding strips to the back of your fabric panel. This allows the panel to simply “stick” in place. While incredibly easy and gentle on the cabinet, it’s worth noting that Velcro might offer slightly less tension control compared to dowels, and heavier fabrics could potentially sag over time. Another option for metal frames could be magnetic tape.
Our Laundry Room Transformation: A Testament to Thoughtful Design
The journey of transforming our laundry room was about more than just utility; it was about infusing character and beauty into a hardworking space. After the foundational work of installing beadboard paneling and laying down the elegant Stainmaster Olympia Oak vinyl plank flooring, the pristine white IKEA cabinets, while functional, presented a bit of a blank canvas. The glass doors initially introduced a desired visual interest, yet I knew from the outset that an “off switch” for clutter would be essential for day-to-day living. Laundry rooms, by their very nature, accumulate various bottles, boxes, and supplies that aren’t always aesthetically pleasing.
This DIY cabinet fabric method provided the perfect solution, offering us ultimate control. It delivered all the charm and lightness of glass doors, combined with the flexible ability to discreetly hide whatever lay behind. The initial panel took perhaps 20 minutes to complete – a small investment of time for hemming, meticulous measuring, and a few trial slidings to get it just right. However, the subsequent panels came together much more swiftly, as we honed the process. Now, each time I open the laundry room door and my gaze falls upon that wall of cabinets, I’m met with a scene rich in personality, subtle texture, and a charming pattern. It completely transforms the space, preventing it from feeling sterile or purely utilitarian. Instead, it feels cohesive, inviting, and thoughtfully designed.
An added bonus of this project is its complete reversibility. If, at any point in the future, I decide I want the clear glass look back, I can simply unclip and pull out the fabric panels. The cabinet doors will revert to their original state without any damage or permanent alteration. This flexibility is invaluable in evolving home design, ensuring that our space can adapt as our needs and tastes change.
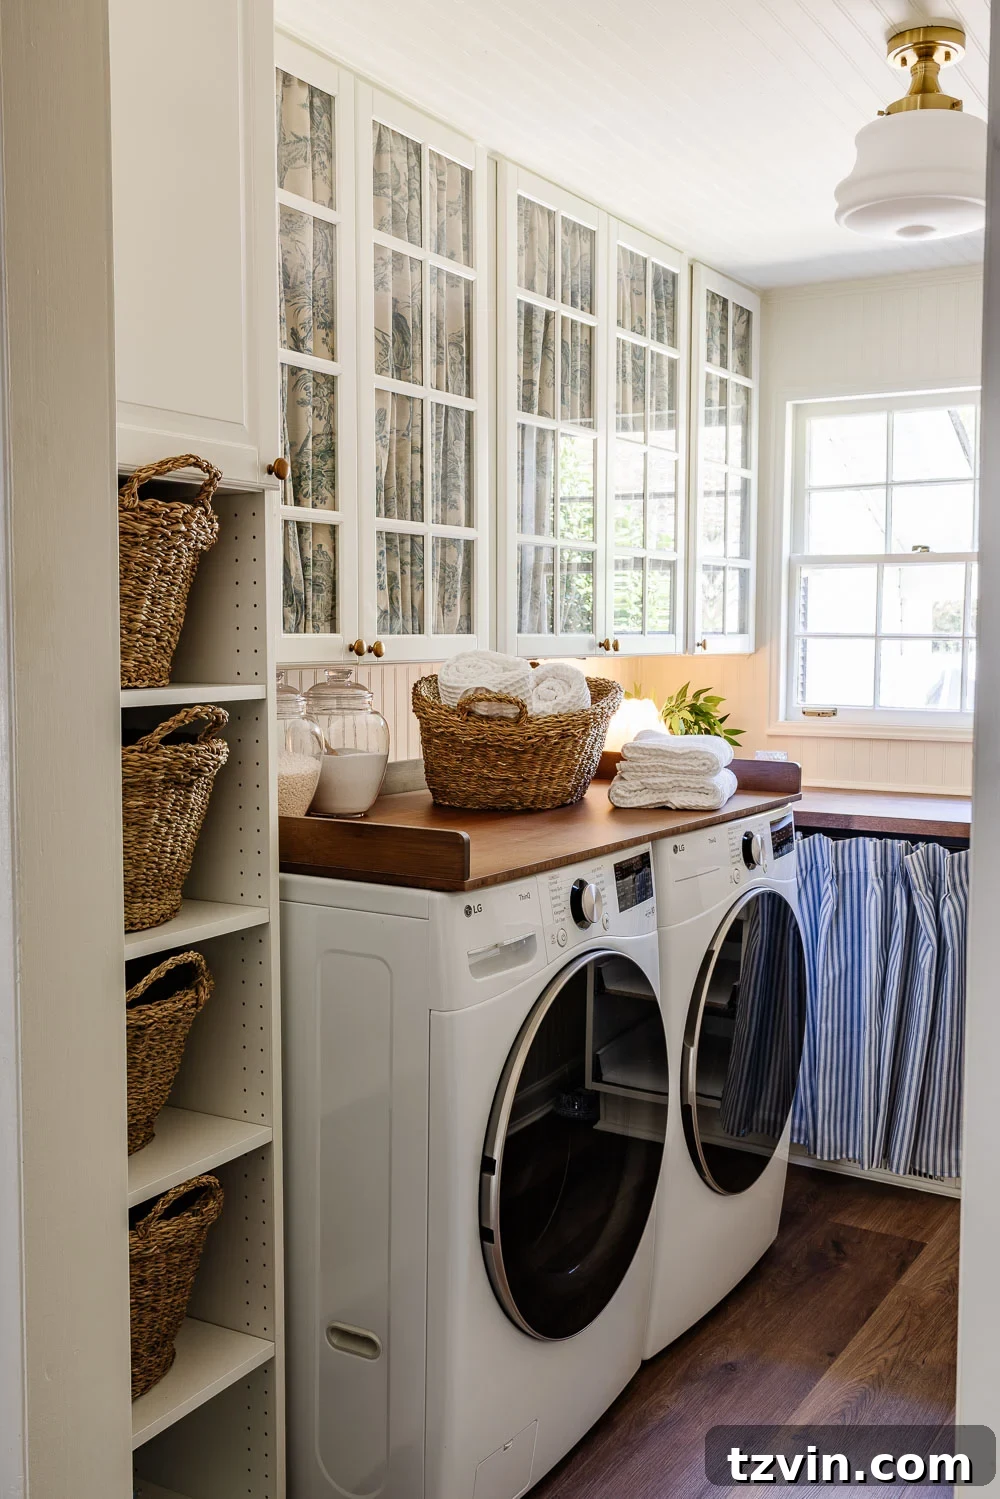
Blue Toile Fabric | Removable Countertop | Ticking Stripe Curtain | Detergent Jars | Baskets | Mini Lamp | Light Fixture | Waffle Towels | LVP Flooring
This simple yet impactful design choice provides an immense sense of peace, knowing that even when life gets a little messy and organization isn’t perfectly maintained, any potential eyesore is gracefully and stylishly masked. It allows our laundry room to consistently present a serene and inviting appearance, regardless of the behind-the-scenes hustle.
If you embark on this rewarding DIY project, I would absolutely love to hear about your experience, especially how your unique fabric choice transformed your space! Feel free to share a photo or tell me about your design journey in the comments below.
More Inspiring DIY No-Sew Project Ideas for Your Home
- Frontgate Dupe: Easy No-Sew Curtains With Ribbon Trim
- DIY Tea Towel Cafe Curtains