
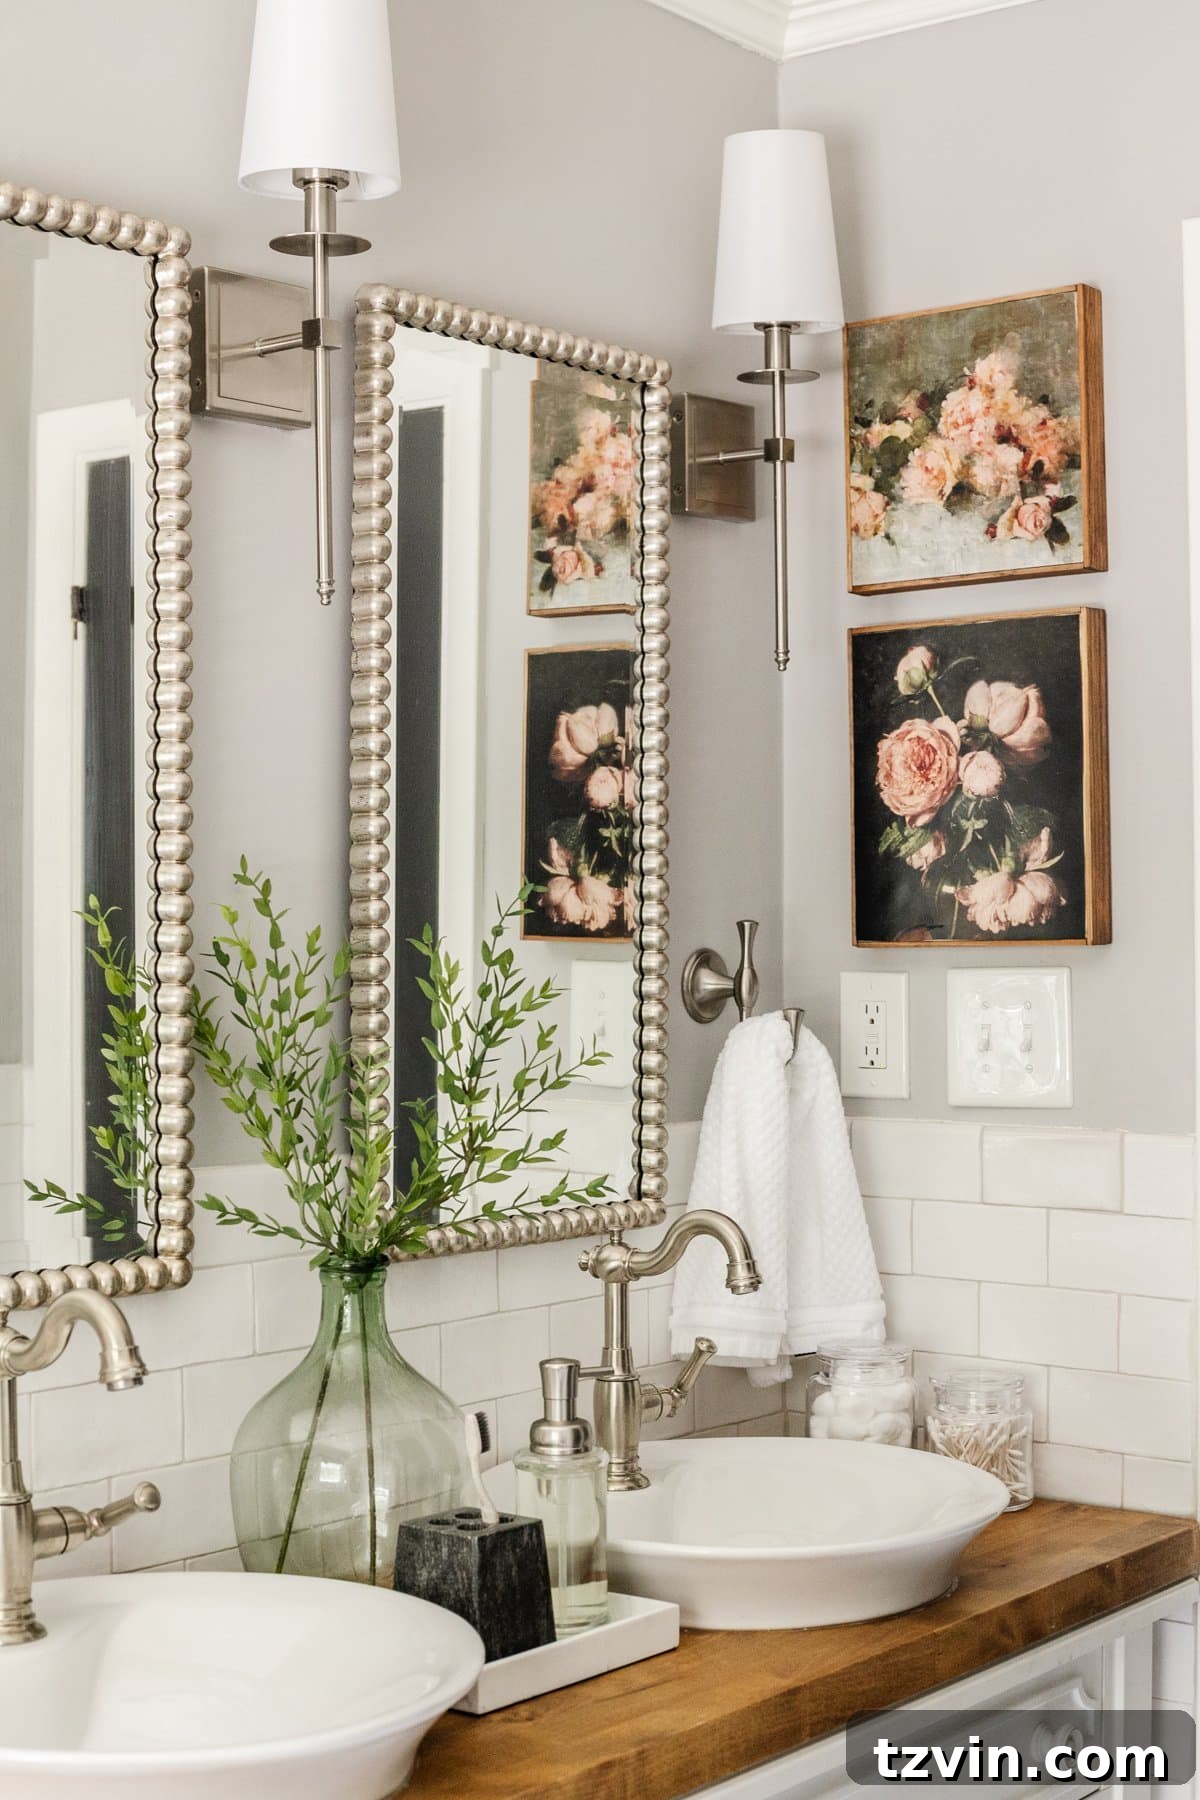
Transforming Thrift Store Finds: How to Craft a Basic Canvas Frame for Vintage Art from Old Farmhouse Signs
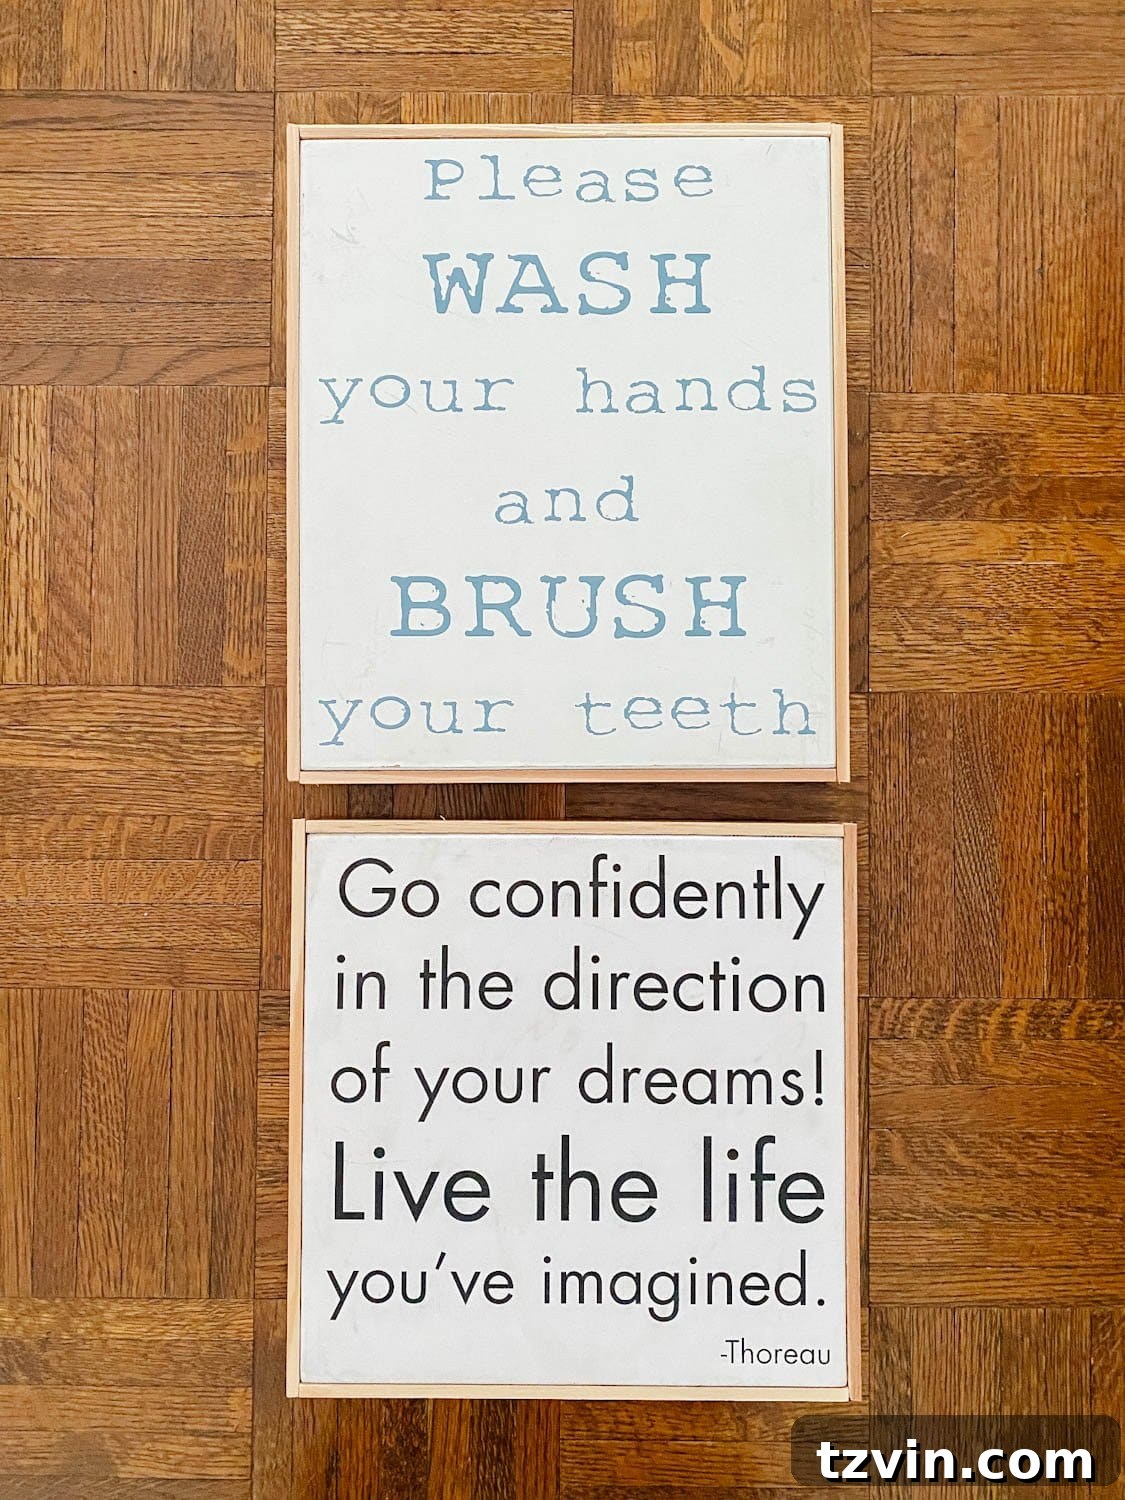
There’s a unique thrill in discovering hidden gems at a local thrift store. The other day, I stumbled upon a stack of charming typography farmhouse signs. While their original style no longer perfectly aligned with my evolving home aesthetic, a creative spark ignited immediately. I envisioned these signs as the perfect foundation for a stunning DIY project: transforming them into elegant vintage art pieces, beautifully encased within a simple yet sophisticated canvas frame. This endeavor promised an inexpensive and deeply satisfying way to inject new life into discarded items, aligning perfectly with our ongoing shift towards a more modern classic decorating style.
This project proved to be an ideal solution for creating budget-friendly yet impactful wall art, specifically designed to refresh our girls’ bathroom. It offered a wonderful opportunity to bridge the gap between youthful charm and a more refined, adult-friendly aesthetic, ensuring the space felt welcoming and stylish for both family and guests.
For several years, the rustic charm of farmhouse signs held a special place in my heart and home decor. However, as tastes evolve and interior design trends shift, our home began a subtle yet deliberate transition away from the farmhouse aesthetic, embracing a cleaner, more timeless modern classic style. This DIY canvas frame project was more than just a craft; it was a perfect manifestation of this stylistic evolution. It allowed us to repurpose existing decor, preventing waste and simultaneously achieving a fresh, updated look that complements our current design preferences. The beauty of this transformation lies in its simplicity and accessibility, proving that high-end style doesn’t always require a high-end budget.
Crafting Timeless Elegance: DIY Canvas Frame Vintage Art from Old Farmhouse Signs
The allure of vintage art is undeniable. It brings a sense of history, character, and sophistication to any space. Paired with a custom, handmade frame, these pieces can elevate a room’s aesthetic significantly. This guide will walk you through the process of taking those often-overlooked farmhouse signs and giving them a second life as beautiful, vintage-inspired wall art. Not only is this project incredibly satisfying, but it also champions sustainability by upcycling materials and allows for complete customization to fit your unique decor needs. Whether you’re refreshing a bathroom, adding charm to a living room, or seeking unique gifts, this DIY technique offers a fantastic solution.
The secret to this transformation lies in two key components: selecting captivating vintage art prints and constructing a simple yet elegant wooden frame using readily available and inexpensive lattice strips. This method avoids complex miter cuts often associated with traditional picture framing, making it approachable for even beginner DIY enthusiasts. By following these steps, you’ll discover how effortlessly you can create art that looks professionally framed, adding a touch of bespoke luxury to your home without the hefty price tag.
Essential Supplies for Your Vintage Art Transformation
Gathering all your materials before you begin is crucial for a smooth and enjoyable crafting experience. Most of these items can be found at local craft stores, hardware stores, or online, ensuring convenience and affordability. Remember, a well-prepared workspace contributes significantly to the success of any DIY project.
- Vintage Art Prints: The heart of your new art piece! I sourced beautiful digital downloads, like this captivating vintage floral art and this exquisite vintage bouquet art, which I had professionally printed by Shutterfly. Alternatively, you can explore free printable art online (public domain sites are a treasure trove!), purchase affordable downloads from platforms like Etsy, or print directly from your home printer. For larger sizes, local office supply stores like Office Depot often offer high-quality, inexpensive printing services.
- Mod Podge: This versatile all-in-one glue, sealer, and finish will be essential for securely adhering your art print to the canvas. Opt for the matte or satin finish depending on your desired look.
- Farmhouse Sign Canvases: These are your upcycling heroes! Look for sturdy, flat signs. The size and shape will dictate the dimensions of your new art. This method works equally well on wooden farmhouse signs, offering even more flexibility for your thrift store finds.
- Scissors: Sharp scissors are necessary for precise trimming of your art print.
- Pencil or Pen: For marking cutting lines and measurements.
- Tape Measure: Accuracy is key for a well-fitted frame, so a reliable tape measure is a must.
- Lattice Strips: These thin, lightweight wooden strips are perfect for creating a minimal, elegant frame. They are typically found in the trim or molding section of hardware stores and are easy to cut and work with.
- Finish Nails and Hammer: For attaching the lattice strips. Finish nails have smaller heads that are less noticeable. If you have access to a nailer (brad nailer or pin nailer), it will make this step much faster and easier.
- Wood Filler: To seamlessly fill any nail holes, creating a smooth, professional finish on your frame.
- Fine Grit Sandpaper: Essential for smoothing the wood filler and preparing the wood for staining.
- Wood Stain: To give your new wooden frame a rich, finished look. I used Minwax Special Walnut from my existing collection, which offers a beautiful, warm tone. Choose a color that complements your vintage art and overall decor.

Step-by-Step Guide to Crafting Your Vintage Canvas Art
With your supplies at hand, it’s time to embark on the creative journey. These steps are designed to be straightforward, ensuring a successful outcome even for those new to DIY projects. Precision and patience are your best tools here.
- Prepare Your Vintage Art Print: Trim to Fit Your Canvas
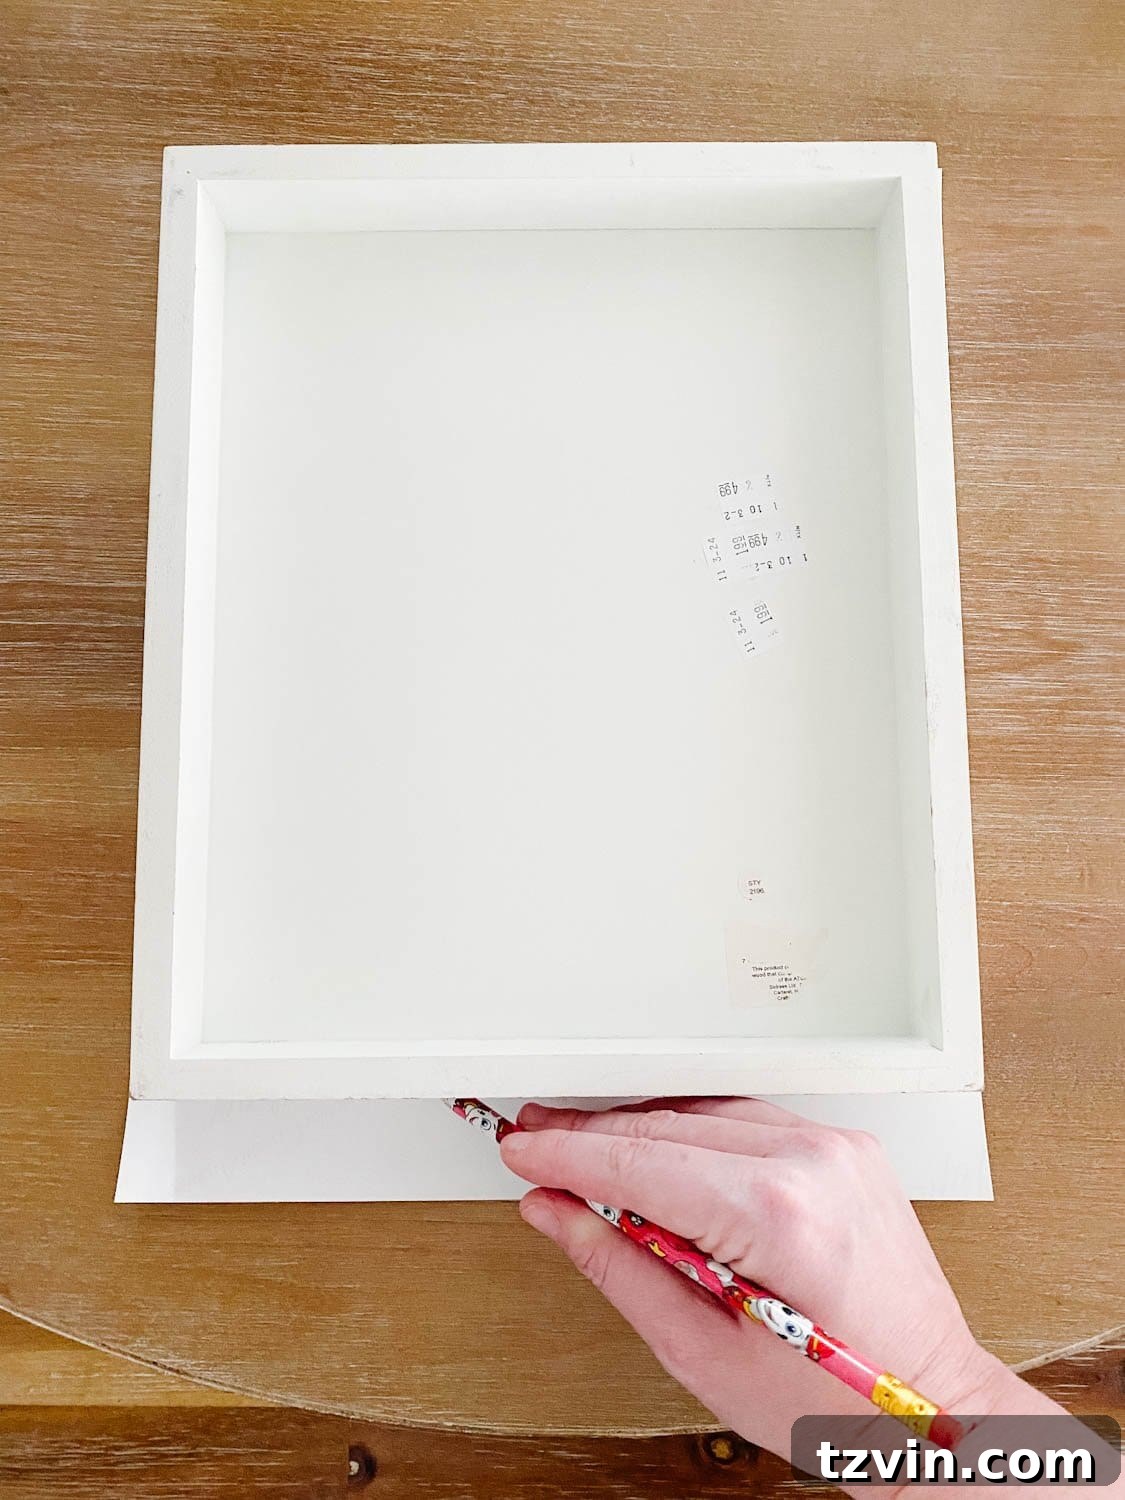
The first crucial step is to ensure your chosen vintage art print perfectly fits your canvas or farmhouse sign. If your sign isn’t a standard print size, you’ll need to trim the art. A simple and effective method is to place your art print face down on a clean, flat surface. Carefully position your canvas or farmhouse sign directly on top of the print, ensuring it’s centered and aligned as desired. Using a pencil or pen, trace the exact outline of the canvas onto the back of your print. Once traced, use sharp scissors to meticulously cut along your marked line. For exceptionally clean edges, especially on larger prints, a ruler and a craft knife on a cutting mat can provide a professional, crisp finish.
2. Measure and Cut the Top and Bottom Lattice Strips
Now, let’s begin constructing your frame. Take your tape measure and accurately measure the length of the top edge of your canvas. Once you have this precise measurement, transfer it to one of your lattice strips. Using a saw (a miter saw or even a hand saw with a miter box works perfectly here), carefully cut the lattice strip to this exact length. Repeat this process for the bottom edge of your canvas, cutting a second lattice strip to match its length. These two strips will form the horizontal components of your frame, laying the foundation for the elegant border.
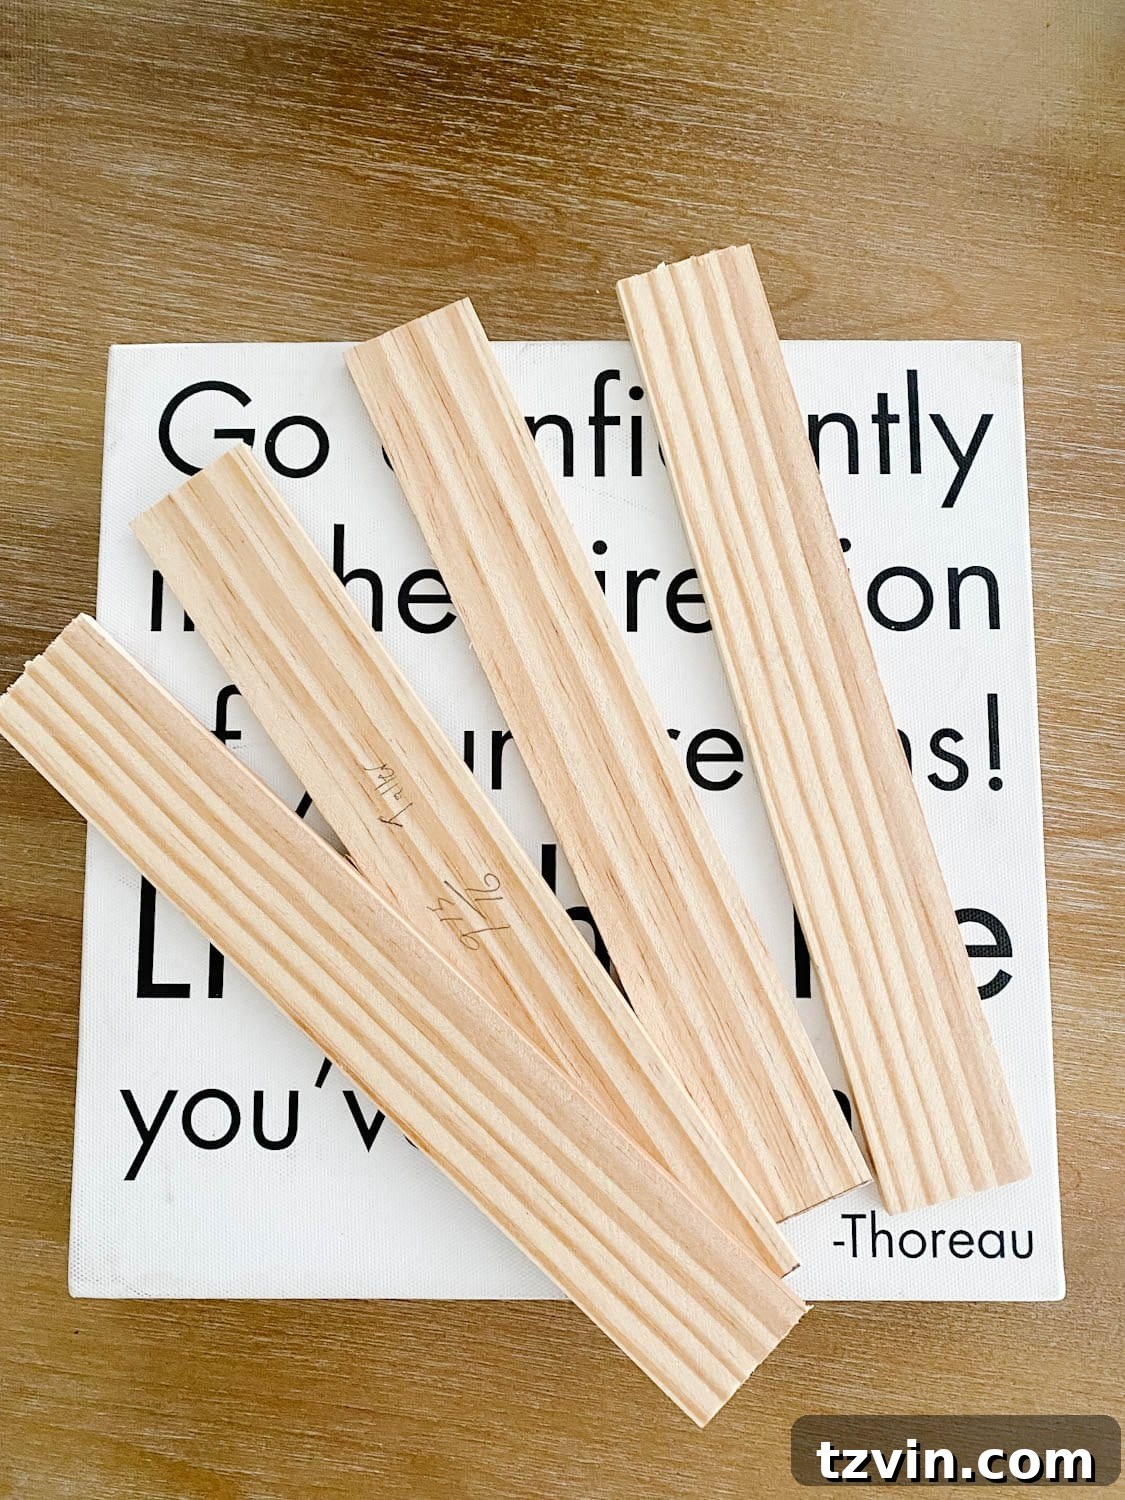
3. Attach the Horizontal Lattice Strips to Your Canvas
With your top and bottom strips cut, it’s time to attach them. Position one of the cut lattice strips flush with the top edge of your canvas. Ensure it is perfectly straight and centered. Using your finish nails and hammer (or your nailer, if preferred), carefully nail the strip into place. Space your nails every few inches for a secure hold, keeping them close to the inner edge of the lattice strip to reduce visibility. Repeat this process for the bottom lattice strip, attaching it flush with the bottom edge of your canvas. The goal is to create a secure, stable base for your frame, so take your time to ensure proper alignment and attachment.
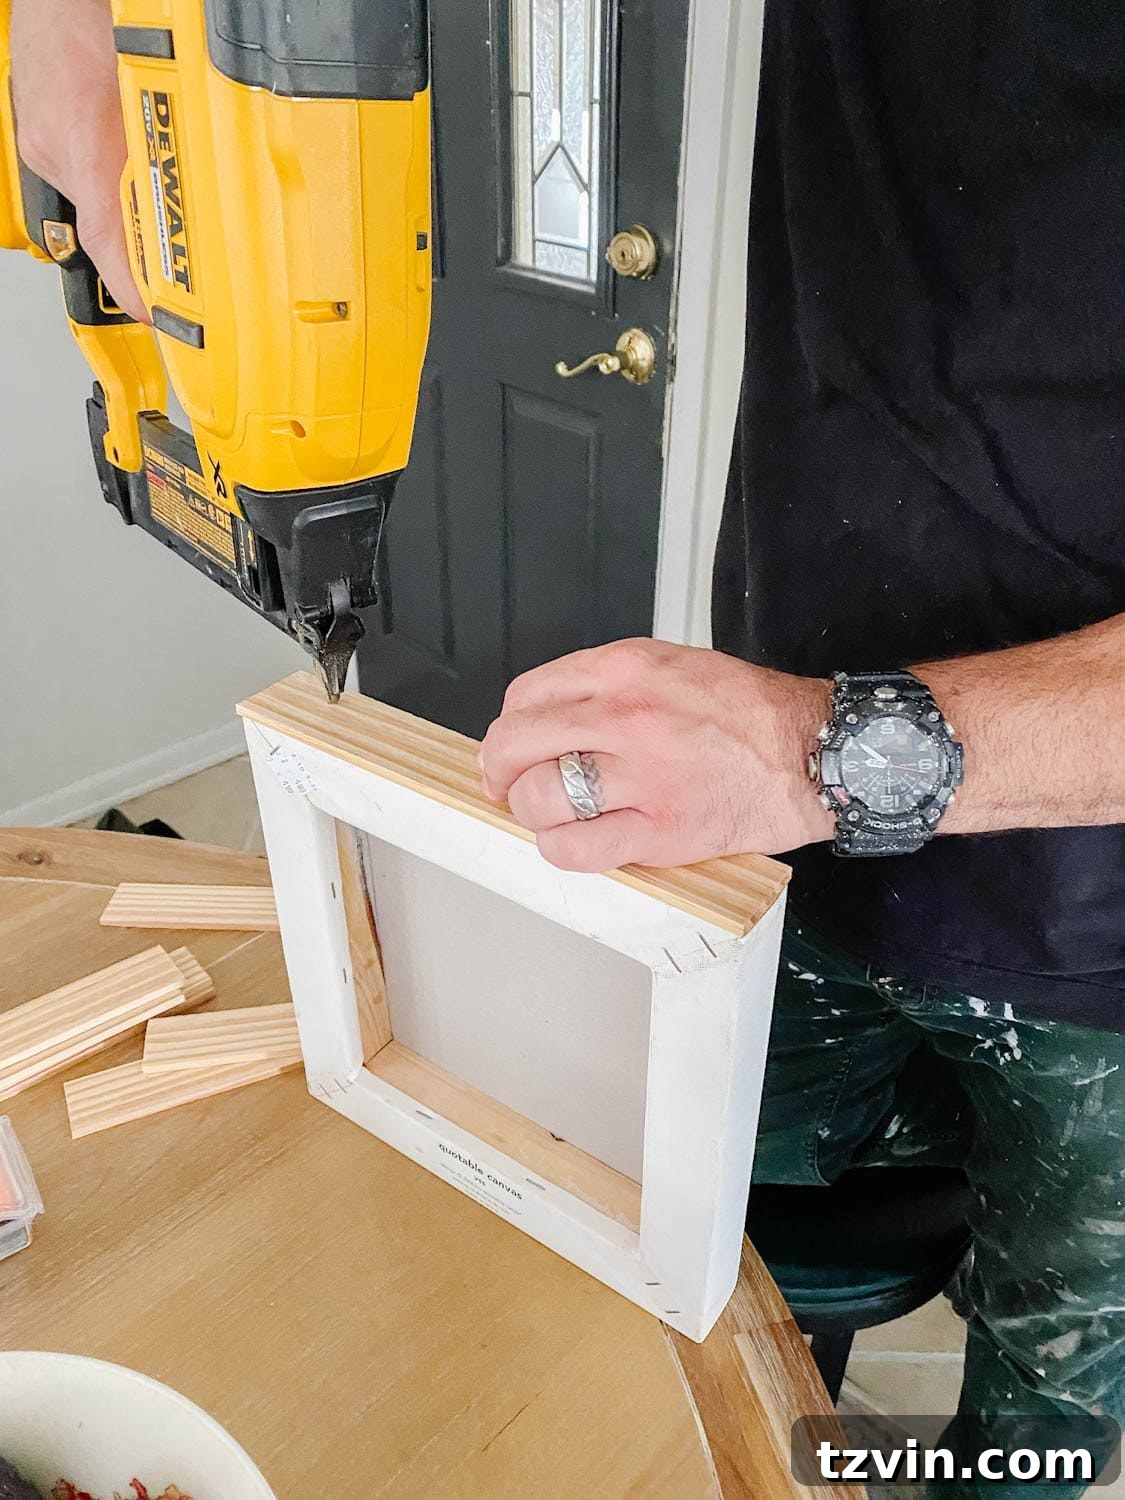
4. Measure and Cut the Vertical Lattice Strips for the Sides
Now that the top and bottom frame pieces are attached, your next step is to measure for the vertical side pieces. This is a crucial detail for achieving a seamless, miter-less frame. Measure the length of the canvas’s side, but this time, measure from the outer edge of the top lattice strip to the outer edge of the bottom lattice strip. This will ensure your side pieces slightly overlap the ends of the horizontal strips, creating a clean, finished corner without the need for complex angled cuts. Cut two more lattice strips to this precise measurement.
5. Attach the Vertical Lattice Strips to Complete Your Frame
Take one of your newly cut vertical lattice strips and align it flush with one side of your canvas, ensuring it covers the ends of the top and bottom strips. Use your finish nails to attach it securely, just as you did with the horizontal pieces. Repeat this for the opposite side of the canvas. At this point, you’ll have a fully constructed, simple canvas frame with a beautifully clean, overlapping corner detail. This robust yet elegant structure is now ready for its finishing touches, truly transforming your old farmhouse sign into a sophisticated canvas.
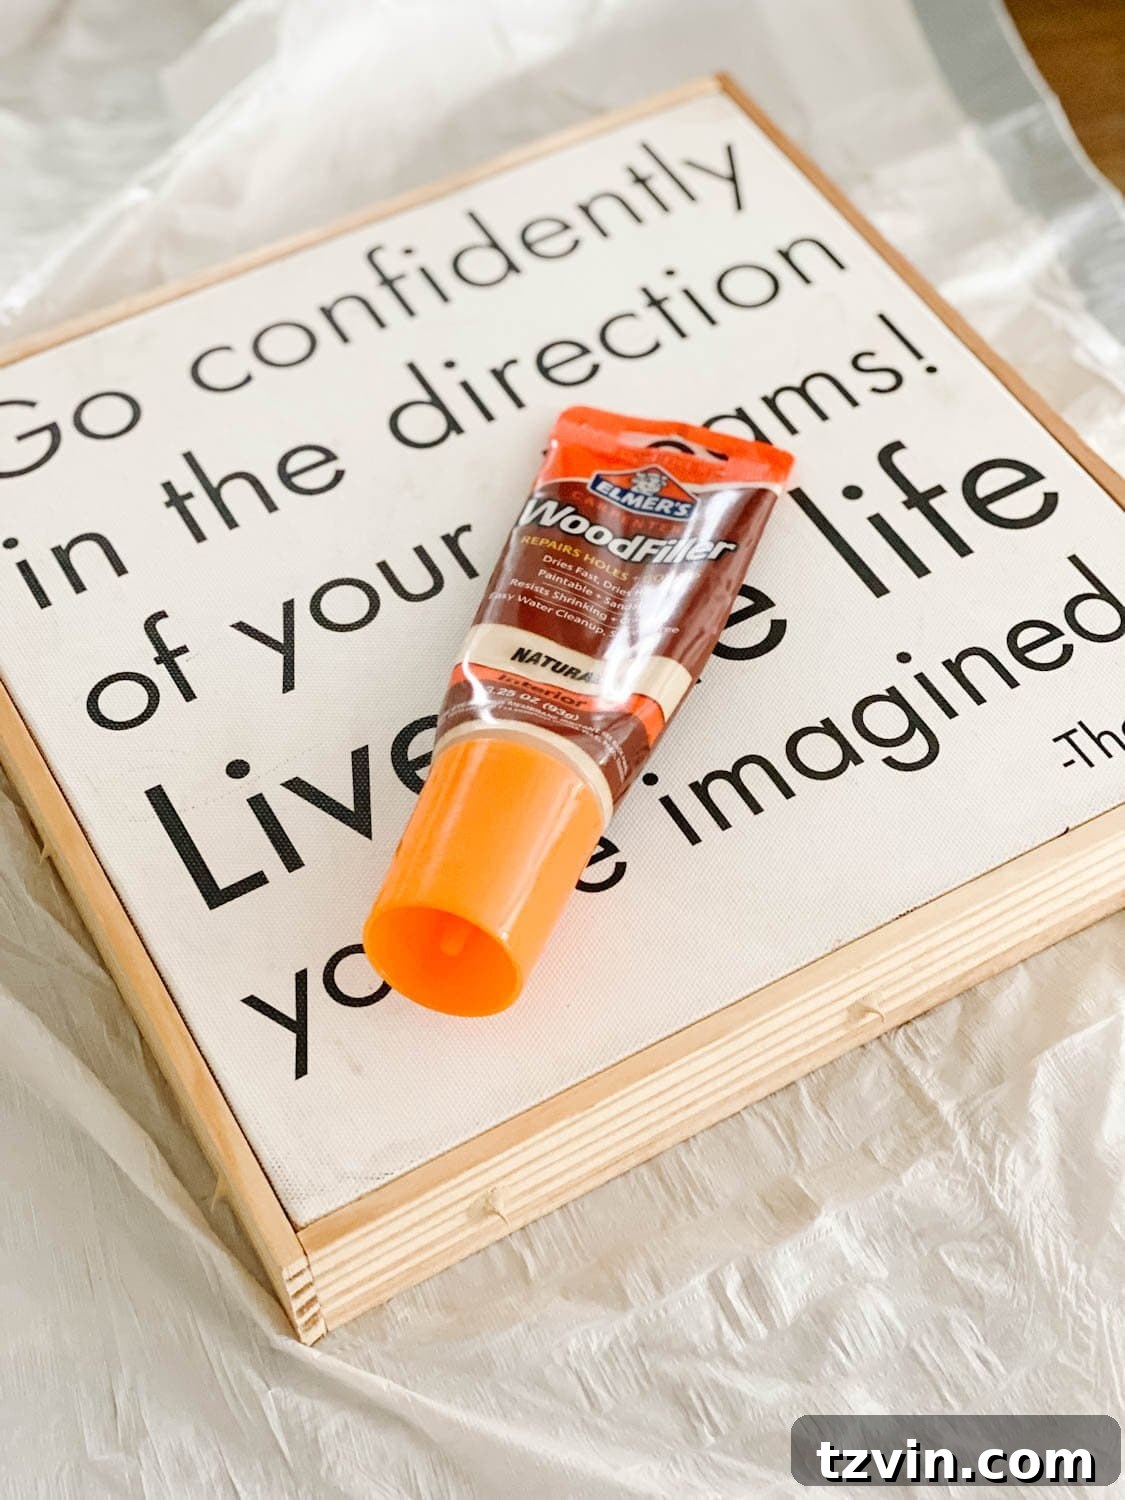
6. Fill Any Nail Holes with Wood Filler
To achieve a truly professional and polished look, it’s important to conceal any visible nail holes. Apply a small amount of wood filler to each nail hole, pressing it firmly into the cavity with a putty knife or your finger. Overfill slightly, as wood filler can shrink as it dries. Allow the wood filler to dry completely according to the manufacturer’s instructions. This usually takes a few hours, depending on the thickness of the application and humidity levels.
7. Sand the Frame Smooth
Once the wood filler is completely dry and hard, it’s time to sand it down. Using fine-grit sandpaper (typically 180-220 grit), gently sand over the filled areas until they are perfectly smooth and flush with the surrounding wood surface. You can also lightly sand the entire frame to ensure a consistent texture and remove any splinters or rough spots, preparing it beautifully for the staining process. After sanding, wipe the entire frame with a clean, damp cloth to remove any dust particles, ensuring optimal stain absorption.
8. Stain Your New Wooden Canvas Frame
Now for the exciting part that brings character to your frame! Apply your chosen wood stain to the entire wooden frame. Use a clean rag or a foam brush to apply an even coat, working in the direction of the wood grain. For a deeper, richer color, you can apply multiple thin coats, allowing each coat to dry thoroughly before applying the next. After applying the stain, wipe off any excess with a clean, dry rag to prevent stickiness and ensure an even finish. Allow the stain to dry completely, following the manufacturer’s recommendations. This step dramatically enhances the frame’s appearance, making it look custom-made and high-end.

9. Apply the Vintage Art Print with Mod Podge
The final step is to adhere your trimmed vintage art print to the canvas. Start by brushing a thin, even coat of Mod Podge onto the back of your art print. Immediately after, apply another thin, even coat of Mod Podge directly onto the front surface of your canvas or farmhouse sign. Carefully align your art print over the canvas and gently press it down. Starting from the center, use your hands or a brayer tool to smooth out any air bubbles, working outwards towards the edges. Ensure the print is perfectly flat against the canvas. To help it dry completely flat and prevent curling, place a few heavy books evenly across the entire surface of the adhered art print. Allow it to dry undisturbed for several hours, or even overnight, for the best results.
And there you have it! This simple, nine-step process culminates in a truly remarkable transformation. What once was an outdated farmhouse sign is now a sophisticated piece of vintage art, beautifully encased in a custom, inexpensive canvas frame. This project is a testament to the power of repurposing and how a little creativity can yield surprisingly high-end results.
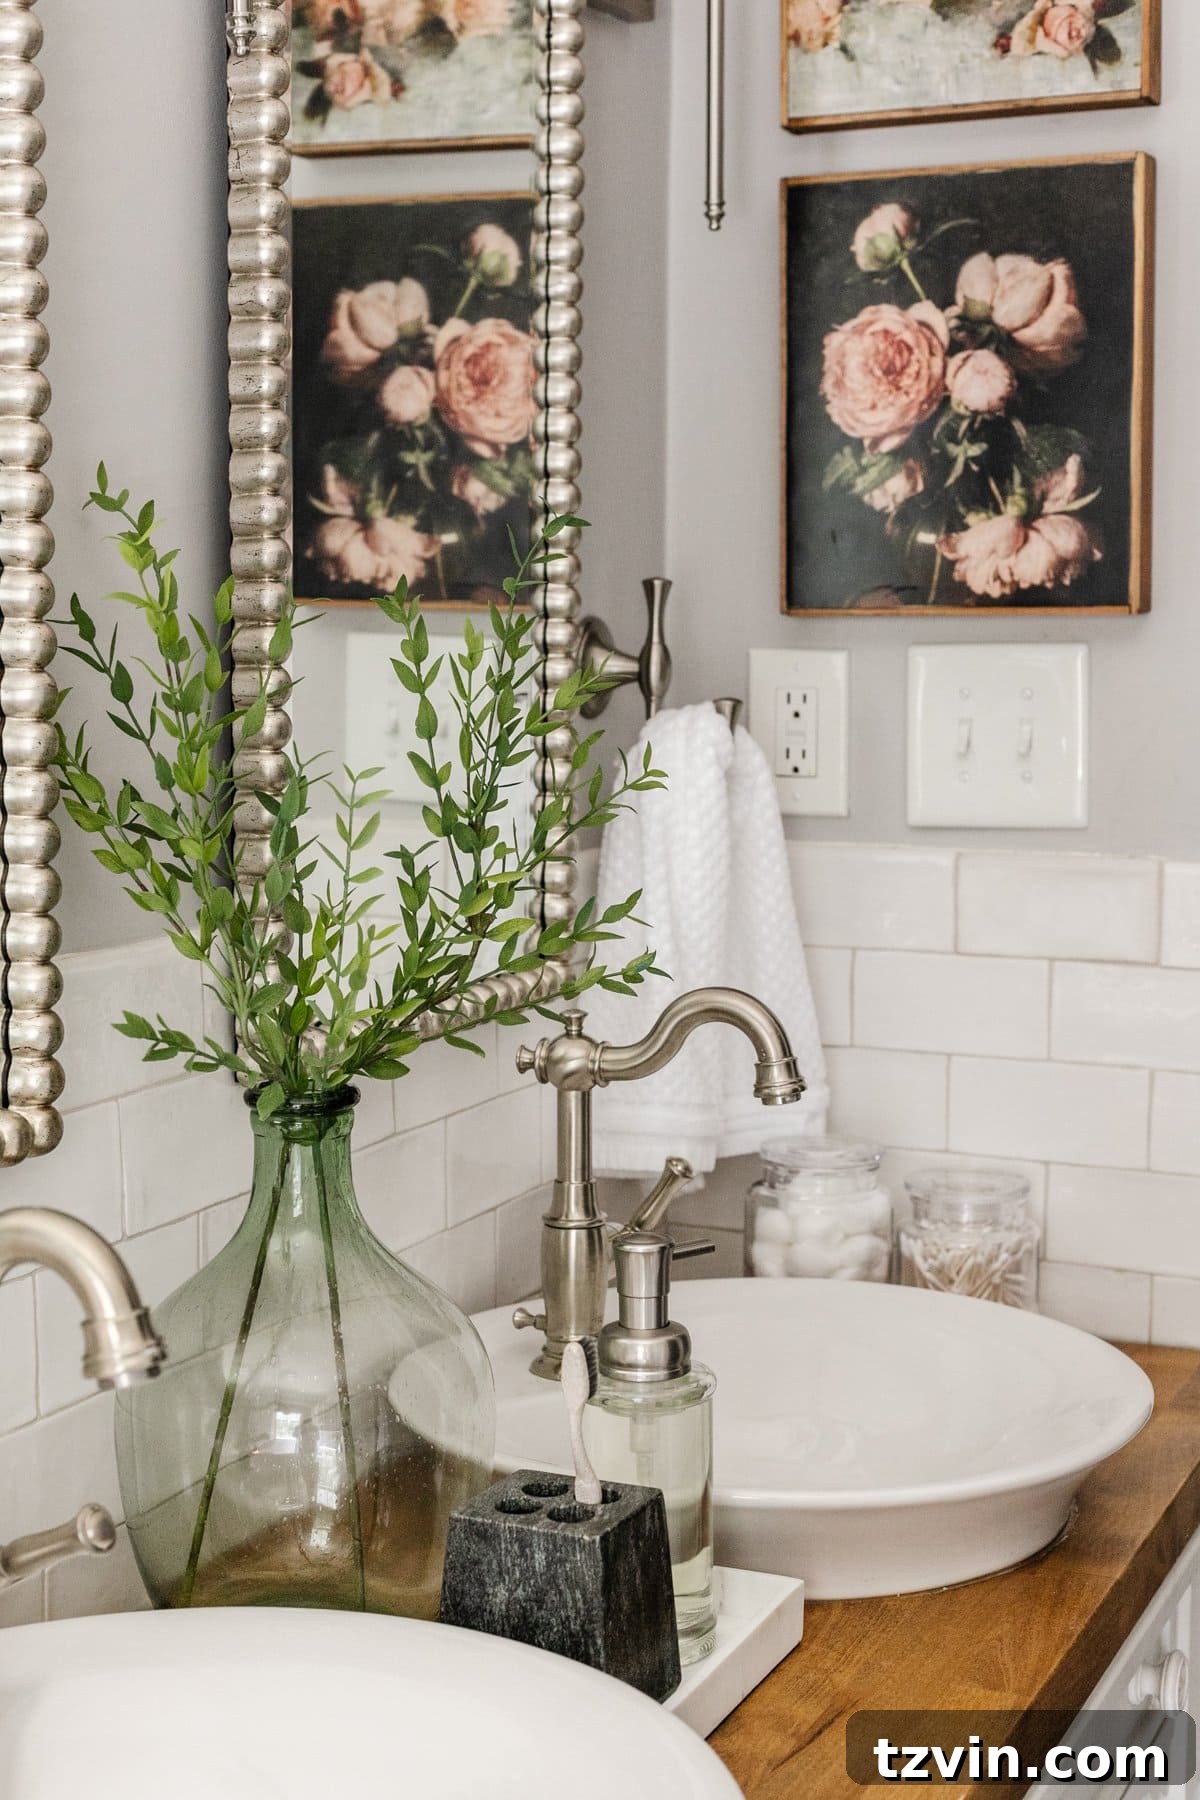
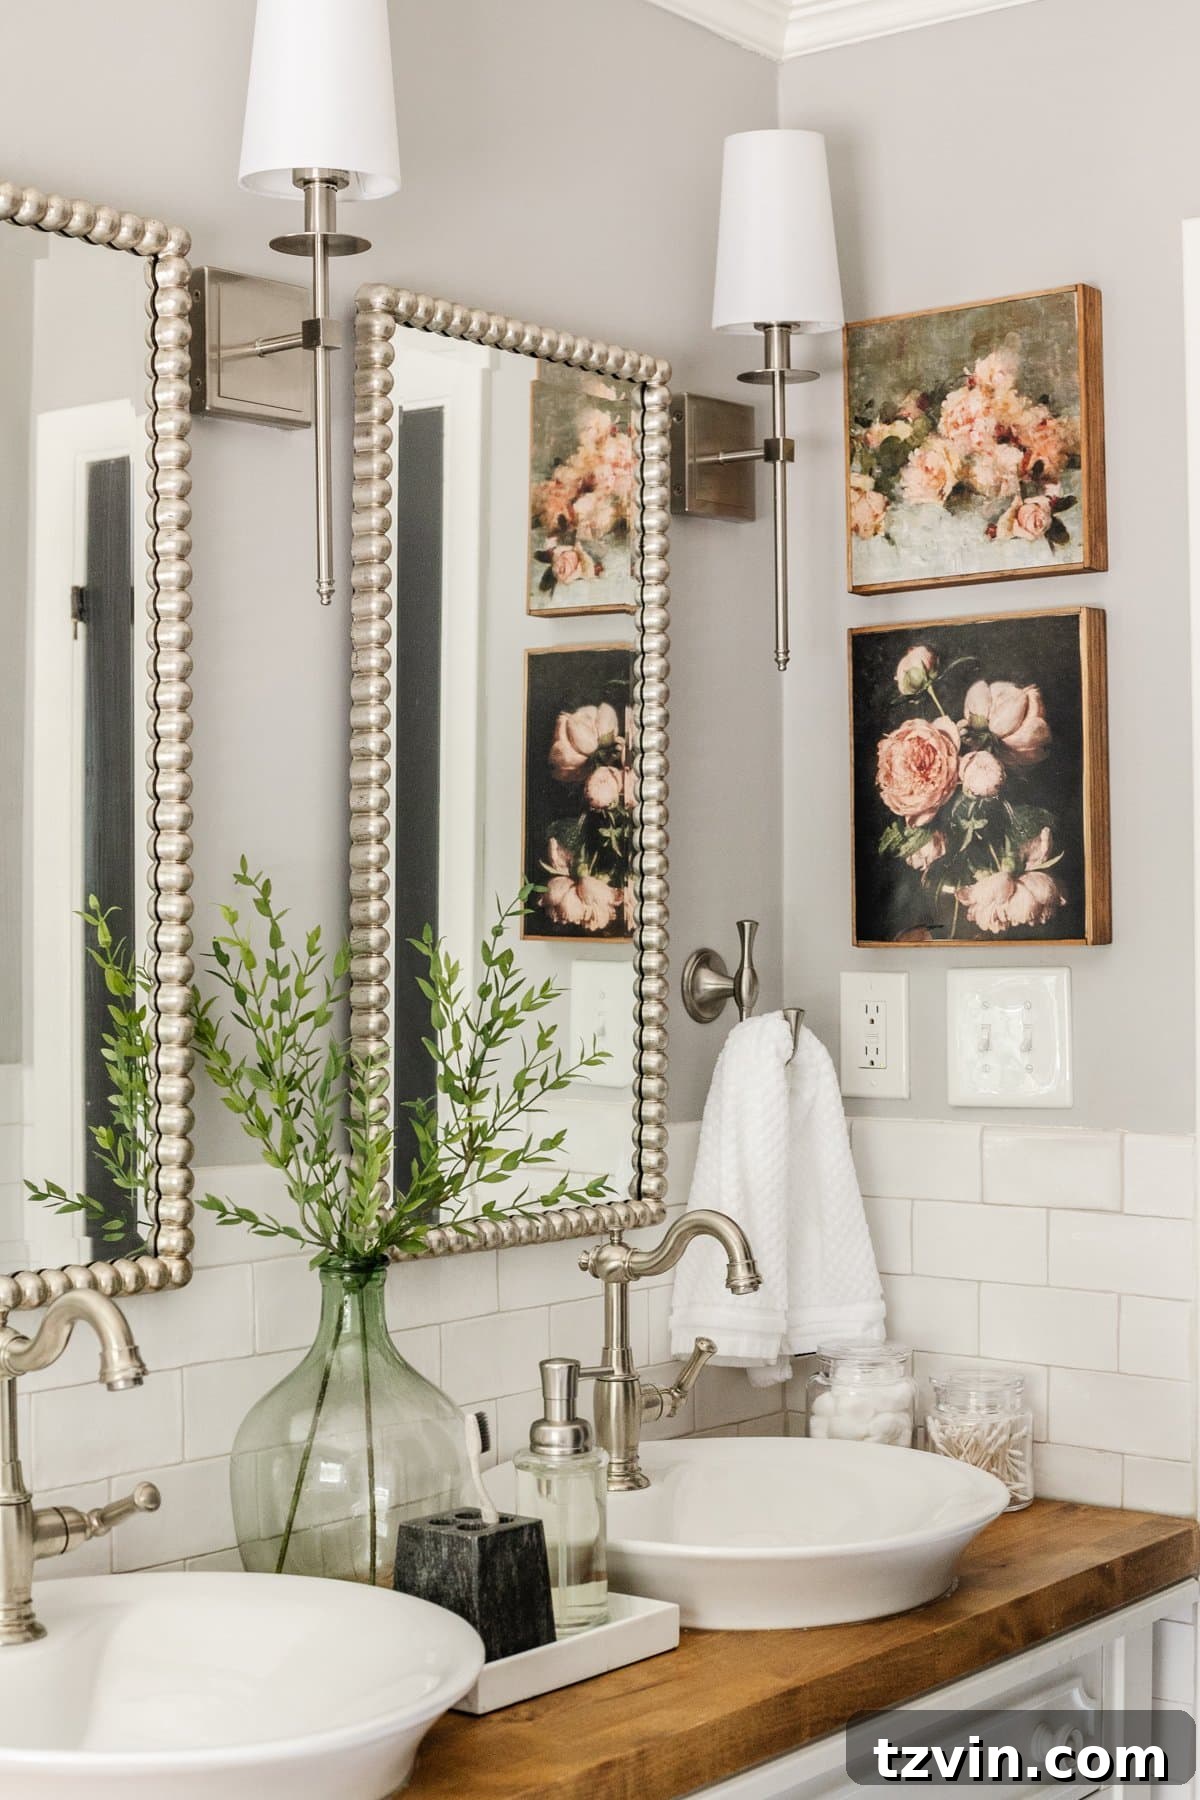
This particular art refresh worked wonders in our girls’ bathroom, where we recently completed a quick classic update. The new vintage art, with its elegant frame, perfectly bridges the gap between decor that felt a bit too “little girl frilly” and sophisticated pieces that still resonate with a playful, yet refined, aesthetic. It’s an ideal example of how thoughtful, handmade art can personalize a space, make it feel more cohesive, and elevate its overall design appeal, making it suitable for both children and grown-up guests alike.
Embracing DIY projects like this not only saves money but also allows for unparalleled creative expression. Each piece you create tells a story, adds character, and contributes to a home that truly reflects your personal style. So go forth, explore those thrift stores, and start imagining the possibilities. Your next piece of high-end, custom art might just be waiting to be discovered and transformed!

Explore More DIY Art and Decor Projects
If you enjoyed this transformation, you’ll love these other creative and budget-friendly DIY art and decor ideas. Dive into more projects that help you personalize your space, add unique touches, and make your home truly your own.
- DIY Large Scale Wall Art from a Shower Curtain: Creative and Inexpensive Decor
- The Secret to Finding Free Printable Wall Art Online: Curate Your Own Gallery
- DIY Easy Art for Beginners from a Thrifted Frame: Simple Upgrades for Instant Style
- DIY Designer Knock-Off Textile Art from a Recycled Rug: High-End Look for Less
- DIY Silhouette Leaf Art Using Leaves and Paint: Nature-Inspired Home Decor