
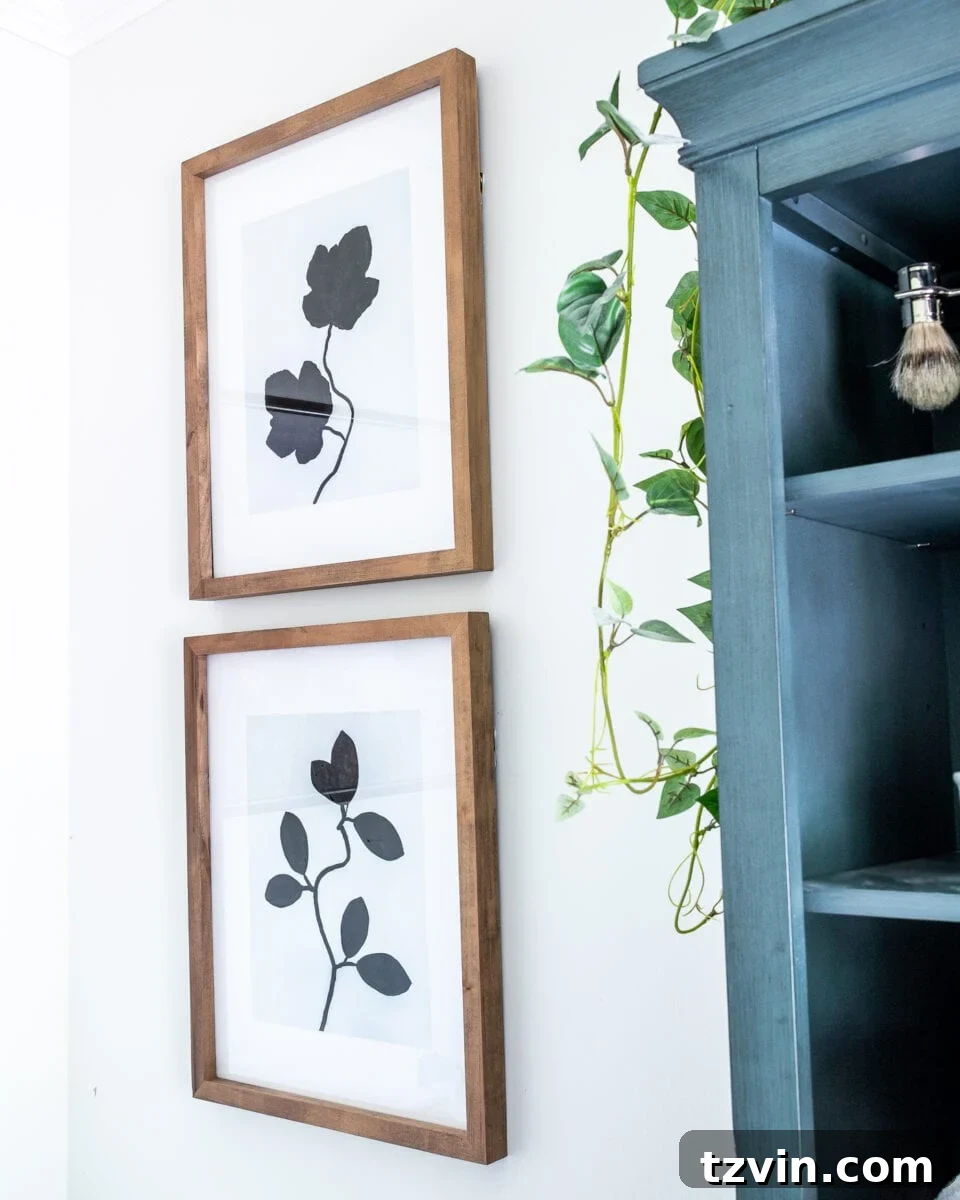
Unlock Your Inner Artist: Crafting High-End DIY Silhouette Leaf Art for a Modern Boho Home
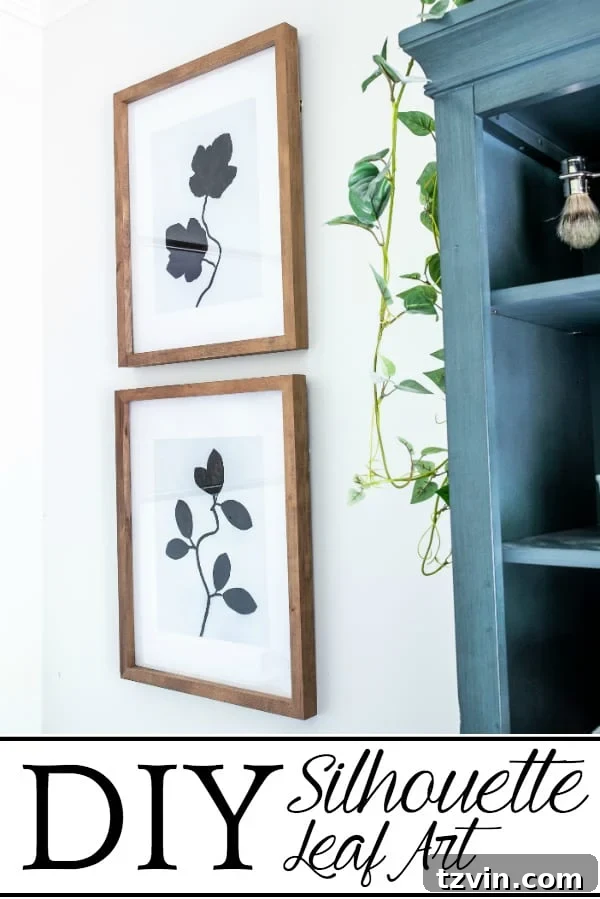
Are you searching for unique, budget-friendly ways to elevate your home decor with a touch of modern bohemian flair? Look no further than the captivating world of DIY leaf silhouette art. This trending art form allows you to create stunning, designer-inspired pieces using simple materials – often found right in your own backyard! Forget expensive gallery purchases; with just some spray paint and a keen eye for nature’s beauty, you can transform ordinary leaves into extraordinary, high-end looking wall art that perfectly complements a modern boho aesthetic.
In recent months, the call to create has been a strong one for me. I’ve found immense joy in exploring various artistic avenues, from experimenting with watercolor apps to render charming house portraits to learning clever tricks like how to transform a regular smart TV into a chic Samsung Frame look-alike. There’s something deeply satisfying about making something beautiful with your own hands. This latest venture involves gathering an assortment of leaves and stems, armed with spray paint and a creative vision. Who needs complex hobbies like jigsaw puzzles or intricate knitting when the thrill of crafting bespoke art pieces is just a few simple steps away?
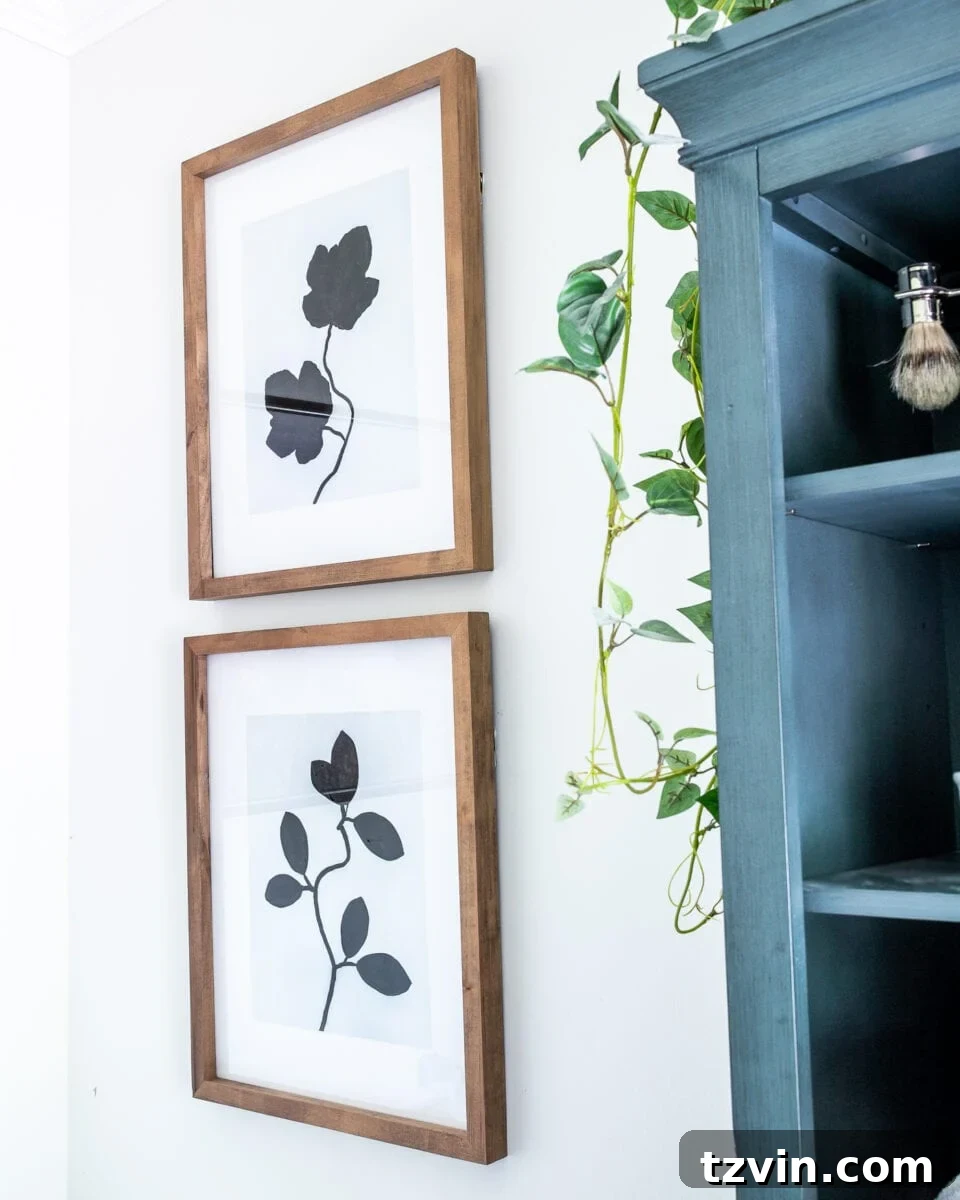
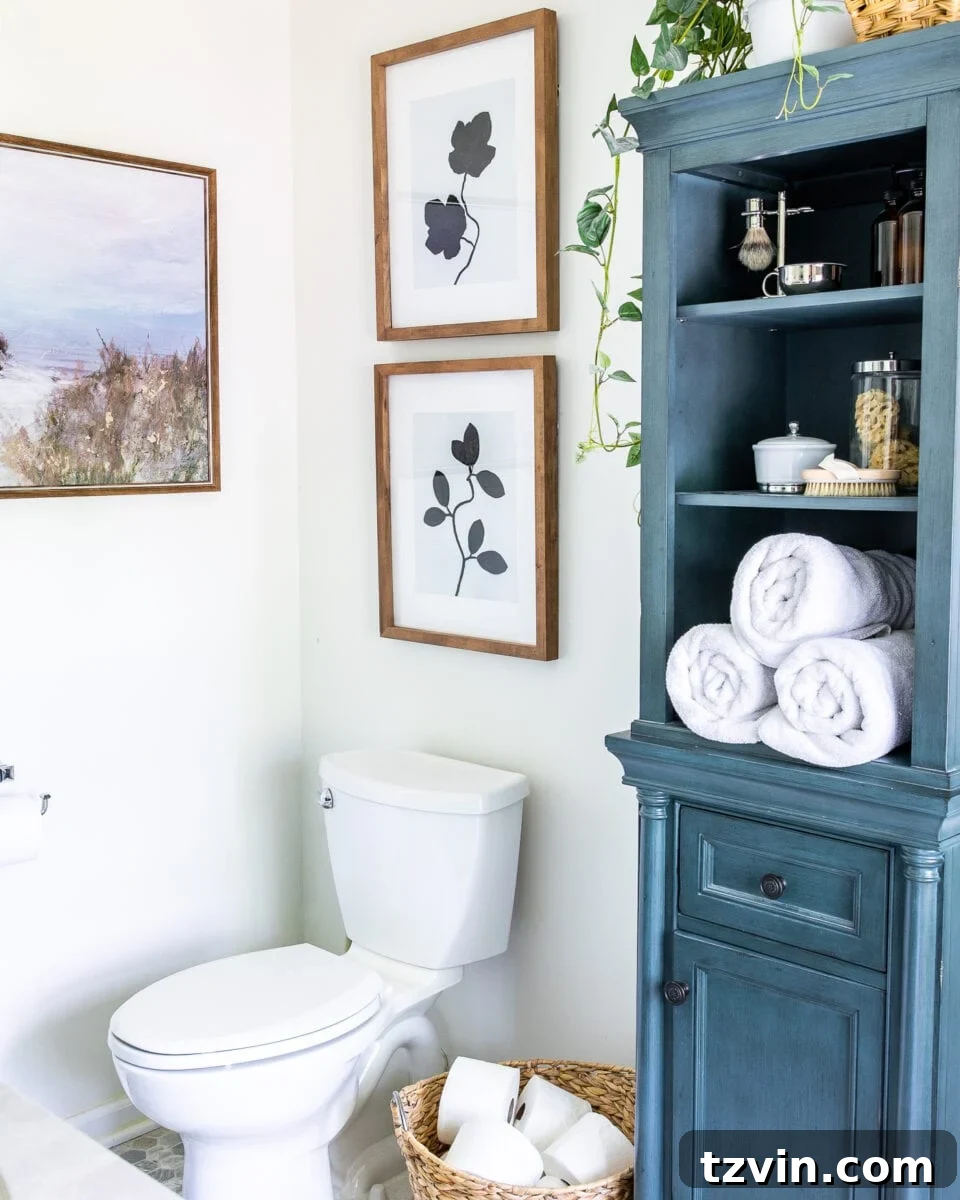
My artistic explorations often stem from a desire to refresh and refine spaces within our home. If you’ve been following my journey on Instagram, you’ll know that I recently embarked on a subtle master bathroom refresh. The goal was to enhance its cohesion with our modern-ish master bedroom, creating a harmonious and serene retreat. The thrifty coastal art wall I assembled last year, while charming, had begun to feel a bit too busy for the space. I craved simplicity and elegance, which led me to the idea of sophisticated leaf silhouette art – a style I’d admired online but found prohibitively expensive.
Initially, this DIY project presented its own set of challenges and a touch of frustration, but I’m delighted to report that it ultimately achieved a wonderfully happy ending. Like many creative endeavors, this tutorial is born from a process of trial and error, ensuring that you can learn from my experiences and achieve stunning results with greater ease. Embrace the journey, and prepare to be amazed at what you can create!
Creating High-End DIY Silhouette Leaf Art: A Step-by-Step Guide
(Some affiliate links are provided below to help you find the exact products I used or similar alternatives. Full disclosure here.)
This project is perfect for anyone looking to add unique, nature-inspired elements to their decor without breaking the bank. The beauty of silhouette art lies in its minimalist elegance, making it incredibly versatile for various interior styles, from modern minimalist to bohemian chic.
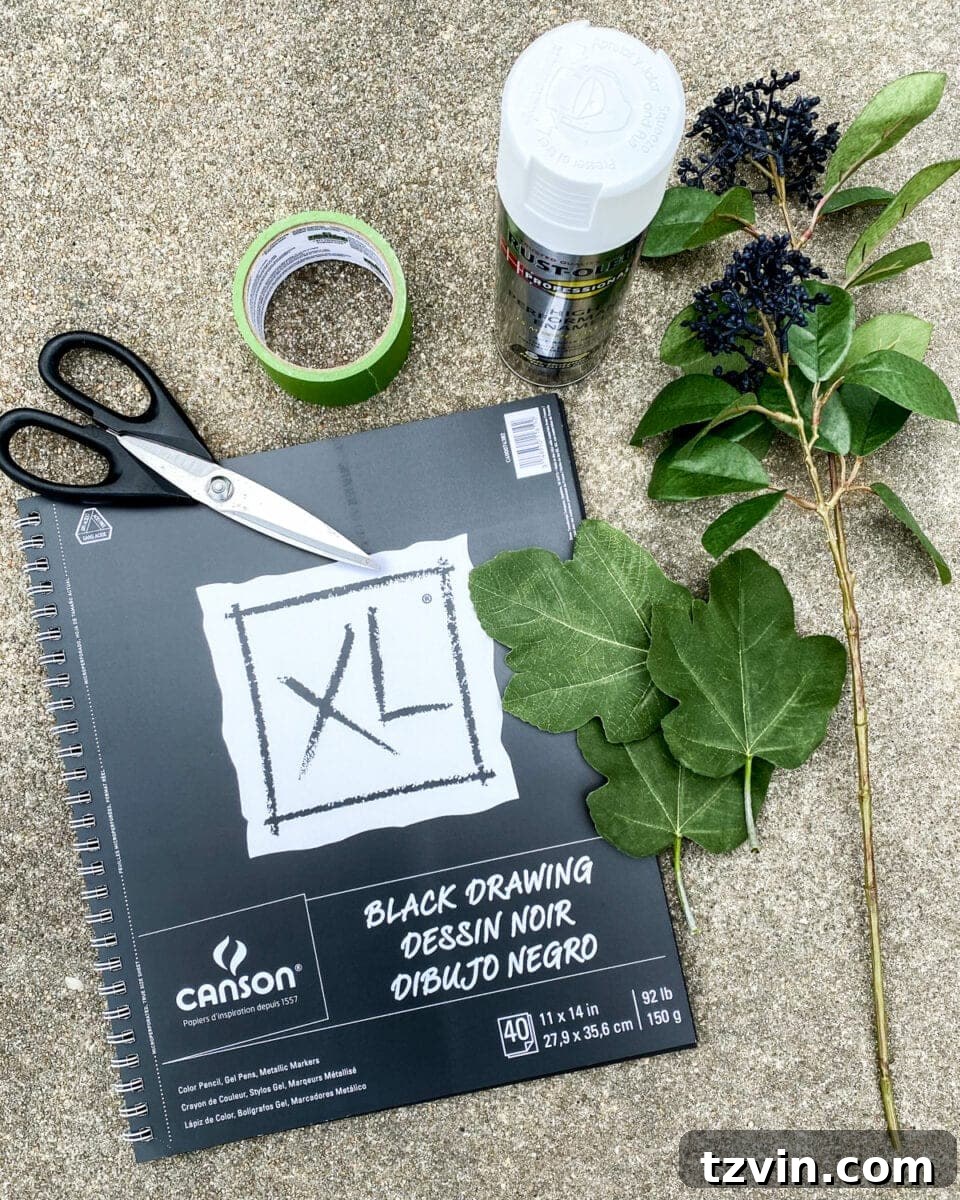
Supplies You’ll Need:
- XL Sketch Paper: Opt for a sturdy, high-quality paper. I personally recommend using black paper for a dramatic, high-contrast silhouette that truly pops, mimicking the sophisticated look of designer pieces.
- Leaves and Stems: Gather an assortment of leaves and stems from your yard or local park. Look for distinct shapes and sizes that will create interesting silhouettes. Both real and artificial leaves can work; real leaves offer unique textures and organic imperfections, while artificial ones provide consistency and reusability.
- Spray Paint: Choose your desired color. Metallics like gold or silver can add a touch of glamour, while matte black or white creates a sleek, modern look. Ensure it’s suitable for paper and dries quickly.
- Small/Medium Artist Brush: Essential for refining edges and adding detail, especially if you encounter any initial smudging or need to enhance the crispness of your silhouettes.
- Acrylic/Mineral Paint: Select a color that contrasts beautifully with your spray paint and paper, or matches your interior palette for a cohesive look. This paint will be used with your artist brush for touch-ups.
- Painter’s Tape or Temporary Spray Adhesive: This is crucial for securing your leaves in place during the spray painting process. Temporary spray adhesive is often preferred for sharper lines, but painter’s tape can work with careful application.
- Drop Cloth: Protect your workspace from overspray. Any old sheet or tarp will do.
- Frames of Your Choice: The right frame can significantly elevate the finished artwork. I used these specific frames, which beautifully complemented the modern aesthetic. Consider frames with or without mats, depending on the look you desire.
The Steps to Beautiful Botanical Silhouettes:
1. Prepare Your Workspace and Arrange Your Leaves: Begin by laying your chosen paper flat on a protective drop cloth in a well-ventilated outdoor area. This ensures good airflow and prevents paint fumes from accumulating. Now comes the fun part: arranging your leaves and stems! Experiment with different compositions until you find a design you love. This is where your artistic vision truly comes to life. A crucial tip I learned through experience: place your leaves and stems upside-down. This helps prevent paint from seeping under the edges, leading to much crisper silhouettes. Think about balance, negative space, and how the various shapes interact.
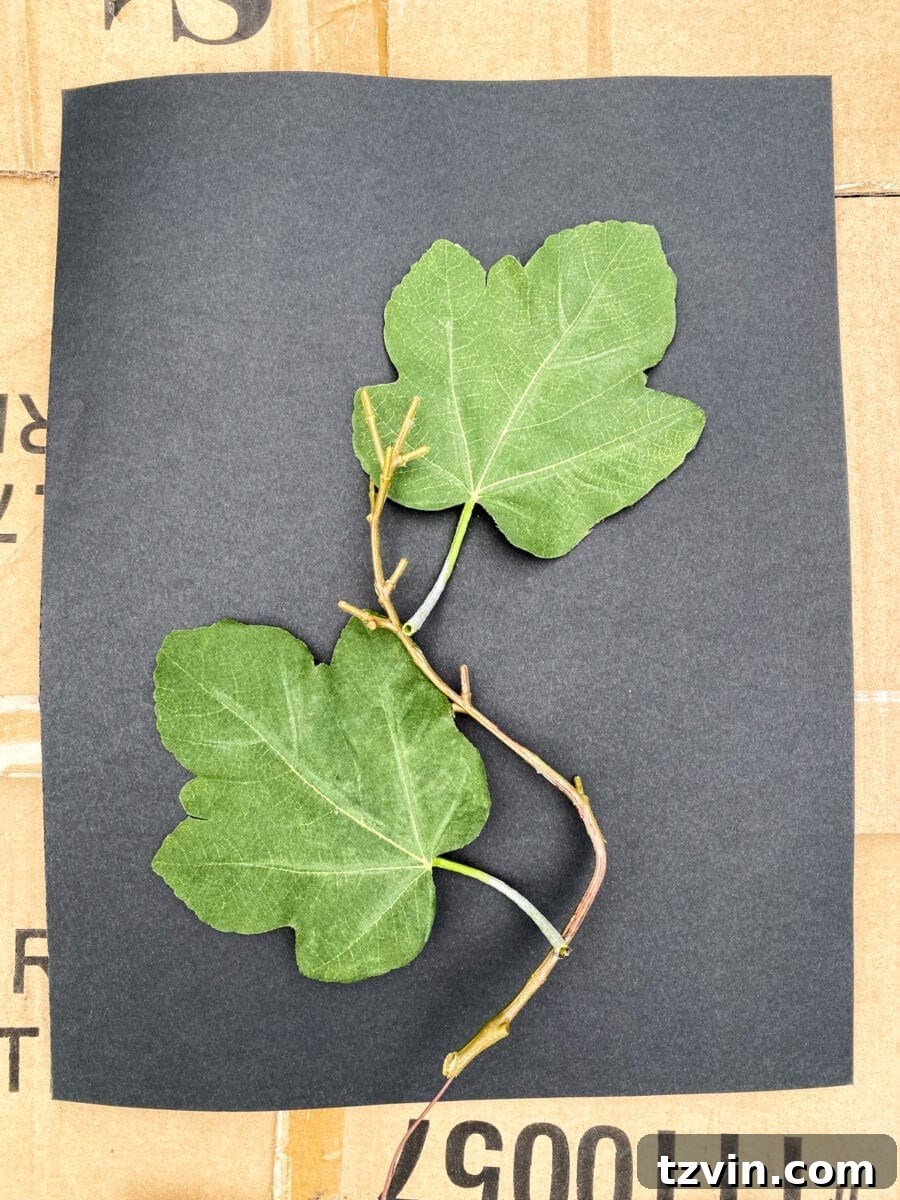
2. Secure the Leaves to the Paper: Once your design is perfected, it’s time to secure the leaves. If using temporary spray adhesive, lightly mist the back of each leaf and gently press it onto the paper. The key here is a *light* application to ensure easy removal later. If using painter’s tape, carefully apply small pieces to the stems and thicker parts of the leaves, ensuring they lie as flat as possible against the paper. Be mindful that tape can sometimes leave slightly less defined edges than adhesive, but it’s a perfectly viable option if spray adhesive isn’t available. This step is critical for preventing your leaves from shifting during spraying.
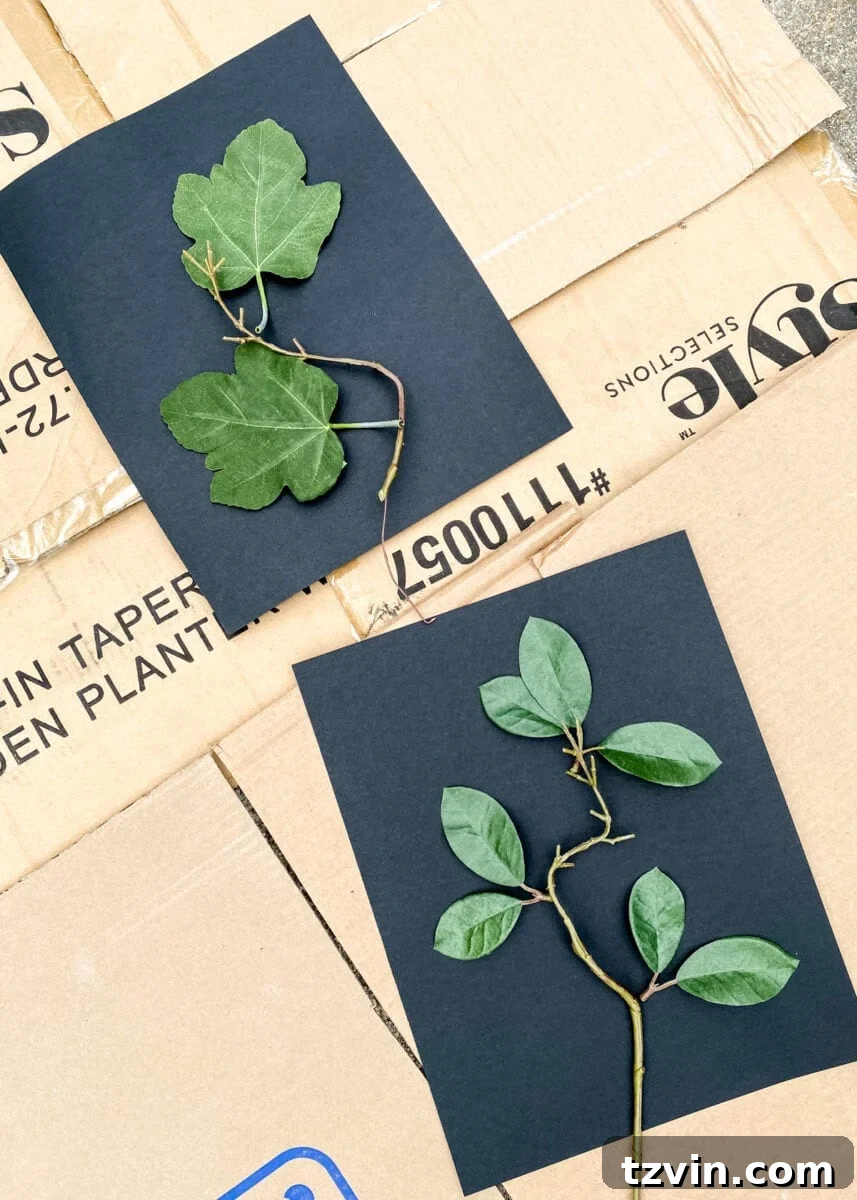
3. Apply the Spray Paint: With your leaves firmly in place, it’s time to spray! Holding the can approximately 8-12 inches away from the paper, apply even, sweeping coats of spray paint over the entire surface. Don’t rush this step; several thin coats will yield a smoother, more professional finish than one thick, heavy coat, which can lead to drips or uneven coverage. Allow each coat to dry to the touch before applying the next. The goal is to create a solid, consistent background color around your secured leaves. Let the final coat dry completely according to the manufacturer’s instructions, which typically takes at least 30 minutes to an hour.
4. The Big Reveal: Removing the Leaves: This is arguably the most exciting part! Carefully and slowly peel away each leaf and stem from the paper. As you remove them, the striking silhouette of each botanical element will be revealed underneath, untouched by the spray paint. This is often where you’ll see why placing the leaves upside-down and using spray adhesive can make a significant difference in achieving crisp lines. Don’t be discouraged if some edges aren’t perfectly sharp – this is where our next step comes in handy to perfect your high-end look. Even if your initial attempt results in slightly fuzzy edges, remember that creative problem-solving is part of the DIY charm!

5. Refine and Define with an Artist Brush: If your leaf shapes lack definition or have any smudged edges (which can happen, especially with painter’s tape), grab your small artist brush and acrylic/mineral paint. Dip the brush in a small amount of paint and carefully outline the perimeter of each leaf silhouette. This step allows you to sharpen any blurry lines, fill in small gaps, and give your artwork that truly polished, designer-quality finish. You can also add subtle vein details or textural elements if you feel adventurous. This corrective measure is what transforms a good piece into a truly exceptional one, adding depth and precision to your botanical art.
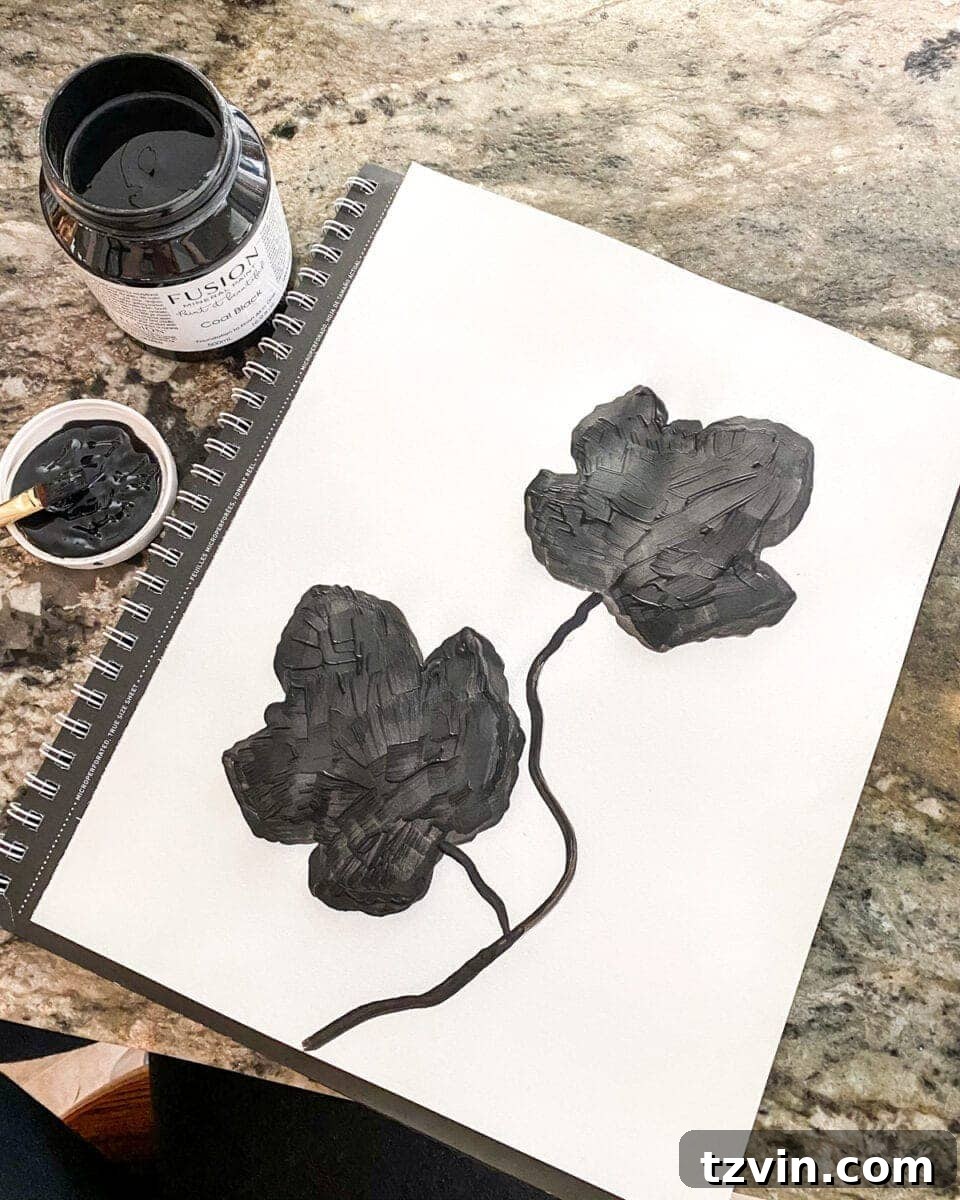
6. Frame and Display Your Masterpiece: Once your painted touch-ups are completely dry, your exquisite leaf silhouette art is ready for framing! Choose frames that complement your home’s decor and the style of the artwork. Simple, modern frames often work best to keep the focus on the botanical design. Consider adding a mat board for an even more professional and gallery-like appearance. Hang your newly created art pieces individually or as a striking series to create a cohesive gallery wall. Step back and admire your beautiful, high-end looking DIY art! It’s incredible how such a simple technique can yield such sophisticated results.
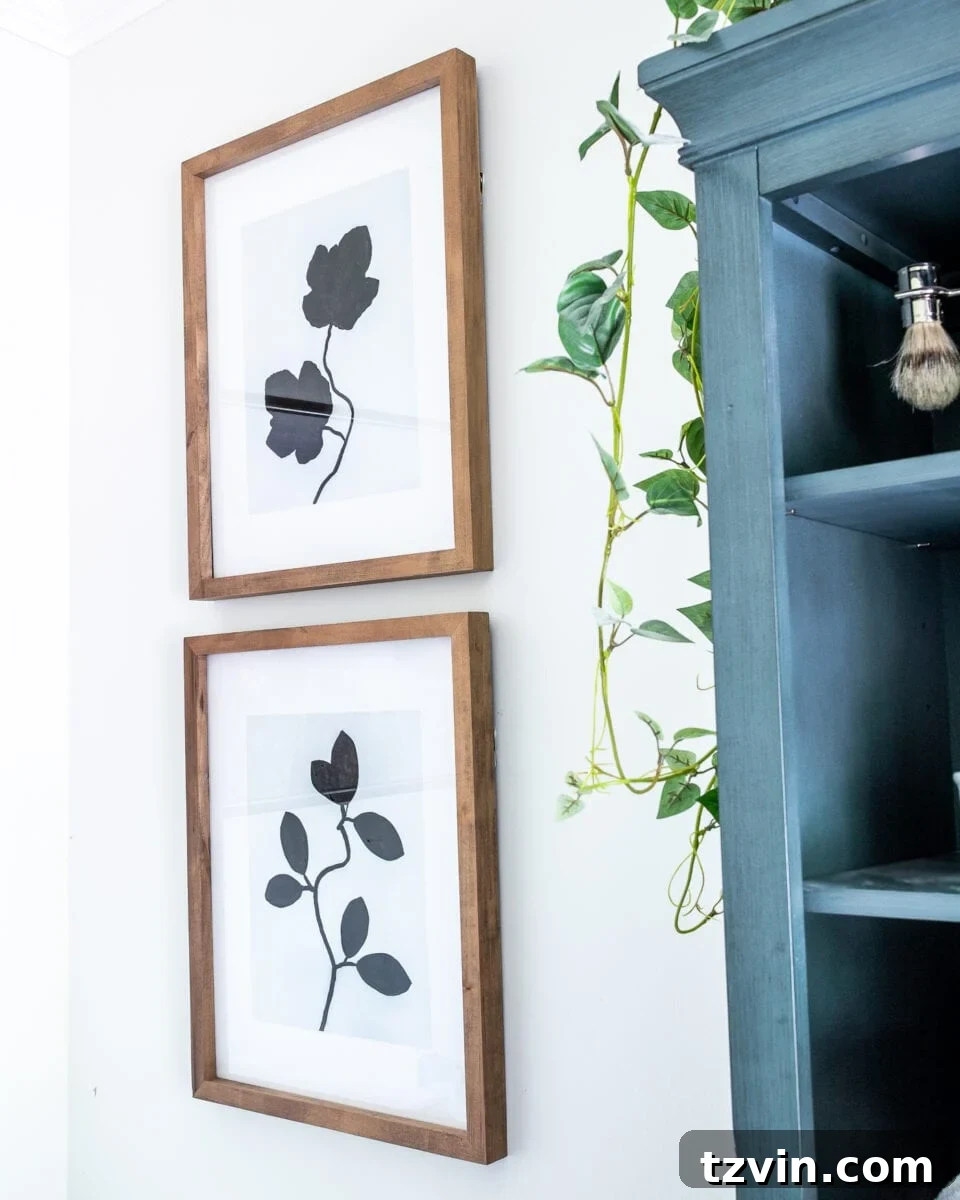
The Unbelievable Impact of DIY Botanical Art
I am genuinely thrilled with how this leaf silhouette art turned out. The transformation from simple yard leaves to sophisticated wall decor is truly remarkable. It’s almost unbelievable when I compare it to designer silhouette art I’ve seen priced at $300 or more per piece – a truly astounding cost for something so easily replicated at home. This project proves that achieving a high-end look doesn’t require an exorbitant budget; it simply requires a dash of creativity and a willingness to try. This process offers a refreshing and cost-effective alternative to costly retail options, allowing you to infuse your home with personalized charm.
The versatility of this technique is also incredibly exciting. I can’t wait to experiment with a variety of other natural elements in the future. Imagine the elegant forms of ferns, the tropical allure of palm fronds, or the classic beauty of magnolia blooms translated into stunning silhouette art. Each different leaf type will offer a unique shape and texture, opening up endless possibilities for creating bespoke botanical collections tailored to every season or decor theme. This project is not just about making art; it’s about discovering the endless creative potential that surrounds us in nature.
If you’re eager to explore more simple yet impactful art ideas for your home, I invite you to browse a wealth of inspiration here. Our collection of DIY projects is designed to spark your creativity and empower you to craft beautiful things. And for those moments when you’re ready to hang your new creations, getting the placement just right can be tricky. That’s why I’ve put together some invaluable wall decor hanging tips, including my absolute favorite trick for flawless alignment every single time. You can discover all these insights and more on my Instagram highlights here. While I may not be a professional expert, these are lessons I’ve learned the hard way over the years, and I’m delighted to share them with you!
Don’t let this inspiring DIY project get lost! Pin it now to save it for later:

Related Posts You Might Love:
- The Secret to Finding Free Printable Wall Art Online
- 20 Creative DIY Wall Decor Ideas for Your Blank Walls
- DIY Easy Art for Beginners from a Thrifted Frame
- DIY Designer Knock-Off Textile Art from a Recycled Rug
- DIY Large Scale Wall Art from a Shower Curtain