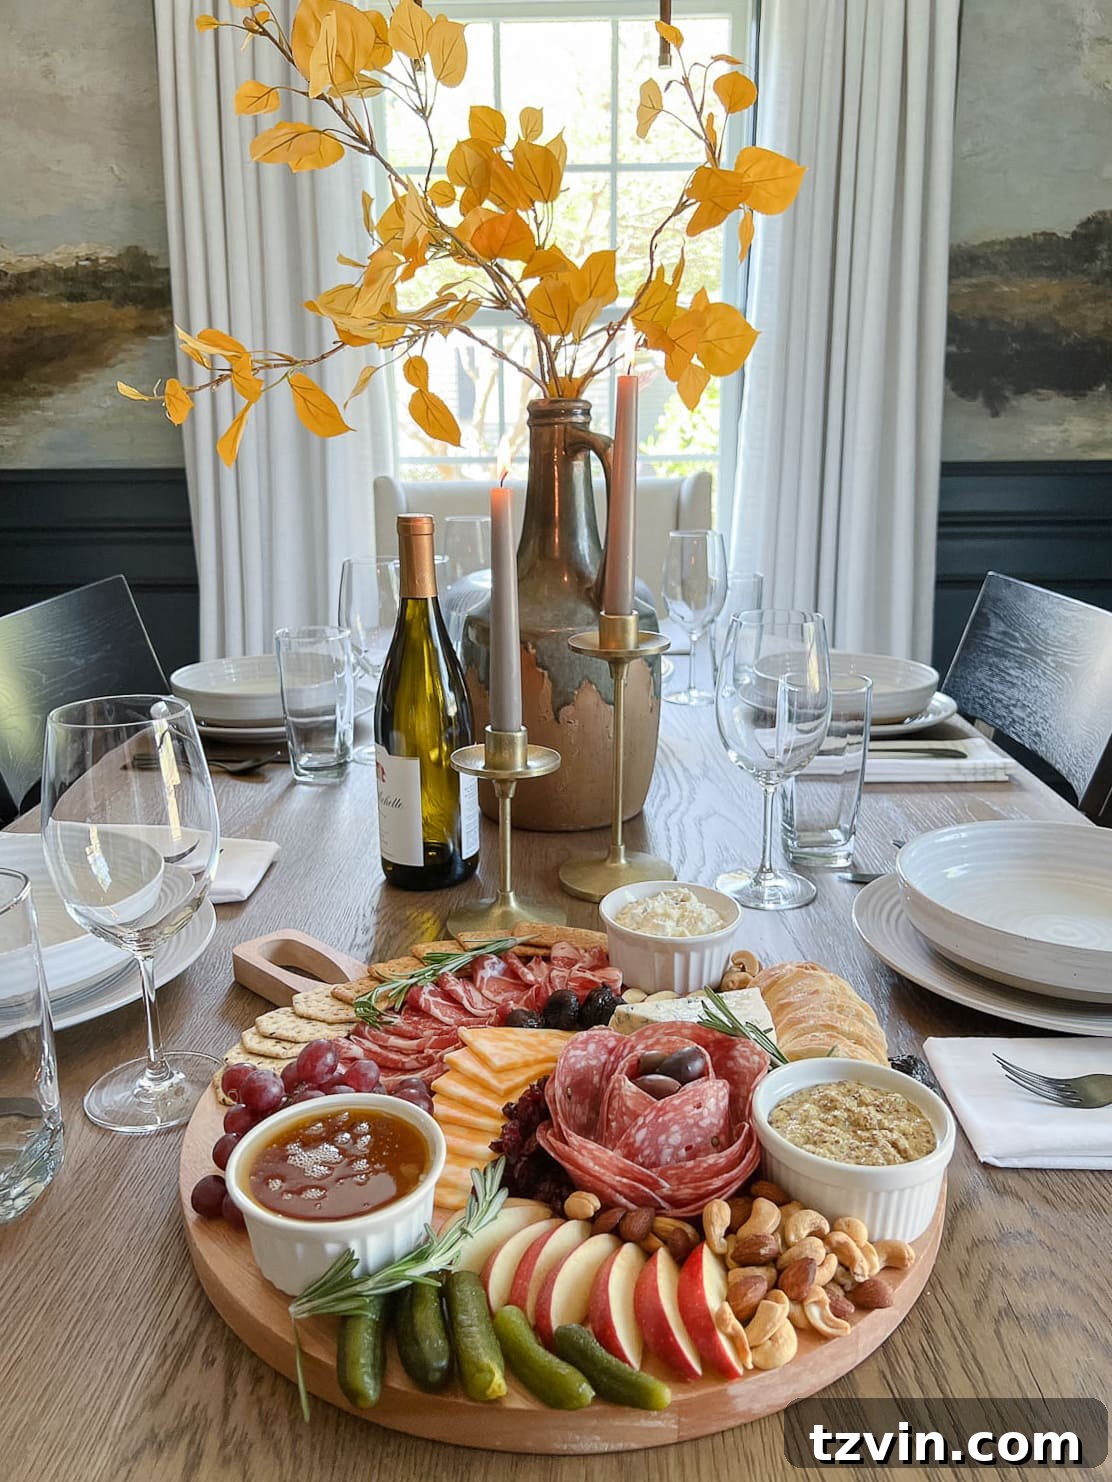
Crafting the Perfect Charcuterie Board: An Easy Beginner’s Guide to Impressive Entertaining
As the leaves change and cooler weather beckons us indoors, the season of cozy gatherings and effortless entertaining truly begins. Forget the elaborate multi-course meals; sometimes, the most memorable spreads are the simplest. We’re talking about the artfully arranged charcuterie board – a vibrant feast for the eyes and the palate that promises a delightful experience for any occasion.
While some might be eagerly anticipating pumpkin spice season, we’re simply thrilled for “stretch-pants-and-snack-at-home” season. And let’s be honest, in our household, that’s a year-round affair! Charcuterie boards are our go-to for making any get-together feel special without the stress of extensive cooking.
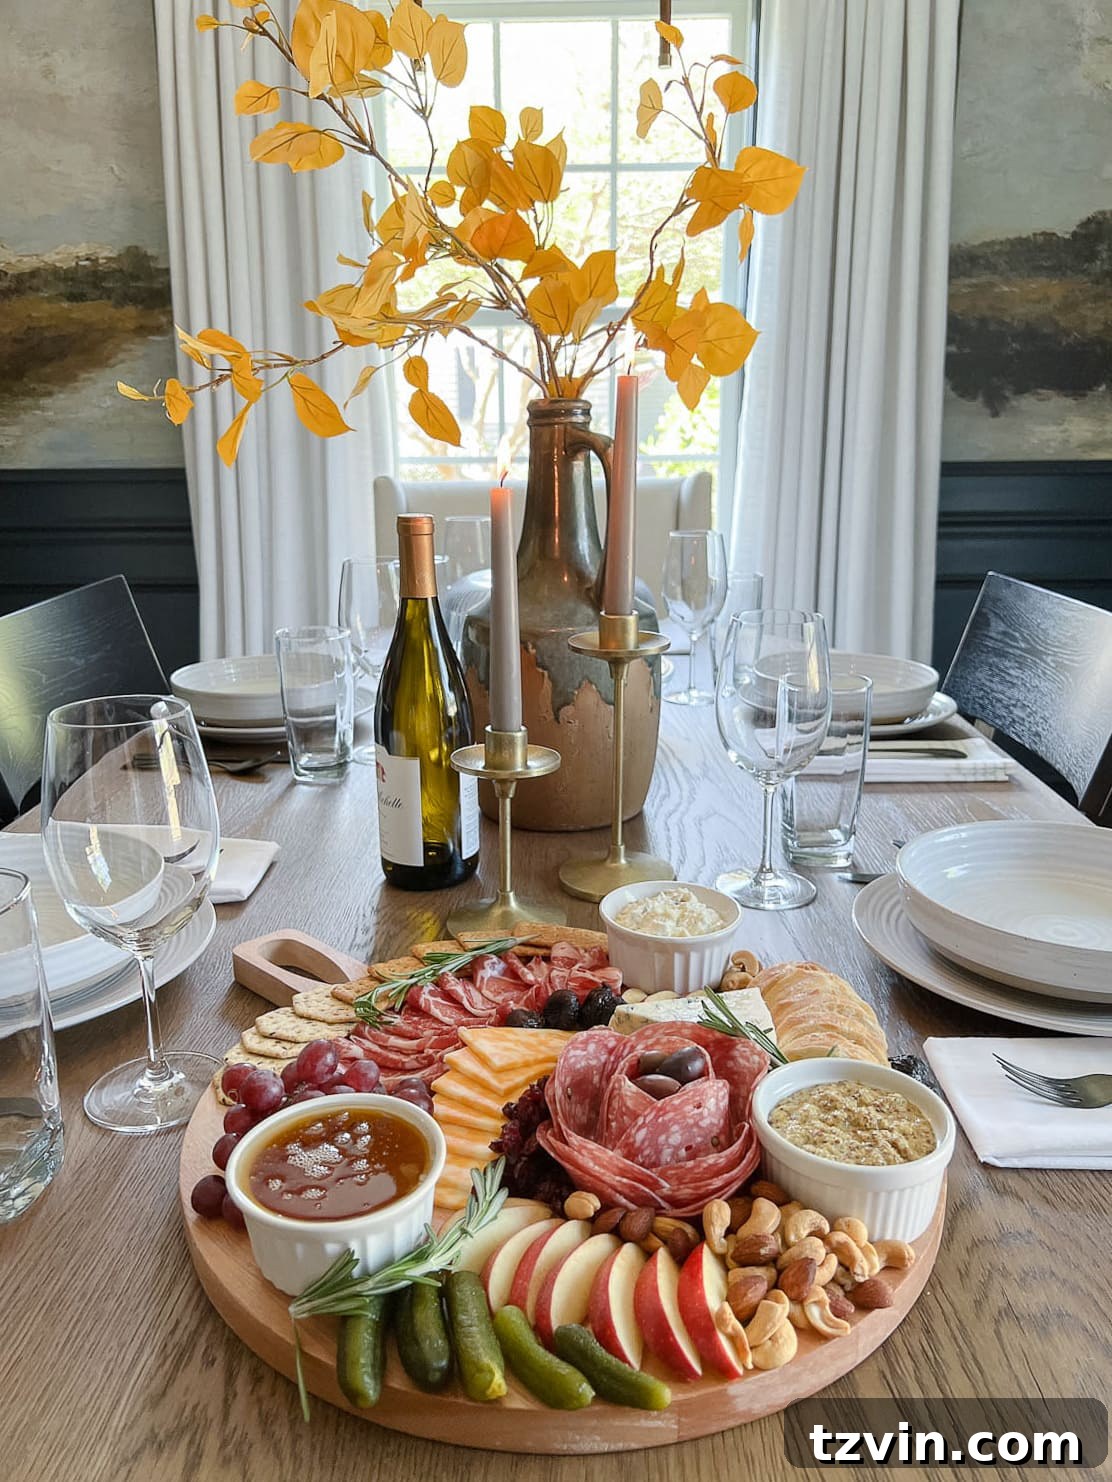
From casual weeknight dinners to festive holiday parties, family reunions, backyard barbecues, or even just a lazy evening with fridge leftovers, a well-curated charcuterie or meat and cheese board is always a crowd-pleaser. You’ve undoubtedly seen these stunning spreads dominating Instagram and Pinterest feeds, and for good reason! They offer endless customization, cater to diverse tastes, and transform simple ingredients into a sophisticated focal point.
If the idea of assembling one has ever seemed daunting or confusing, fear not. This comprehensive beginner’s guide will demystify the process, providing you with all the essential knowledge, tips, and tricks to create a professional-looking charcuterie board in minutes. You’ll learn how to select ingredients, master artful arrangement, and tailor your board to your preferences and what you already have on hand, ensuring a memorable spread every time.
How to Build an Impressive Charcuterie Board: A Step-by-Step Guide
Creating a stunning charcuterie board is less about strict rules and more about balance, variety, and presentation. By following these simple steps, you’ll be able to design a board that’s both delicious and visually appealing, perfect for any gathering or even a cozy night in.
Your Essential Charcuterie Board Shopping List
Before you begin, it’s helpful to have a general idea of the categories of ingredients you’ll need. This list provides a balanced foundation for any charcuterie board, ensuring a delightful mix of flavors and textures.
- Cured Meats: Offer a variety of textures and spice levels.
- Cheeses: A mix of hard, soft, and semi-soft options is ideal.
- Crackers and/or Bread: Essential vehicles for your meats and cheeses.
- Fresh and/or Dried Fruits: Provide sweetness and freshness.
- Fresh and/or Pickled Vegetables: Add crunch, tang, and vibrant color.
- Nuts: Introduce a satisfying crunch and savory depth.
- Dips and/or Spreads: Offer creamy textures and additional flavor pairings.
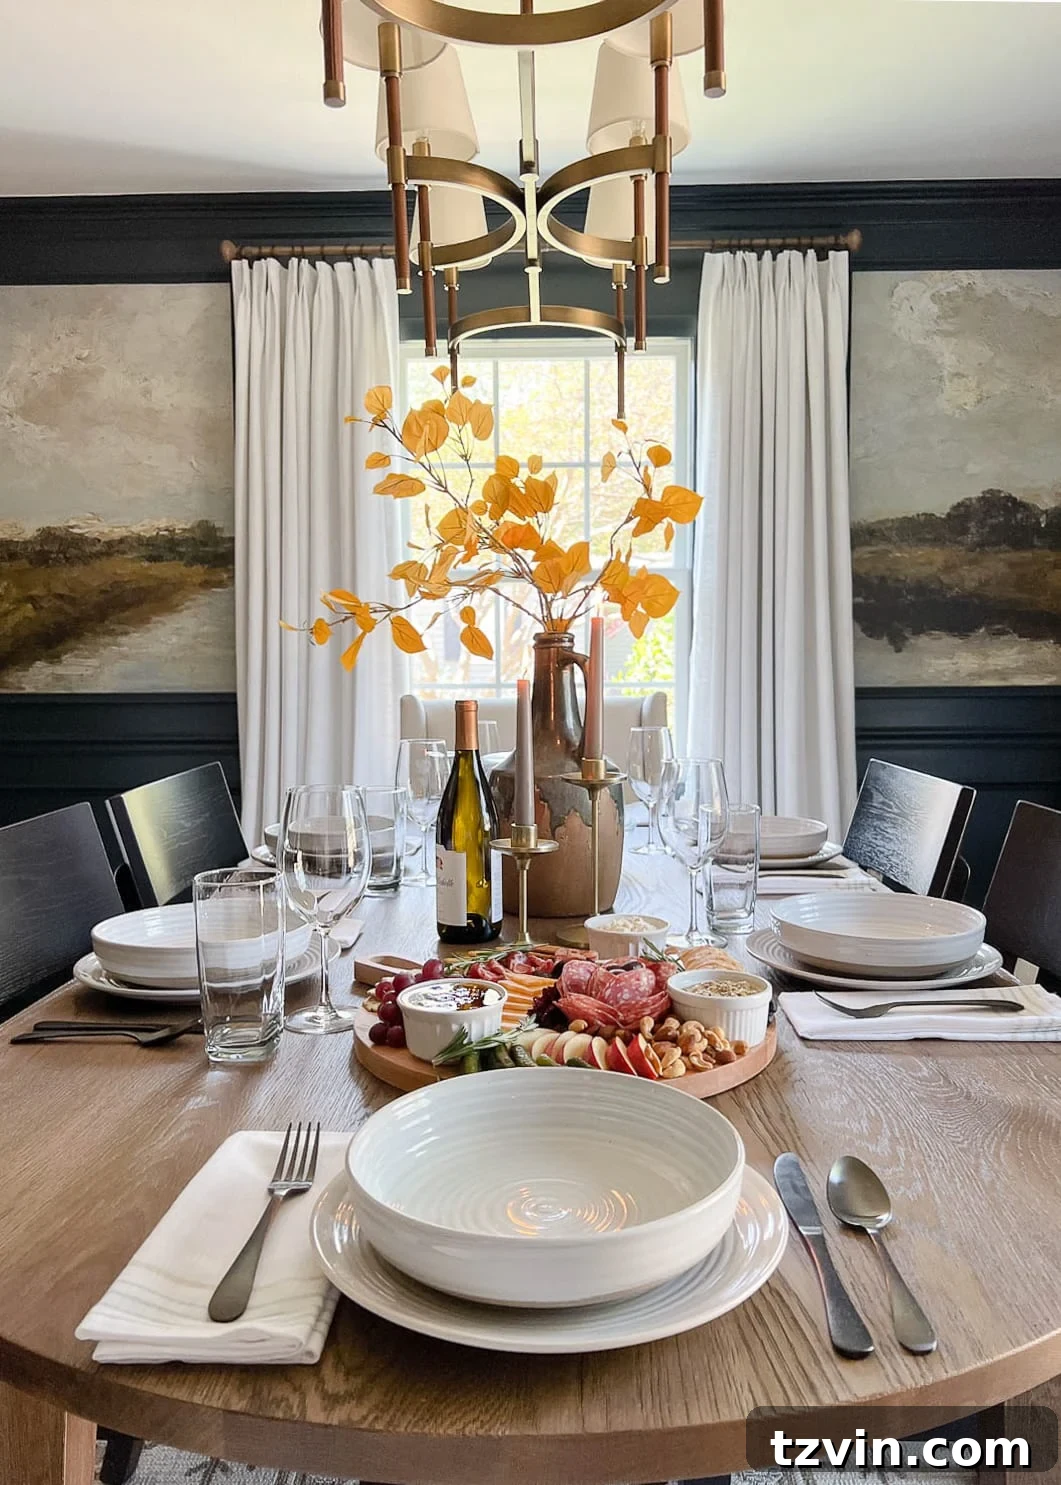
Once you have your ingredients in mind, select a serving board. This can be a traditional wooden charcuterie board, a large cutting board, a slate platter, or even a simple roll of brown kraft paper for a rustic, expansive spread. The size of your board should be appropriate for the number of guests you’re serving. If you don’t have one large enough, using multiple smaller boards can create an equally impressive display. For a truly personal touch, consider making your own DIY charcuterie board from scrap wood.
A good charcuterie board starts with the right foundation. Choose a board that complements your aesthetic and provides ample space. From sleek modern slate to rustic wooden planks, the options are plentiful. Consider the occasion and your personal style when making your selection. Don’t be afraid to mix and match if you’re serving a larger crowd!
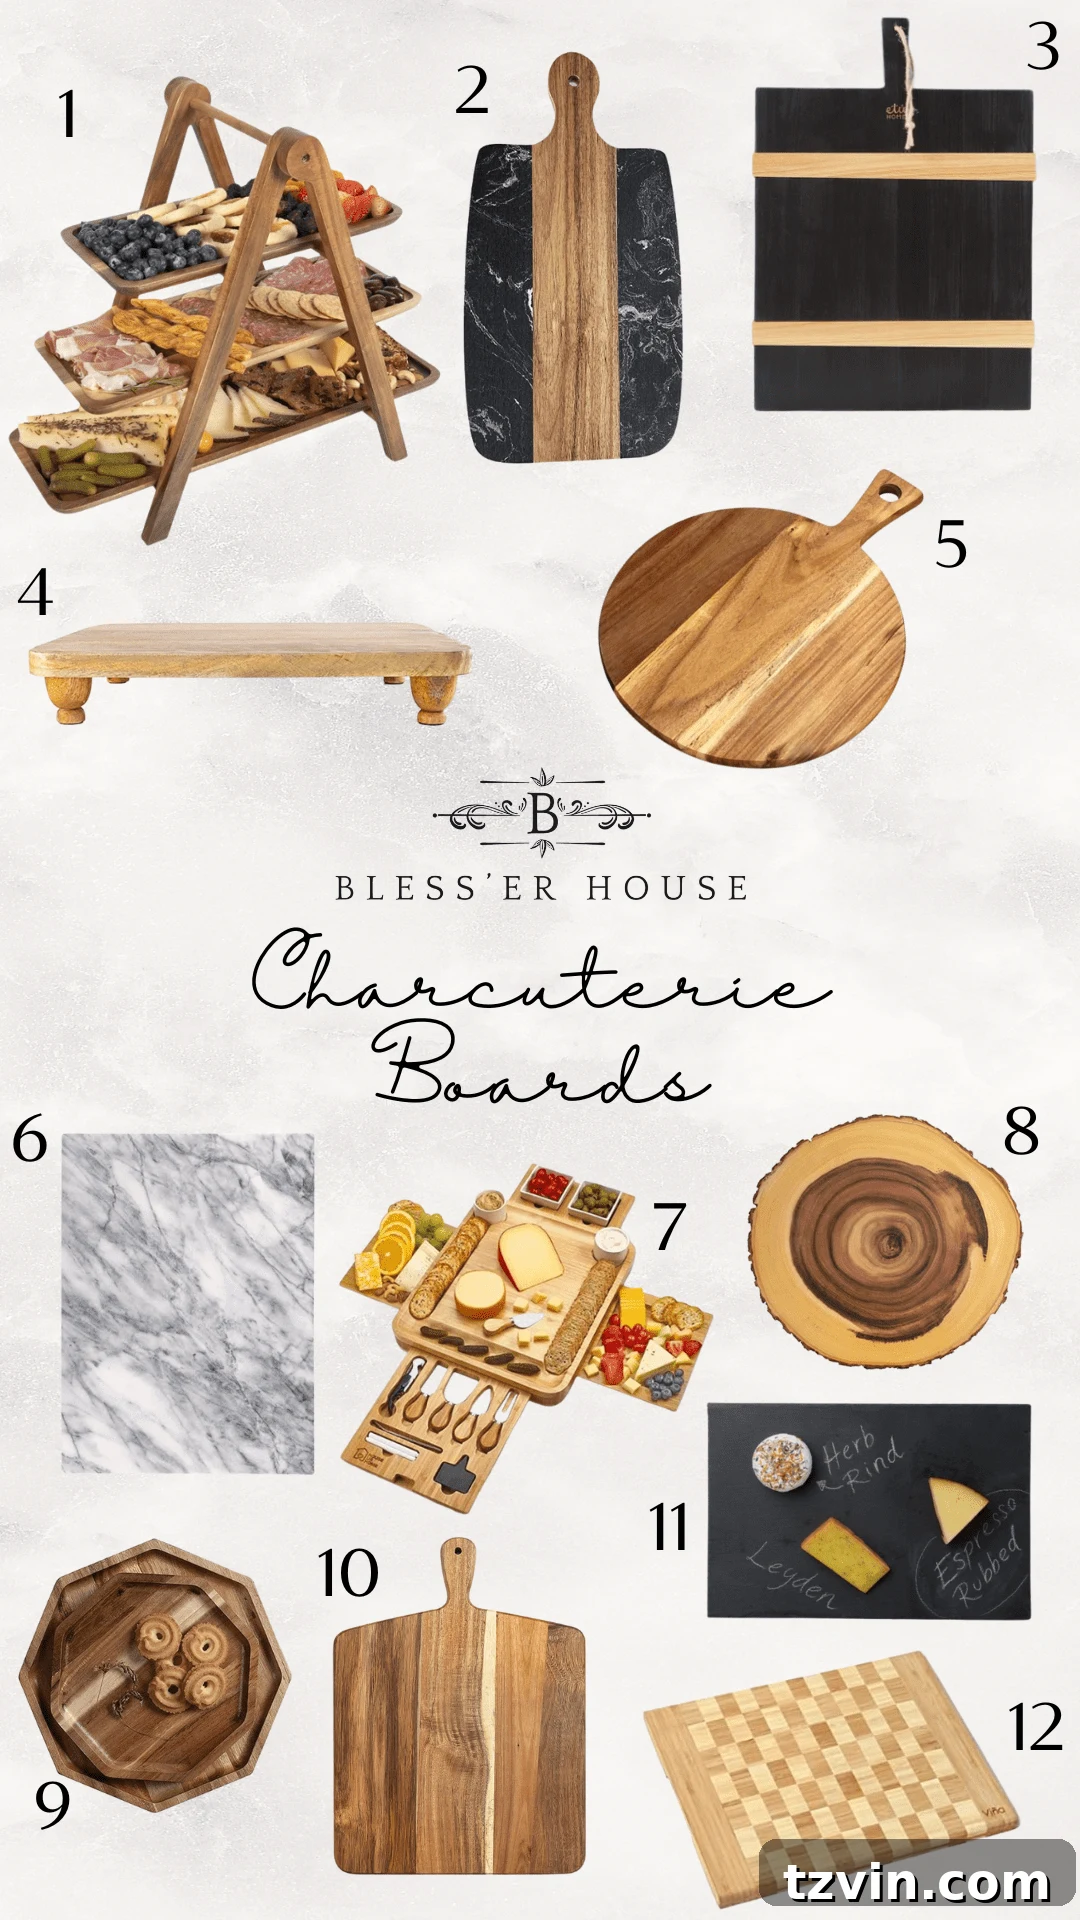
1 | 2 | 3 | 4 | 5 | 6 | 7 | 8 | 9 | 10 | 11 | 12
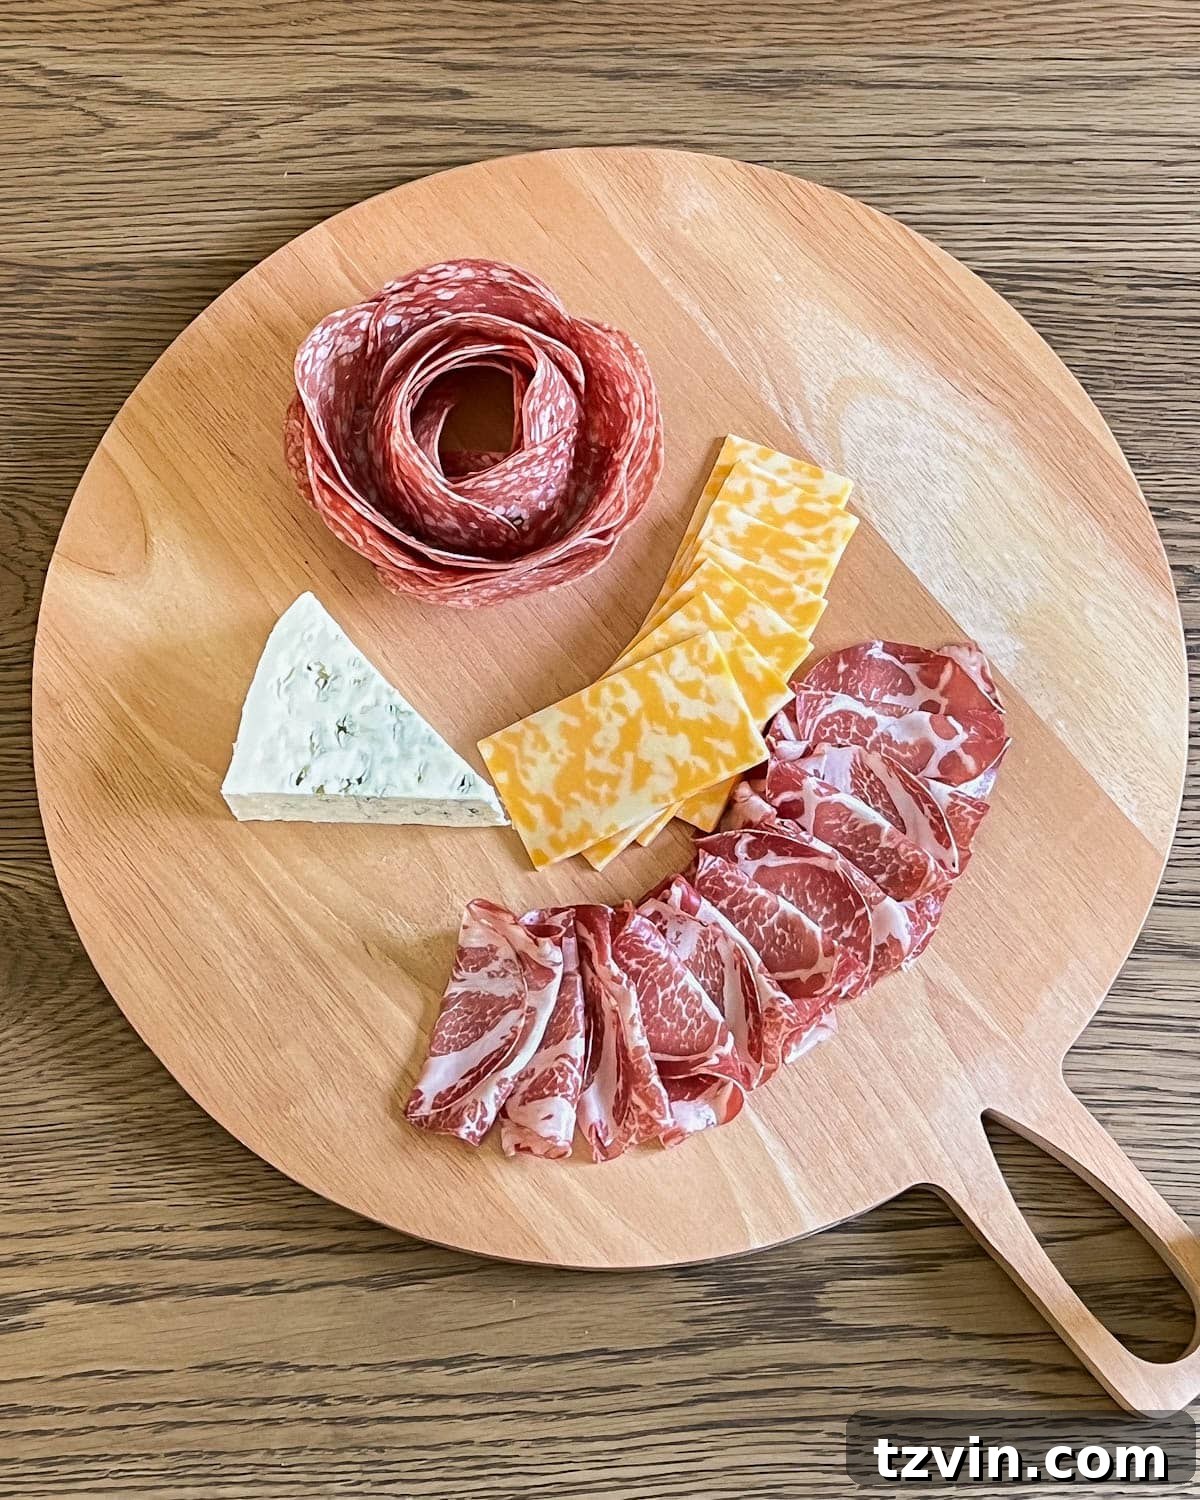
Step 1: Strategically Place Your Cured Meats
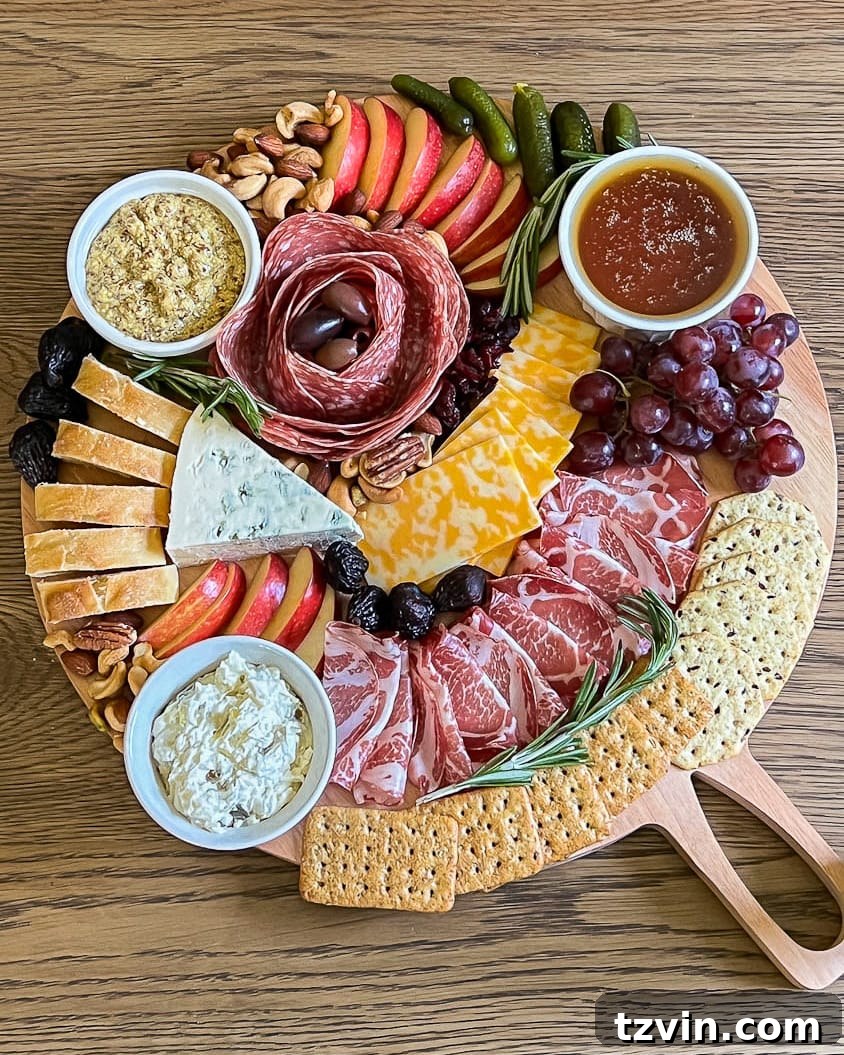
Begin building your charcuterie masterpiece by arranging the star of the show: the cured meats. Choose 2-5 varieties to offer a range of flavors and textures. Popular choices include: prosciutto (delicately thin, salty), salami (spicy or mild, often pre-sliced), soppressata (heartier, more robust), capicola (spicy Italian ham), and various hams.
To make them easy to grab and visually appealing, fan out folded slices or create elegant shapes. A popular trick is to arrange meat slices around the rim of a drinking glass to form a beautiful “flower” shape, then carefully invert it onto the board. Distribute these meat clusters evenly across your board, creating anchor points around which you’ll build the rest of your spread. Think about layering and creating height to add visual interest.
Step 2: Curate a Selection of Exquisite Cheeses
Next, introduce your cheeses – the perfect partners to your cured meats. Aim for 2-5 different cheese varieties to provide contrast in texture and flavor. Consider including a mix of:
- Hard Cheeses: Gouda (nutty, firm), aged cheddar (sharp, crumbly), Manchego (sheep’s milk, savory), Gruyere (sweet, salty, earthy), Swiss (nutty, with distinct holes). These often hold their shape well when pre-sliced or cubed.
- Soft Cheeses: Brie (creamy, buttery), goat cheese (tangy, crumbly), burrata (creamy mozzarella ball), blue cheese (pungent, creamy), Gorgonzola (sharp, salty), Havarti (mild, buttery, semi-soft). These are best served with a cheese knife or spreader.
Cut harder cheeses into cubes, wedges, or slices for easy serving. Softer cheeses can be left whole with a knife, or pre-crumbled if desired. Fan them out around your board, ensuring they are easily accessible and beautifully displayed next to your meats. Think about how different cheeses will interact with the meats and other elements.
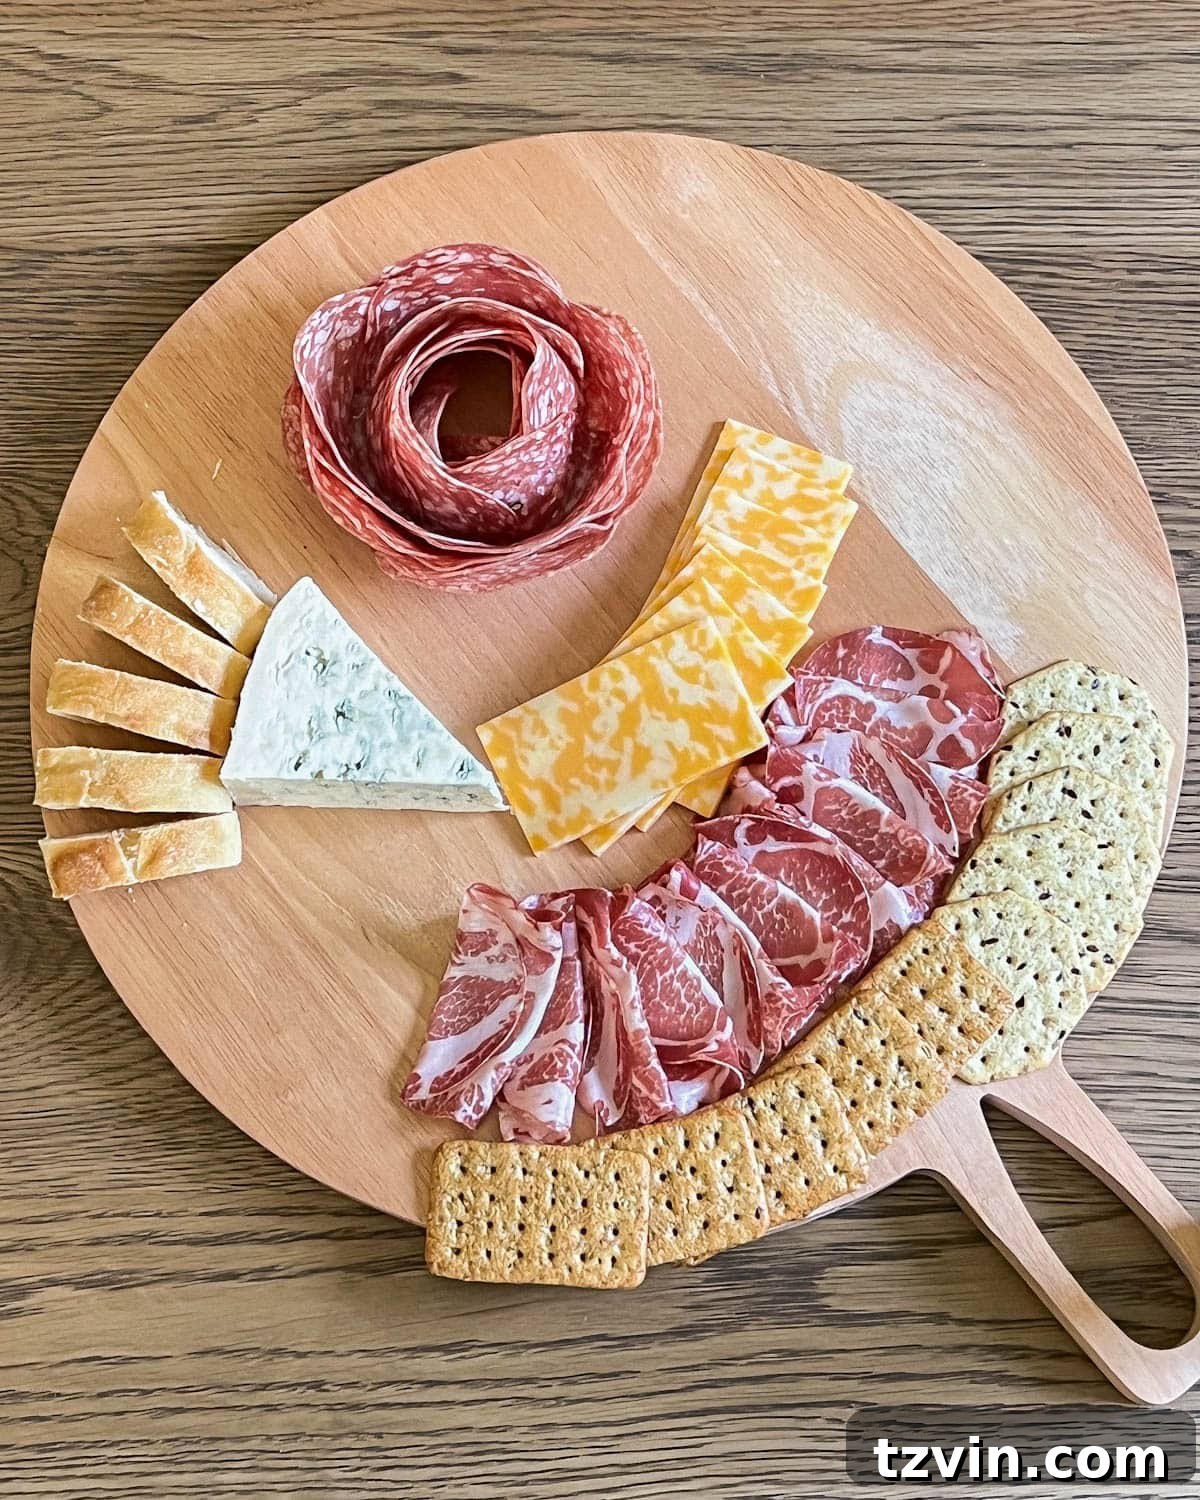
Step 3: Arrange Breads and Crackers for Perfect Pairing
Every great charcuterie board needs reliable vehicles for its delicious toppings. Offer a selection of crackers and breads to complement your meats and cheeses. Variety is key here:
- Crackers: Choose different shapes, sizes, and flavors – plain water crackers, artisanal crackers with herbs or seeds, multi-grain crackers, or even gluten-free options.
- Bread: Sliced baguette (toasted or fresh), breadsticks, mini toasts, or flatbreads work wonderfully.
Arrange these around the perimeter of your board, or in open spaces between your main components. Fan them out, stack them, or place them in small piles to make them easy for guests to grab. Consider adding small bread knives or spreaders if you have larger loaves or soft cheeses.
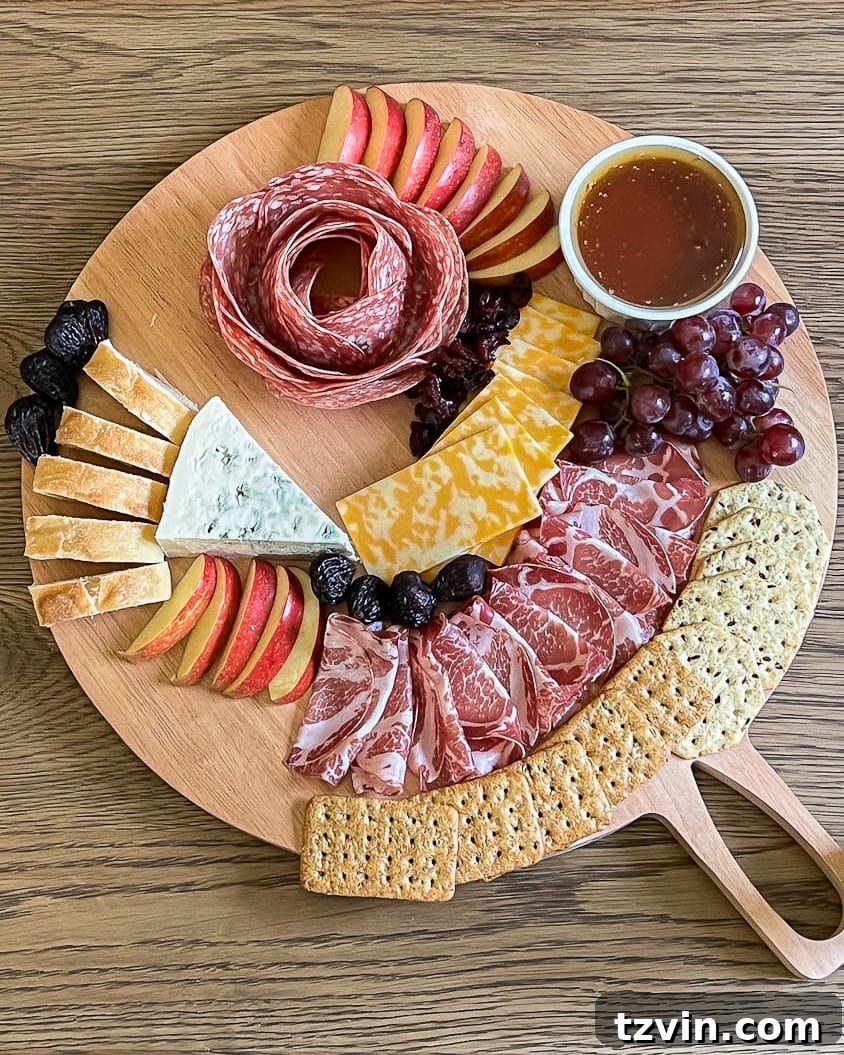
Step 4: Introduce Sweet Elements for Balance
Sweet components are crucial for balancing the salty and savory flavors of your meats and cheeses. They add a refreshing contrast and vibrant color to your charcuterie board.
- Fresh Fruit: Grapes (various colors), blackberries, raspberries, strawberries, blueberries, sliced apples, pears, or figs. Opt for seasonal fruits for the freshest taste.
- Dried Fruit: Apricots, figs, cranberries, cherries, mango slices, or dates. These offer concentrated sweetness and a chewy texture.
- Sweet Dips/Spreads: Whipped honey, fig jam, apricot preserves, chocolate hummus, orange marmalade, balsamic glaze, or a drizzle of olive oil.
Slice larger fruits like apples and pears to prevent browning and make them easier to eat. Cut grape bunches into smaller, manageable segments. For “wet” fruits like berries or grapes, consider placing them in small bowls or away from crackers and bread to prevent sogginess. Use small ramekins or dip bowls for jams, honey, or other spreads, dispersing them strategically around the board to create visual interest and accessibility.
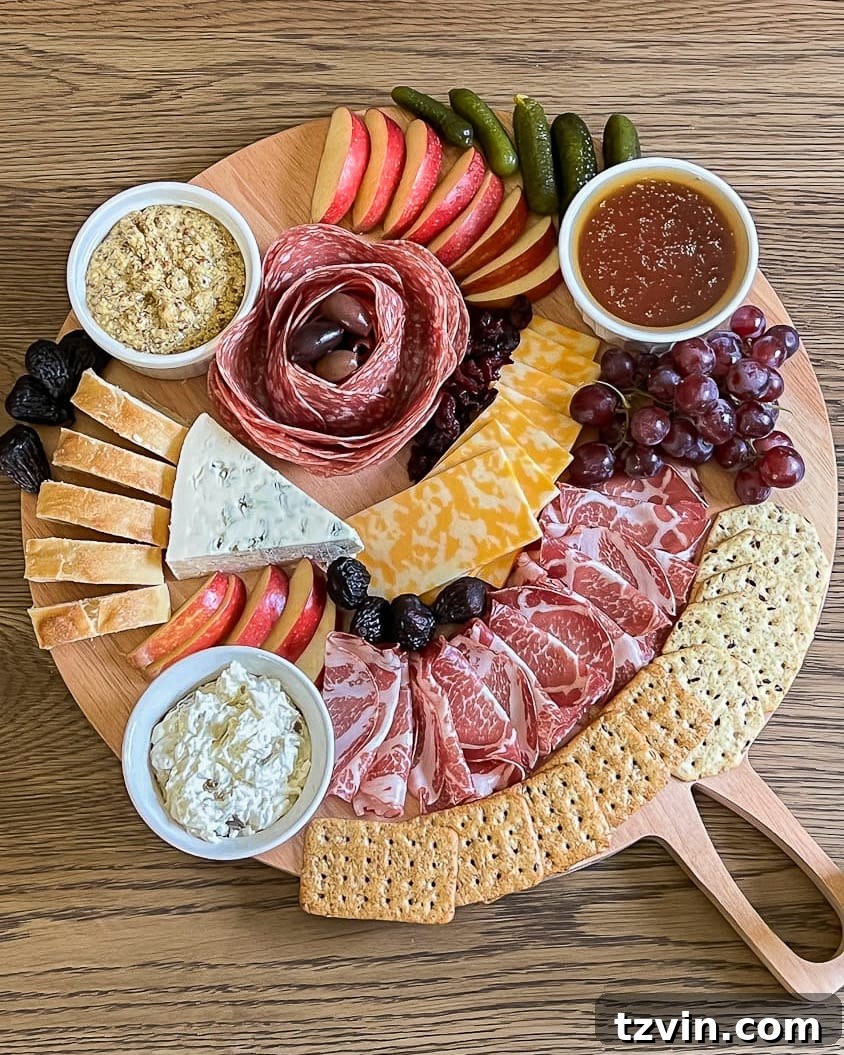
Step 5: Incorporate Savory Delights and Pickled Accents
To further enhance the flavor profile and visual appeal of your charcuterie board, add a selection of savory and pickled items. These elements provide a refreshing tang and satisfying crunch.
- Fresh Vegetables: Sliced bell peppers (various colors), cucumber rounds, baby carrots, cherry tomatoes, blanched asparagus spears, or radish slices.
- Pickled or Brined Items: Cornichons (miniature pickled cucumbers), a mix of olives (Kalamata, Castelvetrano), assorted pickles, pickled onions, or pepperoncini.
- Savory Dips/Spreads: Creamy artichoke dip, whole grain mustard, olive tapenade, traditional hummus, roasted red pepper dip, or a flavorful pesto.
Similar to wet fruits, place any pickled items or “wet” vegetables in small bowls or away from crackers and bread to prevent them from making other items soggy. Distribute savory dips in additional small bowls or ramekins around the board. These components not only add flavor but also contribute to the overall color and texture diversity, making each bite an adventure.
Step 6: Master the Art of Filling Gaps and Garnish
The final step in crafting a professional-looking charcuterie board is to fill any remaining gaps. This not only makes your board look abundant and inviting but also ensures there are no empty spaces. Think of it as painting your canvas with edible flourishes.
- Nuts: Almonds, walnuts, pistachios, pecans, or cashews can be sprinkled into any small gaps. They add a delightful crunch and healthy fats.
- More Dried Fruit: Extra dried cranberries, golden raisins, or small pieces of dried mango can fill tiny spaces and add more sweet notes.
- Garnish: Fresh herbs like rosemary sprigs, thyme, or basil leaves add a pop of green and a fragrant aroma, elevating the board’s aesthetic.
- Serving Utensils: Don’t forget small spoons for dips and spreads, and cheese knives for harder cheeses. Place them strategically for easy access.
The goal is to make your board look overflowing and abundant, suggesting generosity and a feast ready to be enjoyed. Take a step back, admire your creation, and make any final adjustments to ensure everything is within easy reach for your guests.
Elevate Your Charcuterie Board: Professional Presentation Tips
Beyond simply arranging ingredients, a few presentation secrets can transform your simple charcuterie board into a truly professional spread that will impress all your guests. These tips focus on creativity, color, and flavor harmony.
Embrace Seasonal Creativity
Let the season guide your creativity! For Halloween, shape your cheeses into spooky ghosts or pumpkins using cookie cutters. During Christmas, arrange your charcuterie ingredients in the shape of a festive wreath, or use red and green fruits. Valentine’s Day can inspire a heart-shaped cheese or fruit arrangement. Don’t be afraid to have fun with shapes, layouts, and ingredients that reflect the time of year or specific holiday. This personal touch makes your board unique and memorable.
Leverage the Power of Color and Visual Appeal
A vibrant, colorful charcuterie board is always more appealing. Think of your board as a canvas and aim for a rainbow of hues. Incorporate a variety of fresh fruits and vegetables in different colors – deep reds of berries, bright greens of herbs, sunny yellows of bell peppers, and earthy browns of nuts. Focus on what fruits and vegetables are in season for the best flavor and visual impact. The more natural colors you include, the more appetizing and nutritious your spread will appear.
Achieve Flavor Harmony and Textural Contrast
While visual appeal is important, flavor balance is paramount. A truly successful charcuterie board offers a harmonious blend of tastes and textures. Ensure you have options that represent the full spectrum of flavors: savory (meats, nuts), sweet (fruits, jams), sour (pickled items), bitter (dark chocolate, certain greens), salty (cheeses, olives), and spicy (some salamis, pepper jellies). Similarly, incorporate a mix of crunchy, creamy, soft, and firm textures. This thoughtful combination ensures that every guest finds delightful pairings and that each bite offers an exciting experience for their tastebuds.
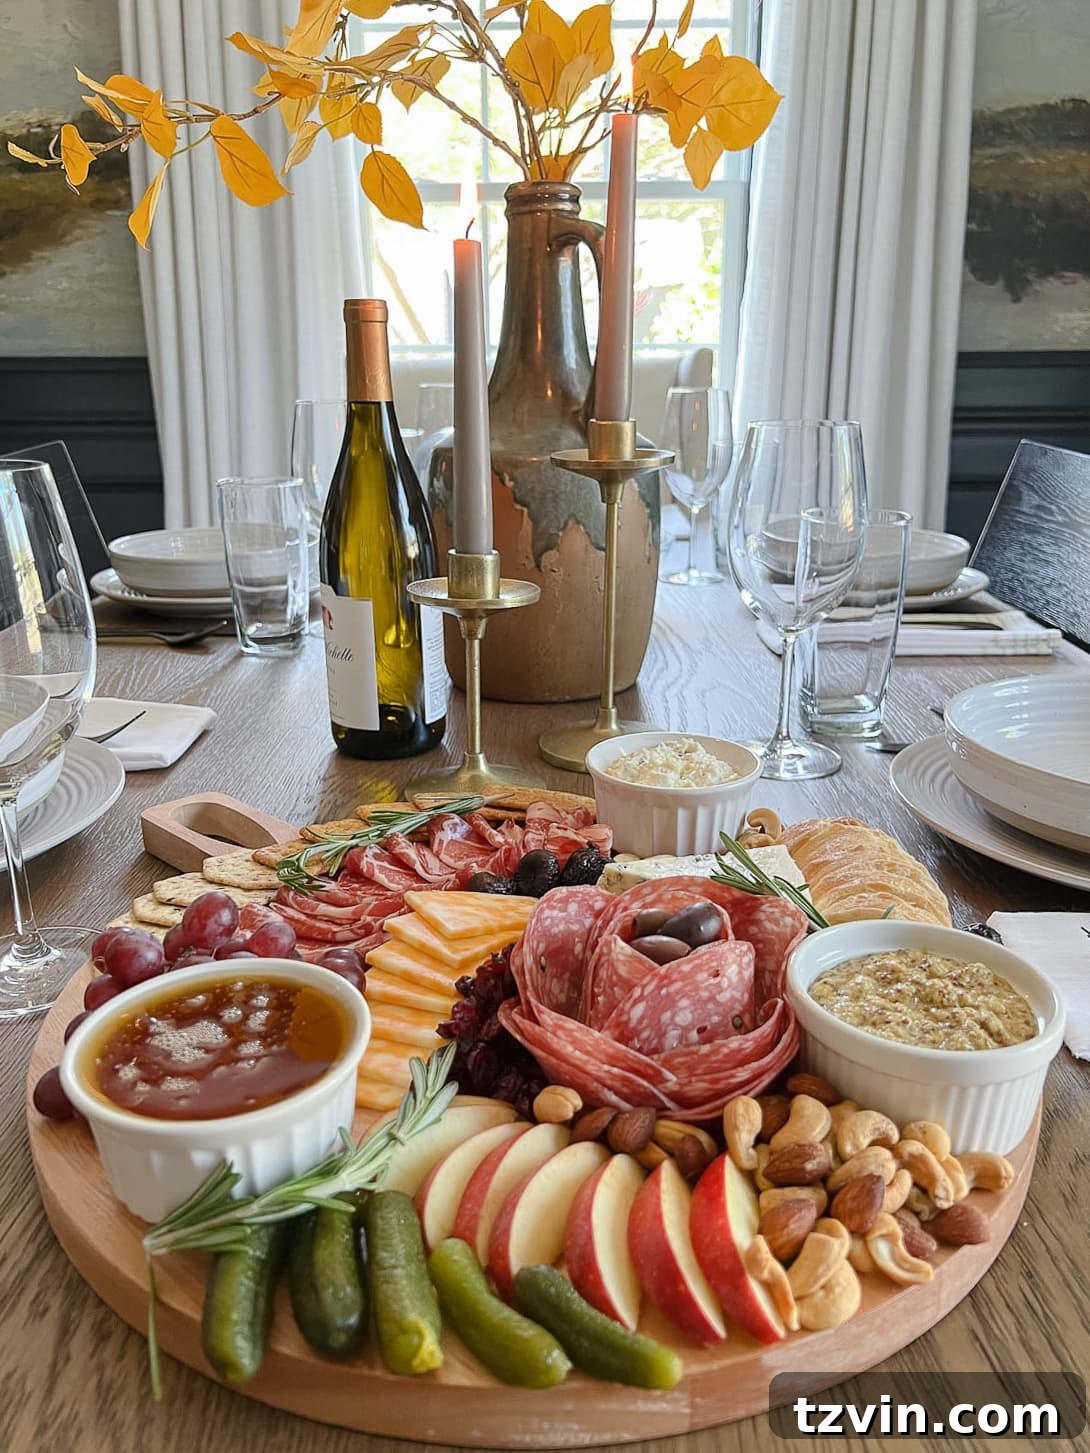
With these simple steps and creative tips, you are now equipped to craft a charcuterie board that looks and tastes like it came straight from a gourmet kitchen. My husband, Robert, and I can attest, we often enjoy a generous charcuterie board for dinner – because when you have such an amazing spread, who really wants to cook anything else?
Charcuterie boards truly embody the spirit of effortless entertaining, allowing you to spend more time enjoying the company of your loved ones and less time in the kitchen. Are you a big fan of charcuterie boards in your home? We find any and every excuse to create one, and we hope you will too!
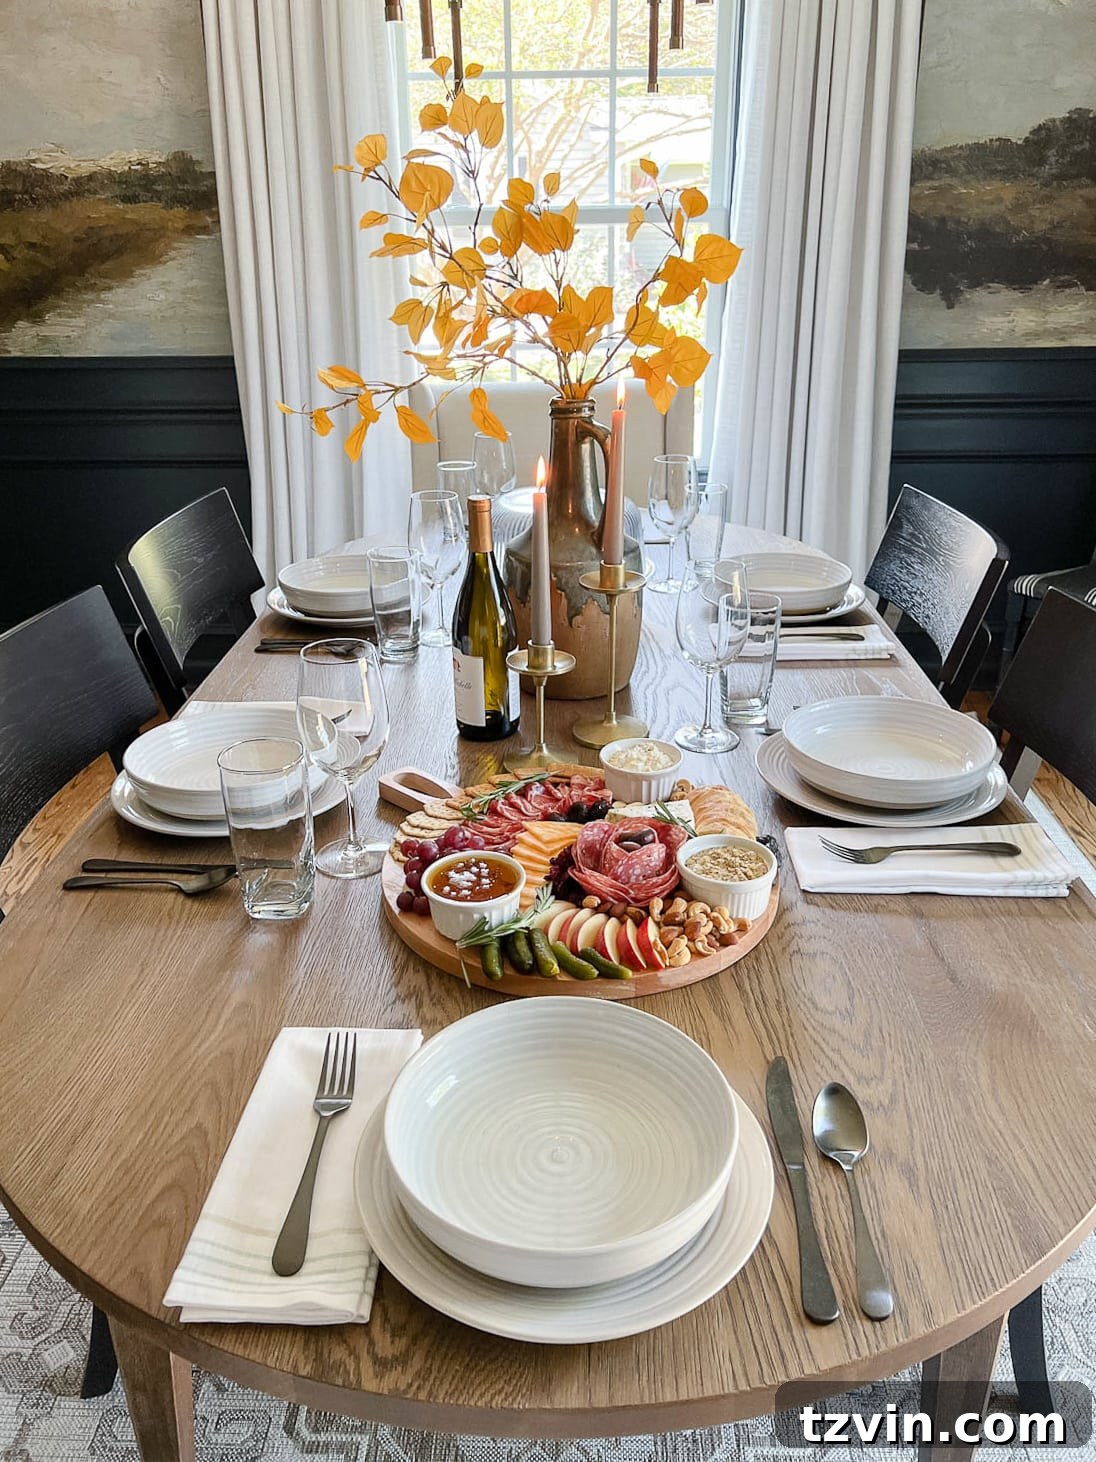
More Effortless Hosting & Entertaining Ideas
Looking for more ways to make your gatherings special and stress-free? Explore these additional hosting ideas to inspire your next event.
- Simple Formula for Dinner Table Setting at Any Occasion
- Our Favorite Relaxing Dinner Music – The Cozy Home Playlist
- Simple DIY Fall Centerpiece Ideas + the Best Fall Branches
- Valentine’s Day Breakfast DIY Charcuterie Board
- DIY Cutting Boards from Scrap Wood