
Elevate Your Space: A Step-by-Step Guide to Hanging an Unpasted Wallpaper Mural Inside Picture Frame Molding for a Whimsical, Traditional Aesthetic
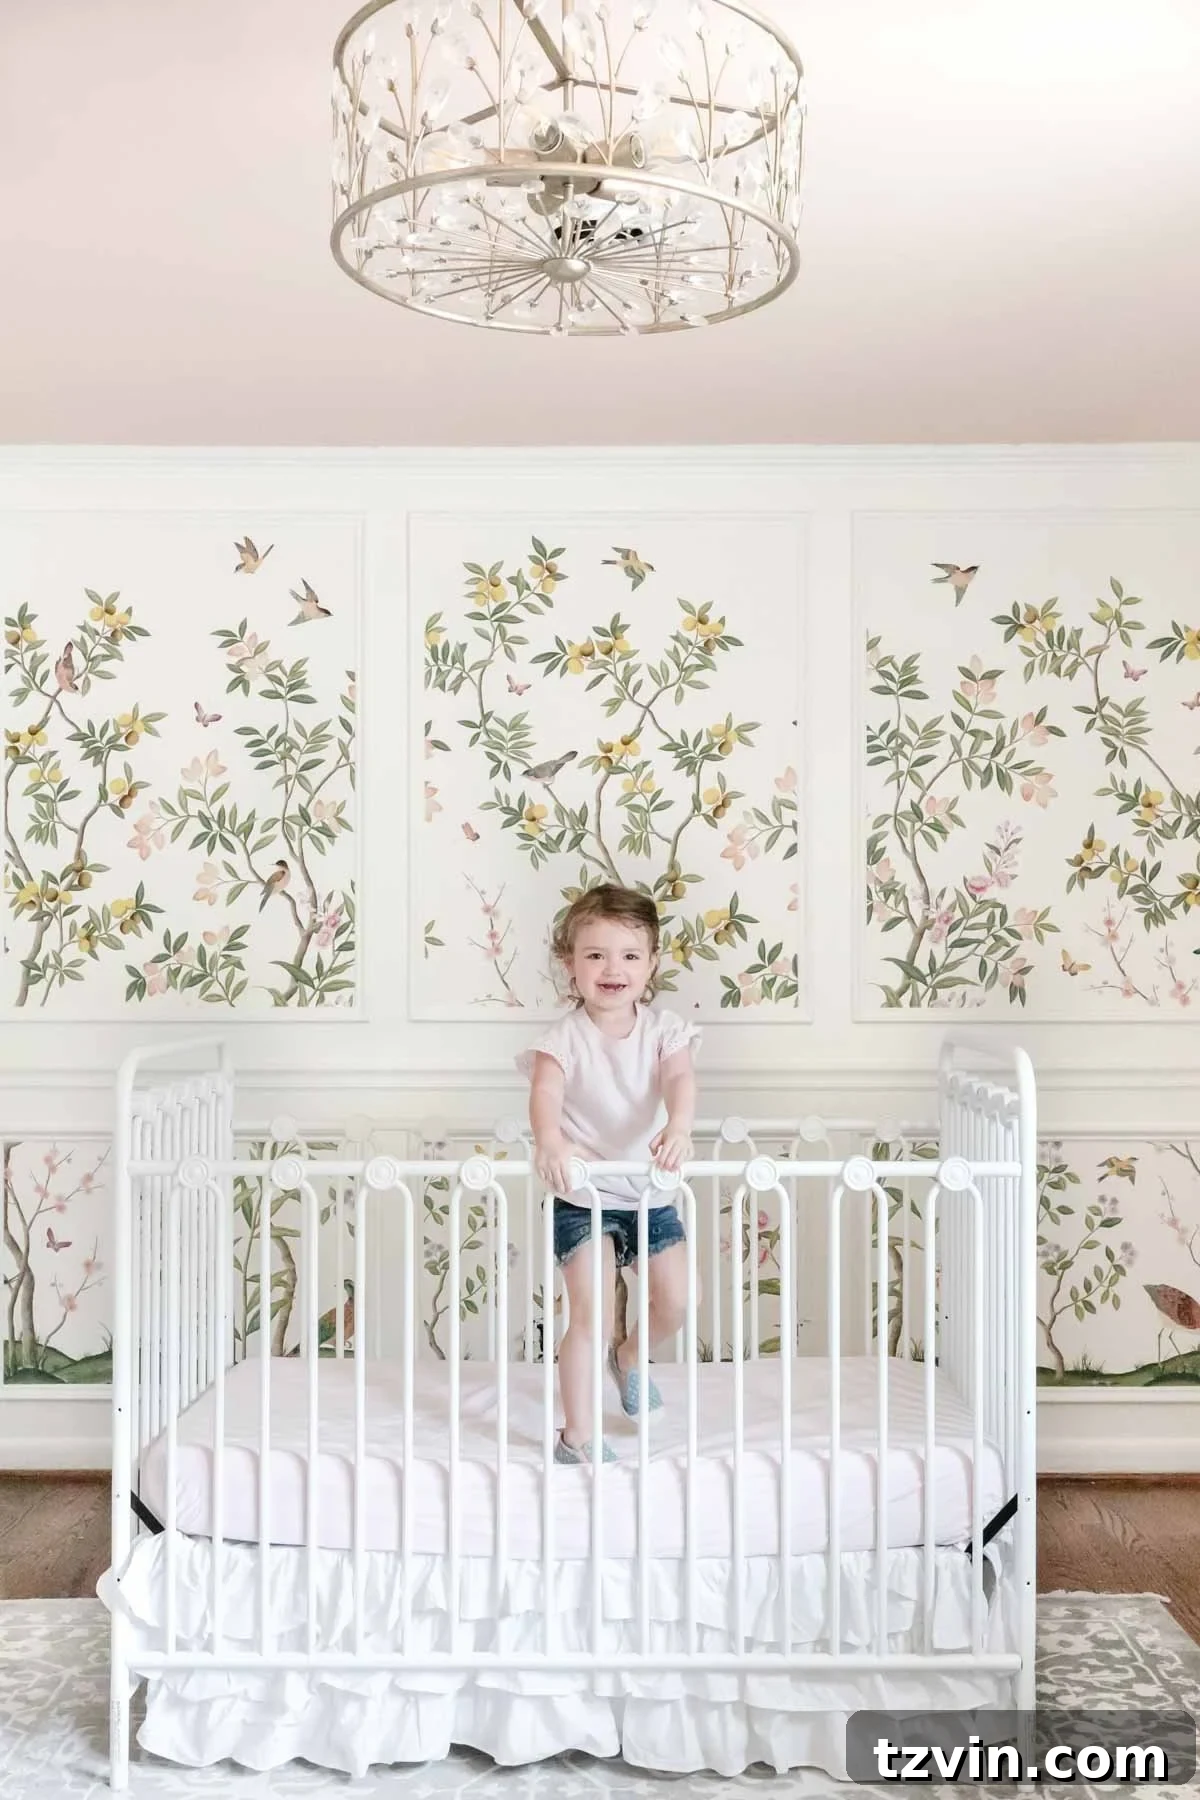
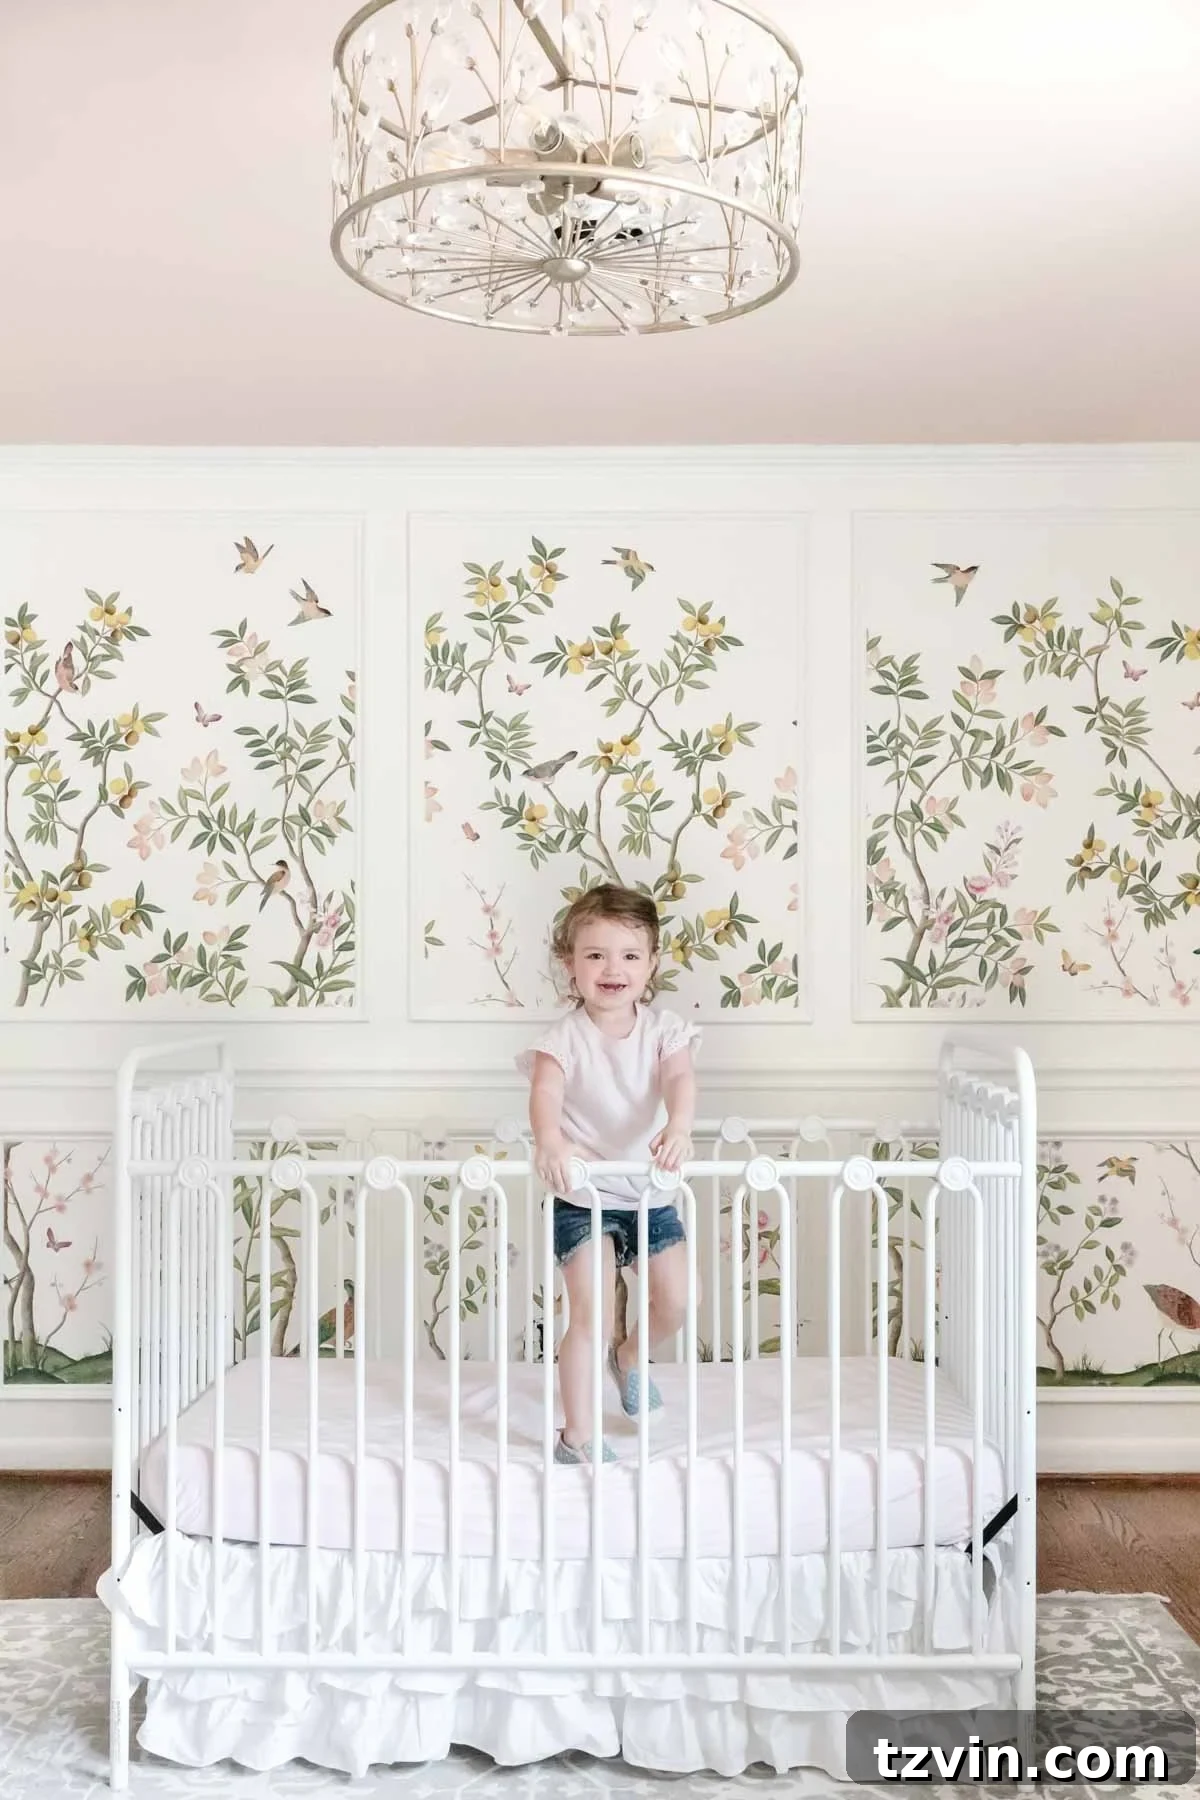
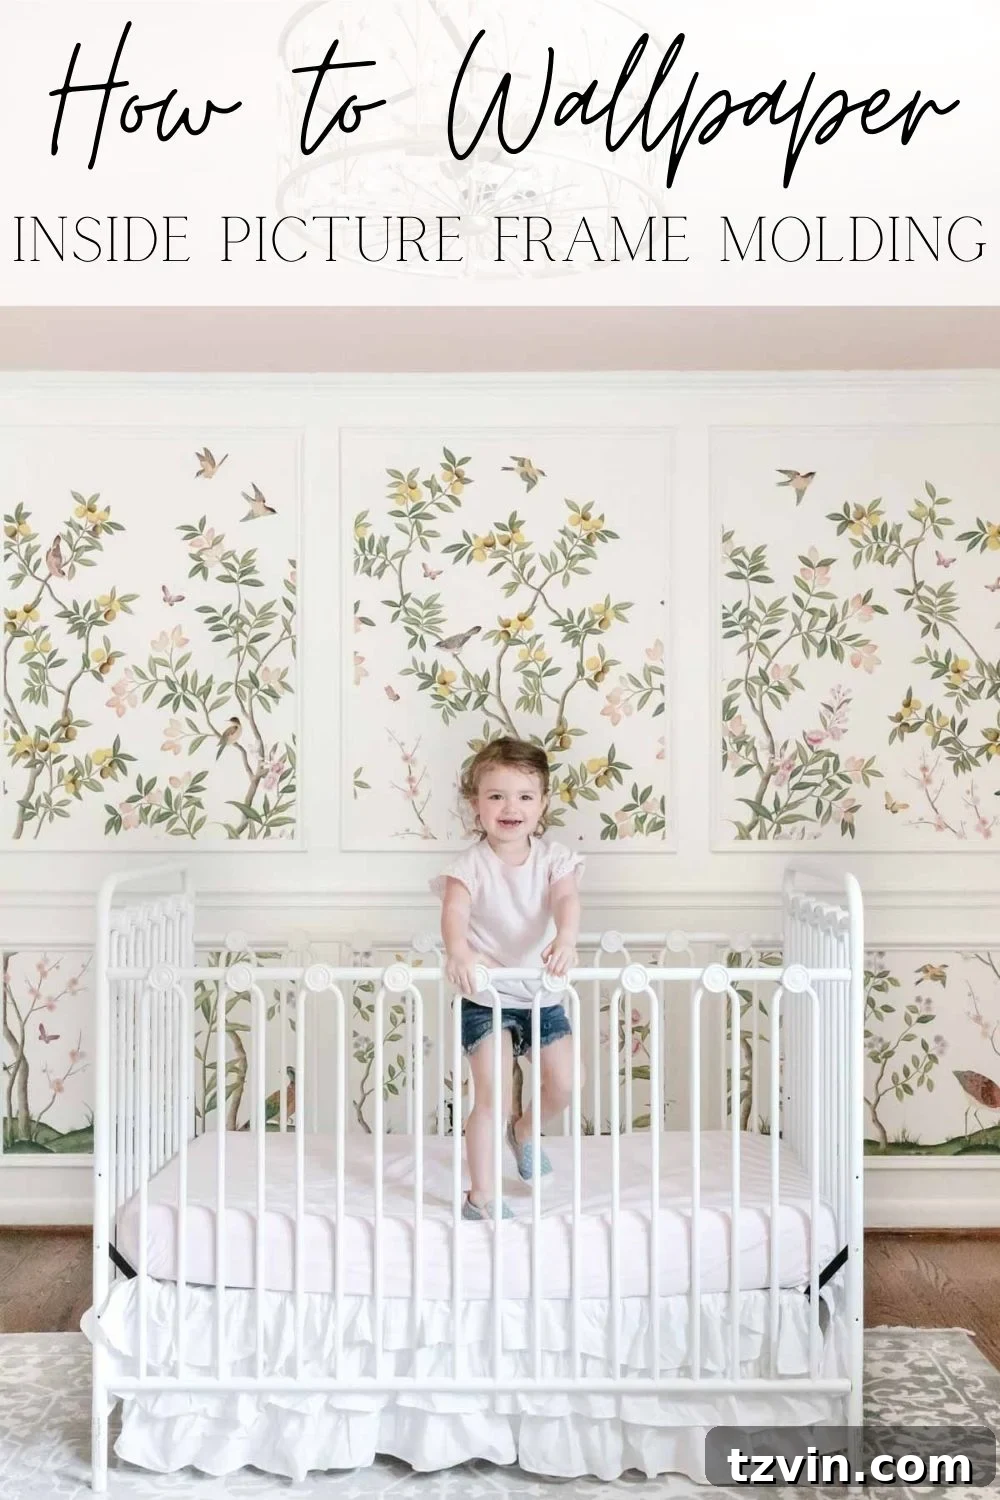
Embarking on a home decor project is always an exciting journey, and for us, the “Mission: Big Girl Room” has truly blossomed into something enchanting. The focal point of this transformation? A stunning chinoiserie wallpaper mural, delicately framed by elegant picture frame molding. This combination has created a look that is both whimsical and deeply rooted in traditional charm, exceeding all our expectations. It’s a joy to see how much our little one, Regan, adores her newly refreshed space!
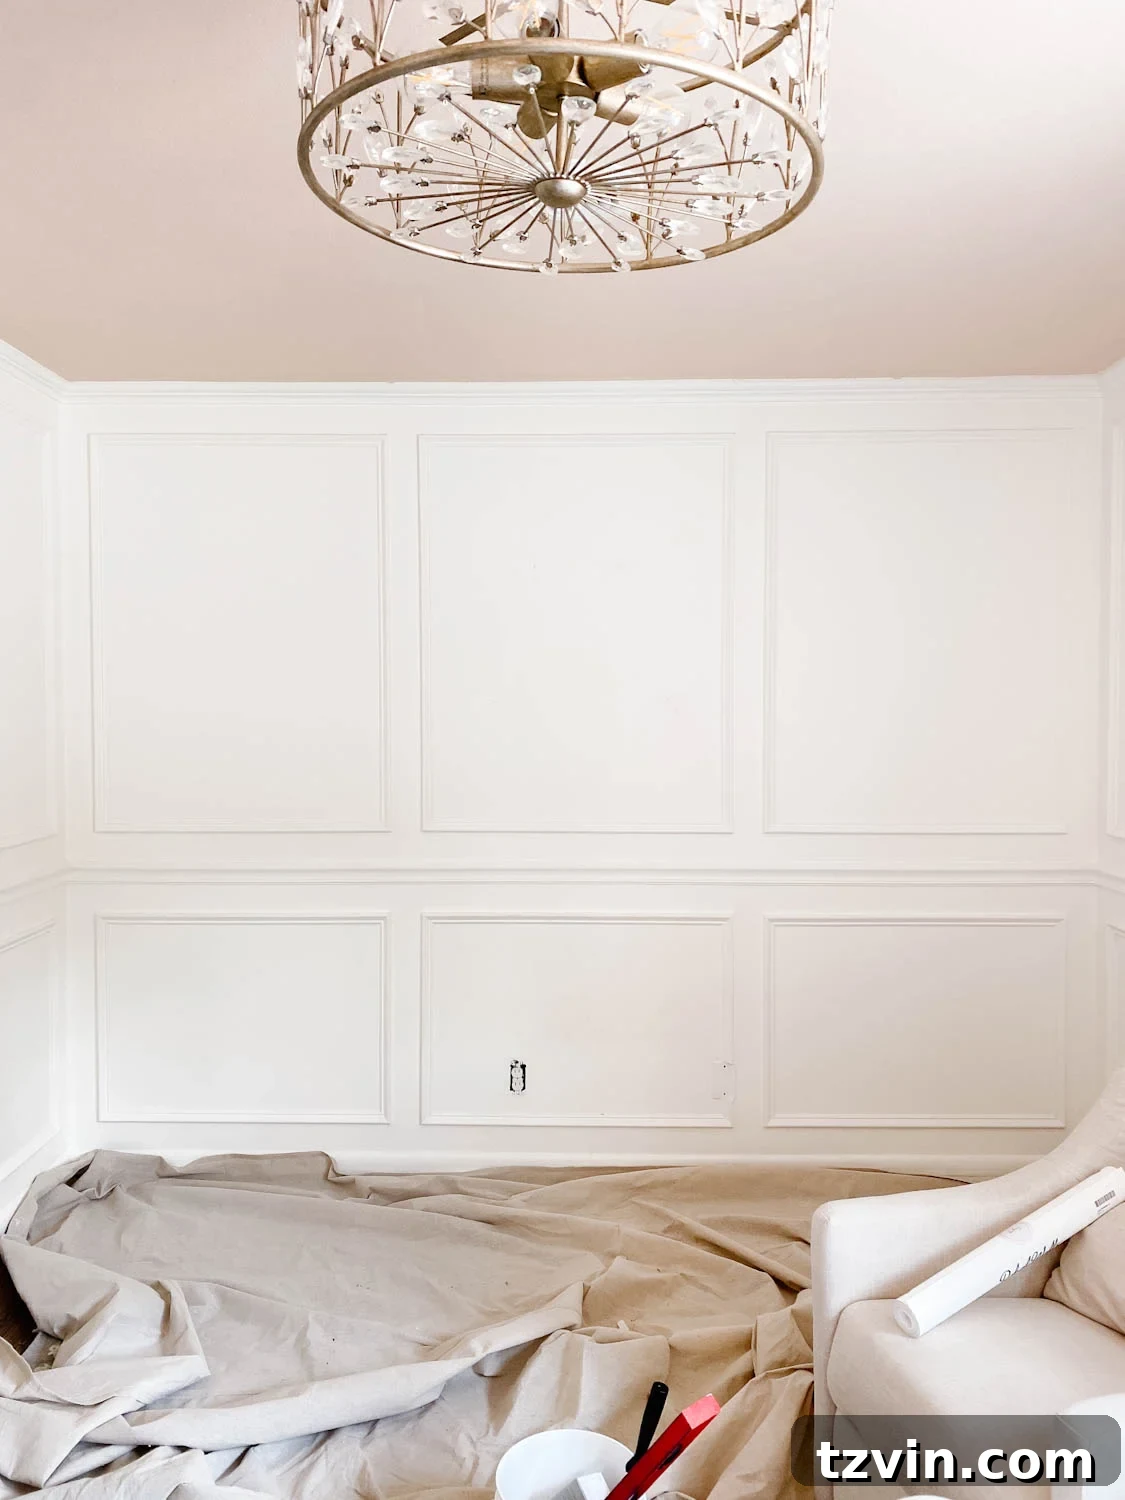
Long before Regan made her grand entrance, when her nursery was just a blank canvas, we meticulously installed classic picture frame molding and painted the entire room a crisp Magnolia Home True White. The vision was clear: to create a versatile foundation that would one day allow for the addition of vibrant colors and intricate patterns, reflecting her unique personality as she grew. That day has finally arrived!
To infuse a fresh burst of color, we recently painted the ceiling with Romabio Barefoot Dance from our curated color collection. This soft blush tone beautifully complements the serene backdrop, adding a subtle warmth. (For more inspiration, you can explore other beloved blush paint colors that we recommend).
And for that much-anticipated pattern, we chose an exquisite chinoiserie wallpaper mural. Adorned with delicate flowers, graceful birds, and playful butterflies, its soft, elegant, and whimsical design feels perfectly tailored for a little girl’s room. This design choice breathes life into the space, inviting imagination and wonder.
The trend of installing wallpaper and murals within picture frame molding has seen a significant surge recently, and it’s easy to see why. This technique transforms wallpaper into framed artwork, adding depth, texture, and a bespoke feel to any room. Despite its growing popularity, this method retains a timeless, classic appeal that ensures it won’t quickly go out of style. I was eager to try this decorative approach myself, and to my delight, I completed this stunning focal wall in just about two hours. The cost for this particular mural, based on our wall’s dimensions, was $385, a worthy investment for such a dramatic and beautiful impact.
Mastering the Art: A Comprehensive Guide to Wallpapering Inside Picture Frame Molding
Transforming a plain wall into a captivating display with a wallpaper mural framed by molding is an achievable DIY project. This guide focuses on using unpasted wallpaper, which offers unique benefits for alignment and adjustment, making it an excellent choice for intricate installations like this. While peel-and-stick options are convenient, unpasted wallpaper typically provides more flexibility during application and a more durable, lasting finish. Be prepared for a slightly messier process, but the results are incredibly rewarding.
Essential Supplies for Your Wallpaper Mural Project
Before you begin, gather all your materials. Having everything at hand will ensure a smooth and efficient installation. Remember, this method is tailored for unpasted murals, so your adhesion process will differ if you’re working with pre-pasted or peel-and-stick varieties.
- Wallpaper or Mural of your choice: We opted for a beautiful chinoiserie wallpaper mural, specifically designed to fit within our framed space.
- Cellulose Sponge: Indispensable for wall preparation and cleaning up excess paste.
- Scissors: For rough cutting wallpaper lengths and making small snips.
- Pencil: For marking measurements and plumb lines on the wall.
- Level: Crucial for ensuring straight lines and perfect alignment.
- Plumb Line: A simple string tied to a heavy object (like your scissors) works perfectly for establishing a true vertical line.
- Utility Knife: Essential for precise trimming along molding edges.
- Pack of Sharp Blades: Change blades frequently for clean, crisp cuts and to prevent tearing. This is a game-changer for professional-looking results.
- Measuring Tape: For accurate measurements of your wall and wallpaper.
- Wallpaper Smoother (or Plastic Scraper): To remove air bubbles and press wallpaper firmly onto the wall.
- Empty Bucket: For mixing wallpaper paste.
- Wallpaper Paste: Ensure you have the correct type for unpasted wallpaper. Some murals come with their own paste mix, so always check first.
- Whisk: To thoroughly mix the wallpaper paste, ensuring a smooth, lump-free consistency.
- Large Bowl of Cold Water: For frequently rinsing your sponge and cleaning paste residue.
- Step Stool: To comfortably reach the upper sections of your picture frame molding.
- Metal Straight Edge: A metal trowel, ruler, or yardstick works perfectly to guide your utility knife for straight cuts against the molding.
- 1-2″ Angled Paint Brush: Ideal for applying paste precisely to corners and edges.
- Mini Paint Roller: For applying paste evenly over larger wall surfaces within the molding.
Detailed Installation Steps: Achieving a Flawless Wallpaper Mural Finish
Follow these steps carefully to ensure a beautiful and lasting result for your wallpaper mural within picture frame molding.
1. Prepare Your Surface: Clean and Ready
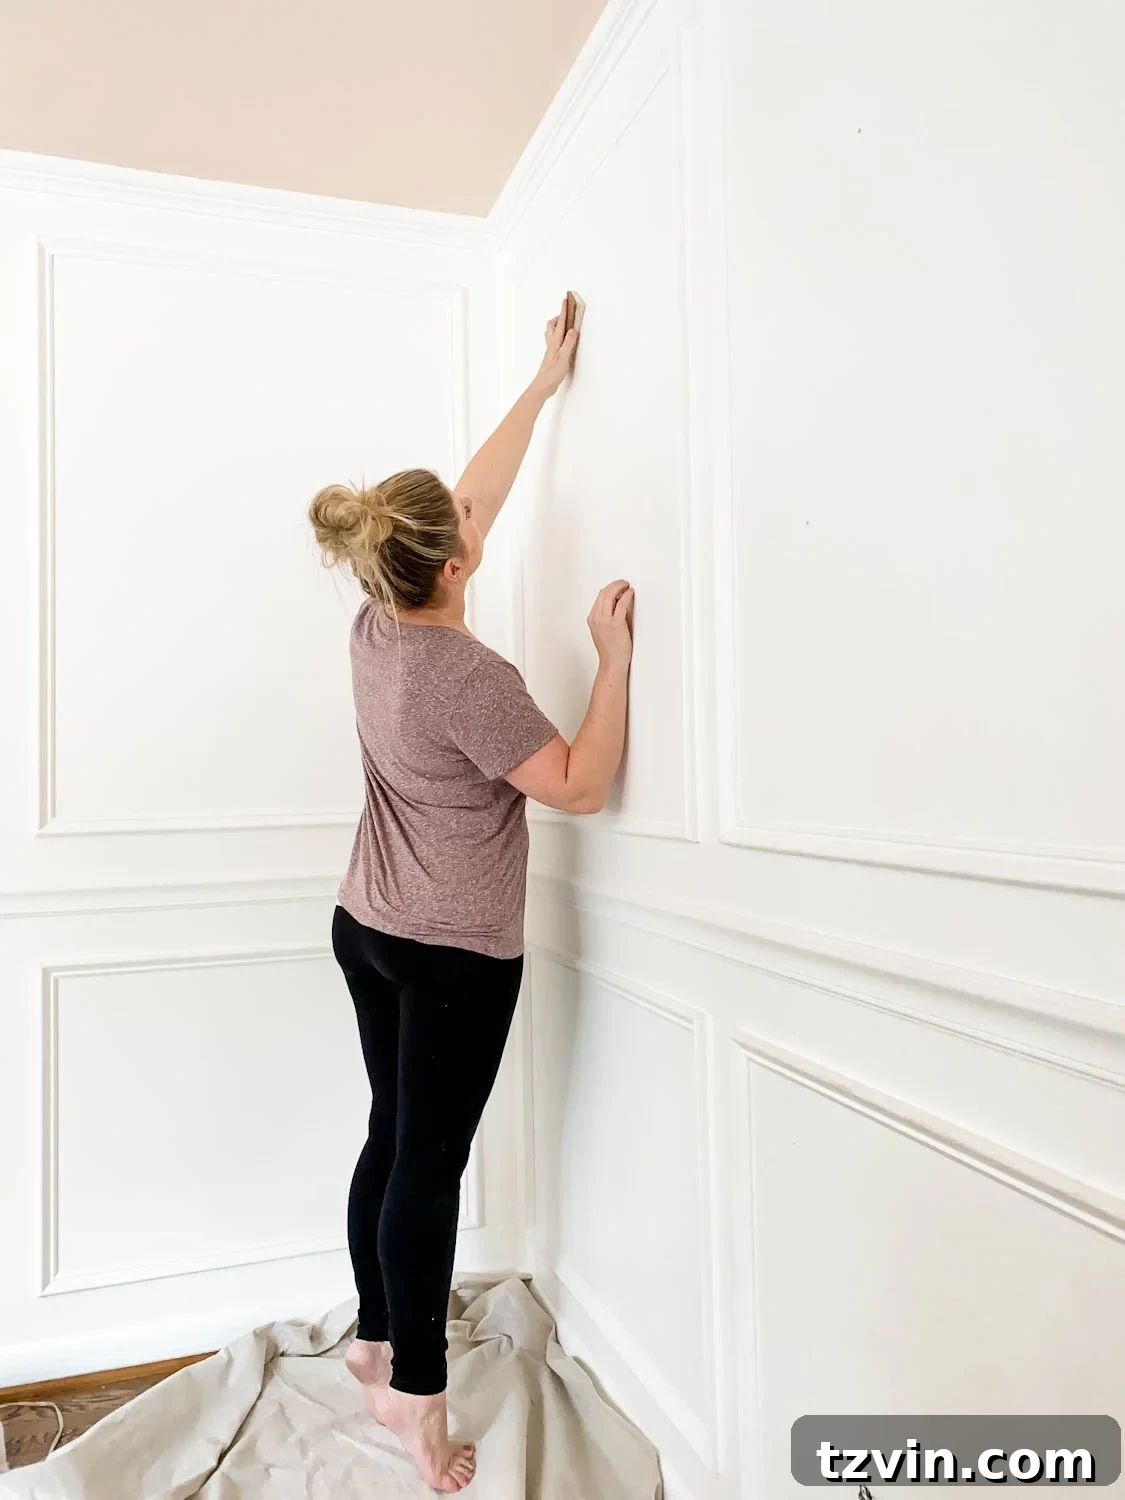
Begin by thoroughly wiping down the wall surface where you intend to apply the wallpaper. Use a damp cellulose sponge to remove any dust, grime, or residues that could interfere with paste adhesion. A clean, smooth surface is paramount for wallpaper to bond properly and prevent unsightly bumps or peeling. Pay special attention to the areas around the picture frame molding.
2. Mix Your Wallpaper Paste: Consistency is Key
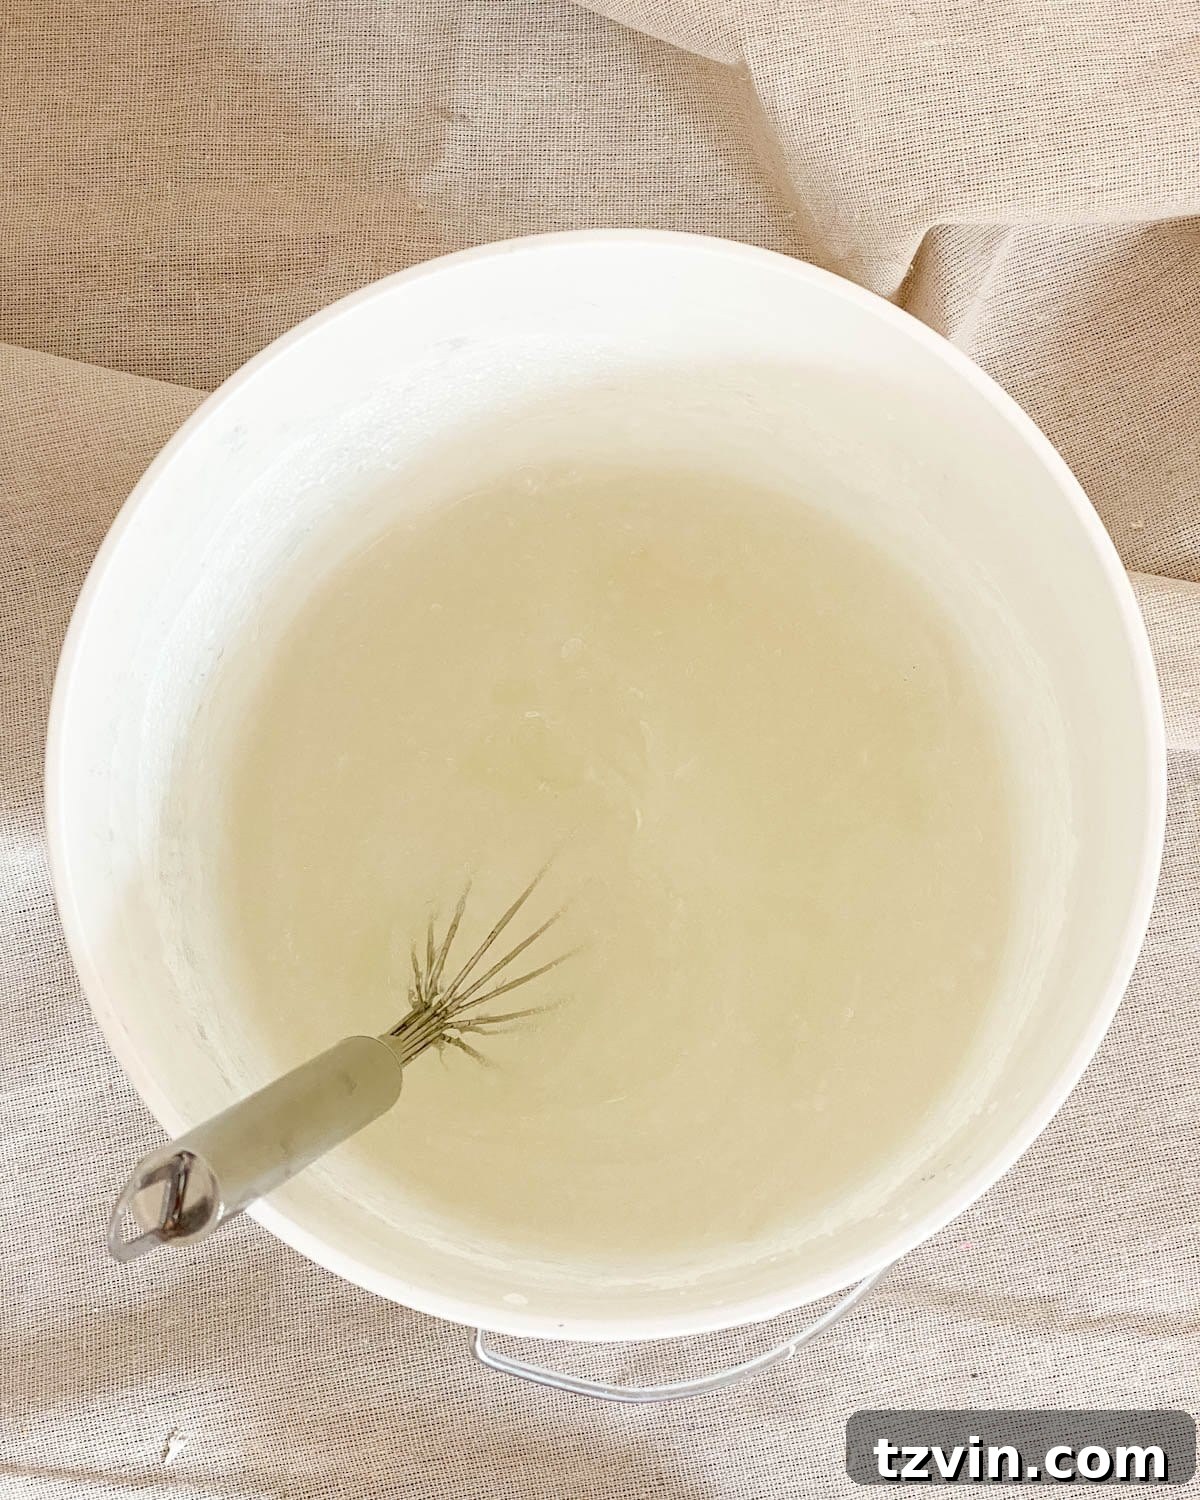
Carefully follow the instructions provided on your wallpaper paste container. For our project, the paste required mixing with 4 liters of cold water, brisk stirring for several minutes, and then allowing it to set for a specified period. This setting time allows the paste to thicken to the correct consistency, which is crucial for optimal adhesion and workability. Use a whisk to ensure there are no lumps.
3. Mark Your Starting Point: Precision First
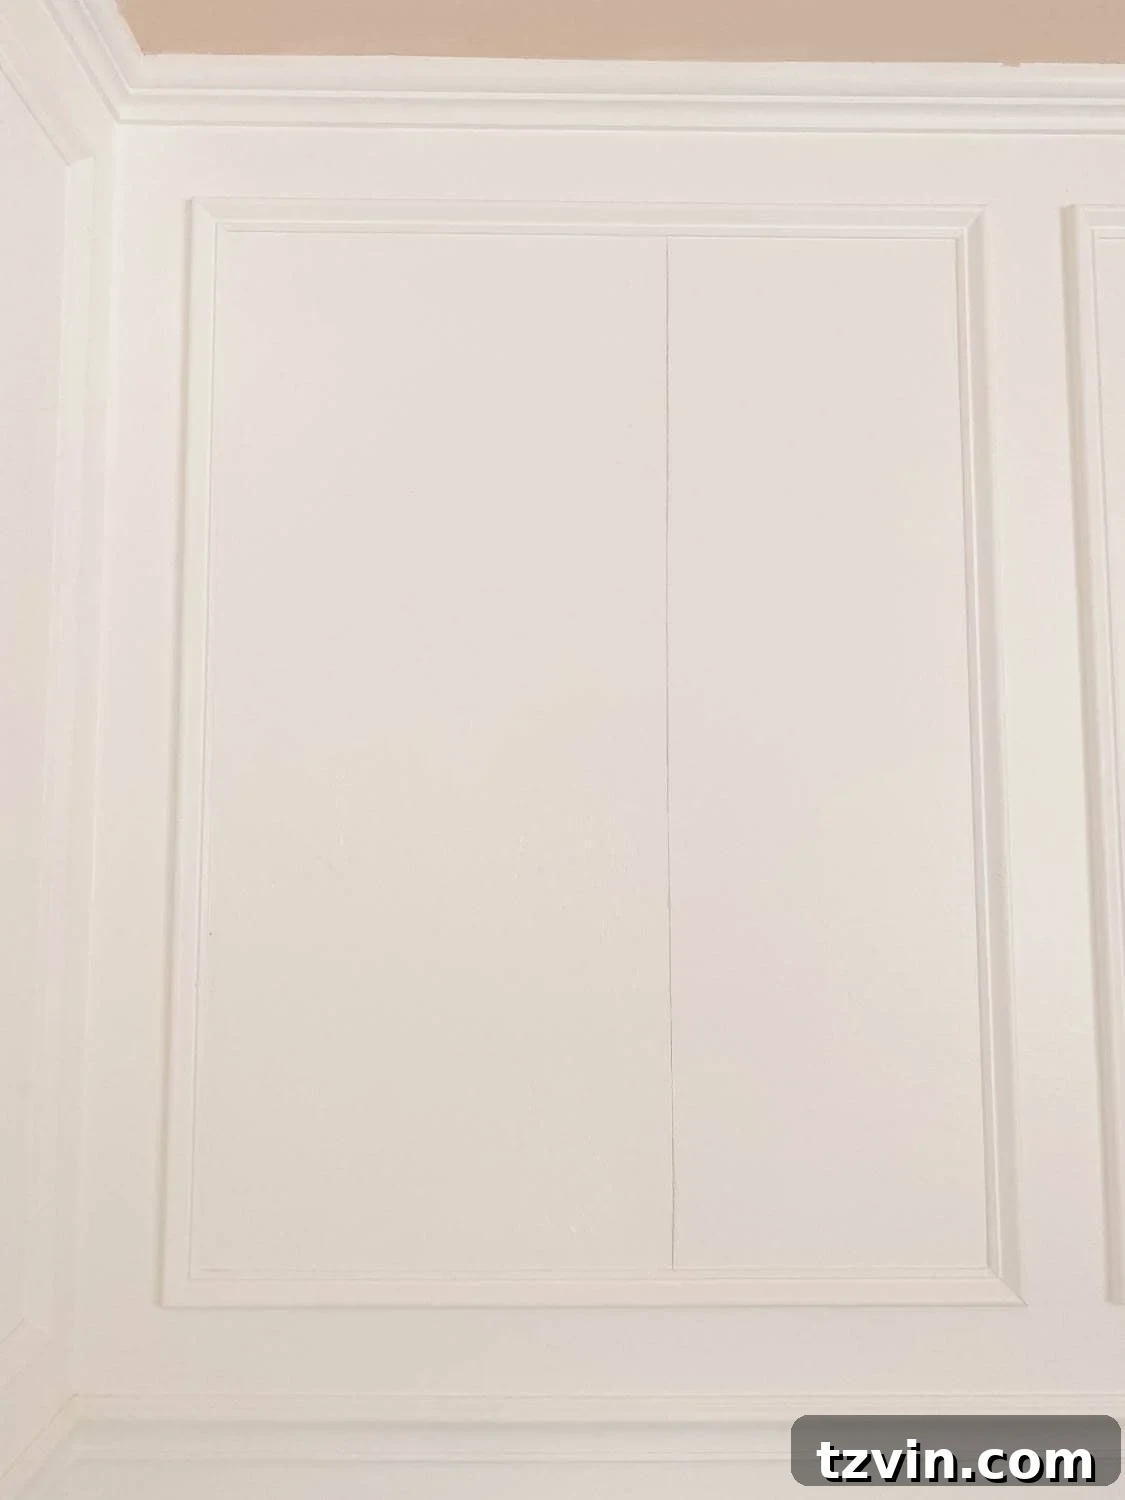
While your wallpaper paste is setting, turn your attention to the wall. Measure the exact width of your first wallpaper roll. Starting from the top inside edge of your picture frame molding rectangle, use your pencil to mark this measurement on the wall. This mark will serve as a guide for the vertical edge of your first strip.
4. Establish a Plumb Line: Ensure Vertical Alignment
Position your plumb line (a string with a weight) at the top pencil mark you just made, letting it hang freely. Once the line is perfectly still and vertical, make a corresponding pencil mark on the bottom molding where the plumb line touches. This creates a true vertical guide.
5. Draw Your Guideline: Straight and True
Using your level, connect the top and bottom pencil marks. Draw a light, straight line with your pencil. This line will be your starting guide for positioning the first wallpaper strip, ensuring that your mural is perfectly straight and level within the molding. These initial marking steps are fundamental for a professional-looking finish and prevent the design from appearing crooked.
6. Measure and Add Buffer: Account for Trimming
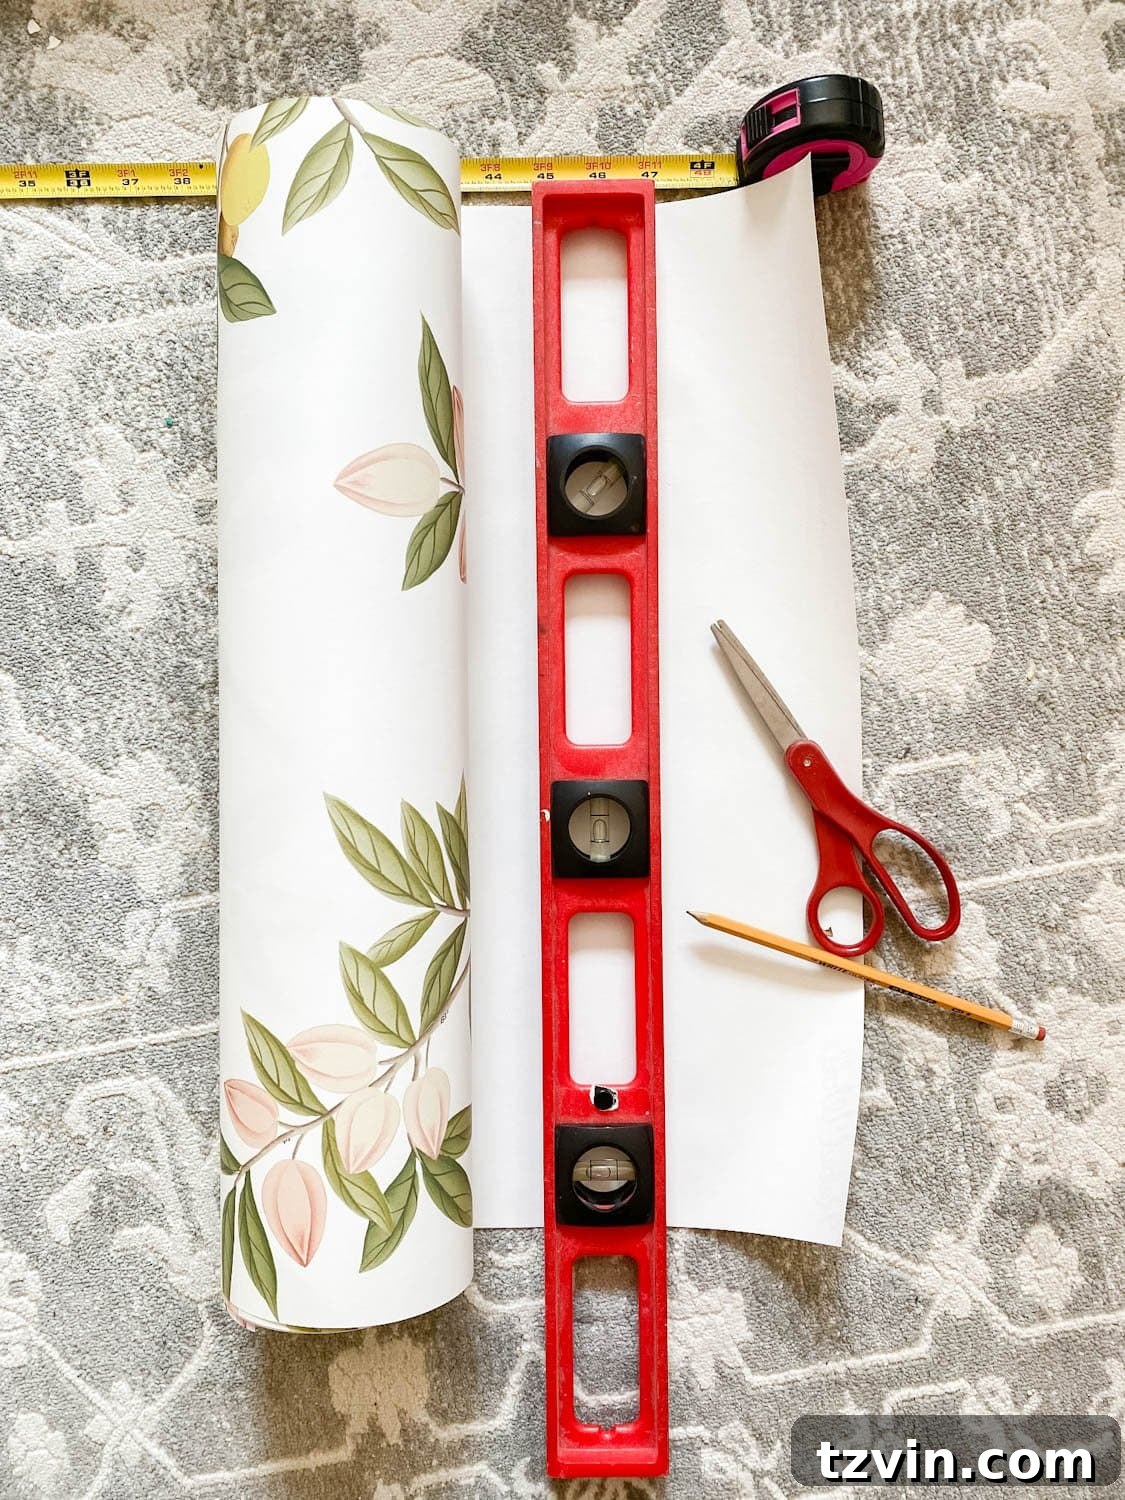
Measure the precise height of the interior of your first picture frame molding rectangle. To allow for trimming and minor adjustments, add approximately 3 inches to this measurement. This extra length ensures you have enough material to work with at both the top and bottom edges, guaranteeing a clean cut against the molding.
7. Cut Your First Wallpaper Strip: Prepare for Application
Using the measurement from Step 6, carefully measure, mark, and cut your first length of wallpaper. Lay the wallpaper flat on a clean surface for this step, using your measuring tape and scissors for accuracy. If your mural has a repeating pattern, ensure you cut at a point that allows for seamless alignment with subsequent strips, often indicated by the manufacturer.
8. Apply Paste to Edges and Corners: The Angled Brush Advantage
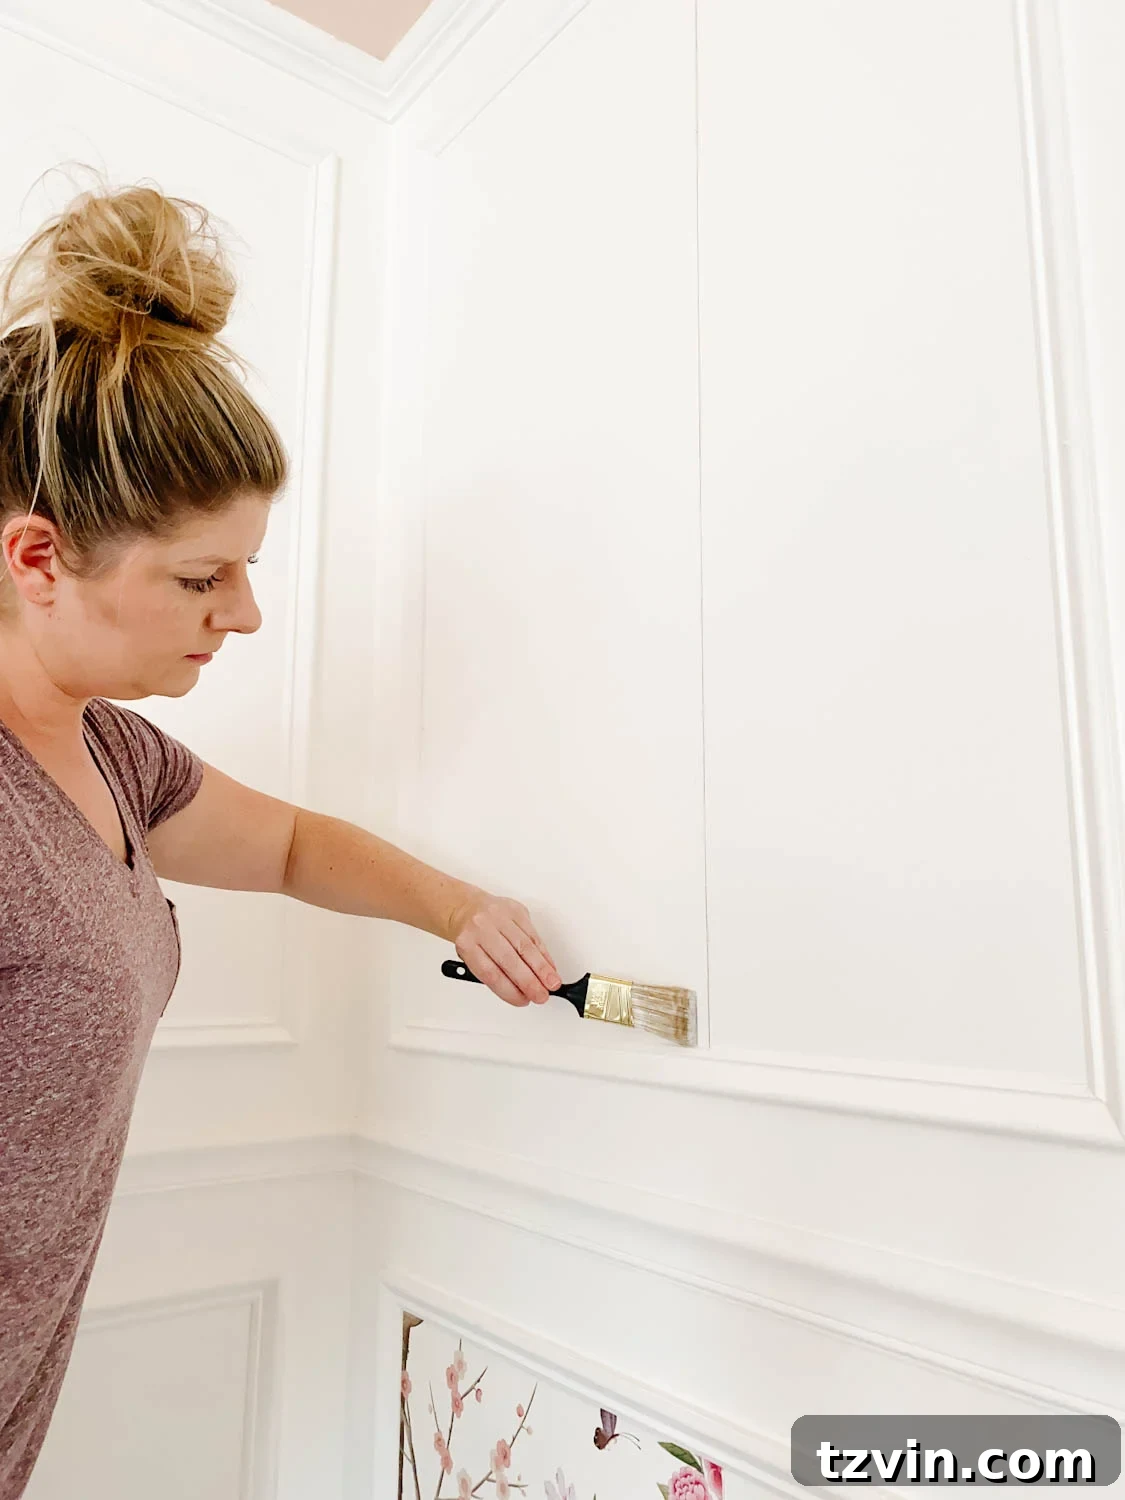
Begin applying wallpaper paste directly to the wall. Use your 1-2″ angled paintbrush to carefully apply paste along the inside edges and corners of the picture frame molding. This brush allows for precise application, ensuring full coverage without getting excess paste on the molding itself. These areas are critical for preventing lifting later.
9. Roll Paste on the Main Surface: Even Coverage
Once the edges are pasted, use your mini paint roller to apply a thin, even layer of paste over the remaining surface area where your first wallpaper strip will be placed. Ensure the entire area is covered consistently. A uniform layer of paste helps the wallpaper adhere smoothly and allows for optimal repositioning. Avoid applying too much paste, as this can lead to bubbles or squeeze-out.
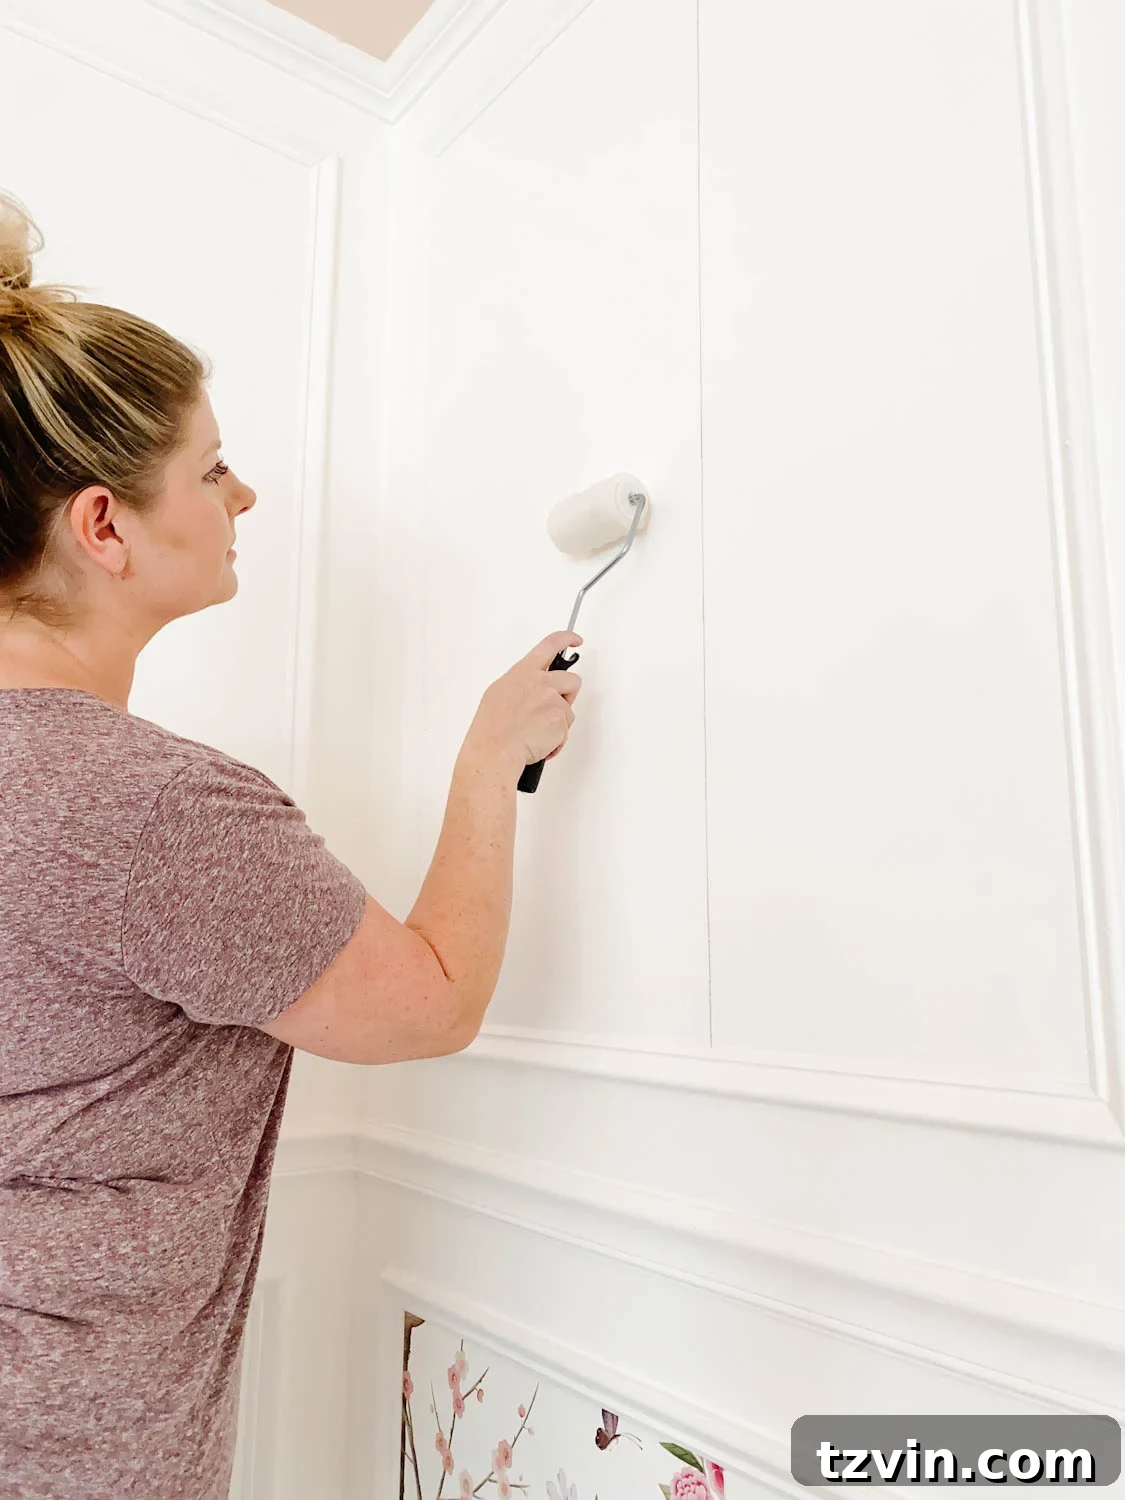
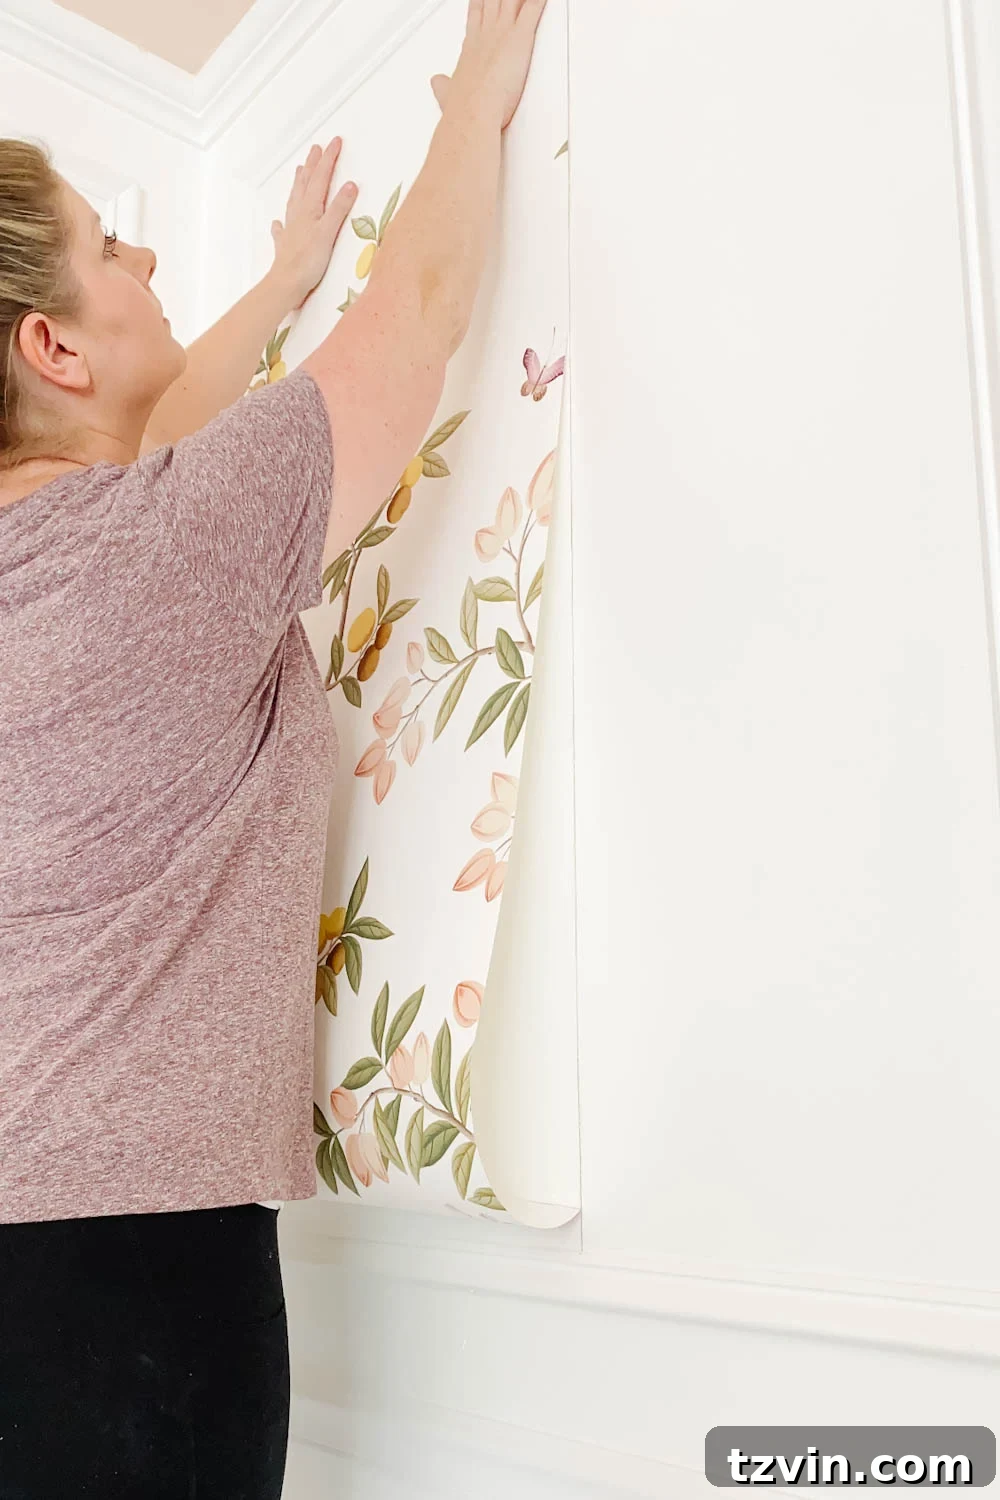
10. Hang Your Wallpaper Strip: The Forgiving Nature of Unpasted
Carefully align the top edge of your wallpaper strip with the top of the picture frame molding, overlapping slightly as per your extra 3-inch allowance. Press the wallpaper onto the pasted wall, aligning its side edge with your plumb line. One of the greatest advantages of unpasted wallpaper is its “forgiveness.” The wet paste allows you to gently slide and adjust the wallpaper strip into its perfect position until it’s perfectly straight and aligned, making pattern matching much easier.
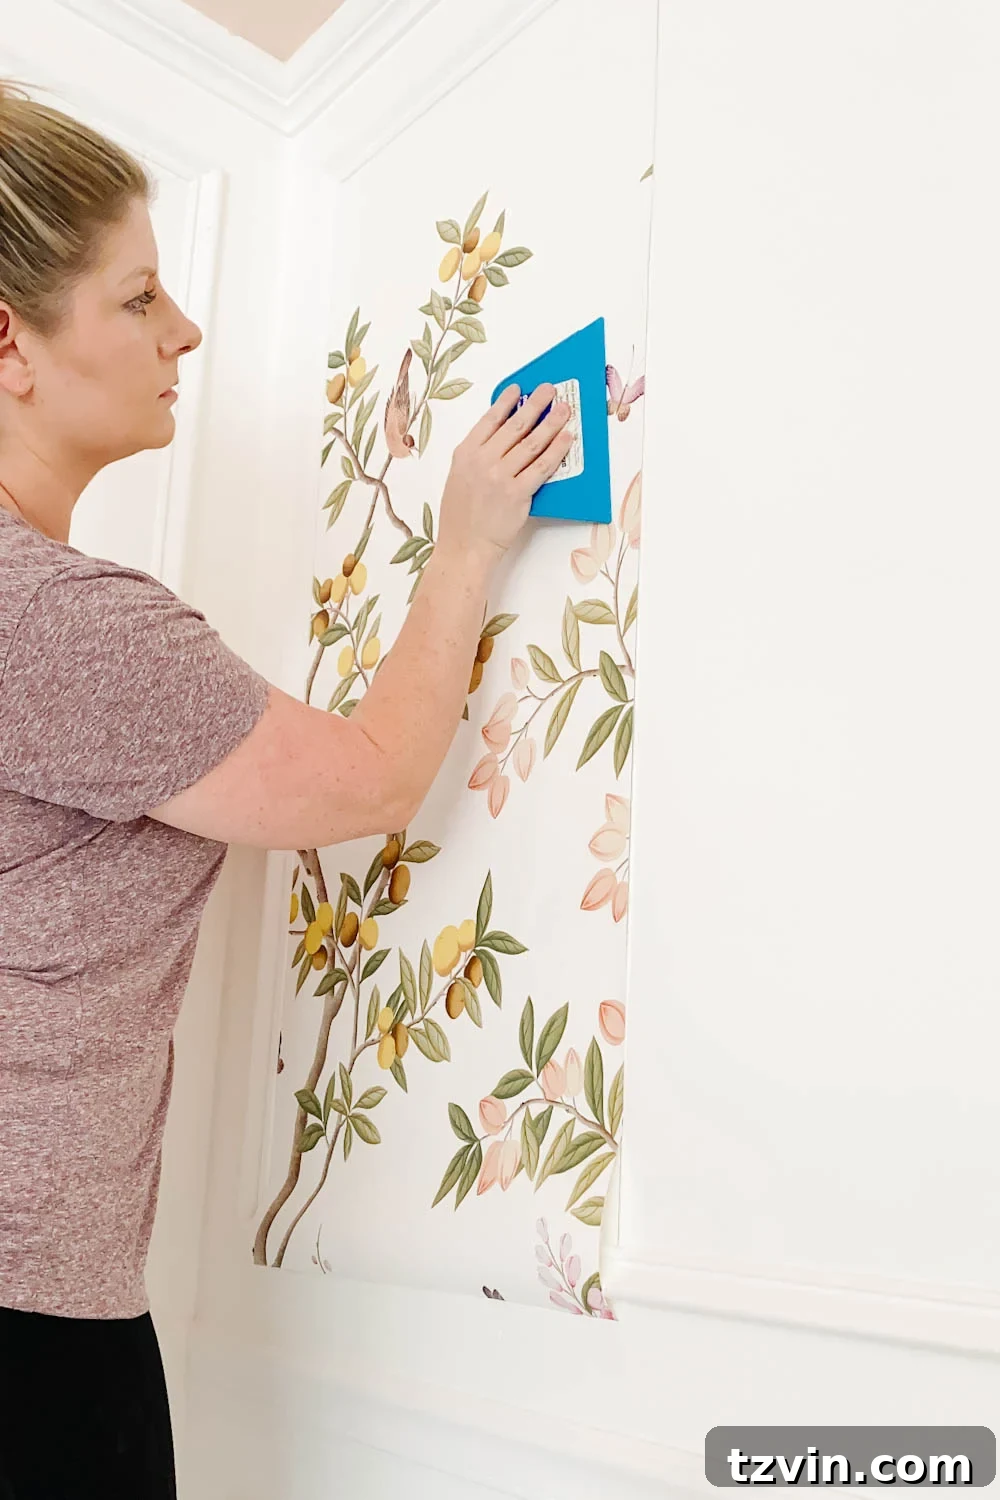
11. Smooth Out Air Bubbles: Achieve a Flawless Surface
Once the wallpaper is in position, use your wallpaper smoother to gently work out any air bubbles. Start from the center of the strip and move outwards towards the edges, applying firm but not excessive pressure. This technique pushes trapped air out and ensures full contact between the wallpaper and the pasted wall, creating a smooth, professional finish.
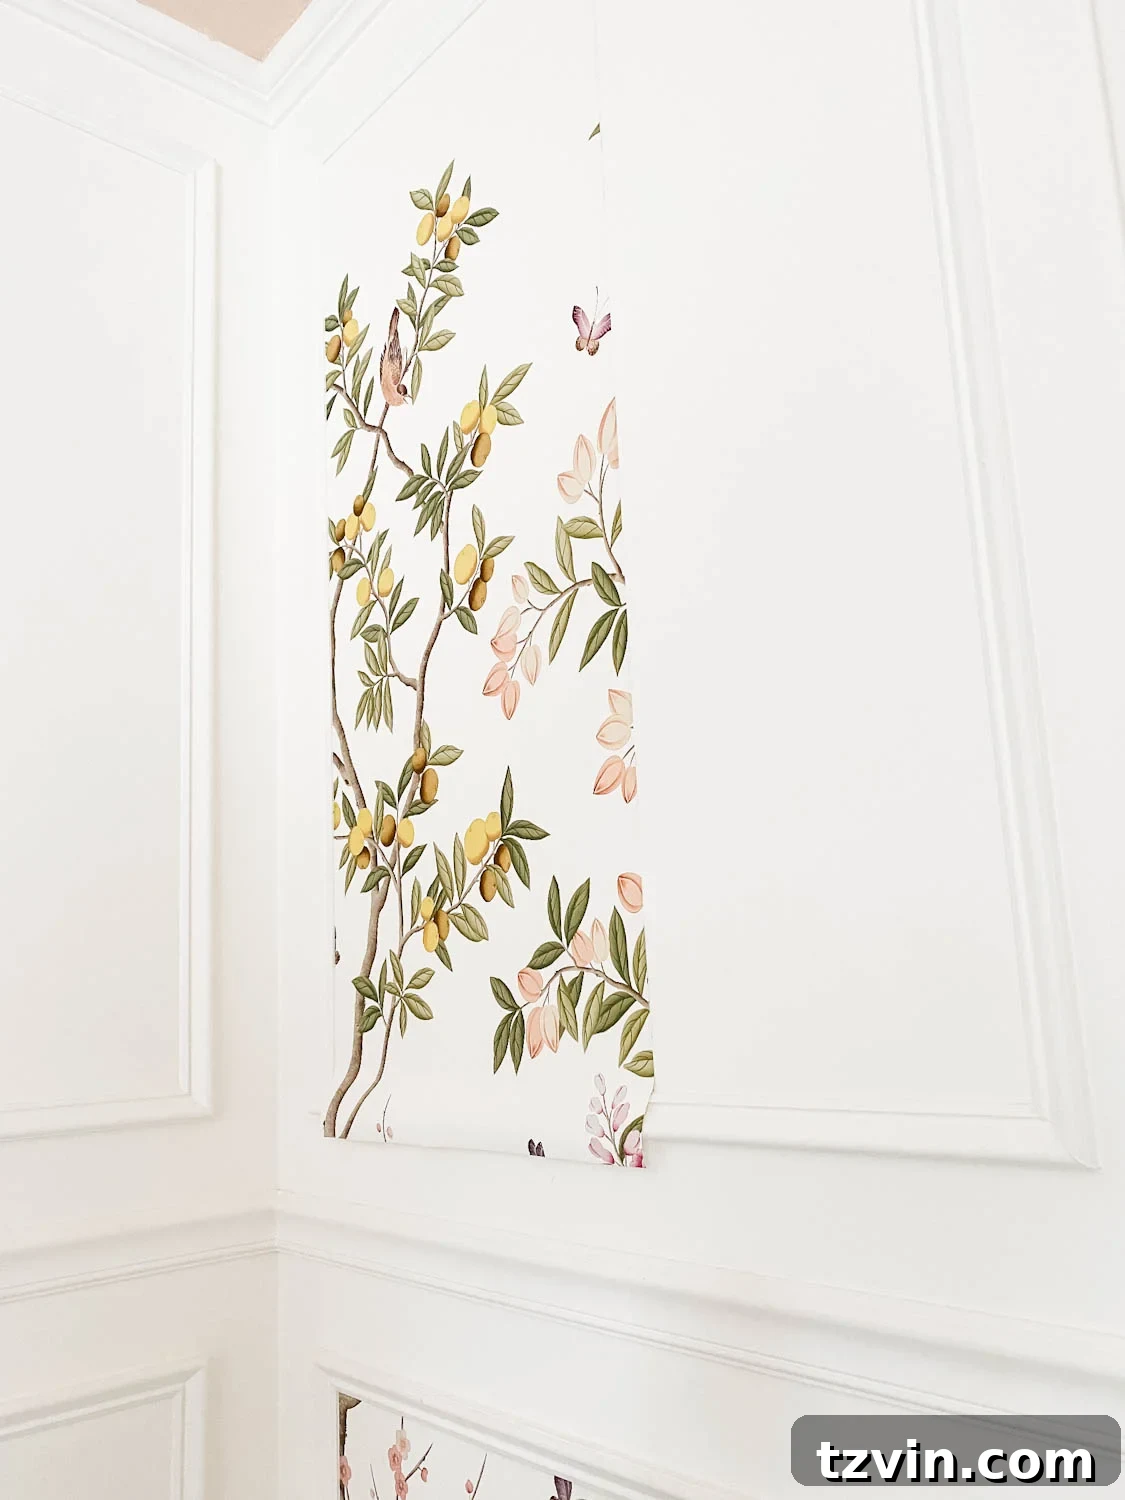
12. Prepare for Trimming: The Overhang
After smoothing, you should observe a small overhang of wallpaper, roughly 1-2 inches, extending beyond the top and bottom edges of your picture frame molding. This overhang is intentional and provides the necessary allowance for precise trimming.
13. Trim Excess Wallpaper: Crisp Edges
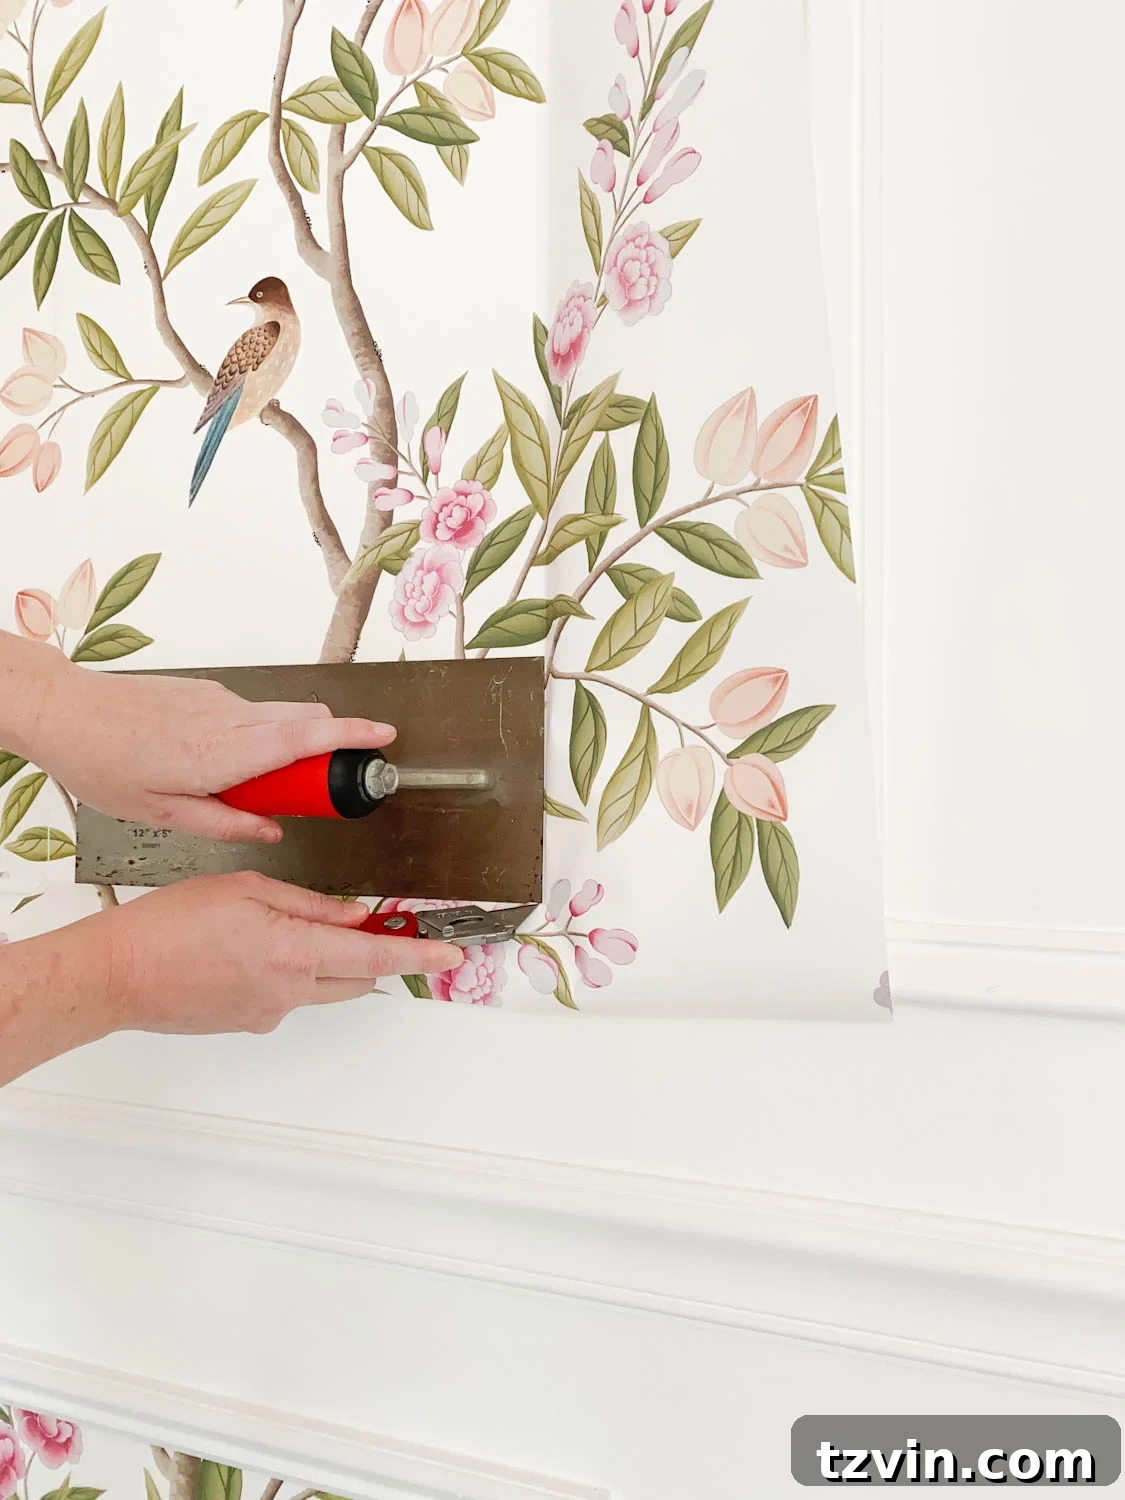
This step requires a steady hand and a sharp utility knife. Position your metal straight edge (a trowel, ruler, or yardstick works well) firmly against the inside edge of your picture frame molding. Press the wallpaper firmly against the molding and carefully cut away the excess material with your utility knife. Make sure your blade is always sharp; dull blades can tear the wallpaper. Change blades frequently (after every strip or two) to maintain clean, crisp lines, which are essential for a professional look.
14. Clean Up Excess Paste: A Spotless Finish
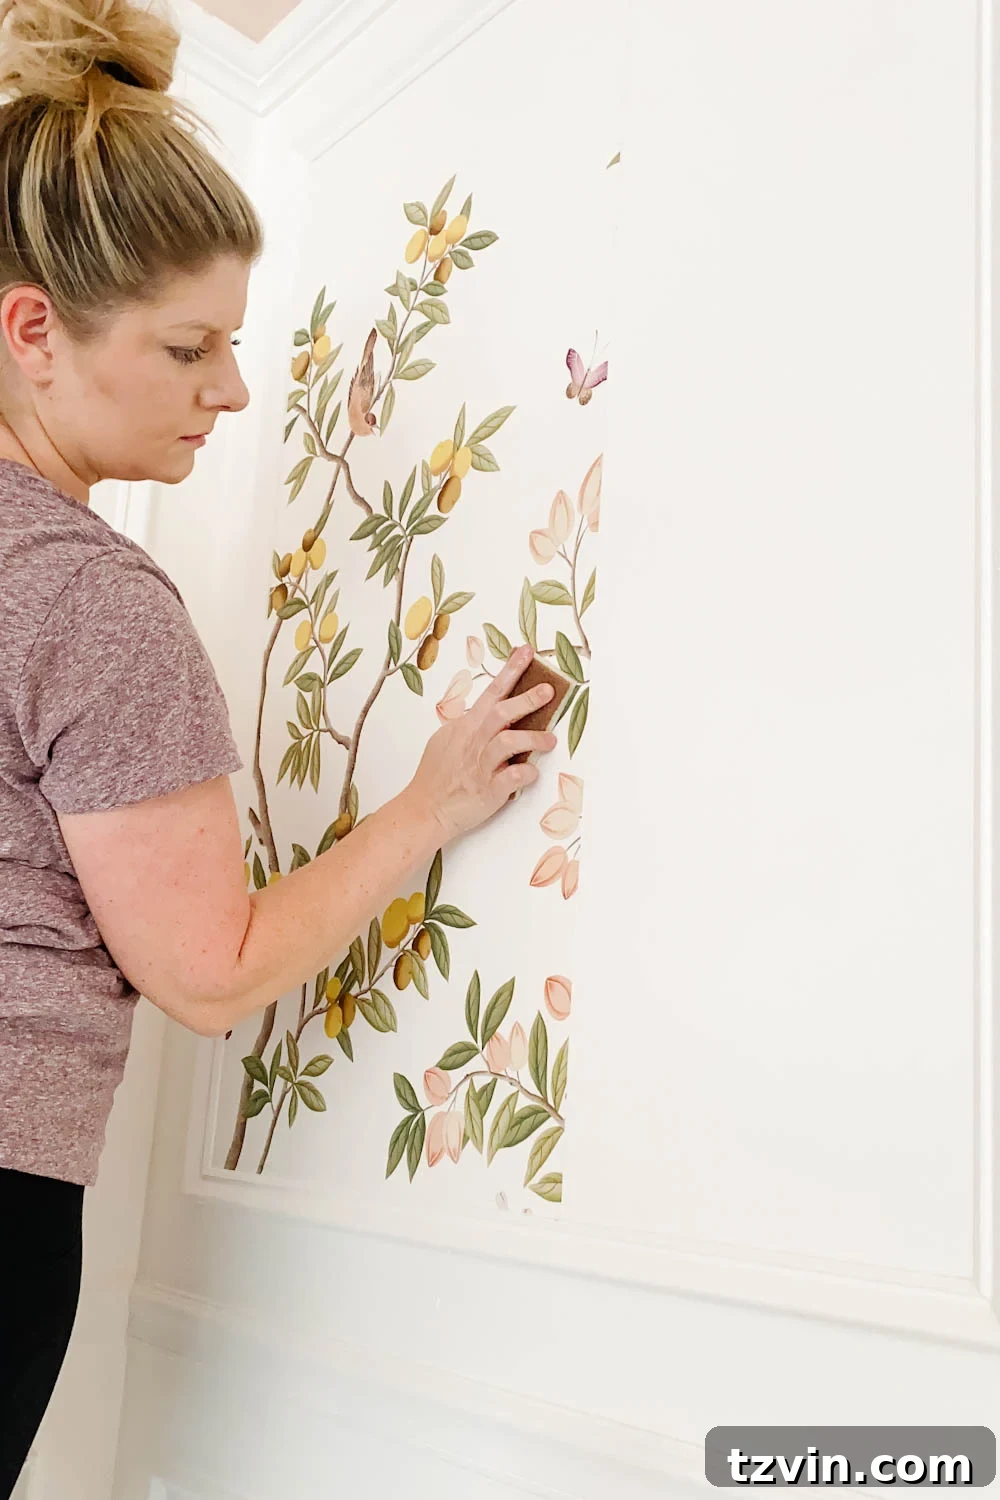
Immediately after trimming, take your damp sponge (dipping it in your bowl of cold water and wringing it out frequently) and gently wipe away any excess paste that may have squeezed out onto the wallpaper or molding. This prevents paste from drying and leaving a visible residue, ensuring a clean and polished appearance. Be thorough but gentle to avoid damaging the wallpaper.
15. Repeat for Remaining Strips: Consistency and Patience
Continue applying subsequent wallpaper strips by repeating Steps 6-14. For each new section of picture frame molding, it’s crucial to revisit Steps 3-5 to establish new plumb lines and starting guides. This ensures every framed section of your mural is perfectly aligned and visually cohesive. Take your time, maintain consistency, and remember that patience is key for a truly stunning result.
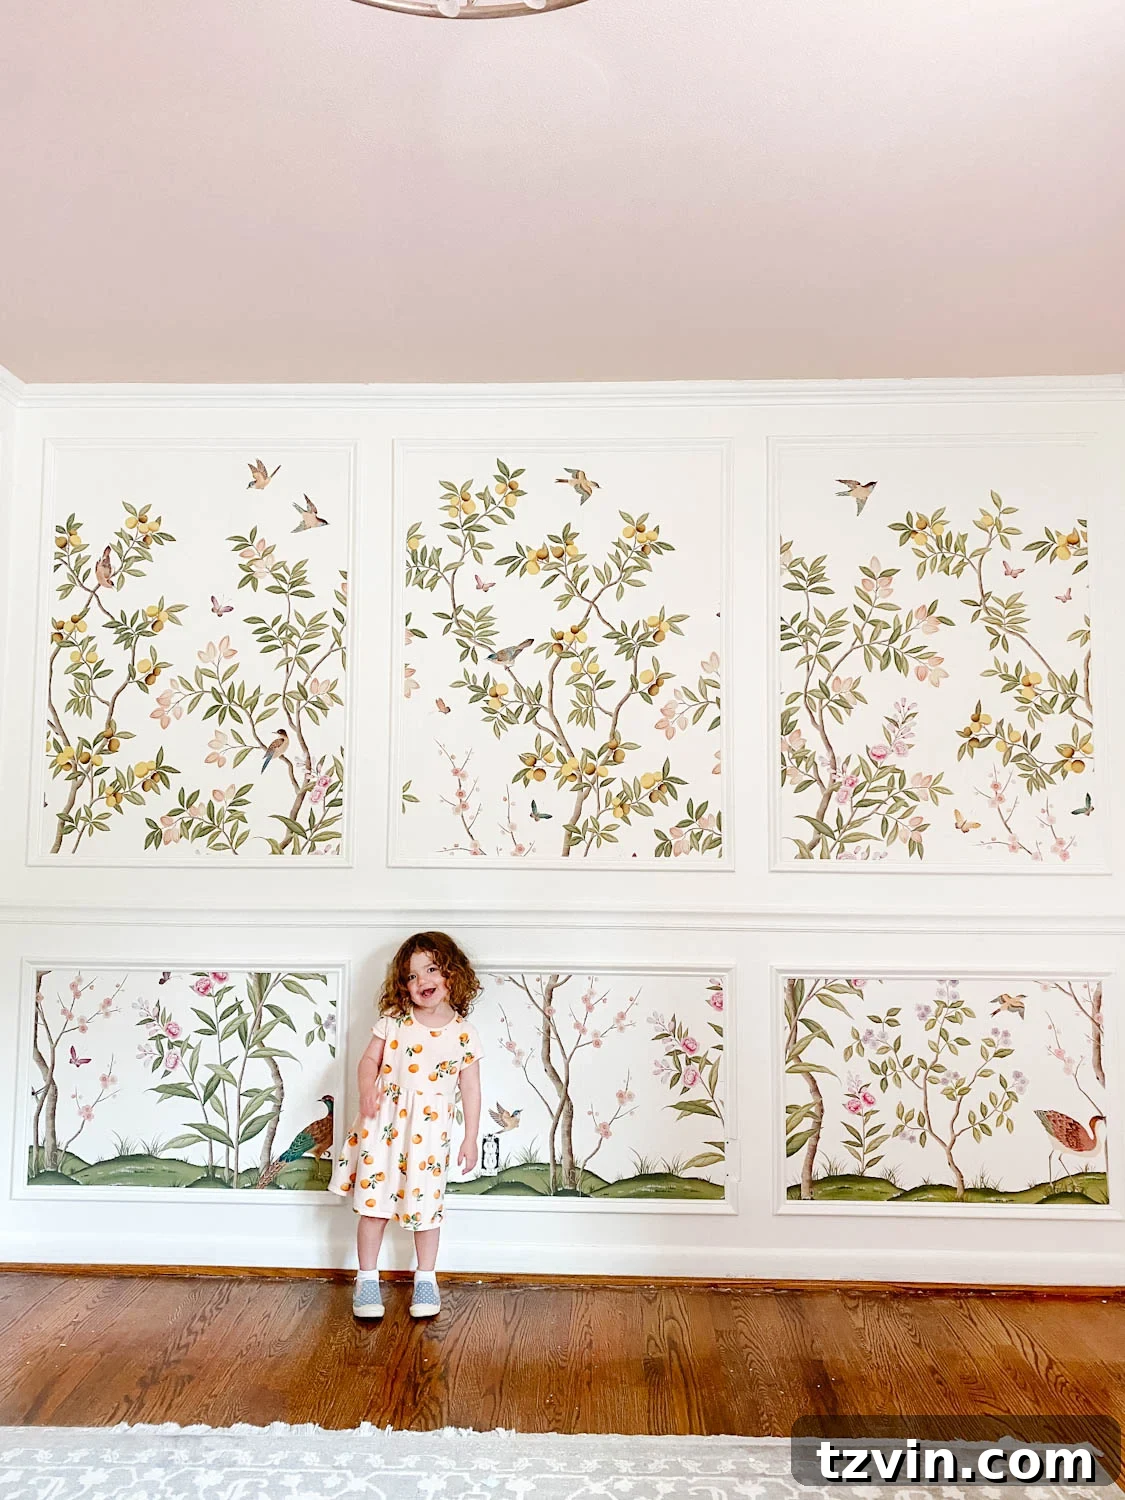
The transformation is truly remarkable! Seeing Regan’s reaction to her new wallpaper mural was the most heartwarming part of this entire project. Her excited smile truly made every step worth it. This little room has gone from a sweet nursery to a whimsical big girl room in the blink of an eye, and the wallpaper mural plays a central role in this magical transition.
With just one more night in her crib, we’re eagerly anticipating the swap to a proper big girl bed, completing her room’s evolution. It feels as if this specific wallpaper mural was destined for this space; its delicate charm and intricate details add an immeasurable amount of character and warmth to the room.
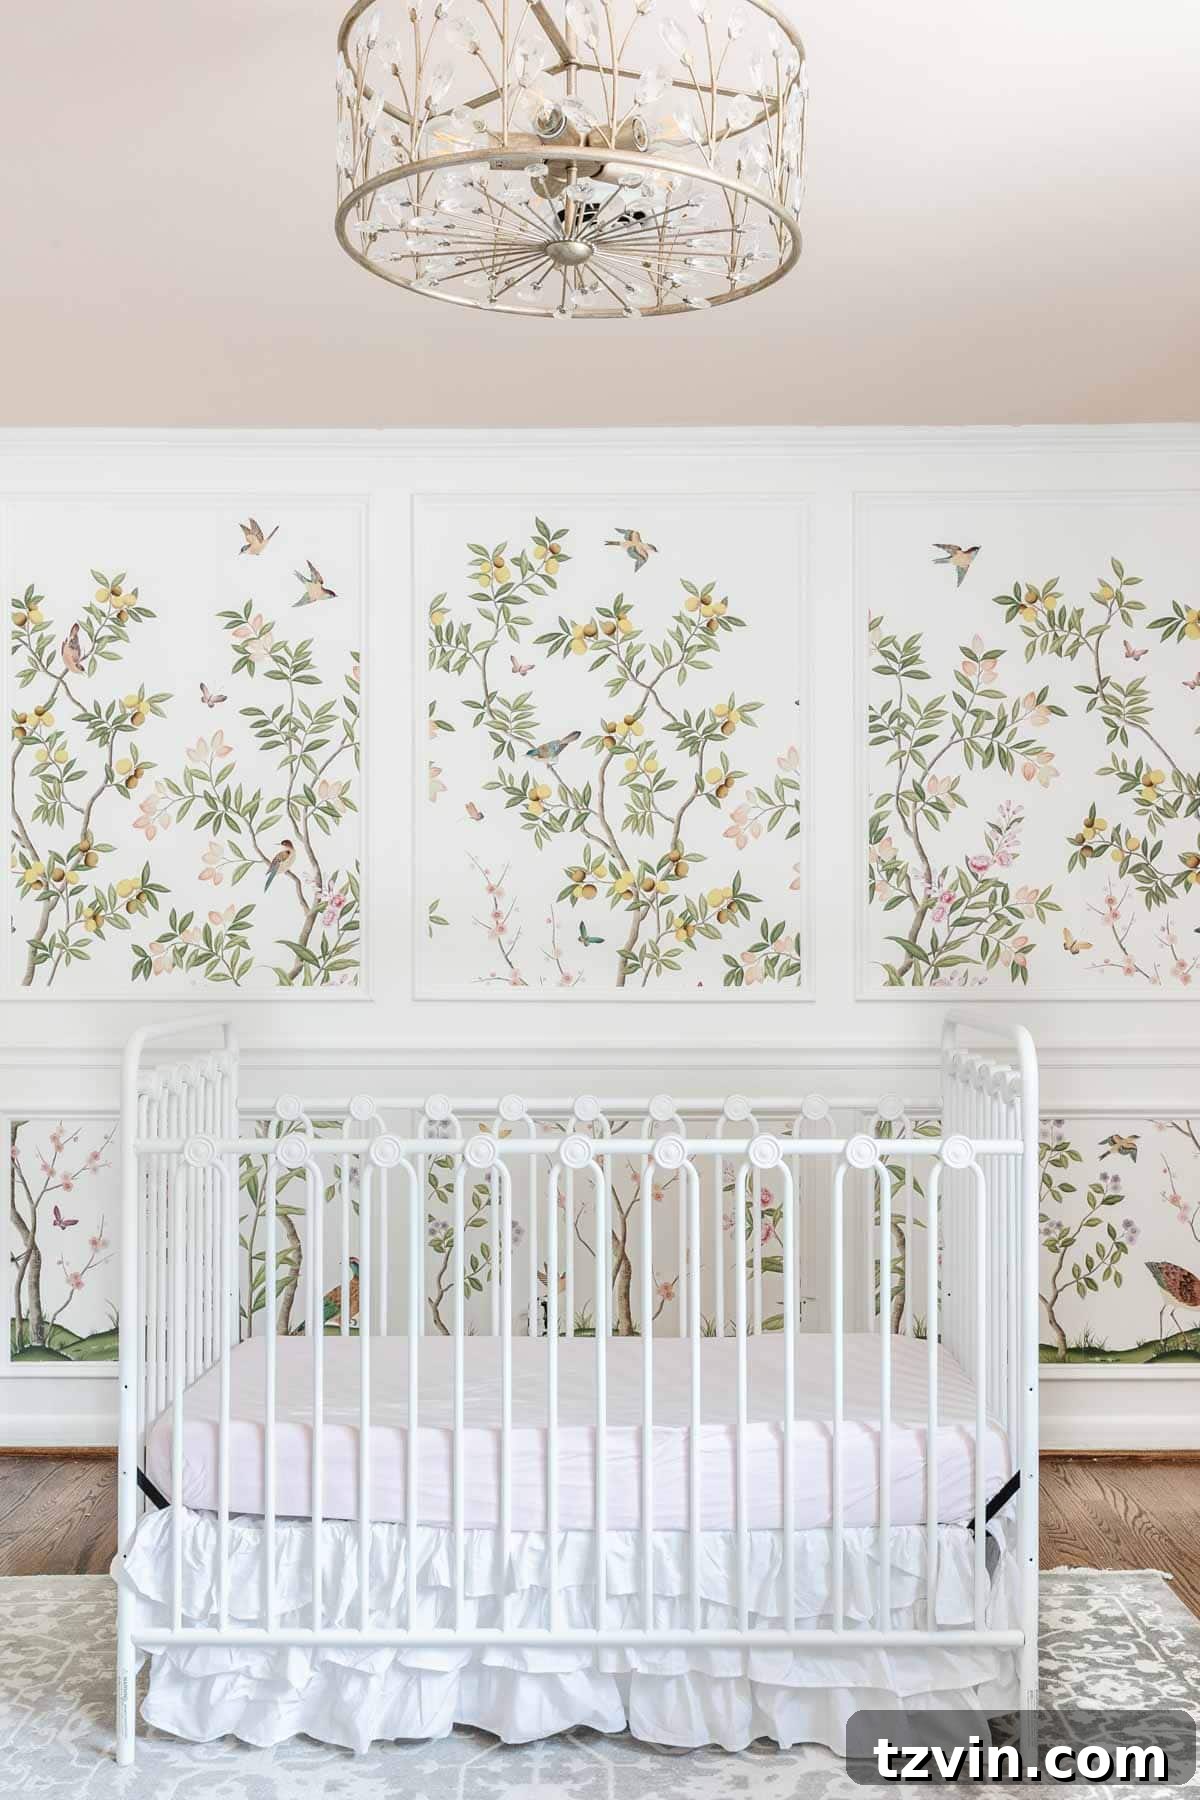
Shop the Look: Chinoiserie Wallpaper | Light Fixture | Crib | Crib Skirt | Rug
We’re already dreaming up our next wallpaper mural project for our dining room, so stay tuned for another exciting transformation. Have you ever tackled a wallpaper installation before? It’s often perceived as a daunting task, but I find that once you get into the rhythm and understand the steps, it’s incredibly rewarding. The immediate impact it has on a room is truly unparalleled, and mastering the technique is quicker than you might think.
Don’t let the idea of wallpapering intimidate you. With the right tools and a clear guide, it’s a perfectly achievable DIY project that can dramatically enhance your home’s aesthetic. Give it a try – you might just surprise yourself with the beautiful results!
If you found this guide helpful and want to revisit it later, feel free to pin it for future reference:

Explore More Home Decor & Wallpaper Guides
Looking for more inspiration or practical advice for your next home project? Check out these related articles:
- Classic Decor Spotlight: Scenic Wall Mural Wallpaper
- Beginner’s Guide to Hanging Wallpaper
- The Best Modern Farmhouse Wallpaper Designs on a Budget
- Splurge vs Save Wallpaper Dupes
- 8 DIY-able Wall Molding Ideas to Add Character to Your Home