
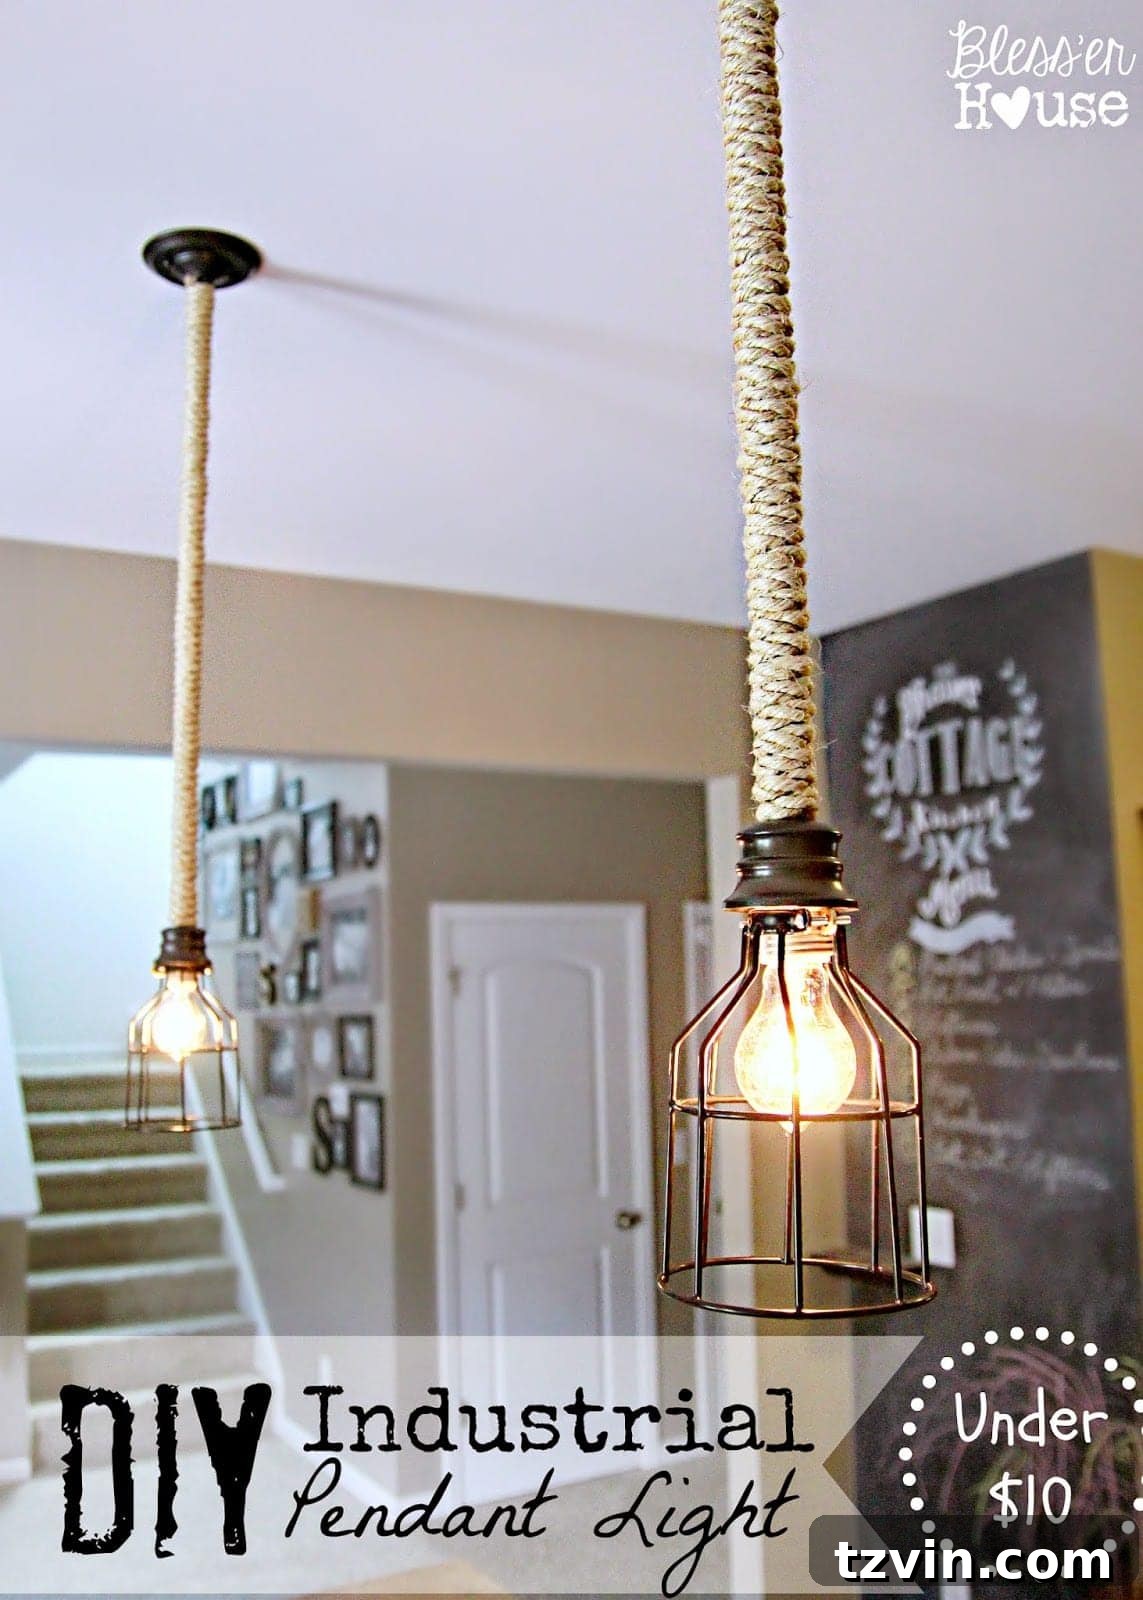
Transform Your Kitchen: DIY Industrial Mini Pendant Light Makeover on a Budget
Welcome, fellow DIY enthusiasts! Today, we’re diving into a project that promises significant style impact without the hefty price tag. If you’ve ever felt that your builder-grade light fixtures lack personality, you’re not alone. Many homes come equipped with standard, uninspired lighting that leaves much to be desired. My mission, and perhaps yours too, is to infuse every corner of our home with unique character, starting with those often-overlooked lighting elements.
While simple lighting has its place, my personal style blends elements of farmhouse charm, French country elegance, and rugged industrial appeal. This eclectic mix allows for a home that feels curated and lived-in, not just decorated. If you find yourself navigating a similar style journey – perhaps inspired by the endless scroll of Pinterest – then you’ll appreciate today’s project. We’re taking a humble builder-grade mini pendant light and giving it a complete industrial-style overhaul. This isn’t a groundbreaking concept in the DIY world, but achieving a high-end look on a budget is always exhilarating!
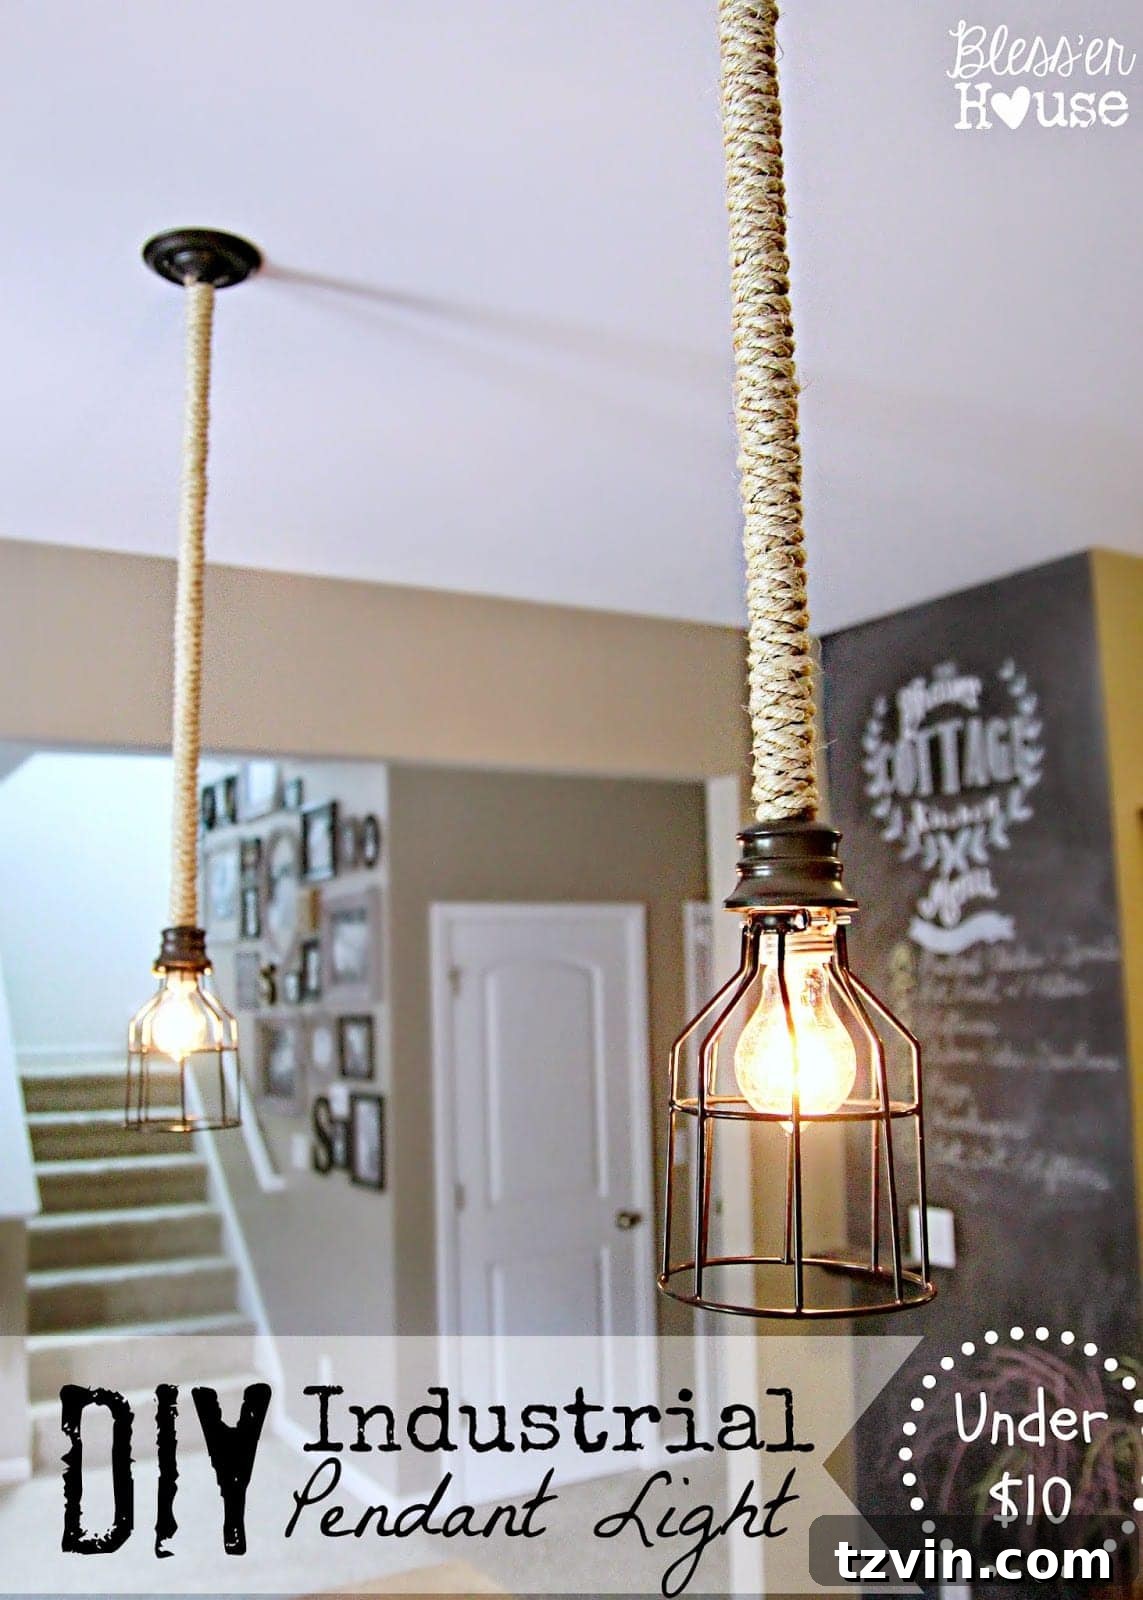
With a few leftover materials from previous projects and a strong desire to tackle the remaining four light fixtures in our kitchen, I decided to focus on our bar pendant lights. The best part? This transformation was incredibly straightforward and won’t require advanced DIY skills. It’s the perfect project for adding a touch of custom flair to your kitchen or any space needing an inexpensive style boost.
Gather Your Materials: What You’ll Need for Your Industrial Pendant Light
One of the most appealing aspects of this DIY project is its affordability. By utilizing some items you might already have or sourcing them economically, you can achieve a sophisticated industrial look for a fraction of the cost of store-bought alternatives. For two fixtures, my total expenditure was less than $10 per light, proving that impactful home improvements don’t have to break the bank.
Materials List:
- Builder-grade mini pendant light fixture: This is our blank canvas. Look for simple, unadorned fixtures that are common in new constructions.
- Oil rubbed bronze spray paint (e.g., Rustoleum Oil Rubbed Bronze spray paint and primer): This specific finish is key to achieving that rich, aged industrial aesthetic. The primer ensures excellent adhesion and durability.
- Sisal rope – 3/8 inch: The natural texture of sisal rope instantly adds a rustic, tactile dimension. The 3/8-inch thickness provides good coverage and a substantial feel. You can find this at hardware stores or craft stores.
- High-temp hot glue gun and glue sticks: Essential for securely attaching the sisal rope. A high-temp gun provides a stronger bond, crucial for longevity.
- Metal lamp guard (black) (affiliate): These cage-like covers are the quintessential industrial detail, protecting the bulb while adding a robust visual element.
The Transformation Process: Step-by-Step Guide to Your DIY Industrial Pendant
Before we dive into the details, let’s take a moment to appreciate the “before.” Our existing mini pendant lights were perfectly functional—nice, simple, and clean. However, they lacked the distinct character and warmth that truly makes a house feel like home. This project is all about taking something generic and infusing it with personal style.
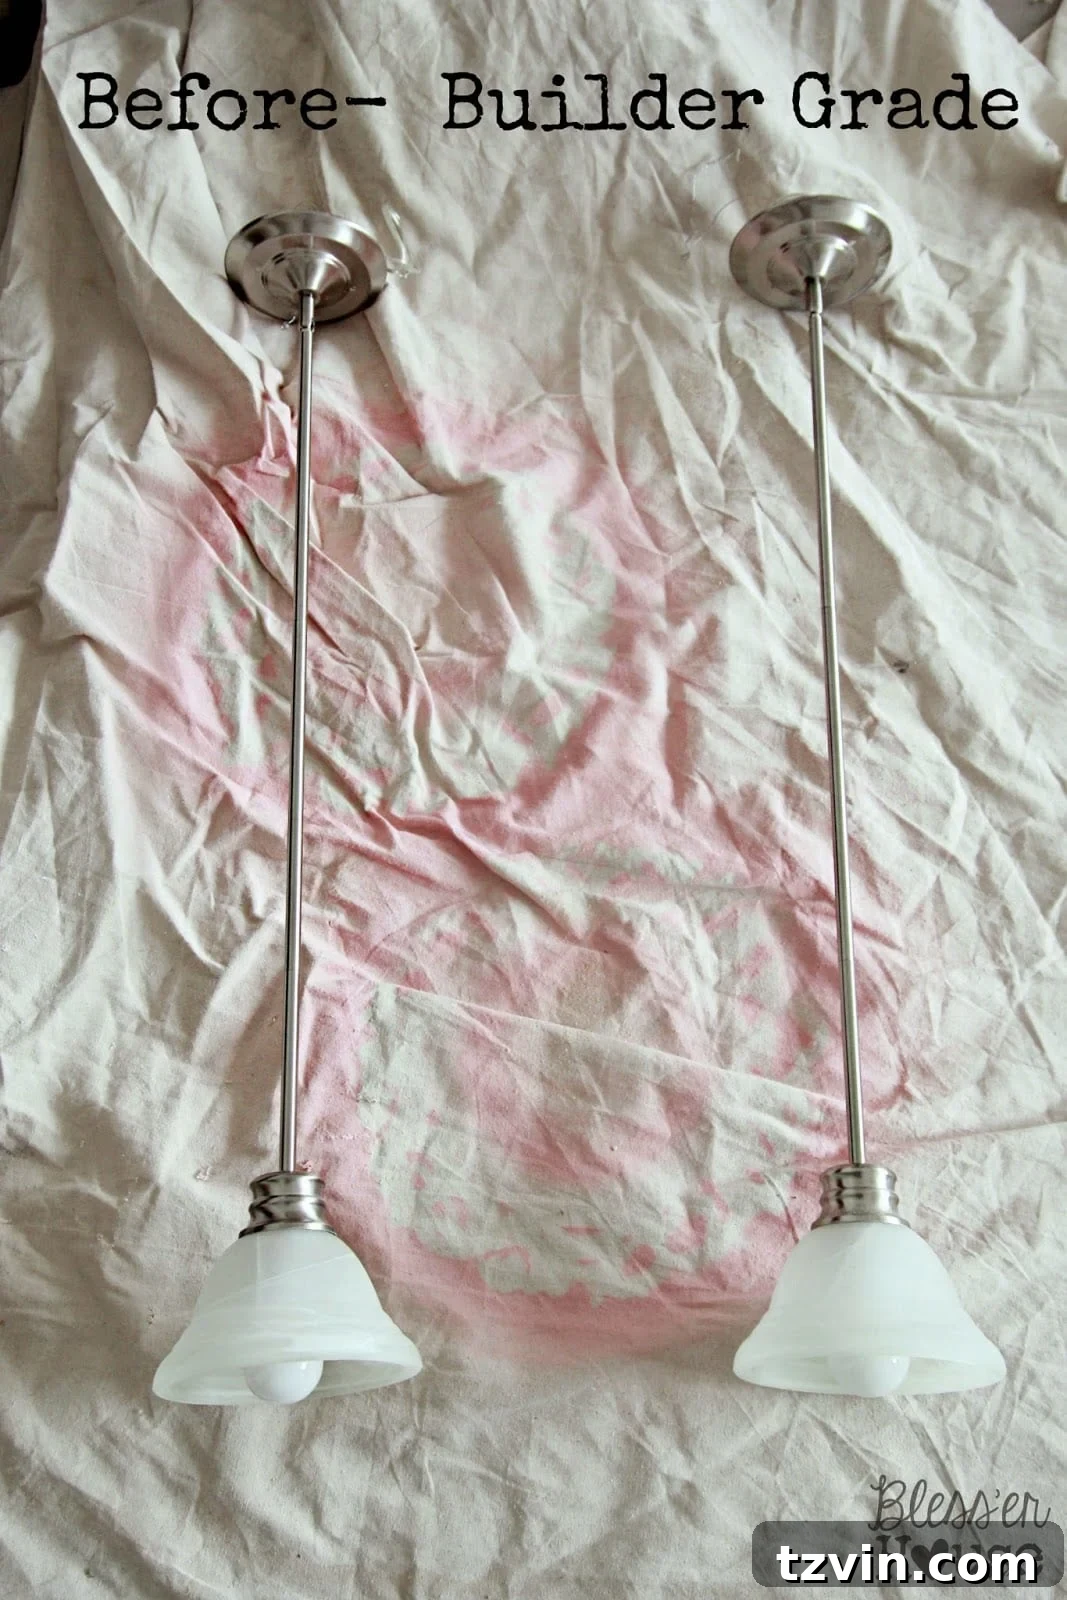
Step 1: The Power of Paint – Achieving an Oil Rubbed Bronze Finish
The first crucial step in our industrial makeover is changing the color. Oil rubbed bronze is a fantastic choice for this style, offering a deep, rich hue with subtle metallic undertones that mimic aged metal. It instantly elevates the fixture from mundane to magnificent.
To begin, carefully tape off all electrical components of your pendant light. This is paramount for safety and to ensure only the desired areas receive paint. Using my favorite Rustoleum Oil Rubbed Bronze spray paint and primer in one (a fantastic product for its coverage and durability), I applied two light, even coats. Remember, multiple thin coats are always better than one thick coat, as this prevents drips and ensures a smooth, professional-looking finish.
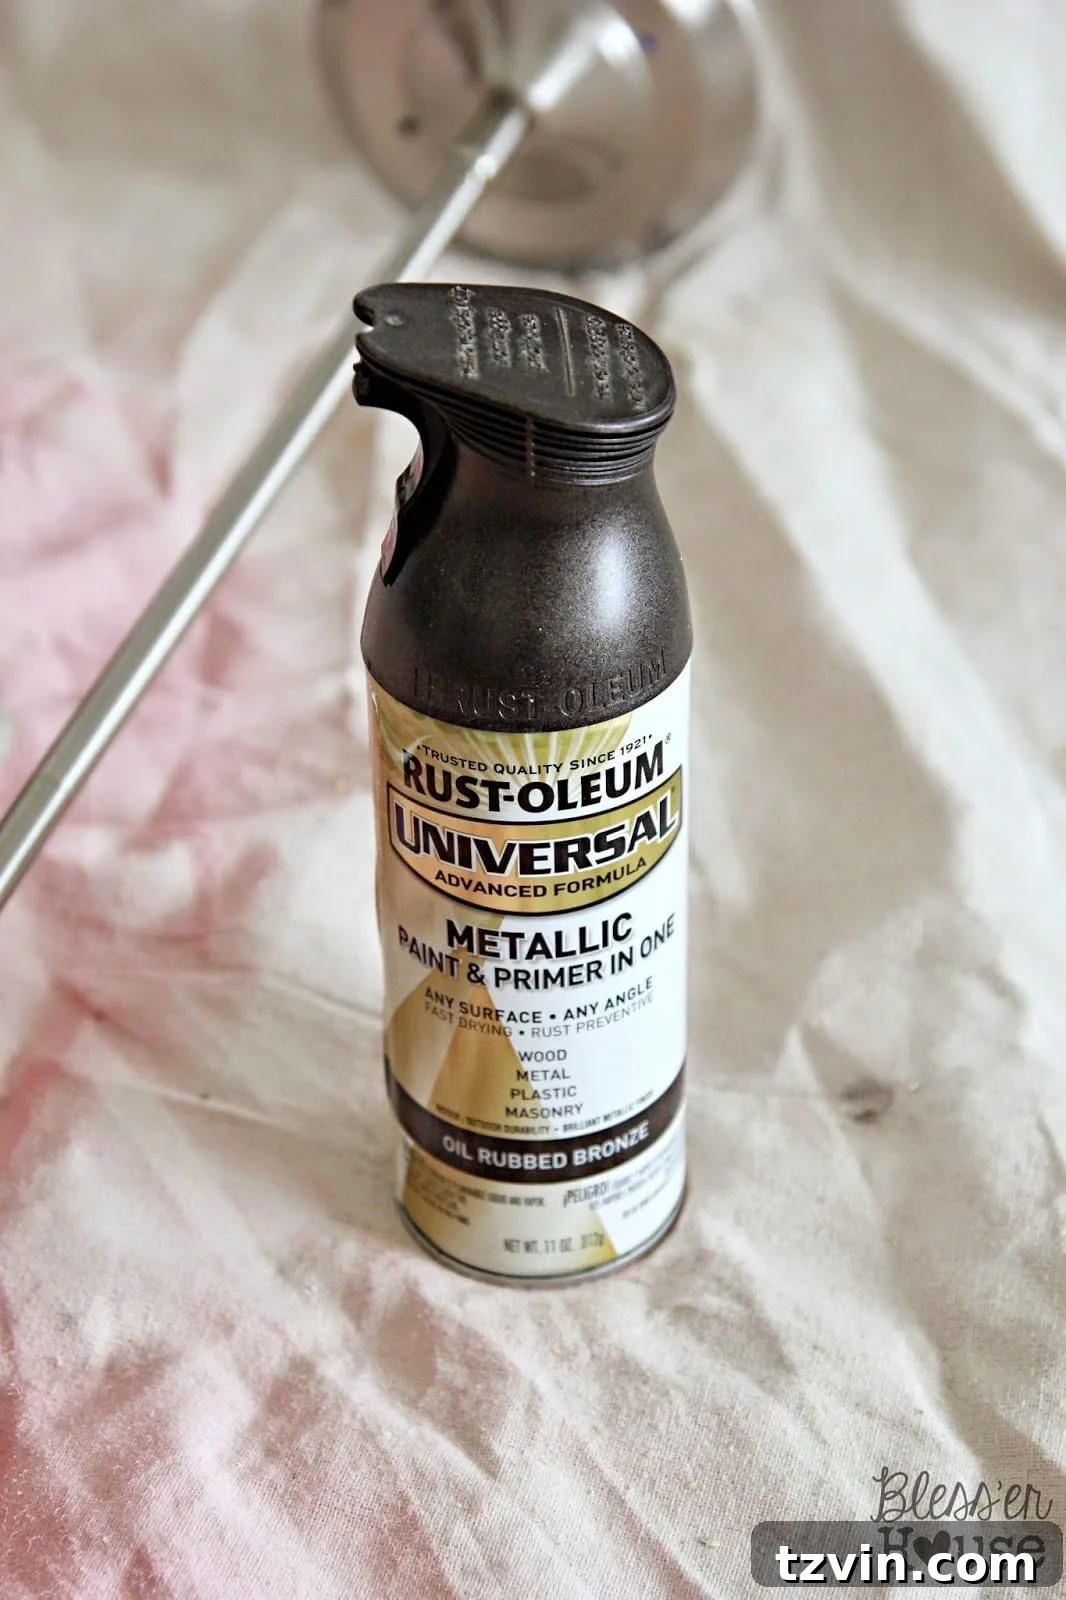
Even though I planned to wrap the downrods with sisal rope, I went ahead and sprayed them as well. This acts as an excellent base, ensuring that if any part of the original fixture peeks through the rope, it will blend seamlessly with the new finish, maintaining a consistent, high-quality look.
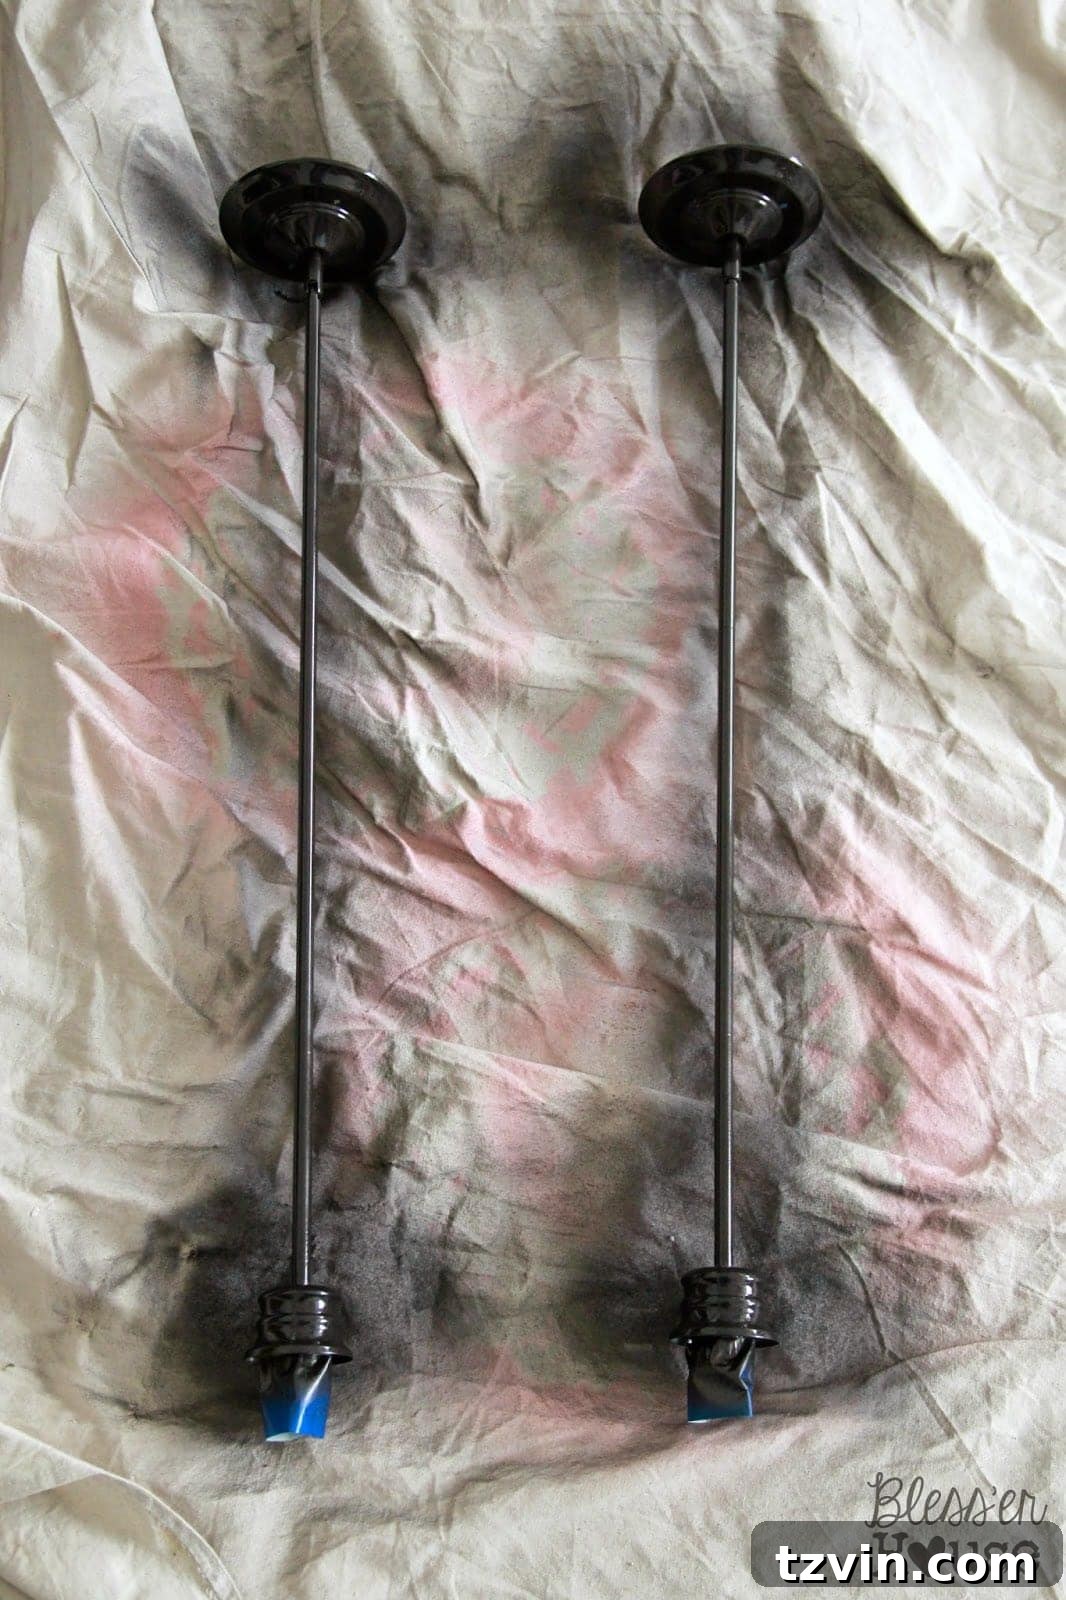
Allow the painted fixtures to dry completely for a full 24 hours. This curing time is crucial for the paint to harden and achieve its maximum durability, ensuring your newly painted fixtures withstand the test of time and handling.
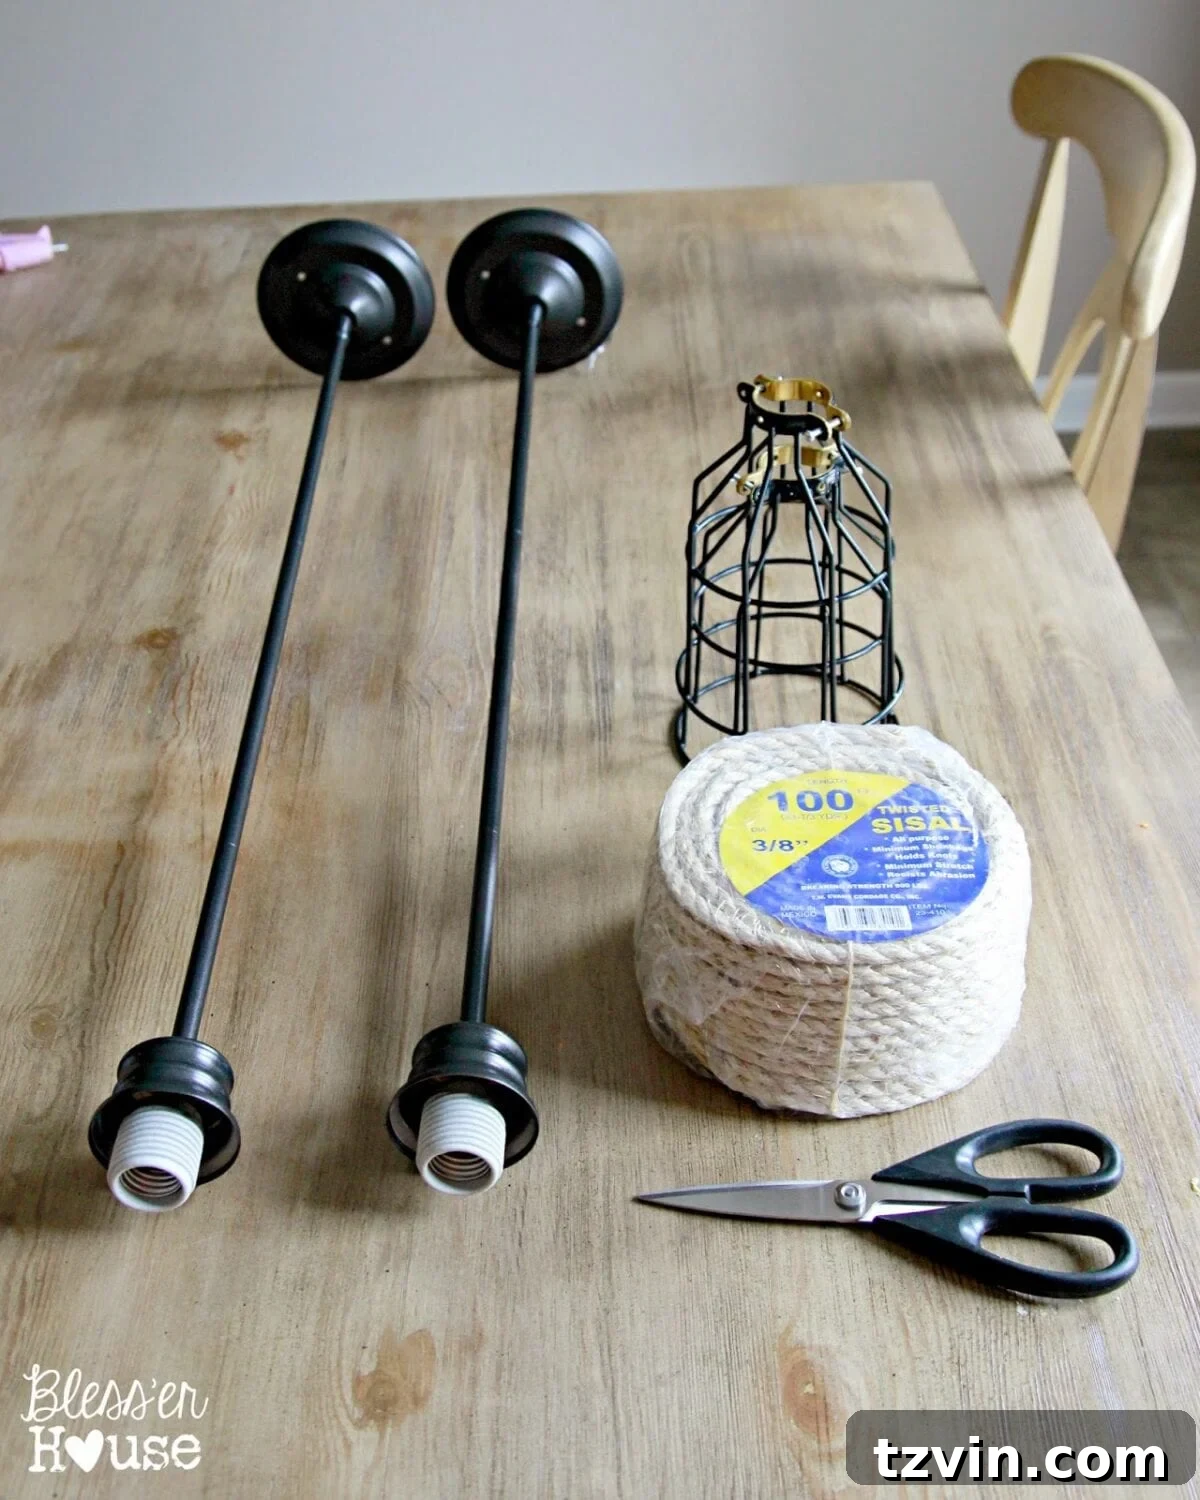
Step 2: Adding Texture with Sisal Rope
Now for the detail that truly sets this industrial pendant apart: the sisal rope wrap. This step introduces a beautiful natural texture that contrasts wonderfully with the metallic finish, adding warmth and a touch of rustic charm.
Using a high-temperature hot glue gun, carefully begin wrapping the 3/8-inch sisal rope tightly around the downrods of the pendant lights. This part requires patience and precision, but the effort is well worth the stunning result. Each light took approximately 30-40 minutes to wrap, so put on some music or a podcast and enjoy the process!
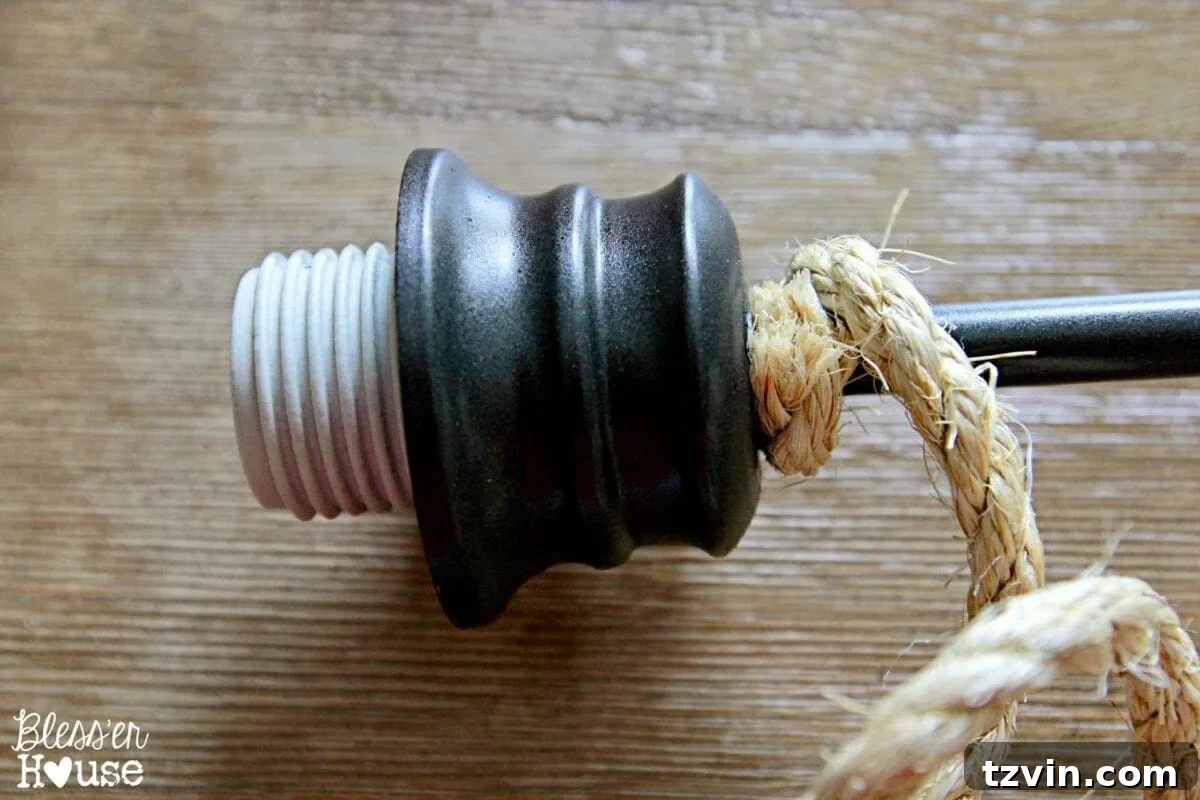
Getting started can be a little tricky. Apply a small, dime-sized amount of hot glue at the very top of the downrod and firmly press the end of the sisal rope into it. Hold it in place for a few seconds to ensure a strong initial bond. Then, carefully wrap the rope tightly, applying a small dab of hot glue with each full rotation to secure it. The goal is to create a seamless, gap-free coil from top to bottom.
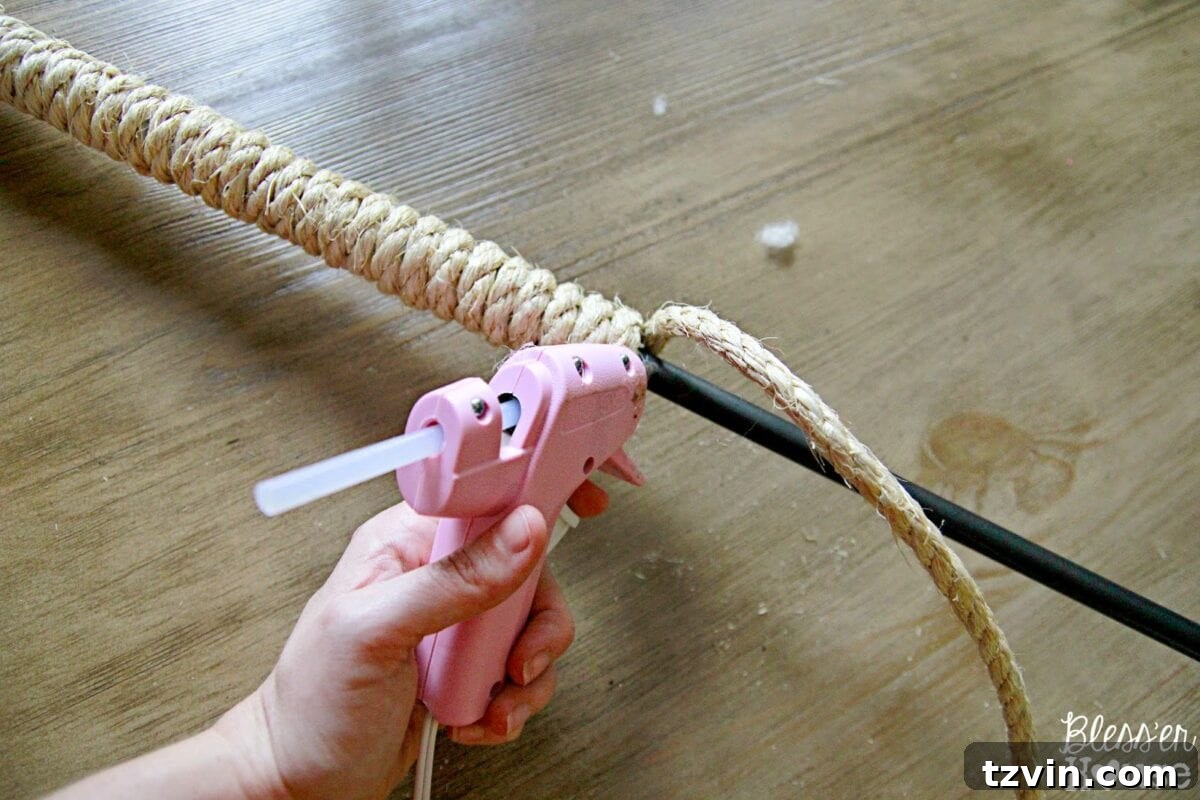
When you reach the bottom, cut the rope neatly and apply a final generous amount of hot glue to secure the end. Hold it firmly in place until the glue has completely cooled and set, preventing any unraveling. The tight, even wraps of sisal rope will add an incredible layer of texture and visual interest, perfectly complementing the industrial aesthetic.
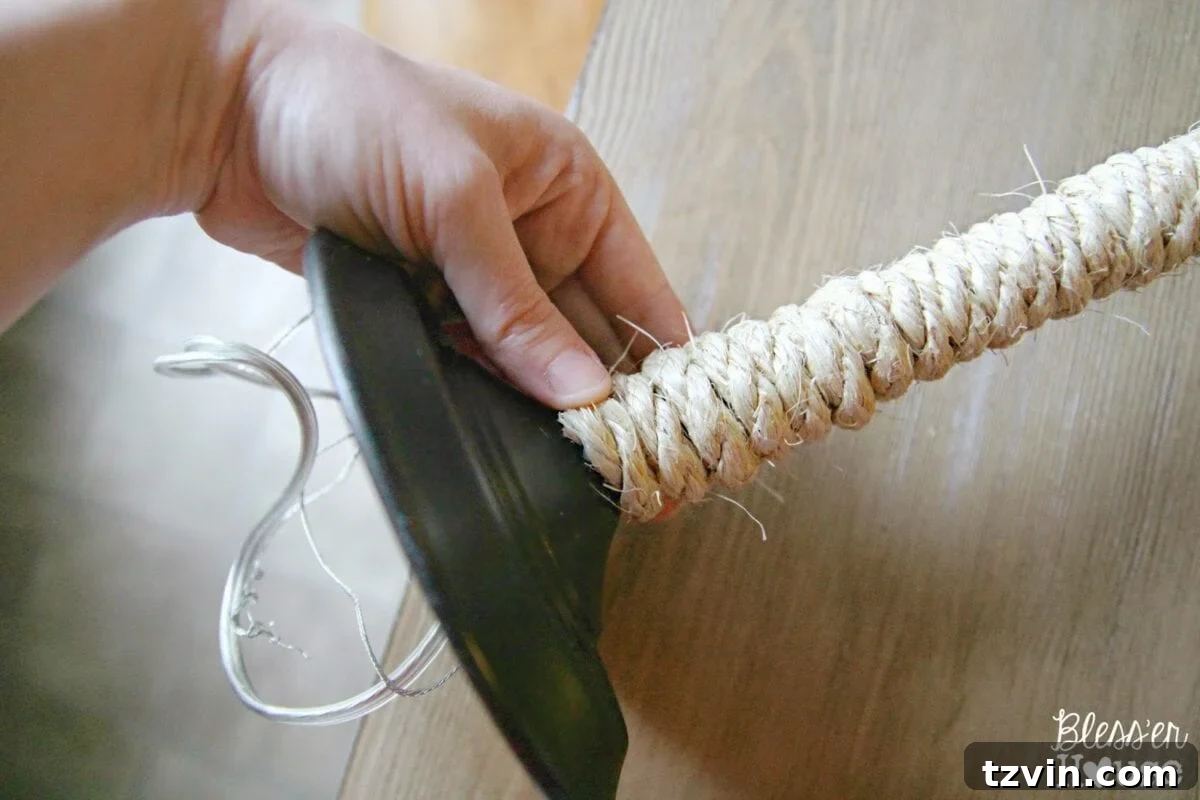
Step 3: The Finishing Touch – Metal Lamp Guards and Edison Bulbs
With the paint dry and the rope wrapped, the final step brings our industrial vision to life. The metal lamp guards are perhaps the most iconic element of industrial lighting, offering a utilitarian yet stylish touch. These guards typically screw right into place above the bulb socket, making installation quick and effortless.
To truly complete the vintage industrial look, I highly recommend using Edison bulbs. Their visible filaments and warm, amber glow evoke a nostalgic charm that traditional bulbs simply can’t match. While their yellowy light might not always photograph perfectly, in person, they cast a cozy, inviting ambiance that is simply “rustic industrial fabulosity.” You can opt for traditional incandescent Edison bulbs or, for energy efficiency and longer lifespan, choose LED Edison bulbs that replicate the same vintage aesthetic.
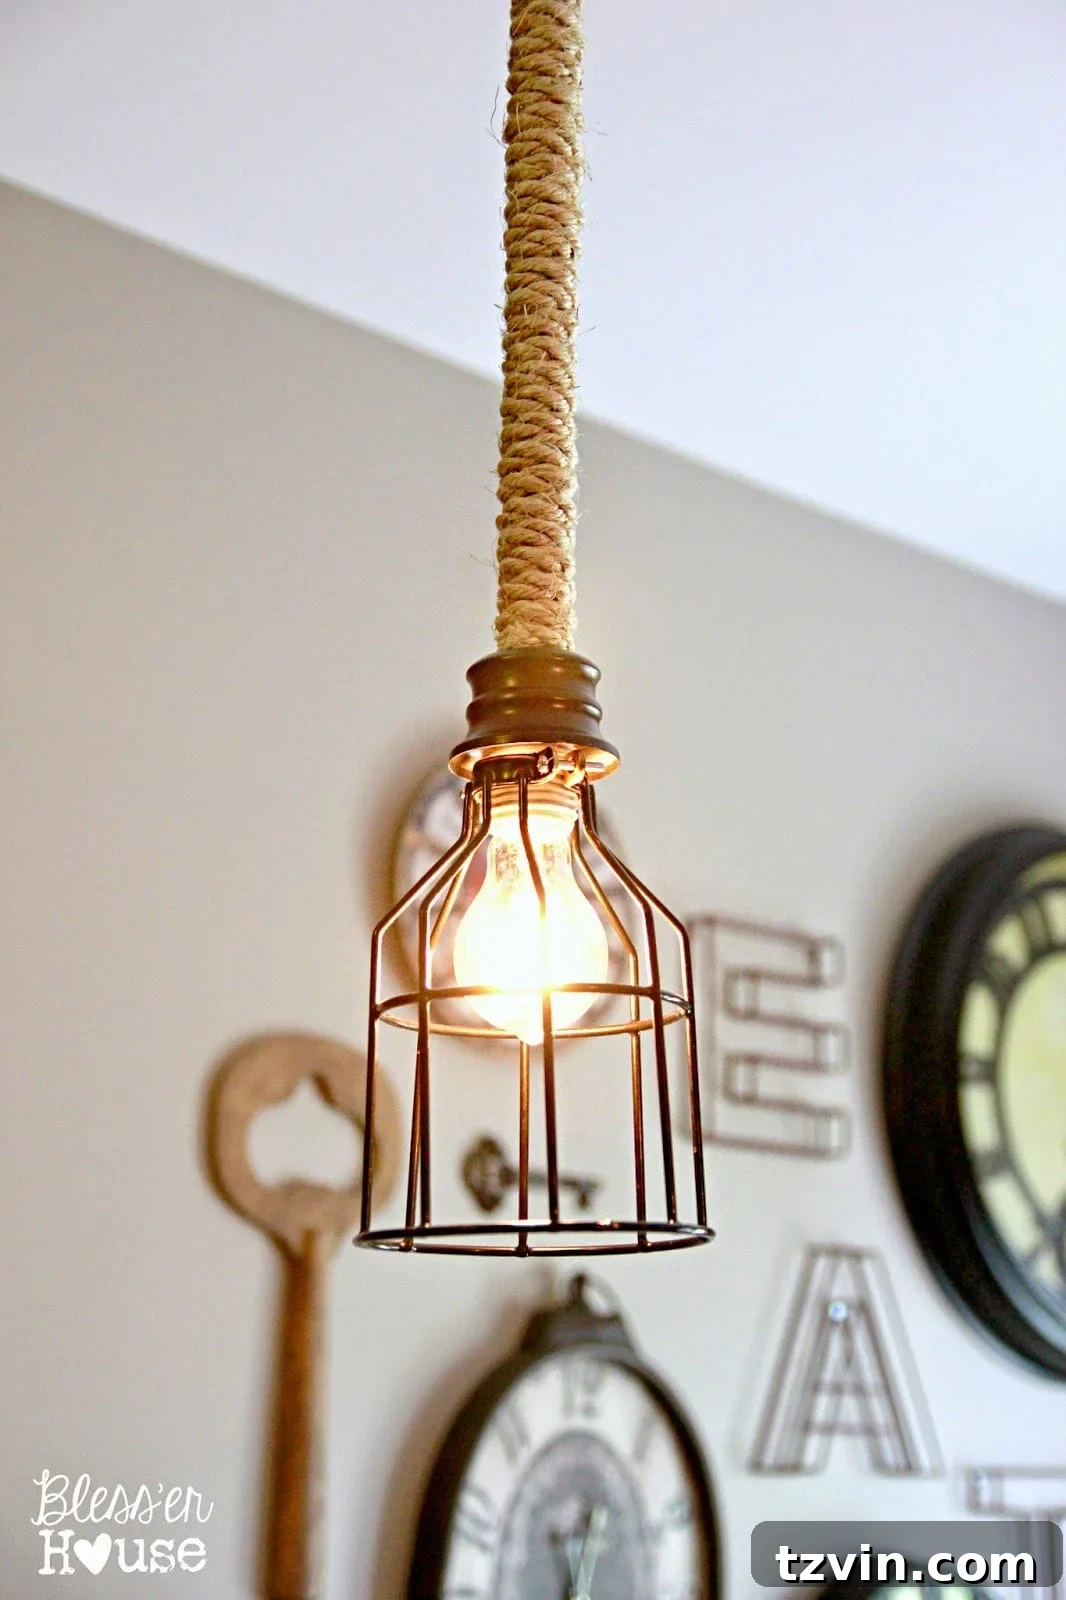
The High-End Look for Less: Comparing DIY to Designer
One of the most rewarding aspects of this project is the incredible value it offers. Our DIY industrial pendant lights are strikingly similar to high-end versions found in popular design stores, but without the premium price tag. For example, they bear a strong resemblance to certain Restoration Hardware designs, which can easily retail for $119 or more per fixture.
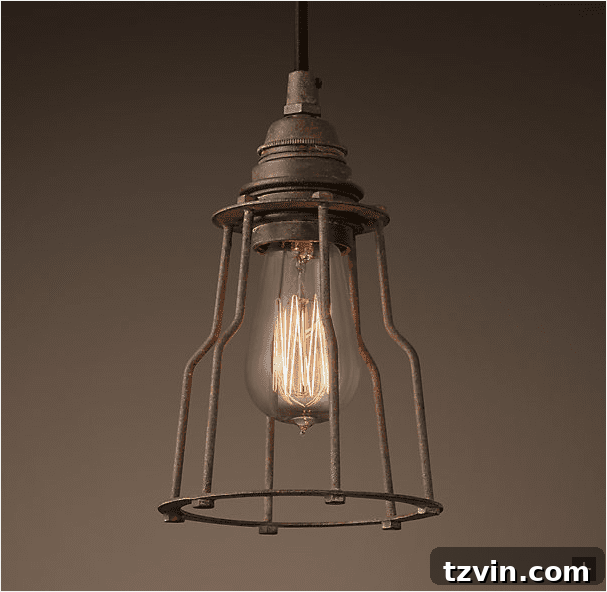
Achieving this sophisticated look for under $10 per light fixture provides immense satisfaction. It’s a testament to the power of DIY – transforming readily available, inexpensive materials into something truly special that reflects your personal style and elevates your home’s aesthetic without compromising your budget. This kind of project isn’t just about saving money; it’s about the pride of creating something beautiful with your own hands.
Integrating Your New Industrial Pendants into Your Home Decor
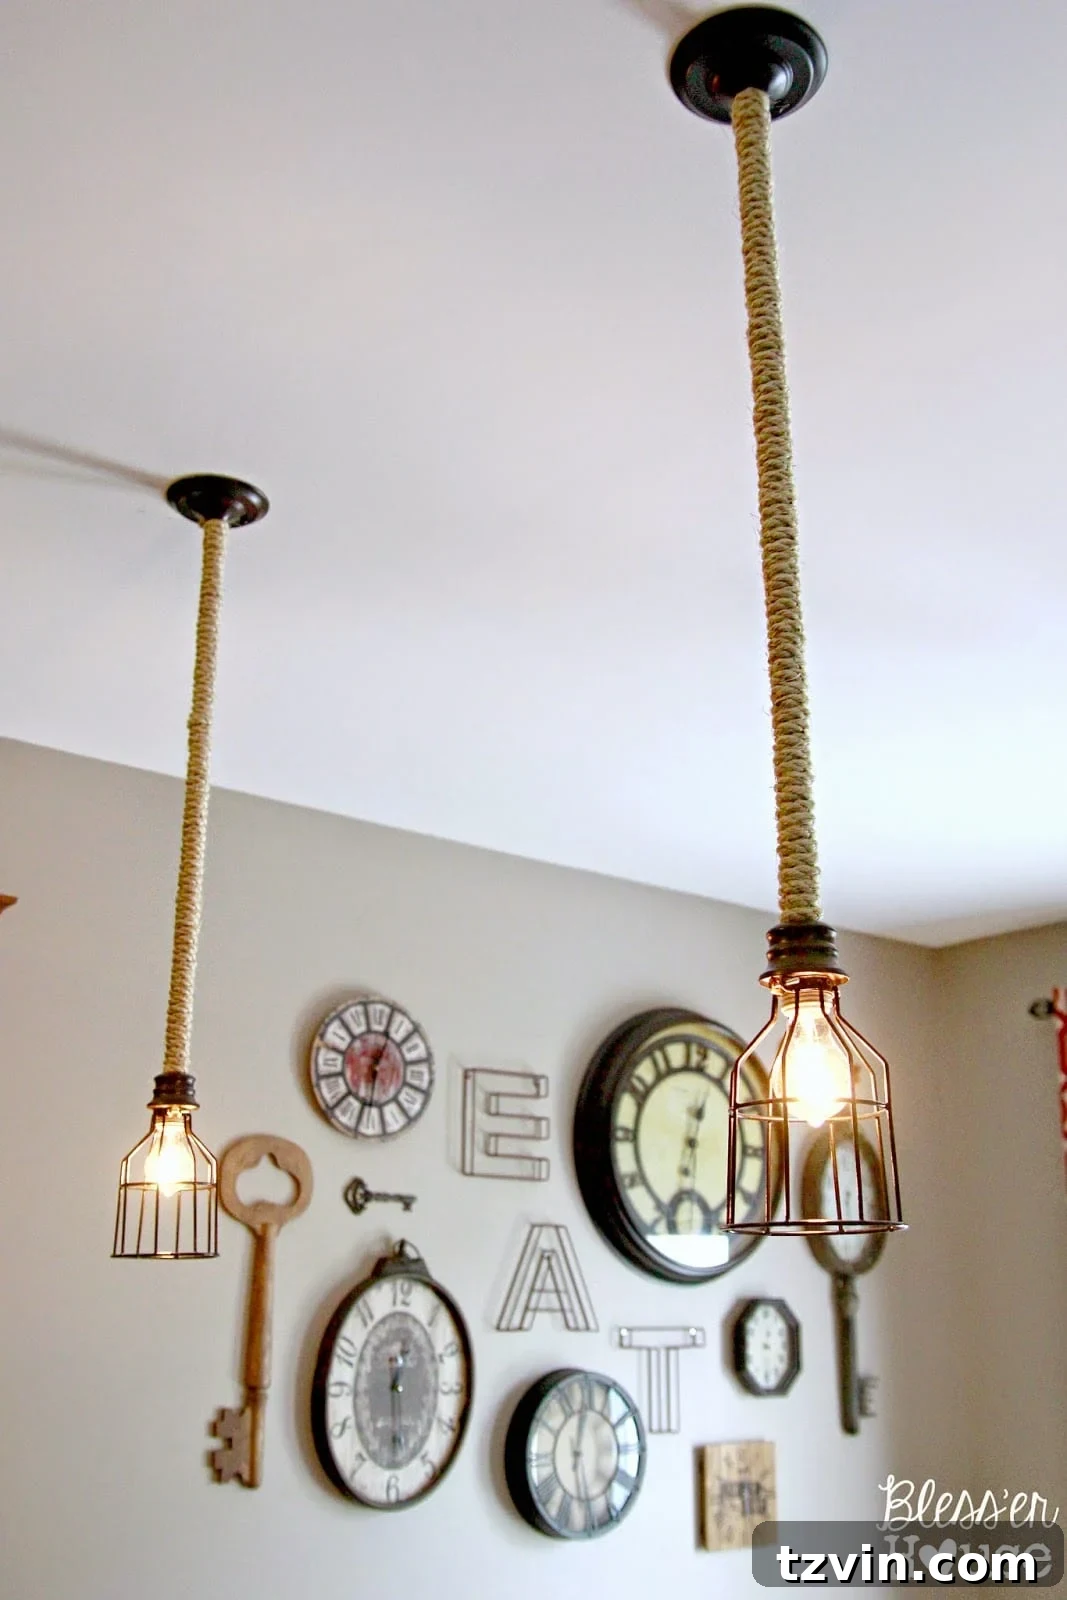
Once installed, these industrial pendant lights seamlessly integrate into a variety of decor schemes. For our home, they look absolutely smashing alongside our giant chalkboard and vintage gallery wall, enhancing the eclectic, layered feel we love.
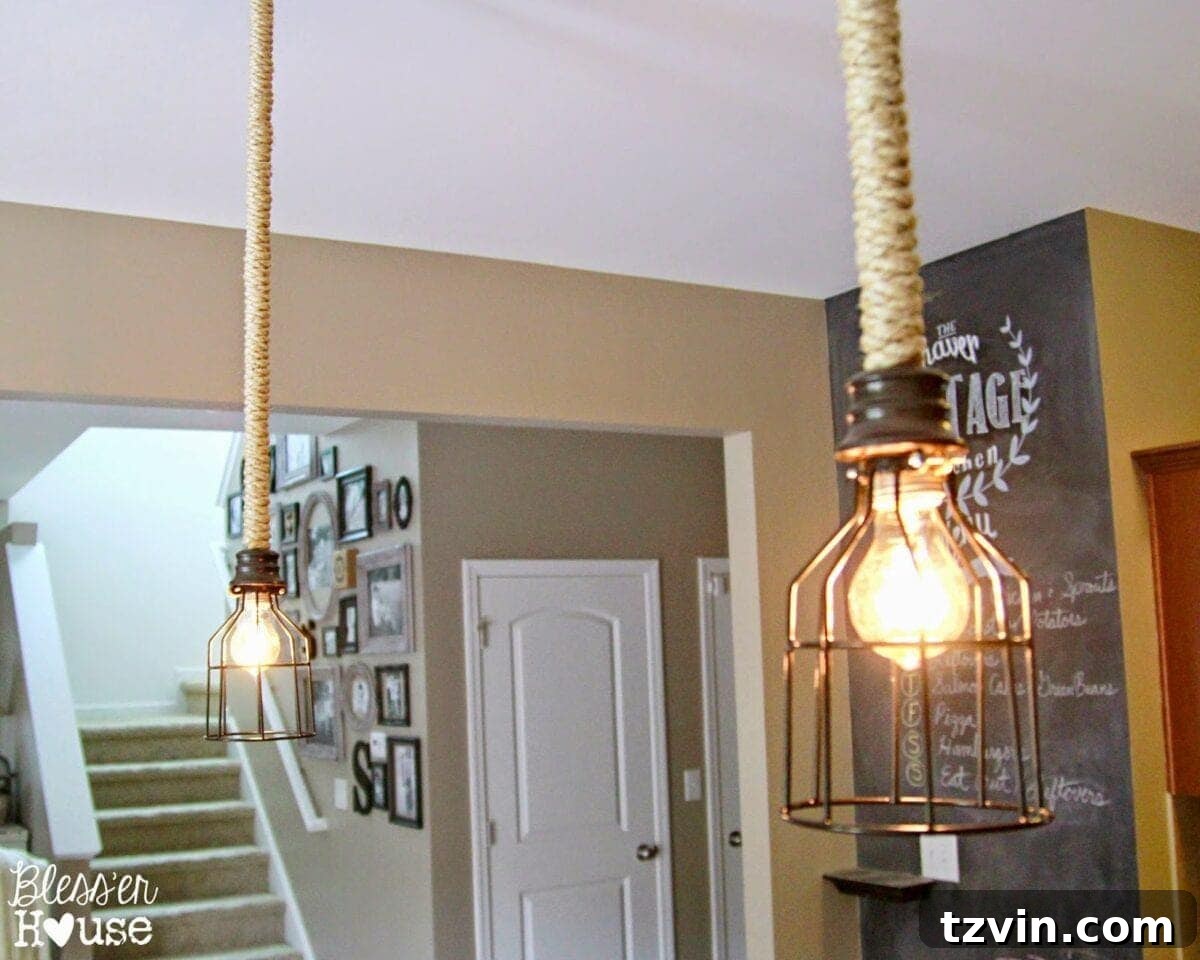
They also complement our breakfast nook’s clock wall beautifully, tying together different areas of our open-concept living space with a consistent, cohesive design element. The blend of rustic rope, dark metal, and vintage-style bulbs adds depth and character that was previously missing.
Beyond Pendants: Explore More DIY Lighting Projects
If this industrial pendant light makeover has sparked your creative flame, you’ll be thrilled to know that there are countless ways to transform other builder-grade fixtures. Don’t stop at just one! Personalizing your home through DIY lighting is an ongoing, rewarding journey. If you’re looking for more inspiration, be sure to check out these other exciting light fixture DIYs:
These projects, like the industrial pendant, demonstrate how simple materials and a little creativity can yield truly spectacular results. Whether you’re drawn to rustic, modern, or eclectic styles, there’s a DIY lighting project waiting to illuminate your space with unique charm.
I hope you feel inspired to tackle your own builder-grade light fixtures and infuse them with your personal style. It’s an affordable and incredibly satisfying way to make your house truly feel like home.


Linked Up:
Home Stories A to Z |
My Uncommon Slice of Suburbia |
Coastal Charm |
A Stroll Thru Life |
Elizabeth and Co. |
Bigger Than the Three of Us |
Someday Crafts |
The Newlywed Pilgrimage |
Live Laugh Rowe |
Lamberts Lately |
From My Front Porch to Yours |
Embracing Change |
Imparting Grace |
Redoux Interiors