
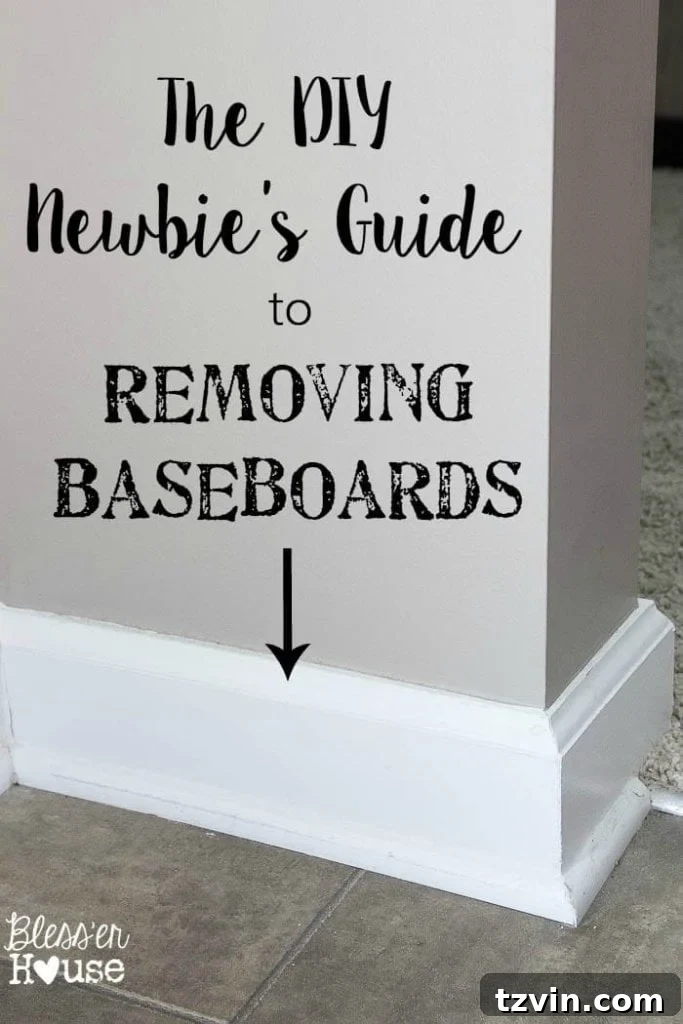
The DIY Newbie’s Ultimate Guide to Removing Baseboards Safely and Successfully
Every DIY journey has its moments of delightful discovery and, let’s be honest, a few heart-stopping “what have we done?” panics. We recently experienced one of those exhilarating, yet slightly terrifying, revelations as we embarked on a significant home renovation project. It’s the kind of moment that comes with major undertakings, where you realize you often have to deconstruct before you can truly build something beautiful and new.
But rest assured, this story has a rewarding conclusion, one that transforms initial apprehension into profound satisfaction. We’re currently knee-deep in a massive project that has us incredibly excited, envisioning the stunning transformation of our home. As many seasoned DIYers know, the path to awesome often involves a stage of necessary demolition.
Update: Want to see where this project led? Check out our DIY Wood Beam Doorway here!
Why Learning Baseboard Removal is a Game-Changer for DIY Enthusiasts
While this particular guide might not win awards for the most glamorous home decor transformation, it’s undeniably one of the most practical and essential skills any budding DIY enthusiast can acquire. So many larger home improvement projects hinge on the proper removal of existing elements, and baseboards are often the first to go. Whether you’re planning to install new flooring, refresh your walls with a new paint job, repair damaged drywall, or simply upgrade your home’s trim style, knowing how to remove baseboards without causing undue damage is invaluable.
Throughout our own journey into home improvement, my husband Robert and I have been incredibly fortunate to have the wisdom and guidance of his father, a true master craftsman with over 30 years of hands-on experience. His expertise proved indispensable last summer when we tackled our DIY Faux Fireplace project, helping us navigate unexpected challenges with ease.
Naturally, when it came time to remove baseboards—a task neither of us had ever attempted—he once again became our go-to expert. We had two primary objectives: first, to protect our drywall from any damage during the removal process, and second, to carefully preserve the baseboards so we could reuse them later as part of our larger renovation. For us beginners, these goals seemed to present a significant challenge, but with the right guidance, they became entirely achievable.
Essential Tools for Beginner-Friendly Baseboard Removal
If you’re a baseboard-removing newbie like we were, gathering the right tools is your first crucial step. Having these items on hand will make the process smoother, safer, and significantly reduce the risk of damage to your walls and trim. (Affiliate links are noted below with asterisks*. View my disclosures here.)
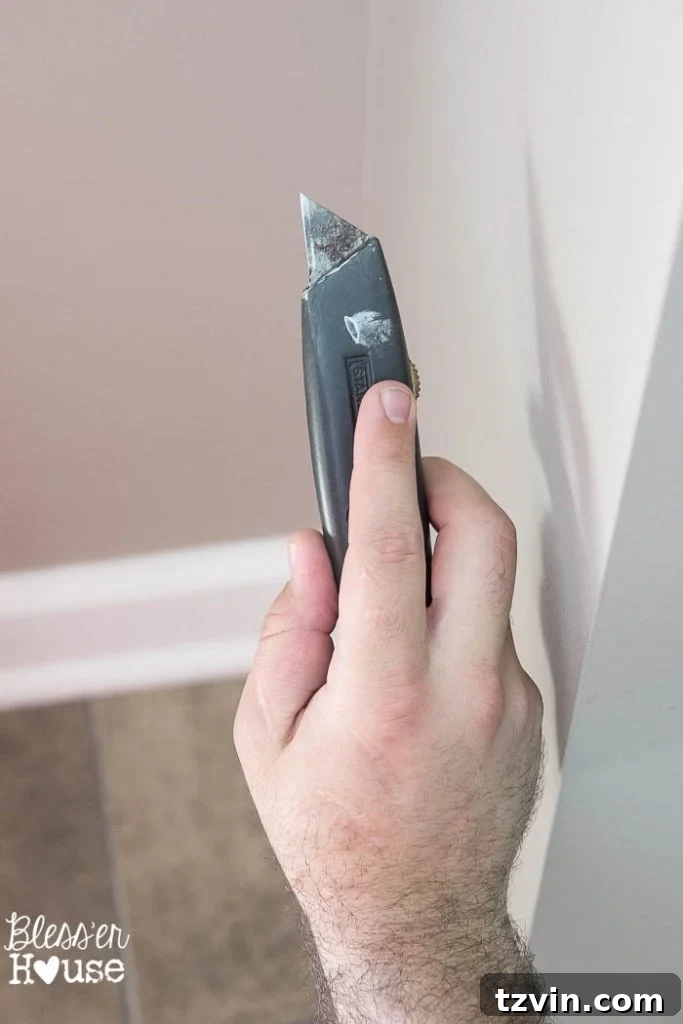
- A Razor or Box Cutter with a Sharp Blade*: This tool is vital for scoring caulk lines. A sharp blade ensures a clean cut, minimizing paint and drywall tear-out.
- A Small Pry Bar* with Sharpened Ends: Look for a flat, thin pry bar. Sharpening the ends yourself (as we’ll discuss) helps it slip behind the trim without leaving unsightly dents.
- A Hammer or Mallet: Used in conjunction with the pry bar to gently tap it into place and apply leverage. A rubber mallet can be particularly useful to avoid marring tool surfaces.
- Patience: This isn’t a tool you can buy, but it’s perhaps the most important one! Rushing through the process increases the likelihood of errors and damage.
- Safety Glasses and Gloves: Always protect your eyes from flying debris and your hands from splinters or accidental cuts.
- Scrap Wood or Cardboard (Optional but Recommended): These can be placed behind your pry bar against the wall to provide a pivot point and further protect your drywall from indentations.
Step-by-Step Guide to Flawless Baseboard Removal
Step 1: Prep the Area and Score the Caulk Lines
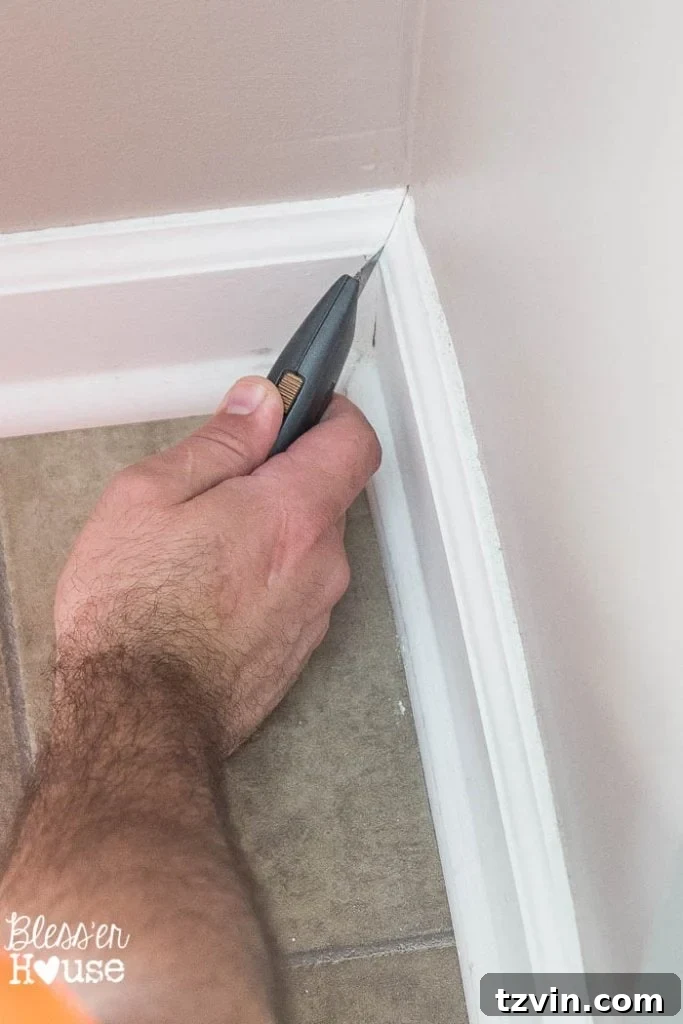
Before you begin, ensure your workspace is clear of furniture and obstacles. Safety first! One of our biggest concerns was preventing the caulk from tearing away wall paint and drywall paper when the baseboards were removed. This is a common issue for DIYers, leading to costly repairs. To avoid this, we meticulously used a sharp box cutter to cut the caulk lines. Start by carefully scoring along the top edge of the baseboard where it meets the wall. Then, address any caulk at the corners and along the bottom edge where the quarter round molding (the small decorative strip at the base of the baseboard) meets the floor. Make sure to cut deep enough to penetrate the caulk completely but not so deep as to gouge the wall or floor. This crucial step separates the trim from the wall, allowing for a much cleaner removal.
Step 2: Sharpen Your Pry Bar for Damage-Free Removal
To ensure a truly damage-free removal, especially if you intend to reuse your baseboards and quarter round, we took an extra step: we sharpened the ends of our pry bar using a metal file. This creates a thinner, more precise edge that can easily slide into tight spaces without leaving deep gouges or marks on the molding. A dull pry bar can easily crush or dent the wood, making it much harder to salvage for reuse. This small effort upfront pays dividends in preserving the integrity of your trim. We promise, the reuse of these carefully removed pieces will become clear in an upcoming project reveal!
Step 3: Carefully Remove the Quarter Round
With the caulk scored and the pry bar prepped, Robert began by removing the quarter round molding. He positioned the sharpened pry bar underneath the quarter round, right along the floor line. Using the hammer, he gently tapped the pry bar further in, creating a small gap. Then, with careful, controlled movements, he slowly pried the quarter round away from the baseboard and the floor. The key here is to work slowly, moving along the length of the molding, applying gentle, even pressure. Avoid trying to yank the entire piece off at once, as this can cause it to snap or damage the baseboard it’s attached to.
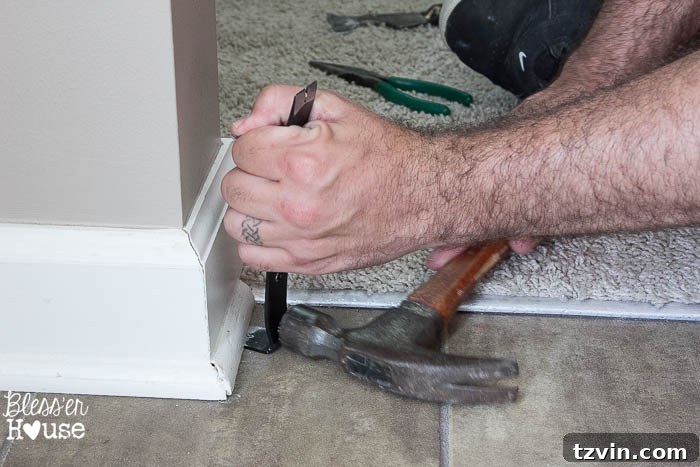
If your plan doesn’t include reusing your baseboards or quarter round, you can be slightly less meticulous about avoiding minor marks or bends. However, even if you plan to discard them, a careful approach minimizes damage to the underlying wall and floor, making your next steps easier. The objective is always a clean removal.
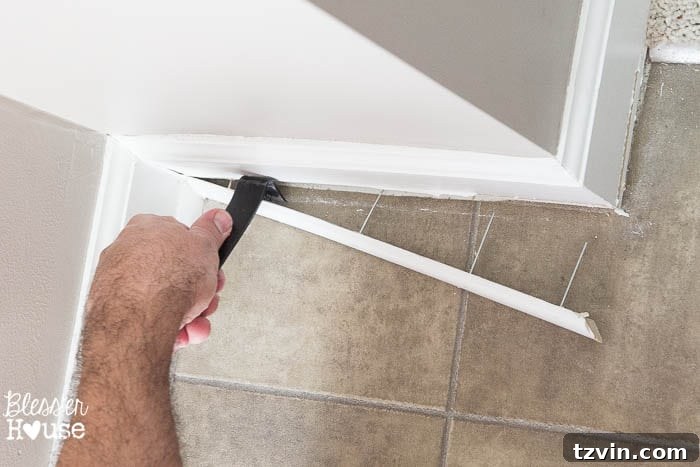
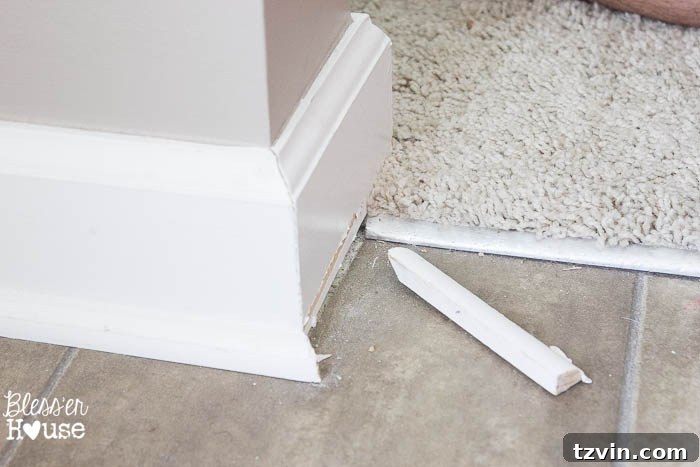
Step 4: Removing the Main Baseboard
Once the quarter round was successfully removed, Robert moved on to the main baseboard. The principles remain similar to quarter round removal, but with slightly larger pieces and often more nails. Just as before, he began by ensuring the caulk line separating the top of the baseboard from the wall paint was thoroughly cut with the box cutter. This preliminary cut is crucial; skipping it can lead to frustrating paint peeling and damage to your drywall paper, which is a headache to repair.
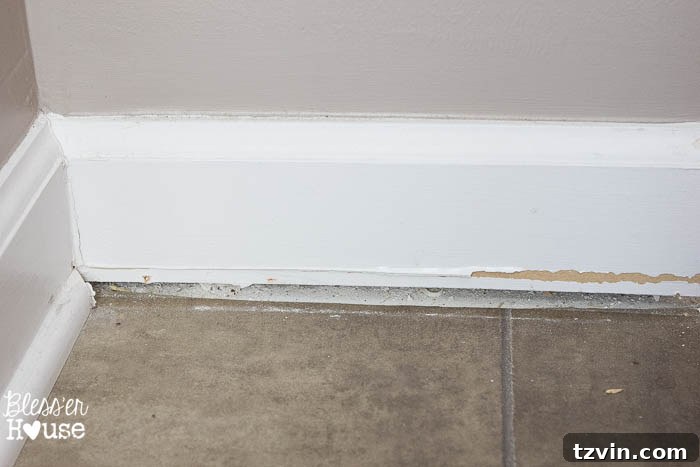
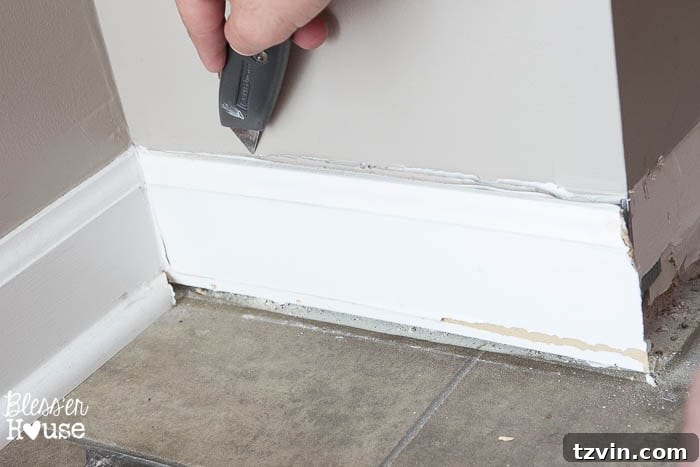
Next, he carefully inserted the sharpened pry bar between the baseboard and the drywall. It’s often helpful to place a thin piece of scrap wood or cardboard against the wall behind the pry bar. This acts as a fulcrum and distributes the pressure, preventing the pry bar from denting or gouging your drywall. He worked methodically, tapping the pry bar in with the hammer as needed, and gently prying the board away from the wall in multiple spots along its entire length. The goal is to gradually loosen the baseboard from the nails rather than trying to rip it off forcefully.
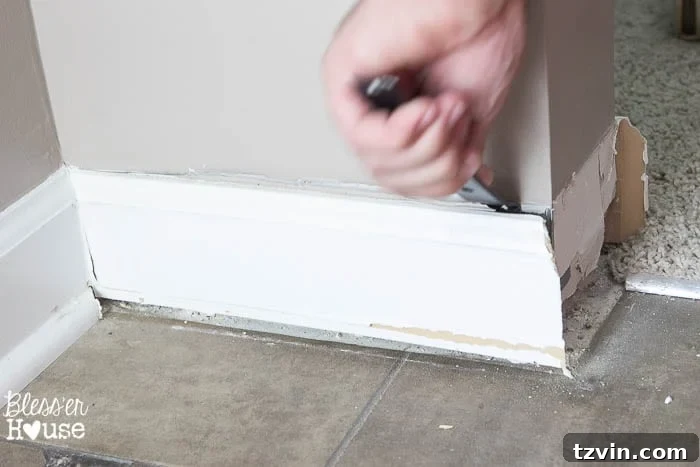
With each gentle pry, he ensured not to pull too quickly or aggressively, which could easily tear the delicate paper facing of the drywall. The objective is to release the baseboard from the nails holding it to the wall studs. Once loosened, the baseboard can be carefully pulled away, taking care to extract any remaining nails from the board itself or the wall. If nails remain in the wall, they can be removed with pliers or a claw hammer.
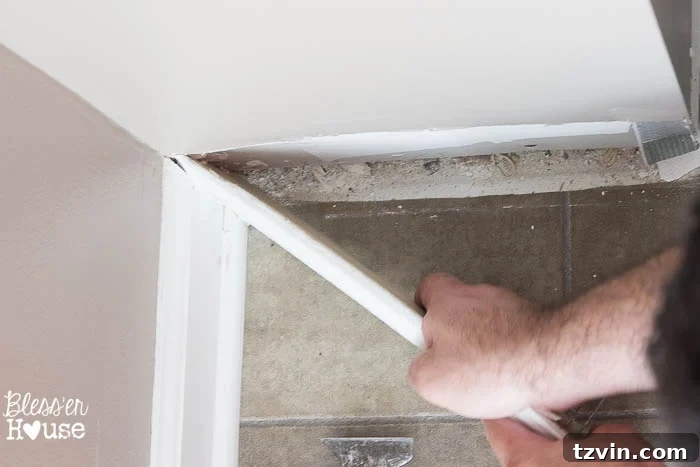
The Result: Clean Walls and Reusable Trim
Seeing those baseboards come off, exposing the bare wall, can be a moment of both triumph and slight trepidation. You might feel a tiny flutter of “Did I just break my house?” – but don’t worry, that’s a perfectly normal reaction for any DIY beginner. It’s a significant step to dismantle a part of your home, even with the best intentions. However, when done correctly, as we’ve outlined, you’ll be left with clean walls, minimal (if any) drywall damage, and perfectly intact baseboards ready for their next chapter.
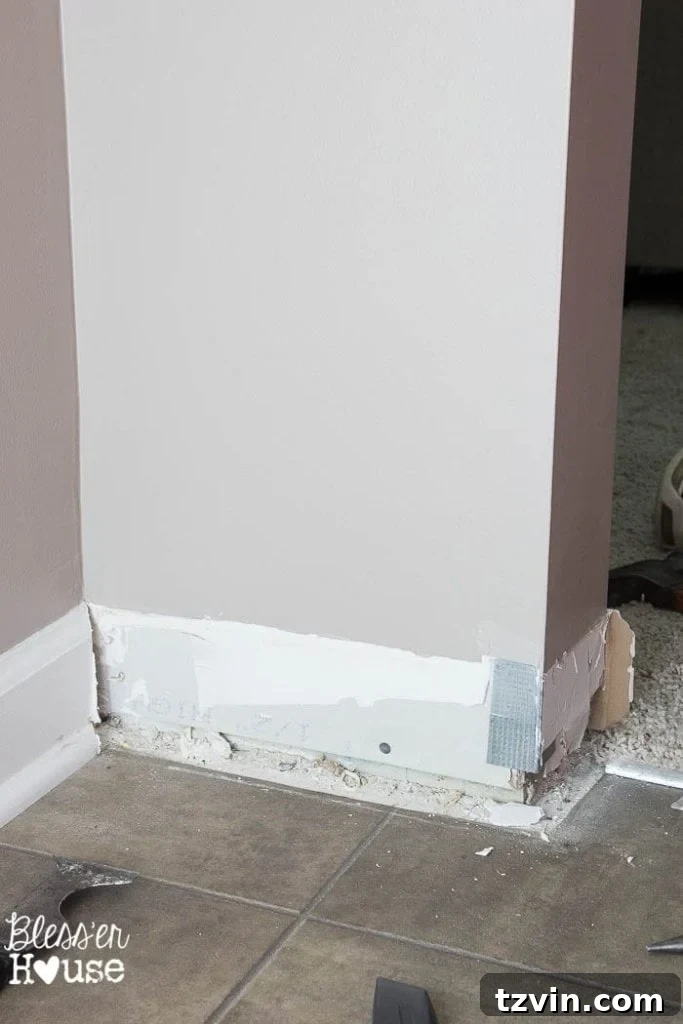
We are absolutely thrilled to finally share the incredible progress we’ve made in our living room and kitchen. This baseboard removal was just the first domino in a series of ambitious architectural dreams we’ve held for this house since we moved in. Transforming a “cookie-cutter” home into something uniquely ours often involves a bit of controlled destruction to pave the way for stunning custom features. We have a strong feeling this won’t be the last time we pick up a pry bar!
What Comes Next?
Now that the baseboards are down, the possibilities are endless! Perhaps you’re preparing for fresh paint, new flooring, or even a bold decorative trim installation. Whatever your next step, this foundational skill will empower you to tackle more complex projects with confidence. We can’t wait to reveal what we’re building next in the space we’ve created. Any guesses as to what our next big architectural endeavor might be?
If you’re ever feeling adventurous and decide it’s time to tackle your own baseboard removal project, be sure to pin this comprehensive guide for future reference. It’s the perfect resource for any DIY newbie looking to make home improvements with confidence and care!

Follow Bless’er House for More DIY Inspiration:
Facebook |
Pinterest |
Instagram |
Twitter |
Google+ | Bloglovin | Hometalk