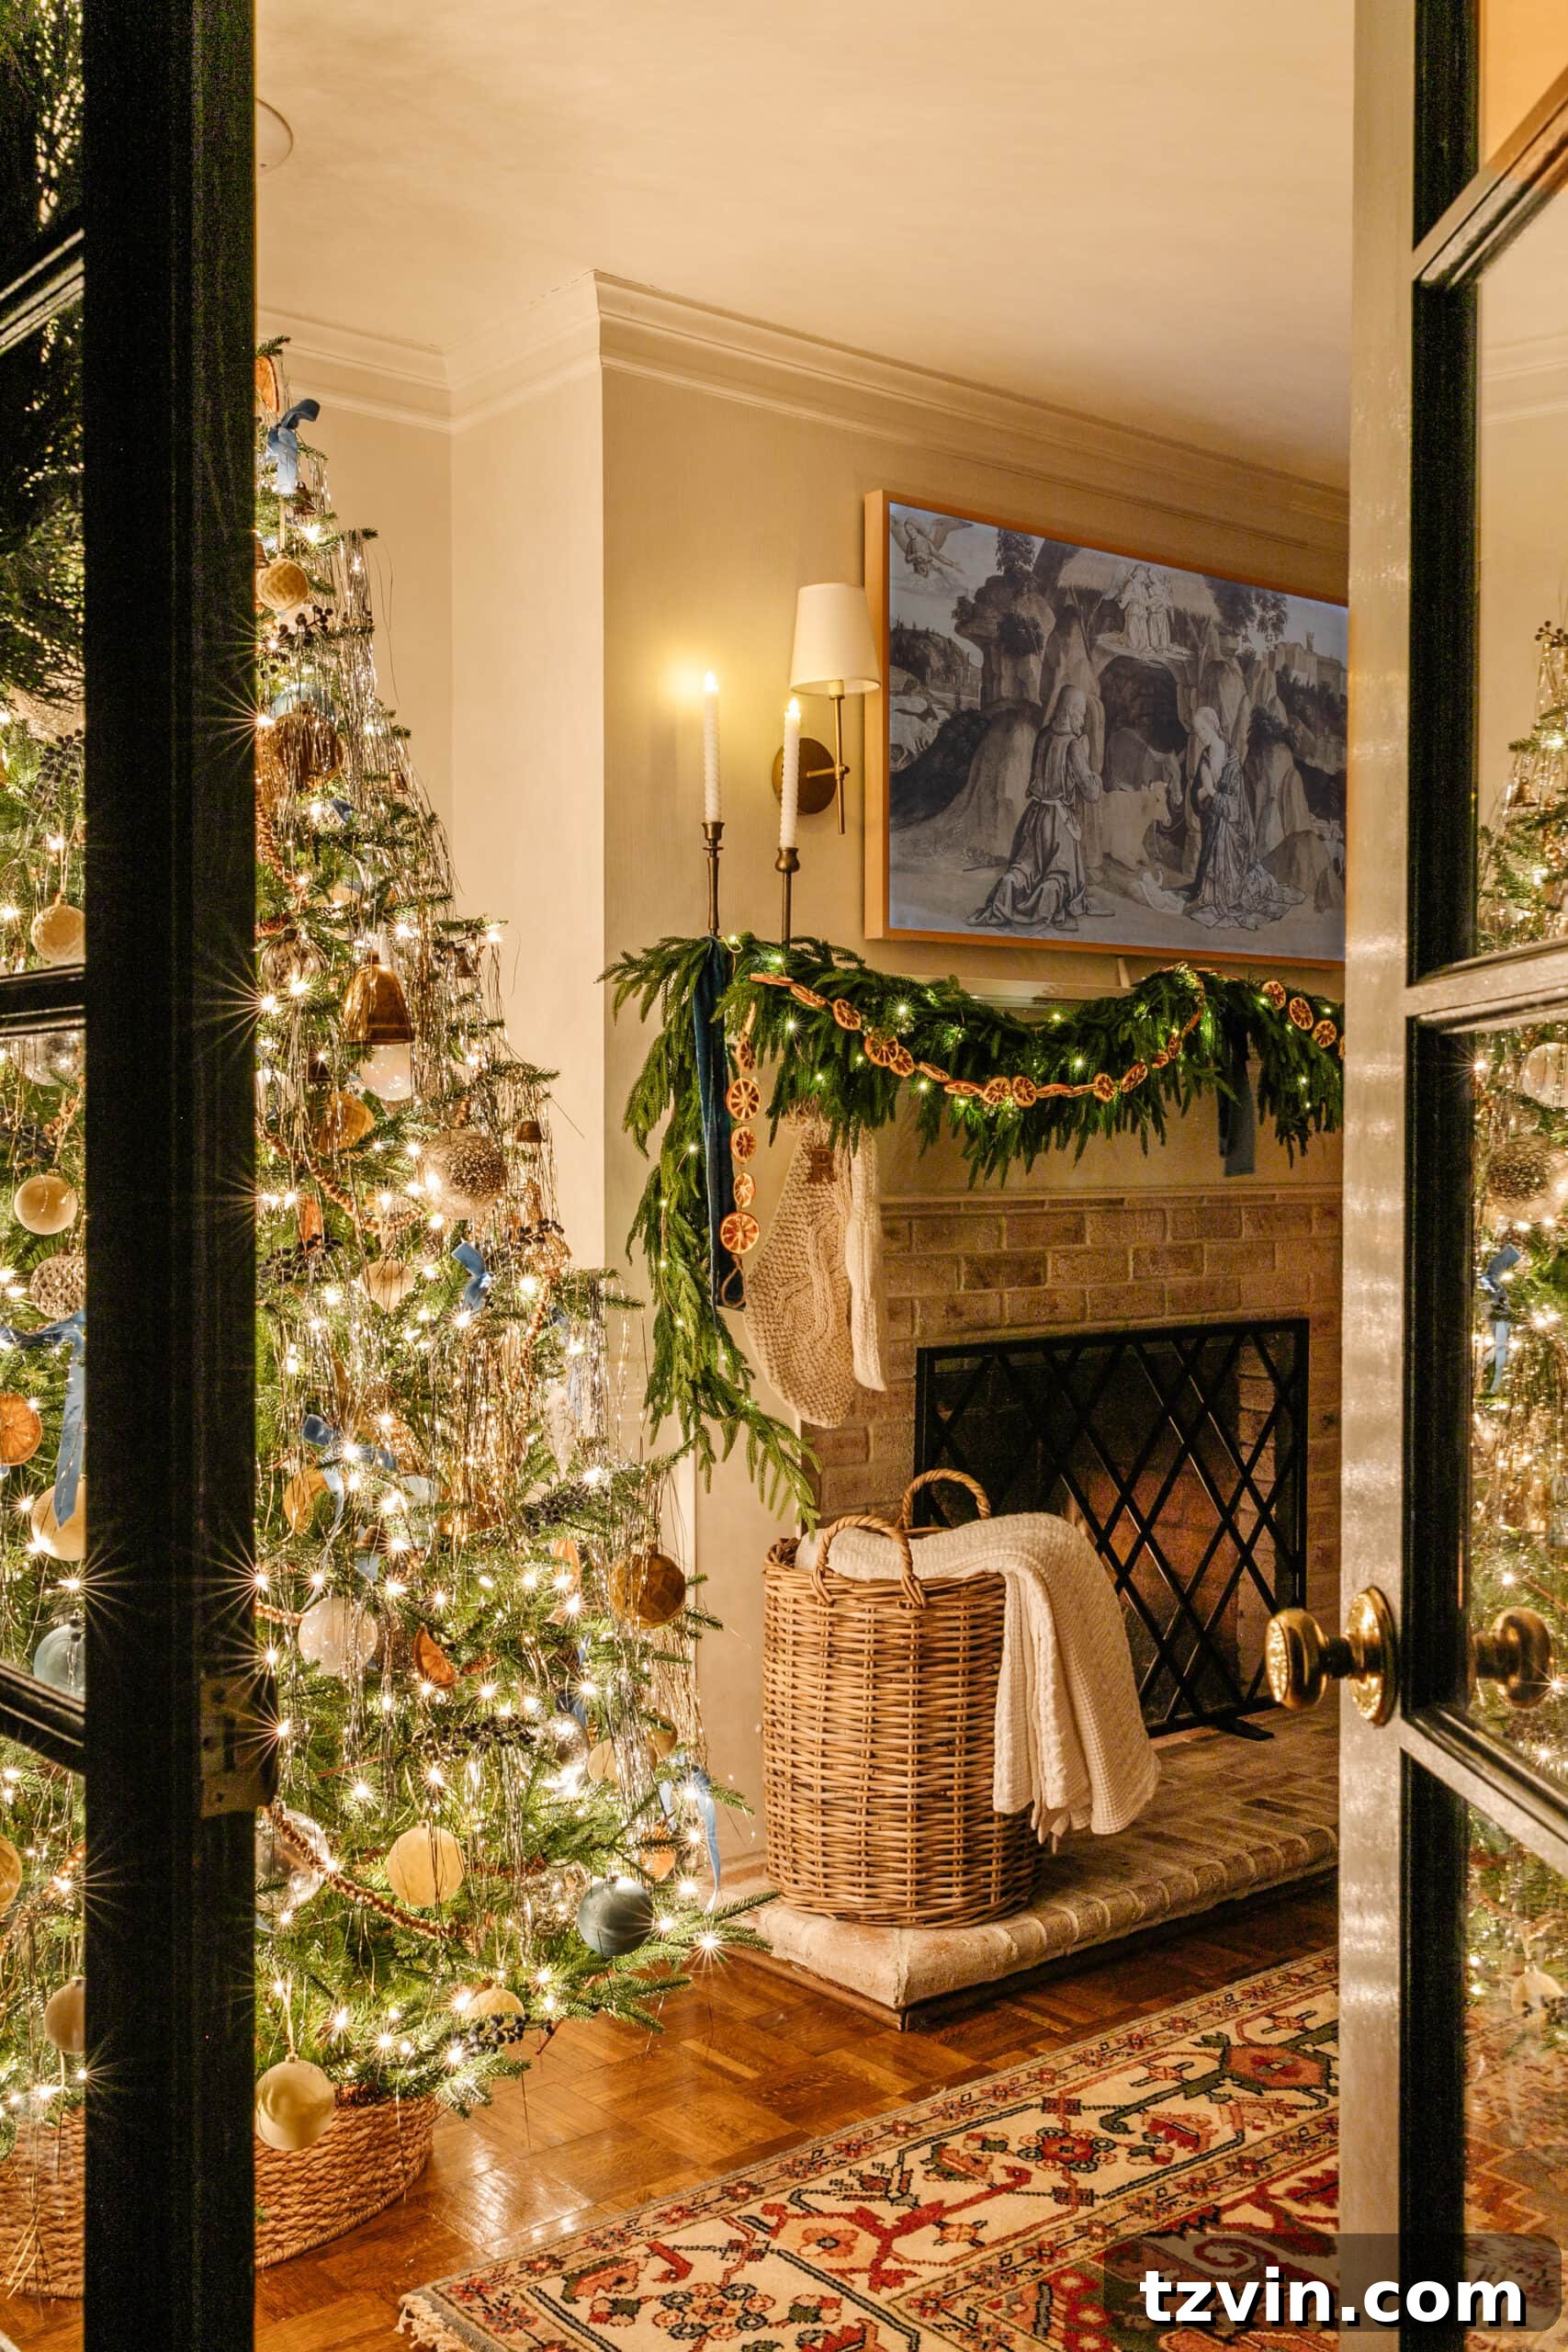
Capture the Enchanting Glow: A Comprehensive Guide to Photographing Christmas Lights and Candlelight
As the holiday season descends, homes transform into cozy havens, adorned with twinkling Christmas lights and the warm, inviting flicker of candlelight. This magical ambiance is something we all yearn to capture, preserving those cherished festive moments. Every year, as I share our home’s illuminated Christmas tour, a tradition spanning over seven years, the most frequent questions revolve around one captivating challenge: how to expertly photograph Christmas tree lights at night.
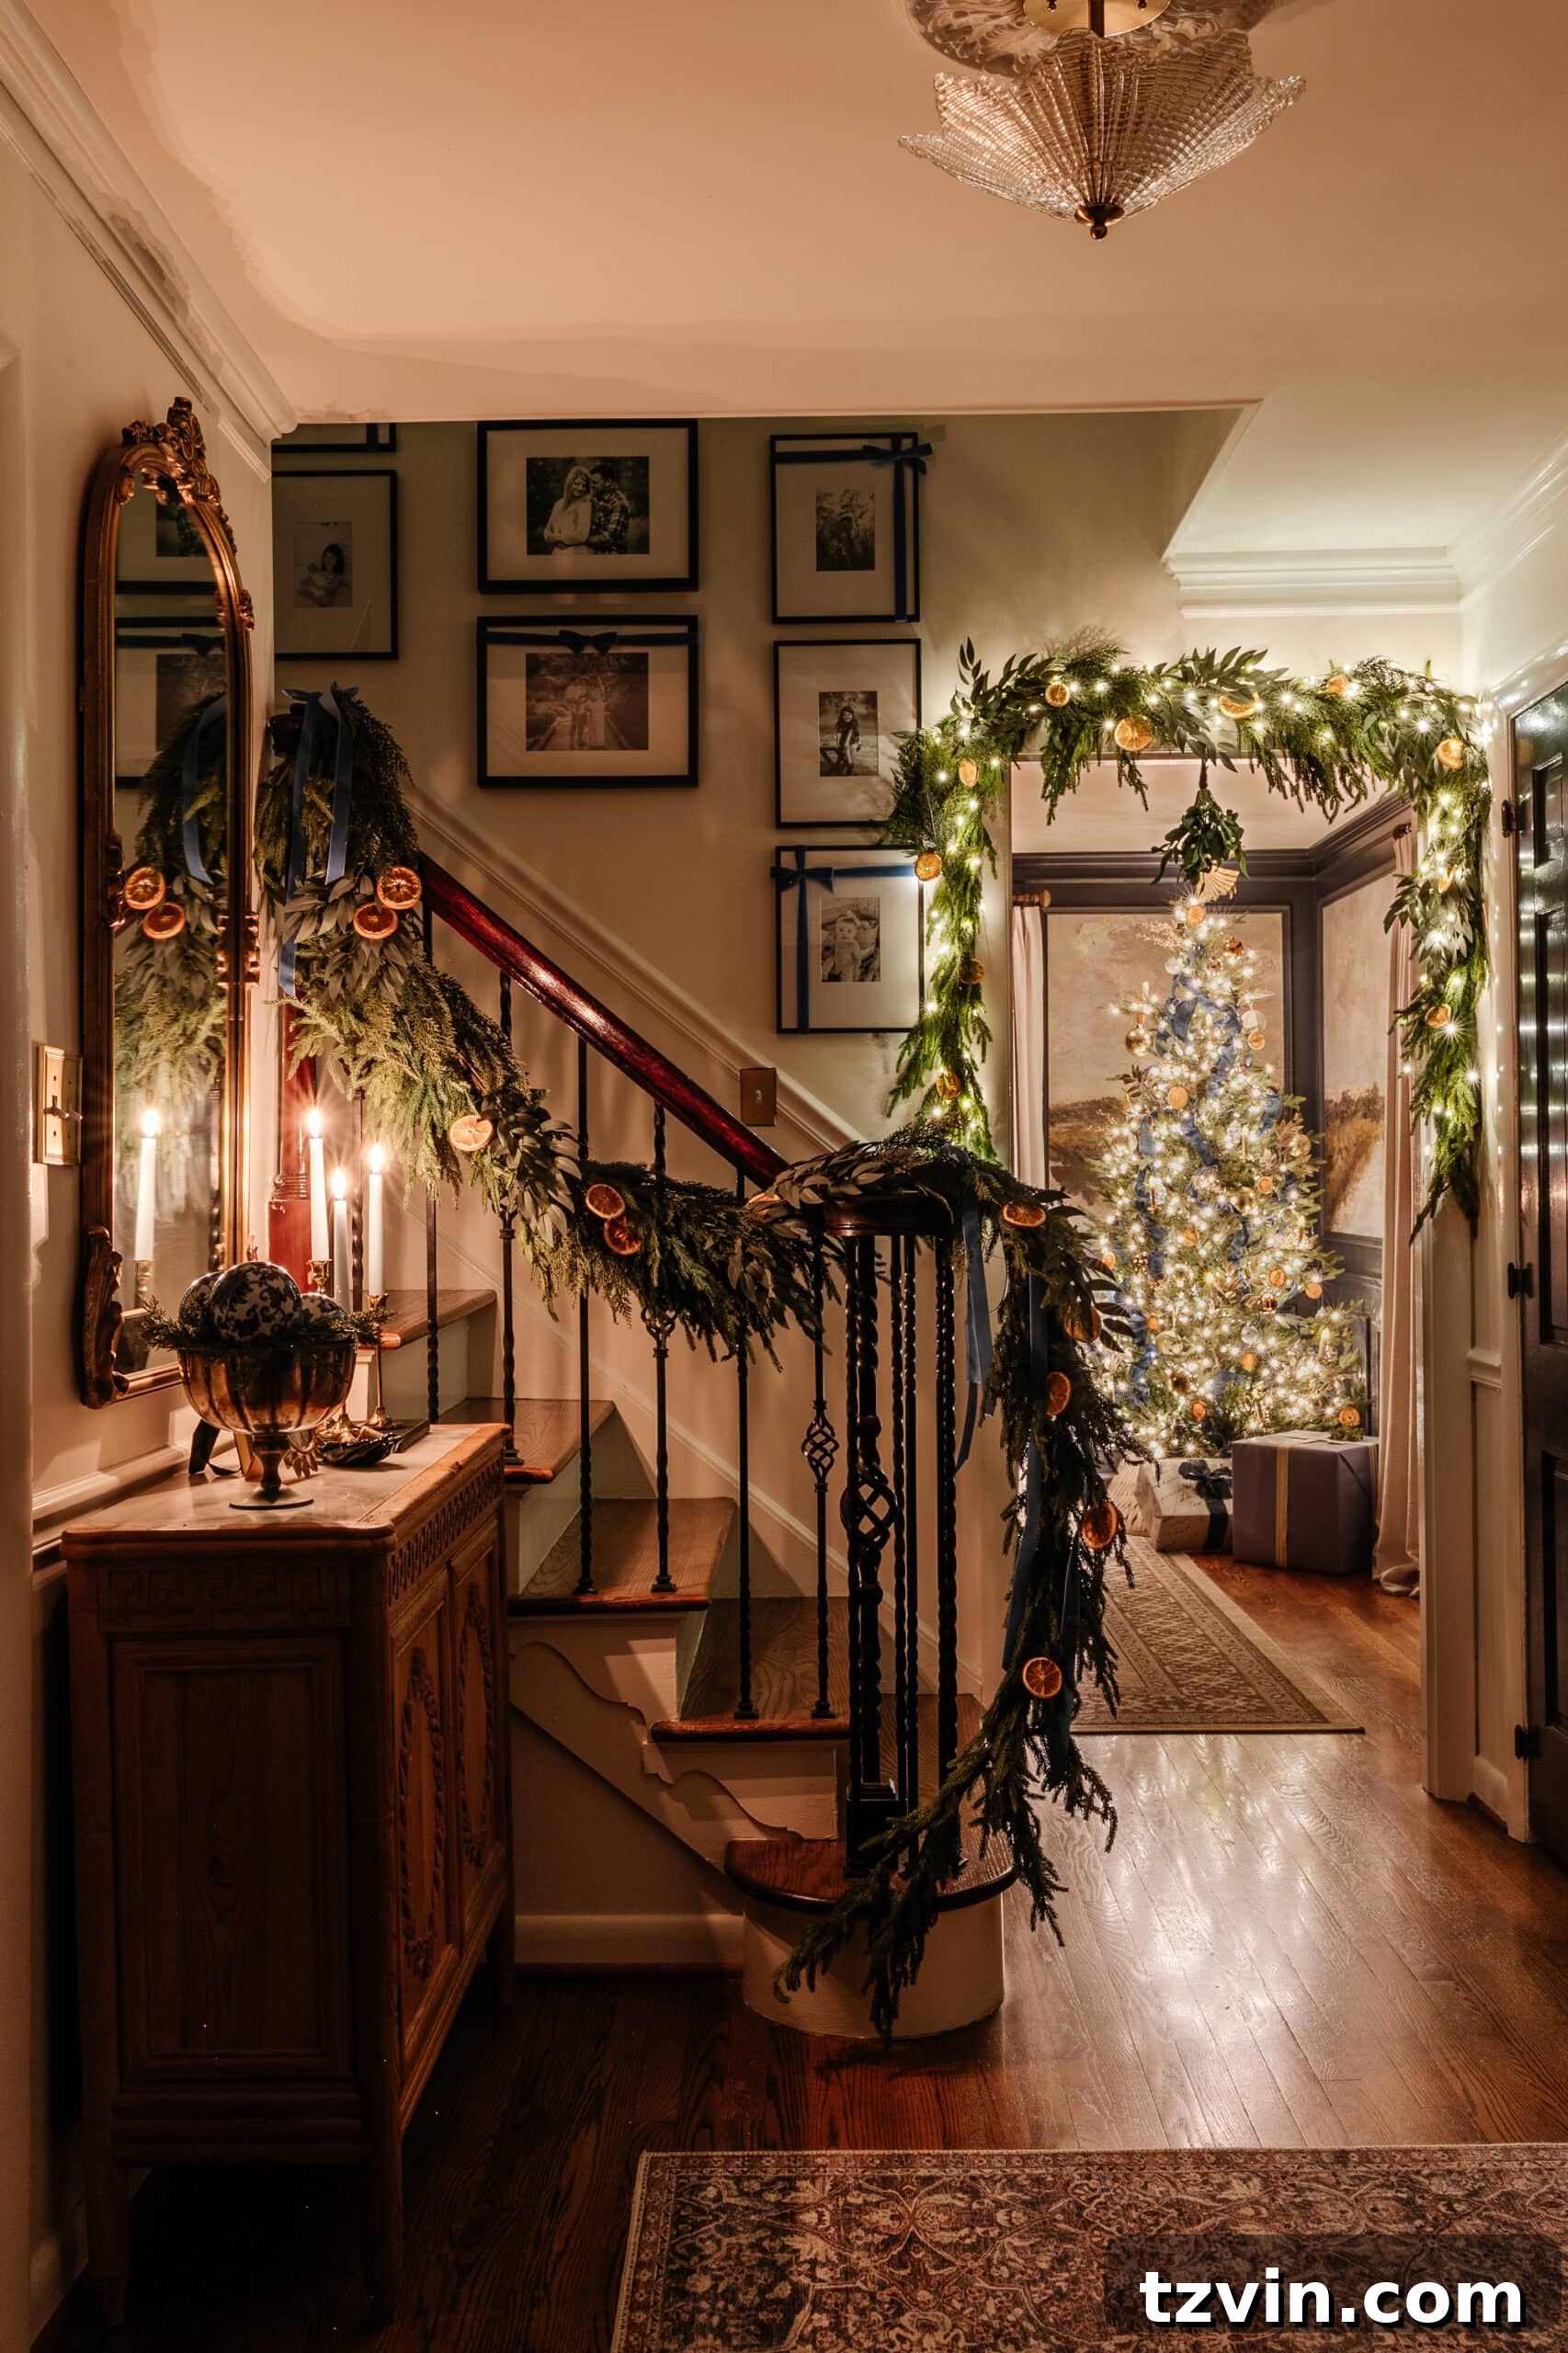
While I don’t consider myself a professional photographer – much of my knowledge of photographing interiors at night comes from my incredibly talented friend, Rachel Pax from Maison de Pax – what once felt like an insurmountable task has blossomed into one of my most beloved creative outlets. Capturing our home bathed in the soft glow of candles and strategic lamplight has become a rewarding passion. Now, I’m excited to pass along my tried-and-true tricks and tips to help you master the art of photographing your own home’s enchanting Christmas candlelight scenes.
Unlocking the Magic: How to Photograph Christmas Lights at Night
When it comes to night photography, especially capturing the delicate glow of Christmas lights, a dedicated DSLR or mirrorless camera often provides the best results. However, with the rapid advancements in mobile phone camera technology, you absolutely don’t need expensive gear to achieve stunning candlelight photos. Modern smartphones, equipped with advanced low-light capabilities, can produce truly beautiful images. This guide will cover tips for both professional cameras and mobile devices, ensuring everyone can learn how to photograph Christmas lights and create lasting holiday memories.
Choosing Your Tool: Mobile vs. DSLR or Mirrorless Camera
For superior image quality in low-light conditions, a DSLR or mirrorless camera remains the preferred choice. These cameras offer larger sensors and more manual controls, resulting in sharper photos with greater depth, richer detail, and significantly less digital noise or grain compared to most mobile phones. For the images you see here, I primarily used a Canon DSLR 6D camera body paired with a versatile Canon 35mm f/1.4L II USM lens. This setup allows for excellent performance in challenging light.
On the mobile front, I rely on an iPhone 13 Max Pro, which boasts impressive low-light performance and advanced camera features. Regardless of your chosen device, the foundational tips outlined in this tutorial will significantly enhance your Christmas light photography. The goal is to understand the principles, not just the equipment.
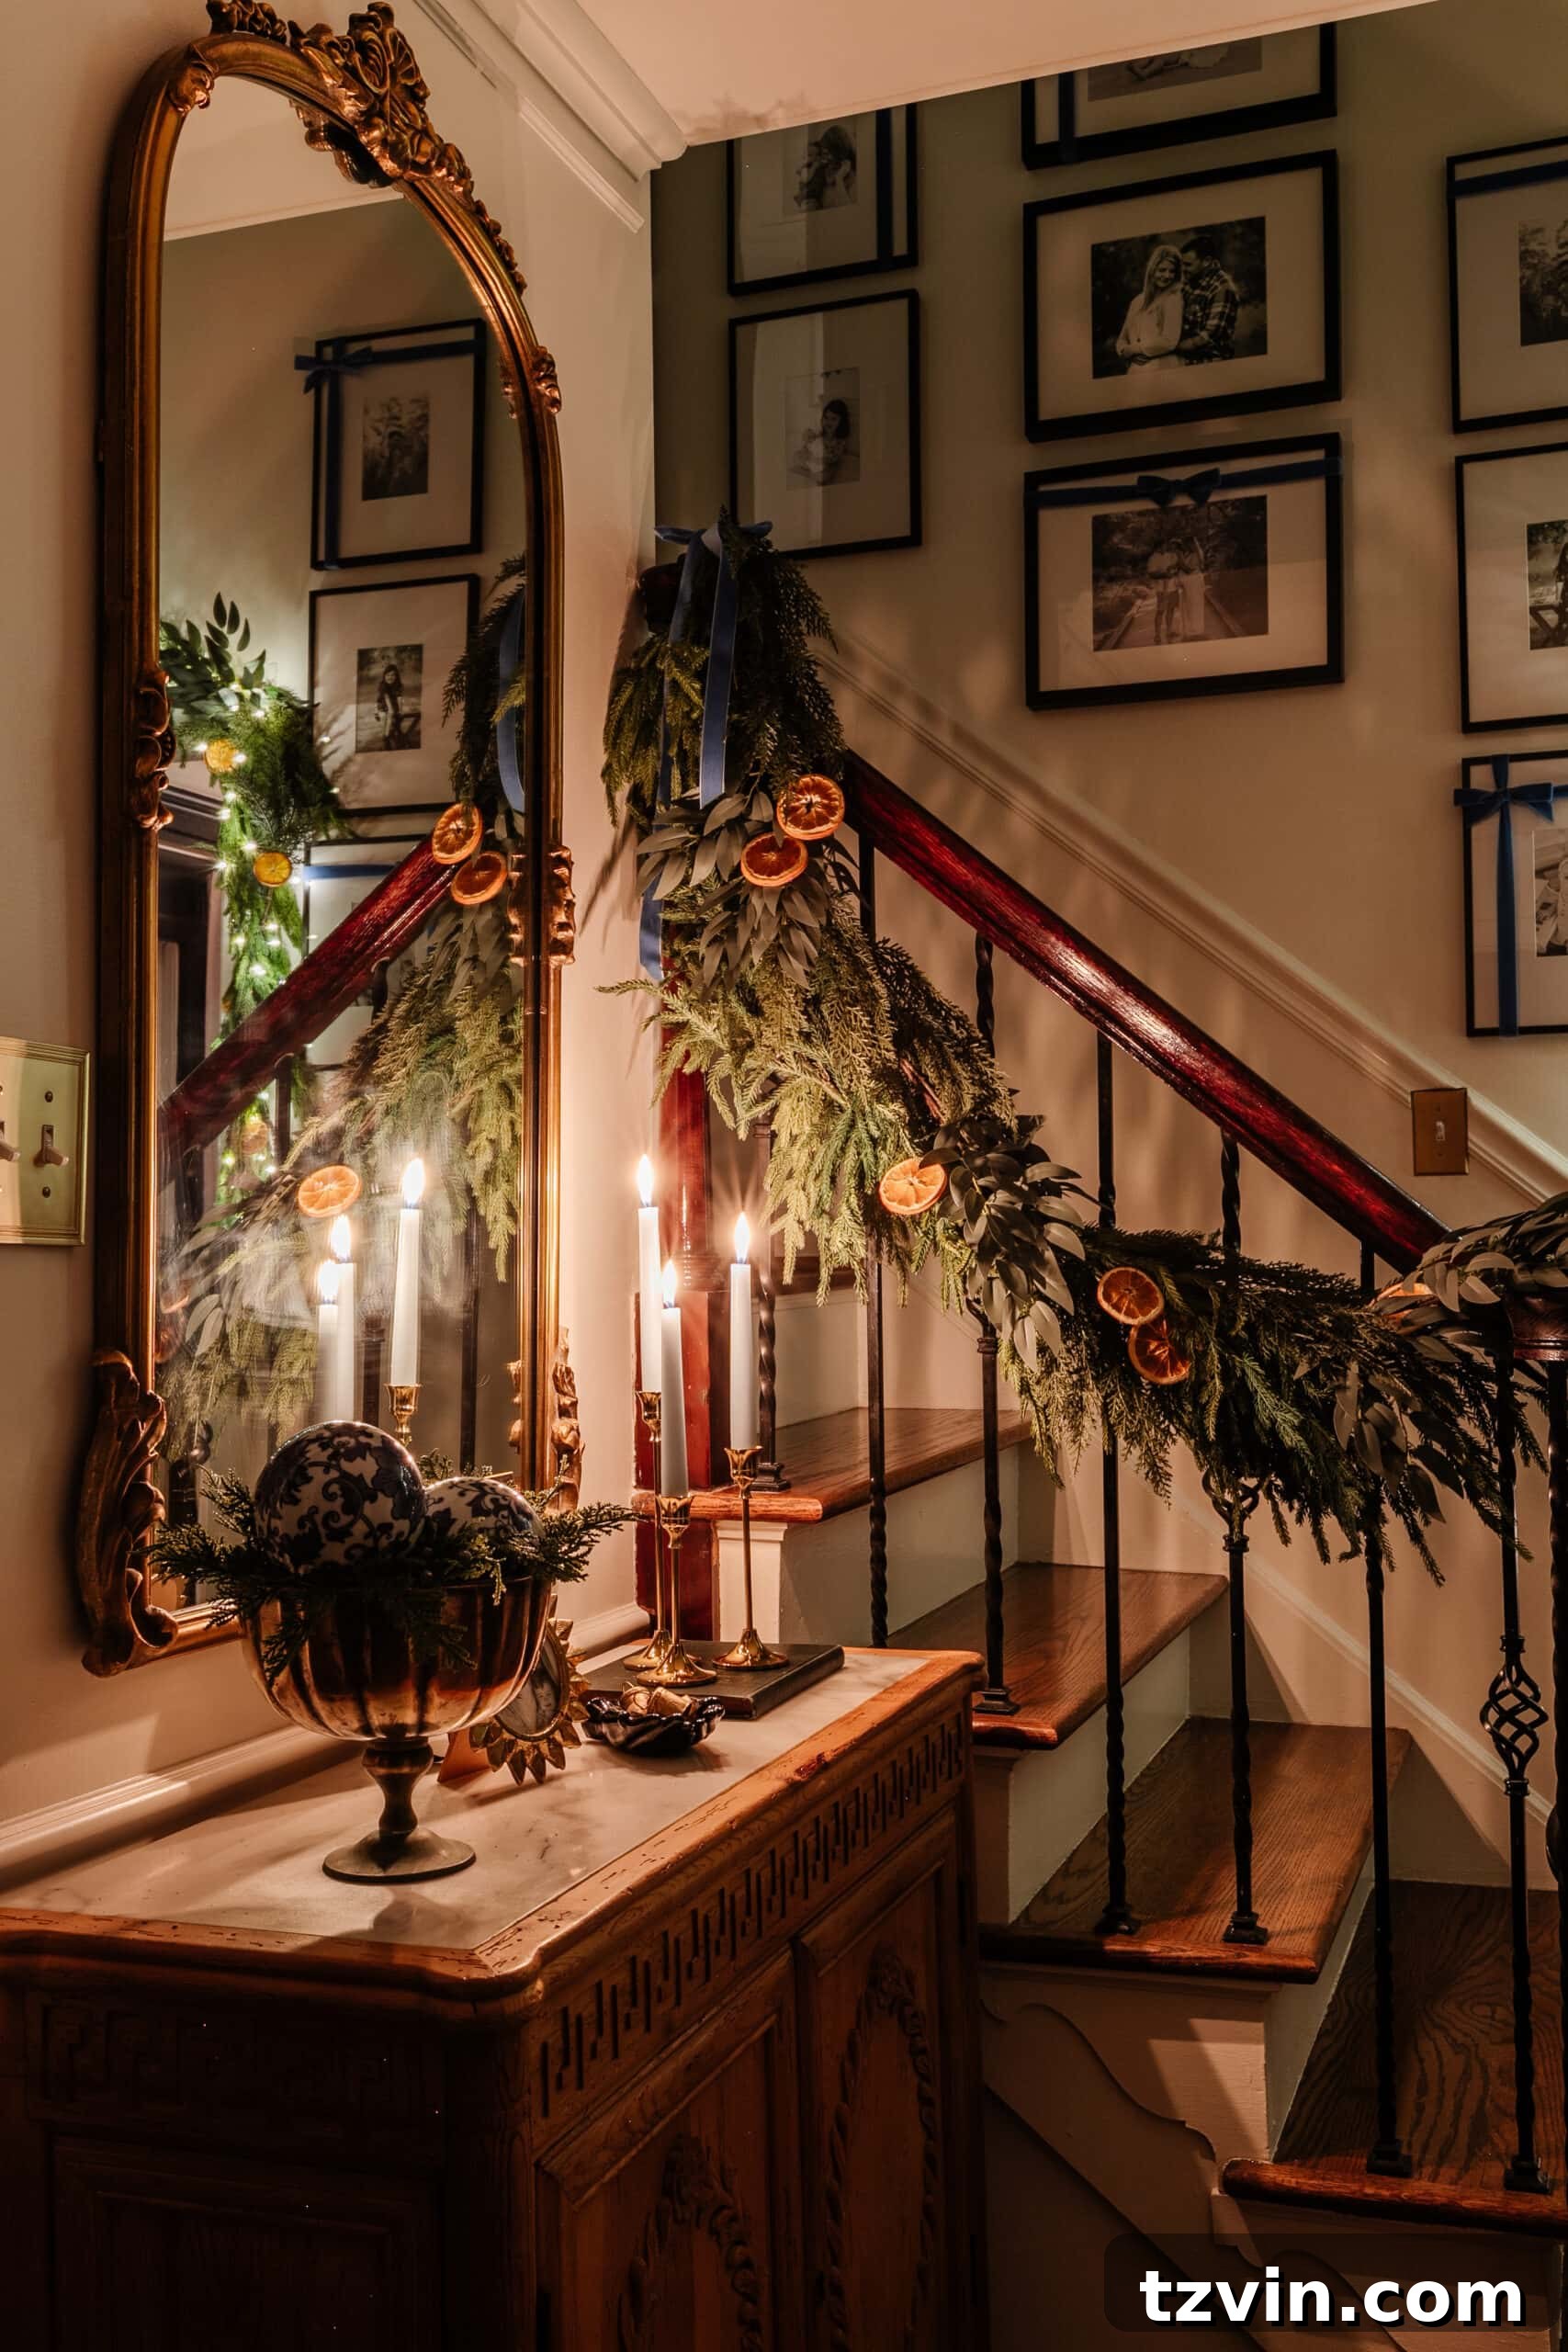
Crafting the Ambiance: How to Set Up the Best Lighting for Holiday Photos
The secret to stunning Christmas light photography lies in controlling your light sources. It’s about enhancing the magical glow, not overwhelming it. Here’s how to set the scene perfectly:
Eliminate Distractions: Turn Off All Overhead Lighting
This is perhaps the most crucial step. Before you even think about pressing the shutter button, ensure that almost all extraneous light sources are off. This includes overhead lights, bright floor lamps, and even strong task lighting. Your primary light sources should be the string lights on your Christmas tree and any strategically placed candles or accent lamps. Overhead lighting tends to flatten the scene, wash out the delicate glow of the Christmas lights, and destroy the magical, ethereal twinkle effect you’re trying to achieve. Occasionally, a very dim lamp, especially one on a dimmer switch, can add a subtle layer of light without overpowering the scene, but generally, less is more.
Strategic Illumination: Have At Least Two Small Light Sources in a Room
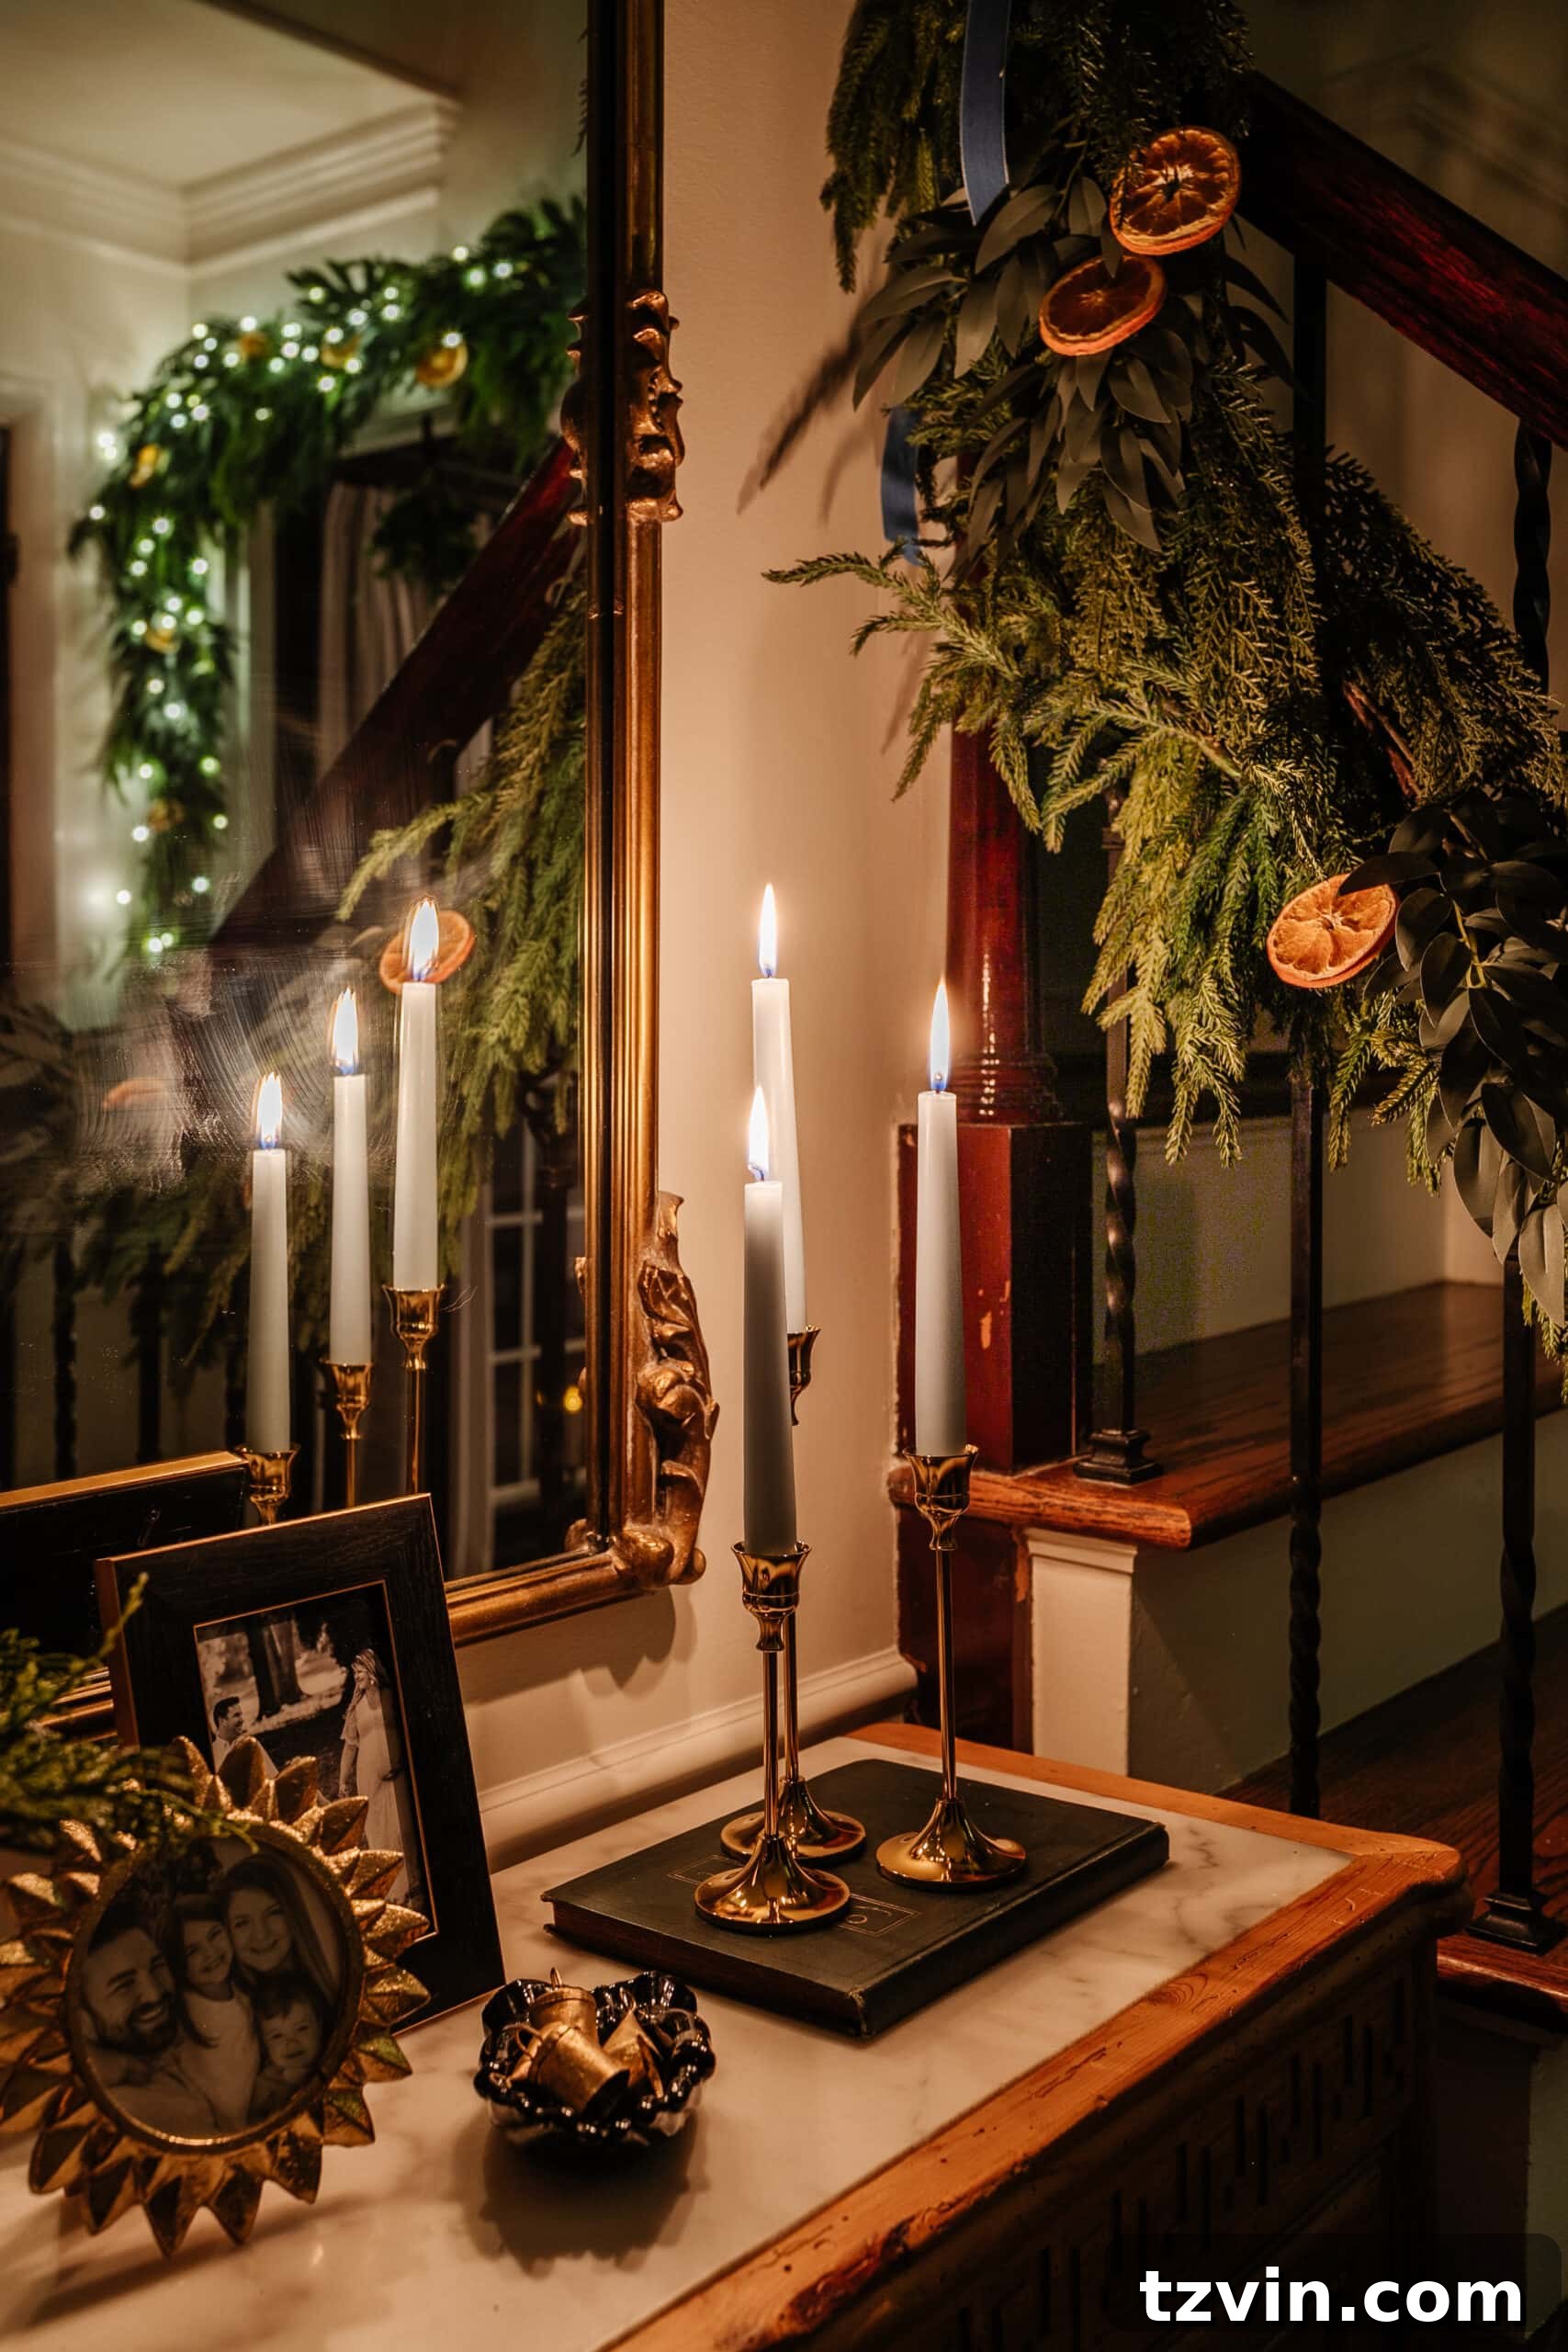
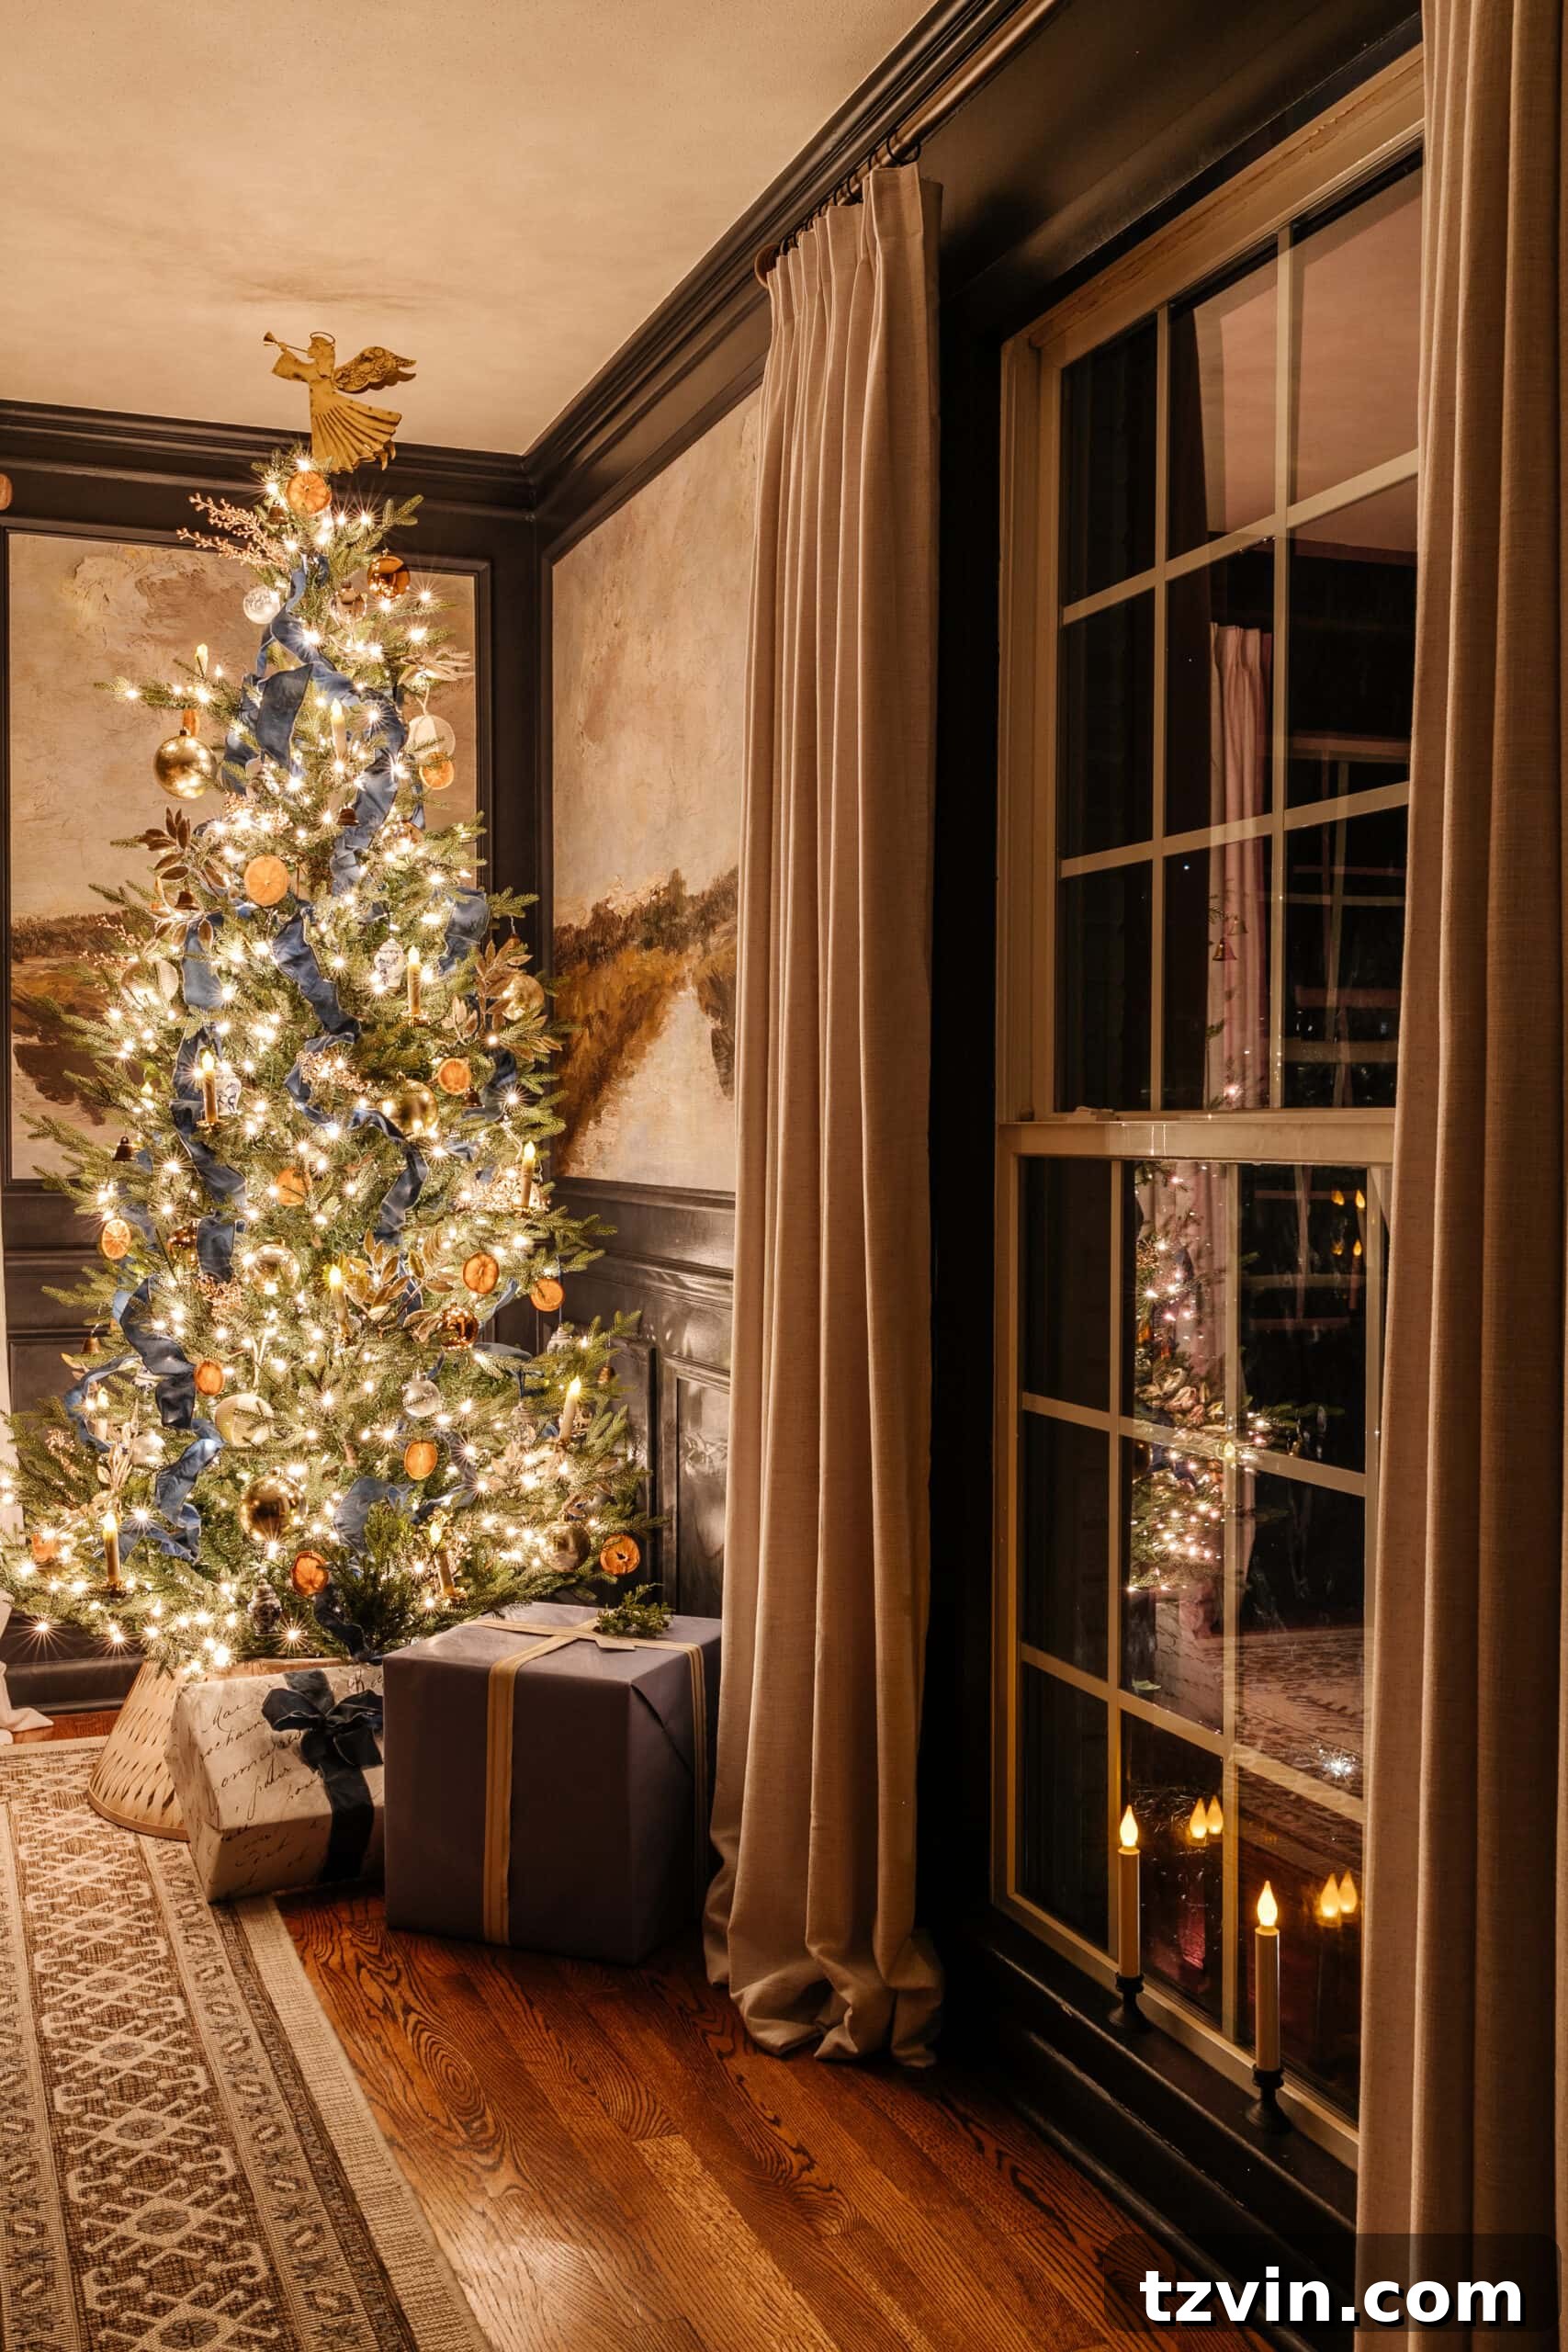
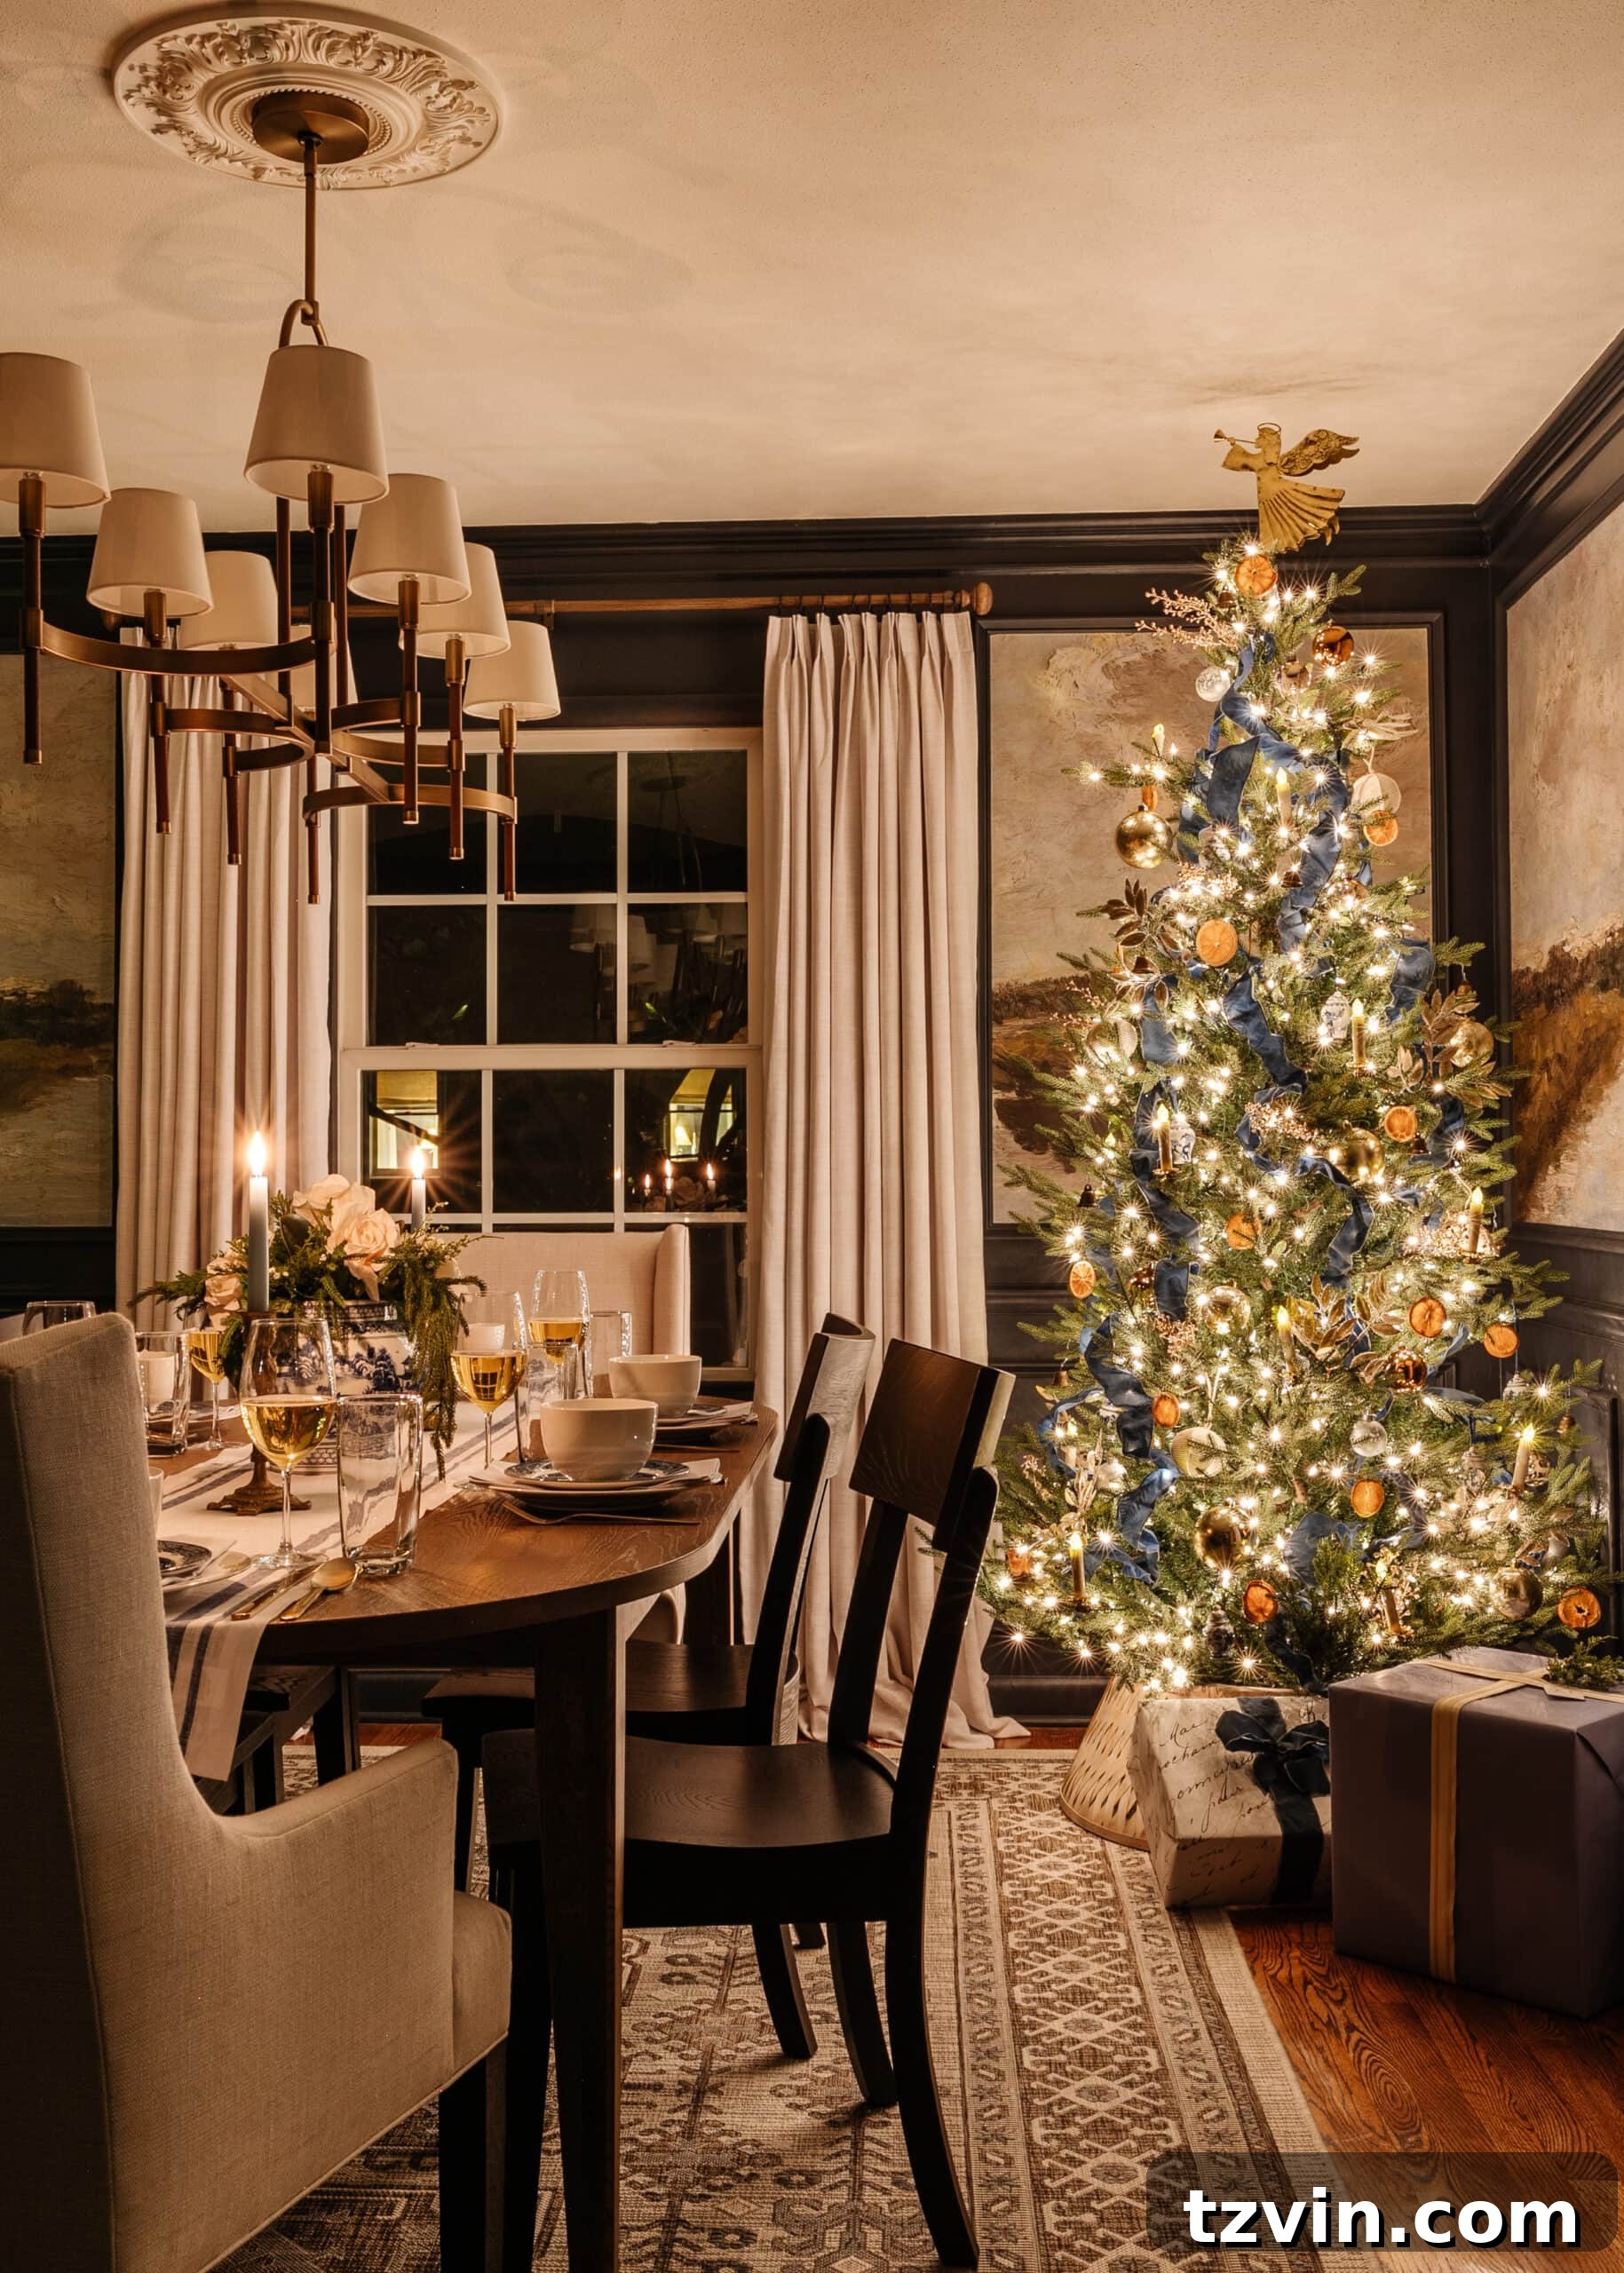
While turning off overhead lights is key, completely dark rooms can result in overly dramatic or underexposed images. To add depth, dimension, and a touch more luminosity, aim for at least two subtly spread-out light sources in the room. Typically, this means your main string lights (like those on a Christmas tree) and one or more candle sources. For example, if I’m photographing a Christmas tree, I often light candles on a nearby dining table or coffee table. This not only adds to the festive decor but also casts a soft, warm glow that gently illuminates other elements in the room, preventing them from disappearing into shadow.
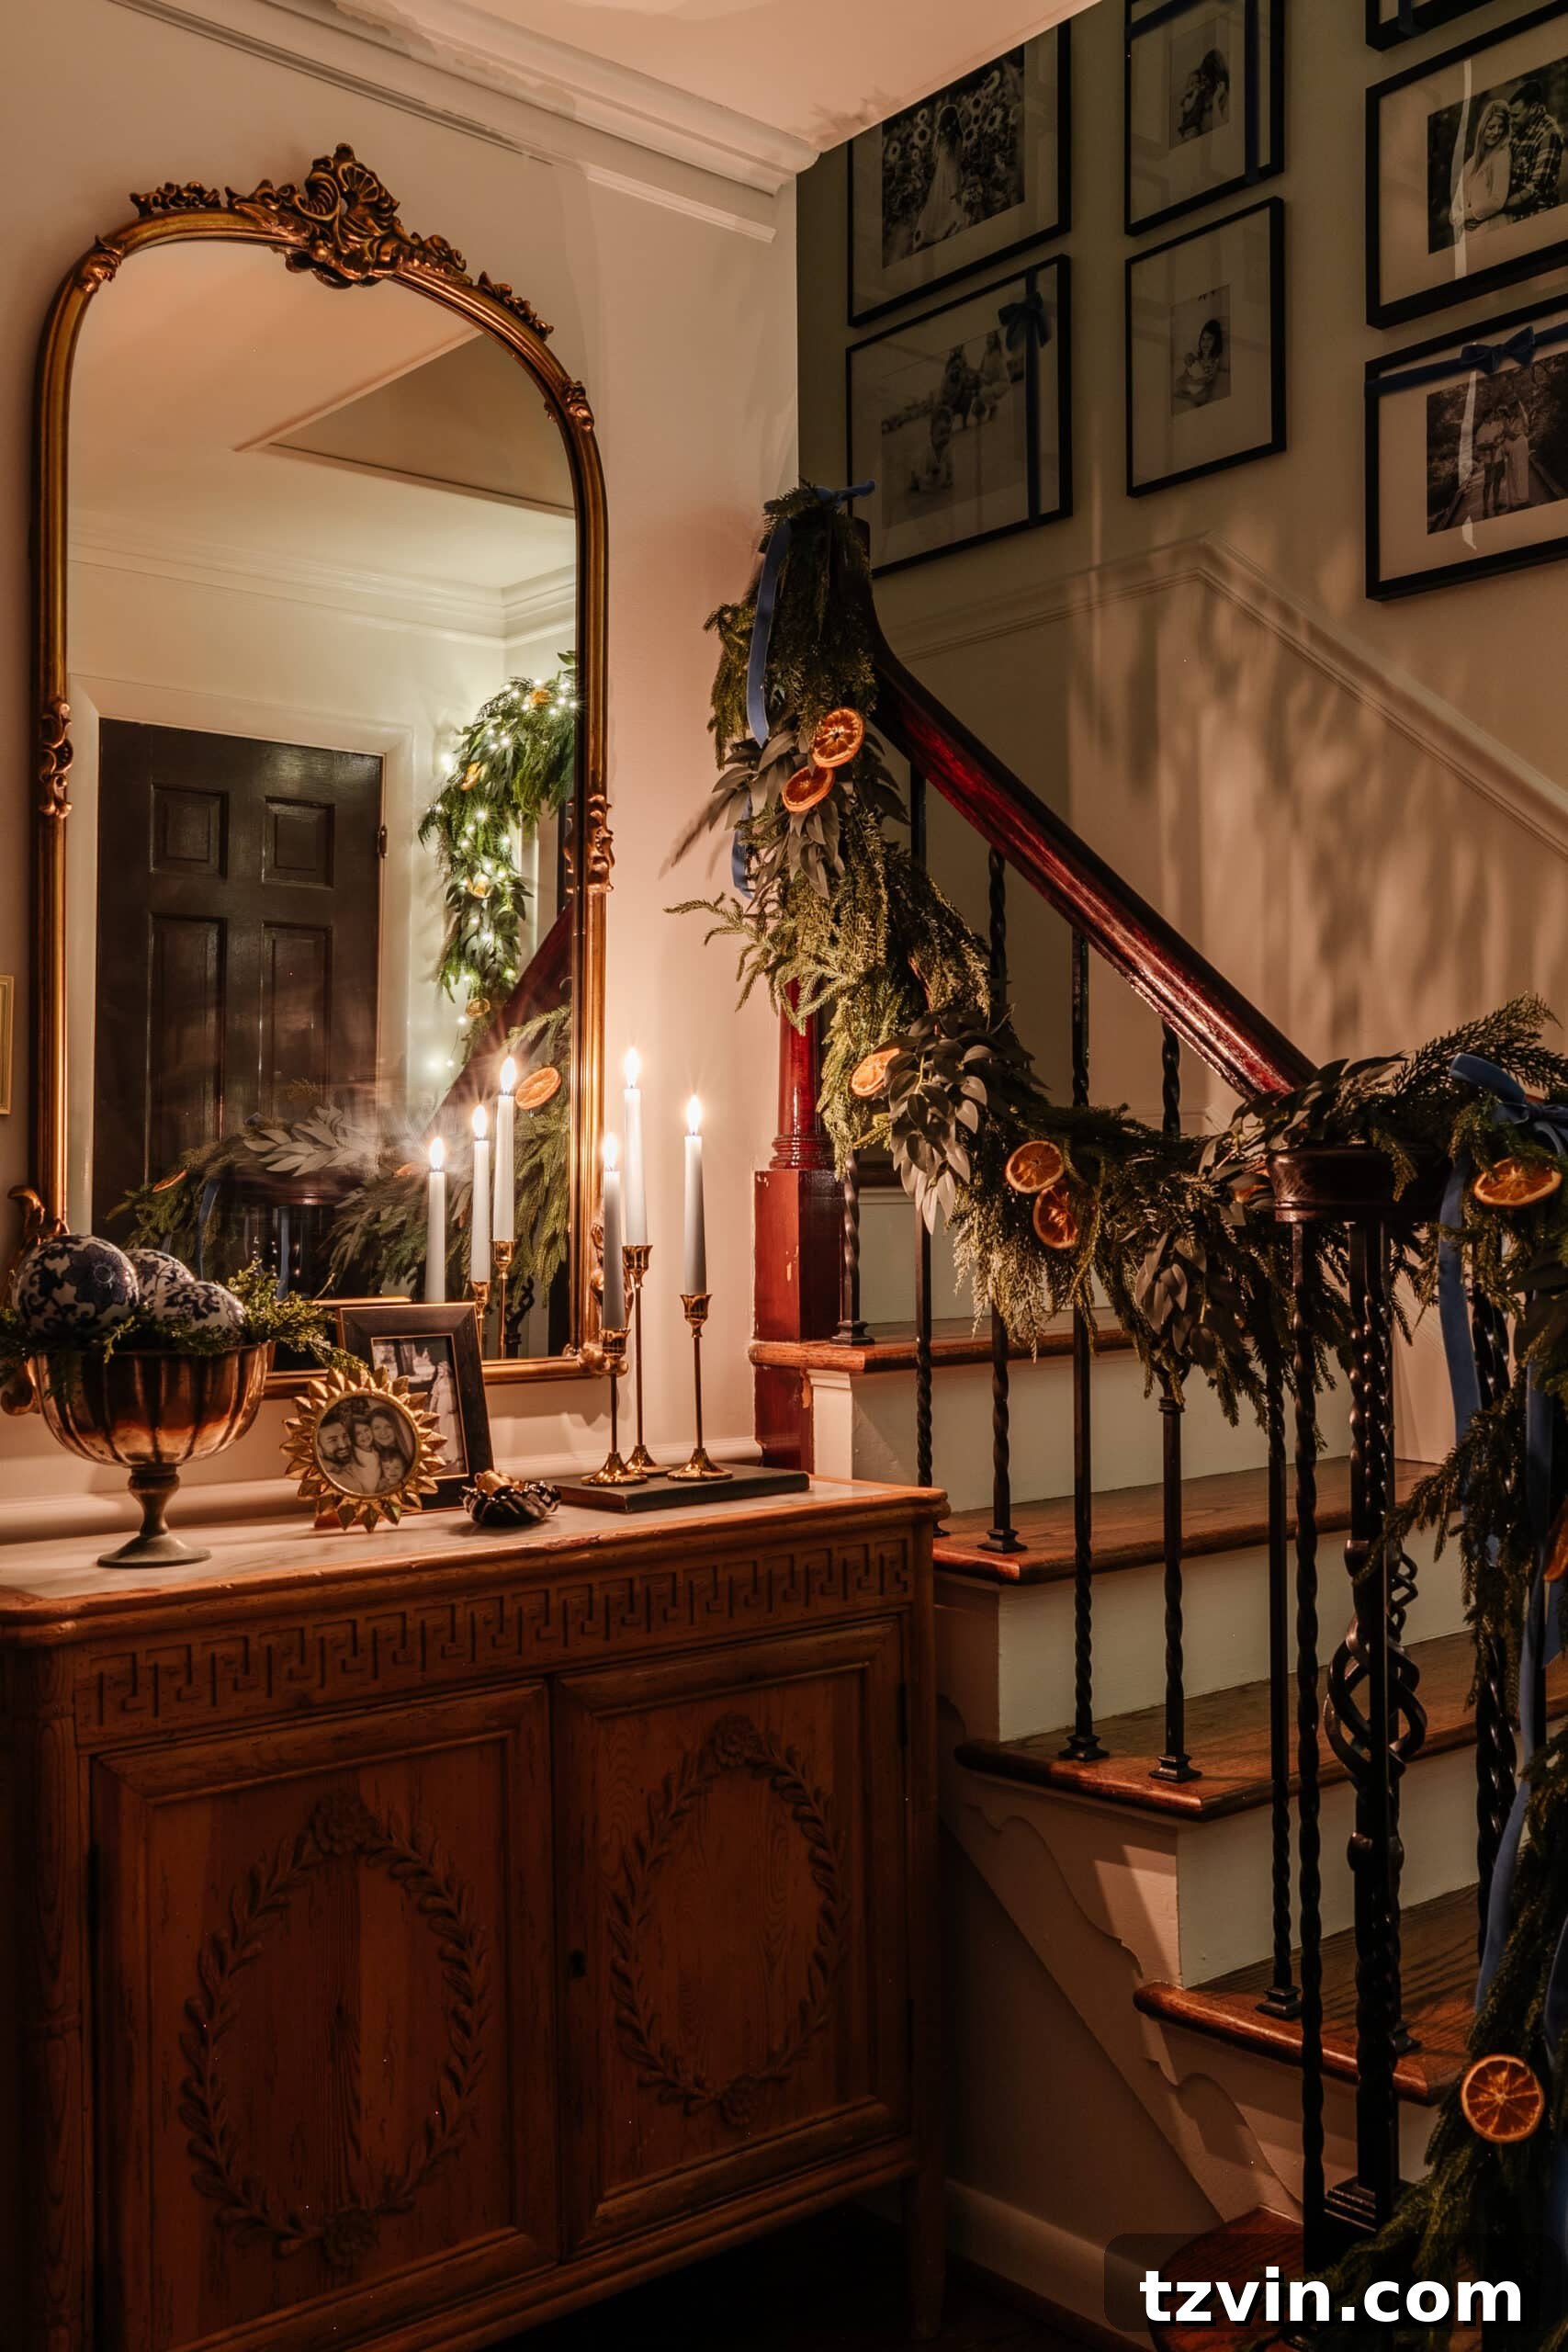
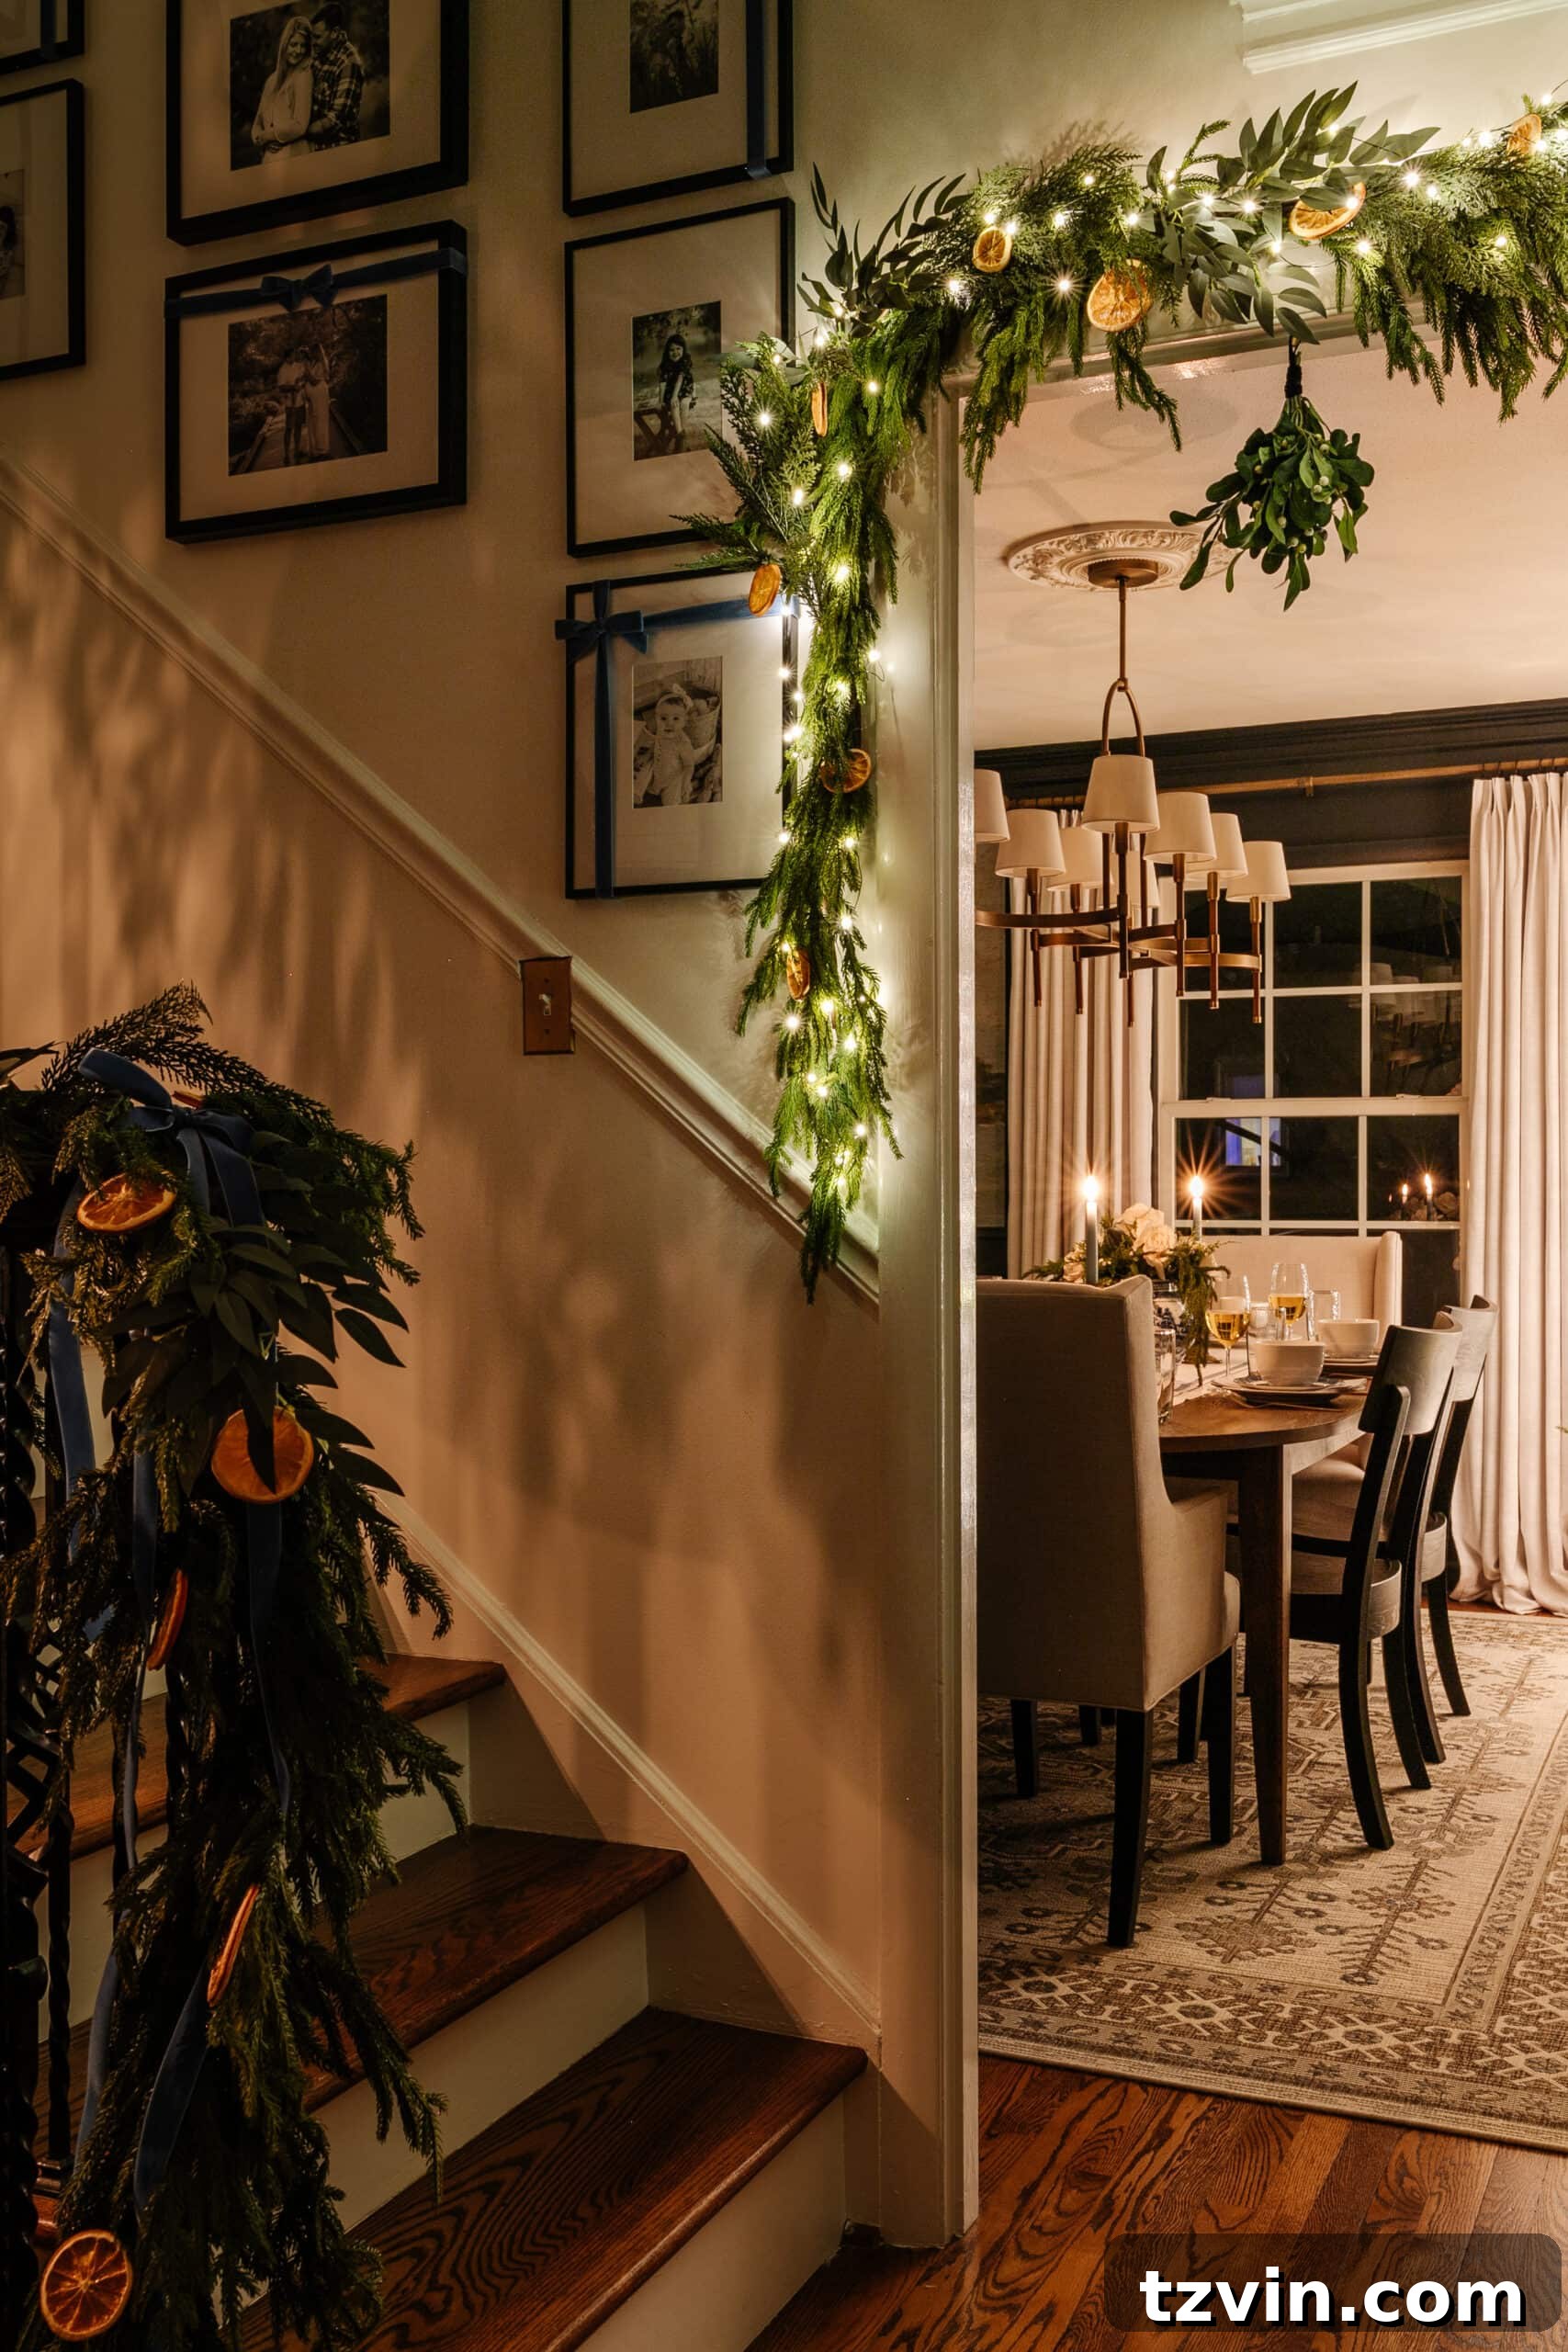
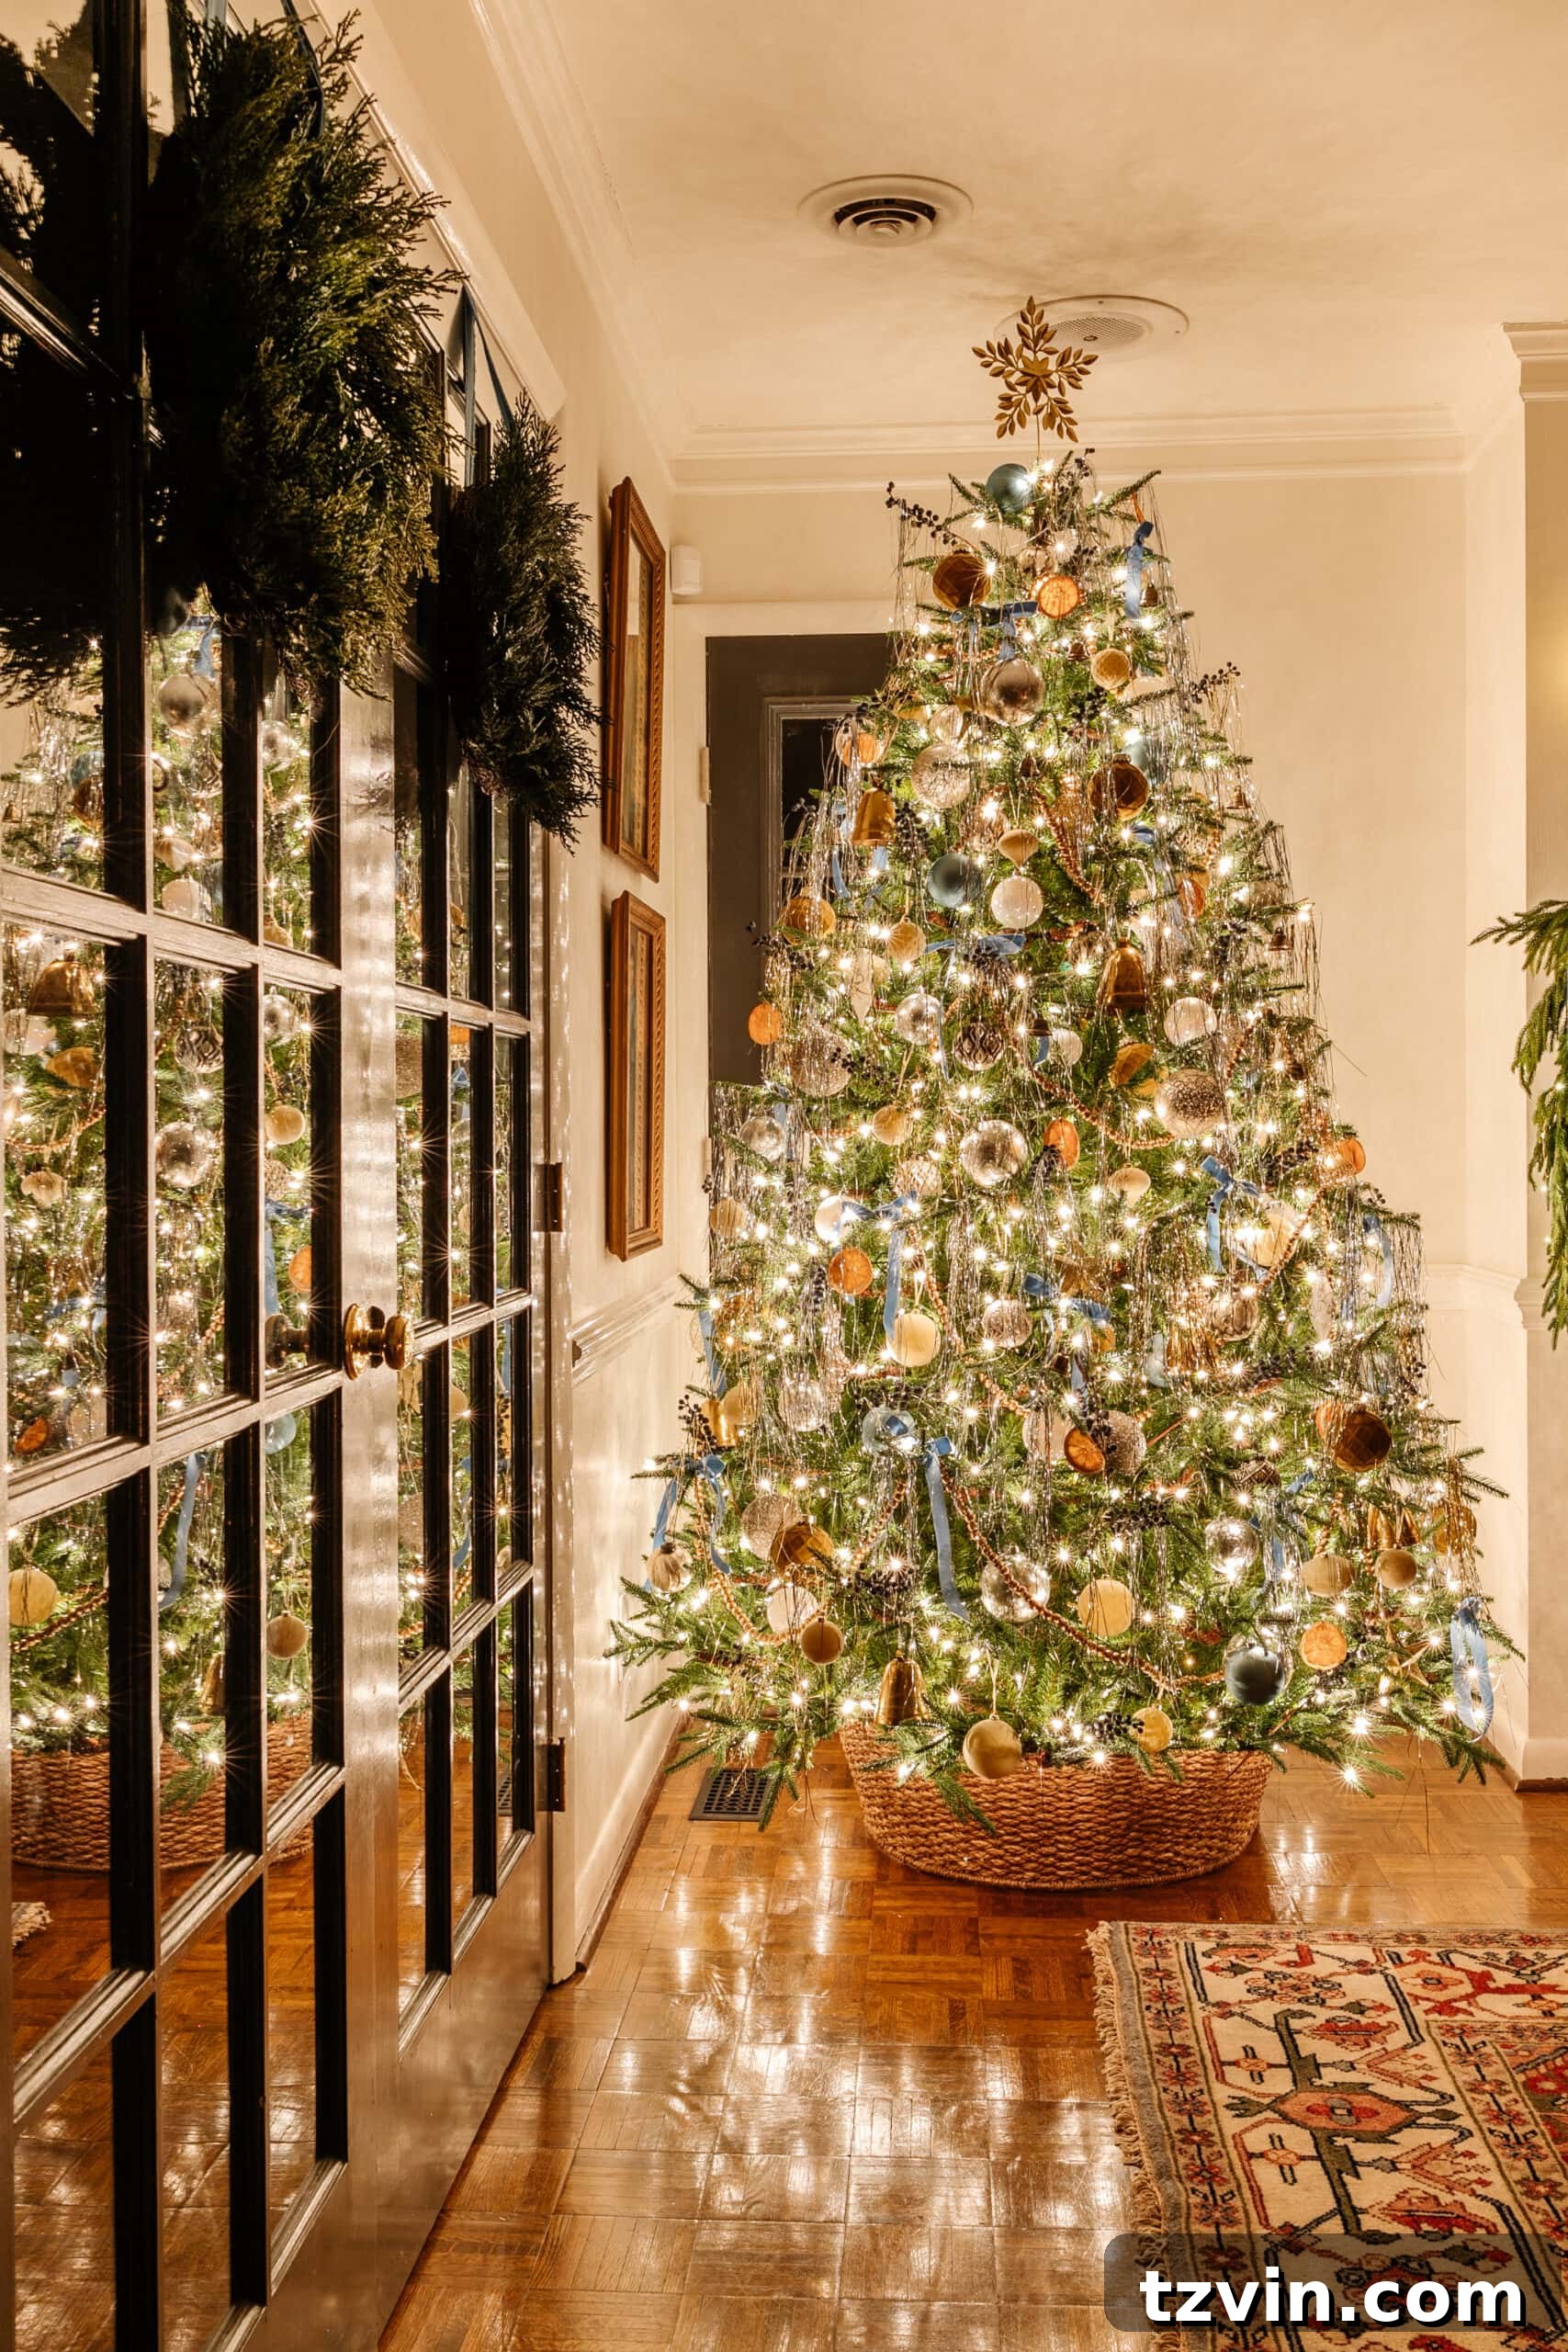
Notice the subtle shadows on the wall to the left in the photo below? Those are intentionally created by a set of candles glowing near the staircase on an entryway table. This layering of light and shadow is crucial for adding visual interest and depth to your holiday photographs, making the scene feel more alive and inviting.
Essential Tools and Techniques for Stunning Holiday Photography
Beyond light setup, a few key tools and photographic techniques will elevate your Christmas light photos from good to truly extraordinary.
Avoid Harshness: Eliminate Flash
Whether you’re using a sophisticated DSLR or your smartphone, always remember this golden rule for night photography: turn off the flash mode. On-camera flash is often too harsh and direct. It tends to blow out the delicate details of the lights, create unflattering shadows, and completely destroy the natural, soft glow you’re trying to capture. Instead, rely on the ambient light of your Christmas decorations and the camera’s ability to gather light over time.
Stability is Key: Use a Tripod and/or Remote
In low-light conditions, your camera needs to gather light for longer periods (known as a longer shutter speed). Even the slightest movement can result in blurry, unfocused images. This is where a tripod becomes indispensable. Both cameras and mobile phones benefit immensely from the stability a tripod provides, eliminating camera shake and ensuring your photos are crisp, clear, and perfectly focused. This is especially true when attempting to capture those delicate light trails or sharp details in a dim setting.
For mobile phone users, I highly recommend my favorite mobile phone tripod. For those with a DSLR or mirrorless camera, consider my preferred camera tripod, or for a more budget-friendly option, this low-budget camera tripod works wonderfully.
To further minimize camera shake, activate your camera’s 2-second timer for each shot or use a remote shutter button. This allows the camera to settle completely before the exposure begins, preventing any vibration from your hand pressing the shutter.
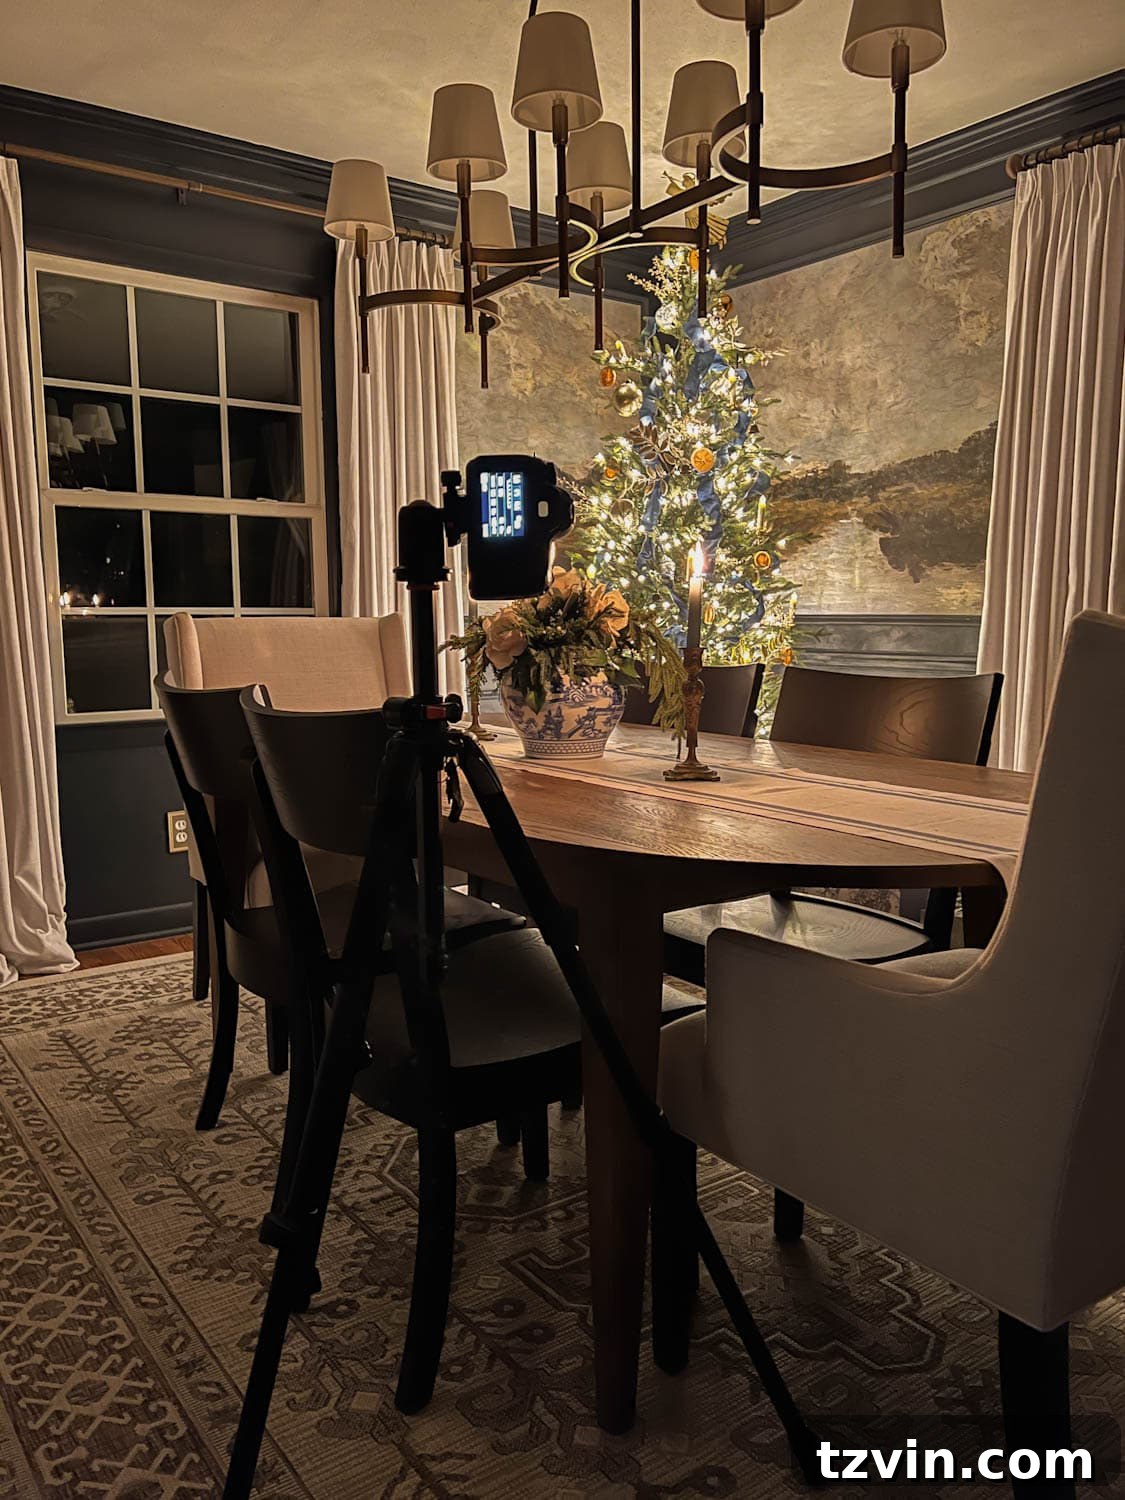
If a tripod isn’t available, improvise by bracing your arms firmly against your body, tucking your elbows into your sides, and holding your phone or camera as steady as possible. You can also lean against a wall or place your device on a stable surface like a table or bookshelf.
Boost the Glow: Keep a Spare Strand of String Lights Handy
Sometimes, even with careful light setup, certain areas of a room might remain too dark, losing important details. In these very dim situations, a simple trick is to plug in a spare strand of string lights. Place these extra lights just out of view of your camera lens, strategically positioned to add a subtle boost of light to shadowy areas. This provides a gentle fill light that enhances visibility without creating harshness, maintaining the overall magical atmosphere.
Dynamic Composition: Positioning and Angles
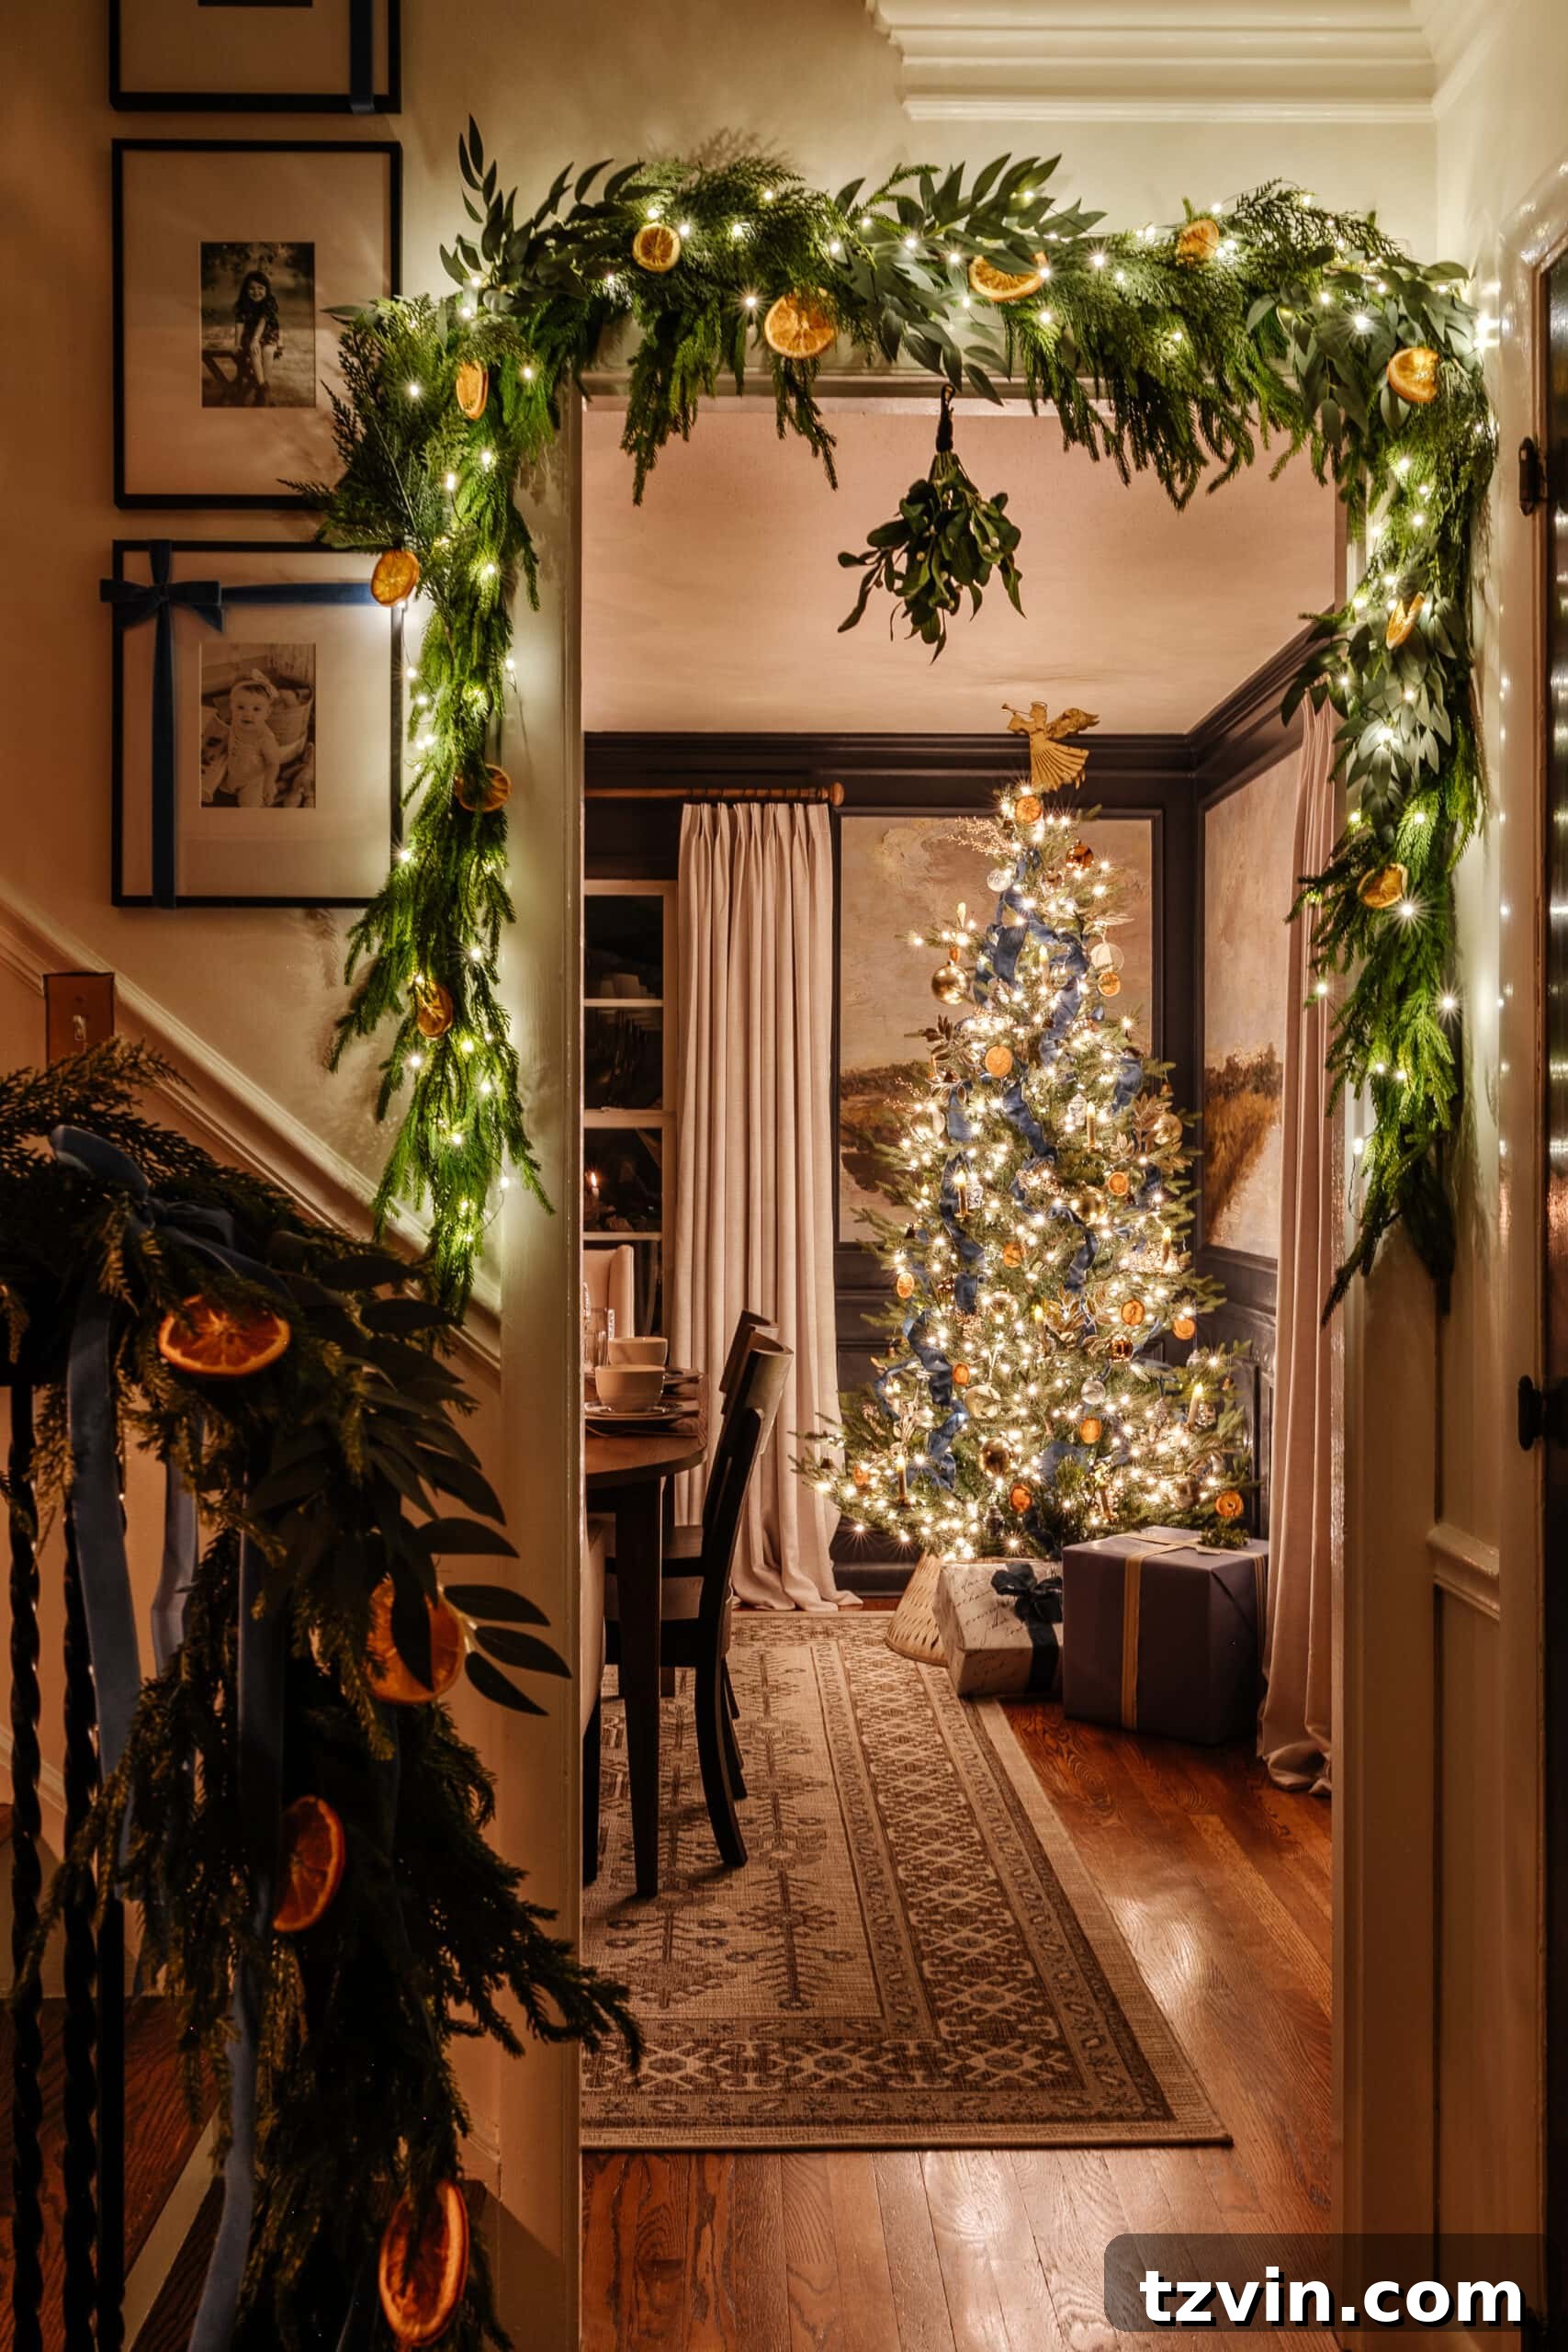
Experimentation is key to great photography. Don’t be afraid to try different angles and compositions. When shooting a room, try squatting down slightly to ensure both the ceiling and floor are equally represented in the frame, creating a balanced view. Photograph your Christmas tree from various angles – from directly in front, from the side, or even from slightly above to capture its full splendor. Get down low for a unique perspective, or shoot overhead for a broader context. Pay attention to objects on tabletops, styling them beautifully and capturing them at eye level. The goal is to explore how different framing choices can evoke distinct moods and highlight various aspects of your holiday decor.
Mastering Mobile: How to Photograph Christmas Tree Lights With an iPhone
While I primarily use an iPhone for mobile photography, these principles can be broadly applied to other smartphone users as well, though specific menu options might differ. I currently use an iPhone 13 Max Pro, appreciating its advanced camera lens options and Cinematic settings. However, older iPhone models with Night Mode capabilities can still produce stunning results.
Optimizing Your iPhone for Holiday Photography
To ensure the highest image quality, always use your iPhone’s native Camera app. Avoid taking photos directly through third-party apps like Instagram or Snapchat, as these often compress images and apply filters that can reduce overall quality.
Embrace the Darkness: Switch On Night Mode
Night mode is a game-changer for low-light mobile photography. This feature, available on iPhone models 12, 13, 14, and the telephoto/wide lenses on iPhone 11, captures multiple frames over a short period and intelligently merges them to create a brighter, more detailed image with reduced noise.
- Open the Camera app.
- Look for the distinctive moon icon in the top left corner (or top right in landscape orientation).
- If the icon is grayed out, Night mode is available but not automatically activated. If it’s yellow, Night mode is auto-enabled, indicating the camera detects low light.
- Tap the yellow moon icon to manually adjust the exposure time. A slider will appear, allowing you to increase or decrease the capture duration based on how much light you want to gather.
- Hold your iPhone as still as possible during the Night mode shot. The moon icon will display the total exposure time, and a countdown will appear above the shutter button, indicating the progress.
Fine-Tune Brightness: Manually Adjust Exposure
For more control over the brightness of your photos, you can manually adjust the exposure:
- Open the Camera app.
- Frame your shot on the screen.
- Tap the specific spot on the screen where you want the camera to focus. A yellow box will appear around this focal point.
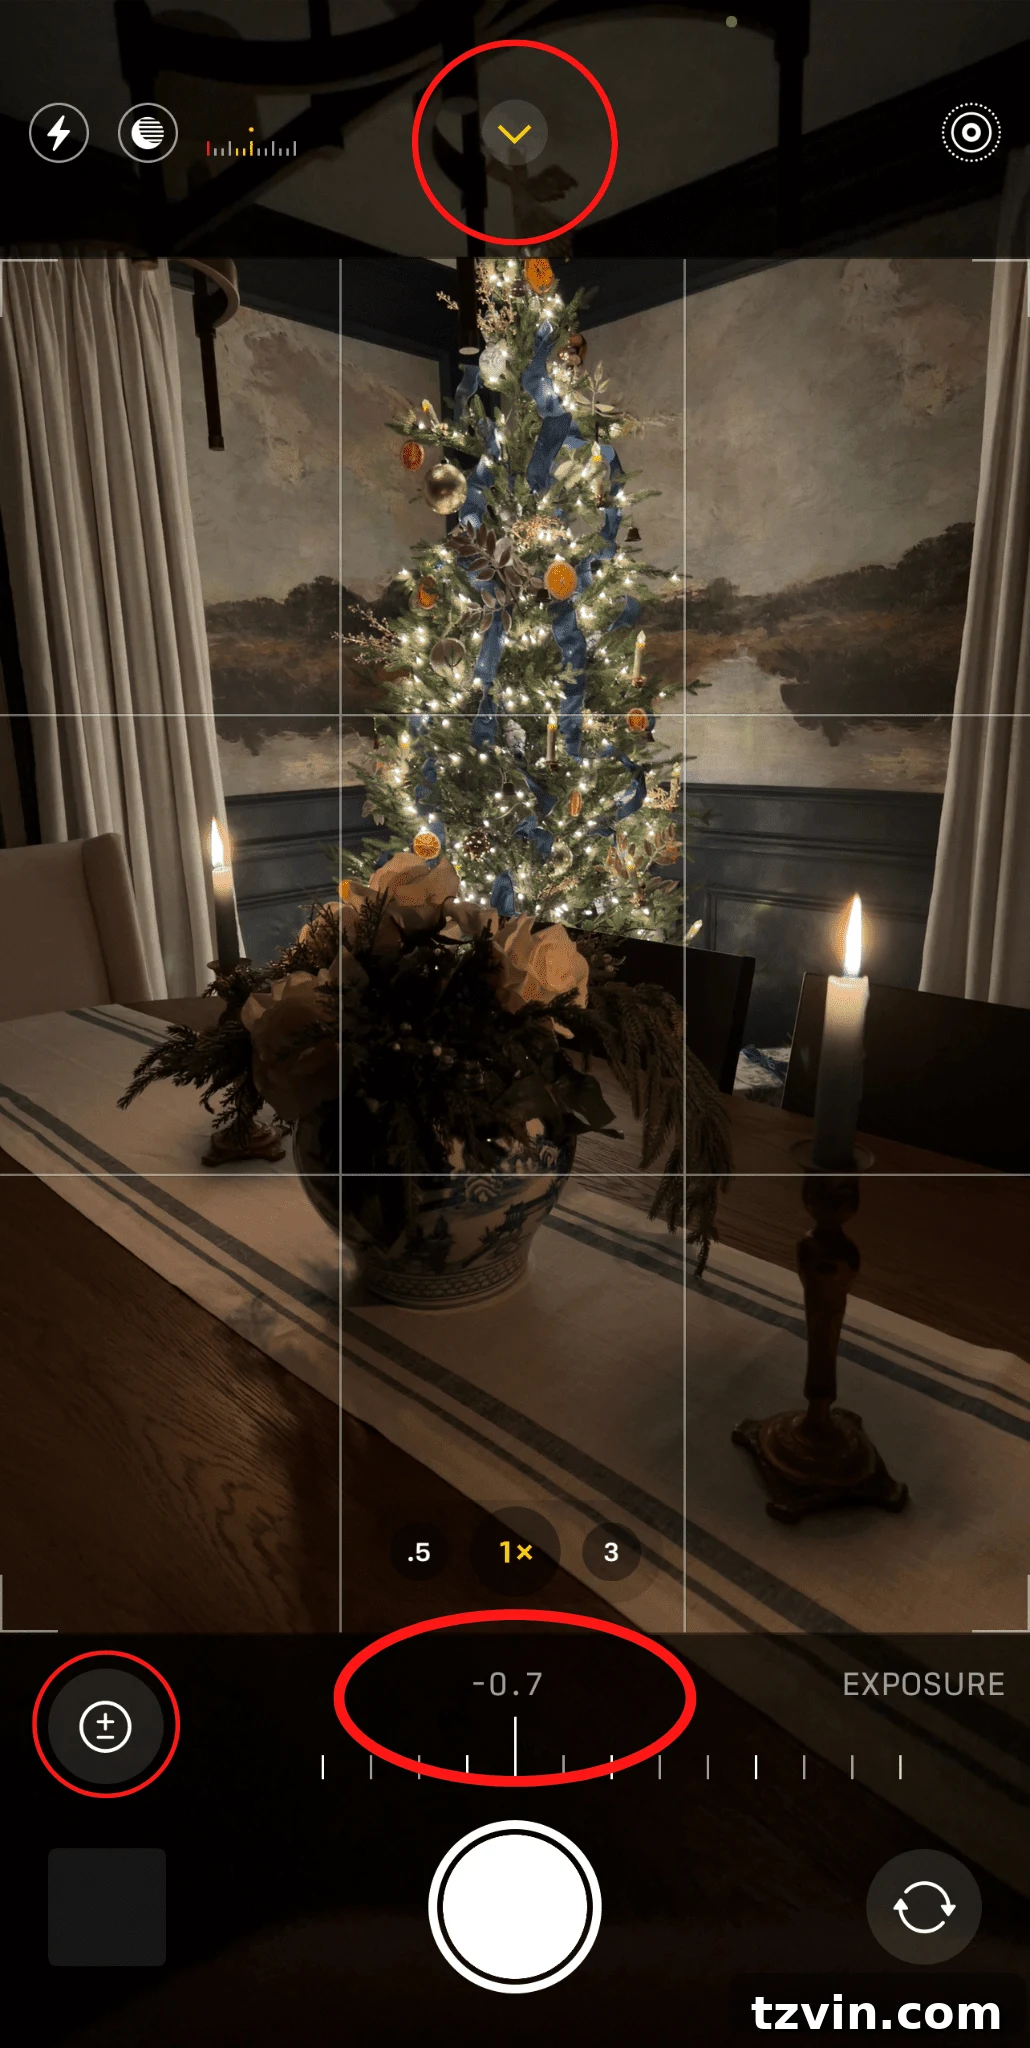
- Tap the arrow (^) at the top of your screen to reveal a menu below your Shutter button.
- Tap the plus and minus icon (exposure control).
- Swipe left to make your photo brighter, or swipe right to make it darker. This allows you to achieve the perfect balance of light for your scene, preventing highlights from being blown out or shadows from becoming too deep.
To lock your exposure and focus settings, preventing them from automatically readjusting with light changes or movement, simply long-press on the yellow focus box on your screen. “AE/AF LOCK” will appear at the top, confirming these settings are fixed. To unlock, simply tap anywhere else on the screen.
Artistic Blurs: Take Close-Ups in Portrait Mode for Bokeh Effect
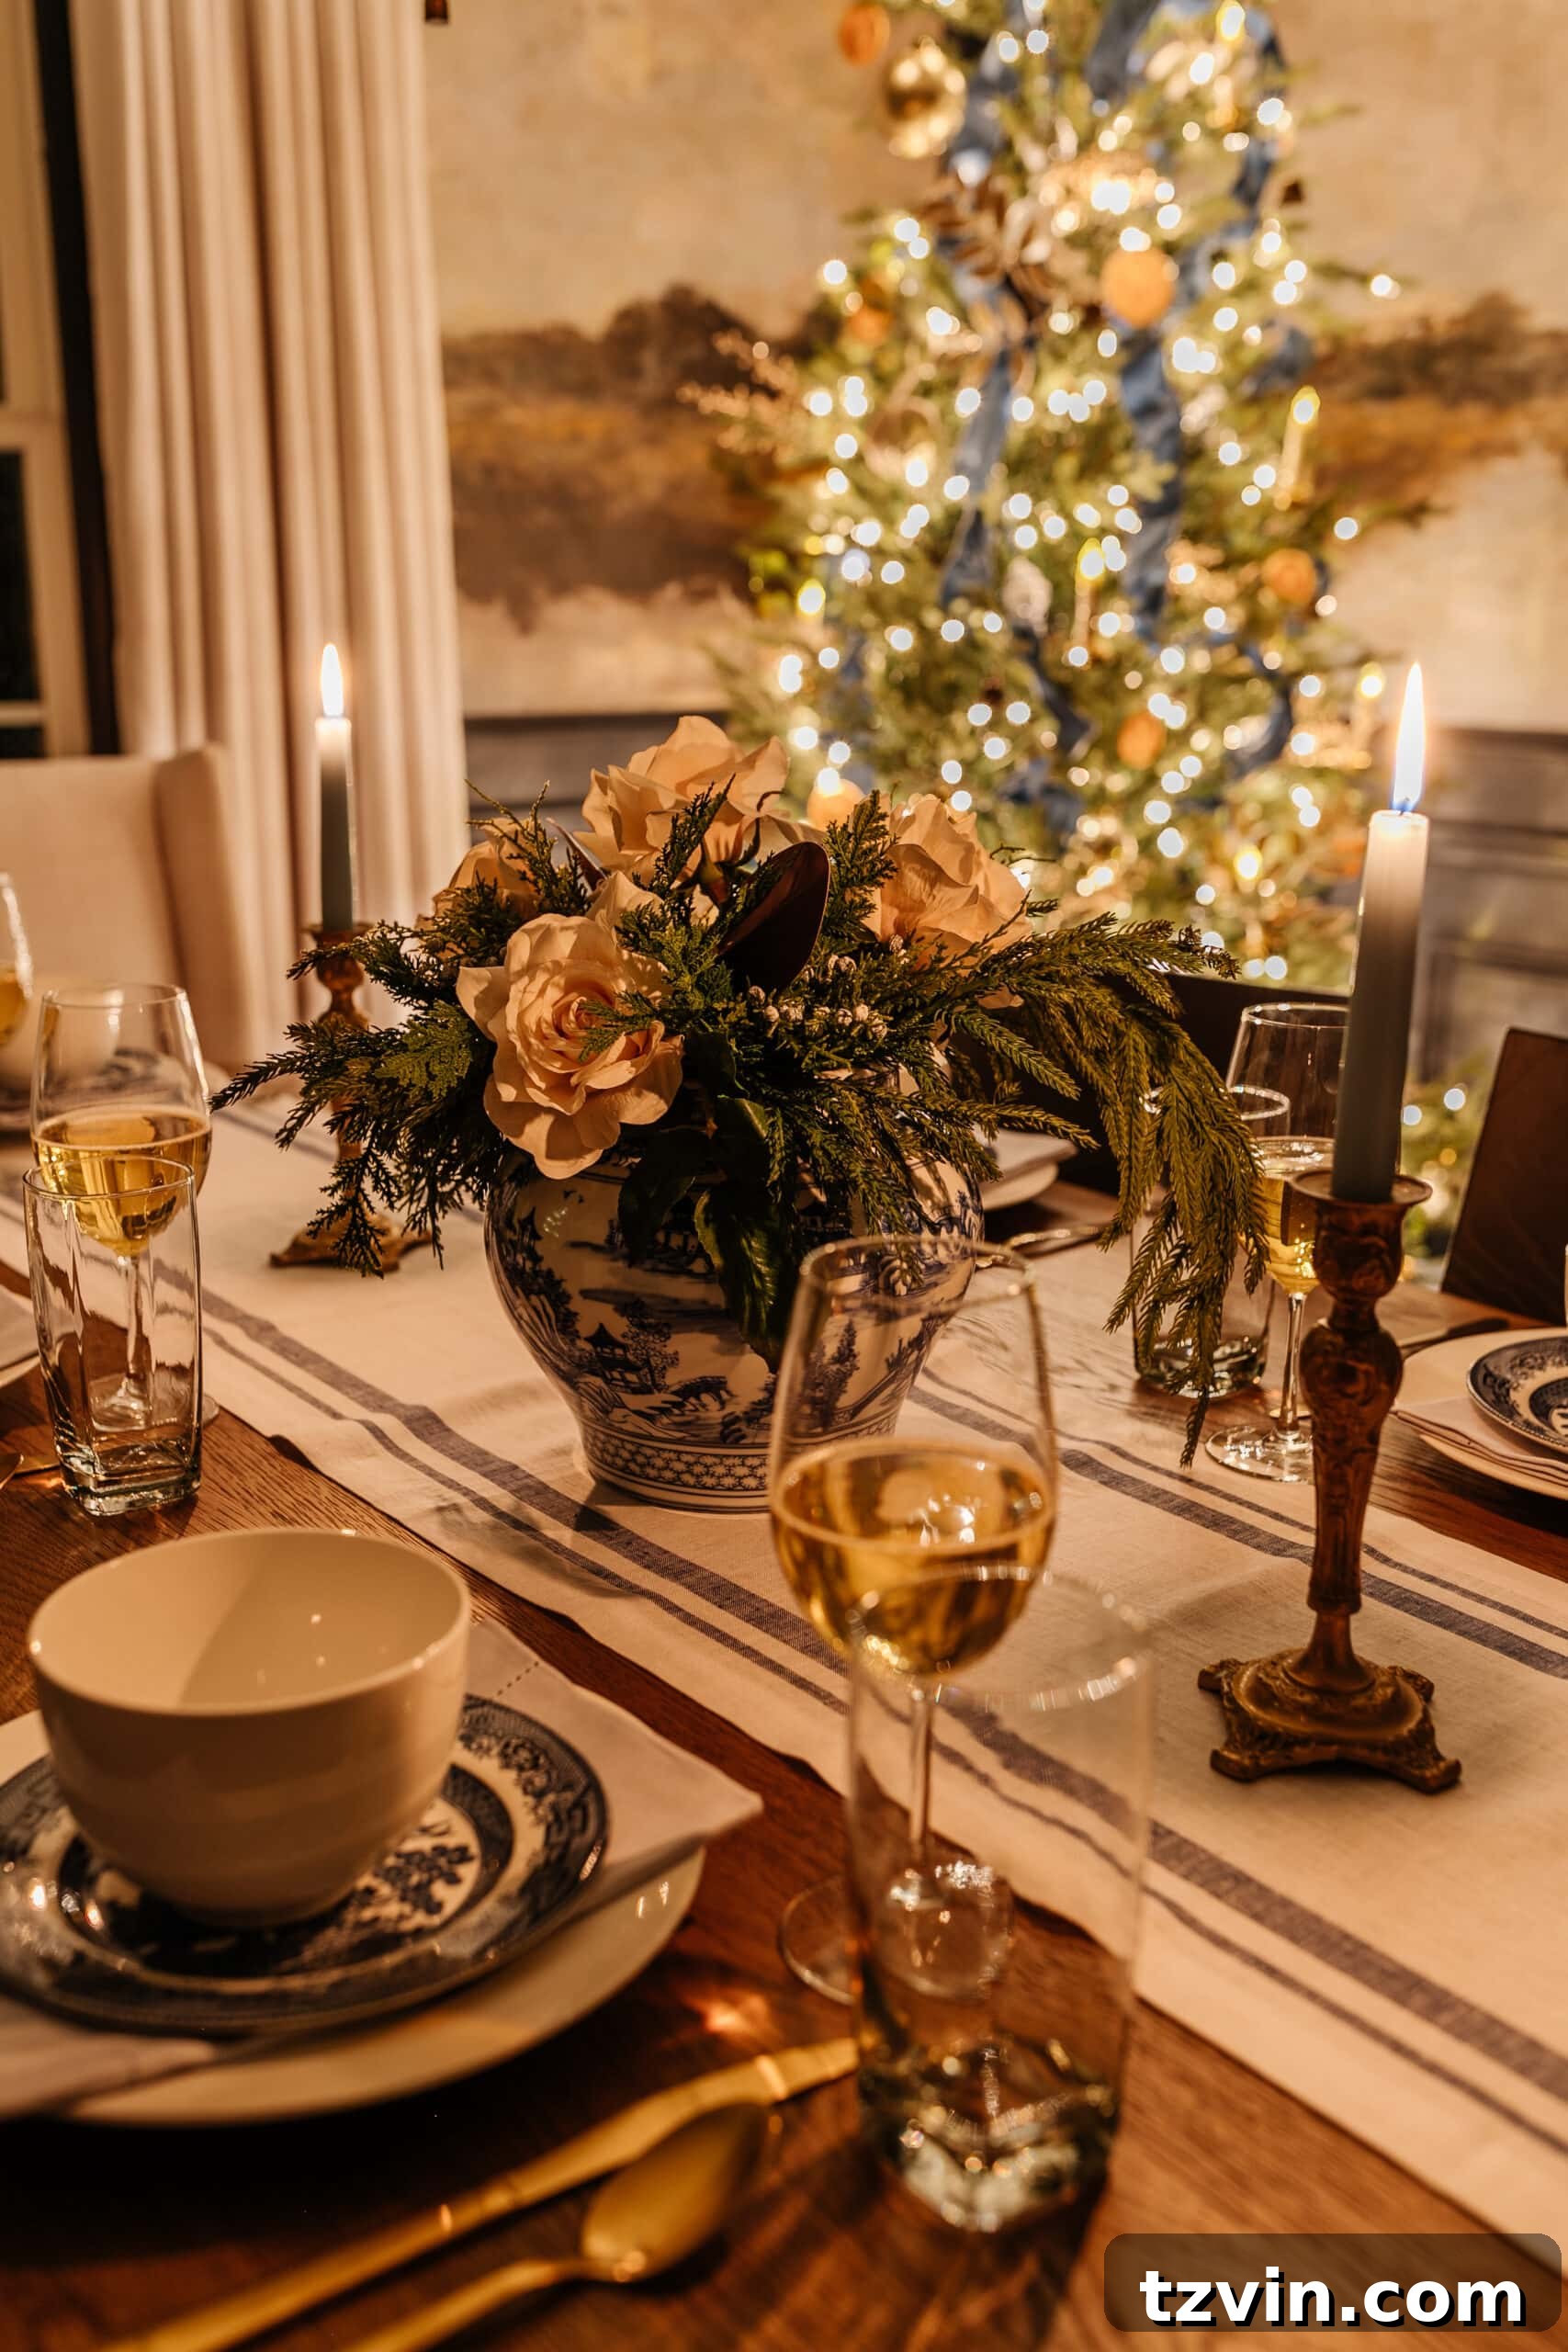
If your iPhone model includes Portrait Mode (available on many newer devices), leverage this feature for stunning close-up shots. Portrait Mode allows you to create a beautiful, artistic blur (known as “bokeh”) in the background while keeping your subject in sharp focus. This is particularly effective for isolating glowing ornaments, candles, or other intricate holiday details, making them pop against a soft, dreamy backdrop of blurred lights. Switch to Portrait Mode from your regular photo lens and watch your close-ups gain a professional, enchanting quality. (See the example below.)
Pro Techniques: How to Photograph Christmas Lights With a DSLR/Mirrorless Camera
For photographers seeking maximum creative control and the highest image quality, bringing out your DSLR or mirrorless camera to photograph Christmas lights is absolutely worthwhile. These cameras offer a wealth of possibilities for manipulating exposure, focus, and depth of field, allowing for truly artistic interpretations of your holiday scenes that a mobile phone simply can’t match.
DSLR / Mirrorless Camera Settings for Magical Night Shots
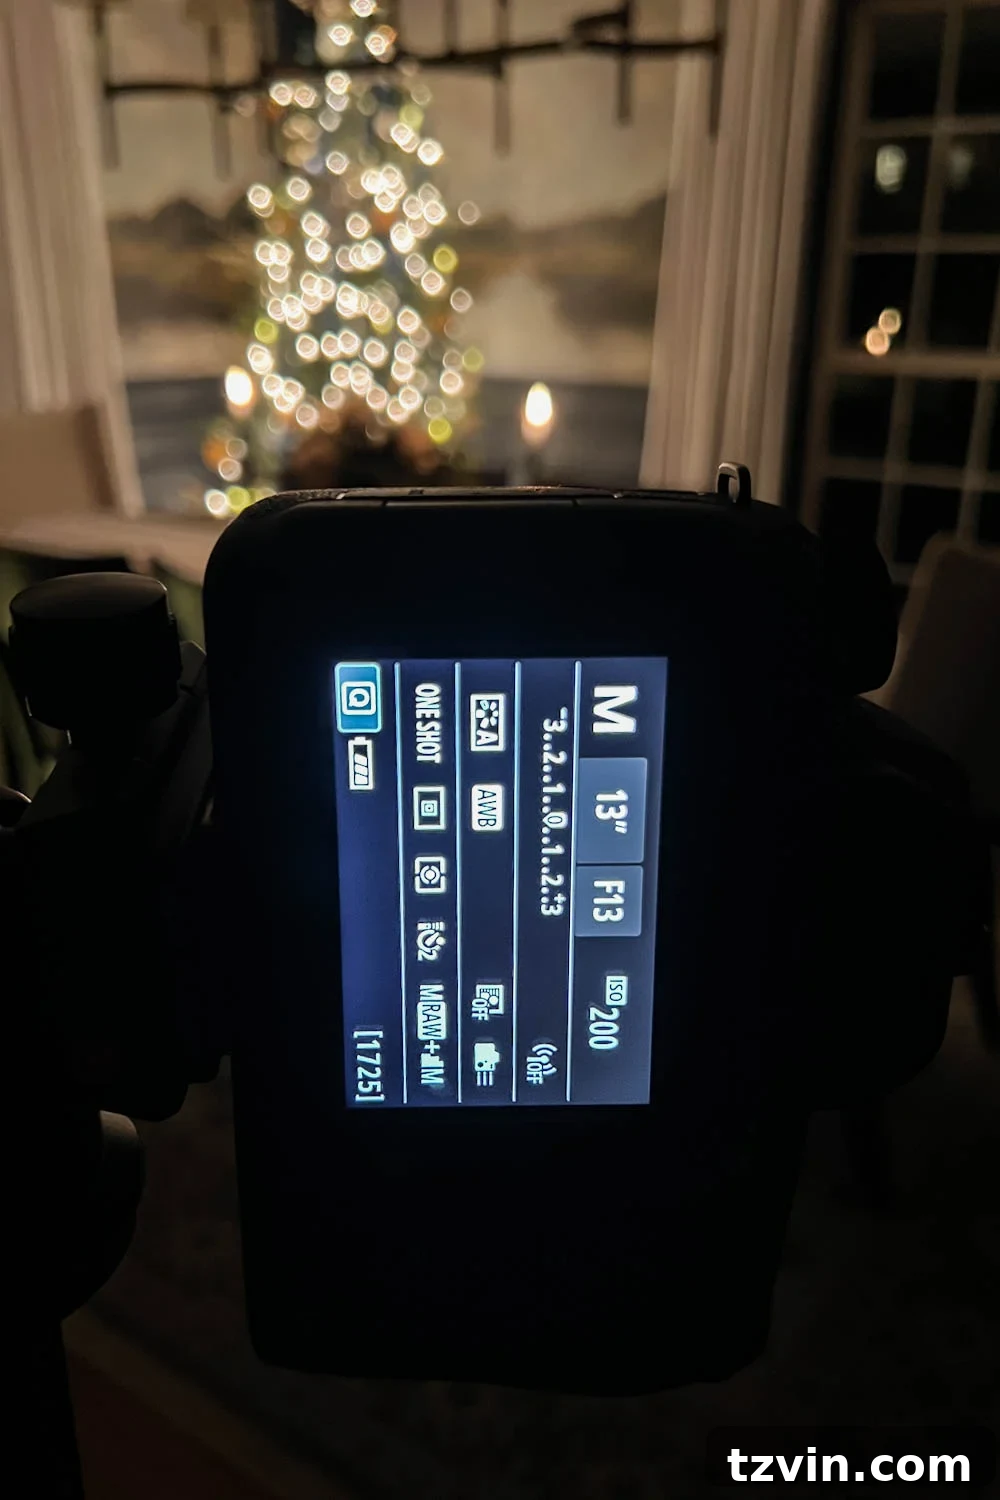
To achieve total control over the artistic outcome of your candlelight photos, I highly recommend shooting in manual mode. While it may seem daunting at first, understanding these core settings will unlock incredible creative freedom. The general rules for setup remain consistent:
- Use a tripod and remote/timer: This is non-negotiable for sharp images in low light.
- Turn off all overhead lights and lamps: Preserve the magical glow of your festive lights.
- Try out different positions: Experiment with various angles and compositions for dynamic shots.
I typically utilize two distinct camera setting approaches: one for capturing wide, full-room shots with everything in sharp focus, and another for dreamy close-ups with beautifully blurred backgrounds (bokeh). Let’s explore both.
Capturing the Whole Scene: Camera Settings for Photographing a Wide Full Room at Night
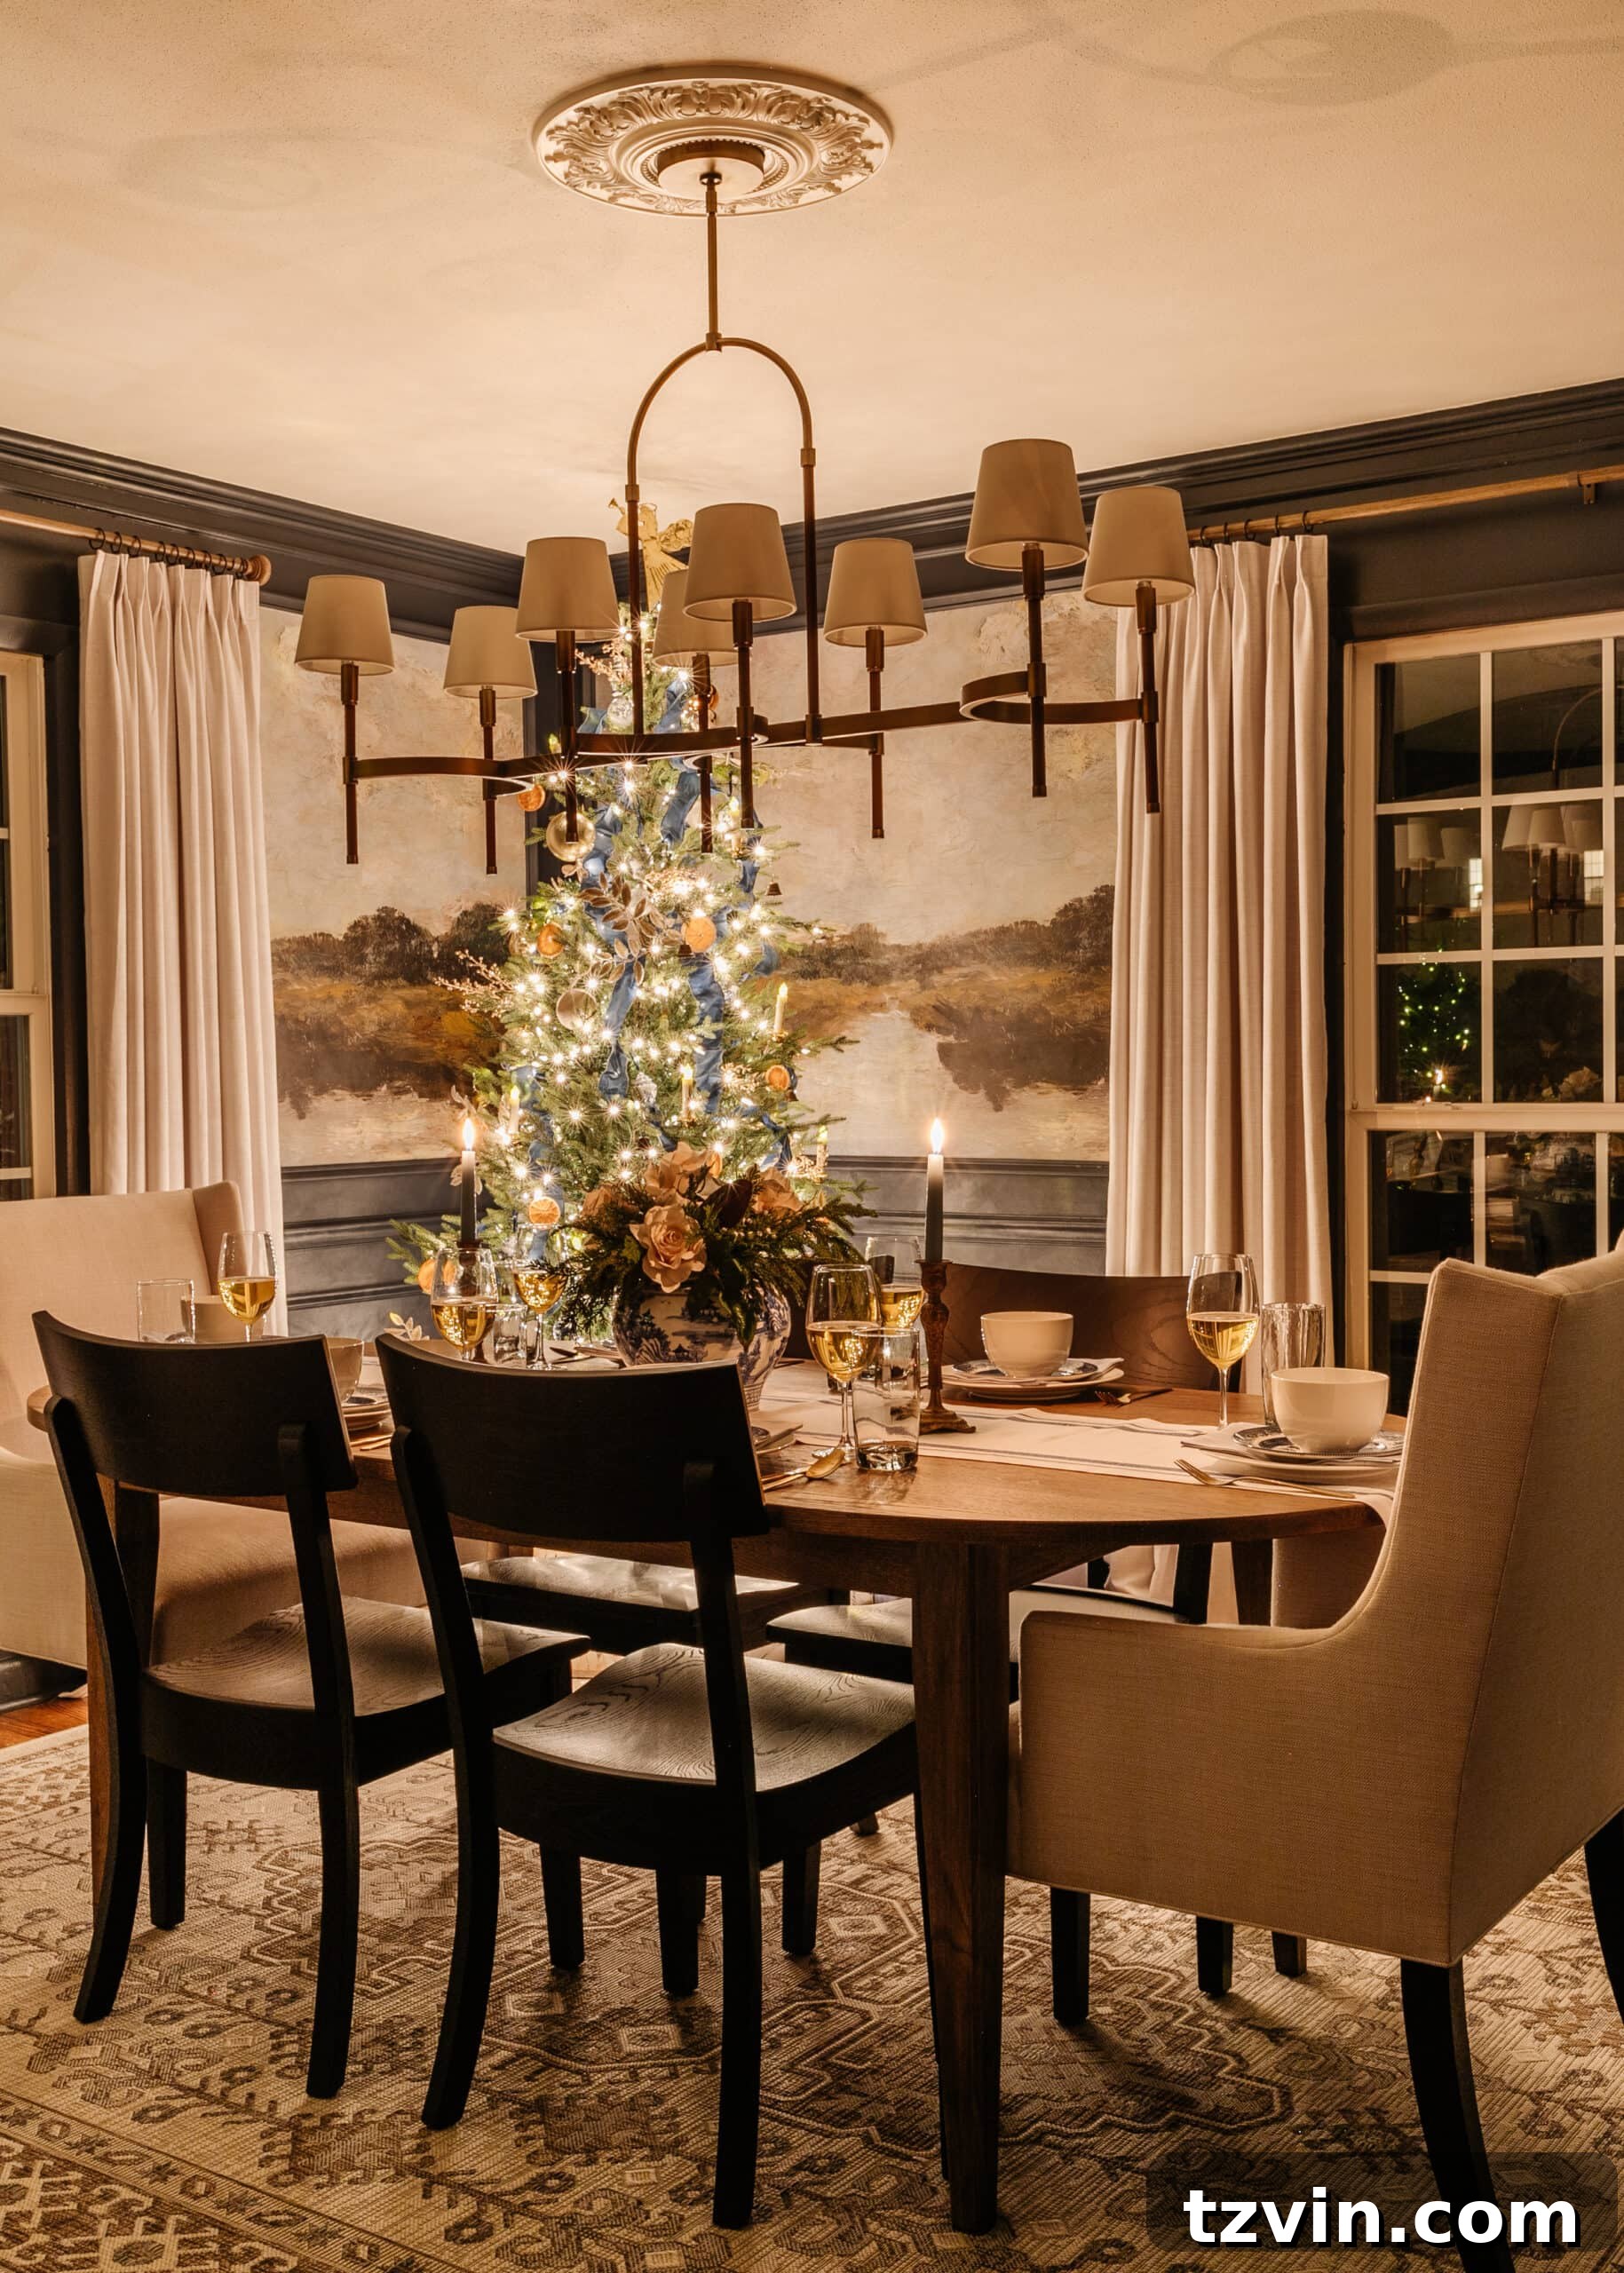
When you want to capture the entire grandeur of your decorated room with all the lights in sharp detail, these settings are your go-to:
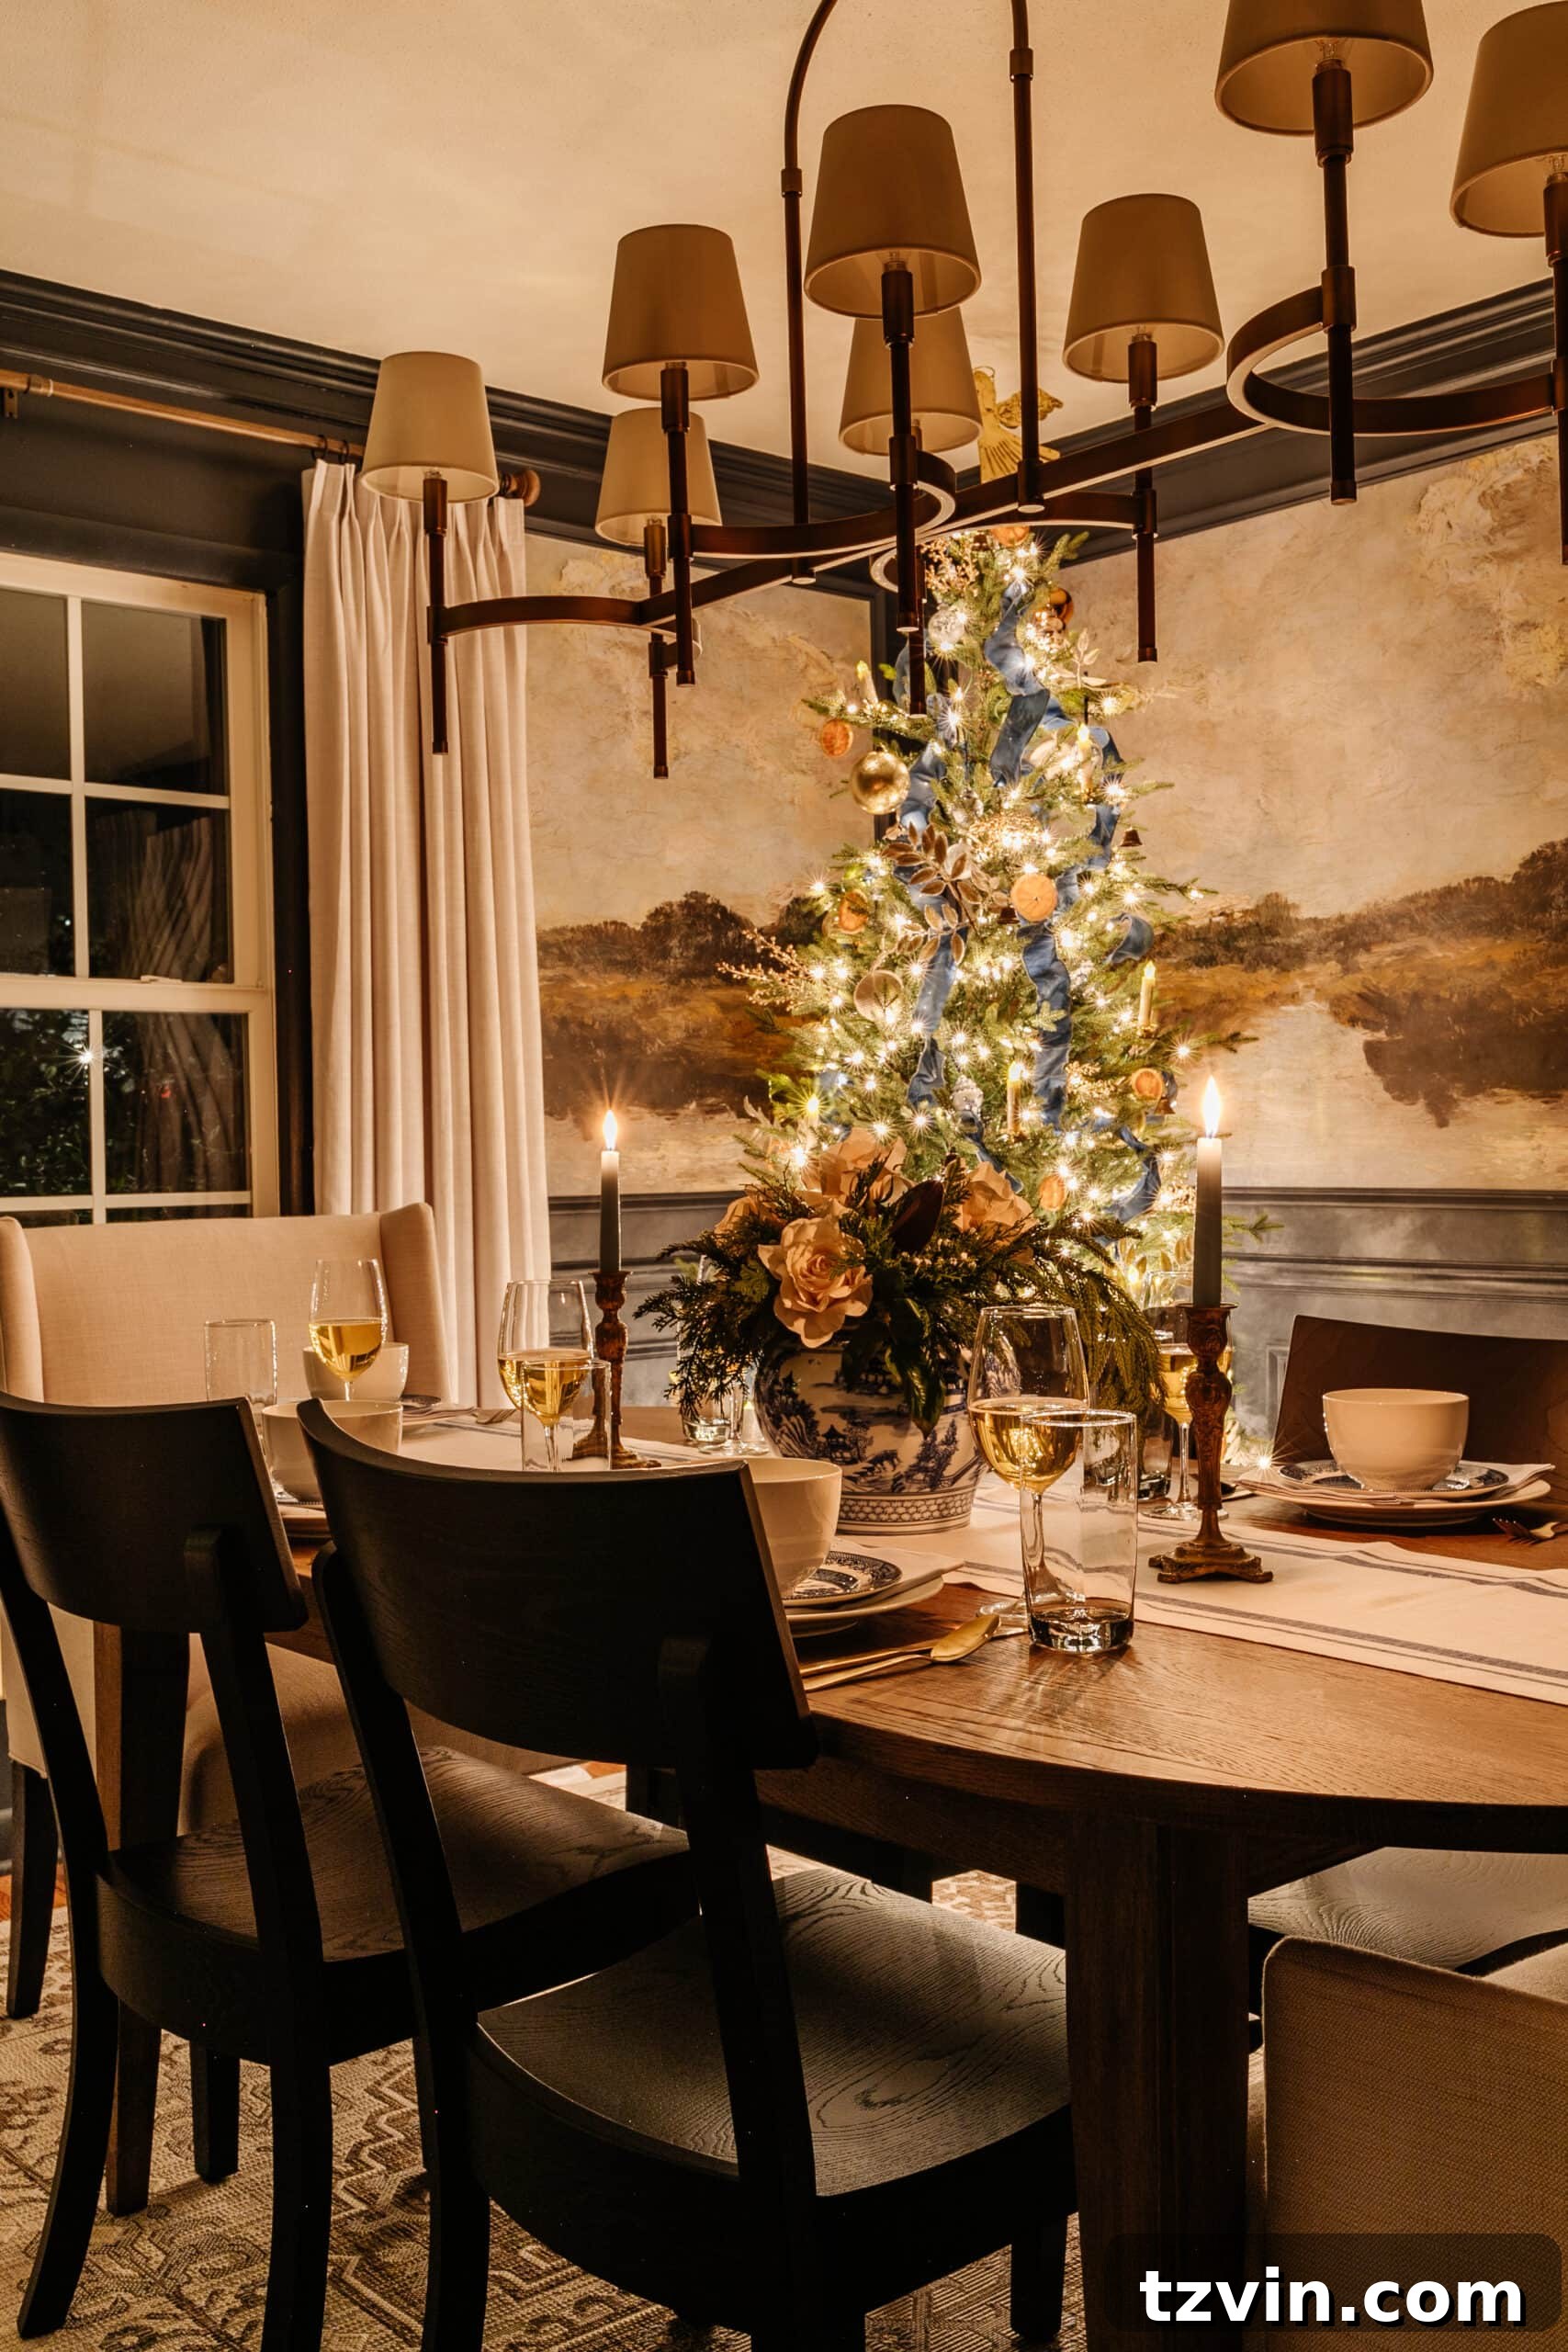
- Aperture (f-stop) – Set it at f/10 or higher (e.g., f/11, f/16). A higher f-stop number creates a larger depth of field, meaning more of your scene will be in sharp focus, from the foreground to the background. This also helps create the beautiful “starburst” effect around individual light sources, making your Christmas tree lights twinkle like tiny stars.
- ISO – Keep your ISO as low as possible, ideally between 100 and 400. ISO controls the camera’s sensitivity to light. While a higher ISO brightens a dark image, it also introduces digital noise (graininess). By using a tripod and a longer shutter speed, you can keep the ISO low, ensuring clean, high-quality images.
- Shutter Speed – This is where the magic happens for gathering light. Set the shutter speed according to the exposure meter in your camera, aiming for a slightly underexposed look. I often intentionally shoot slightly underexposed in Christmas nighttime settings to prevent the string lights from appearing too bright or “blown out,” which can lose their soft, enchanting glow. You might find yourself setting your shutter speed as long as 10, 20, or even 30 seconds for a single photo to allow the camera to gather maximum light. Remember, such long exposures are only feasible and effective when using a sturdy tripod to eliminate any camera movement.
- Auto White Balance (AWB) – For simplicity and often the best results in mixed lighting scenarios like candlelight and string lights, I typically stick with Auto White Balance. Adjusting white balance in these conditions can be tricky, as different light sources have different color temperatures. AWB does a decent job of balancing these out, but you can always fine-tune it later in editing.
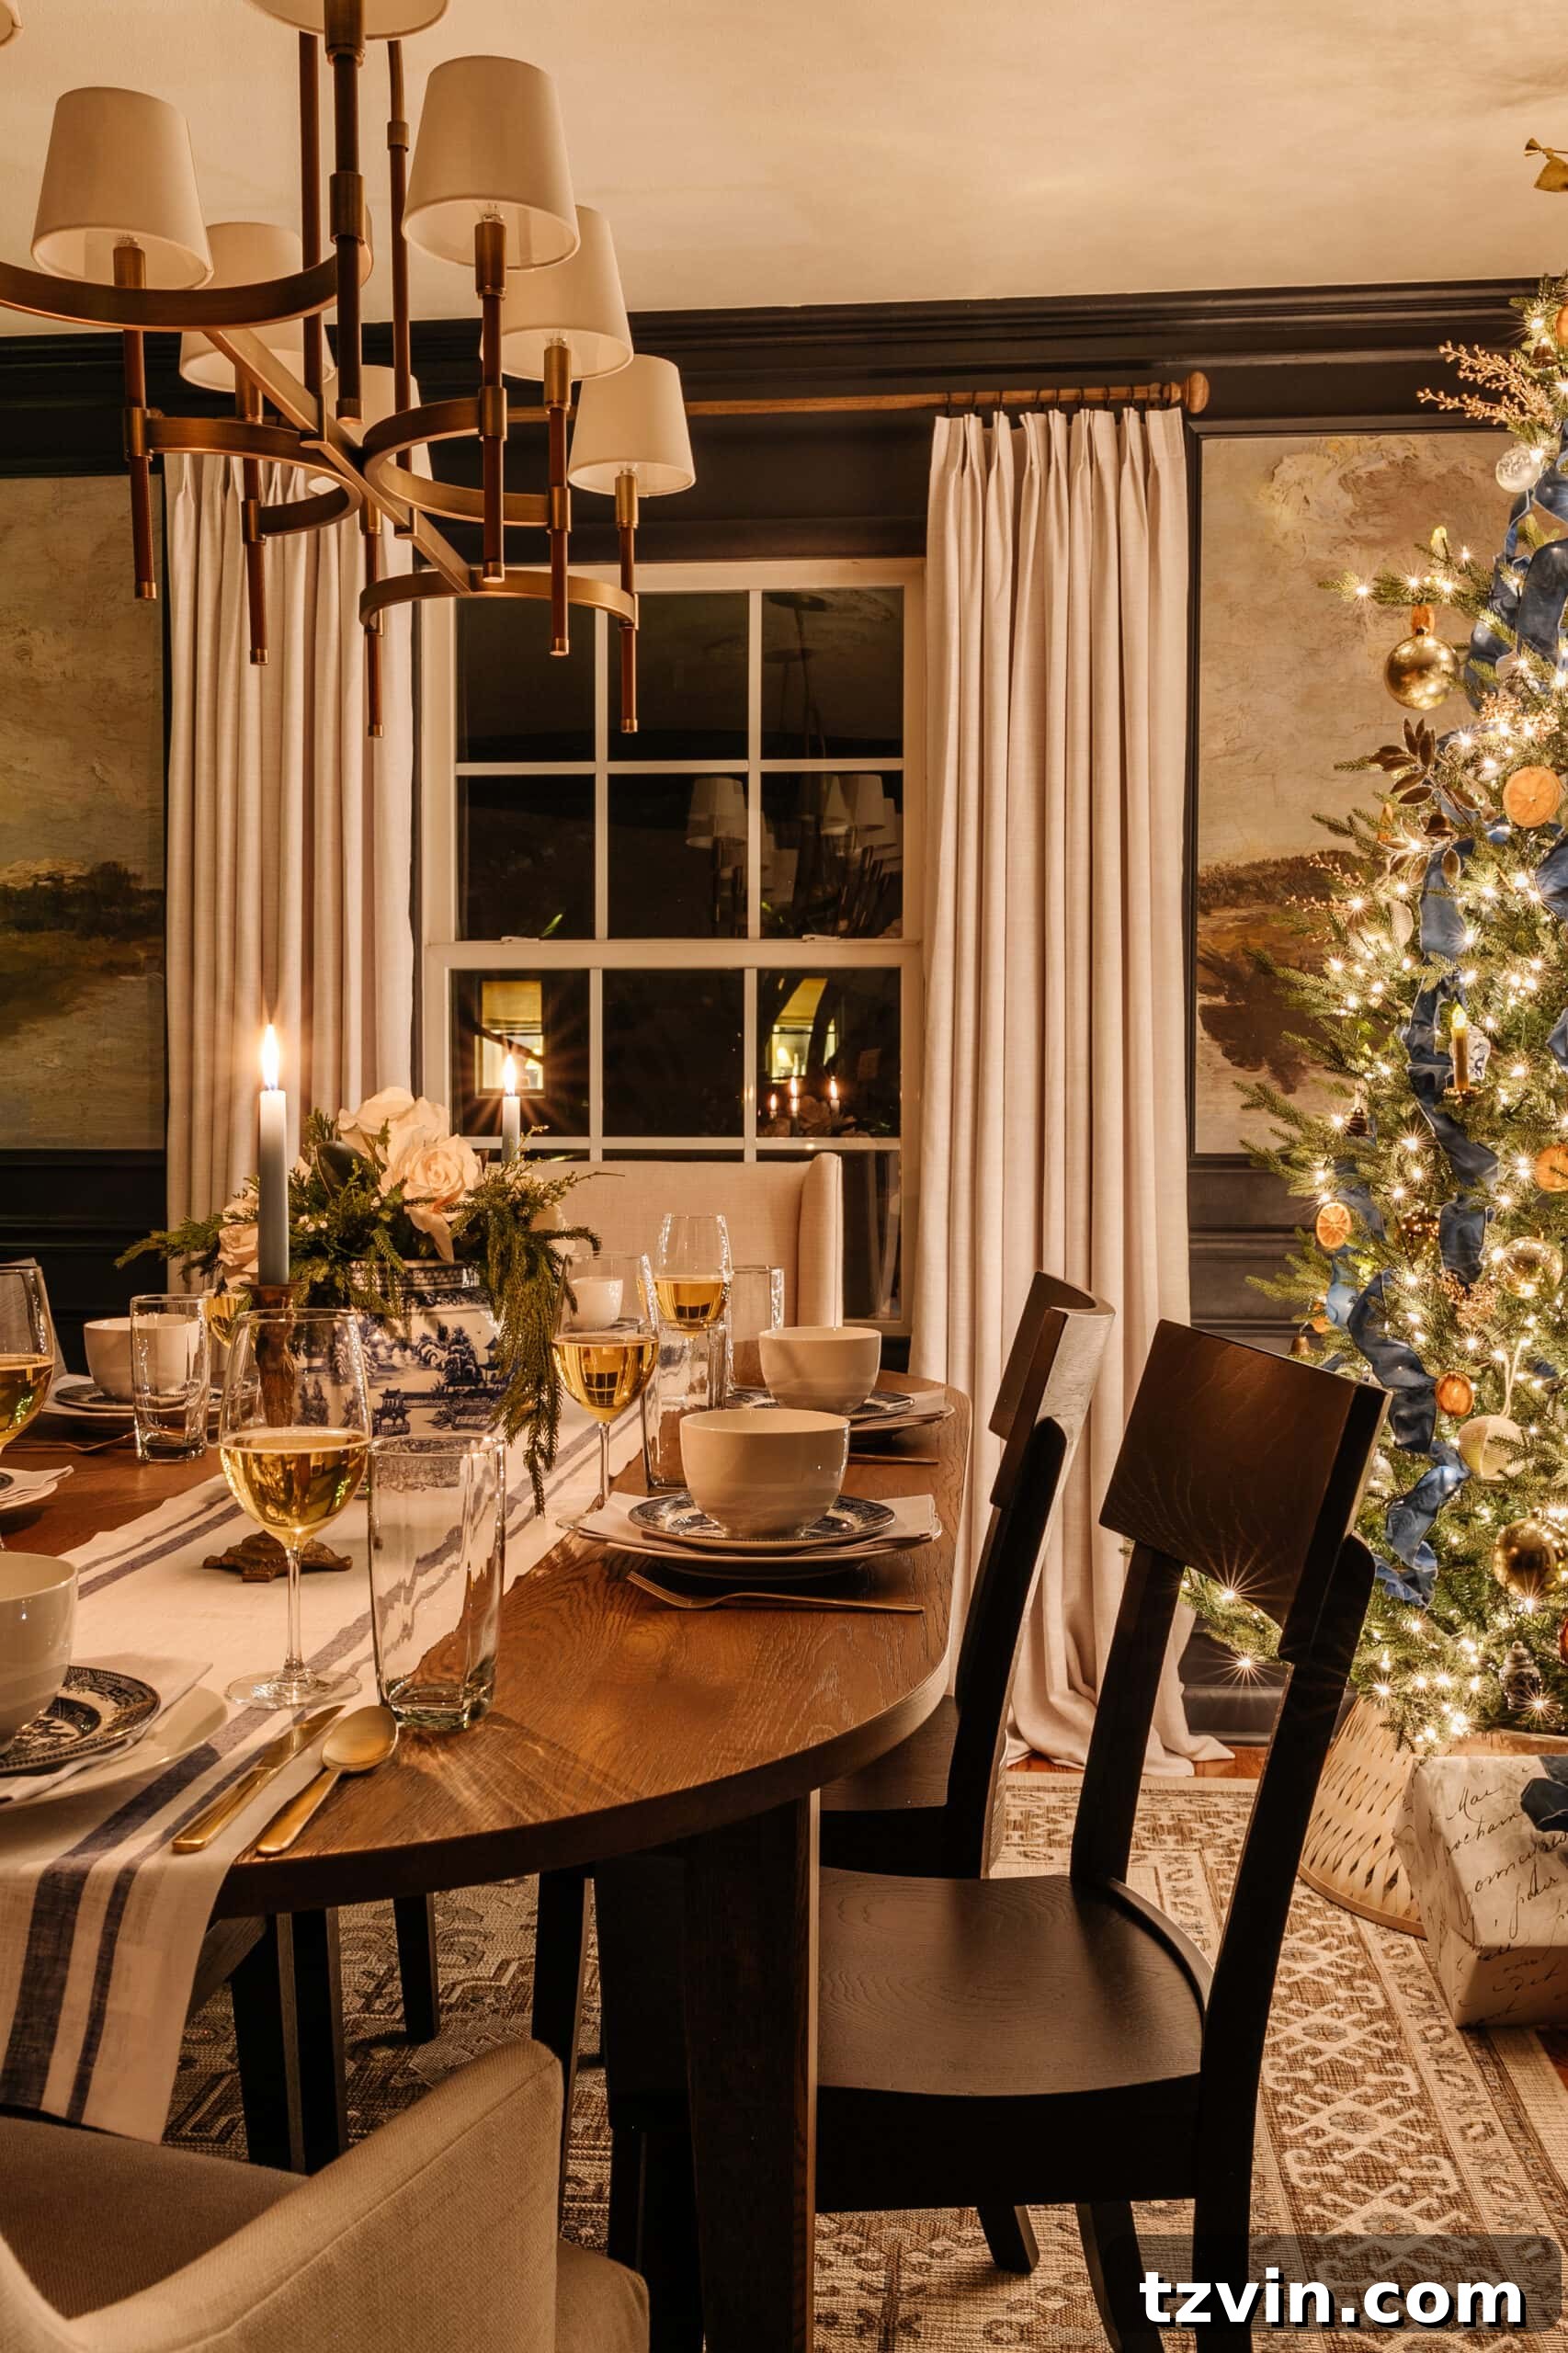
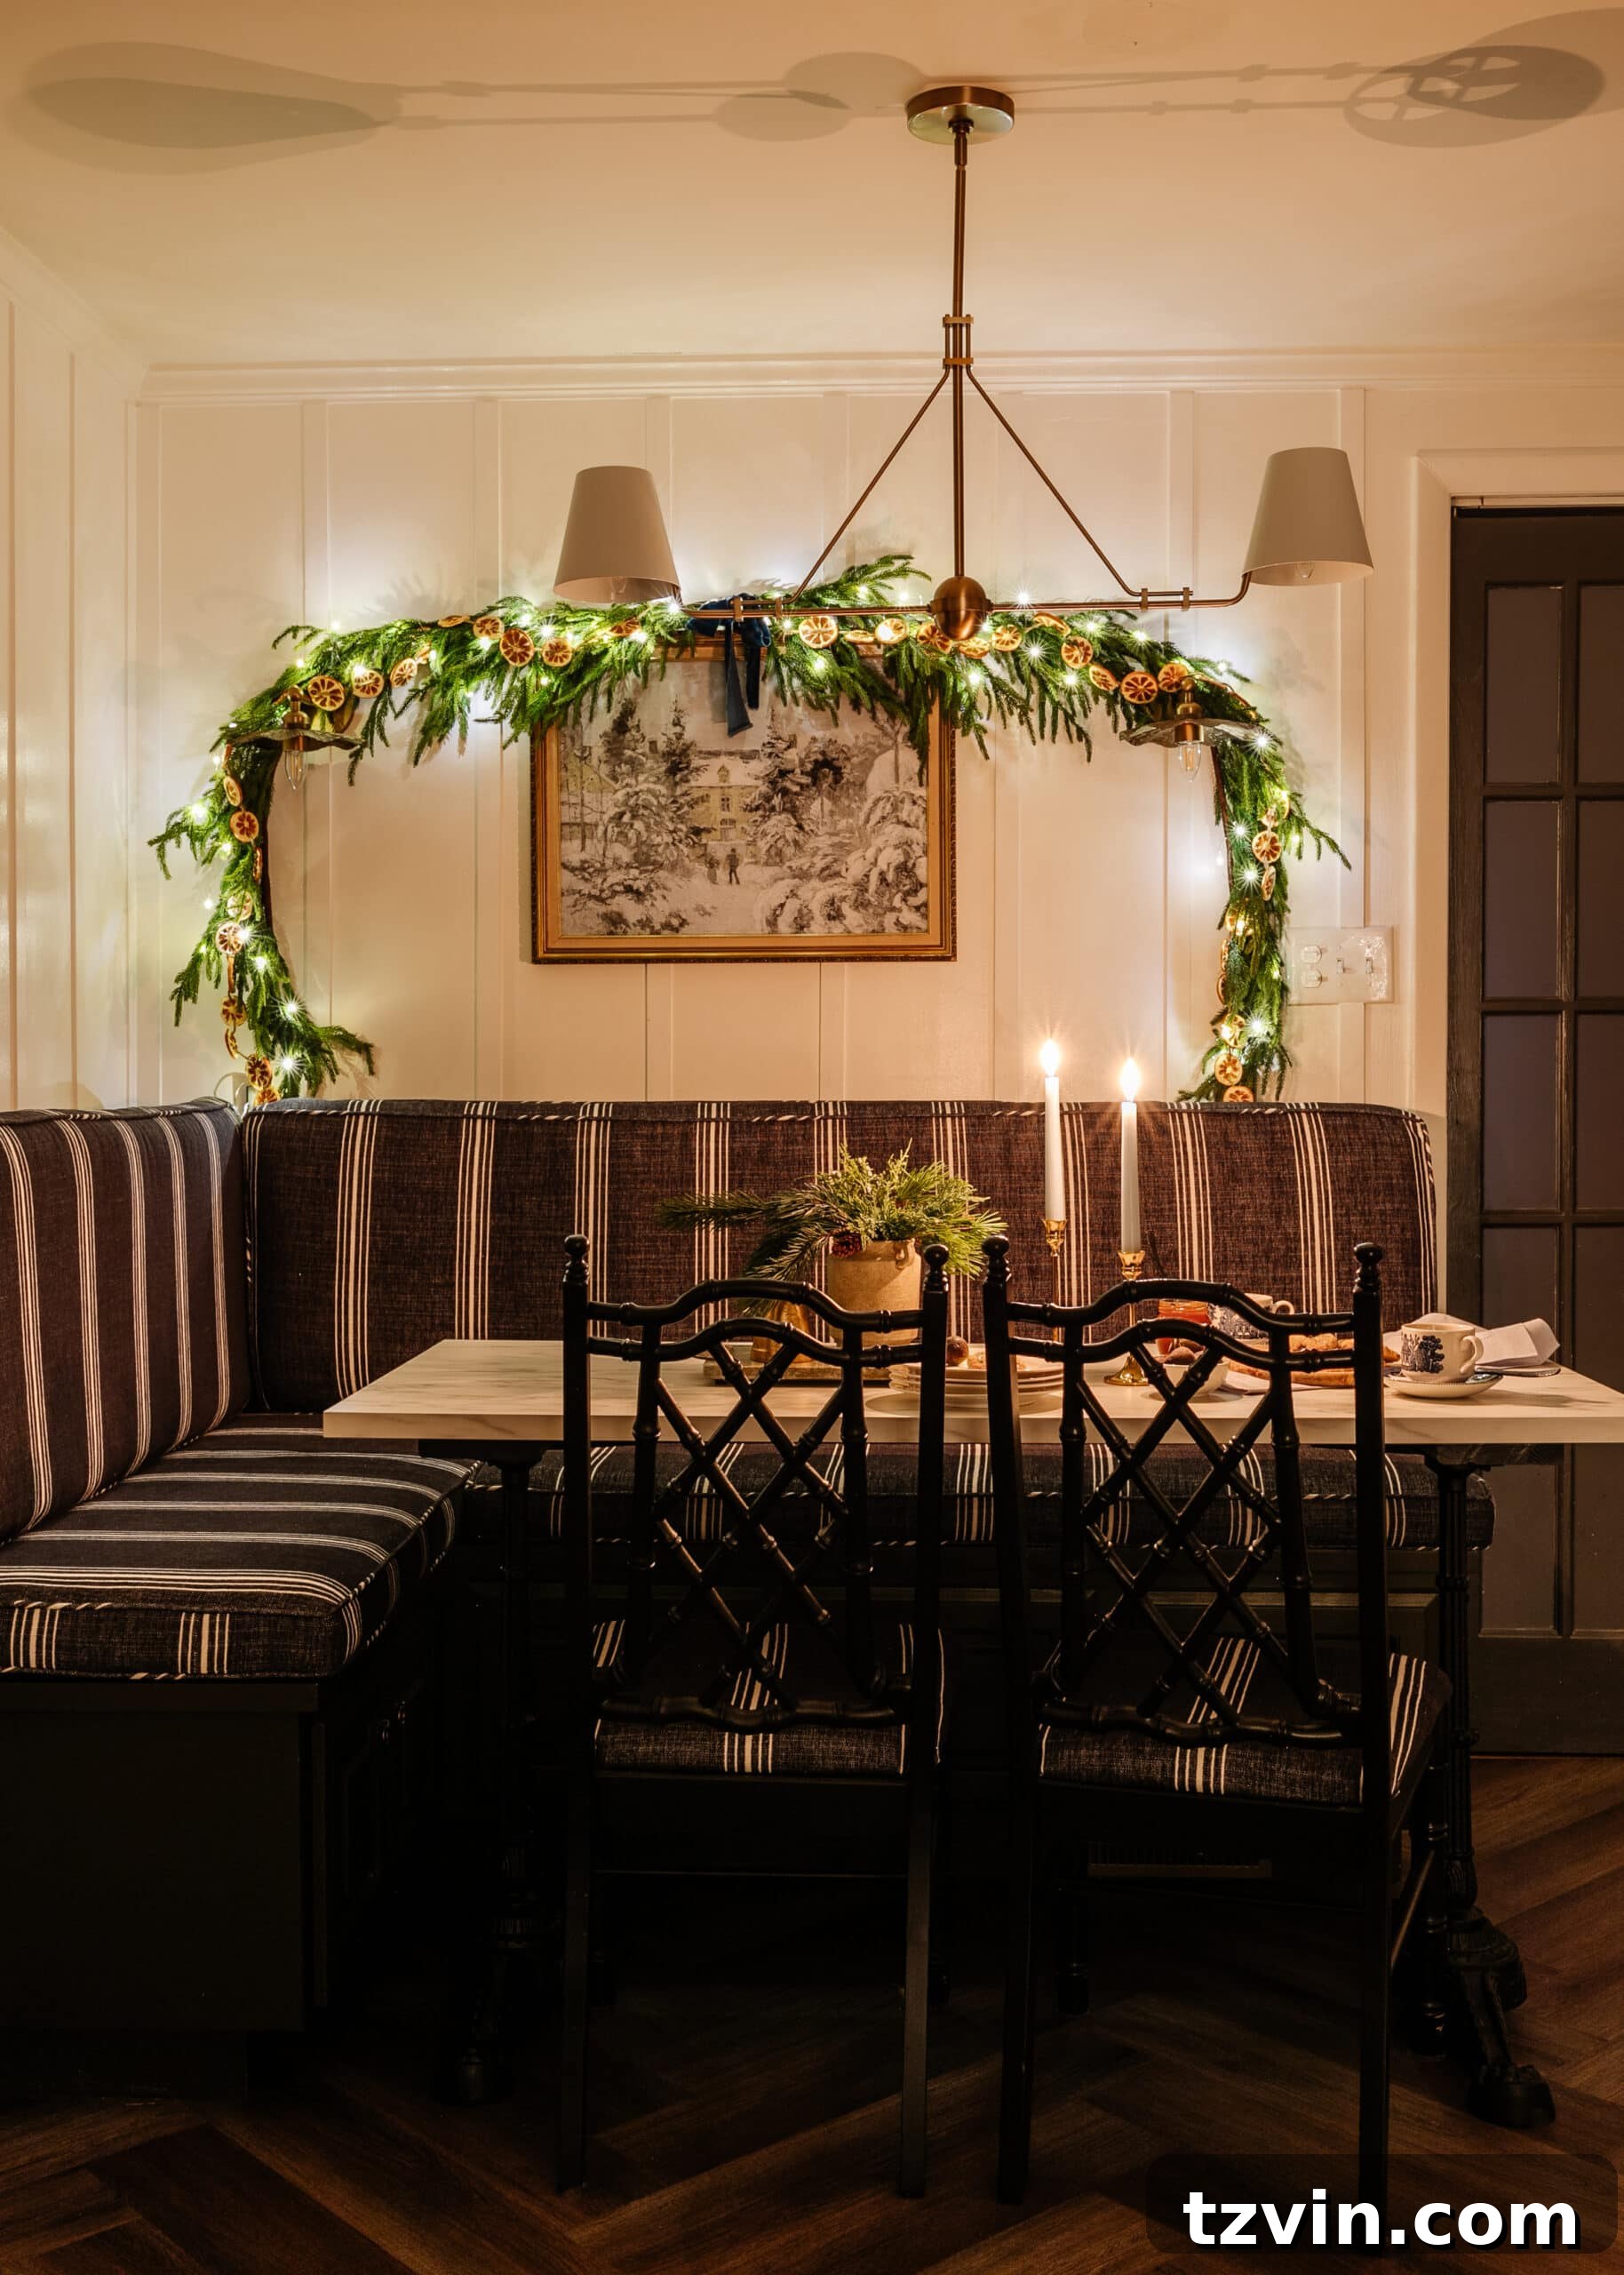
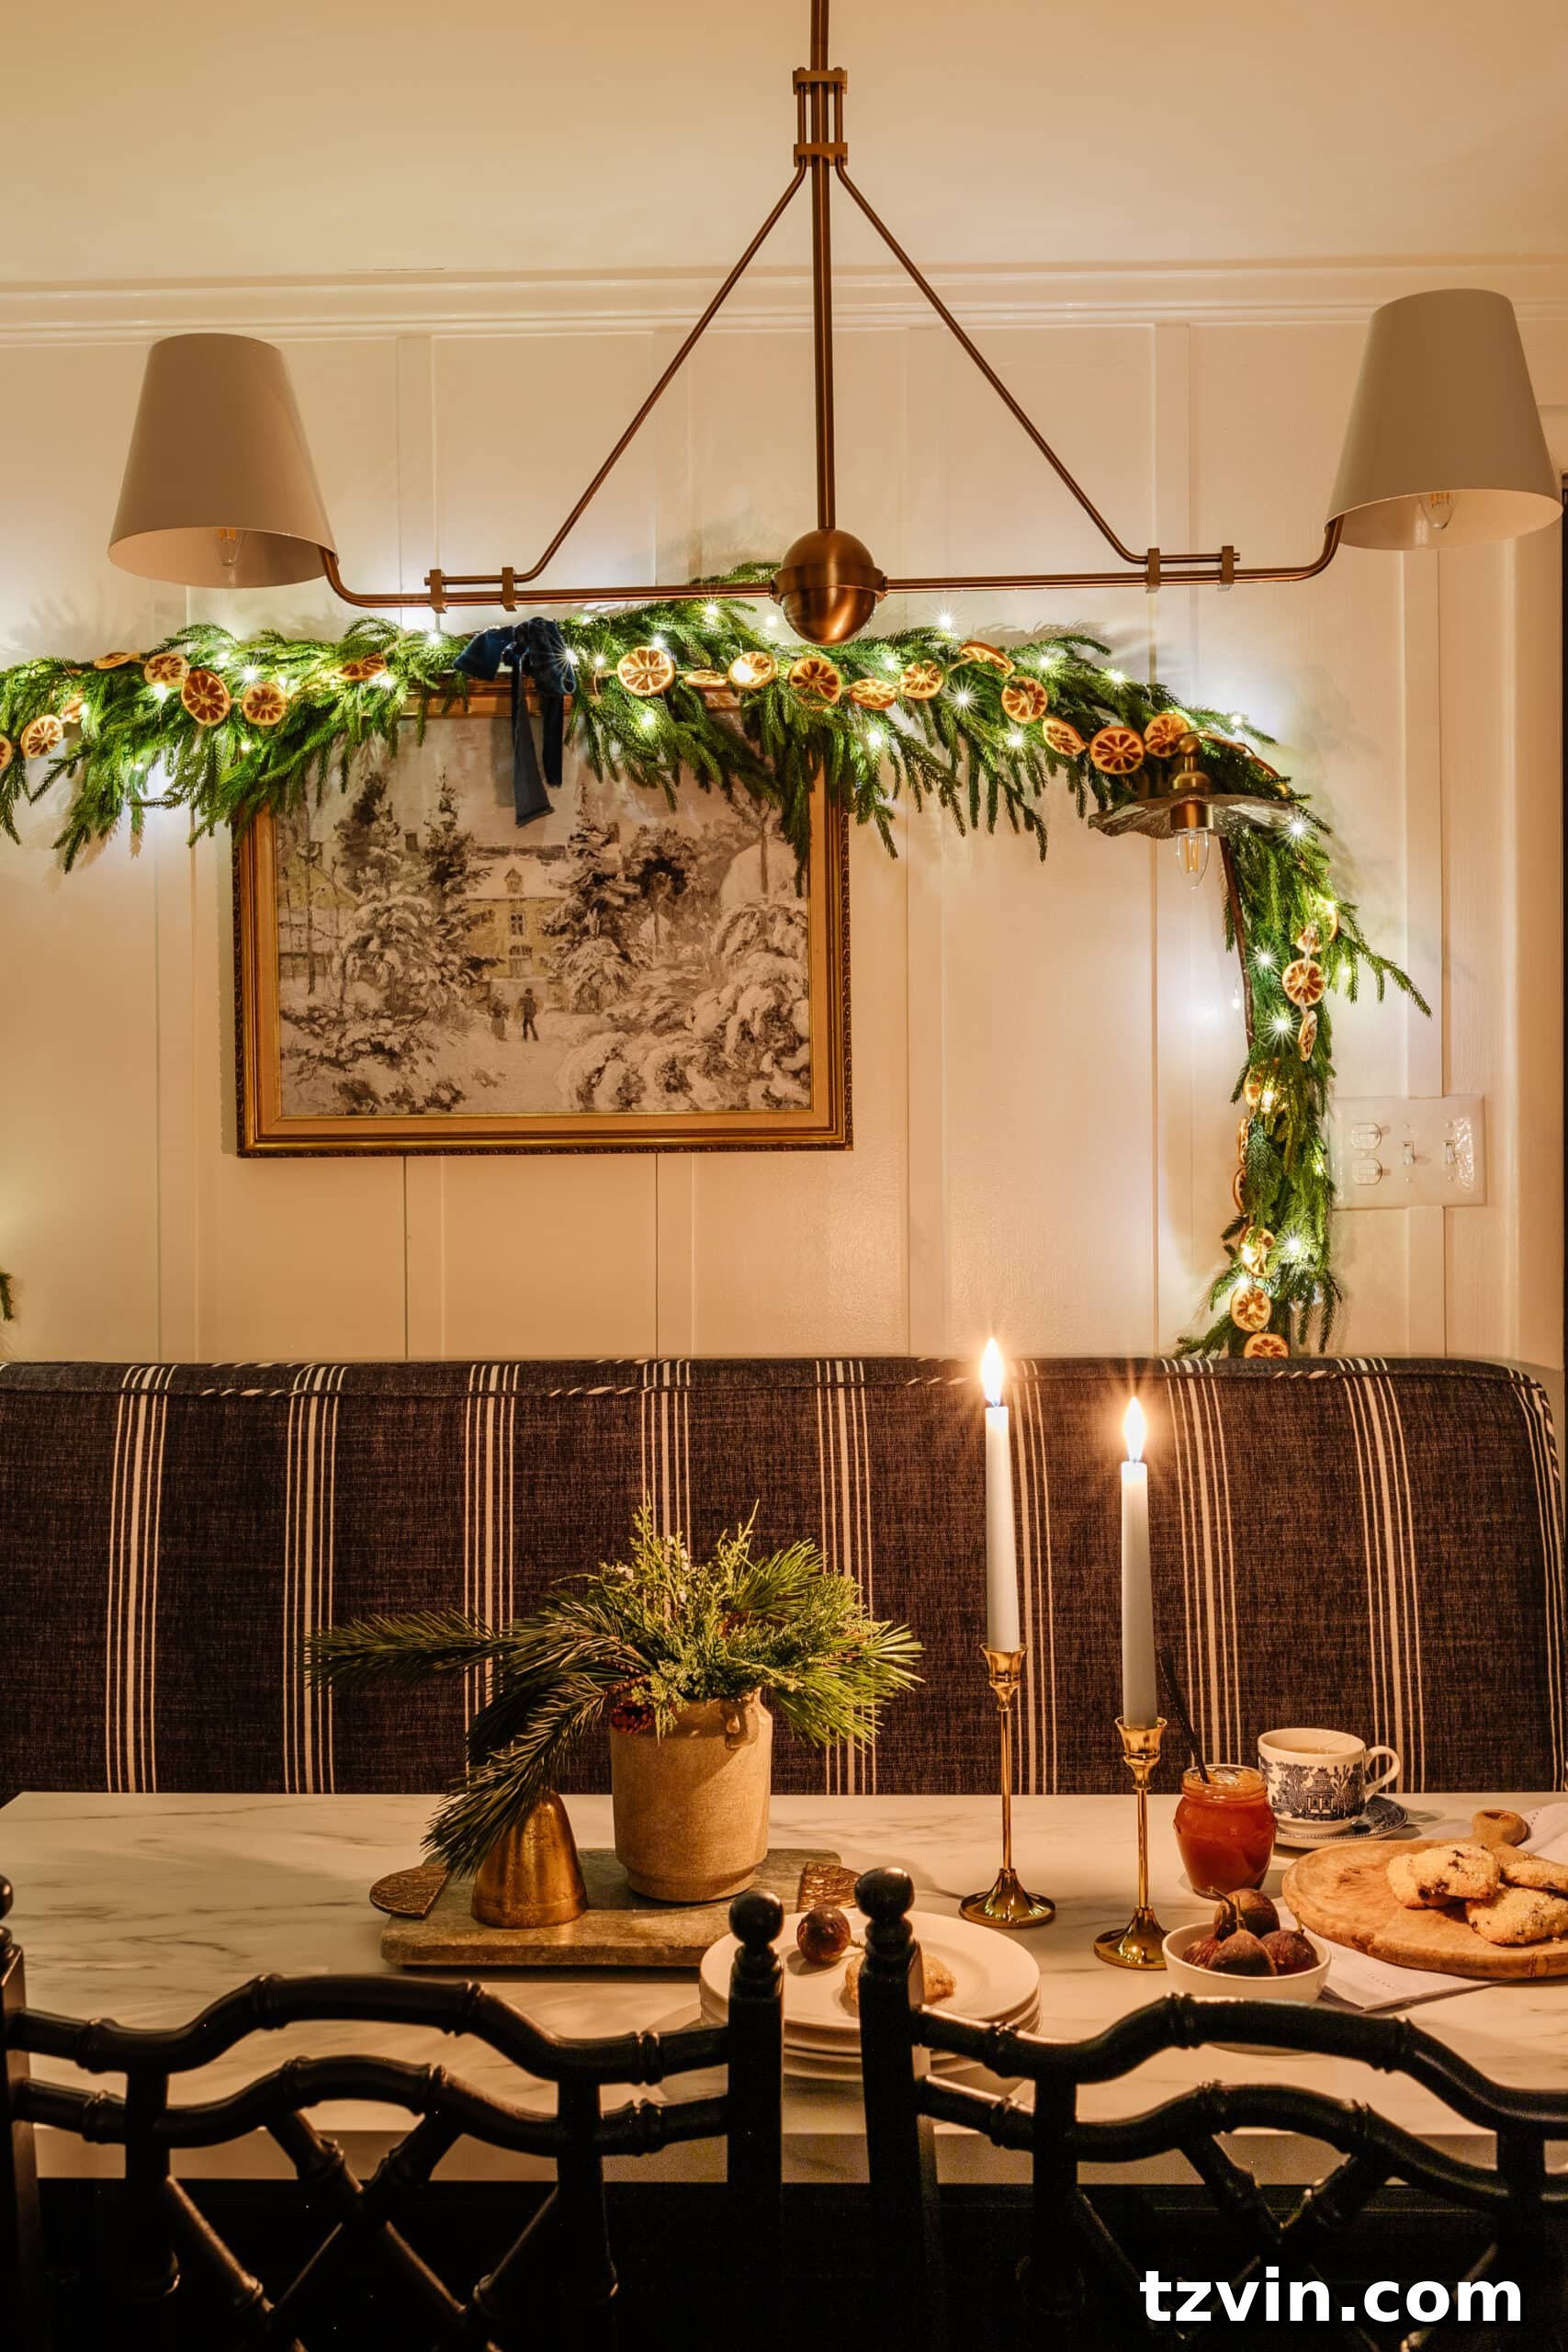
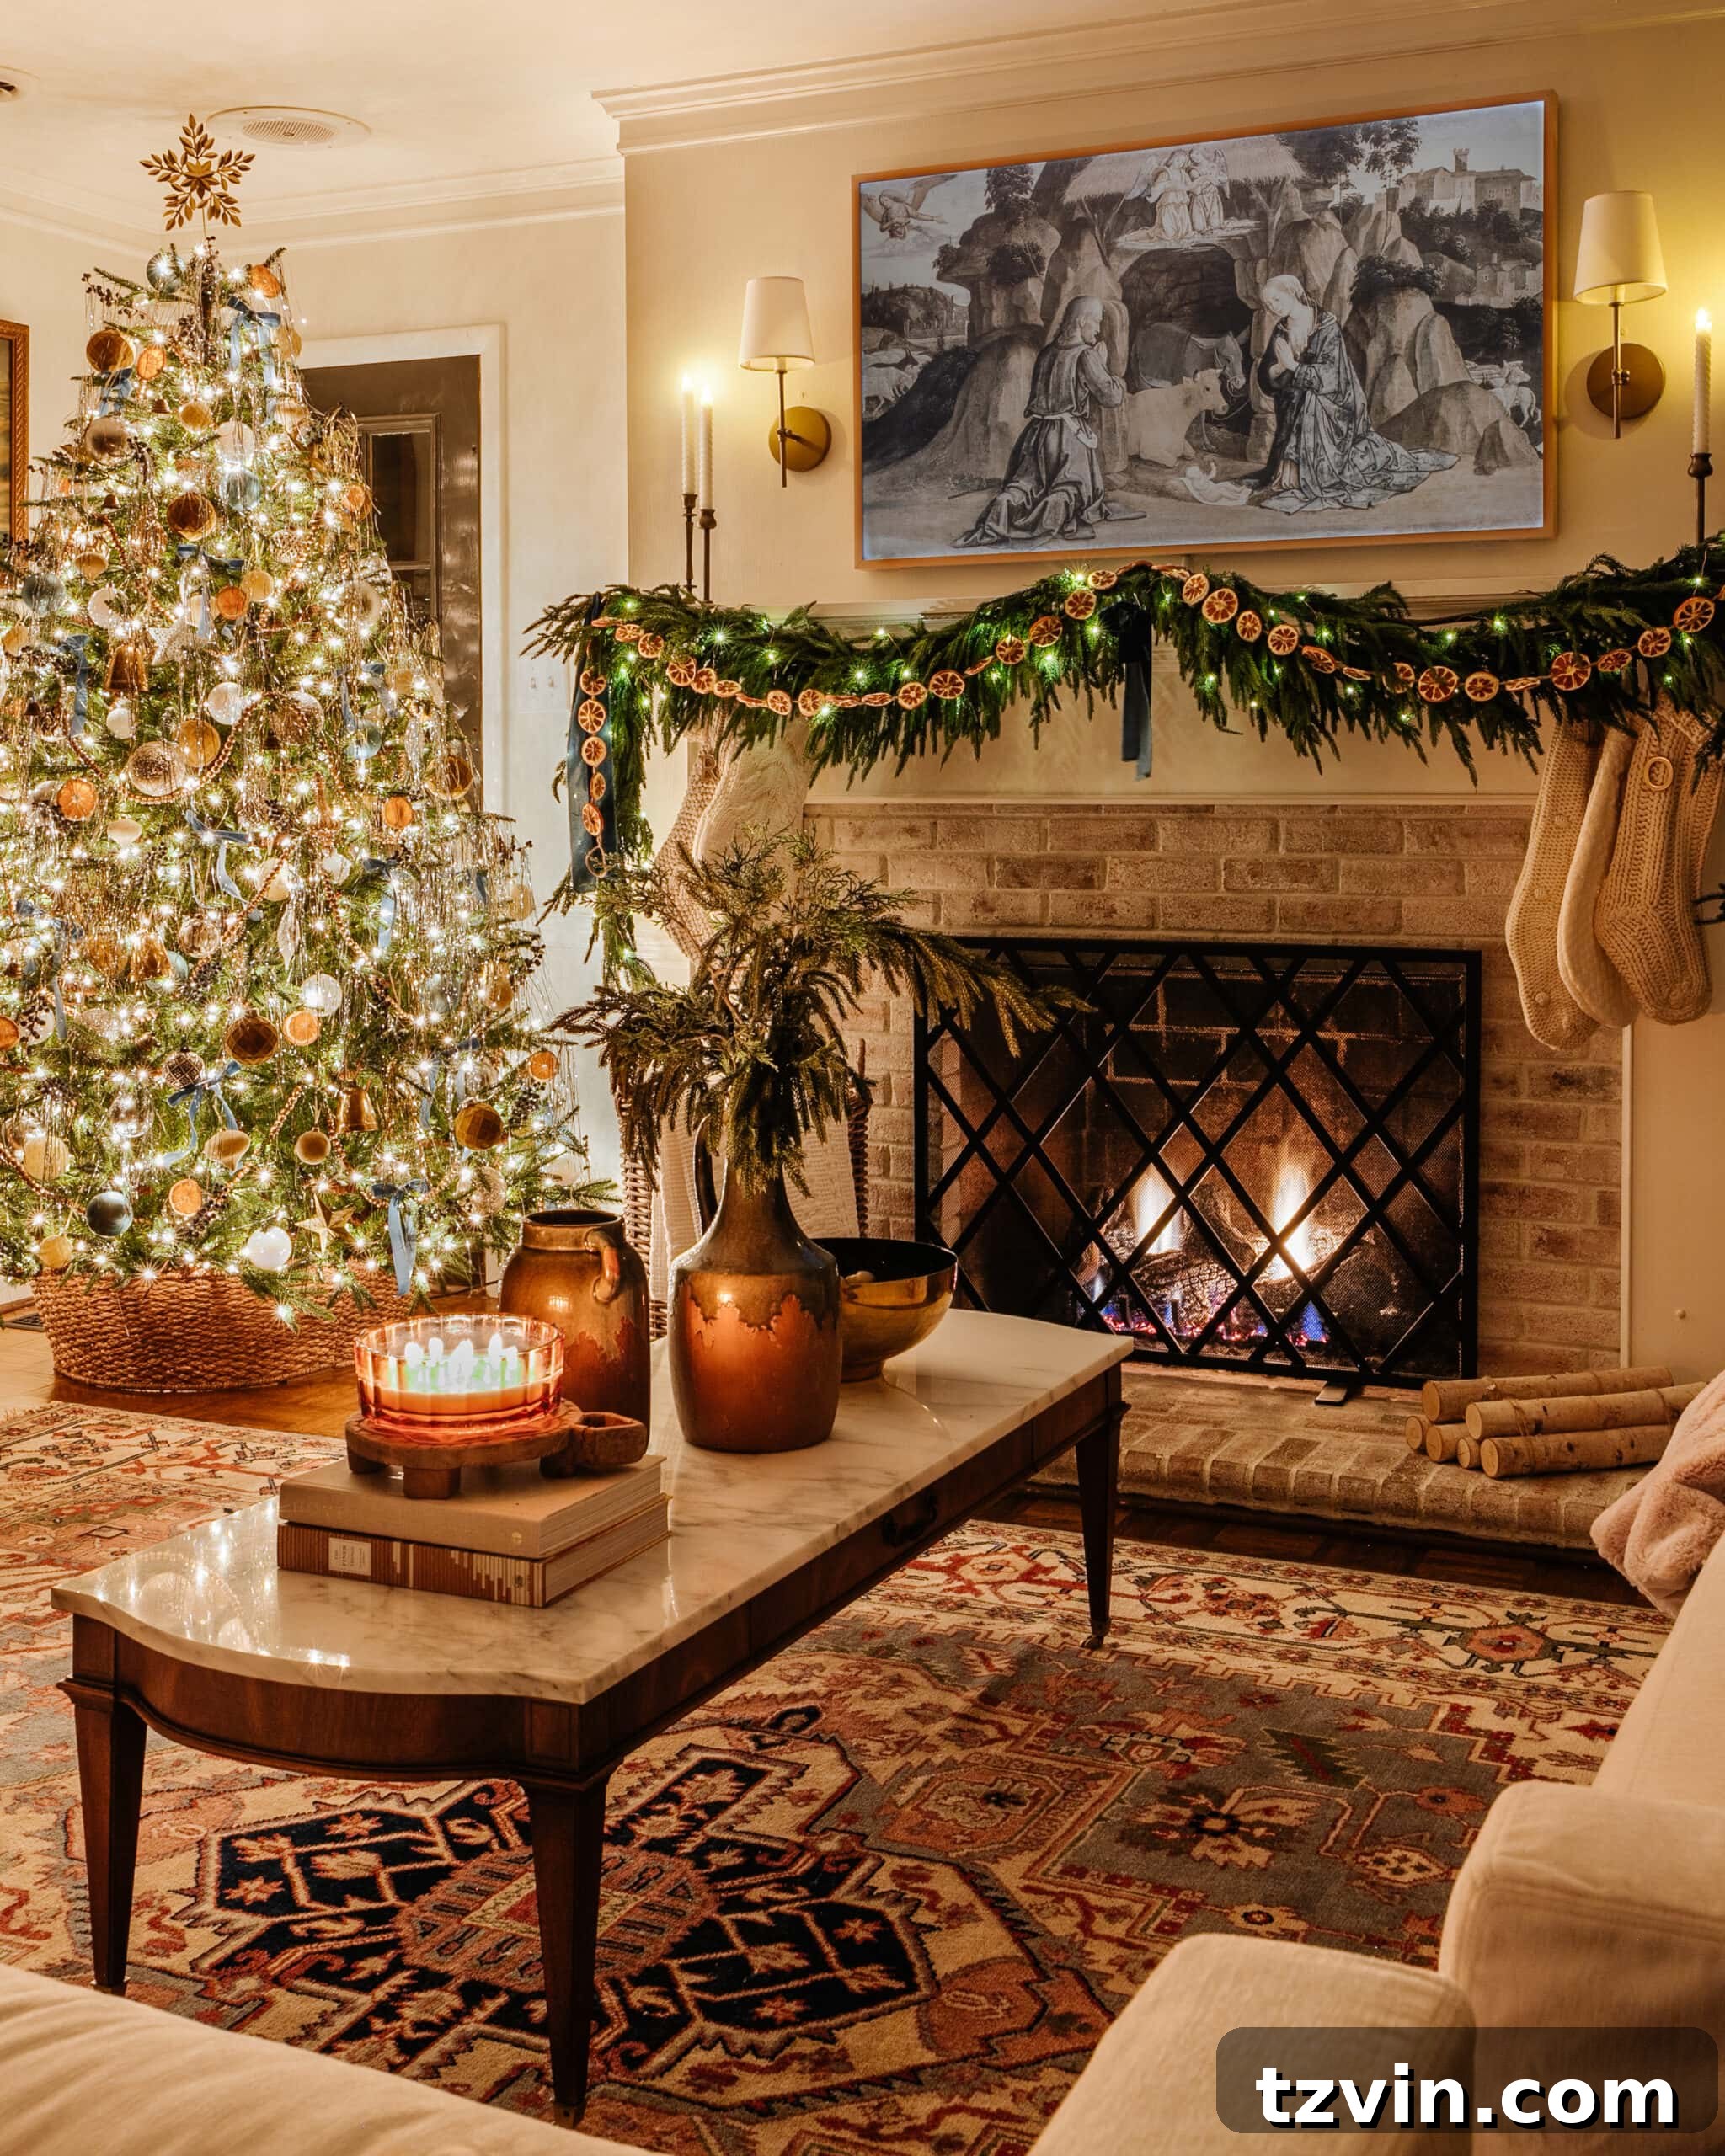
Below, you can see our breakfast nook captured with these exact settings. Notice how the candle flames and garland lights appear like delicate little stars? That’s the beautiful effect of a small aperture (high f-stop number) ensuring everything in the room remains in sharp focus, creating a cohesive and enchanting scene.
Creating Dreamy Close-Ups: Camera Settings for a Blurry Background (Bokeh) at Night
For those captivating close-up shots that emphasize a specific detail while blurring the background into a soft, ethereal glow, these settings are ideal:
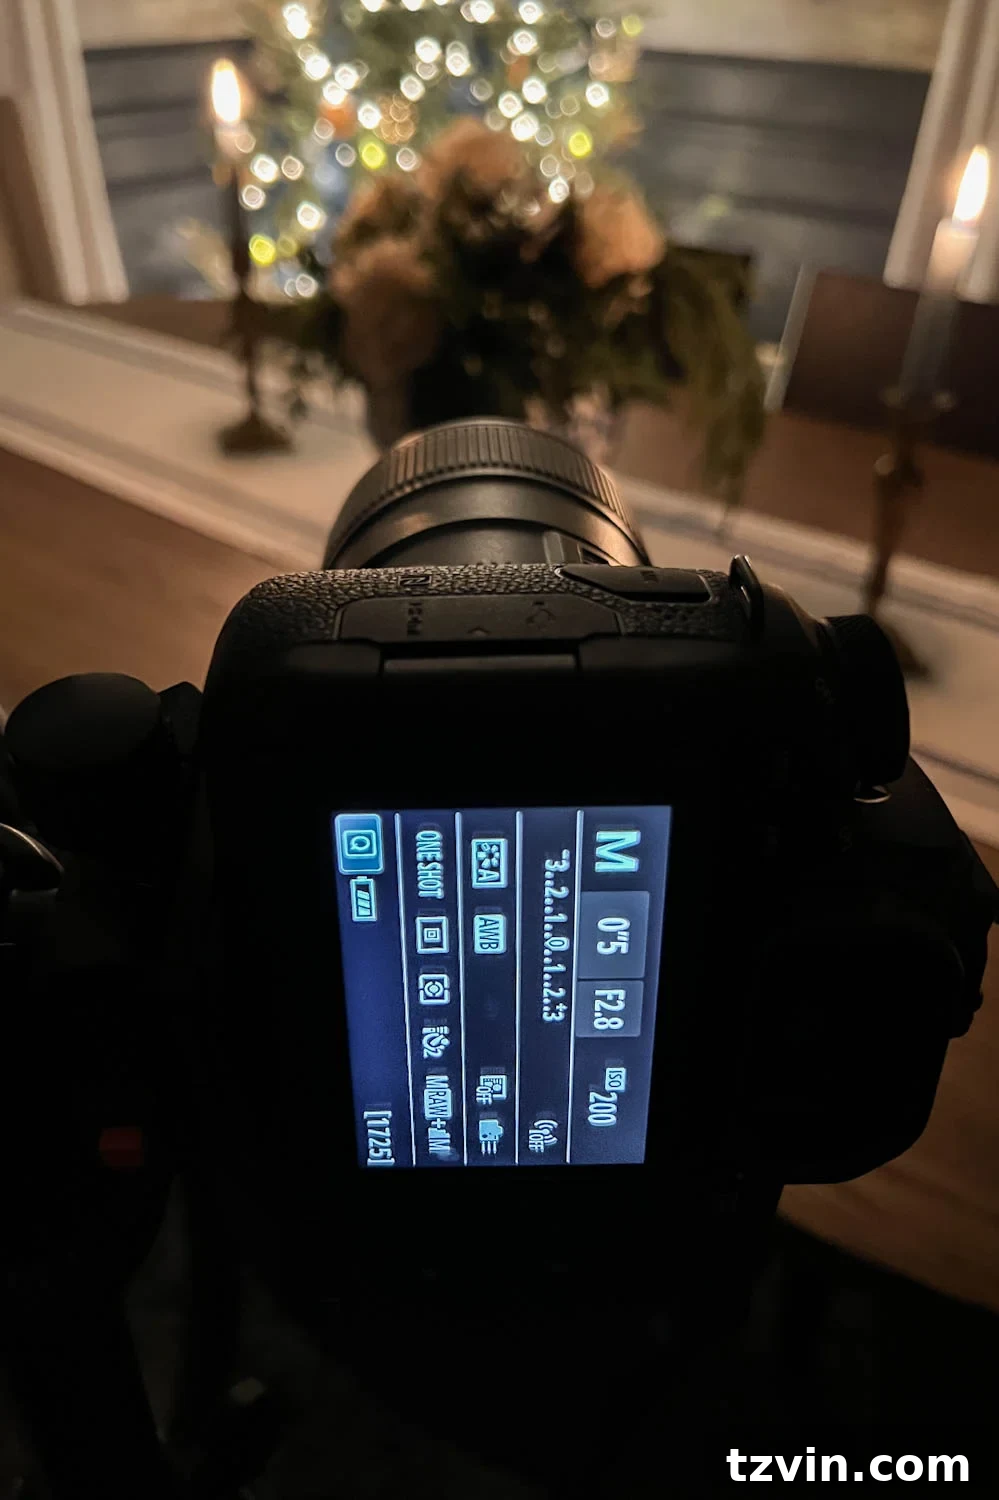
- Aperture (f-stop) – Set it between f/1.8 and f/4.0. A smaller f-stop number (wider aperture) creates a shallow depth of field. This means your foreground subject will be exquisitely sharp, while the background (like the Christmas tree lights) will transform into a creamy, dreamy blur, producing that coveted “bokeh” effect.
- ISO – Similar to wide shots, keep your ISO low, typically between 100 and 400, to minimize noise and maintain image clarity. The wider aperture will let in more light, making a very high ISO less necessary.
- Shutter Speed – Adjust the shutter speed to achieve the desired exposure as indicated by your camera’s meter. Since a wider aperture (smaller f-stop number) allows significantly more light to enter the lens, you can often use a slightly faster shutter speed compared to full-room shots. However, a tripod is still highly recommended to ensure maximum sharpness and prevent any motion blur, especially if you’re working with lower light levels.
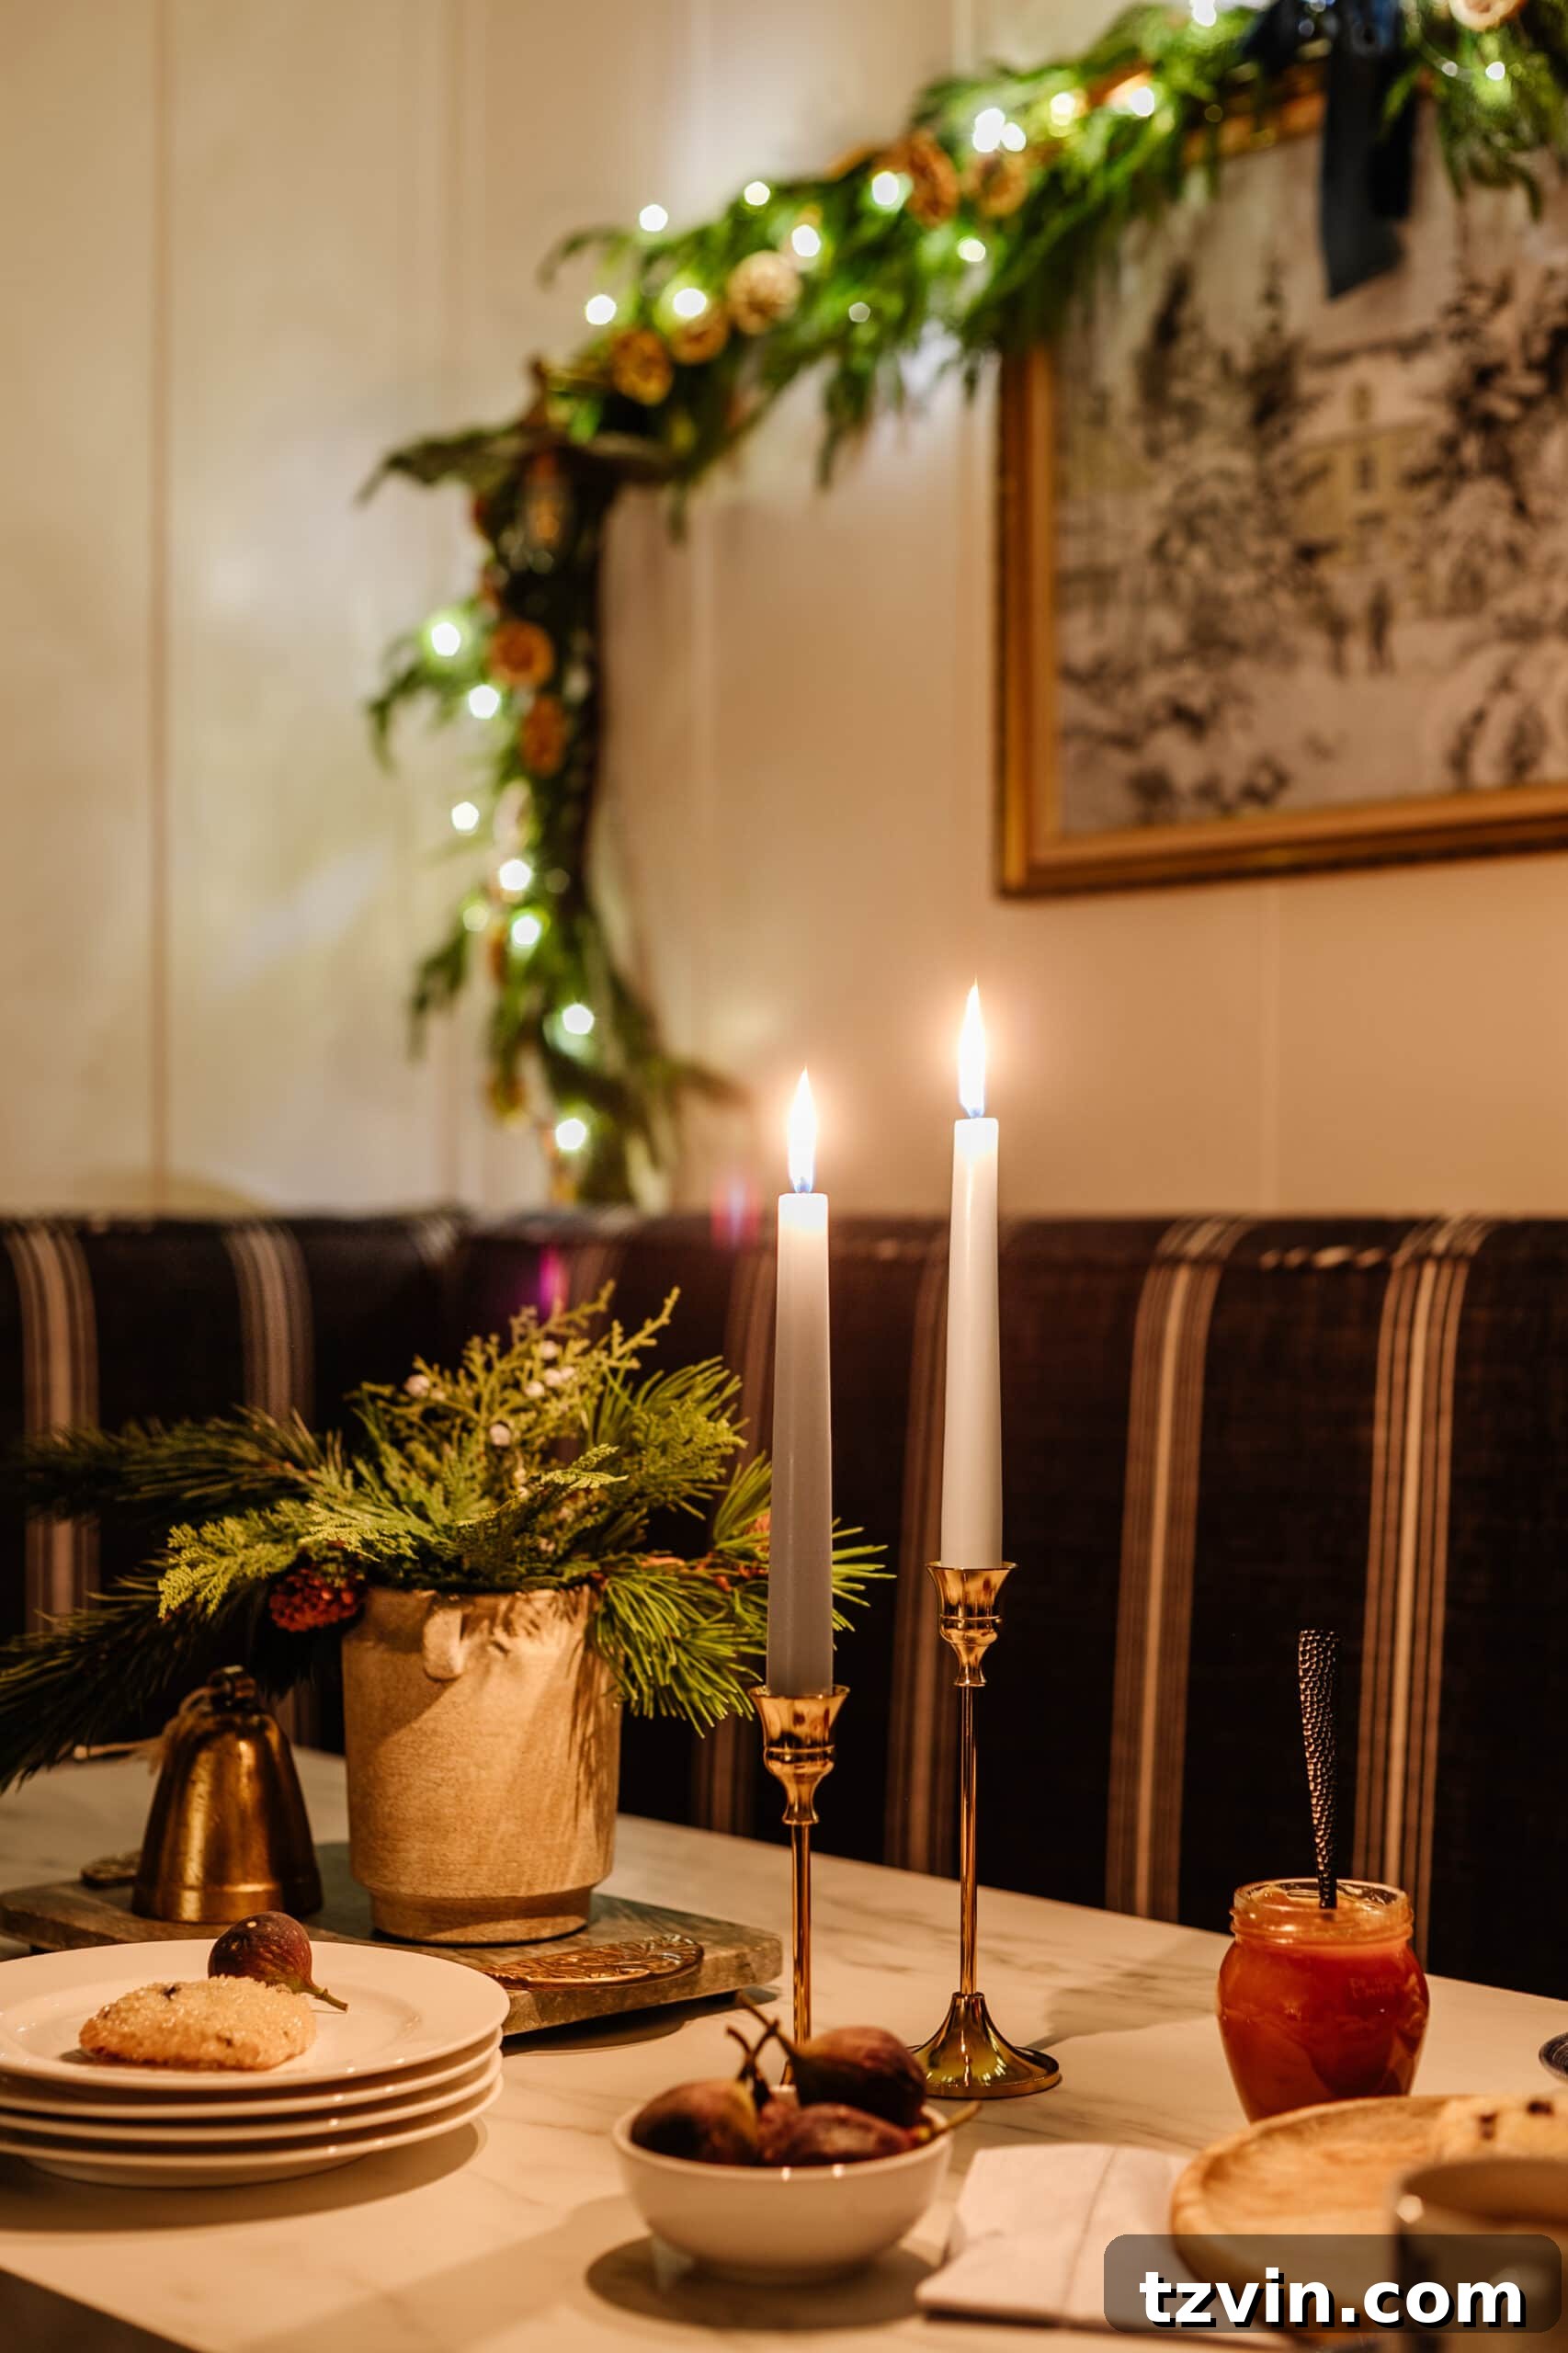
The image below illustrates these close-up camera settings perfectly. The focus is sharp on the candlesticks adorning our breakfast nook table, while the back wall and distant elements beautifully blur into a soft, artful bokeh, drawing the viewer’s eye directly to the enchanting foreground details.
Polishing Your Masterpiece: Editing Candlelight and Christmas Light Photos
Once you’ve captured your magical holiday scenes, a little post-processing can elevate them even further. For editing, I consistently rely on Adobe Lightroom. If you’re editing on a mobile phone, the Adobe Lightroom mobile app is an excellent, free option that provides powerful editing tools.
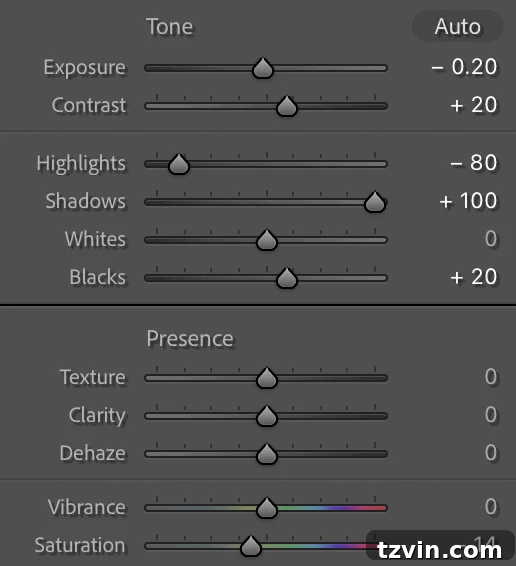
The primary goal in editing these low-light photos is to achieve a balanced, natural look that enhances the existing ambiance. You can achieve this by darkening overly bright highlights (to prevent blown-out lights) and subtly brightening shadows (to reveal lost details). My typical editing workflow involves minor tweaks to exposure, contrast, and white balance. Sometimes, a slight increase in warmth can enhance the cozy feel of candlelight. The key is to make subtle adjustments that refine the image without making it look overly processed. Lightroom’s selective adjustment tools can also be useful for pinpointing specific areas that need attention, ensuring your Christmas lights glow perfectly without losing their delicate details.
And that’s my process! It’s a journey of continuous learning and growth. I certainly don’t claim to know everything, but challenging myself with a camera over the past 15-20 years has proven to be the perfect creative outlet – a way to express myself and capture beauty without needing a single word.
For me, as a stay-at-home mom, it’s a wonderful pastime and a skill that continues to enrich my life. If you, too, find yourself at the end of the day with no words left but a deep desire for a creative outlet, photography can be an incredibly fulfilling path. It’s a medium where there’s no limit to what you can learn, and the inherent beauty of art lies in the endless ways you can express yourself, even if it’s simply by clicking a button to document your family’s precious moments or the evolving beauty of your home.
While I may not be able to draw or paint a masterpiece, I can certainly click a button and capture a beautiful scene. 😉 It’s an accessible art form for everyone.
Consider this my official “signing off” for the holiday season. I am incredibly grateful for each one of you and read every comment, message, and email. Nearly a decade after starting this blog, I remain amazed and blessed by the opportunity to share our family’s journey with you. Wishing you a truly joyful Christmas and a restorative New Year filled with light and warmth.
“The light shines in the darkness, and the darkness can never extinguish it.” John 1:5