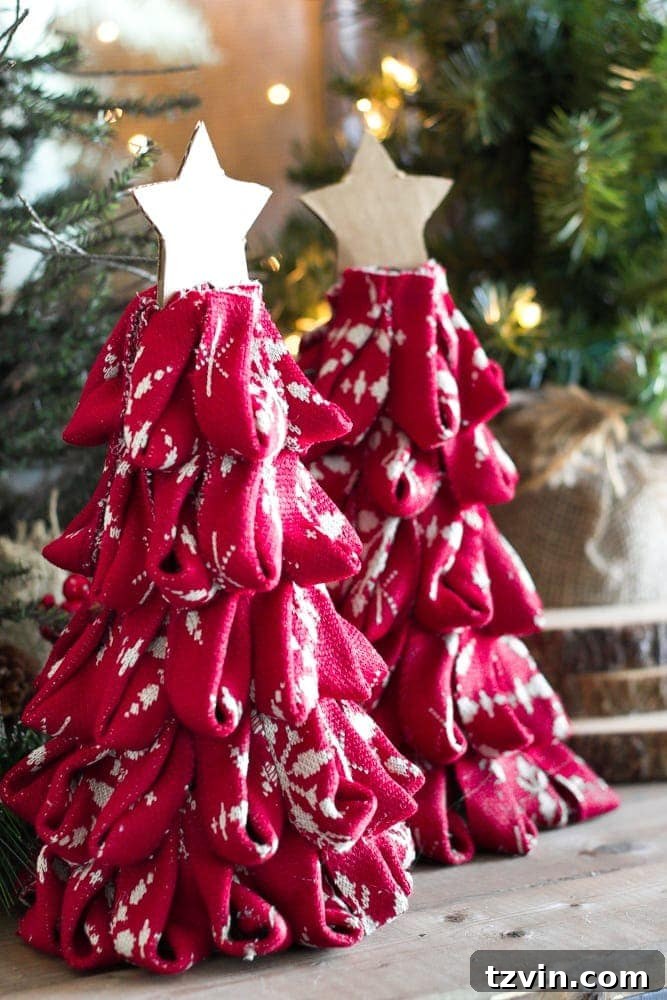
Crafting Cozy Charm: DIY Nordic Sweater Mini Christmas Trees for a Festive Home
The holiday season unfurls a unique kind of magic, stirring a desire within many of us to infuse our homes with warmth, joy, and a personal touch. While the rest of the year might see me tackling larger projects like breathing new life into thrift store furniture with a paintbrush, Christmas ignites a different passion: the enchanting world of holiday crafting. There’s something truly special about creating decorations by hand, especially when shared with loved ones. If there were endless hours in December, I’d happily spend most of them immersed in glitter, glue, and festive fabrics, bringing imaginative holiday visions to life.
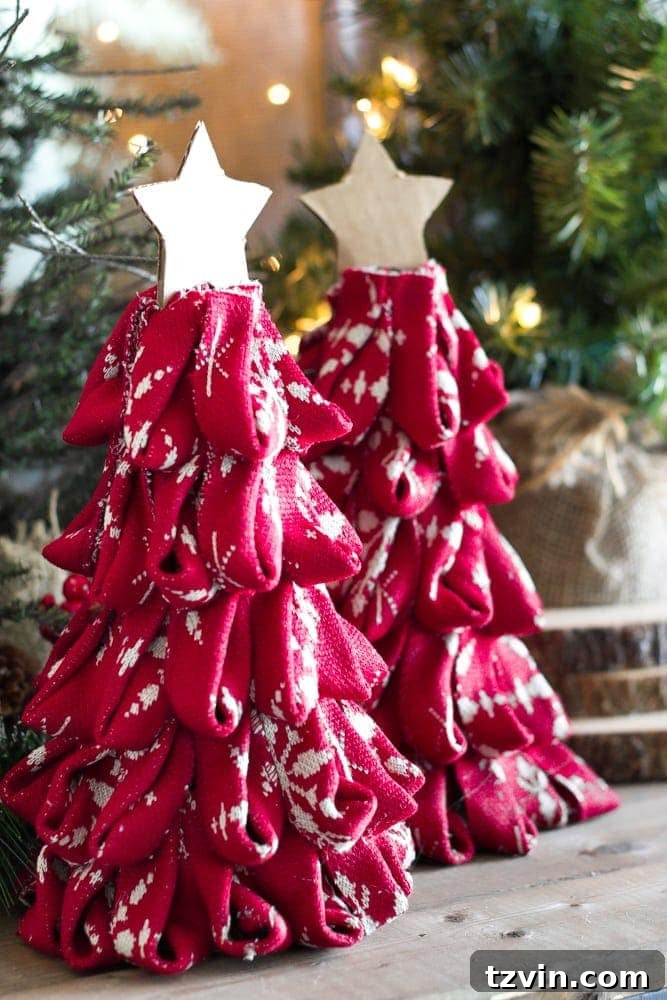
During this most wonderful time of the year, my hot glue gun becomes an extension of my holiday spirit – ready to transform simple materials into charming decor. And it was this festive drive that recently led me to create these absolutely adorable Nordic sweater mini trees, perfect for adding a touch of Scandinavian coziness to any corner of your home.
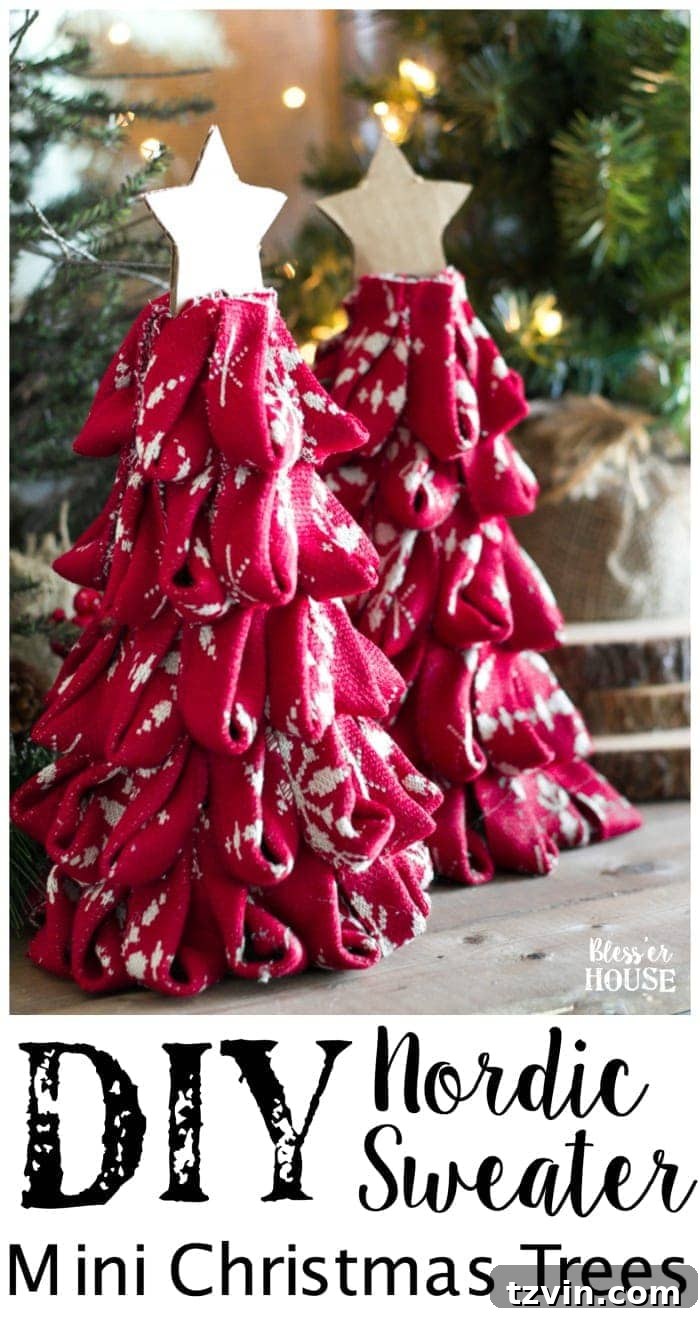
Embrace the Spirit of DIY: Why Handmade Decor Shines
There’s an undeniable allure to store-bought holiday decorations, with their polished finishes and instant gratification. However, the true magic often lies in the creations of our own hands. Crafting your Christmas decor offers a multitude of benefits, from significant cost savings to the immense satisfaction of personalizing your space. These DIY Nordic sweater mini Christmas trees are a perfect example. While browsing a local store, I encountered similar tabletop ribbon trees that, while charming, came with a price tag that felt a little steep. Instantly, the thought struck me: “I can absolutely make those for a fraction of the cost, and probably even better!” This realization sparked the inspiration for this project, proving that a little creativity can go a long way in achieving high-end holiday style on a budget.
Beyond the financial aspect, handmade decorations inject a unique character and warmth into your home that mass-produced items simply can’t replicate. Each loop of ribbon, every dab of hot glue, and the careful placement of the star topper becomes a small act of love, imbuing your decor with personal history and charm. These mini trees, with their delightful Nordic pattern, evoke a sense of cozy hygge, turning ordinary spaces into festive havens. They’re not just decorations; they’re conversation starters, memory makers, and a testament to the joy of crafting during the most wonderful time of the year.
Essential Supplies for Your Festive Mini Trees
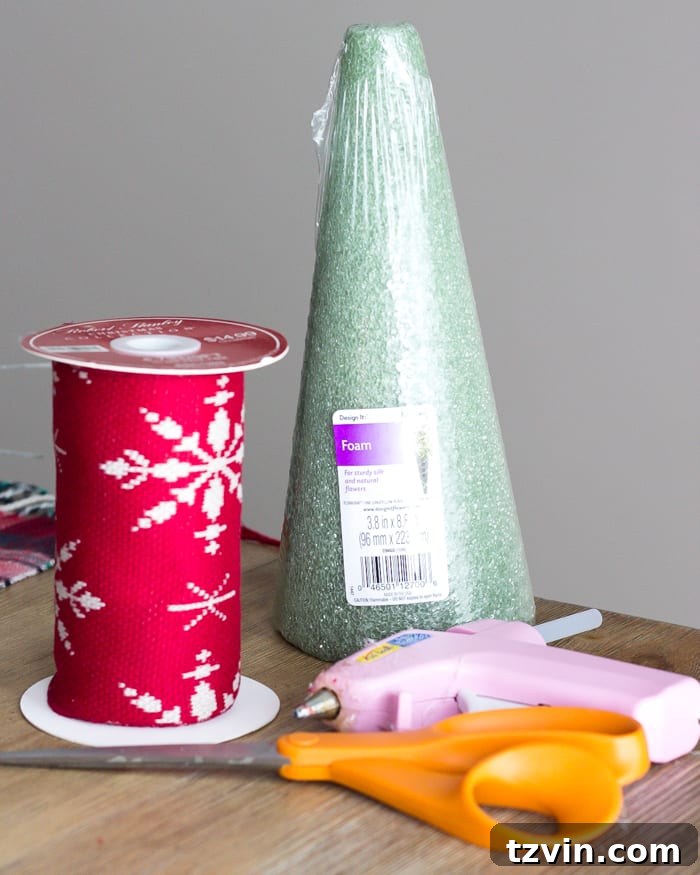
Creating these charming Nordic sweater mini trees is a surprisingly simple and enjoyable process, requiring just a few readily available materials. You’ll be delighted to discover how quickly these humble supplies transform into enchanting holiday accents. The key to this project is finding the perfect ribbon – I stumbled upon this adorable Nordic sweater print ribbon at Hobby Lobby, and it instantly sparked the vision for these trees. Don’t be afraid to explore different patterns and textures that match your personal holiday aesthetic!
Supplies Used:
- Foam florist cone: These provide the perfect base and shape for your trees.
- Nordic print ribbon (or whatever wide ribbon you’d like to suit your style): The star of the show! Choose a print that resonates with your decor.
- Hot glue gun and glue sticks: Your best friend for quick and secure adhesion.
- Fabric scissors: Essential for clean, crisp ribbon cuts.
- Small piece of cardboard: For crafting the tree topper star.
- Star cookie cutter: To easily trace a perfect star shape.
- Pen or pencil: For tracing your star.
- Toothpick: To secure the star topper to your tree.
Step-by-Step Guide to Crafting Your Charming Nordic Trees
Ready to transform some simple supplies into delightful holiday decor? Follow these easy steps to create your very own Nordic sweater mini Christmas trees. The process is straightforward and repetitive, making it a relaxing and rewarding craft project perfect for a cozy afternoon.
- Prepare Your Ribbon Sections: Begin by cutting a length of your chosen ribbon. I found that approximately 5 inches worked perfectly for the size of my foam cones. Use sharp fabric scissors to ensure clean, straight cuts, which will make the folding process much smoother. The goal is to create consistent pieces that will form the uniform “sweater” texture on your tree.
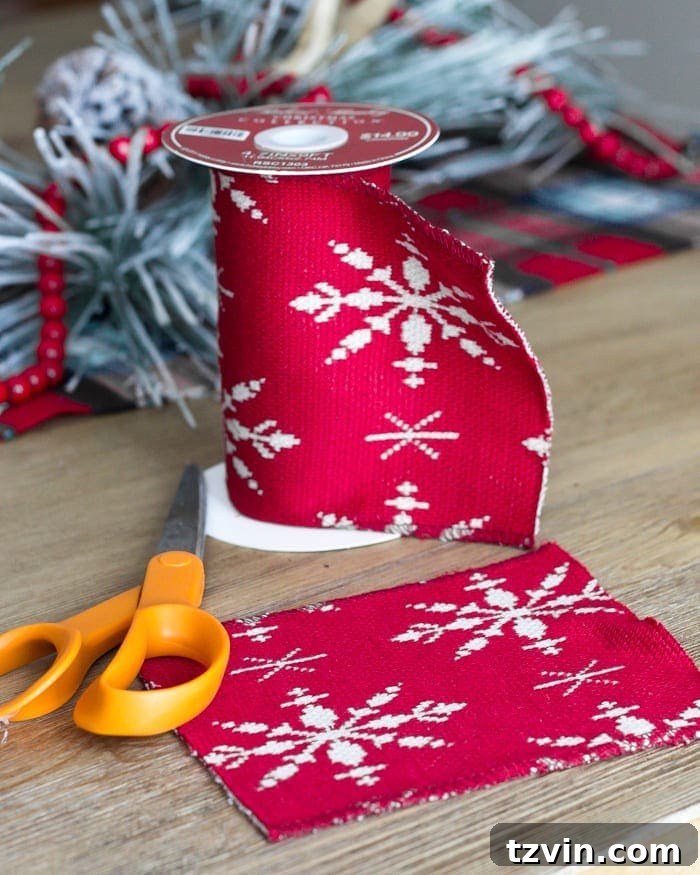
2. Divide the Ribbon: Take each 5-inch length of ribbon and cut it into three equal segments. This means you’ll have three smaller pieces from each initial cut. The precise measurement isn’t critical, but aim for consistency across all your segments to ensure an even appearance on your finished tree. This creates the individual “loops” that will give your tree its full, textured look.
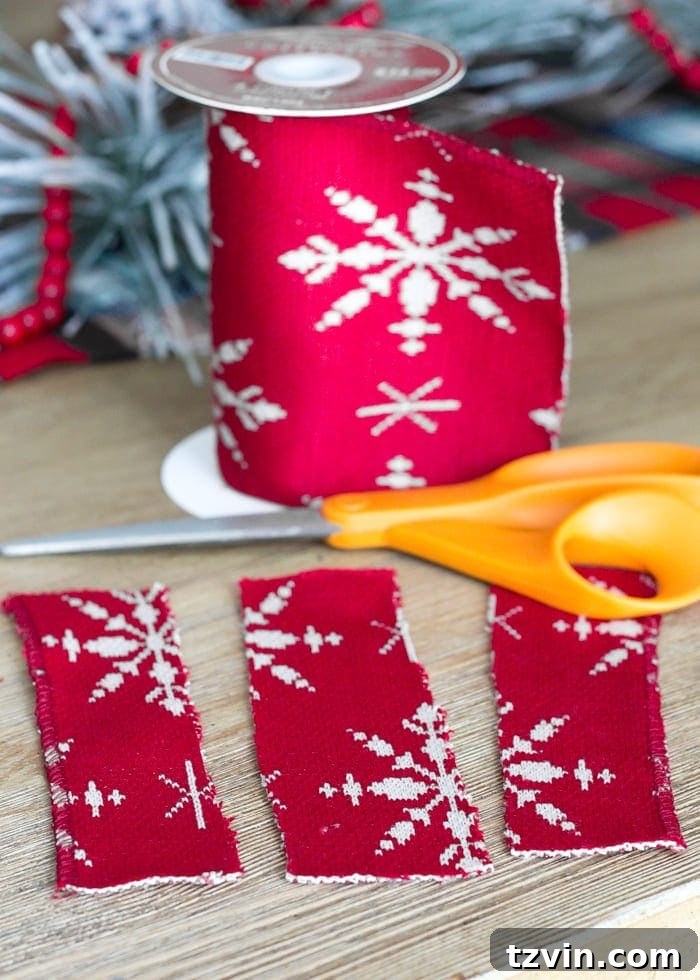
3. Fold for Effect: Select one of your smaller ribbon segments. Fold it over so that the side you want visible (in my case, the beautiful red Nordic pattern) is facing outwards. This simple fold is crucial for creating the “sweater” texture and showcasing your chosen ribbon design.
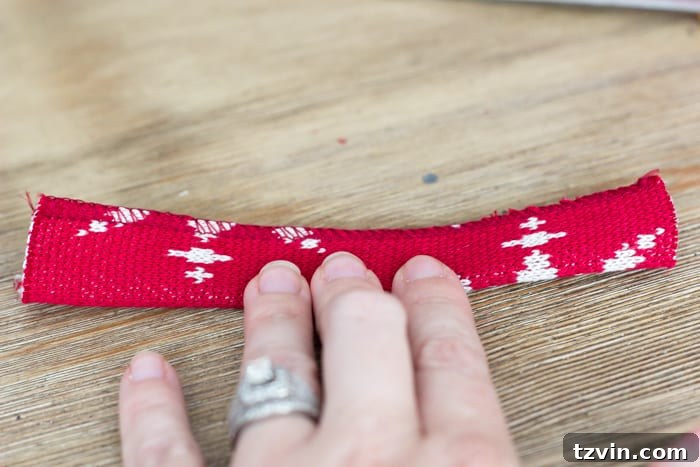
4. Form the Loop: With the folded ribbon, bring the two raw ends together at the bottom, creating a neat loop at the top. This loop is what will give your mini tree its delightful fluffy and layered appearance, resembling the cozy knit of a Nordic sweater. A small dab of hot glue at the base of the loop can help secure it for easier handling, though you’ll be gluing it to the cone shortly.
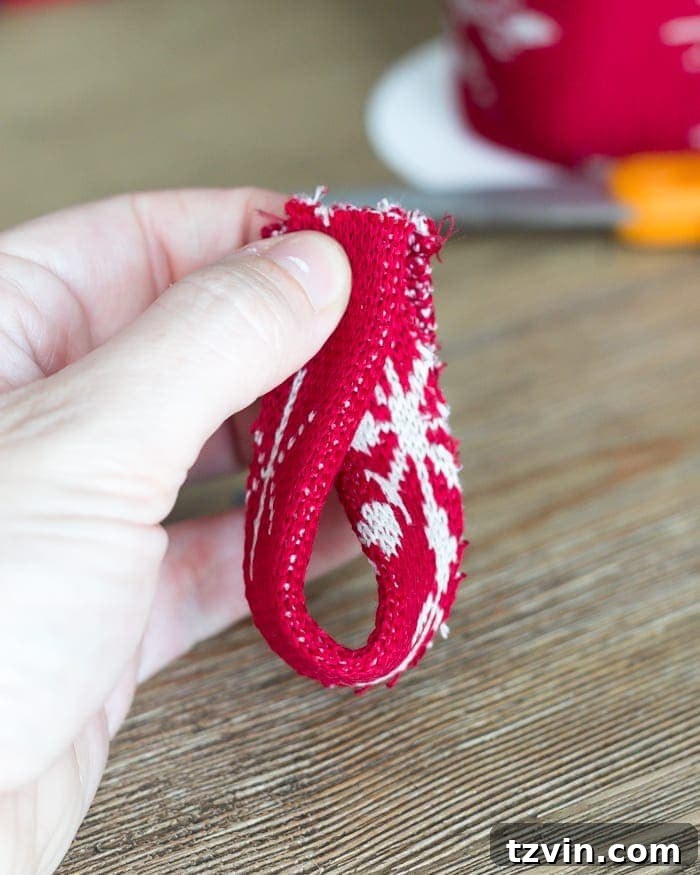
5. Attach to the Foam Cone: Now it’s time to start assembling your tree. Begin at the base of your foam florist cone, about an inch or two from the very bottom edge. Apply a small amount of hot glue to the folded top of your ribbon loop (the part that will be touching the cone) and firmly press it into place. For added security and neatness, apply another tiny drop of glue between the two ends of the ribbon at the bottom of the loop where they meet. This ensures the loop maintains its shape and stays securely attached.
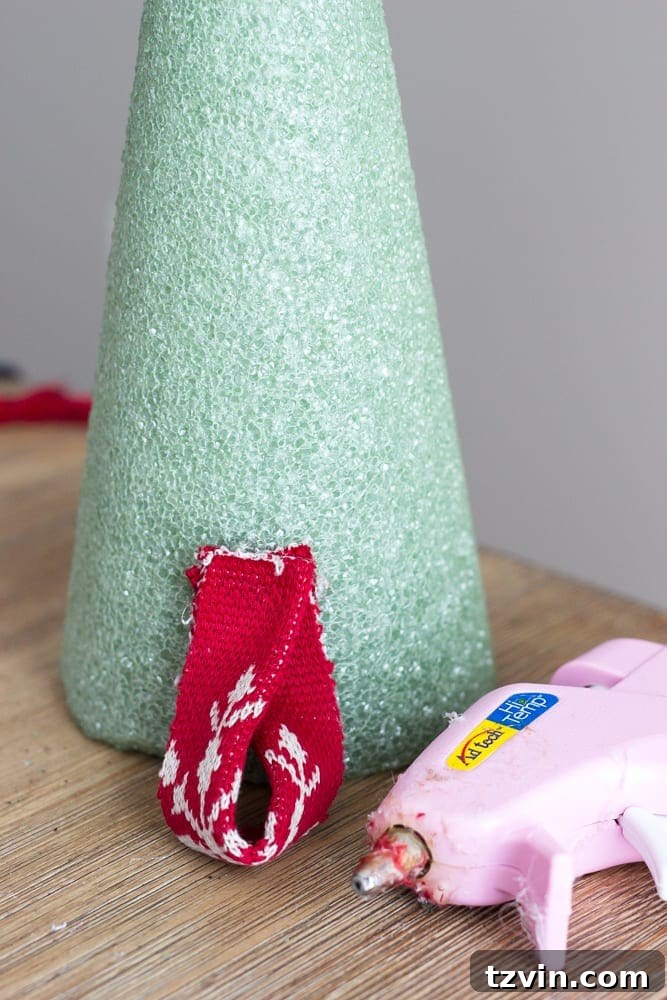
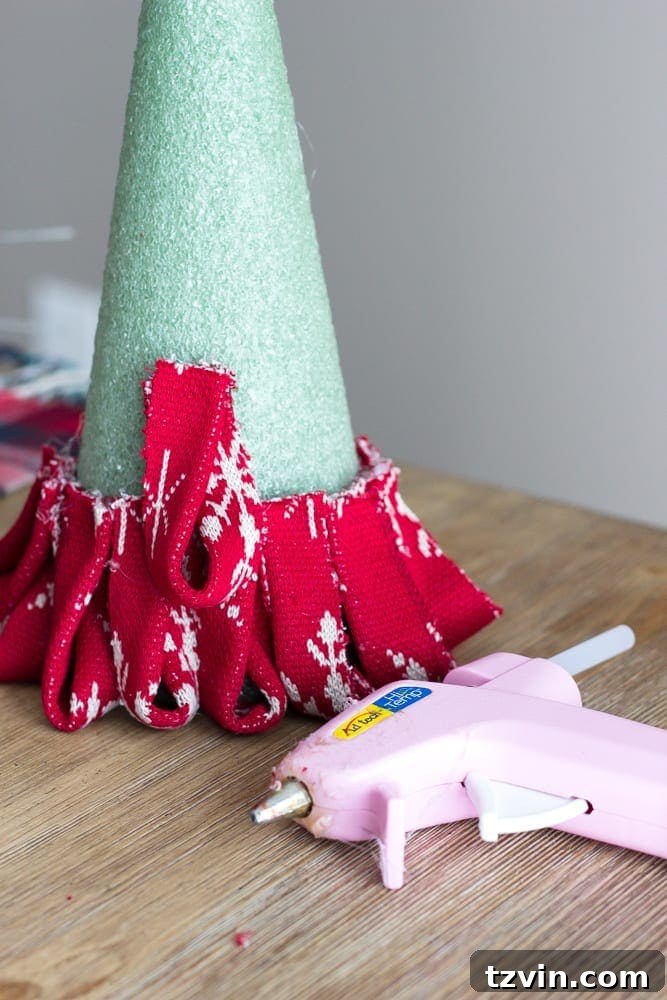
6. Layer the Base: Continue this process, working your way around the base of the cone. Place each subsequent ribbon loop close to the previous one, ensuring there are no gaps and that the loops are evenly spaced. This forms the first, fullest layer of your mini tree. The density of these loops is what creates that lovely, textured “sweater” effect.
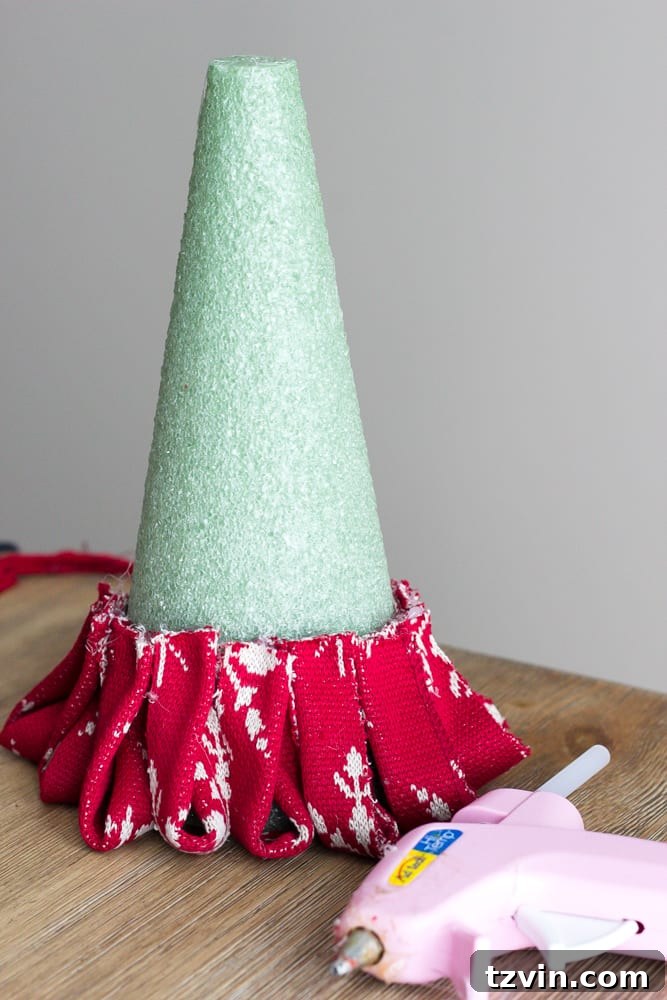
7. Build Upwards: Once the first layer is complete, begin on the next layer, working your way up the cone. Overlap the layers slightly to create a continuous, full appearance. Repeat the folding, looping, and gluing process until the entire foam cone is covered in beautiful ribbon loops, right up to the very top. Take your time to ensure each layer is neat and uniform for the best final look.
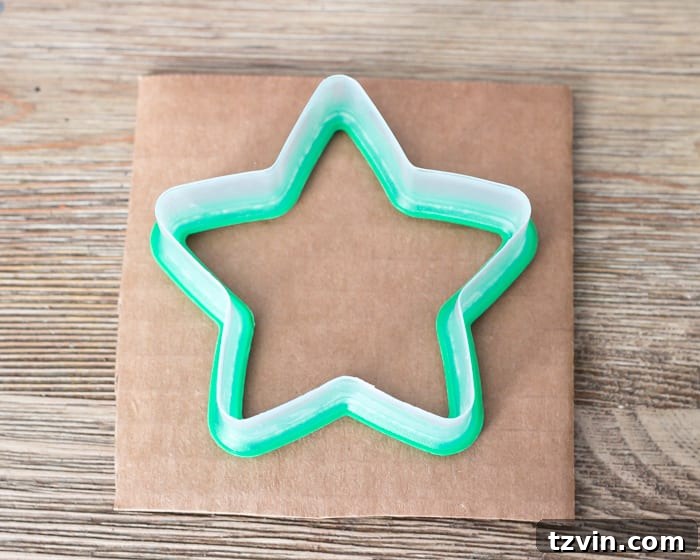
8. Craft the Star Topper: No Christmas tree is complete without a star! For the topper, grab a small piece of cardboard and a star-shaped cookie cutter. Place the cookie cutter onto the cardboard and trace around its perimeter with a pen or pencil. This is an easy way to get a perfectly symmetrical star. If you don’t have a cookie cutter, you can freehand a star or print a template online.
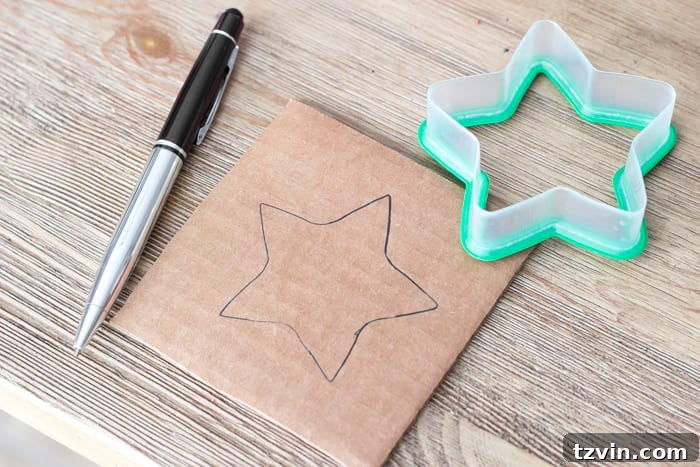
9. Attach the Star: Carefully cut out your traced star from the cardboard. Then, take a toothpick and gently jab one end into the bottom point of your cardboard star. You may want to add a tiny drop of hot glue to secure the toothpick to the star. Once the toothpick is firmly attached, simply stick the other end of the toothpick into the very top of your ribbon-covered foam cone. This provides a stable and charming finish to your mini Christmas tree!

Styling Your Nordic Mini Trees: Festive Placement Ideas
Aren’t these little guys absolutely charming? Their compact size and festive Nordic pattern make them incredibly versatile for holiday decorating. These DIY Nordic sweater mini Christmas trees are perfect for adding a touch of festive cheer to almost any space that needs a little something extra. Imagine them gracing your mantelpiece, nestled among lush garlands and twinkling lights, creating a cozy focal point.
They also look fantastic as accents on bookshelves, adding a pop of holiday color and texture. Use them as a whimsical centerpiece on your dining table for a festive meal, or line a windowsill to bring cheer to an often-overlooked area. Don’t limit yourself to traditional spots; these mini trees can elevate an entryway console, brighten up a guest bedroom, or even add a dose of holiday spirit to your home office desk. For an extra special touch, tie one onto a beautifully wrapped gift as a unique and personal topper that doubles as a keepsake. Pair them with candles, natural elements like pinecones or faux snow, and other DIY Christmas crafts to create a cohesive and inviting holiday display that truly reflects your personal style.
Beyond Nordic: Personalizing Your Ribbon Trees
While the Nordic sweater print offers a specific cozy aesthetic, the beauty of this DIY project lies in its adaptability. Feel free to unleash your creativity by experimenting with different types of wide ribbon to match any holiday theme or color scheme. Think luxurious velvet ribbon for a touch of elegance, rustic burlap for a farmhouse feel, or shimmering metallic ribbon for a glam look. You could even use multiple ribbons on one tree, alternating patterns or colors for a striped effect. Consider adding tiny embellishments like miniature bells, faux pearls, or a dusting of fine glitter to your finished trees for extra sparkle and charm. Don’t hesitate to play with different sizes of foam cones to create a varied collection of mini trees, adding visual interest and depth to your holiday vignettes. These small customizations allow you to truly make this project your own.
The Joy of a Handmade Christmas
There’s an unparalleled sense of accomplishment and warmth that comes with decorating your home with handmade items, especially during the Christmas season. These DIY Nordic sweater mini Christmas trees are more than just pretty ornaments; they are a tangible representation of your efforts, creativity, and the joy you pour into making your home feel festive and inviting. They remind us that the most treasured decor often comes not from a store shelf, but from our own hands and hearts.
If you’re eager for more thrifty, budget-friendly, and crafty Christmas decor ideas that bring big impact without breaking the bank, be sure to explore more inspiration over in the gallery. I encourage you to embrace the DIY spirit this holiday season!
Do you have any exciting Christmas craft plans brewing for this year? Or have you recently spotted a charming piece of decor in stores and thought, “I can totally make that for way cheaper and make it even more special”? Share your ideas and inspirations – let’s celebrate the magic of a handmade Christmas together!